When you click on links to various merchants on this site and make a purchase, this can result in this site earning a commission. Affiliate programs and affiliations include, but are not limited to, the eBay Partner Network.
Completed install of the ZL-1 fuel pump. New 16 gauge mild steel patch panel painted, sealed and secured.
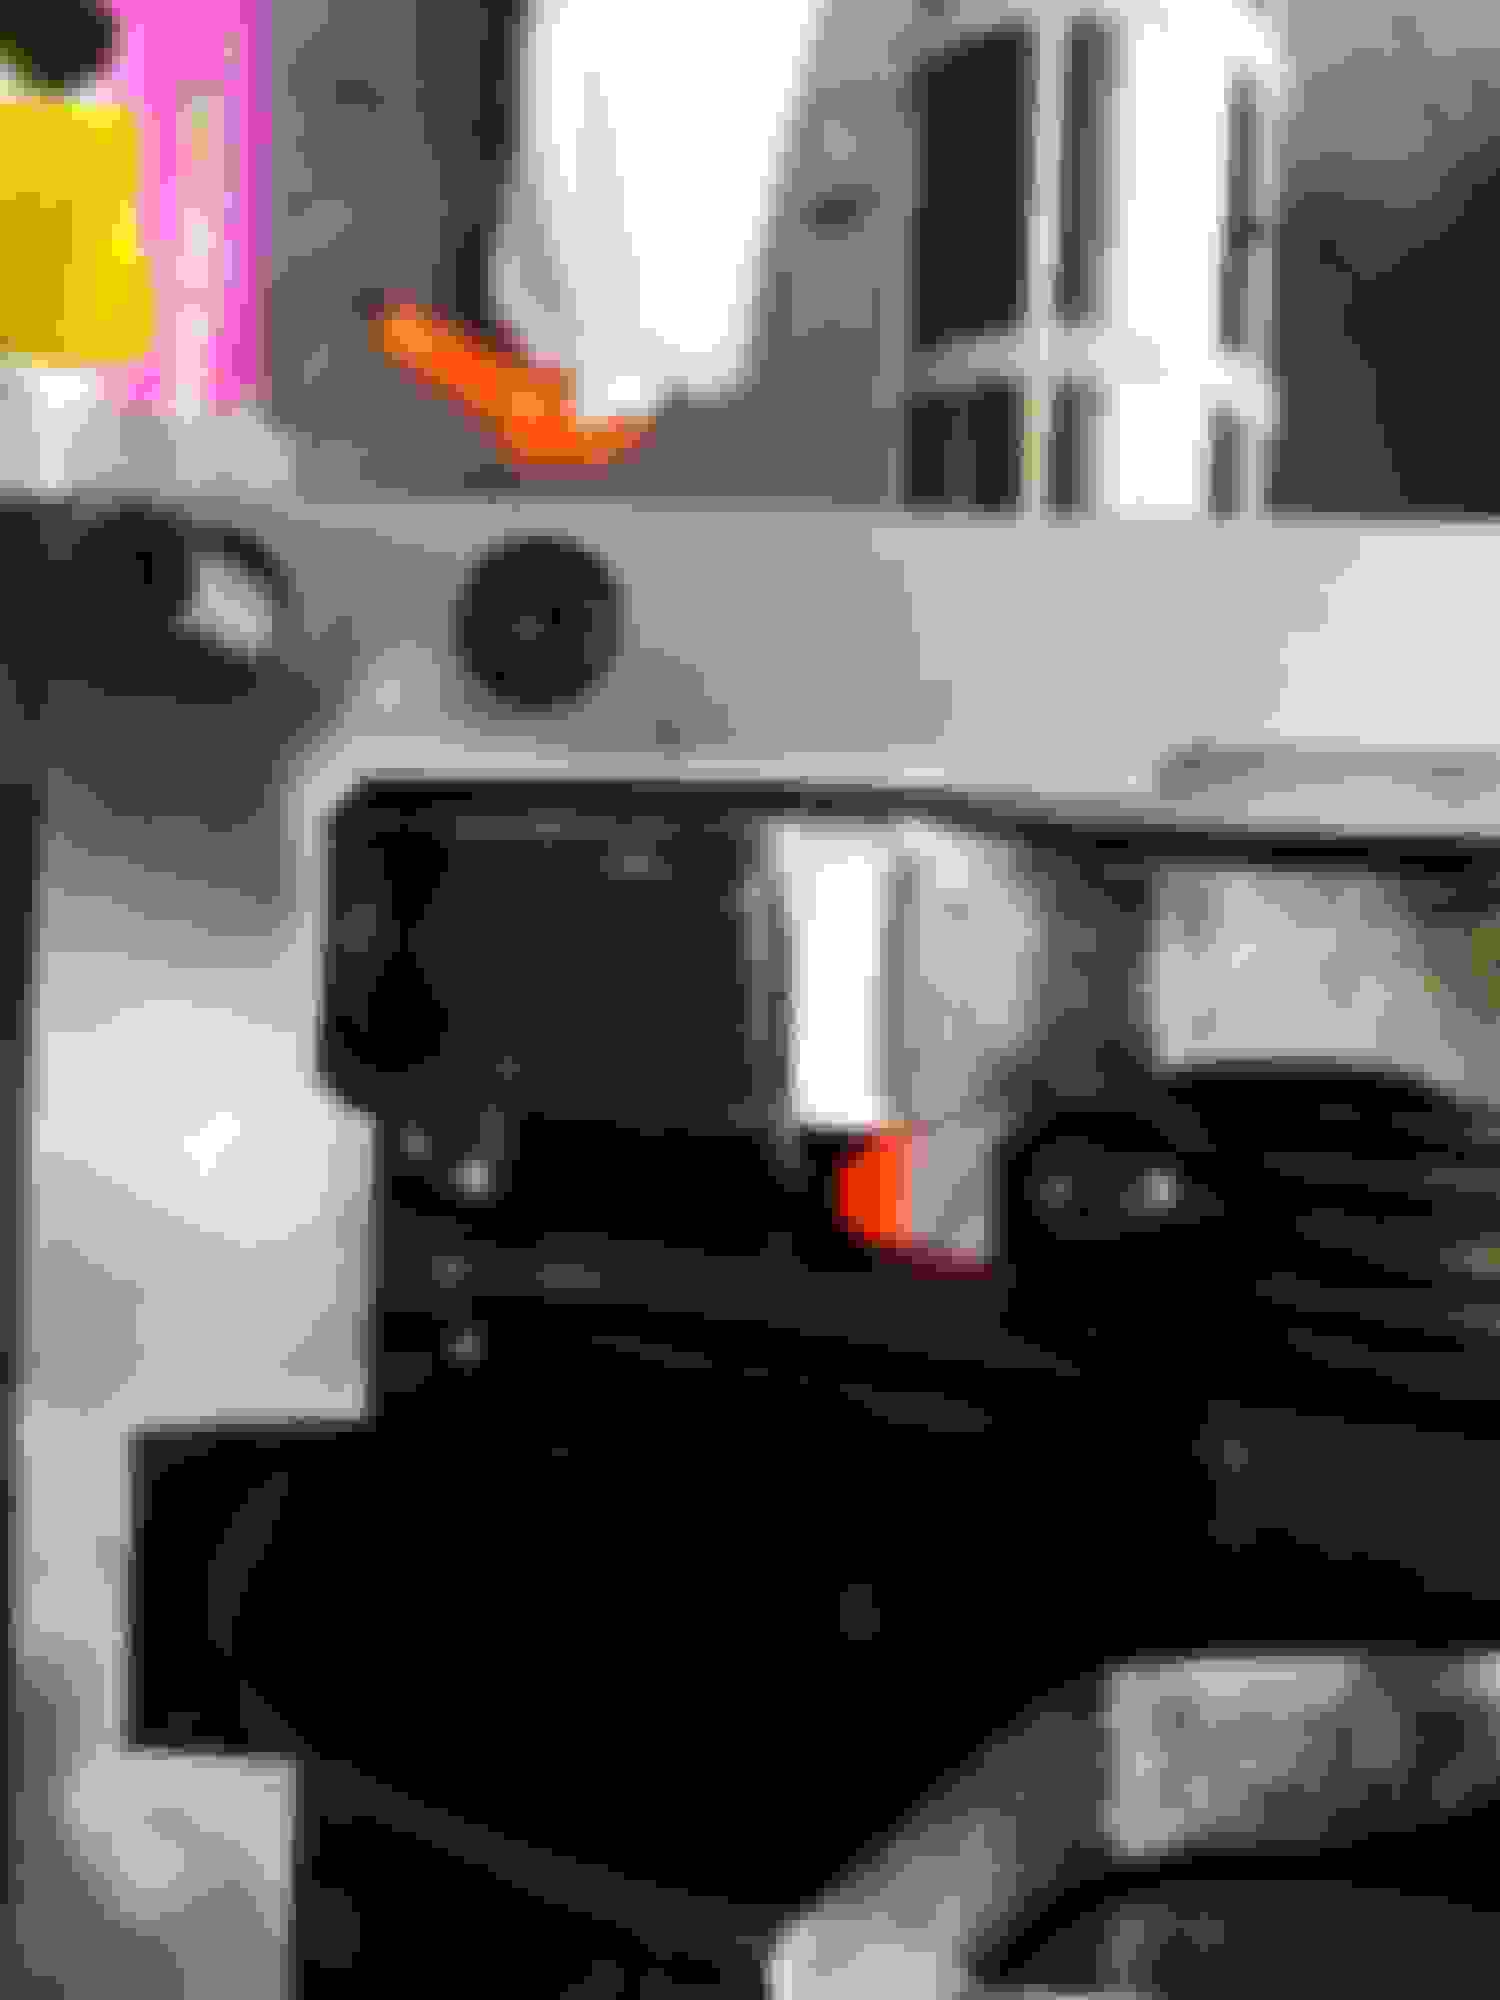
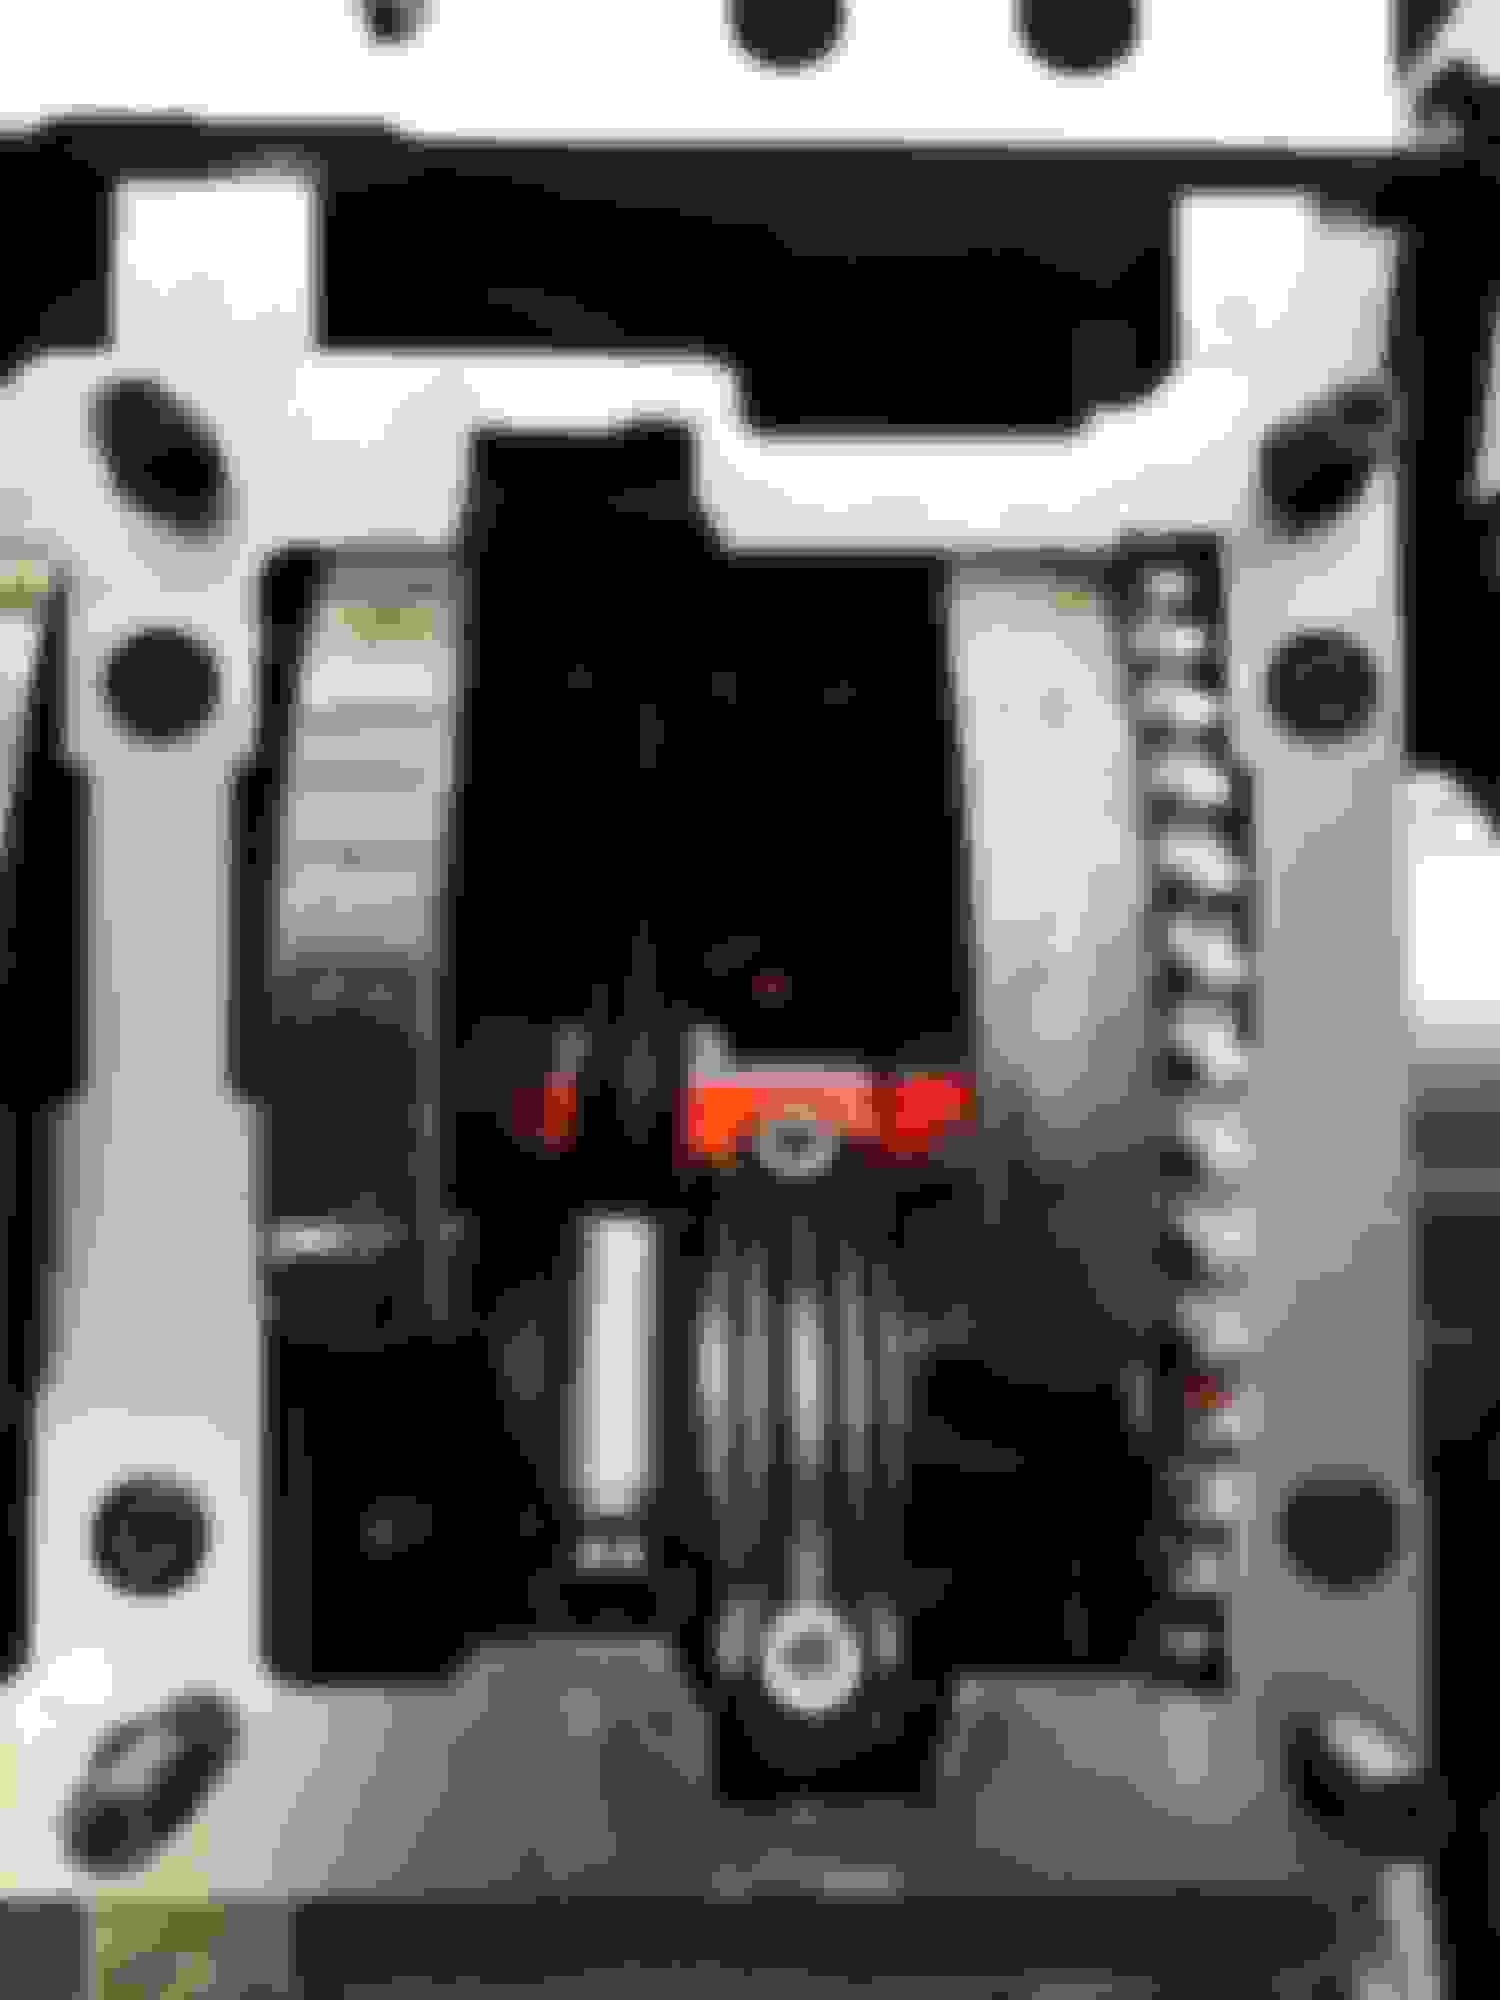
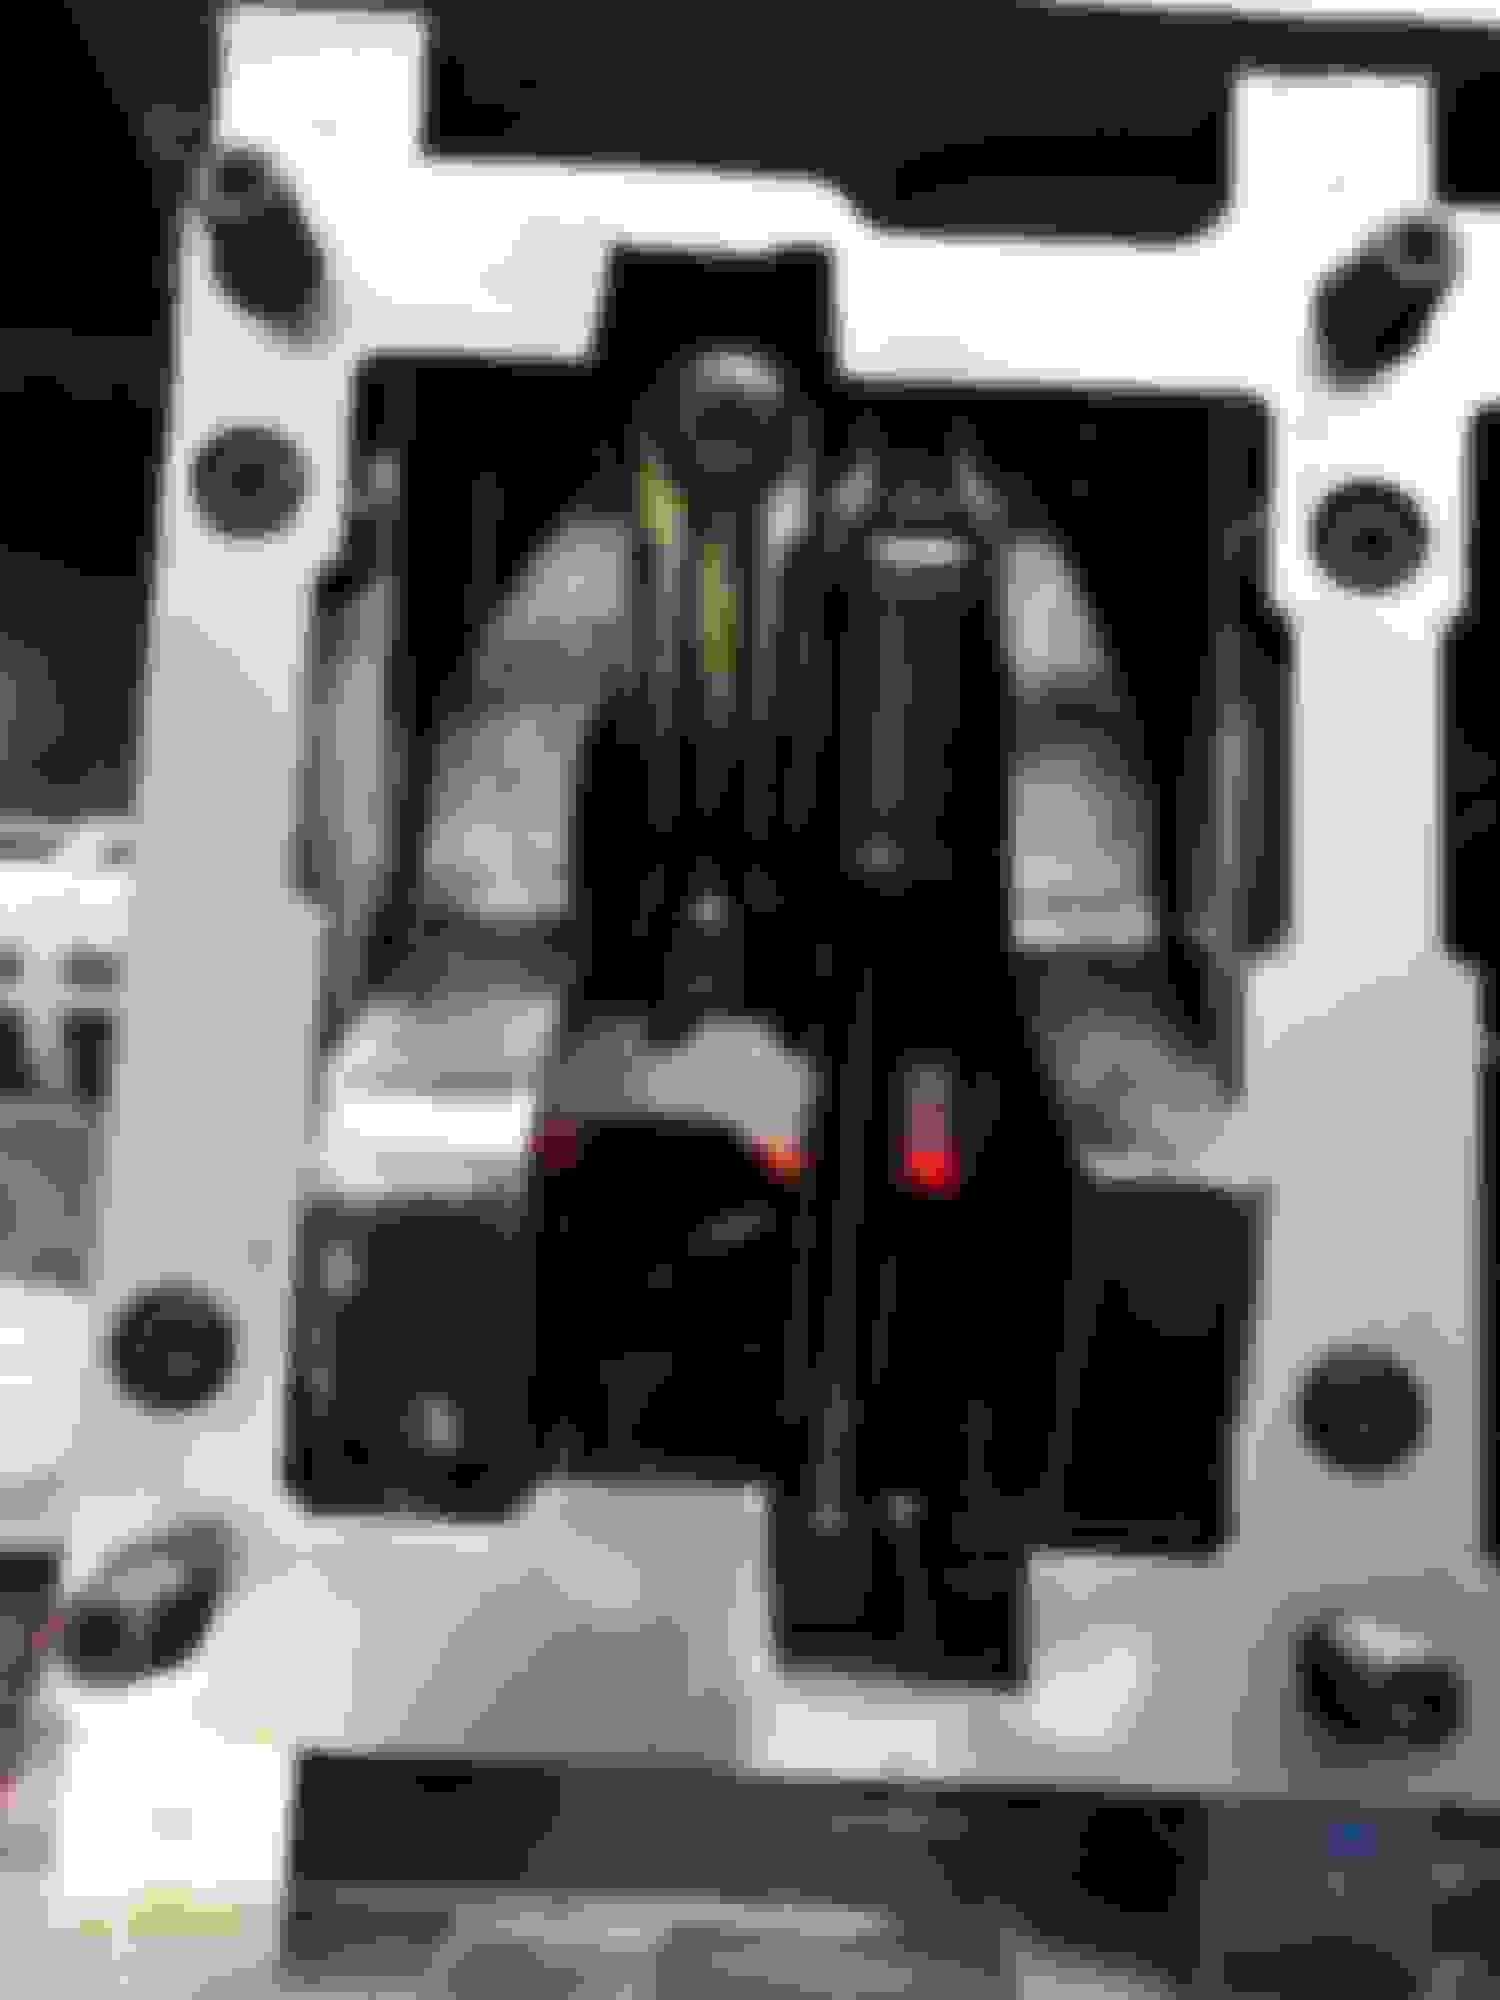
Checking oil pickup clearance after installing the Improved Racing crank scraper and washers to space the windage tray from the crank.
Fastened a little piece of rubber matting to protect the fuel pump harness from the area where the access panel was cut.
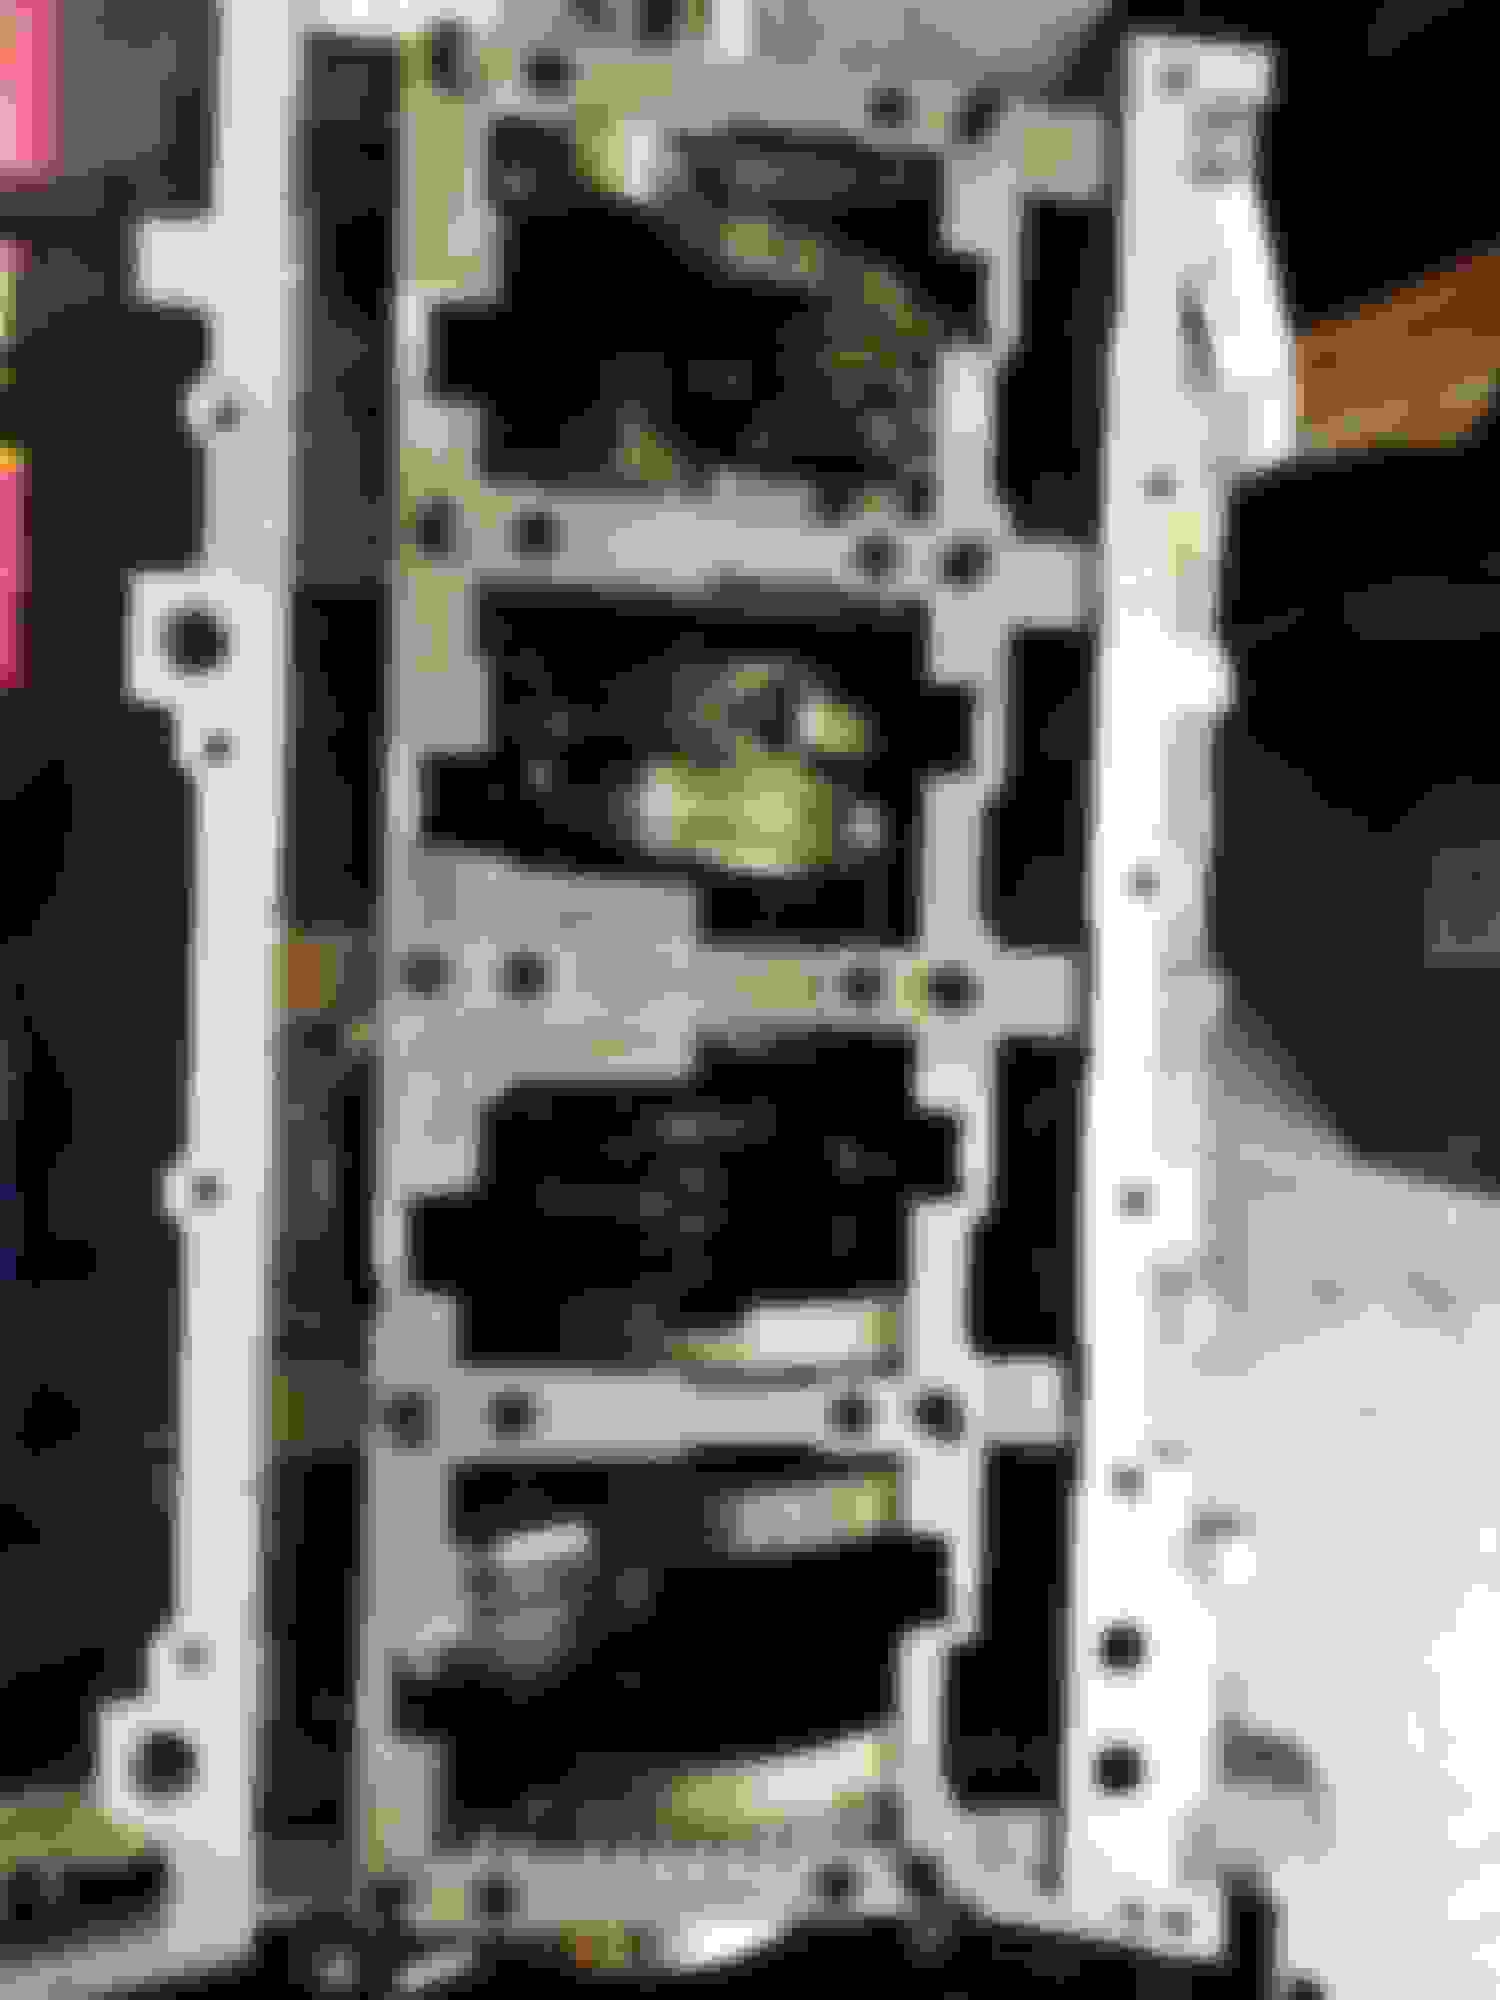
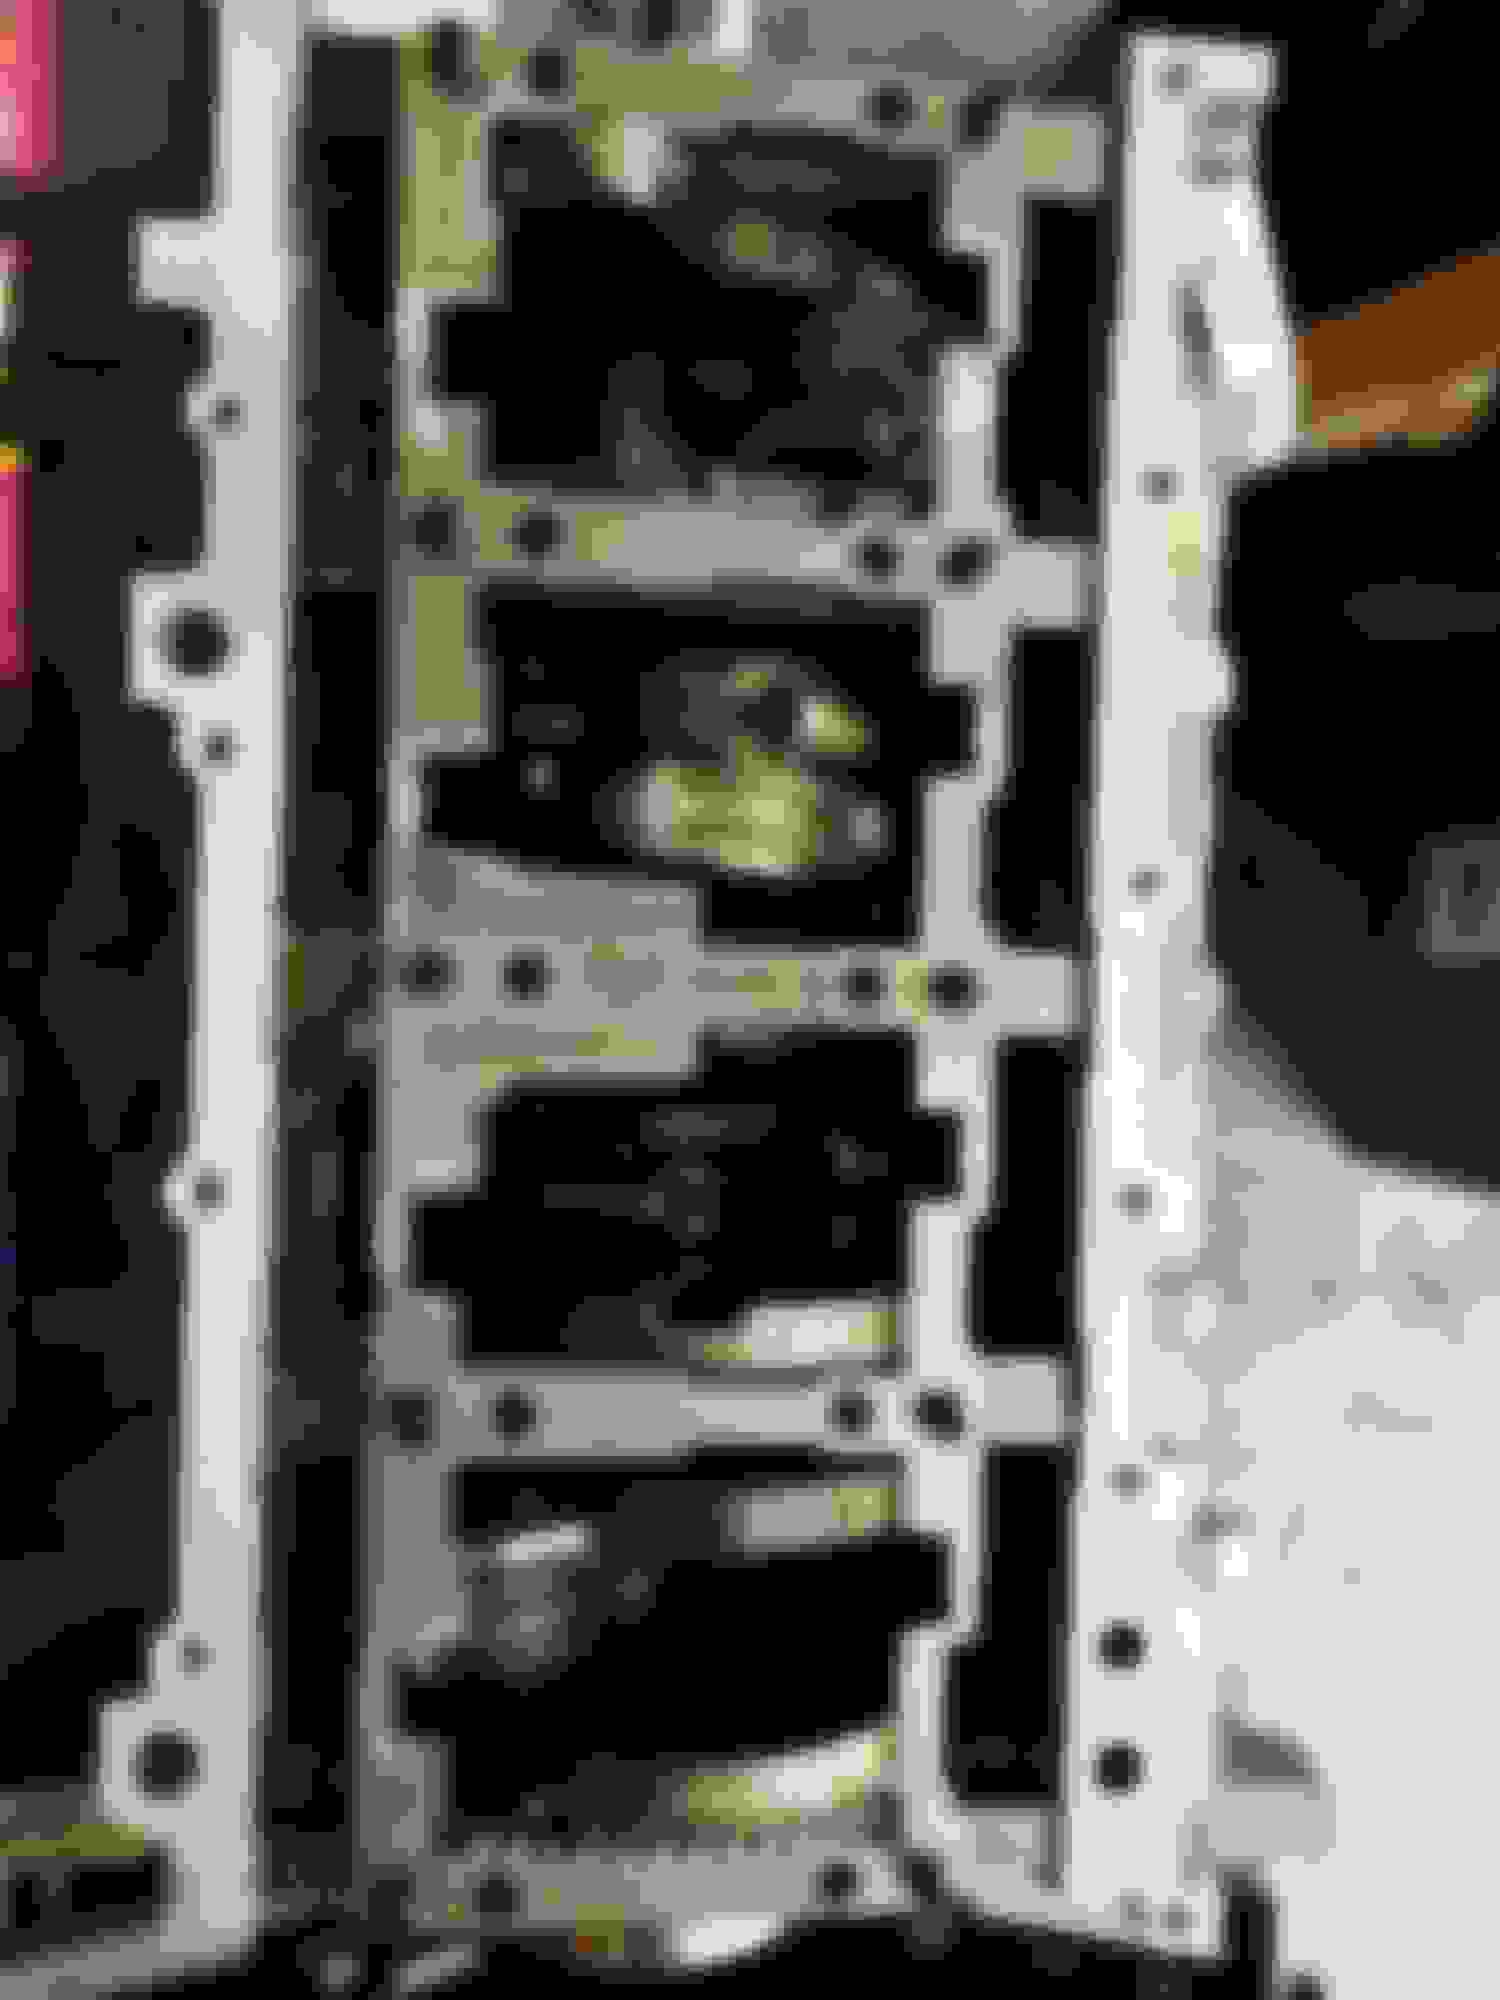
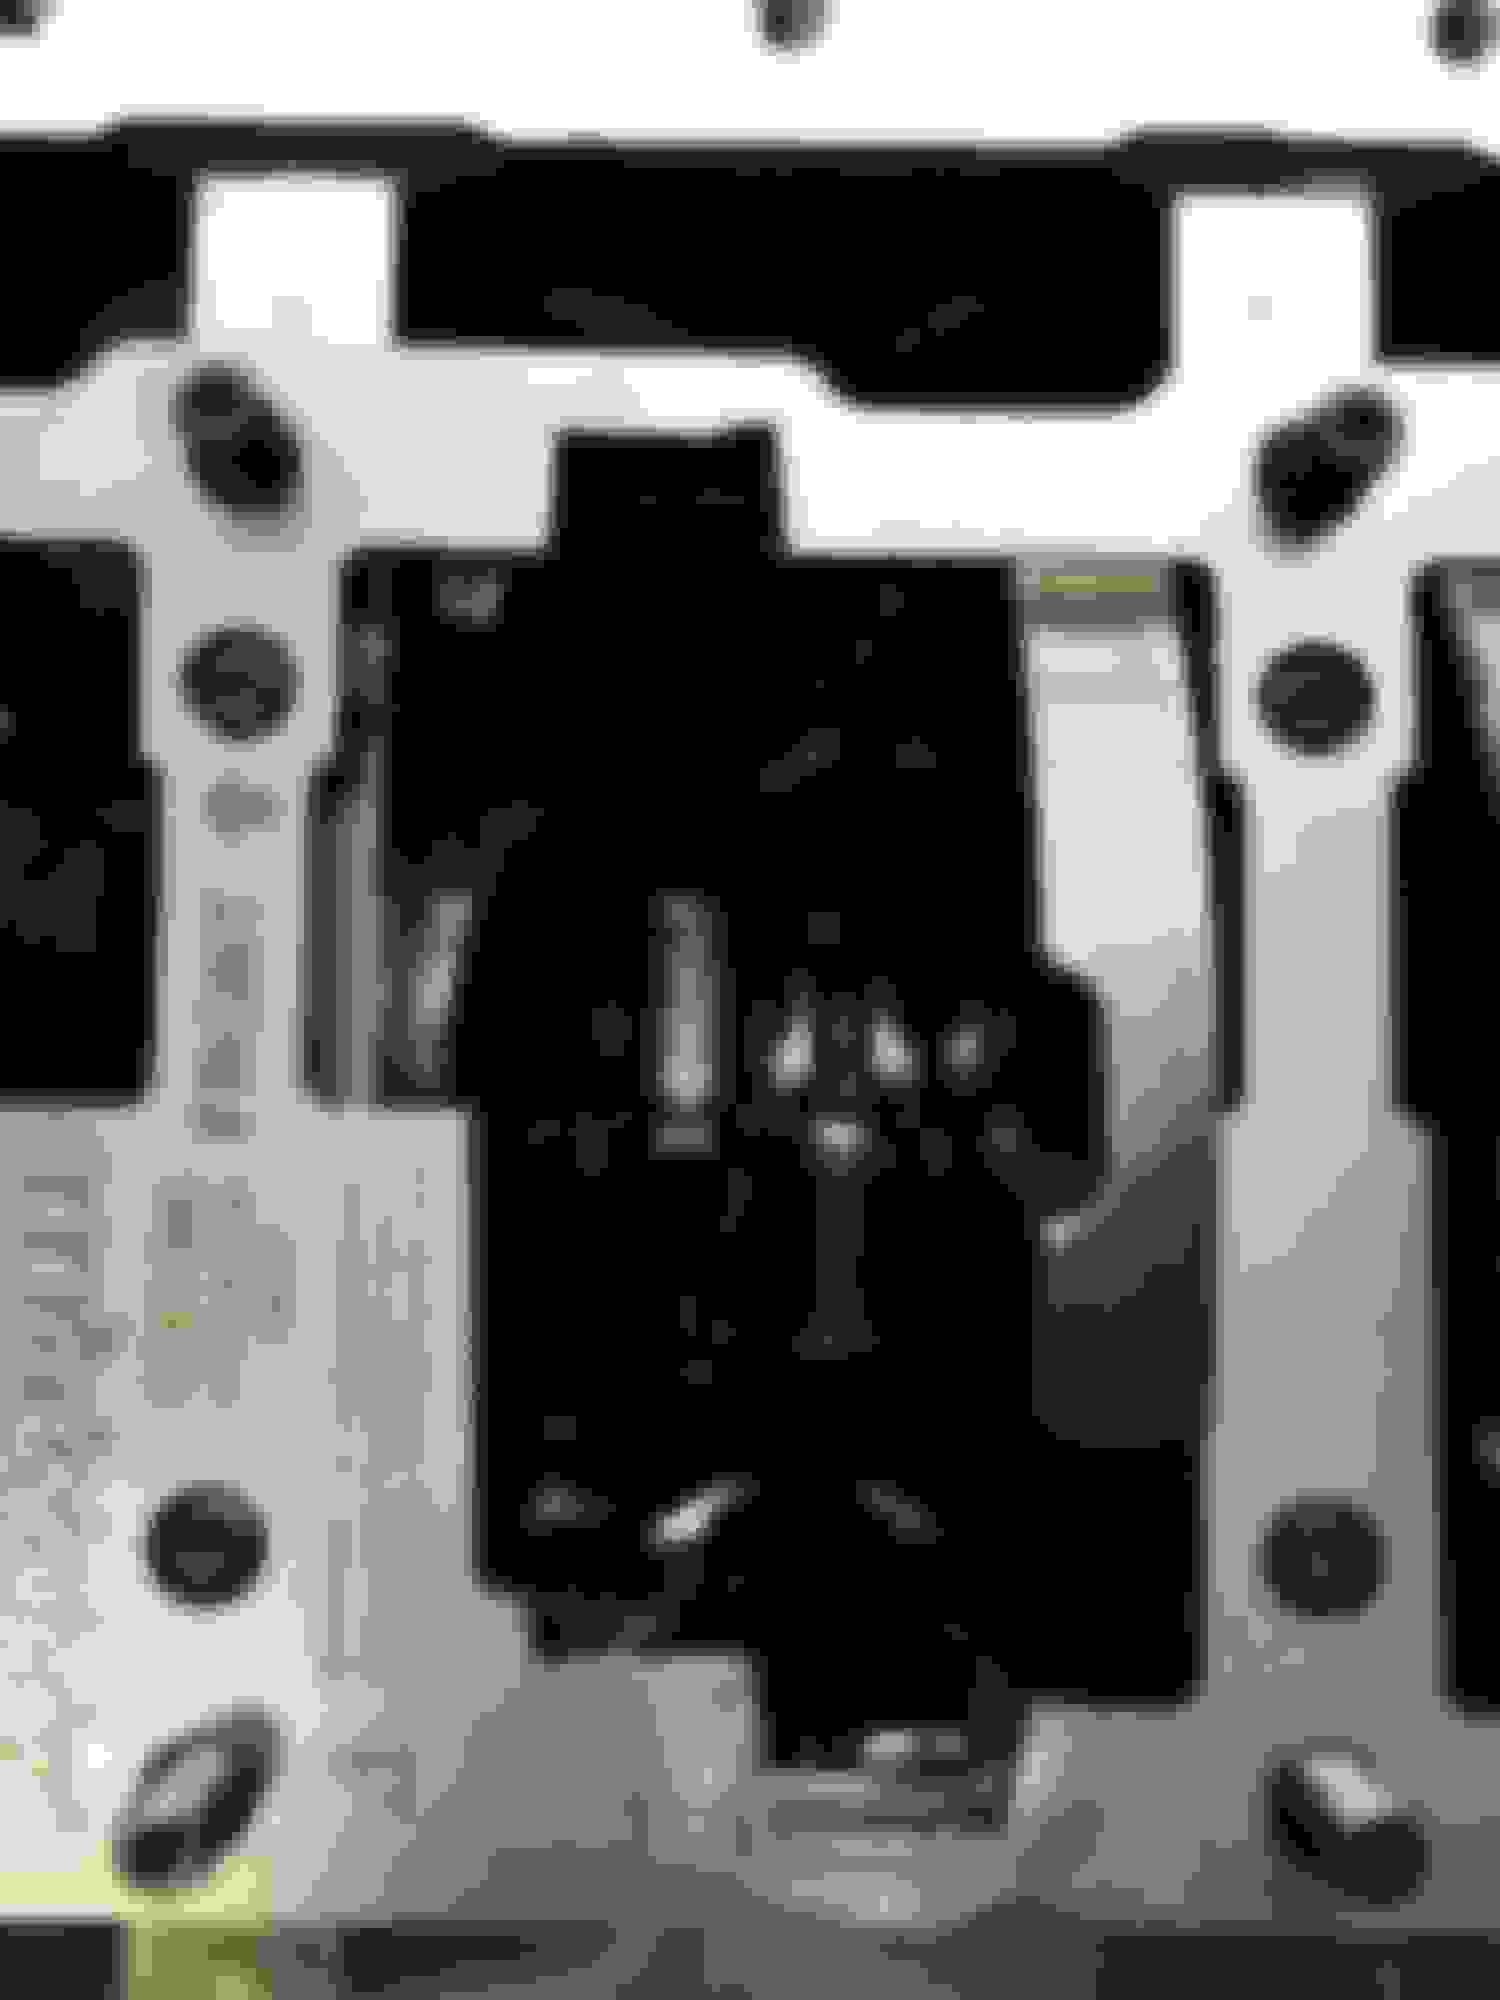
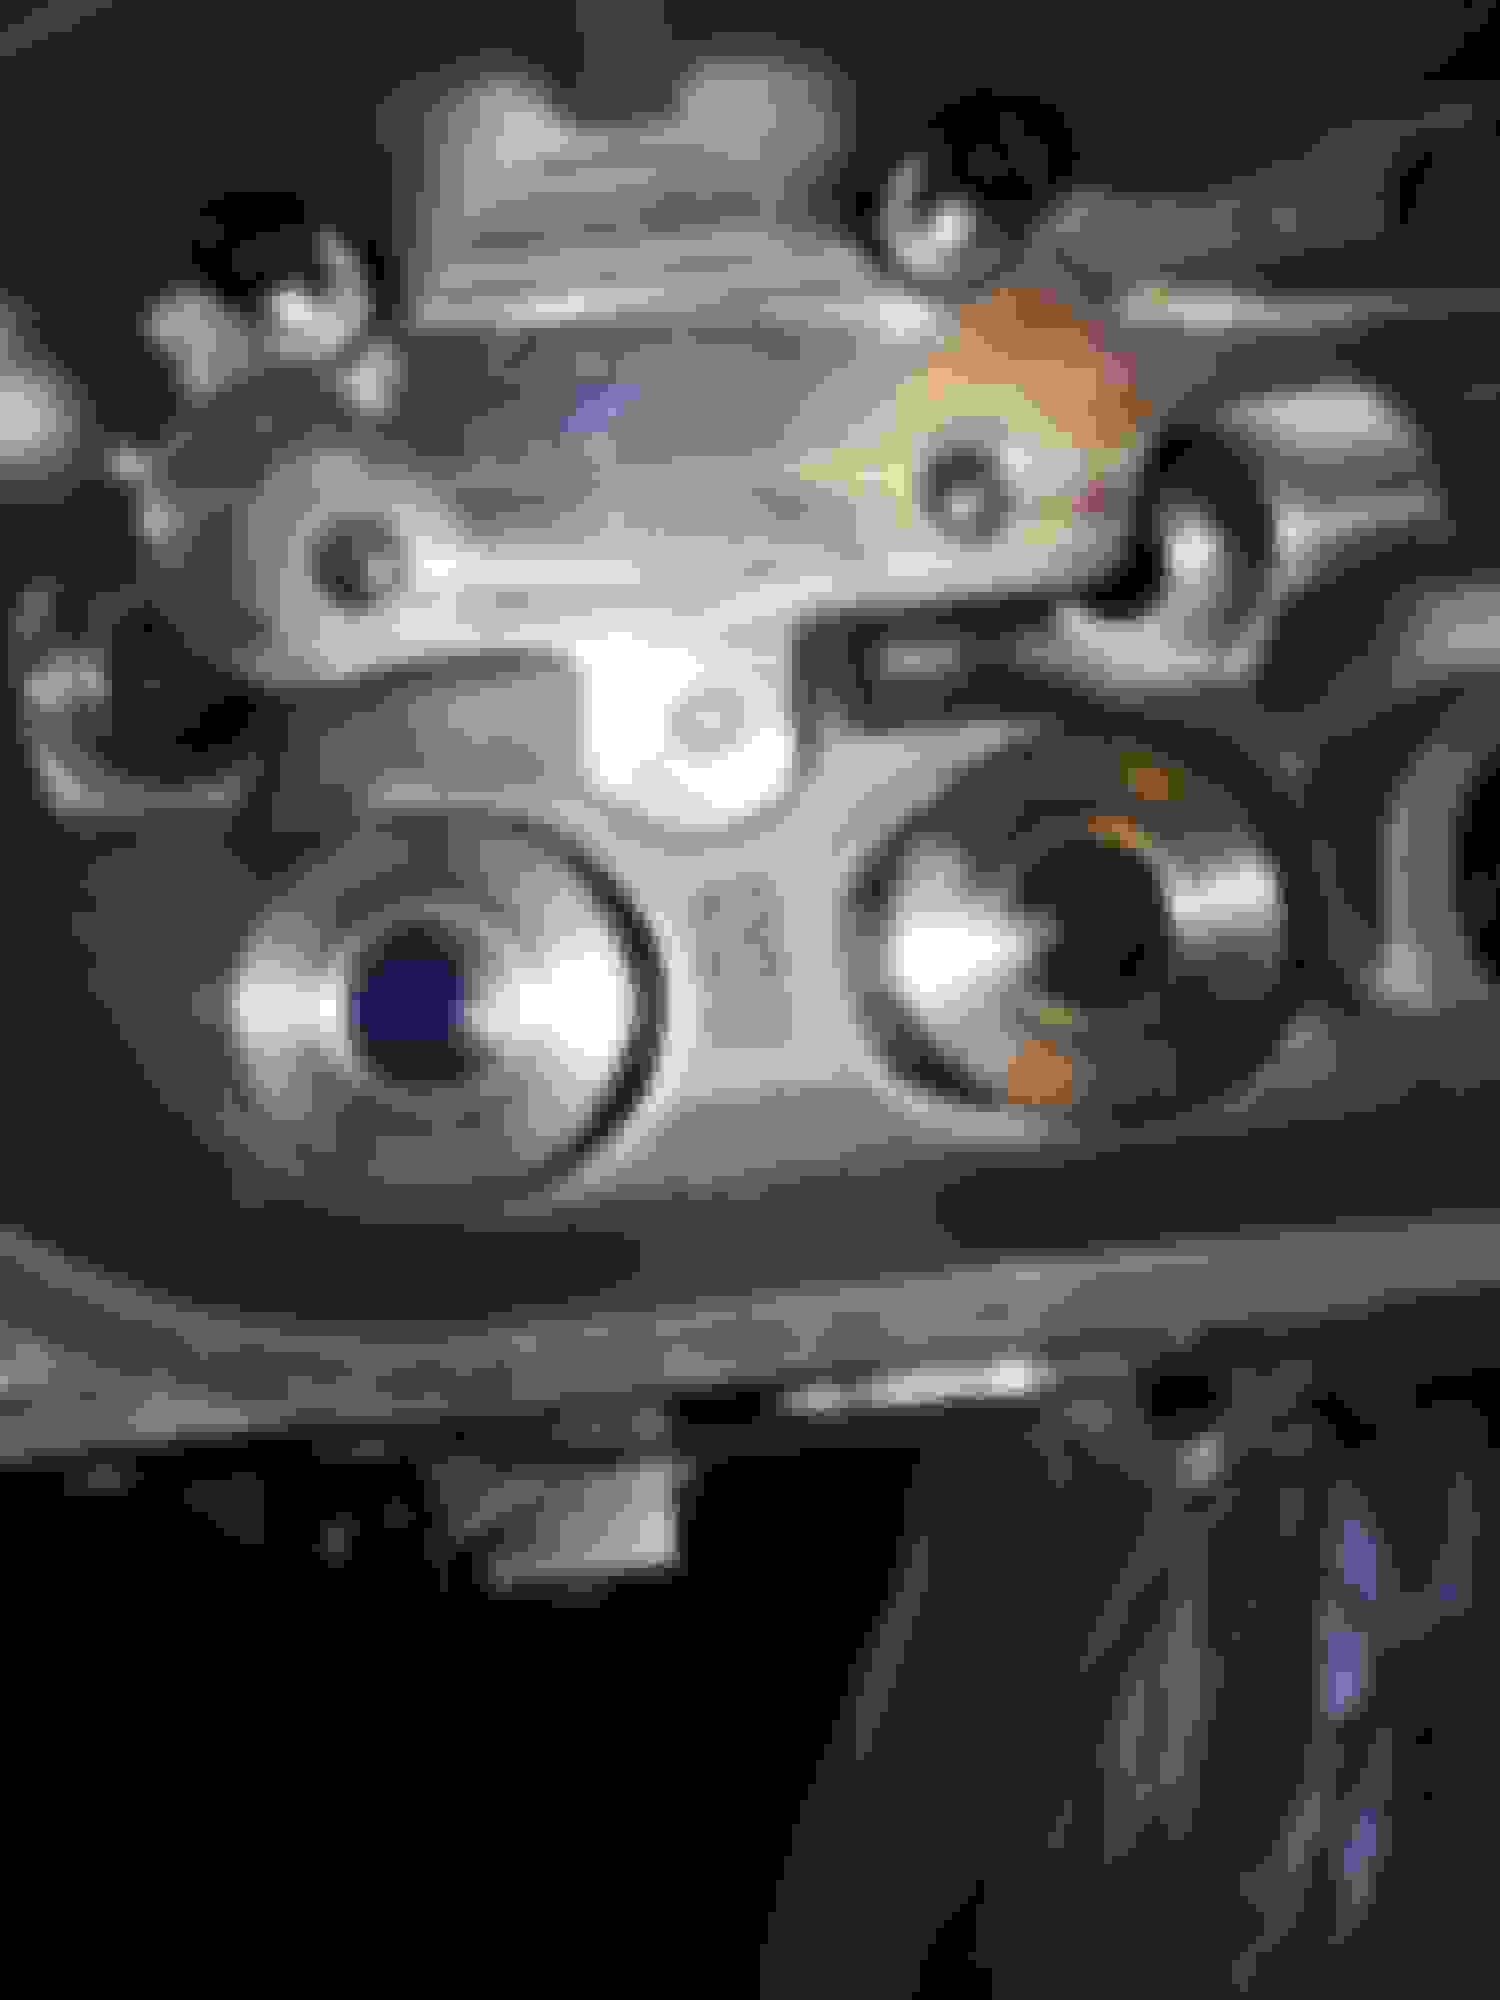
Oil pan wouldn't line up with the crank scraper installed.
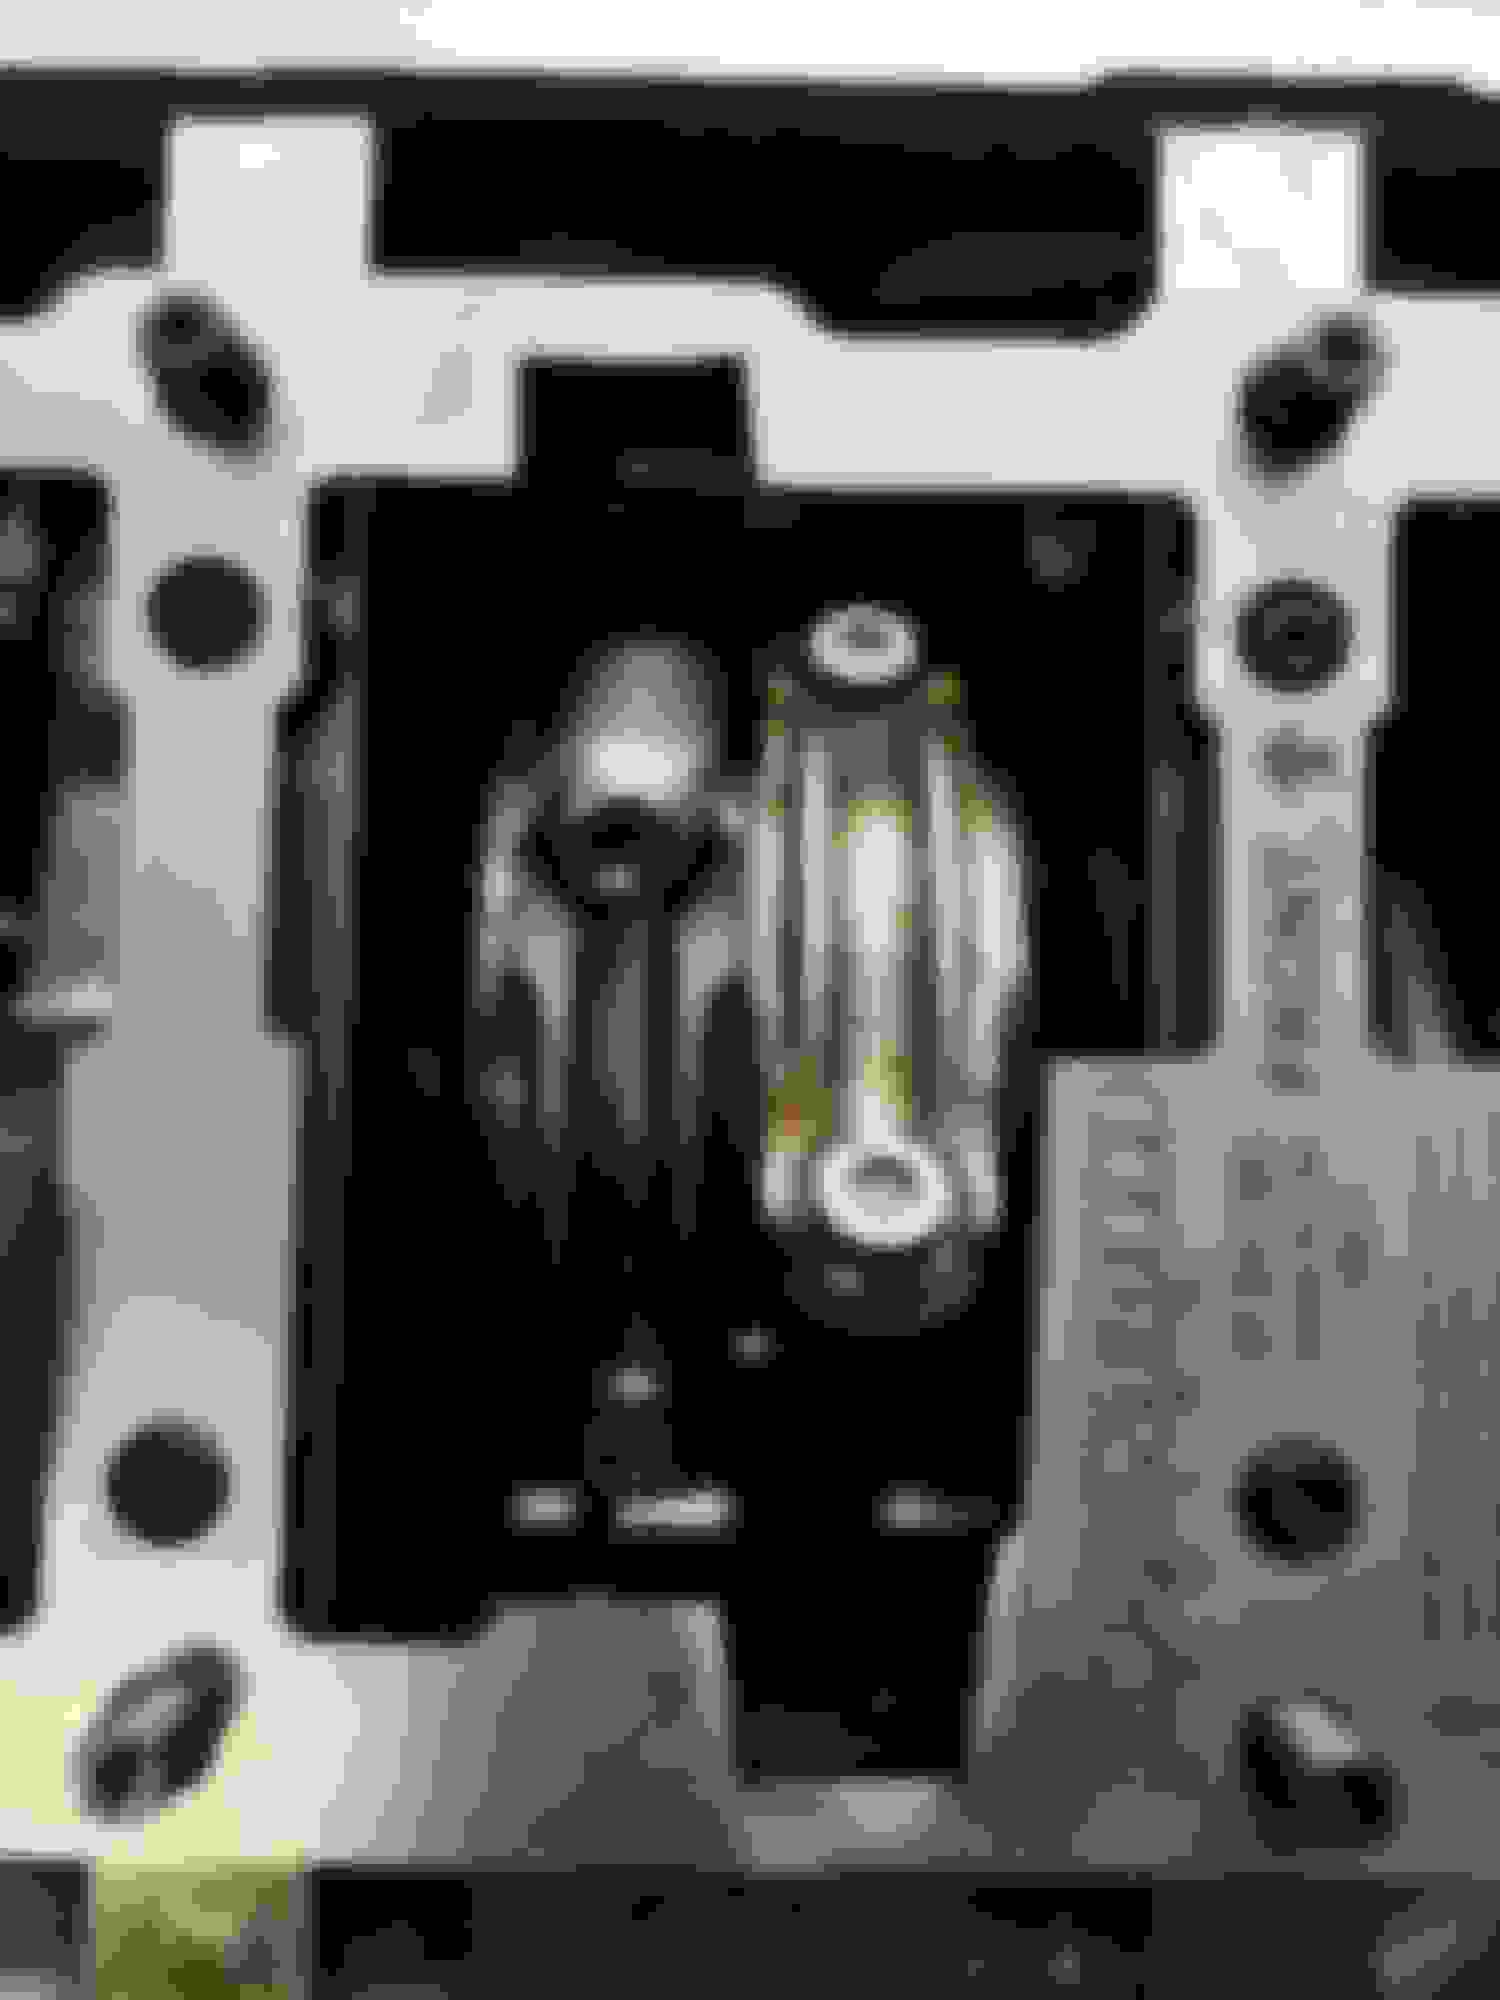
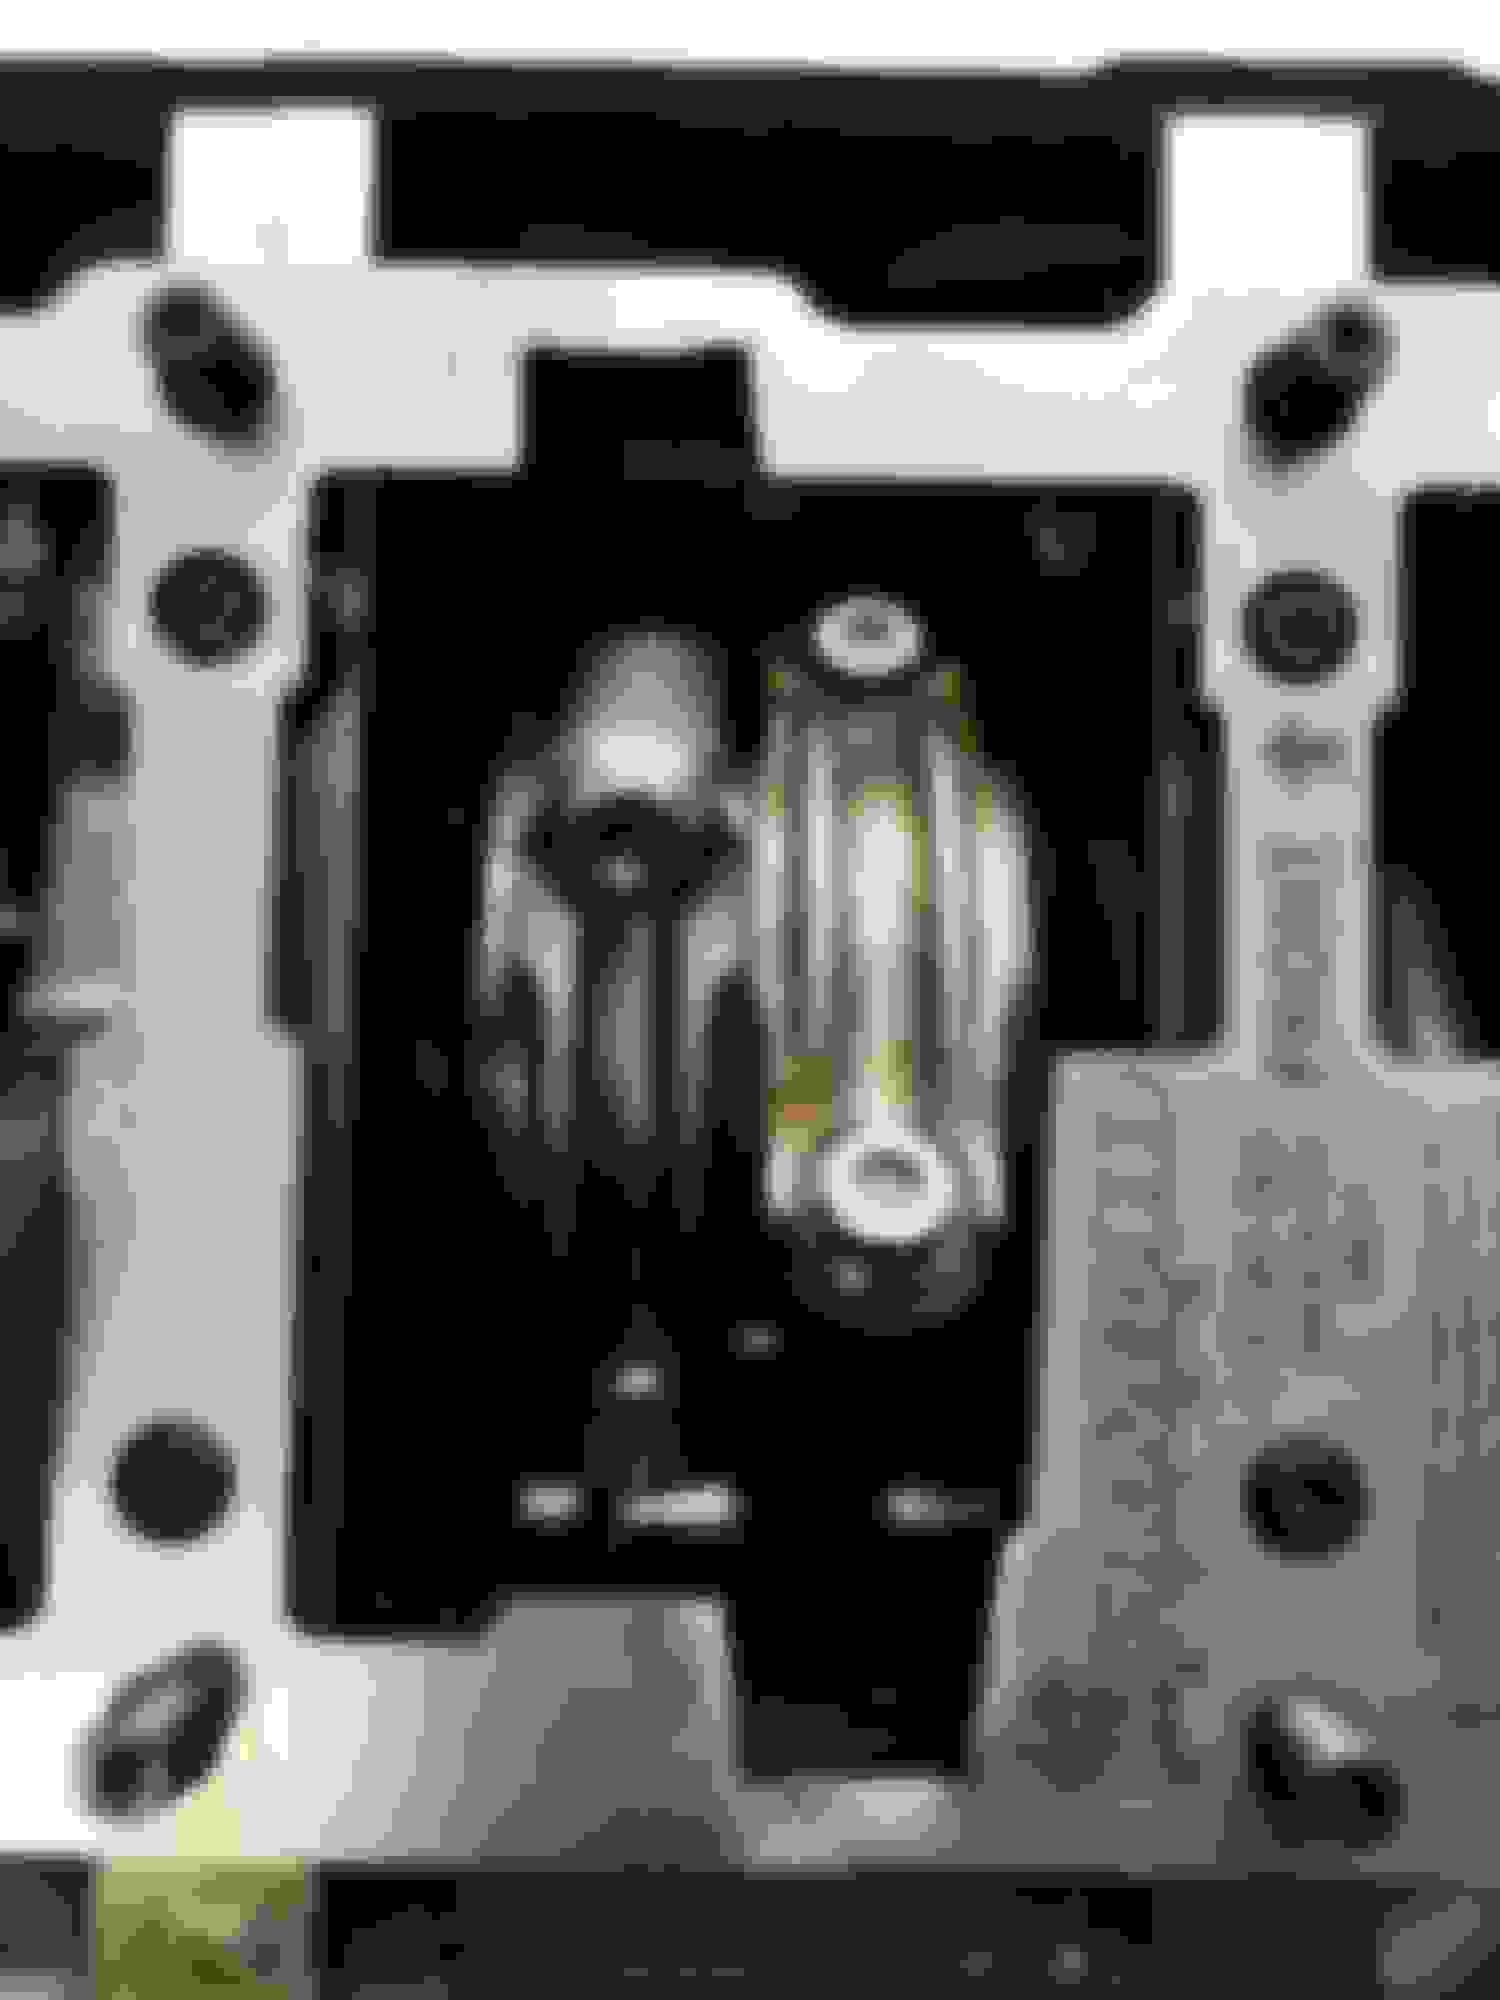
Here is the culprit. The LS3 oil pan is the same as the L99 with AFM and DOD so there is a relief valve installed in the pan to protect those solenoids from over-pressure. Spoke with Michael at Improved Racing and confirmed the the relief valve can be removed so ordered a Dorman oil drain plug to replace and that will alleviate the clearance issue with the crank scraper.
Pay little mind to my poor filing job. I went a little deep on some of the material removal but I wanted to be sure i didn't have anything touching when the motor heats up and expands.
Originally Posted by cmac06
Nice build. Could you post more pics of the scraper installed.
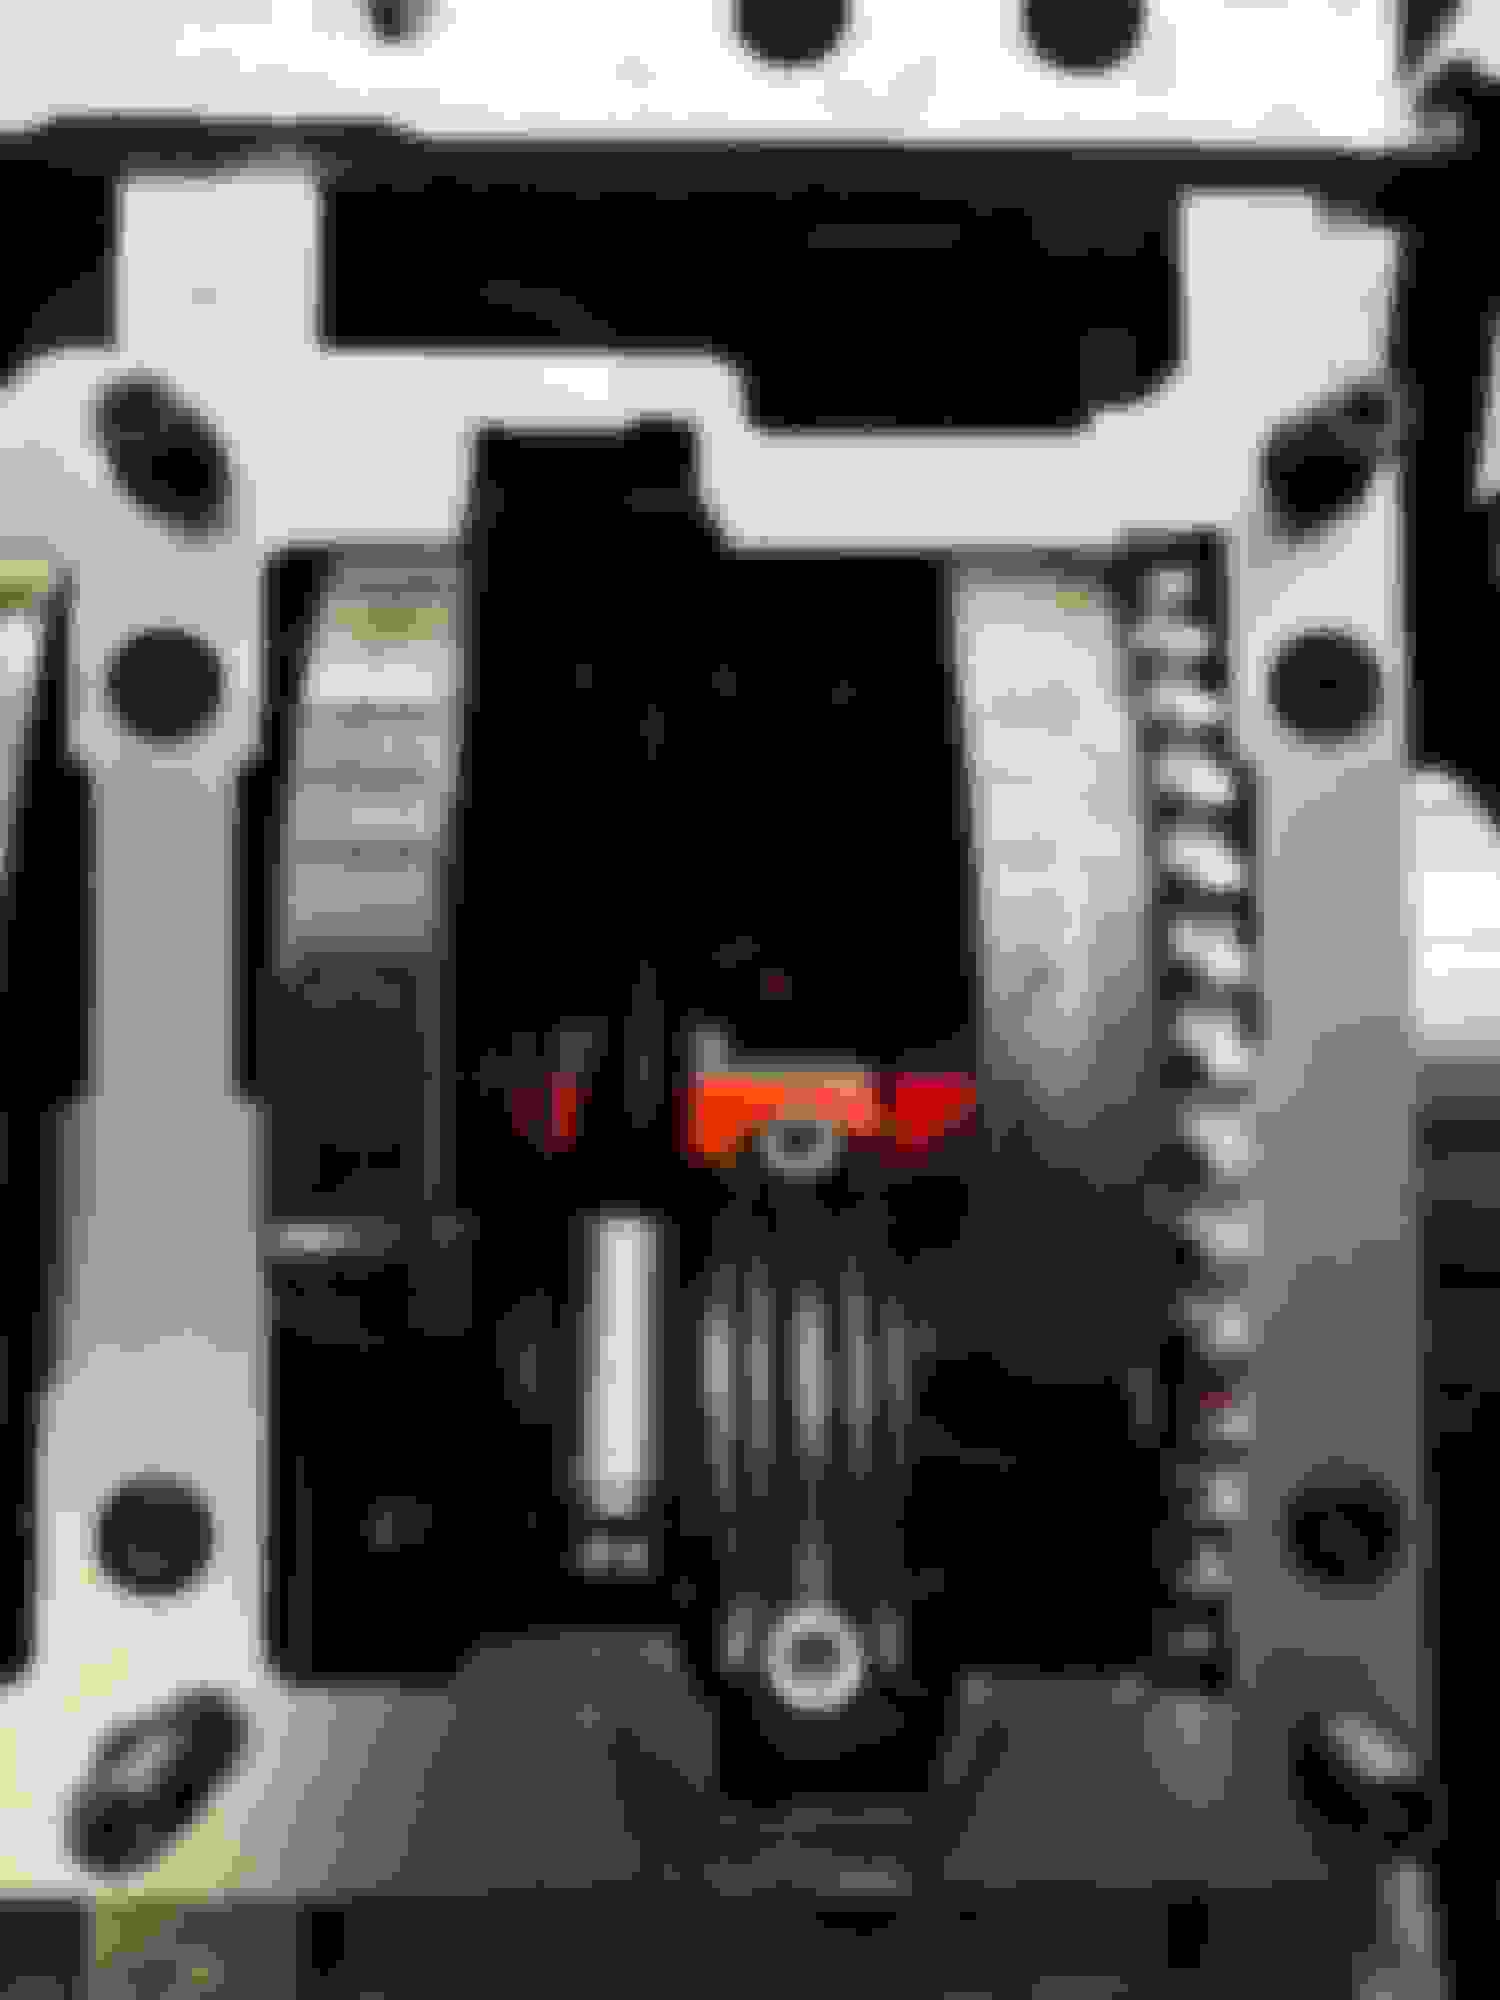
A fair amount of filing to get it to fit on Compstar rotating assembly.
Slight clearance required on front counter-weight.
Rods are the real issue. Lots of clearancing required. I don't recall the starting measurement of the scraper width for rods. Perhaps .765 width but the Compstars are .850 wide and then add .040 clearance to each side.
Checking oil pickup clearance after installing the Improved Racing crank scraper and washers to space the windage tray from the crank.
Fastened a little piece of rubber matting to protect the fuel pump harness from the area where the access panel was cut.
Oil pan wouldn't line up with the crank scraper installed.
Here is the culprit. The LS3 oil pan is the same as the L99 with AFM and DOD so there is a relief valve installed in the pan to protect those solenoids from over-pressure. Spoke with Michael at Improved Racing and confirmed the the relief valve can be removed so ordered a Dorman oil drain plug to replace and that will alleviate the clearance issue with the crank scraper.
Ok, heres the solution to the pan relief valve.
Norman Oil Pan Plug and a little LocTite.
Part number gets you 5 of them from Amazon for around $12. The rest go into the parts bin for smoother project down the road.
Just noticed that Josh at ERL did your block...He did mine as well lol...not sure how many guys they have, just cool to see another motor that he did on here....keep up the work...thread is great
Thanks for documenting all of this. I plan on running a similar setup here in the future. ERL427 shortblock with some improved racing goodies.
No problem. Not the first ERL build to be documented but if it pulls a couple more "nice-to-knows" out the it is all good. My problem is I have trouble balancing the build with the documenting.
You did a lot of cutting/filing on the crank scraper. I bought the exact same one, EGM-305, and I gave up trying to make it fit. Oh well, so much on their R&D. You have a nice build by the way.
You did a lot of cutting/filing on the crank scraper. I bought the exact same one, EGM-305, and I gave up trying to make it fit. Oh well, so much on their R&D. You have a nice build by the way.
Well I knew what I was getting into since they stated up front it was fit to a Manley crank and rods. I figured for $70 I could hack away and not feel bad about it. It's probably not as good as it could have been but using a hand file in the garage is not as good as a water jet...
Got a lot done today but too tired to post it now so maybe in the next couple days. Thanks.
Just noticed that Josh at ERL did your block...He did mine as well lol...not sure how many guys they have, just cool to see another motor that he did on here....keep up the work...thread is great
Josh built mine too. Rings were filed to points, ring gaps (NA) were .025", main bearing bores were out of round and main and rod clearances did not match clearance sheet.
Josh built mine too. Rings were filed to points, ring gaps (NA) were .025", main bearing bores were out of round and main and rod clearances did not match clearance sheet.
Well mine seems to be fine on the visual inspection but I'm not taking it apart to verify. They've been around along time and have a good track record. If they didn't they would be out of business I suspect. Time will tell.
I know it's a contentious subject about over the tip weight. We'll see what the effect is. If it is stable with the heads setup as they are.
Mamo spec'd cam for road racing/HPDE use. LSL intake love and LXL exhaust.
Johnson 2116 LSR tie bar lifter.
Mamofied FAST intake. Got tired of waiting on MSD and Vararam.
Some of Tony Mamo's handy work.
Tony also did some work on the TFS GenX 255's.
More of Tony's work.
Pocket work.
Valvetrain setup by Tony. Height set so it should be stable to the mid 7000s.
Keeping those harmonics under control.
Making sure the cam specs are accurate and dialed in.
Switched to old style chain damper though I never has a problem with the old LS3 tensioner.
Not much to look at but this is what the wet sleeve looks like from one of the cooling ports.
Ported Melling 10296 installed.
A little more buttoned up.
Cooking the Johnson lifters in the wife's turkey cooker. Brought them up to about 175 in some fresh Valvoline 10W40 conventional oil. This will be my break in oil for the engine. Then running 10W40 synthetic on the street and 20W50 VR1 for the track.
I love the set up (4.155 x 4.125). Currently it is a little lazy down low and then pulls like a freight train to about 6k then starts to fall off. It really is a blast to drive on the street. Keeps from blowing the tires (275's) off down low and then the 3.91's get things moving along the band pretty quickly. Will be going back to the dyno in a few weeks and get more aggresive with the tune and she what she puts down. First trip with a conservative tune was 540/490. The FAST is my restriction, but we knew it would be going in. Frankenstein did the heads and ported the intake to match, or at least got the intake as close to match as he could. Chris just could not get the ports large enough to fully take advantage of the heads. Going to need something different on the intake side if I want to see these heads reach their full potential. I have some inefficiencies to chip away at over time, but it is a fun process.
Best of luck on your build, looks like it is going to be monster.
I don't see how a properly built 4.155x4.125 motor is lazy down low?
Also 540 or so is quite low even with a fast, is that through an auto?
Originally Posted by Jeffemac
I love the set up (4.155 x 4.125). Currently it is a little lazy down low and then pulls like a freight train to about 6k then starts to fall off. It really is a blast to drive on the street. Keeps from blowing the tires (275's) off down low and then the 3.91's get things moving along the band pretty quickly. Will be going back to the dyno in a few weeks and get more aggresive with the tune and she what she puts down. First trip with a conservative tune was 540/490. The FAST is my restriction, but we knew it would be going in. Frankenstein did the heads and ported the intake to match, or at least got the intake as close to match as he could. Chris just could not get the ports large enough to fully take advantage of the heads. Going to need something different on the intake side if I want to see these heads reach their full potential. I have some inefficiencies to chip away at over time, but it is a fun process.
Best of luck on your build, looks like it is going to be monster.
I don't see how a properly built 4.155x4.125 motor is lazy down low?
Also 540 or so is quite low even with a fast, is that through an auto?
It is though an M6. "Lazy" may not have been the best way to describe it...lol. I used that term as a relative description to the power that comes in from 3-6k. I agree that 540 is low, but we have not pushed for any max numbers out of the set up yet. That will come in a few weeks. The initial tuning was focused on drivability. As I mentioned, it is work in progess.
I do not want to highjack the OP's thread. I will do a proper write up of my build after the next round of tuning.
Looking forward to seeing your build thread and watch how the tuning progresses.
Ok it's been awhile since I did an update. Had a little family vacation to attend to.
Anyhow, I'll start with some more specifics of the build and add a few pics. Also going to talk about some of the challenges I've hit thus far in the build.
Cam was custom spec'd by Tony Mamo after many discussion on the build and planned use. A big concern/goal this time around was to have a stable valve train that will survive the road course. So let's talk cam in a very generic way...
Lobe design has LSL intake lobes and slightly softer LXL exhaust lobes....works out pretty well for intended usage of the car. Cam is probably a bit milder than what a 1/4 mile or max effort guy would go for but I want it to make good torque across a range and survive 20-30 minute sessions on road tracks.
Tony also worked his "Mamofied" magic on the cylinder heads. Some of his handy work is detailed below.
Trick Flow GenX 255 heads have a custom valvejob setting the throat percentage slightly different than stock.....bowl work to compliment that valvejob.....addressing the transition issues on top of the short turn, blending and slightly reshaping the combustion chambers and melting" that shape into the top cut of the new VJ on both intake and exhaust, then refacing the valves and back cutting both to add flow.
70 cc is the final number....they are normally 71-72 cc's after Tony's work and then he cc'd and milled the proper amount off to set the chamber volume exactly.
TFS upgrade springs.....set them up a little tighter for more pressure.....they are 165-170 on the seat and 400 open. Tony set them all at 1.770 installed height (versus closer to 1.8 stock)....yes....Ti retainers.
Yes, if we "Mamofied" the intake and heads we most certainly must do the same to the throttle body...
TB is drastically reworked removing large amounts of aluminum in front of the TB (which get in the way of flow and throttle response) and the final shape being much more streamlined....more peak CFM for more peak power and much more responsive at the same time.....great mod.
So here's some pics of the build progressing.
Getting ready to check lash, rocker contact, PTV, etc.
Look at how much meat there is in the ERL Superdeck liners! Also note the slight change to the cooling system ports where the Superdeck trusses are welded into the existing block.
Overkill? No. Just. Insurance and room to grow with studs.
Working on getting rocker contact patch. This was admittedly a pain in the ***. Lots of different marking compounds tried. The checker springs just didn't seem to have enough pressure to leave a good impression. Tried Dykem, moly lube, anti seize, Sharpie, grease pencil, etc. Finally the solution was a metal paint marking pen. This worked perfectly and if you are using checking springs I highly recommend this option!
Tough to tell in the photos but Tony did a lot on these heads as I spoke of above. Note TFS heads come with powdered metal guides as seen here.
Checking the PTV. More importantly, the radial.
Holy !?@& there is some clearance with these TFS 12 degree heads! A few things contributed to this and trust me I was scratching my head on this one when I came up with so much. 12 degree heads designed to give more PTV than the stock 15 degree head, cam lift is also fairly mild, and I had ERL do a custom Wiseco piston based on the final deck height and the planned cylinder head. I'll have to double check but I think they moved the pin height slightly which contributed to the increased PTV.
Sharpie mark show the valve edge in relation to piston valve relief. Tons of radial clearance. Exhaust.
Sharpie mark show the valve edge in relation to piston valve relief. Tons of radial clearance. Intake.
So that about brings it up to date. Right now I am messing with valve stem to rocker contact to get the best patch. Once I am satisfied, I'll get pushrod measurements done with the Johnson 2116 SLR lifters with the proper preload and get those ordered up. Planning to run a 3/8" .120 wall pushrod for minimal deflection.
Still a ton to do. I expect it will be a couple months yet before this baby fires on a good tune.
One final note on this update. I've worked with a lot of vendors on this and other forums over the years. Some good some not. We all have our test cases. I want to give a shout out to Tony Mamo, or as I like to refer to him, Mamo the Machine. This guy has been with me on this build since its inception. I called him up to ask a few questions about head options many months backs. The more I talked to this guy the more I knew he was the person to help design this build. I've exchanged literally a hundred or more emails, several dozen phone calls, and who knows how many texts as we worked though developing this engine. A consummate professional and passionate about his work. Your not a customer number with him, your a face, a name, a partner. He's not the cheapest, he'll be the first to tell you, but he knows his stuff and he will build you or help you build some of the best stuff out there. Alright, enough Mamo. Back to the build. See you out there.
So finally got the rocker contact where I wanted it. Took a lot of monkeying with shims to determine the best scrub on the valve stem. Ultimately the rocker had to come up ~.150" to meet the desired "mid-lift" scrub. This brought the contact patch to less than .065" on intake and exhaust. The down-side now is getting the correct height pedestal from Yella Terra without much delay. Not interested or comfortable running three .050" shims under the existing pedestal and prefer the pedestal height be spot on without shims. Luckily their catalog shows a pedestal of the correct height. Wonder what shipping time is from Australia???
Once I have the pedestals in hand I'll measure pushrod length and get those big boy 3/8" Manton's ordered. In the mean time I have shifted focus to some other areas of the car not yet completed.
TUNNEL BRACE
Decided to fabricate a tunnel brace out of some 10 Gauge steel plate and 1x2 square tubing. The stock Camaro comes with a stamped piece of sheet metal clearly not designed to be of any use on a road course. I finished welding that up this weekend and will head to the powder coat shop this week.
GAUGES
Also ran the wiring for the Innovate Dual Wideband and Oil Pressure/Temperature gauges. They are installed in a dual gauge A pillar mount from Autometer. Working on the power tap and ground connections now. Hope to close that out this week.
FAST INTAKE
So I'll probably move to mock-up of the FAST intake next. Tony Mamo did a great port job on it for me. I need to drill the port for the MAP sensor and get it mounted. Also need to fit the new longer body injector I got from the Fuel Injector Connection. Moved up to a 60lb flow matched injector that is E85 compatible (future expansion perhaps).
That's about it for now. Starting to move into the finer details of the build now so things get a little time consuming and complicated. Trying not to get to the tail end of the build and have an Aww !@#$ moment because old timers disease got the best of me. Anxious to get it buttoned up and ready to be tuned. Looking forward to sharing some numbers before long.

 06-06-2015, 08:22 PM