98-02 Trans Am LED Exterior Conversion COMPLETE GUIDE
#1
LED lights have many benefits over incandescent bulbs, such as less electrical load, being much brighter, instant on-off, and they run MUCH cooler than halogens. These are very important for Trans Am owners, as they are known for cooking running light sockets. I've replaced both front Daytime Running Light/Turn Signal sockets and I'm ready to put an end to that. This guide will tell you exactly how to convert your exterior lights to LED, and how to make your turn signals work with them. This was tricky, I went through FIVE different flashers before I found the one that works. With this guide you can get it right the first time.
Total lights required: 8x 194 white, 2x 3157 amber, 4x 3057 Red or white, 2x 3057 white
Note: I do not include fog lights and headlights in here.
This is the light bulb list I used to help me: Official 4th Gen F-Body Light Bulb List
Front Daytime Running Lights/Turn Signals
This was what started my LED conversion. I burned out and replaced two sockets since having my car for only 4 months. It's not the car's fault, the damn lights are blazing hot after only being lit for a few seconds! We'll replace them for some nice cool (literally and figuratively) LEDs and never replace a socket again!
The lights we will be putting in are 3157NA. Whatever LEDs you get must fit 3157 and MUST BE AMBER. The lenses are clear so you get amber lights. I got mine from Walmart.
To access the DRL/TS lights go under the front and unbolt the access flaps under the nose, or if you're like me, mine are all shredded and all i have to do is pull the flap down. Twist the socket out of the housing and pull the old bulb straight out of the socket. When you put your LED in, have your ignition on, because some LEDs are polarity sensitive, meaning they only work in one orientation. If they don't light up, try flipping it around.
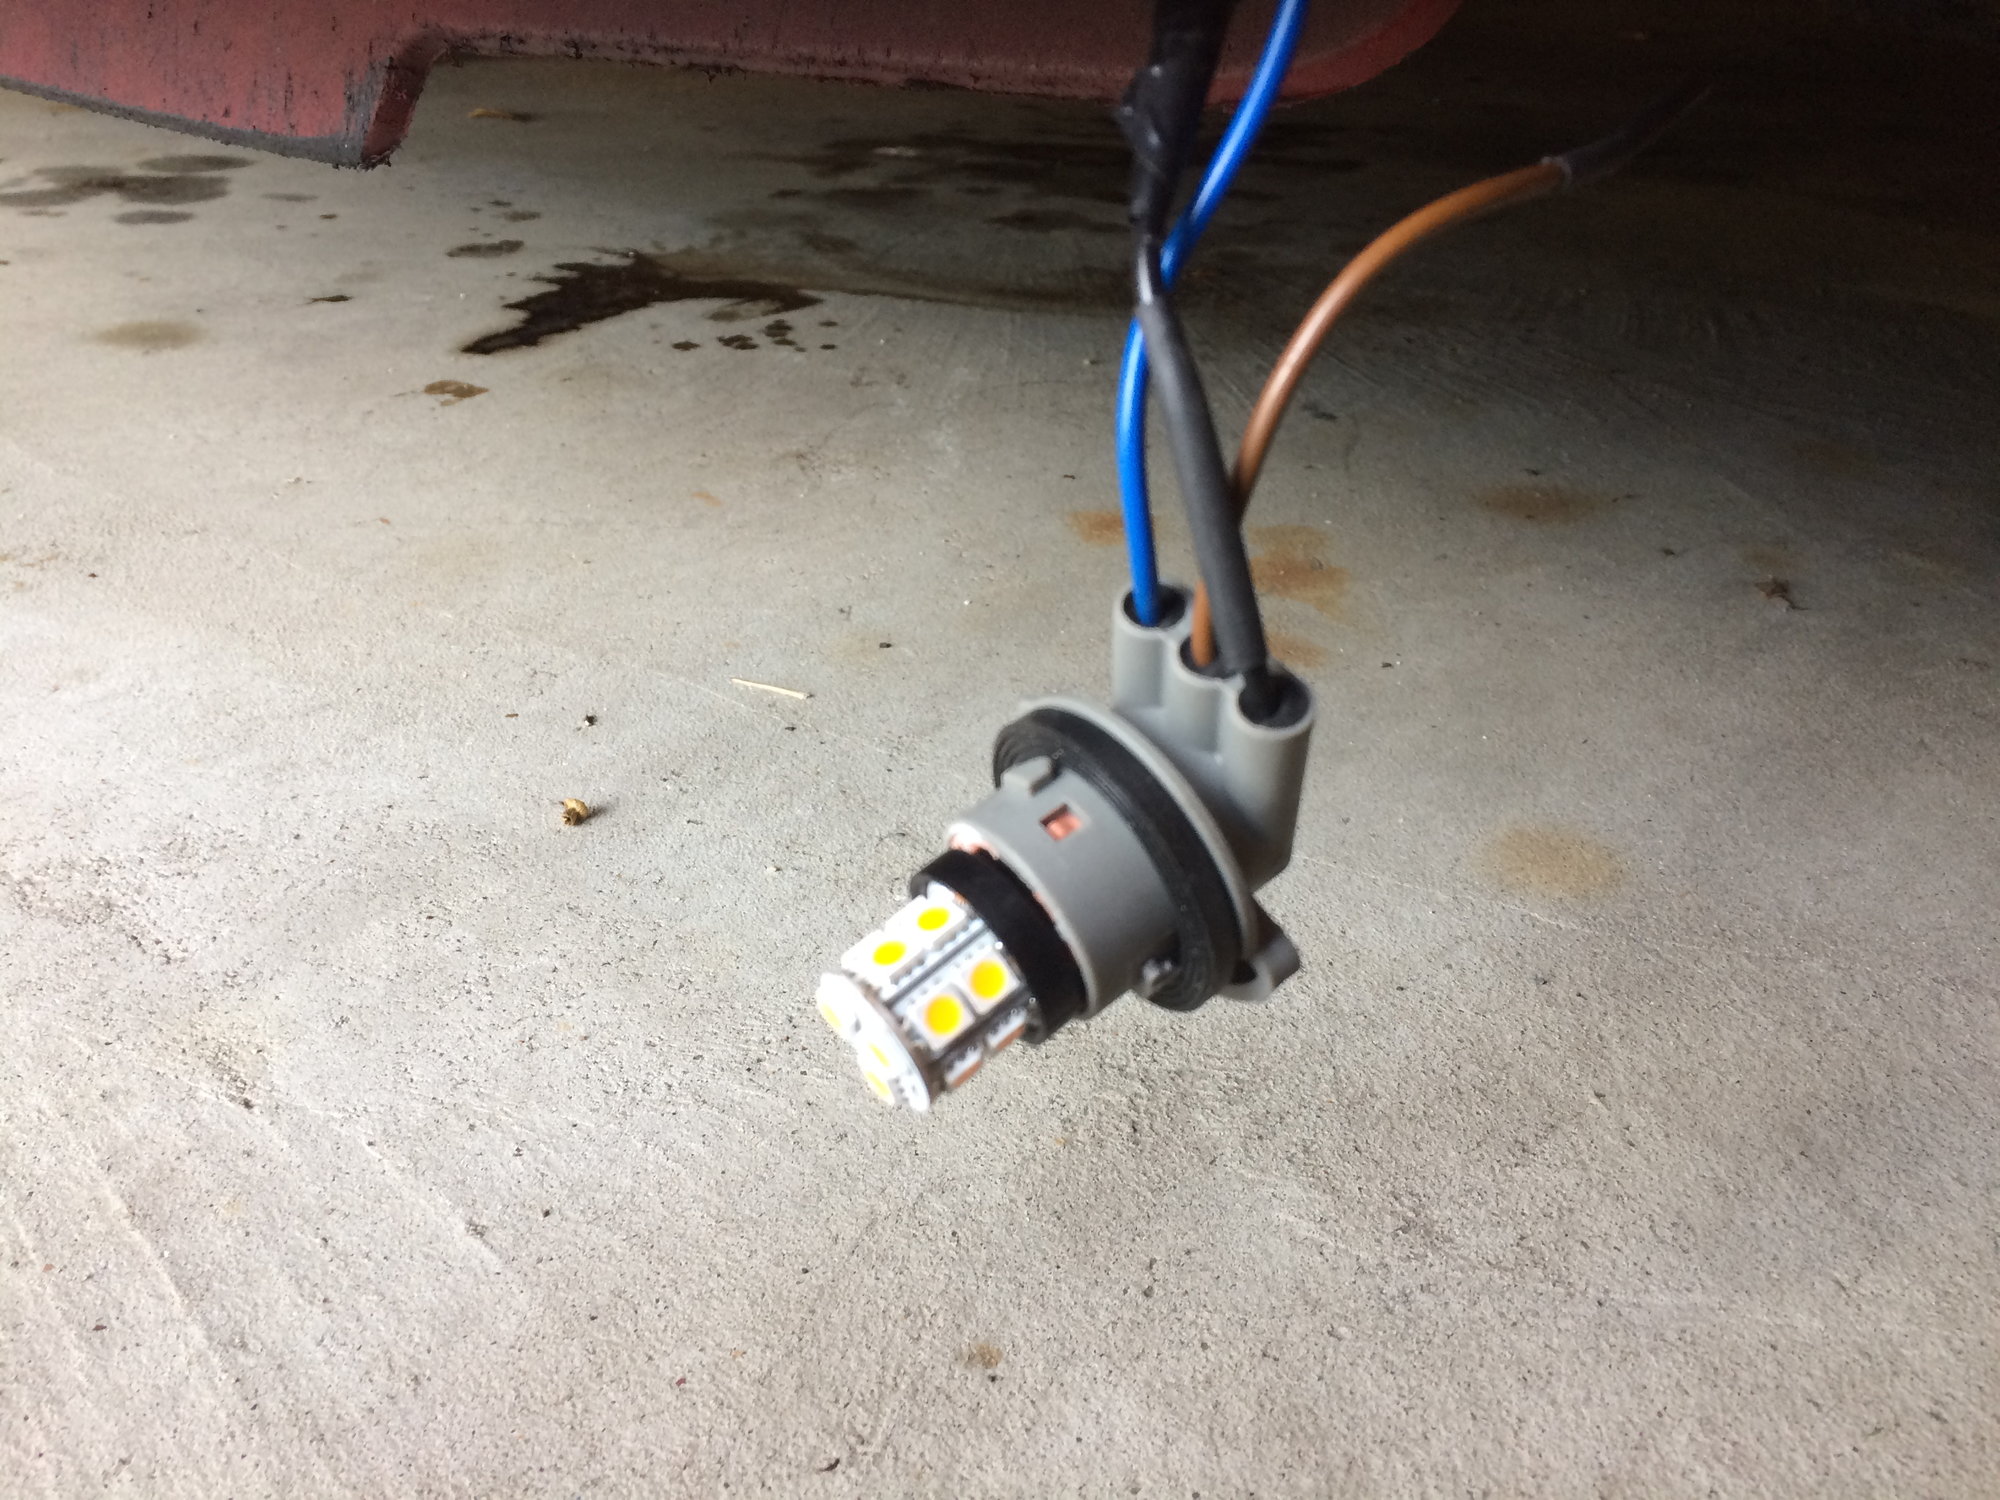
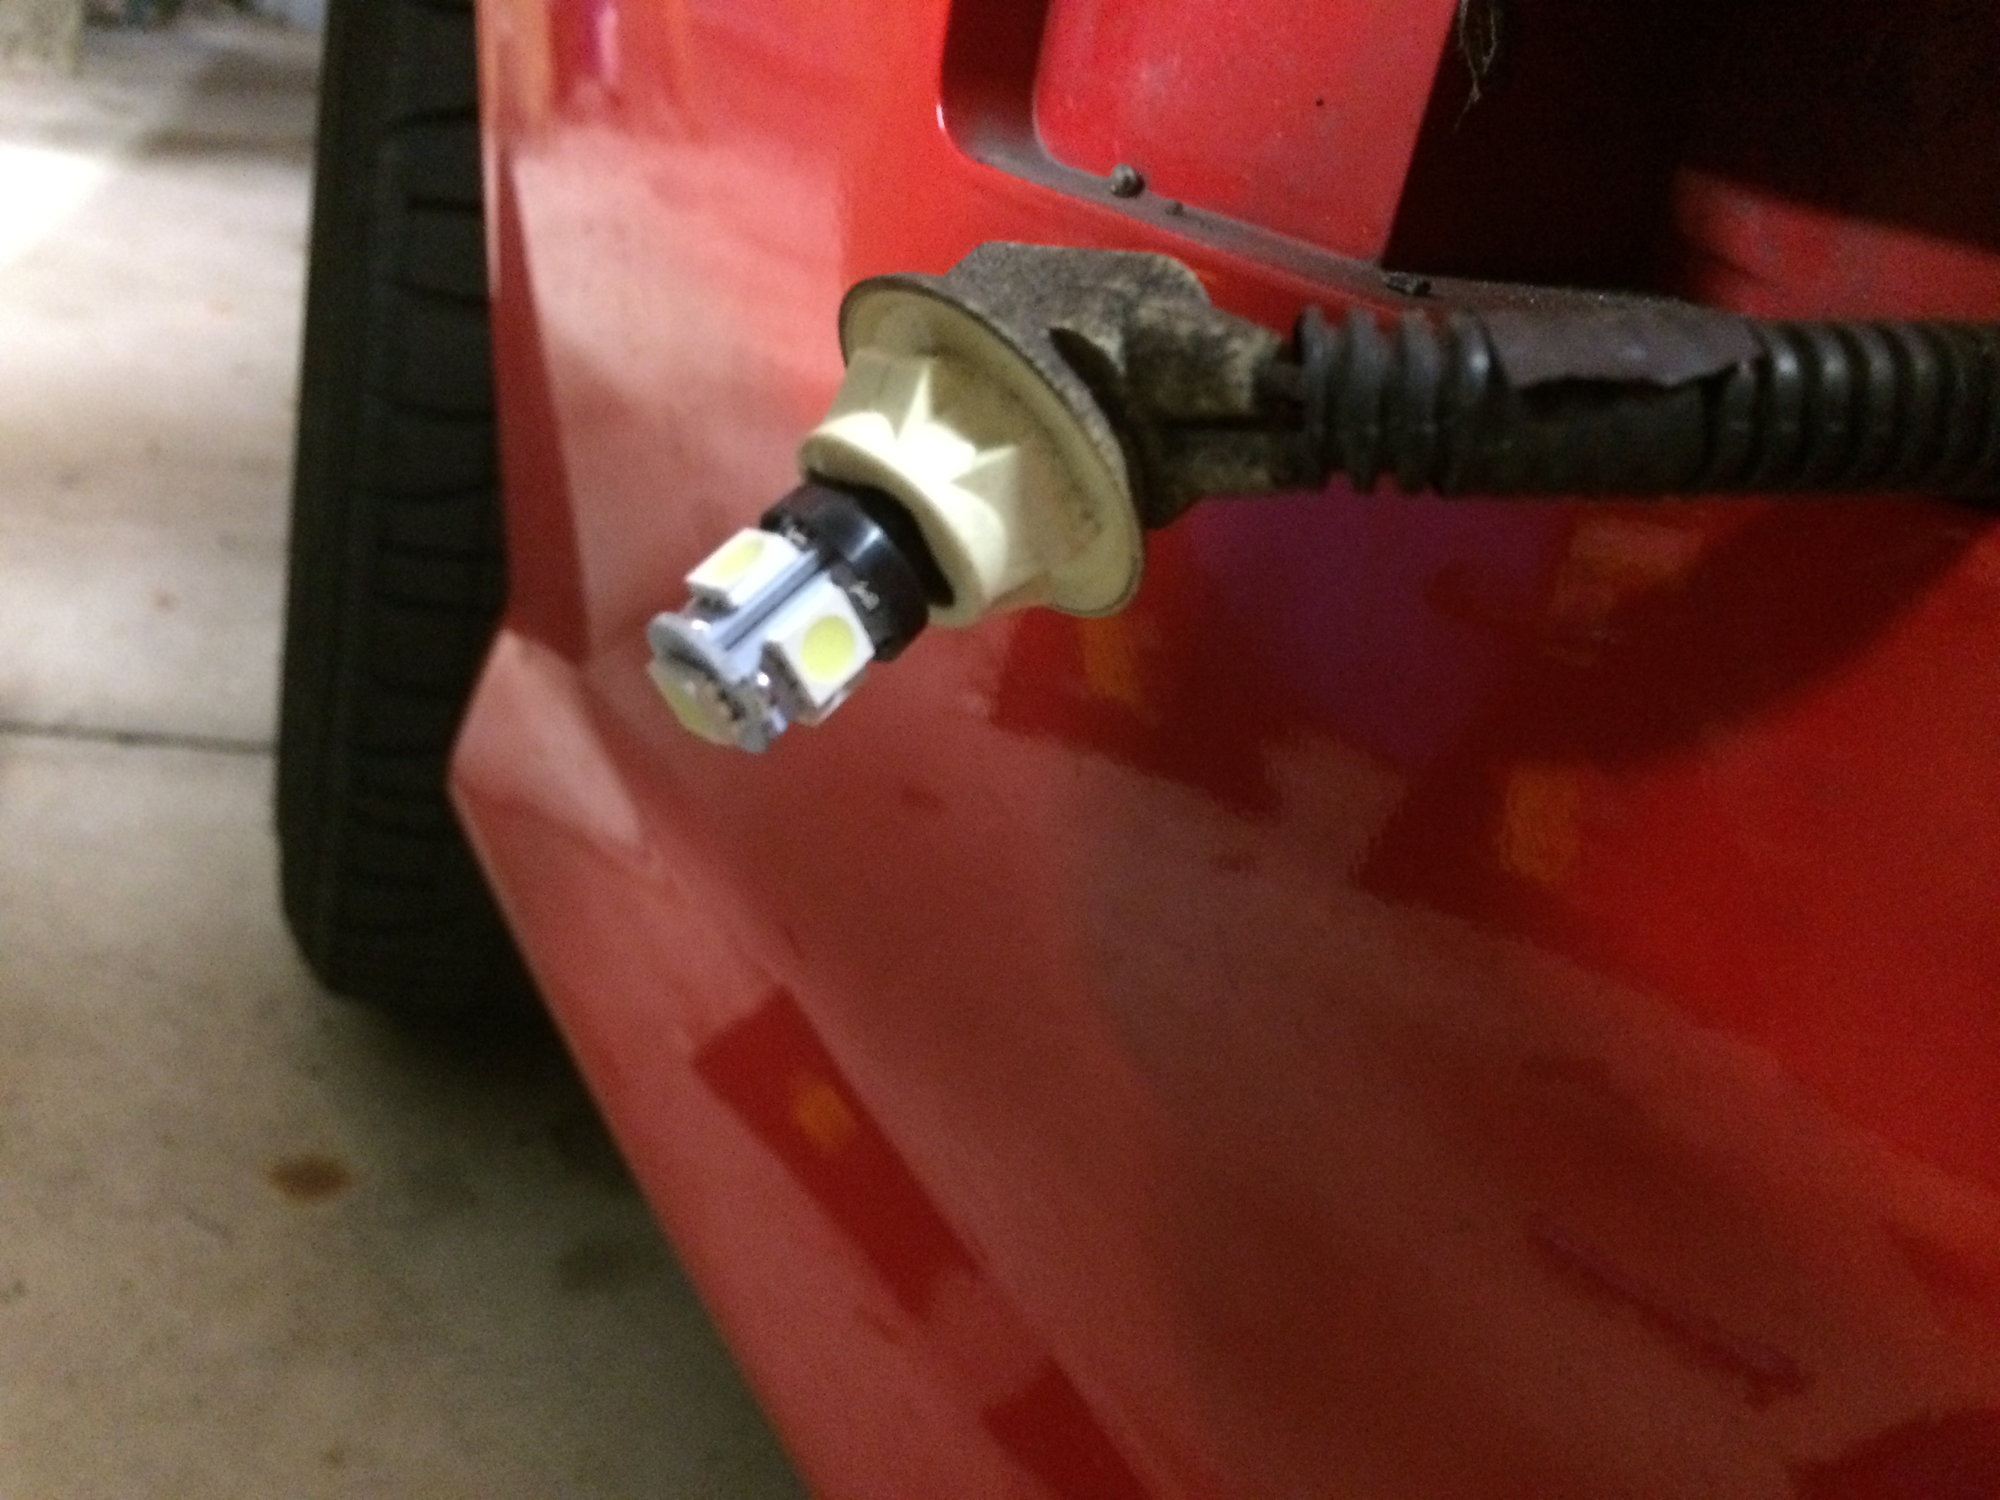
Looking at the picture (ignore the floor, thats from my last oil change), when you plug in your bulb, and your ignition is on, every diode should be lit. If only half of them are lit, or if they are very dim like a burnt out candle, just wiggle it around or push it down harder. LEDs can be very picky about how they sit. Once you have both sides in, you can test them out with your blinkers or hazards. You can convert the DRL/TS to LED without having to replace your flasher.
Flashers
Before we do the tail and brake lights, we need to replace our turn signal flasher with an LED compatible one, or else your turn signals will not work. They will either do the disco flash, or they will do nothing and your turn signal indicator will just be very dimly lit. These happen because the LED lights do not have enough load to trigger the flasher, which works by cycling heat caused by the resistance of halogens. We need to install an electronic flasher, which is, more or less, a timer. I went to my Advance auto store with my stock flasher and asked for an electronic version of it. They were helpful but did not have the exact one that worked. I went through 4 different flashers and tried them all right there in the parking lot, and none of them worked with my LEDs. That's because when you ask for a electronic flasher, they only have electro-mechanical which is just a regular flasher with electrical components to lengthen the life. you need a FULLY ELECTRONIC LED RATED flasher, which I ended up having to buy online. To save you the trouble, here is the exact one I have, that works beautifully with full LEDs. EF32RL LED Compatible Electronic Flasher
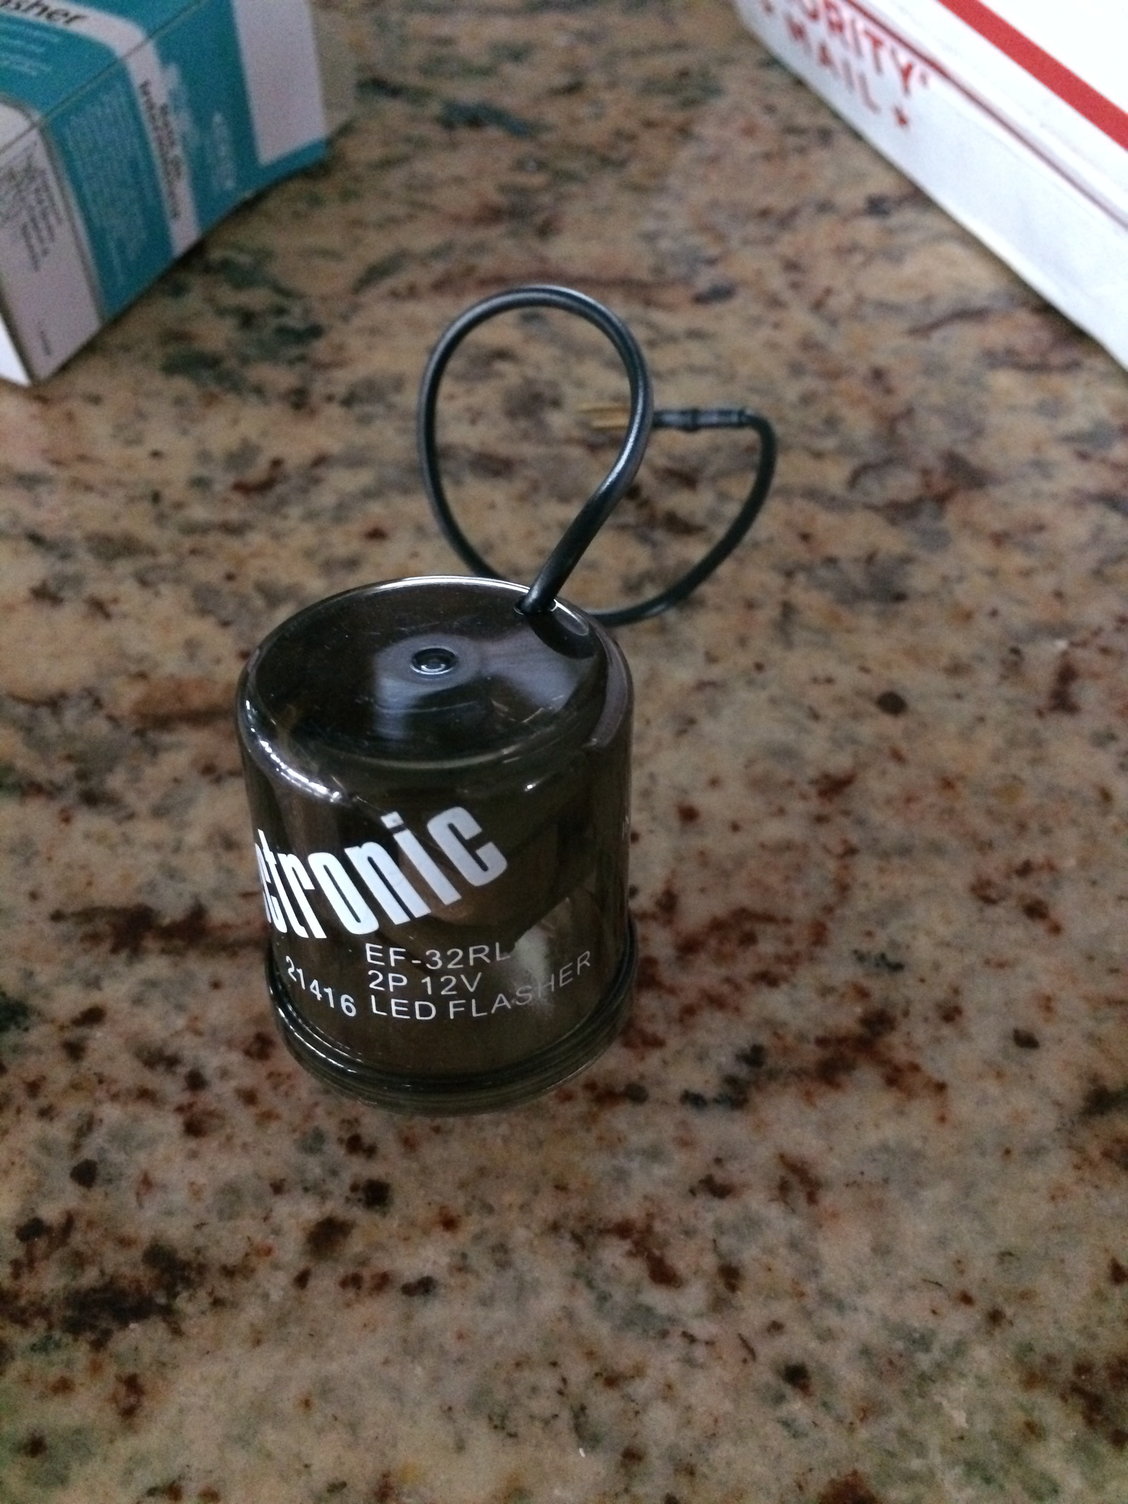
See that ground wire coming out the top? That's what you are looking for. A fully electronic flasher will need to be grounded, as it is running entirely on electricity and not heat. If for some reason you cannot get the EF32RL, try to find one that has a ground wire and is LED COMPATIBLE. If it does not say anything about LED on it, it WILL NOT WORK.
Don't be intimidated by the ground wire, there's a great spot for it under the dash.
Under the drivers footwell, remove the first panel closest to the pedals under the steering. I already had mine removed from a Tick clutch master cylinder install, and had a pain in the *** trying to get it back in so I just left it out.
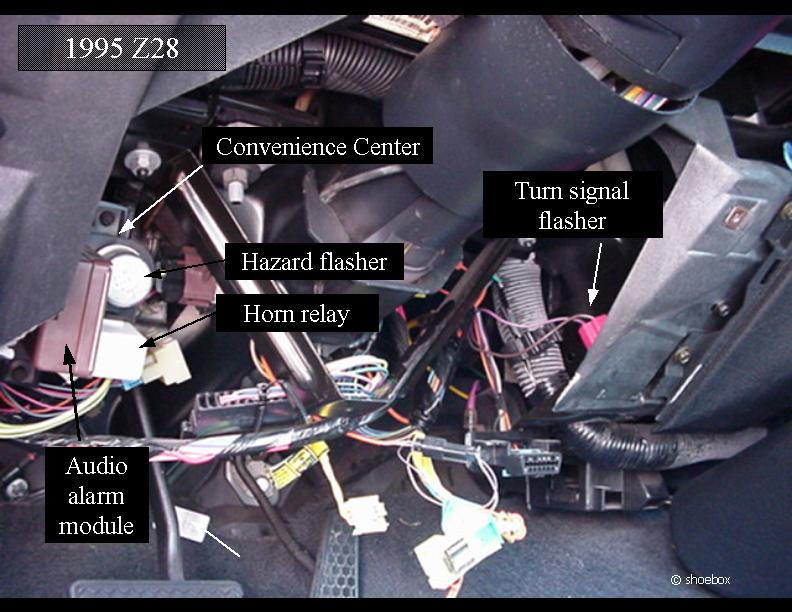
As you can see, the turn signal flasher is connected to the red connector. It is nestled in a bracket, just pull it up and out. It looks like a silver can.
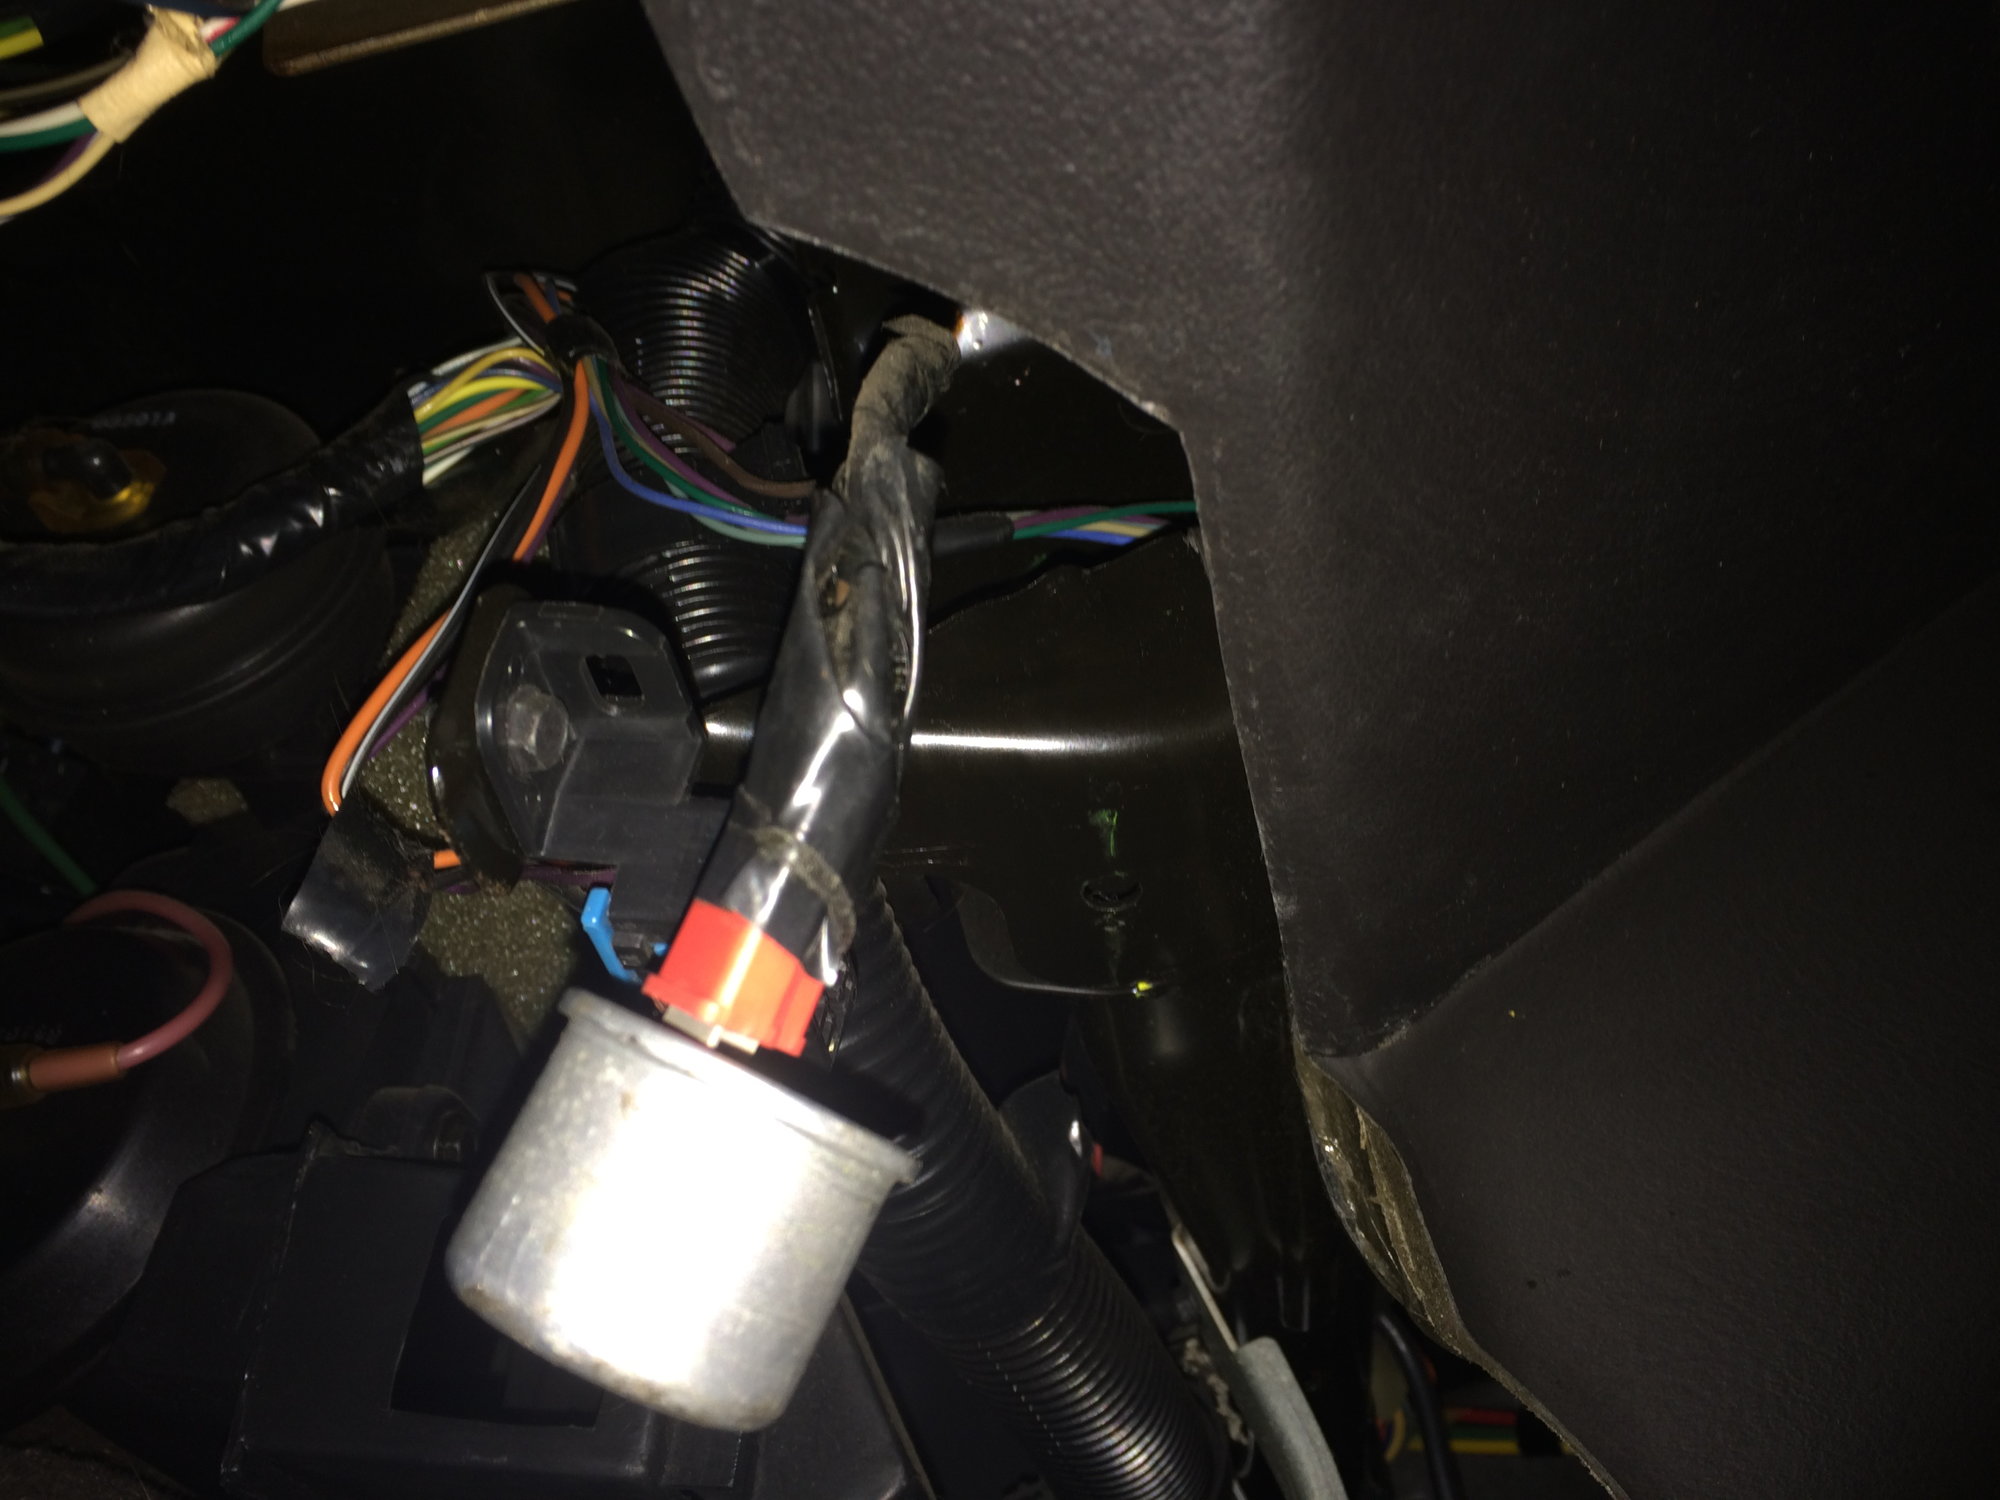
Now just unplug it. There's no tabs or anything so just pull the connector right off. Grab your fancy new EF32RL and plug it in all the way until it clicks in at the base. Now sell your soul to the devil, allow a demon to possess you, this will allow you to contort your body so you are looking straight up from the front of the footwell, head next to the pedals.

That is looking straight up, the bottom of the picture is towards the back of the car. There's that shiny 10mm nut up there that you can easily get with a nut-driver or ratchet with long extensions. Loosen it a little, slip the flasher's ground between the washer and the surface, and tighten it back up. Your flasher is now installed and you can continue the LED conversion.
Tail and Brake Lights
For this, you will need 2x 194 LEDs and 4x 3057 LEDs. They can be either red or white, doesn't matter. They are going in a red lens. I got Sylvania lights for my brakes, as that's what Walmart had for 3057.
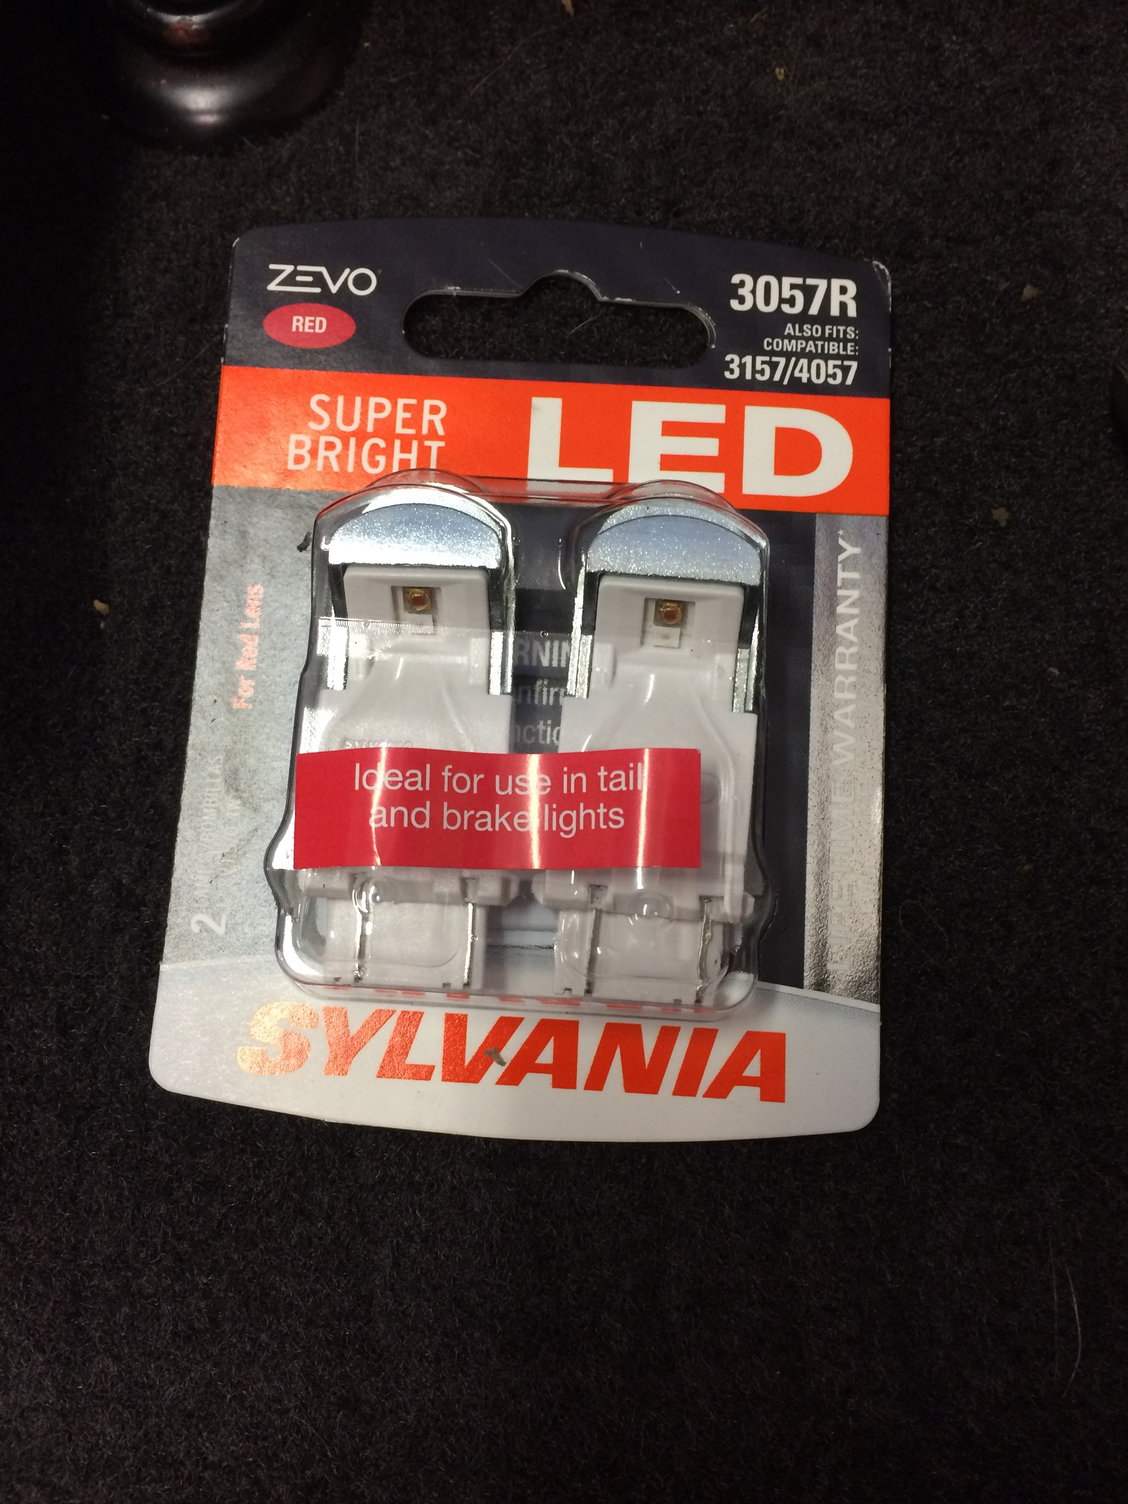
To remove your tail lights, go to the trunk and pull up the panel to the right, where the spare tire is. Then pull back the carpet trunk liner on the very back and unscrew the wing nuts. There's 4 easy ones and one hidden one all the way in the corner behind the spare tire. Then just pull the light out and on the back, you know the drill. Twist them out. The light all the way towards the outside of the car is the 194, nothing special here, just pull the old bulb out and pop the new 194 LED in. The middle two lights are the brake lights, and the one closest to the middle of the car is the reverse light.
When installing your lights, this time have the headlight switch in the middle position so the tail lights are on. The Sylvania's are polarity sensitive, so if they don't come on when you plug them in, flip them around. Now go turn your ignition on and check your blinkers (your blinker tick noise will be different). If you have done everything right with the flasher, your blinkers should work. Test it with and without the tail lights on. The outer 194's won't blink, they are just tail lights, but BOTH middle lights should blink. If everything checks out, you're good to go. Put the tail lights back in and the interior back.
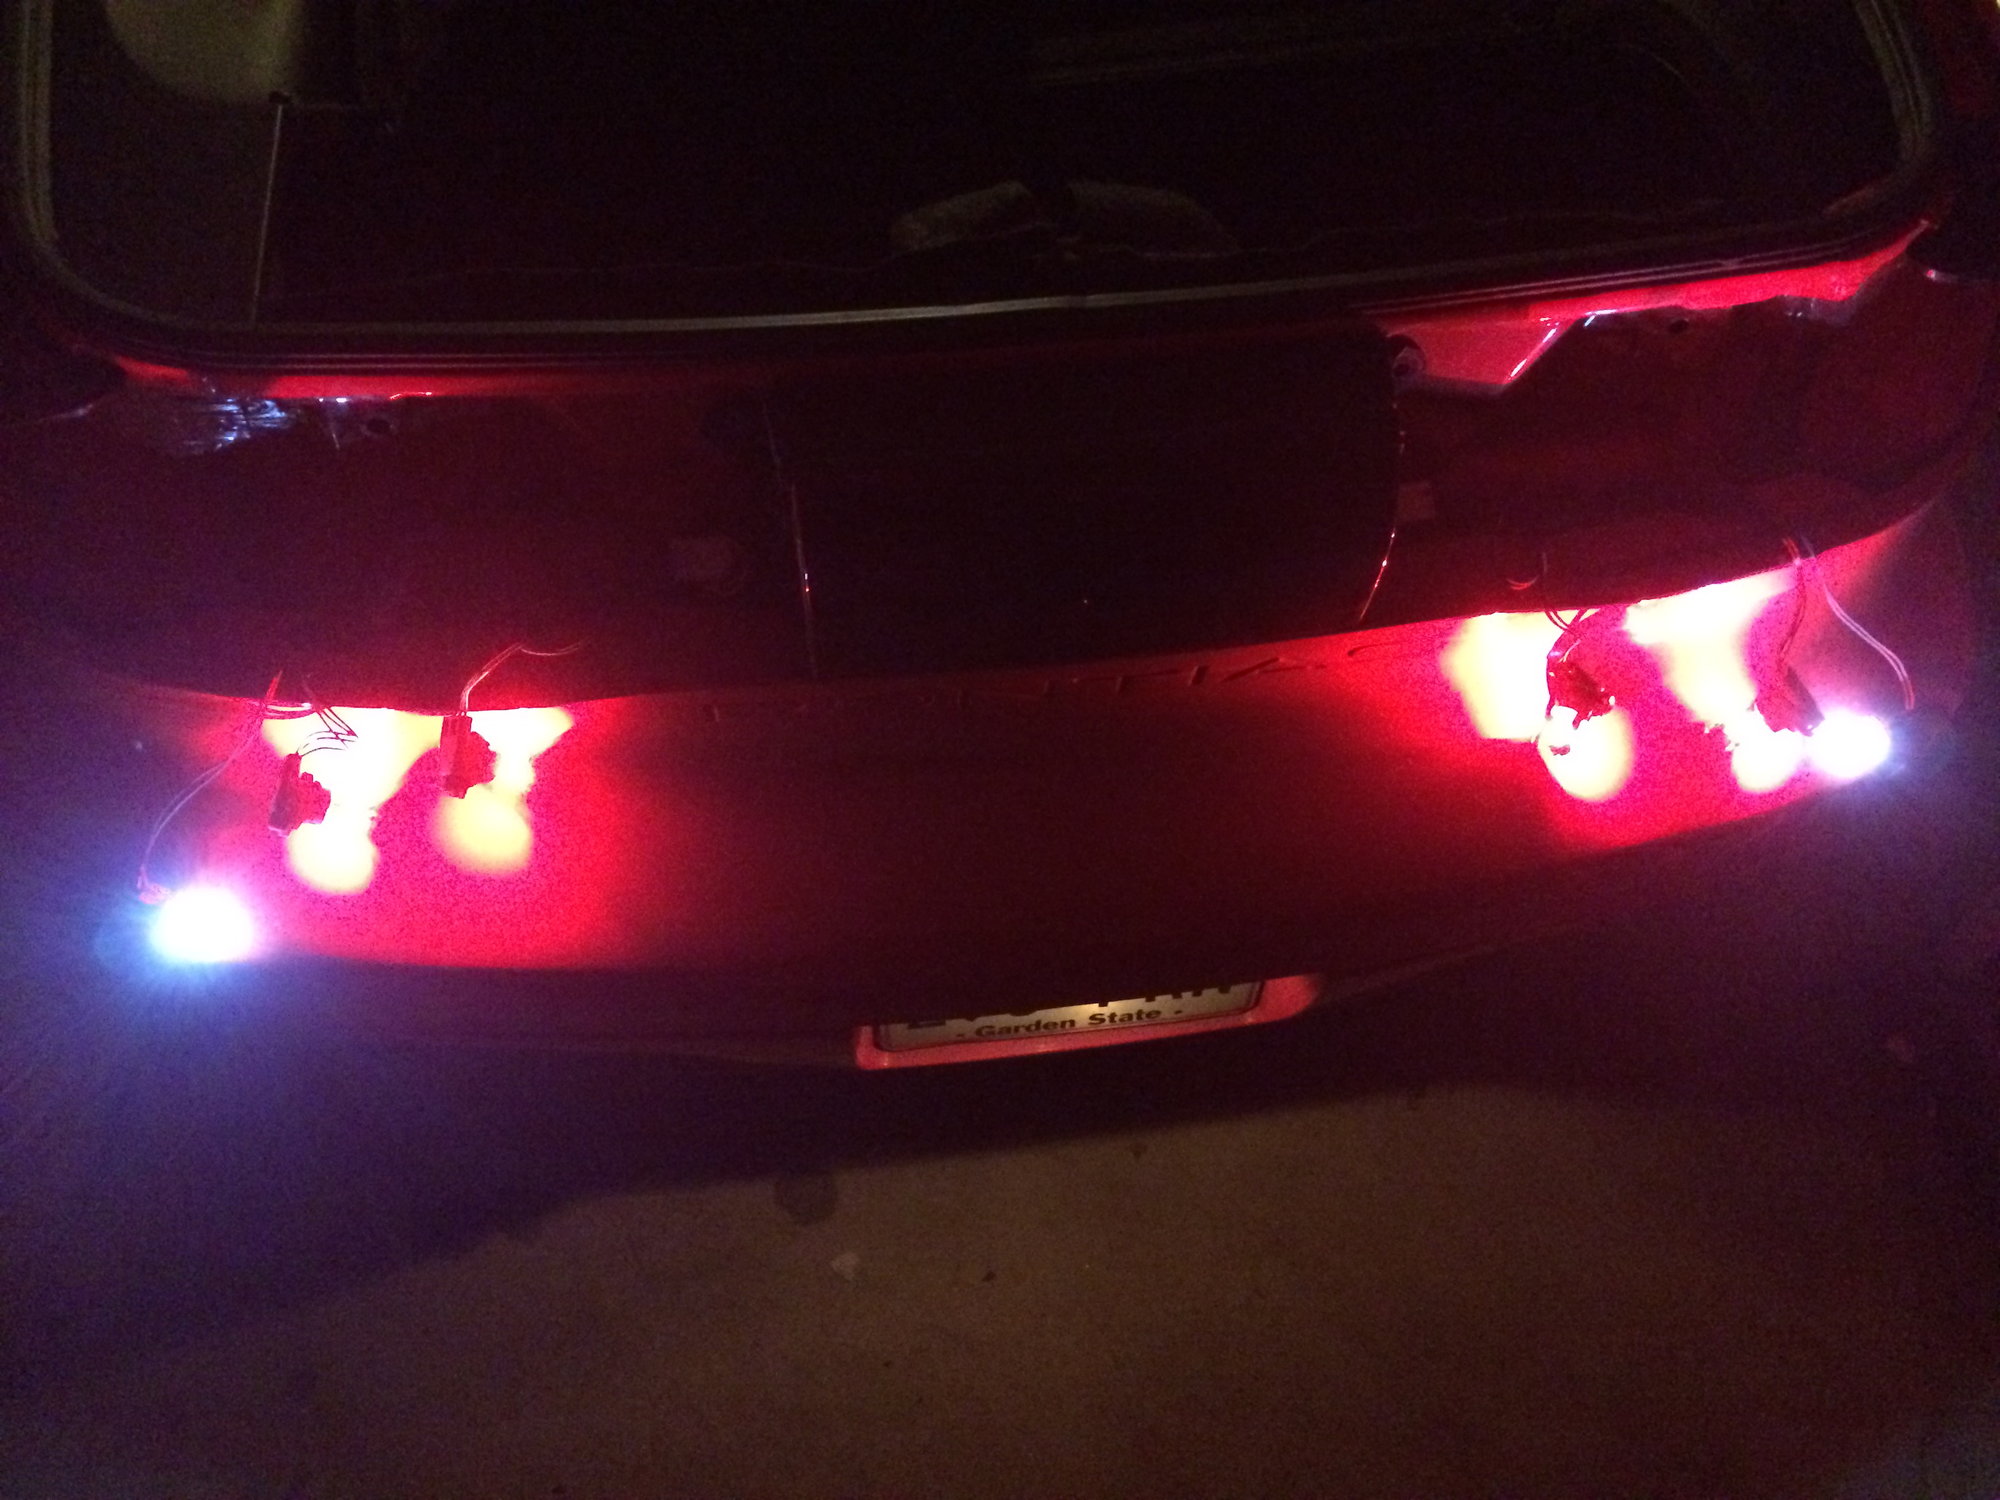
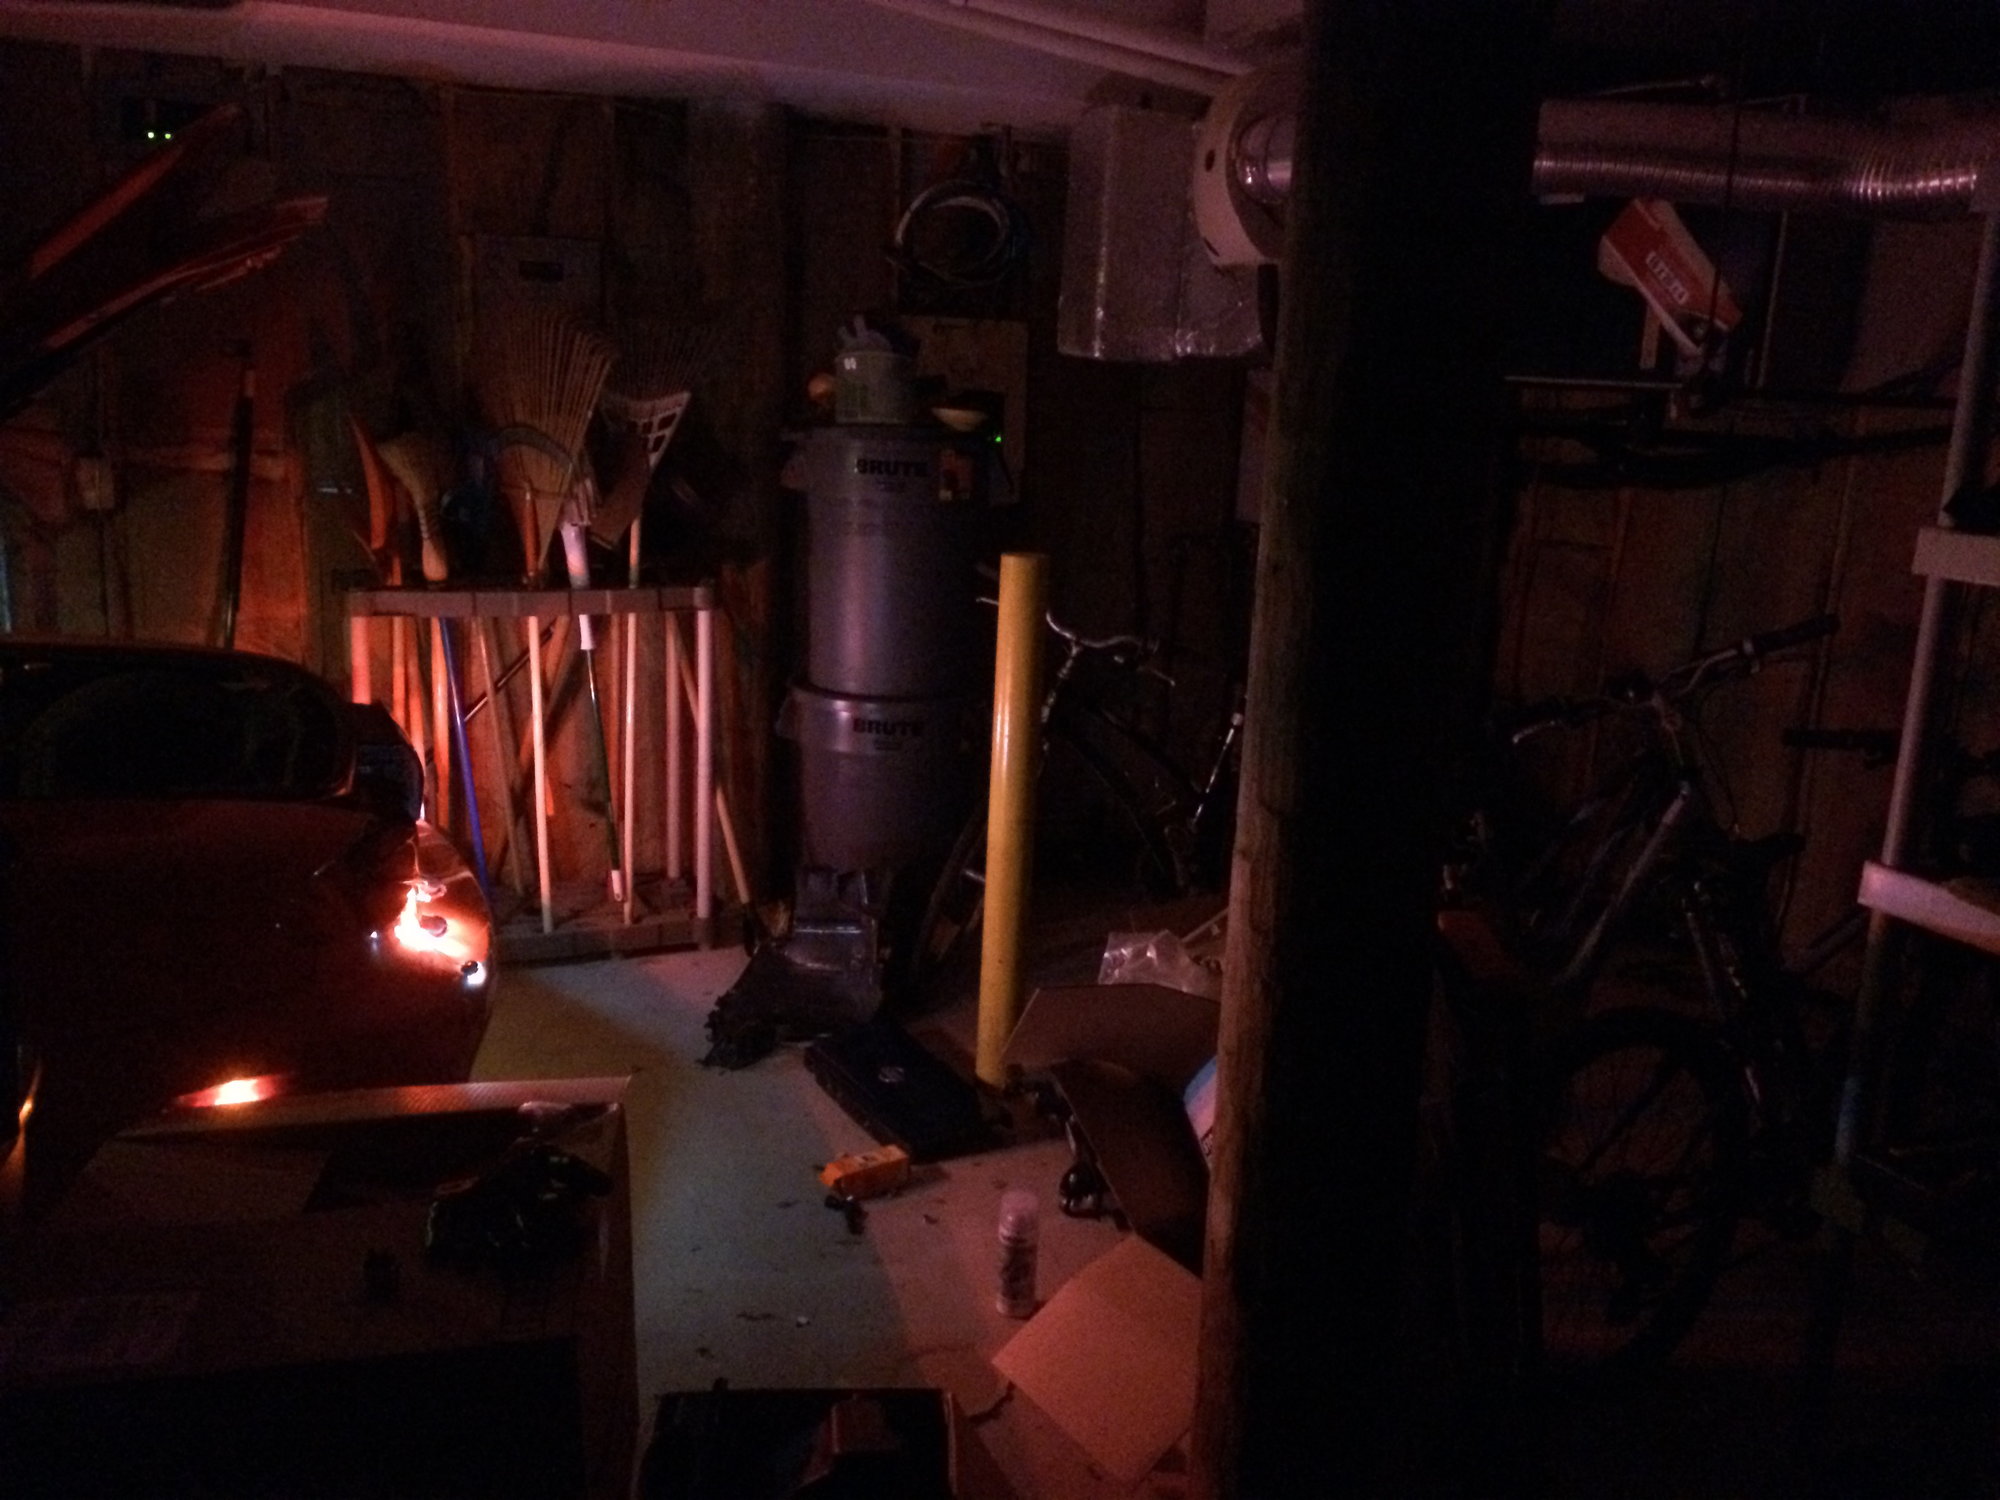
Third Brake Light
Not done yet! It won't look complete while you still have your halogen third brake light right above the tail lights. These have 2x 921 bulbs stock, but you can put 194's in. To access them, use a T15 Torx and remove the 2 screws and the lens pops out.

Side Markers
These are the only lights left, and they're super easy to do. You'll need 4x 194 whites.
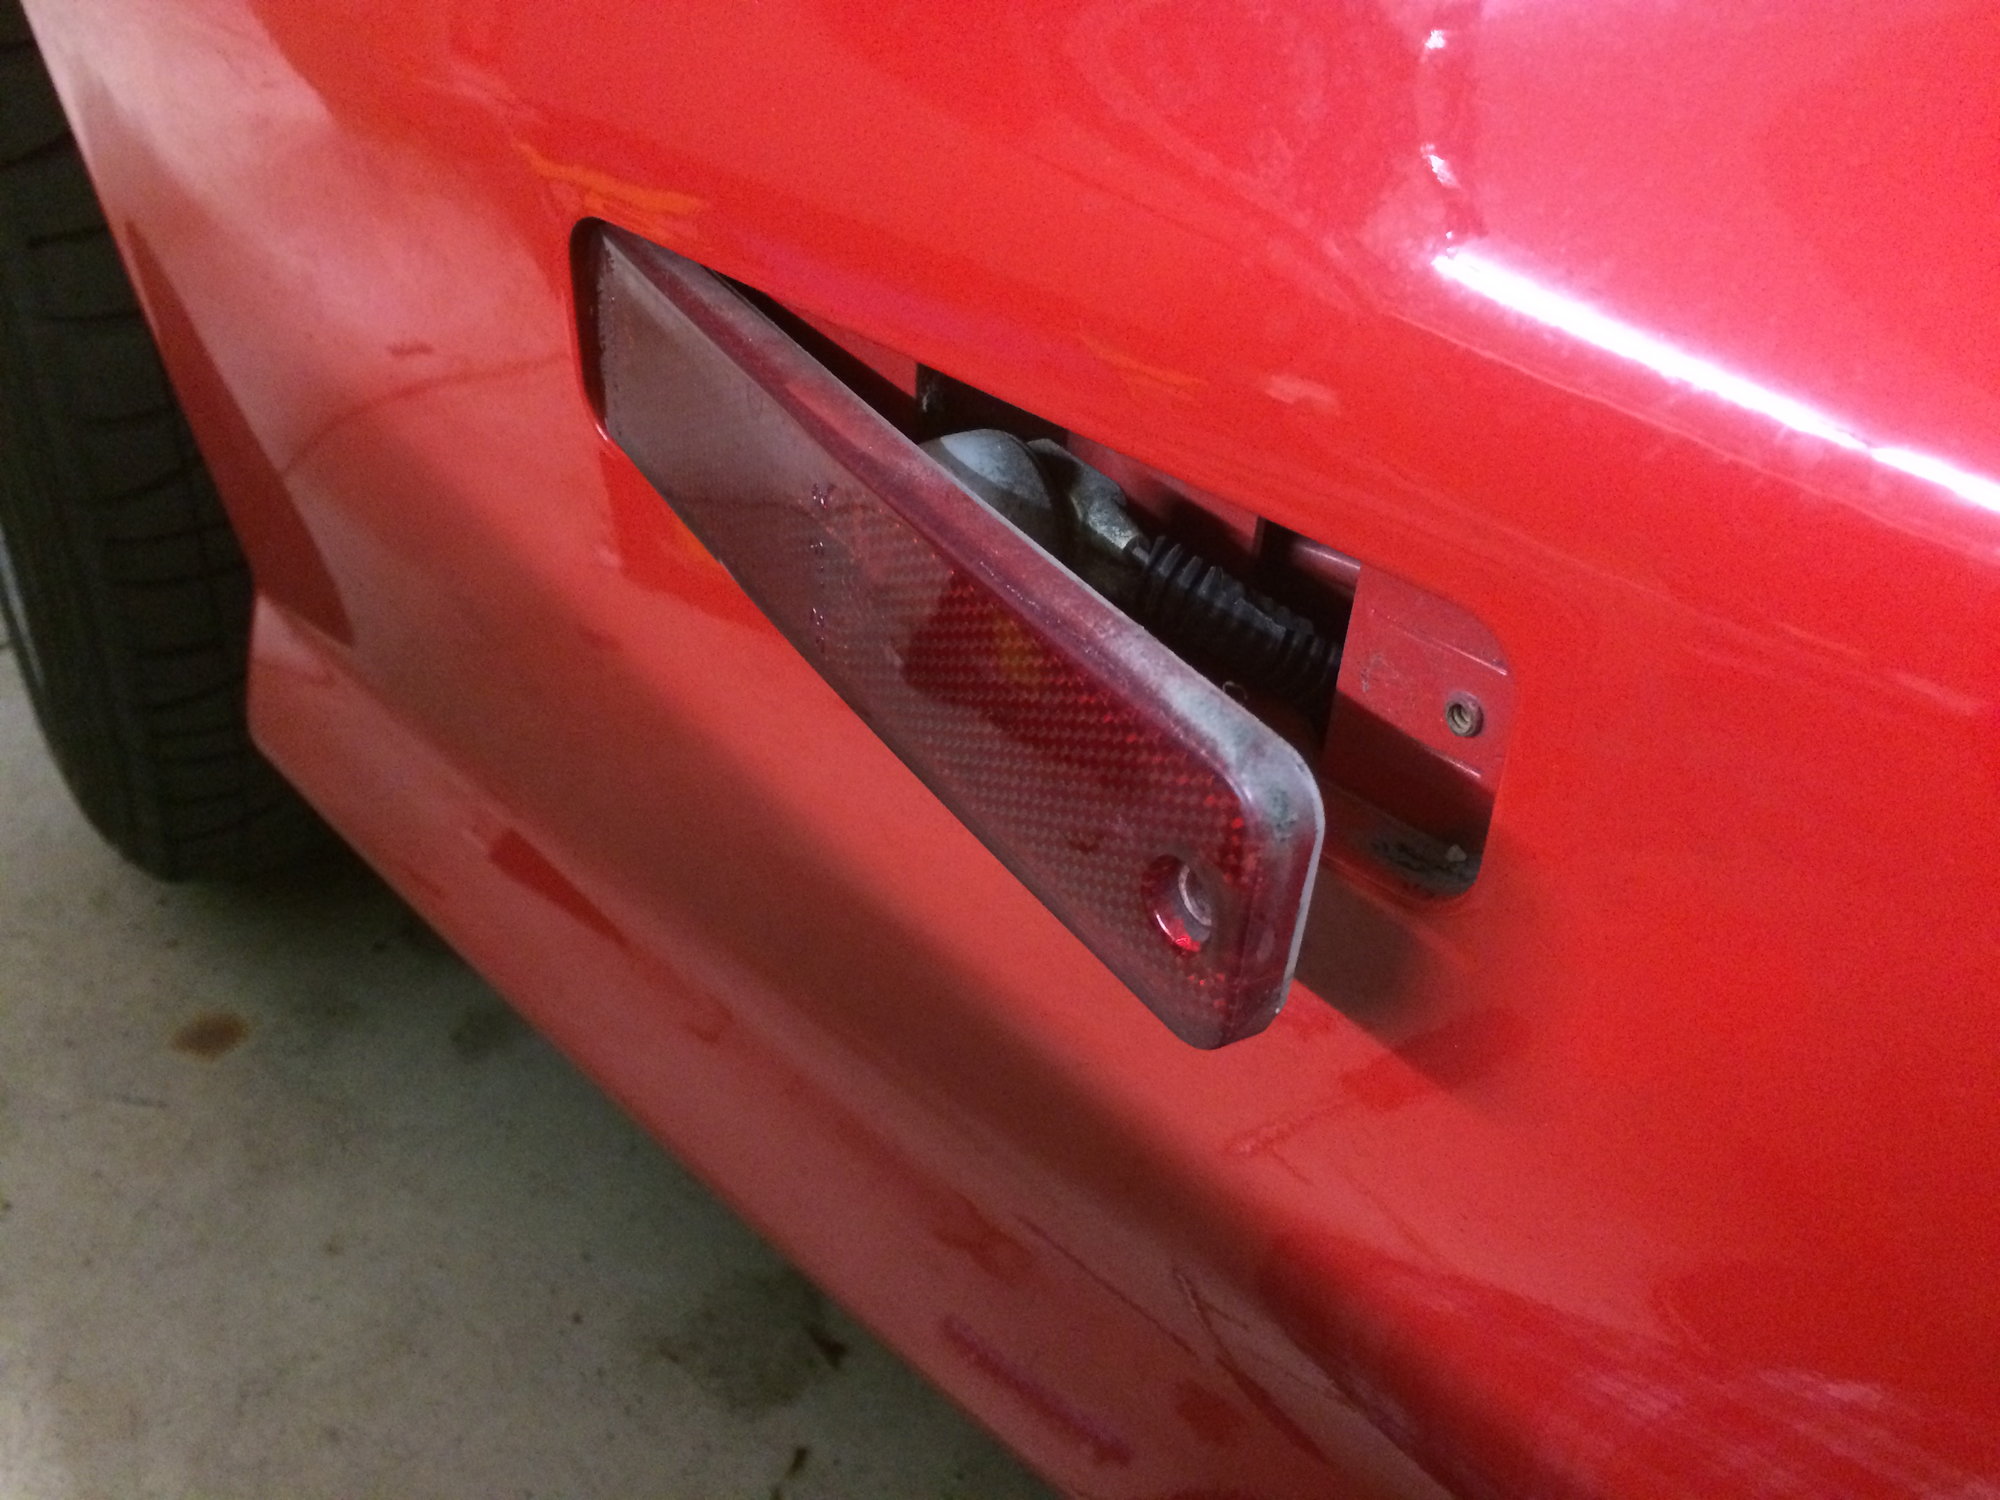
On the marker remove the T15 on the side then push in the opposite side. If it's stuck pry the screw-side with a thin screwdriver. Then pull it out and your bulb is on the back.
Screw your lens back in, and you are DONE! Now your car will look more modern and you will stop frying sockets. Maybe an interior guide will be in order now?
Last edited by MetalNickA; 12-05-2016 at 02:21 PM.
#2
TECH Veteran
iTrader: (14)
I would recommend going all red on the tails or anything behind a red lense for that matter, it will give you a much richer and brighter red if you match the two. same goes for amber colored lenses. that aside solid write up good job
#5
Does your cruise control still work after this?
https://ls1tech.com/forums/stereo-el...ke-lights.html
https://ls1tech.com/forums/stereo-el...ke-lights.html
That's so weird. I noticed last night after my first real drive that it was not in fact working. The end of that thread seem a to have a fix, I'll look into it
#6
Resistors get REALLY hot extremely fast!
I initially used one on the third brake light of my wife's 2011 Ford Escape, which has approximately — not exactly, but approximately — the same basic surface area inside the opening as our F-bodies do.
After about 15 seconds, smoke was coming out from around the light housing, as the resistor had gotten so hot, it actually began to overheat and burn its surroundings.
Please be careful that this doesn't happen to your ride, if you opt to include a resistor in there!
(I've incorporated a CHMSL from a Cadillac Catera into my car's RS spoiler, so that, along with my third brake light, is enough of a power draw that my cruise control works the way that it should.)
Trending Topics
#8
I have strobes on both the third brake light and CHMSL on my Camaro.
I have a 24-watt, 18-inch red LED light bar and third brake light, both on strobes, on my wife's Ford Escape.
I have strobes in the tail lights of our station wagon.
None of these have ever made a difference to tail-gaters, or anyone else on the road for that matter.
Strobes are great concepts, but you can't cure stupidity.
#9
Does your cruise control still work after this?
https://ls1tech.com/forums/stereo-el...ke-lights.html
https://ls1tech.com/forums/stereo-el...ke-lights.html
Still waiting for the answer.
#10
TECH Veteran
iTrader: (14)
not entirely sure, but it wouldnt be the first time GM used the filment of a bulb to activate another circuit. I believe the ingnition/starter circuit was tied to one of the gauge lights in the 93-97 cluster.
#11
TECH Enthusiast
iTrader: (14)
Join Date: Mar 2008
Location: Valley Lee, MD. Southern Maryland
Posts: 652
Likes: 0
Received 11 Likes
on
11 Posts

Nice write up. My TA had a fried socket up front when I bought it. Somehow I didn't notice that but the shop doing the state inspection did.
OP, how much brighter, if any, are the reverse lights?
OP, how much brighter, if any, are the reverse lights?
#12
Reverse lights are noticeably brighter but there also isn't any yellow in the light, it's a more pure white which cuts through better
#14
Save the manuals!
iTrader: (5)
Theoretically, one could put a resistor in the circuit to draw the extra power - but it would need to be very big (larger than the little 1/2A resistors you see in small electronics) and it will get very hot. Essentially, one would be channeling most of the heat that isn't being created by all those missing incandescent bulbs and putting it through the resistor(s). Then... one would need to figure out how to keep that hot resistor from catching something on fire.
It's not easy to cover all the bases with the LED's and I haven't seen an example yet where it has been done effectively.
#16
Save the manuals!
iTrader: (5)
Evidently there are special resistor kits made for this purpose, but they still have the limitations mentioned earlier.
#17
yeah, but the resistors defeat the whole purpose of any energy savings / draw on the alternator.
If you want to do this LED conversion, just expect it to be power/draw neutral... but still get an appearance/brightness change (and be careful where you put that resistor!)
If you want to do this LED conversion, just expect it to be power/draw neutral... but still get an appearance/brightness change (and be careful where you put that resistor!)

