My girlfriend's 2002 Collector Edition
#62
10 Second Club
I am looking forward to your install of the stereo.
#63
On The Tree
Thread Starter
#64
On The Tree
Thread Starter
Got the driver's window motor changed this morning. Also called Advanced Auto about all the extras so I will be running them down there probably tomorrow.
Trying to see where people run their back-up camera cables, the consensus seems to be through the existing tail-light wiring grommets.
Wanting to get that ran as early as possible so I can just worry about the radio when the time comes. I plan to document the installation well since some of those old threads have died with age as well.
#65
On The Tree
Thread Starter
I am preparing a big write-up for the radio and back up camera. It's still not in yet, but once it shows up I will finish up the post. I am really excited to get it sorted out!
#67
On The Tree
Thread Starter
Thanks! I am anxious to get it installed, but they are taking forever. They did send a "sorry" email, basically saying shipping from overseas is heavily delayed in November and December. They suggested 5-7 days, but it may be longer. I ordered it on the 13th. I am just hoping for less than 30 days.
#68
On The Tree
Thread Starter
Here is the link to my installation, I didn't think the whole writeup needed to be in here. I hope you enjoy!
How to install Joying Android Head Unit and Back-Up Camera in 4th Gen F Body
How to install Joying Android Head Unit and Back-Up Camera in 4th Gen F Body
#69
TECH Enthusiast
iTrader: (3)
Join Date: May 2011
Location: OKC/STL
Posts: 526
Likes: 0
Received 0 Likes
on
0 Posts
Wow, great read so far. My car has been needing some love in the smaller aspects, essentially a tune up, for a while. You've given me the motivation to start ordering some parts. I'm sure my wife will be thrilled when car parts start showing up again lol.
Keep up the great work!
Keep up the great work!
#70
On The Tree
Thread Starter
Wow, great read so far. My car has been needing some love in the smaller aspects, essentially a tune up, for a while. You've given me the motivation to start ordering some parts. I'm sure my wife will be thrilled when car parts start showing up again lol.
Keep up the great work!
Keep up the great work!
And yes, women love boxes showing up, just don't tell them the cost

#71
On The Tree
Thread Starter
Sorry I have not been able to be around much lately! Small update:
Passenger side axle is bent. Not sure what caused this, but I think a combination of the factory shocks, a pot hole, and a worn out bumpstop all helped a bit.
Hoping to have the car back on the road squeak free next week! She bought some of the decals for the Trans Am lettering and such as well after seeing another local CETA with them. She really liked the look so we will see how it goes!
#74
On The Tree
Thread Starter
Alright some updates:
Got the passenger side axle replaced since it was bent. Went ahead and did seals and bearings on both sides.
Got the car tuned by Hos-Tuned in Tampa. Nothing but good things to say about him. Very knowledgeable and happy to help. We spent hours nailing the tune down. Car runs much better now.
After getting tuned, the water pump, or water pump gasket, took a dump. So, over the weekend we replaced the water pump.
I also replaced the first backup camera I put on with an upgraded version from Autovox so I didn't have to run cable the whole way forward. This one should do better in the dark. It's supposed to have night vision and automatic LED lights when it needs them.
Then we installed an MGW shifter. Install thread found here.
Thanks for looking!
#75
On The Tree
Thread Starter
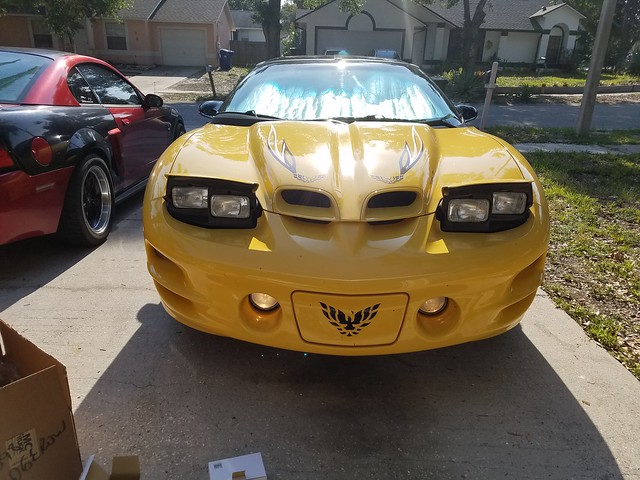
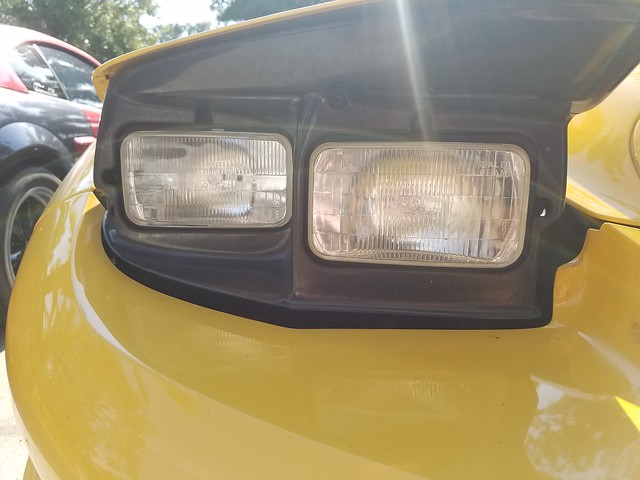
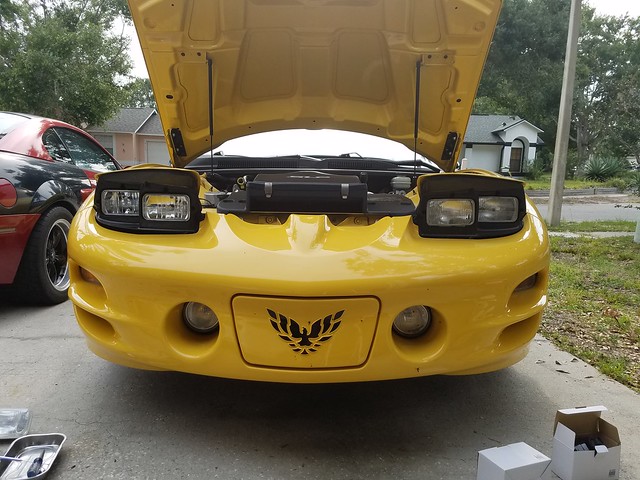
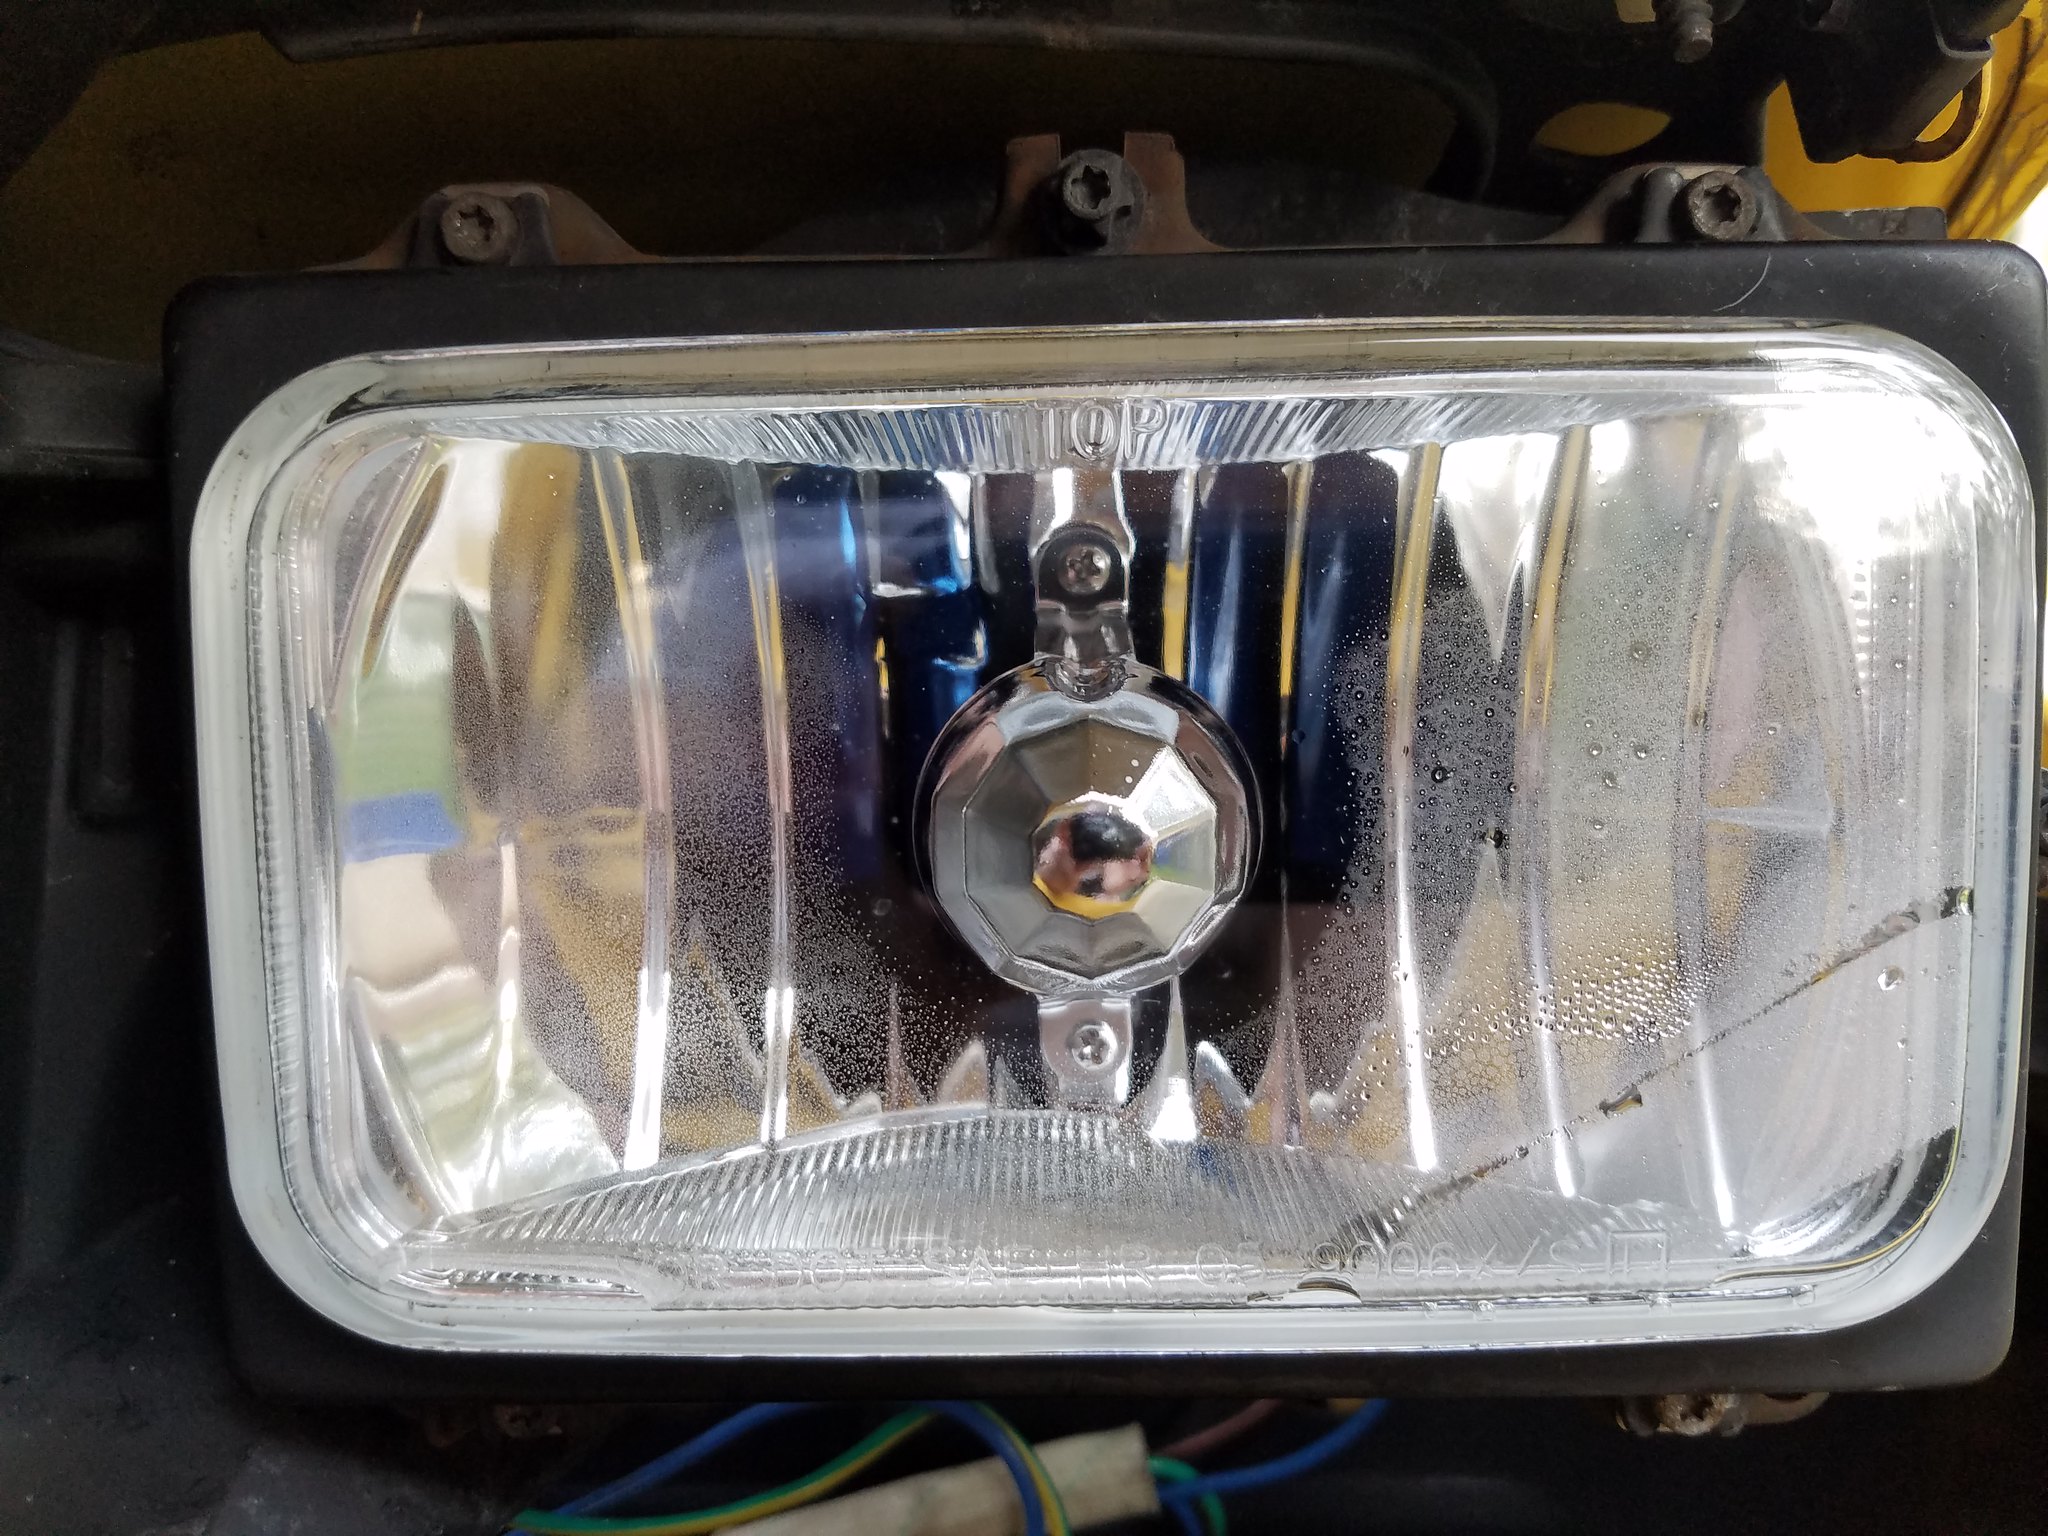
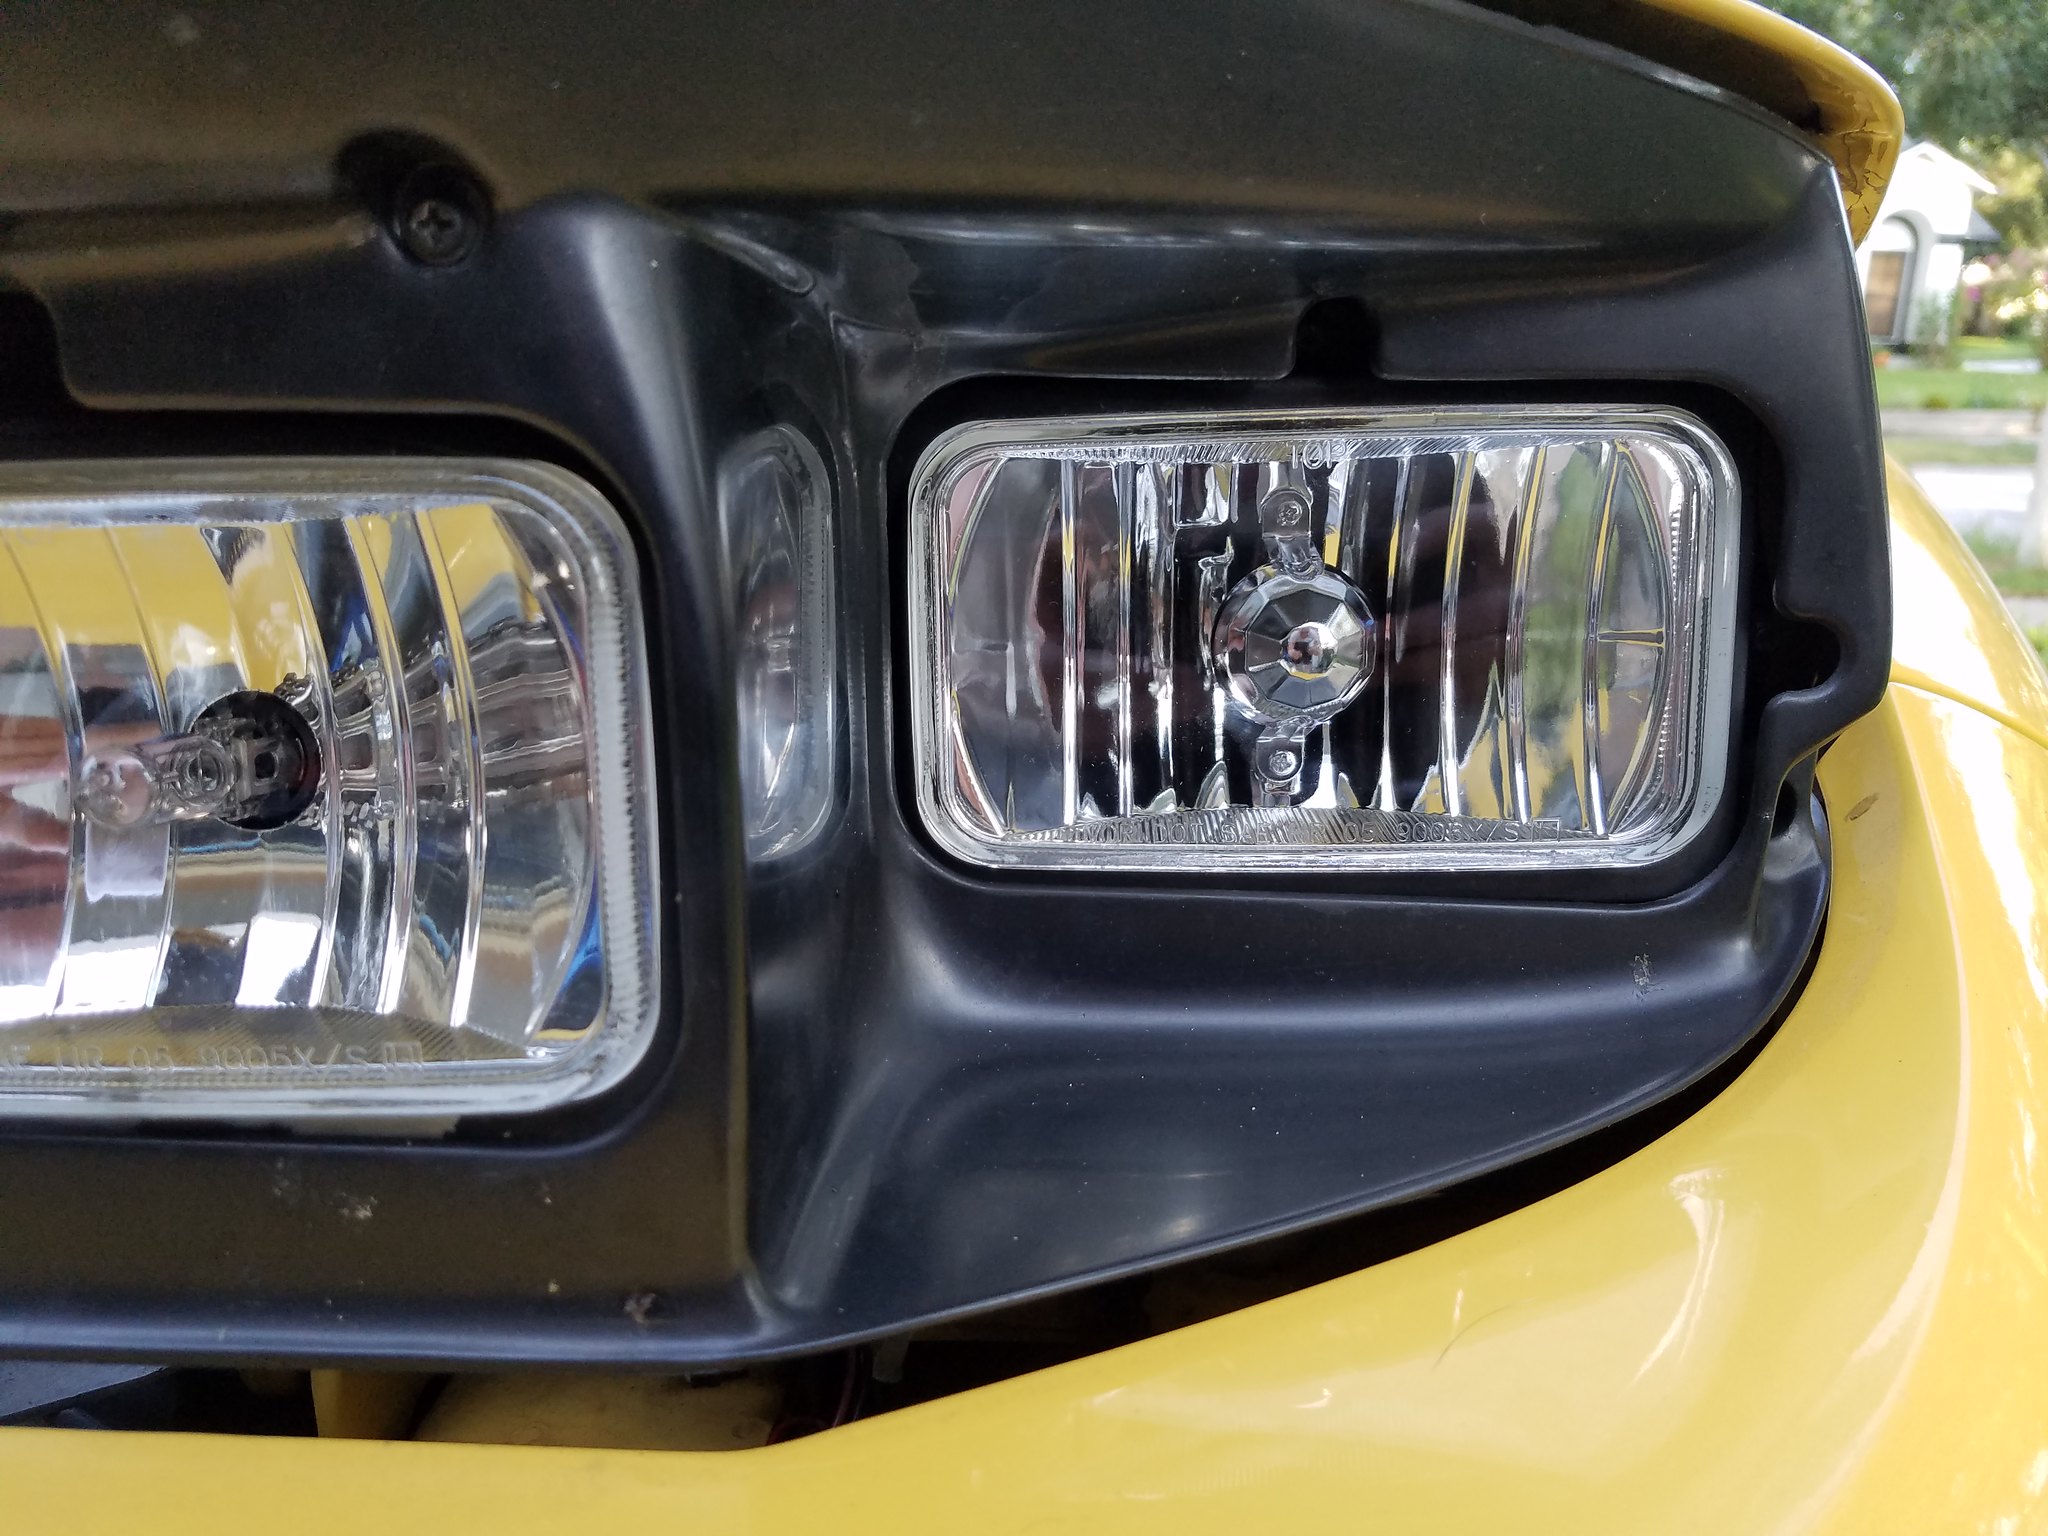
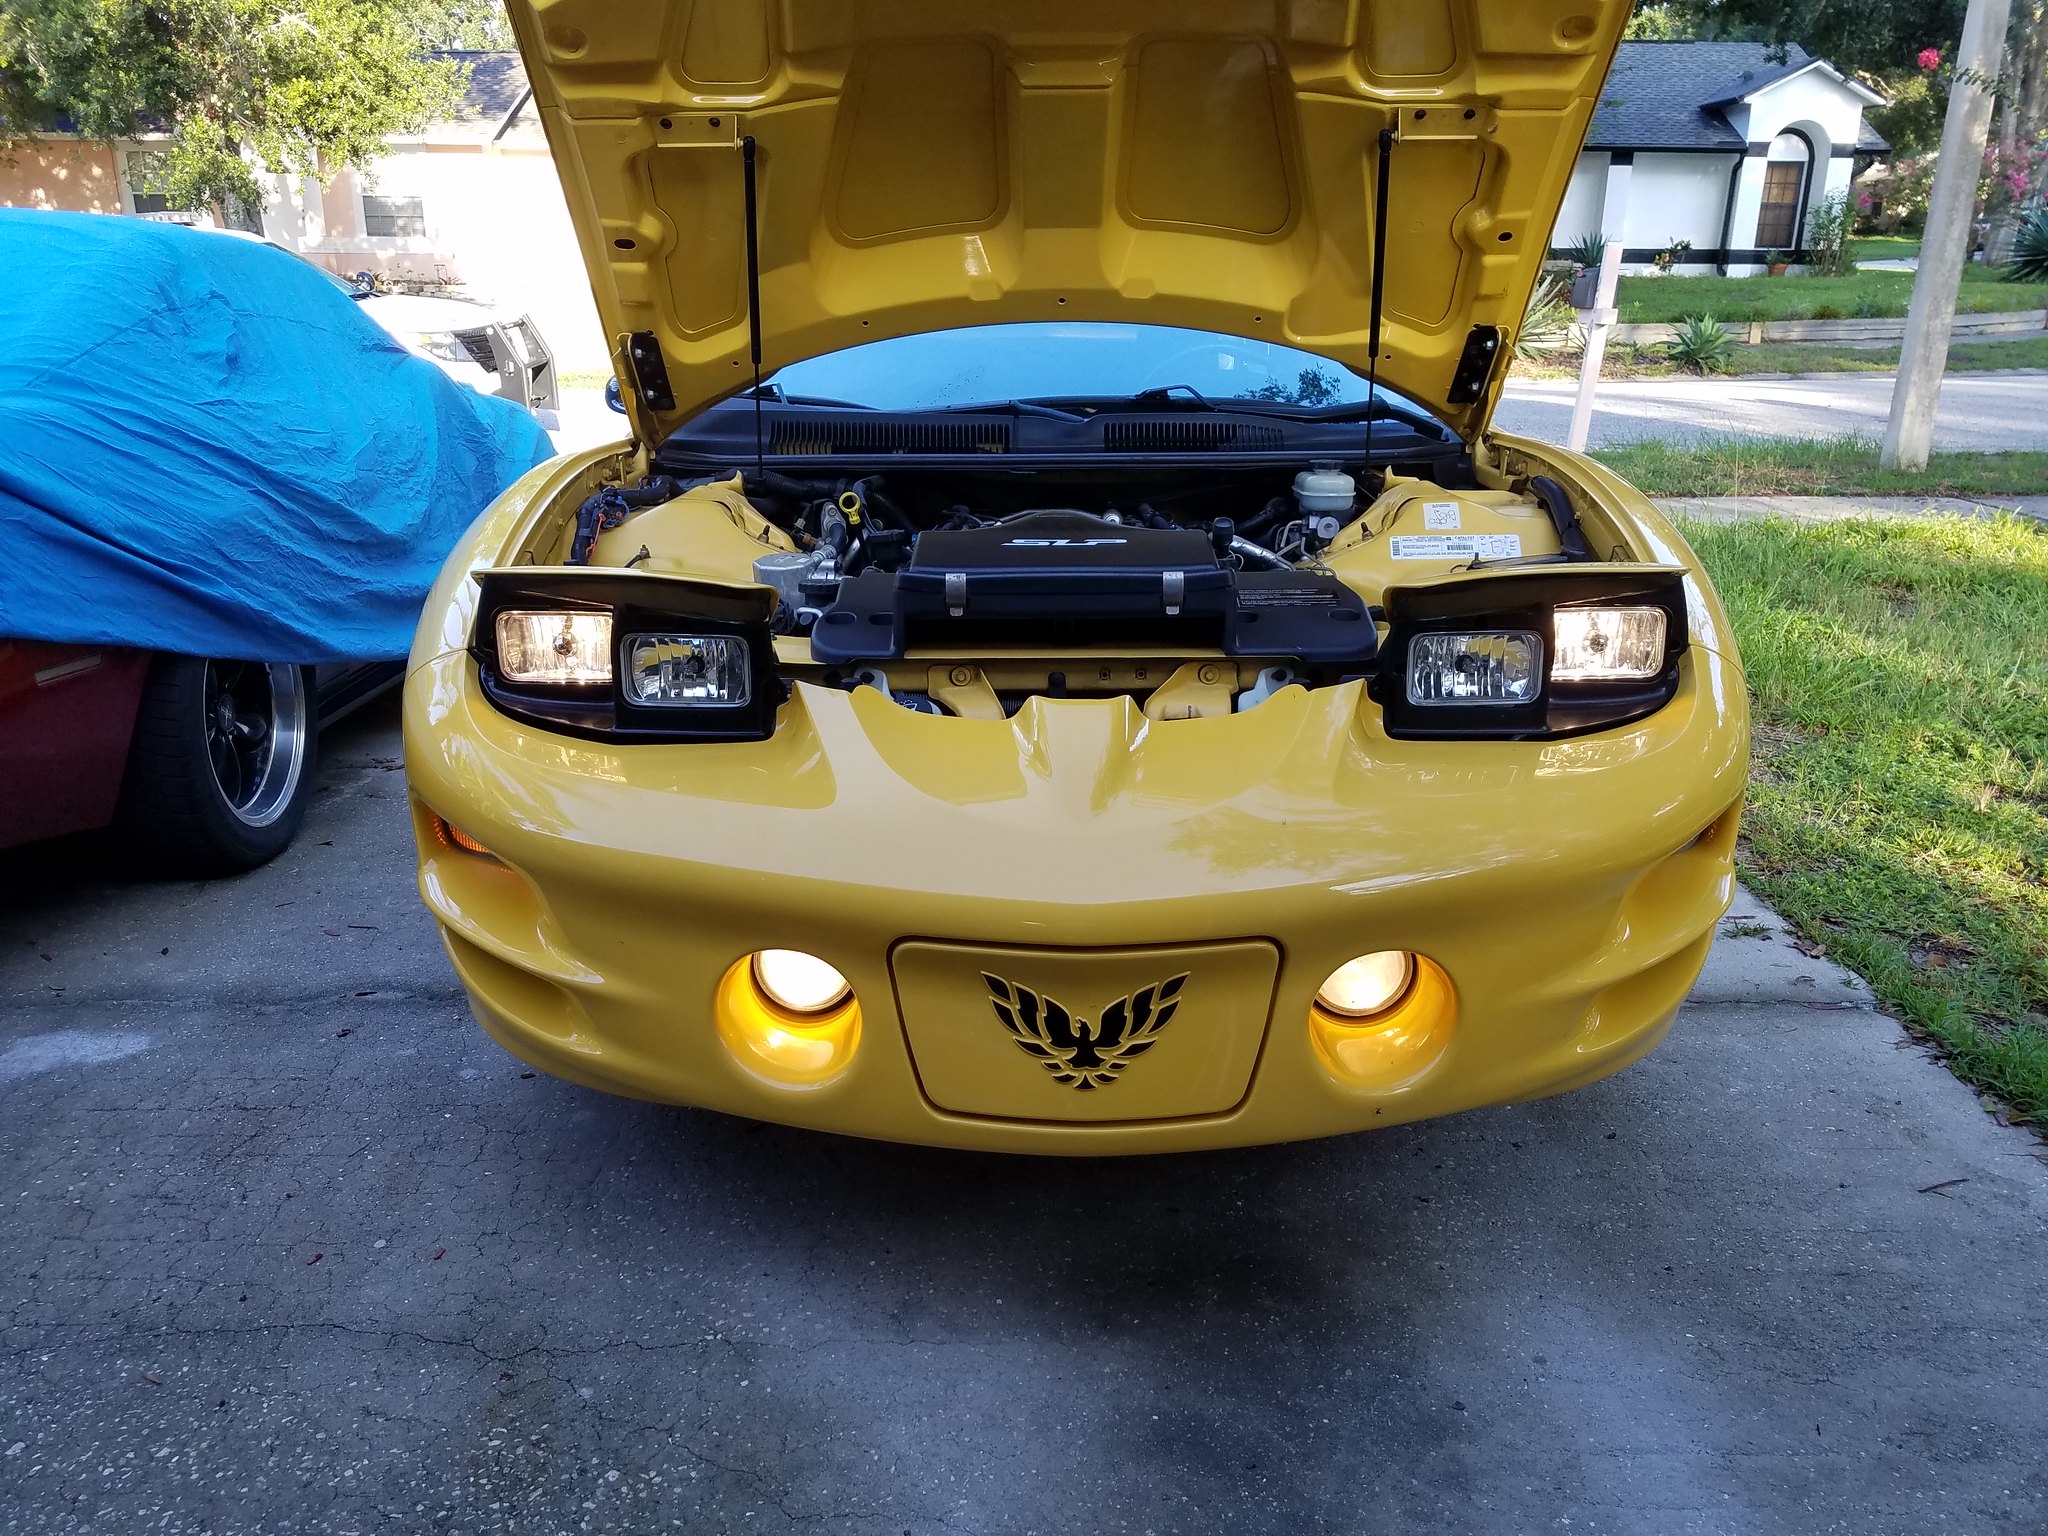
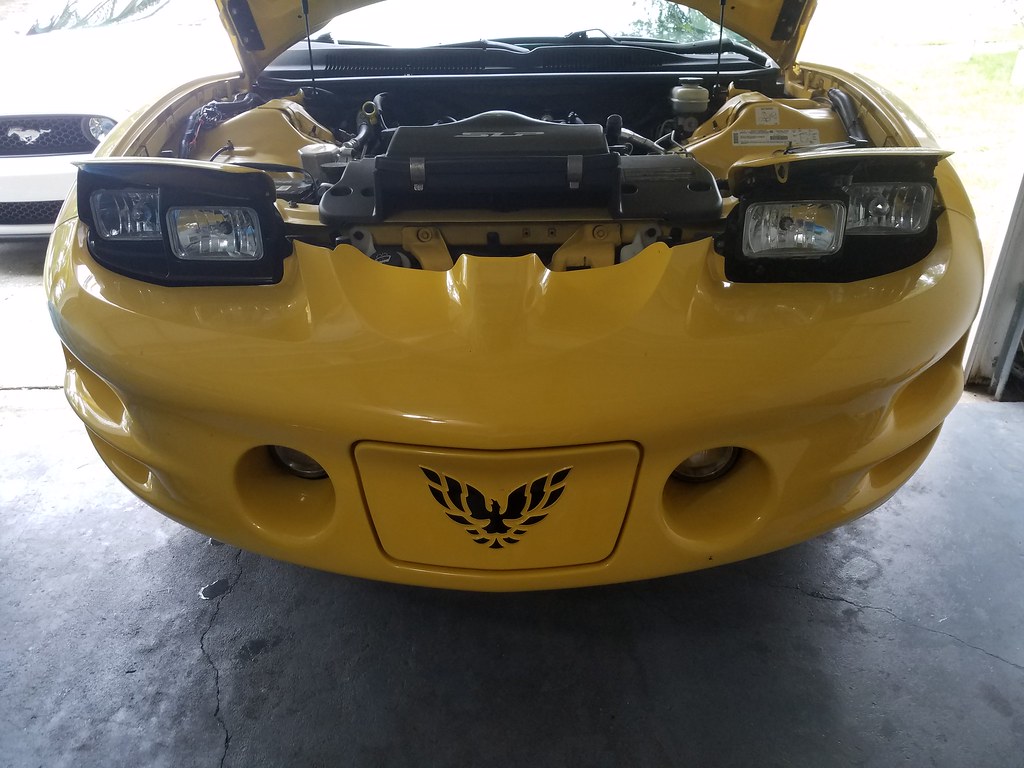
Alright so kind of a mini update on the Trans Am – as most people know, these cars came with sealed beam headlights – think old Jeeps, or old GMC trucks. Sealed beam lights are garbage and leave much to be desired. LMC Truck makes kits that allow the use of a normal 9006 headlight bulb in inner and outer (brights and regular). The kit also does away with the fluting which adds a lot more clarity.
Before anyone asks, we have not driven the car in the dark since doing them so I have no idea how much better output is yet, but it does seem much better in the driveway testing.
The nice thing is this should make it easy to switch to a higher quality bulb whenever we want to. Some people put HID bulbs in this kit but I am not about that life haha.
Anyhow, here are some pics:
Before
Also, see where we did the black decal on the bird? Also did black on the Trans Am lettering on the side and in the rear bumper, but those are not pictured.
Thanks for looking!
#78
On The Tree
Thread Starter
Hey, she ordered it from E-Bay -
https://www.ebay.com/itm/Front-Overlay-Decal-98-02-Firebird/222344819999
I think I saw you post that in an older thread. We do have time since luckily she has not been daily driving this thing lately! We will probably look into that.
Also, someone sent a message asking about where I got the lights:
http://www.lmctruck.com/features/cd/CDER2.htm
Order:
36-0302 for the low beam lights (need 2)
36-0303 for the high beams, but they arenít really necessary IMO.
They come with little harnesses that you just need to splice in. Everything seemed very high quality!.
https://www.ebay.com/itm/Front-Overlay-Decal-98-02-Firebird/222344819999
Also, someone sent a message asking about where I got the lights:
http://www.lmctruck.com/features/cd/CDER2.htm
Order:
36-0302 for the low beam lights (need 2)
36-0303 for the high beams, but they arenít really necessary IMO.
They come with little harnesses that you just need to splice in. Everything seemed very high quality!.
#79
On The Tree
Thread Starter
Havenít been on in a while (Iíve just been browsing) Ė so here are some recent things:
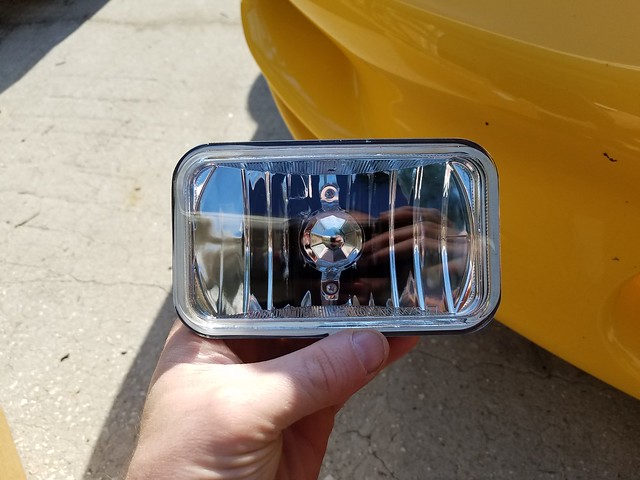
We had a couple defective headlights from LMC truck. So they immediately shipped us out a new set. So here:
Here is a shot of a defective one: They filled with water. The brights seemed to not have any issues.
And here with the new one in place.
Yay, vision! Of course, after doing this installation, now the headlight on the driver side no longer pops up. ***SPOILER ALERT**** I fixed it already, see below.
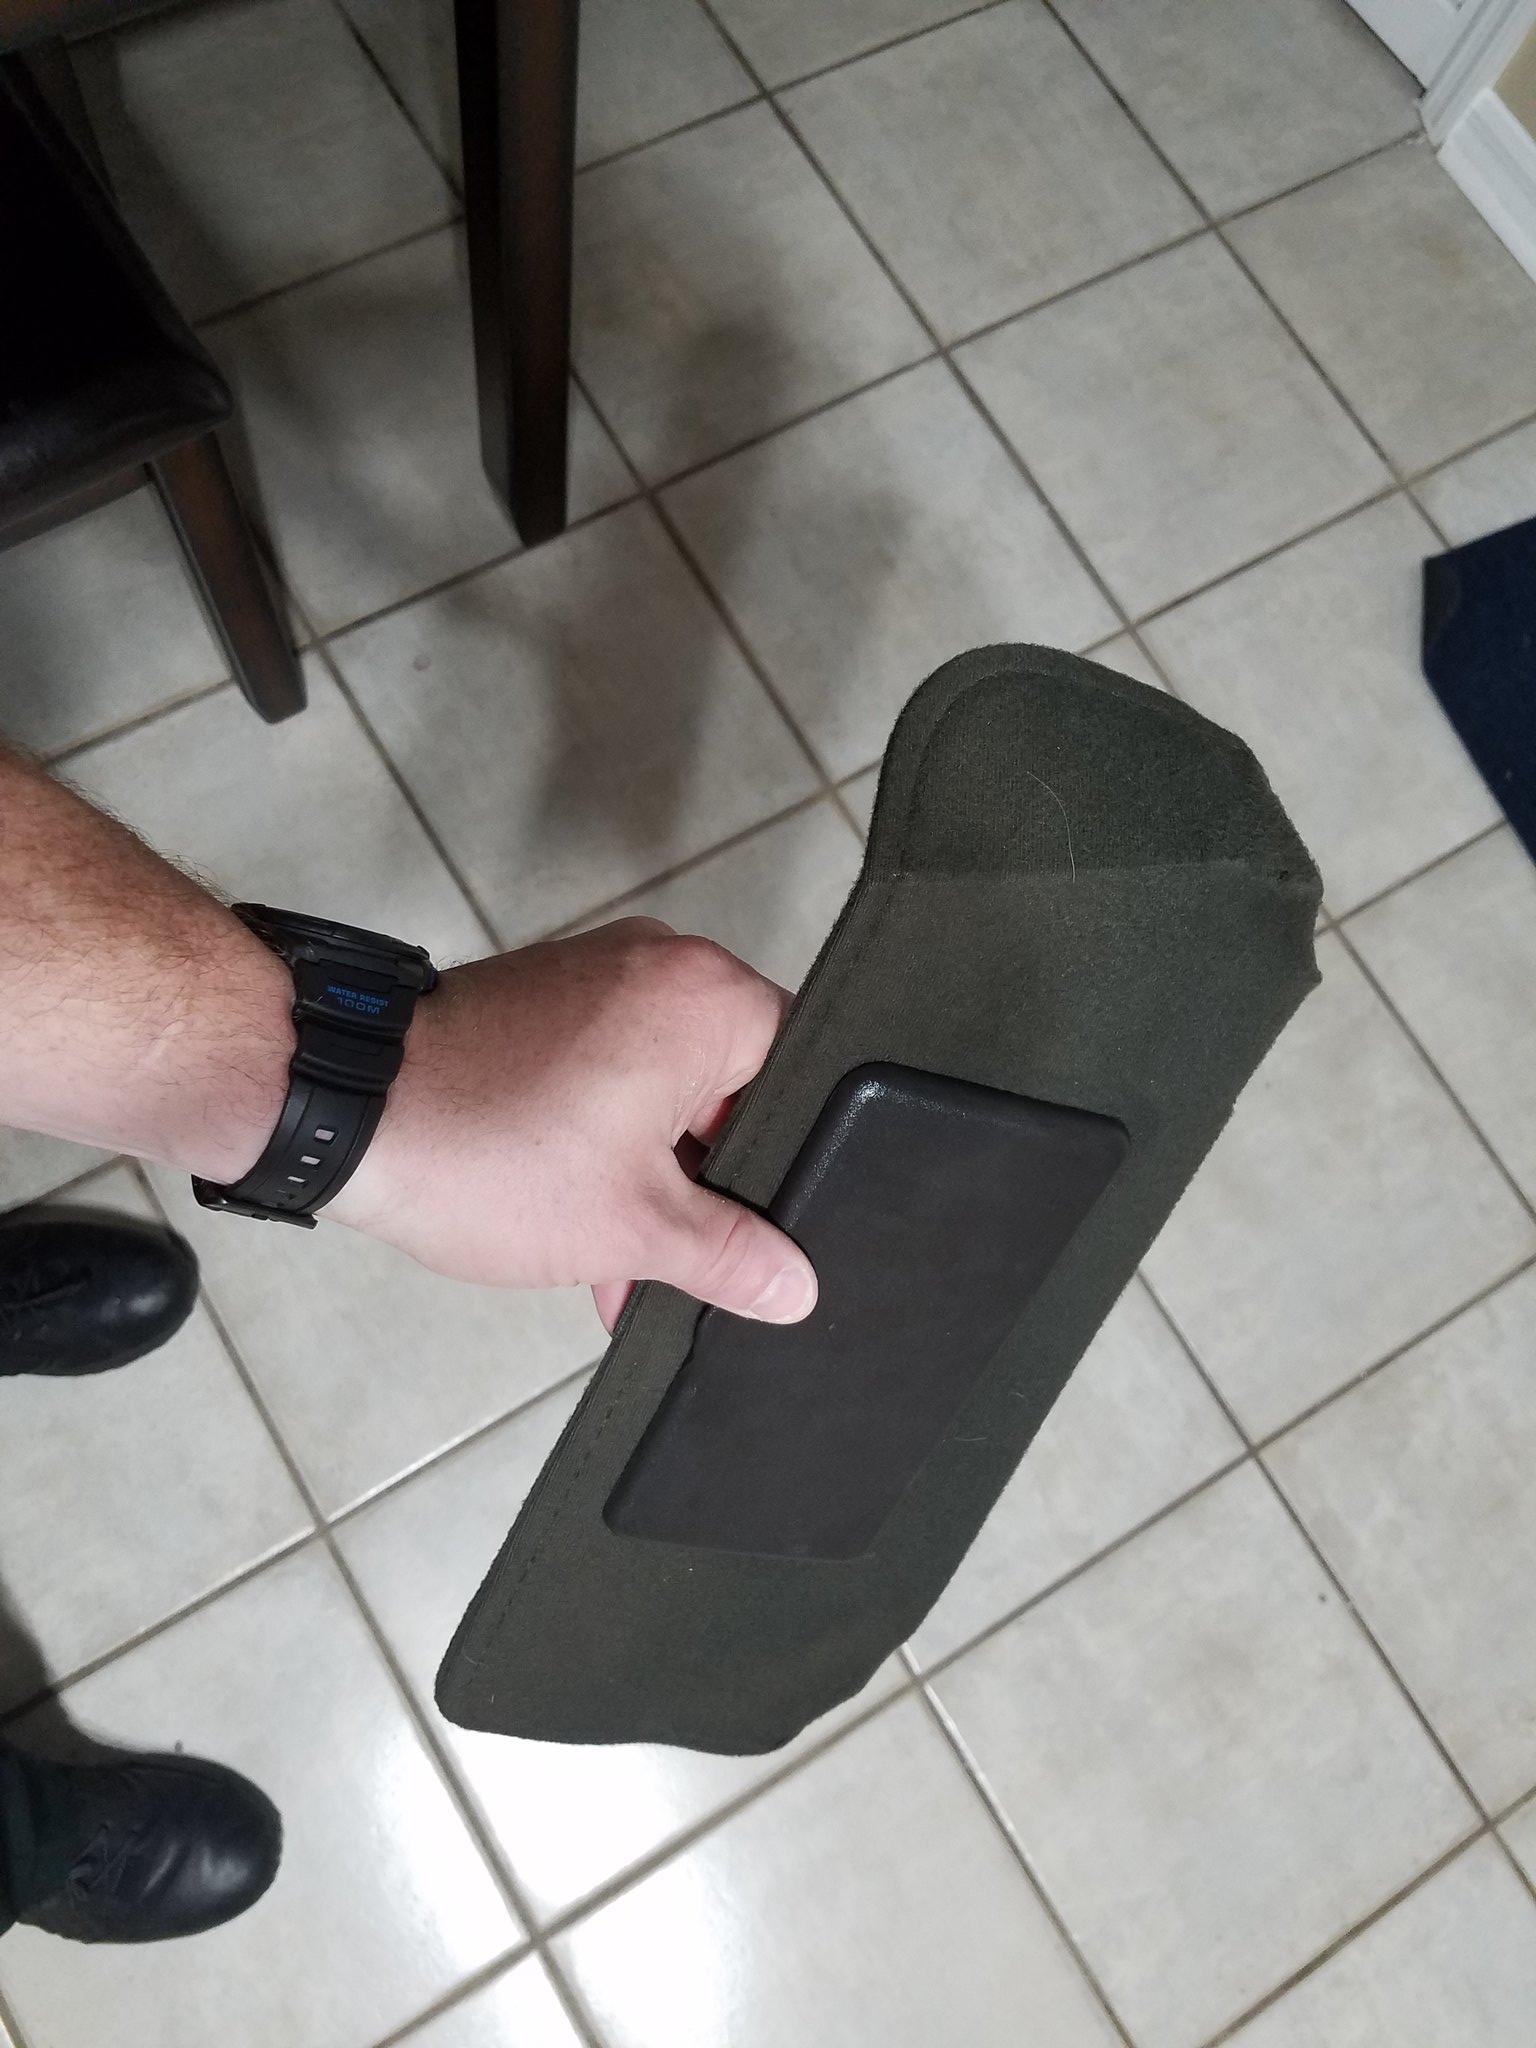
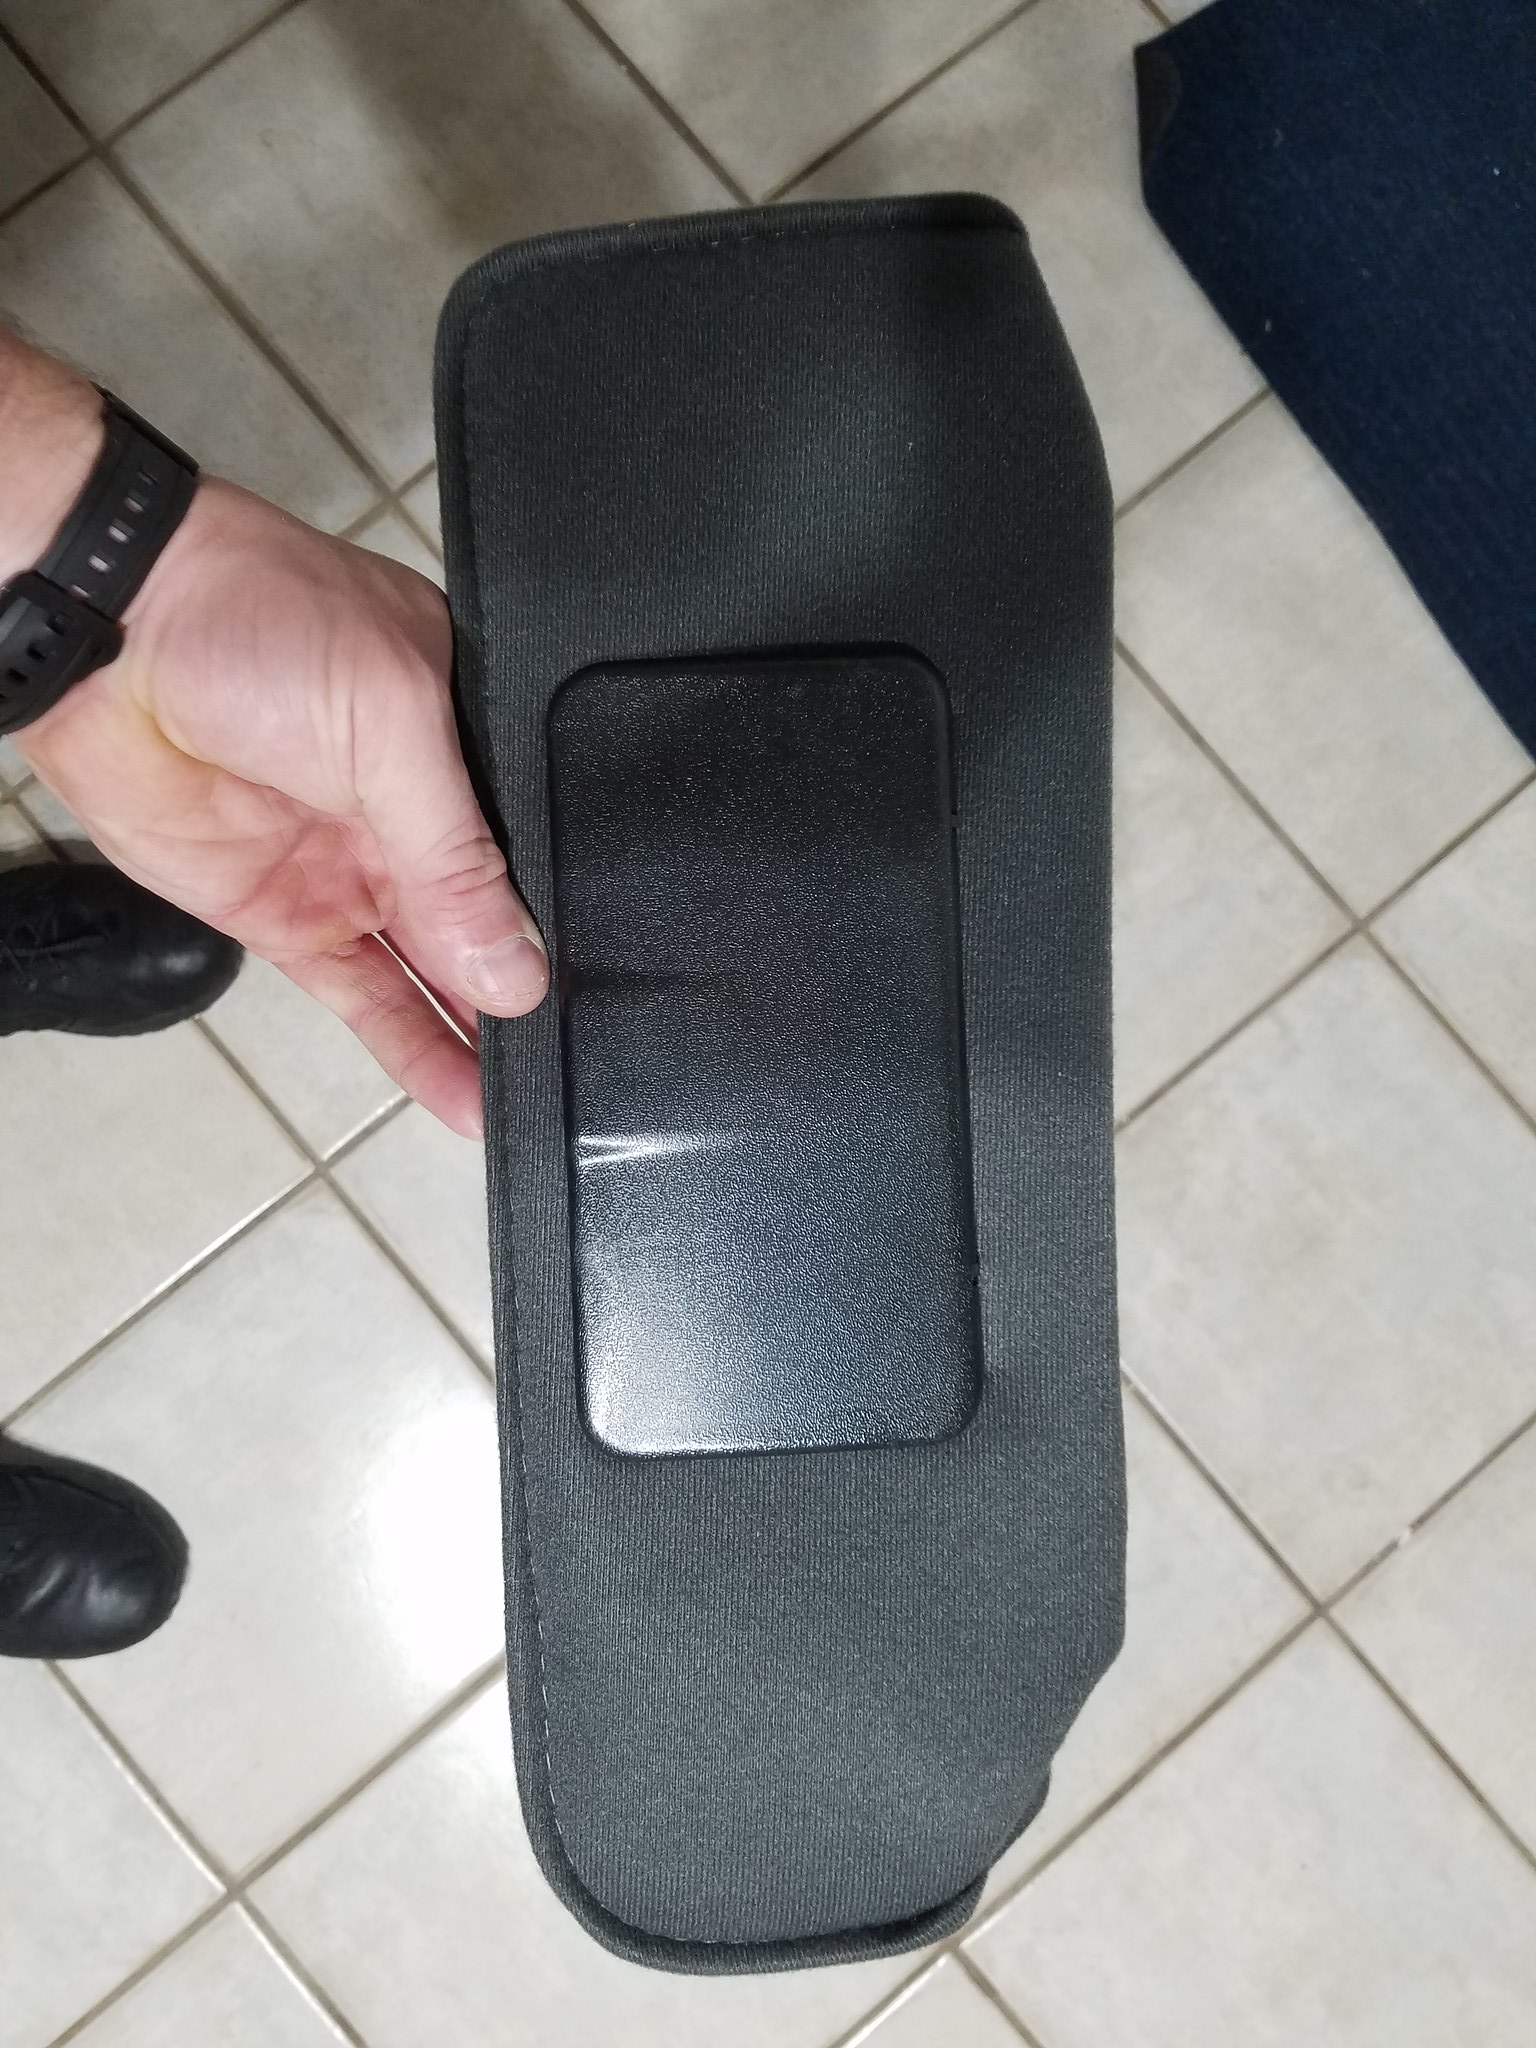
She also ordered some new visors from Hawks to replace the old floppy eared look. I really like these:
Old
New
We are trying to get everything sorted out with this because the plan is to take it to the F-Body beach bash in October, so it needs to be ready for a road trip. Which means I will probably be doing a catch can setup and re-redoing the vacuum setup to make it look pretty. I donít think we will have time to lower it by then but we will see. We have struts to do since I already replaced the rear shocks.
#80
On The Tree
Thread Starter
Quick update on the CETA:
In this update I will cover how to remove the front bumper since I could not find any good guides.
The other day I swapped the headlights because the first round from LMC had some issues. Put the new ones in and then the lights stopped popping up, but the bulbs would work.
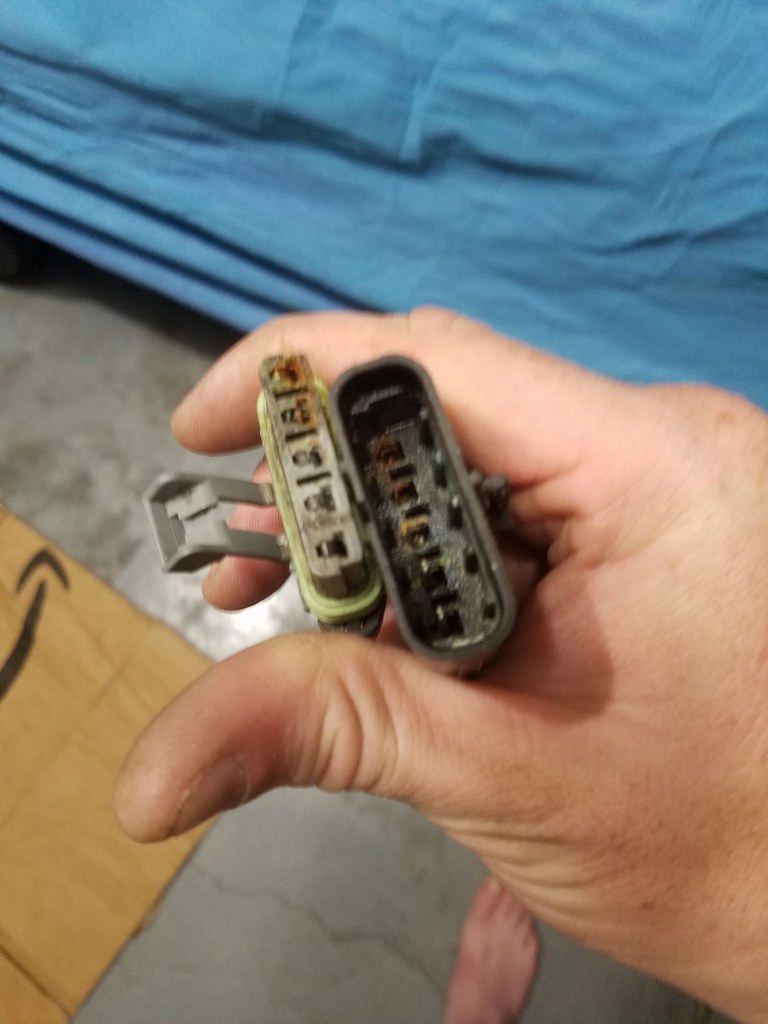
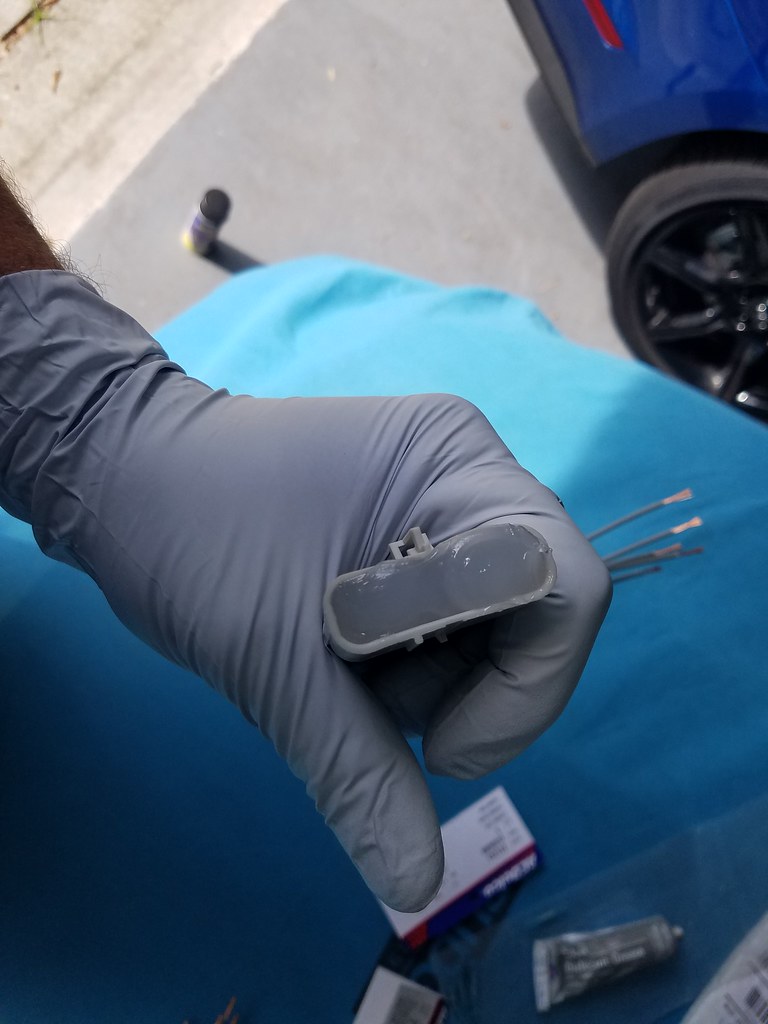
I did some research and found that the plugs for the headlight motors commonly get corroded which causes a number of issues. So I pulled the plugs apart and found:
As you can see, the plugs are toast. Hard to see in the picture but three of the five “males” are missing entirely (because they ended up “stuck” in the female side….for eternity….maybe I shouldn’t have fixed this, not a bad life).
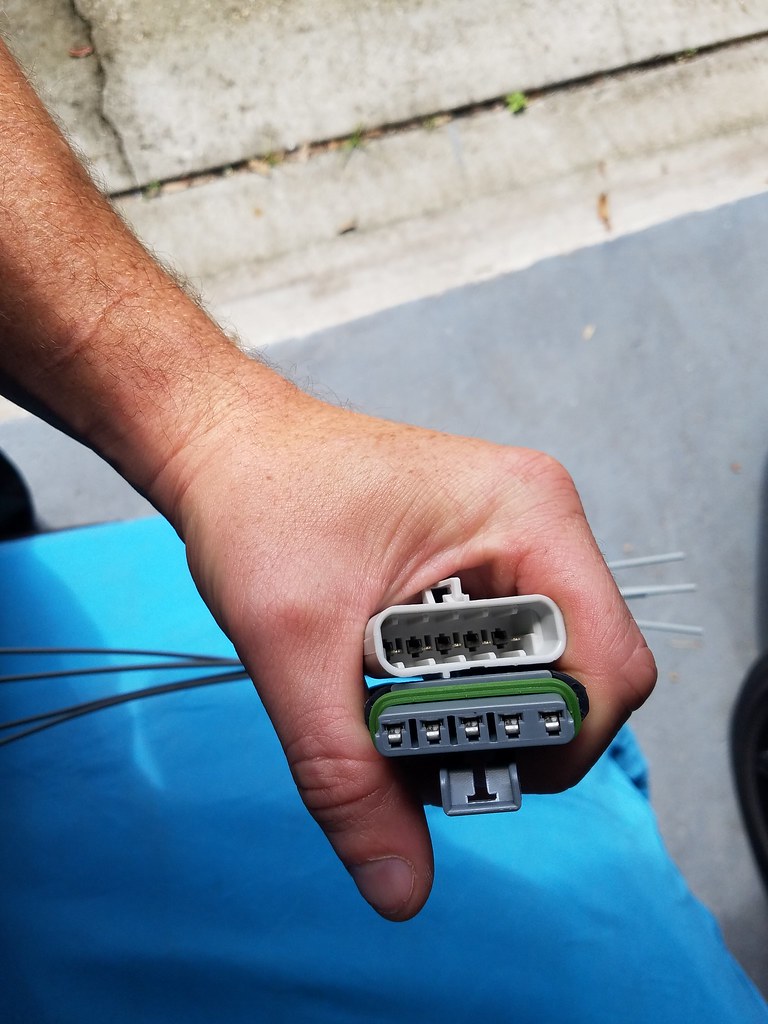
If you are super ultra-observant, you recognize that I am way away from the car in this picture, so, you guessed it, I have already replaced these bits. So here is that:
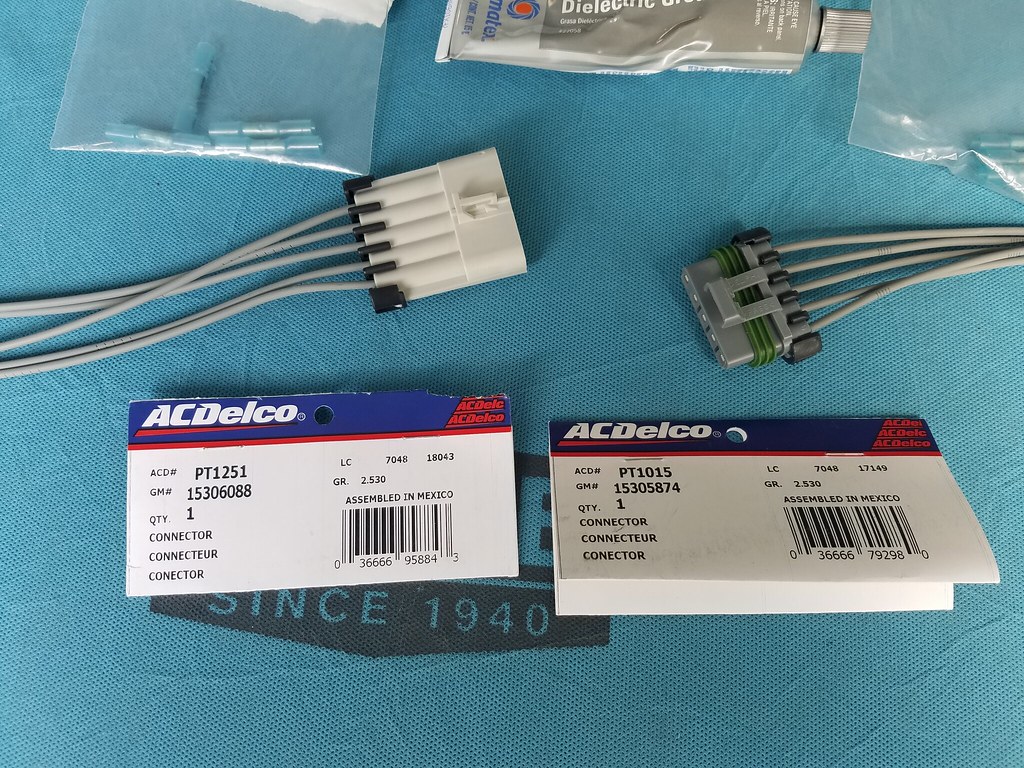
First step, order some new plugs. I just used Amazon. Big disclaimer here – I did not test to see if the new plugs would work with the old ones before I threw the old ones away. Sorry. I figure if your plugs are in that sort of condition, you may as well replace both.
AC DELCO PT1251 and AC DELCO PT1015 are five lead connectors, and they plug into one another, and are more than up for this task. Though I did not attempt to plug into the old ones, they look identical.
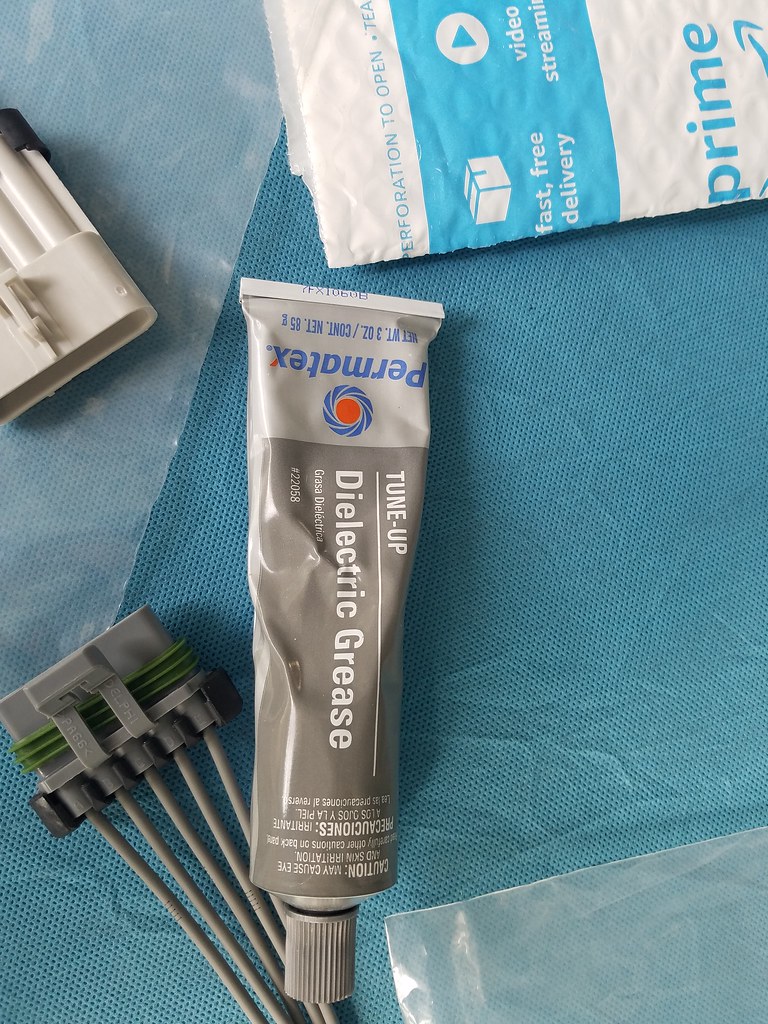
When I put these together I used copious amounts of Dielectric grease to further aid in corrosion prevention. Honestly, probably used too much. Most of it came out when I plugged them in. Don’t be dumb like me, use a reasonable amount.
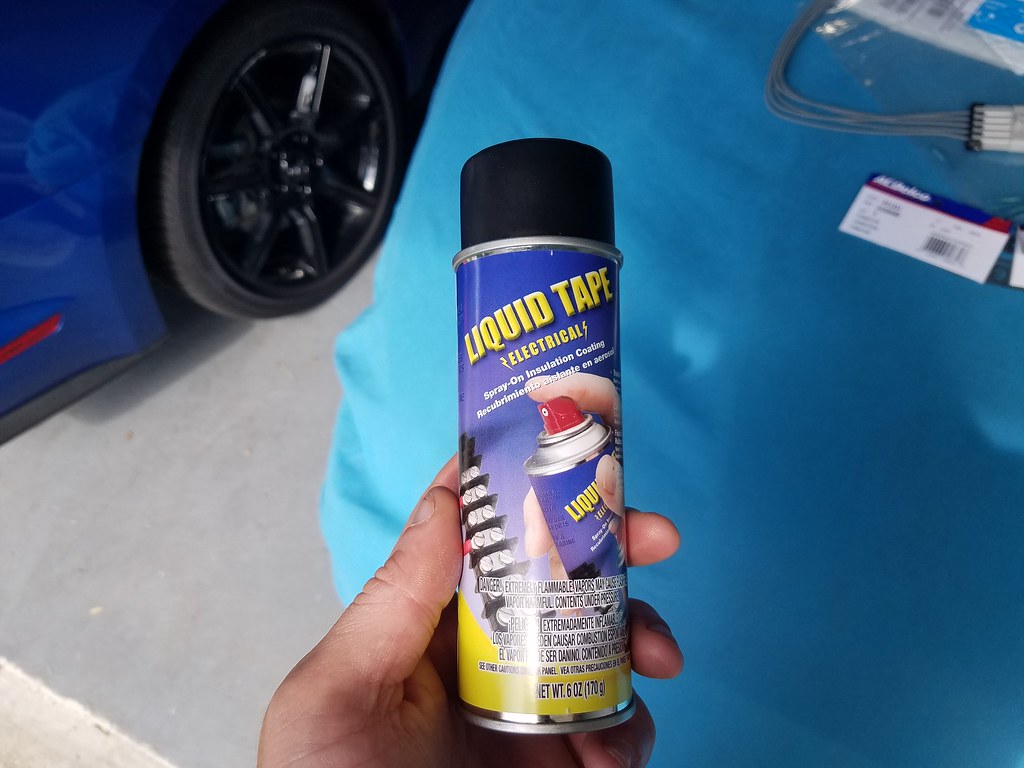
I also found this stuff at a store. It claims to be liquid electrical tape. I imagine it won’t hurt to further seal this unit.
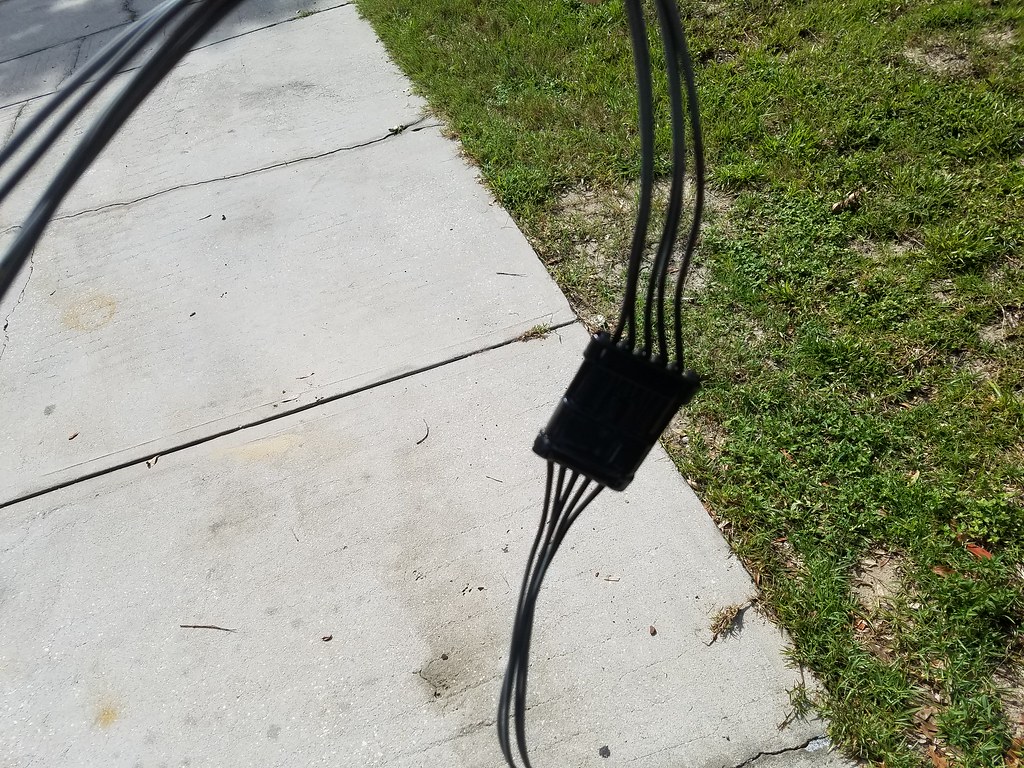
This is after a coat with that liquid tape. It has a Plastidip sort of consistency. I did two coats. Take note, none of the wires were color coded anyhow. I imagine having some black on them won’t make any difference down the line. I also ran a zip tie (not tied) through the plug connection. GM typically has those little plastic pieces to “lock” plugs together. If there was supposed to be one, it was gone. So, I made my own.
So, in the midst of doing this project, I decided there was no way I was going to effectively splice these new units in while the bumper was still in place. I could not find a good write up on how to remove the front bumper from a 97-02 Trans Am. So, I decided to make one, after much cursing, here you go:
Manually raise the headlights (I had to because, well, you know, broken. But, you could use the method of letting the motors raise the lights then unhooking the battery.)
Remove the headlight bezels. Not ultimately necessary but 6 little screws that are easy to get to can make your life much easier.
Go ahead and raise the car and put it on jack stands.
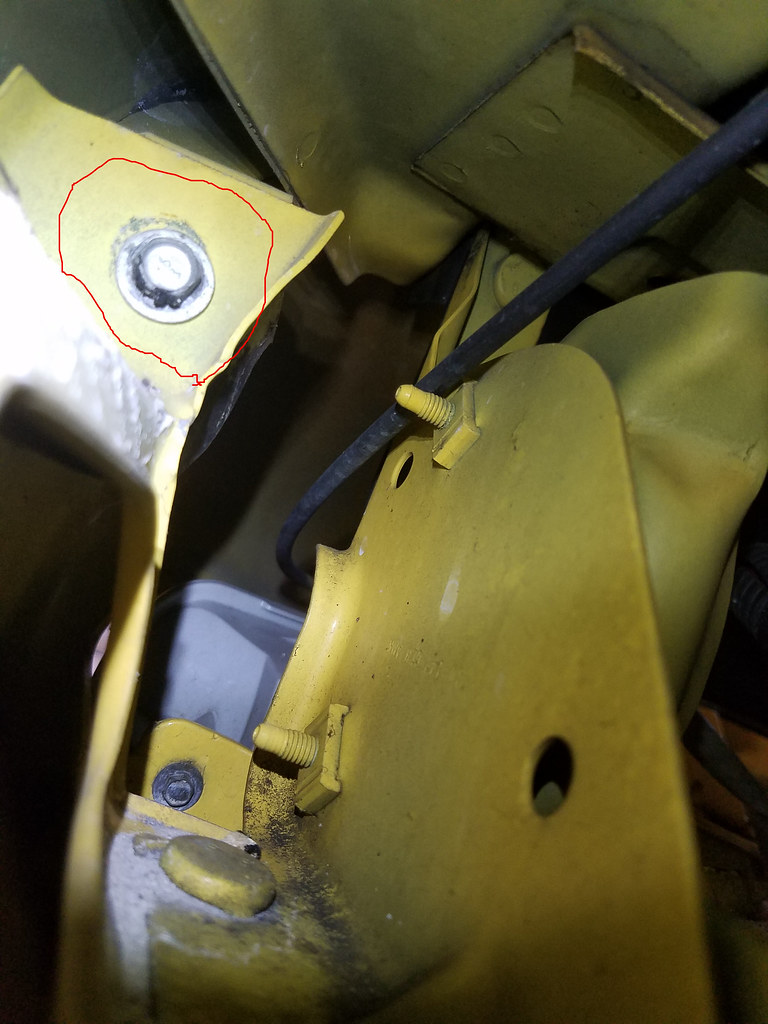
Apparently this bolt is a Firebird thing, and is not found on the Camaro. It is beside each headlight and needs a 7mm socket or nut driver to remove. I would do it first so you don’t forget. This is much easier without the plastic around the lights:
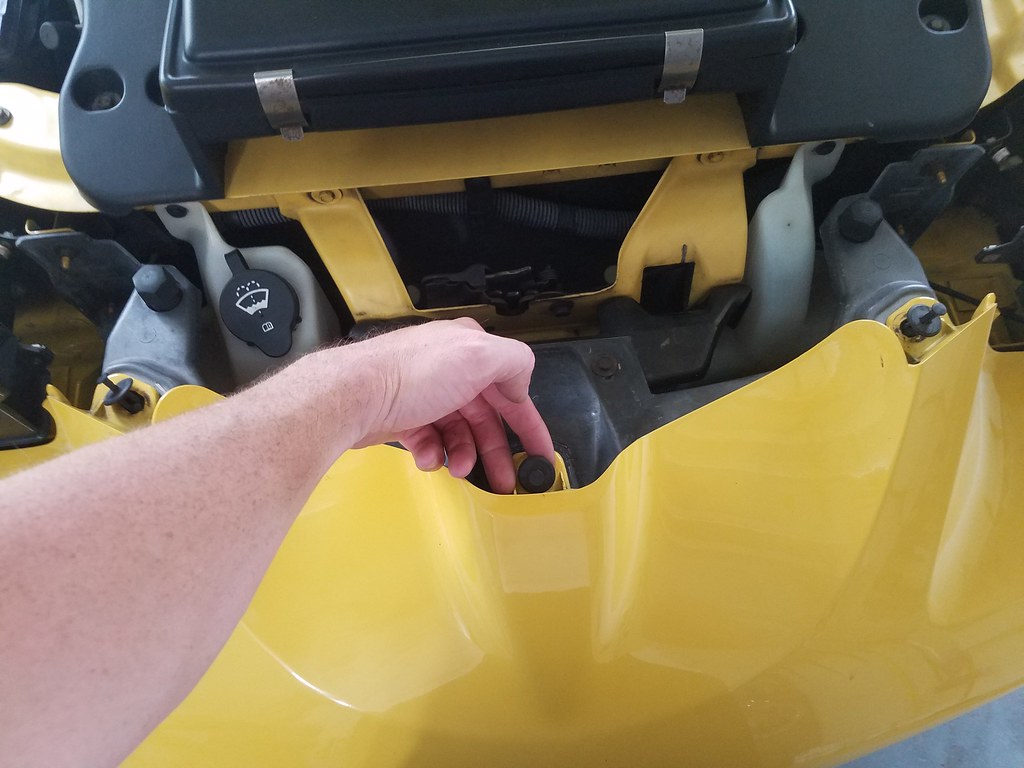
Use a trim tool or screwdriver to remove the three tabs on top and the three on the bottom.
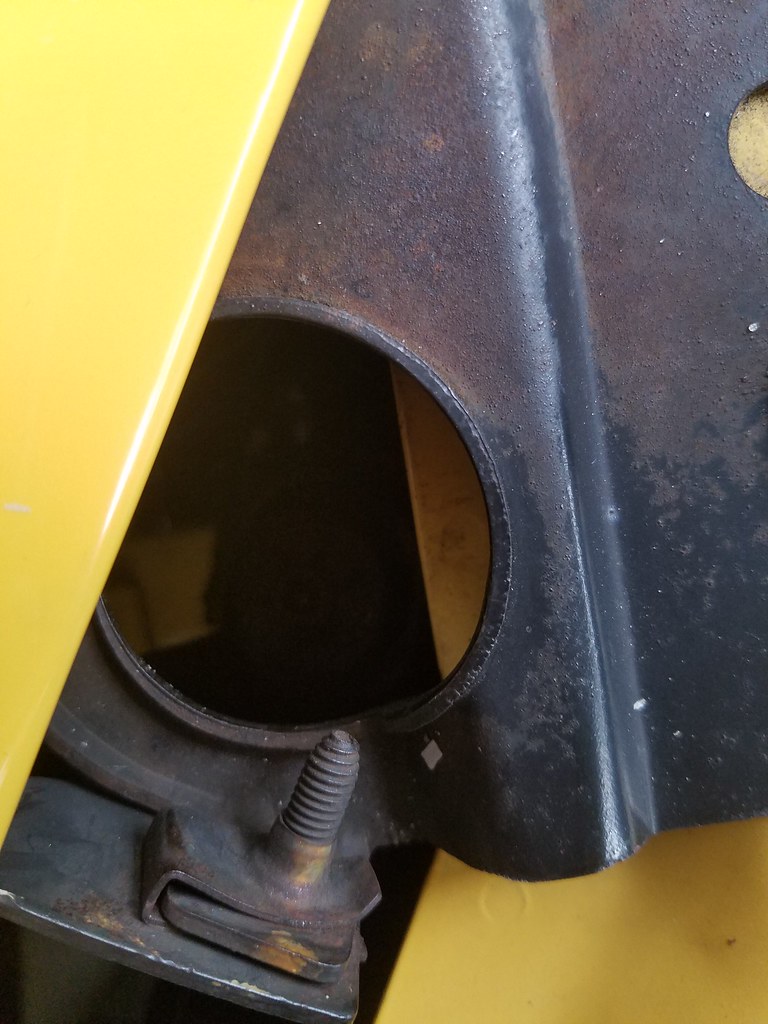
Remove the bolts for the “Air Deflectors” on the underside. I believe it is five bolts on each side that need to be removed. 10mm socket on an electric impact works great here. But, you can do it by hand.
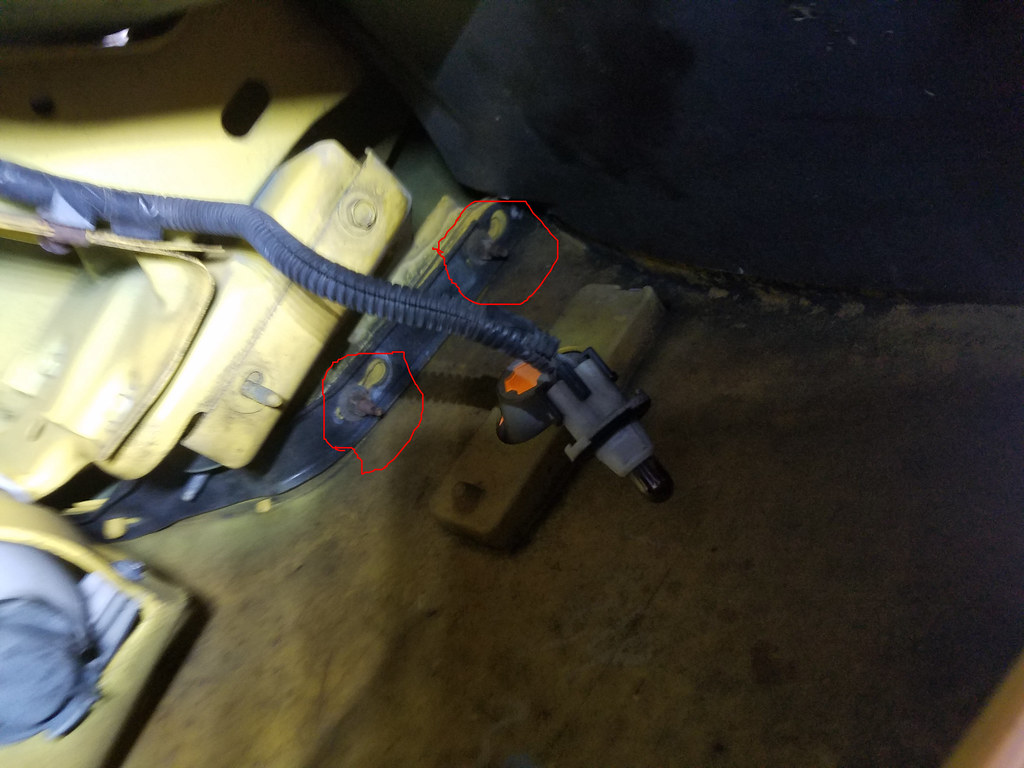
Using the space from the deflector to see through, locate these two nuts on either side. I needed a ľ” drive universal joint, 10mm deep-well socket, and some extensions to effectively get to them. You might not. A swivel deep-well may have done the trick.
At this time, I removed the bulb from the turn signal and driving lights.
Next, you will need to remove the forward facing bolt from either side. Don’t be like me and forget this bolt, pulling on the bumper wondering why it won’t come off. It is a pain to get to. It would probably be easier if you removed the front wheels and peeled the liner back a bit. I of course fought with it with the wheel in place.
You may find yourself looking under the headlights wondering what the “stud” facing forward is for. That is this bolt.
A gentle pull and the bumper should come right off. Install is the reverse of the removal. Of course, if you’re like me (again) you should have a friend help you, because the body lines will probably not be right after you do this, so you may need some help adjusting.
As you can see in the next photo, there is ample room to work to do some splicing in this area now. You can even see the corrosion in the plugs from this distance.
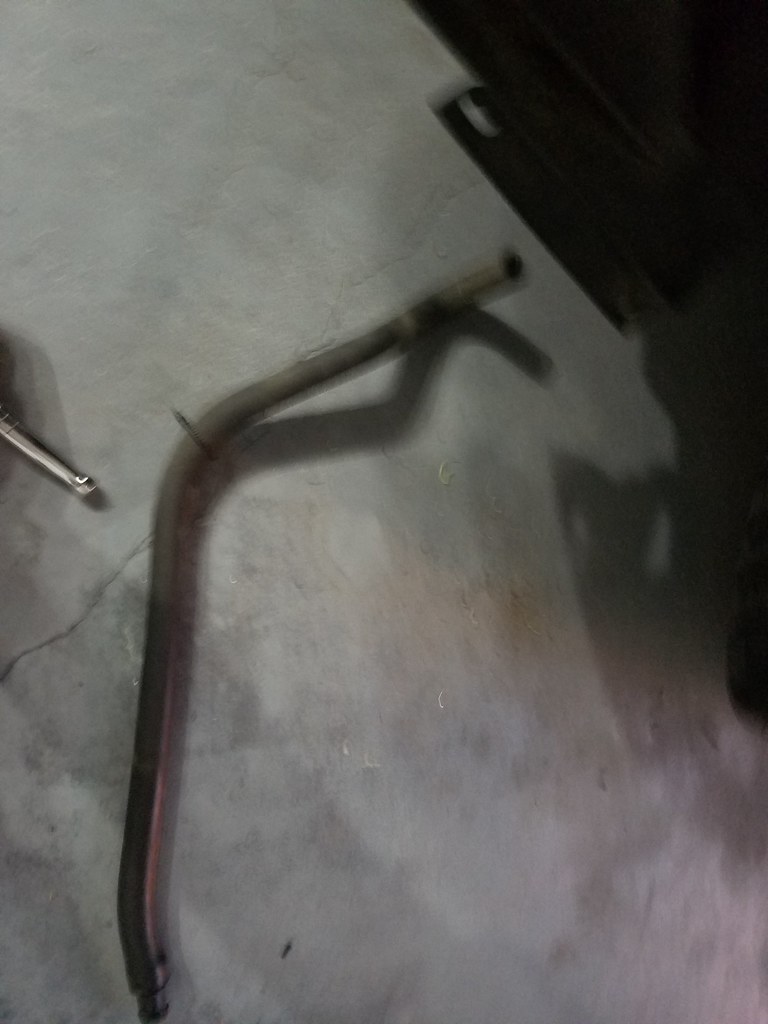
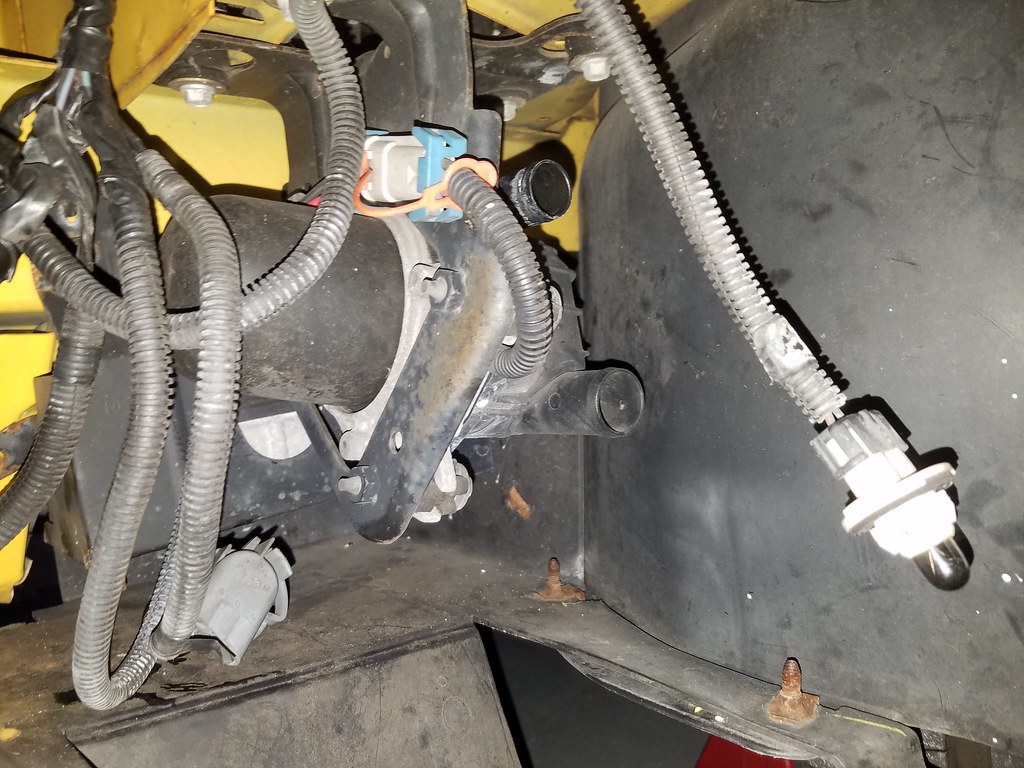
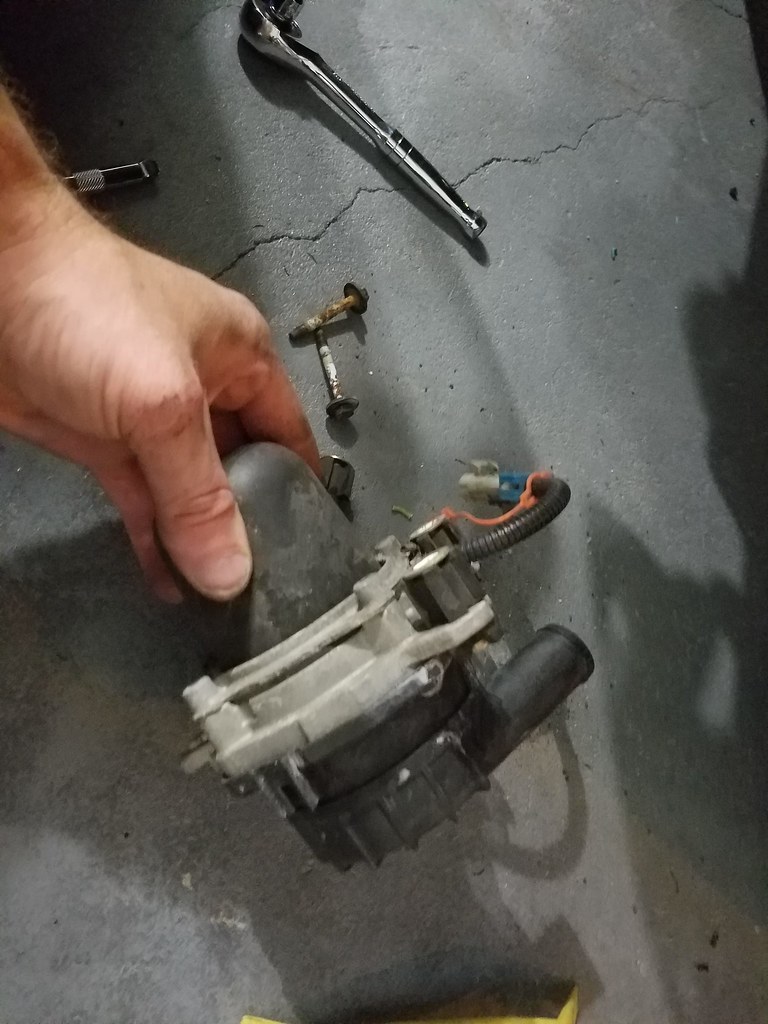
Some of you recall removing the AIR system. I thought now would be a good time to finish the removal. Shed some weight, gain some room, and get rid of this large unsightly hose:
Added blur for effect. (I was in a hurry!)
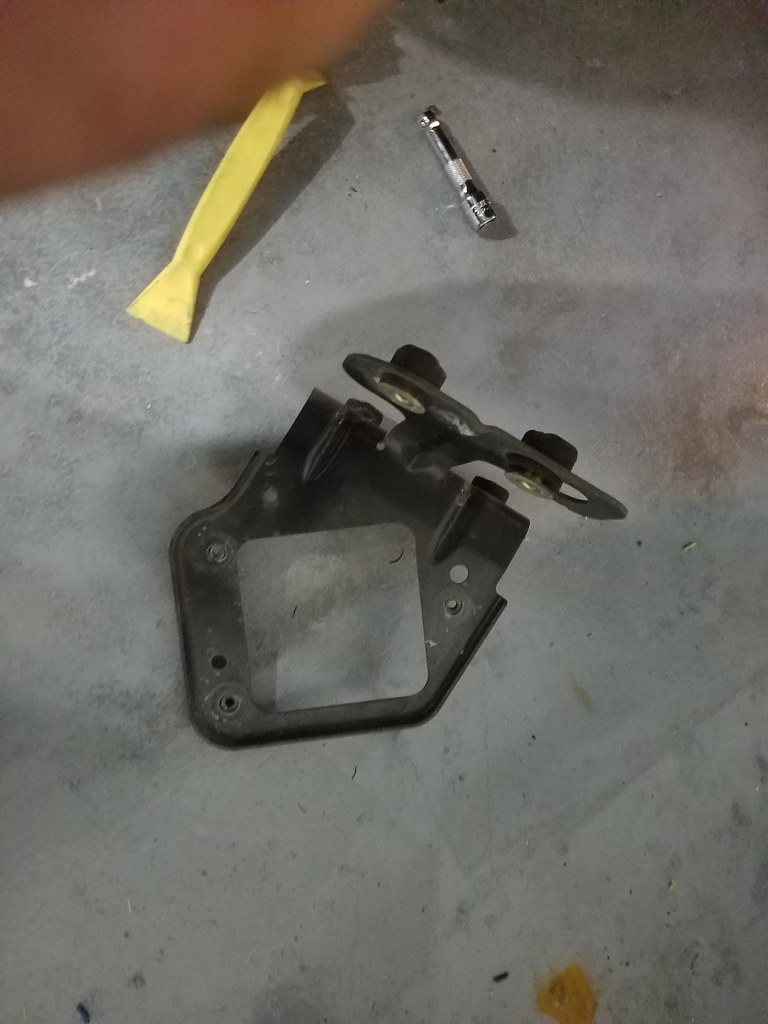
I removed the three bolts holding it into the bracket, and then removed the bracket. I replaced the bolts for the bracket back into the holes because who knows, maybe one day that will be a great spot for an oil cooler or something.
Looks like I did not get a finished picture. Either way, with the added length for the new plugs, I was able to move the plug further into the vehicle, near where the AIR system was. This should help keep it out of the elements. I also wrapped up and tied the existing air plug, because I am always one of those “just in case” people.
The connections were made with the weather seal kind of butt connectors with heat shrink, then taped over. If I could solder well I might have, but I am terrible. I will say, with the bumper off there is enough room for a skilled person to solder. I would have caught the car on fire.
Whilst performing this repair, I found that the headlight motors have been replaced. They have the door that is bolted on instead of glued. That is good peace of mind, since it is a much better design.
Thanks for looking!
Should have some stuff coming up soon in preparation for the F-Body beach bash!
Last edited by Number Tew; 08-21-2019 at 07:04 PM.


