any one have a how to dash swap? LOL!!
 03-22-2008, 05:13 PM
#1
TECH Fanatic
Thread Starter
iTrader: (2)
Join Date: Aug 2003
Location: michigan; where even our licens plates rust
Posts: 1,712
Likes: 0
Received 0 Likes
on
0 Posts

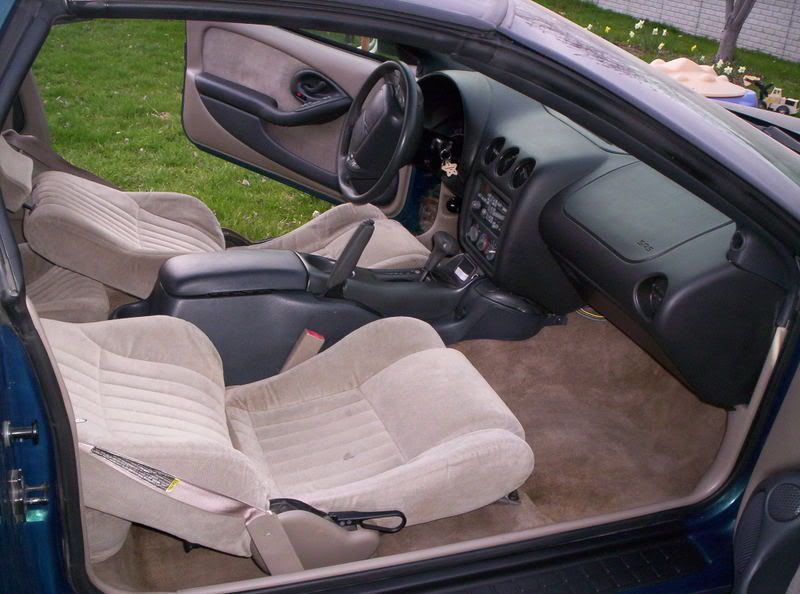
Just won this dash to replace the cracked one in my v6 bird.
http://cgi.ebay.com/ebaymotors/ws/eB...m=160218853059
I was wondering if any one had a how two to save some time, or should I follow the 2 step process
1 take every thing apart
2 put it back together with the new parts the opposite way you took it apart.
Don�t worry this car is not my summer driver so it doesn�t matter if it doesn�t get done in one weekend.
 04-18-2008, 08:29 PM
#2
TECH Fanatic
Thread Starter
iTrader: (2)
Join Date: Aug 2003
Location: michigan; where even our licens plates rust
Posts: 1,712
Likes: 0
Received 0 Likes
on
0 Posts
well armed with the advise from Mike@fbodyaudio below I jumped right into it..... I gotta say if you have some cracks in your dash.... deal with it!!
This is a biig pain in the butt...
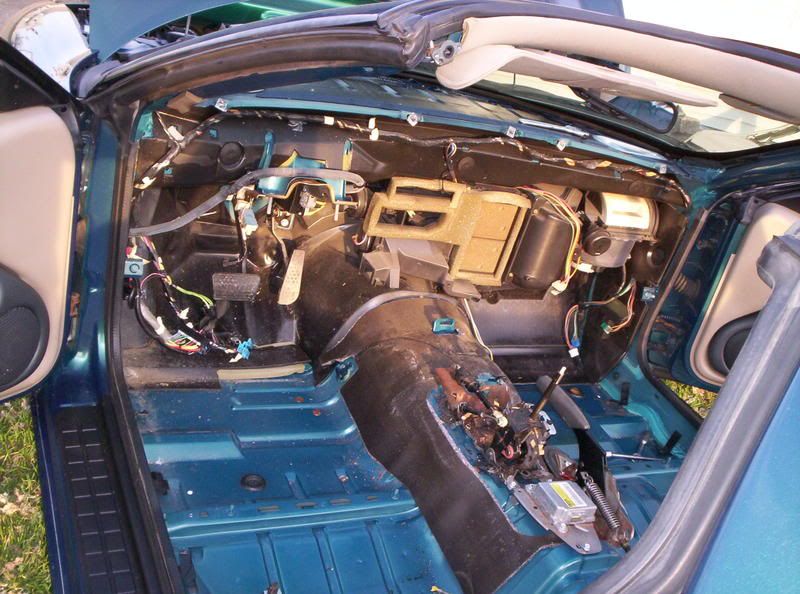
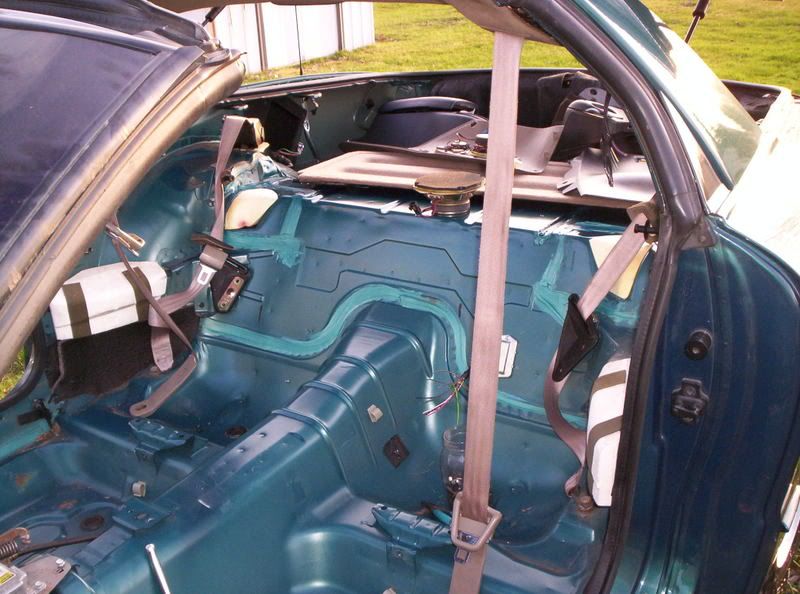
It wouldnt be so bad but the harness is all one piece going from the dash all the way to the rear hatch latch, and taking out the carpet seems to be the only good way.
I guess if your good with solder and keeping wires streight you can cut and re-attach. I decided to do that for the fuel pump, and the dome light.
This may seem excessive but the harness in the car is one big piece that goes from the spare tire up to the dash, across to drivers door and back to changer area. It is much easier in the long run to remove the harness with the dash, I have tried both ways, and first time I left the harness in trying to make it easier. Taking the dash out does become easier, but installing it is much more trouble then it's worth that way.
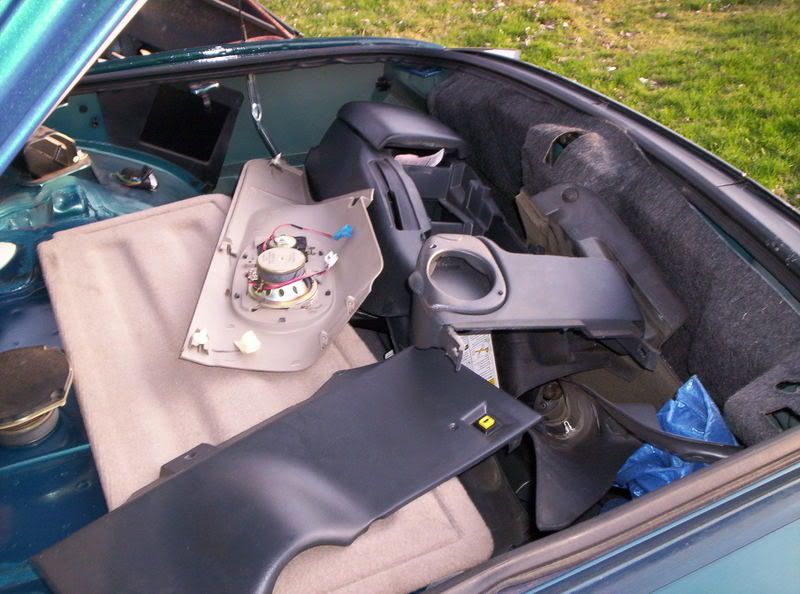
1.remove seats
2.remove interior panel ( rear, sail, kicks, console, knee bolster, black plastic under dash on both sides, a pillars and big flat dash piece)
3. remove carpet if you can...not a must but a little easier
4.remove harness on passenger side from monsoon area all the way up to the kick panel
5. remove harness on drivers side from trunk release forward. There is a ground in the back you have to undo, a plug on the trunk release, a plug for the tail light harness, a ground point near drivers seat and you have to remove the harness under the headliner going to the dome light. The changer harness splits behind the front seat and goes over to the passenger harness. There is also a harness riveted to the back seat wall. Drill them out and unplug it.
You should now have the harness removed all the way up to the dash
6. unplug the cable from the ac controls under glover box...its a 7mm bolt facing straight up.
7. Unplug ac vacuum hoses behind/under glove box
You dont have to remove the ac controls cause you are disconnecting them under the dash instead...alot easier
8. remove steering column...
. remove 1 11mm bolt on steering column shaft under hood.
. remove 3 10mm bolts on firewall.
.remove 2 13mm bolts at top of column holding it up to the dash frame. You will have to remove a "V" brace to get to these 2 bolts. 2 10mm bolts remove the brace
It will then drop down and you can unplug the ignition switch harnesses. You can unplug the other harnesses at the base of the column before undoing the bolts. Should be 2 long black harnesses, airbag, and steering wheel control harness. If you have an auto you will need to remove a small philips screw holding the cable for the shifter in place. No need to remove steering wheel.
Do NOT leave the ignition switch turned on. The wheel will free spin when its out if you do and that will break the wires for the airbag and steering wheel controls.
9. Unplug main harness under dash...a 7mm undo's the harness. You'll now what Im talking about when you look. On the side going to the dash...unclip the small gray part of the plug.
10. remove the harness from the console area
11. remove 2 10mm bolts at bottom of dash where it meets console
12. remove 13mm bolts on bottom of dash...one in each corner...the factory ground point.
13. remove the 5 7mm bolts at top of dash.
dash should now fall forward on to you. Its a little easier to have a helping hand getting it out of the car but not impossible to do your self if you are limber. Put a blacket over the shifter area so it doesnt scratch the dash or the dash doesnt scratch the shifter ebrake.
You'll notice a few 7mm bolts holding the plastic part of the dash to a metal bracket behind the main dash. You dont mess with these as it all comes out in one piece.
I may have missed something small like unplugging a harness here or there but it will be self explanatory. Just remove the dash slowly incase you miss any connectors, so you can stop before you rip them out.
This is a biig pain in the butt...
It wouldnt be so bad but the harness is all one piece going from the dash all the way to the rear hatch latch, and taking out the carpet seems to be the only good way.
I guess if your good with solder and keeping wires streight you can cut and re-attach. I decided to do that for the fuel pump, and the dome light.
This may seem excessive but the harness in the car is one big piece that goes from the spare tire up to the dash, across to drivers door and back to changer area. It is much easier in the long run to remove the harness with the dash, I have tried both ways, and first time I left the harness in trying to make it easier. Taking the dash out does become easier, but installing it is much more trouble then it's worth that way.
1.remove seats
2.remove interior panel ( rear, sail, kicks, console, knee bolster, black plastic under dash on both sides, a pillars and big flat dash piece)
3. remove carpet if you can...not a must but a little easier
4.remove harness on passenger side from monsoon area all the way up to the kick panel
5. remove harness on drivers side from trunk release forward. There is a ground in the back you have to undo, a plug on the trunk release, a plug for the tail light harness, a ground point near drivers seat and you have to remove the harness under the headliner going to the dome light. The changer harness splits behind the front seat and goes over to the passenger harness. There is also a harness riveted to the back seat wall. Drill them out and unplug it.
You should now have the harness removed all the way up to the dash
6. unplug the cable from the ac controls under glover box...its a 7mm bolt facing straight up.
7. Unplug ac vacuum hoses behind/under glove box
You dont have to remove the ac controls cause you are disconnecting them under the dash instead...alot easier
8. remove steering column...
. remove 1 11mm bolt on steering column shaft under hood.
. remove 3 10mm bolts on firewall.
.remove 2 13mm bolts at top of column holding it up to the dash frame. You will have to remove a "V" brace to get to these 2 bolts. 2 10mm bolts remove the brace
It will then drop down and you can unplug the ignition switch harnesses. You can unplug the other harnesses at the base of the column before undoing the bolts. Should be 2 long black harnesses, airbag, and steering wheel control harness. If you have an auto you will need to remove a small philips screw holding the cable for the shifter in place. No need to remove steering wheel.
Do NOT leave the ignition switch turned on. The wheel will free spin when its out if you do and that will break the wires for the airbag and steering wheel controls.
9. Unplug main harness under dash...a 7mm undo's the harness. You'll now what Im talking about when you look. On the side going to the dash...unclip the small gray part of the plug.
10. remove the harness from the console area
11. remove 2 10mm bolts at bottom of dash where it meets console
12. remove 13mm bolts on bottom of dash...one in each corner...the factory ground point.
13. remove the 5 7mm bolts at top of dash.
dash should now fall forward on to you. Its a little easier to have a helping hand getting it out of the car but not impossible to do your self if you are limber. Put a blacket over the shifter area so it doesnt scratch the dash or the dash doesnt scratch the shifter ebrake.
You'll notice a few 7mm bolts holding the plastic part of the dash to a metal bracket behind the main dash. You dont mess with these as it all comes out in one piece.
I may have missed something small like unplugging a harness here or there but it will be self explanatory. Just remove the dash slowly incase you miss any connectors, so you can stop before you rip them out.
04-18-2008, 08:34 PM
#3
TECH Fanatic
Thread Starter
iTrader: (2)
Join Date: Aug 2003
Location: michigan; where even our licens plates rust
Posts: 1,712
Likes: 0
Received 0 Likes
on
0 Posts
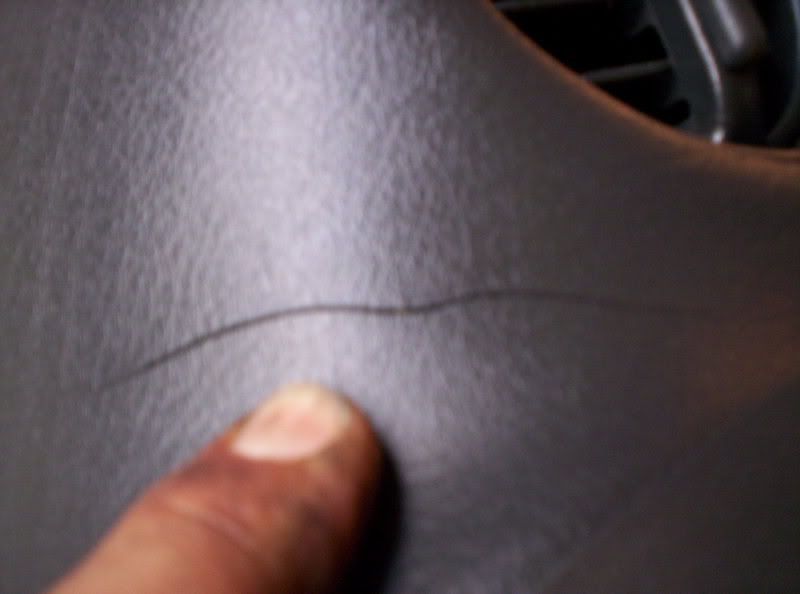
here are pics of the cracks in the old dash
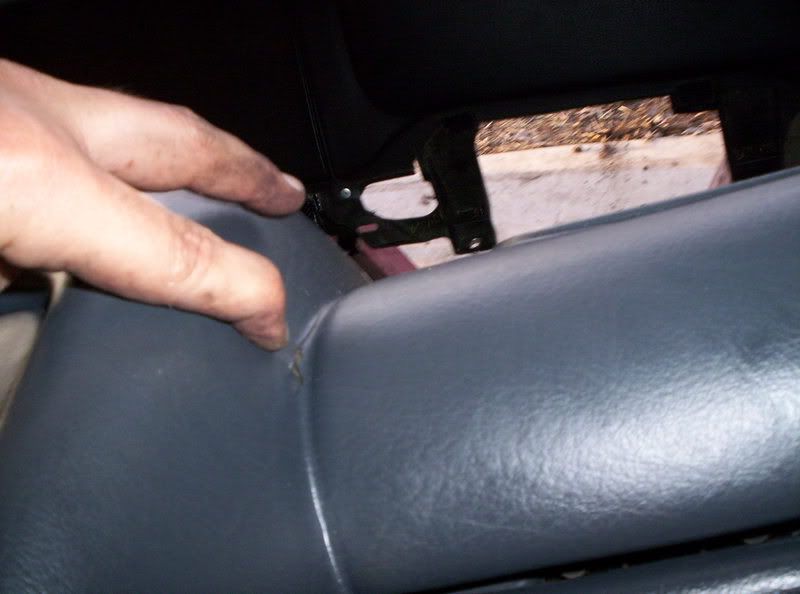
and pics of the swap in the works
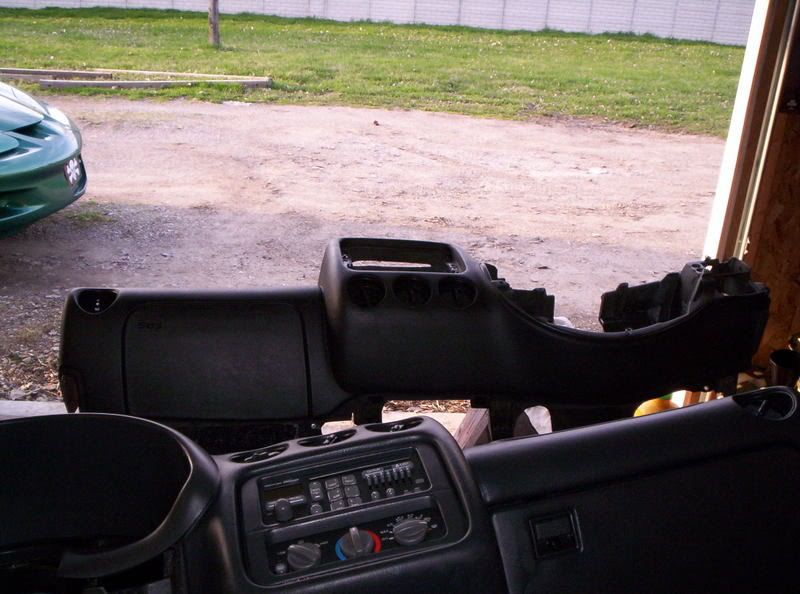
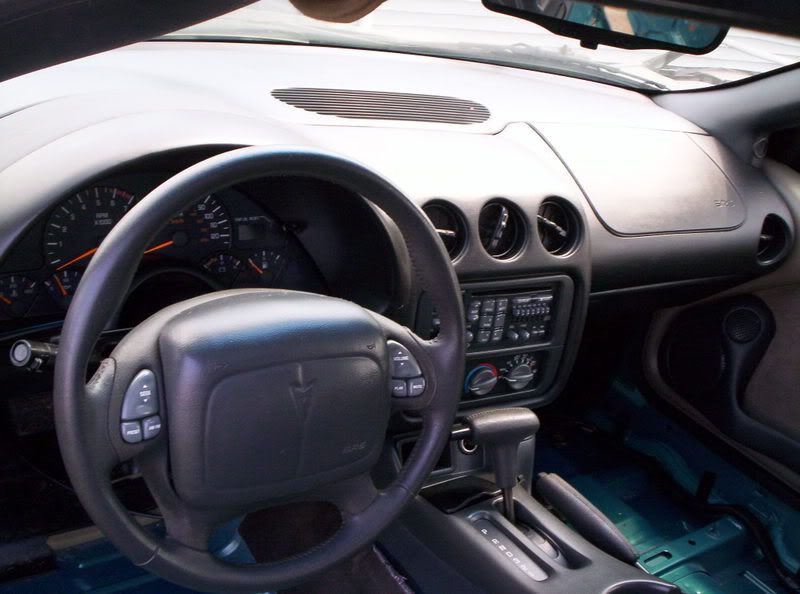
and pics of the new one in the car...
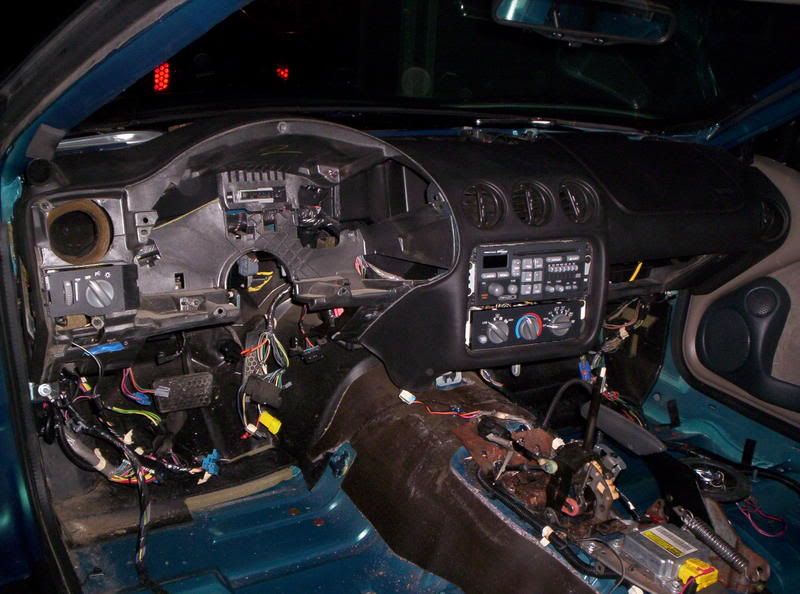
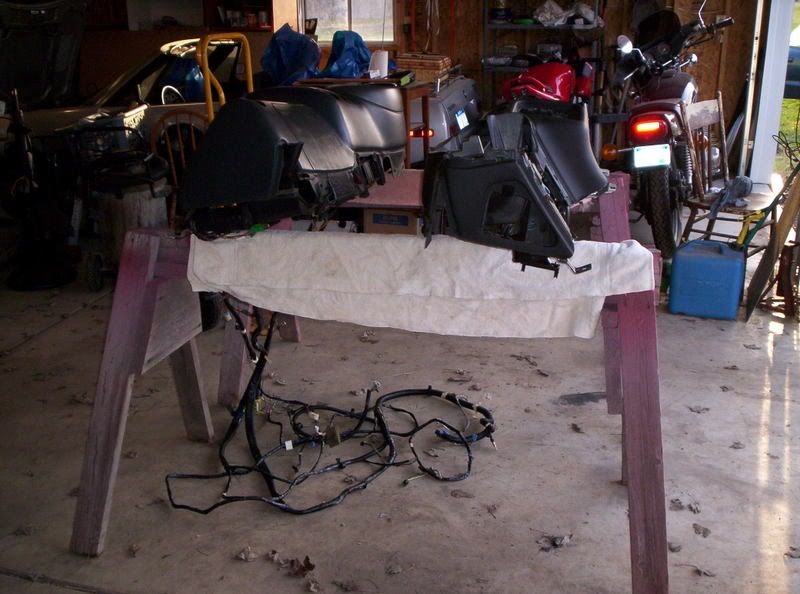
I discovered that the majority of the dash wire loom is attached to a bar running the lenght of the dash that can be unscrewed from the rest of the shell. That helped big time!
and pics of the swap in the works
and pics of the new one in the car...
I discovered that the majority of the dash wire loom is attached to a bar running the lenght of the dash that can be unscrewed from the rest of the shell. That helped big time!
 04-19-2008, 10:20 AM
#5
TECH Fanatic
Thread Starter
iTrader: (2)
Join Date: Aug 2003
Location: michigan; where even our licens plates rust
Posts: 1,712
Likes: 0
Received 0 Likes
on
0 Posts
Yeah, .....
its ... um... fun?
I found that it would be allot easer to
pull out the column
take out the speedo cluster, radio, heater controls, and glove box.
pull out the center counsel
and then swap out the dash shell
I found while swapping the dash shells the majority of the wires and modules are mounted along one major metal support that can be taken apart with 10 screws...
doing it this way might be a little tight inside at times but will be a heck of a lot less work than pulling the full interior out, and still having to cut and solder some wires!
I guess in my case it was worth it to find better replacements for the rear panels, and carpet..
04-19-2008, 08:37 PM
#6
TECH Fanatic
Thread Starter
iTrader: (2)
Join Date: Aug 2003
Location: michigan; where even our licens plates rust
Posts: 1,712
Likes: 0
Received 0 Likes
on
0 Posts
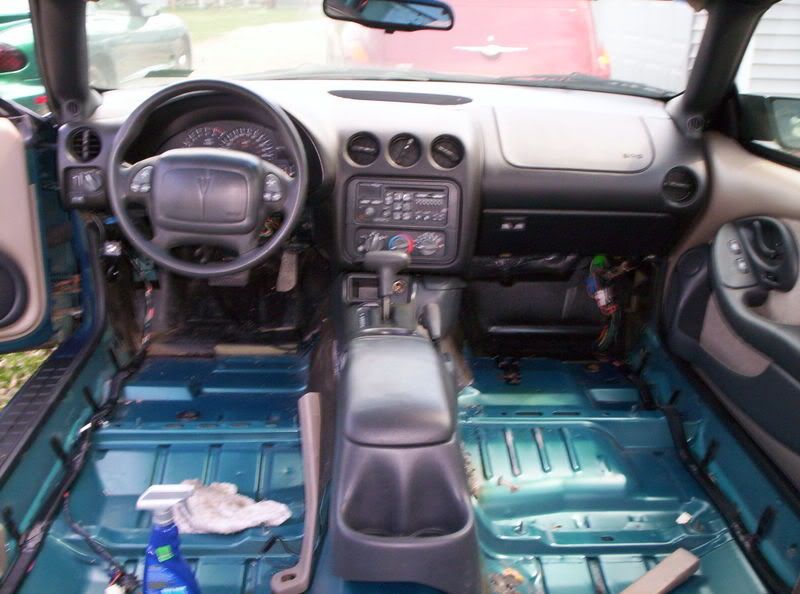
ok all the dash stuff is in, the column is back up and wired, and the center console is in. Amazingly enough it all works....
all the switches, *****, lights, and buttons.... I actully pluged every thing in and wired it all up correctly the first time!!!
this must be a first...
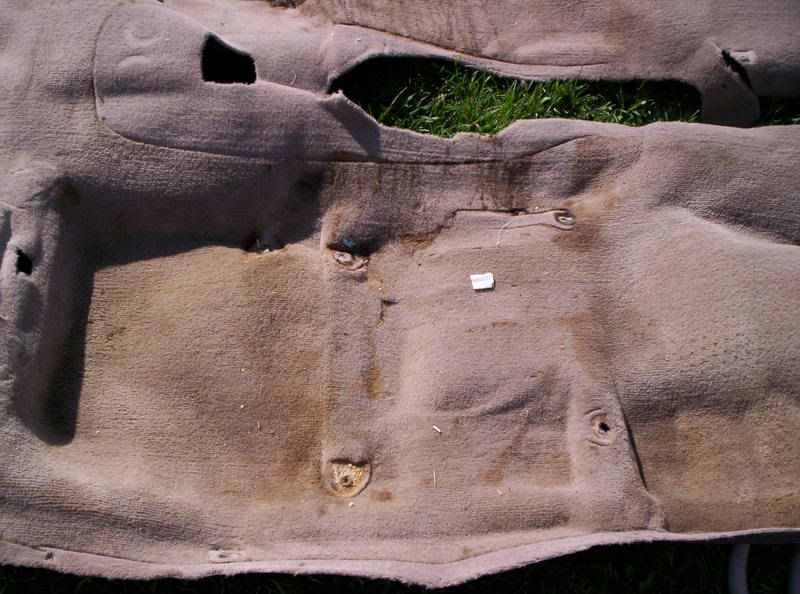
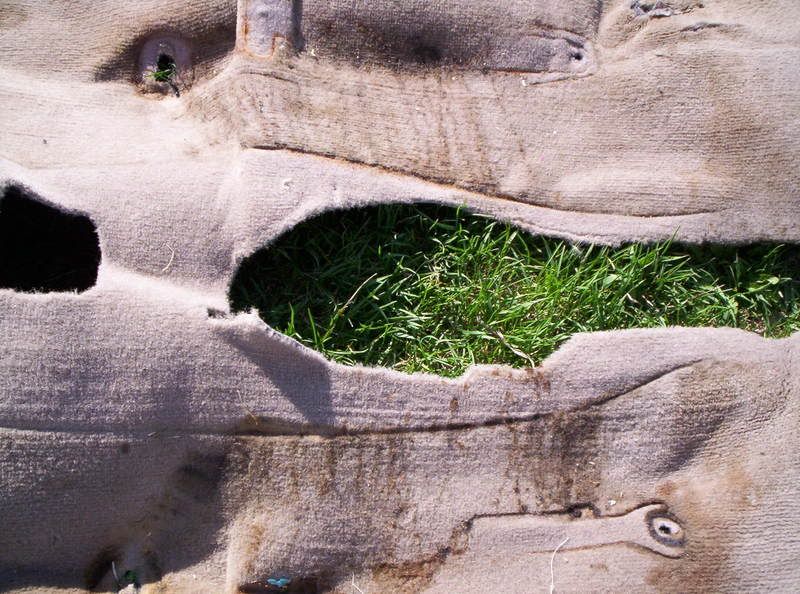
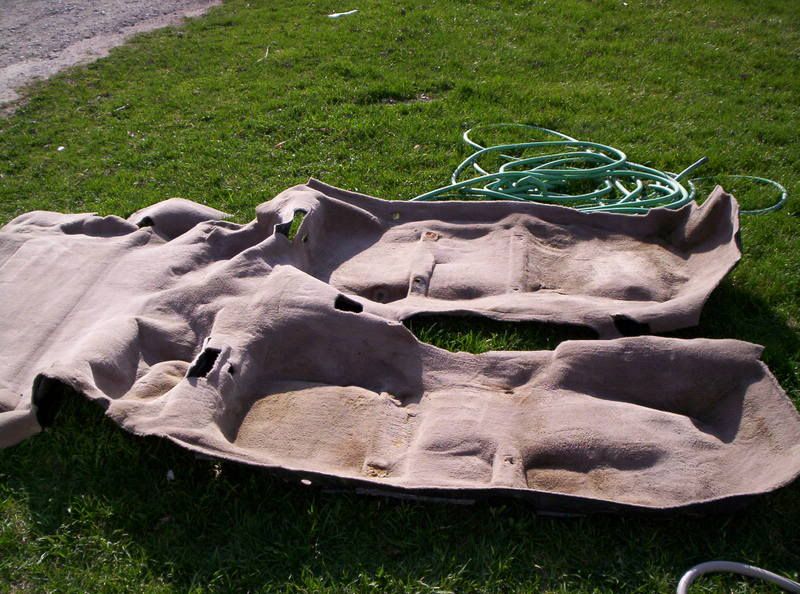
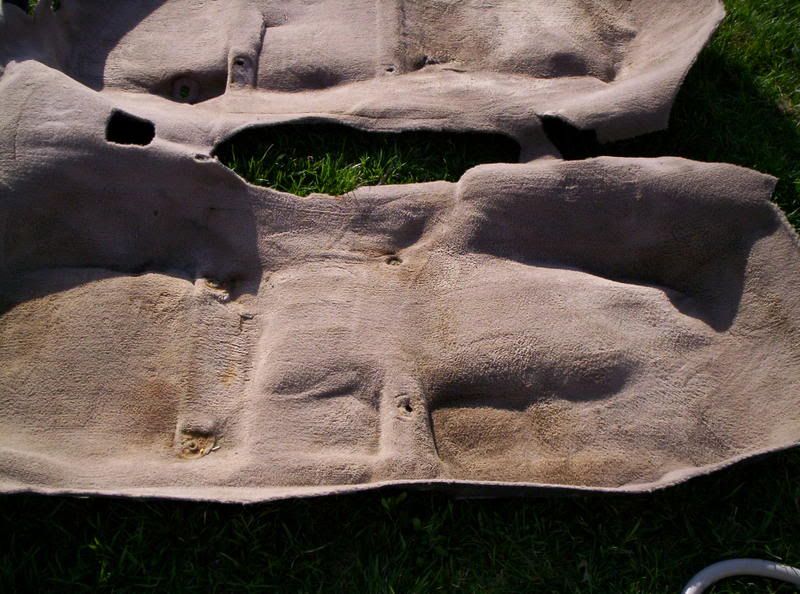
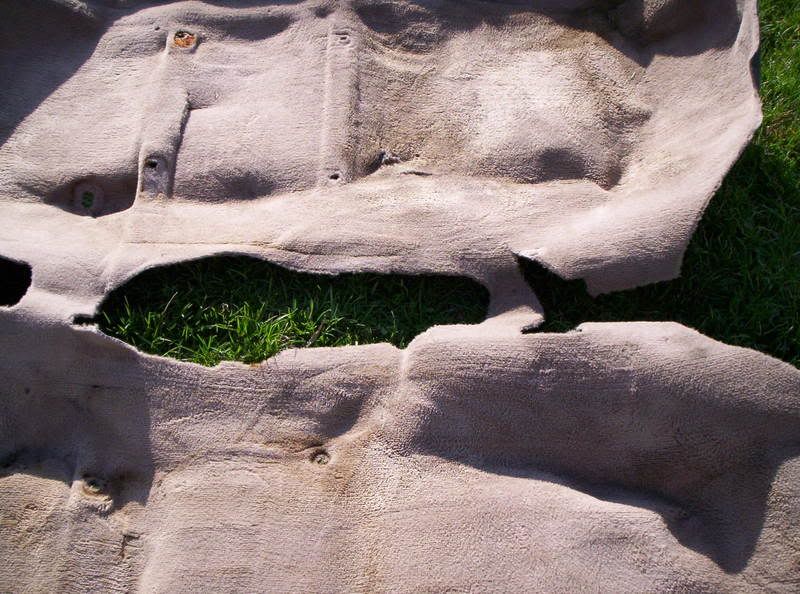
I decided that the carpet was way too nasty to put back in so I'm going to wait to get a new one before I put the intirror back in .
all the switches, *****, lights, and buttons.... I actully pluged every thing in and wired it all up correctly the first time!!!
this must be a first...
I decided that the carpet was way too nasty to put back in so I'm going to wait to get a new one before I put the intirror back in .
Last edited by cudaeh; 04-21-2008 at 01:31 PM.
Trending Topics
04-23-2008, 05:35 PM
#11
TECH Fanatic
Thread Starter
iTrader: (2)
Join Date: Aug 2003
Location: michigan; where even our licens plates rust
Posts: 1,712
Likes: 0
Received 0 Likes
on
0 Posts
ok scrubbed out the carpet... not a dramatic diffrence but now at least it feels like I wont catch any thing from it.
After I get every thing back in I will post one more picture and then Im done with this!!
After I get every thing back in I will post one more picture and then Im done with this!!
04-23-2008, 08:45 PM
#12
TECH Senior Member
iTrader: (18)
Join Date: Jun 2002
Location: NW Houston, TX
Posts: 10,036
Likes: 0
Received 0 Likes
on
0 Posts

I wish I would have saw this before you started. I pulled my dash back in december and the only part of the interior I removed besides the dash were the a-pillars and center console.