When you click on links to various merchants on this site and make a purchase, this can result in this site earning a commission. Affiliate programs and affiliations include, but are not limited to, the eBay Partner Network.
It all started earlier this year when I finally blew up the h/c/i 18x,xxx mile shortblock in my 99 camaro. After which, I decided to finally build a stout stroker setup built for boost in the future. I settled on an iron block, forged callies/callies/weisco setup. Being more cost effective to to buy a beater truck and pull the engine rather than buy a clean shortblock I found a beat to snot 02 sierra 2500 hd with a 6.0 and a 4l80 with only 98,000 on the clock.
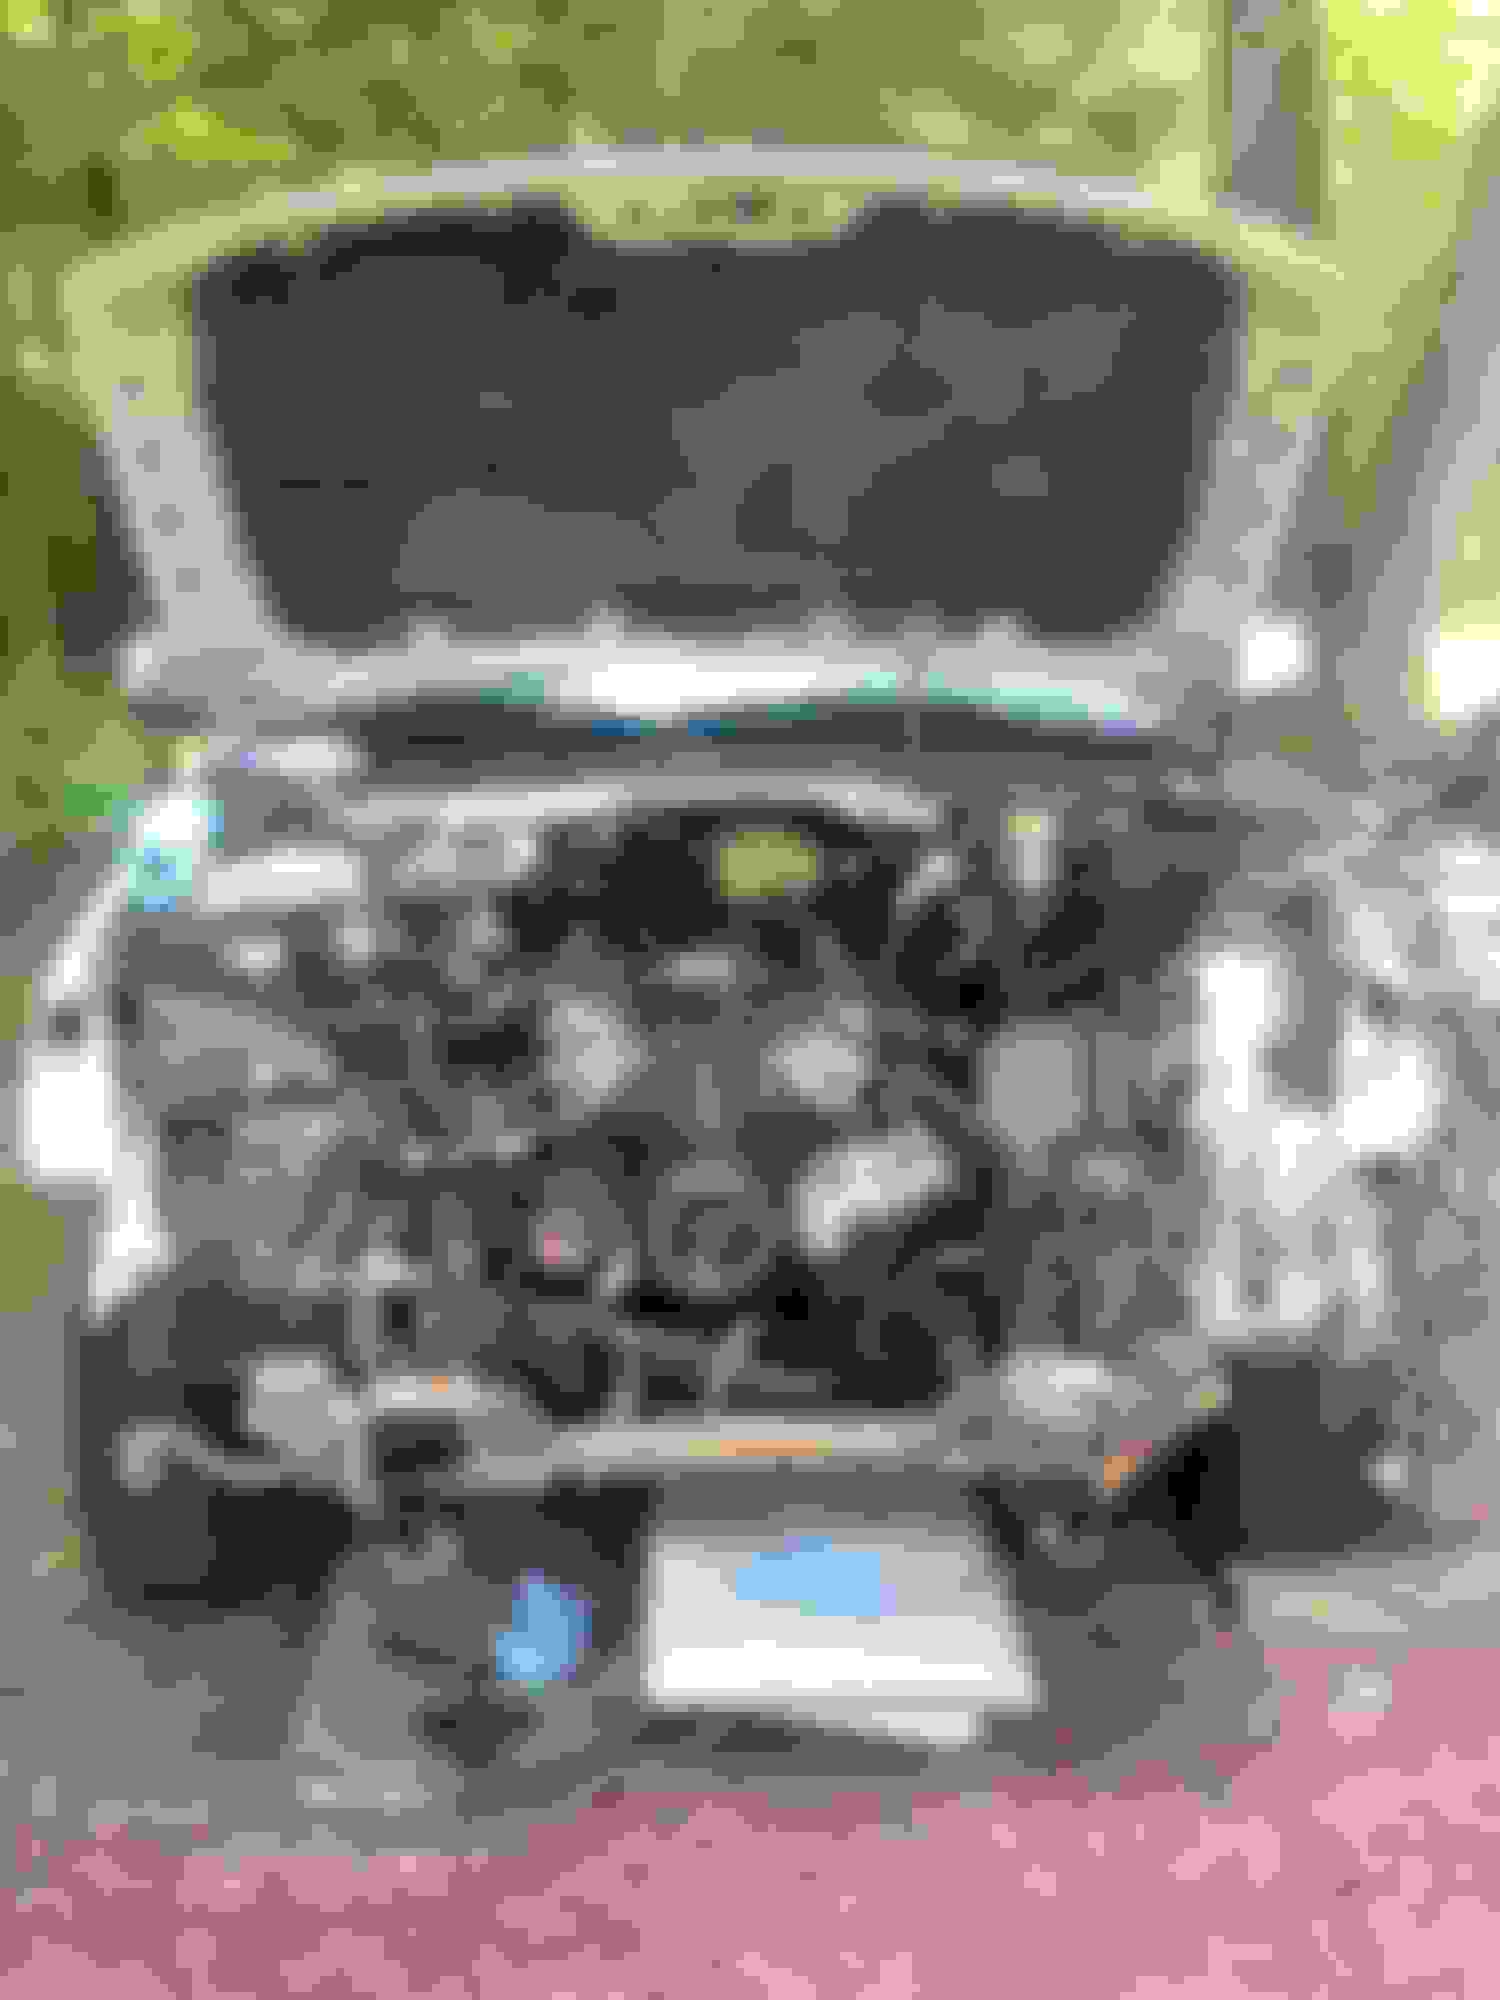
Barley able to get the thing on the trailer and tow it home it was time to tear it apart. I pulled the engine and quickly came to the realization that while the engine bay was clear I should prepare myself for either a huge cam that wouldn't pull vacuum at idle or a boosted situation with no vacuum in the intake manifold. Making a hydroboost became a priority, and was much easier than expected.
It just so happened that this particular 2500 hd was equiped with a factory gm hydroboost setup. I figured it cant be too hard to retrofit, gm parts to gm parts, they wouldn't have changed too much around with sizes and spacing. So I set about mocking it up. First i pulled the factory booster out of the camaro and then robbed the hydroboost unit out of the truck.
As you can see the size difference is immense. This booster takes up a stupid amount of room in the engine bay and the vacuum line is of course prone to breaking off the oil pressure sensor when taking off the intake manifold. These aren't deal breakers at all, but advantages nonetheless.
Now this is not a direct bolt on in any way. This requires cutting, welding, and general fabrication to get everything working the way it should. With that said, anyone with some basic welding experience should be able to easily replicate anything done.
First I wanted to see if this would even work with the stock f-body master cylinder, so i went about bolting it up, and just as expected, with gm being classic gm, it was the same hole pattern and bore diameter as well as the correct spacing between the push rod and the actuator in the master. So this will bolt directly to an f body master with no modification whatsoever. The issue comes when trying to attach the hydroboost unit to the firewall.
Sorry for not having pictures of the original units, as i was rushing to get this done, but in general the hydroboost mounts straight and directly to the firewall in the gm trucks, while the camaro booster sits on a pedestal angled upward to miss the shock tower. i figured it would be east to take the pedastal off of the camaro booster and attach it to the hydroboost no problem. Which worked flawlessly. First I shaved down the 4 rivets of the mount on the back of the fbody booster to release the sheetmetal from the canister itself. It came off clean and easily. Then i mocked it up on top of the back of the hydroboost bracket centering it where it needed to be.
This is the stock bracket on the back of the hydroboost itself
And here is the bracket from the fbody unit mocked onto the back of the hydroboost. (Notice the holes in the fbody bracket where the rivets were ground out)
Now I tacked the bracket on and then removed the excess from both brackets to make a small unnoticeable circle. This was full seam welded so the two pieces are now one. Triple check the measurements before welding otherwise some issues will probably arise from misalignment.
As you can see the plate can be removed from the hydroboost unit by removing the giant thin locknut on the back of the unit itself. I removed the plate after tacking them together so I could cut and full weld the plates together. Now I cooled and reinstalled the new mount onto my now freshly painted hydroboost unit. Its starting to finally look like somthing.
Now I tried it in place to see if it would fit in the firewall and clear the shocktower. This fit in like factory with absolutely no modification of the stock break lines needed. I didn't even need to remove them at all, just make sure to support the master when nothing else is in there.
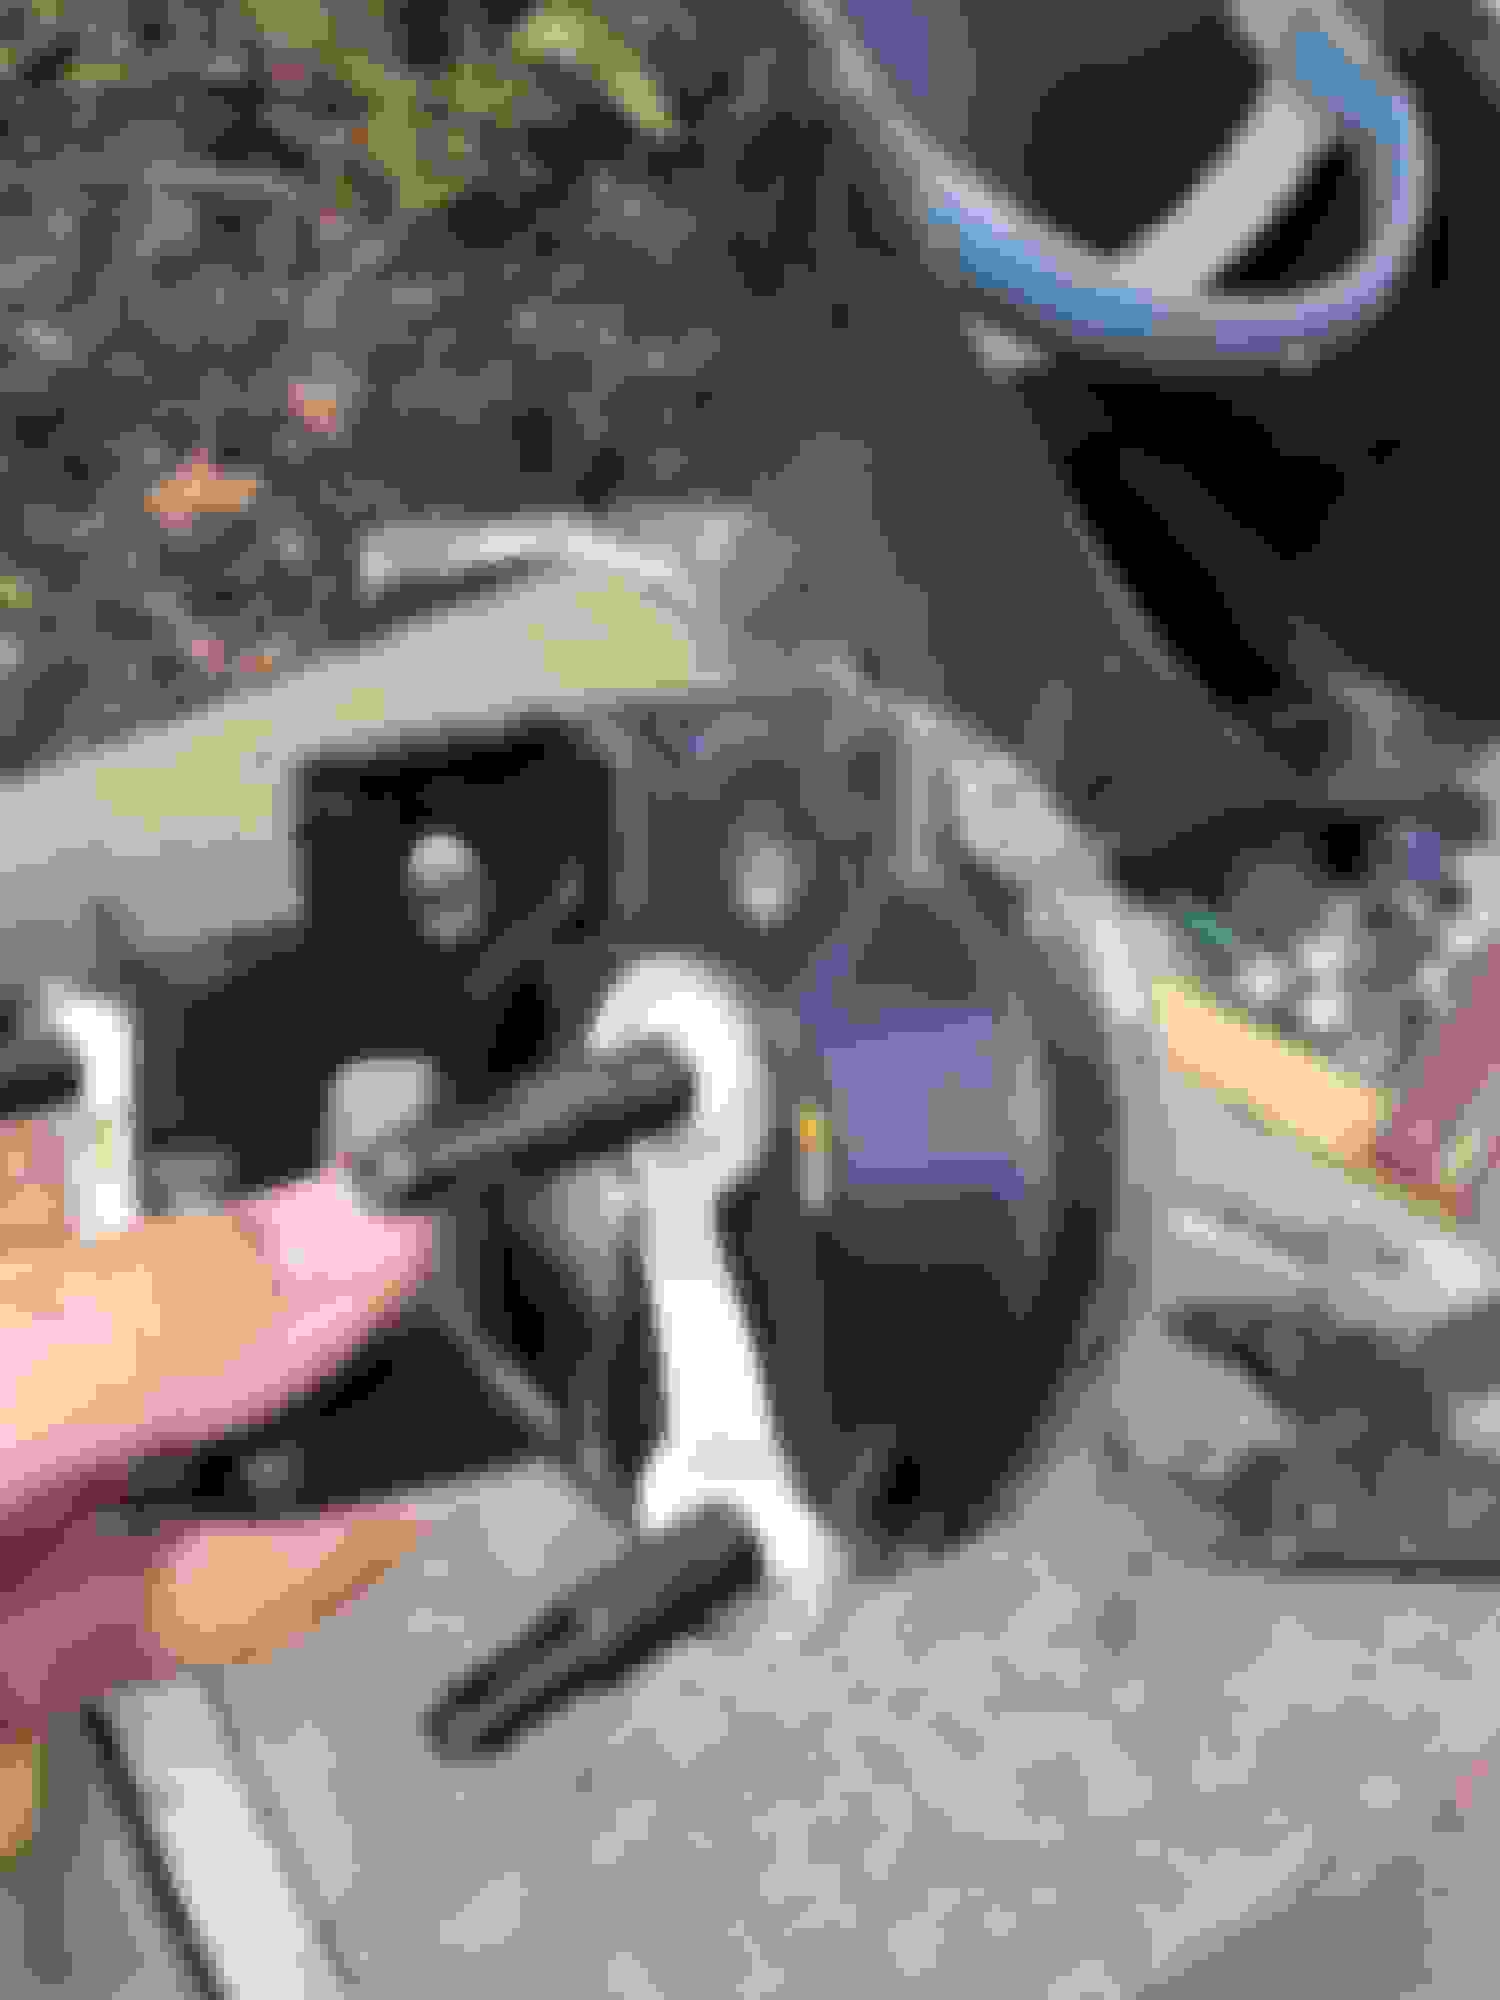
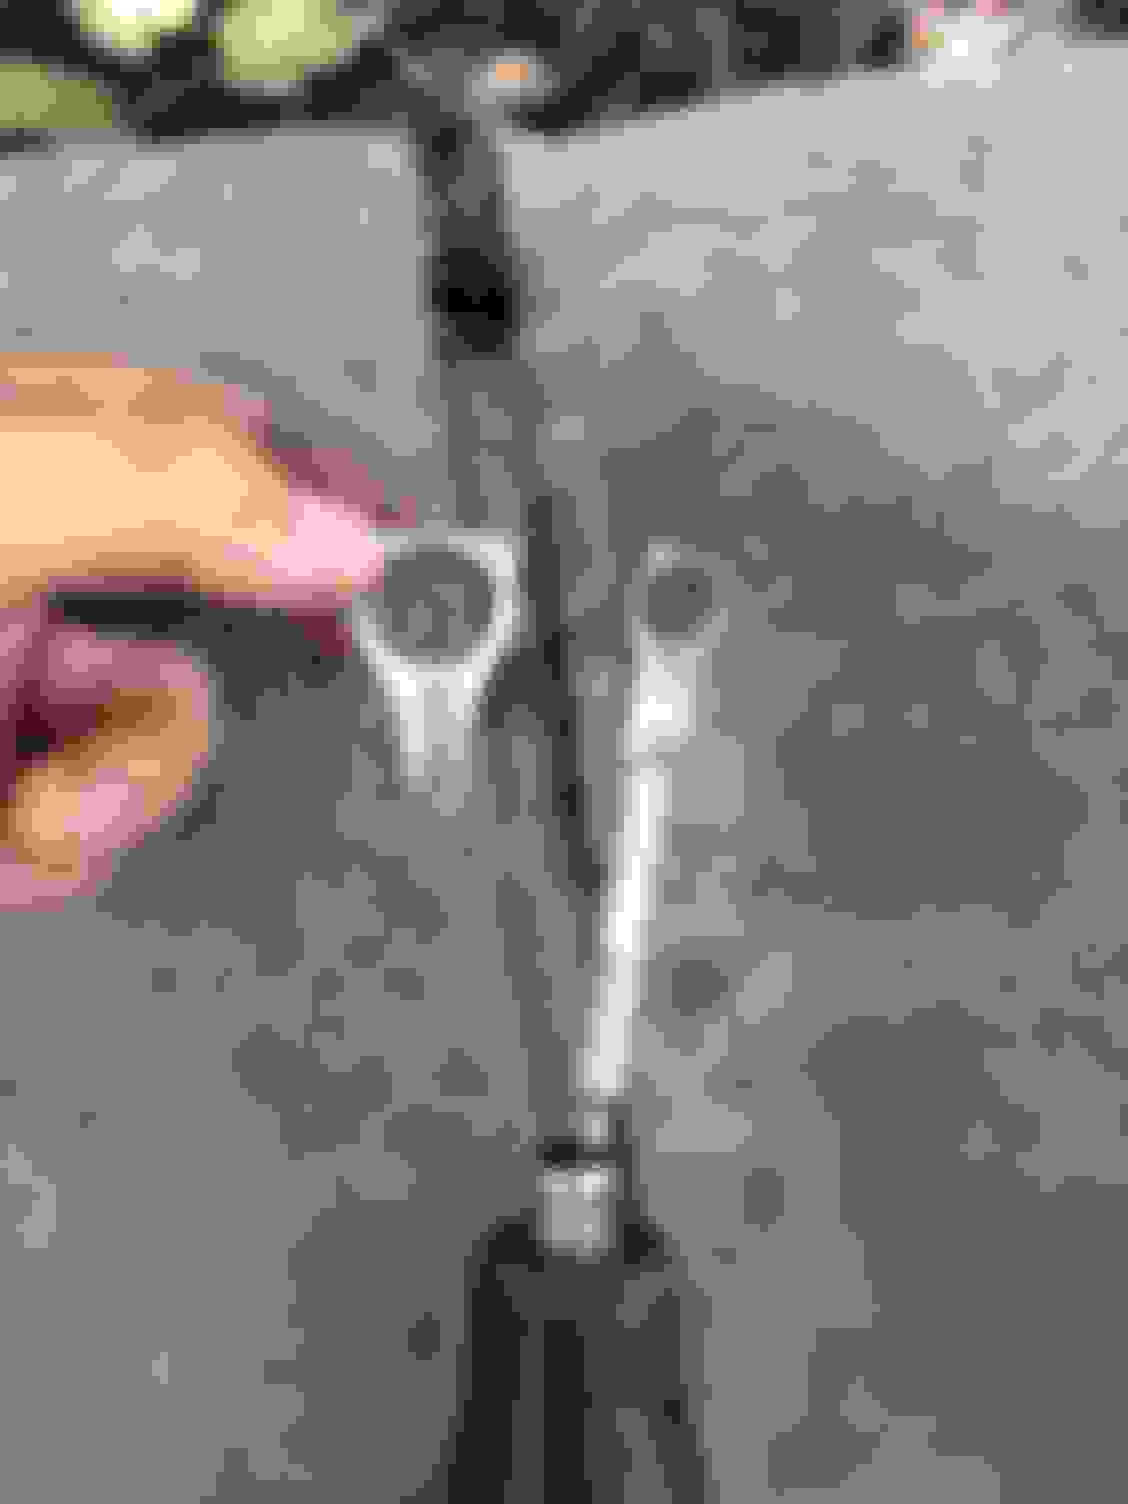
Now it was the hard part. As you can see the two stock hole sizes for the connection to the brake pedal assembly are radically different, with the camaro hole size being smaller. The camaro shaft length is also short. What i did was cut off the old larger end, shorten the rod to the correct size (size that the camaro rod was initially) and weld on the camaro's smaller hole circle end. Here you can see the shaft after the welding and grinding, with the original truck end on the left.
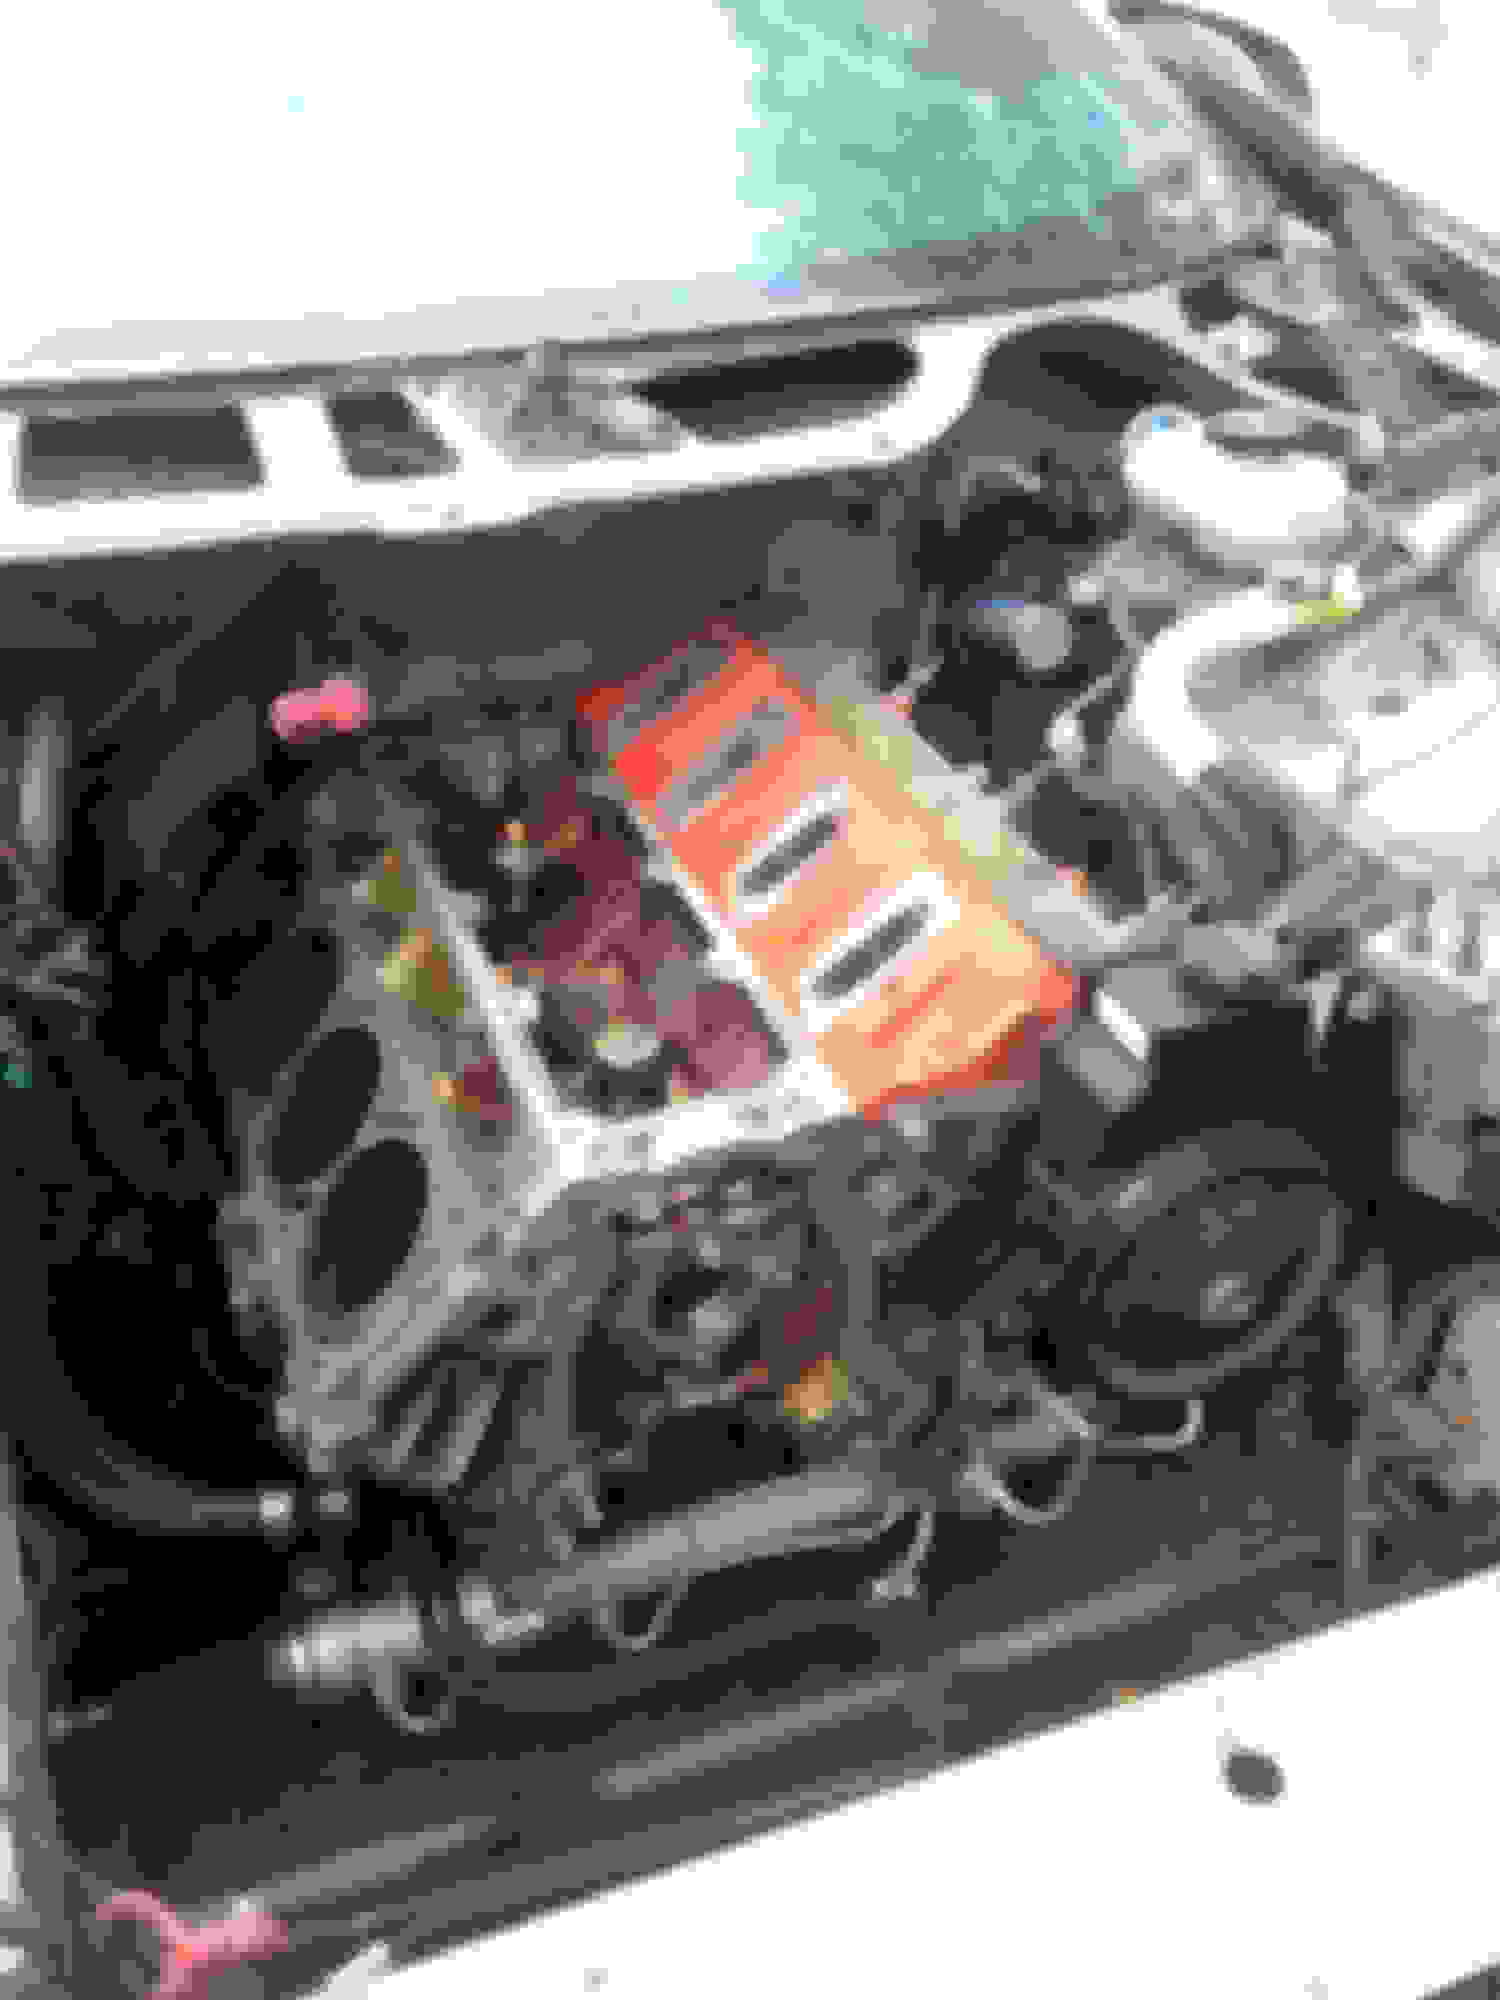
Now it was time to get the whole piping situation dealt with. I mocked up my old blown up block and a trash 853 head and put the new setup in to start with the lines. And let me say, the lines were the easiest part of this entire build. You can actually use the stock gm lines from the same model truck (02 Sierra 2500 HD) and just bend them up a little to fit how you want them to. You need the pressure side hose and the return hose from this truck equipped with a factory hydroboost. One of the truck pressure lines will go from the power steering pump output to the hydroboost hydraulic inlet, then the other truck pressure line will go from the hydroboost to the power rack. You also have the stock f body return line from the power steering pump to the power rack. Lastly you will have an overflow line going from the hydroboost to the power steering pump. I needed to drill a hole into the side of the power steering pump reservoir and put a nipple in it to accept this return from the hydroboost. The truck power steering box has the same exact threads that the factory f-body power rack. The truck lines are a direct use product when doing this. They do require a little bit of messing around to get them going where you want, but they will work with minimal bending. After i got all the lines bent where i wanted I snuck them behind the brake and fuel lines on the drivers side strut tower to keep them away from the heat of the header.
I based my line routing after this schematic. The two red pressure lines are the truck lines that need to be modified slightly. The return from the hydroboost is just some transmission hose. Finally the return from the rack to the pump is the stock f body line, i just reused mine.
The last thing I had to do was adjust the two connectors on the brake pedal that control the brake lights and the overdrive kickdown. They are 2 big plastic screws with momentary switches in them. I just had someone behind my car while i fiddled with them to get the pedal to push them right when I needed.
Things I had to figure out myself that were most time consuming to find answers to
1) No T'ing of the return lines needs to be done to make it work properly
2) The factory power steering pump will more than power the hydroboost and work properly at the correct pressure to work with the factory power rack with no tuning necessary
3)The overflow return nipple on the hydroboost doesn't have to be opened up to make it work properly like some other hydroboost setups require
Yes this is a good bit of work, but only took a few hours on a saturday to complete. The parts list includes
Early 2000 GM HD Truck Hydroboost Unit (Free with the Truck)
Bracket from your stock Brake Booster (Free with your car)
Pressure lines from the stock early 2000 GM truck w/ hydroboost (Bought from RA for around 60) (PN 15295853 and 15804952 (I beleive))
A few feet of transmission hose (Overflow return line from hydroboost to power steering pump reservoir) (A few dollars from the parts store)
Nipple for power steering pump reservoir (Few dollars from local fitting store)
All in it was around $80 and 4 to 5 hours on a saturday morning. The brakes work amazingly with minimal pedal travel needed and they really really grab well. I would definitely do it again at a price like this. Compare to hundred if not thousands of dollars for aftermarket units. Ill have some finished pictures up soon. I just didn't have any on my computer. Its been working perfectly for the past 4 months with no problems what so ever.
FINISHED PICS TO COME
Last edited by GtoProject; Dec 22, 2016 at 11:21 PM.
I know that the 3/4 and 1 ton GMT800 trucks that came with the 8.1L and Duramax had hyrdroboost but I wasn't sure about the 6.0's, that's good to know. I also remember my 94 Astro van having a hydroboost setup as well.
Best of luck with the motor and looking forward to seeing more pics!
I know that the 3/4 and 1 ton GMT800 trucks that came with the 8.1L and Duramax had hyrdroboost but I wasn't sure about the 6.0's, that's good to know. I also remember my 94 Astro van having a hydroboost setup as well.
Best of luck with the motor and looking forward to seeing more pics!
I can confirm that the same year generation 8.1 trucks share the identical hydroboost and lines, I'm not sure about the duramax's though.
You should like it more than the factory vacuum booster for sure. I did the same thing on my 03 Lightning using a hydroboost unit out of a junkyard 02 F250 PSD. Honestly a very worthwhile mod that made a very noticeable difference on my truck over the vacuum booster. (It should especially help if you're cammed) I even made a tool to remove the vacuum boosters rod that runs to the petal so that I could add an adjustable rod to get the petal height to my liking. I highly recommend Talon Hydraulics is you need any parts for your hydroboost setup. Hydroboost is their business and their customer service is great and better than most.
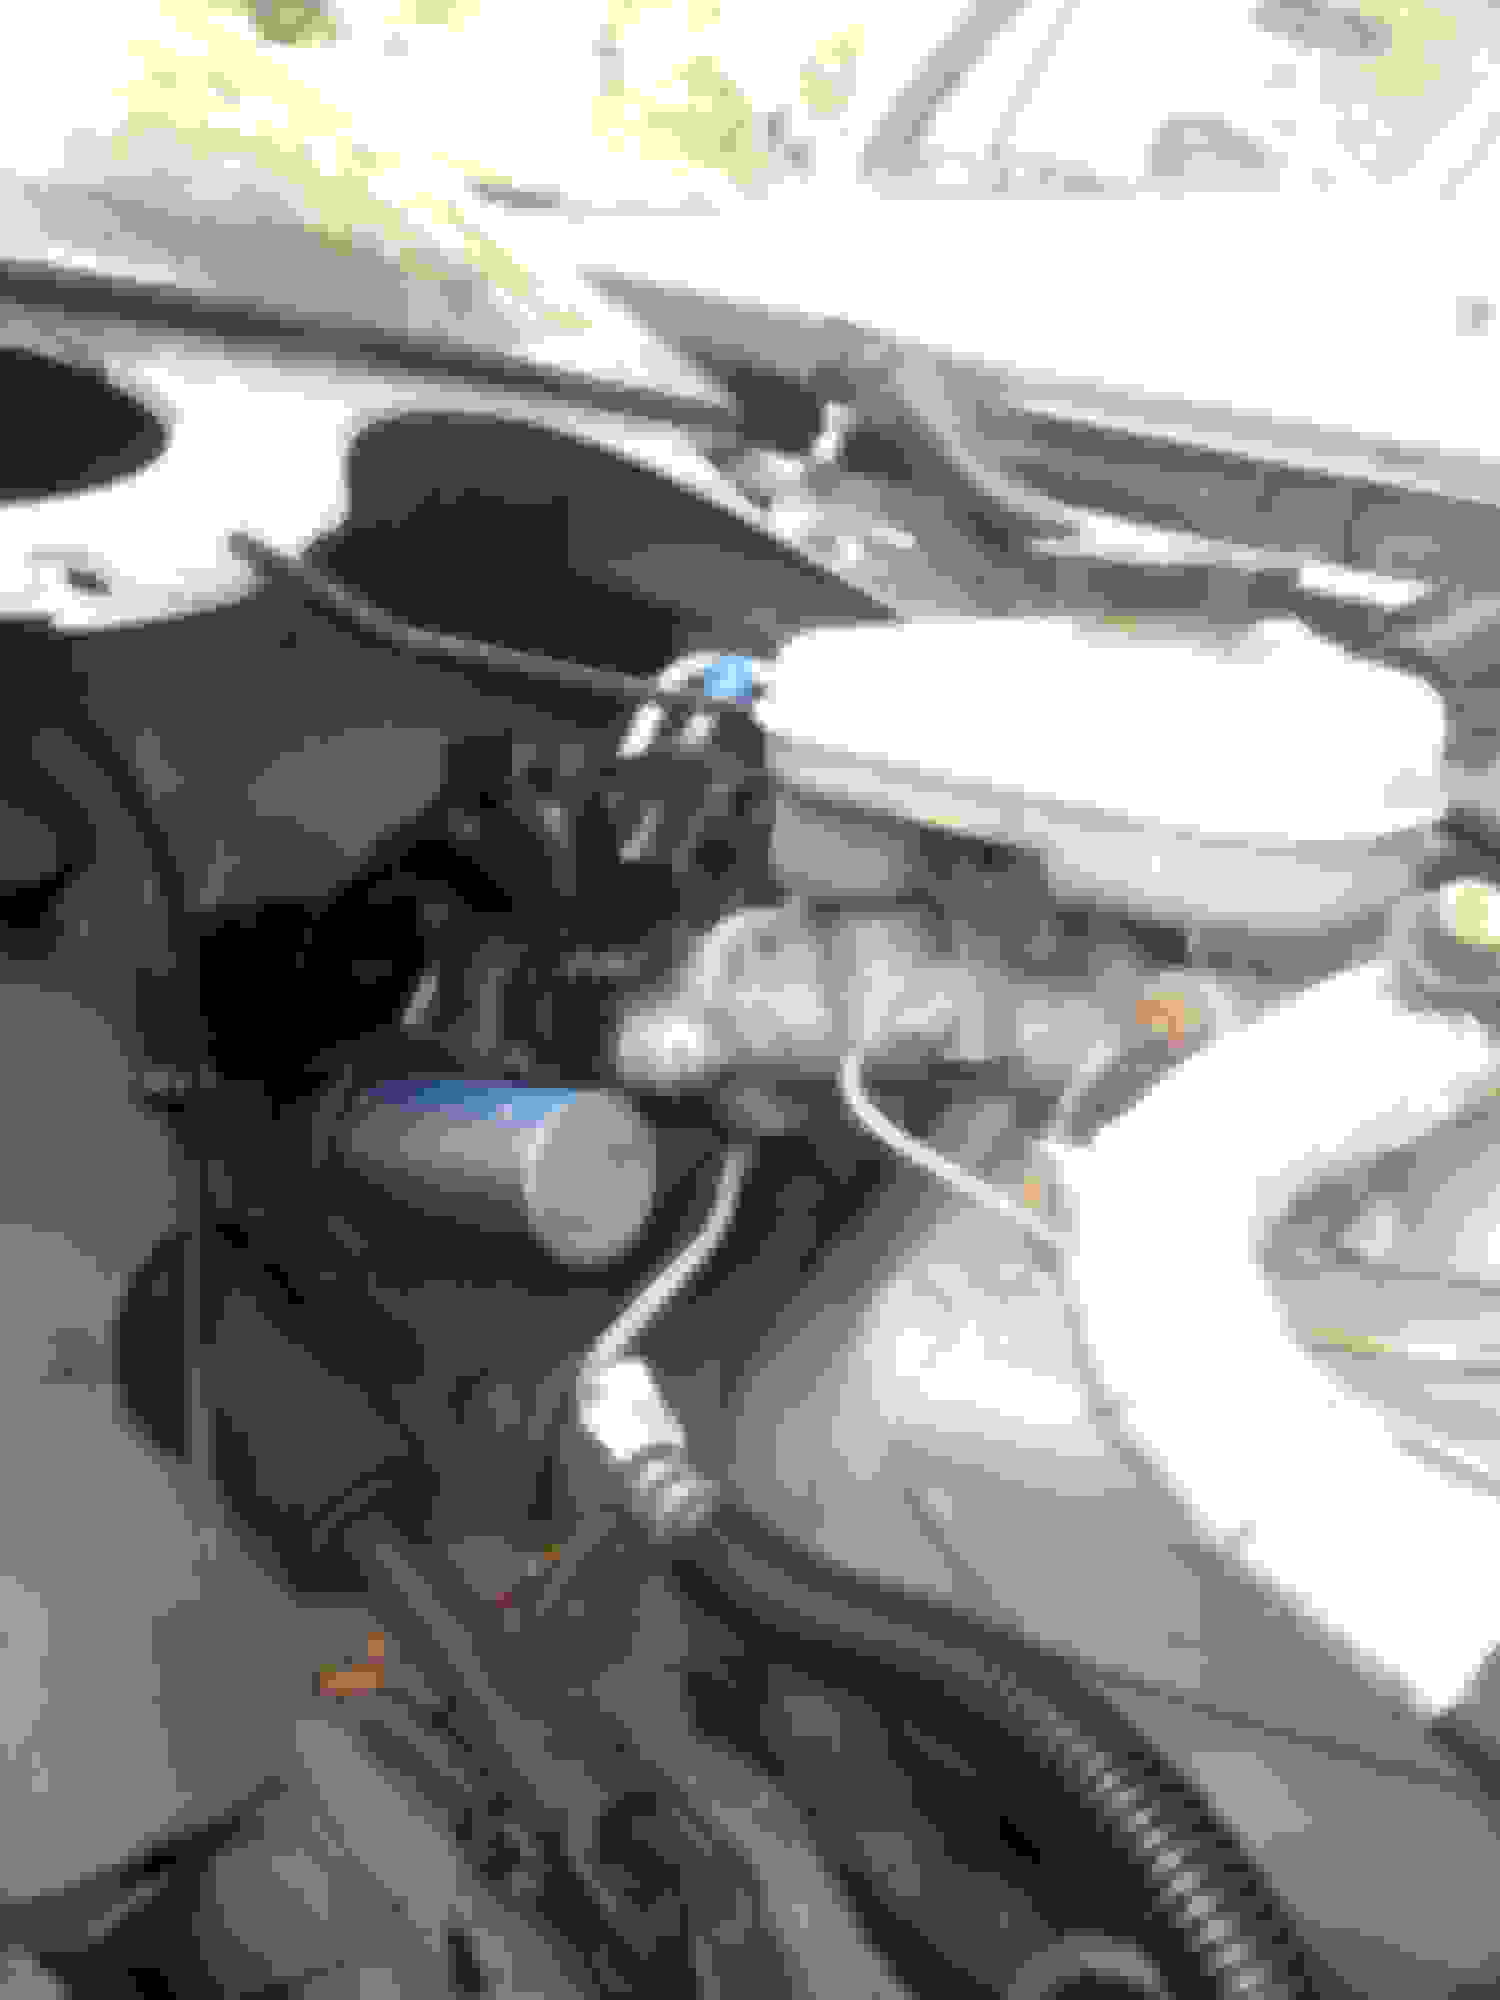
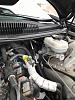
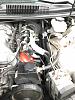
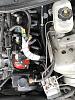
Sorry I've been a little busy recently and wasn't able to update like I thought. But it's been great so far. I've put close to 10,000 miles on the setup and it's still working flawlessly. No leaks, no pressure issues, and no issues with brakes or power steering at all. Here's some more finished pictures, excuse the dirtiness, everything is converted in pa salt lol. In these pictures you can see the return line and fitting I had to drill and tap into the pump reservoir.
Looks good, did you have to worry about the angle of the pushrod that goes into the back of booster? Read that if its not right it can rub the casing of the assembly out
Looks good, did you have to worry about the angle of the pushrod that goes into the back of booster? Read that if its not right it can rub the casing of the assembly out
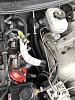
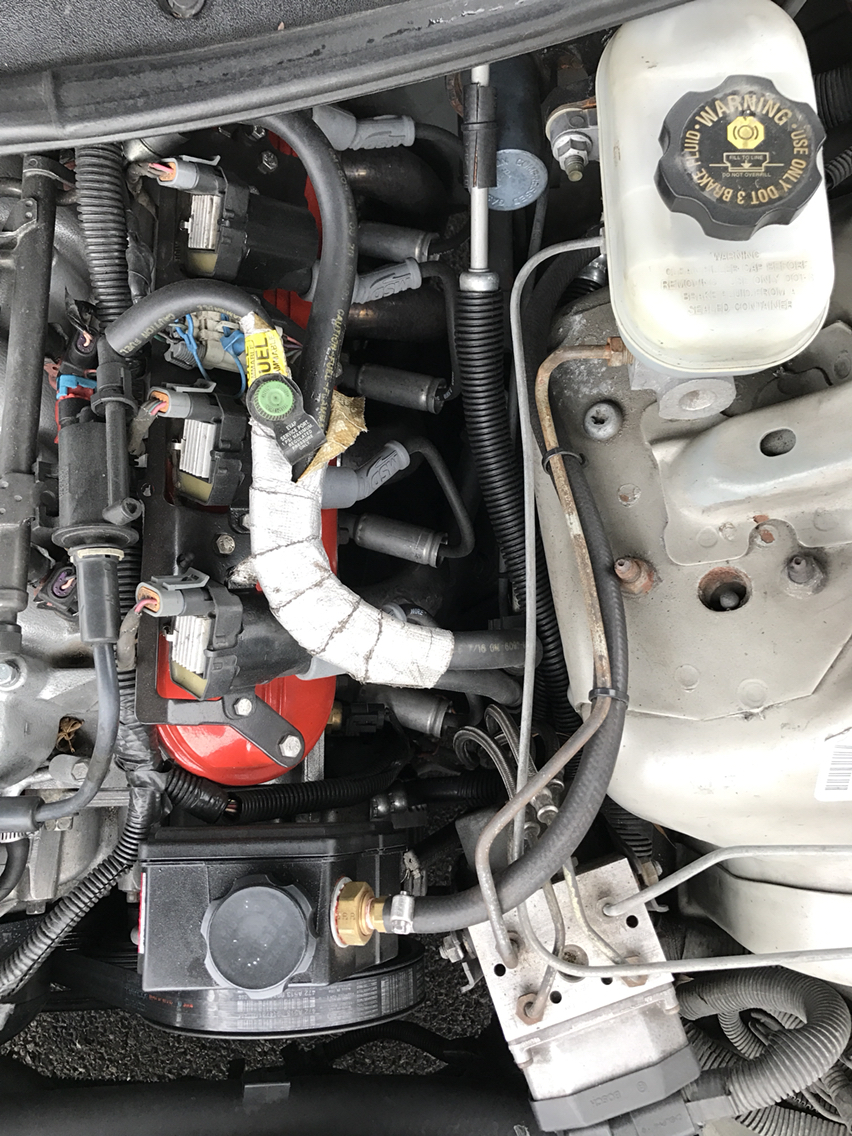
As you can see from this picture, the rod itself has a large range of motion at the base of this model hydroboost itself. This alone probably helps with any slight variances that can occur with improper angle. With this method of reusing the existing booster bracket and maintaining the same rod length, the angle should stay almost identical to that of the stock booster. I haven't had any sort of problem at all so far, so I'd safely assume that no issues will arise from any variance, if any, that are existing.
I'm assuming you've already found out the proper length, but for anybody that is interested you just need to match the length of the f-body in reference to the firewall. I simply measured from a point on the firewall to the center of the hole on the original fbody booster. I then matched that same rod length on the hydroboost. I may have a picture with the length I could dig up, but my computer bricked itself yesterday so it may be a little while. Anyone with questions feel free to pm me.
Bringing this post back from the grave.............
After spending the week searching for ways to hydroboost a 2000 camaro, this appears to be a nice option.
Since this post was based off of an 2002 truck that was already owned, it makes since.
Now 7 years later and different/newer parts and ideas?????
If I was going to the parts store and buy a hydroboost unit, is their a better year or make than getting the 02 Chevy truck hydroboost?
This setup is still going strong and working perfectly since the instal. The same components were actually swapped into my new build and still working great on my daily. Most hydroboost setups haven't changed much overtime, so you probably can't go wrong old v.s new
FWIW, the GM hydro boost units there are several of them, Jeep guys convert to them a lot, very popular swap if you google it.. .
The Astro setup is closer to a jeep so it's one of the more popular ones. (Mostly has to do with the brake try and the pedal and rod length.. )
Update......... I did the conversion per your write up. Thank You very well explained.
Everything went well. I purchased new booster (02 2500HD) and made lines. Also drilled a return back to tank.
Took the car to the track today (Trailered) 1st run - in water box Smashed brake to set line line lock. Peddle went way down but I did the burnout, hit brakes to stop at the line and it still did not feel right.
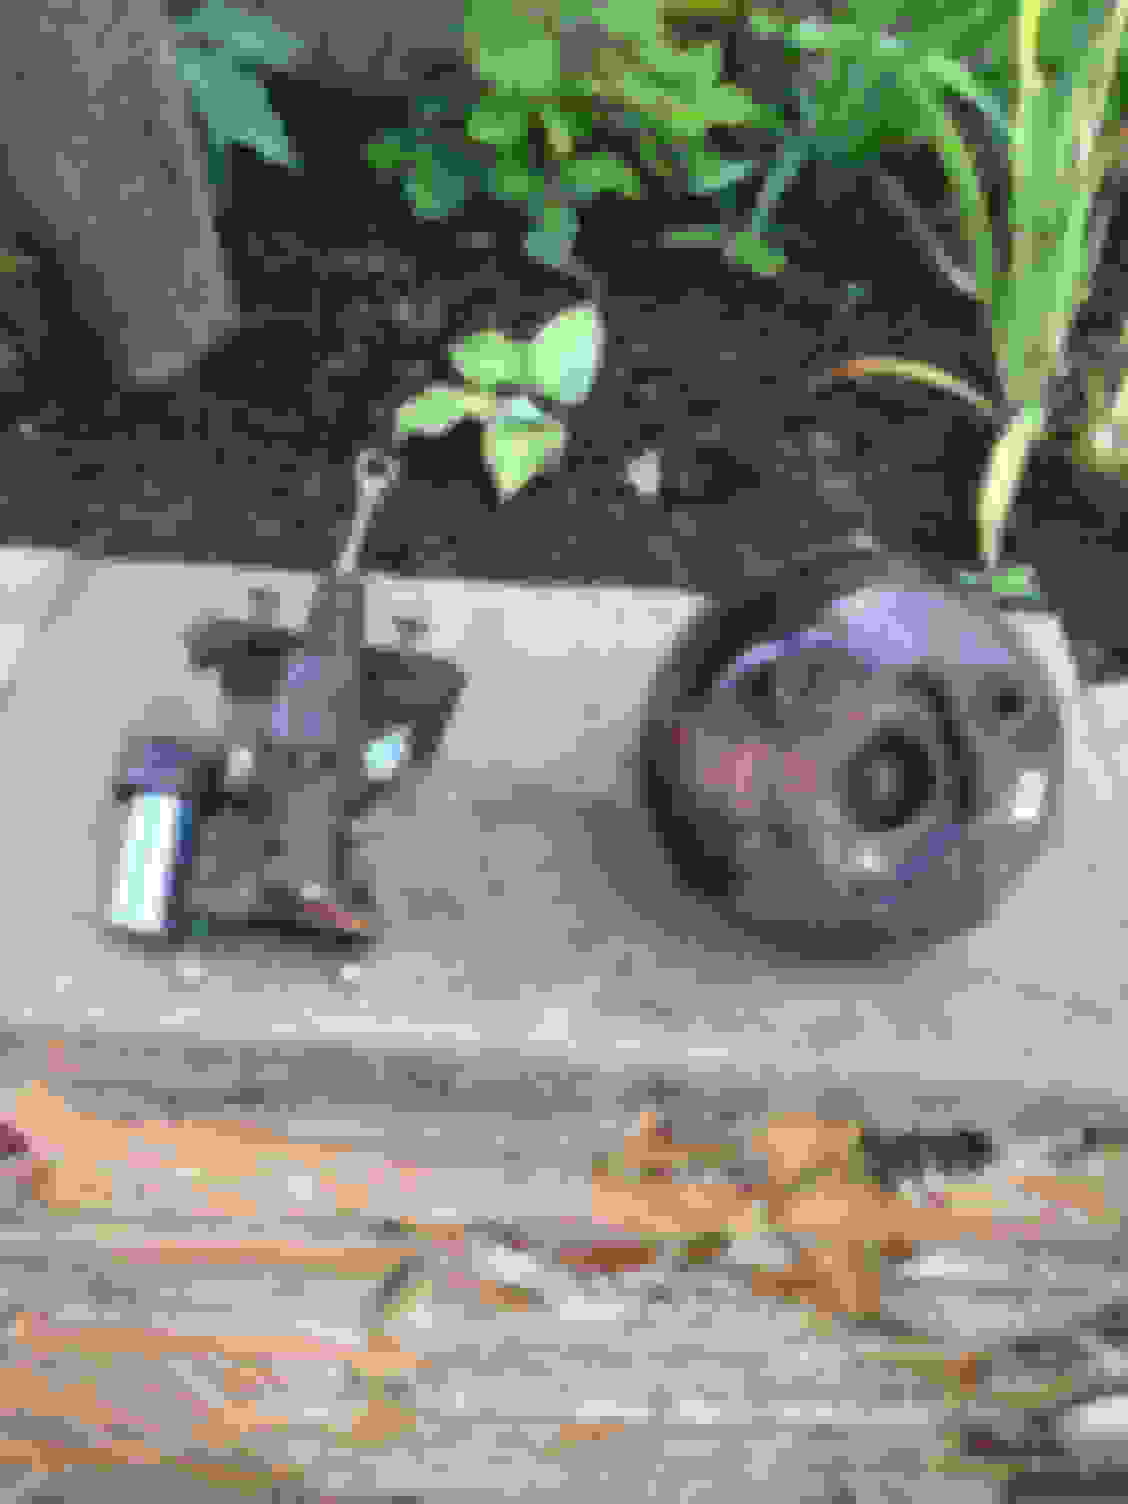
Made the run and was handed 2 chunks of metal.
The right rear caliper broke the side off opposite piston. OEM Caliper.
1 trip down - load up, go home before 1st rd.
Years ago, These caliper were ground down to fit Weld 15" Drag Lights
Not sure if it was extra power from hydroboost or just coincidence??? Be careful grinding off to much for 15" wheels.
Last edited by savage3070; Apr 9, 2023 at 09:28 PM.
Update......... I did the conversion per your write up. Thank You very well explained.
Everything went well. I purchased new booster (02 2500HD) and made lines. Also drilled a return back to tank.
Took the car to the track today (Trailered) 1st run - in water box Smashed brake to set line line lock. Peddle went way down but I did the burnout, hit brakes to stop at the line and it still did not feel right.
Made the run and was handed 2 chunks of metal.
The right rear caliper broke the side off opposite piston. OEM Caliper.
1 trip down - load up, go home before 1st rd.
Years ago, These caliper were ground down to fit Weld 15" Drag Lights
Not sure if it was extra power from hydroboost or just coincidence??? Be careful grinding off to much for 15" wheels.
I would guess its a combination of age, material removed, and possibly a small casting defect that eventually became a stress riser. I am also running self-clearanced rear ls1 calipers (for 15" wheels) and have not yet ran into this issue with proabbly over 70k street miles on the same hydroboost and brakes.
I have a question about the silver cylinder on the hydroboost unit. Is that some sort of accumulator? I've noticed on the Suburbans, its a lot larger IIRC. Im assuming its larger on the burbs than a 1500 chassis because the burb is bigger.
Does anyone know if that will work on our cars like the OP has?
If you are referring to the lower-left mounted blue cylinder on the front of the unit, it is, in fact, just an accumulator. I am unsure if the larger accumulator units have any other internal or operational differences. But my unit was from a 2500HD.
Gas Monkey Built a 6-Wheel Ferrari Testarossa With a Corvette LT4 Engine
Slideshow: The controversial Ferrari F6 swaps its original flat-12 for a Corvette Z06-derived LT4 V8 and sends power to four rear wheels through a custom-built drivetrain.
7 Most Reliable High-Performance Engines GM Has Ever Built
Slideshow:These GM engines didn't just make huge power, they survived abuse, boost, track days, and six-digit mileage with a reputation for refusing to quit.
6 Common C5 Corvette Failures and What's Involved In Repairing Them
Slideshow: From wobbling harmonic balancers to failed EBCMs, these are the issues that define long-term C5 ownership and what repairs typically involve.
Retro Modern Bandit Pontiac Trans AM Comes With Burt Reynolds' Autograph
Slideshow: A modern Camaro transformed into a retro icon, this limited-run "Bandit" build blends nostalgia with brute force in a way few revivals manage.
Top 10 Greatest Cadillac V Series Performance Models Ever, Ranked
Slideshow: Cadillac didn't just crash the high-performance luxury vehicle party, it showed up loud, supercharged, and occasionally a little unhinged...
Coachbuilt N2A Anteros Is an LS2-Powered C6 Corvette In Italian Clothes
Slideshow: A one-off sports car that looks like a vintage Italian exotic-but hides a C6 Corvette underneath-just sold for the price of a new mid-engine Corvette.


 very well explained.