Conversions & Swaps LSX Engines in Non-LSX Vehicles
Sponsored by:
Sponsored by:

1971 Chevelle LS/t56

Thread Tools
 
Search this Thread
 
Old 06-17-2018, 02:37 PM
  #1  
Launching!
Thread Starter
iTrader: (2)
 
lawrenq's Avatar
 
Join Date: Jan 2009
Posts: 266
Received 40 Likes on 29 Posts

Default 1971 Chevelle LS/t56


Here is my attempt to start a build thread on my ongoing project. It is a 71 Chevelle that I planned on swapping a ls2/t56 from a 2006 gto and into it. This is my 1st time building a car and I've learned a lot during this process.
Here is what I started with.
Old 06-17-2018, 02:38 PM
  #2  
ModSquad
iTrader: (6)
 
Che70velle's Avatar
 
Join Date: Jan 2012
Location: Dawsonville Ga.
Posts: 6,315
Received 3,363 Likes on 2,081 Posts

Default

It’s about time you started a build thread! Looking forward to this!
Old 06-17-2018, 02:40 PM
  #3  
Launching!
Thread Starter
iTrader: (2)
 
lawrenq's Avatar
 
Join Date: Jan 2009
Posts: 266
Received 40 Likes on 29 Posts

Default

Originally Posted by Che70velle
It’s about time you started a build thread! Looking forward to this!
Thanks I'll try to keep this updated.
Old 06-17-2018, 03:19 PM
  #4  
Launching!
Thread Starter
iTrader: (2)
 
lawrenq's Avatar
 
Join Date: Jan 2009
Posts: 266
Received 40 Likes on 29 Posts

Default

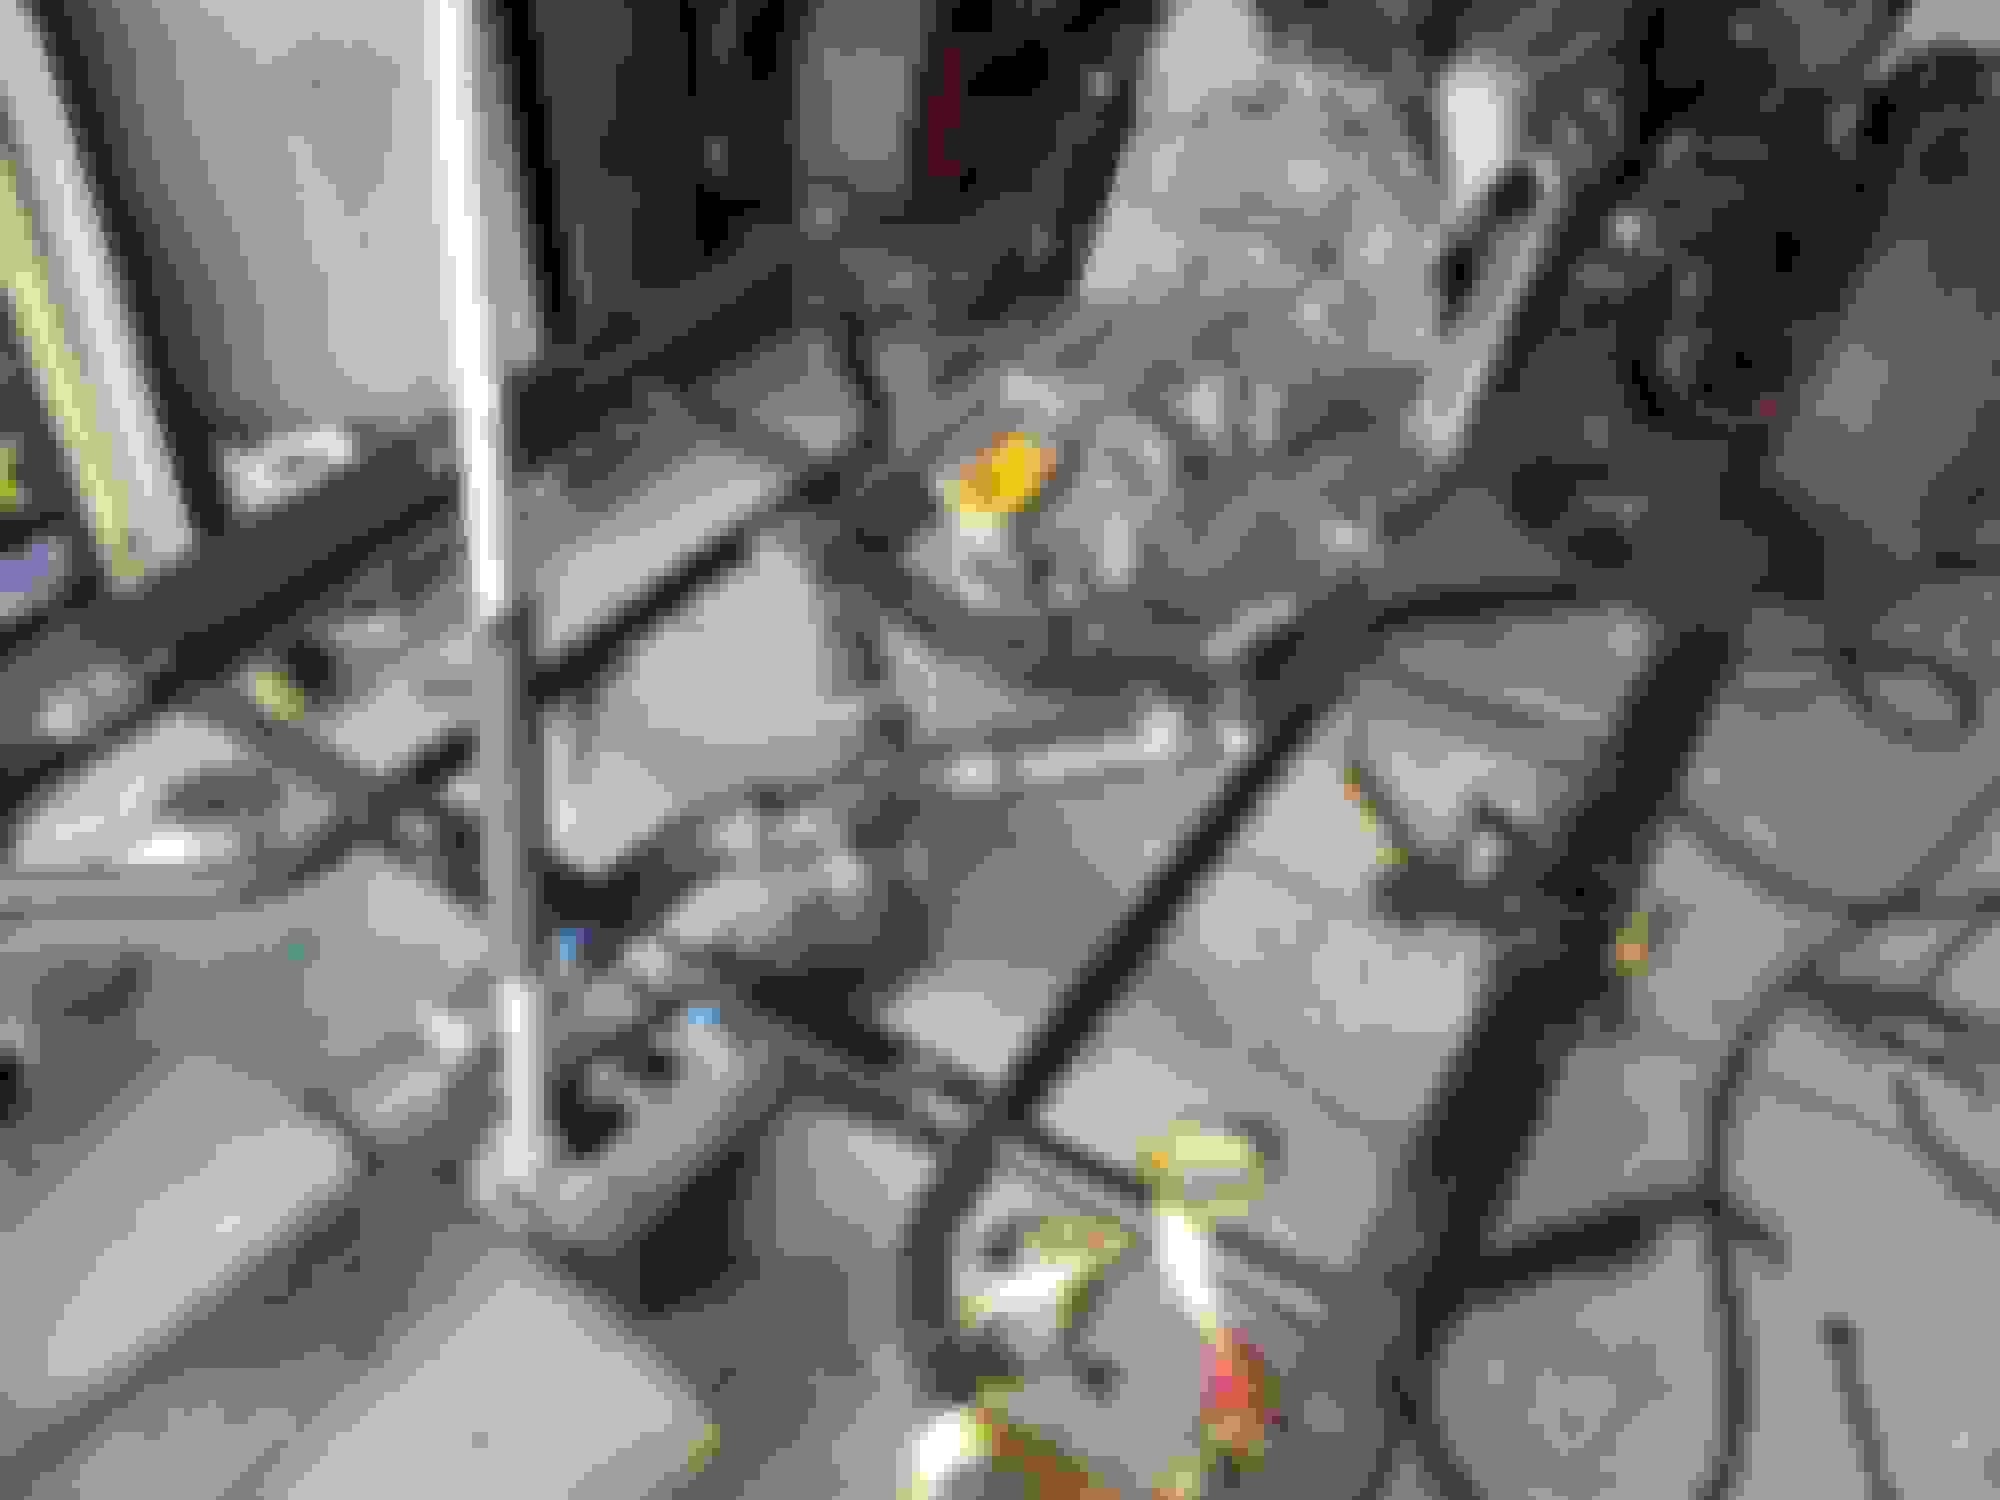
I ended up using the Holley 302-2 pan and there stock position brackets. I also adapted the tunnel cover from a 1st gen Camaro to save time fabbing up the floor for my t56


Old 06-17-2018, 03:32 PM
  #5  
Launching!
Thread Starter
iTrader: (2)
 
lawrenq's Avatar
 
Join Date: Jan 2009
Posts: 266
Received 40 Likes on 29 Posts

Default

I'm going to skip all the metal work, it took me a year to replace all the rust on the car. After I was satisfied with the floor, I removed the body from the frame and coated the body in spi epoxy.

I sprayed upol raptor liner on the underbody and I coated the entire interior with lizard skin.

Old 06-17-2018, 03:39 PM
  #6  
TECH Enthusiast
iTrader: (5)
 
2ToeRacing's Avatar
 
Join Date: Aug 2010
Location: Atlanta Ga,
Posts: 580
Received 17 Likes on 16 Posts

Default

Very nice start. Keep up the good work and get plenty of pictures
Old 06-17-2018, 03:40 PM
  #7  
TECH Junkie
iTrader: (1)
 
Pop N Wood's Avatar
 
Join Date: May 2006
Posts: 3,402
Likes: 0
Received 7 Likes on 7 Posts

Default

Looking nice. That has been a lot of work.
Old 06-17-2018, 04:10 PM
  #8  
Launching!
Thread Starter
iTrader: (2)
 
lawrenq's Avatar
 
Join Date: Jan 2009
Posts: 266
Received 40 Likes on 29 Posts

Default


During the year it took me to repair the body, I have been steady buying parts for the suspension. Here's what I have:

UMI control arms front and rear
Viking coil overs
HPI frame bracing
ABC Mini-tub kit
C6 Z06 brakes
Old 06-17-2018, 04:25 PM
  #9  
Launching!
Thread Starter
iTrader: (2)
 
lawrenq's Avatar
 
Join Date: Jan 2009
Posts: 266
Received 40 Likes on 29 Posts

Default

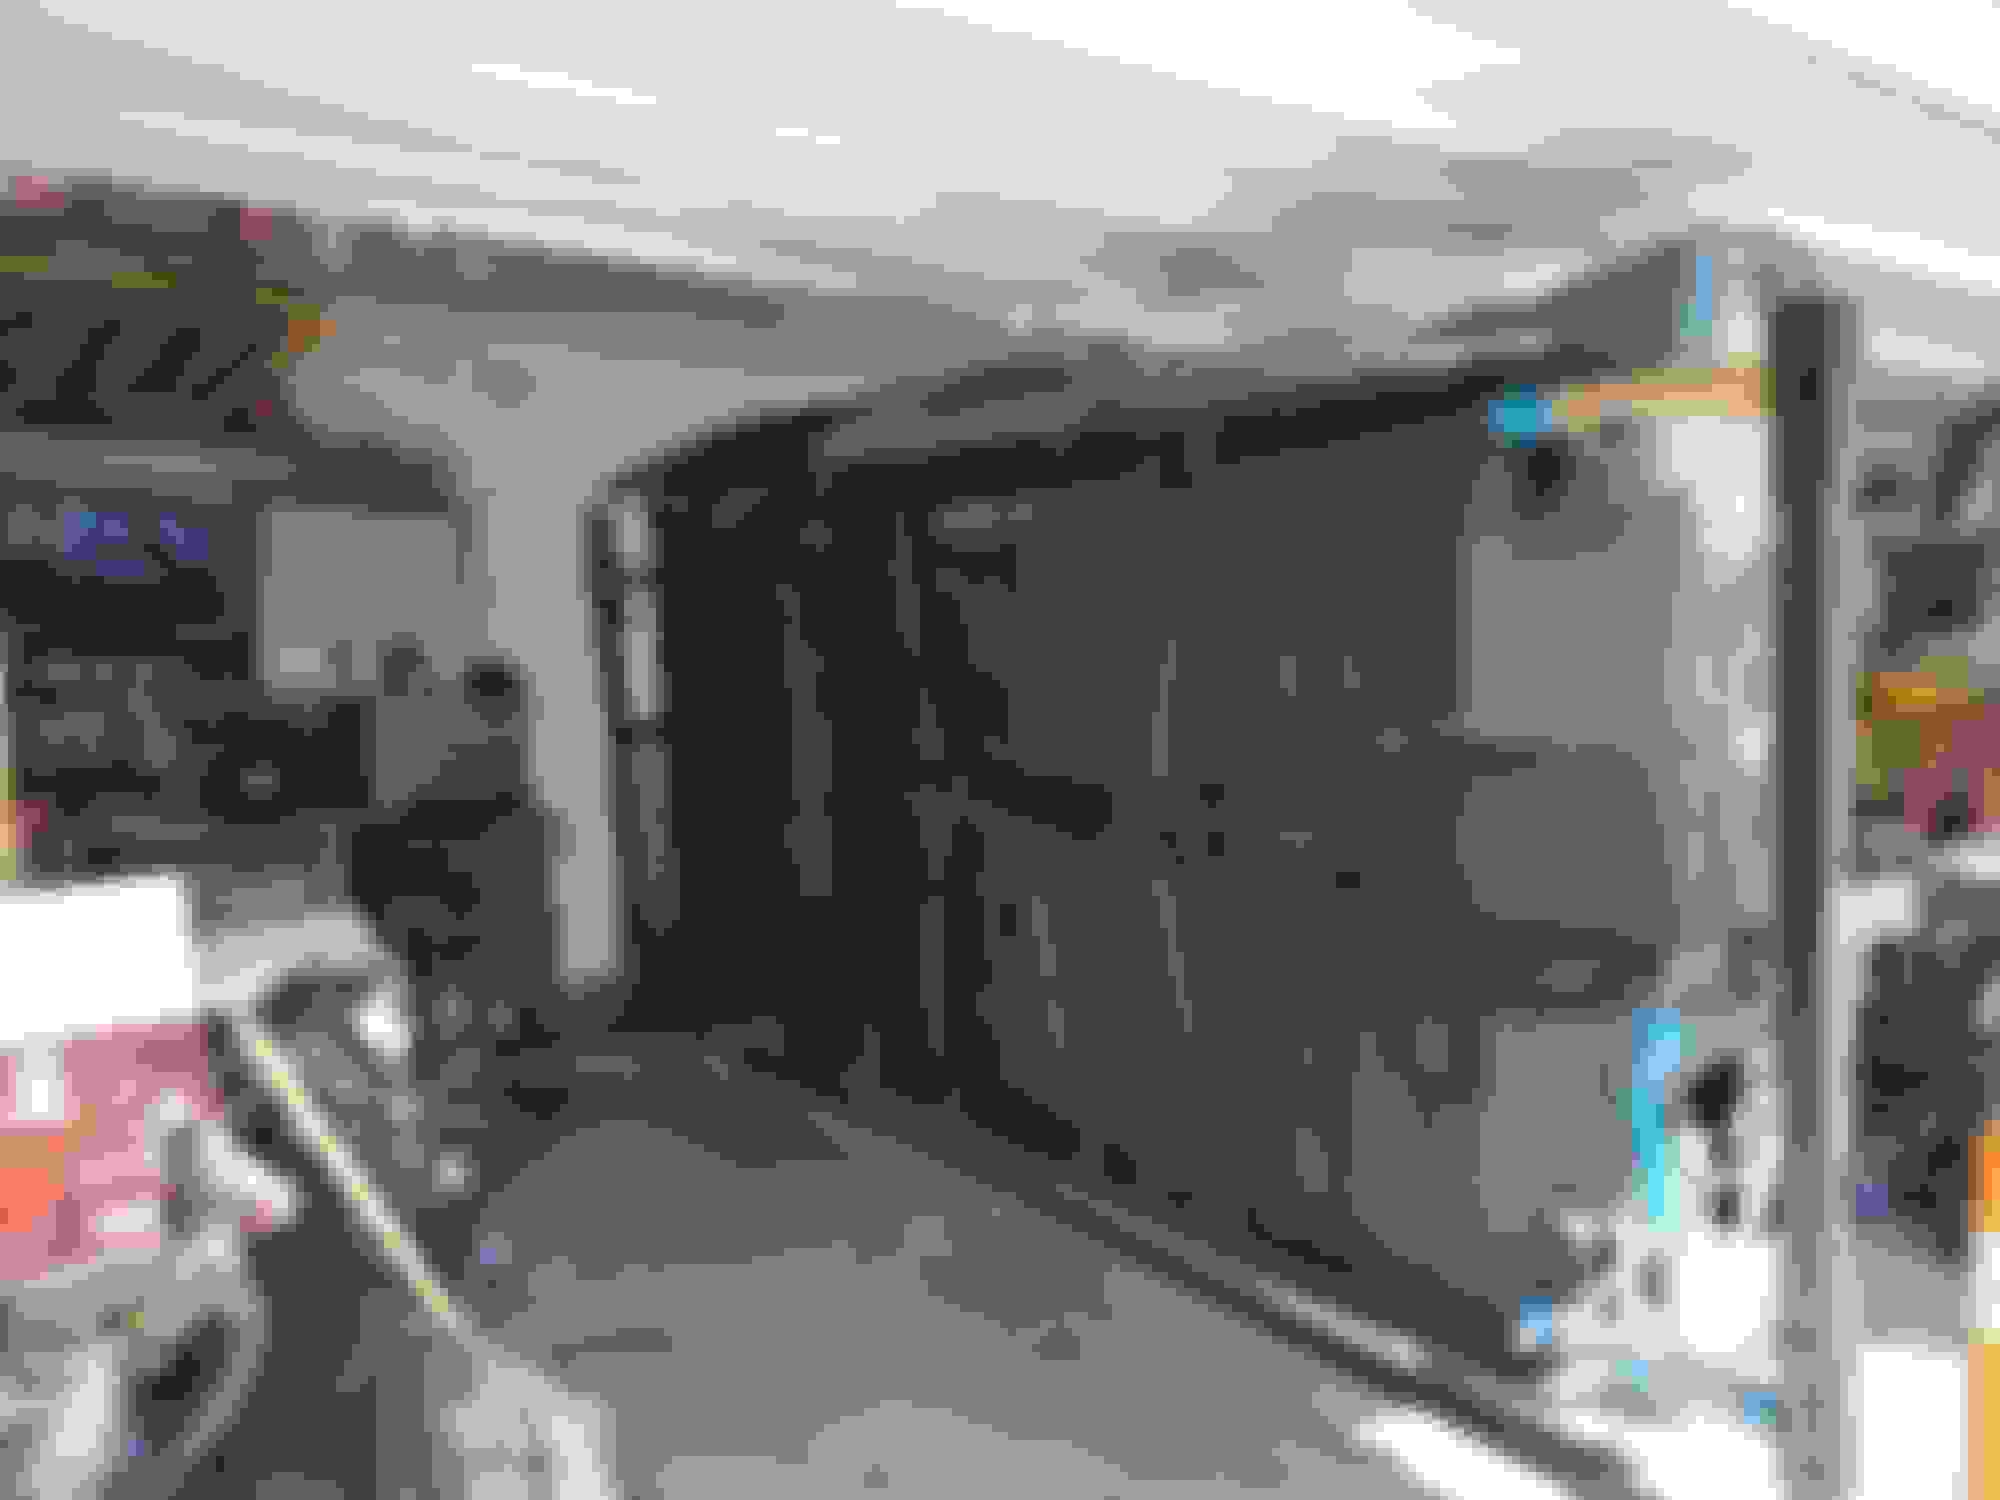
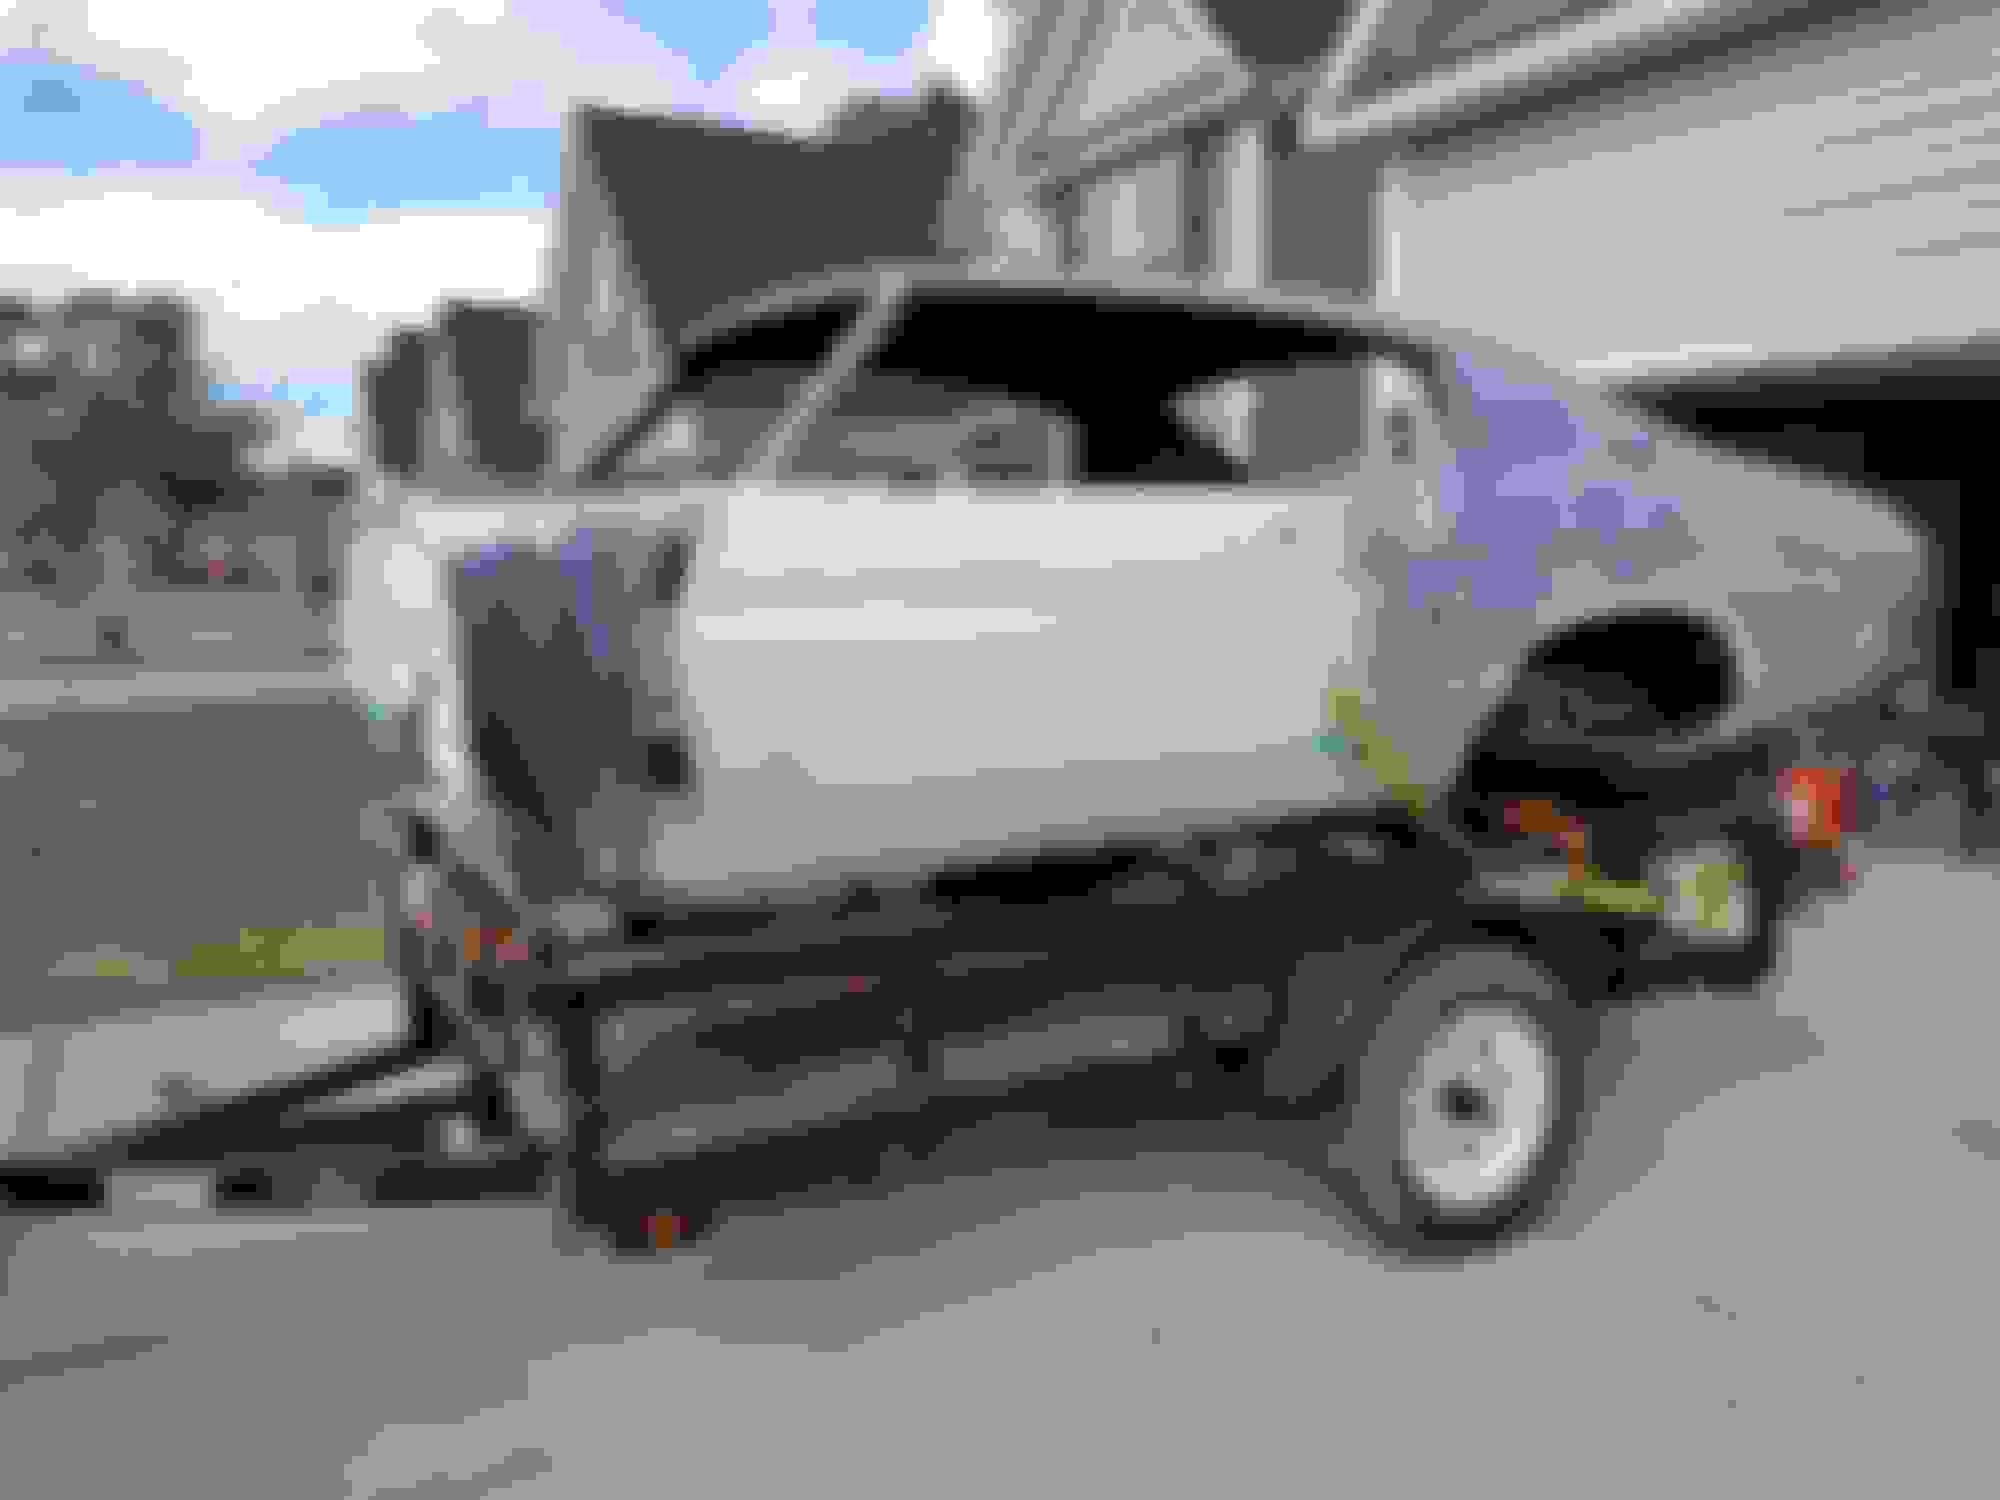
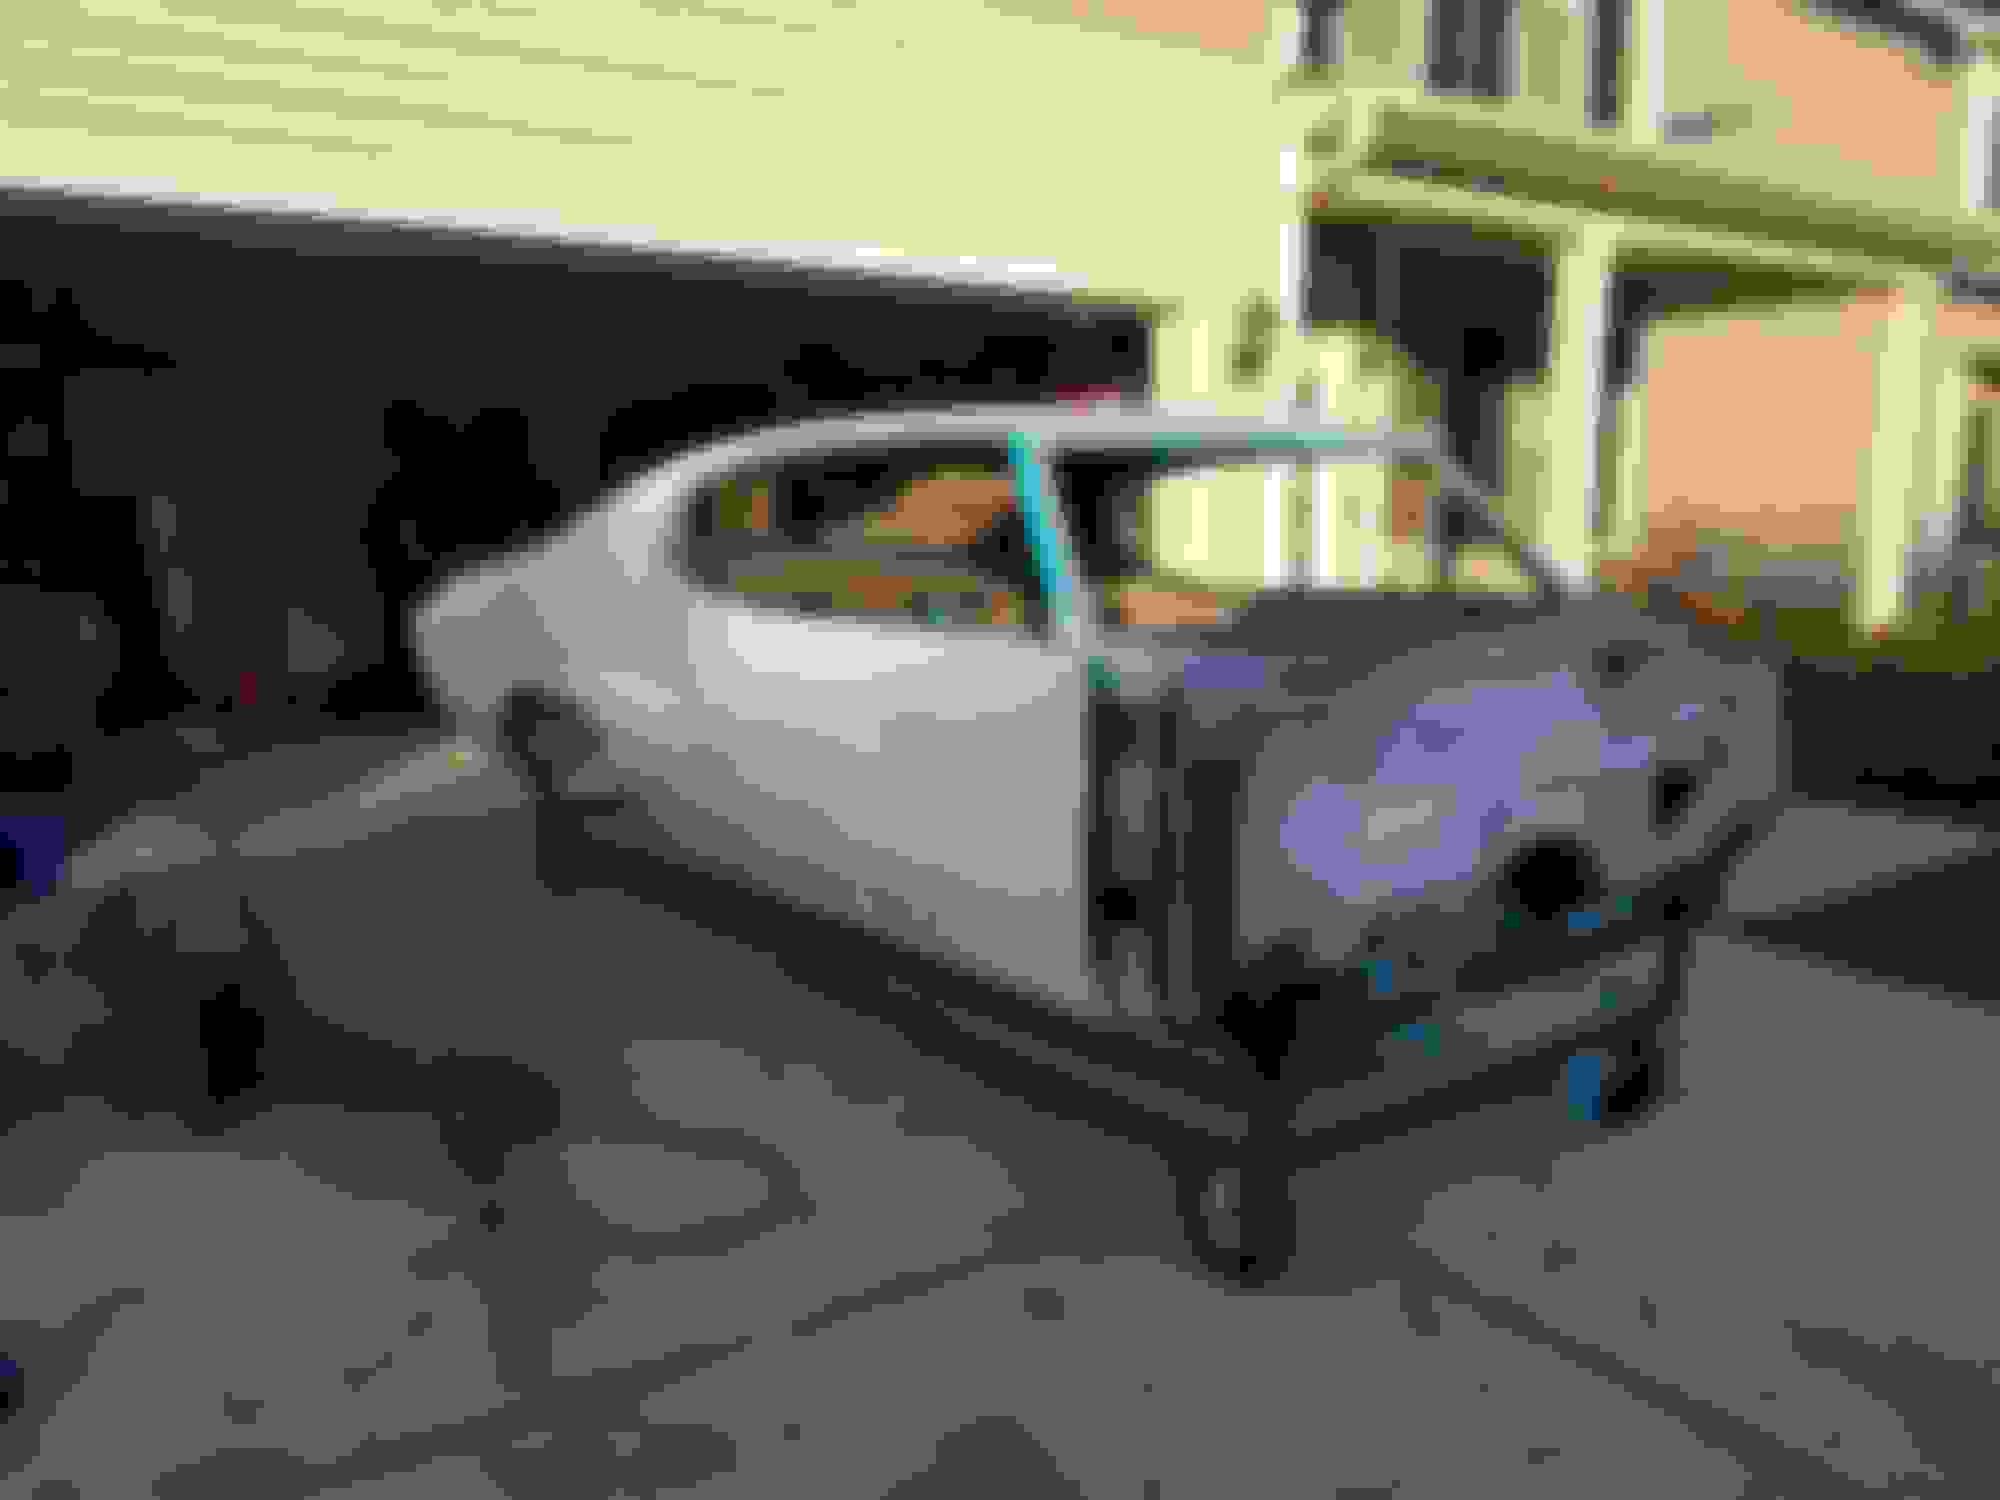
I'm doing all of this out of a two car garage that only has room for one. So when the time came to take the body of the frame, I had to find a way to store it. I ended up building a simple body cart so that I could put the body in storage.


Old 06-17-2018, 04:34 PM
  #10  
Launching!
Thread Starter
iTrader: (2)
 
lawrenq's Avatar
 
Join Date: Jan 2009
Posts: 266
Received 40 Likes on 29 Posts

Default

The next step was getting the frame sandblasted. and welding in the HPI boxing kit and the ABC mini tub kit.

The following users liked this post:
2000LS1M6 (10-12-2020)
Old 06-17-2018, 04:44 PM
  #11  
Launching!
Thread Starter
iTrader: (2)
 
lawrenq's Avatar
 
Join Date: Jan 2009
Posts: 266
Received 40 Likes on 29 Posts

Default

I was originally going to run an 8.5 10 bolt that came out of a 71 skylark but I found a great deal on a brand new 9 inch that came out of a 67 pontiac.
Old 06-17-2018, 04:51 PM
  #12  
Launching!
Thread Starter
iTrader: (2)
 
lawrenq's Avatar
 
Join Date: Jan 2009
Posts: 266
Received 40 Likes on 29 Posts

Default

After all the welding was finished, I coated the frame in black SPI epoxy.
Old 06-17-2018, 04:57 PM
  #13  
Launching!
Thread Starter
iTrader: (2)
 
lawrenq's Avatar
 
Join Date: Jan 2009
Posts: 266
Received 40 Likes on 29 Posts

Default


I've been looking forward to this part, assembling the chassis with all new parts.
Old 06-17-2018, 05:14 PM
  #14  
Launching!
Thread Starter
iTrader: (2)
 
lawrenq's Avatar
 
Join Date: Jan 2009
Posts: 266
Received 40 Likes on 29 Posts

Default

I had to buy some cheap rollers, so that I could install my brakes, they were on a BMW but they're aftermarket wheels.
Old 06-17-2018, 05:28 PM
  #15  
Launching!
Thread Starter
iTrader: (2)
 
lawrenq's Avatar
 
Join Date: Jan 2009
Posts: 266
Received 40 Likes on 29 Posts

Default

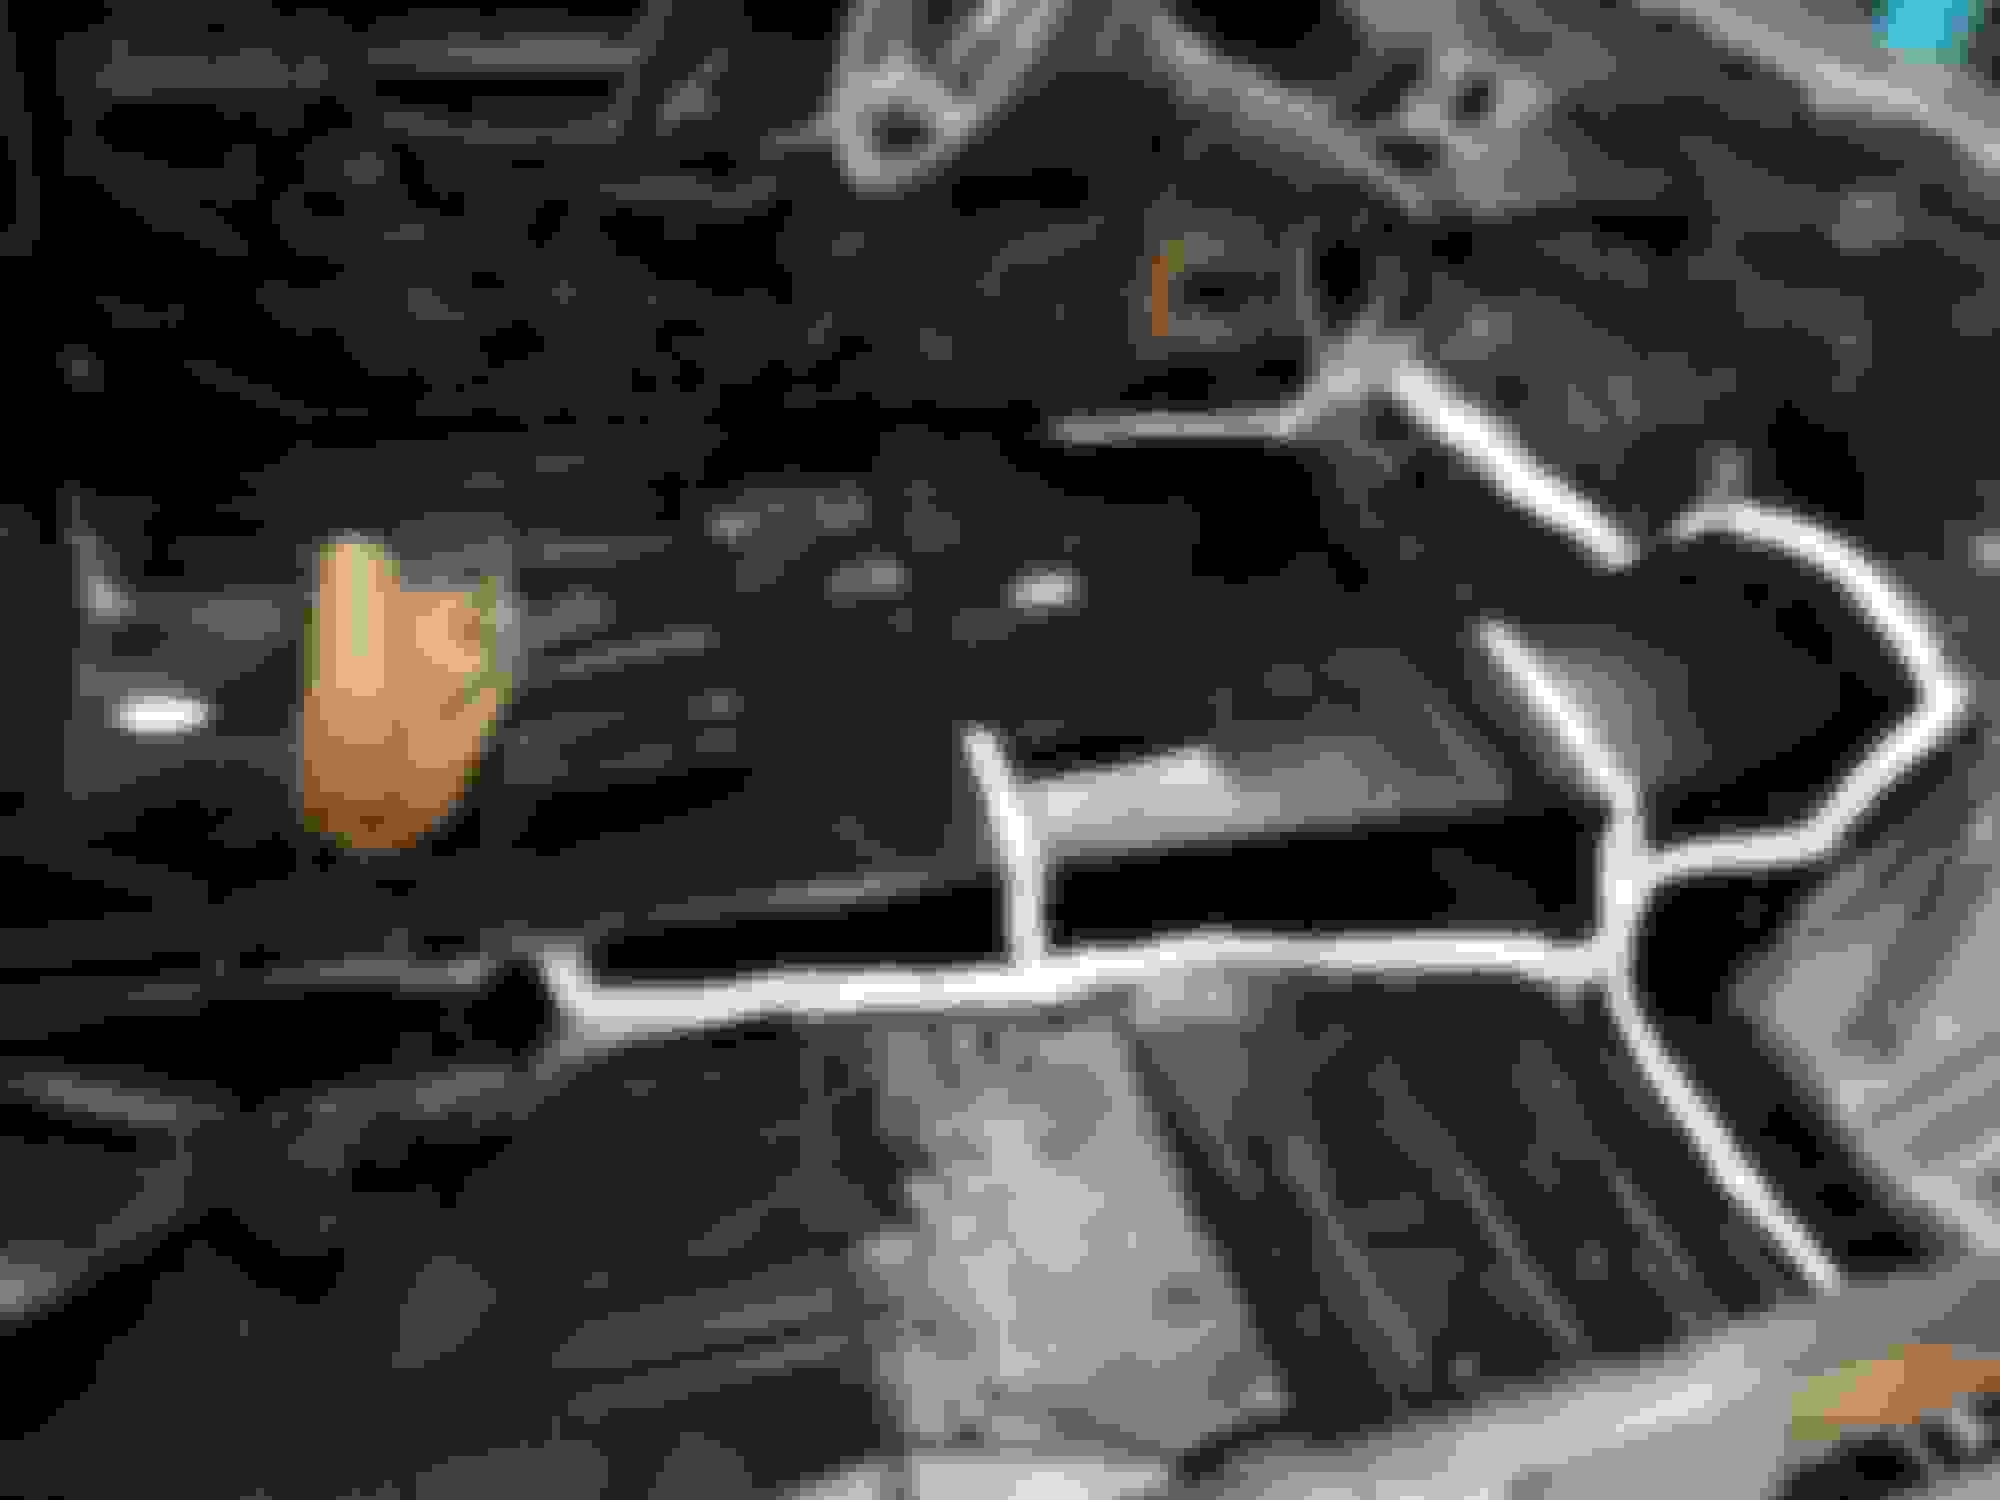
I installed the engine and transmission back in the car and I started to work on the exhaust. I'm running speed engineering headers which fit great and a used pypes 3 inch exhaust that I found on Craigslist. Because of the HPI kit I had to modify the exhaust a good bit.
Old 06-17-2018, 05:51 PM
  #16  
Launching!
Thread Starter
iTrader: (2)
 
lawrenq's Avatar
 
Join Date: Jan 2009
Posts: 266
Received 40 Likes on 29 Posts

Default

It was finally time to sit the body on the frame with the upgraded suspension. I needed all new body panels for the front of the car so I decided to turn it in a 70.


Old 06-17-2018, 11:42 PM
  #17  
TECH Fanatic
iTrader: (7)
 
CattleAc's Avatar
 
Join Date: Dec 2007
Location: Dakota Territory
Posts: 1,483
Received 306 Likes on 206 Posts

Default

This looks really good...Upol stuff works good. I wish I'd used a tunnel like you did when I installed my T56...would have been less work.


Old 06-19-2018, 05:34 PM
  #18  
TECH Fanatic
iTrader: (23)
 
chuckd71's Avatar
 
Join Date: Jul 2010
Location: Nashville / Tampa
Posts: 1,760
Received 18 Likes on 15 Posts

Default

Solid progress, interior work looks nice. Better than mine for sure, I'm dreading redoing my tunnel.
Old 06-19-2018, 05:40 PM
  #19  
Launching!
Thread Starter
iTrader: (2)
 
lawrenq's Avatar
 
Join Date: Jan 2009
Posts: 266
Received 40 Likes on 29 Posts

Default

Originally Posted by chuckd71
Solid progress, interior work looks nice. Better than mine for sure, I'm dreading redoing my tunnel.
Thanks
Old 06-19-2018, 05:57 PM
  #20  
Launching!
Thread Starter
iTrader: (2)
 
lawrenq's Avatar
 
Join Date: Jan 2009
Posts: 266
Received 40 Likes on 29 Posts

Default

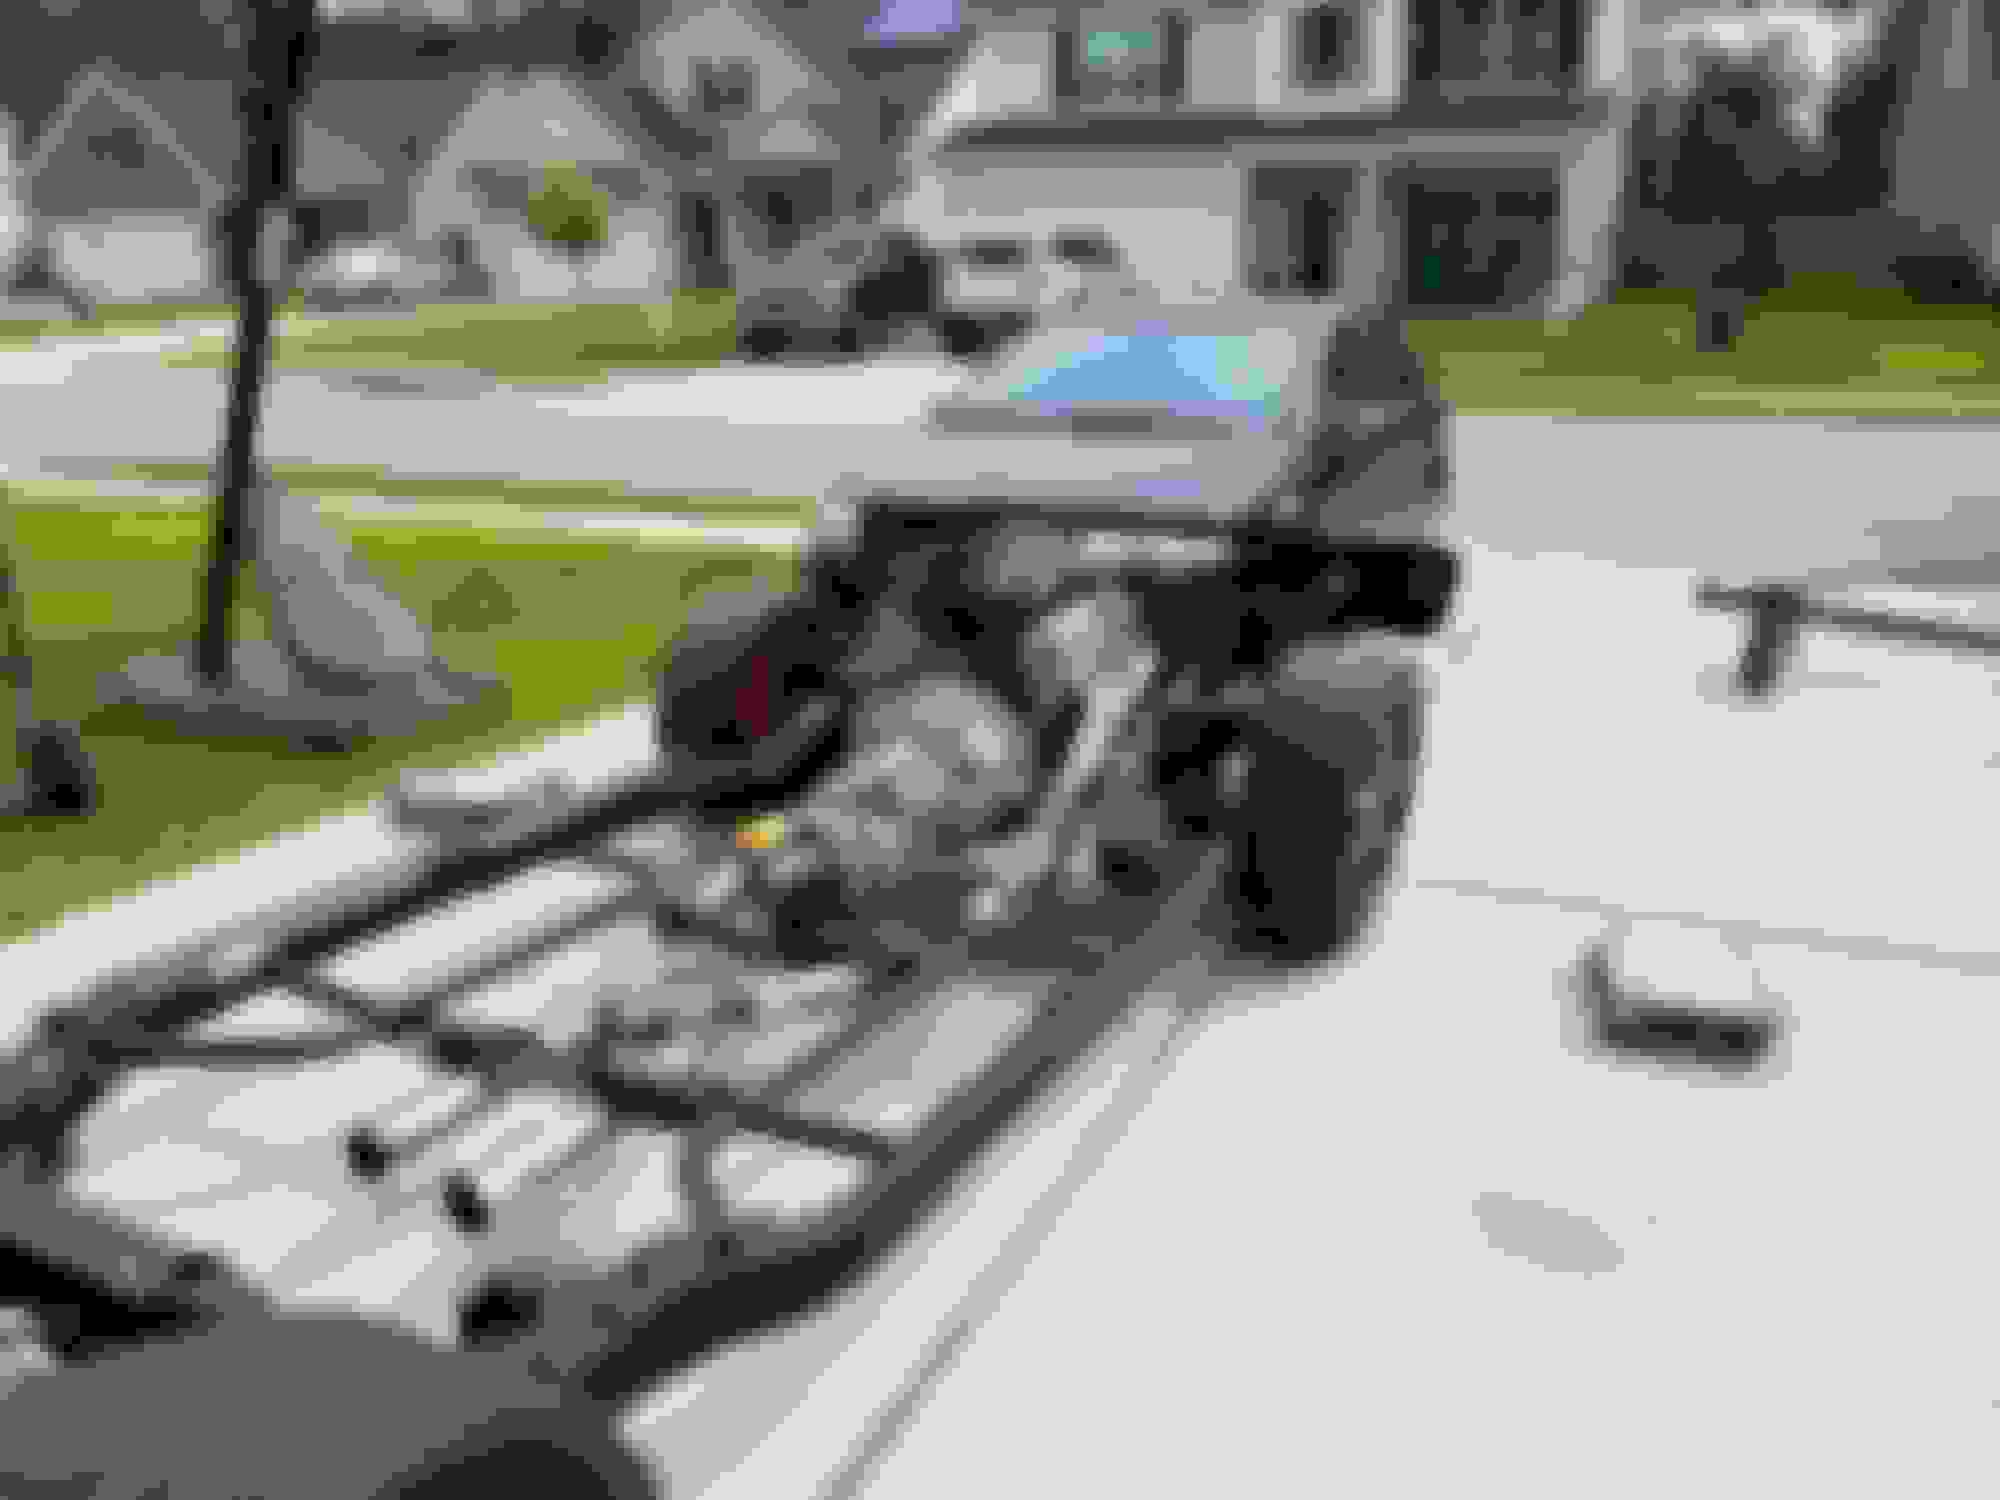
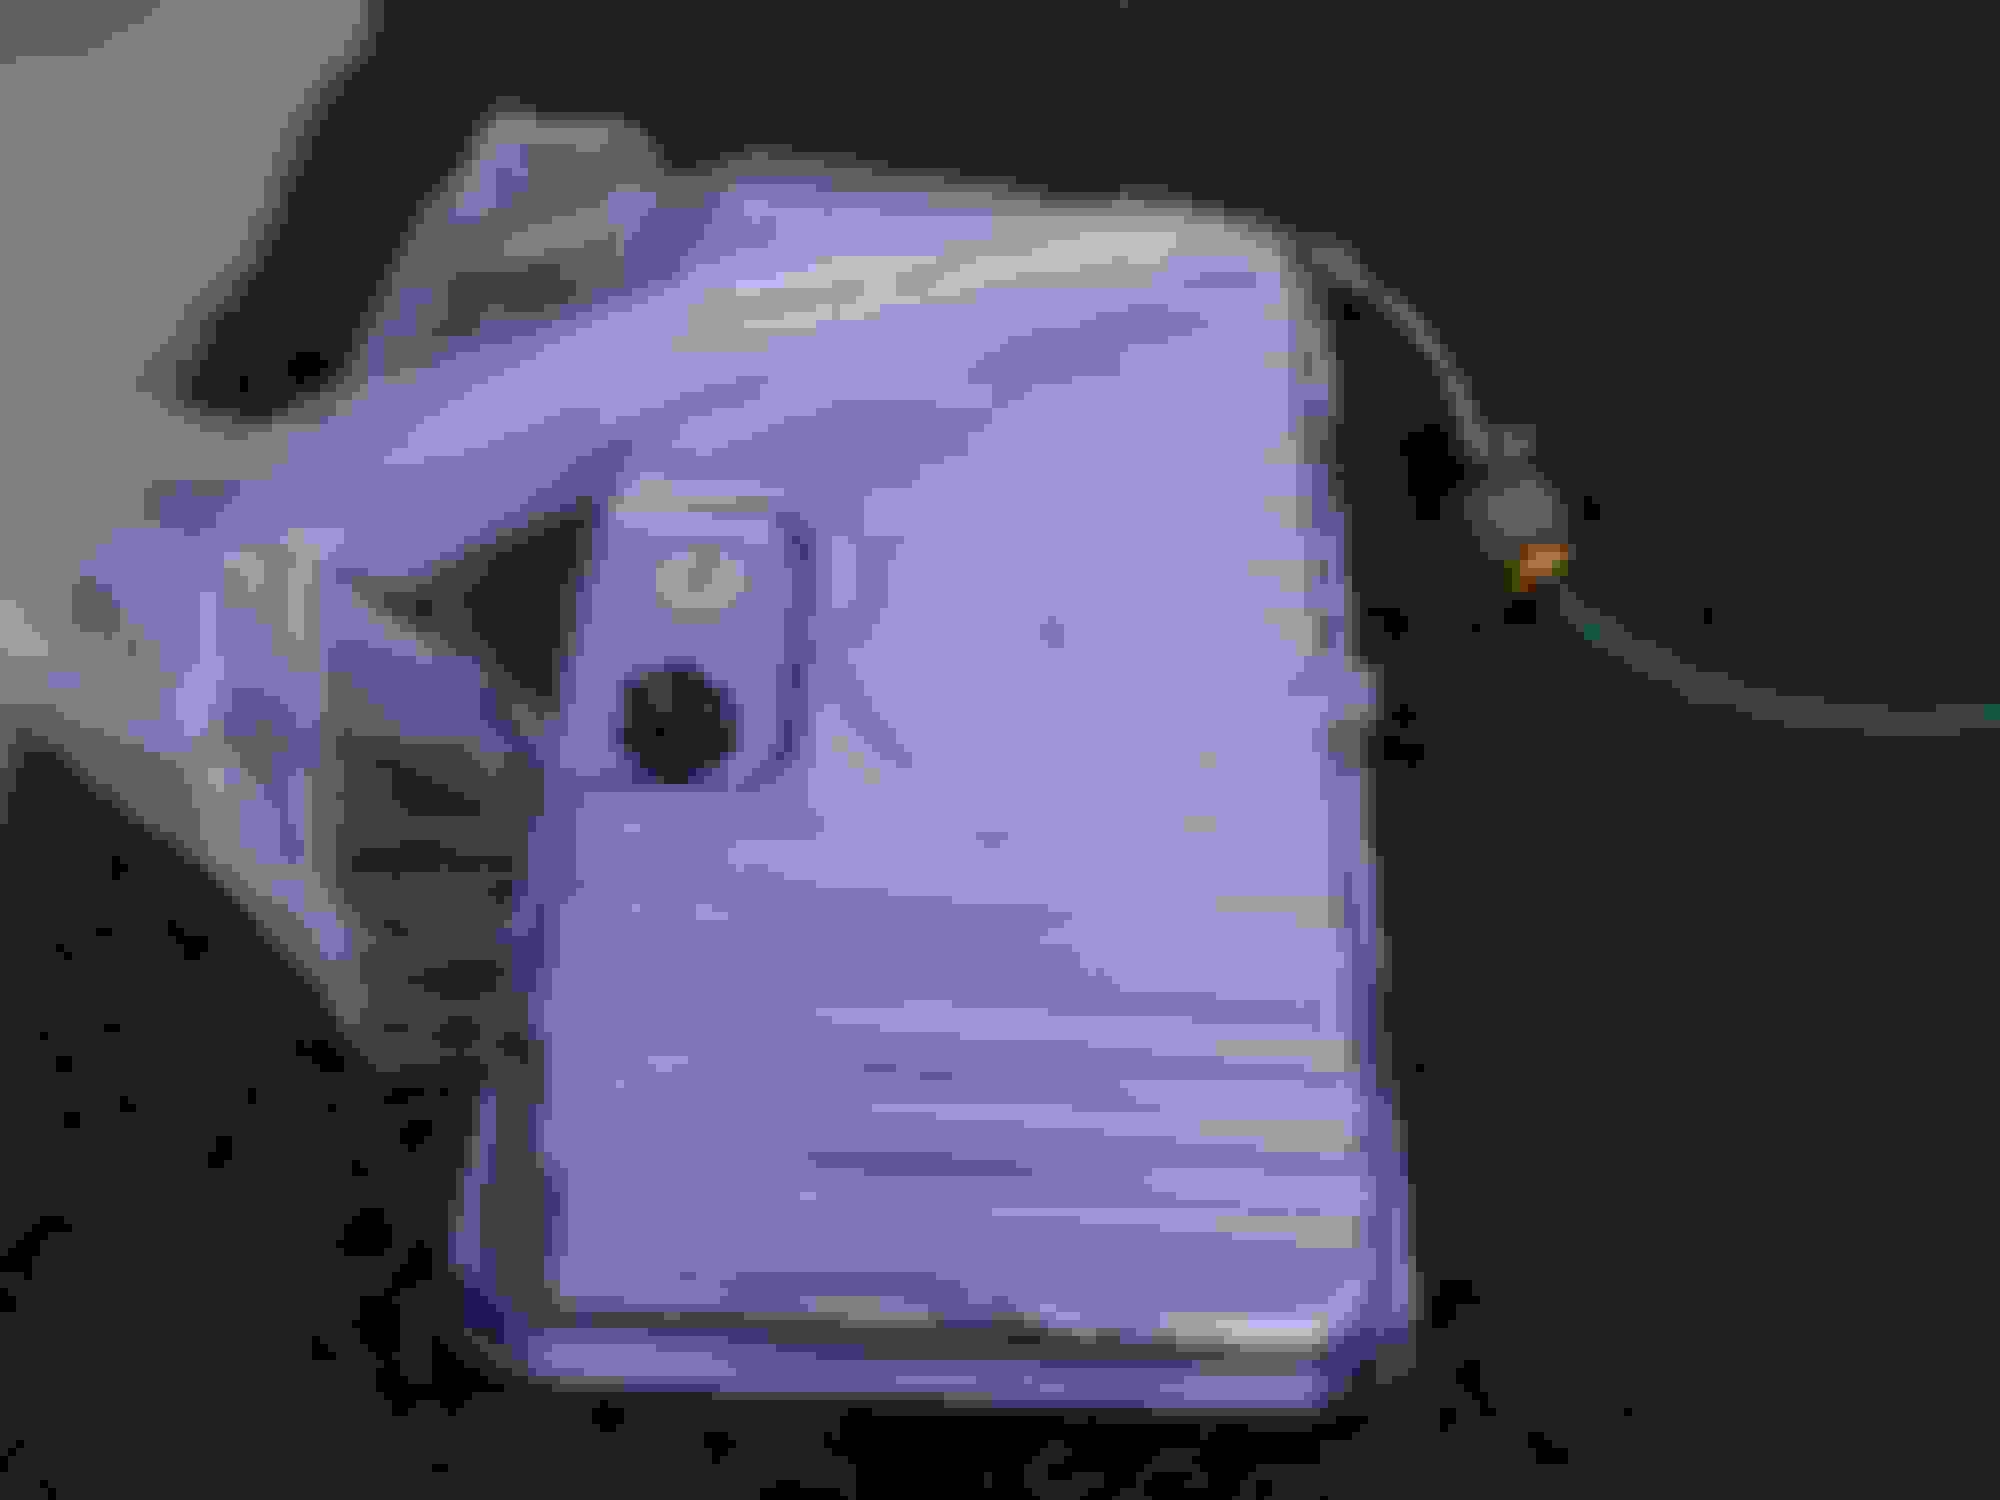
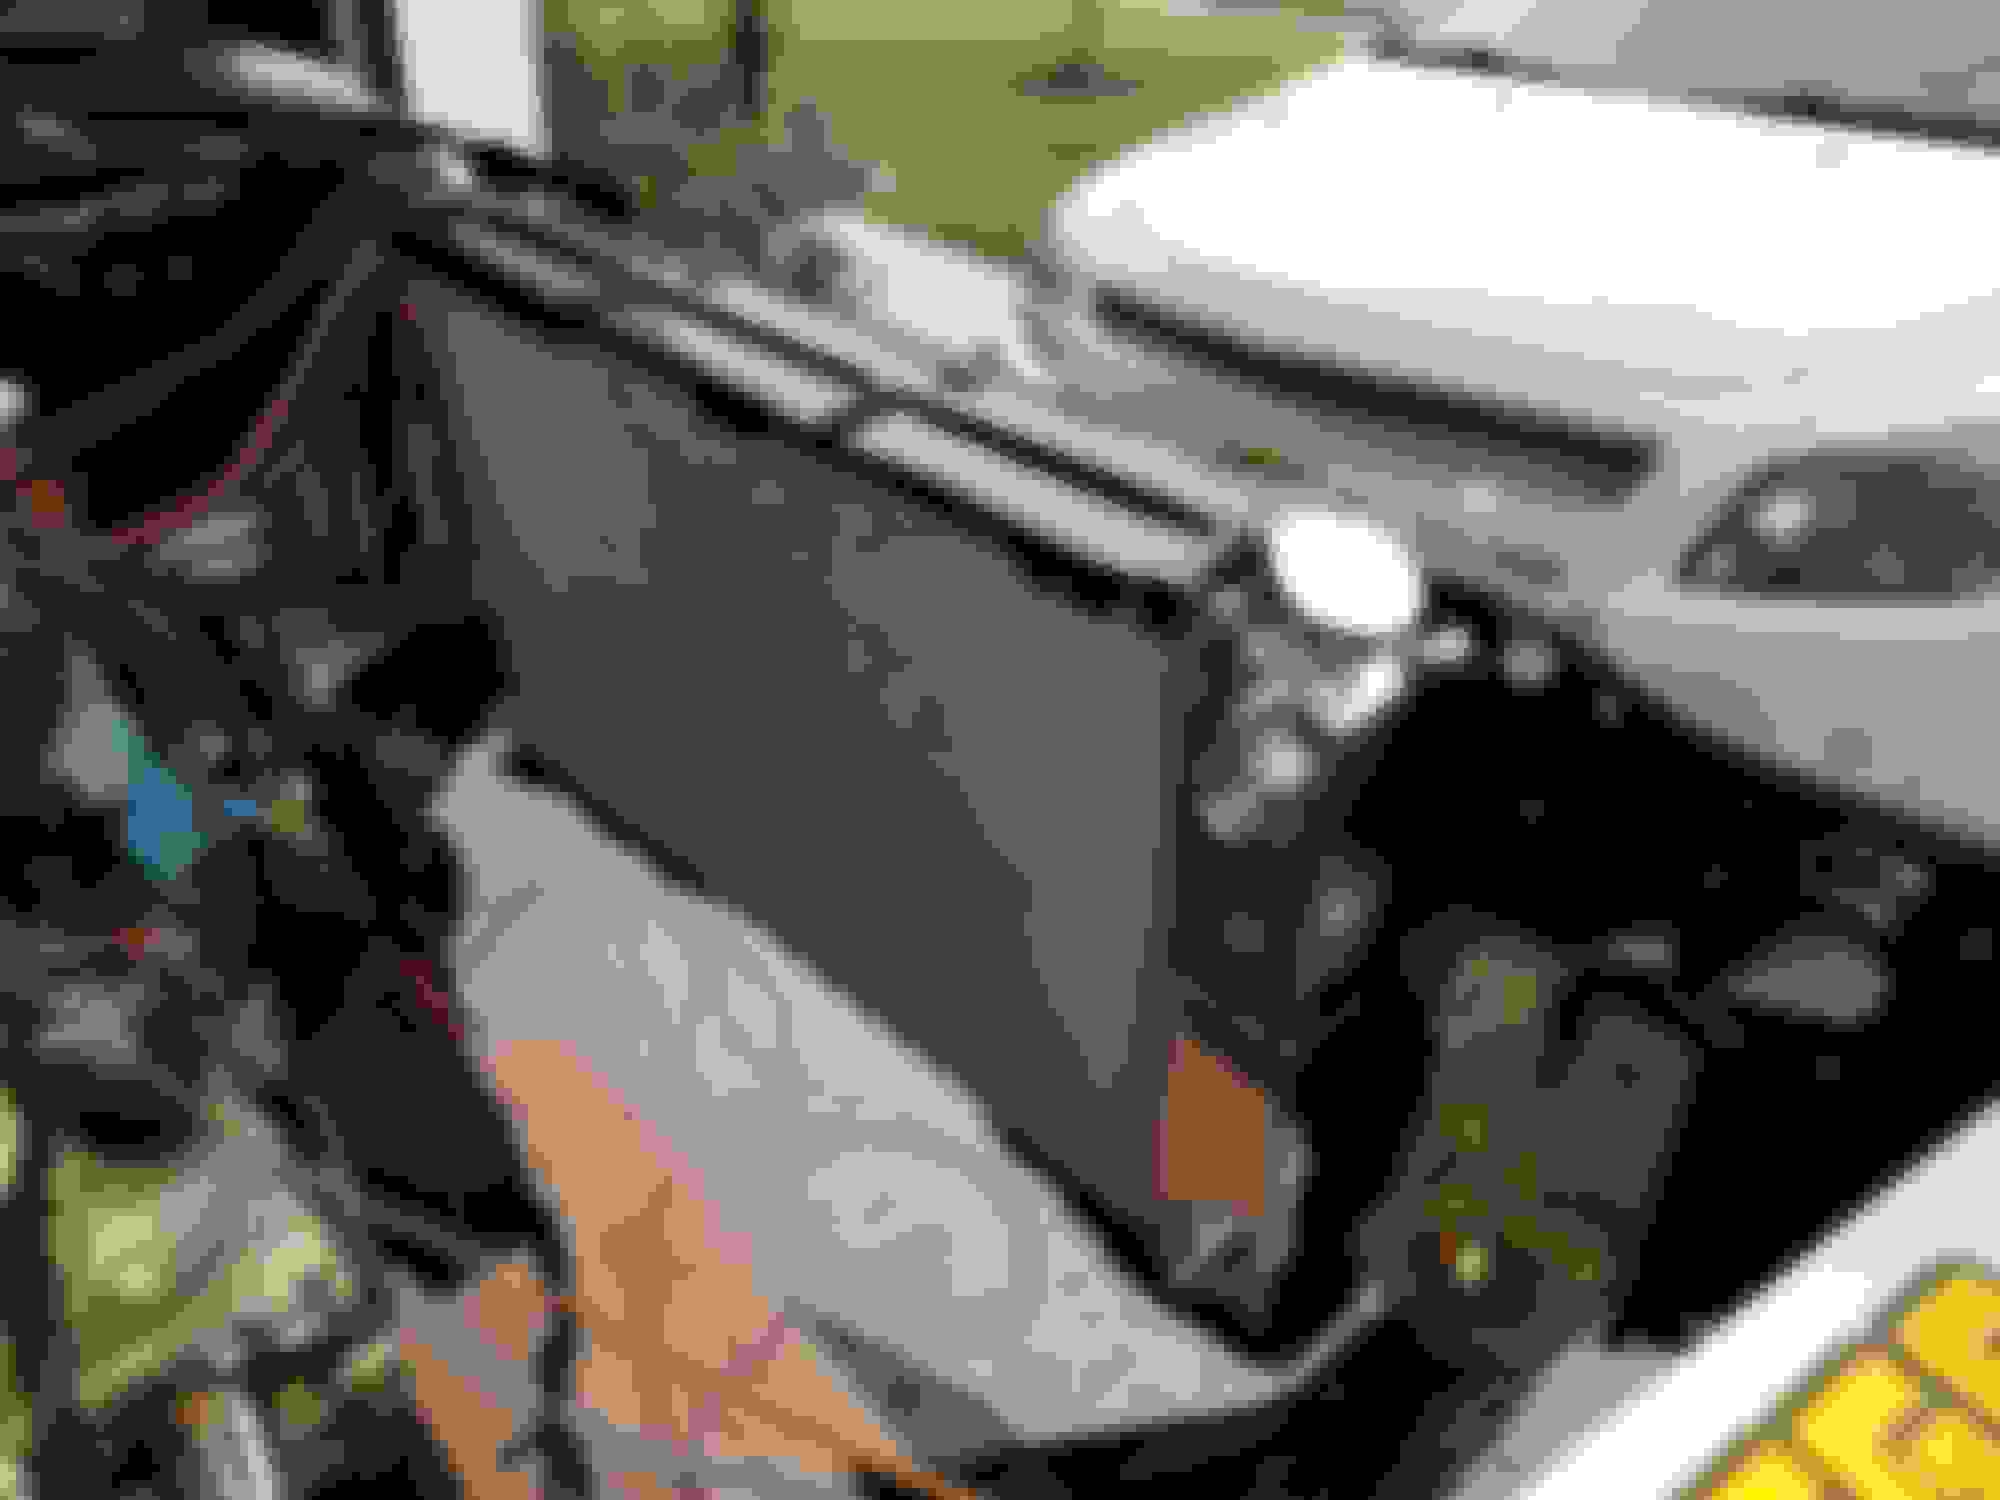
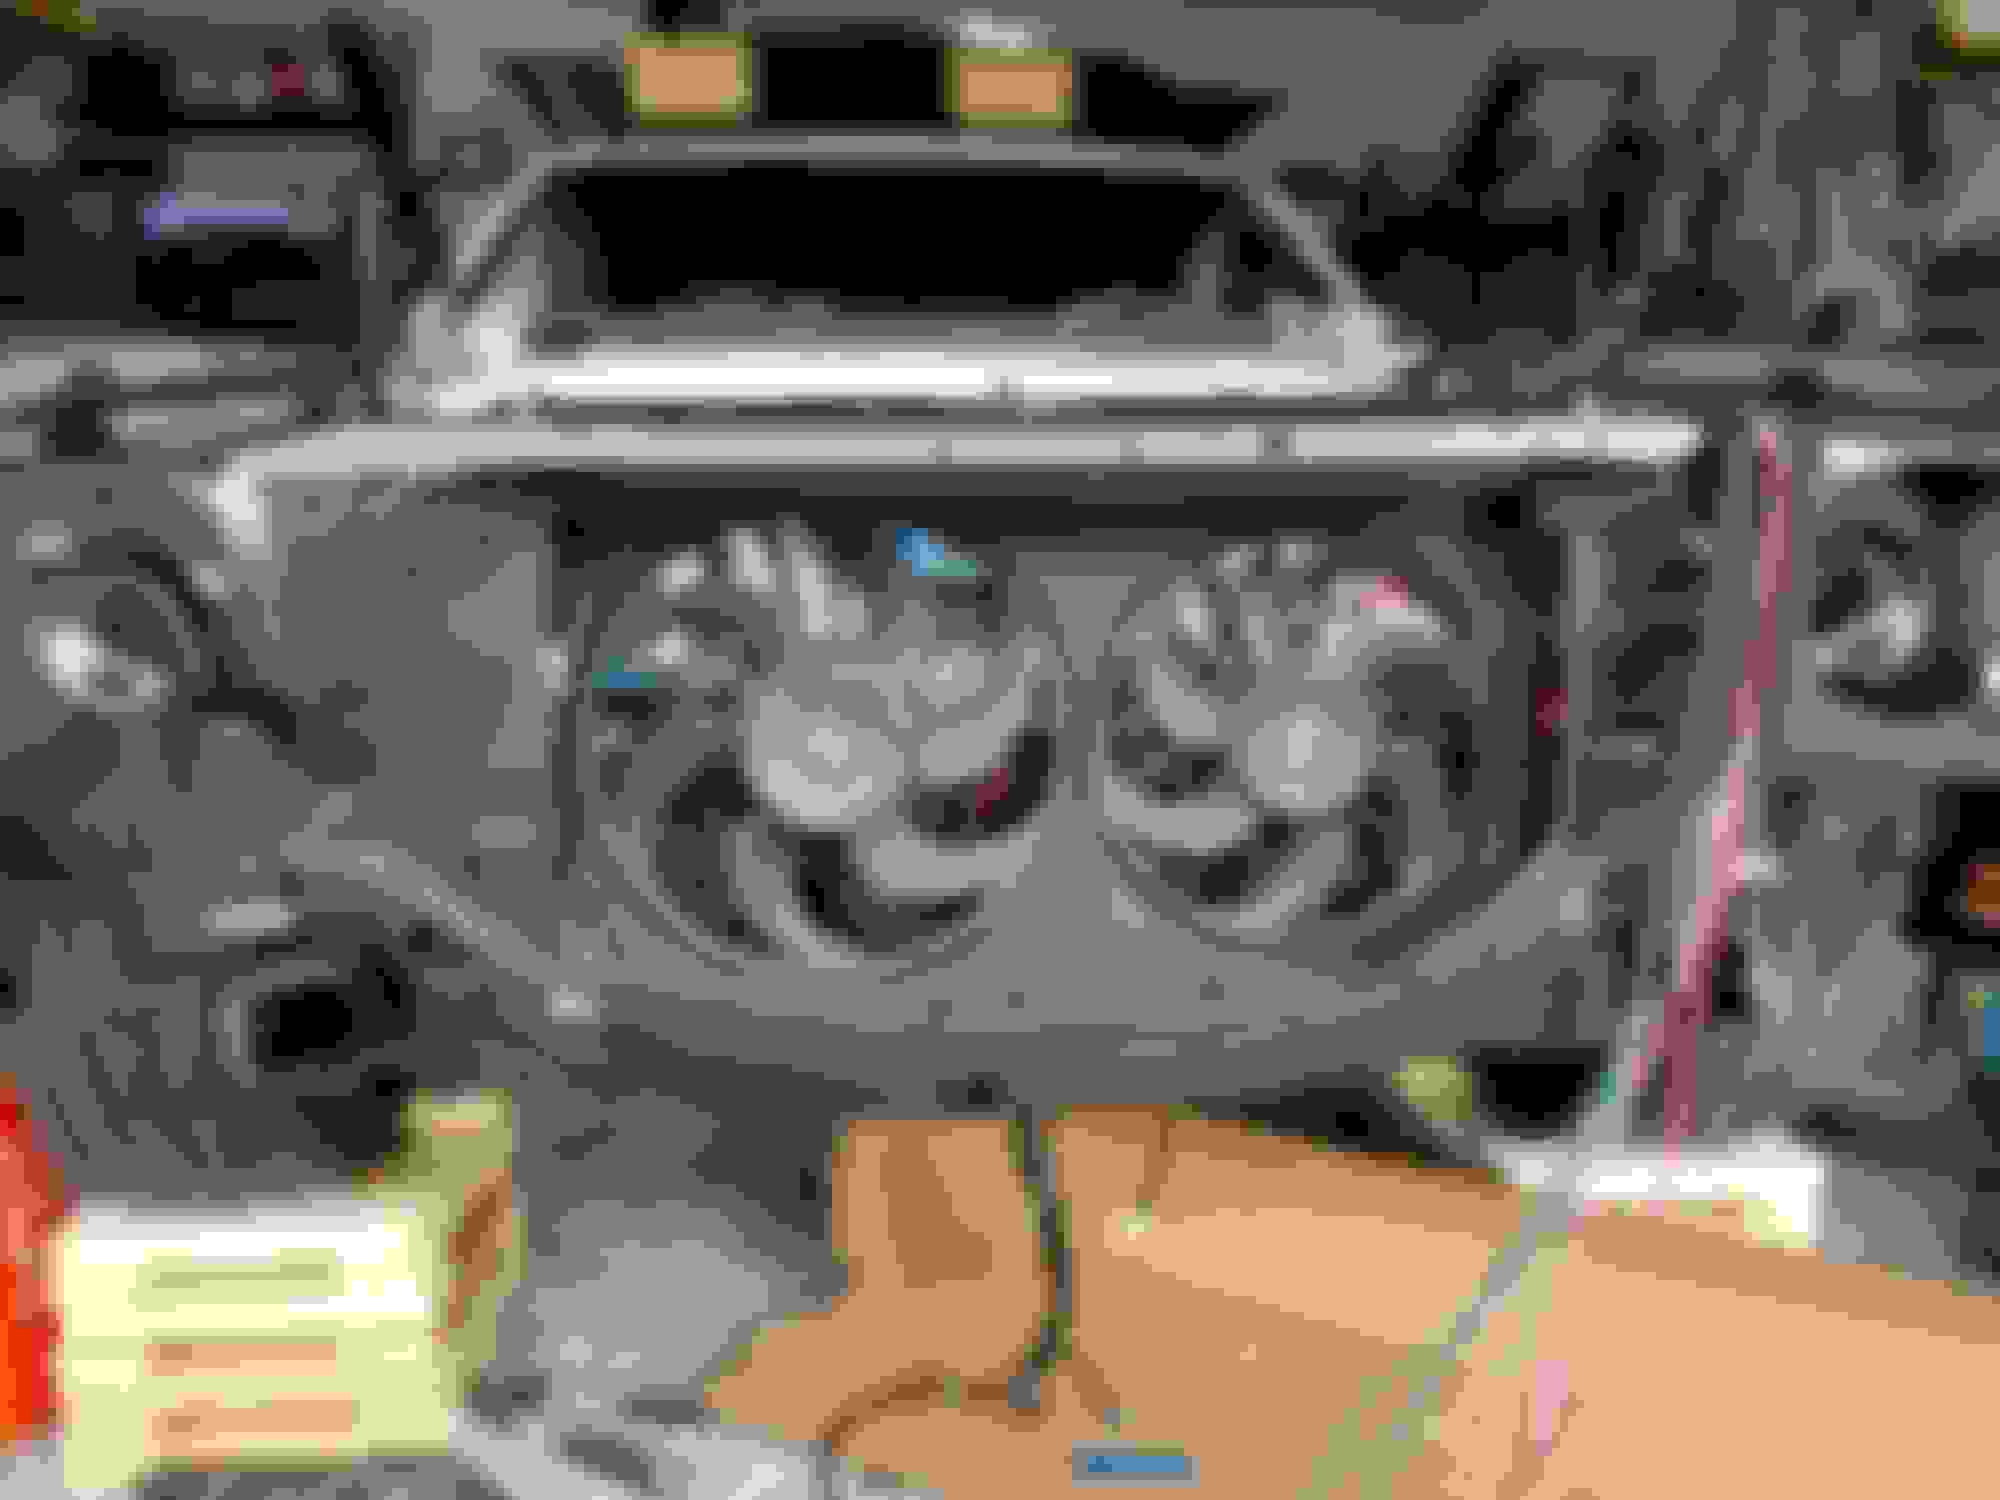
After the body was mounted to the frame I installed all the front body panels on for mock up so that I can wire the car. I went with the AAW classic update kit for the car. I also installed a Denny's driveshaft, aeromotive stealth tank, Holley Frostbite radiator and Ford


Windstar fans.


Quick Reply: 1971 Chevelle LS/t56


All times are GMT -5. The time now is 12:02 PM.