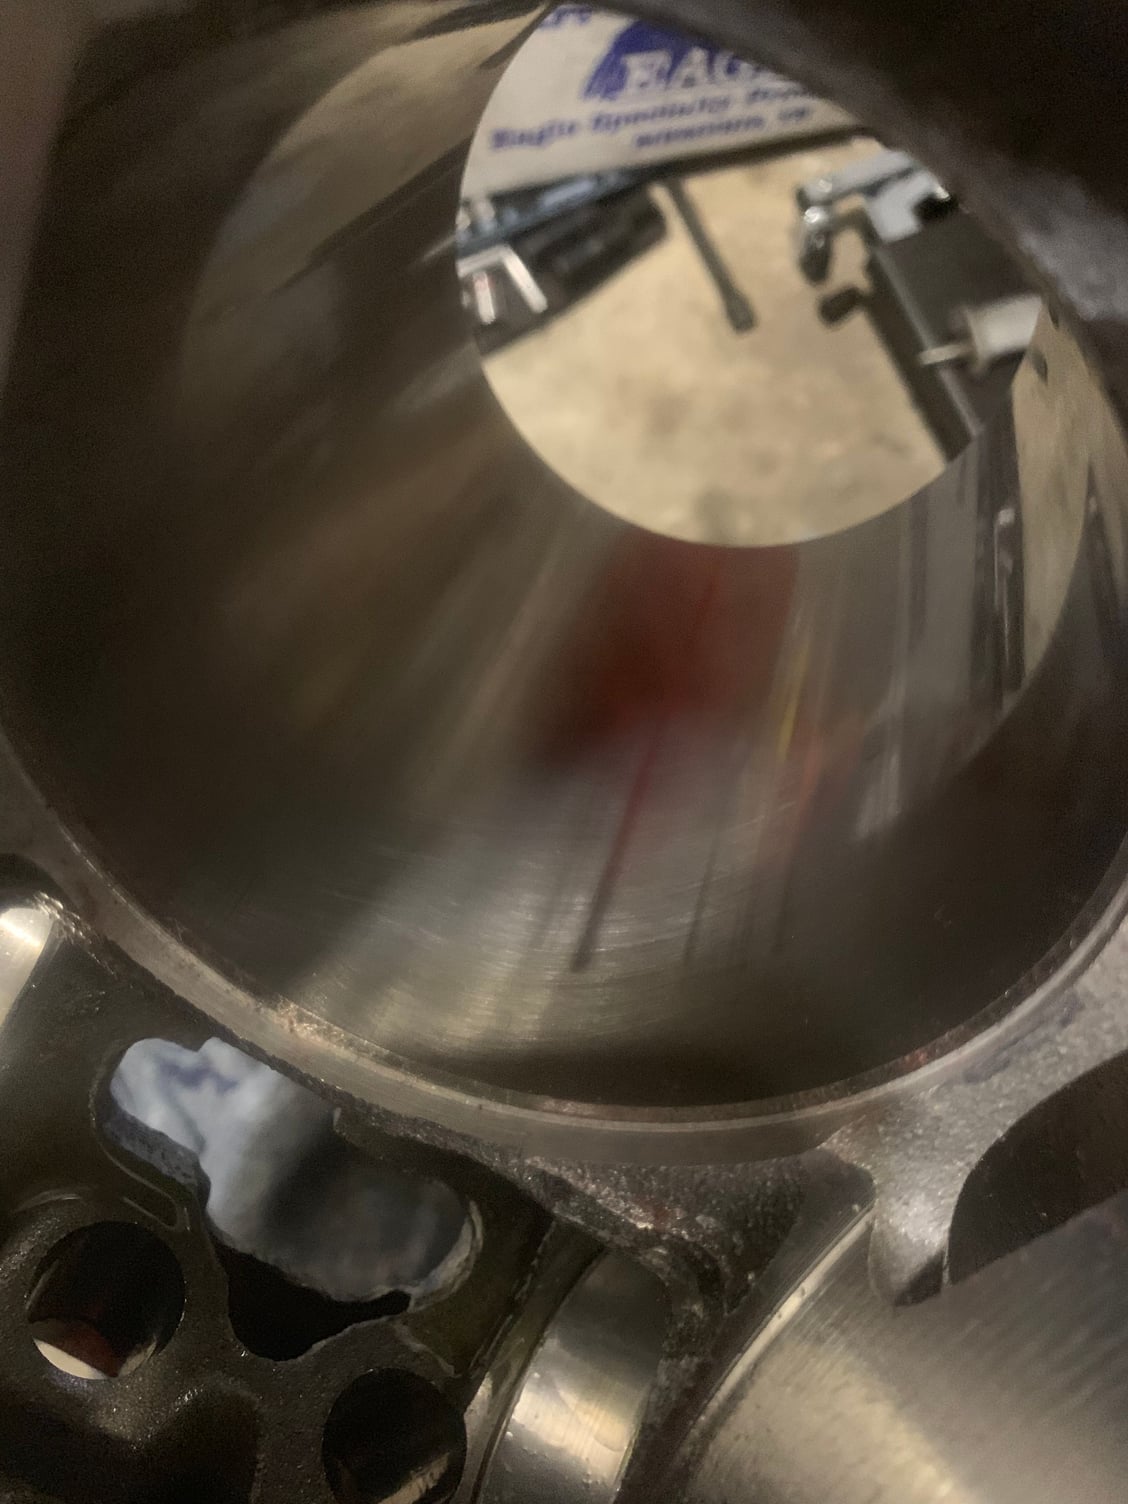
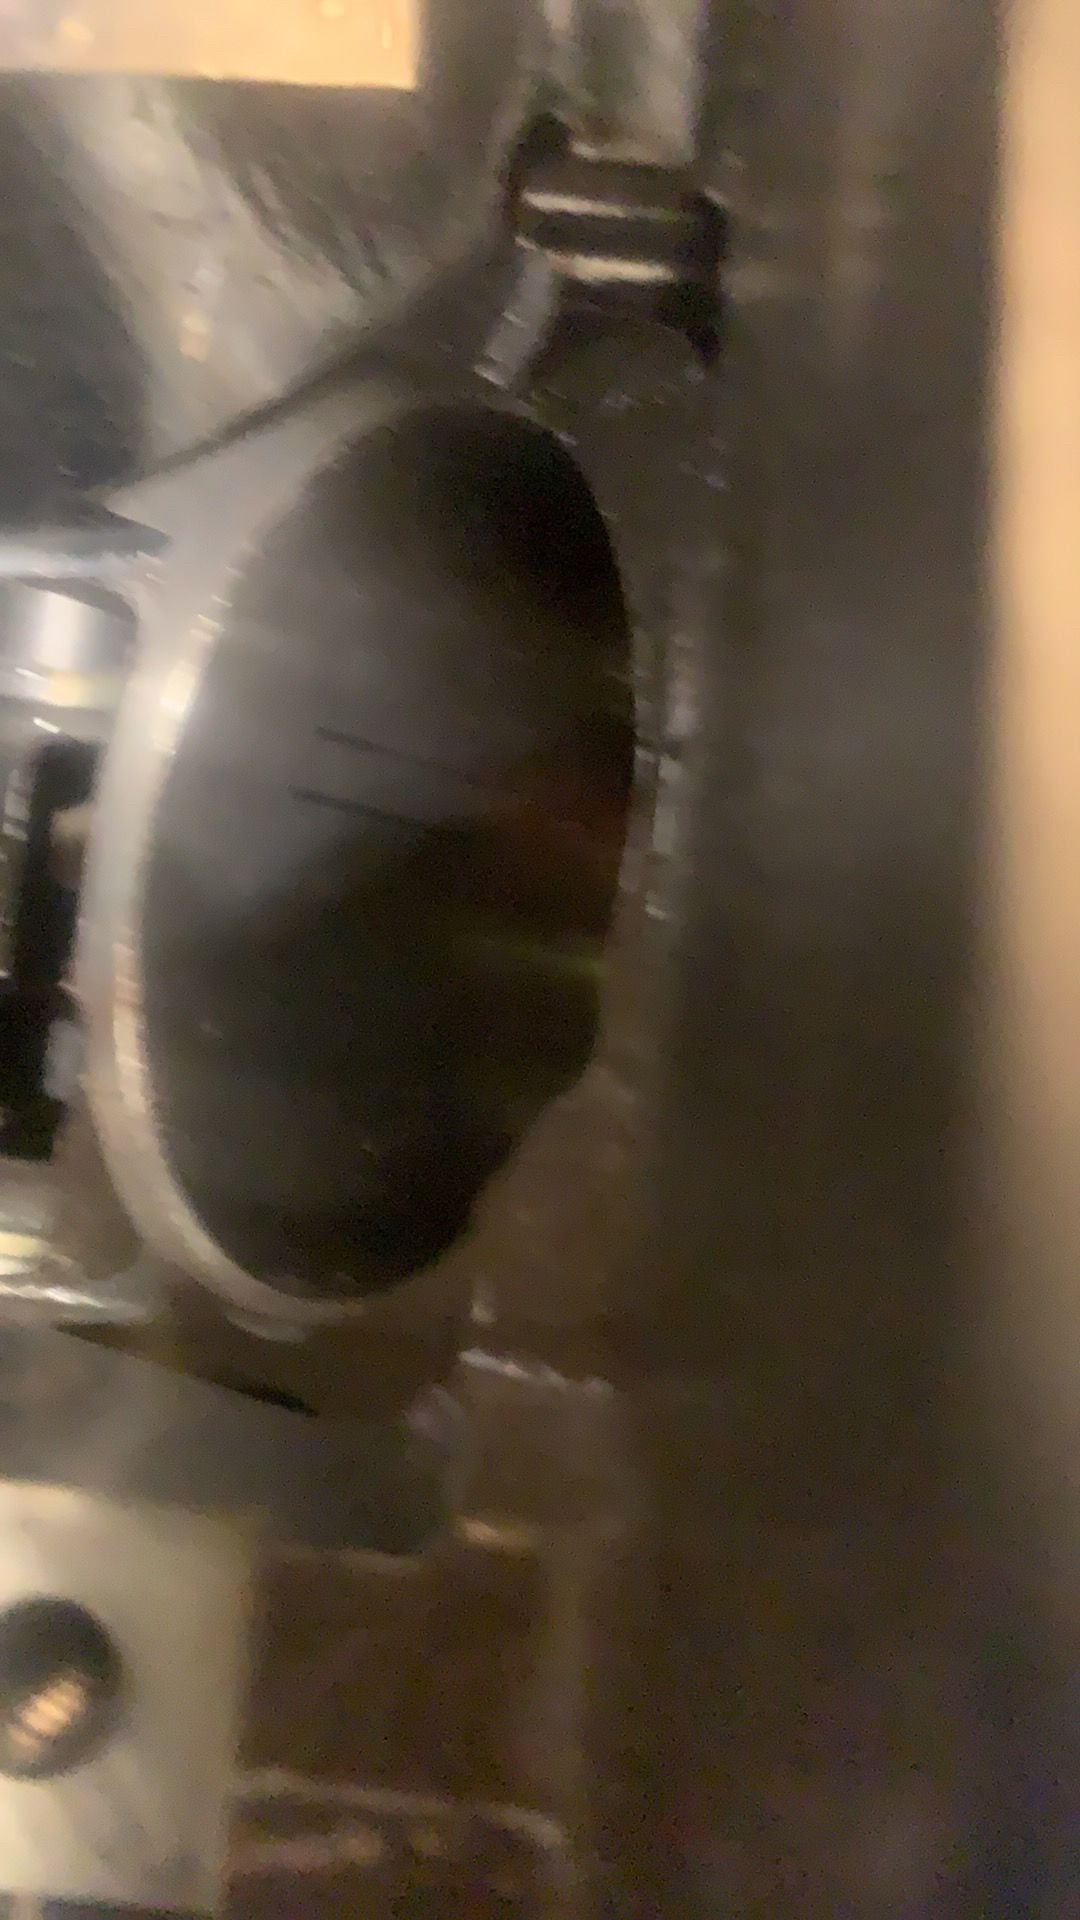
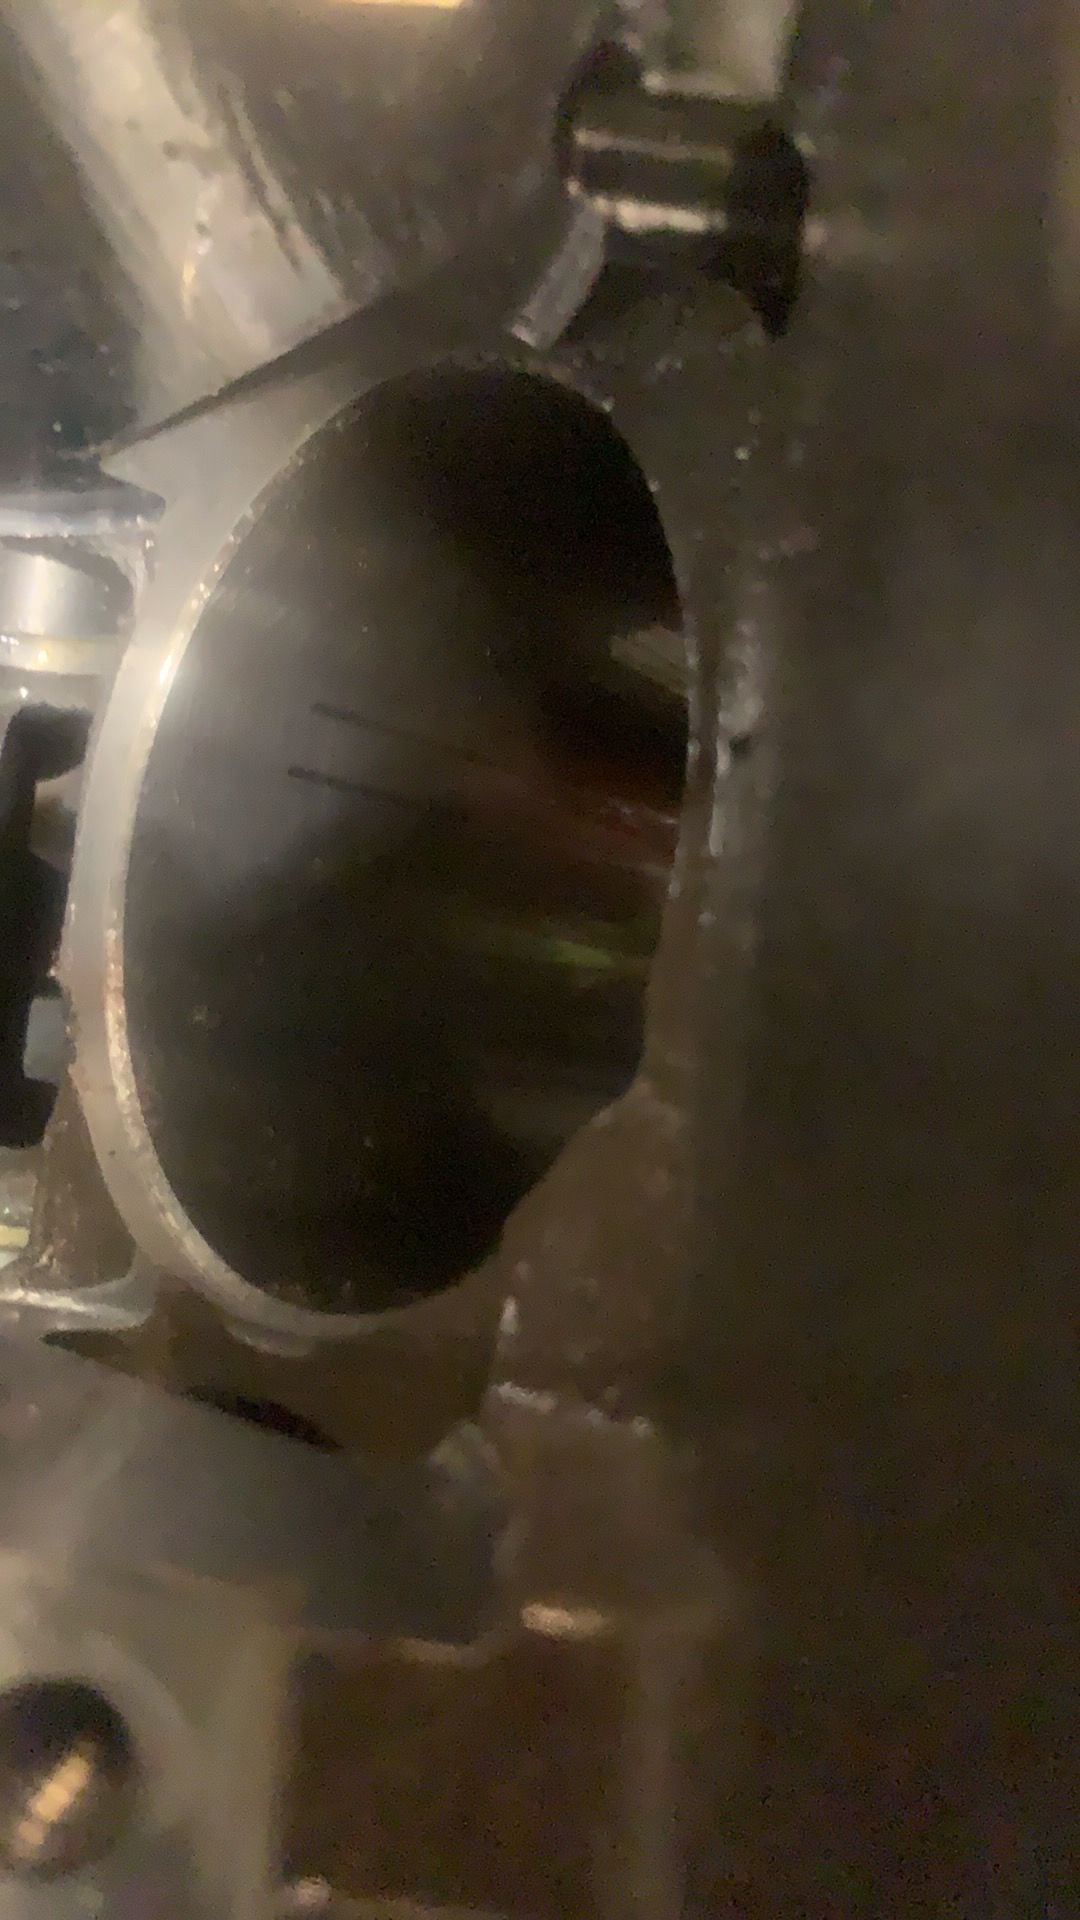
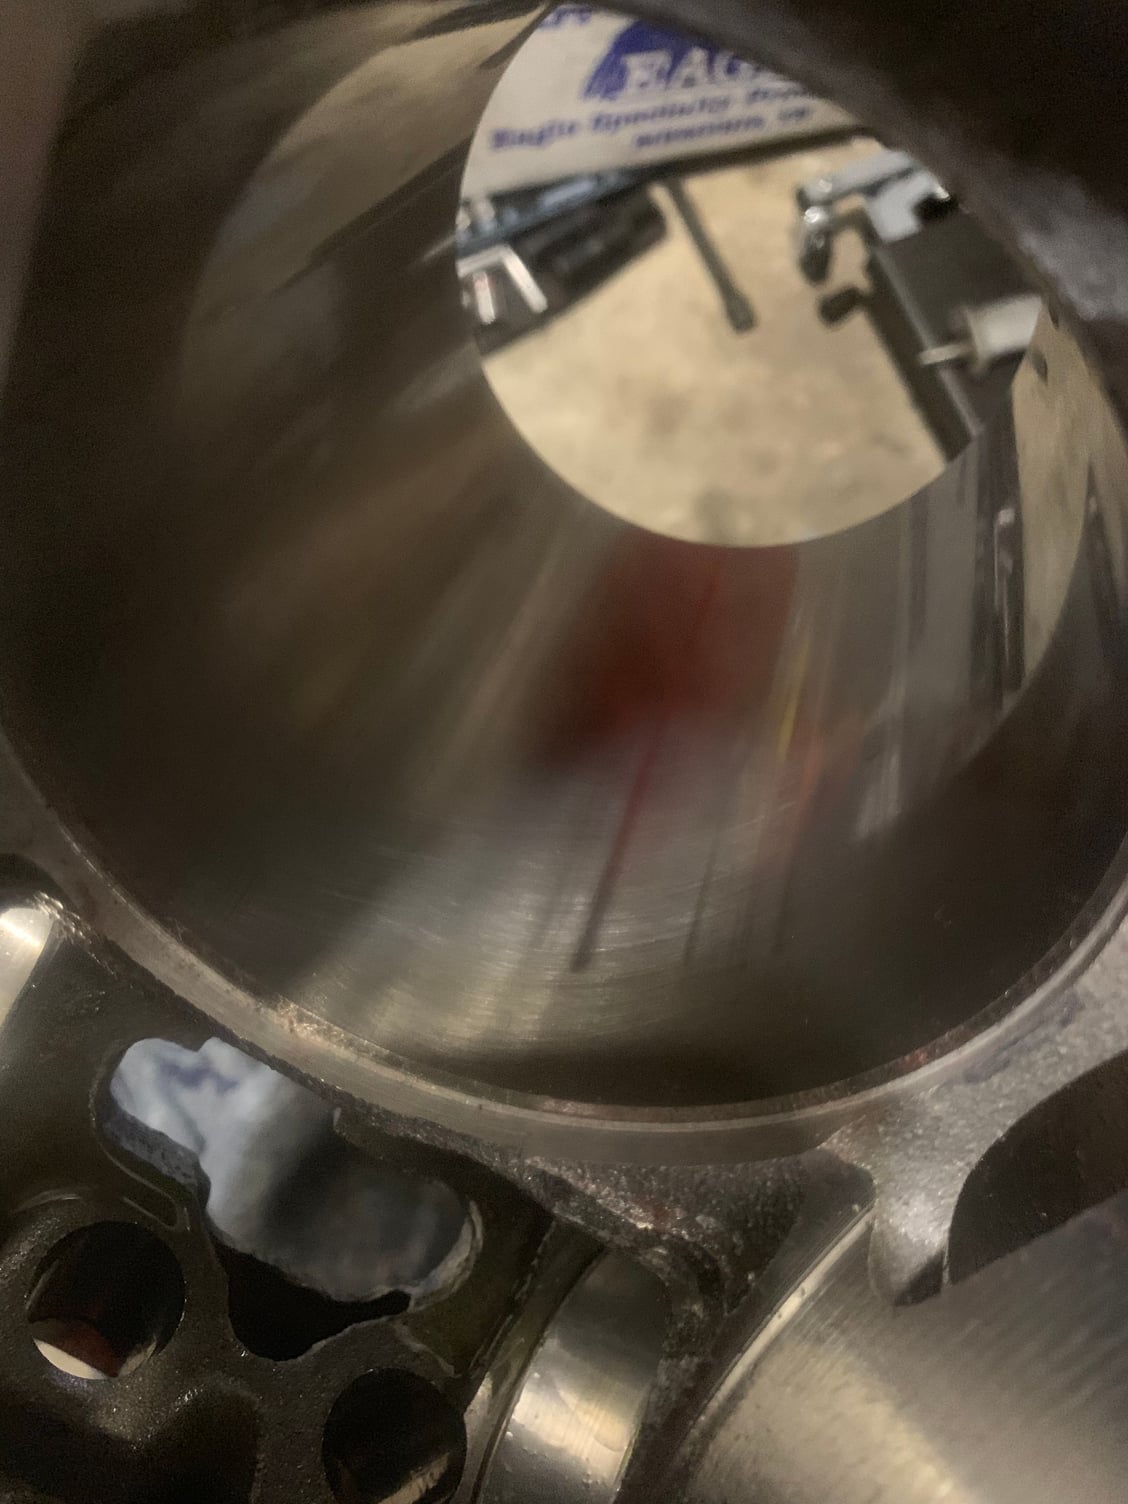
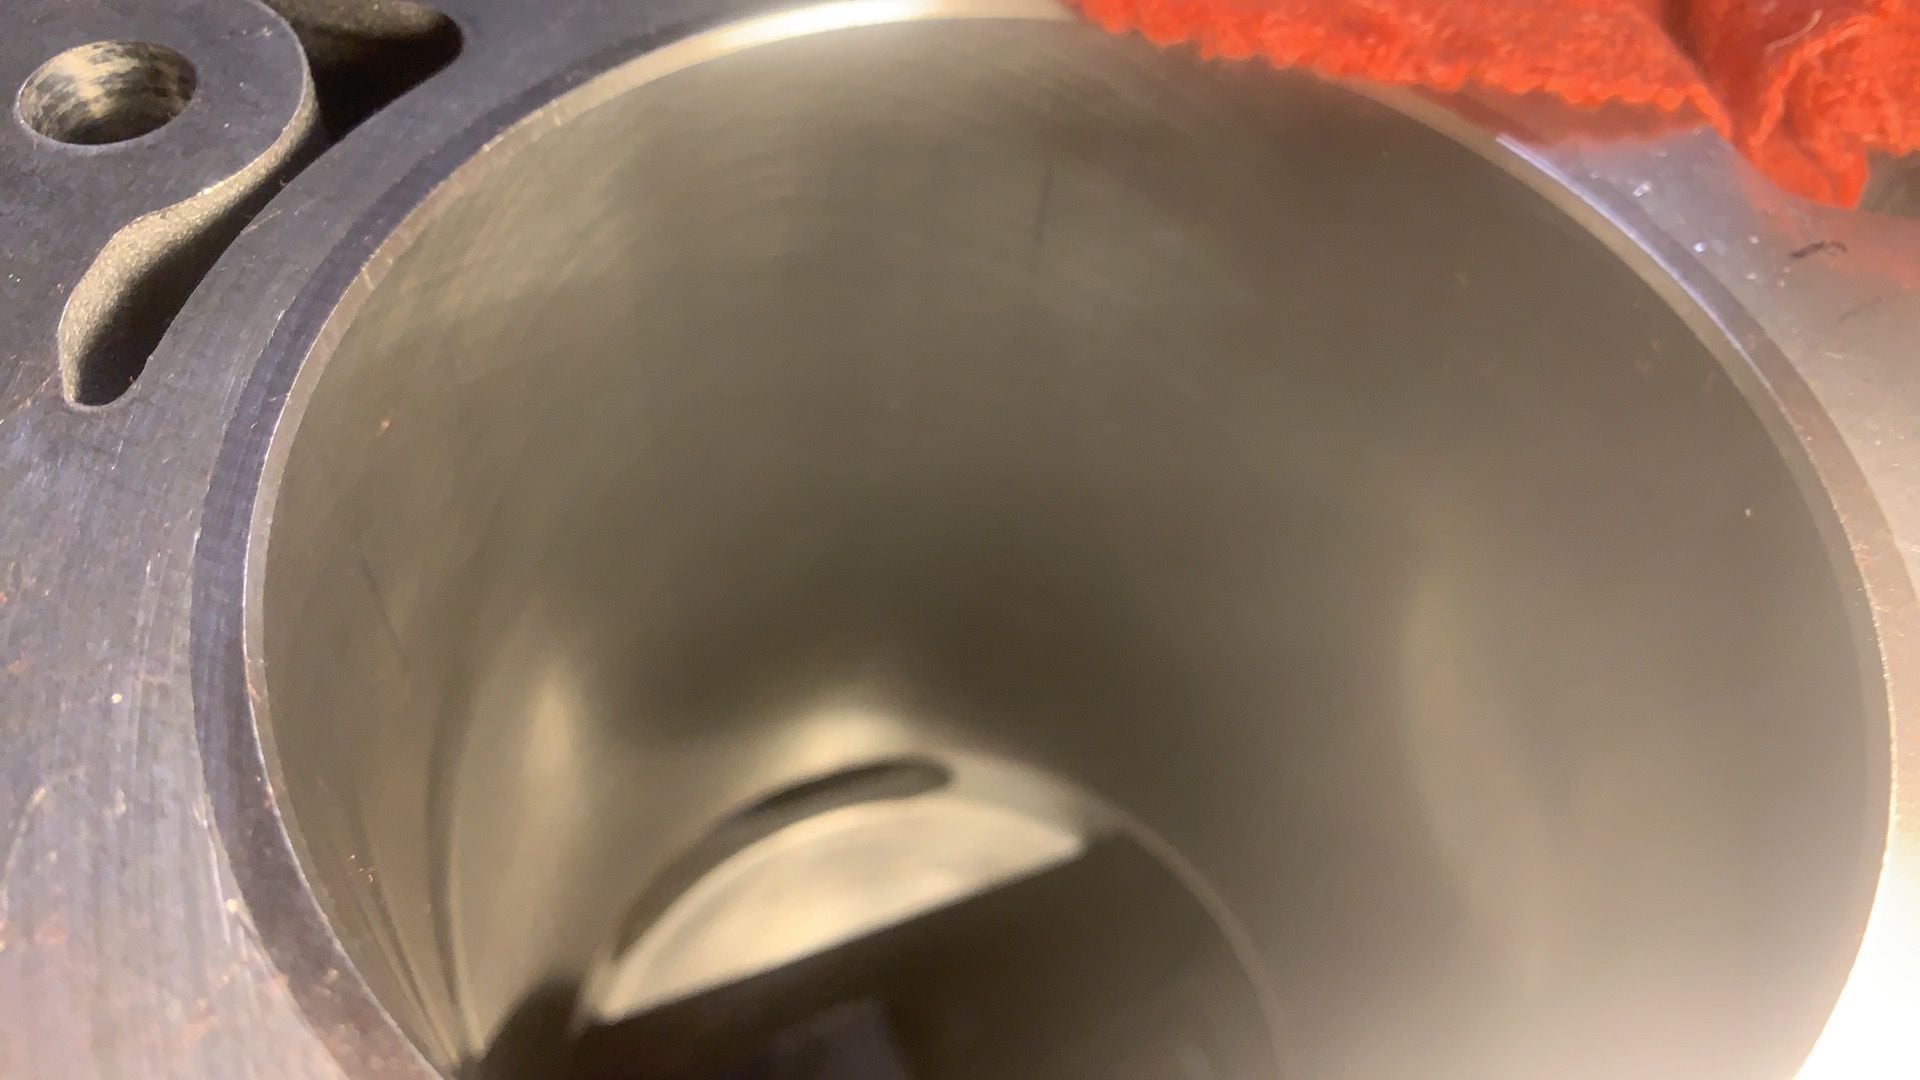
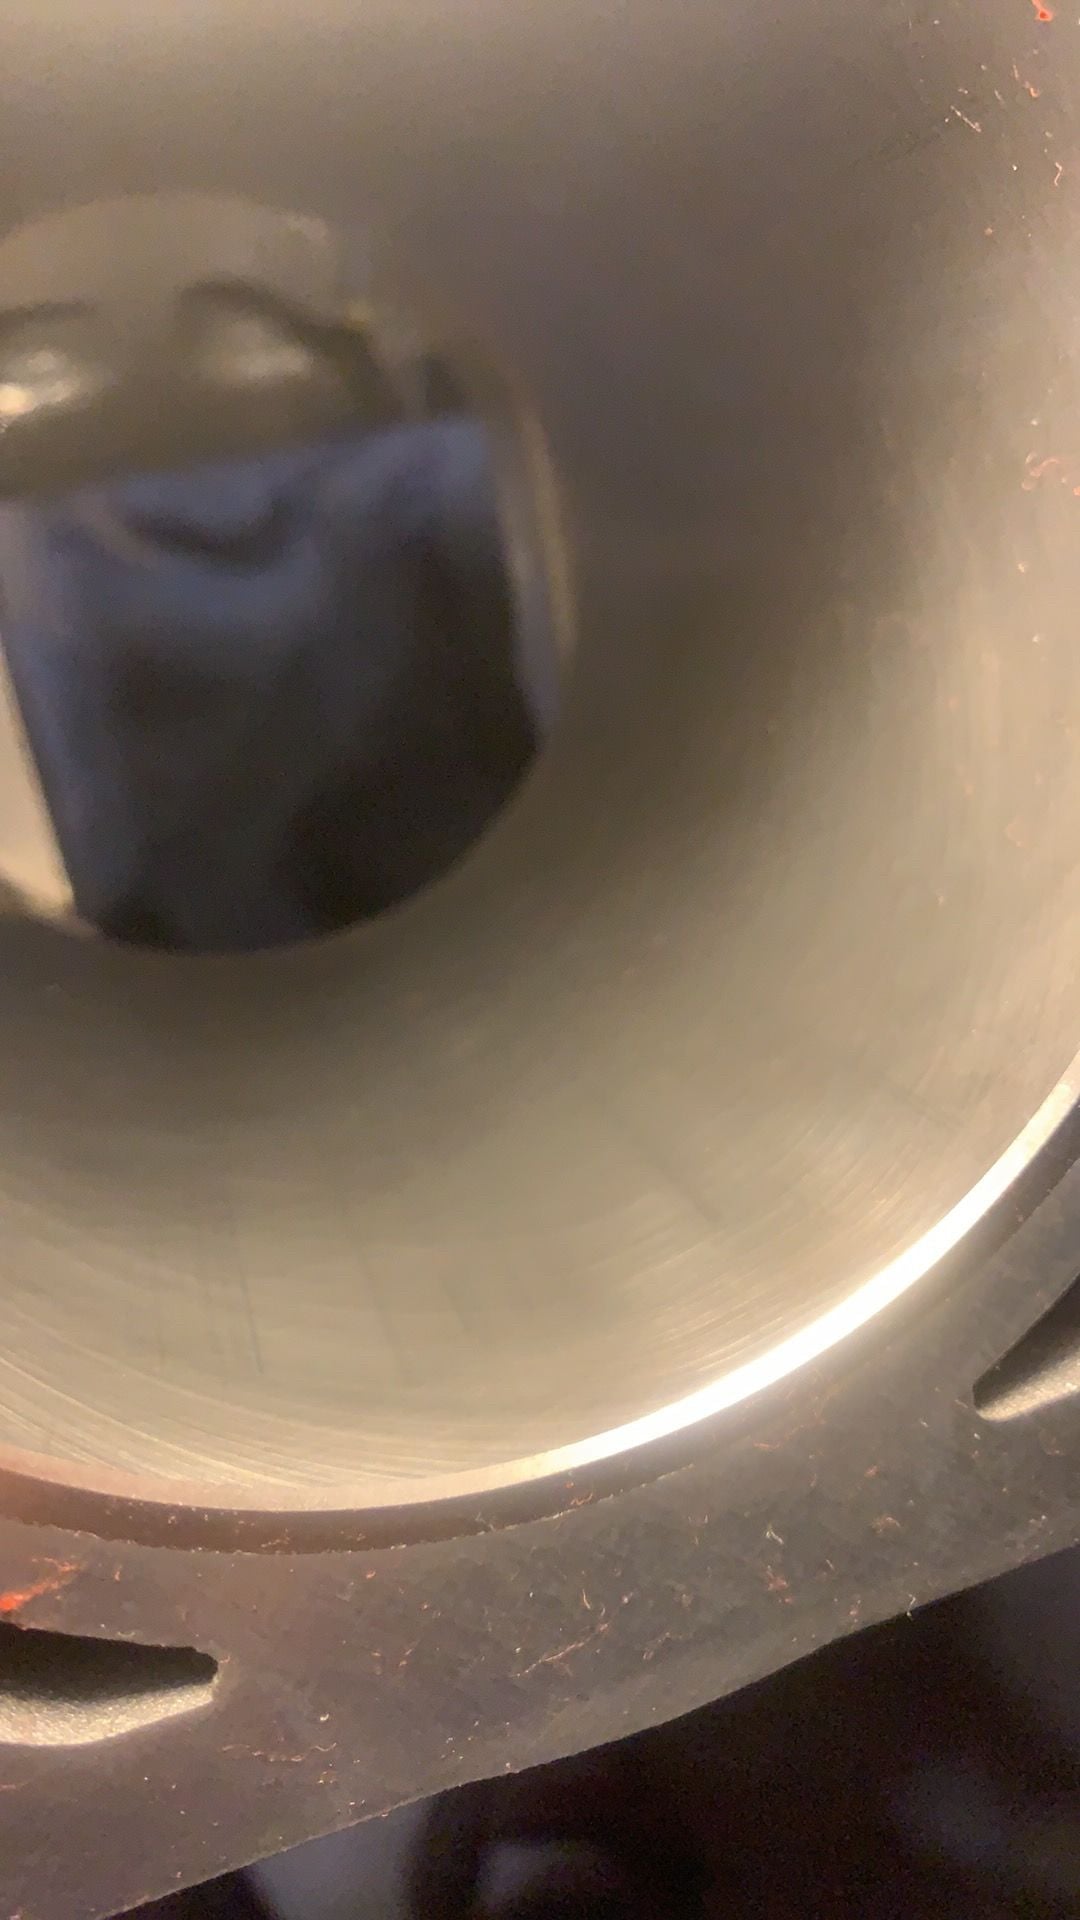
Damaged cross hatching during assembly
#2
ModSquad
iTrader: (6)
What’s the story here? Is this an overbore, or just a hone? Have you mocked up this cylinder prior to this picture?
#3
Engine assembled all clearances are good just put the pistons in notice that my rod bolts are touching the block slightly so disassembled it to clearance. After cIearencing i'm cleaning the block with wd40 and look down into the bore. To which I have this what the **** moment.
Trending Topics
#8
TECH Apprentice
iTrader: (3)
I'd say dirt during assembly and normal marks from the rings while turning engine over during assembly.
Make sure you use LOTS of engine oil on the rings/skirts during assembly. Better to be safe than sorry. If I know I'm going to be turning the engine over a bit more than normal during assembly, I will put some oil on top of the piston after it's installed to make sure the top ring land has good lubrication. Wipe off the excess with a lint free towel.
Make sure you use LOTS of engine oil on the rings/skirts during assembly. Better to be safe than sorry. If I know I'm going to be turning the engine over a bit more than normal during assembly, I will put some oil on top of the piston after it's installed to make sure the top ring land has good lubrication. Wipe off the excess with a lint free towel.
#9
I'd say dirt during assembly and normal marks from the rings while turning engine over during assembly.
Make sure you use LOTS of engine oil on the rings/skirts during assembly. Better to be safe than sorry. If I know I'm going to be turning the engine over a bit more than normal during assembly, I will put some oil on top of the piston after it's installed to make sure the top ring land has good lubrication. Wipe off the excess with a lint free towel.
Make sure you use LOTS of engine oil on the rings/skirts during assembly. Better to be safe than sorry. If I know I'm going to be turning the engine over a bit more than normal during assembly, I will put some oil on top of the piston after it's installed to make sure the top ring land has good lubrication. Wipe off the excess with a lint free towel.
#10
TECH Senior Member
The basic rules of assembly- Keep it clean and OILY! LOL
#11
ModSquad
iTrader: (6)
Those marks are too low in the cylinder to be rings imo. Make sure everything is ultra clean before assembly. Oil is your friend on the piston skirts. I use transmission fluid on the rig set to allow them to seat quicker. Assembly lube often is too thick at startup to allow rings to spin properly. Not your issue here obviously.
You have the biggest radius on the top of the cylinder I’ve ever seen. That will cost you power.
Quick hone the cylinder, clean it for hours, re-check everything and fire it up!
You have the biggest radius on the top of the cylinder I’ve ever seen. That will cost you power.
Quick hone the cylinder, clean it for hours, re-check everything and fire it up!
The following users liked this post:
Last 1 (07-13-2019)
#14
11 Second Club
iTrader: (3)
#15
Maybe Iím a tool, but I donít use any oil above the oil ring during assembly. I used to, and would sometimes tear down a fresh engine and find oil burnt into the ring lands. So now I oil the cylinder well, install the piston with rings dry, and let the oil scraper do itís thing like intended, with no extra oil put in the cylinder even after. Now finding no burnt carbon in ring lands when disassembled.
It is tempting to oil everything, but that is not how it is when it runs, and I think it is more harmful than helpful to do so.
It is tempting to oil everything, but that is not how it is when it runs, and I think it is more harmful than helpful to do so.
The following users liked this post:
01CamaroSSTx (07-15-2019)
#16
Yea so i disassembled it cleaned it honed it cleaned it.
Reassembled it installed the back 2 pistons it made the same marks .
So i stuffed the bottom of the cylinder with rags ran the hone through it checked ring gaps and tried it again
I soaked this thing in oil.
Same exact marks. Thus far building this 402 stroker has had an issue with everything i've done and it's always been the parts. The piston and rings are je
gaped to .020 top ring .022 2nd ring did not gap the oil rings I did check a few of the gaps and they were around .015 I was told you don't gap the oil rings.
So yea soaked the entire thing in oil pissed oil all over the floor and everything. pushing the piston into the bore left marks. Less than 2 spins of the crank the marks are back.
Only thing left I can think of install the piston 1 ring at a time until i find out which one is doing it. If I was to guess it's the 2nd ring. Luckily i'm only honeing with 320 grit and i can probably do this a ton of times before I run into any issues.
So far CNC Motorspots kit has come with 1 bad crank, 1 set of main bearings where the clearances were too tight (by a lot) and I've had to clearance the block to get the rod bolts to fit. I feel like I'm gonna get everything together turn it on and it will be out of balance or something crazy.
What type of rings do you guys recommend me replacing these JE rings with when i find out the rings are garbage?
The following users liked this post:
spy2520 (07-31-2019)
#18
11 Second Club
iTrader: (3)
You will see what appears to be scratches in the cylinder walls after turning the engine over repeatedly but its nothing that you should be able to feel with a finger nail.
Don't take this the wrong way but did you remove the burr's that are left on the rings after file fitting them?
Don't take this the wrong way but did you remove the burr's that are left on the rings after file fitting them?
#19
You will see what appears to be scratches in the cylinder walls after turning the engine over repeatedly but its nothing that you should be able to feel with a finger nail.
Don't take this the wrong way but did you remove the burr's that are left on the rings after file fitting them?
Don't take this the wrong way but did you remove the burr's that are left on the rings after file fitting them?
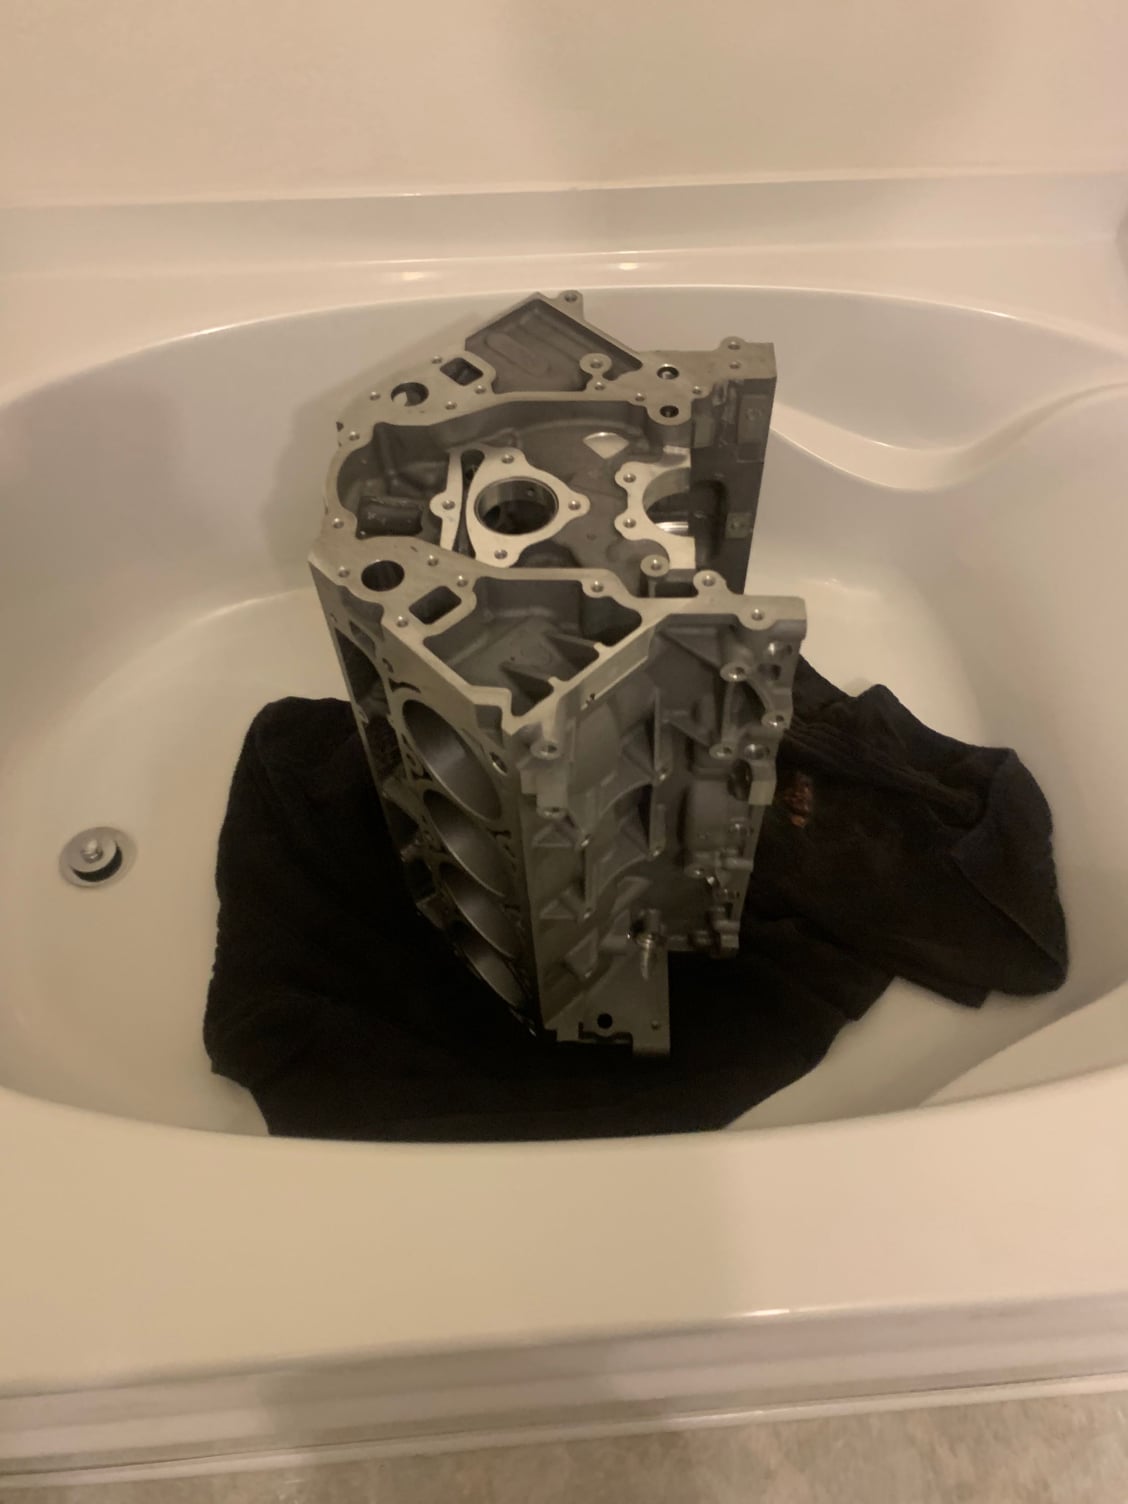
Donít worry all the oil has already been removed.
#20
11 Second Club
iTrader: (3)
Your right I can't because a bur has nothing to do with the rings surface riding in the bore. Those lines your seeing in the cylinders may be insignificant for all you know or or maybe there's an issue with the rings.


