
Write Up. Wideband install in the factory cluster.


So I'm not a huge fan of pillars pods and decided to do something different with my wideband install. Here's how I did it and how it turned out.
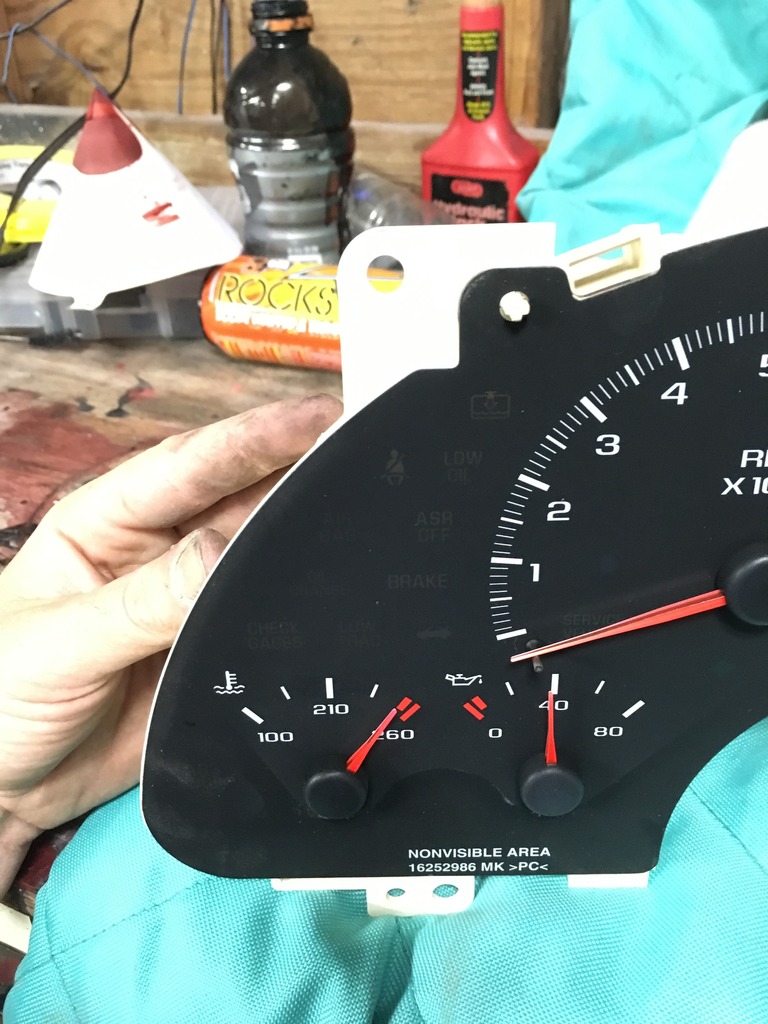
First remove your cluster and completely disassemble it. Leave you with the face plate and the white plastic backing.
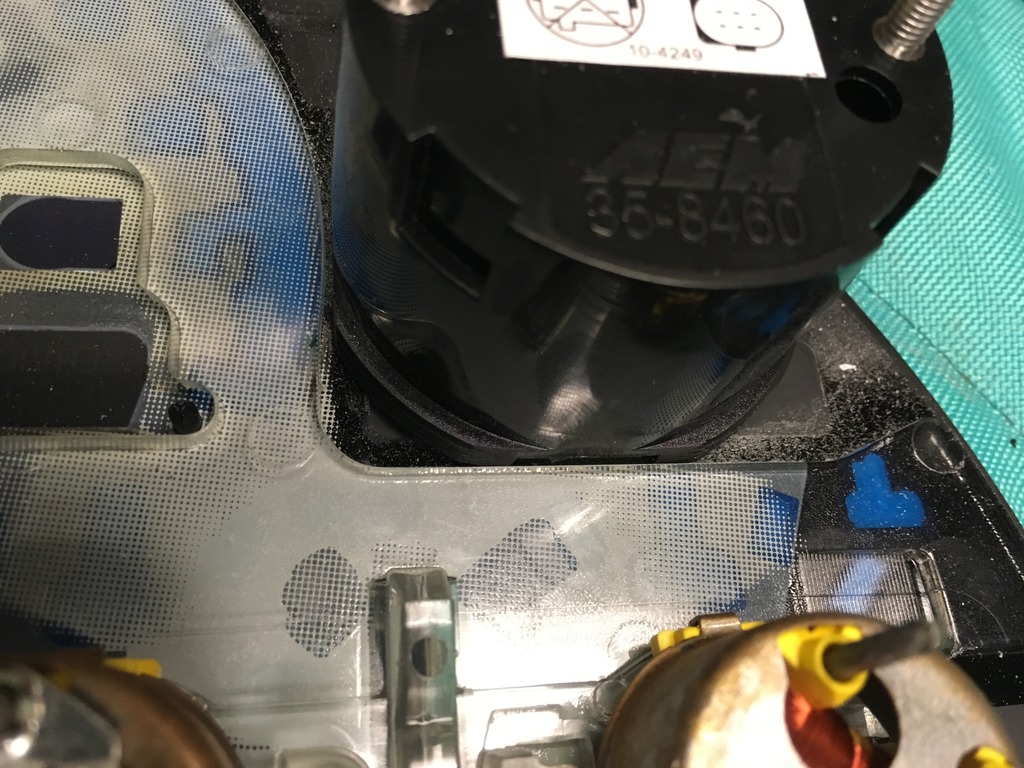
So this is where it will be going. The "wasted" space where your warning lights would be.
Next take the face of the gauge, place it here and trace it with a sharpie. Now cut the circle out with a razor blade. All that is being cut at this point is the thin plastic face plate and doesn't require much force.
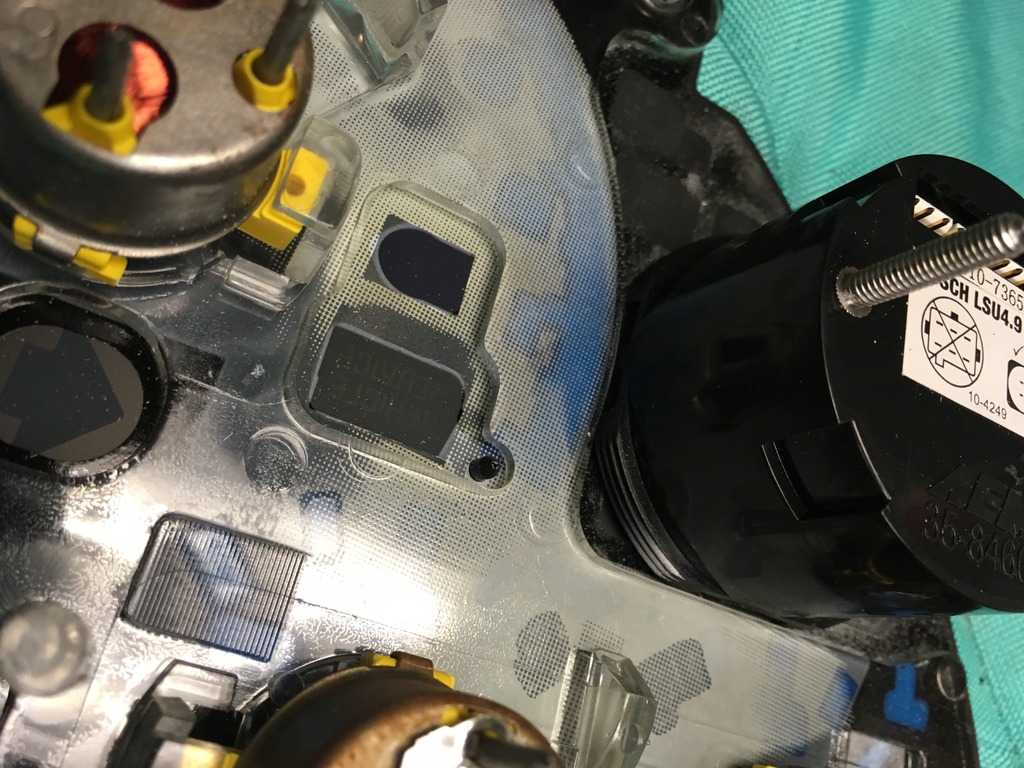
Next you will need to cut out the honeycomb portion of the white backing. This is where the leds shine through to the cluster but will no longer be used.
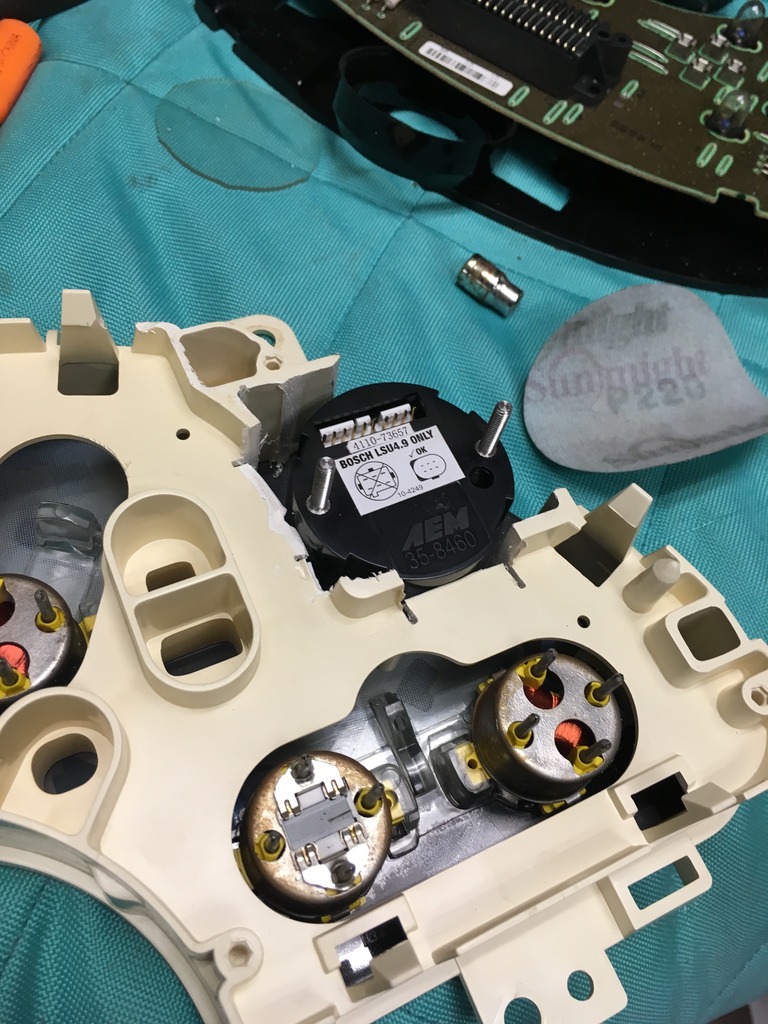
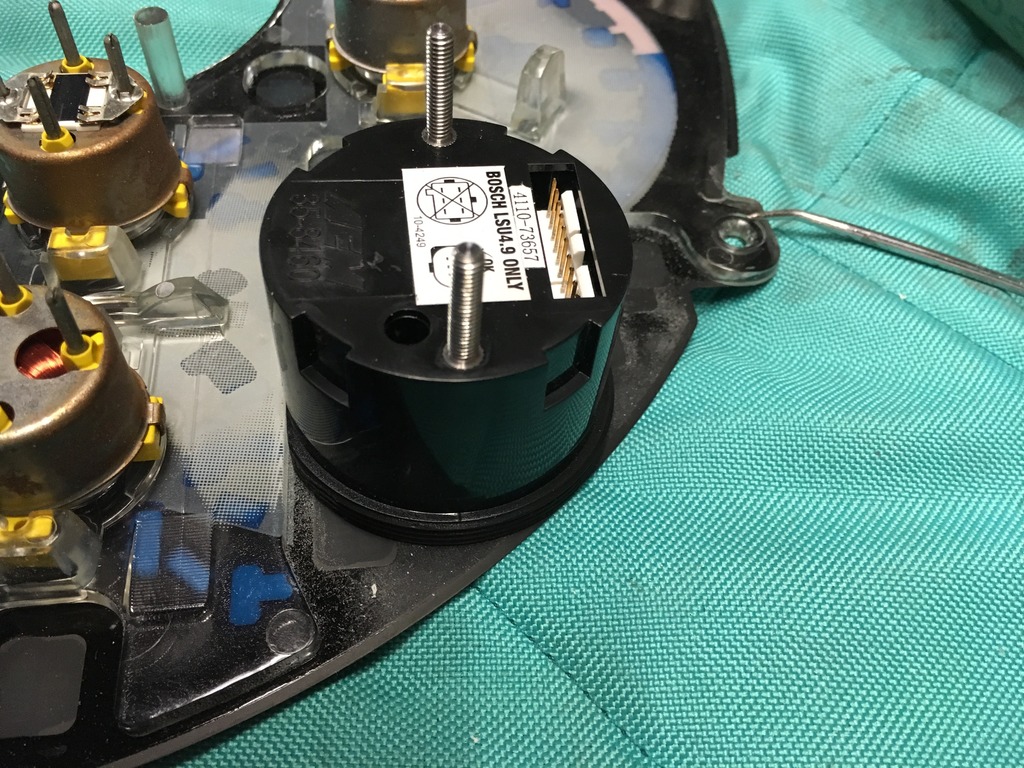
Next you will have to grind 2 flat spots in the threaded portion of the wideband gauge.
Line your wideband up against the clear portion of the backing and mark the 2 areas that touch the clear backing. Now grind them flat and test fit.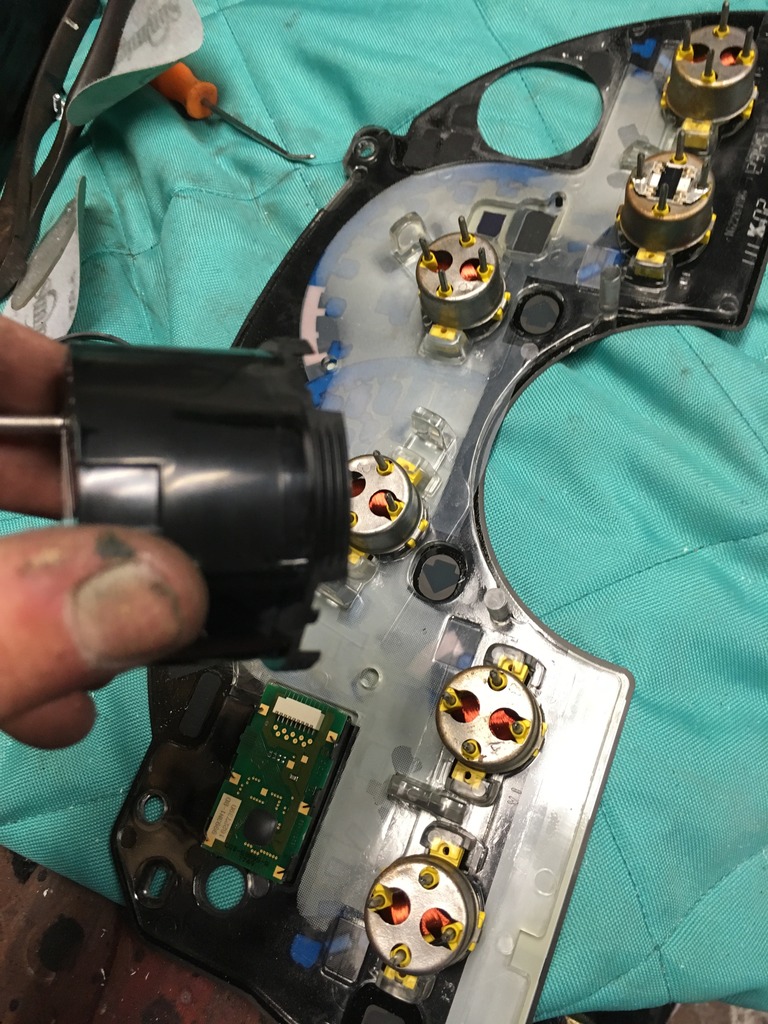 Make sure the gauge is level so once completed it's not crooked.
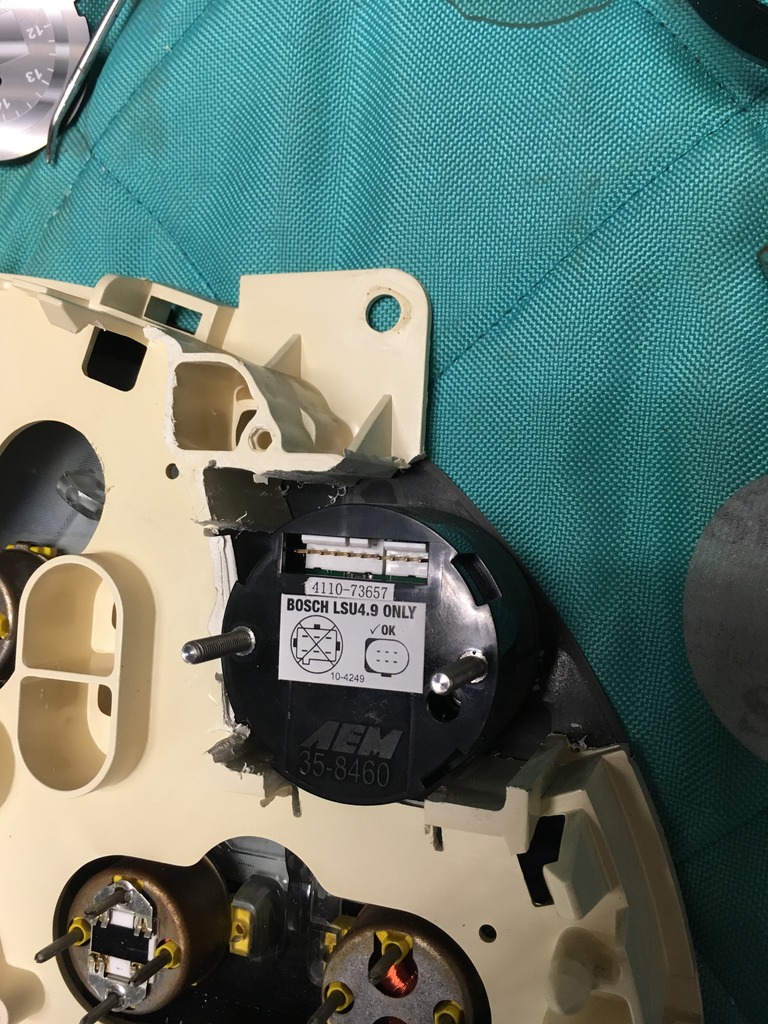
Now test fit the white backing on the face plate with the gauge in place. Grind down any areas that still make contact.
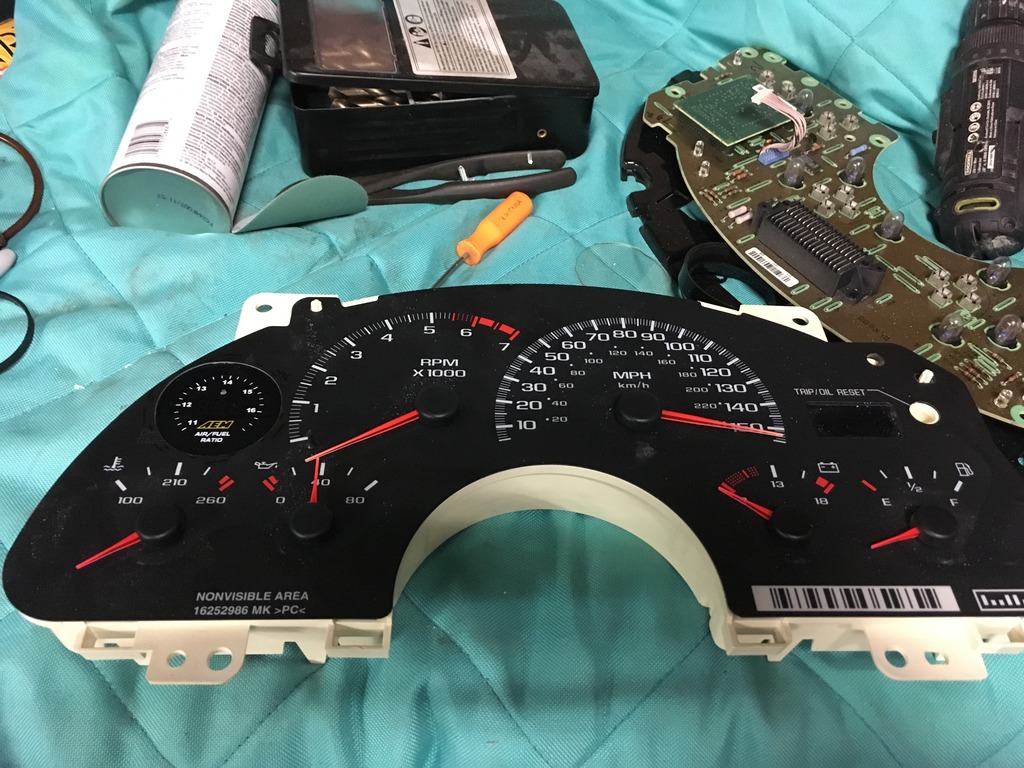
Once your happy with how everything fits you will place the gauge on the black face plate and 2 part epoxy it to the faceplate. I used Jb's weld but I'm sure other brands would work as well.
Allow that to dry overnight and then reinstall the white backing.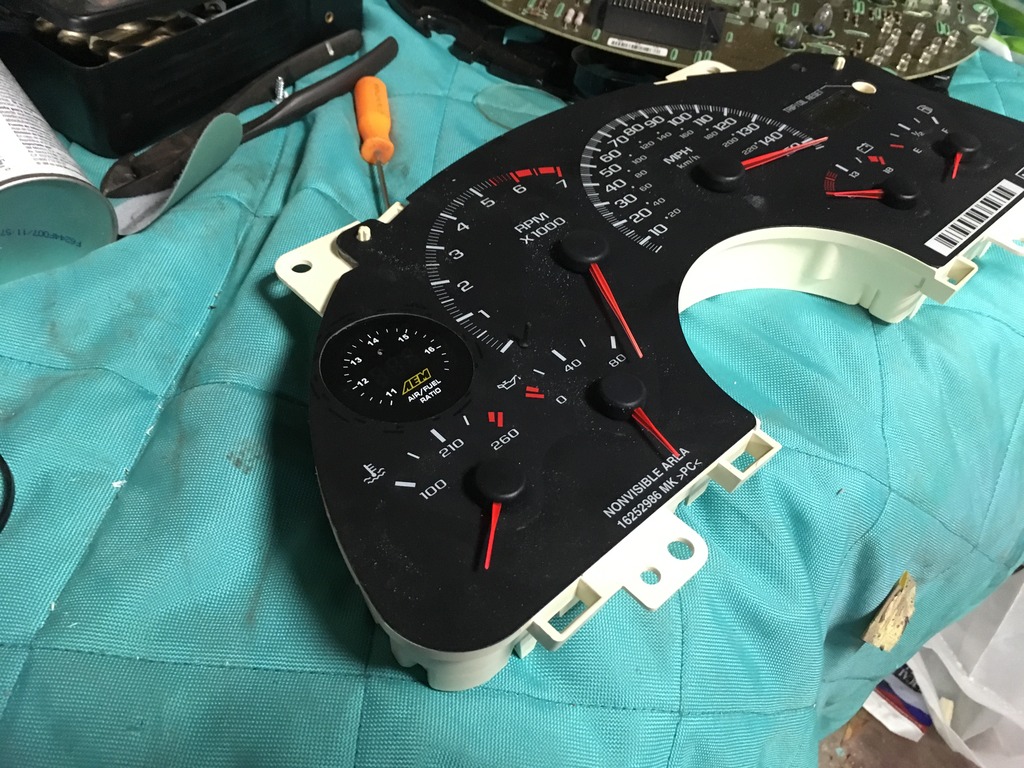
Before your finish assembly of the cluster you will have to hook up the 2 plugs for the wideband then assemble like this.
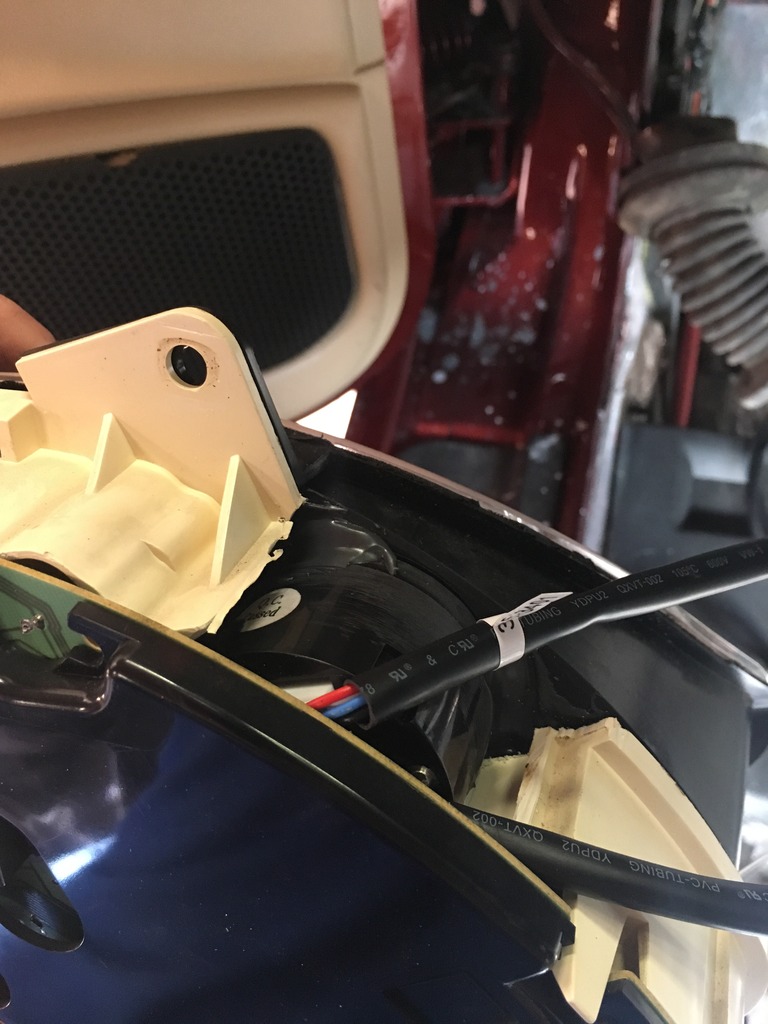
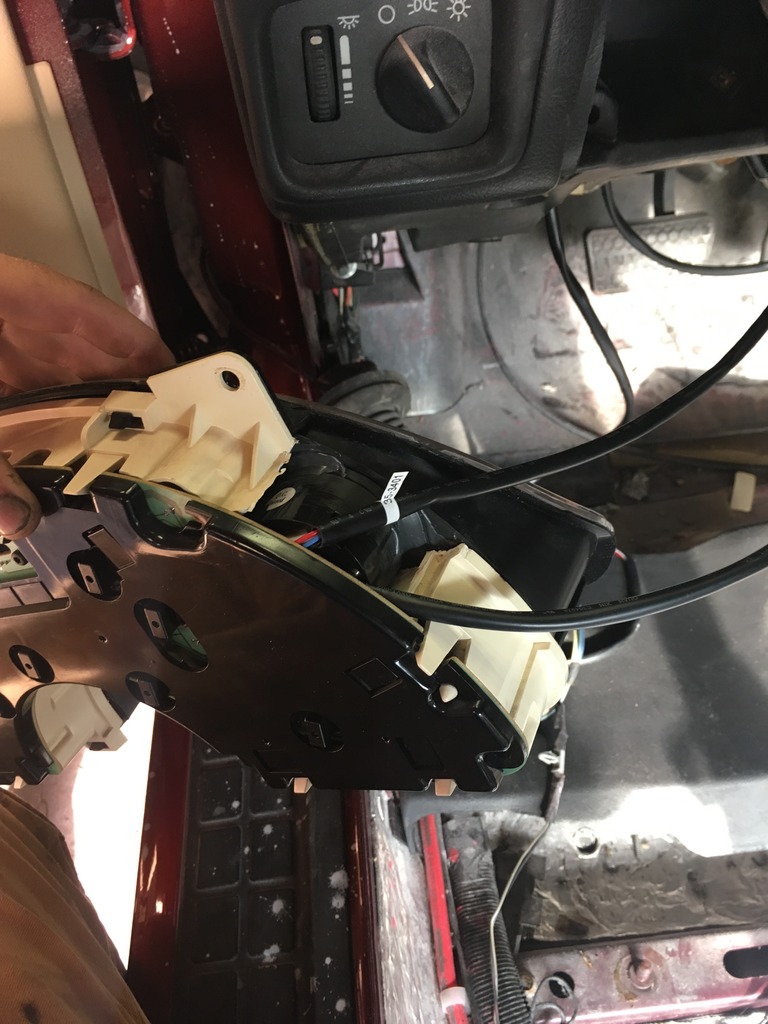
Now install the cluster and wire the wideband and admire your work.
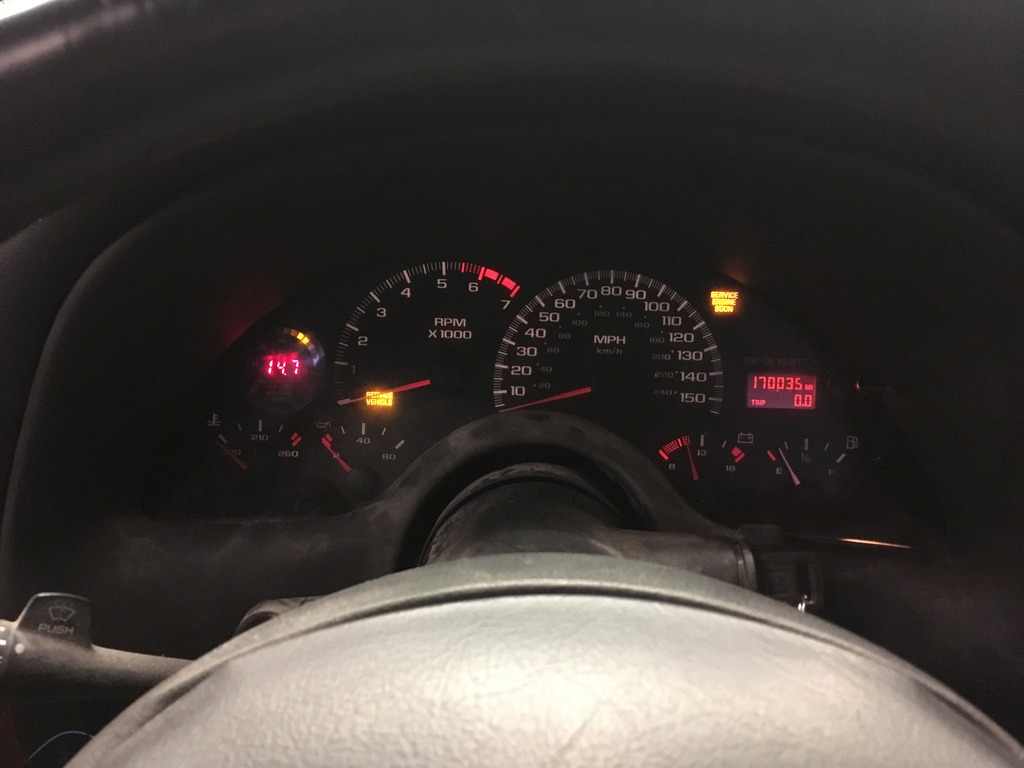
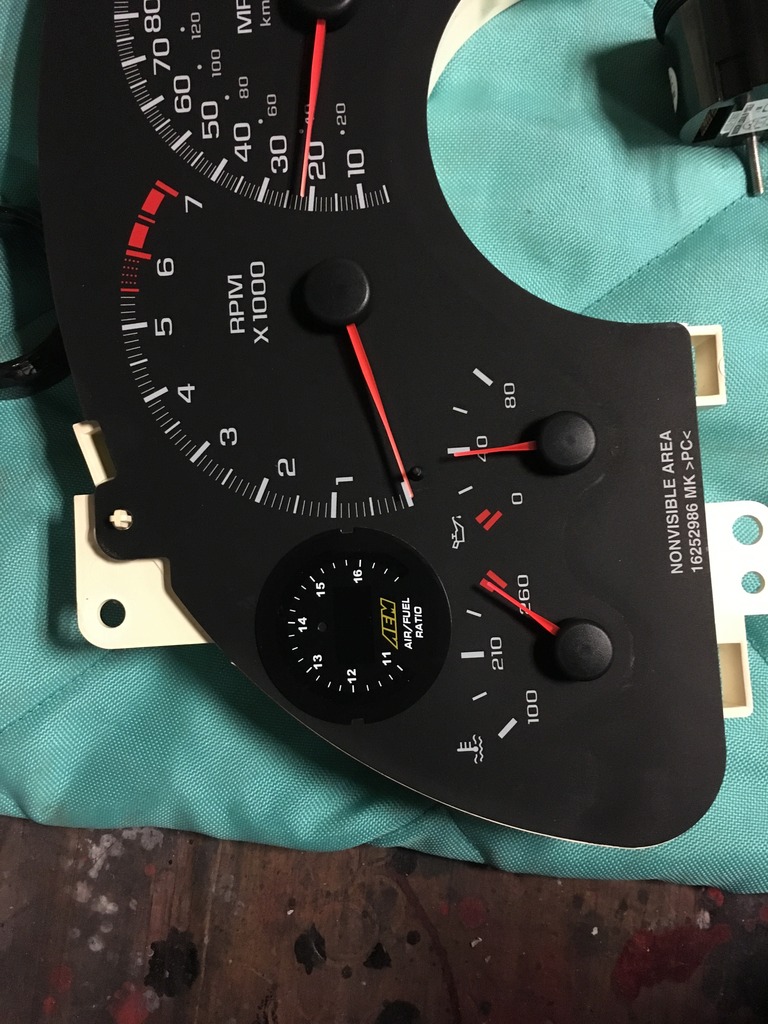
Finished product
https://youtu.be/b3il4CwLkfc
First remove your cluster and completely disassemble it. Leave you with the face plate and the white plastic backing.
So this is where it will be going. The "wasted" space where your warning lights would be.

Next take the face of the gauge, place it here and trace it with a sharpie. Now cut the circle out with a razor blade. All that is being cut at this point is the thin plastic face plate and doesn't require much force.

Next you will need to cut out the honeycomb portion of the white backing. This is where the leds shine through to the cluster but will no longer be used.

Next you will have to grind 2 flat spots in the threaded portion of the wideband gauge.
Line your wideband up against the clear portion of the backing and mark the 2 areas that touch the clear backing. Now grind them flat and test fit.
 Make sure the gauge is level so once completed it's not crooked.


Now test fit the white backing on the face plate with the gauge in place. Grind down any areas that still make contact.

Once your happy with how everything fits you will place the gauge on the black face plate and 2 part epoxy it to the faceplate. I used Jb's weld but I'm sure other brands would work as well.
Allow that to dry overnight and then reinstall the white backing.


Before your finish assembly of the cluster you will have to hook up the 2 plugs for the wideband then assemble like this.


Now install the cluster and wire the wideband and admire your work.

Finished product
https://youtu.be/b3il4CwLkfc


