Wheel alignment for 4th gen IRS swap
 05-28-2012, 04:13 PM
#1

Ive got a 4th gen camaro that Im doing mini-tubs and a C4 dana-44 irs swap on.
Ive gotten enough clearance now with all of the cutting that Ive done for the mini-tubs and now Im just looking for a way to properly align the IRS axle before I start welding in the mounts for the bat-wing.
Any ideas?
Ive gotten enough clearance now with all of the cutting that Ive done for the mini-tubs and now Im just looking for a way to properly align the IRS axle before I start welding in the mounts for the bat-wing.
Any ideas?
 05-28-2012, 04:32 PM
#3

Mount the knuckles first. Use a pair of jigs that has a plate with the wheel bolt pattern on it. Get them square to each other and to the body. Ideally you want the 0� of camber and no toe in or out to start with at ride height.
Exactly like this

Getting the rear square in the body is a big challenge. Once you've got the knuckles centered in the wheel well then start on the diff. You'll need that square on both planes so you don't introduce a compound angle at the u-joints of the drive shaft, but also you minimize any divergence on the side yokes (you're going to have some during suspension travel, but it is what is with the c4 irs).
Exactly like this
Getting the rear square in the body is a big challenge. Once you've got the knuckles centered in the wheel well then start on the diff. You'll need that square on both planes so you don't introduce a compound angle at the u-joints of the drive shaft, but also you minimize any divergence on the side yokes (you're going to have some during suspension travel, but it is what is with the c4 irs).
 05-28-2012, 05:35 PM
#4
My goal is to lighten the amount of unsprung weight in the suspension. IRS was the next logical evolution. No amount of bolt-on mods will ever achieve this with a live axle.
I had a Moser 12-bolt in the car before set up for street and strip and wanted to make the transition to road racing/ auto-x. The price was right, (about $1,400) so I picked up the dana44 IRS and put the Moser in a 3rd gen project car.
I had a Moser 12-bolt in the car before set up for street and strip and wanted to make the transition to road racing/ auto-x. The price was right, (about $1,400) so I picked up the dana44 IRS and put the Moser in a 3rd gen project car.
05-28-2012, 06:31 PM
#6
Trending Topics
05-28-2012, 07:05 PM
#10
The engine isnt assembled yet, but here are the pics of the prepped block and internals so far.
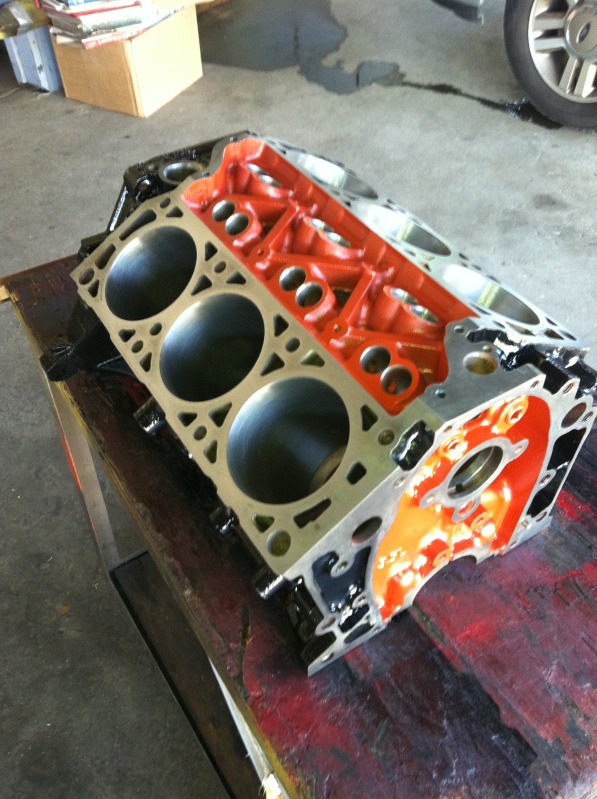
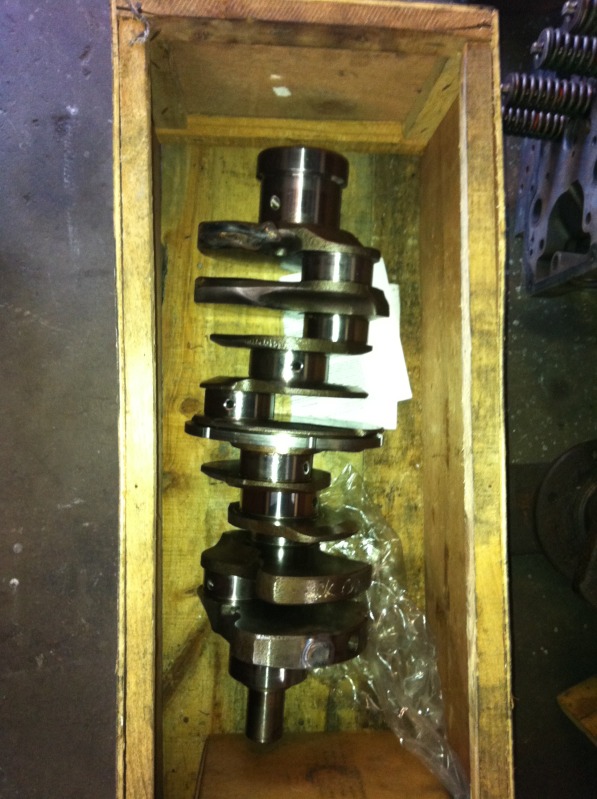
http://i141.photobucket.com/albums/r...rpics512-1.jpg
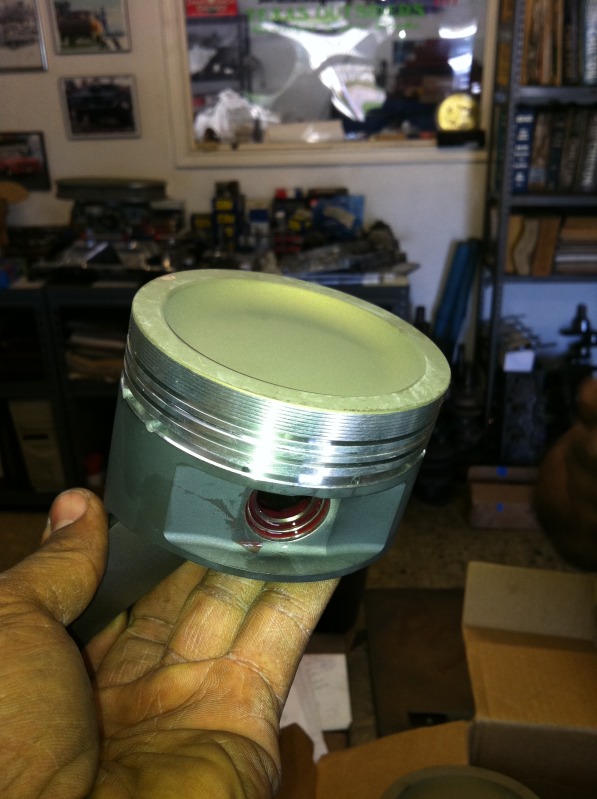
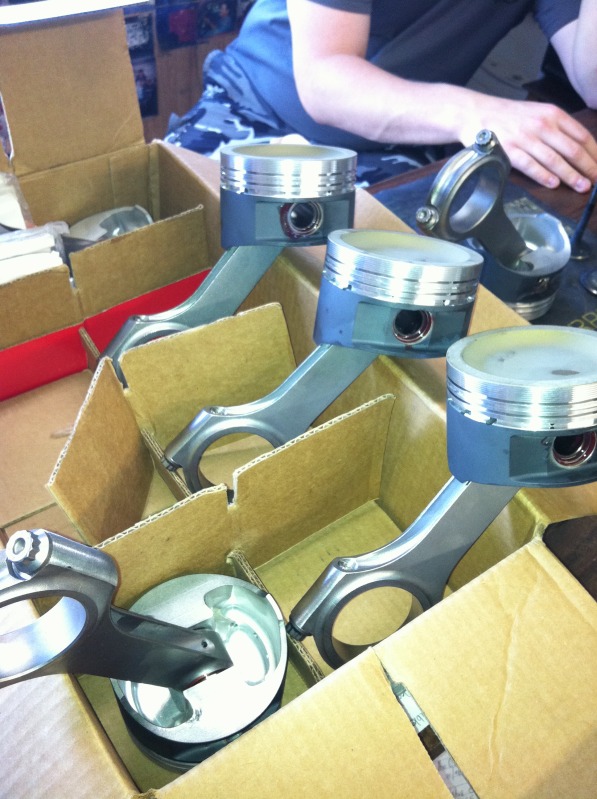
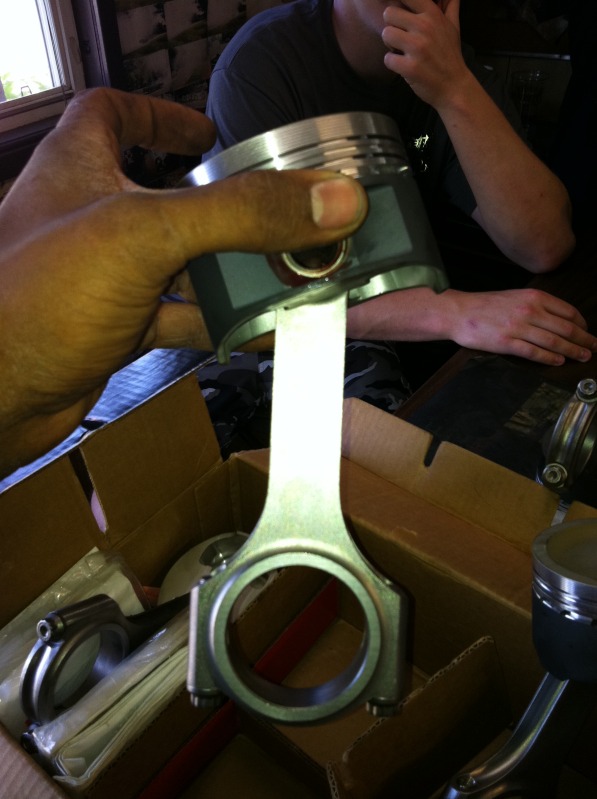
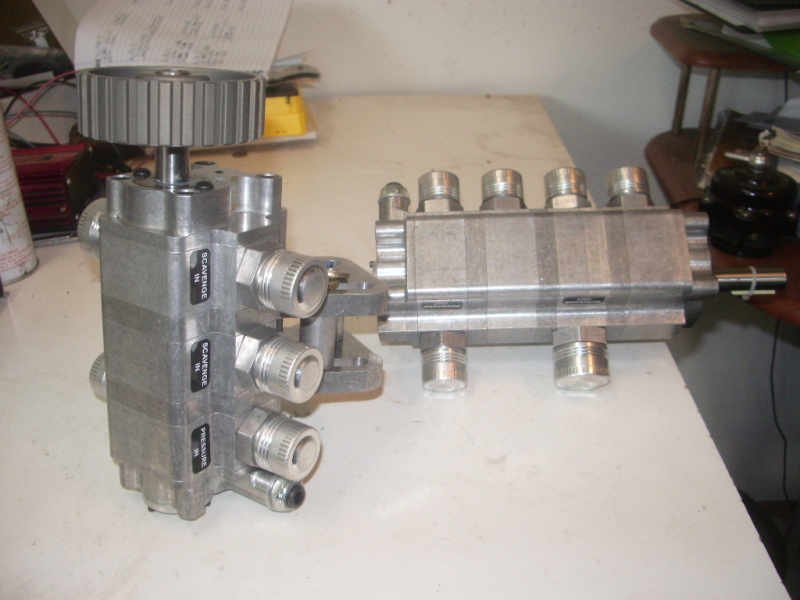
The 3-stage is going on the v6. The 4-stage is going on an LS6 build.
05-28-2012, 07:33 PM
#11
Good luck with the project. Banshe5 (94 Formula Firebird), 99_Orange_SS (00 Trans Am), and myself (02 Trans Am) all have the C4 IRS in our cars, on this board. There are also three members on thirdgen.org who have it in their Camaros. So, lots of resources for answers about the swap.

 05-29-2012, 10:22 PM
#14
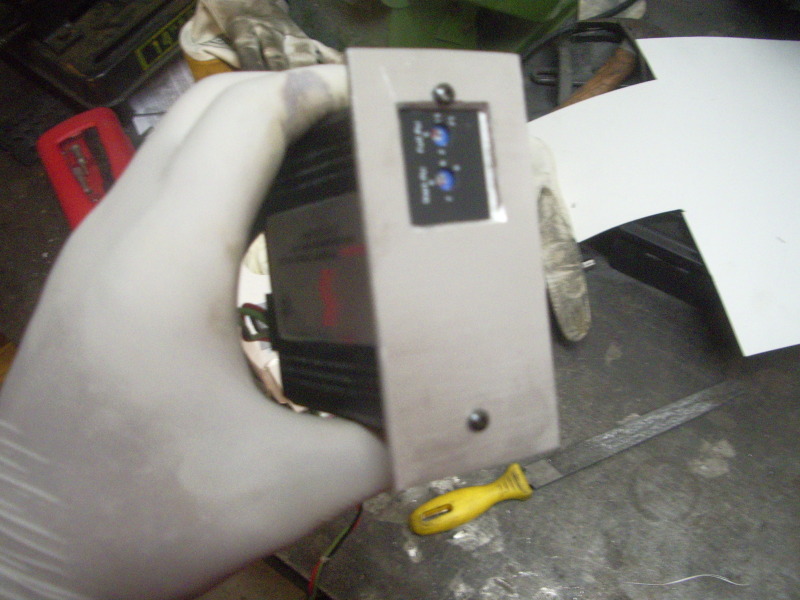
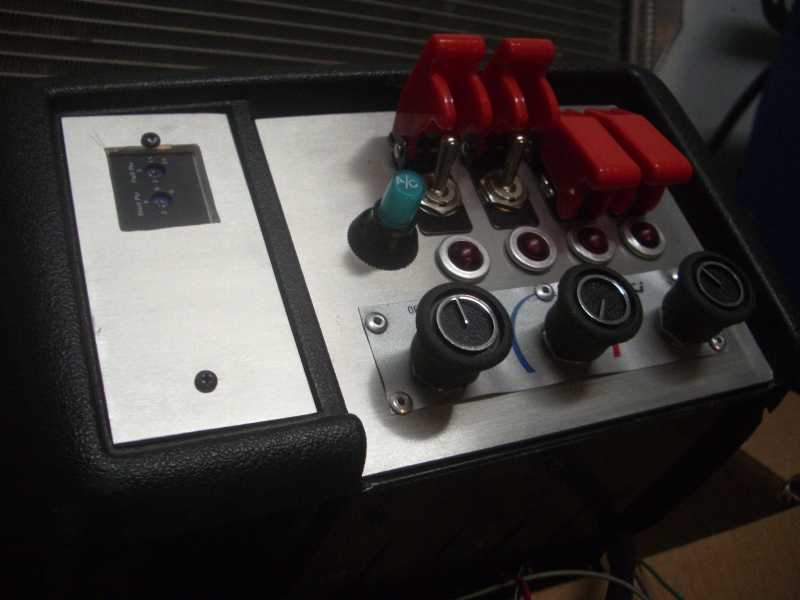
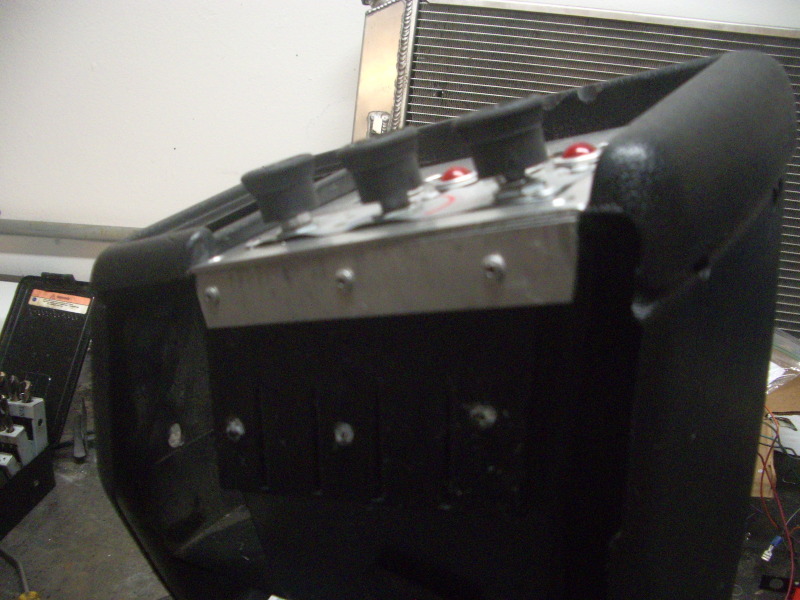
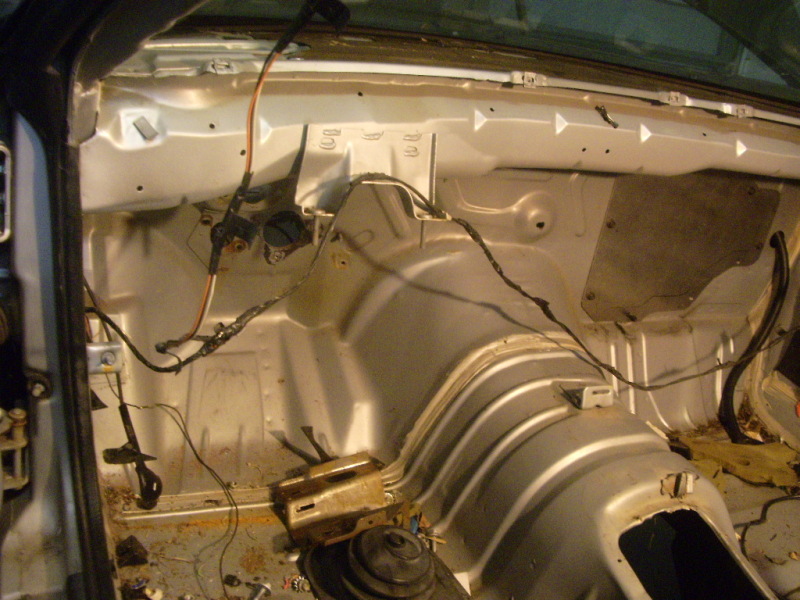
Kinda unrelated to suspension work, but this is some other stuff that I've done for the car.
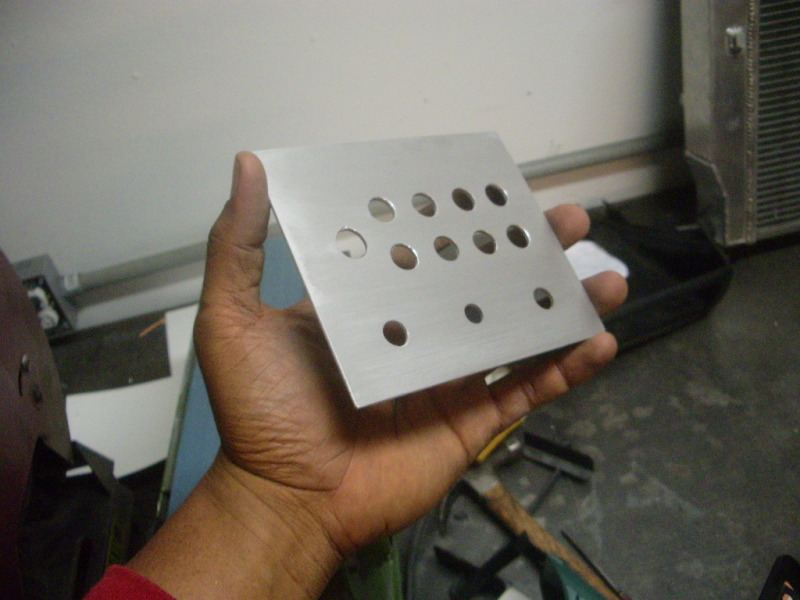
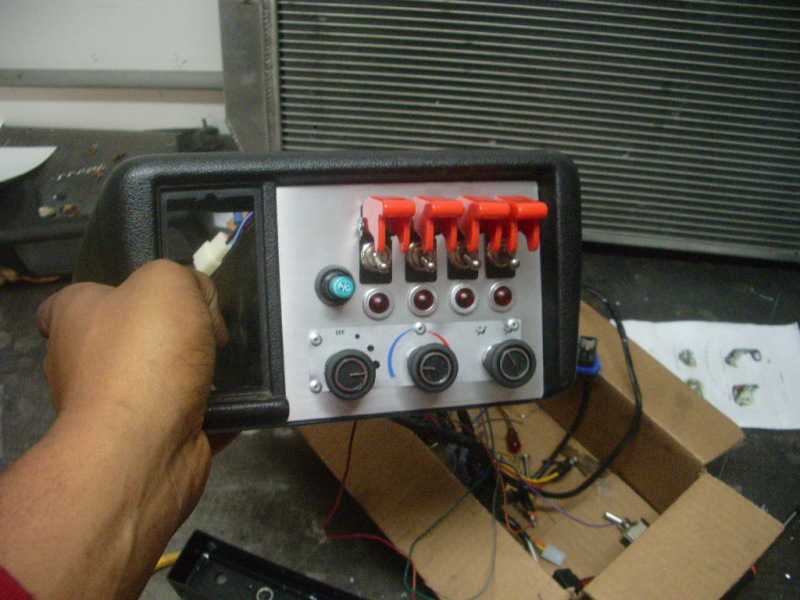
I put together a display using some cheap gauges and some sheet aluminum. I went ahead and "re-purposed" the spot used by the old H-VAC controls.
IMGP2370.jpg?t=1251469742
IMGP2372.jpg?t=1251469679
IMGP2384.jpg?t=1251470347
IMGP2383.jpg?t=1251470317
IMGP2385.jpg?t=1251470382
IMGP2388.jpg?t=1251470576
IMGP2389.jpg?t=1251470588
IMGP2428.jpg?t=1252015603
IMGP2400.jpg?t=1251990337
IMGP2423.jpg?t=1251992316
IMGP2416.jpg?t=1251991218
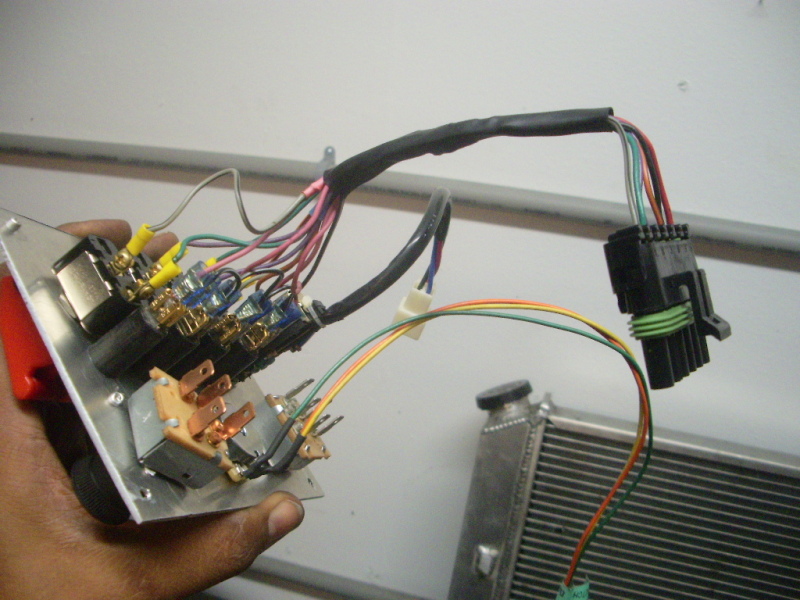
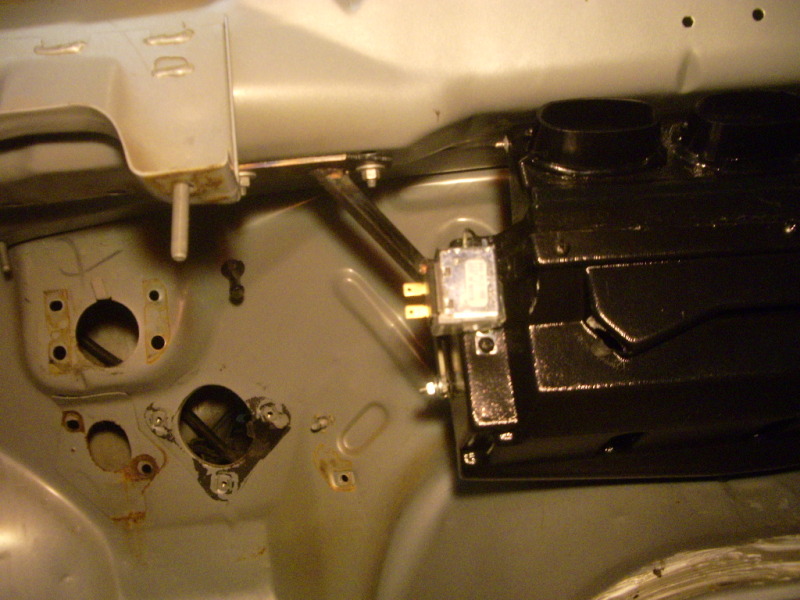
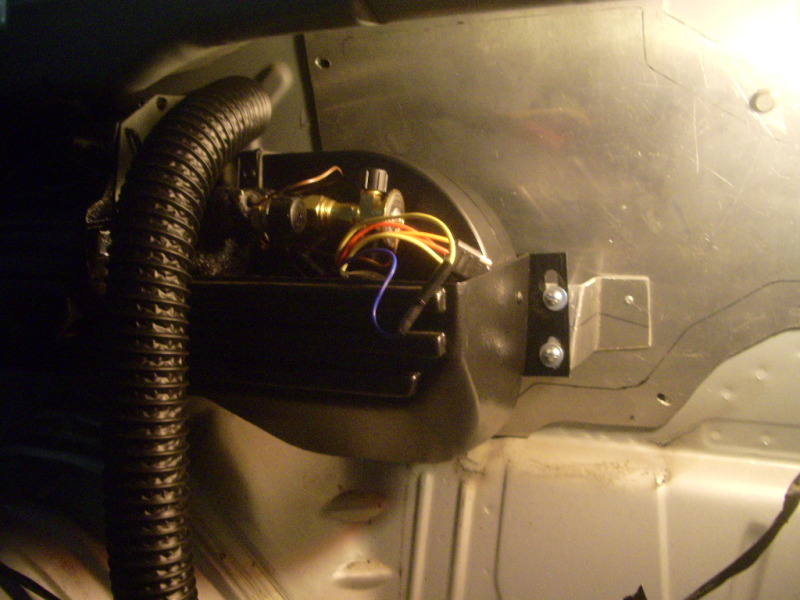
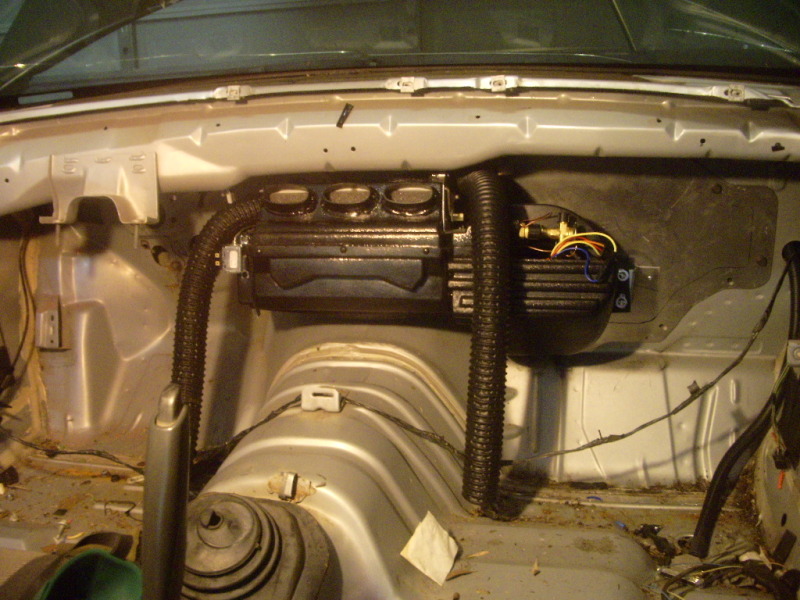
I did a little fab work on the otherwise useless cassette holder to accommodate the toggles, meth injection controller and AC controls. The new AC was also fitted into the car. (I got rid of the stock AC because I needed the space for the dry-sump tank.)
IMGP2930.jpg?t=1338347047
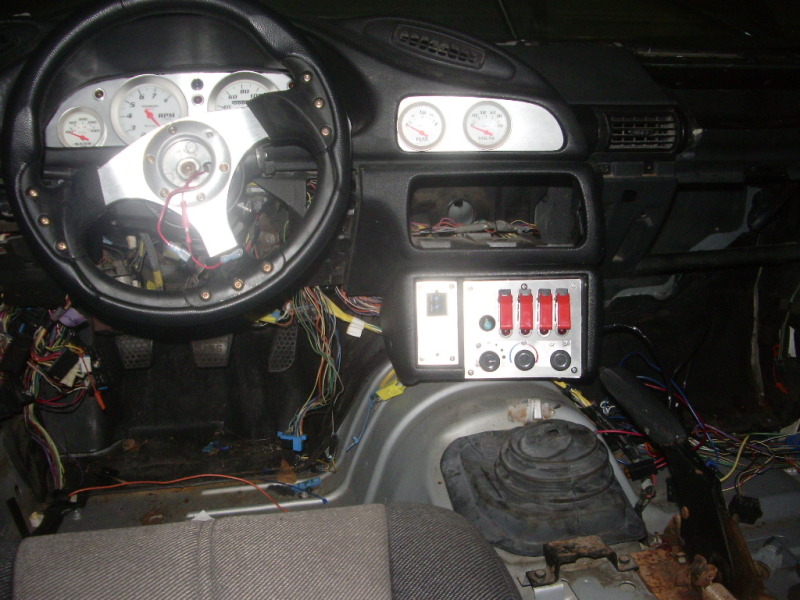
Heres the new AC system. It fits quite snugly against the cowl. Fits like it was meant to be there. It has defrost, foot and vent settings with internal heater core and water control valves built in. The TXV and everything else is built into the compact unit. It should be enough to knock the edge off the heat and keep the windows free of fogging.
Kinda old stuff now, but I like showing the pics
I put together a display using some cheap gauges and some sheet aluminum. I went ahead and "re-purposed" the spot used by the old H-VAC controls.
IMGP2370.jpg?t=1251469742
IMGP2372.jpg?t=1251469679
IMGP2384.jpg?t=1251470347
IMGP2383.jpg?t=1251470317
IMGP2385.jpg?t=1251470382
IMGP2388.jpg?t=1251470576
IMGP2389.jpg?t=1251470588
IMGP2428.jpg?t=1252015603
IMGP2400.jpg?t=1251990337
IMGP2423.jpg?t=1251992316
IMGP2416.jpg?t=1251991218
I did a little fab work on the otherwise useless cassette holder to accommodate the toggles, meth injection controller and AC controls. The new AC was also fitted into the car. (I got rid of the stock AC because I needed the space for the dry-sump tank.)
IMGP2930.jpg?t=1338347047
Heres the new AC system. It fits quite snugly against the cowl. Fits like it was meant to be there. It has defrost, foot and vent settings with internal heater core and water control valves built in. The TXV and everything else is built into the compact unit. It should be enough to knock the edge off the heat and keep the windows free of fogging.
Kinda old stuff now, but I like showing the pics
Last edited by Driver_10; 05-29-2012 at 10:29 PM.
06-01-2012, 07:38 AM
#15
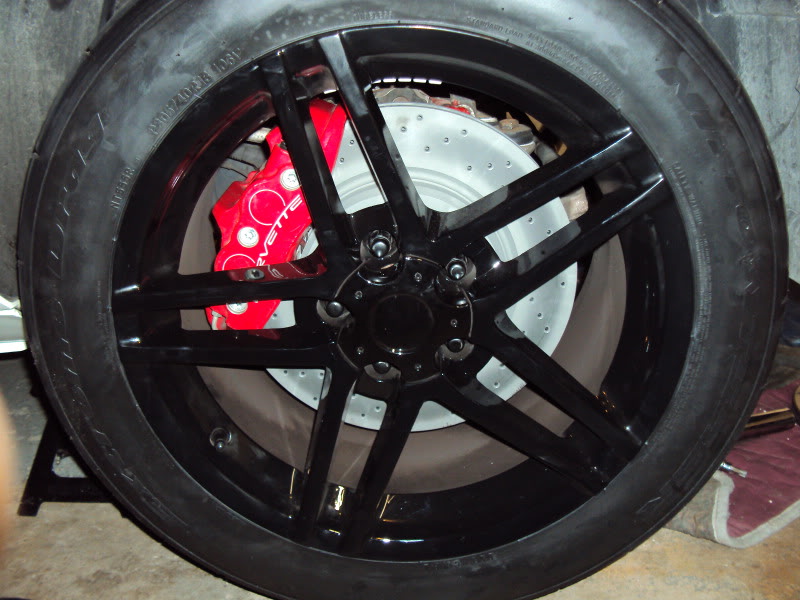
Different question... Has anyone attemped to use the CTS-V, 4-piston rear calipers on a C4 rear suspension?
Ill be using the 6-piston calipers up front and wanted to use matching 4-piston calipers on the rear. I know that its easy enough to adapt the rears for the Z51 rotors and brakes.
Ill be using the 6-piston calipers up front and wanted to use matching 4-piston calipers on the rear. I know that its easy enough to adapt the rears for the Z51 rotors and brakes.
06-01-2012, 08:07 AM
#16
Different question... Has anyone attemped to use the CTS-V, 4-piston rear calipers on a C4 rear suspension?
Ill be using the 6-piston calipers up front and wanted to use matching 4-piston calipers on the rear. I know that its easy enough to adapt the rears for the Z51 rotors and brakes.
Ill be using the 6-piston calipers up front and wanted to use matching 4-piston calipers on the rear. I know that its easy enough to adapt the rears for the Z51 rotors and brakes.
 06-01-2012, 08:50 PM
#18
I honestly don't know, google "the street shop", they make resto-mod frames for older corvettes, with all the modern components. Ask them about the kit for the C4 to C6 Z06 brake upgrade. I haven't had any itch to upgrade the rear brakes, but I researched it just to pass on the information.
06-03-2012, 12:05 PM
#19
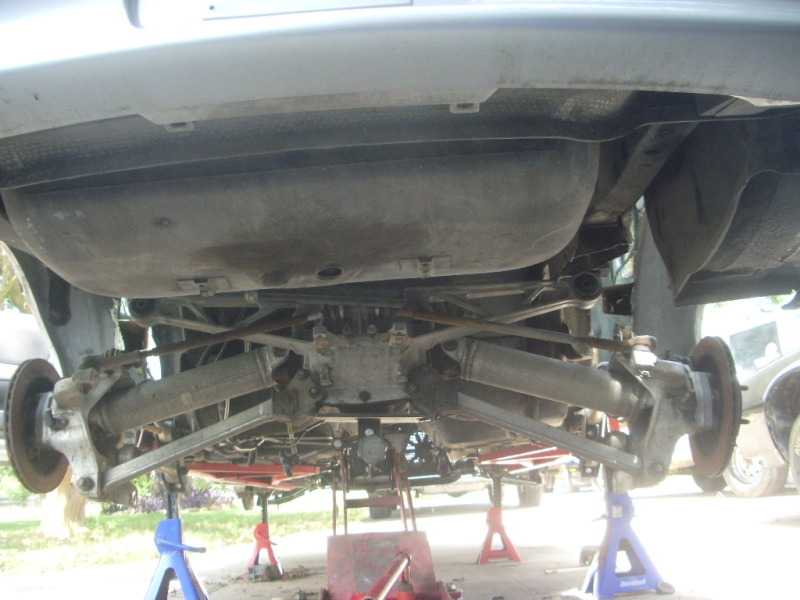
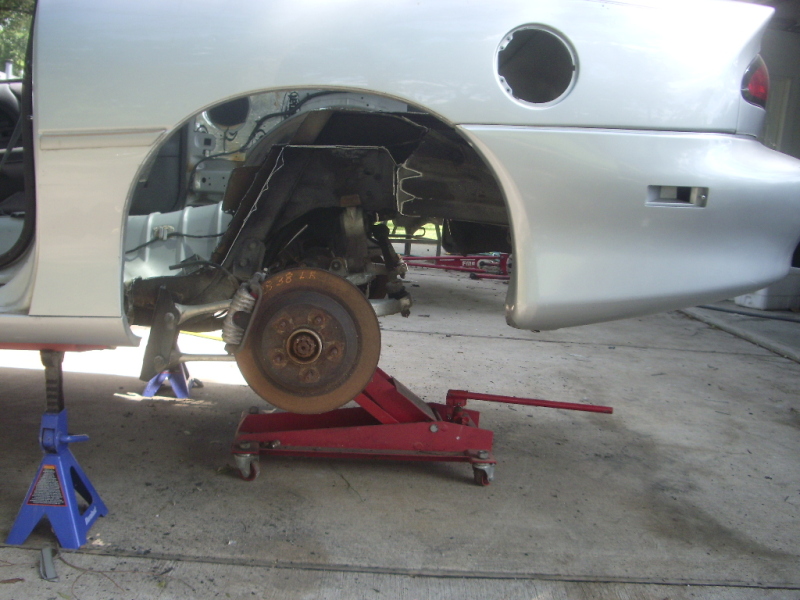
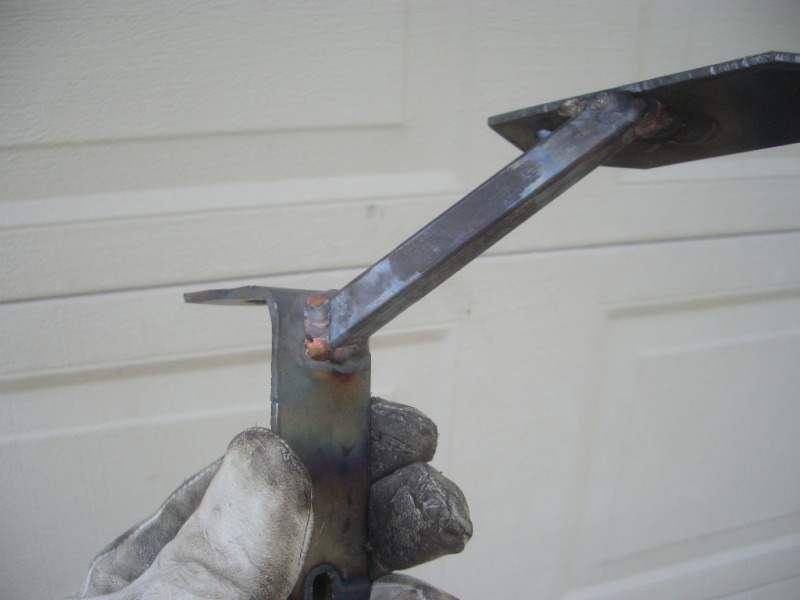
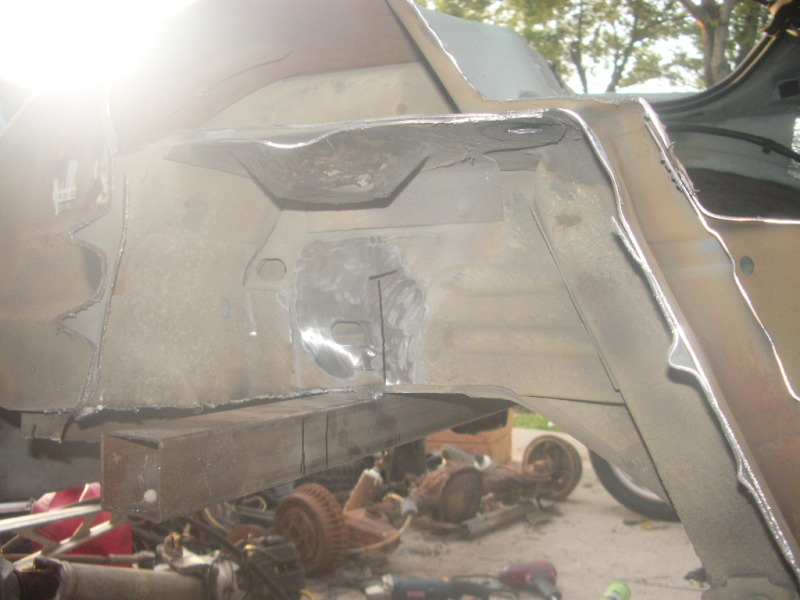
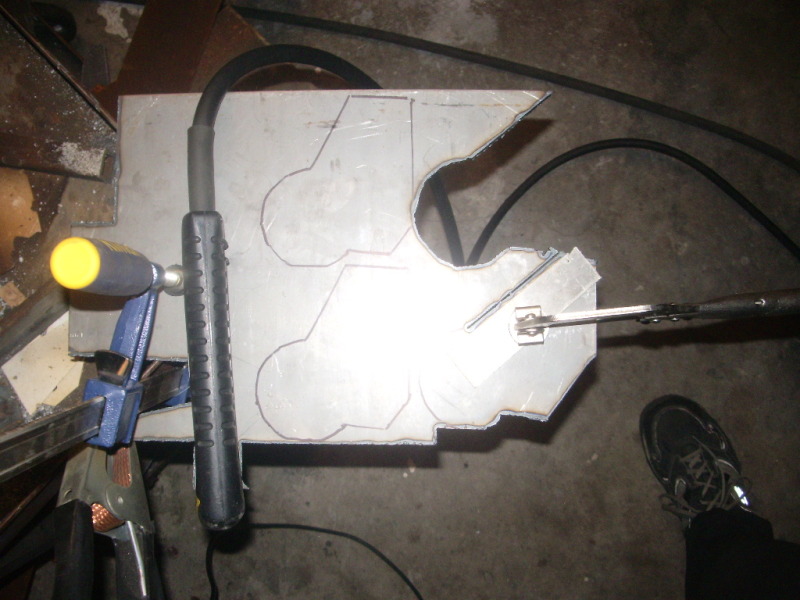
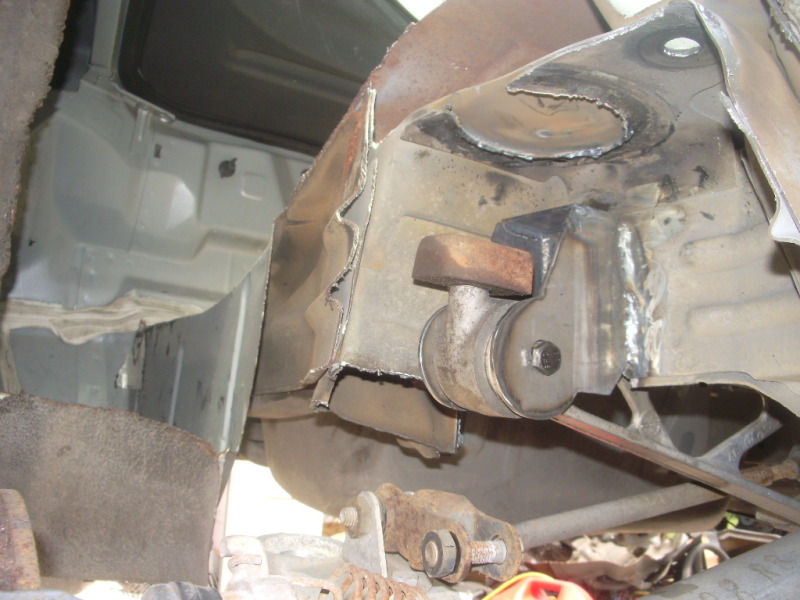
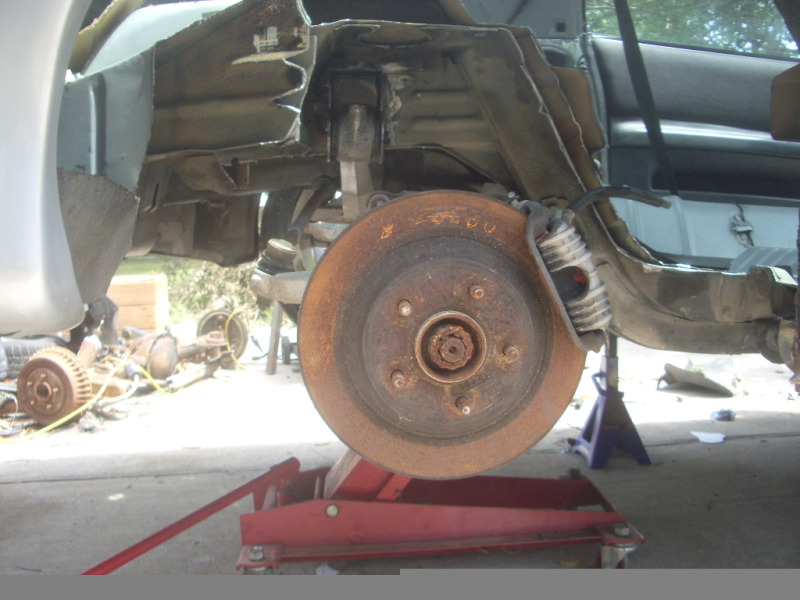
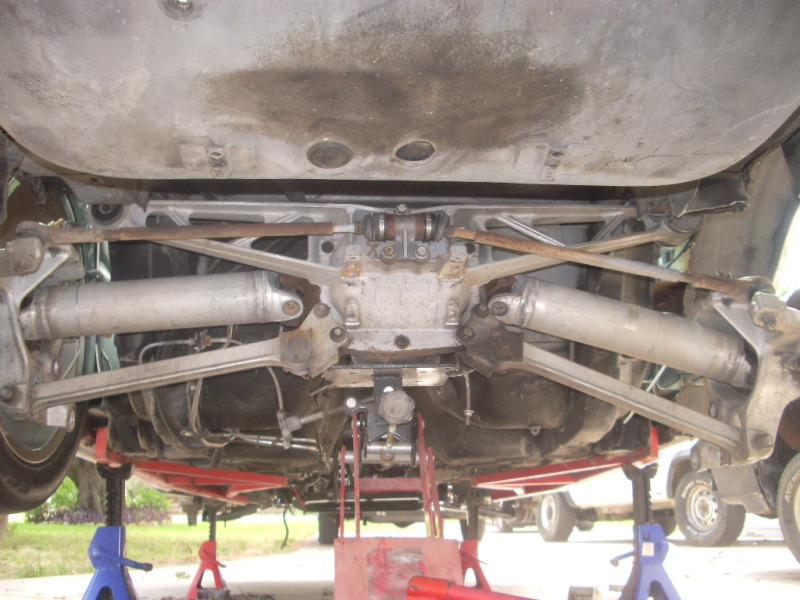
I got a bit more work done today. I fabbed up brackets from some 1/8 steel plates and made a simple alignment jig. Ive got the tires true to the center of the wheel wells. Ive got the bat-wing sitting in the car now and will need adjust the diff height. Its sitting about 3-inches too high 
Last edited by Driver_10; 06-03-2012 at 12:11 PM.
06-03-2012, 12:29 PM
#20
__________________________________________________ ____________
Mounting the differential first might cause issues for you later on. You have to make sure the toe rods will clear the carrier support (batwing) bolts at full compression. This is not something that is immediately obviously with out the trailing arms connected. It becomes more obvious when they are. If you mount the diff, and it's not exactly where it needs to be using adjustable control arms to fix the problem can create a new set of clearance issues.
__________________________________________________ ____________


__________________________________________________ ____________
And that the nut and bolt for the upper control arm at the knuckle clears the shock at full compression
__________________________________________________ ___________


Build the brackets for the trailing arms, reuse the lower trailing arm pockets as a base, and get those knuckles in first


Once you have them square in them properly located in the body, you can get the differential support tack welded temporarily in to place.
Frankly i would box in the spring pocket area, and create separate brackets for the diff carrier, and tack them to the boxed frame temporarily.
note how the corvette has a bracket mounted to the frame rail

This will let you cycle the suspension and ensure everything clears, as well as get your driveline angle straight. Once your satisfied with the alignment of everything, then do the final welding.
note the arc of the suspension travel

Mounting the differential first might cause issues for you later on. You have to make sure the toe rods will clear the carrier support (batwing) bolts at full compression. This is not something that is immediately obviously with out the trailing arms connected. It becomes more obvious when they are. If you mount the diff, and it's not exactly where it needs to be using adjustable control arms to fix the problem can create a new set of clearance issues.
__________________________________________________ ____________
__________________________________________________ ____________
And that the nut and bolt for the upper control arm at the knuckle clears the shock at full compression
__________________________________________________ ___________
Build the brackets for the trailing arms, reuse the lower trailing arm pockets as a base, and get those knuckles in first
Once you have them square in them properly located in the body, you can get the differential support tack welded temporarily in to place.
Frankly i would box in the spring pocket area, and create separate brackets for the diff carrier, and tack them to the boxed frame temporarily.
note how the corvette has a bracket mounted to the frame rail
This will let you cycle the suspension and ensure everything clears, as well as get your driveline angle straight. Once your satisfied with the alignment of everything, then do the final welding.
note the arc of the suspension travel
Last edited by lees02WS6; 06-03-2012 at 01:03 PM.