When you click on links to various merchants on this site and make a purchase, this can result in this site earning a commission. Affiliate programs and affiliations include, but are not limited to, the eBay Partner Network.
Recently bought a lot of stuff to say the least. LE1 Heads/Cam and new exhaust are awaiting install in my house. That will be stage 2. But for now, the handling stage! Enjoy the pictures. Im still finishing up the front passenger side. The thread will be updated through out the week. I have the basic UMI stuff already.(Rear LCA's, Panhard bar, 3 point SFC's, relocation brackets, Long torque arm re located on the transmission mount)
This is on my 1997 Pontiac Trans Am
The mod list:
-Sam Strano Springs
-Sam Strano Hollow Sway bars
-Bilstein HD Shocks
-Mickey Thompson Street comp front tires
-Re finishing the Torque thrust II's
-Brake Pads/Zinc plated slotted Rotors
-New 2002 Steering Rack with LS1 intermediate shaft
-Alignment
-KYB Upper shock mounts
-Used Shock dust boots
Moog:
Upper Bushings K6689
Lower Bushings K6490
Upper Ball Joint K6462
Lower Ball joint K6145T
Left/Right Tie Rods ES3238RL
Moog dog bone K6573
-Summit brand Rear Bumpstops
Lots of rust removal and painting! Keep in mind it was a Midwest car that was driven in a few winters but still taken care of. in the end rust is going to happen which made some things harder. Its never going to be a show car and I wasn't going for absolute perfection but I figured I would take a little extra time to paint some things in there to make it somewhat better looking.
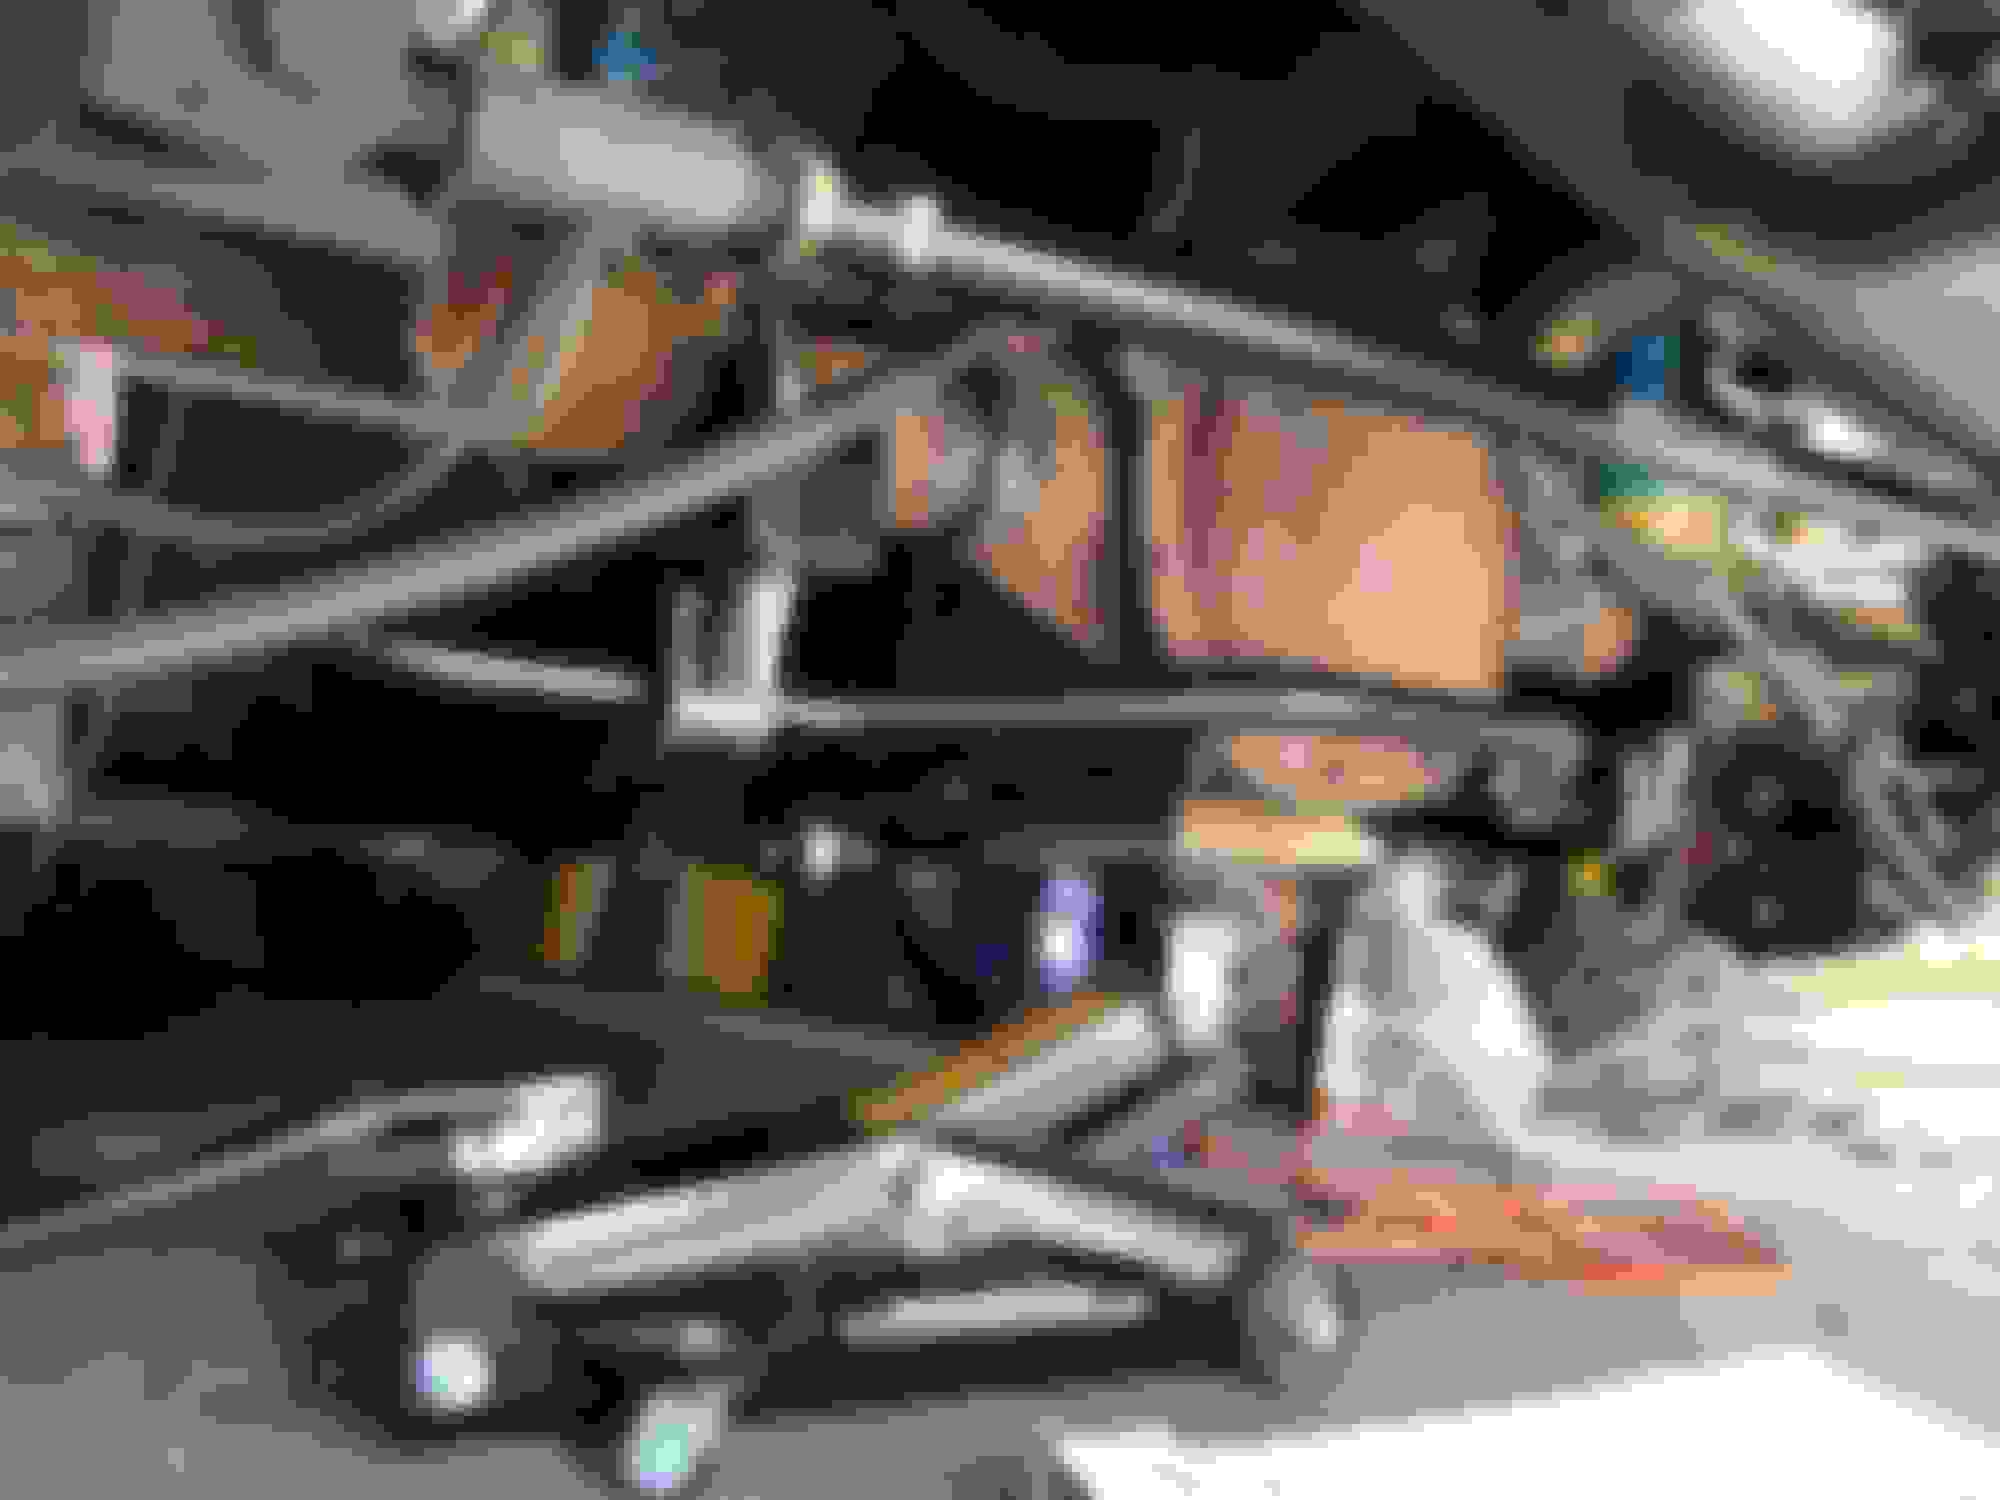
Now the pictures. You can view all of them in my album but I will post some of them in here. Over all this is a pretty in depth install. It took a lot of time and work to get to this point but it was all done with basic tools and a few loan a tools from autozone. Just the spring compressor and Ball joint kit. So it is possible without anything special really.
It took me about 6 months worth of planning (reading hours and hours of threads and lots of buying to get me to this point) so it did take some time. Also some ingenuity to figure how to get things to move that havnt moved in 18 years also was needed. Ive been at it for about 12 days now. Slowly knocking it out. Enjoy
Oops, wrong way. I had a 50/50 shot. haha Its fixed now and not hitting the pumpkin
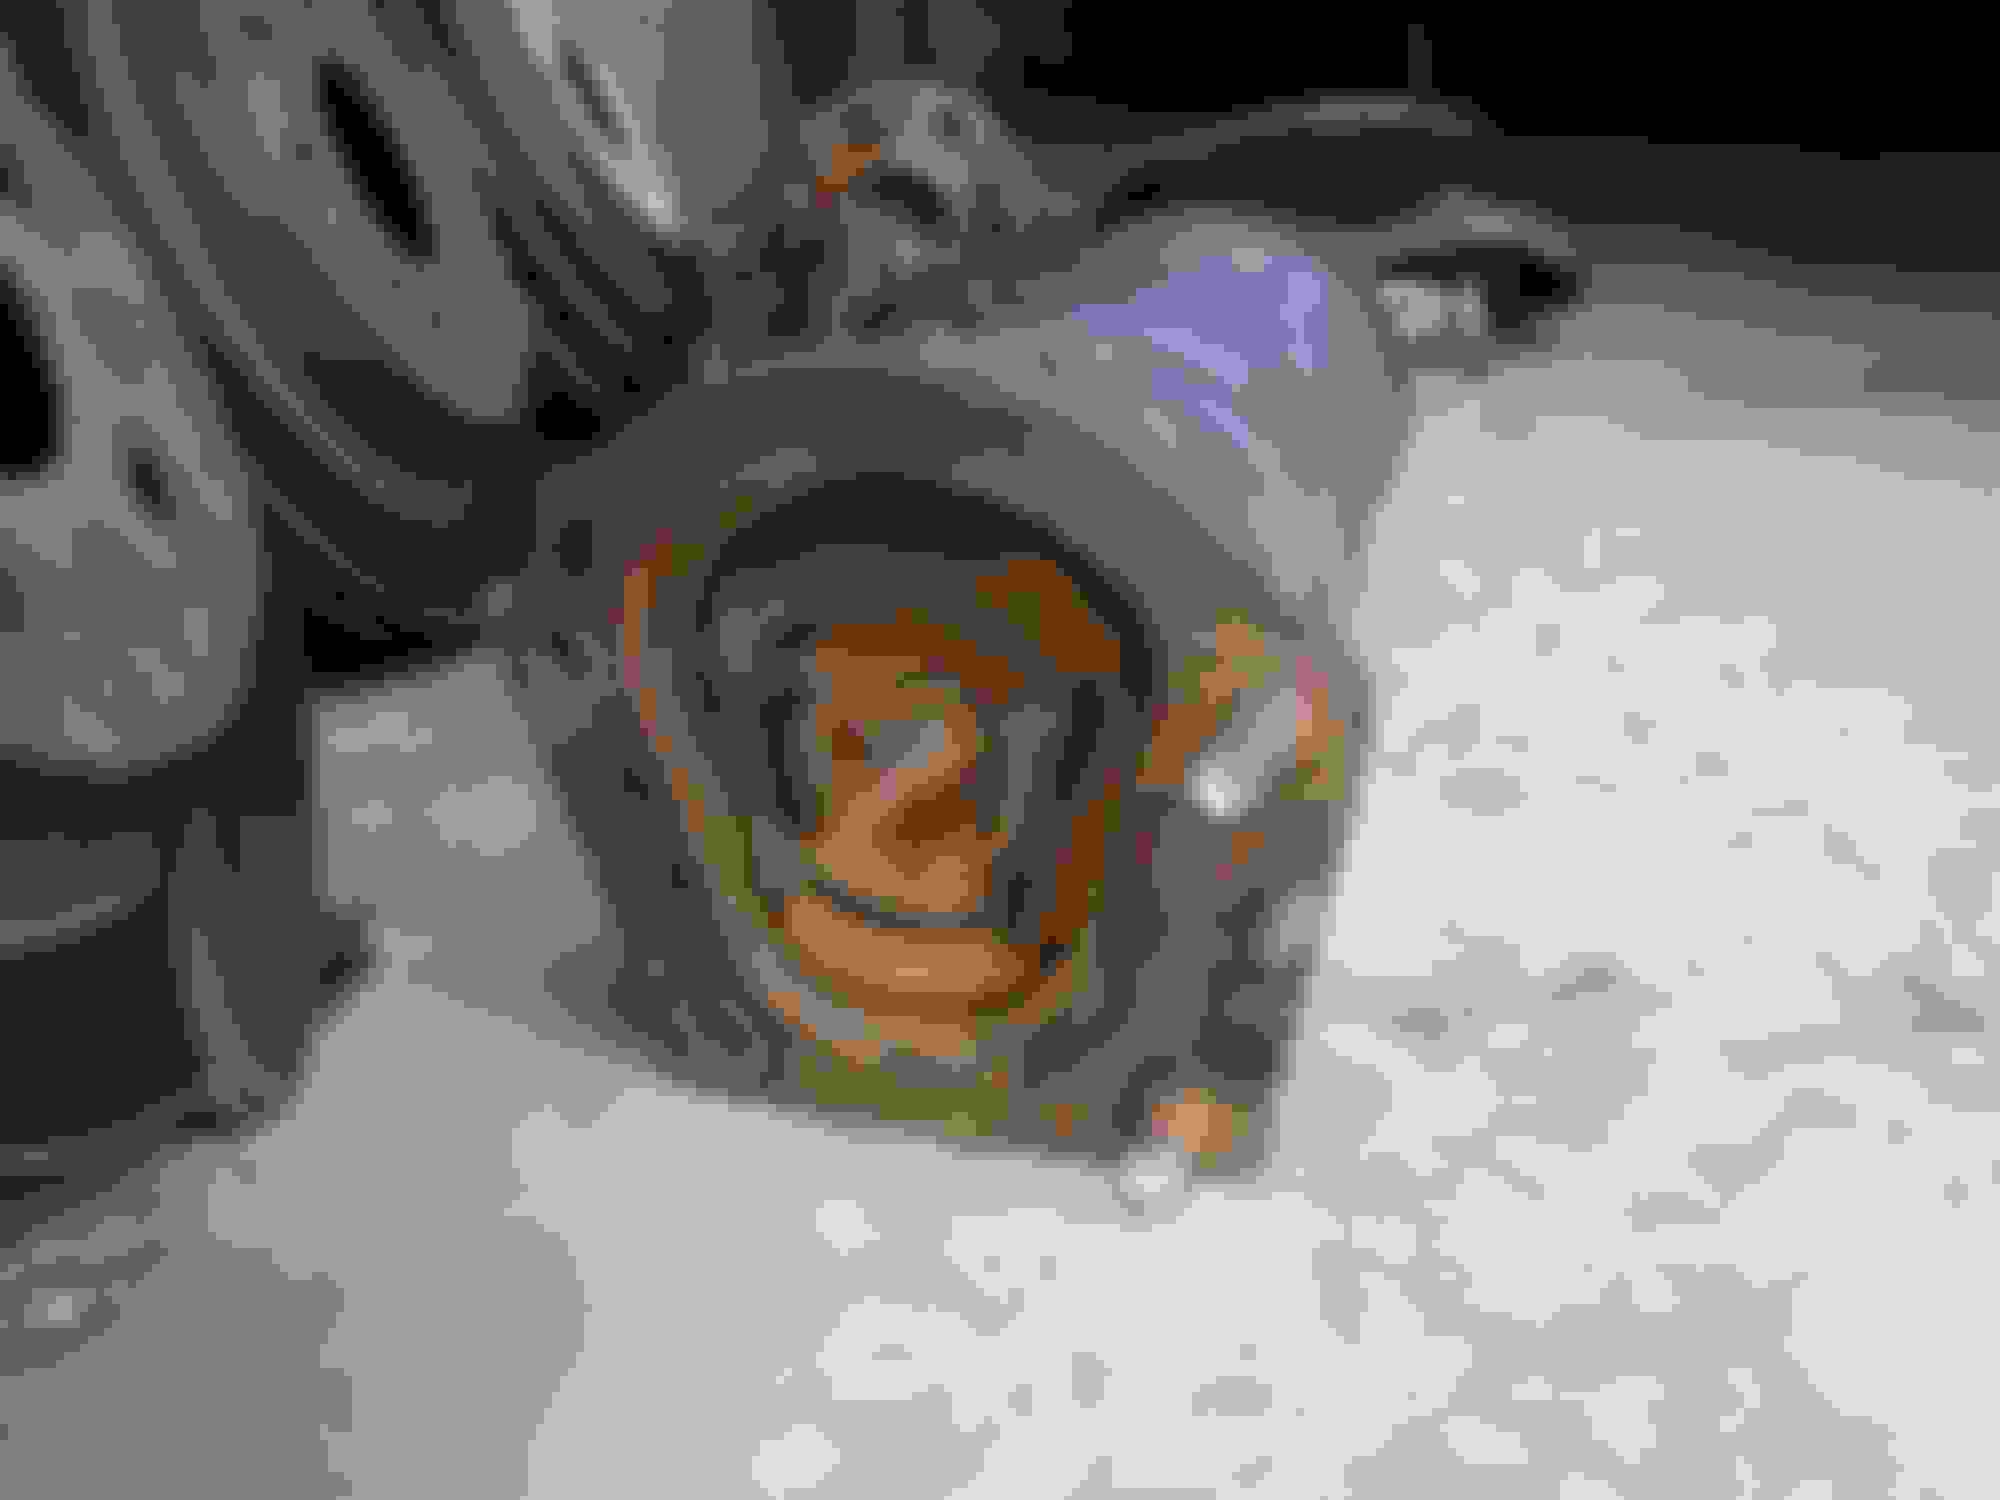
Wasn't as bad as I thought it was going to be.
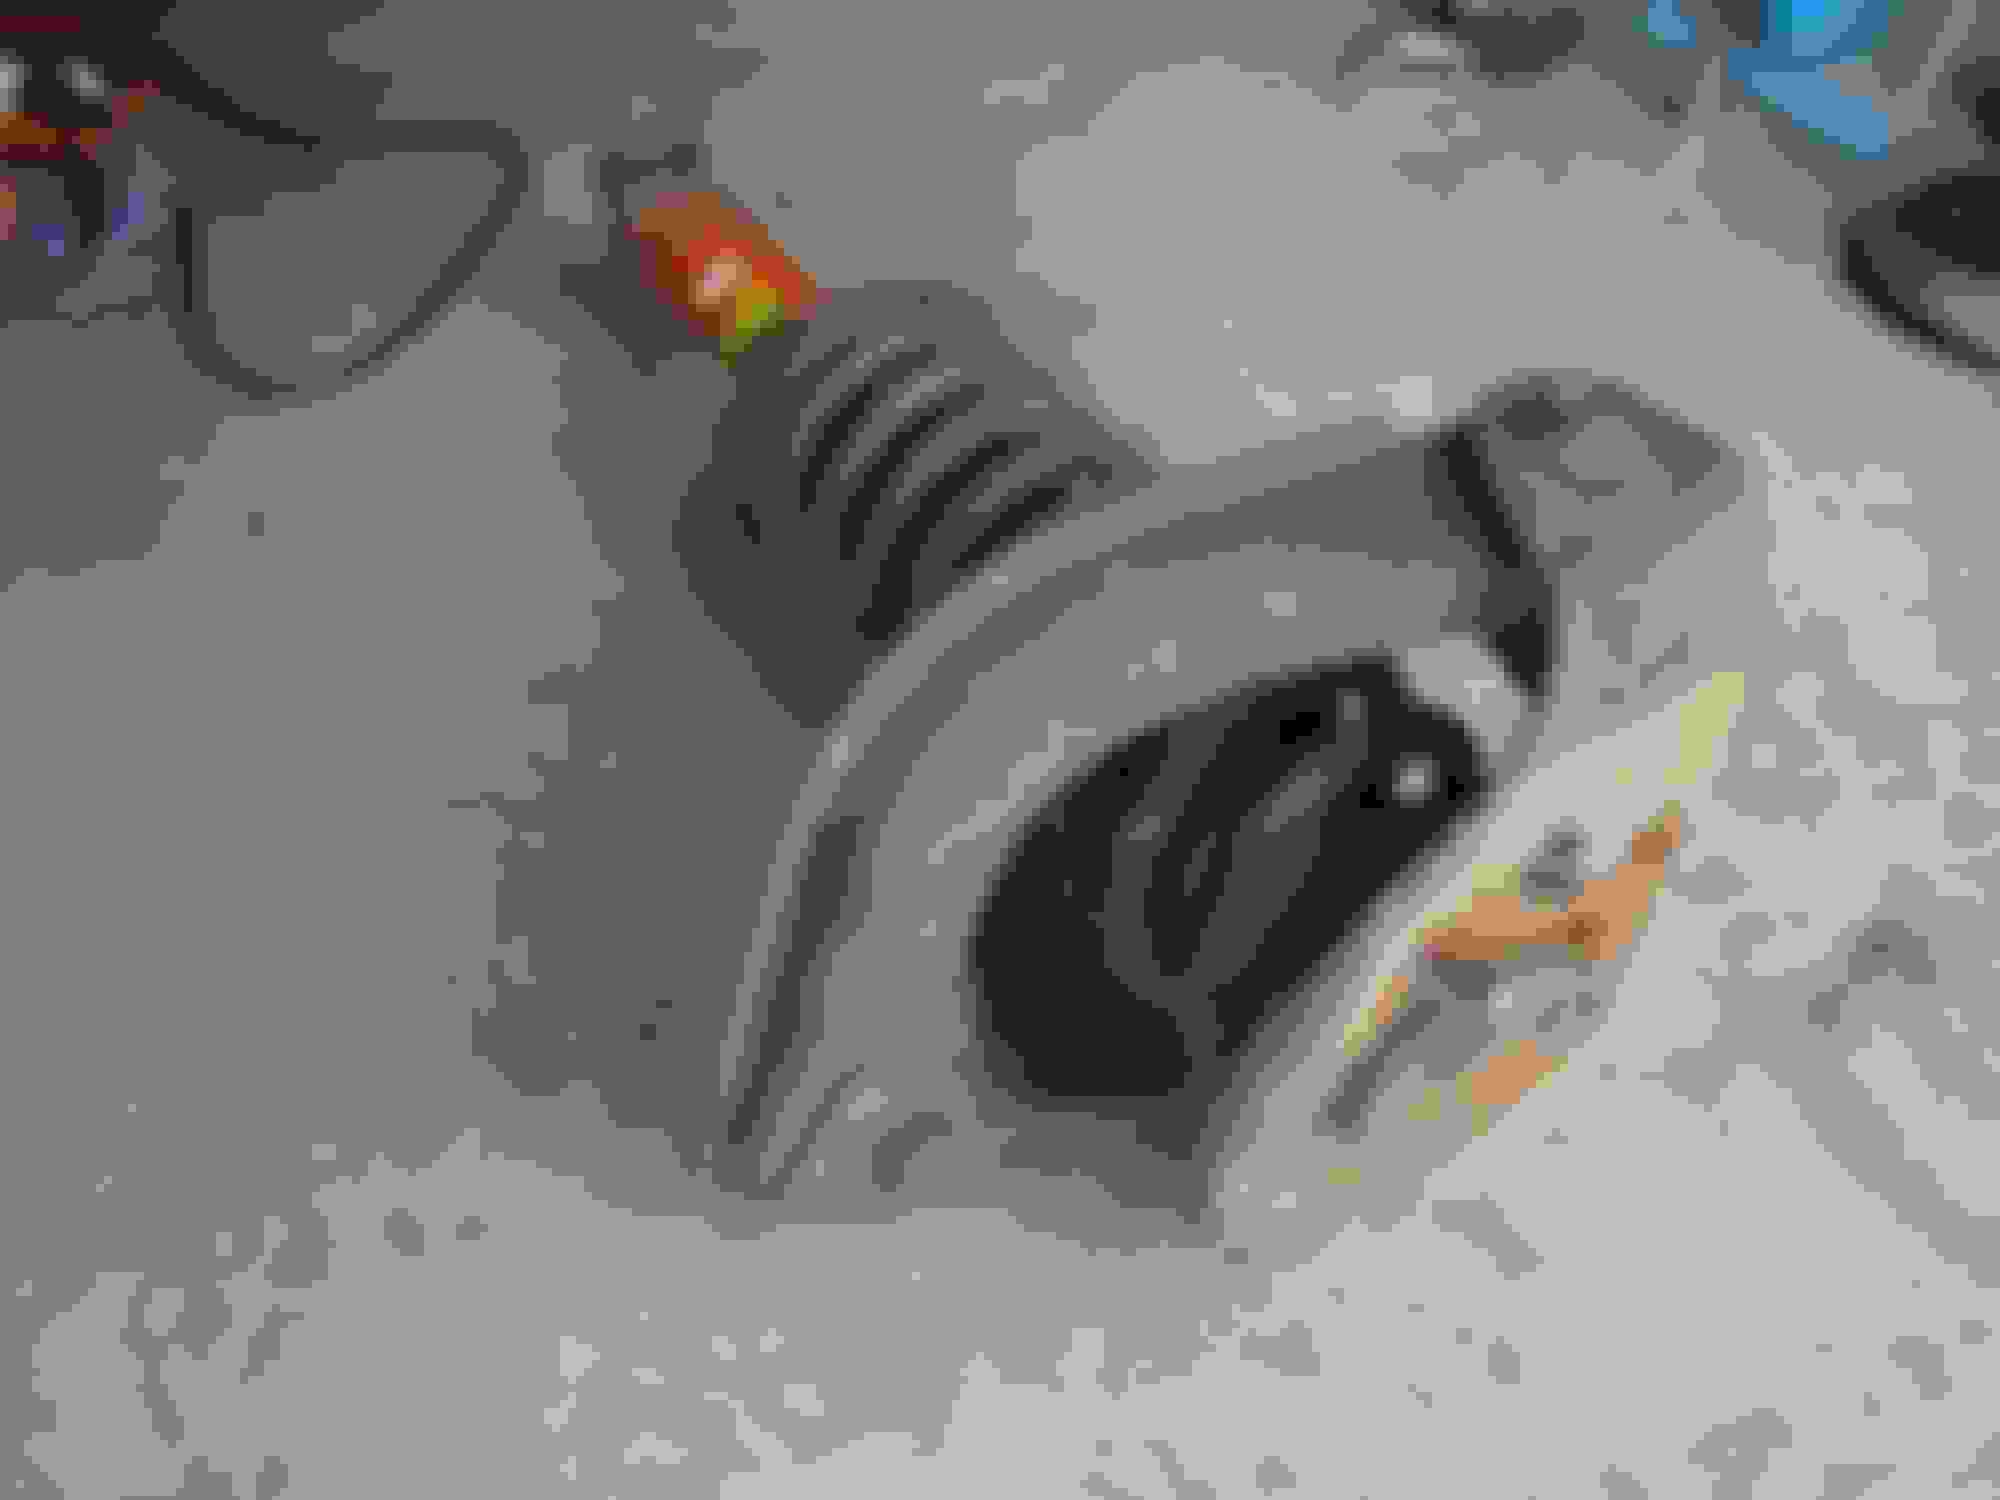
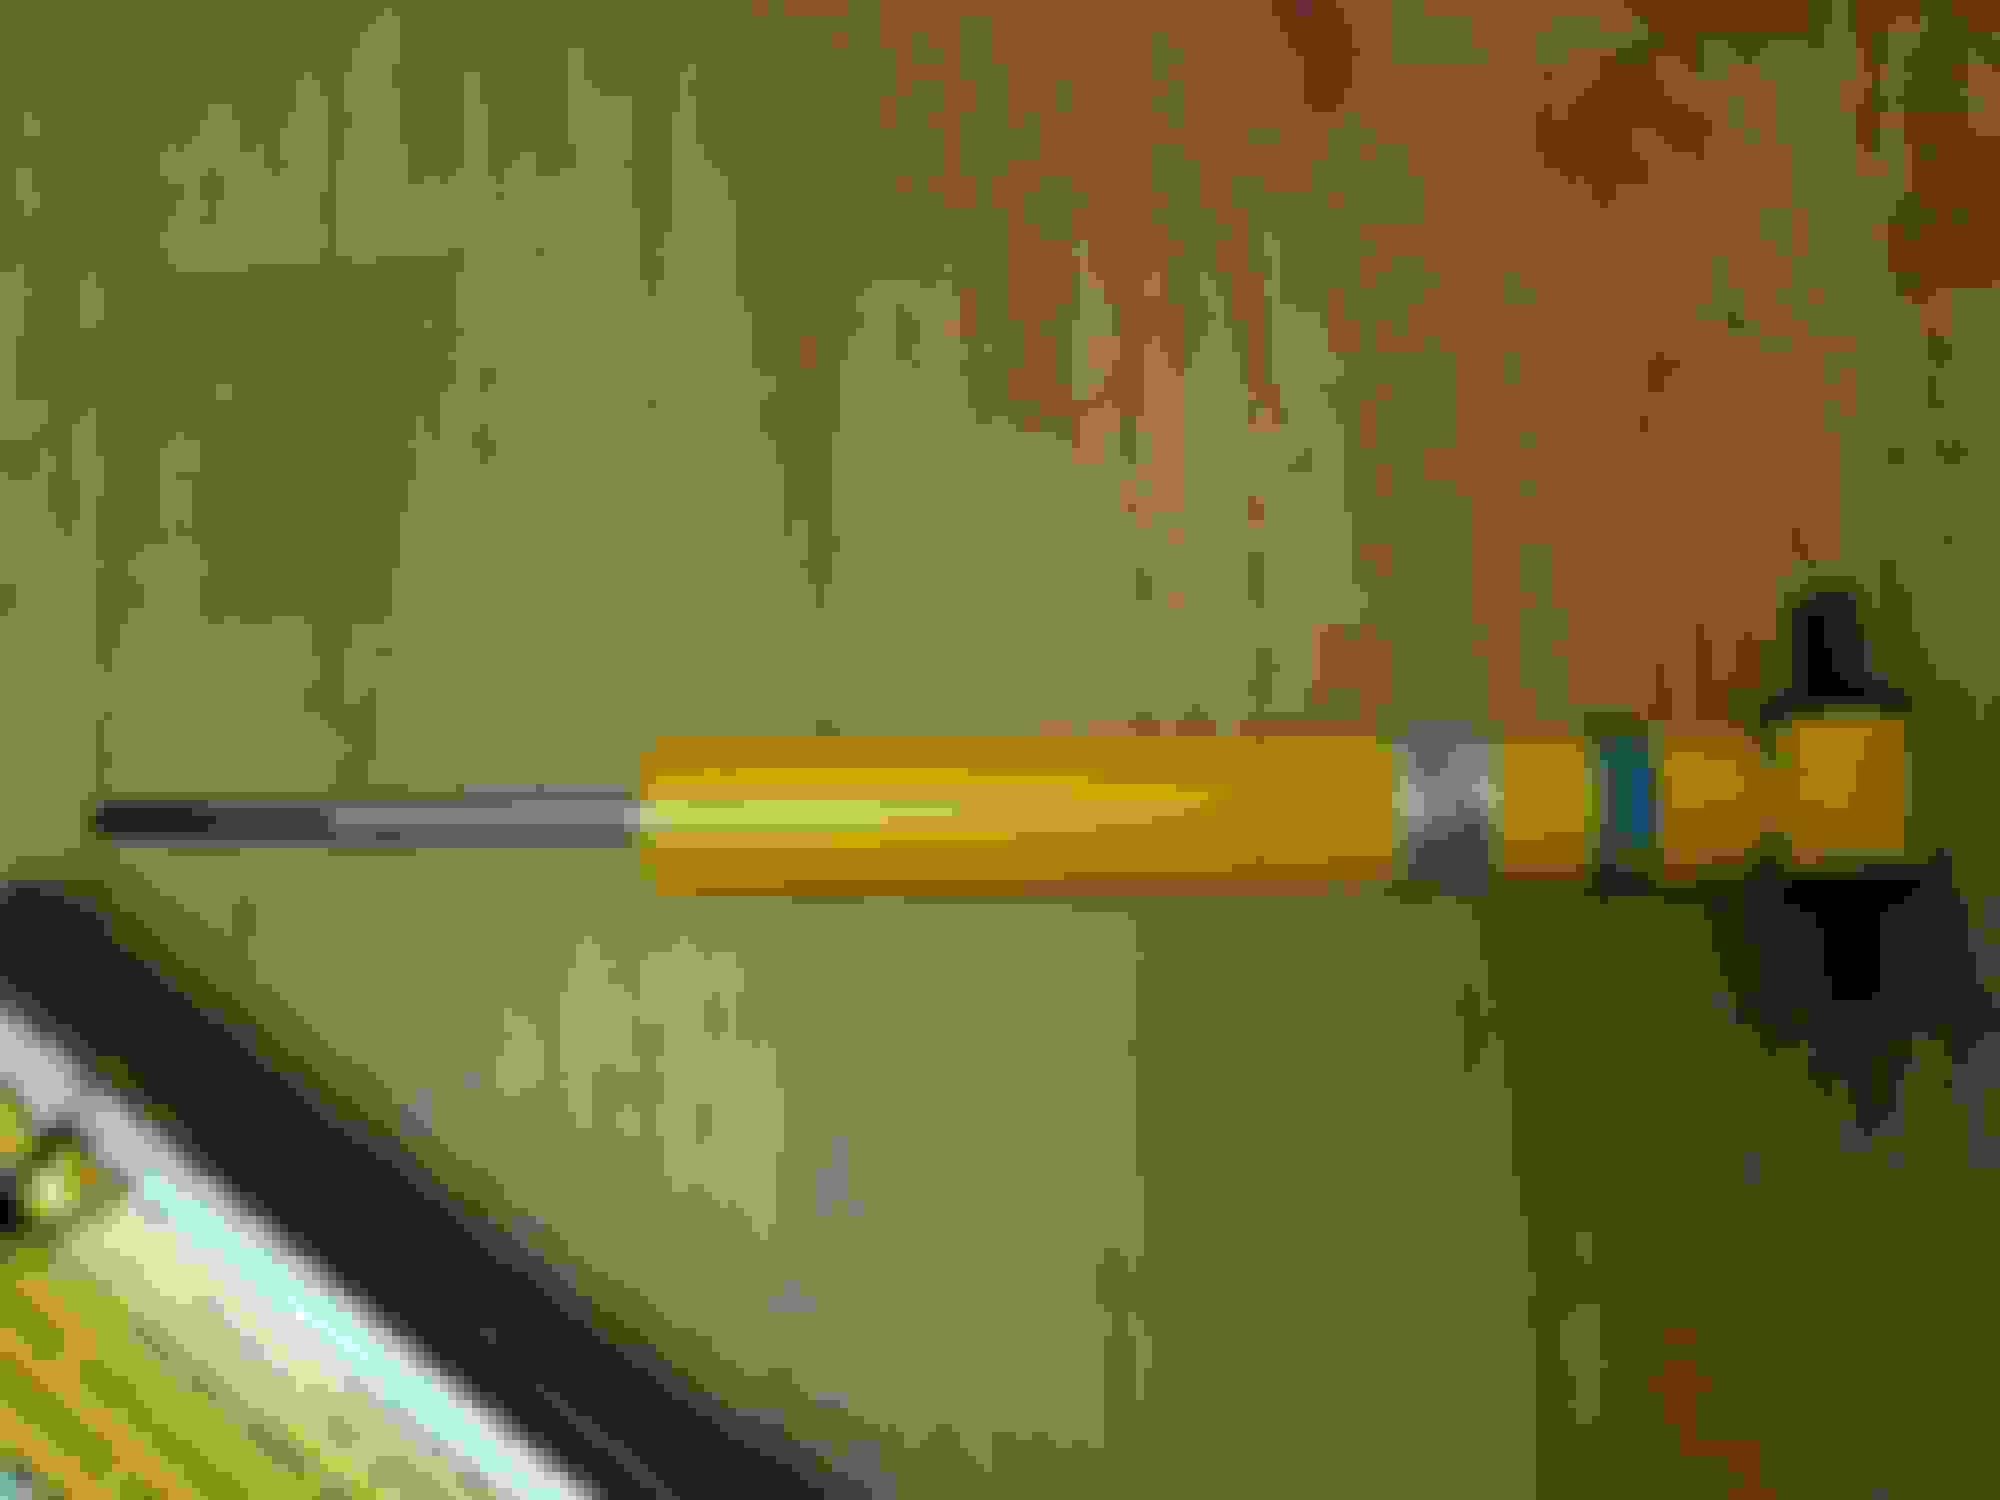
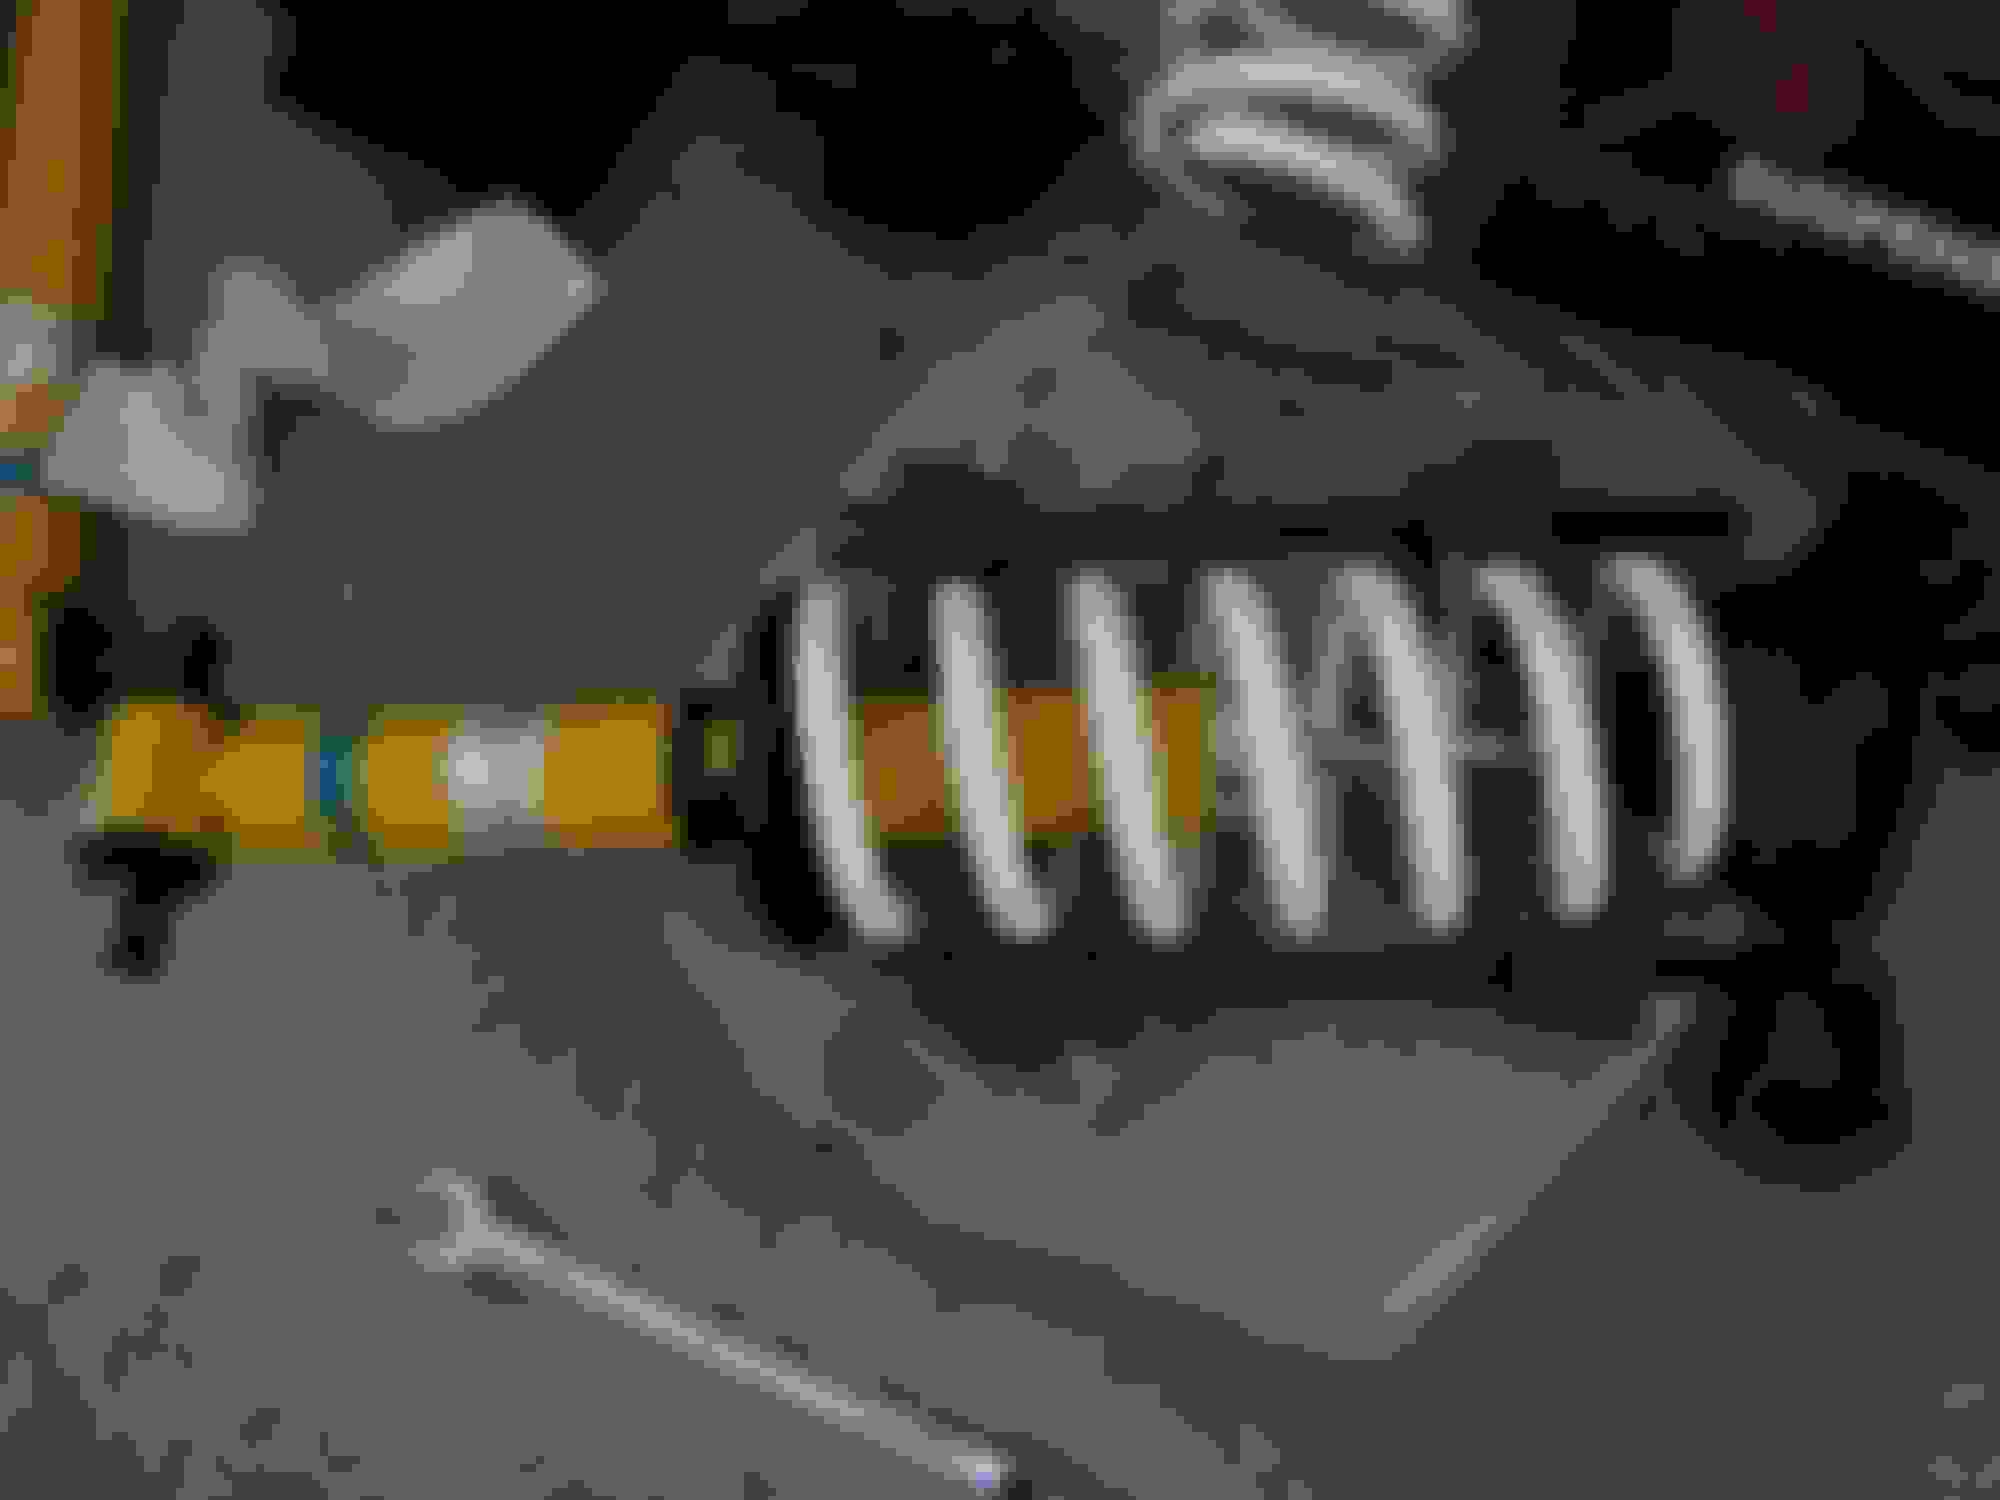
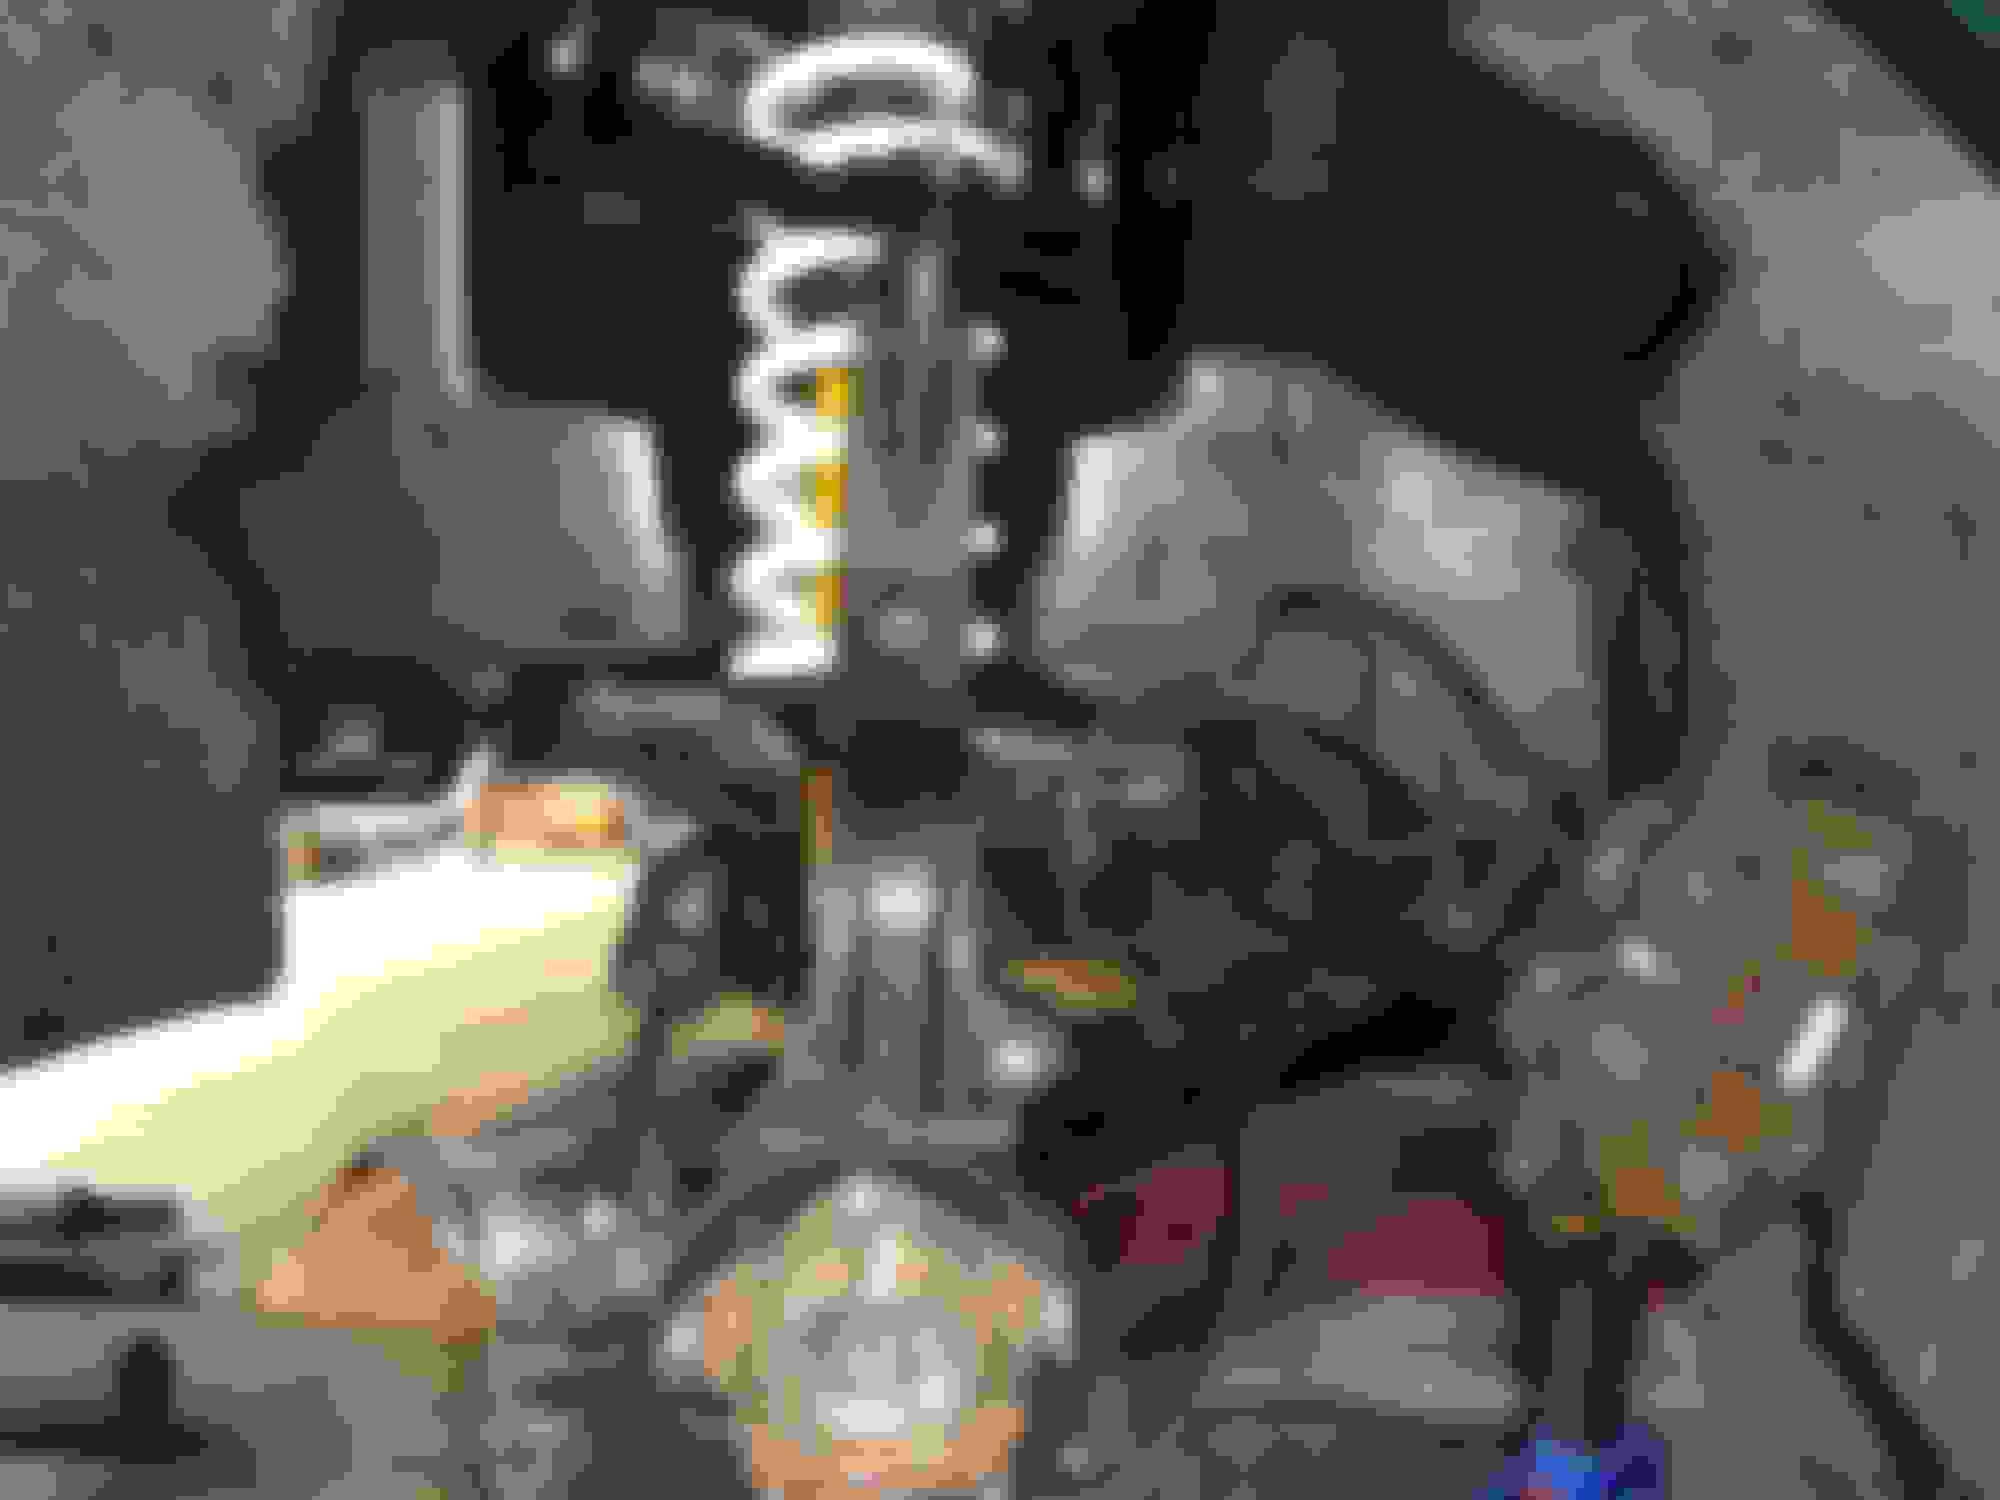
Assembly of the new shock/spring. All new parts
How I got the old bushing out. The nut helped prevent the control arm from bending as I pressed it out.
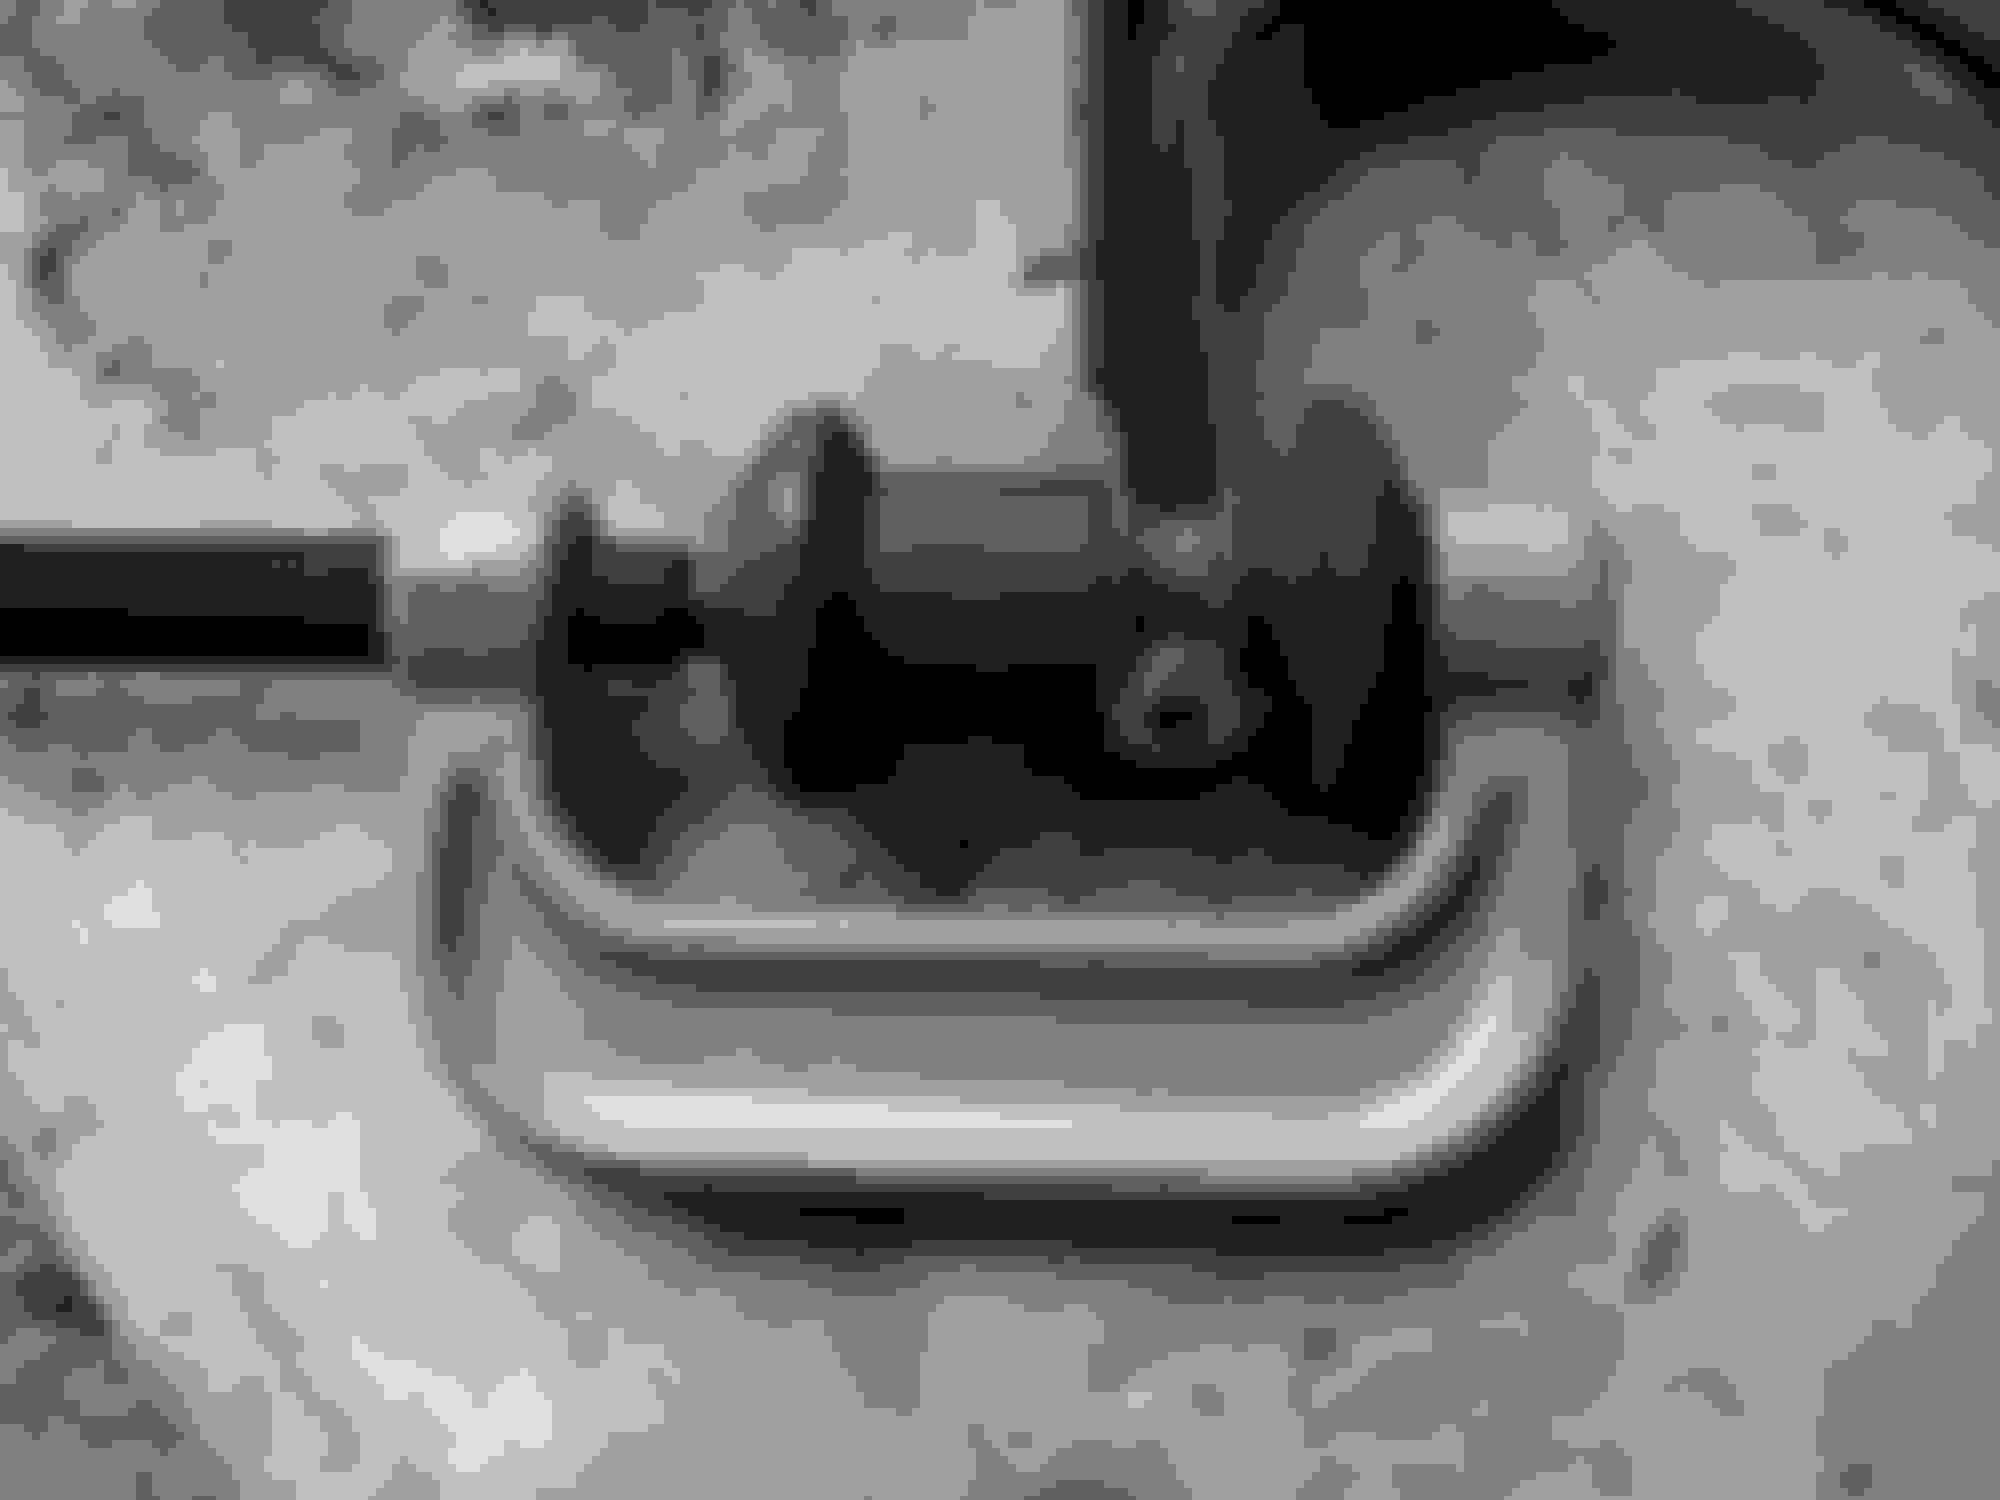
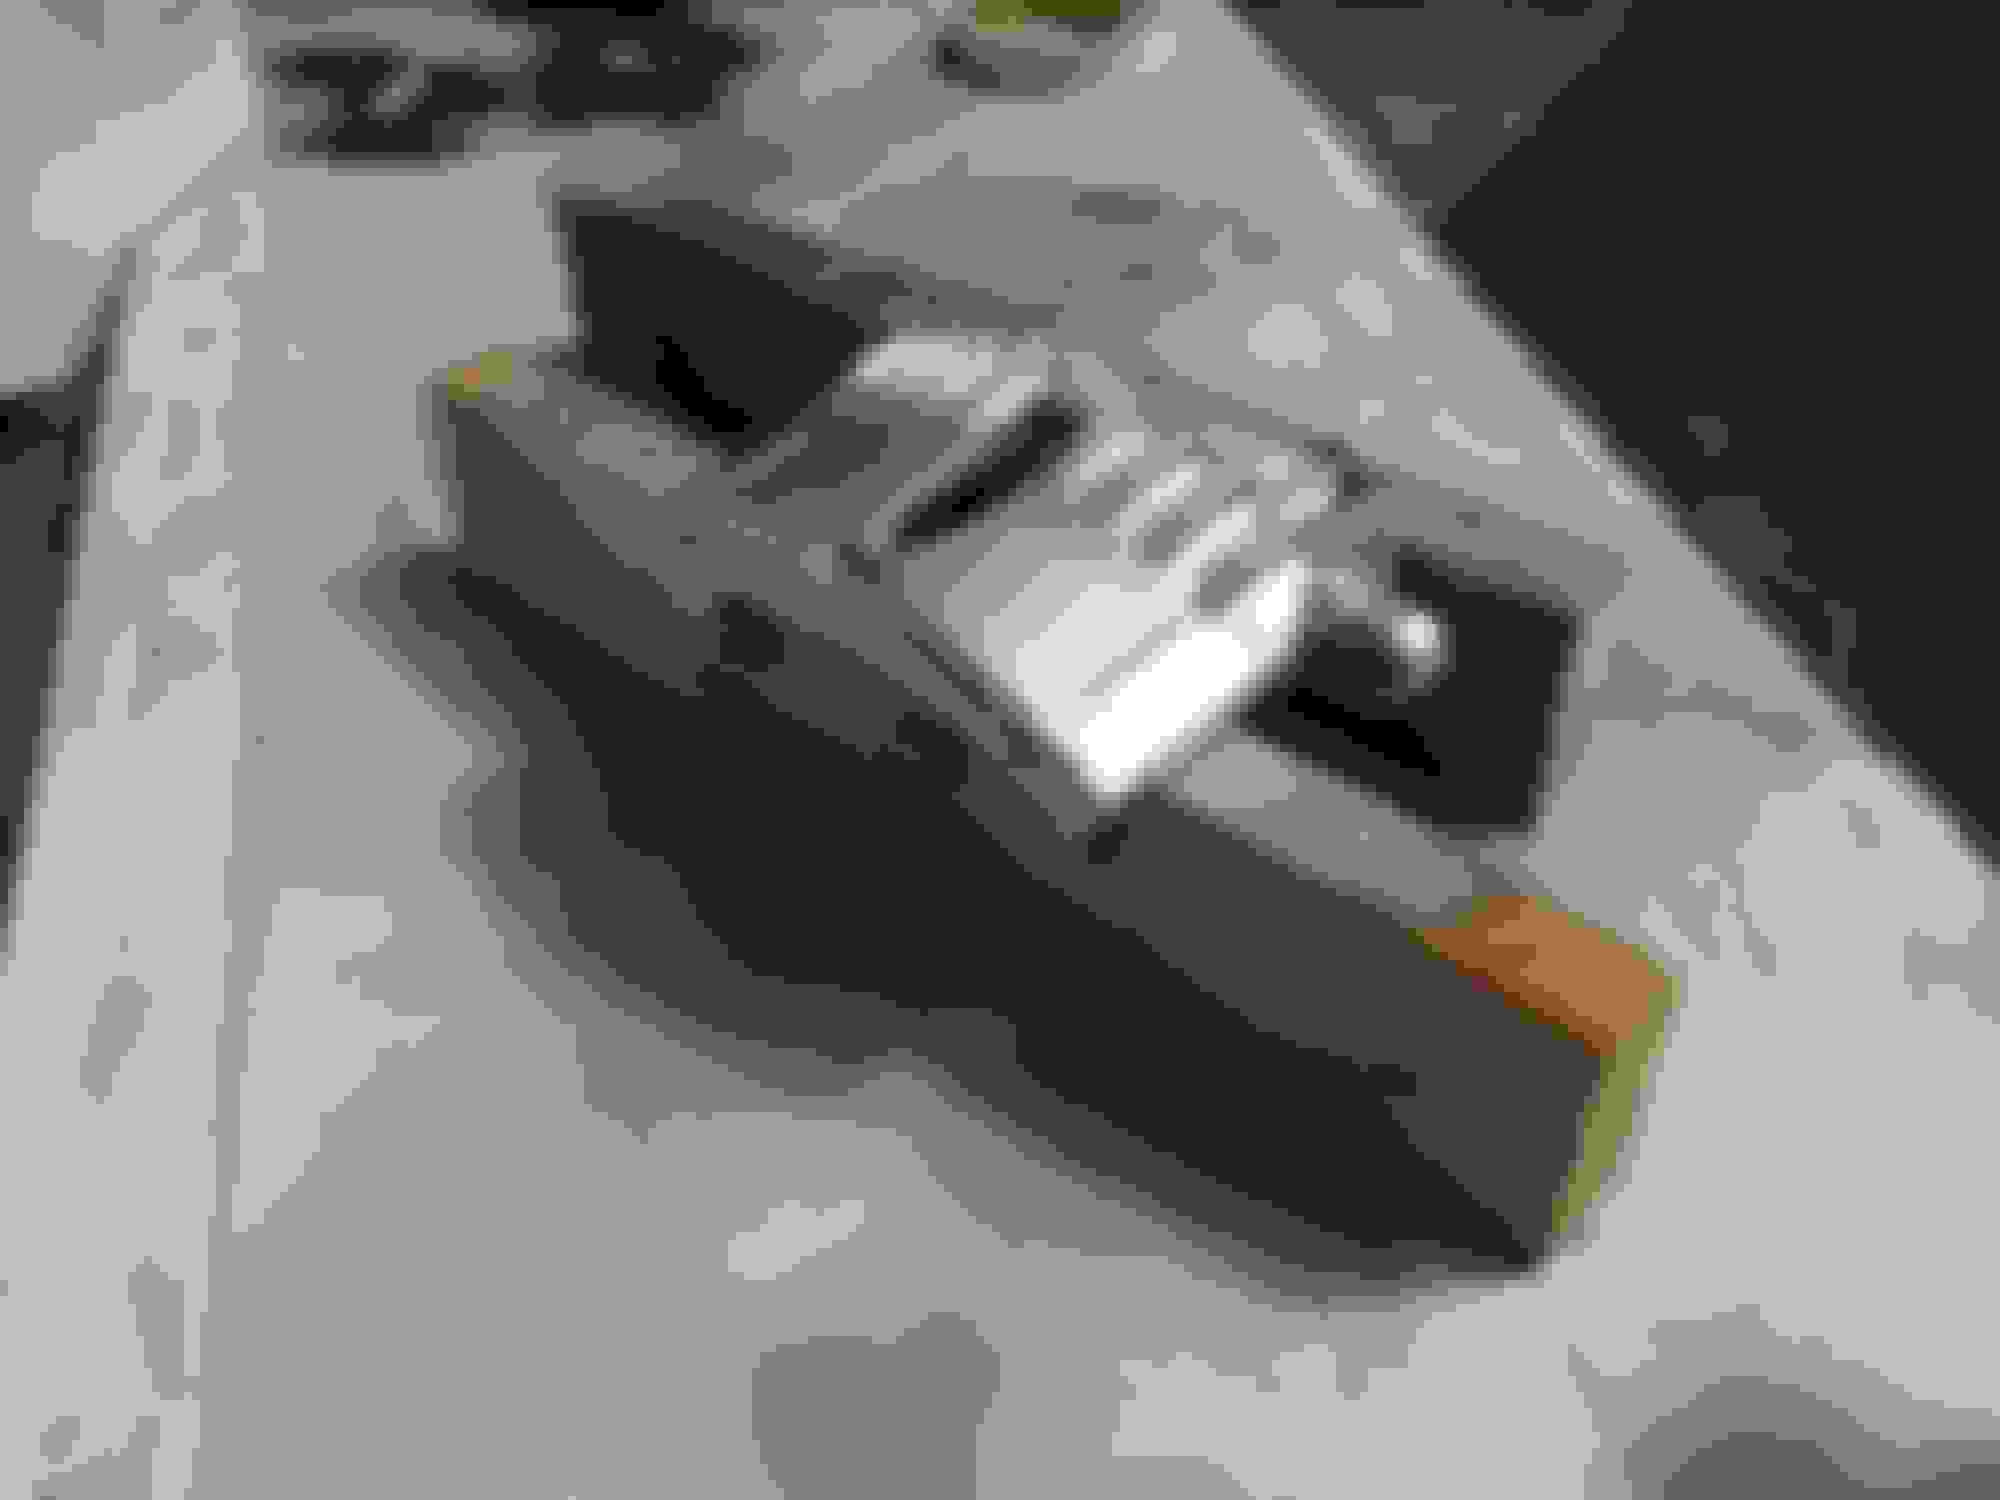
Painted upper control arm with new ball joint and bushings. Gloss black and wrinkle paint for some different texture and look underneath
Painted the wheel wells with some wrinkle paint. seems like durable stuff. still deciding on what to do with the splash guards. That will be another project some other time
New ball joint and bushing on lower control arm. That back bolt was difficult. I needed to cut it off with a diamond sawzall blade. To install the ball joint and bushings, I used nothing but the c-clamp kit from autozone. The bushings are also correctly indexed as well.
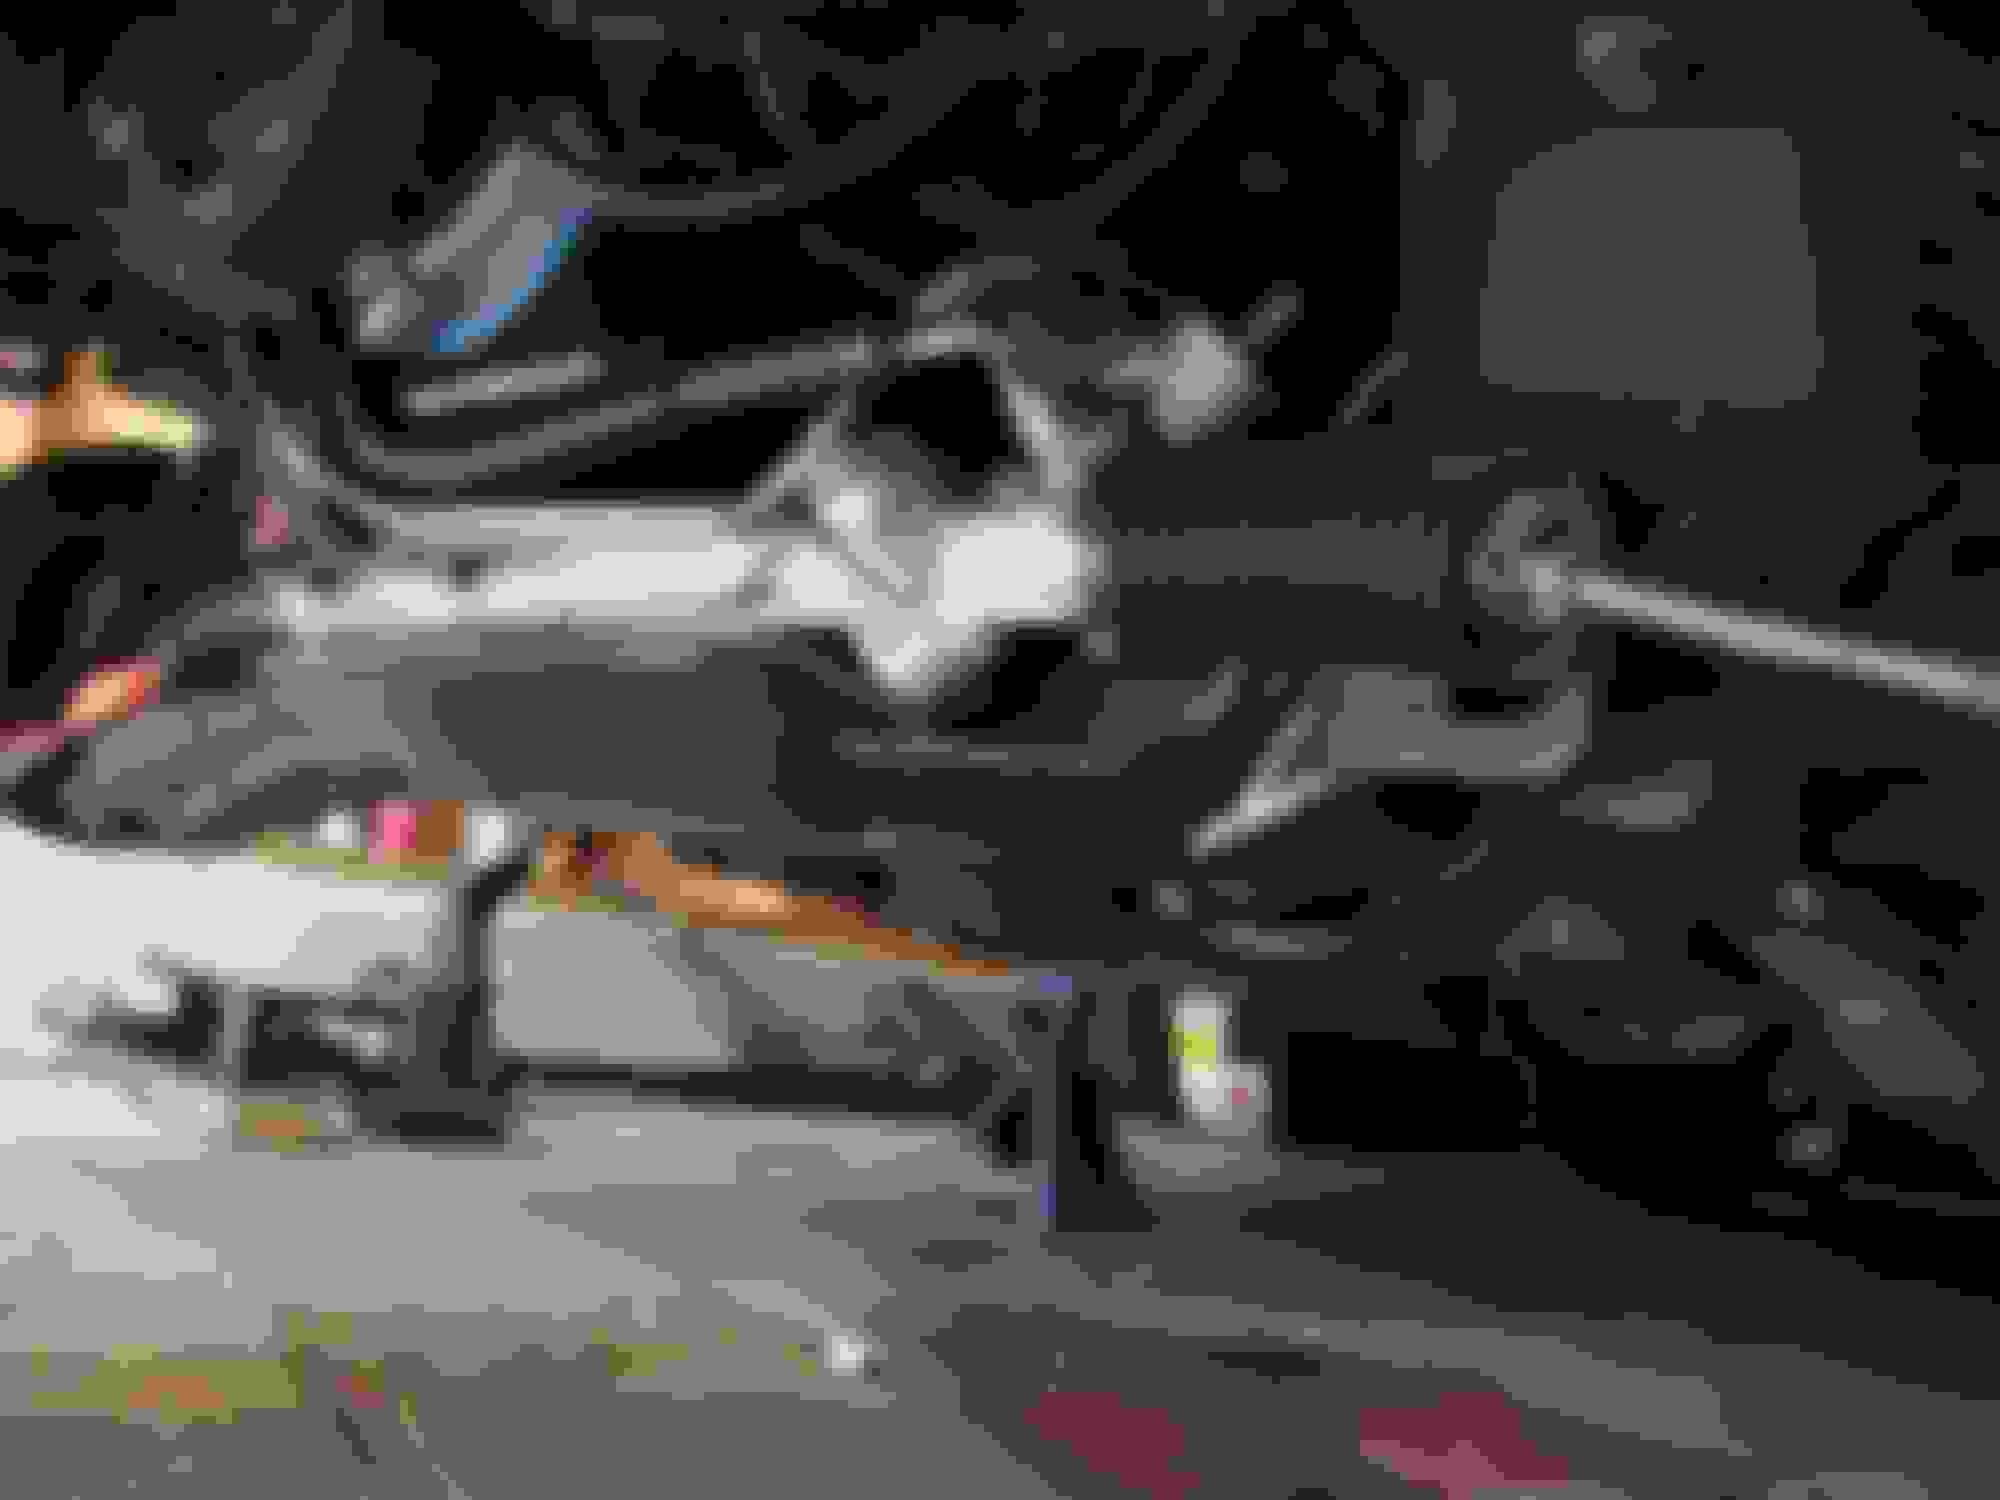
New LS1 Steering Rack to help clear my LPP headers that will soon be installed with the Heads/Cam
Shock assembly and newly painted control arms bolted up and in place
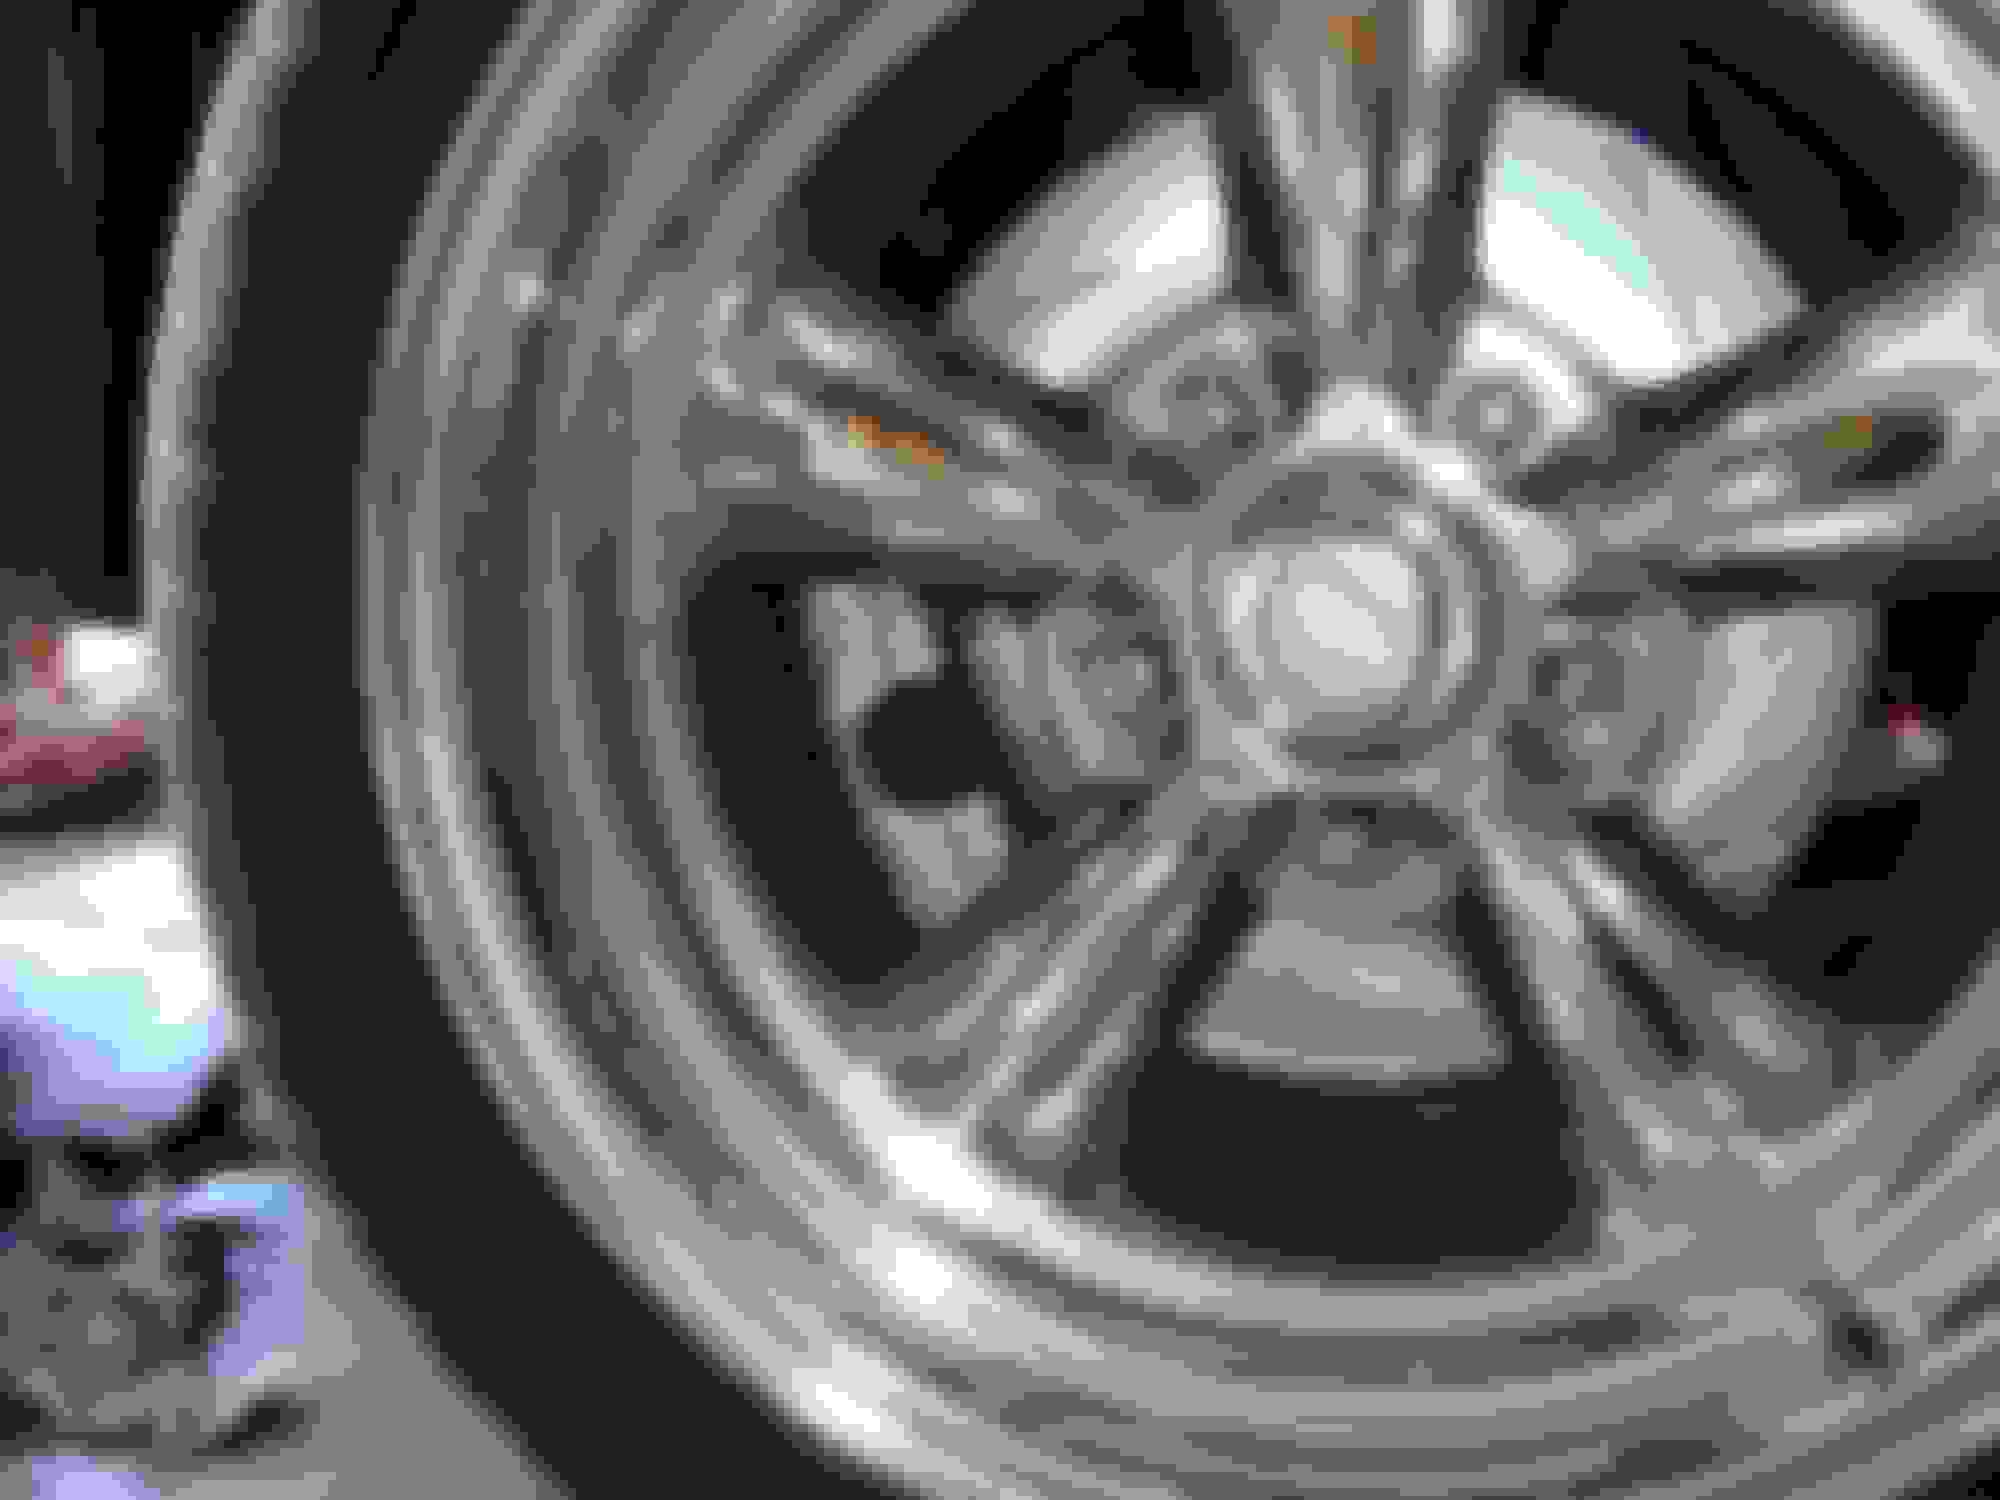
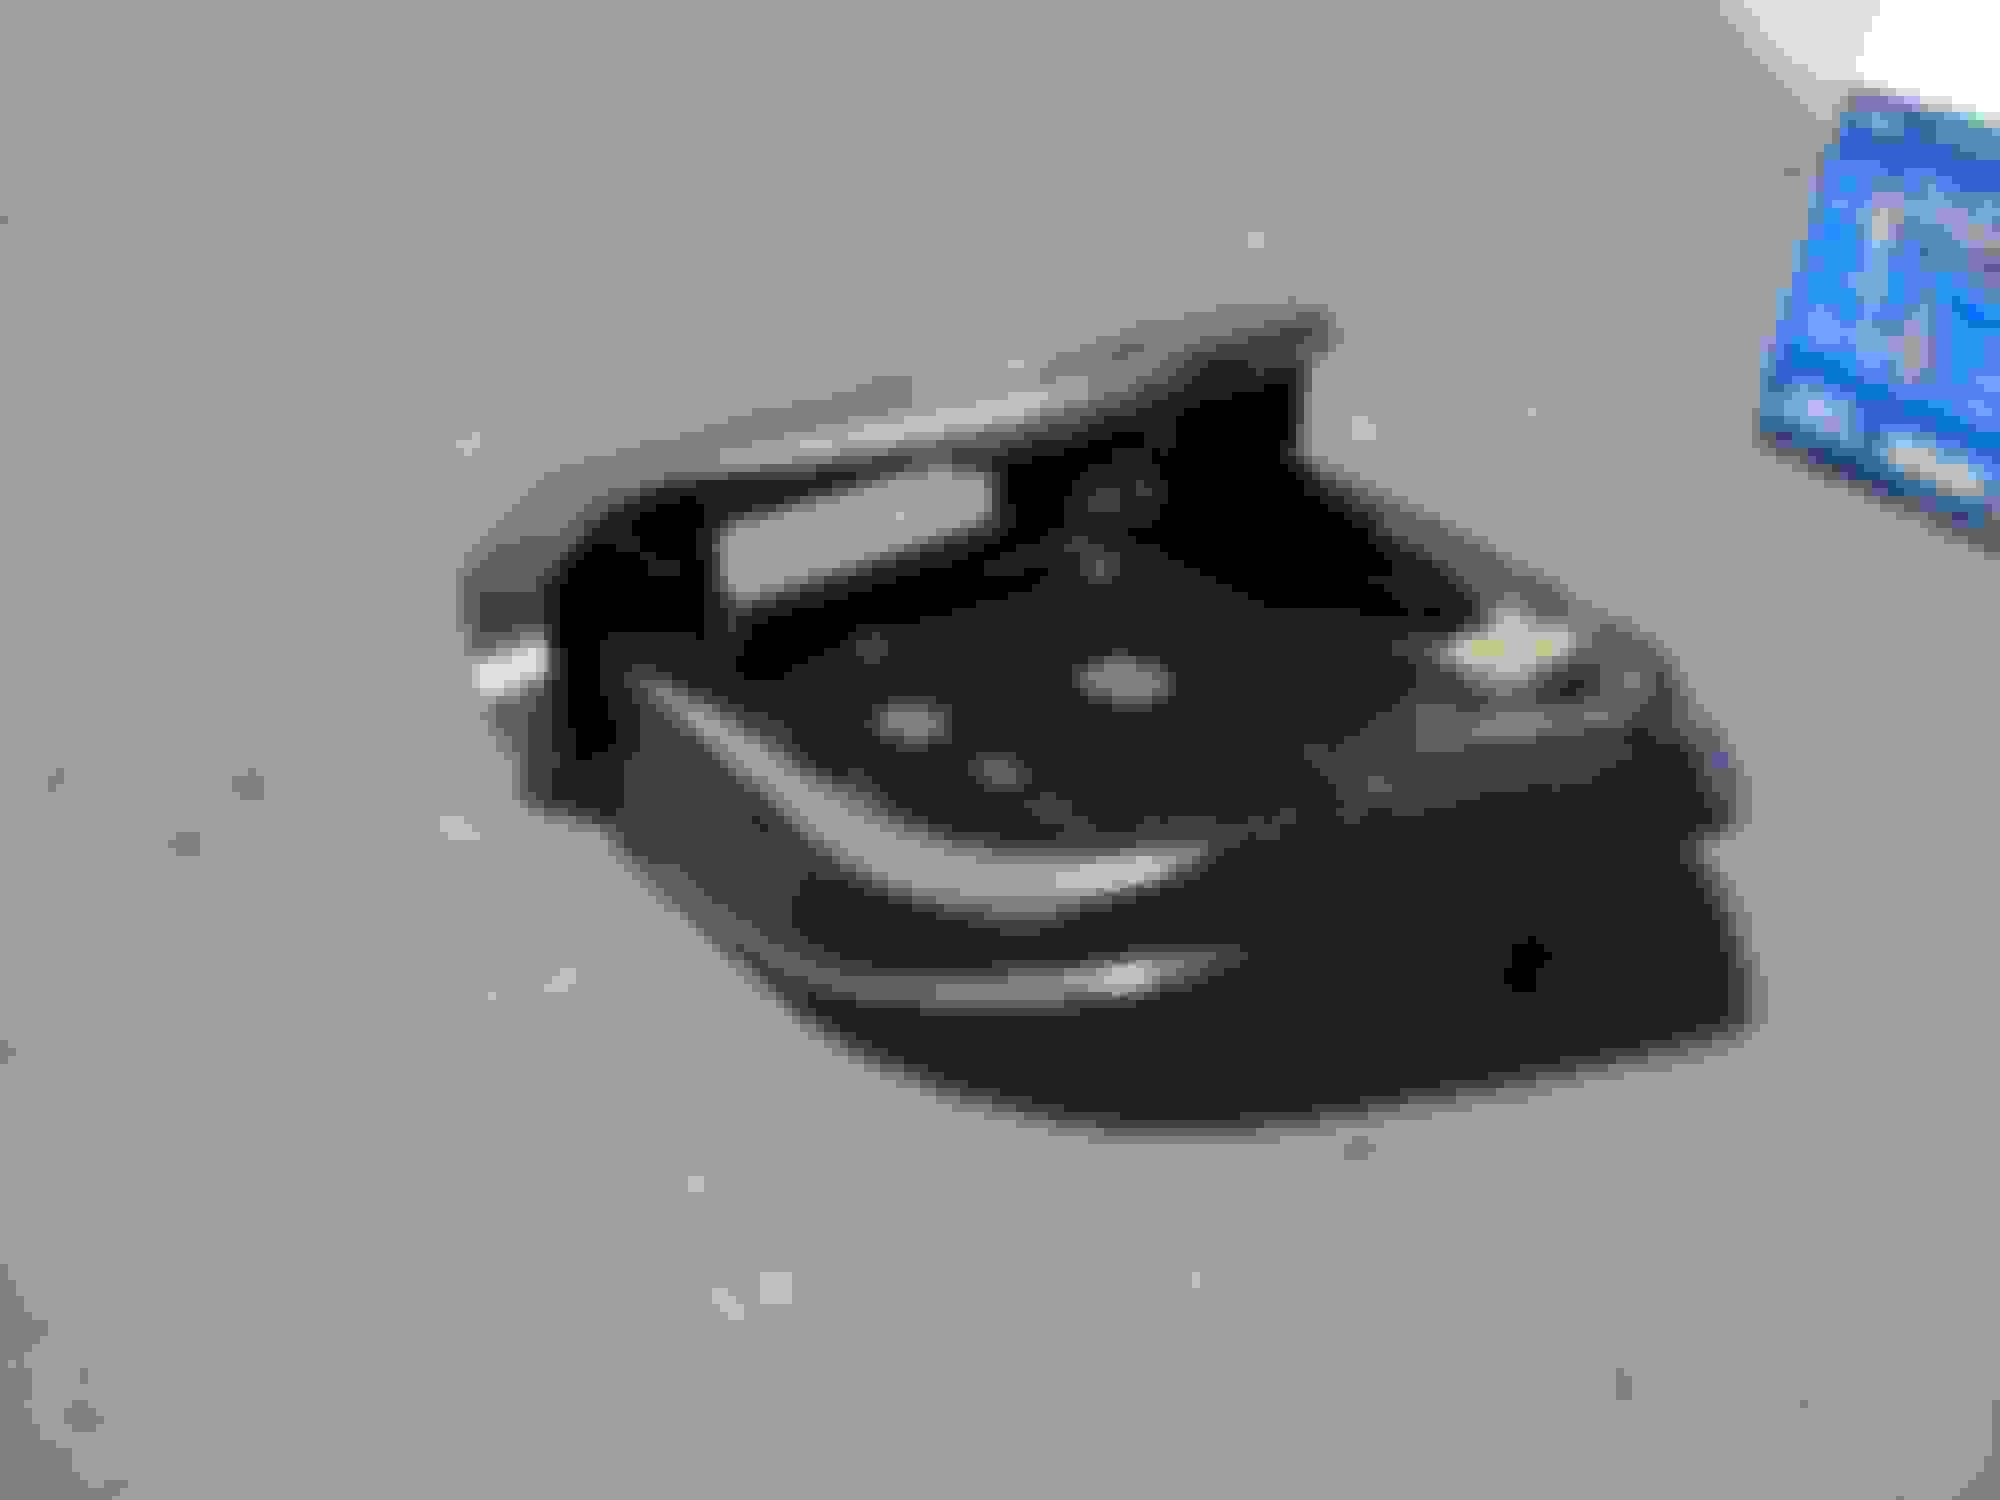
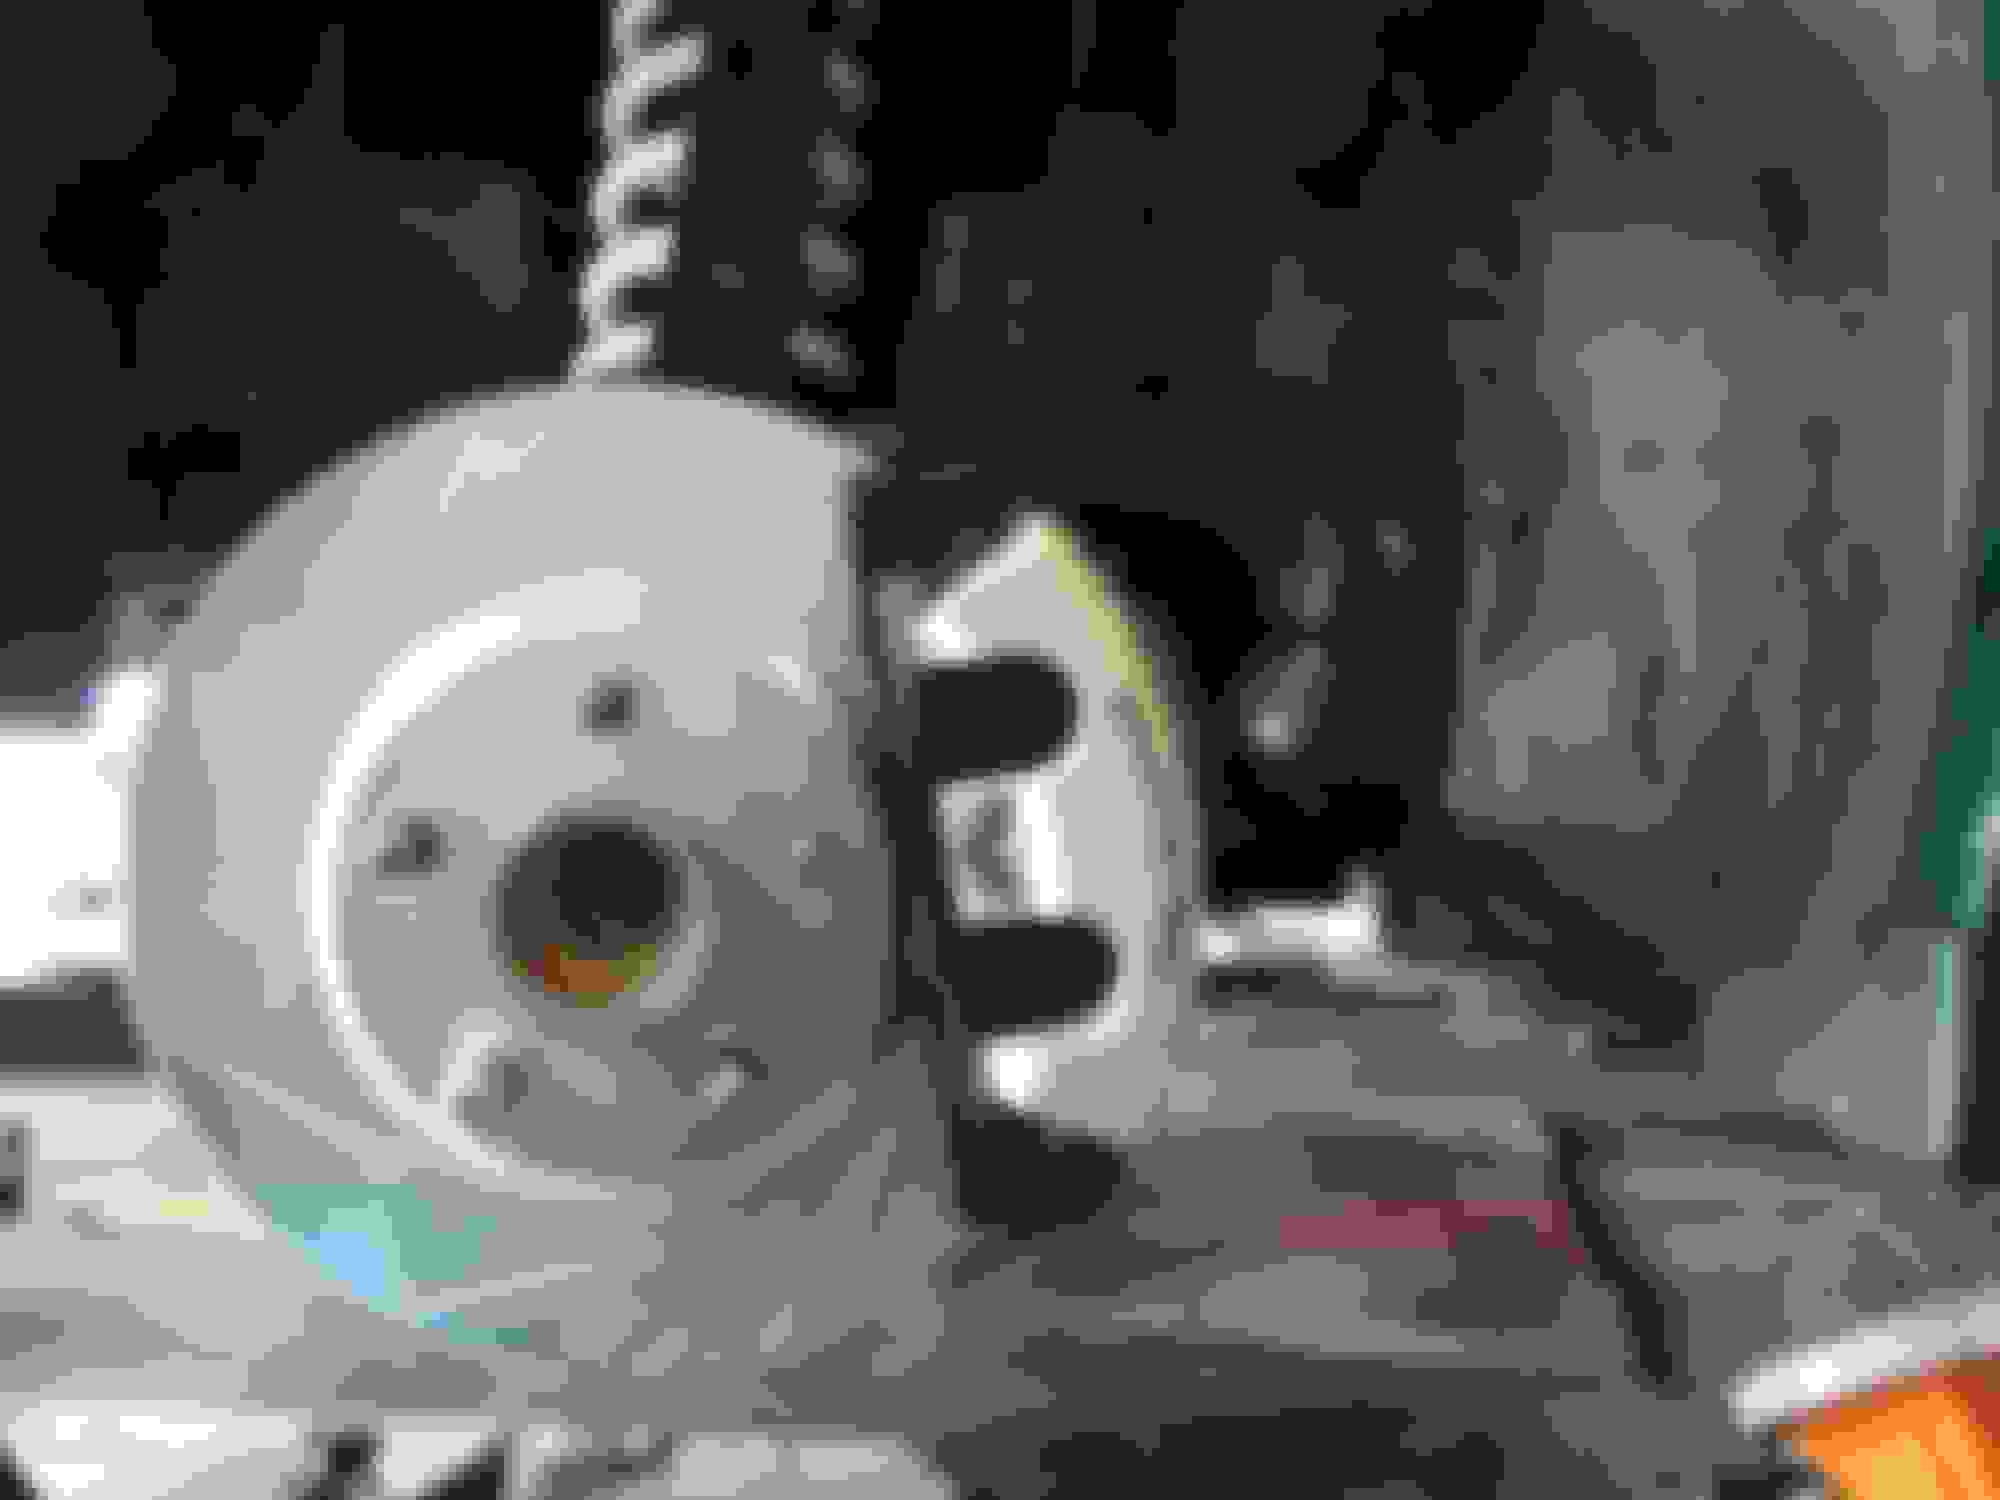
Some Caliper painting!
Finished Product. I really like how they turned out. I bought the vinyl over lays off of ebay. The little globs at the bottom is the aluminum, not the paint. I didn't think it would show that bad once they were painted. I should have smoothed them out more with the dremel.
Last edited by Badazz 97 TA; 07-05-2015 at 04:13 PM.
Very cool. I bought a 97 TA a month ago (had an LS1 for 11 years) and I'm in the process of doing the same. New bushings, ball joints, steering tack, tie rod ends, shocks, springs, sway bars etc. Also restoring the interior and rust poke through in the rear seats floor pans.
The toughest part is the rust and breaking free some parts. The LS1 I had heavily modified but it was new and I never drove it in the snow or rain.
Yeah its definitely a lot of work to get some things moving again after being stuck for 18 years. it slows the job down a lot but im knocking it out. Sometimes a big hammer is all that is needed. I cant wait to feel the difference. it should feel like a new car.
Doing a lot of research prior also helped get the job done since this was the first time I did this type of work.
Yep, I haven't done this heavy stuff in 5 years so I'm reading like a mad man ahead of time to make sure of what has changed to make my life easier. BFH helps, and I bought a set of alden wrenches which helped in tight spots. I dropped my K completely to remove the A-arms as it was REALLY stuck (vertical bolt). Gave me an opportunity to paint it!
nicely done and photographed. Glad you were able to remove/install bushings and ball joints with the ball joint press tool. Great idea about using the nut as a spacer to prevent bending the control arm in removing the bushing. I'll probably be doing the ball joints and bushings in the future. Will likely buy used ones so I can do the work at my own pace without tying up the car, as it's my daily driver.
Finished Product. I really like how they turned out. I bought the vinyl over lays off of ebay. The little globs at the bottom is the aluminum, not the paint. I didn't think it would show that bad once they were painted. I should have smoothed them out more with the dremel.
^^^Are our PBR calipers aluminum alloy, or cast iron??
Im still waiting for the front wheels to get back from being re-finished and polished. I should have pictures sometime this week once I get them back. The car is done, just waiting on the front wheels. Im getting anxious.
I was going to say when I saw the picture of the "assembled" shock that you need to get the bump stop and dust boot from the stock parts but it looks like you did in the on the car parts pics.
I'm undertaking a similar project right now with my trailblazer, did all new lower control arms because it made more sense then ball joints and all the bushings considering slight difference in cost, so far I have installed the rear shocks and 3" drop springs from the belltech 796SP kit removed and disassembled the stock front shocks since the stock front springs are reused with that kit and assembled and installed the new front shocks, installed the upper ball joints (which go in the spindle on that vehicle) and am almost done installing the lower the lower control arms, just need to re-thread some damaged bolts and nuts on the frame, then I'm waiting on the modified upper arms to arrive so I can install them. Plus I did the steering rack on my firebird and sway bars on it so I know just how much work is involved in what your doing.
Yeah its a lot of work. Can't wait to feel if all the work was worth it.
I ended buying used stock dust boots. I didn't want to mess with any of the old stuff at all. It made life easier even though it probably cost a little bit more in the long run.
Doing some nice things over there joe! let me know how you like those springs and ride after the switch.
Whats up Sam. The ride is super nice and smooth. Not rough like I was expecting. I like it a lot. Its a night and day difference. Completely worth the money.
Whats up Sam. The ride is super nice and smooth. Not rough like I was expecting. I like it a lot. Its a night and day difference. Completely worth the money.
How do you like the hollow Strano sway bars? I have the same setup as you, bilsteins/Strano etc etc. I still have stock sway bars and LCAs! I'm buying them when I get the money but was wandering how big a difference they make? The car looks nice! Mystic teal FTW! Btw, I noticed you said you were still thinking of something to do to the wheel wells and splash guards, I used spray on truck bed liner from oreilys, it was 10$ for the rattle can and it's black as night and has held up through all 4 season including nasty snow, rain salt sleet etc.
How do you like the hollow Strano sway bars? I have the same setup as you, bilsteins/Strano etc etc. I still have stock sway bars and LCAs! I'm buying them when I get the money but was wandering how big a difference they make? The car looks nice! Mystic teal FTW! Btw, I noticed you said you were still thinking of something to do to the wheel wells and splash guards, I used spray on truck bed liner from oreilys, it was 10$ for the rattle can and it's black as night and has held up through all 4 season including nasty snow, rain salt sleet etc.
Its hard to say what made the most difference since I did it all at the same time.
I love the setup man as a whole. I was able to take it out on some back roads out here in the mountains the last few days. The car just feels confident and super easy to drive. It goes exactly where you want it to go without hesitation. I don't know how else to describe it. Its very fun to drive now. I can push the car much harder without feeling like I might die in the turn. lol
I was thinking about some type of product like that. Some type of bed liner. I might have to check it out and do it.
Awesome upgrades there. Well thought-out and executed plan to freshen up the ride. Your car looks great and I'm glad you're enjoying the benefit of those handling goodies.
I'm partial -- went with a very similar setup (same shocks, springs, bars).
Awesome upgrades there. Well thought-out and executed plan to freshen up the ride. Your car looks great and I'm glad you're enjoying the benefit of those handling goodies.
I'm partial -- went with a very similar setup (same shocks, springs, bars).
thanks. Its a great setup. The ride isn't bad at all but still has a nice crisp fresh muscle car feel like it should have. Its very easy and nice to drive. Well worth the money to freshen up the car.
 06-11-2015, 09:55 PM