When you click on links to various merchants on this site and make a purchase, this can result in this site earning a commission. Affiliate programs and affiliations include, but are not limited to, the eBay Partner Network.
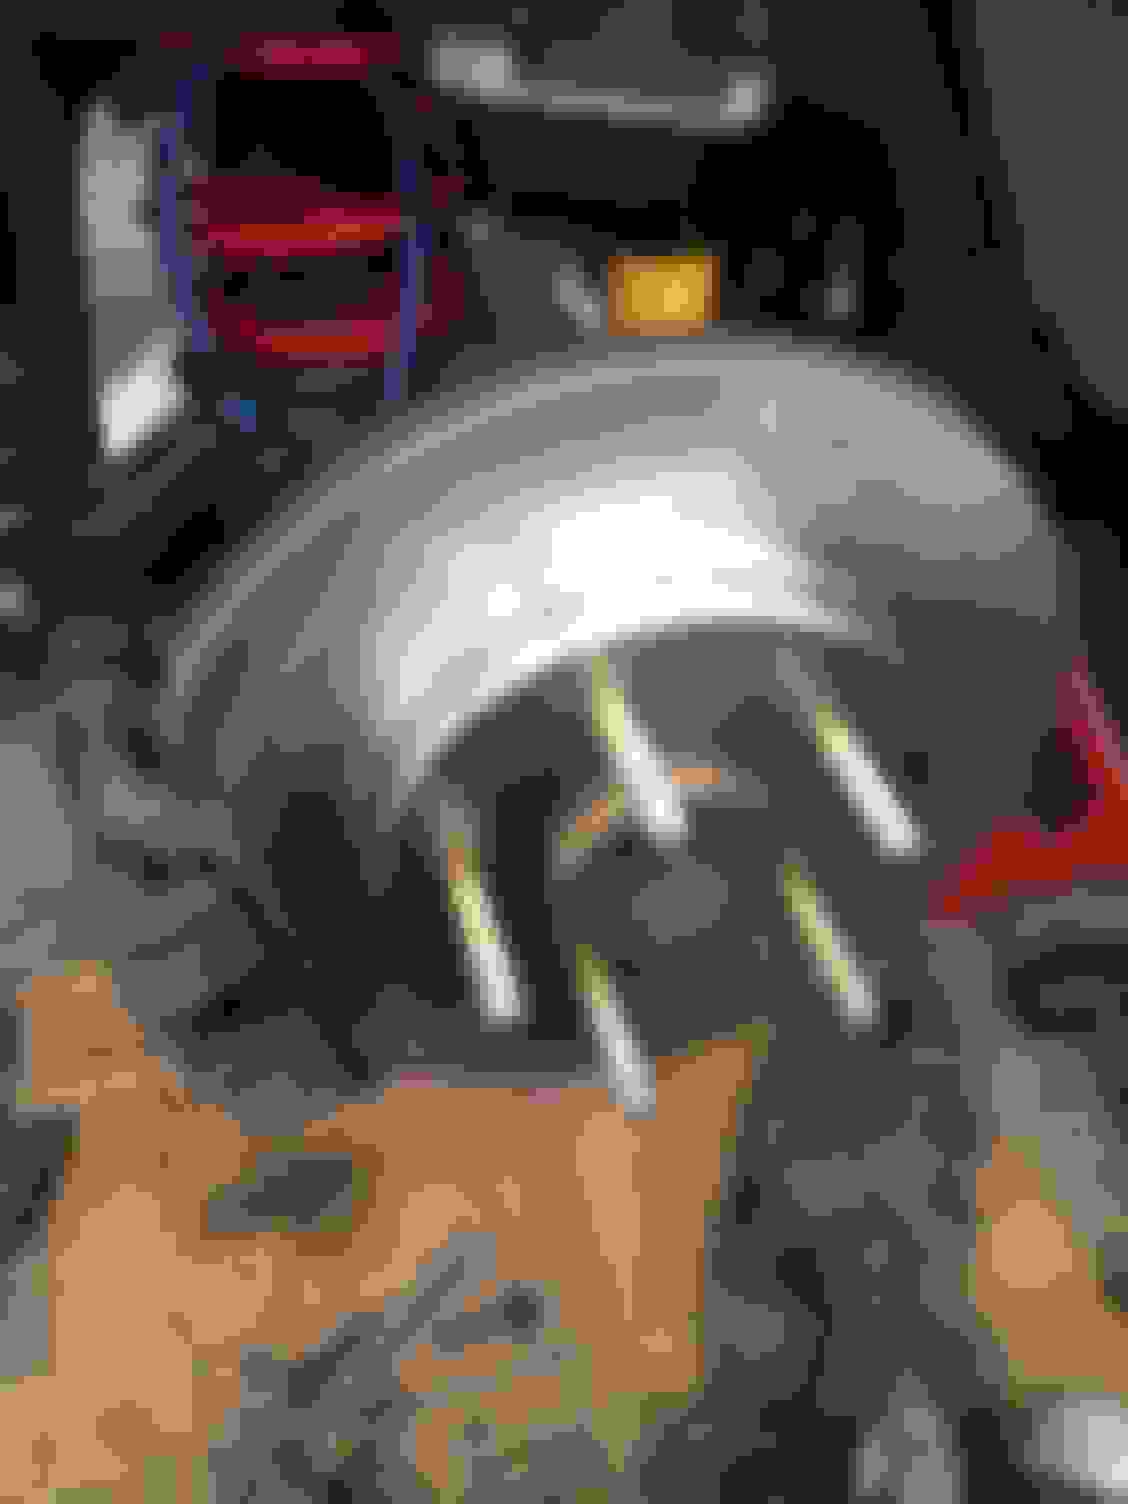
Did the rear wheel studs today and the car is on the ground and moving. Pretty straight forward, same process as the front. I have a 3 channel (ABS only) rear and the backing plate was an issue, you can get the old shorter studs out but you can't get the new longer studs in. I took a grinder to the backing plate and made a notch just big enough to slide new studs in so I wouldn't have to pull the axles. Gave it a quick hit with some VHT to avoid rusting. While I was in there, I threw on a new set of rotors and a set of ceramic pads that came with the car when I bought it.
I guess because rear rotor may be a little thinner than the front rotor, the original lugs on the rear end up bottoming out, however, because they just have a thin cap over them, they just bulge out. I'm going to end up picking up a set of Gorilla forged steel racing lugs but for now, the stockers will suffice.
Also did a quick toe alignment until I have the chance to get one done.
Car's out, driveway is packed so it's hard to get some good pics, but it'll be at a car show tomorrow so I'll grab some good ones then.
Car's on the road, and man will these brakes rip your face off. First stop to bed them in and I locked up the front tires, first time I've seen the "LOW TRAC" light come on. It's also real flat in the corners but I'm trying not to beat on it until everything breaks in and I get a proper alignment.
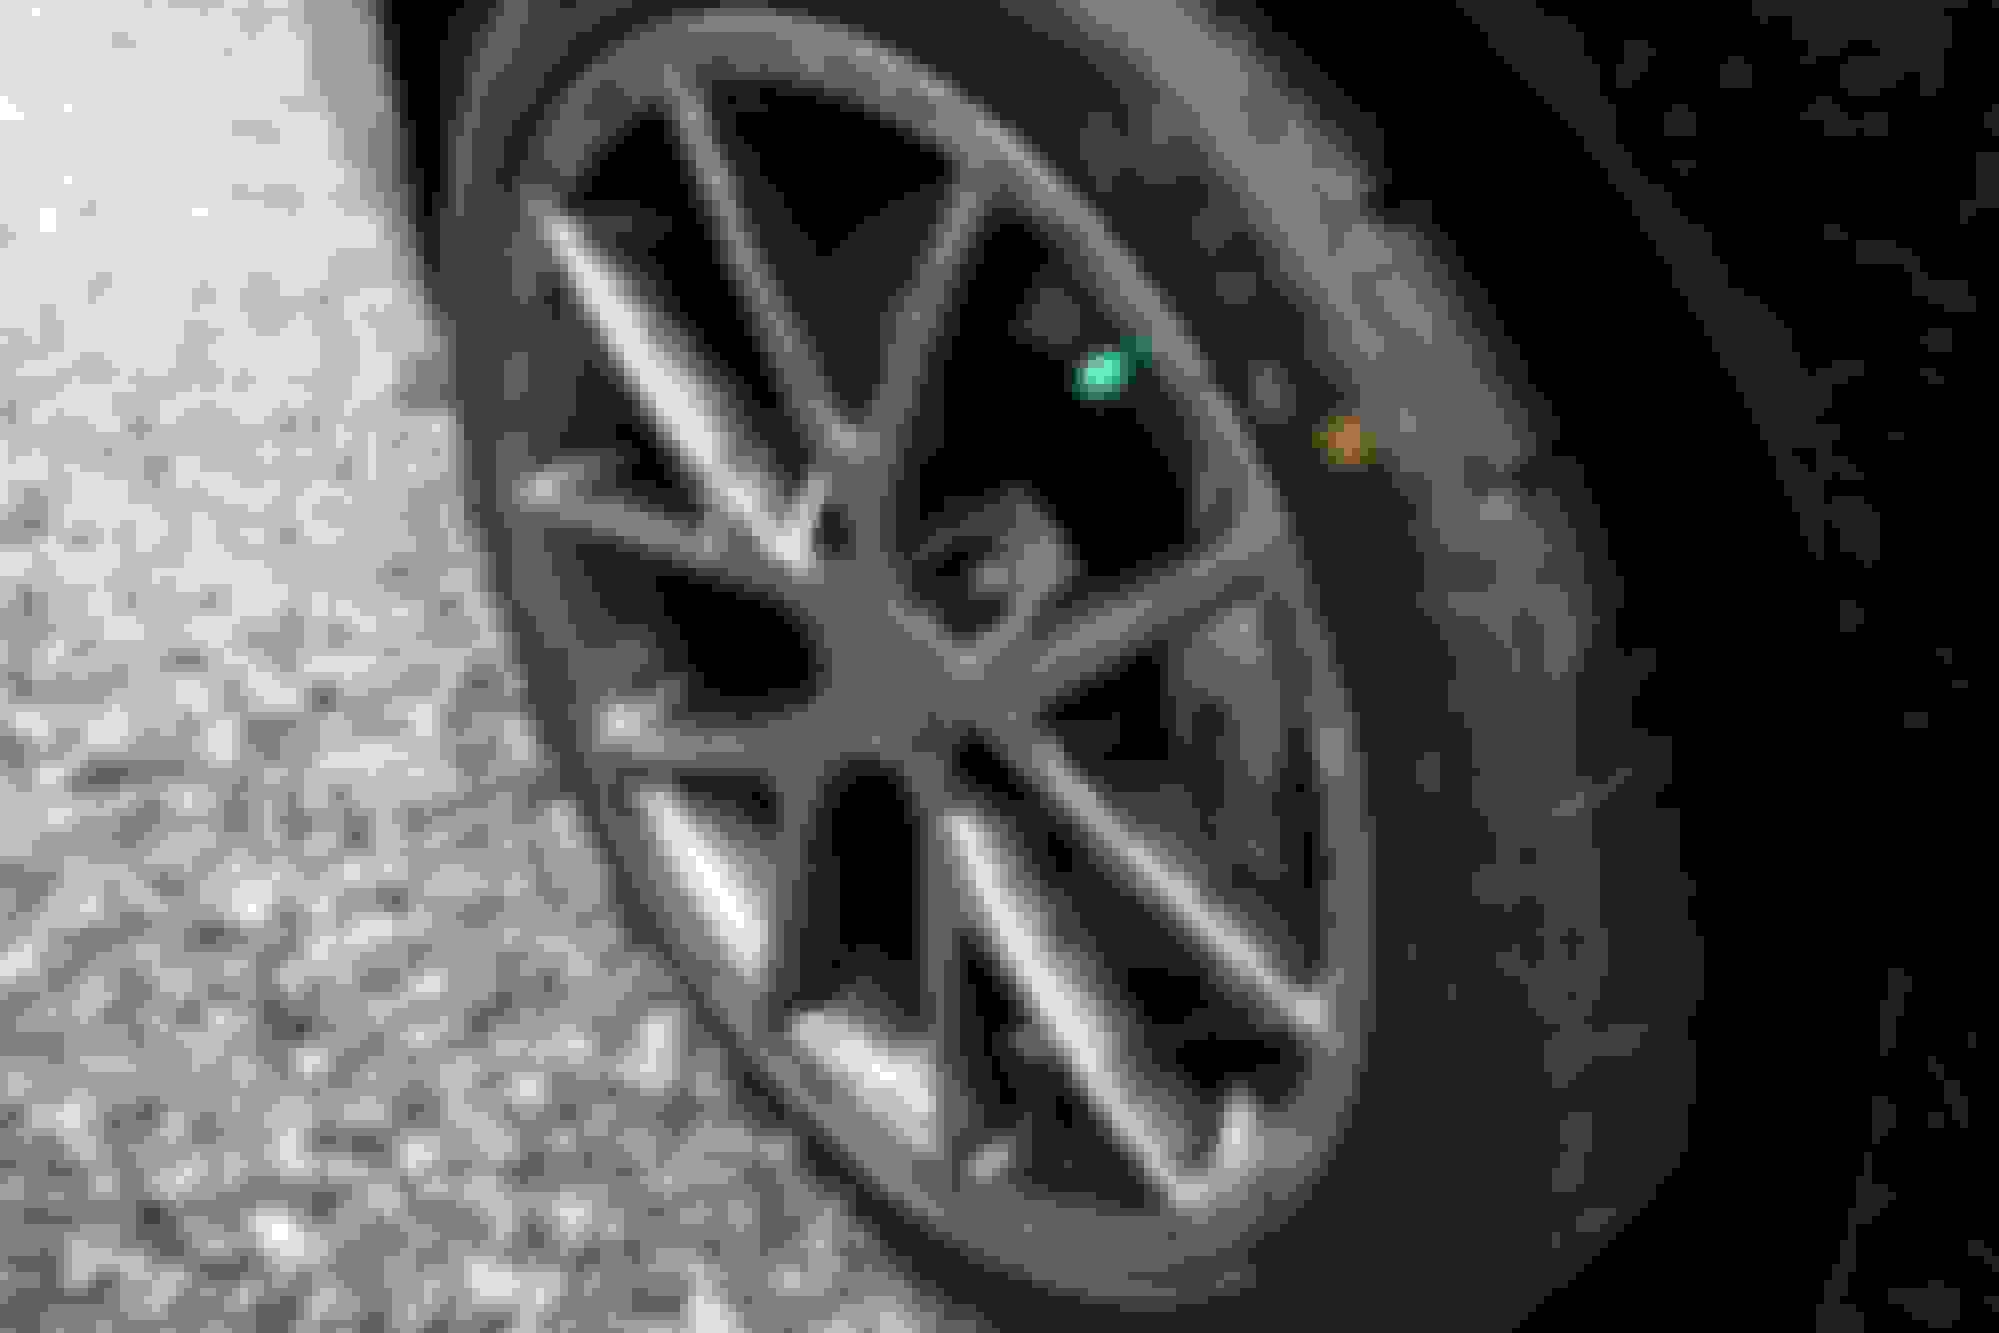
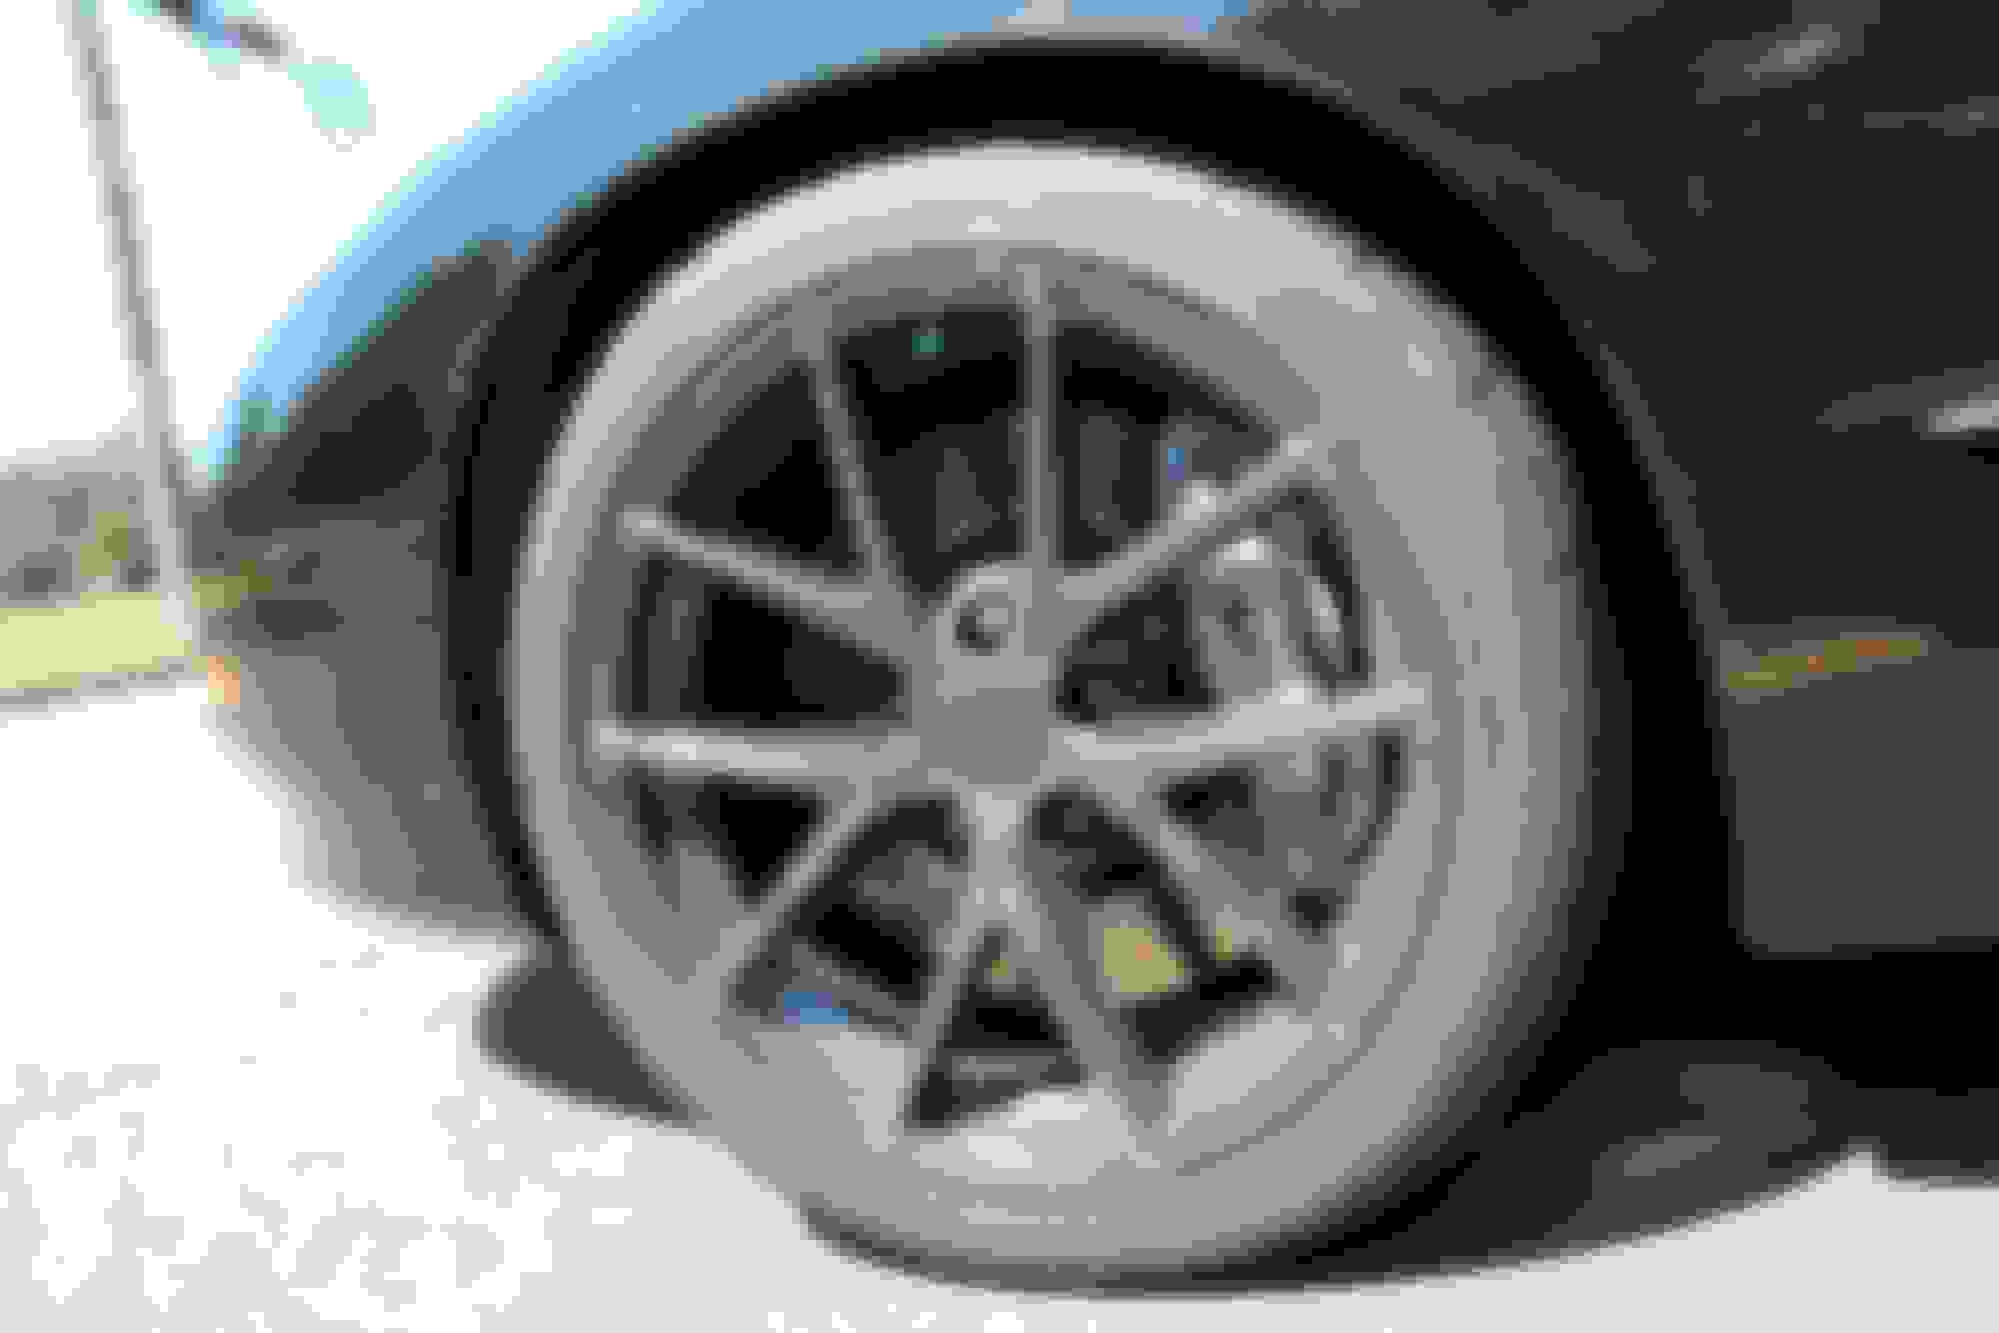
One thing about the Hawk pads I got is that they are noisy, they squeal at low speed braking, and make a ton of dust as shown in the photo below. These wheels were clean when they were put on last night, that's just from pad bedding and a 10 mile drive to a car show.
Overall, I couldn't be happier. I still need to do the adjustable panhard, lower control arms, adjust the front shocks, and because my PS pump is loving the 275 tires, a PS cooler will be soon, but I'm glad the car is finally on the road.
Last edited by StoneColdLT1; 08-14-2017 at 10:44 AM.
Looks like my car and the low front ride height. If you want, you can add some washers between the shocks and LCA to raise the front a tad. I wanted a level ride height and the new upper mounts helped, but I needed more.
Now with the 315's up front at autocross I no longer rub the fender.
What pads do you have? If they are HP+ they will dust like that allll the time and be a little noisy. BUT, get some heat in them and they bite nicely. Gleaning the front wheels will become habit if you daily with those pads. I run the same ones.
LOL, I did the same thing to get my rear studs in!
It does sit a little lower in the front, I'm glad I went with the higher spring perch. I'm waiting to see how it sits once everything settles in. With the 275's in the front, they tuck pretty nice under the fender so I don't mind the lower height. With 315's, oh yeah I could see how you'd need some shims under the front shock to raise it up.
They are the HP+ and I heard before I bought them that they were noisy and make dust. Since it's a weekend track car, I don't mind it much but it was surprising how dusty those front wheels got with just one day on the road.
I wasn't even planning on doing studs, I thought these wheels would sink the lugs in more to compensate for the lower offset but I guess they don't. There was no way I was pulling those axles out to do studs. Even if I need to get new backing plates when I go with a 12 bolt, I'll put a nicer notch in there to make stud replacement nice and easy.
Wheel offset will not change the depth of the mounting pad (unless of course if you're using spacers)
That's not always true, I've been dealing first hand with Varrstoen to find a specific wheel that will clear the Brembo's on my girlfriends Evo X. She specifically wants the ES6, which with an 18"x9.5" rim you either need an +12mm offset rim, or +22mm offset rim with a 10mm spacer to clear. So in some cases, the mounting pad depth will change with offset, however, to compensate they should make the lug seats deeper to compensate so longer studs shouldn't be needed unless you go with a spacer.
Taking the rear axles out is not as difficult as you may have expected. I have done it four times now, and can probably get them out in about 20 minutes. The hardest part is simply draining and refilling the diff fluid. That needs to be changed periodically anyway, so if the timing works for you, that isn't really a big deal. It's definitely way easier than all that effort you expended pressing in bushings. Cutting the backing plate was certainly faster though.
Jack up the car
Remove the rear wheels and rotors (steps you already did).
If you have traction control (4-channel ABS), remove the wheel speed sensors.
Place an oil catch pan under the diff.
Remove the bolts on the rear diff cover (do the top one last, and the bottom one second-to-last to avoid a mess. If you have to pry, leave the bottom one looser than the top.)
Rotate the diff so that the center pin bolt is accessible and remove the bolt.
Slide the pin out, making note of its original orientation. You can use a socket to tap the pin out from one side, then rotate the diff so that you can pull it out towards you before it bottoms out against the back of the diff. (Without the pin installed, don't go crazy spinning axles or driveshaft around. A little rotation is okay.)
Push one axle towards the center line of the vehicle.
Remove the C-clip in the diff with a magnetic pickup tool.
Pull the axle shaft straight out (try to keep things centered so as not to damage the axle seals).
Repeat on the other side.
Reassembly is the reverse, but you must scrape off the old gasket material and clean the magnet in the diff cover.
Make sure to refill the diff when you are done, and add the appropriate friction modifier as necessary.
I know pulling the axles isn't that difficult but it's one more step added to something I really didn't want to do. Most annoying part is dealing with the gear oil and cleaning up the mating surface for the cover, those are the worst, especially when I did the fluid last year and it has less than a thousand miles on it.
Long ARP studs are real nice though, it's worth in IMO. Of course you have to use the open hole lug nuts then. And/or those little plastic caps if you go for looks.
Long ARP studs are real nice though, it's worth in IMO. Of course you have to use the open hole lug nuts then. And/or those little plastic caps if you go for looks.
It's nice to have an option between the longer 7708's and the super long 7713's. The stock lugs are open ended with a thin cap over them that will stretch a little with the 7708's. I'm also picking up a set of Gorilla forged closed end racing lugs which are 2" long to properly cover them, but I agree, it's nice peace of mind to have ARP studs.
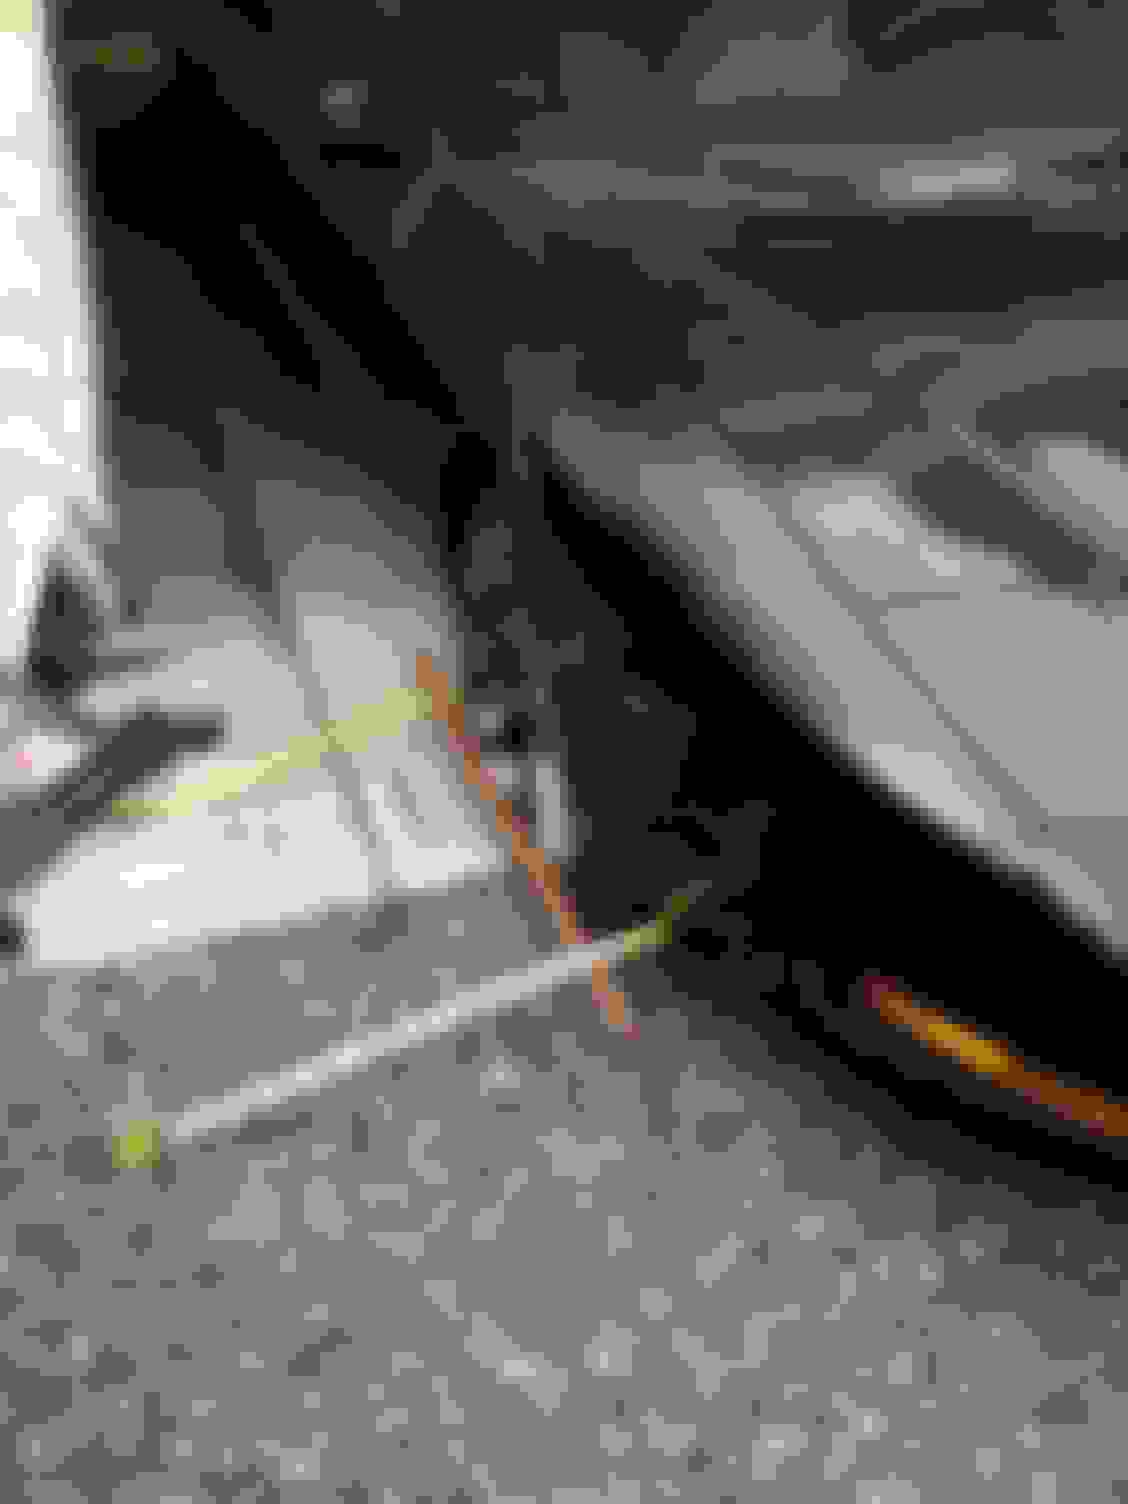
I'm a little late following up with this problem. Right after I got the car back on the road a month ago, I noticed I had a little leak from my water pump. When I crawled underneath. I noticed that I couldn't fit a finger between the sway bar and k frame and that it had been smacking against it.
I reached out to Eric Kent from BMR about this issue who informed me that this is sometimes an issue with convertible cars and their solution is to shorten the sway bar link sleeves to either 1.875" or 2.375". You want to avoid going to short as doing so can have the sway bar contact your inner tie rod and that is definably no good.
Another issue with shortening the sleeve is the bolt. As you can see, once the sleeve is shortened you're going to need a shorter bolt. I originally shortened mine to about 1.5" before Eric got back to me with his specs, so I cut the leftover section of sleeve down to 1/2" and stacked them to make a total sleeve length of 2".
Then I had to run around to Fastenal to get a shorter bolt that would work. I can't remember the size right now but if anyone's interested I can find the packaging and get it. Once you get everything correct, just tighten down like normal.
I wrapped the damaged areas in painters tape so if it continues to hit I can notice it. I took the car to the track today and when I got back home, lifted it up to clean some PS fluid and inspect everything and I noticed the sway bar was still hitting the k frame, so I will probably remove the shorter sleeve and relocate it on top of the top bushing so it moves the sway bar down but takes up the slack in the bolt so I don't have to buy new ones. I will most likely eventually order new links and bolts and cut them down to the proper height once I find out what definably works. Not to happy that I've been having issues with a sway bar that's suppose to fit my car though.
Another late update, I got my car aligned earlier this week. I was considering doing it myself properly but just ended up taking it to a shop with a proper equipment.
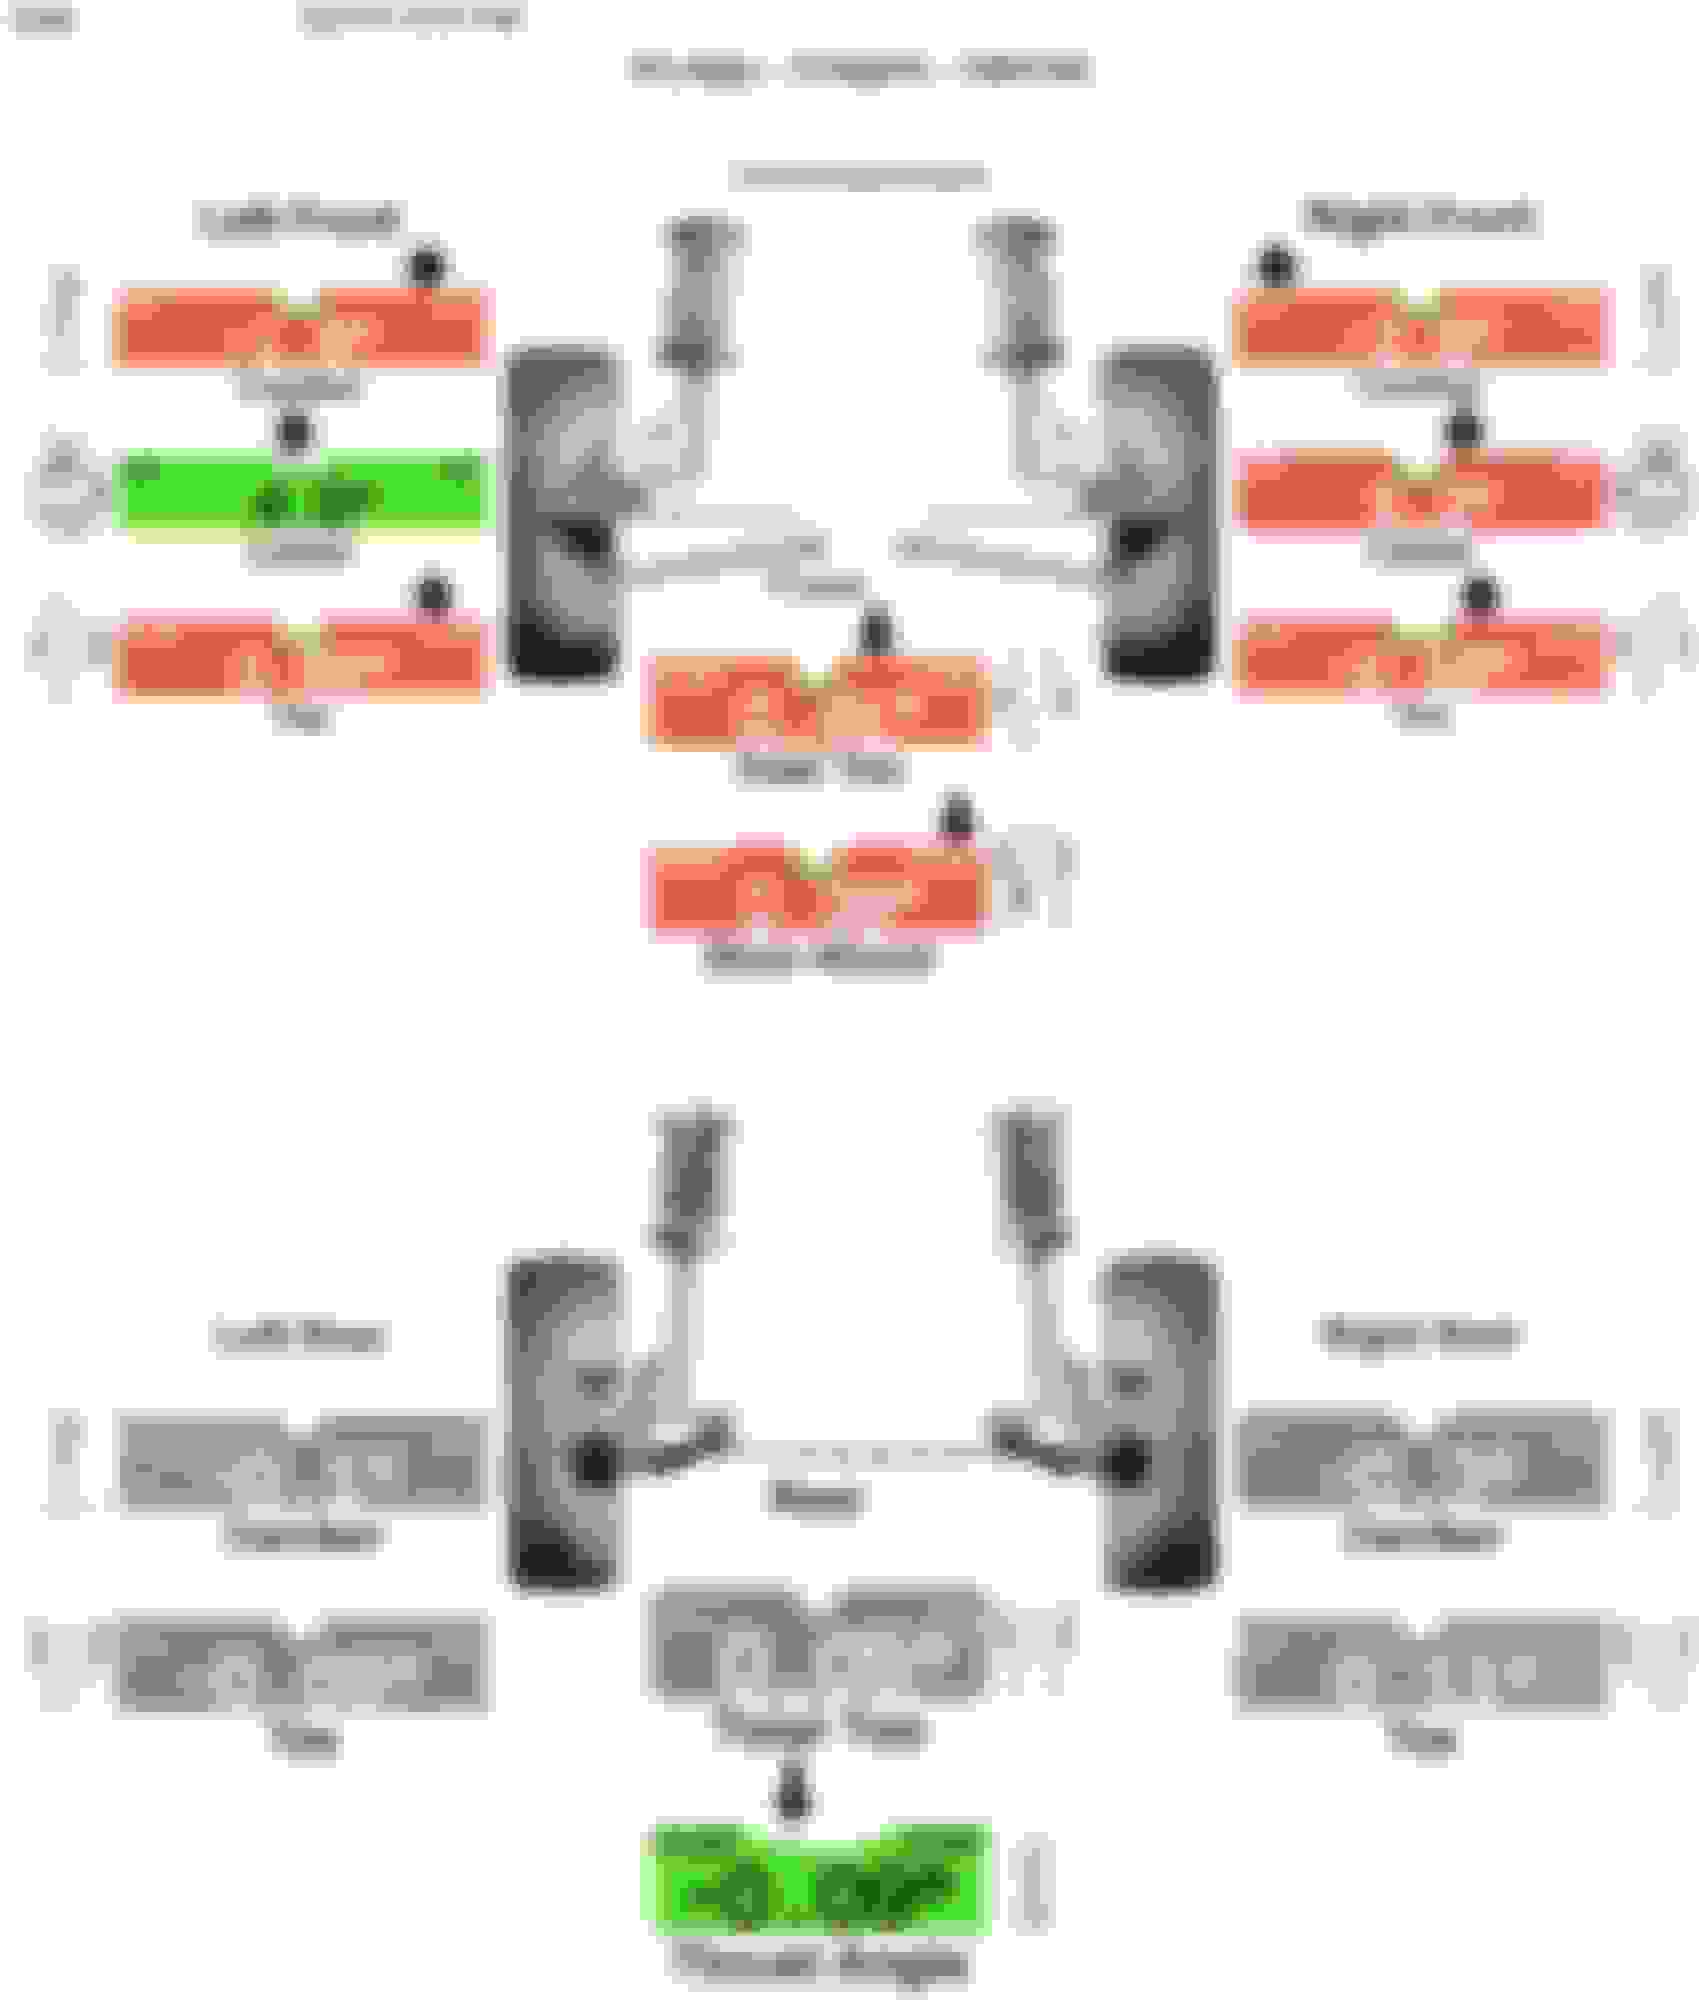
Alignment specs when I showed up at the shop. These are from my original "eyeball" alignment I did when I first got my car on the road.
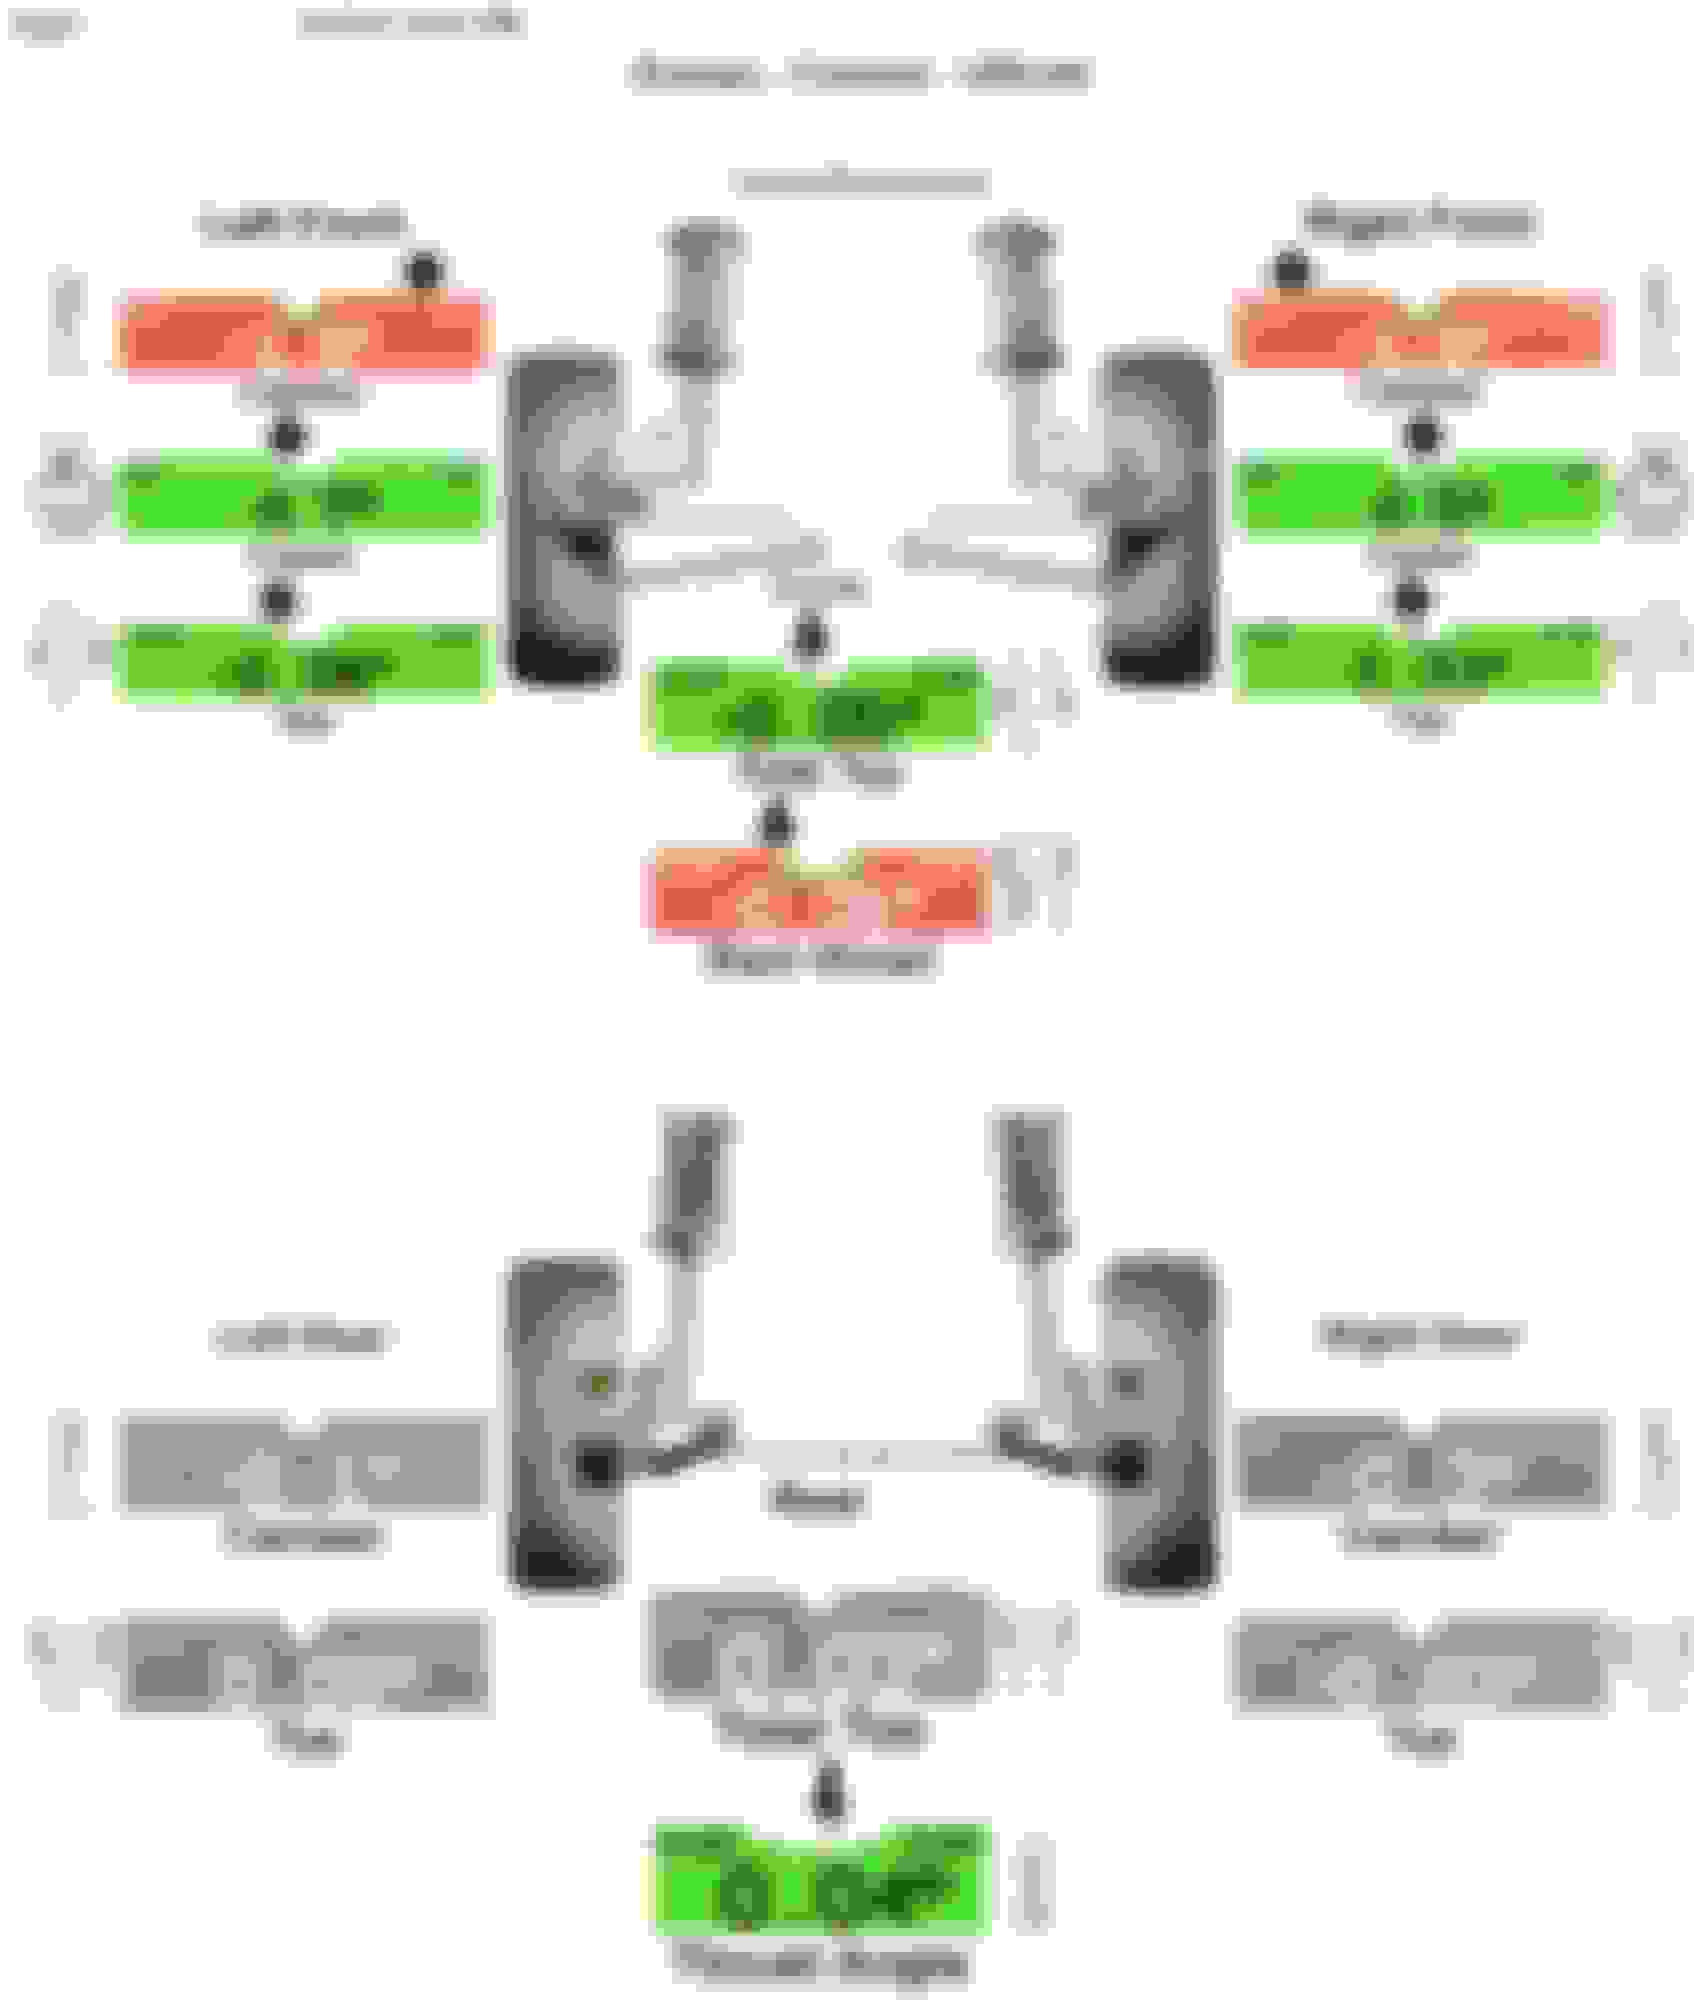
My final alignment specs. I know it's not perfect from side to side but it drives great down the road and tracks straight as an arrow.
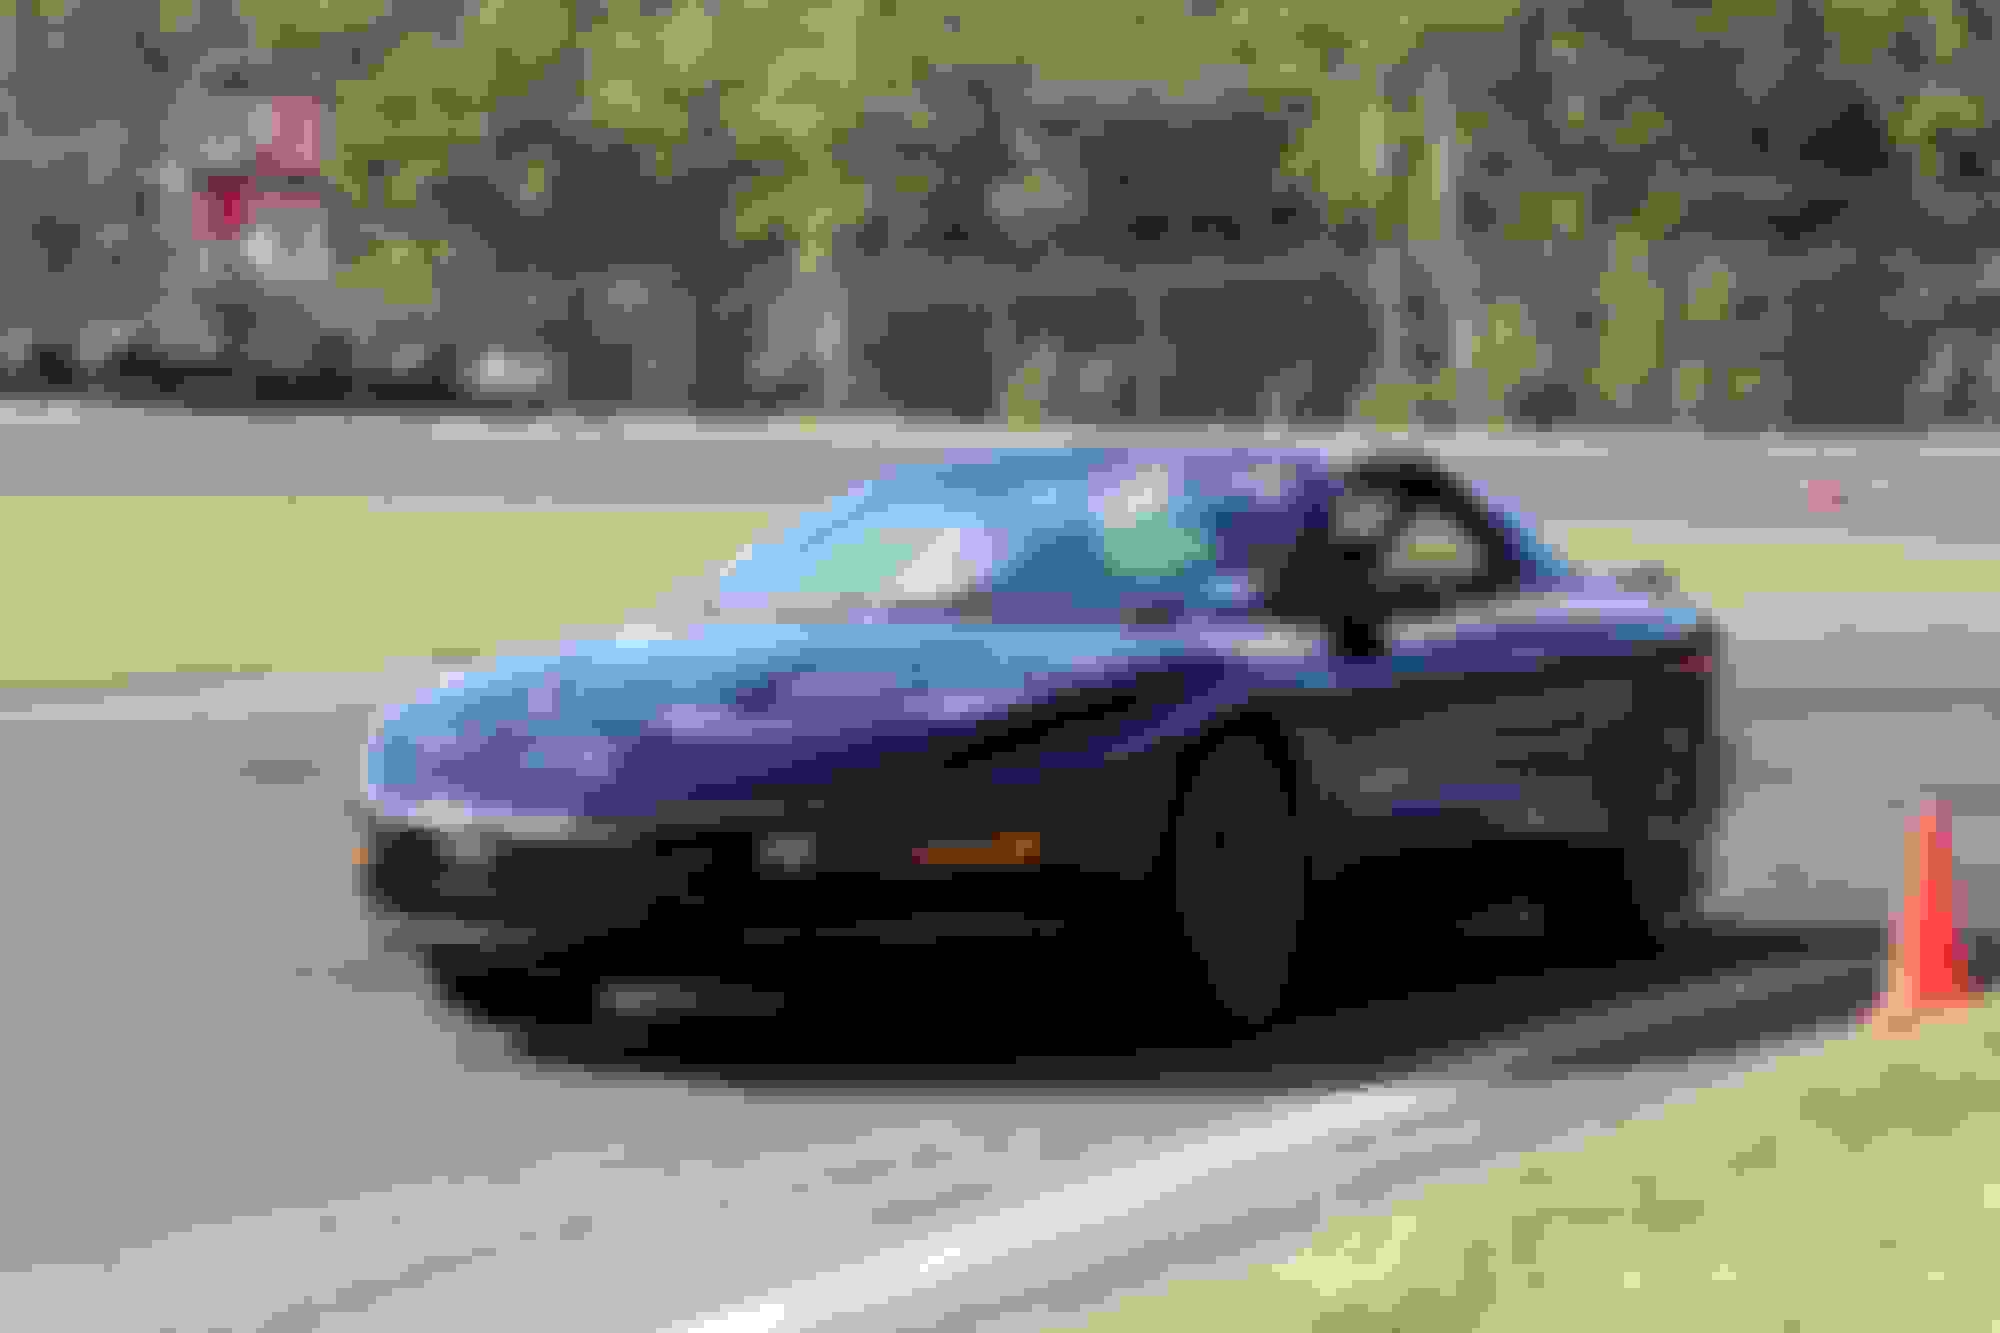
Well the time finally came. Went to Raceway Park's road course school to finally put all the hard work to use, and it was well worth it. The car handled absolutely phenomenal and I had a blast, I can't wait to go back. The brakes never faded on me, the car stayed flat and I never had an issue holding my line. I had no problem pushing the car more and more and I never lost confidence with what it could do. I couldn't image driving this car the way I did today with the old brakes, suspension, and tires.
The car would get a little slippery towards the end of a 15 minute session, which I narrowed down to tire pressure adjustment and the fact that my power steering fluid would boil over after 10 minutes and I would loose power steering, which was my biggest problem of the day. It made a mess under the hood and I spent 3 hours when I got home cleaning it. A power steering cooler is next and is a necessity before the next track day.
What a thread. Thanks for posting all the part numbers you did as it will help out once I start buying parts to rebuild my suspension. Plus learned quite a few things about better part options as well. Thanks!
What a thread. Thanks for posting all the part numbers you did as it will help out once I start buying parts to rebuild my suspension. Plus learned quite a few things about better part options as well. Thanks!
No problem, that's why I started the thread. I actually just dug out my old spreadsheet and updated some part numbers since it's been a while and I ordered some more stuff towards the end of the build but never got around to updating the list.
I also still need to do the rear LCA's with Moog's solid bushings, and I also just picked up a set of UMI 3-point SFC's that'll be done at the same time, most likely next spring. I also still need to buy and do an adjustable panhard bar, even though to be honest, with my wheel and tire setup and a good set of bump stops, it's not needed. My axle isn't really off center and I don't have any rubbing issues.
I looked underneath the car tonight to check how much space I have for a PS cooler and noticed a puddle of PS fluid under the car. I can't tell if it's residual fluid leaking down from the weekend or if I have a leak at the pump or rack. I'm hoping I didn't kill something but expecting the worst. I'm going to need to get the car up in the air this weekend if I have time and check it out. I'll also be doing a full inspection of the suspension to see how well everything held up. Hopefully I'll have the time to fix and get a cooler by the end of the month.
StoneColdLT1 what made you choose the new BMR springs over Strano, was it just the higher spring rate? I'll be doing a overhaul this winter on my 01 and this is one area I haven't decided on yet. I will be doing auto-x this upcoming year.
StoneColdLT1 what made you choose the new BMR springs over Strano, was it just the higher spring rate? I'll be doing a overhaul this winter on my 01 and this is one area I haven't decided on yet. I will be doing auto-x this upcoming year.
The SP001 are very similar to Strano's SP141 springs. There are a few reasons why I went with BMR. First, I spoke with a lot of guys who road race these cars and almost all of them had the SP001's and were very happy with them. Second, excluding all the bundling and deals you can make with either one when you buy a ton of stuff, spring per spring, BMR is $50 cheaper. Lastly, while the front spring rates are the same between the two, BMR has a 60 lb/in higher rear spring rate compared to Strano's.
Even though I originally bought the SP001's, I ended up buying BMR's newly released SP090's and installing those which have the same drop but a 725 lb/in spring rate up front, and a 210 lb/in spring rate in the rear. They definably need the Koni Yellows to handle them and can be a little rough on the street, but I loved them on the track this weekend. I don't think Strano or anyone else has a stock style spring with that kind of rate.
 08-12-2017, 10:09 PM