When you click on links to various merchants on this site and make a purchase, this can result in this site earning a commission. Affiliate programs and affiliations include, but are not limited to, the eBay Partner Network.
Remodeling an aluminum bedcover I made years ago from .062 3003 sheet. Making a new spoiler for the rear which will be tig welded into an assembly first . I could possibly get away with bonding it in place & some flexible filler over the joined area to minimize shadowing or could tig weld. My concern with tigging it would be trying to retain some of the heat soak so as to not ruin the finished bodywork on it too far back. Any ok methods to minimize heat soak??
I personally wouldnt even consider welding it on the car. Off the car to cut down on warpage, you can back the aluminum with thick thick steel. the aluminum welding wont stick to the steel and it'll absorb some of the heat.thats what i would try anyways, I never had to weld a wing on a car personally......but thats what I'd do if i were in your situation.
Kimball Midwest makes a jelly called "Therma-shield" that I use for heat absorption. That mixed with copper sheet on the underside is a pretty formidable combo.
Hadn't welded aluminum in approx. 3 years , so a little out of practice. Cleaned first with alcohol, some light sanding & fine stainless rotary wire brush. Some areas wanted to just turn grey instead of shiny & boil stuff up like it's still dirty?? Not show off weld beads but they'll be ground down anyways.
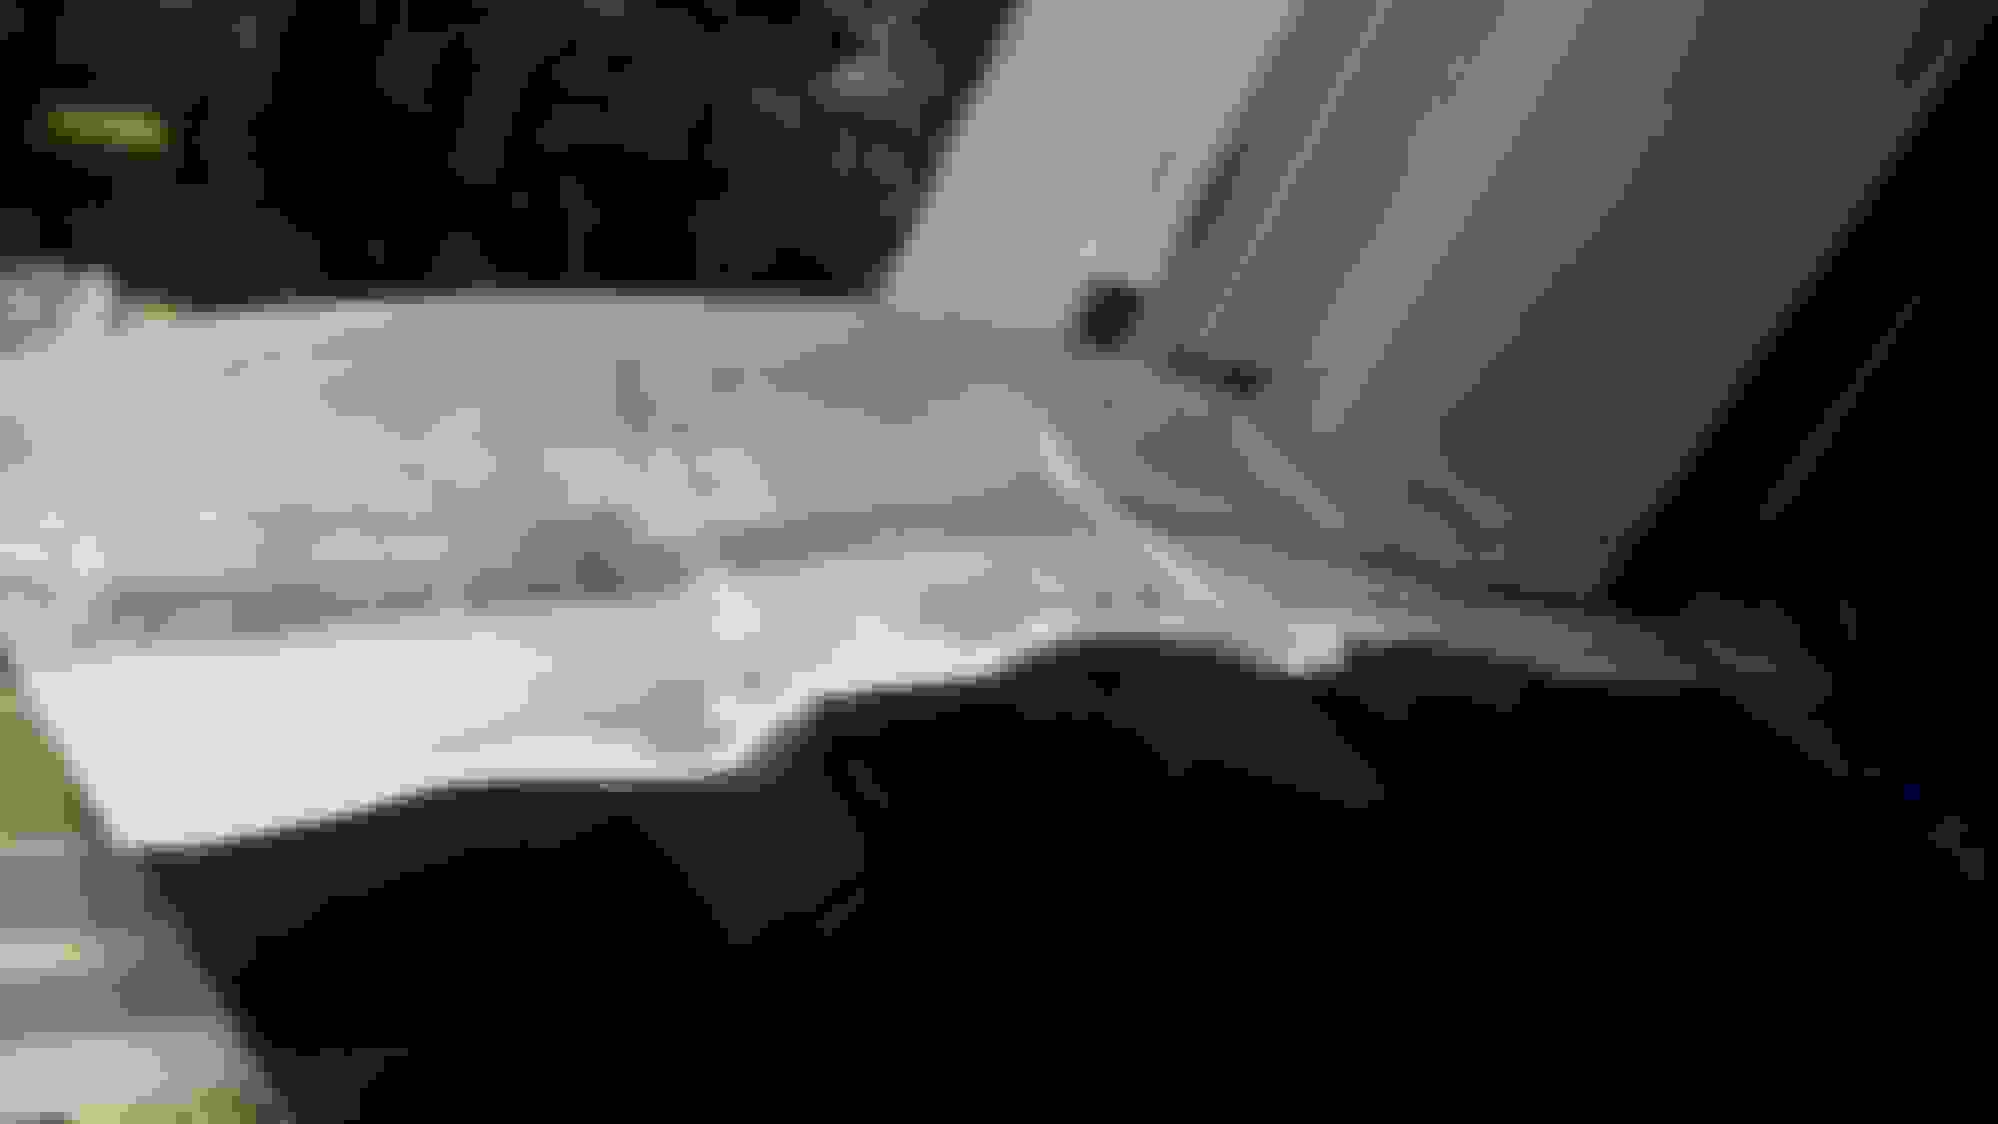
Cover comes off with 2 hinge pins. May try clamping some heat sinks underneath & about a foot away have some wet towels in such a way water won't come my way & just do short welds at a time.
Heat spread wasn't as bad as I was thinking. Just used wet rags a couple inches back from weld area & jumped around a lot . Definitely not a pretty weld bead, old aluminum is pretty hard to clean good enough. Will be ground down & filled anyways, and warpage was under control from bracing & clamping, so no big deal. Trust a weld for this area more than a glue, though I likely will glue new side supports with 8115.
Though I didn't go with any of the suggestions listed, sometimes you just need someone to help you think, so thanks.
Generally when the little bits of contamination pull up into the puddle its a cleanliness issue. I generally prep all my pieces as such, acetone wipe, flap wheel, Fine grit DA, acetone wipe, weld. Aluminum sucks since its so porous, especially old aluminum or something like your case where it was painted.
Yea, I probably shoulda picked up some more ac coil cleaner or other mild acid mix for cleaning. Even my new unpainted aluminum is probably well over 10 years old now. Also I chose to do lap joints for some of these parts due to complexity of shaping them. Think that made it worse for trapping remaining contaminants trying to come out from the heat. Probably shoulda just cut & butted everything as usual.
Scrubbed tonights parts to weld in 1 direction with small stainless handbrush & alcohol several times.
Looking any better? Was going for flat as possible, so re-ran heat over beads.
 01-02-2019, 10:33 PM