
Smoothed LS1 valve covers (PICS UPDATE POST #27)
 01-13-2013, 06:34 PM
#1

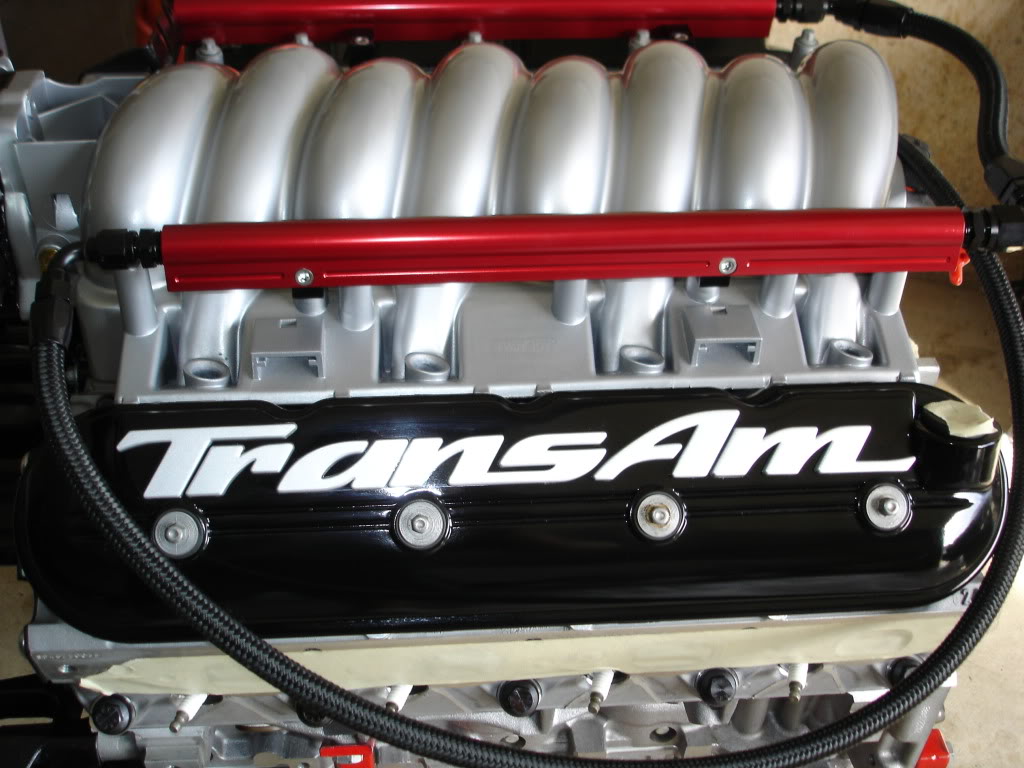
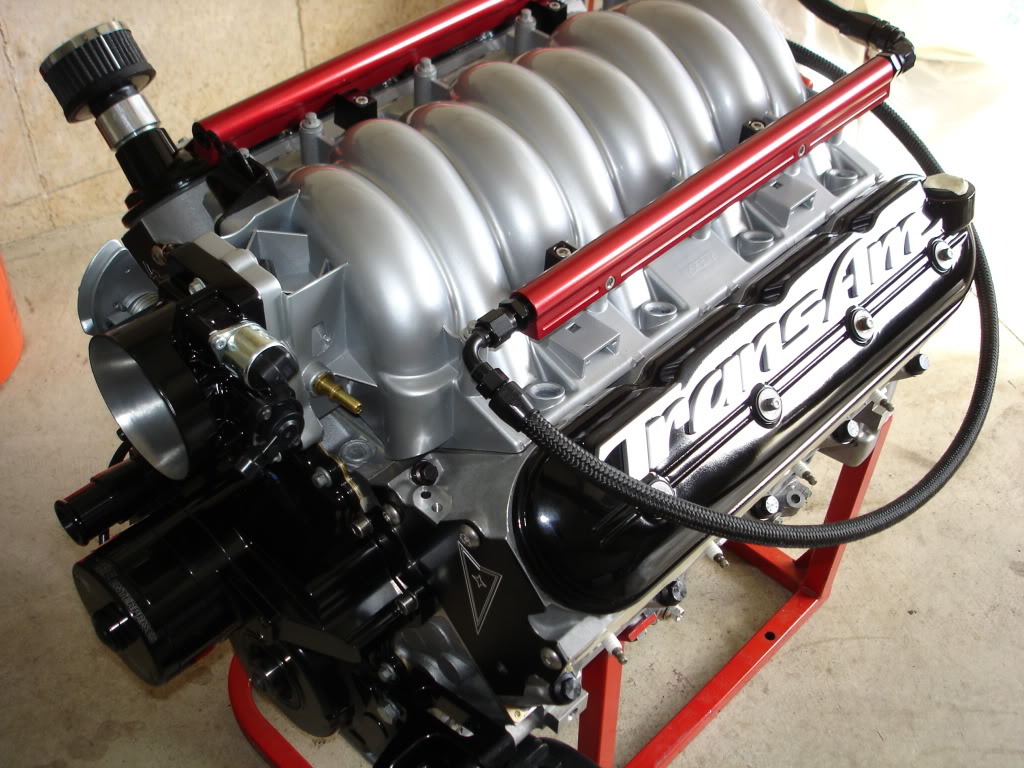
I've been looking around for a nice set of smooth valve covers with the LSx logo on them, only to find they have a price point higher than my intake manifold. So here is my progress so far of cutting, smoothing, painting and LSx lettering my stock covers.
Enjoy.
Enjoy.
Last edited by QucikSilver; 01-20-2013 at 07:57 PM.

The following users liked this post:
Homer_Simpson (09-01-2023)
 01-13-2013, 08:09 PM
#4
TECH Enthusiast
iTrader: (5)
Join Date: Jan 2010
Location: Huntsville, Alabama - SA, TX is home
Posts: 676
Likes: 0
Received 1 Like
on
1 Post
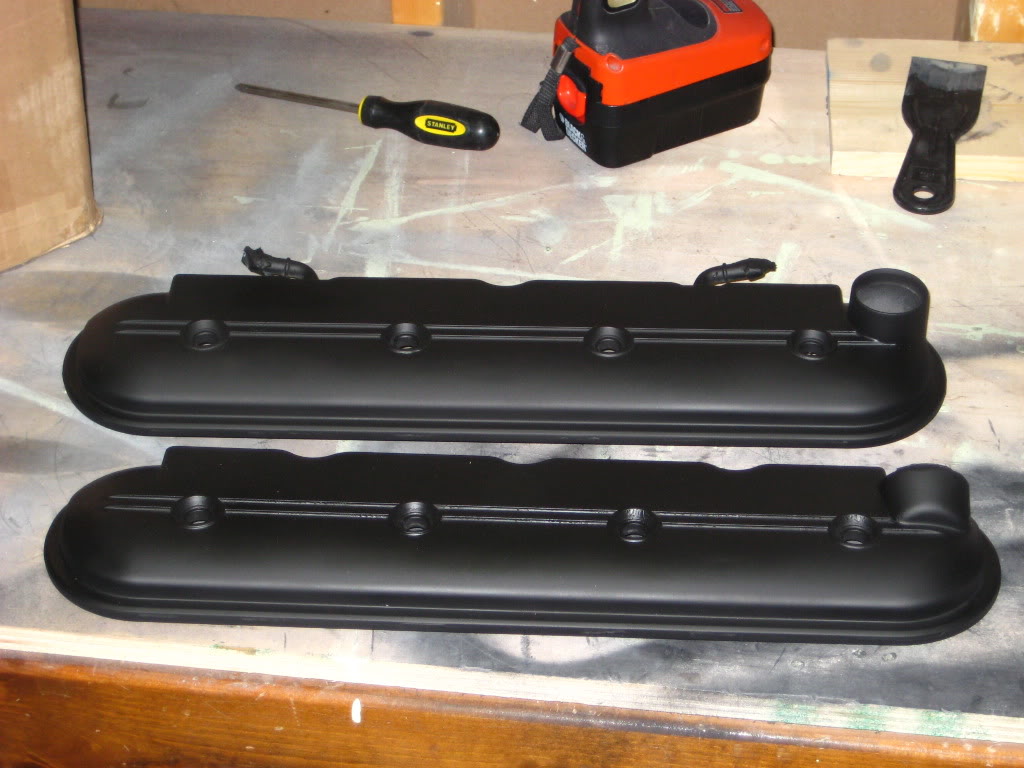
Cool! I've had a set sitting on the shelf that i've been wanting to do this to. I didnt know that hole went all the way threw and would have to be filled. Glad I came across this thread.
THanks! Looking good!
THanks! Looking good!
01-13-2013, 08:32 PM
#5
I am going to gloss black with heavy clear. and the wife made me a LSx stencil that will be gloss Chevy Red/Orange.
I actually filled the holes in mine with $1.49 Harbor Frieght 2 part epoxy. worked great.
Thanks, I hope to have at least one finished and cleared by tomorrow pending temperature.
I actually filled the holes in mine with $1.49 Harbor Frieght 2 part epoxy. worked great.
Thanks, I hope to have at least one finished and cleared by tomorrow pending temperature.
01-13-2013, 10:00 PM
#7
I am using Rustoleum Sandable dark gray primer, and Rustoleum Engine Enamal Gloss Black, finishing with Rustoleum High Heat Clear. The lettering will be done in Engine Enamel Chevy Red/Orange.
The great thing is the total cost for everything, paint and all, is right around $45.00 (over $20.00 of that is just in paint.)
The great thing is the total cost for everything, paint and all, is right around $45.00 (over $20.00 of that is just in paint.)
Trending Topics

 01-15-2013, 01:55 PM
#9
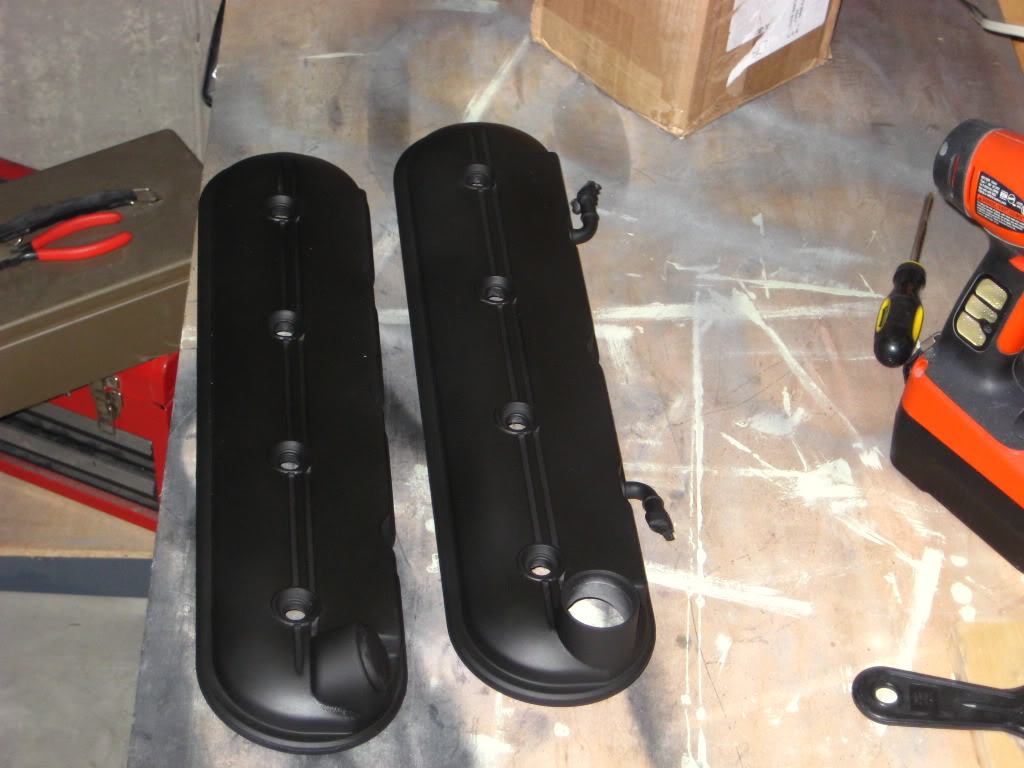
Nice. Getting them smooth sure can be a bitch. And I am getting set back on getting mine finished because of the cold weather. The primer is taking forever to dry and I dont even want to try to shoot paint when it's 30 degrees outside.
01-15-2013, 02:41 PM
#10
I did mine a few years go. I filled the 2 lines in the middle also. I found these, this was before I filled the lines in the middle.. Takes a little time, but the end result is well worth the effort..
Last edited by OIF1VET; 01-15-2013 at 03:05 PM.

 01-16-2013, 04:36 AM
#18
I did mine a few years go. I filled the 2 lines in the middle also. I found these, this was before I filled the lines in the middle.. Takes a little time, but the end result is well worth the effort..
http://i100.photobucket.com/albums/m36/OIF1VET/v23.jpg
http://i100.photobucket.com/albums/m36/OIF1VET/v25.jpg
http://i100.photobucket.com/albums/m36/OIF1VET/v23.jpg
http://i100.photobucket.com/albums/m36/OIF1VET/v25.jpg
but also badass valve covers
01-16-2013, 04:14 PM
#19
I will say, it's not real hard to do this the right way, but it sure is time consuming. I really like the completely sooth look as well. I am just going to be using the lines for my graphic inlay. I should have some good pictures up of at least one by the end of the week. Work is keeping me too busy to get anything done right now.
01-16-2013, 04:20 PM
#20
I will say, it's not real hard to do this the right way, but it sure is time consuming. I really like the completely sooth look as well. I am just going to be using the lines for my graphic inlay. I should have some good pictures up of at least one by the end of the week. Work is keeping me too busy to get anything done right now.
