
My H/C/I 02 TA build/alot of pics added
 03-17-2013, 08:30 PM
#1
TECH Regular
Thread Starter
iTrader: (4)
Join Date: Apr 2010
Location: Bristol,TN
Posts: 472
Likes: 0
Received 0 Likes
on
0 Posts

I bought a red 02 TA 2 years ago and have been buying parts just a few months after buying the car. I was torn between a fi build or a NA build, I found a decent deal on some AFR 205s and decided NA was the way to go, atleast for now anyway.
I purchased the heads, and did alittle research on the best combos with the 205s and decided on the Mamo combo.
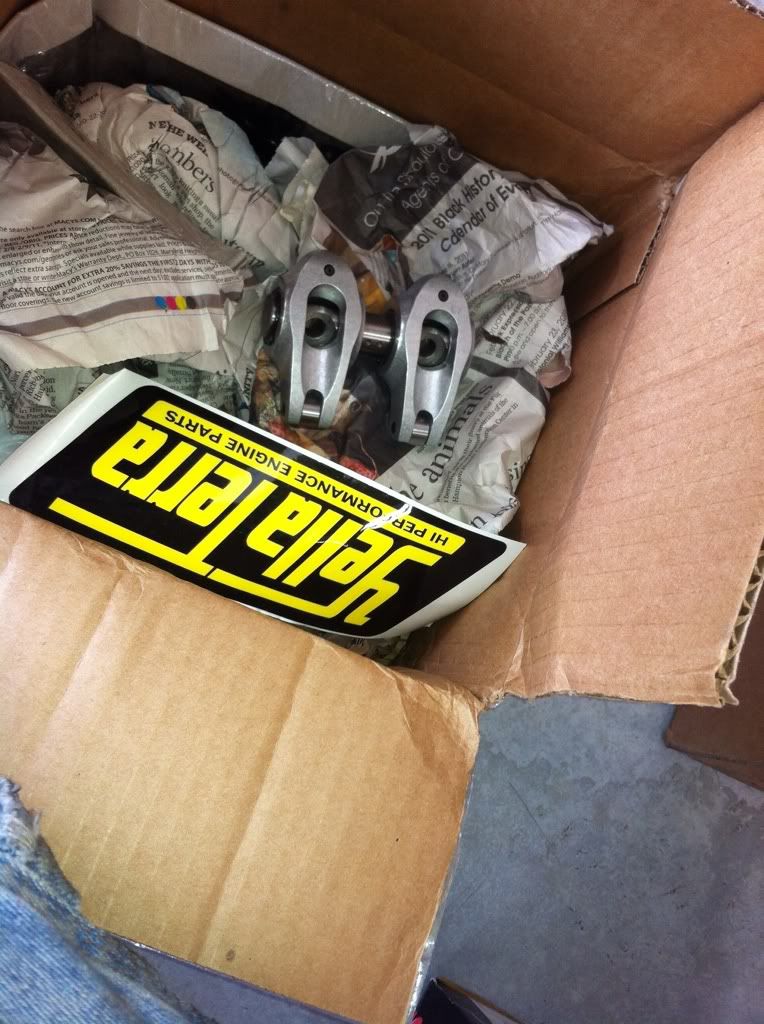
Next I found a decent deal on a brand new Mamo ported Fast 92 and a NW 92 tb( at the time they were only making the Fast 102 and I felt lucky to get a 92 because I didn't want to have to buy new fuel rails ect.). I also found a good deal on some Yella terra 1.7 ultralites, and a Meziere EWP all from the parts classified section. All these parts are new/barely used so I was lucky but patient when buying.
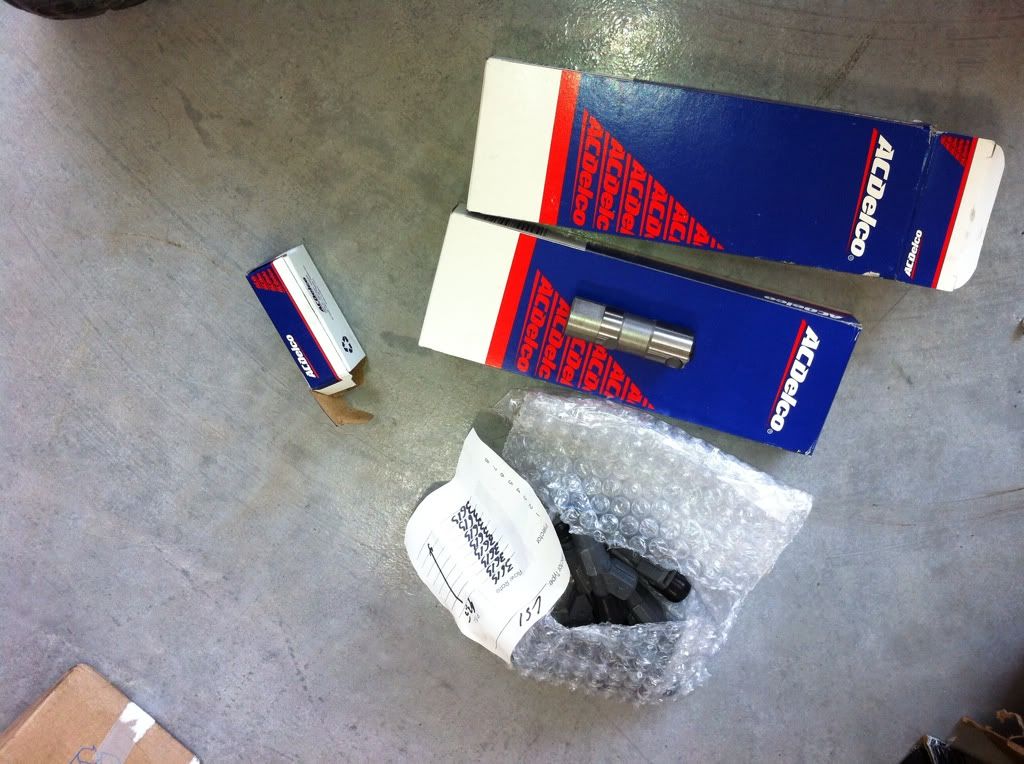
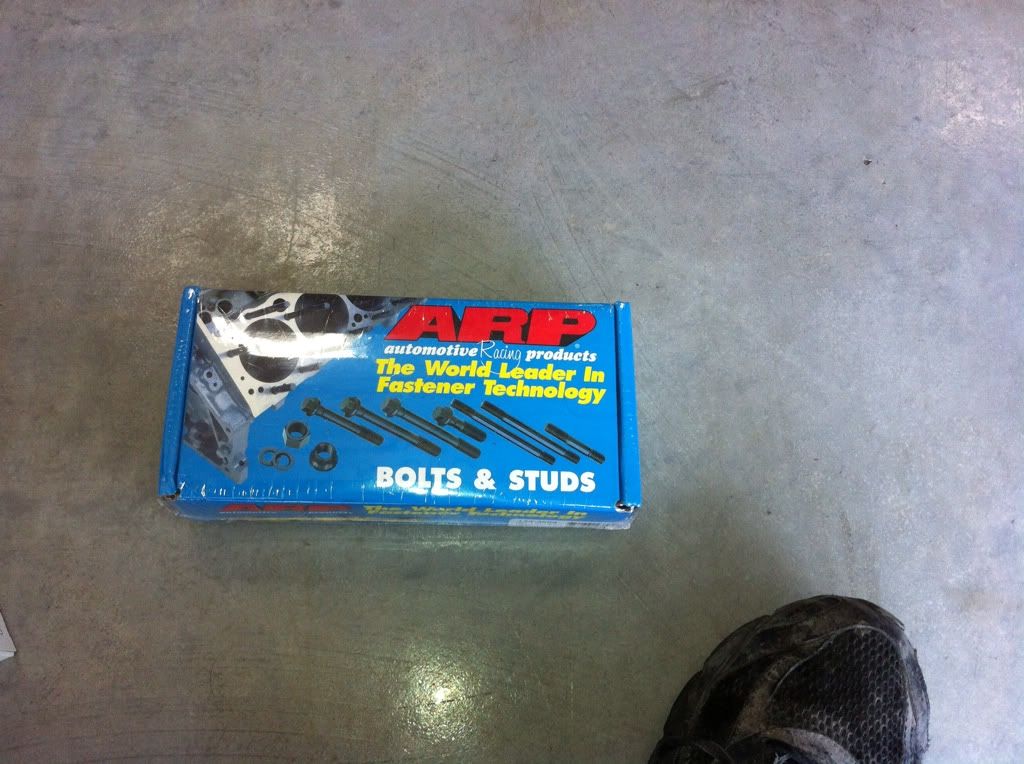
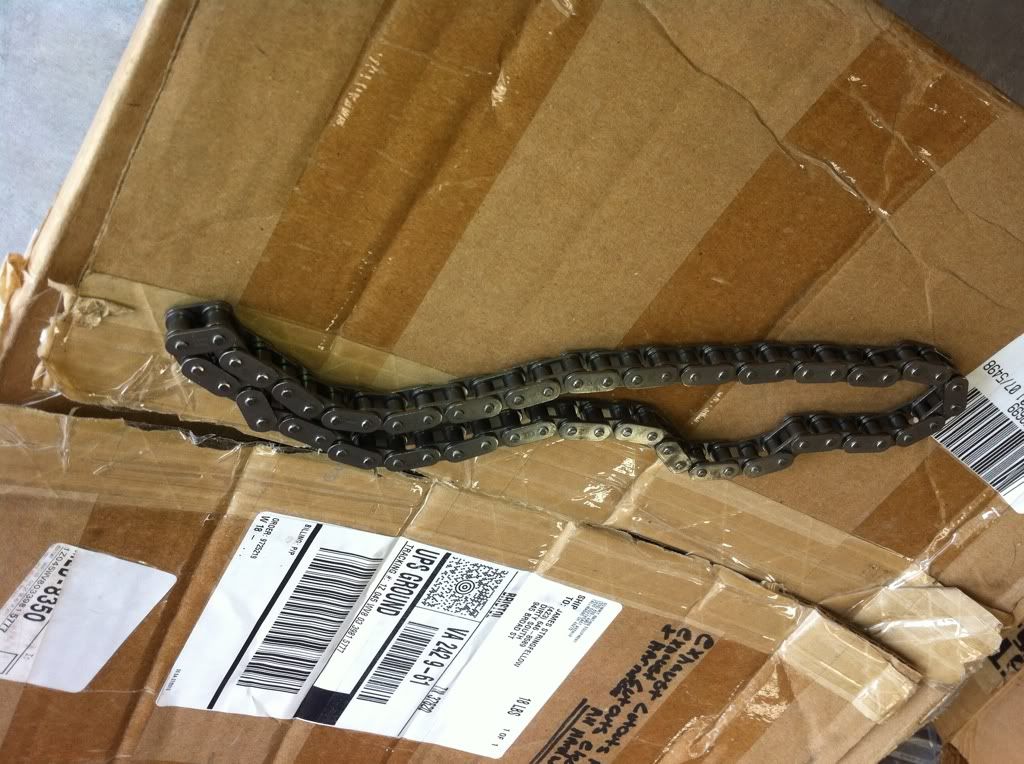
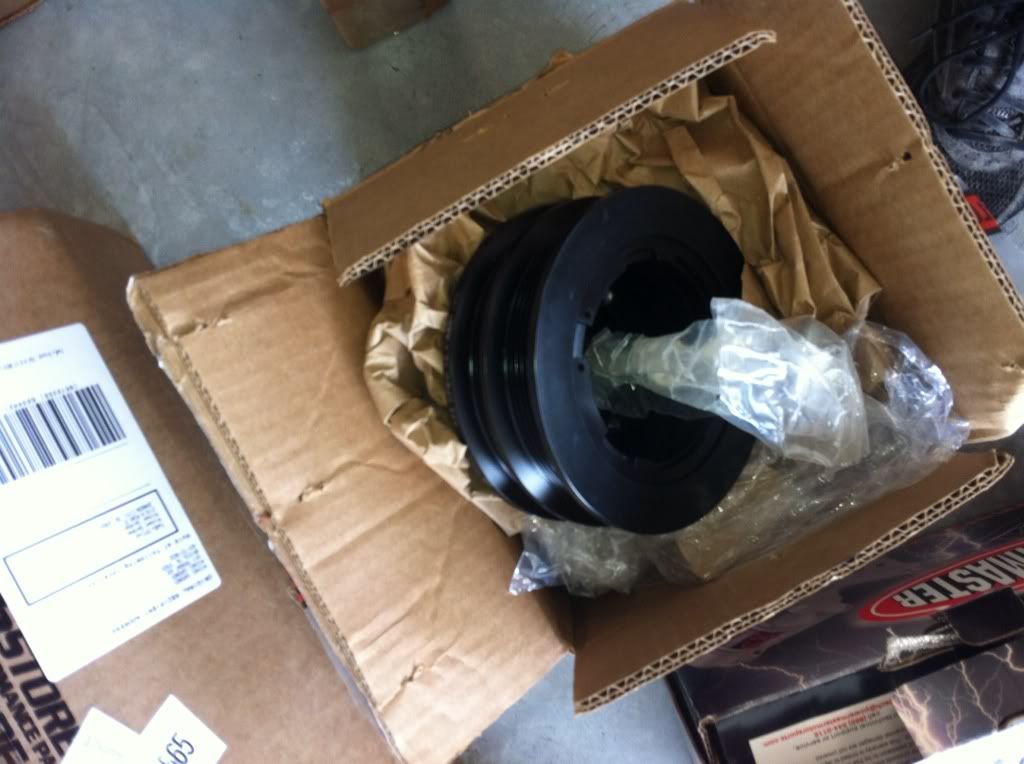
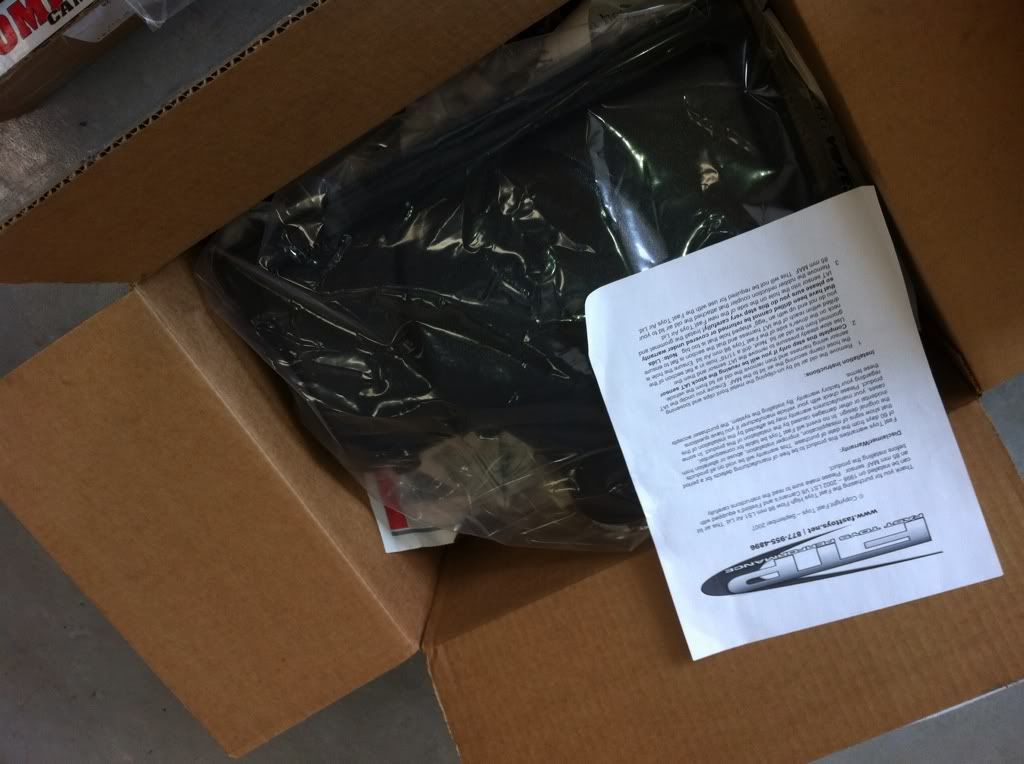
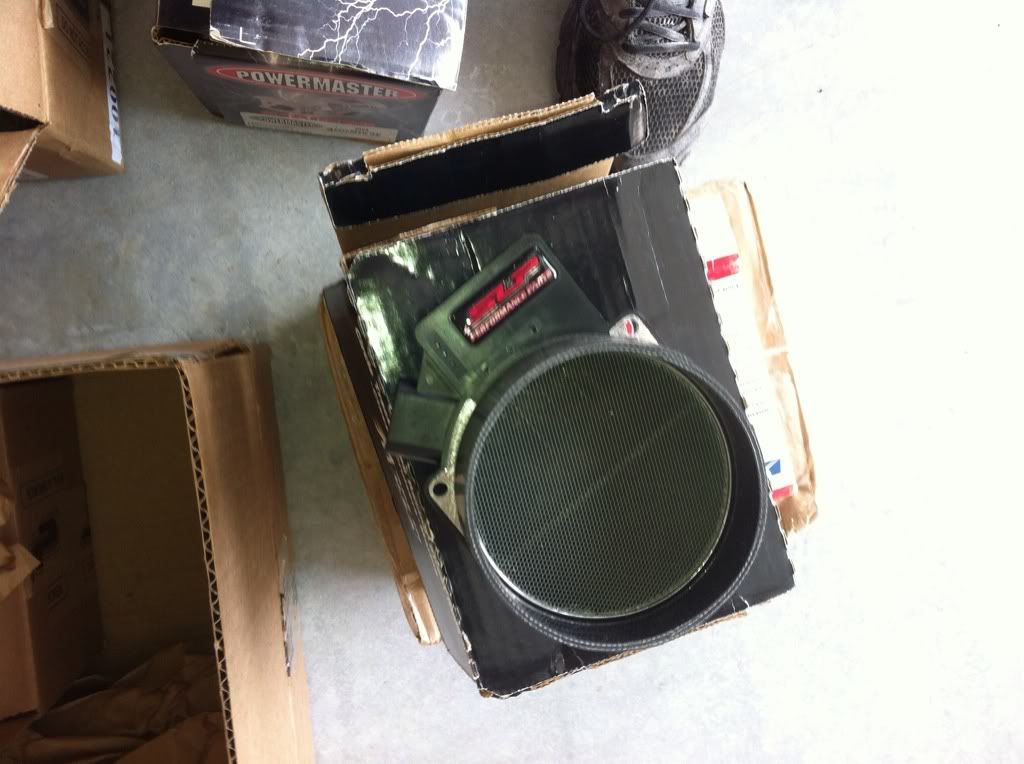
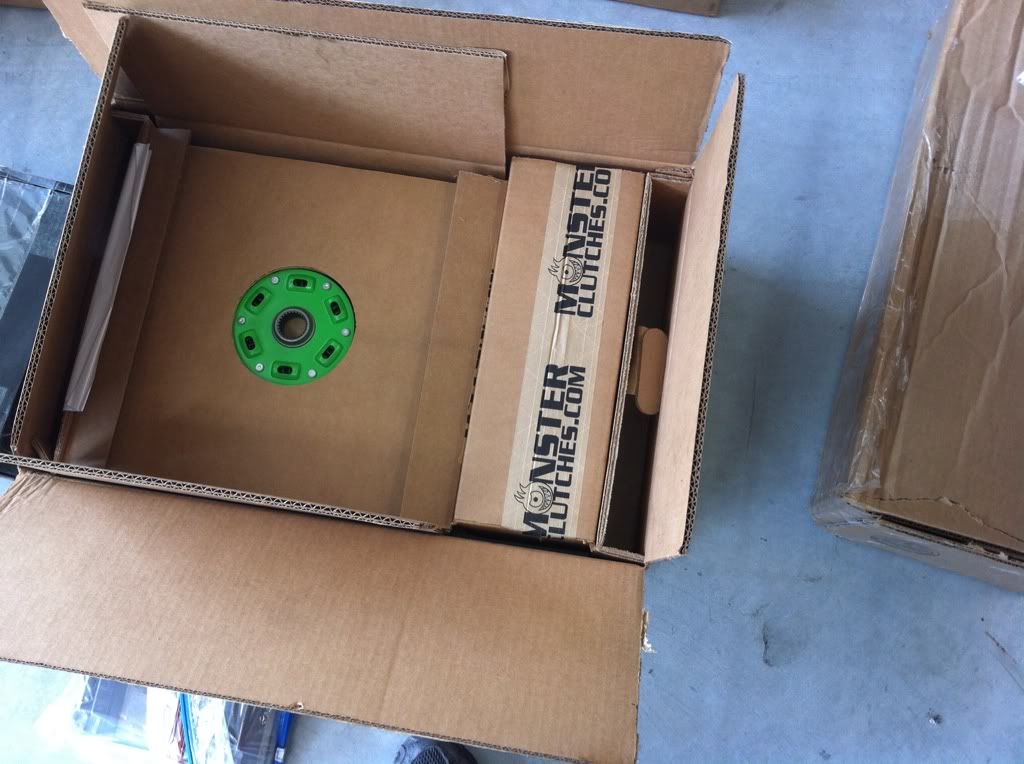
I did get the adjustable timeing set up and ls2 chain from yank, bought a monster stage 2 clutch, ls7 lifters, powerbond underdrive pully, arp bolts,SLP 85mm MAF, and FTP 98mm lid all new.
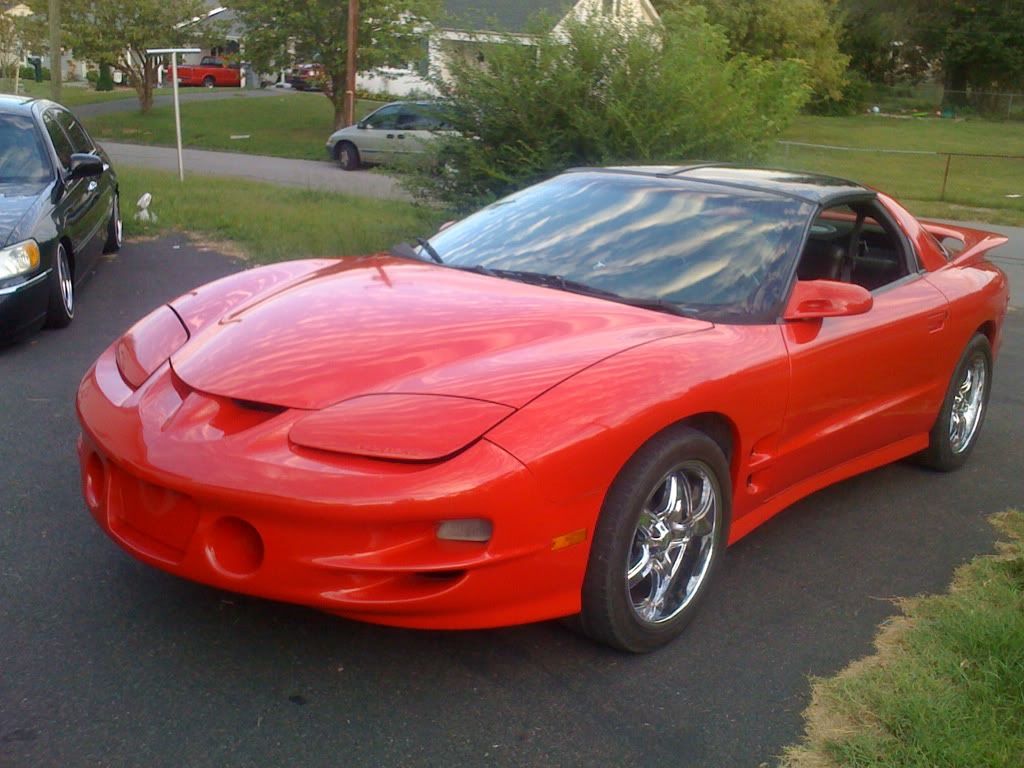
Pic of car not long after buying
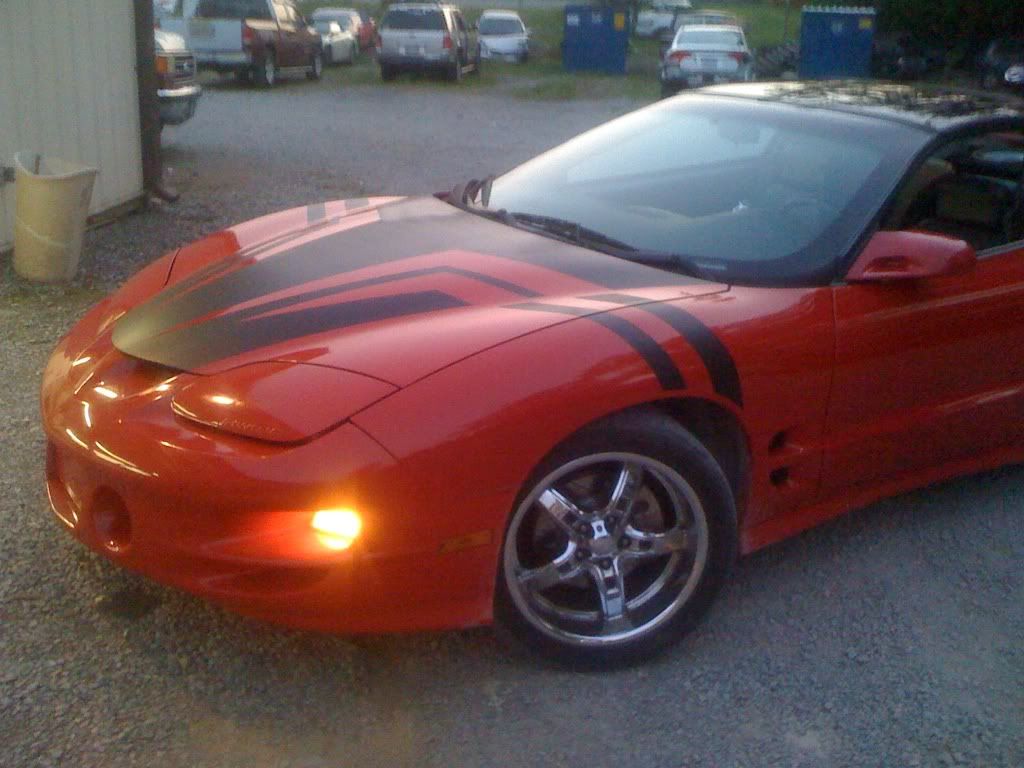
Pic after some fun with plasti-dip
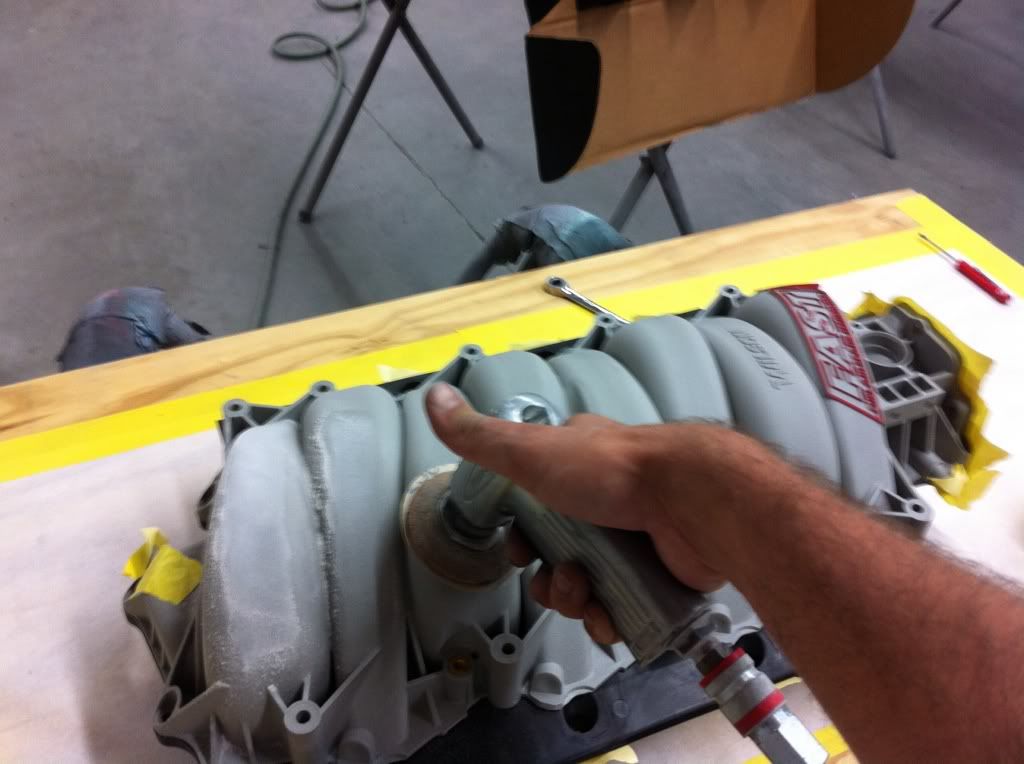
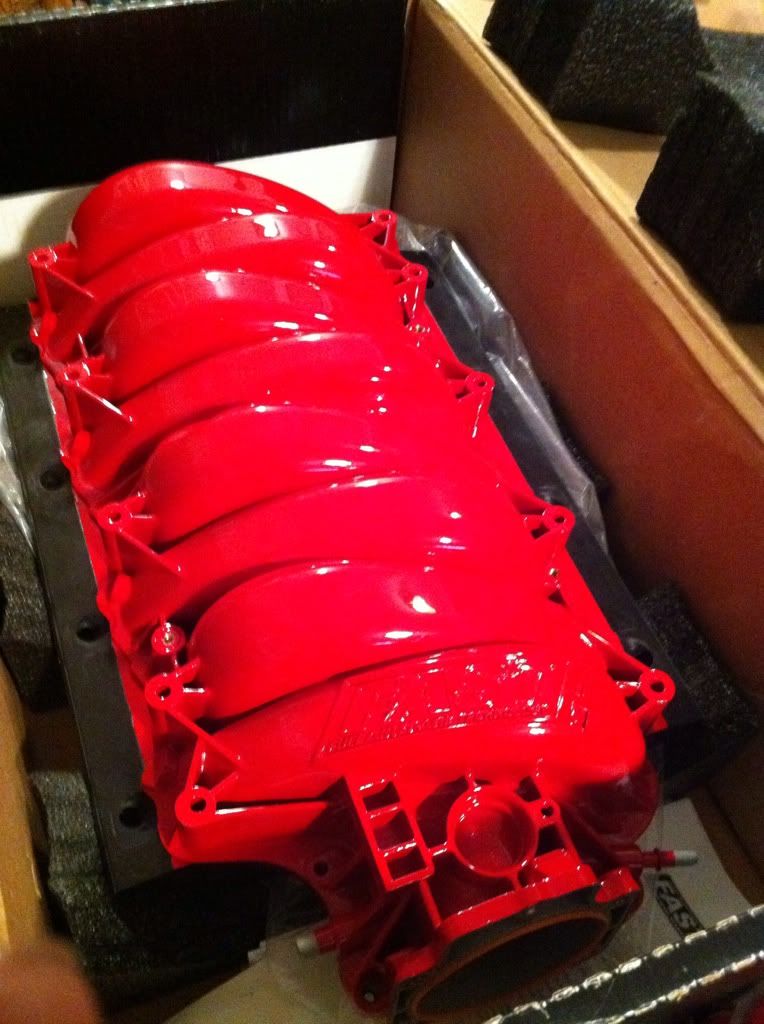
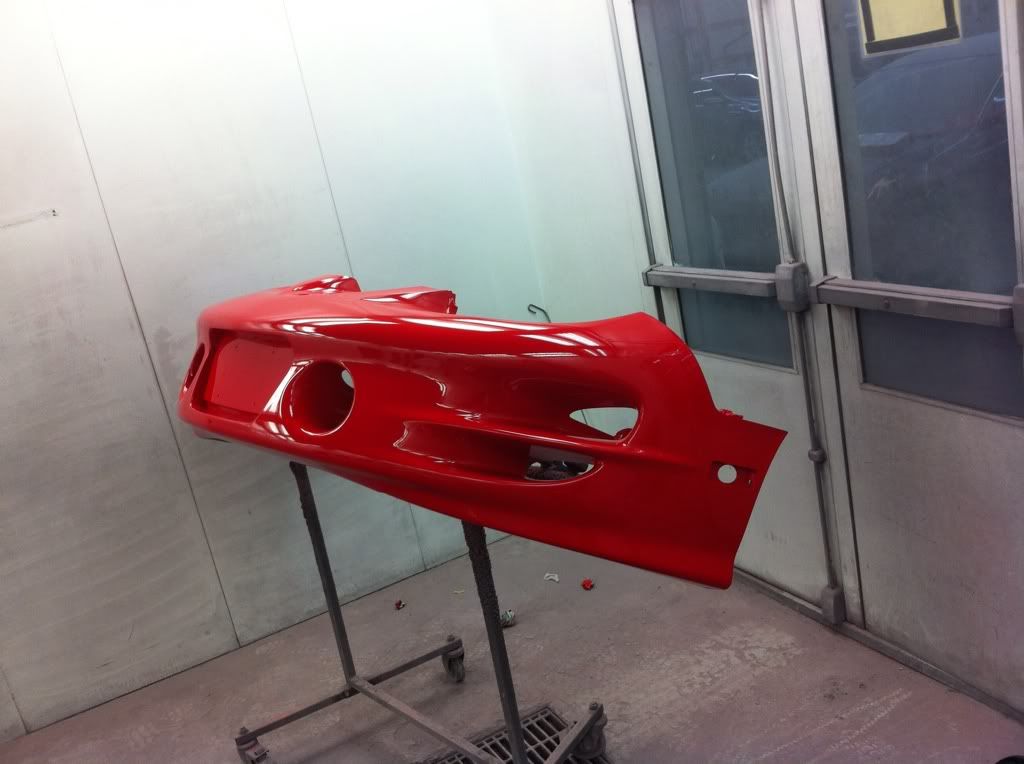
Sanding the fast down to get rid of the texture, used bulldog adhesive promoter and sherwin Williams p30 primer then sanded down smooth and base/cleared the color of car.
After paint
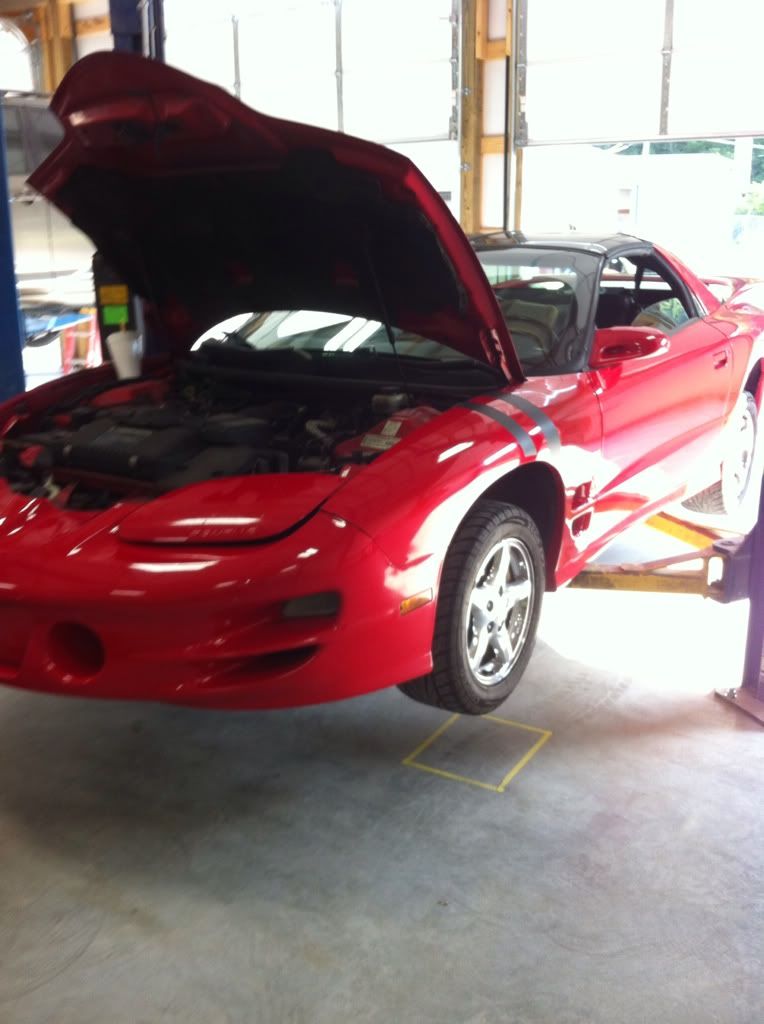
In the shop where I work getting ready to drop out the motor
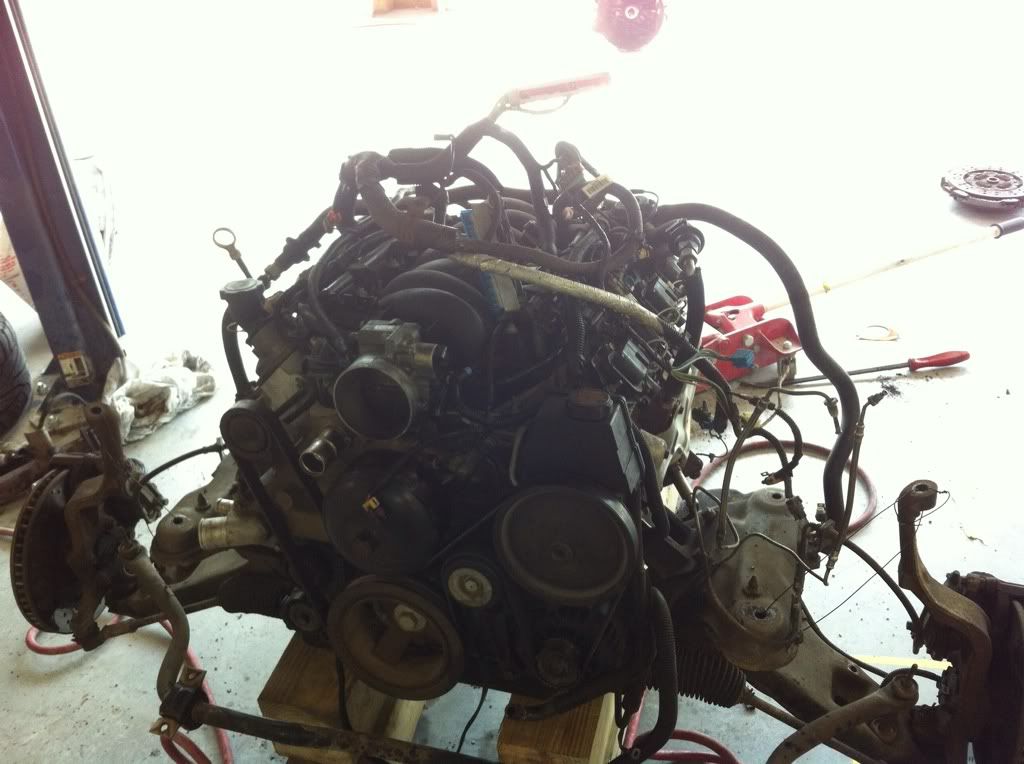
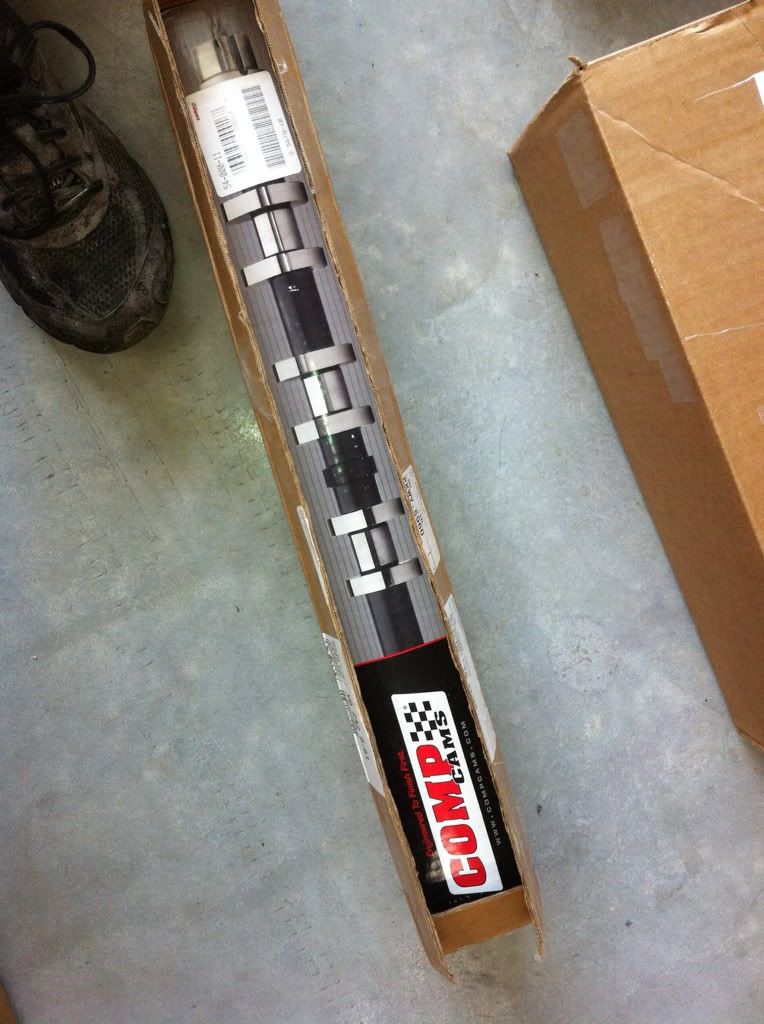
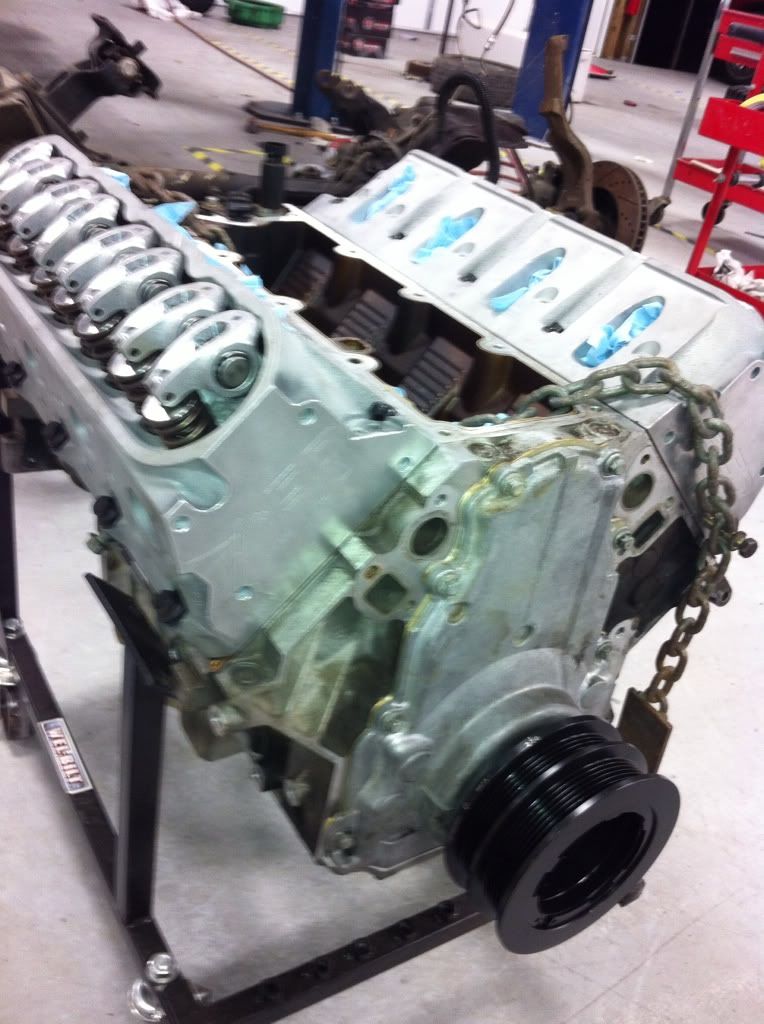
Motor out and stripped down, from this point I had a friend/ mechanic put in the lifters,degree the cam and timeing chain and adjustable set up, put the heads on and set up the valve train and check the PTV clearance( heads were milled to 61.5 cc and ported and the cam is the 6016 cam, comp cam 224/228 581/588 114+2)
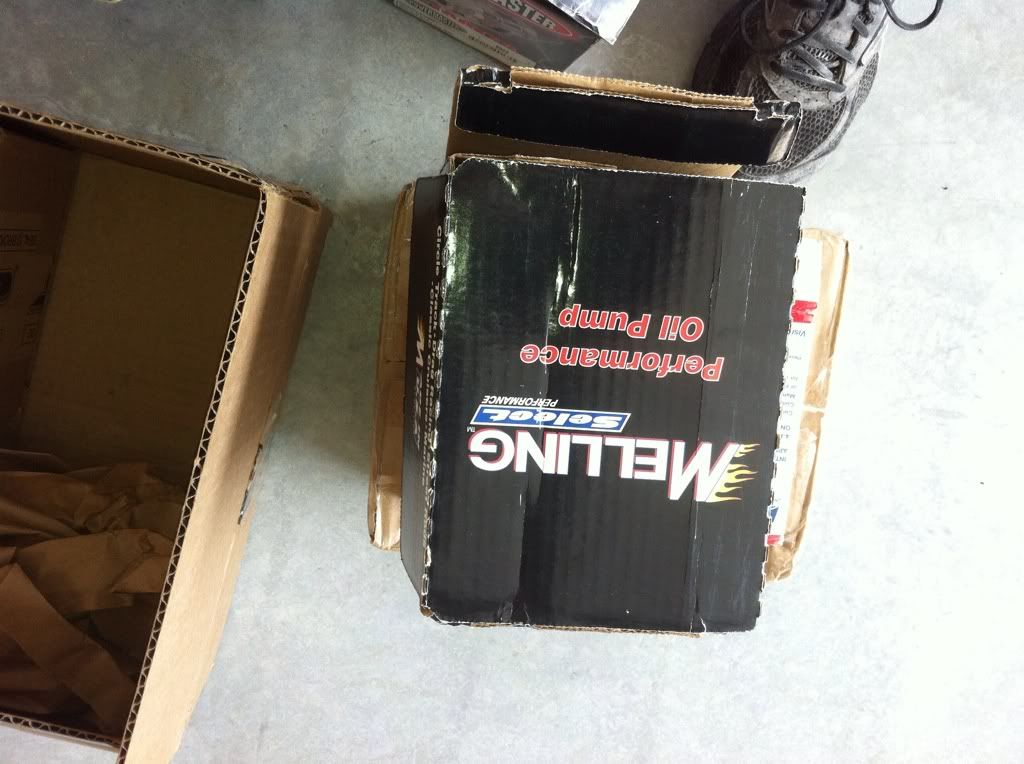
Forgot about the melling oil pump
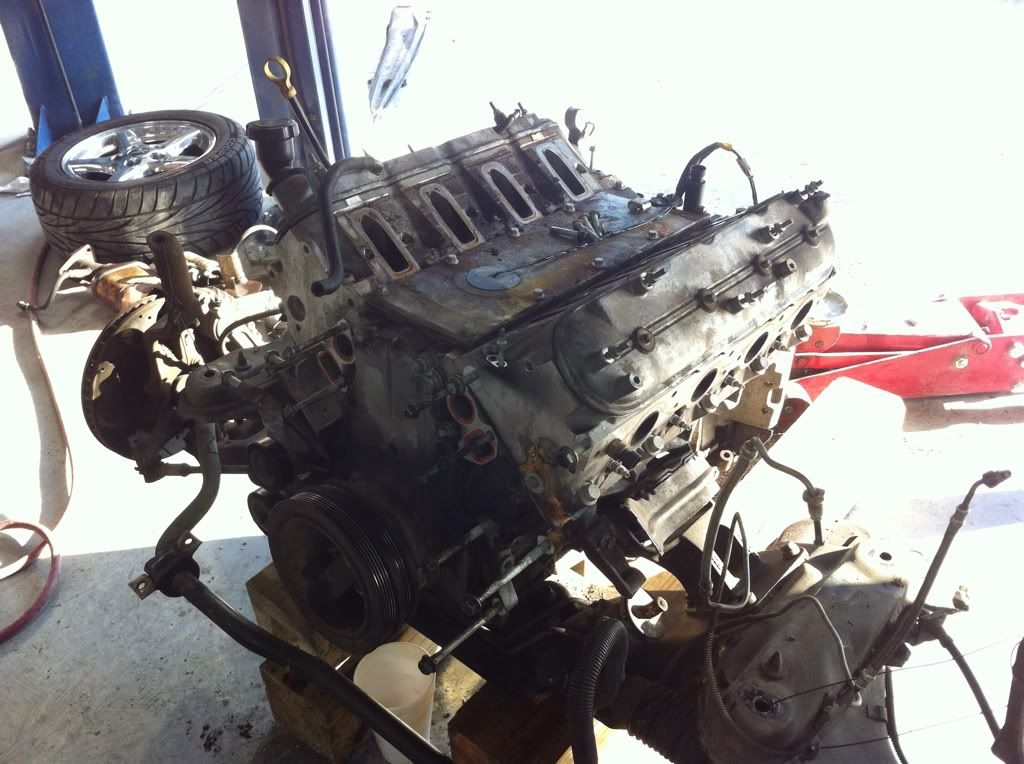
The motor after getting it back from my buddy


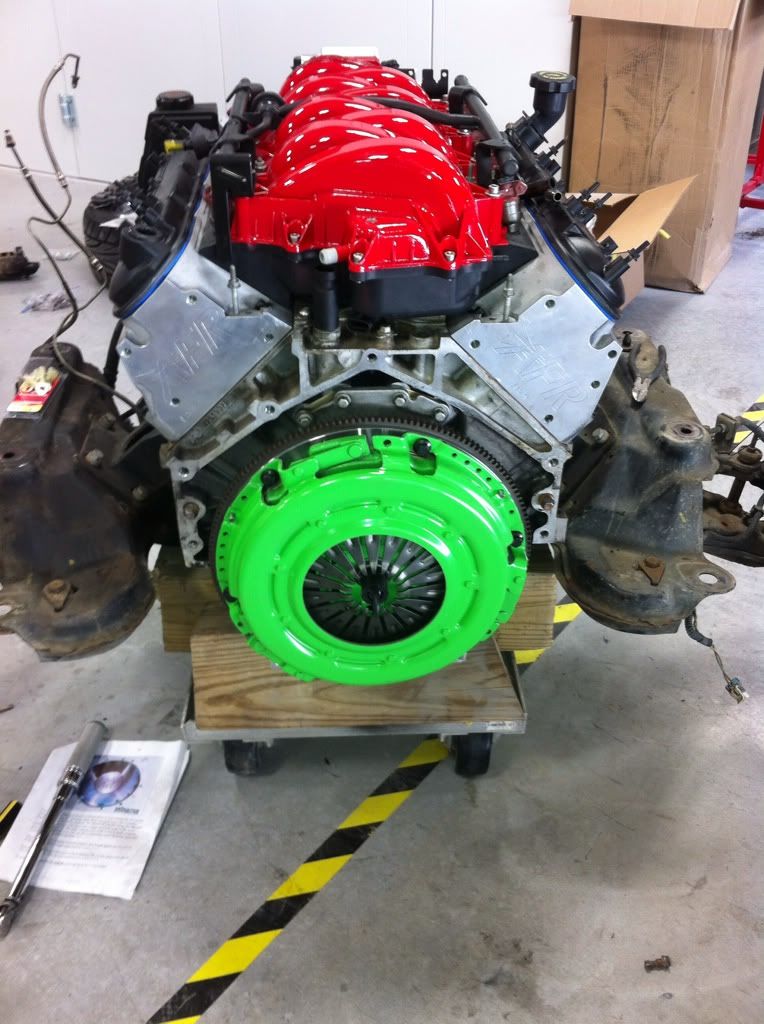
All back together, spray can painted the valve covers and fuel rails black before putting back on
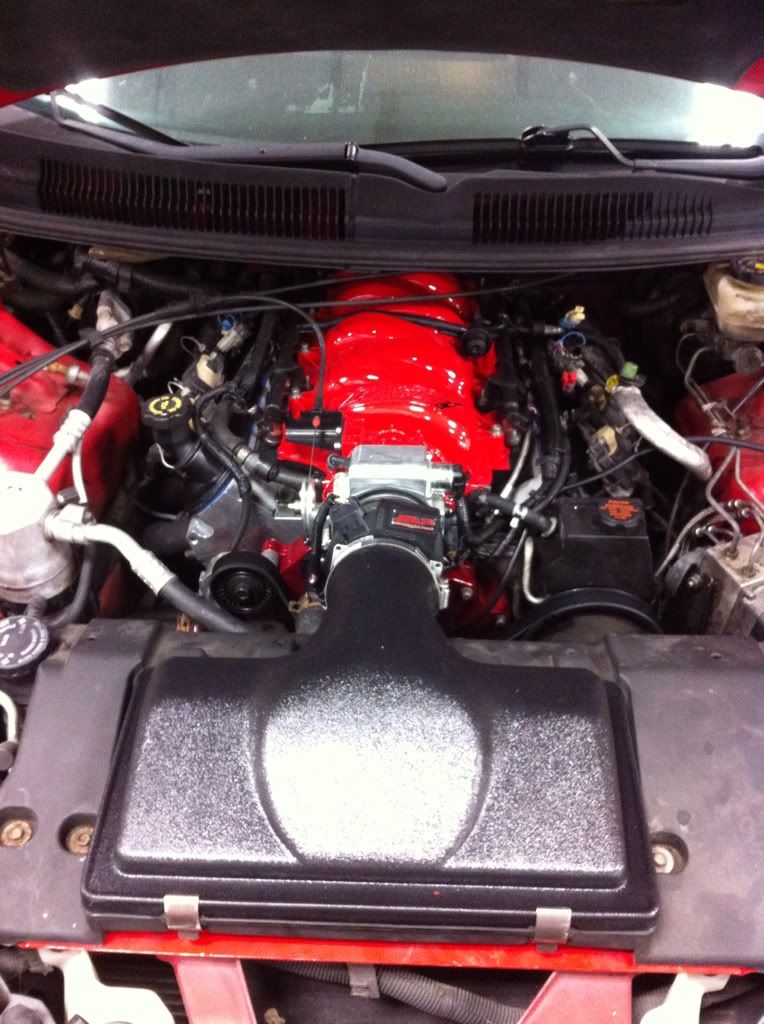
Back in the car
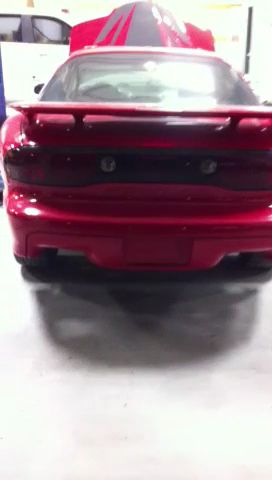
Shortly after first start up, hopefully the video loads up right.
It has pasesetter 1 3/4 long tubes, and currently some cheapo mufflers on it, I have some electric cut outs and plan on getting a good y pipe and probably Magnaflow exhaust.
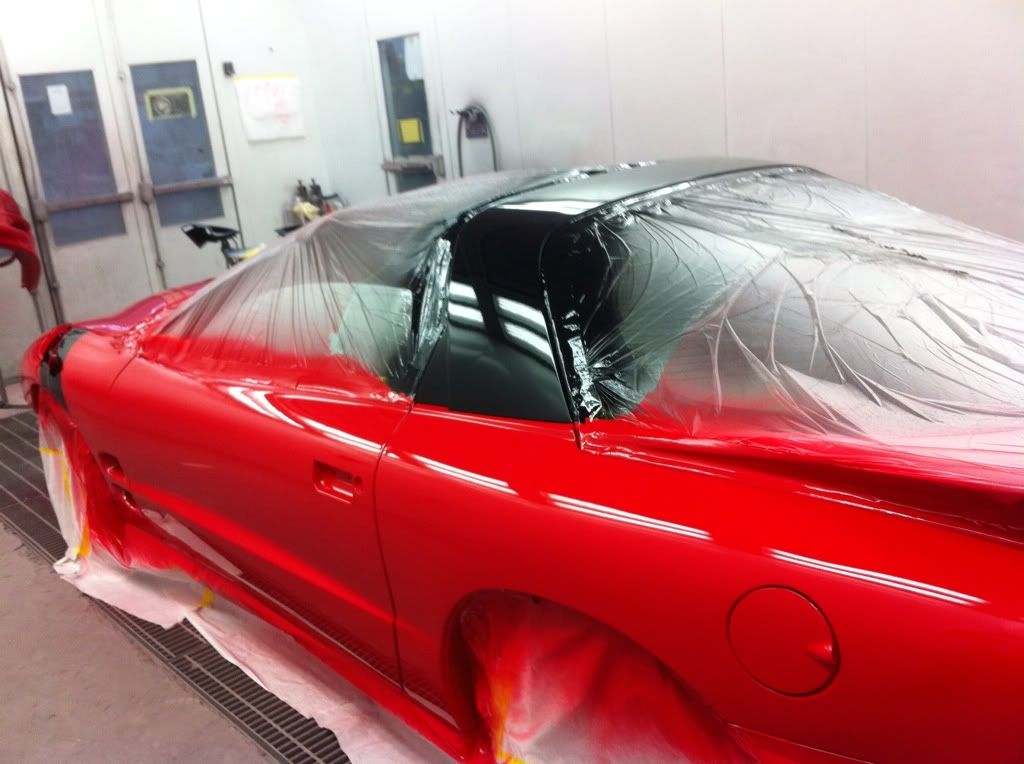
About two months ago my car was at stuck at the shop due to snow so I decided to sand down the car( clear coat was peeling bad across the front and onto the doors). I painted the front end and down both sides, I would have done the hatch and rear bumper but only had 2 days to get it done in. I plan on doing a custom paint job next winter but I just wanted to get rid of the peeling paint.
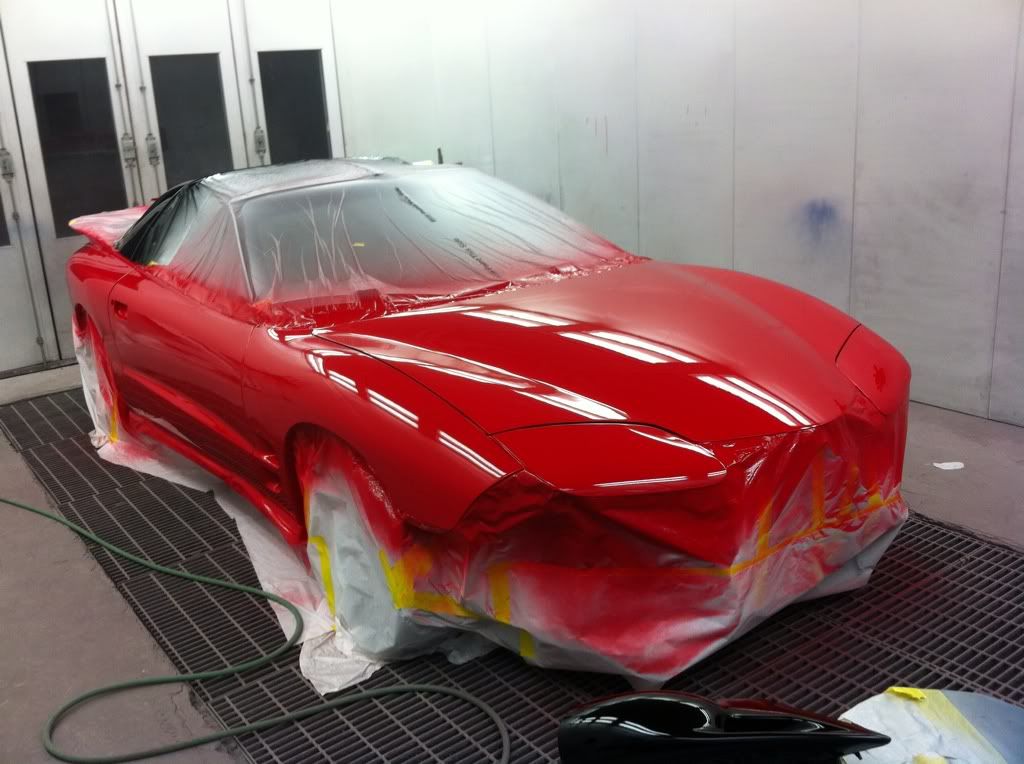
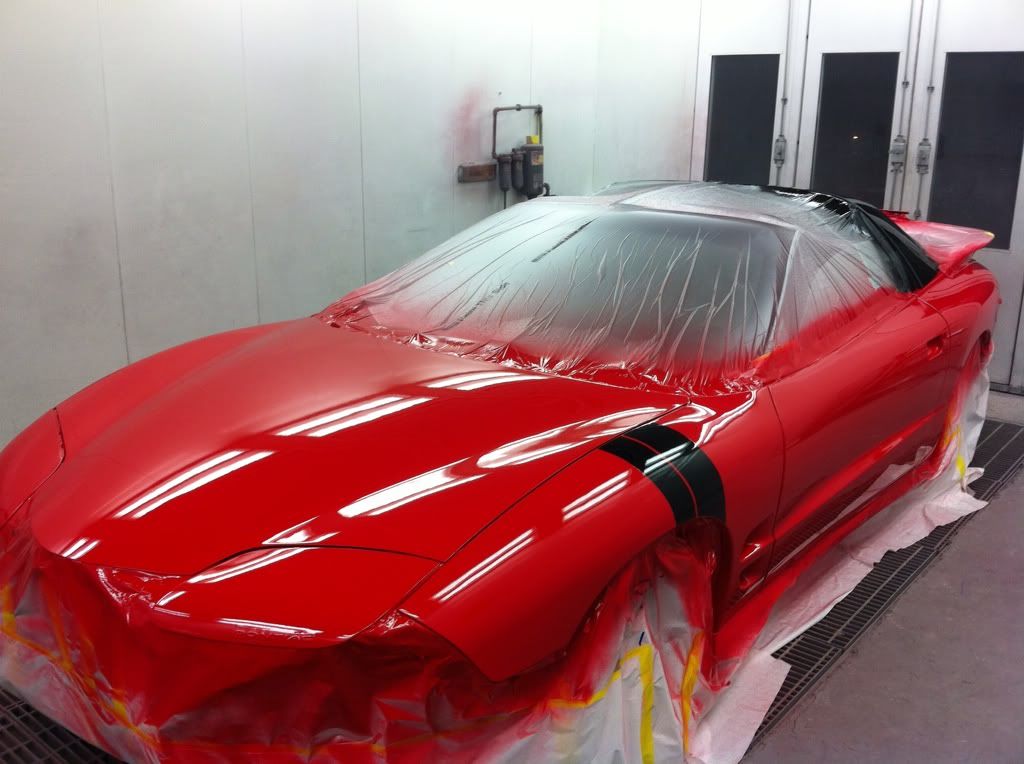
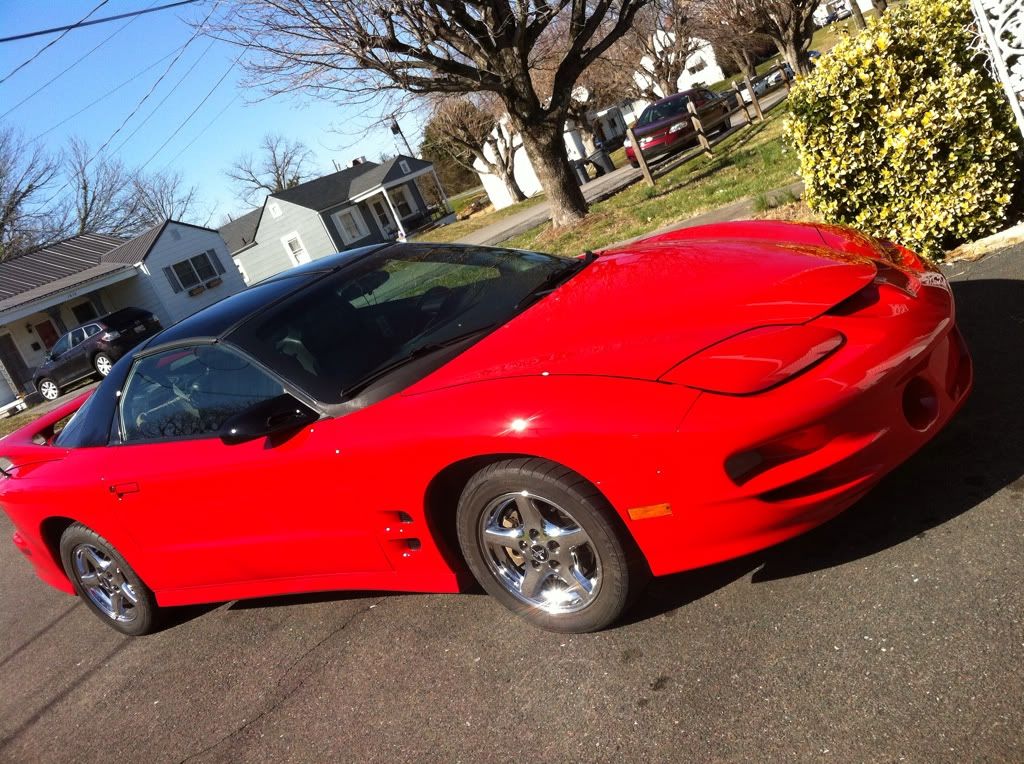
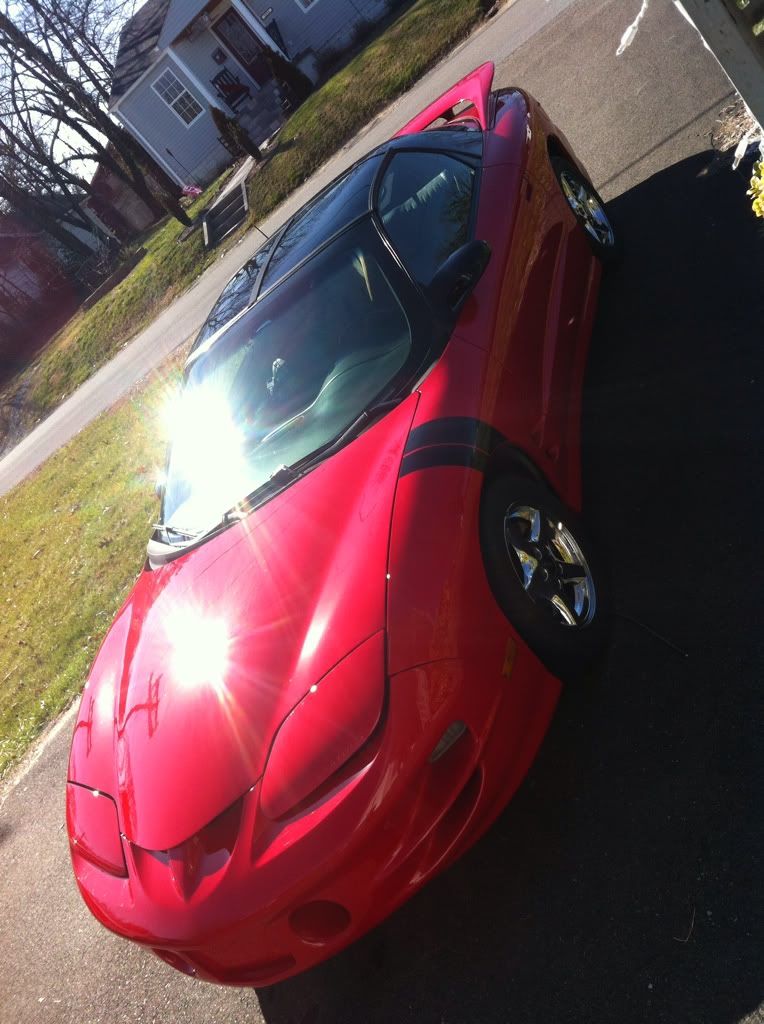
After being put back together .
Still have a few things to do, I bought a strange s60 with 35 spline axles/4:10 gears/s-track/ and narrowed 2" I'm each side. Have to get some 5.5" offset wheels before I put it in the car.
Just done some trading and got 2 brand new double adj. LCAs, adjustable pan hard bar, adjustable Wolfe spring mounts w/ QA1 springs.
Still have a long way to go but that's it for now.
Wanted to see what my tech brethren thought.
I purchased the heads, and did alittle research on the best combos with the 205s and decided on the Mamo combo.
Next I found a decent deal on a brand new Mamo ported Fast 92 and a NW 92 tb( at the time they were only making the Fast 102 and I felt lucky to get a 92 because I didn't want to have to buy new fuel rails ect.). I also found a good deal on some Yella terra 1.7 ultralites, and a Meziere EWP all from the parts classified section. All these parts are new/barely used so I was lucky but patient when buying.
I did get the adjustable timeing set up and ls2 chain from yank, bought a monster stage 2 clutch, ls7 lifters, powerbond underdrive pully, arp bolts,SLP 85mm MAF, and FTP 98mm lid all new.
Pic of car not long after buying
Pic after some fun with plasti-dip
Sanding the fast down to get rid of the texture, used bulldog adhesive promoter and sherwin Williams p30 primer then sanded down smooth and base/cleared the color of car.
After paint
In the shop where I work getting ready to drop out the motor
Motor out and stripped down, from this point I had a friend/ mechanic put in the lifters,degree the cam and timeing chain and adjustable set up, put the heads on and set up the valve train and check the PTV clearance( heads were milled to 61.5 cc and ported and the cam is the 6016 cam, comp cam 224/228 581/588 114+2)
Forgot about the melling oil pump
The motor after getting it back from my buddy
All back together, spray can painted the valve covers and fuel rails black before putting back on
Back in the car
Shortly after first start up, hopefully the video loads up right.
It has pasesetter 1 3/4 long tubes, and currently some cheapo mufflers on it, I have some electric cut outs and plan on getting a good y pipe and probably Magnaflow exhaust.
About two months ago my car was at stuck at the shop due to snow so I decided to sand down the car( clear coat was peeling bad across the front and onto the doors). I painted the front end and down both sides, I would have done the hatch and rear bumper but only had 2 days to get it done in. I plan on doing a custom paint job next winter but I just wanted to get rid of the peeling paint.
After being put back together .
Still have a few things to do, I bought a strange s60 with 35 spline axles/4:10 gears/s-track/ and narrowed 2" I'm each side. Have to get some 5.5" offset wheels before I put it in the car.
Just done some trading and got 2 brand new double adj. LCAs, adjustable pan hard bar, adjustable Wolfe spring mounts w/ QA1 springs.
Still have a long way to go but that's it for now.
Wanted to see what my tech brethren thought.
Last edited by SinisterZ28; 03-17-2013 at 09:15 PM.


Trending Topics
03-18-2013, 12:55 PM
#11
I would love to do my LS6 intake like that, but in either Pewter or Black. Either way, the only way to paint an intake is to do it the way you did; get it sanded down smooth and give it that glossy look. Would you mind posting up or PM'ing me step by step how you did your intake. I'd love to make it a weekend project.
03-18-2013, 07:16 PM
#13
TECH Regular
Thread Starter
iTrader: (4)
Join Date: Apr 2010
Location: Bristol,TN
Posts: 472
Likes: 0
Received 0 Likes
on
0 Posts
I would love to do my LS6 intake like that, but in either Pewter or Black. Either way, the only way to paint an intake is to do it the way you did; get it sanded down smooth and give it that glossy look. Would you mind posting up or PM'ing me step by step how you did your intake. I'd love to make it a weekend project.
03-18-2013, 07:24 PM
#14
TECH Regular
Thread Starter
iTrader: (4)
Join Date: Apr 2010
Location: Bristol,TN
Posts: 472
Likes: 0
Received 0 Likes
on
0 Posts
Thanks, I was really wanting to do a write up on how to paint a car yourself, but haven't had time, I plan on getting the windows tinted, and getting the car alittle lower, but I'm going to finish up with the things that make it go. Still needs a dyno/street tune also. After I get the rear and exhaust done I'm going to make an appointment with Frost to have it done. Right now it has a mail order tune of his, but I don't want to leave anything on the table. Got to say he's really great to deal with, helped me with many back and forth emails, highly recommend him.
03-19-2013, 10:43 PM
#18
TECH Regular
Thread Starter
iTrader: (4)
Join Date: Apr 2010
Location: Bristol,TN
Posts: 472
Likes: 0
Received 0 Likes
on
0 Posts
180,220,320, and 500 wet/dry sand paper.
Rubbing alcohol or wax n grease remover, you can get the rubbing alcohol at any Walgreens.
Bulldog adhesive promoter
Spray can primer
Spay can paint-color of your choice
Spray can clear
Some 2000 grit if you plan on buffing and compound and polish.
First after getting intake off of the car, clean really well. Soap n water with a rag, dry then with wax n grease remover or alcohol .
Next sand with 180 till the texture is gone then sand with 220 to smooth out alittle more
Next clean again with wax n grease remover
Then spray 2-3 light coats of bulldog on the intake wait about 30 secs in between coats then let flash dry for 30sec to 1 min and put 3-4 medium coats of primer on, let the primer flash 30 secs to 1 min in between coats also then let dry, spray can primer drys pretty fast so 30 min to 1 hr should be plenty.
Next sand the primer with 320 and then with the 500 wet untill it's nice and smooth, you can also use a Scuff pad to scuff in the cracks and hard to reach places.
Then clean again and put the color on usually 4-5 light coats or untill it looks completely covered, give 1-2 min in between coats after last coat of base let dry for 10 min or so then put 3-4 medium coats of clear the same way. Let dry completely.
Try to do when it's not raining or real high humidity it messes with the spray can stuff.
Any more ? Let me know