
Project underhood clean up complete...?!?!?!?
 08-17-2013, 01:43 PM
#1


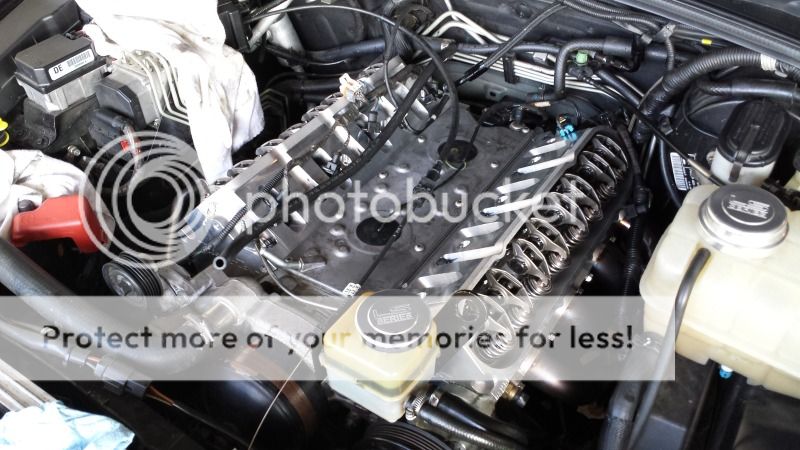
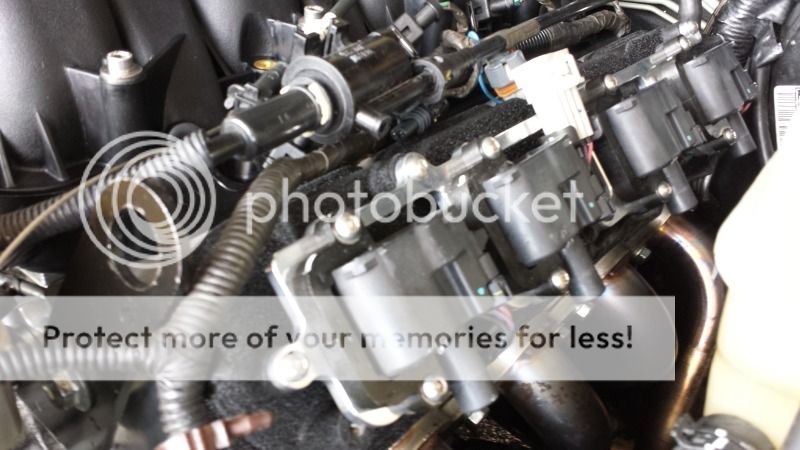
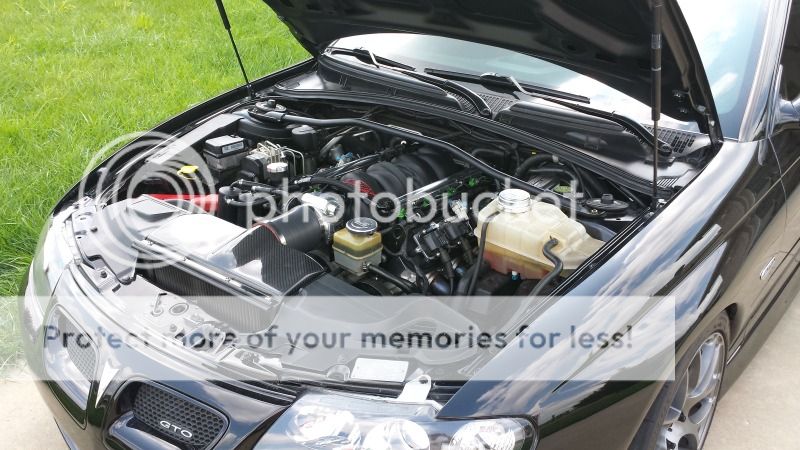
I was almost ashamed of popping the hood on my car it was so nasty. This is what I was dealing with.
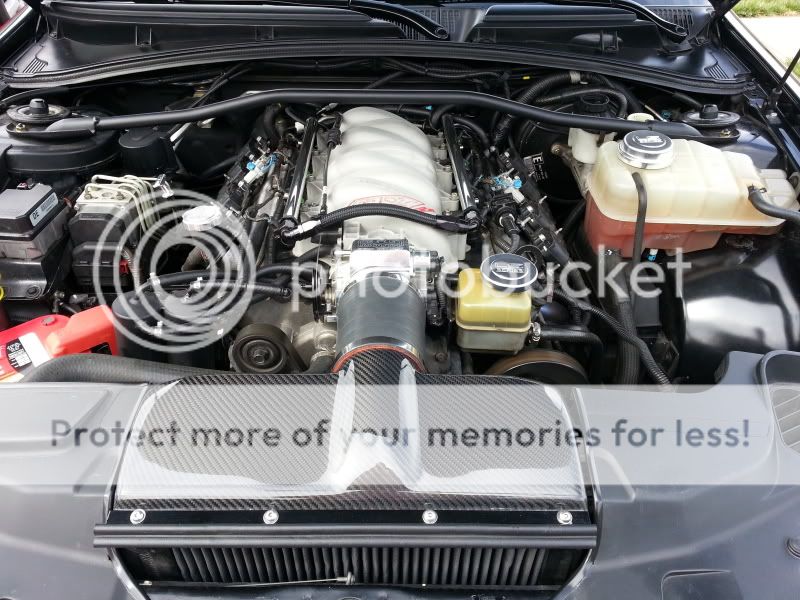
Nasty. I knew that in order to really get to the bottom of this there was going to be some serious time involved. I began tear down almost 2 months ago. Here it is after I really got it tore apart to do some deep cleaning.
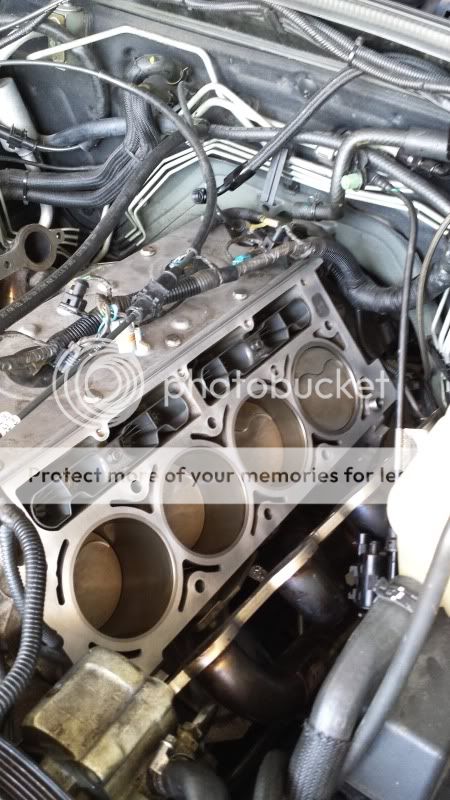
Deep deep cleaning
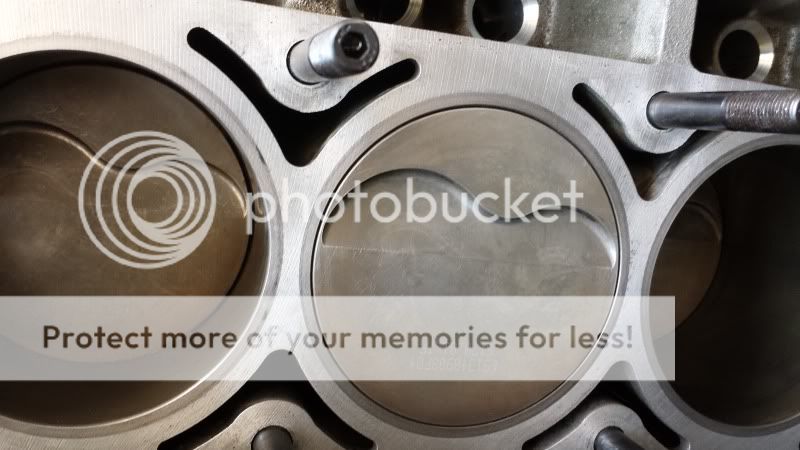
YAY
Going back together...
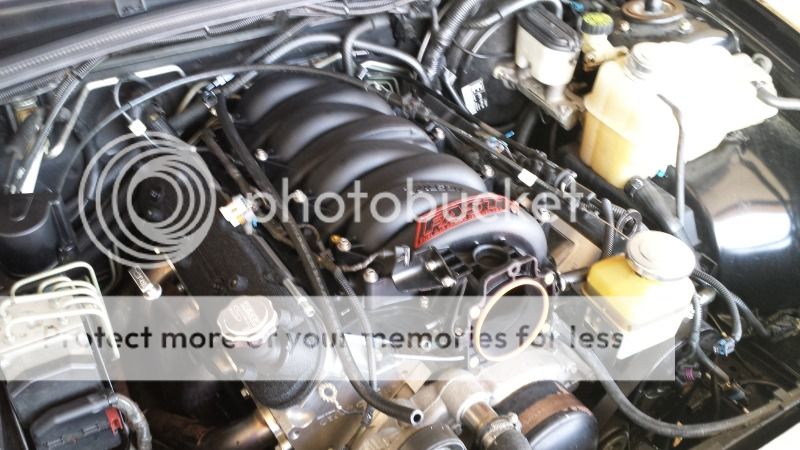
Progress
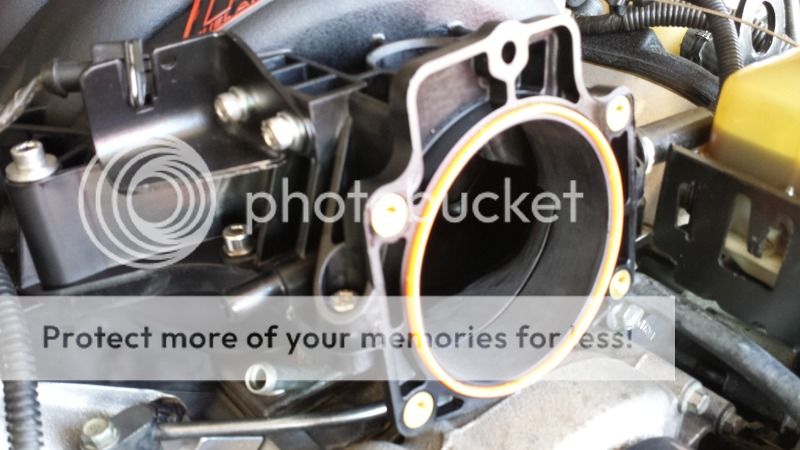
More work
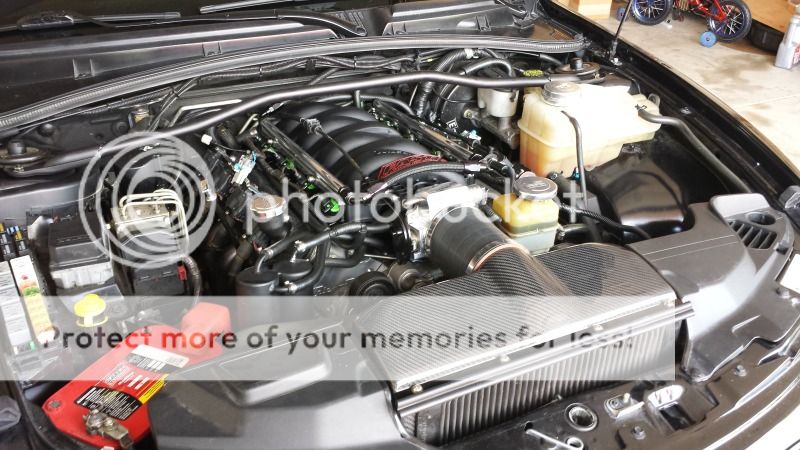
DONE
Feedback?
Before
After
Any questions?

Nasty. I knew that in order to really get to the bottom of this there was going to be some serious time involved. I began tear down almost 2 months ago. Here it is after I really got it tore apart to do some deep cleaning.

Deep deep cleaning


YAY
Going back together...


Progress


More work

DONE


Feedback?
Before
After
Any questions?
 08-17-2013, 04:28 PM
#3
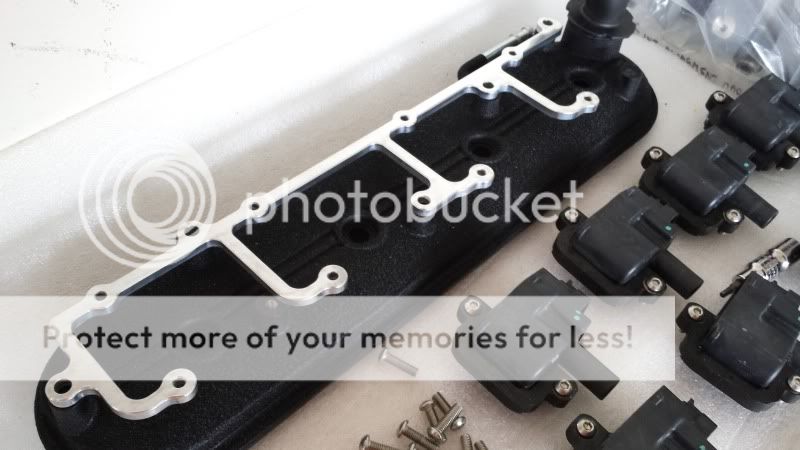
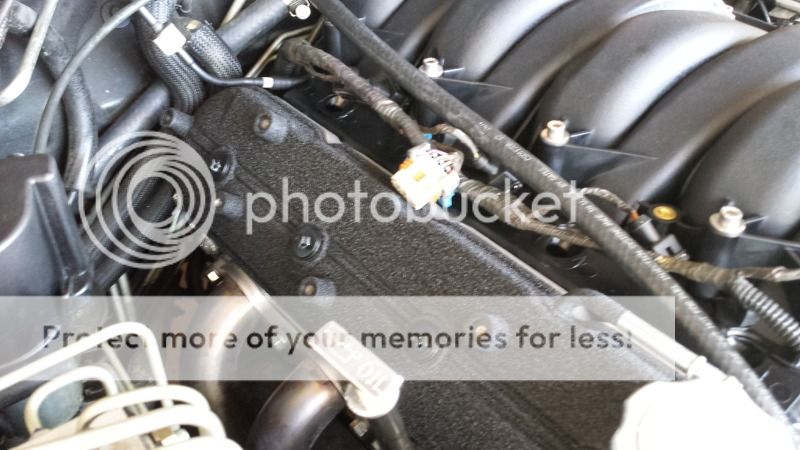
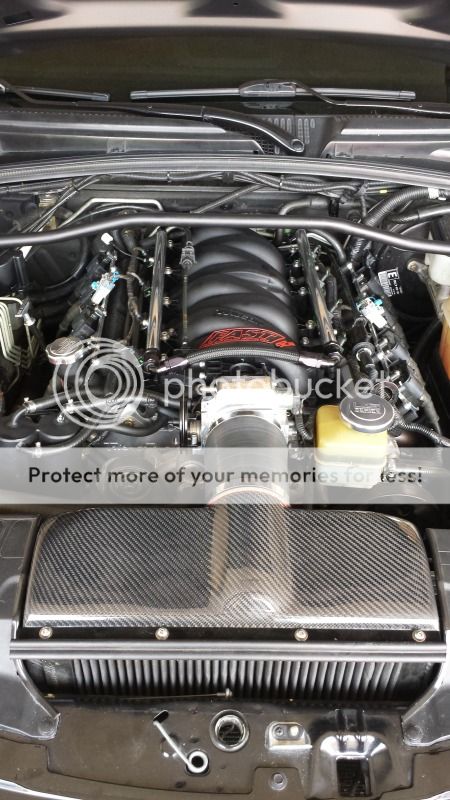
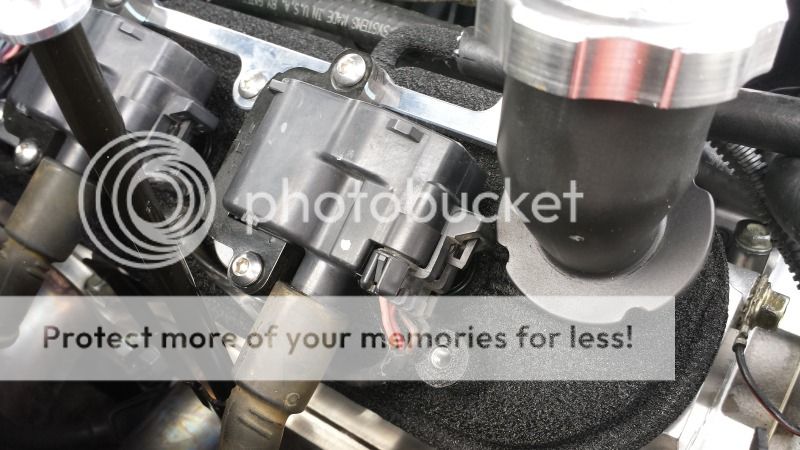
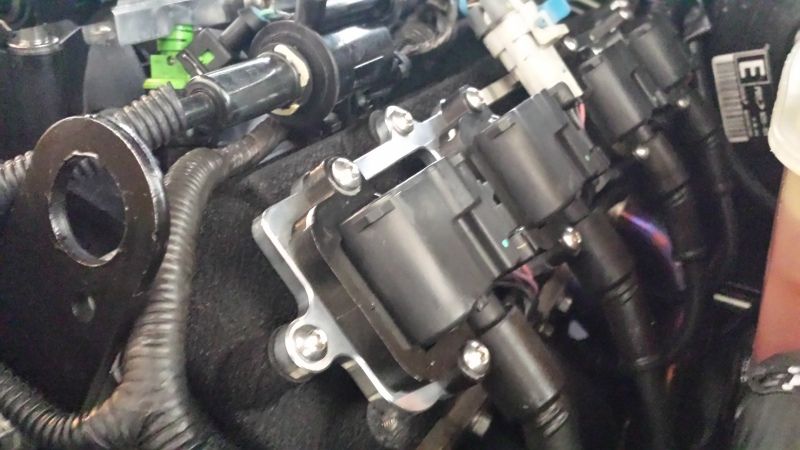
looks good. My buddy and I came up with those coil brackets over at Chalk Precision Machining. I wanted something that looked better than the stock brackets for my TT build So i went to him and he came up with those after i told him to tweak it a little bit..they were originally a little wider than that, and i wanted them smaller so viola. I also wrinkle coated my valve covers. Kool stuff.
08-17-2013, 04:30 PM
#4
If suggestions are welcome, I'd say do something about that power steering reservoir. Paint it or relocate it? It's so out of place now among all the clean parts to see the yellowed plastic. Also, look into relocating your fuel evap solenoid. Nice additions 
08-17-2013, 05:11 PM
#5
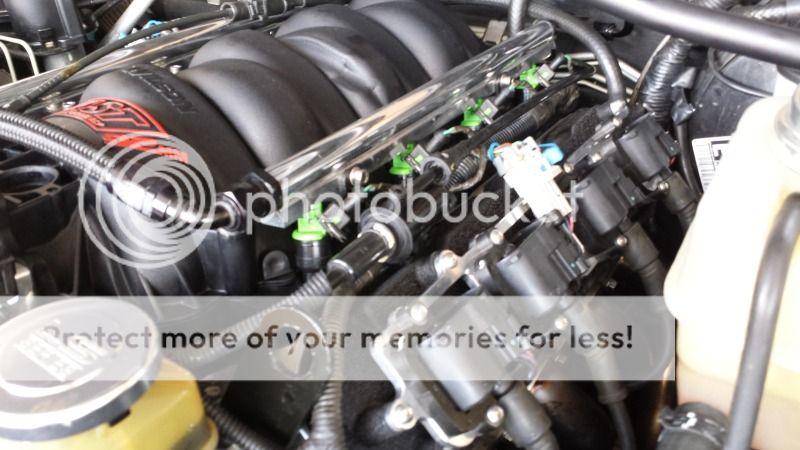
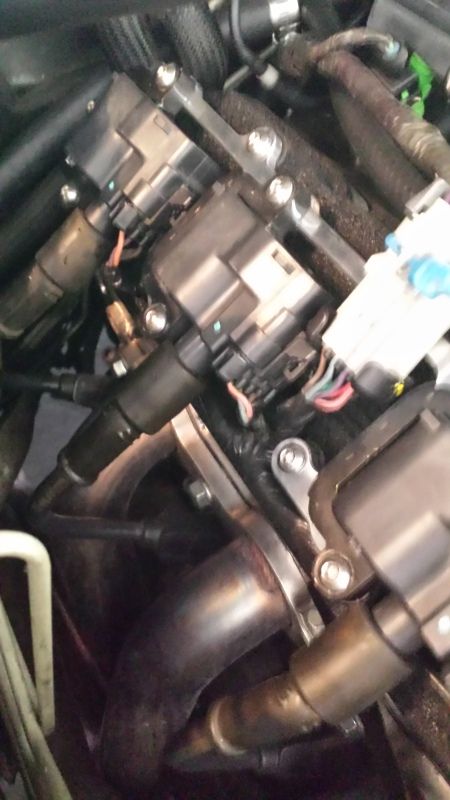
Really noticed how crappy my plug wires looked in these pics. They aren't dirty, just discolored from age and heat. I just went out and used some ultimate tire and trim guard on them and that really helped make them black again.
#6 treated, #8 not.
All done.
#6 treated, #8 not.

All done.
 08-17-2013, 05:13 PM
#6
Thanks.
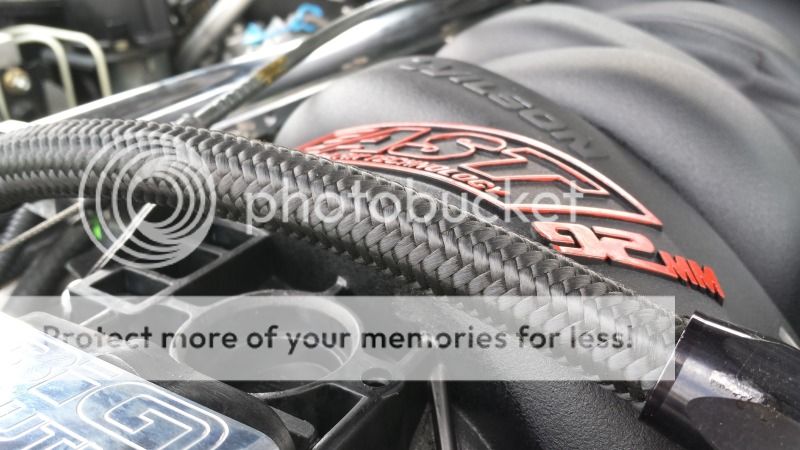
Yes I like them. I did not like the way they looked with the matte finish so I put a fast polish job on them.
Yes I plan to paint that and the coolant tank black soon.
looks good. My buddy and I came up with those coil brackets over at Chalk Precision Machining. I wanted something that looked better than the stock brackets for my TT build So i went to him and he came up with those after i told him to tweak it a little bit..they were originally a little wider than that, and i wanted them smaller so viola. I also wrinkle coated my valve covers. Kool stuff.
Yes I plan to paint that and the coolant tank black soon.
Trending Topics


 08-27-2013, 09:54 AM
#15
Staging Lane

Join Date: Mar 2011
Location: Kokomo, IN
Posts: 72
Likes: 0
Received 0 Likes
on
0 Posts
I recall you sending me some pictures of those coil brackets after you polished them! I'm the one manufacturing and selling those coil brackets. AllOut06 kept hammering me on the design to make them less bulky. I thought about polishing the brackets as part of the manufacturing process, but I have received tons of sick pictures from people who are anodizing them, powder coating them, painting them, etc. My eBay feedback percentage got screwed up from an old nitro RC truck I sold 2 months ago, but I've yet to receive any negative feedback on these coil brackets.
Beautiful job bro, I have a soft spot for the GThoes!
Beautiful job bro, I have a soft spot for the GThoes!
08-27-2013, 07:41 PM
#17
I recall you sending me some pictures of those coil brackets after you polished them! I'm the one manufacturing and selling those coil brackets. AllOut06 kept hammering me on the design to make them less bulky. I thought about polishing the brackets as part of the manufacturing process, but I have received tons of sick pictures from people who are anodizing them, powder coating them, painting them, etc. My eBay feedback percentage got screwed up from an old nitro RC truck I sold 2 months ago, but I've yet to receive any negative feedback on these coil brackets.
Beautiful job bro, I have a soft spot for the GThoes!
Beautiful job bro, I have a soft spot for the GThoes!


