LG Motorsports Coilovers, Roll Bar and Seat Install

 03-23-2013, 12:14 PM
#22
TECH Enthusiast
Thread Starter

Join Date: Aug 2007
Location: Wash., DC / Kabul, Afghanistan
Posts: 716
Likes: 0
Received 0 Likes
on
0 Posts

Thanks. I'm excited to see it all come together and put it to proper use on the track. No more bruised knee from trying to brace myself against the dash all day...
Also wondering when that first awkward moment will come when somebody wants a ride but they can't fit in the seat.
Also wondering when that first awkward moment will come when somebody wants a ride but they can't fit in the seat.
03-23-2013, 04:42 PM
#24
TECH Enthusiast
Thread Starter
Join Date: Aug 2007
Location: Wash., DC / Kabul, Afghanistan
Posts: 716
Likes: 0
Received 0 Likes
on
0 Posts
No HIDs included. Just used DDM Tuning setup instead. They need to be aimed still but the cutoff looks good. My stock headlights were tore up. Eventually I'll paint the gray trim black to match. I don't know why they made the inside of the housing black but left the ugly gray trim.
03-23-2013, 04:44 PM
#25
TECH Enthusiast
Thread Starter
Join Date: Aug 2007
Location: Wash., DC / Kabul, Afghanistan
Posts: 716
Likes: 0
Received 0 Likes
on
0 Posts
As for the airbag, good question. I'd like to know as well. Any idea if even when it is on, the others will still work as they're supposed to?
04-04-2013, 09:28 AM
#27
TECH Resident
Join Date: Mar 2012
Location: Florida
Posts: 796
Likes: 0
Received 0 Likes
on
0 Posts
I'm guessing some sort of fooler could be created by one of the more tech savy members here. Or you could just remove the led in the dash.


 05-18-2013, 10:24 PM
#30

Question about the lg coilover install.
I did the rears pretty easy but it seems that you need to remove the rubber shock bushing from the upper shock module. Do you just remove that completely or do you find a way to still use it? The top bolt on the LG coilovers is a good bit larger than the opening in the rubber shock bushing. What did you end up doing?
I did the rears pretty easy but it seems that you need to remove the rubber shock bushing from the upper shock module. Do you just remove that completely or do you find a way to still use it? The top bolt on the LG coilovers is a good bit larger than the opening in the rubber shock bushing. What did you end up doing?


 06-01-2013, 11:17 PM
#34
TECH Enthusiast
Thread Starter
Join Date: Aug 2007
Location: Wash., DC / Kabul, Afghanistan
Posts: 716
Likes: 0
Received 0 Likes
on
0 Posts
06-08-2013, 01:12 PM
#36
TECH Enthusiast
Thread Starter
Join Date: Aug 2007
Location: Wash., DC / Kabul, Afghanistan
Posts: 716
Likes: 0
Received 0 Likes
on
0 Posts
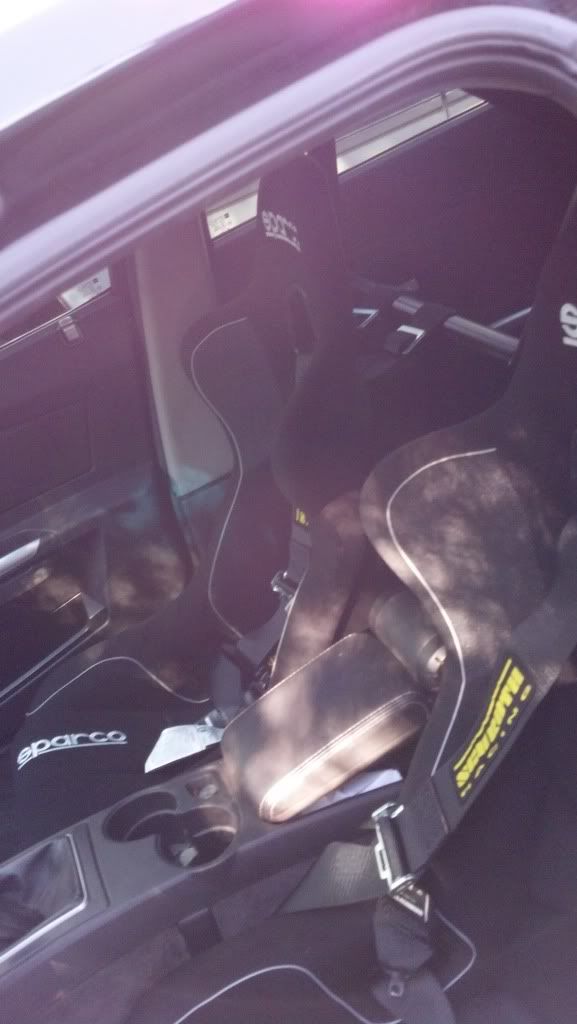
I have the car back finally.
The seats are a bit higher than the initial test fit. It's low but I can see over the dash and drive around fine. Just takes a bit to get used to the overall new seating position and wearing harnesses. I like it though. I snapped a couple of dirty, nighttime cell phone pics. I'll try to get some new ones later though. I need to adjust the coil over ride height and address a horrible front sway bar clunk I have going on.
The seats are a bit higher than the initial test fit. It's low but I can see over the dash and drive around fine. Just takes a bit to get used to the overall new seating position and wearing harnesses. I like it though. I snapped a couple of dirty, nighttime cell phone pics. I'll try to get some new ones later though. I need to adjust the coil over ride height and address a horrible front sway bar clunk I have going on.
06-08-2013, 07:12 PM
#37
TECH Enthusiast
Thread Starter
Join Date: Aug 2007
Location: Wash., DC / Kabul, Afghanistan
Posts: 716
Likes: 0
Received 0 Likes
on
0 Posts
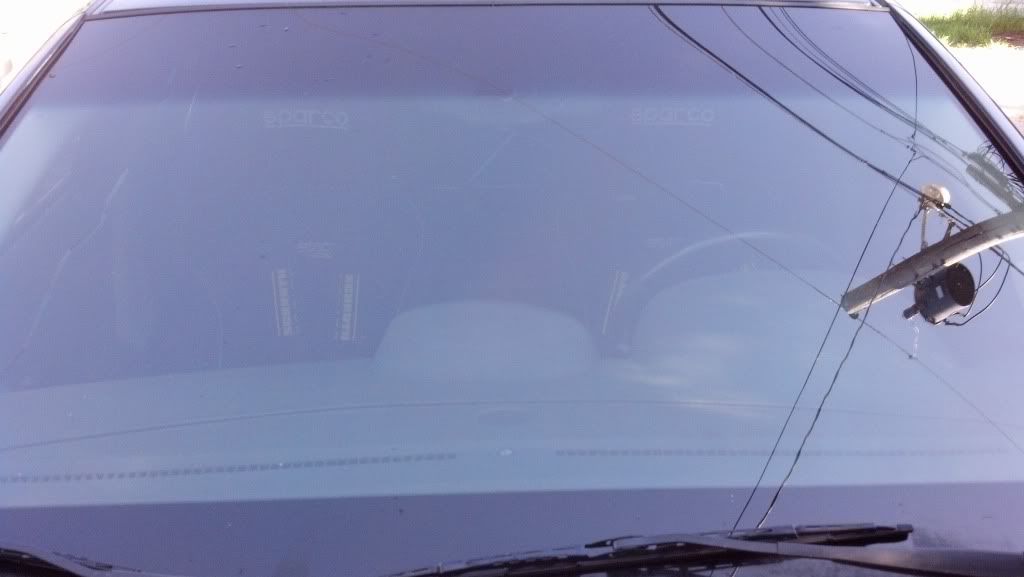
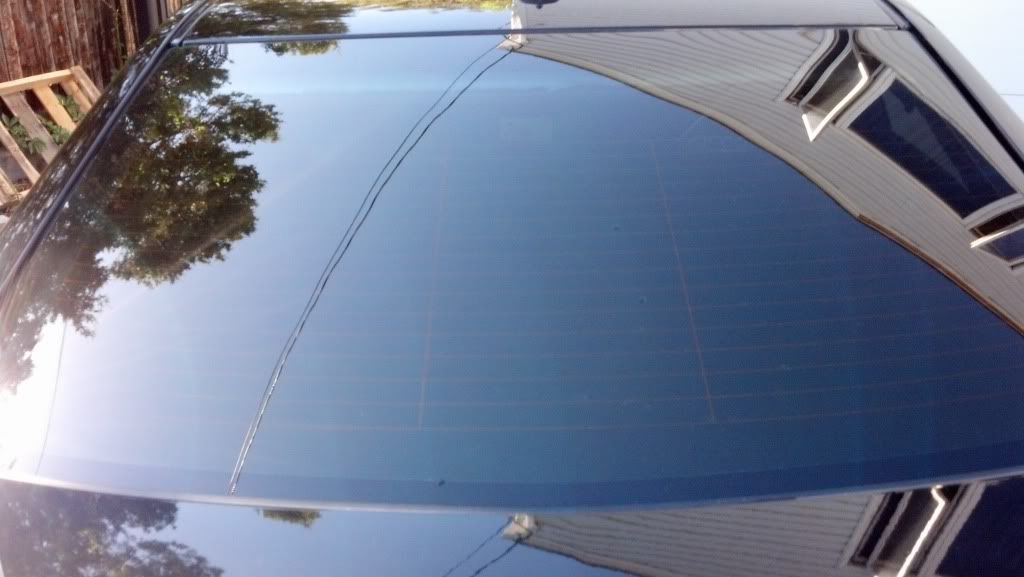
I have 5% on the side and rear windows. It's hard to see the bars with them up so that sleeper aspect is still intact if I want it to be. Also plan on 50% on the windshield once I get the cracked one I have replaced.
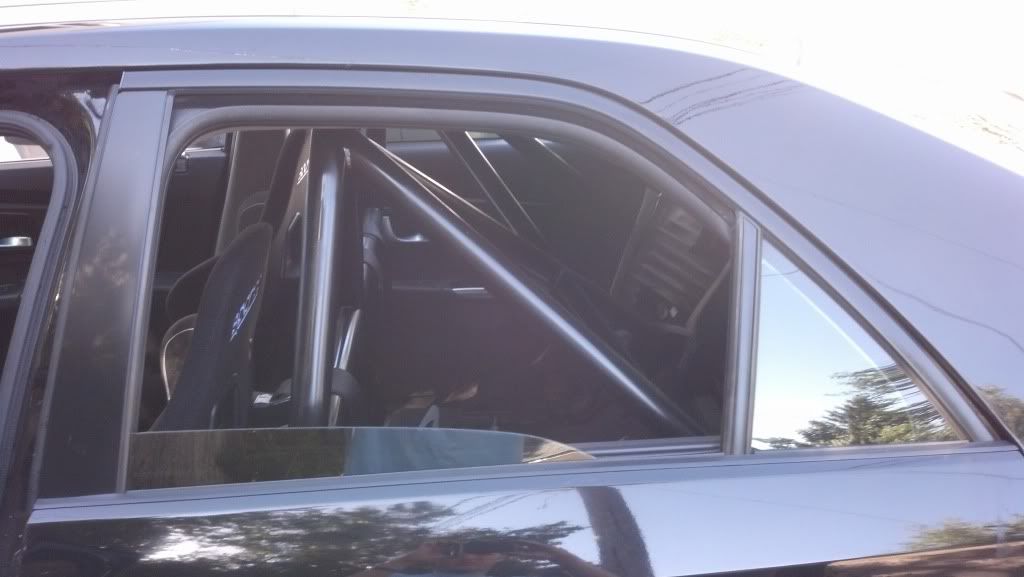
Anyway, some pictures. I suck at taking these kind of pictures, so if anyone wants anything specific, let me know.
These are with all windows up:
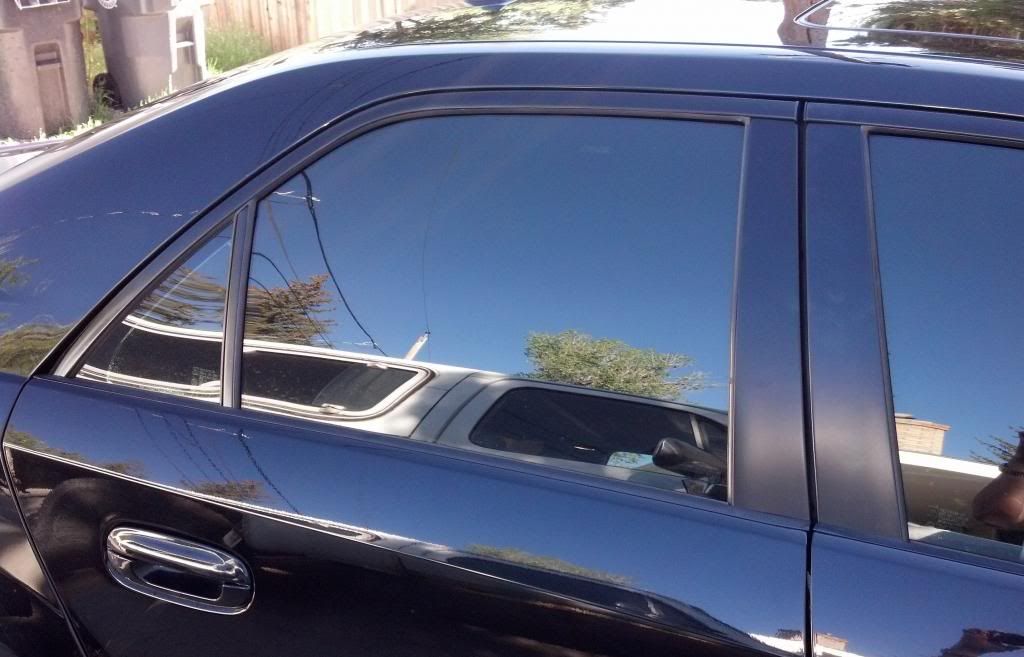
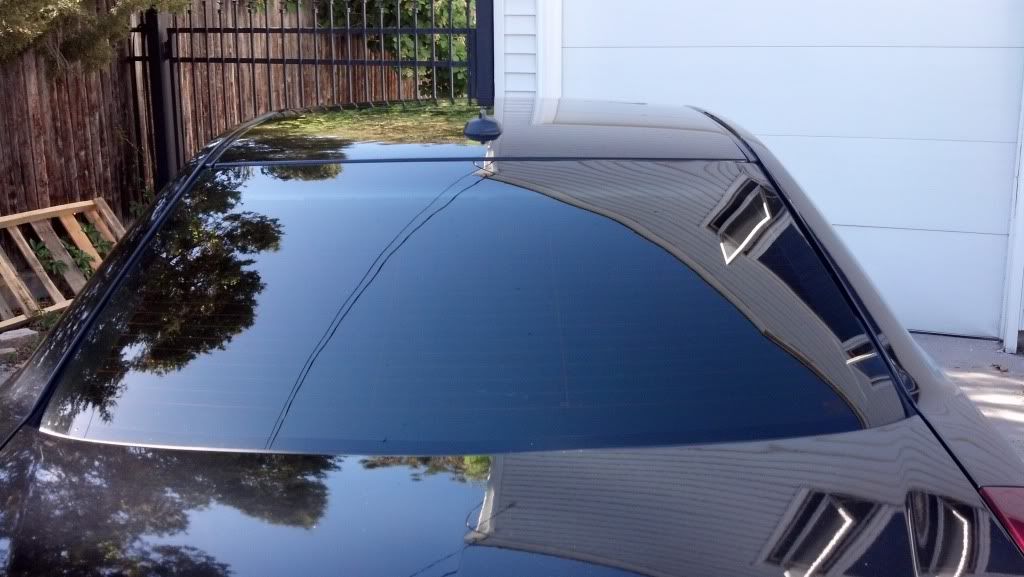
And down:
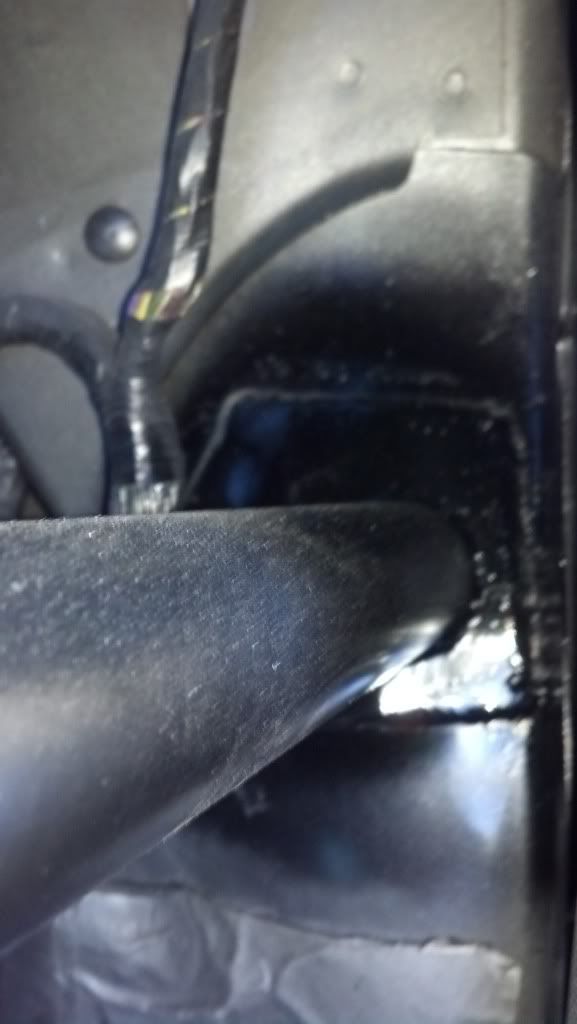
Here's an attachment point for the main hoop:
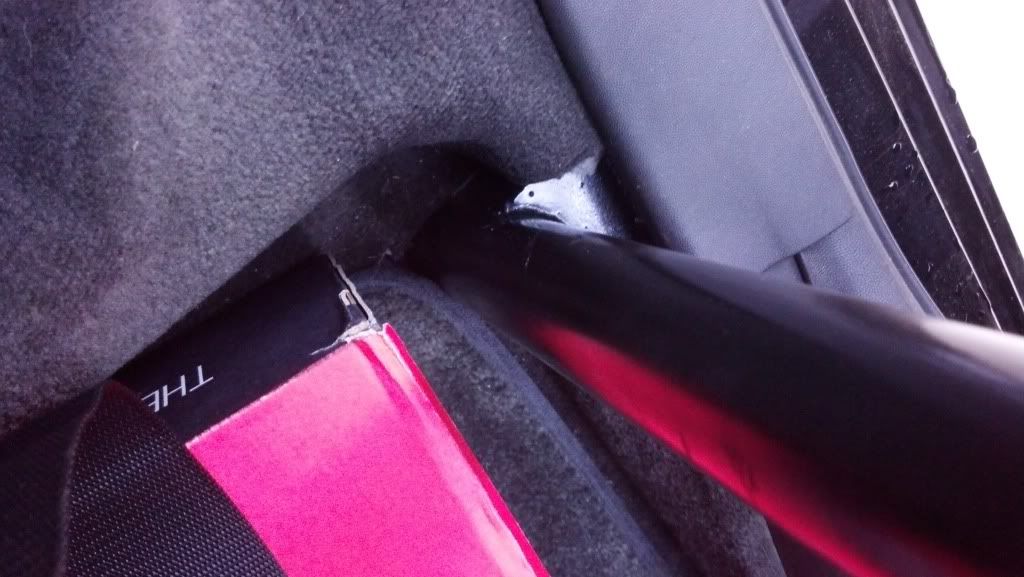
It's hard to see here, but there are actually three separate attachment points per side in the rear.
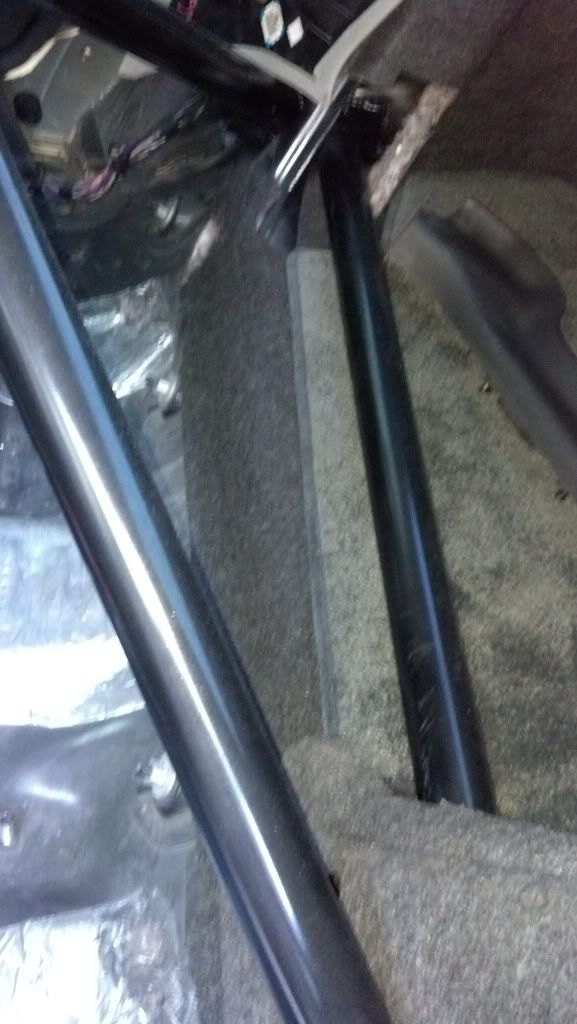
Here's where the hoop supports attach:
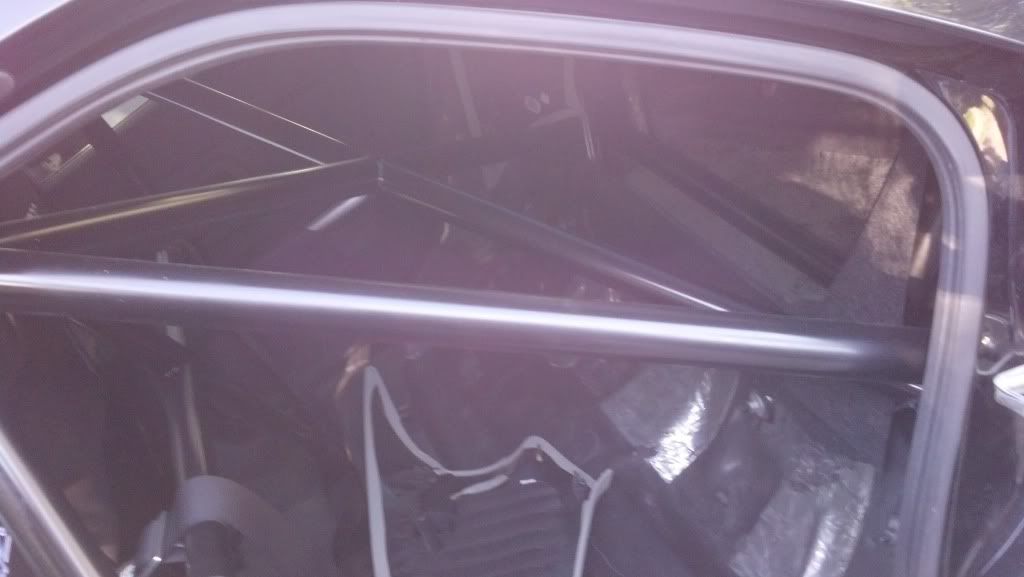
And the strut brace and X bracing (the loose nut pictured has been addressed):
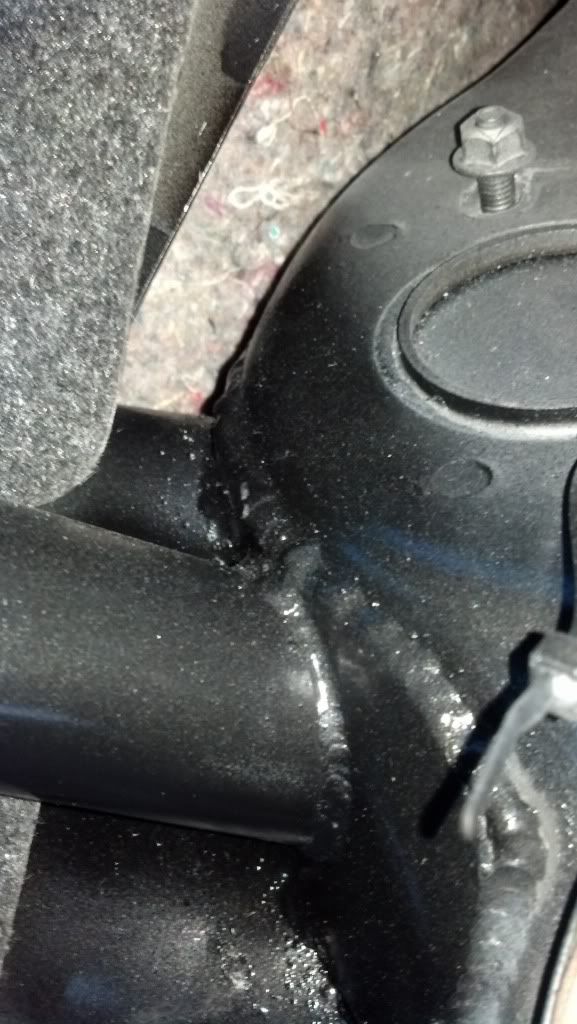
Windows are open in these pictures. Bracing would probably be visible in direct sunlight:
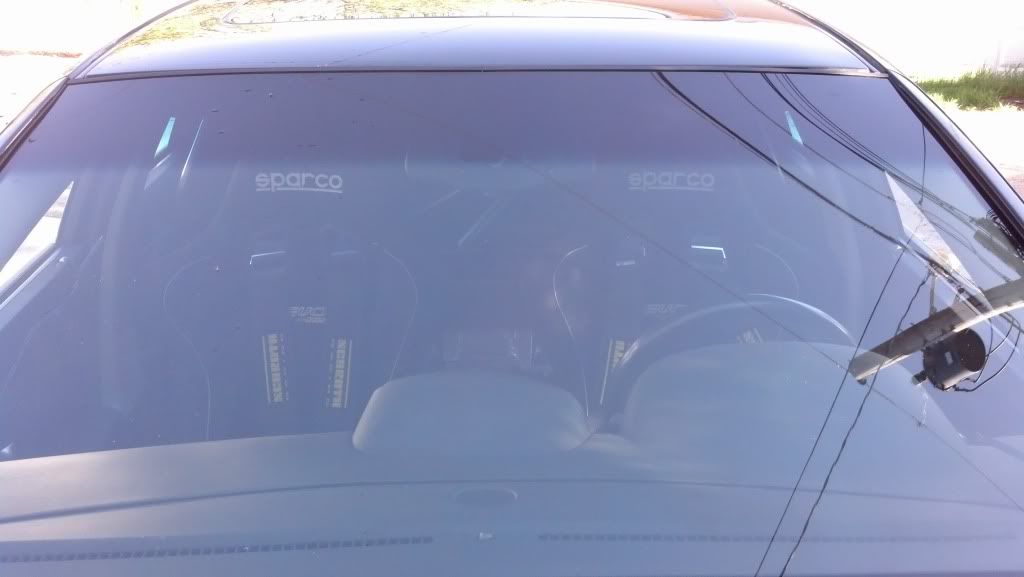
The cross point of the X brace is low enough that a side of it is just barely visible in the rear view mirror along with the diagonal bar of the hoop. Which is nice to not have the view obstructed. Checking over my shoulder for blind spots while different now because of the seating position/harnesses, isn't obstructed either by the bars.
Anyway, some pictures. I suck at taking these kind of pictures, so if anyone wants anything specific, let me know.
These are with all windows up:


And down:


Here's an attachment point for the main hoop:

It's hard to see here, but there are actually three separate attachment points per side in the rear.


Here's where the hoop supports attach:

And the strut brace and X bracing (the loose nut pictured has been addressed):

Windows are open in these pictures. Bracing would probably be visible in direct sunlight:


The cross point of the X brace is low enough that a side of it is just barely visible in the rear view mirror along with the diagonal bar of the hoop. Which is nice to not have the view obstructed. Checking over my shoulder for blind spots while different now because of the seating position/harnesses, isn't obstructed either by the bars.
06-10-2013, 09:07 PM
#39
TECH Enthusiast
Thread Starter
Join Date: Aug 2007
Location: Wash., DC / Kabul, Afghanistan
Posts: 716
Likes: 0
Received 0 Likes
on
0 Posts
With work getting in the way, I haven't been able to make it to the track with the current retint. That said, there isn't anything that I know of in the NASA CCR that prohibits it, so I don't think it should be an issue. With the windows down and during the day, it shouldn't be a problem anyway. No worse than the dark *** visor I wear on my helmet (I have a clear one too if it is especially overcast). Good question, though.