When you click on links to various merchants on this site and make a purchase, this can result in this site earning a commission. Affiliate programs and affiliations include, but are not limited to, the eBay Partner Network.
perfect color for the wheels, chrome or black lugs?
Black. You can see the picture above of my Legacy, similar color wheels, with chrome lug nuts. I think those stood out too much. I put black McGards on that car shortly after.
I was able to get the front bumper installed last Sunday, along with the tinted side marker and clear fog lights. This was the first time I had taken the bumper of this car before so it took a little longer than usual, but reinstalling it was pretty easy. There were no real alignment issues once you cleared everything and snapped the guide pins in place.
I didn't replace the rubber radiator guides when I installed the new OEM radiator on vacation because the bumper was still in place. While I had plenty of access this time, it was still a challenge with the rad already installed.
After I powder coated my grills last year, was was never happy with how much of the engine bay could now be seen through them after the reflectiveness of the OEM chrome was gone. This time around I painted the bumper beam flat black along with the power steering cooler bracket, hard lines, and some of the upper radiator support. I sprayed the washer fluid hoses, horn, and other random wires in the same general area with flat black plastidip. The end result is significantly less visible through the grills and I'm very happy with the way that it turned out.
The Caddy emblems haven't been reinstalled yet, mainly because I was still waiting on the 3M tape and one other small detail... they're lost somewhere in my garage, in the spot I put them so I wouldn't loose them After seeing the grill like this for a few days, I'm starting to consider lightly spraying the chrome OEM emblems with clear and a small amount of black tint. I don't like the blacked out look, but I think a small decrease in the stock sheen might be a nice touch. A clear coat might also help slow the degradation of the colors in the OEM badge. I installed a new one last year and the colors were already showing signs of deterioration.
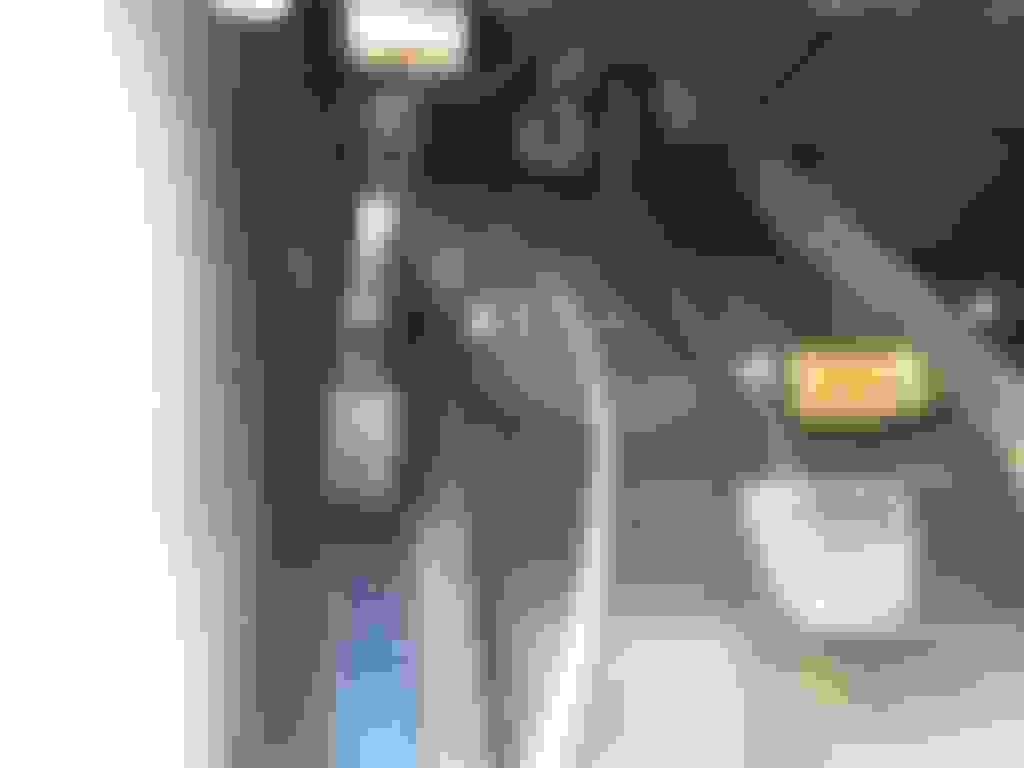
I started the wiring for my LED switchback lights in the DRL's and turn signals. This is still one of my favorite tricks from the old 12V install days... put your multiple stranded wires in the end of the power drill and spin them together for a tight wind.
I brought the wire through the grommet for the hood release cable and ran it up to the opening in the side of the dash.
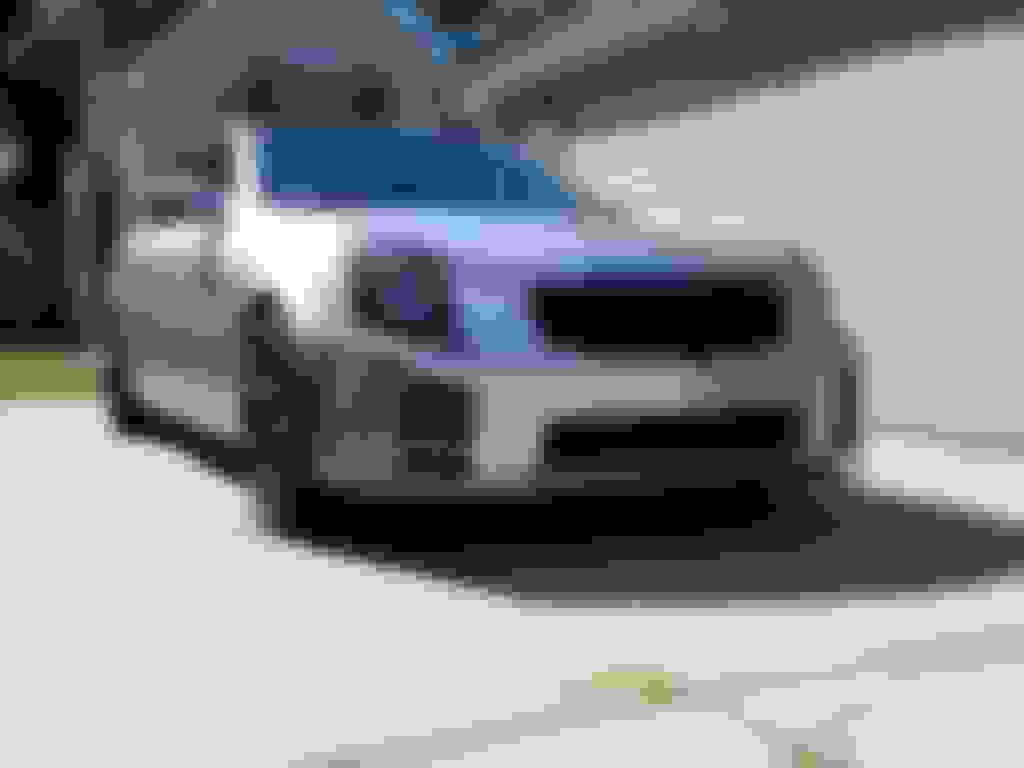
Back in one piece again. I didn't have time to finish the switchback install, mainly the harness and bulb socket modification, so for now I have a set of clear bulbs in the turn signal. It would have been easier to do with the bumper off, but I'm hoping I can finish it with just removing the under tray next weekend. Mounting the load resistors will likely be the most challenging part. I should have done that while I had things torn apart, but I forgot.
The tinted lenses appear to have an orange cast to them in these pictures, but I think its just the reflection of my wood fence in the background.
I installed my new headlight marker 194 LED's. They're plenty bright and the color output is very close to the stock HID's, definitely closer to 5K, but not too blue, and their appearance when off is closer to that of a standard glass bulb. I didn't want to see an exposed circuit board with SMD's. I might go back and put a ring of hot glue around the base of of each bulb as they sit a little loose in the base. I'm concerned that one good pot hole (or a set of kitchen cabinets ) might knock them loose. I did the same with my reverse and license plate LED's to help combat the trunk slam.
Now I just need to get over to the tire shop then list my old wheels/tires in the the classifieds.
Since I had the trunk stripped, I installed some LED license plate and reverse bulbs. I decided to use the lower power 25W bulbs. My windows are only tinted to 35% and I live in the city. The higher powered versions were just a bit obnoxious for my tastes.
I'm liking the idea of brighter reverse lights and after researching the poo out of it, I'm only a little closer to making a purchase because most of the old bulb links are dead and the technology has moved on. There is such a thing as too bright so I was wondering how you think the bulbs below would do?
Yes, those are the bulbs I'm using in my license plates as well as the headlight triangles and soon to be front side markers. I think they're going to require some "modification" to fit in the side markers, but the current ones I have installed in my tinted clear marker lenses are too blue and need to be replaced for OCD reasons.
For the reverse lights, I used a similar bulb to what Fuzzy had posted in one of his threads, but at a much lower wattage, 25W I think. They are a projector style, like the ones you linked to, with radial SMD's on the side. I don't have tinted reverse lenses, my rear window is only tinted to 35%, and I live in the city. All of those factors are why I decided I didn't need something blinding shooting out the rear of my car. What I have is significantly brighter than stock, very white in color temp, shows a bit of a hotspot on the lens, but exactly what I was looking for. Unfortunately, I think I bought them on eBay, so I can't even search my own purchase history for specs.


 09-19-2015, 12:46 PM


 After seeing the grill like this for a few days, I'm starting to consider lightly spraying the chrome OEM emblems with clear and a small amount of black tint. I don't like the blacked out look, but I think a small decrease in the stock sheen might be a nice touch. A clear coat might also help slow the degradation of the colors in the OEM badge. I installed a new one last year and the colors were already showing signs of deterioration.
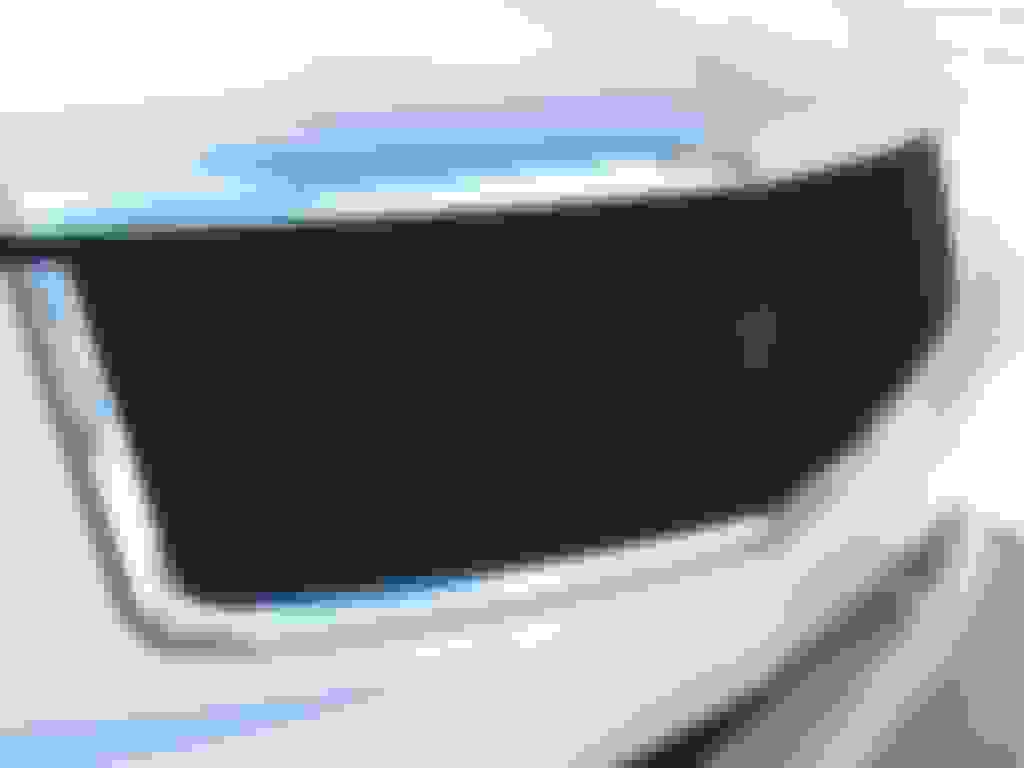


 ) might knock them loose. I did the same with my reverse and license plate LED's to help combat the trunk slam.