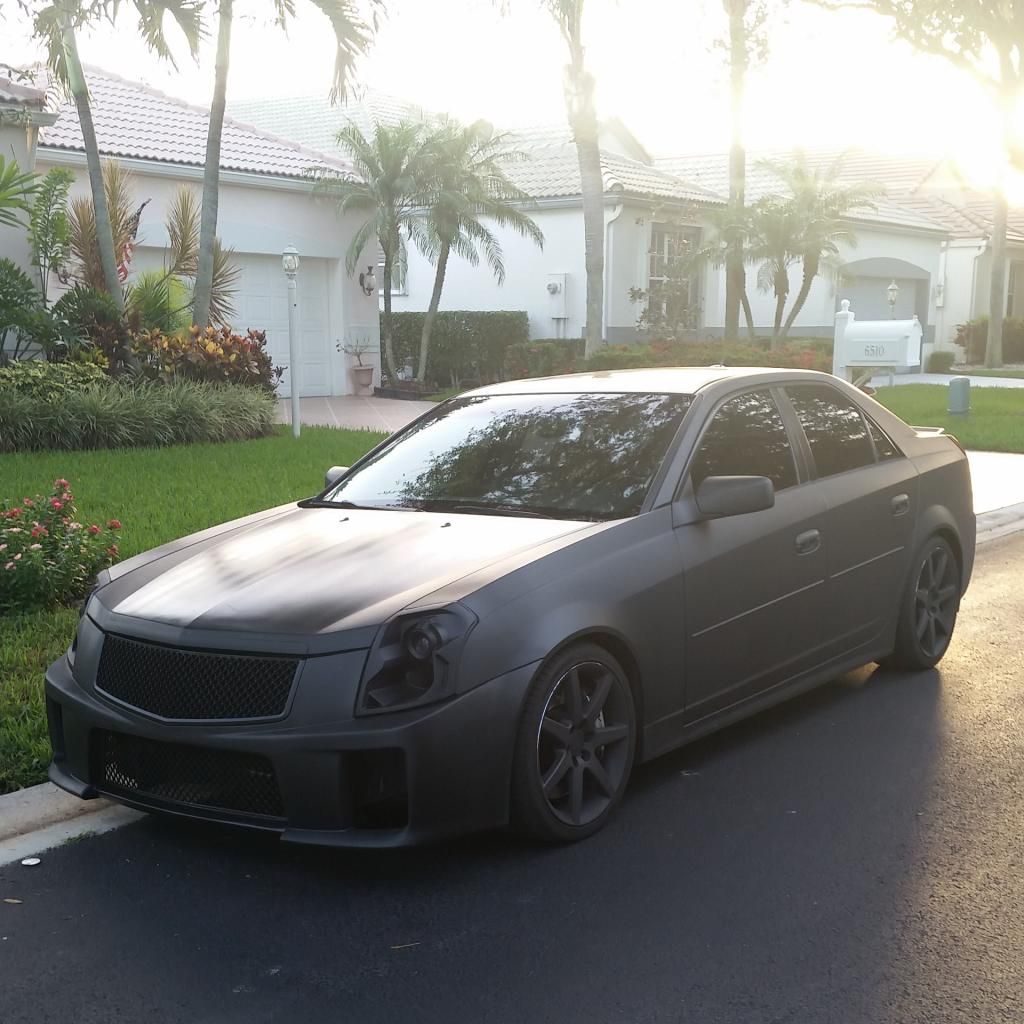
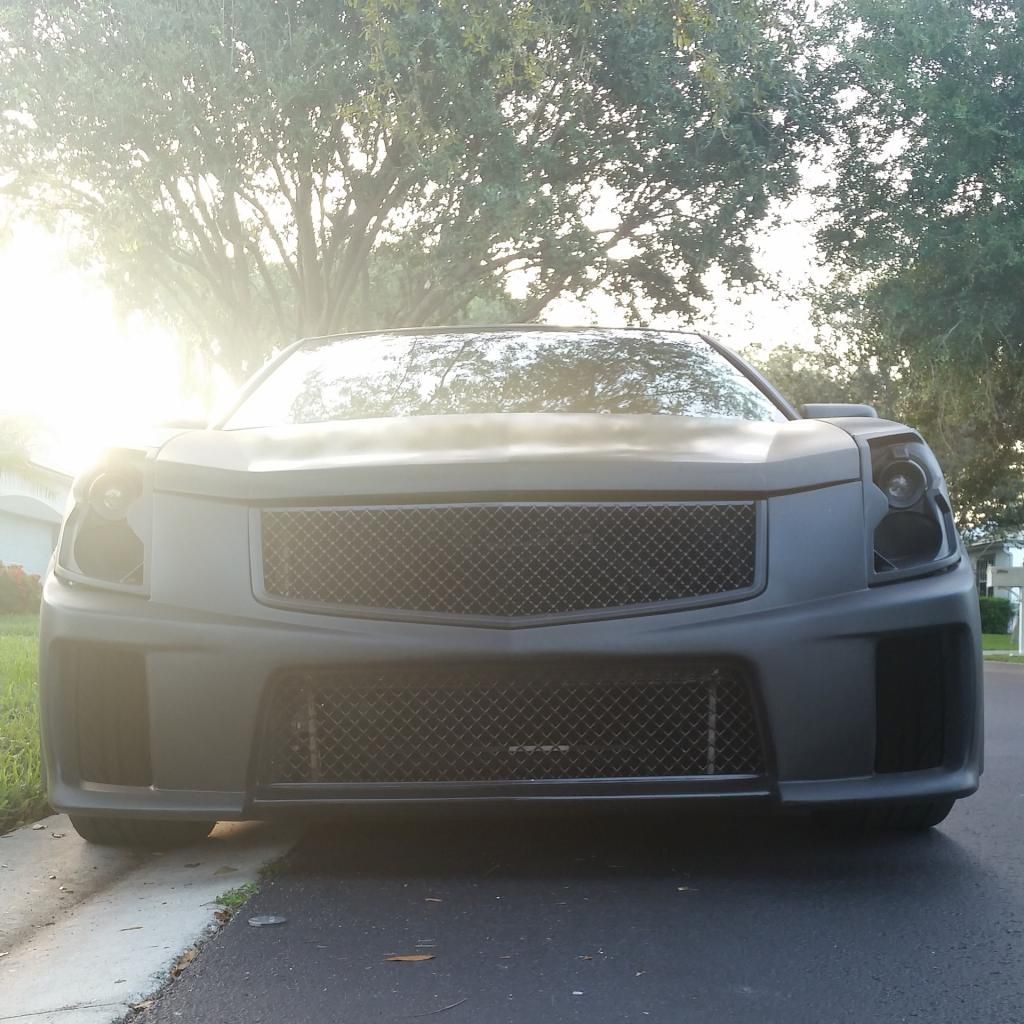
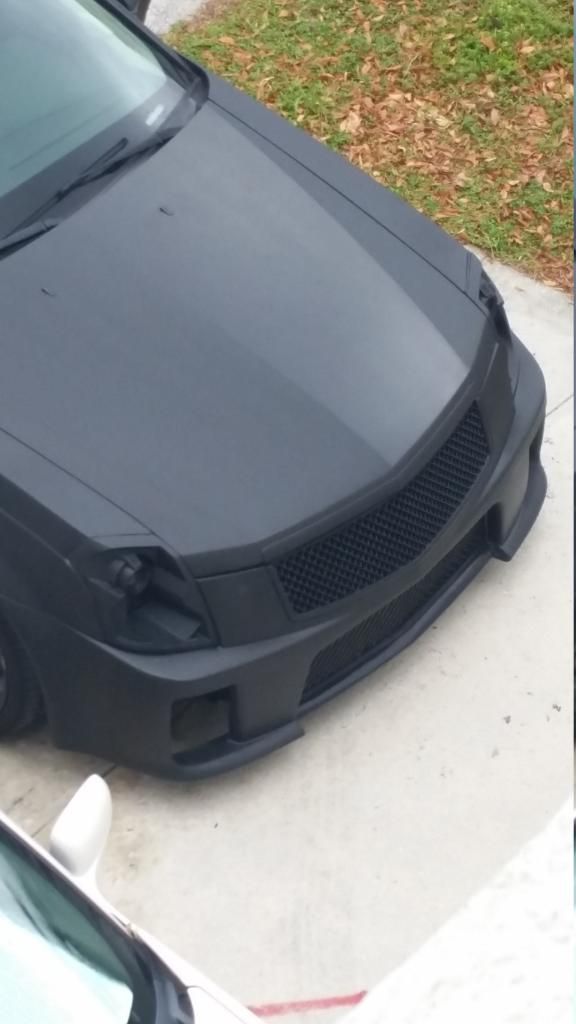
The monstrosity that I've done. V2 lower grille on a V1 bumper.


 08-25-2014, 10:17 AM
#24

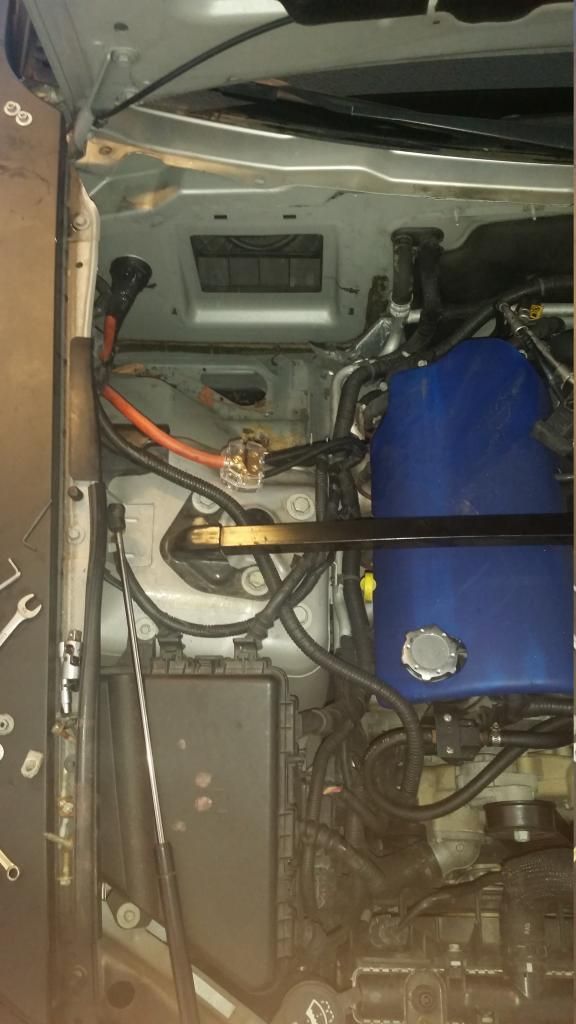
Im waiting on the battery relocate kit. Once i do that, I'll be figuring out how to move the fusebox back. I'll post pics.
08-25-2014, 10:17 AM
#25
08-25-2014, 05:18 PM
#26
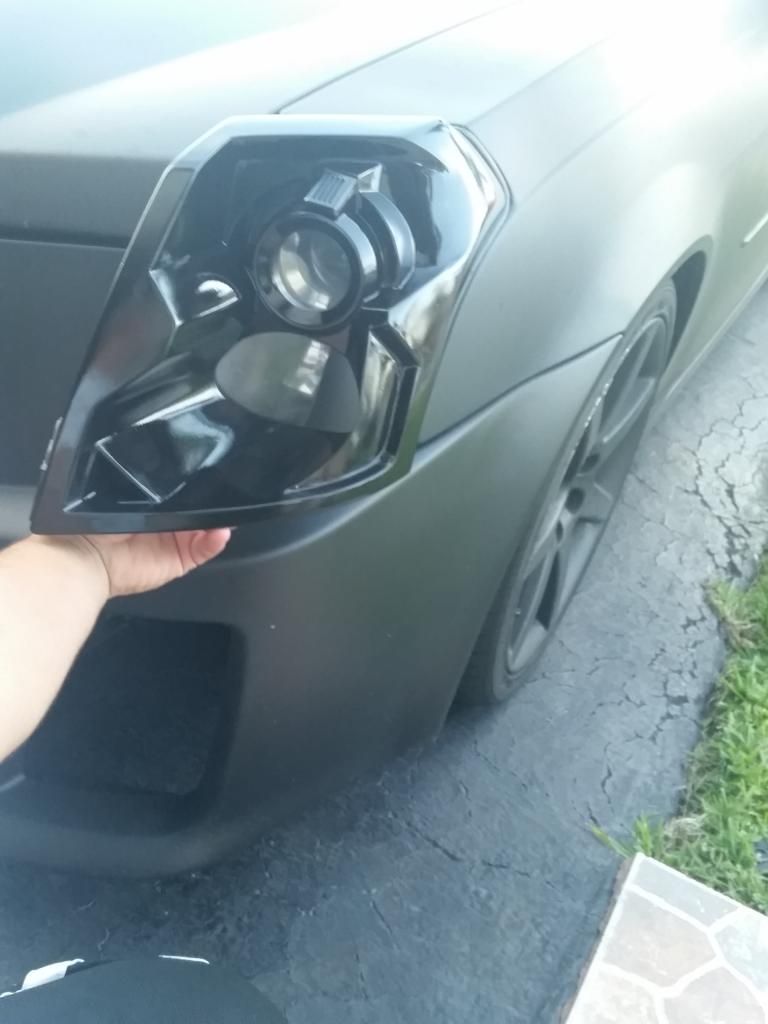
Started a new project today, something else to mess up. These are spare headlights!! Imagine it all as 1 piece (outer lense and inner gray trim). The chrome trim surrounding the projector will be painted gloss black, and the rest of the light painted flat black (to match my car). What do you guys think?

09-06-2014, 01:57 PM
#27
So this is how the headlight looks now. Soon I'll post pics of them on the car, with matching fog lights coming later on.
Also, got started on my front splitter. Used 1/4" steel rod and bent it with my knee lol. I made a template out of the plywood and used it as a guide for the bends. One I have it mounted, I'm either going to fiberglass it all or put a sheet of aluminum? Don't know which one yet.

Also, got started on my front splitter. Used 1/4" steel rod and bent it with my knee lol. I made a template out of the plywood and used it as a guide for the bends. One I have it mounted, I'm either going to fiberglass it all or put a sheet of aluminum? Don't know which one yet.
 not a huge fan of your current headlight maskings, not sure if its too much masking?
09-07-2014, 10:14 AM
not a huge fan of your current headlight maskings, not sure if its too much masking?
09-07-2014, 10:14 AM
#31
Teching In

Join Date: Aug 2012
Location: CT
Posts: 17
Likes: 0
Received 0 Likes
on
0 Posts
Dude, I did a retrofit, you can check it out here.
http://www.cadillacforums.com/forums...-fx-r-3-a.html
I wasn't able to separate the grey bezel from the lens. It looked like they were chemically bonded to me. How did you get them apart!?
http://www.cadillacforums.com/forums...-fx-r-3-a.html
I wasn't able to separate the grey bezel from the lens. It looked like they were chemically bonded to me. How did you get them apart!?
09-07-2014, 01:36 PM
#32
Dude, I did a retrofit, you can check it out here.
http://www.cadillacforums.com/forums...-fx-r-3-a.html
I wasn't able to separate the grey bezel from the lens. It looked like they were chemically bonded to me. How did you get them apart!?
http://www.cadillacforums.com/forums...-fx-r-3-a.html
I wasn't able to separate the grey bezel from the lens. It looked like they were chemically bonded to me. How did you get them apart!?
I didn't take it apart. I literally cut the lense out, leaving JUST the Grey trim part. Then I epoxied the out grey trim to the inner grey bezel, then just fiberglass bondo all around the edges to meet the two pieces together. Smoothed it out and painted. Now both are 1 piece. The lights won't have the lenses like the stock lights, you'll be able to stick ur Hand in and touch the projector lol
09-14-2014, 05:23 PM
#33
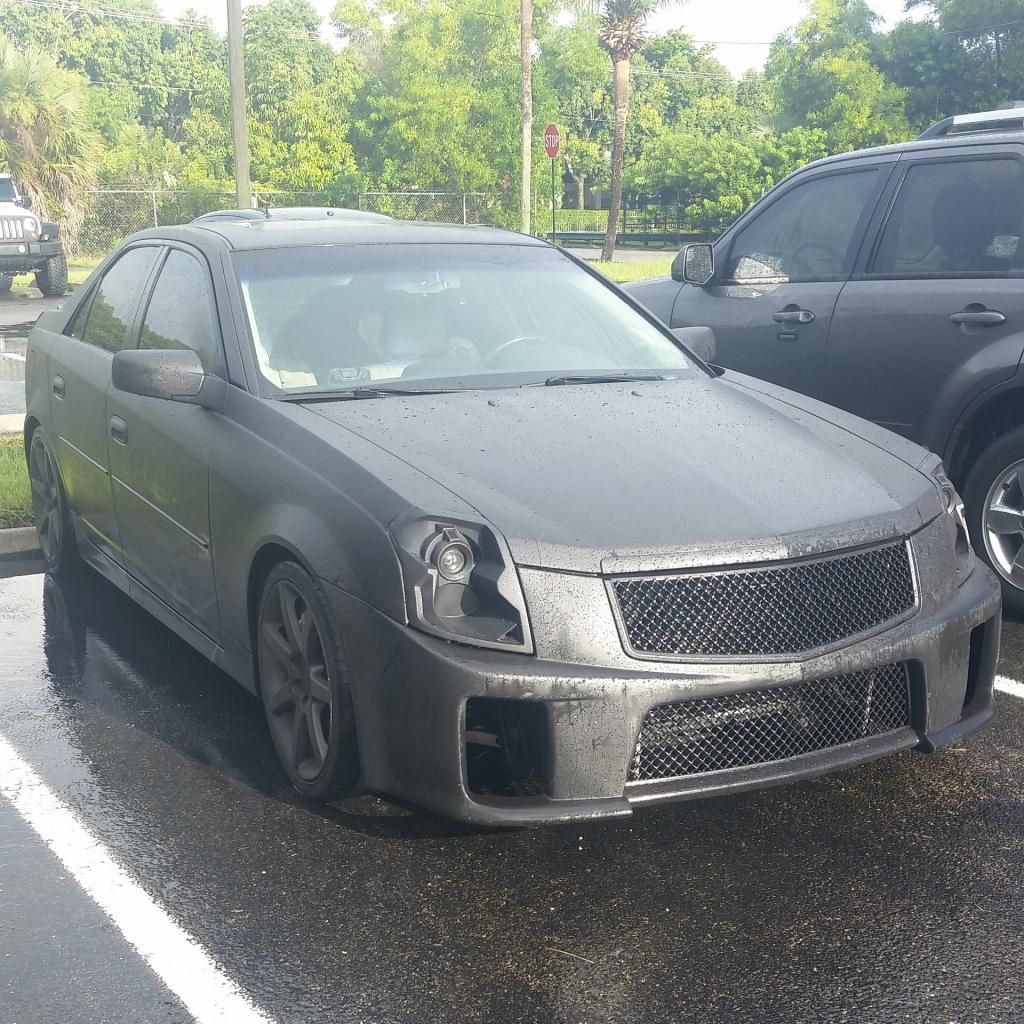
So I finished my headlights. I love the way they look now, transformer like!. The fogs light are going to look exactly the same, I'm also using another set of headlights I have and I'll be cutting them up also. Obviously not everyone will agree, but hey its my car and I don't want to look like every other V out there. Also got the battery in the trunk finally. I attempted to move the fuse box to the original battery location, but I ran into some problems. Ill need to extend the wiring going to the drivers side headlight and the radiator fan wiring. Other than that, it seems like ill be able to move it over so that's the next step. Now for pictures..
09-14-2014, 06:42 PM
#35
TECH Enthusiast
iTrader: (4)
Join Date: Apr 2014
Location: San Jose, CA
Posts: 602
Likes: 0
Received 0 Likes
on
0 Posts
digging the headlights bro...I think a slight color contrast somewhere would look siccck....
awesome job on moving the battery, got any more photos of it in the trunk? whered you ground in the rear?
awesome job on moving the battery, got any more photos of it in the trunk? whered you ground in the rear?
09-14-2014, 07:05 PM
#36
I ran the grounds from both side of the trunk, I'm guessing one side was the amp? .. once you remove the side panels; you can easily see where the grounds are for those two. One side ground was enough to start the car easily, but I did both sides just for extra grounds. So I only had to run the 0 gauge power wire, which I did all through the inside so nothing hangs under the car.