When you click on links to various merchants on this site and make a purchase, this can result in this site earning a commission. Affiliate programs and affiliations include, but are not limited to, the eBay Partner Network.
Fays2 ordered! Couldn't be more excited for it. Marc at SC&C is awesome gave me some real insight into how I was setup and where I should go. I also sent out quote requests for a Strange and Moser Ford 9''. going with 4.56 gears, and the Eaton True trac, 31 spline axles. Yes, 35 spline axles are the same price, but the true trac for the 35 spline axles is 250$ more. And when I run the calcs for axle torque from moser, I'm well below the limit even with their 2X safety factor.
I'll be ordering the axle with the gm upper ears welded on, but something I didn't know till I spoke with Marc and confirmed with each company, was that the upper ears are 1'' taller than stock. that's good for increasing antisquat, but bad for me because it moves the rear roll center further into the trunk. The ideal solution would be to take Marcs advice and get the Currie rear end which doesn't have that 1'' offset, but currie is yet more expensive than strange or moser. So my plan is to save that money and start the journey for either a DIY torque arm or 3 link setup -but continue to use the triangulated 4 link till its ready so as to not ruin my summer.
Just an quick update. When the car is lowered, you get a bump in anti-squat. coupled with 4'' tall antisquat relocators(the edelbrock ones I have), bump it through the roof. Touching the gas pedal raises the rear of the car at least an inch and getting into throttle will boost up by what feels like several inches. Just driving on the street around corners made it very jumpy if the gas was touched at all.
I removed them and the car is much better behaved now.
The front suspension is apart right now installing tall lower ball joints from SC&C. and installing the 6'' adjuster sleeve for the upper control arm so I can actually get some caster in my alignment.
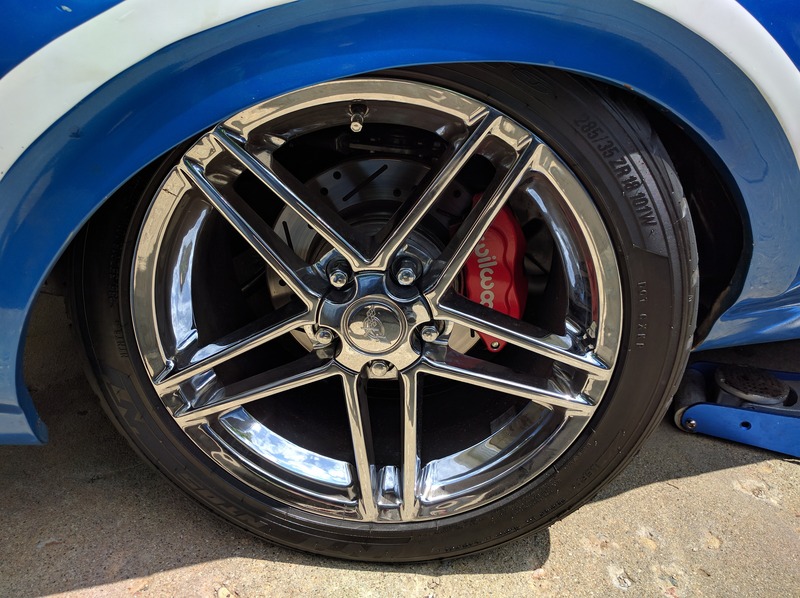
Here's a video I took two weeks ago. First time on the highway. 3.23 gears and a 295/45R18 in back. 1st goes to 63mph, 2nd to 90(I'll be changing that sooooon)
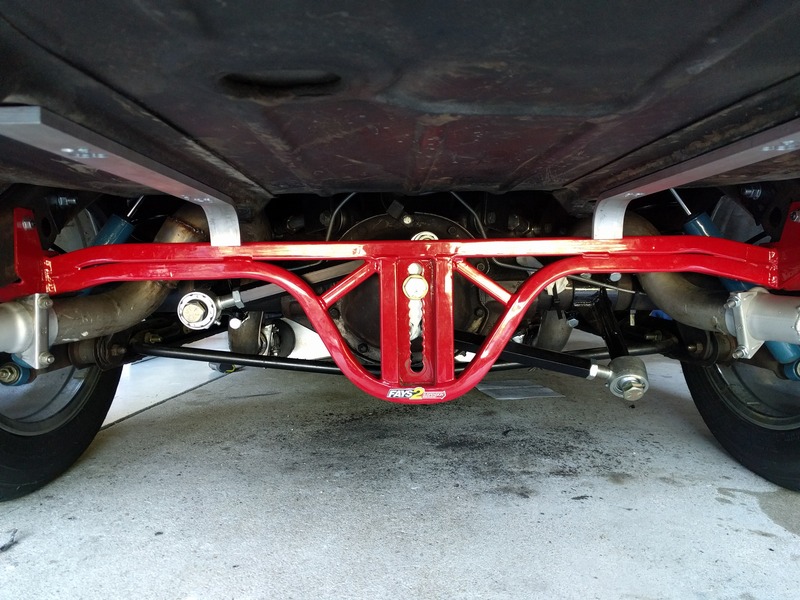
FAYS2 Watts link on a 69 442 with 8.2 Bop rearend.
So I started installing my FAYS2 ways link last night. It's a real nice piece, solid construction, good welds... Etc(of course it is - made in 'merical!!!)
I think I'll start a new thread detailing the install. It comes with full color printed instructions, which is awesome, but I'll add some high Def pics to help any one else.
What are you using for clutch and brake pedals, OEM?
Yeah oem . I had to buy the clutch pedal. I think around page 2 in this thread I show the mods I did to the pedal bracket in order for the hydraulic clutch to mate up correctly.
Soo, the 1'' hotchkis drop springs for SB chevy, tall upper AND lower ball joints form Marc at SC&C, and the 2'' drop spindle. This set the fender onto the tire after about half a steering wheel turn.
Ride hieght was perfect, then I added the tall lower ball joint to finalize the Roll Center and bumpsteer correction. The balljoint is a .75'' dropl, but due to the 2:1 motion ratio, it comes out to 1.5. with 285's up front this caused me the rub issue.
Not a huge deal, just wish I had realized it before trying to drive. the solution was to add in a 3/4'' SPC coil spring spacer. It is a cast aluminum peice that goes on the bottom of the spring and has the spring stopper cast into it. Ride height is back to normal now.
Last edited by JetMech442; 07-15-2016 at 08:10 PM.
Reason: forgot picture
I got the rear exhaust back in. Everything fits nicely with the Fays2. At first I was driving around with the adjustment all the way at the bottom, becaseu thats where the instructions have you set it up at. didn't care for it at all. Then I moved it up to what oyu see-HUGE difference. Aside form having zero lateral movement now, the rearend rolls considerably less and the whole thing feels stable.
What are you doing about gas tank? I seem to recall that the Watts didn't leave much room for stock tank. Also, did you do exhaust mods to clear it?
Lookin' good!
Thanks Goldhawg(sorry for the late reply) . I used the '69 Nova tank re-popped from Canada. But l reused the fuel pickup from the cutlass(cause I had just bought it brand new), so obviously the fuel gage reads improperly.
I have the flowmaster american thunder pipes from way back in the day, they cleared without an issue.
I've been incredibly happy with how stable it feels now with the fays2. I've left the adjustment 1 setting from the top right now because I've been street driving and oversteer is way more fun.
But I love that when I get to autocross it in may, I can drop it several settings and have the rear end work more and grab traction into corners.
Last edited by JetMech442; 04-20-2017 at 06:18 PM.
Reason: forgot to add quote .
So, I noticed photobucket is now trying to force users who post to forums to pay 480$ yearly membership in order to get their linked photos back. That is a ridiculous fee for people trying to share information on the internet, so I will make a concerted effort now to go back and repair my threads/posts.
Anywho...I came here to update my new suspension mods. The cutlass now rolls on a custom 3 link in back with a Fab 9. I'll find a new way to post the pics and share the calculator I used. I can't believe how the car behaves now, stay tuned for pics/vids.
Yeah oem . I had to buy the clutch pedal. I think around page 2 in this thread I show the mods I did to the pedal bracket in order for the hydraulic clutch to mate up correctly.
I've updated all the pics in this thread(now to finish the rest of my posts...sigh). Let me know if there's a particular pic you need, I can just snap one on the car if I don't have it. For the clutch slave to pedal bracket, I jsut bought the bracket from speed inc. I could have made one, but I wanted the angle and positioning perfect. I've attached the pics for the mods required to fit the t56 clutch slave to the firewall and pedal bracket assembly. Ask any questions you have. Also dropped another vid from two years ago I think. I need to get some new ones now that the watts is installed.
Hmm. I'm 100% certain I do not need that fays2 thing but I'm also certain I want one.
Well, I convinced myself that it would stop the tires from rubbing in hard corners. After that I just couldn't tolerate roll center migration anymore(now that I knew about it lol), then, I decided I HAD to have a red frame thingy hanging down from the back....
Seriously though, the axle is dead center and doesn't move. and being able to change the car from oversteer to understeer in less than 10 minutes is awesome. It's made the whole thing so stable. If you've already got the front suspension taken care of(roll center not underground, bumpsteer corrected, modern caster/camber gain...etc) then this ties the whole car together. So much in fact, that I decided that a 3 link was in order so I could have an adjustable roll center as well as adjustable anti-squat settings. I'll start detailing that process soon, but for now I converted to a Fab 9 rearend, 4:56 gears, Eaton TrueTrac, and a 3 link custom conversion.
Last edited by JetMech442; 09-17-2017 at 04:06 PM.
I ran into a few issues before snow hit. My timkin tapered bearings crapped themselves after about 300 miles. Just to be up front this is IN NO WAY THE FAULT OF MOSER OR TIMKEN. The first and easiest issue to correct was that the inner seals had been installed in the housing, timkin tapered bearings need oil, so that didn't help(although the bearings weren't blued and didn't have any signs of overheating).
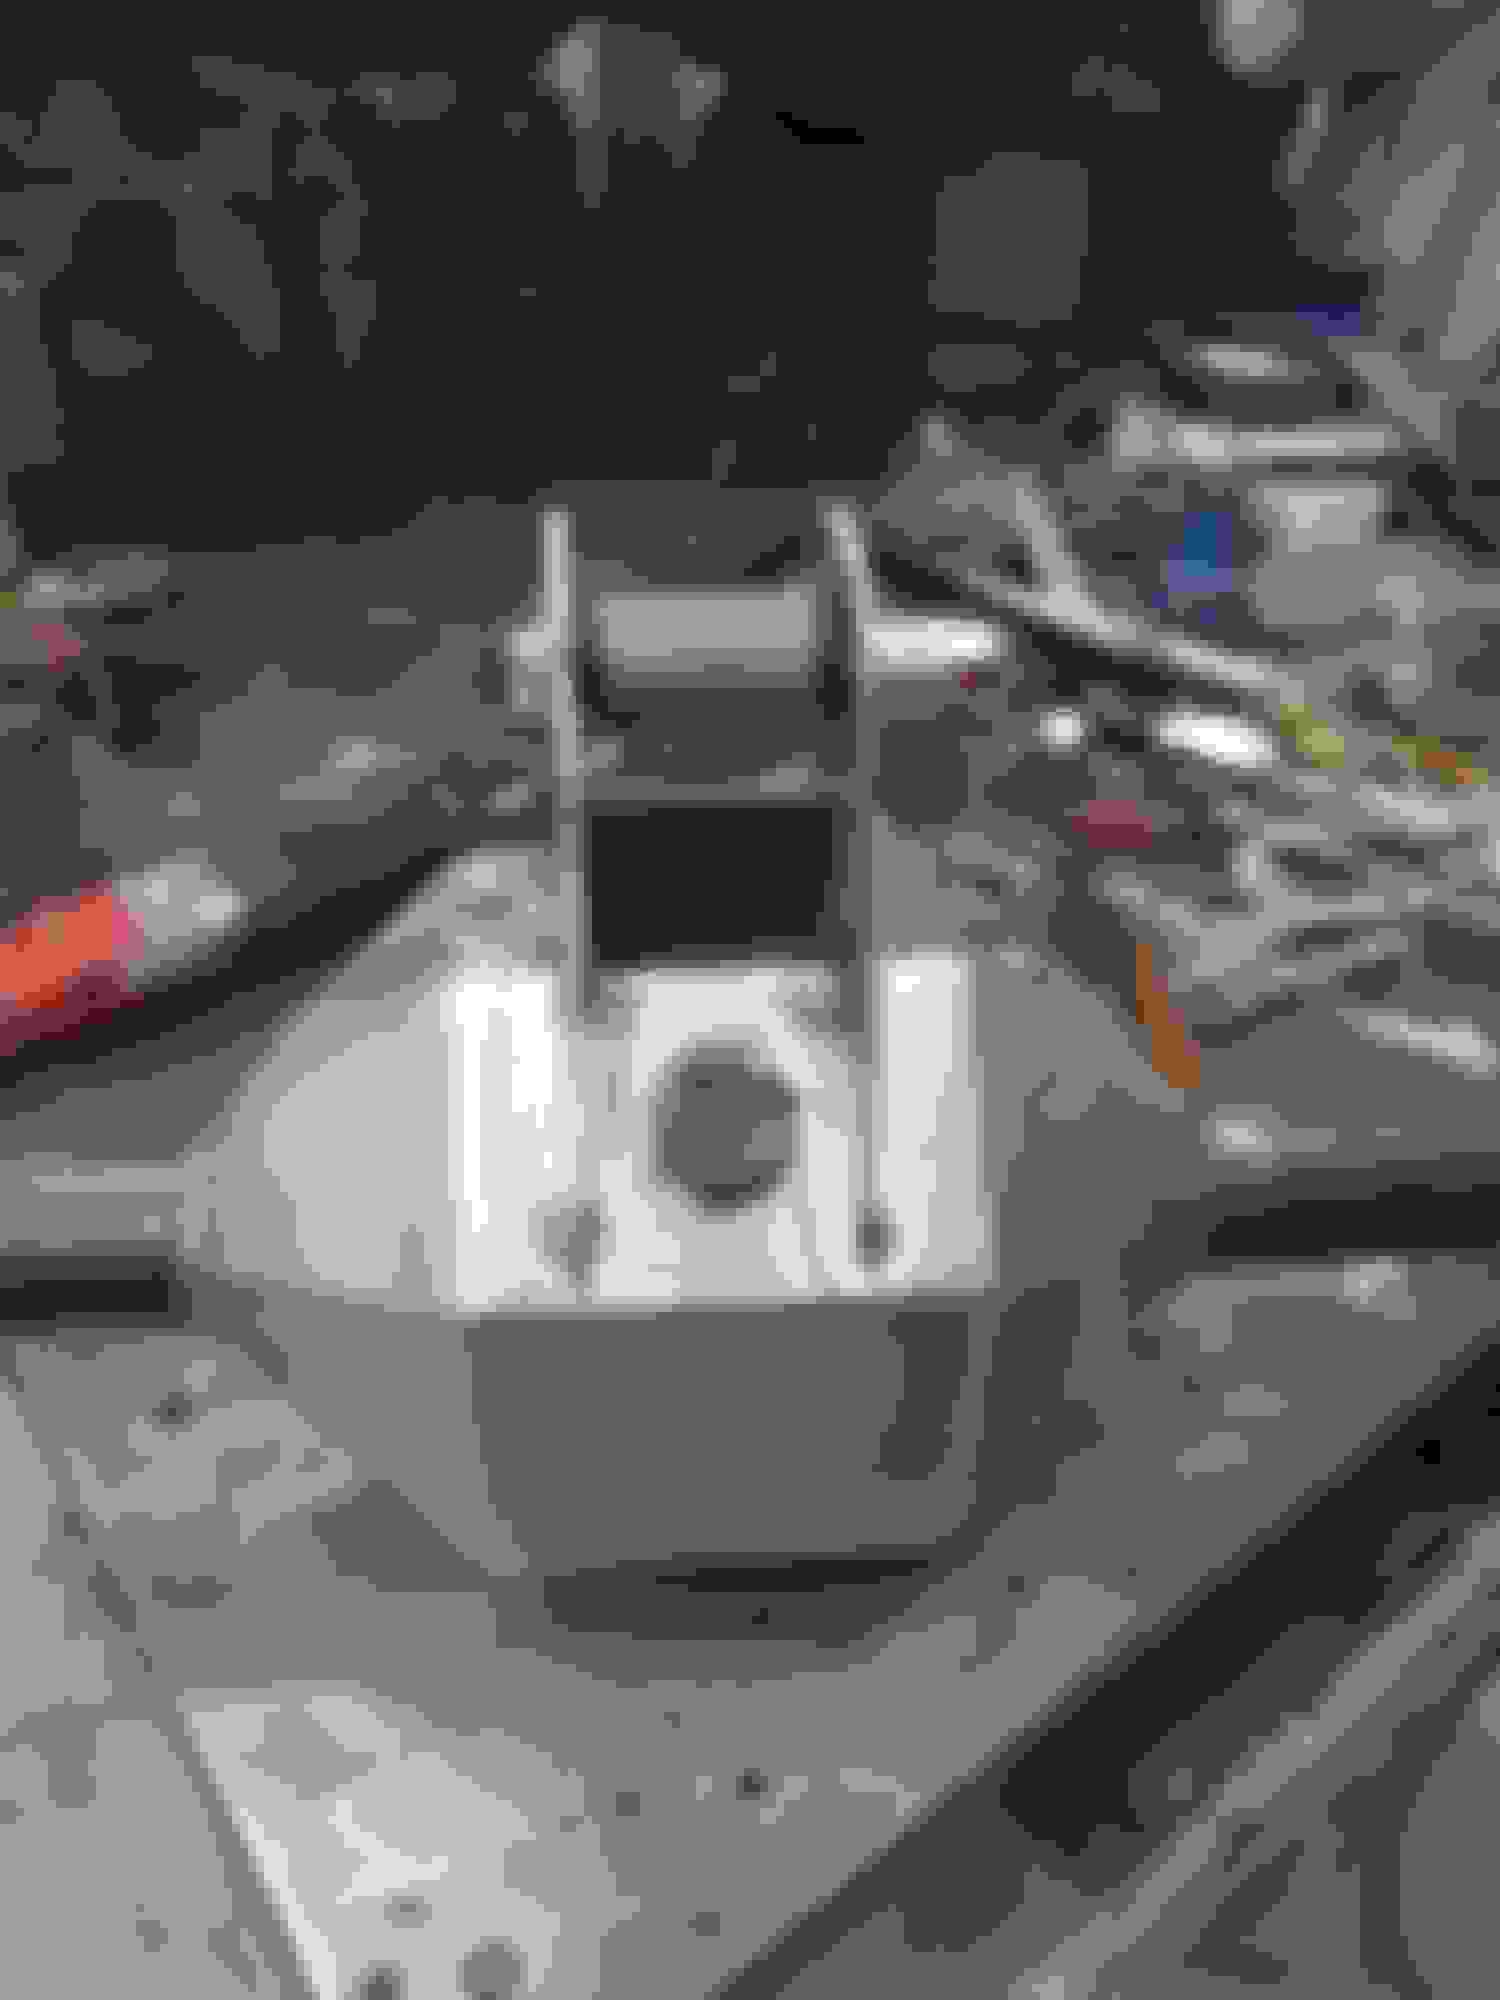
Next, I am using GM Metric calipers (78 el dorado) that comes with the OPG "rear disc brake conversion kit". When I started the 3 link conversion there wasn't a kit to put the metrics on ford 9 with big ends, so I planned to make my own bracket to hold the pads and take up the space that the drum brake backing plate would normally take up. The bearings stickout about .230'' as seen below.
I didn't have the backing plate to measure, so we machined it to fill the space of the bearing protrusion(we got it to .200'' thick.)
That's where I went wrong. The bearing needs more preload. I spoke with moser and they confirmed this(although wold not say how much probably for legal reasons I guess, I don't know). So I checked speedway and they now sell a kit to get my metric calipers onto the ford 9'' with big ends. It comes with a spacer that is a few thousandths off an 1/8th inch (.118''). This turned out to be the right amount of crush and everything bolted up very nicely. the crush helps push the bearing against the housing to seal it.
Finally, the speedway kit doesn't allow full engagement of the tbolts with washers and I had pulled a few threads. So I ground a flat off longer grade 8 flange bolts, being careful not to get into the radius.
Theres very little information on this on the webs so i thought this might help someone.
Last edited by JetMech442; 01-01-2018 at 03:47 PM.
Had a rough summer and didn't get much done or much driving either unfortunately. But I figured I could show my method for designing and getting the custom 3Link installed.
Initially I wanted to keep the ears on the fab9 for the triangulated mounts, just incase something broke and I wanted to just hook up the old system. I also hoped to create a mount that bolted into the current frame pickups and would let the 3link mount in the middle. I ran several FEA simulations on a number of design using Fusion360 and for the range of adjustability I was looking for, the stresses from both bending and torsion would exceed even 4130 chromoly tubing we were planning to use(especially since there would be several welds which would be weaker). I was using values for a 3800# car launching at 1g(optimistic I know, lol, but this is a solid value used in the industry and for a car like mine it provides a nice safety factor.
There were 3 things I tried to get right with the design:
1) Centerlink length should be at least as long if not longer in SVA than the stock setup. This prevents the pinion angle change from getting worse. I ended up going from an ~8�� SVA length to a 12.2��-so improvement! We could have gotten more if we hung the axle mount more behind the housing, but my buddy and long time fabricator felt uneasy about it(despite my FEA simulations). Sometimes its just better to rely on guts and experience 😊. I also really wanted a centerlink that was adjustable while mounted, but we were having a hard time finding the required HD hardware in time to keep the project moving forward. For now, I have to unmount a side and adjust to set pinion angle after I change antisquat. It�s not the end of the world, but I�d like to try and fab a new one over the winter. BTW, we saved a lot of design time by using the centerlink bushings out of a 2011 mustang (SN197).
-Upper Mount fabbed. Uses SN197 bushings for simplicity.
SN197 bushings for the upper custom link.
2) Adjustability of Antisquat: . I considered both a torque arm or a 3 link, and ultimately decided on the 3 link because I wanted adjustable Anti-squat for driving on the street vs autoX vs Roadcourse. The final design gives me a 6 equal adjustments in a range of 40-180% antisquat. I currently have it in the 100% selection and the car launches without lifting or squatting the rear(noticeably at least). We accomplished this by getting the car on the fab table and taking multiple measurements with extreme accuracy. Design for perfection cause when you get to cutting/welding there�s always some shift-😊.
there are 2 adjsutments on the frame side as well. the trunk hole was there previously from running edelbrock no-hop bars, but withthe new setup I would have needed it anyways....
Mounting pads welded into the frame make cutting/bending the bar a much simpler task.
For peice of mind we ended up tying the bar into the spring mounts. This wouldn't have been my first choice, but again, when you get to cuttin and weldin....
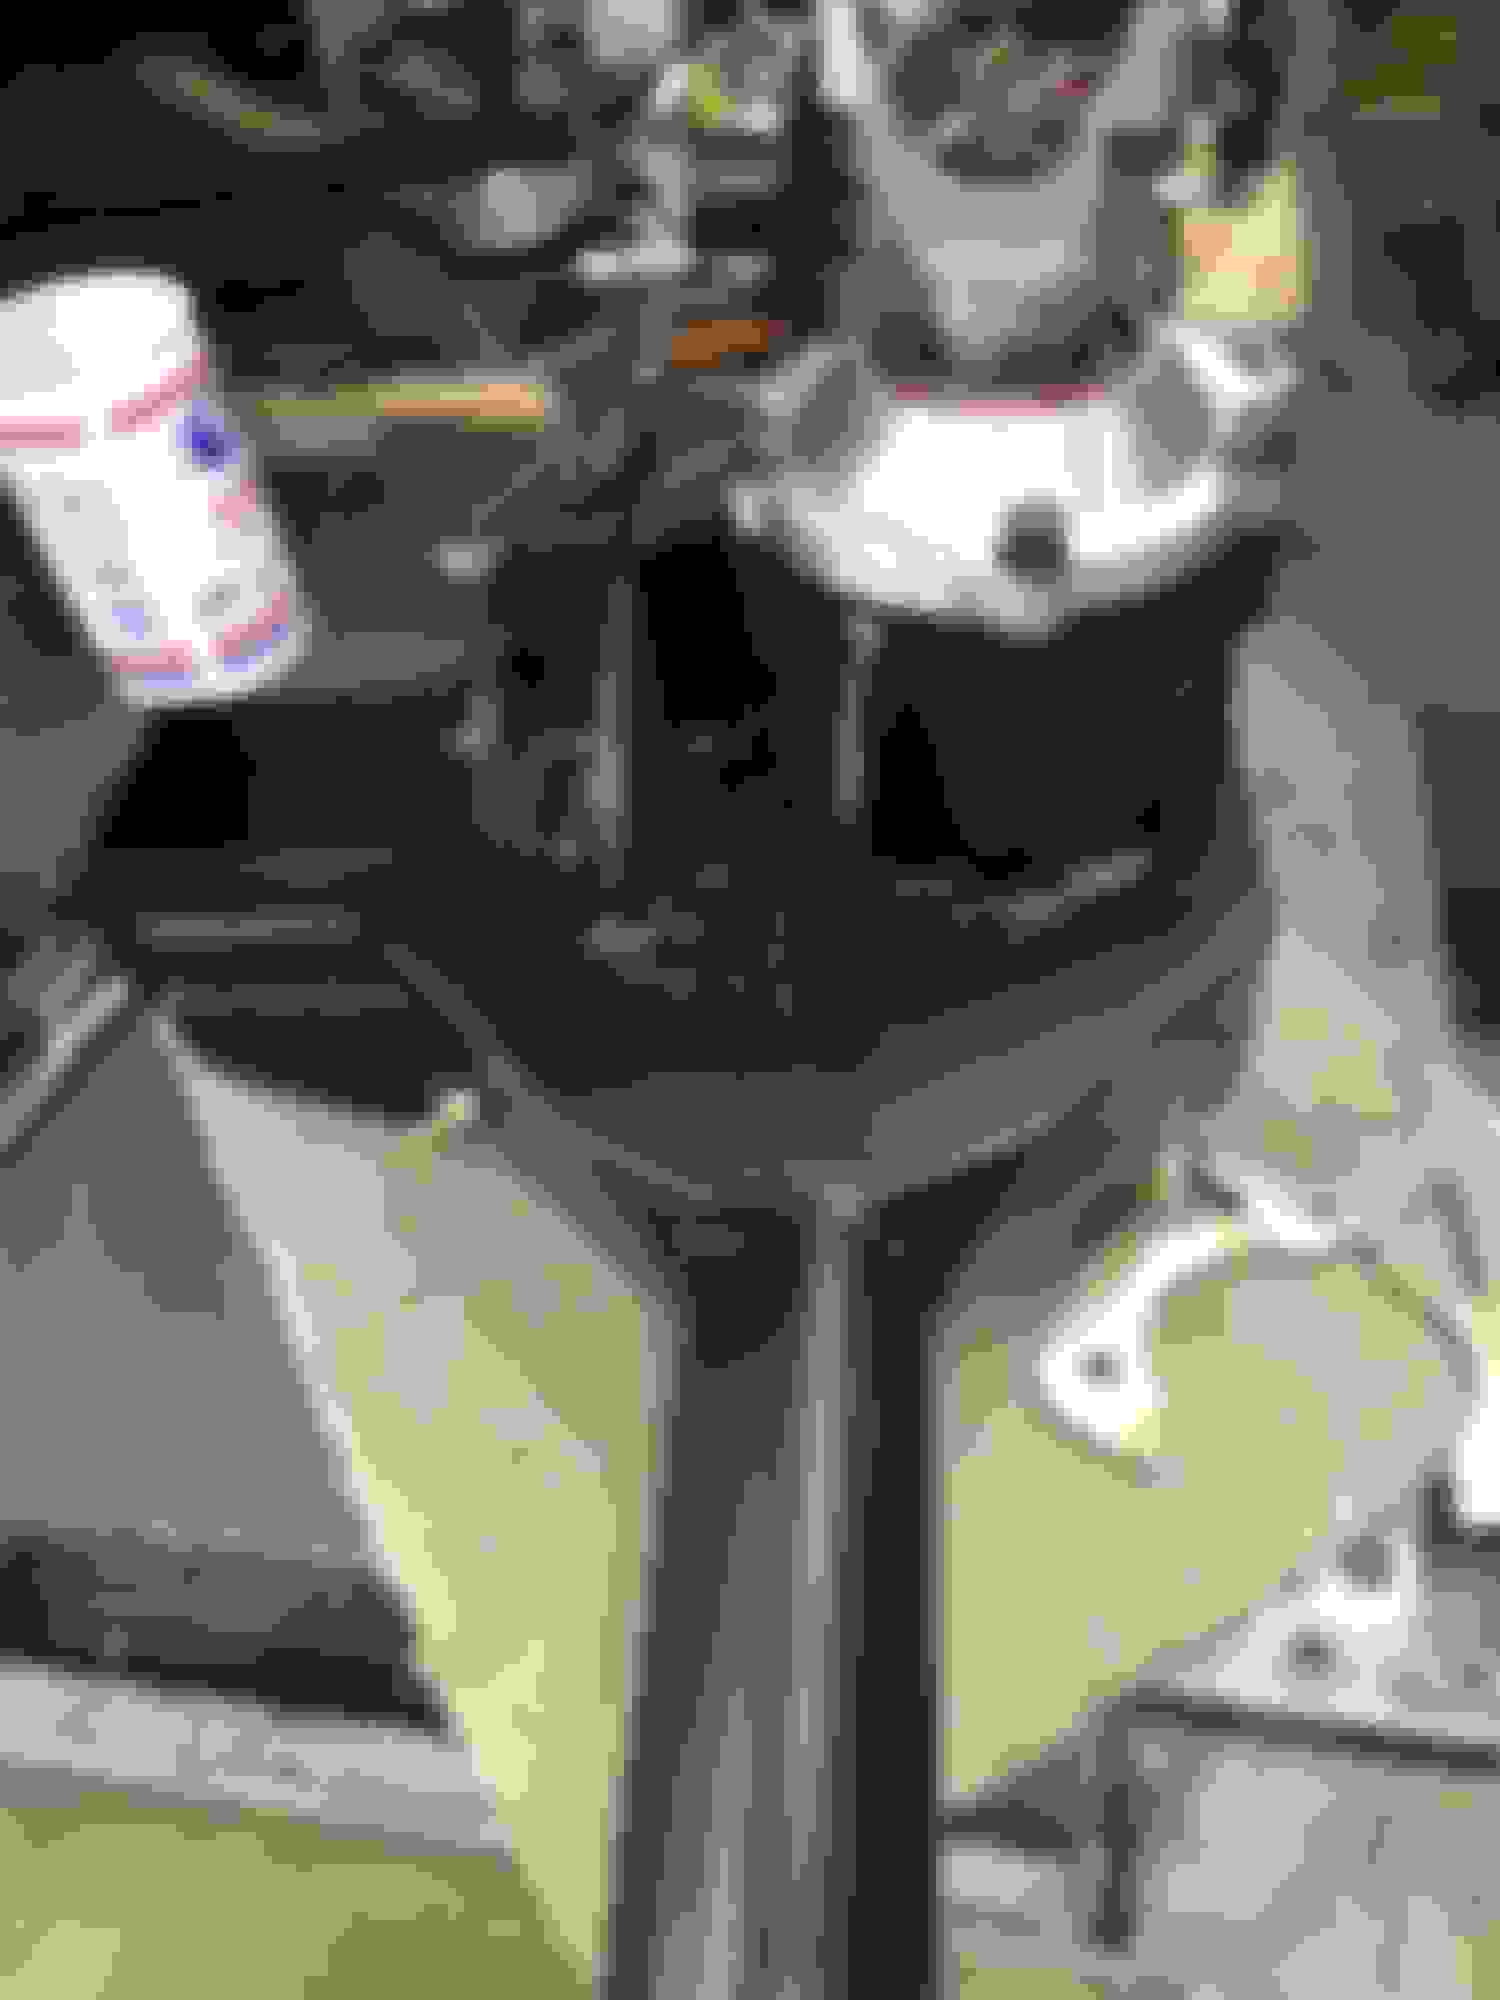
69 cutlass on the fab table.
converting the Moser Fab9 from a 4link setup to 3 link.
3) Retain the backseat: We did retain the backseat,buuuut�If I could do it again, I probably wouldn�t have made this a priority. I think an even better design could be had if the centerlink mounted under an armrest that split the two seats in half. But as it turns out, the bar protruded about 1.5inches into the very bottom portion of the backseat, and once covered up had no noticeable effect back there(especially since the backseats are out of an �06 M5).
I would have loved to offset the upper link for torque cancellation, but this was just adding another element of unknown to a project I was about neck-high in, so I am very content with having the mount centered.
Yeah man, need to get my stuff together!
So with the heavy prodding of a good buddy, I was able to go to Blackhawk Farms Raceway in October. Time of my life! Looking at selling plasma to pay for track fees,lol. It was so awesome to be out there with a bunch of ZL1's, Ferarris, BMW's..etc. Most surprising was that I didn't puke any oil, or break down or cause any track delays. My master plan was to do a few autoX's first to work out the kinks, but my buddy convinced me to just man up and go run it- so glad he did. The car felt great. the 3 link/watts link was very stable and confident. I couldn't be happier there. I only came back with 2 issues. The first is that my brake pedal travel is way too deep to heal toe, so I was having to come off the brakes when I blipped down to third and then get back on the brakes...hard. this was not ideal to say the least, so I'm going to look at my pedal placement and brake system travel. 2nd issue was severe brake hop when I was hard on the bakes going into turn 1. I initially thought this was due to my Antisquat setting at ~100%. Later I realised that the brake combo I have is biased 60-40 and I don't have a bias valve installed...yet.
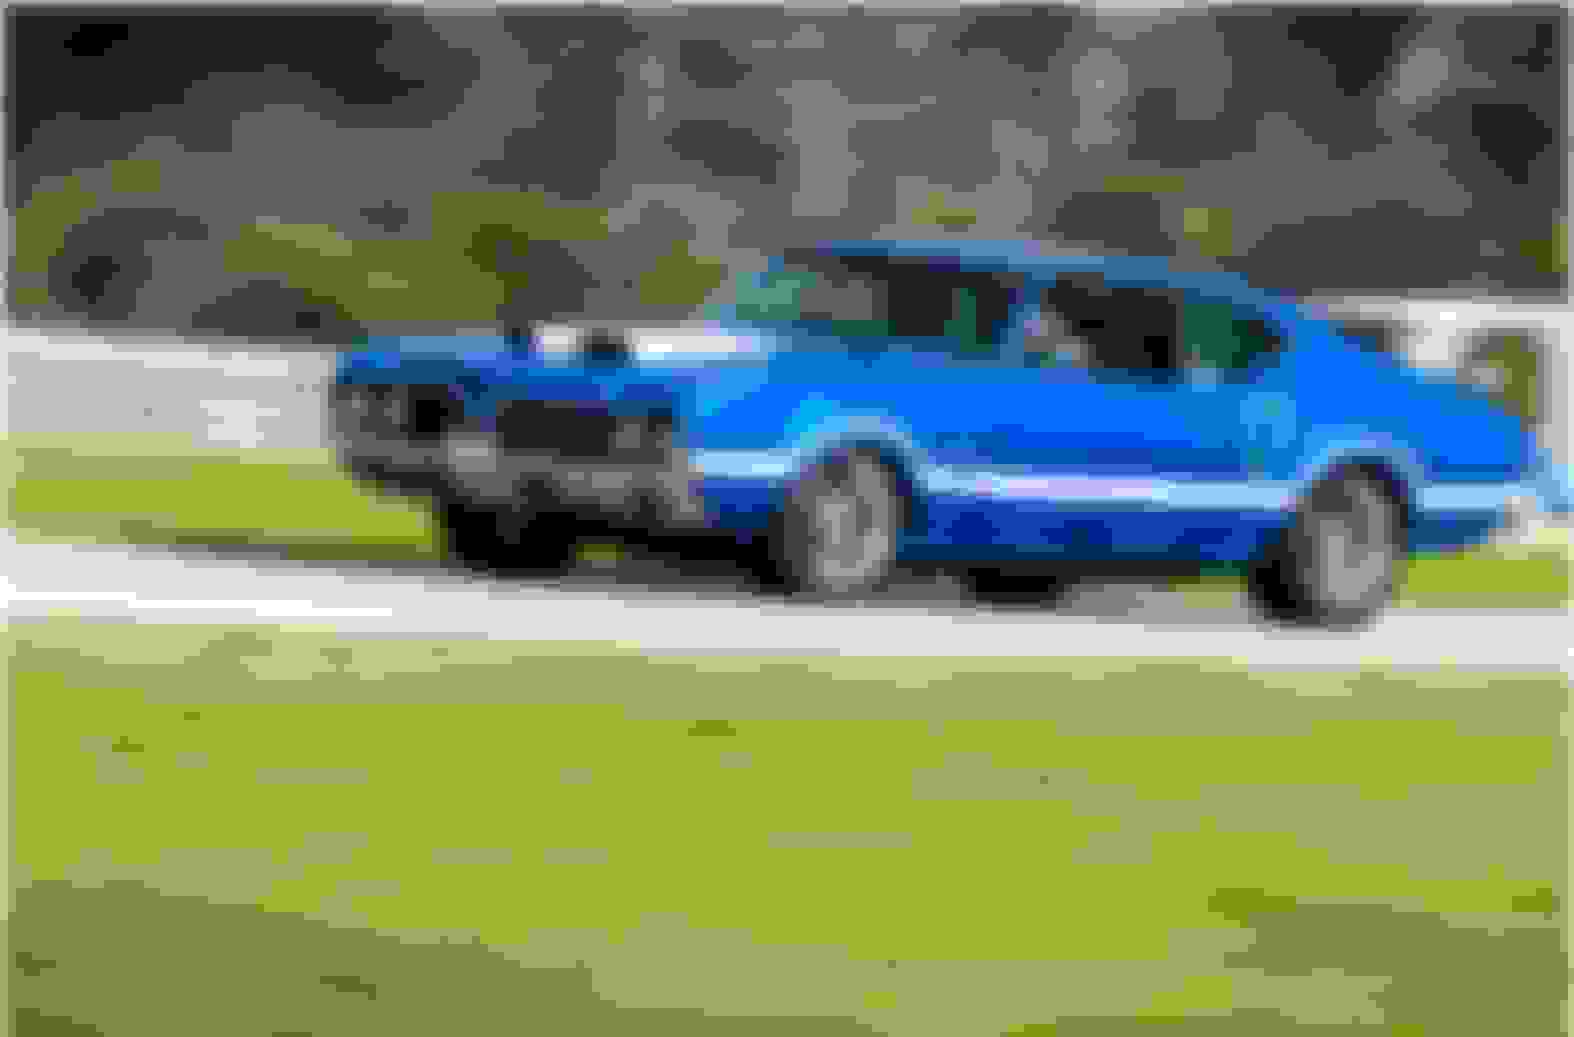
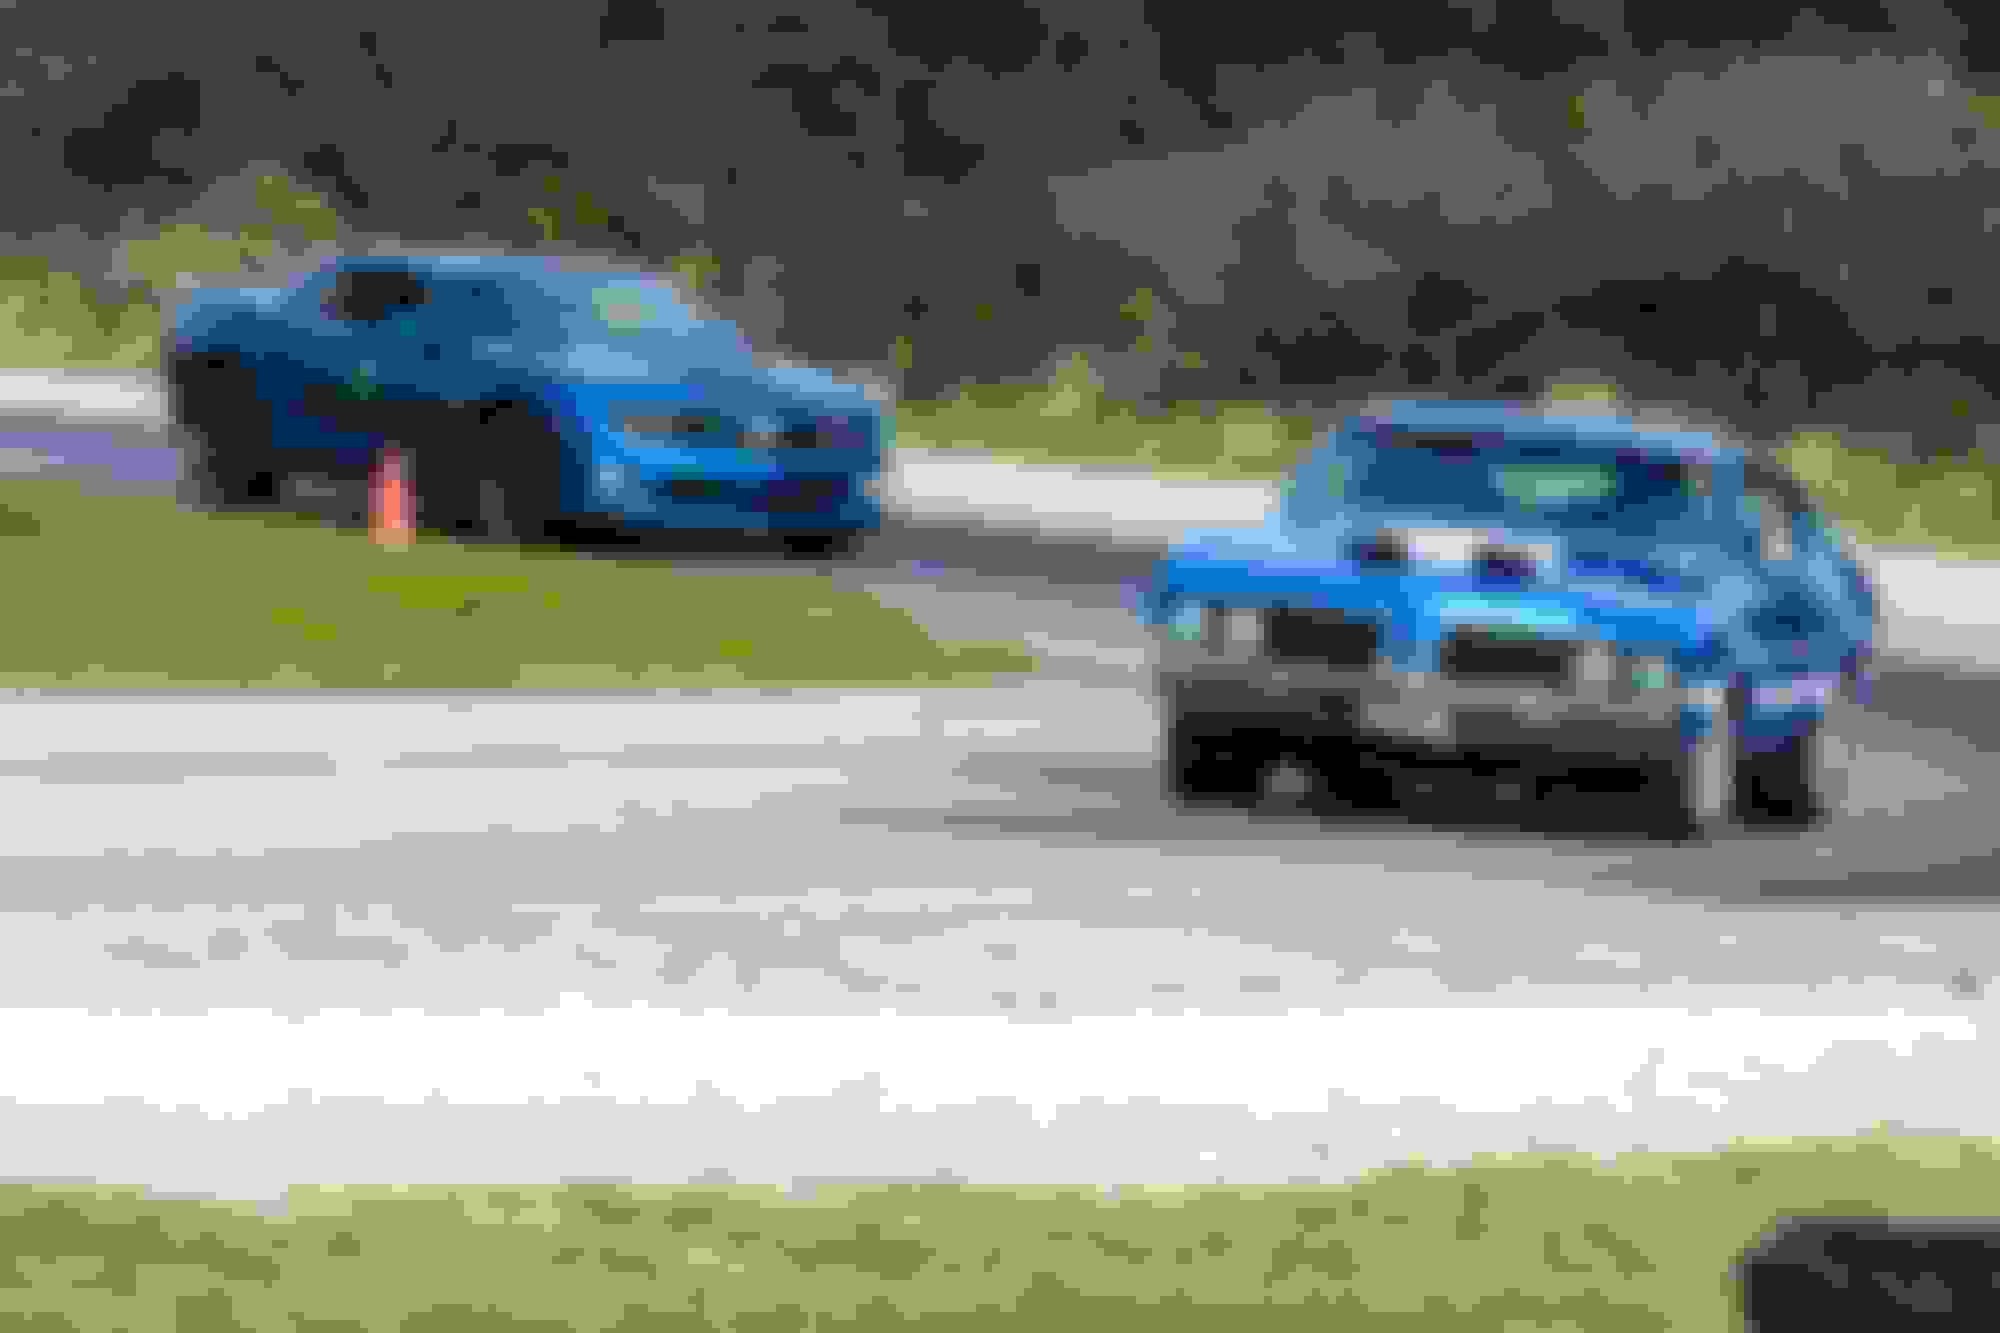
Blackhawk Farms Raceway Oct 2018.
Camaro chasing me down at blackhawk farms raceway. Novice Class.
K, so I came back with two issues, you'd think I would tackle those first right? naaah, come on, have you been following this build thread for the past 7 years? I started looking at Lee power steering boxes, and matched pumps for the LQ9 from Turn one to eliminate the overboosted steering. But, 1k+ is a lot of money for me, plus, buying the known solution has never been my style(unfortunately). I ended up on a vintage mustang forum somehow and started hearing talk of EPS(Electric Power Steering). Lots of guys have been getting Prius units with the ECM and splicing them in with great success. So at this point I thought "HEY-theres a good project that could derail my winter plans!". Also, turns out GatToGo did this very swap on his badass Cougar. I might start a new thread detailing the install, but I think I see a path through and this might just be doable.
There's several way to tackle it. Some just hook up power(no CANBUS) and have full assist at all times. some hook up what I assume is a PWM circuit and dial in what they want. My contribution will be(hopefully) adding in the CANBUS communication to the toyota steering ECU and letting the algorithms control assist based on VSS, rpm, steering torque and steering angle. So, as we all know, OEM's spend quite a bit of time tuning the EPS for steering feel. I assume that they spend more time on "feel" for the FRS than they do a Yaris or Prius, so I scooped up a 2014 FRS EPS with ECU. I plan to convert the RPM and VSS from the LS1b GM ECU into CANBUS signals and let it do its thing. That's the plan at least!!!! I'll post more as I make progress, hoping this won't take too long. Below is a quick pic of the EPS in the back seat.

 02-26-2016, 05:06 PM


 3.23 gears and a 295/45R18 in back. 1st goes to 63mph, 2nd to 90(I'll be changing that sooooon)