
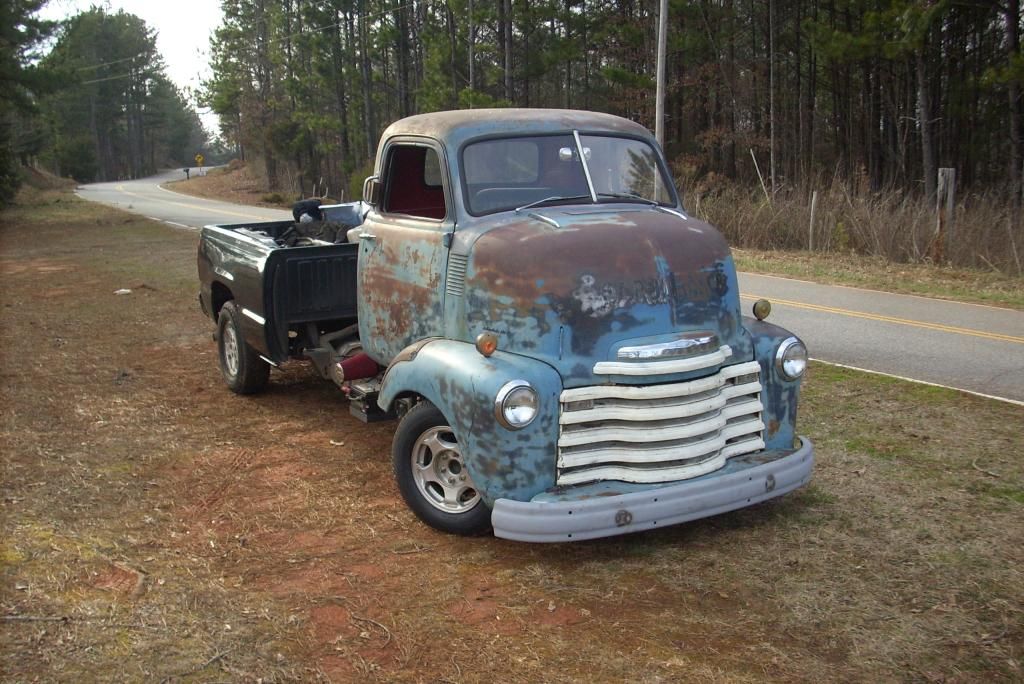
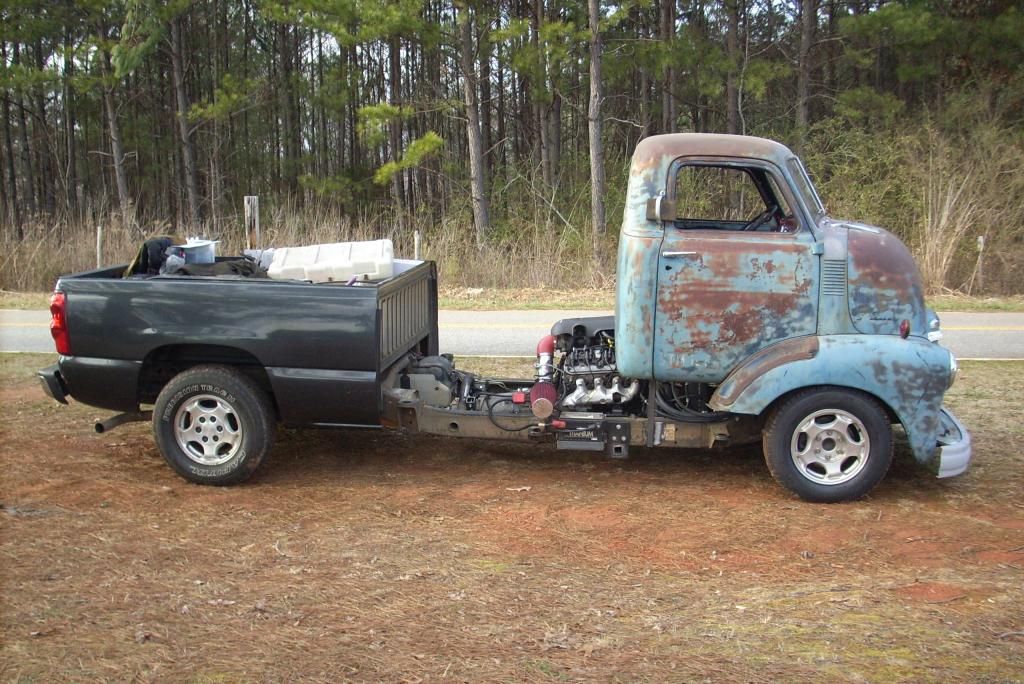
'47 Chevy COE, '03 Silverado, LR4/4L60E


 12-09-2014, 04:41 AM
#62
Staging Lane
Thread Starter

Join Date: Feb 2013
Location: Westminster, SC
Posts: 73
Likes: 0
Received 0 Likes
on
0 Posts
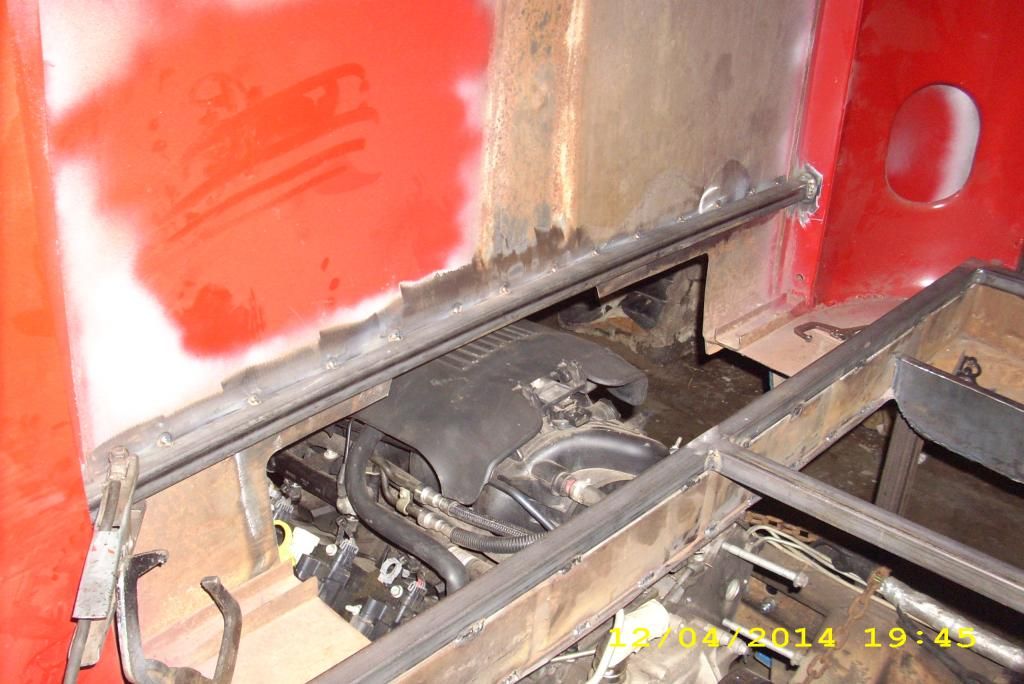
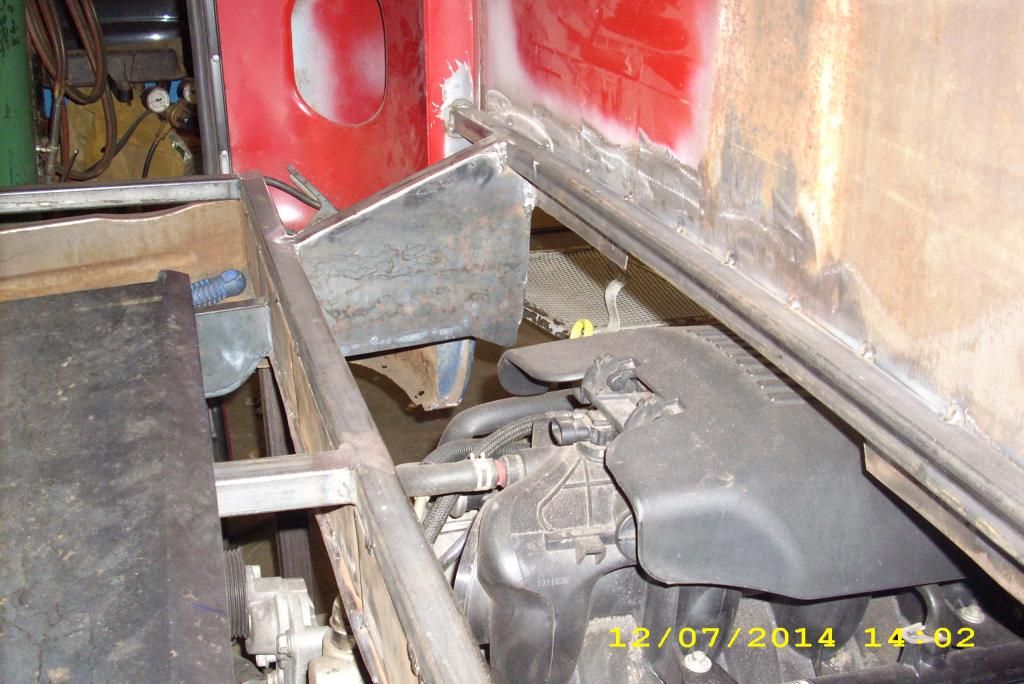
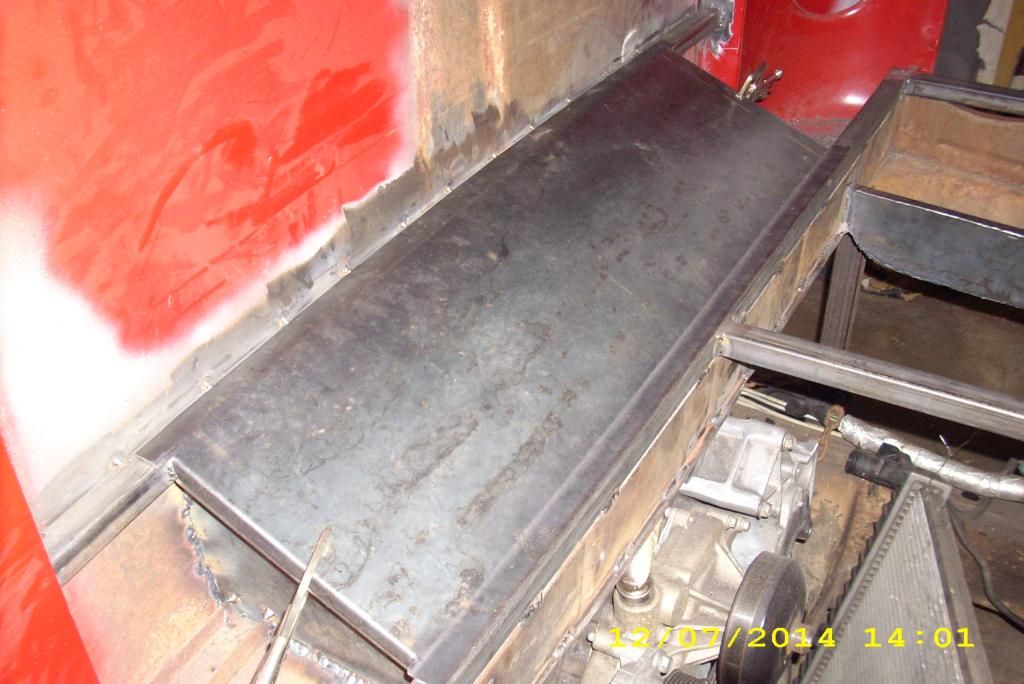
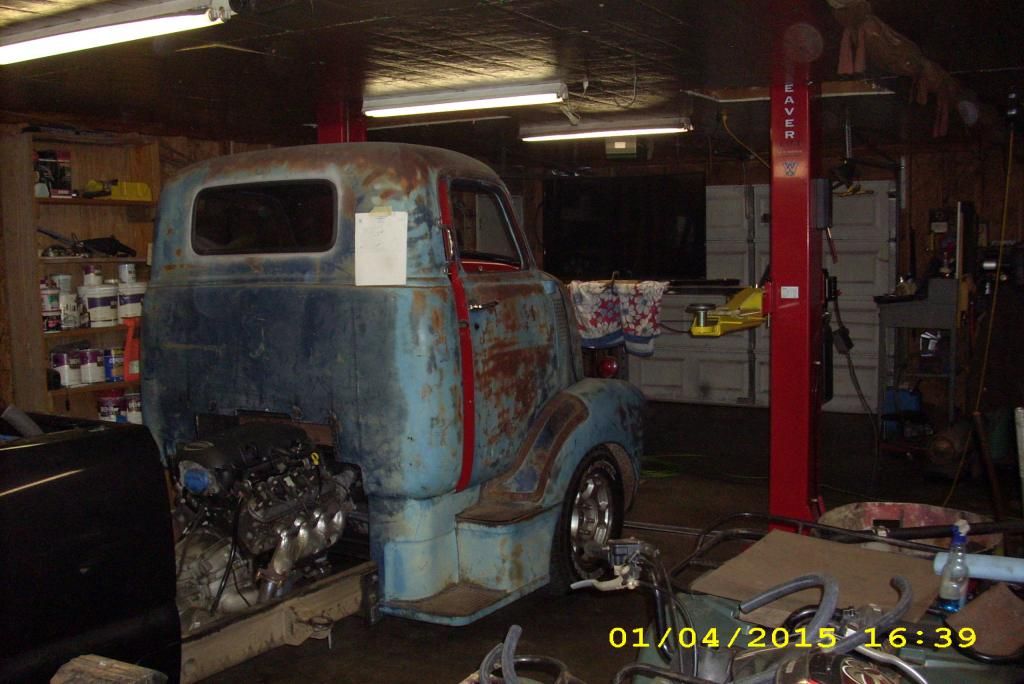
A little more progress on the rear of the cab. Cut a little higher on the cab, added a cross brace, boxed in the rear opening and built a cover for the rear opening.
Rob

Rob


 12-24-2014, 06:58 PM
#64
Staging Lane
Thread Starter
Join Date: Feb 2013
Location: Westminster, SC
Posts: 73
Likes: 0
Received 0 Likes
on
0 Posts
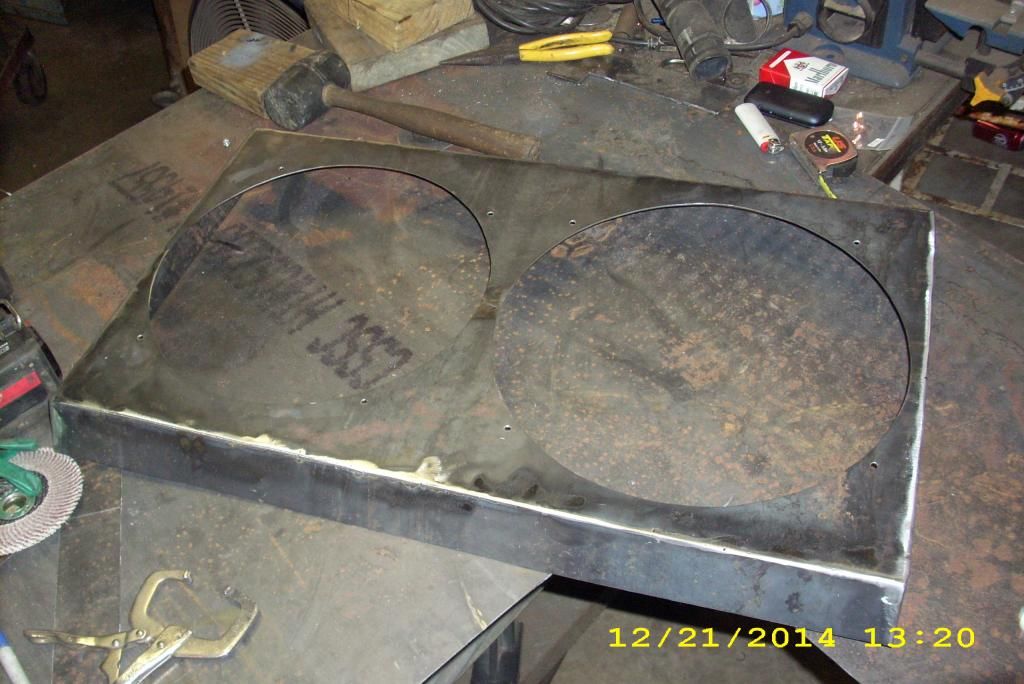
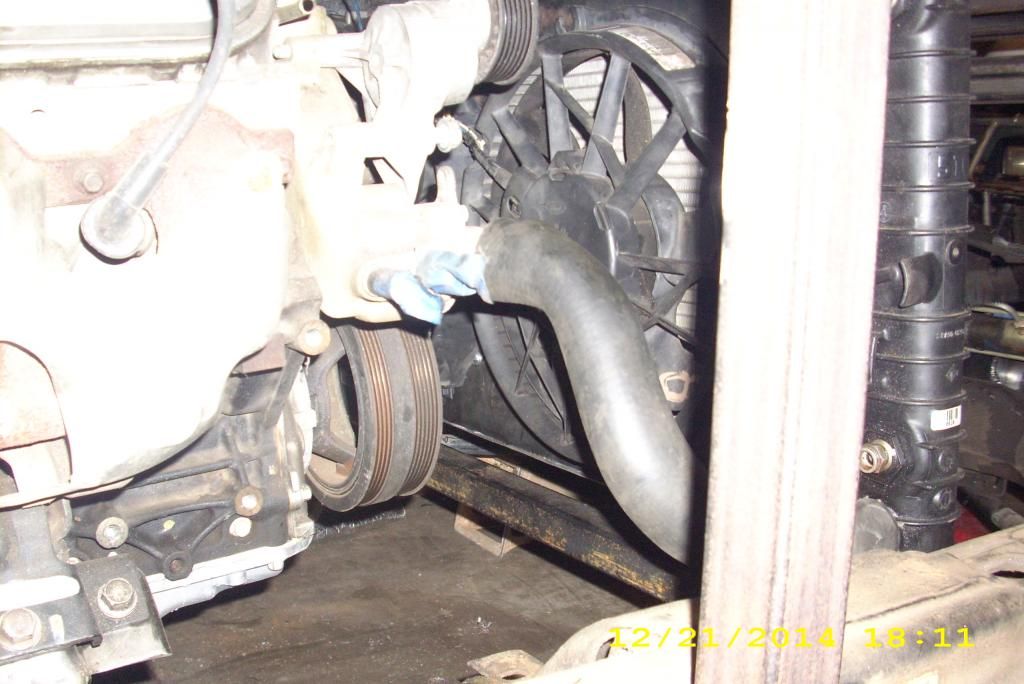
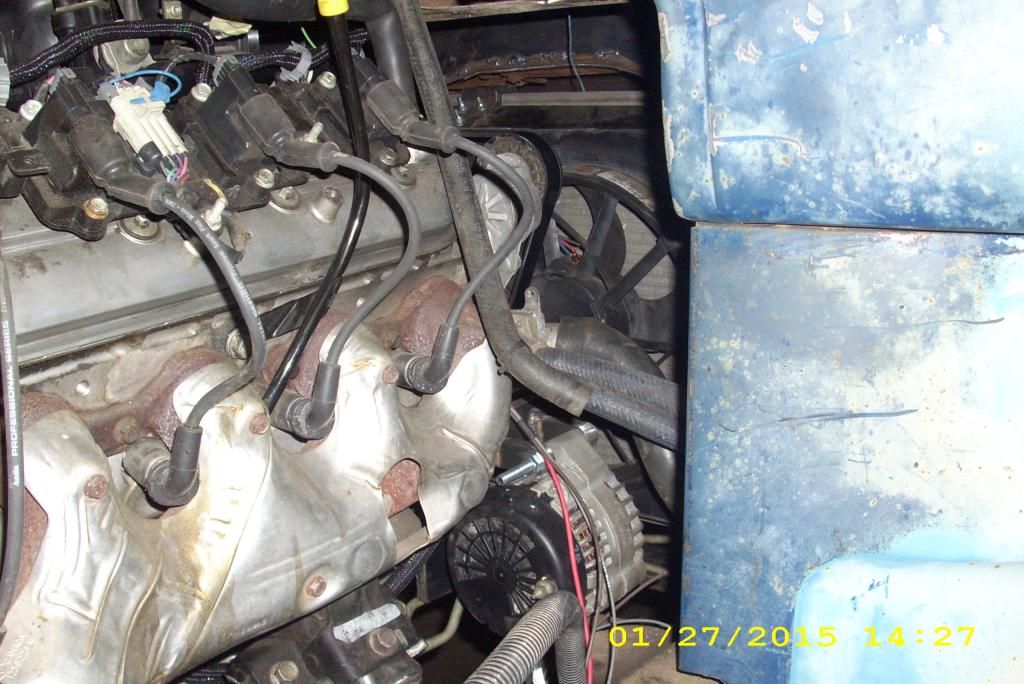
Spent a little more time on the cooling system. I picked up some fans from a Taurus, built a shroud/mount and test fit the unit. It looks like I will be able to reuse the donor hoses.
Rob

Rob


 12-25-2014, 01:41 PM
#65
TECH Enthusiast
Join Date: Sep 2014
Location: alburnett, iowa
Posts: 732
Likes: 0
Received 0 Likes
on
0 Posts
great build, I like your work/building skills. Trying to get parts at parts stores these days a real treat when we mix/match stuff so they cant find in computor. Trouble when put 06 5.3 into 76 skylark kid at store asked how to find parts.
12-25-2014, 08:58 PM
#66
Staging Lane
Thread Starter
Join Date: Feb 2013
Location: Westminster, SC
Posts: 73
Likes: 0
Received 0 Likes
on
0 Posts
Ha, Skylark...at least they have a Skylark listed. When I tell them it's for a COE they look at me I'm making stuff up just to **** them off. "I sorry sir, but Chevy never made a COE" At least the guy at LKQ was cool about it. I told him it was for a hot rod project and he said "now I understand, good luck, we close in 2 hours. Gotta love Pick a Part salvage yards.
Rob
Rob
12-30-2014, 04:43 PM
#68
Staging Lane
Thread Starter
Join Date: Feb 2013
Location: Westminster, SC
Posts: 73
Likes: 0
Received 0 Likes
on
0 Posts
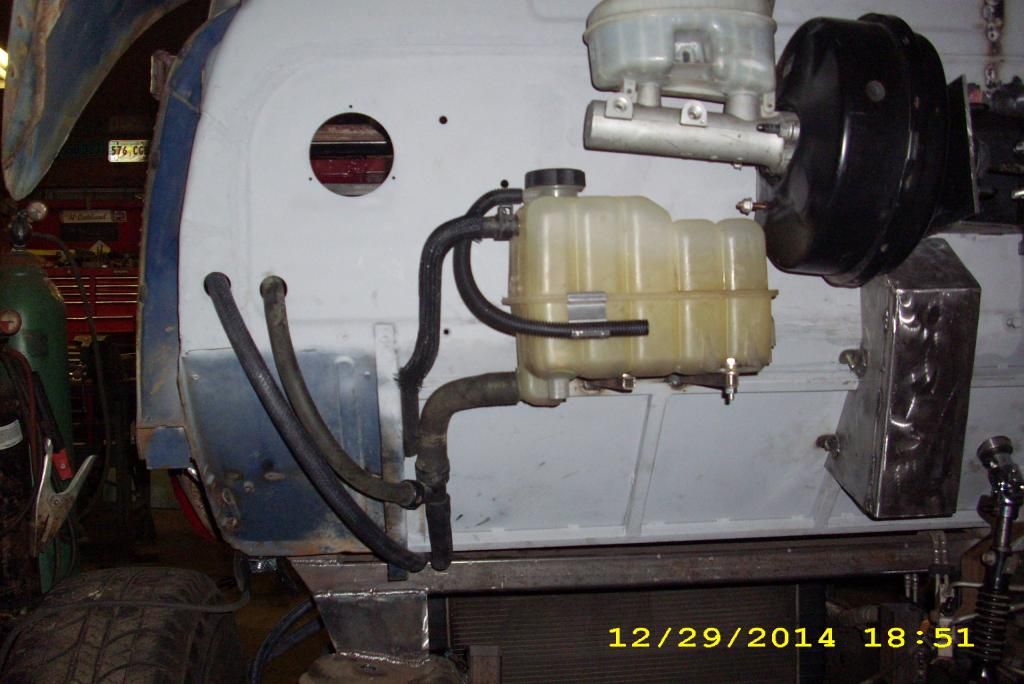
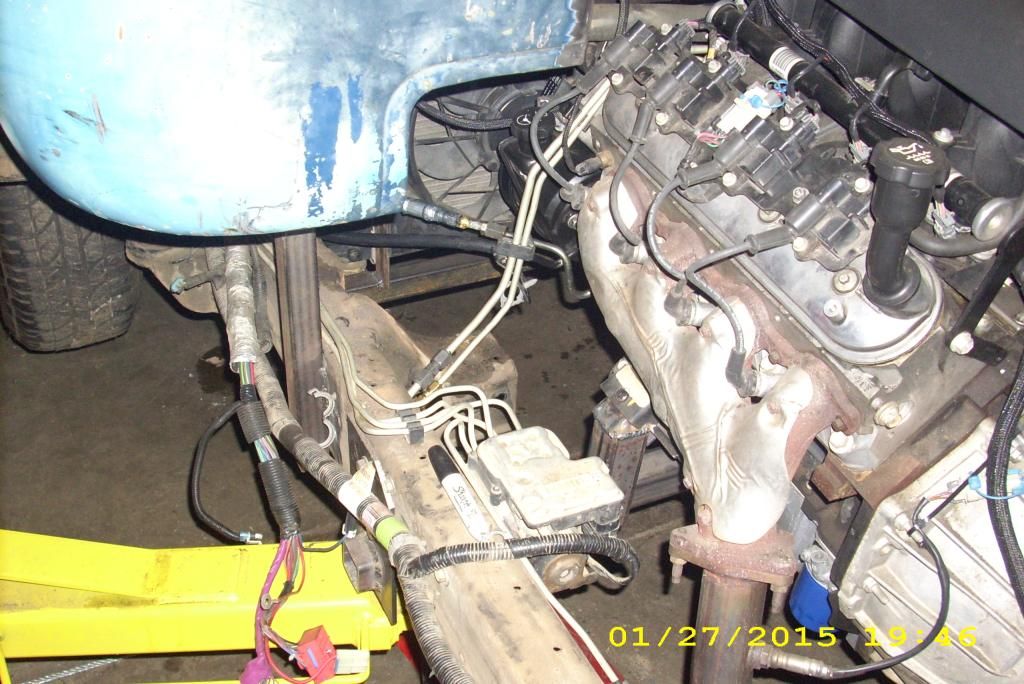
A little more progress on the cooling system. I am reusing the overflow tank from the donor. I welded a couple of pieces of 1/2" tube to the fire wall and mounted the tank there. I also ran the lines back to the engine and reused the original system as far as the tank is concerned. for the donor it uses the overflow tank as a pressurized unit with a 16# cap on it. The idea here is to be able to check the fluids under the hood with the exception on the oil and trans fluid which will be accessed behind the cab. I will build a cover for the brake linkage later. I remounted the front sheet metal and will start to work out the support for that.
Rob
Rob


 12-31-2014, 07:21 PM
#71
Staging Lane
Thread Starter
Join Date: Feb 2013
Location: Westminster, SC
Posts: 73
Likes: 0
Received 0 Likes
on
0 Posts
Well operatorfailure, I don't have a '68 but I do have a FFR Cobra that will fit on the back. I will end up with a 12 foot bed which should work with about 1 foot of the tail hanging off. I'm thinking about bagging it all around so I can raise the front and drop the back, lay some 12 foot ramps on the back and drive it on. Still a lot of details to work out on that part but it could work out.
Rob
Rob
01-10-2015, 06:52 PM
#72
Staging Lane
Thread Starter
Join Date: Feb 2013
Location: Westminster, SC
Posts: 73
Likes: 0
Received 0 Likes
on
0 Posts
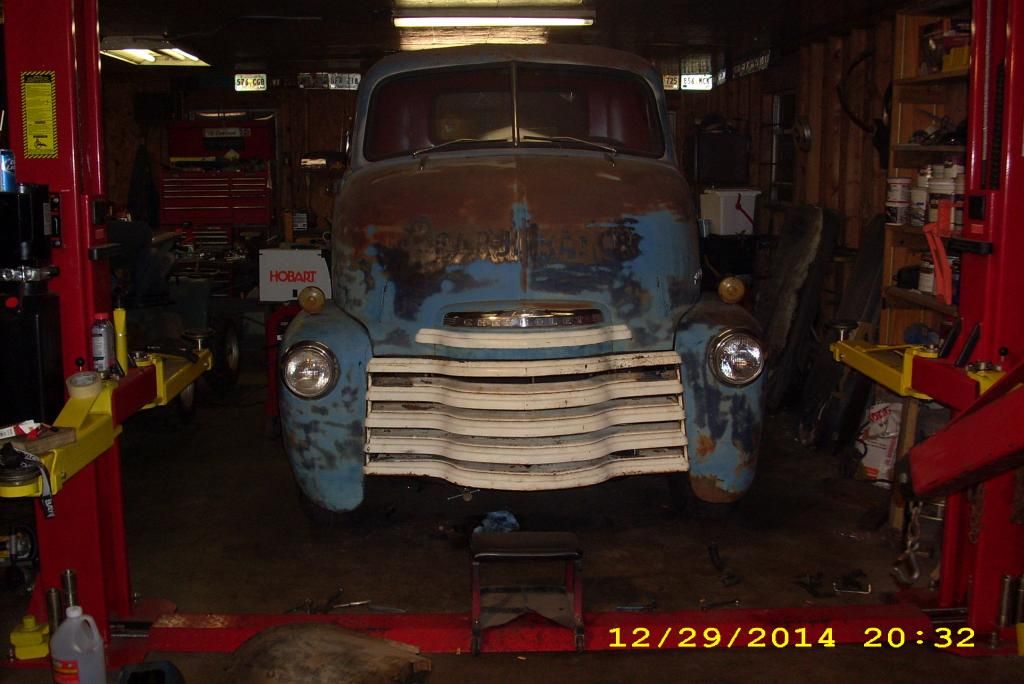
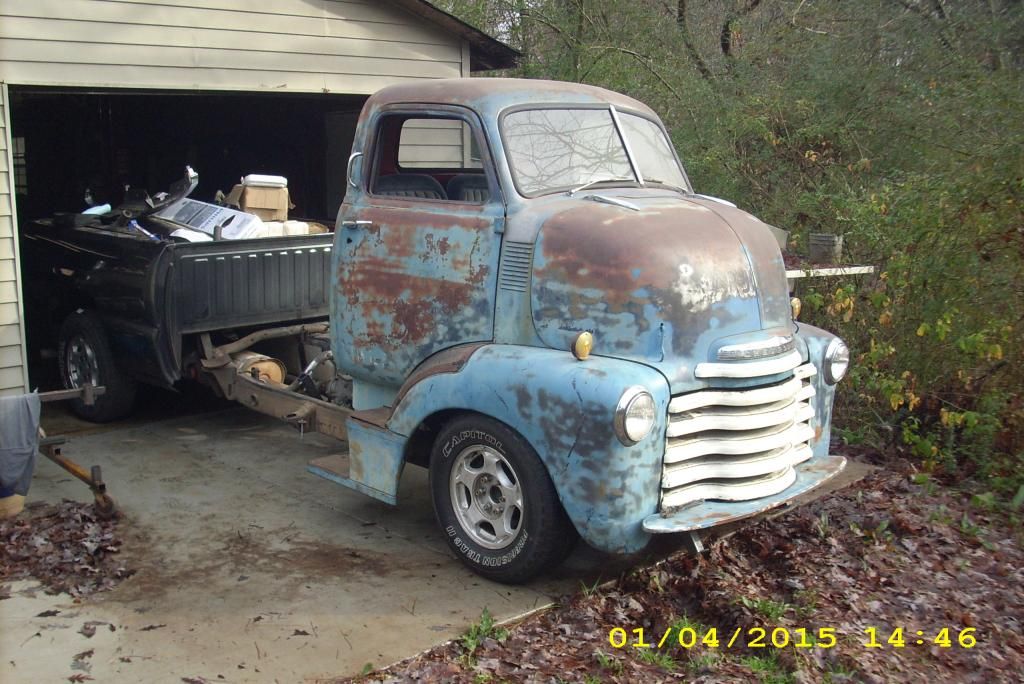
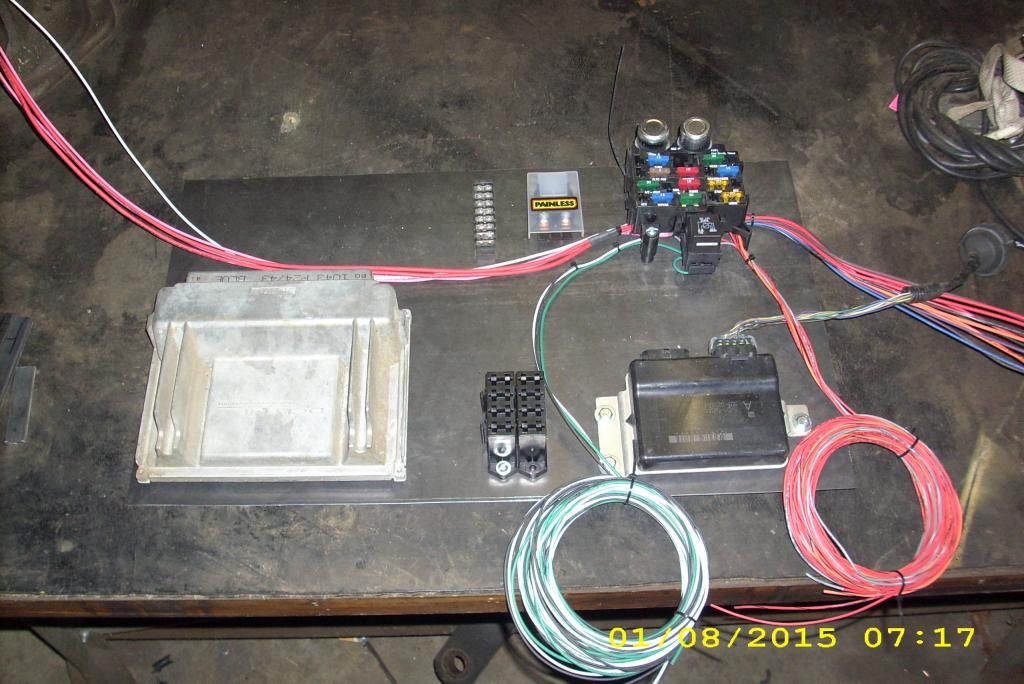
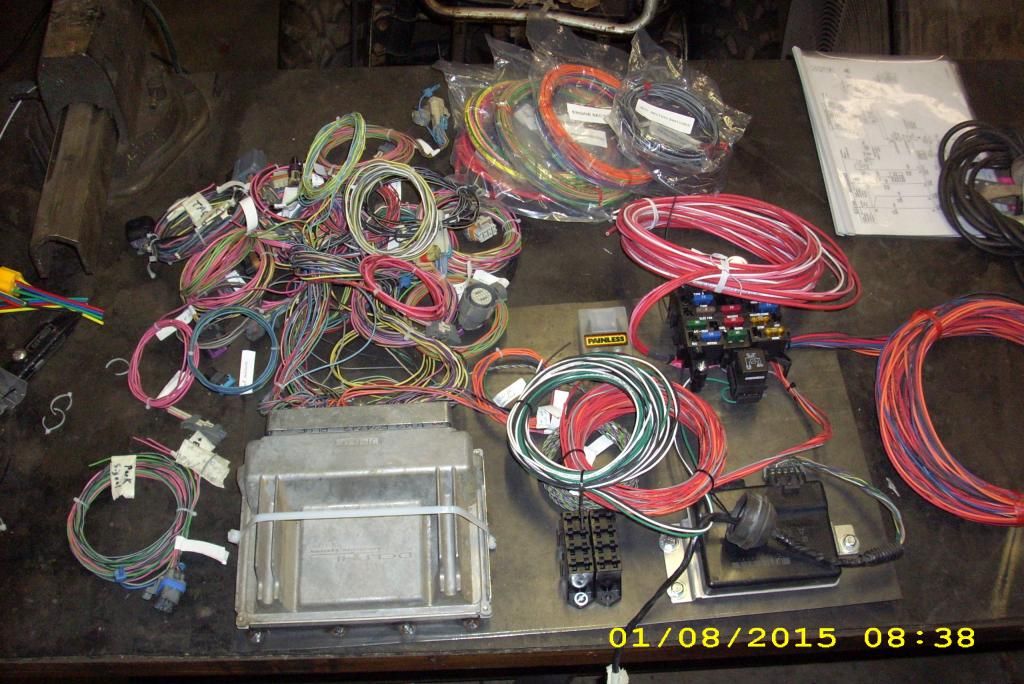
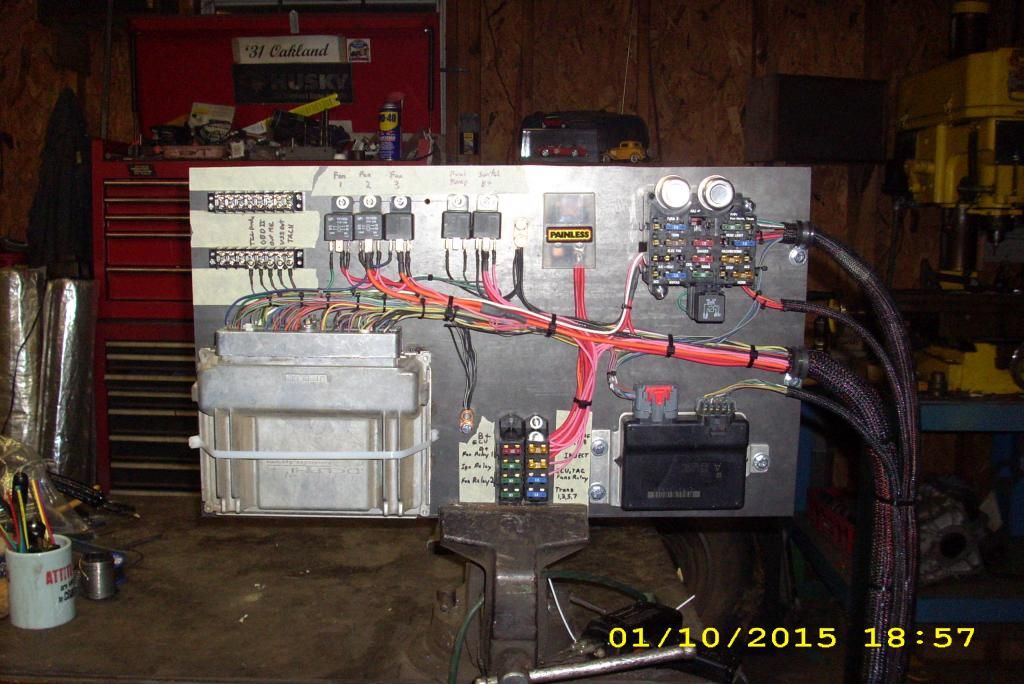
So, I've been getting a little of progress made. First I've got most of the front sheet metal mounted up. Ill need to pull it all down one more time but all in all its coming along well. I also started the wiring, I converted the donor harness while working in China so a lot of the time consuming work was done. I'm using a combination of the donor harness and a Painless universal trunk mount harness. I mounted both of these to a 14"X 24" panel which will mount behind the seat.
Rob
P.S. I also took my wife to a redneck drive-in. We had a great time.
Rob
P.S. I also took my wife to a redneck drive-in. We had a great time.


 01-18-2015, 01:55 PM
#74
Staging Lane
Thread Starter
Join Date: Feb 2013
Location: Westminster, SC
Posts: 73
Likes: 0
Received 0 Likes
on
0 Posts
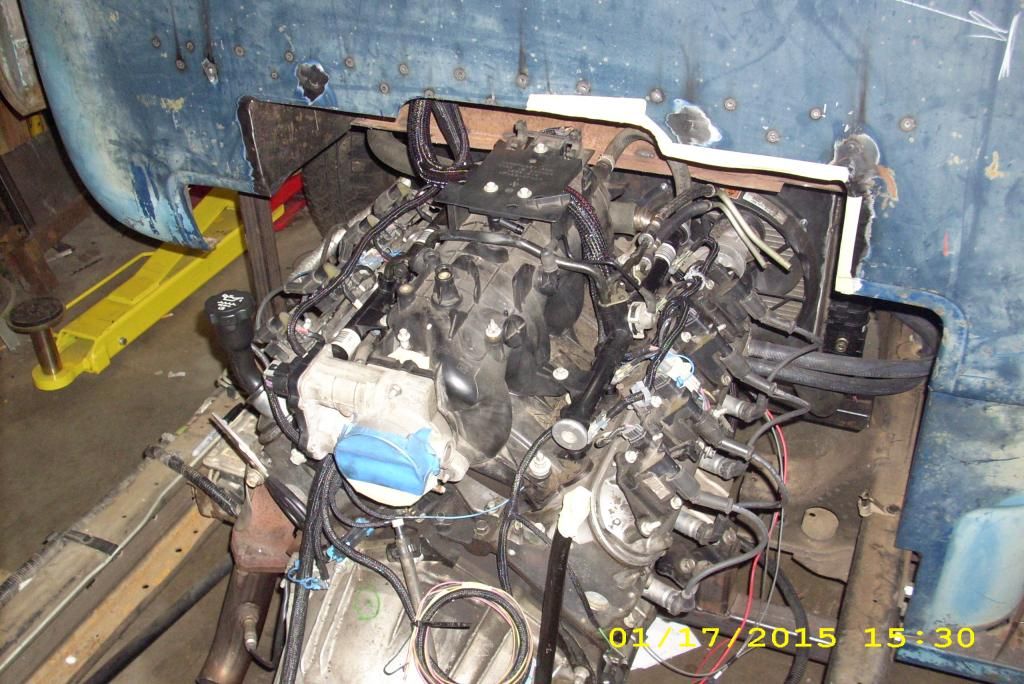
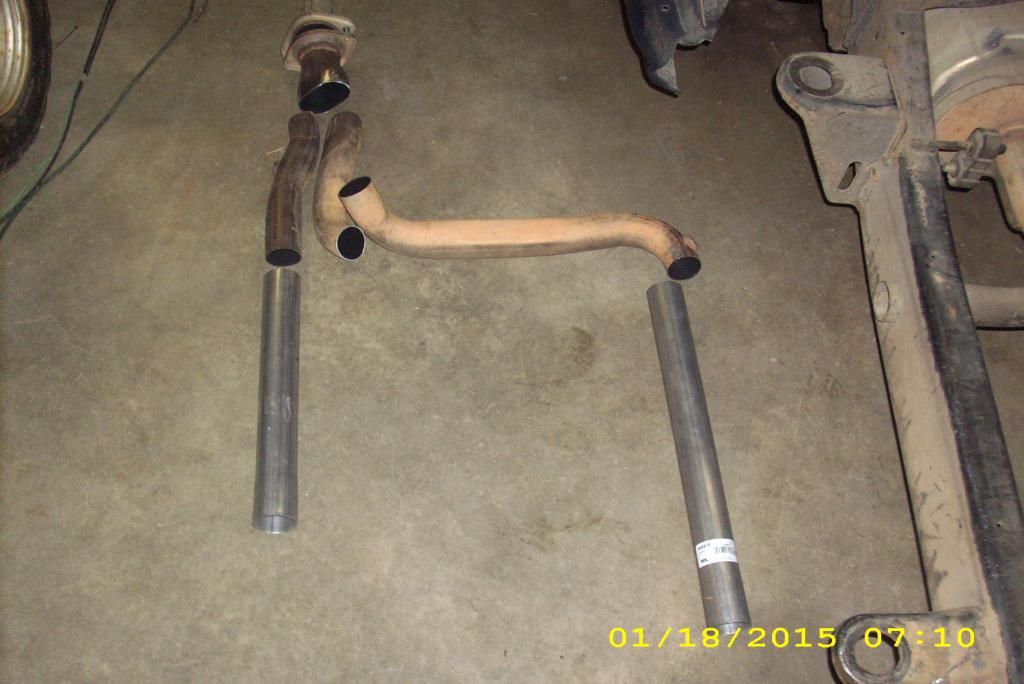
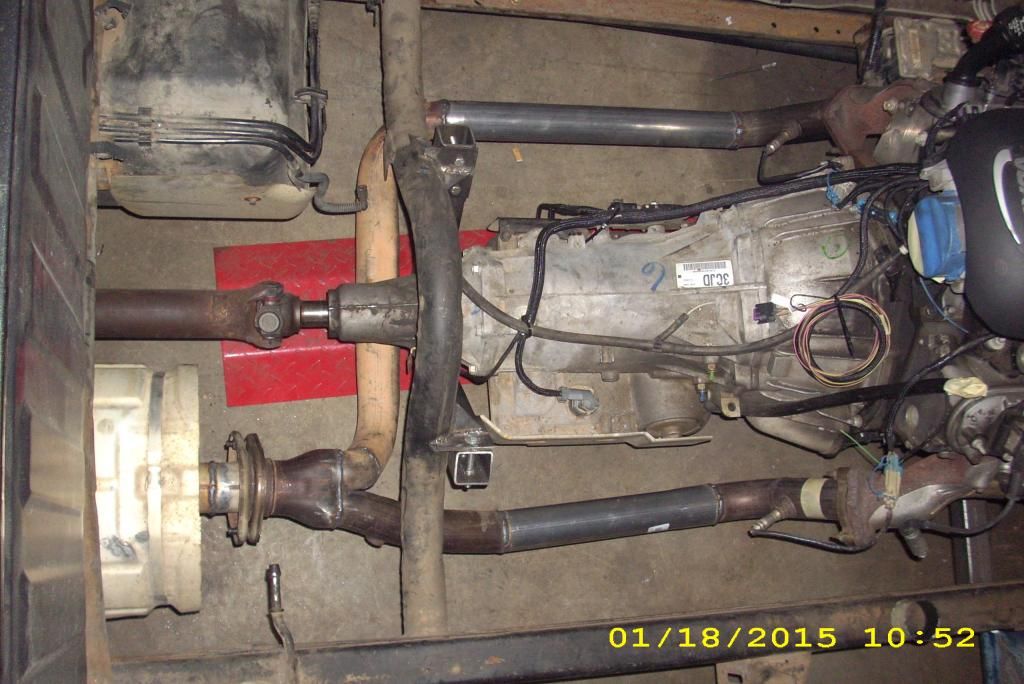
More progress, I finished the majority of the engine wiring. I still need to build a mount for the alternator and an intake pipe for the MAF sensor so those are not finished. Not anything special looking on the engine wiring but that was the intent. I checked my records and I have 66 hours in the wiring so far not counting the electric shifter project. The sad thing is I still need to do the dash and the whole chassis. I also built the exhaust this morning. I used as much of the donor as I could and only ended up with $13.00 total in the exhaust, probably the cheapest thing I'll do on the whole build. Finished the rack and pinion mount.
Rob
Rob


 01-28-2015, 08:46 PM
#75
Staging Lane
Thread Starter
Join Date: Feb 2013
Location: Westminster, SC
Posts: 73
Likes: 0
Received 0 Likes
on
0 Posts
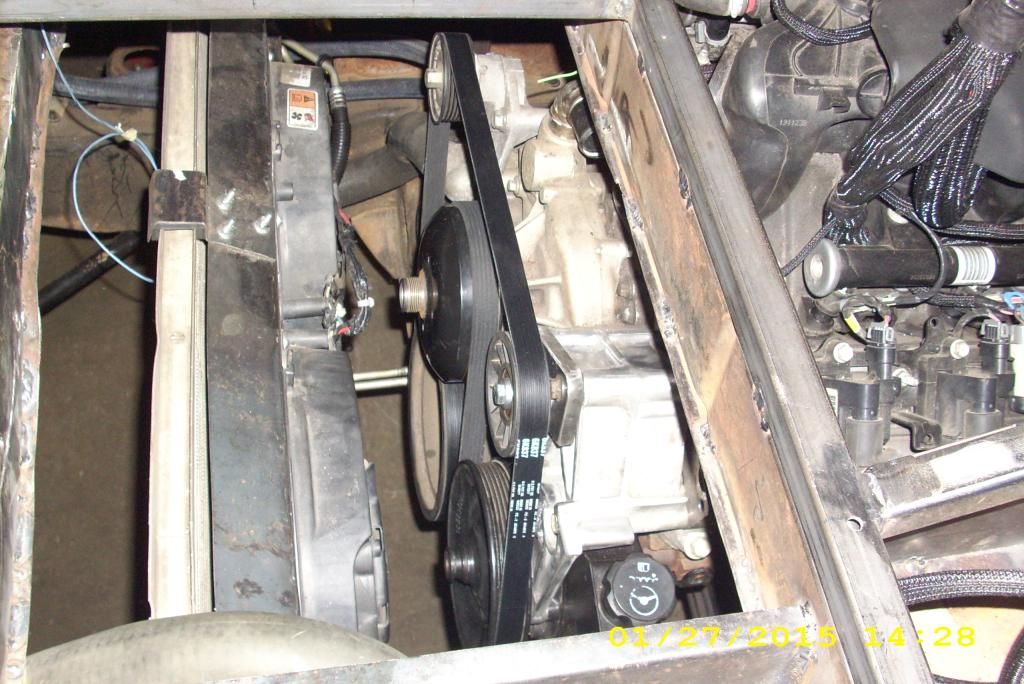
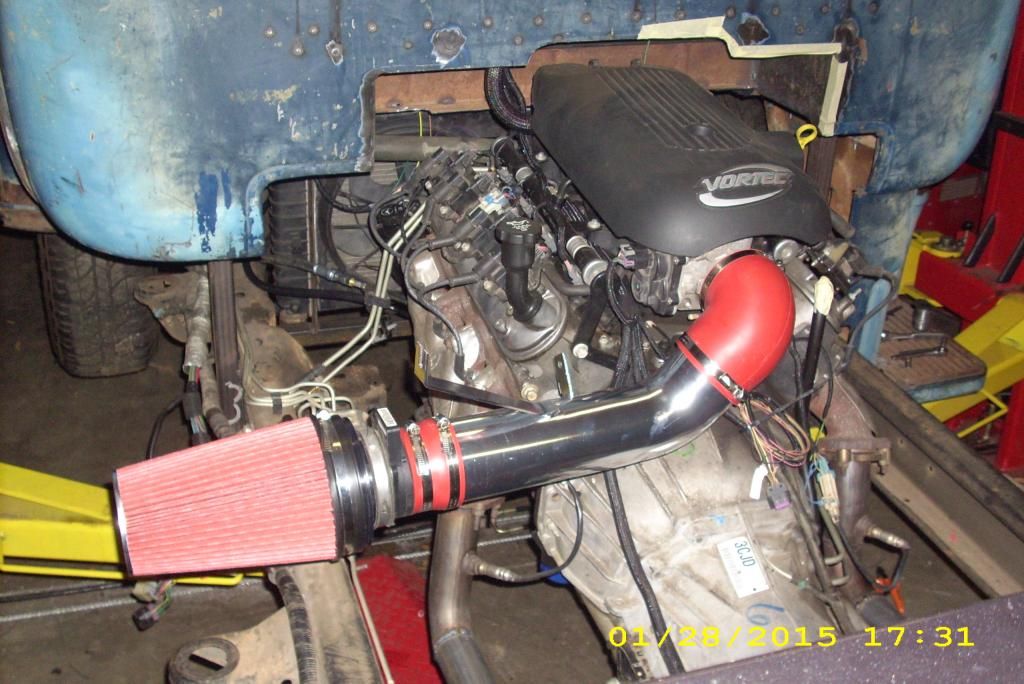
More progress, I built a alternator mount for the lower right side of the engine. I'm running the 4 rib belt normally used for the AC. I also built and installed a idler pulley for the main belt. After getting the new belt I was able to install both belts and adjust the tensions. Installed both PS hoses after I had a new pressure hose made. Started on the fuel lines, ran another hose for the coolant and installed a air filter/air pipe for the MAF sensor. The Air filter will end up end in a tool box mounted to the frame rail. The battery will be inside another tool box on the other rail.
Rob
Rob


 03-08-2015, 07:48 PM
#79
Staging Lane
Thread Starter
Join Date: Feb 2013
Location: Westminster, SC
Posts: 73
Likes: 0
Received 0 Likes
on
0 Posts
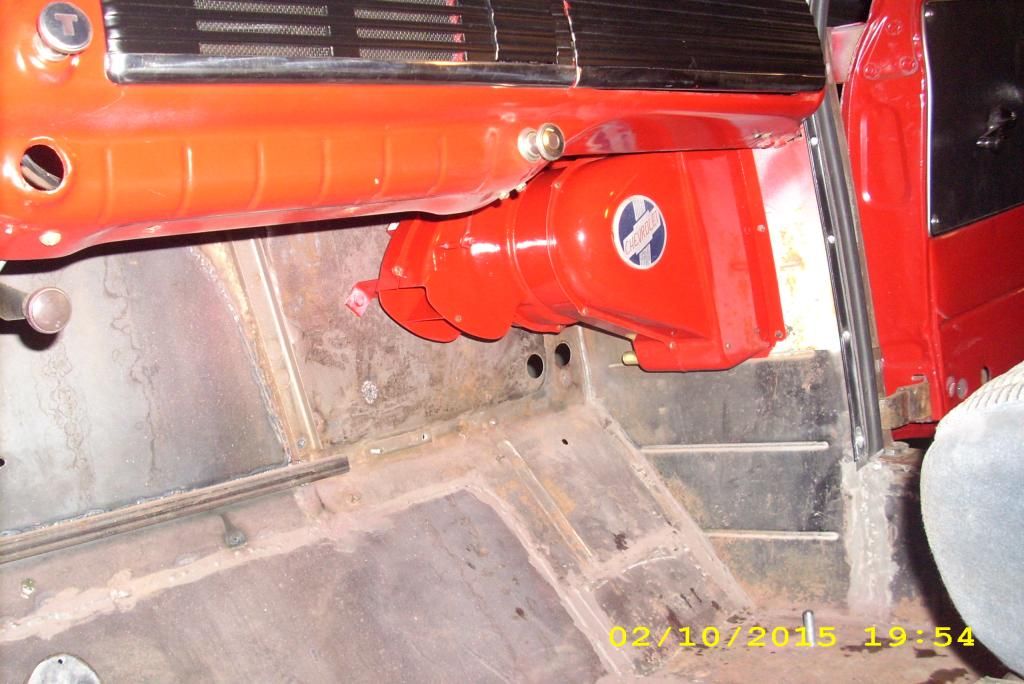
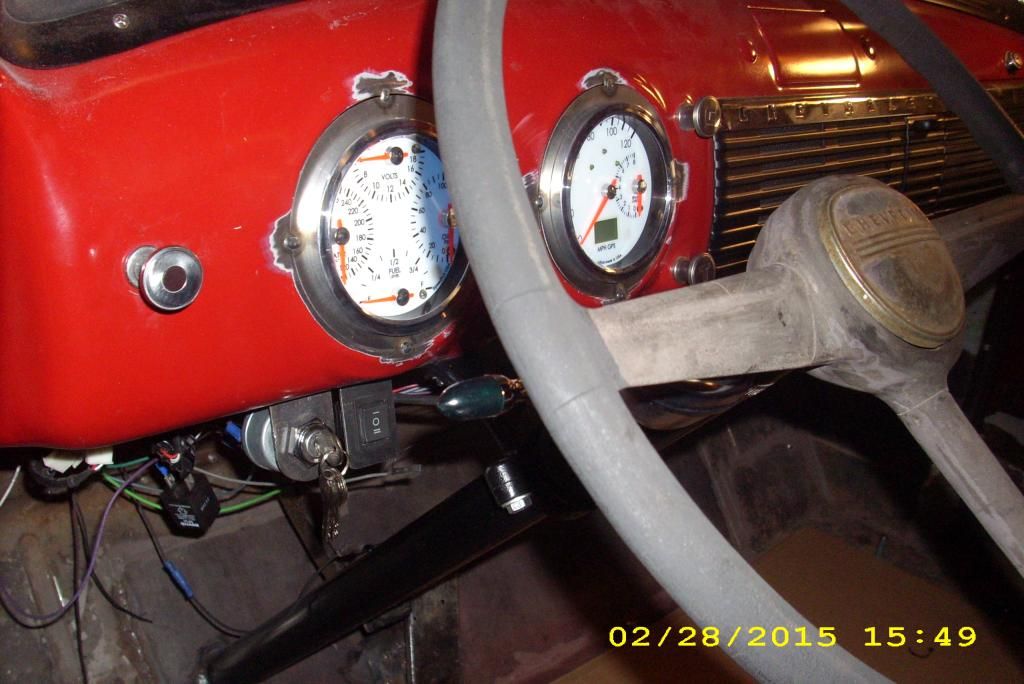
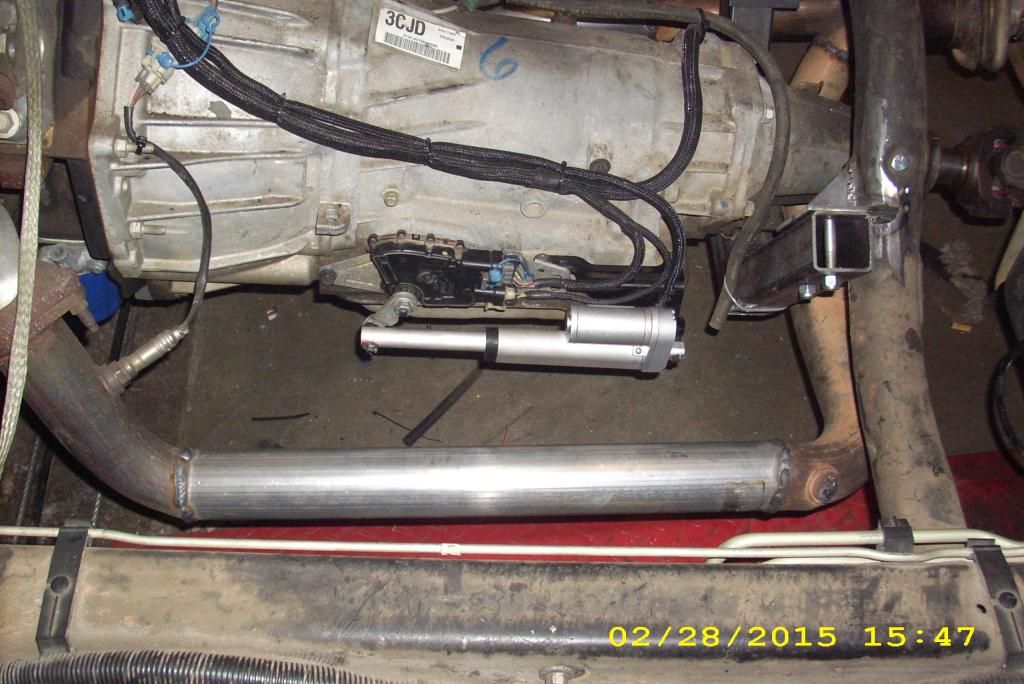
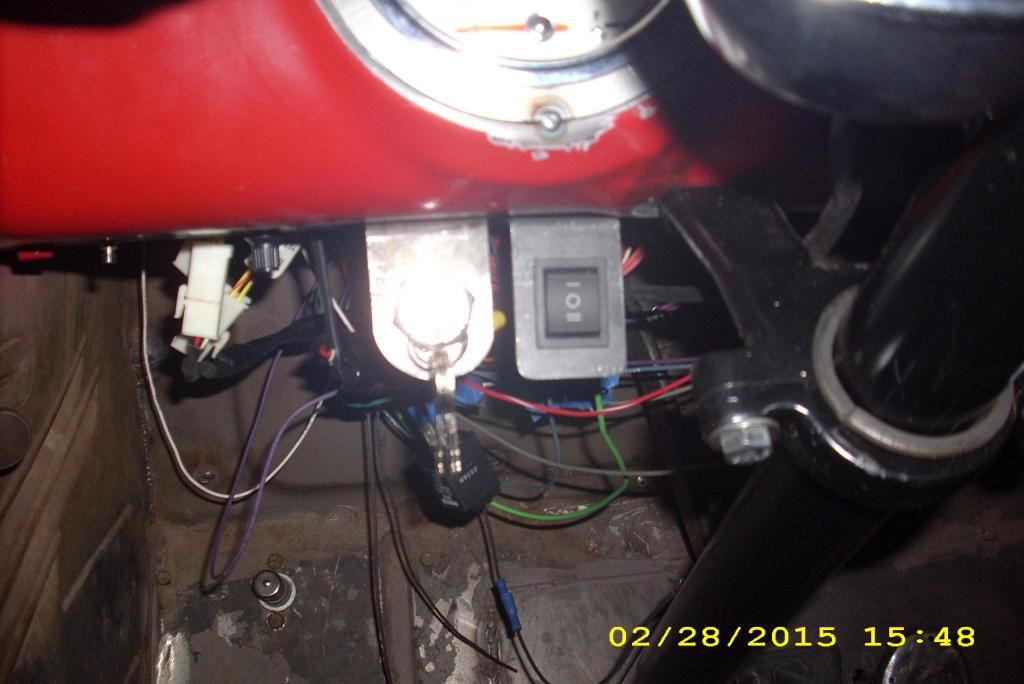
It's been awhile since I last posted but a lot of progress has been made. I rebuilt the heater, installed Speedhut gauges, installed an electric shifter, put the springs back in, finished the wiring, finished the front clip mounting, mounted a front bumper, wired the cruise control and oh yeah, the big one, took it for a 25 mile test drive today. Runs like a champ. The small picture is a crappy video.
Rob

Rob


