When you click on links to various merchants on this site and make a purchase, this can result in this site earning a commission. Affiliate programs and affiliations include, but are not limited to, the eBay Partner Network.
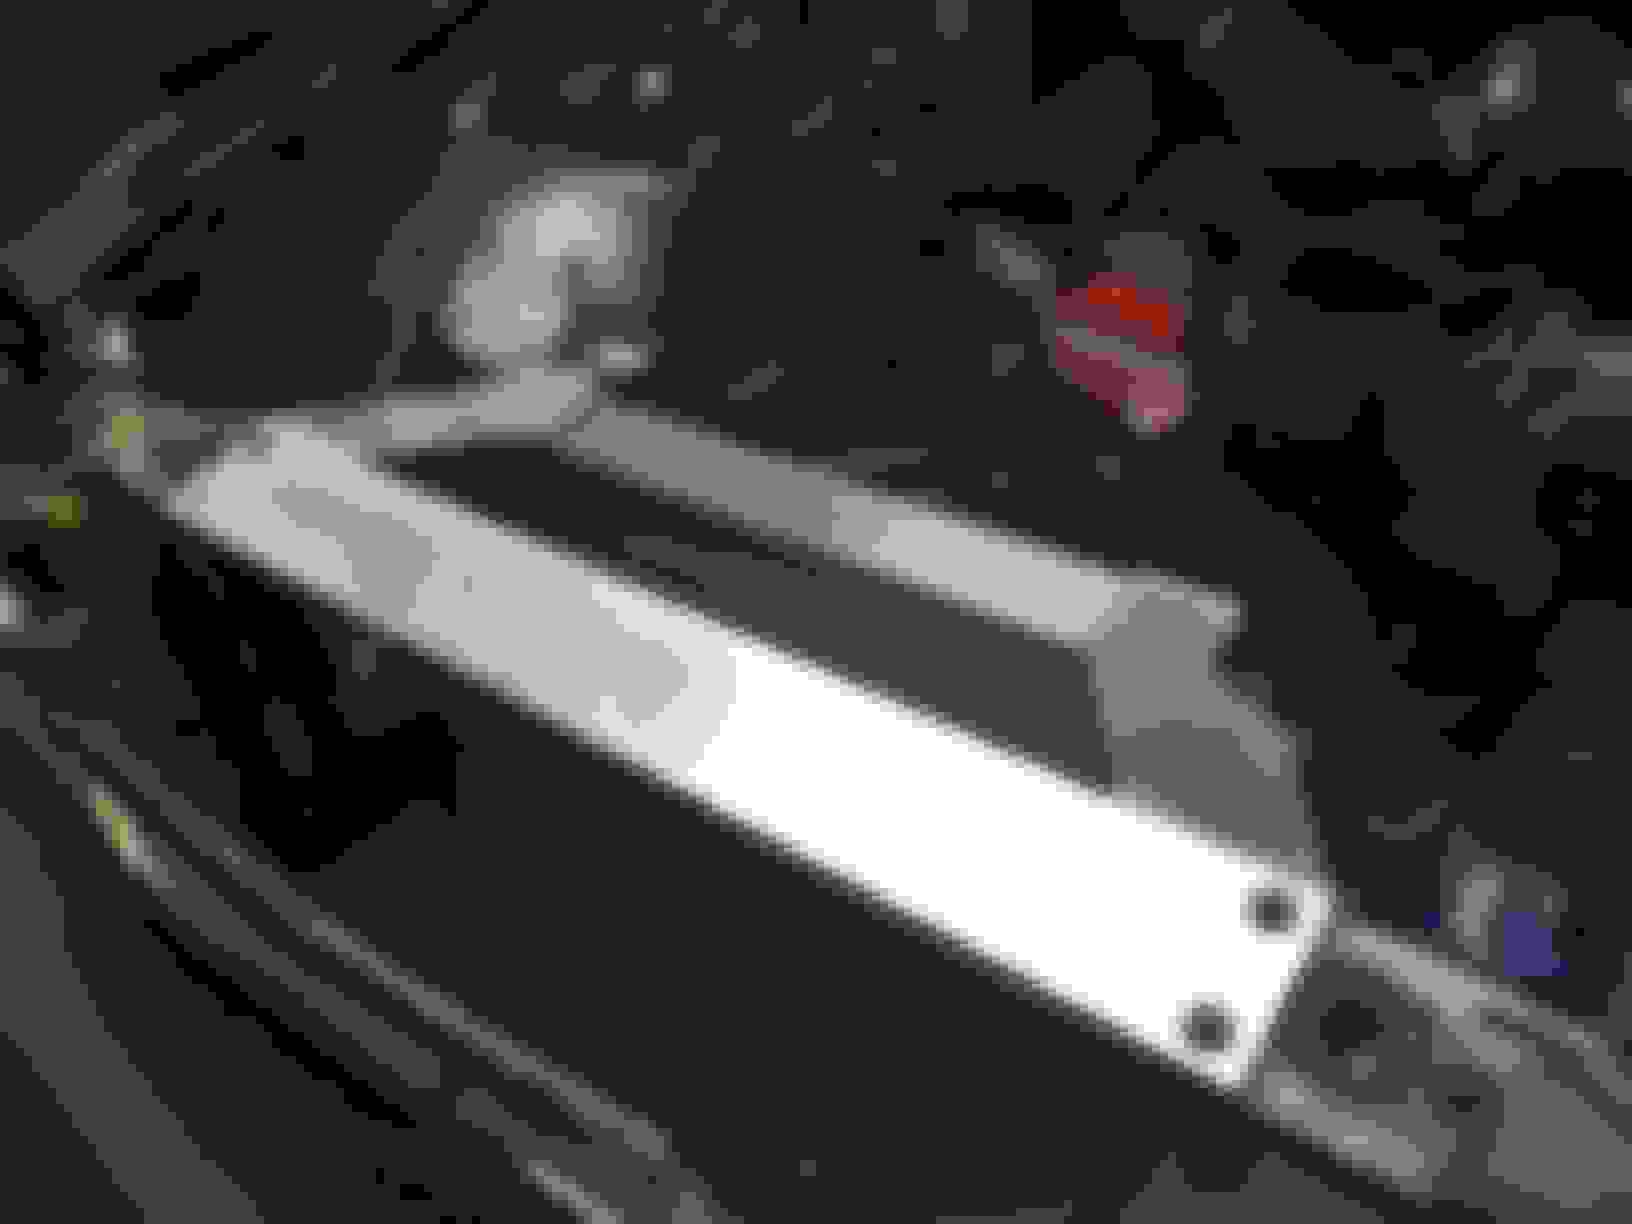
Got the radiator upper core support complete. Was a little bit of work, but I think it looks pretty good. The radiator won't be going anywhere it shouldn't. Made it out of 3/8 aluminum.
Made an adapter for the old U-joint for the steering.
Got my seats in and naturally they don't fit well in the stock Volvo spot. So I fabricated some tubing to bolt the sliders to. I plan on getting that finished this weekend. It's amazing how the little things eat up all your time.
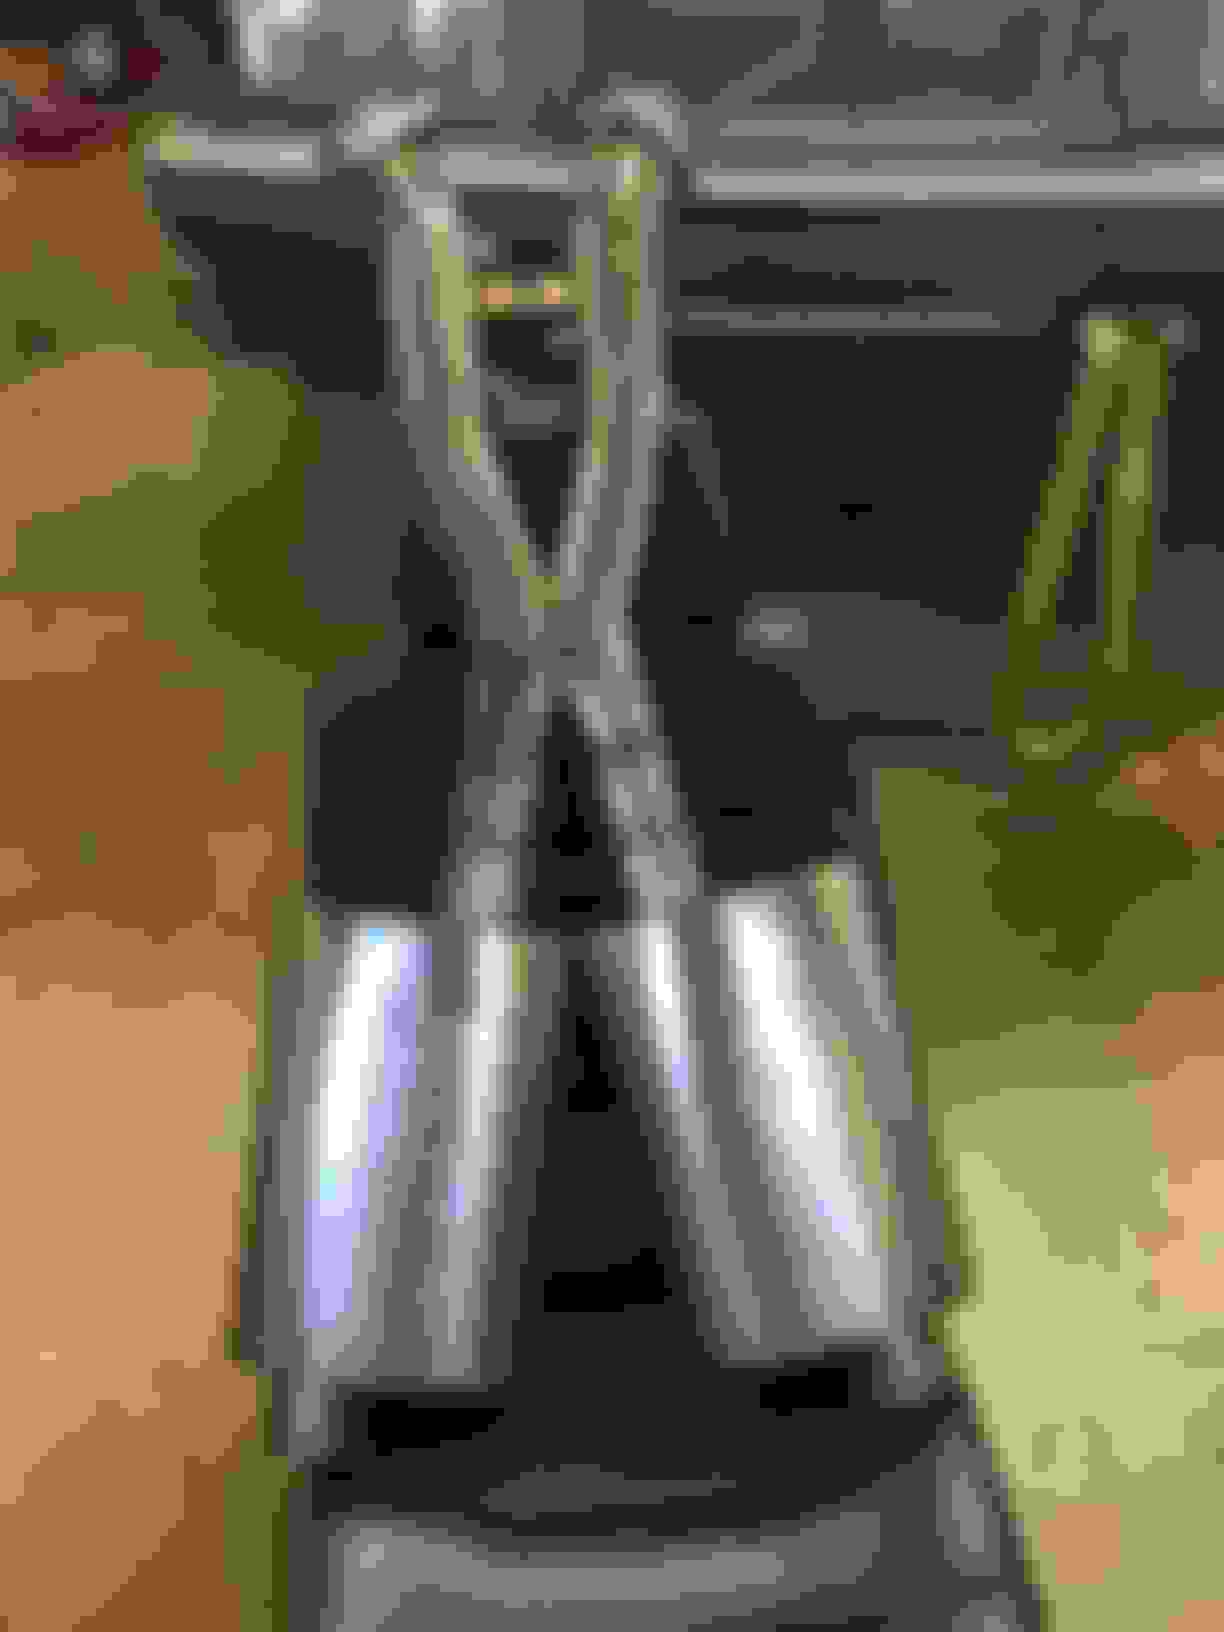
Got all the parts for the exhaust and plan on fabricating it up this weekend. Running Manzo headers and bought a Manzo X pipe which will be welded to the Borla Pro XS mufflers. Exhaust will be dumped in front of the wheels. The only joint will be at the headers.
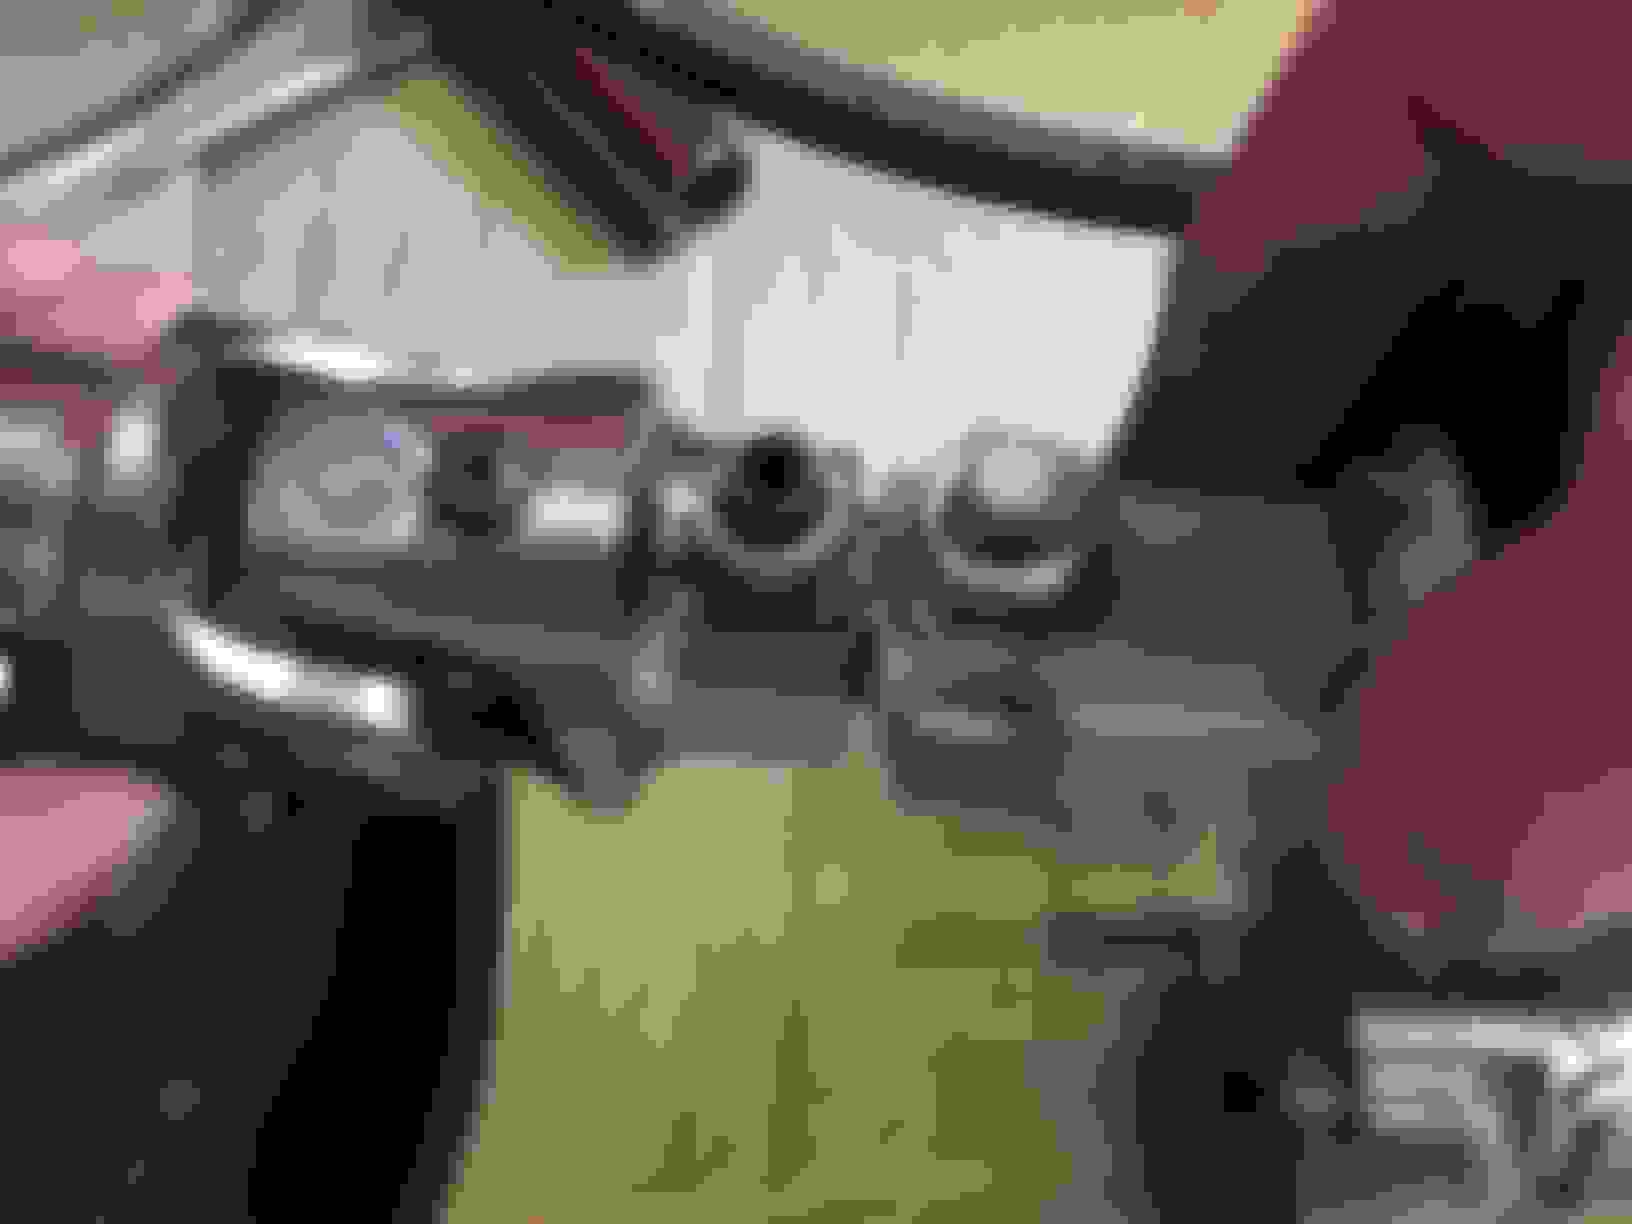
The electrical is coming along well. The Volvo headlights and turn signals are now working off the corvette gear. Also have the engine turning over (fuel pumps not hooked up yet to start her up). Was able to get the tune off the OBD port after having some issues with the data wire.
The brake lines will be finished up this weekend. Radiator hoses are almost complete.
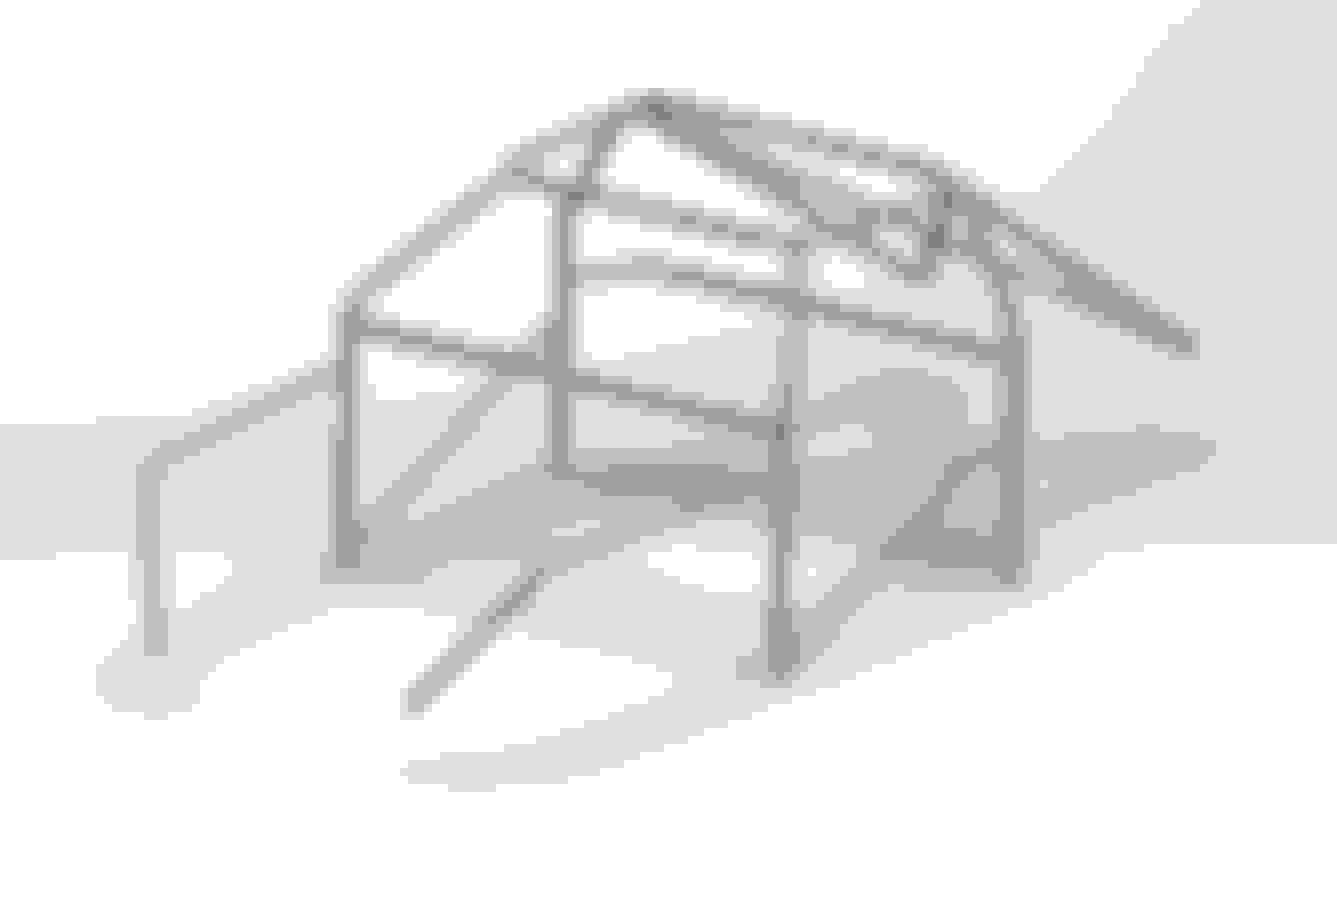
Next big task is the cage fabrication. Need the cage installed to have a good point to mount the steering column to. Tubing should be in late next week.
Also coming up soon is the shifter mounting, pedal box strengthening, and seat belt mounts.
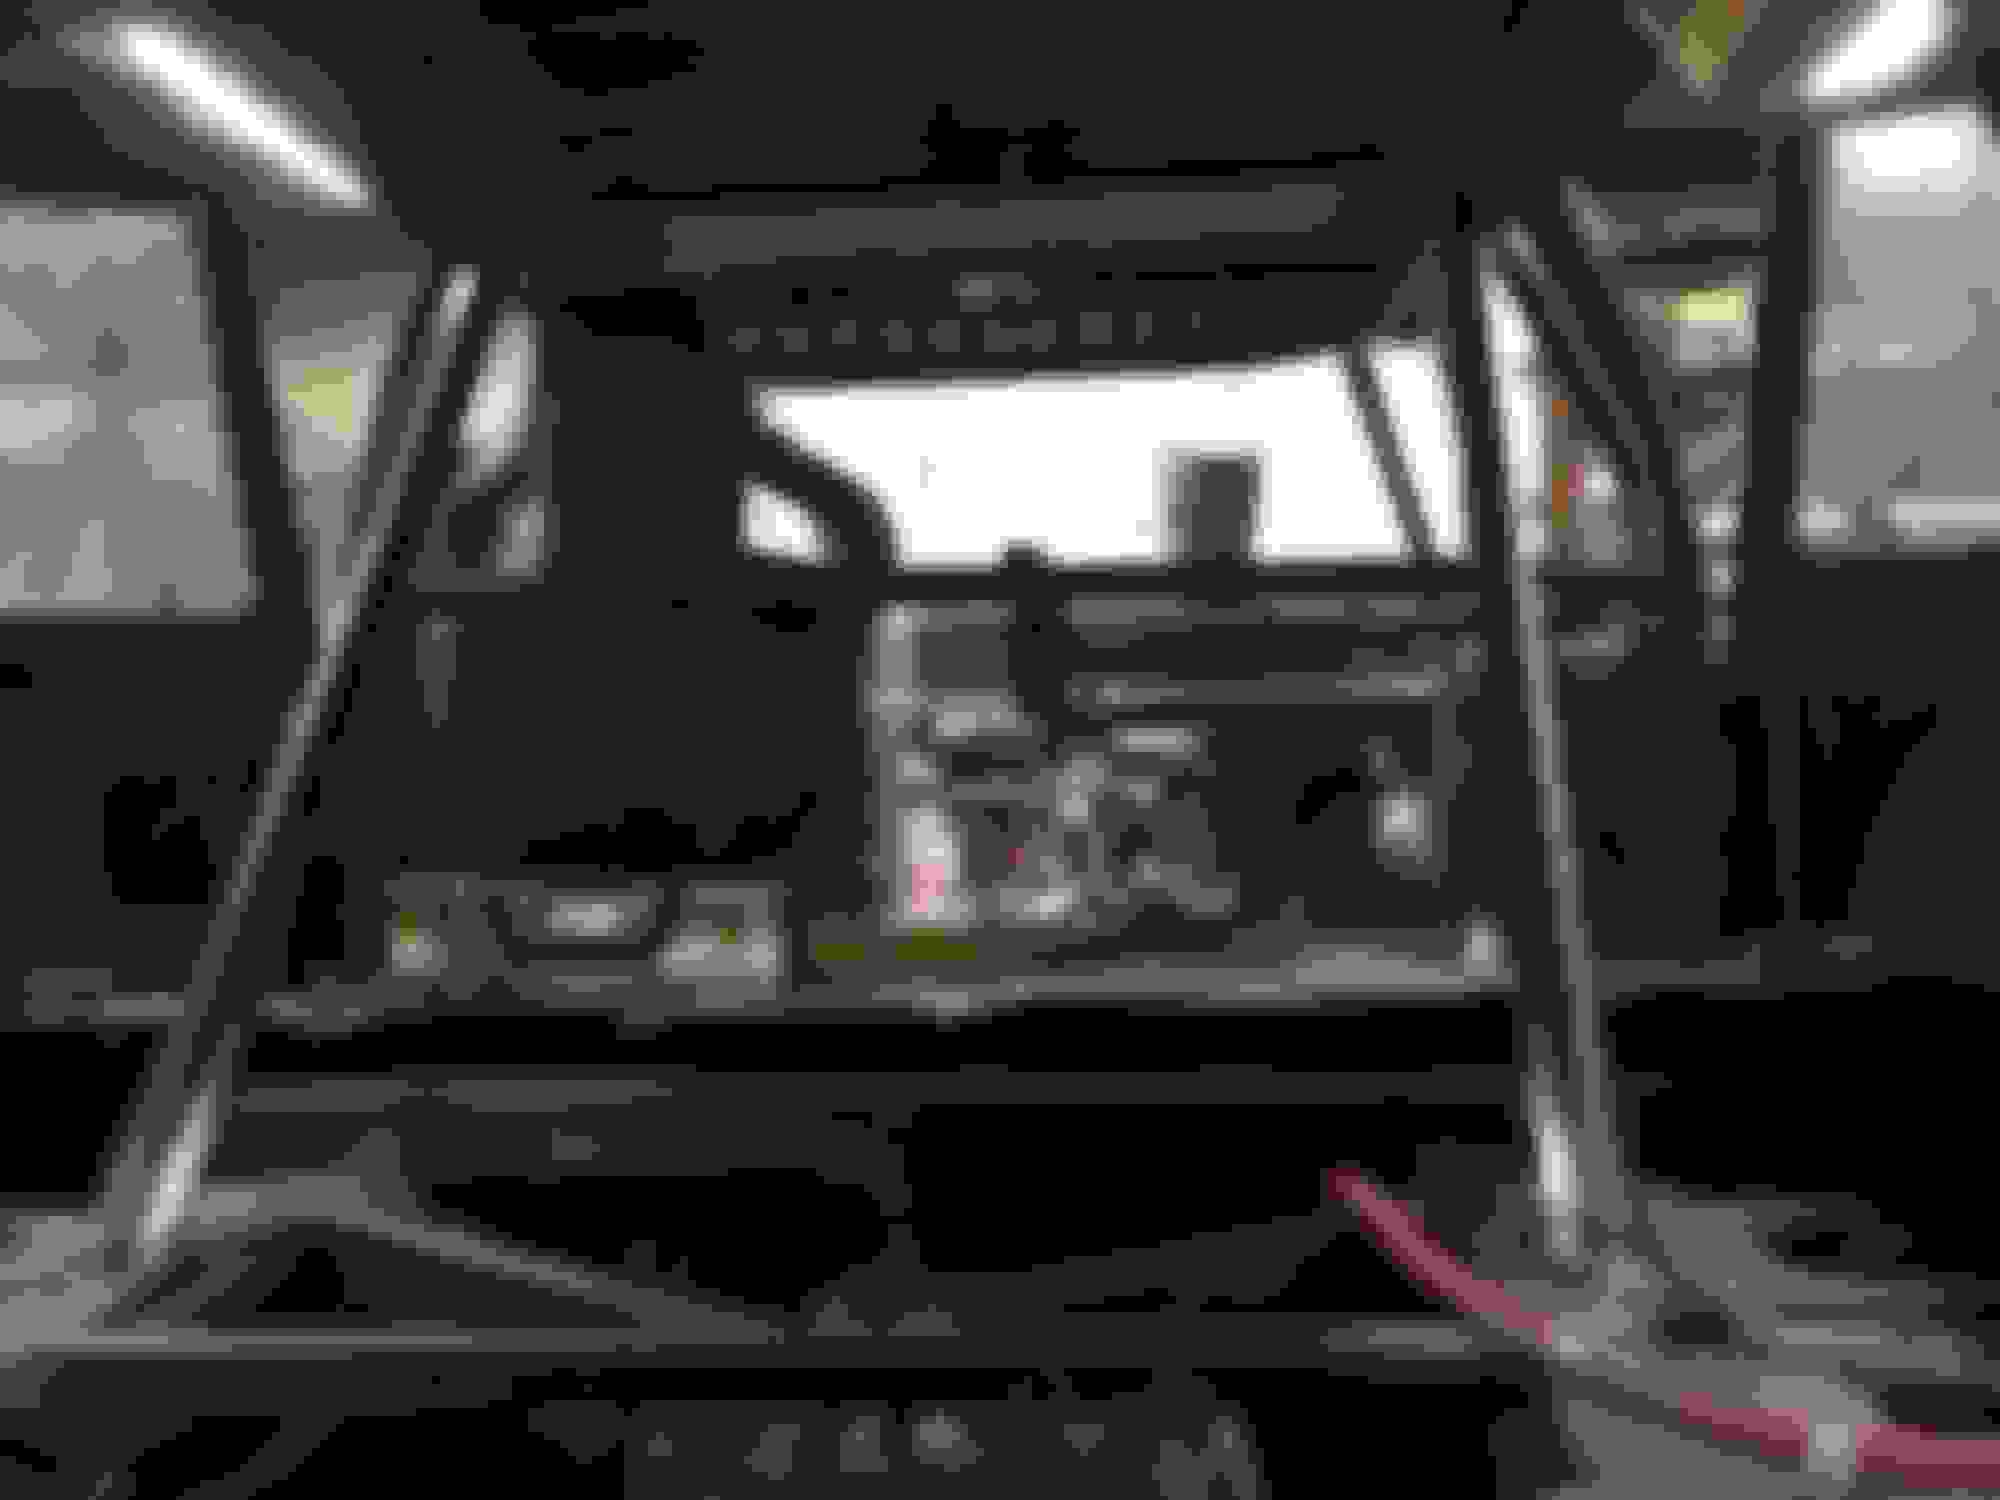
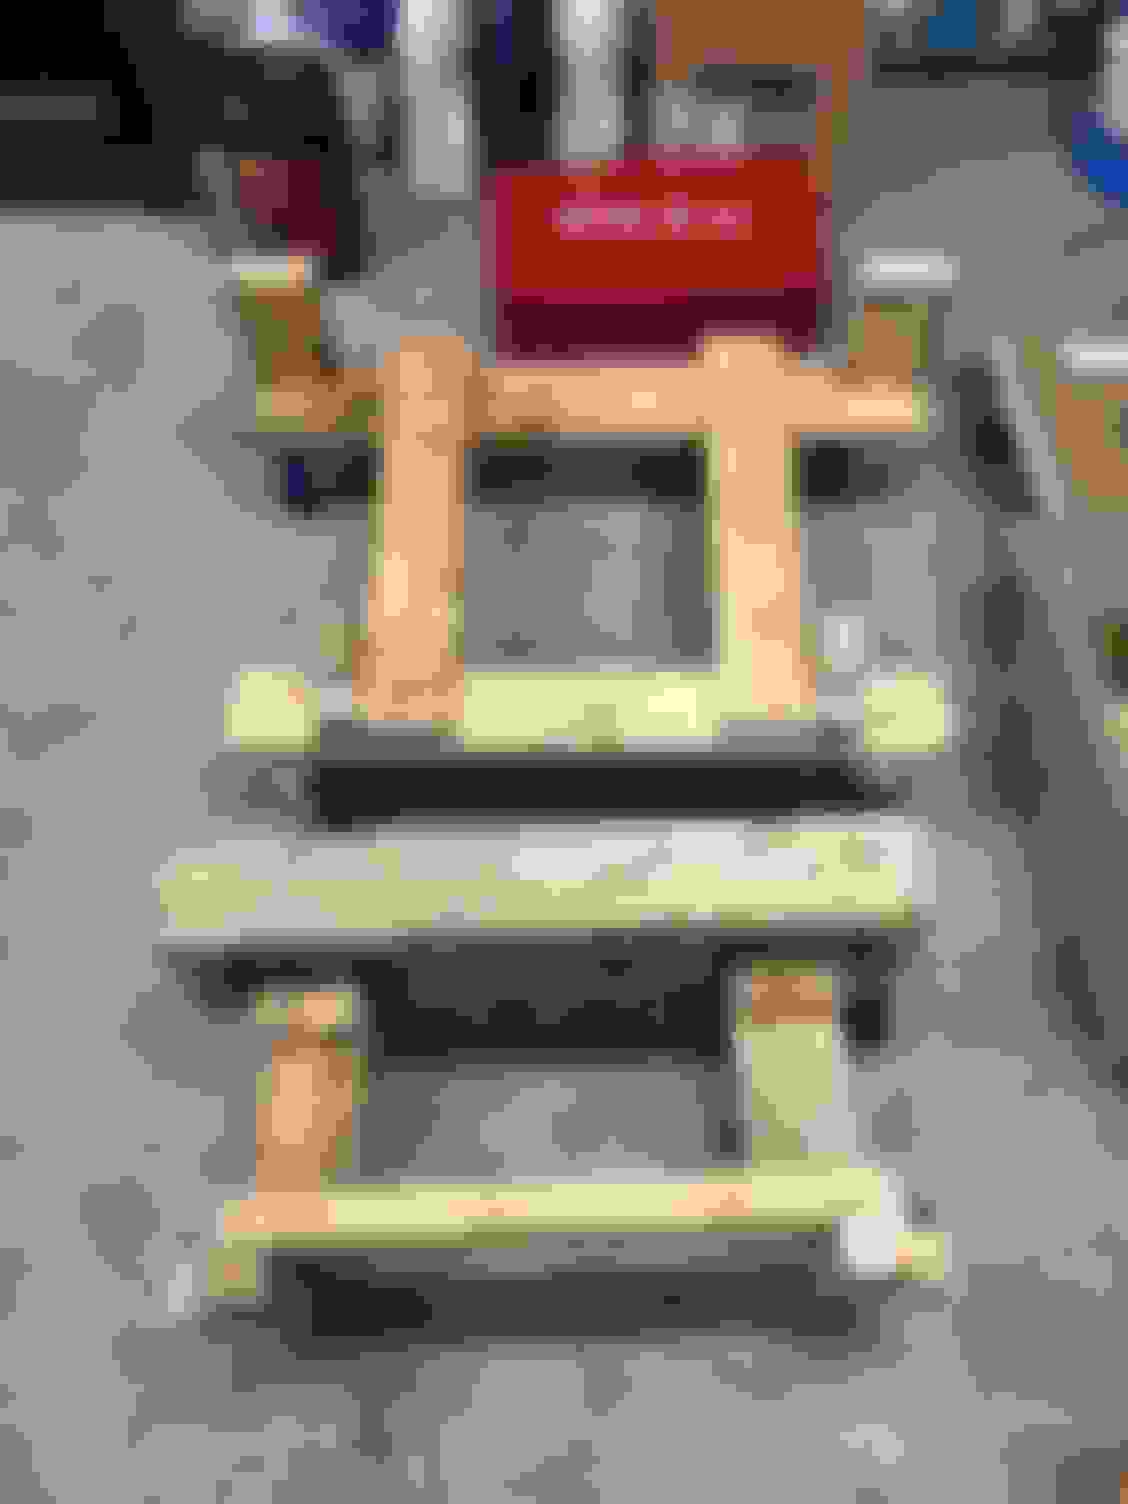
Been making some good progress. May not look like it but I have been putting ridicules amounts of time in. Being a one man show has made the project feel like its going at snale speed. But anyways, got the cage all designed up and now fabricating piece by piece.
So far I have the Main hoop (by far the hardest tube) completed. I have to say it looks very good in the car. Hoping to get the rest of the cage complete over Thanksgiving break.
Got the major pieces of the exhaust completed and finish welded. Now just need to add the 45 degree pieces.
Brake lines are complete (but untested). But I don't foresee any issues there.
Car is also very close to starting up. I have a fuel pump power issues that I'm working though right now. Once those are solved she should fire right up. Next big task after the cage is the steering. Getting close!
looking good. what software is that you are using for the cage?
Sorry for the late reply, I used Solidworks 2013.
Time for updates (been neglecting updating due to Holidays):
Other than the side supports (which I'm leaving out till the interior is closer) and finish welding, the cage is complete. It really needs a cross brace but and the original plan I had gets to close to my head. My main concern right now is getting the car moving so improvements come later Its only safety.
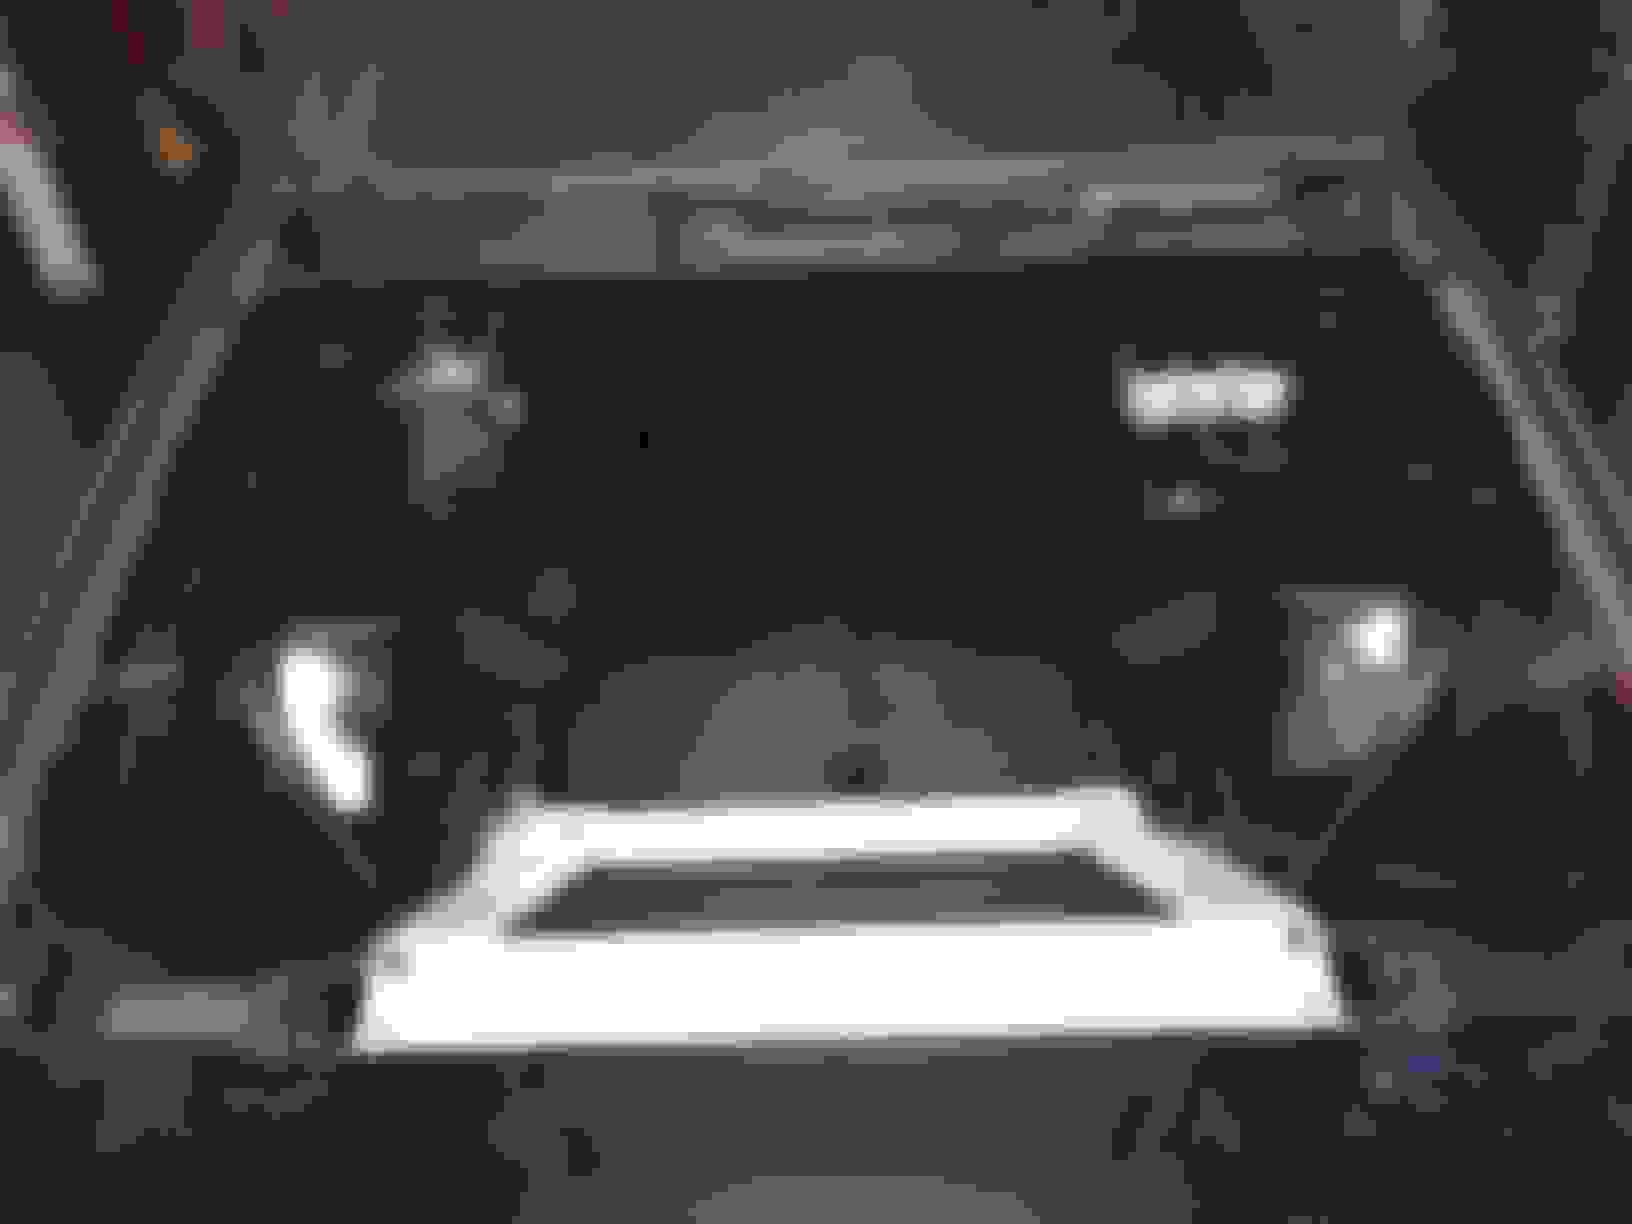
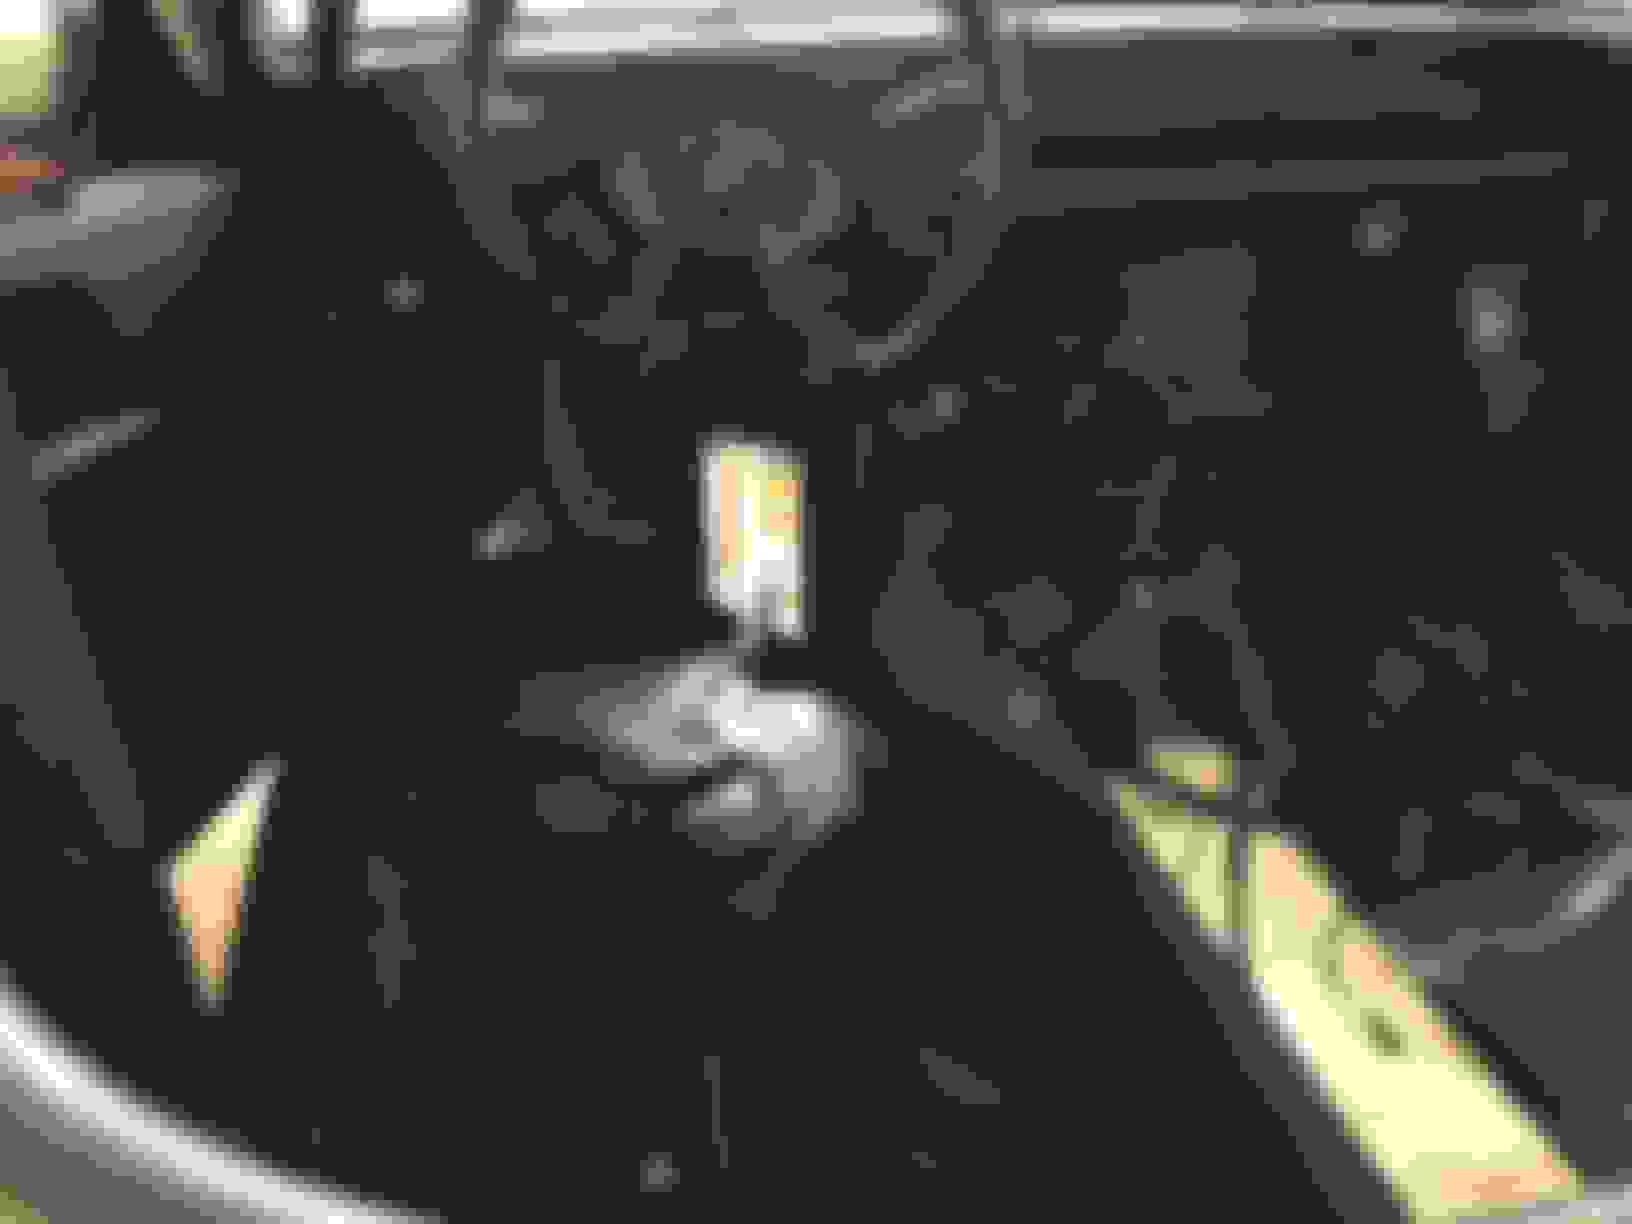
Coolant is ready to flow:
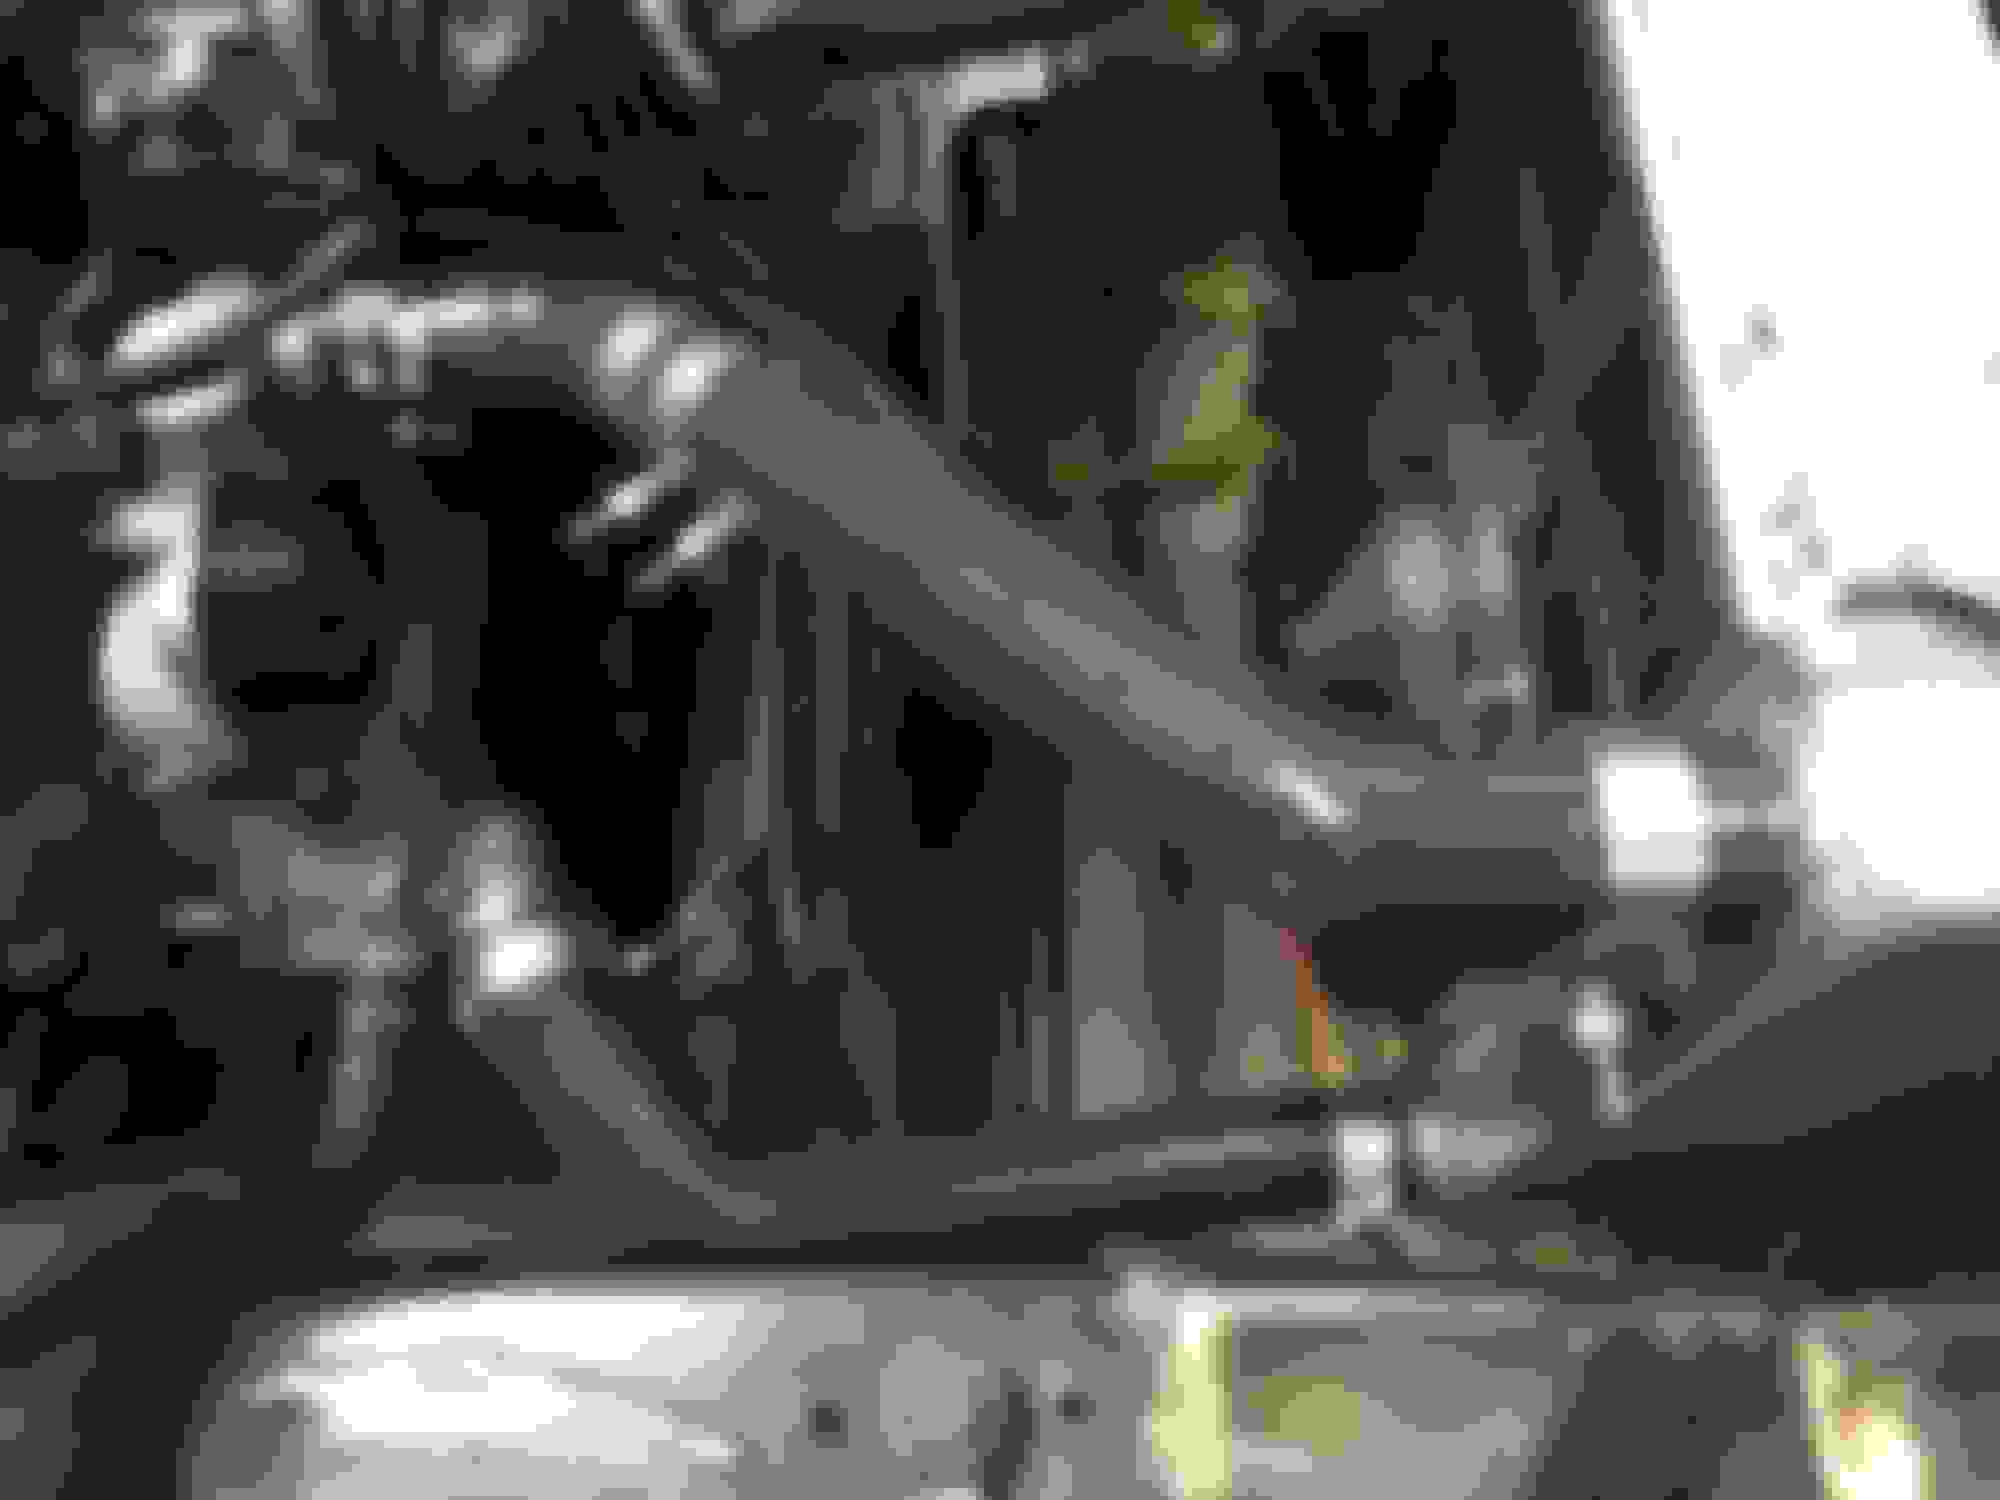
Steering is ready to steer. This was actually a huge hurtle with very little clearance everywhere. Looks easy now that its all in, took me around 2-3 months to conceptualize and build. Amazingly it all works and actually feels good with that many U-joints. Trust me, I thought of everything to avoid doing this.
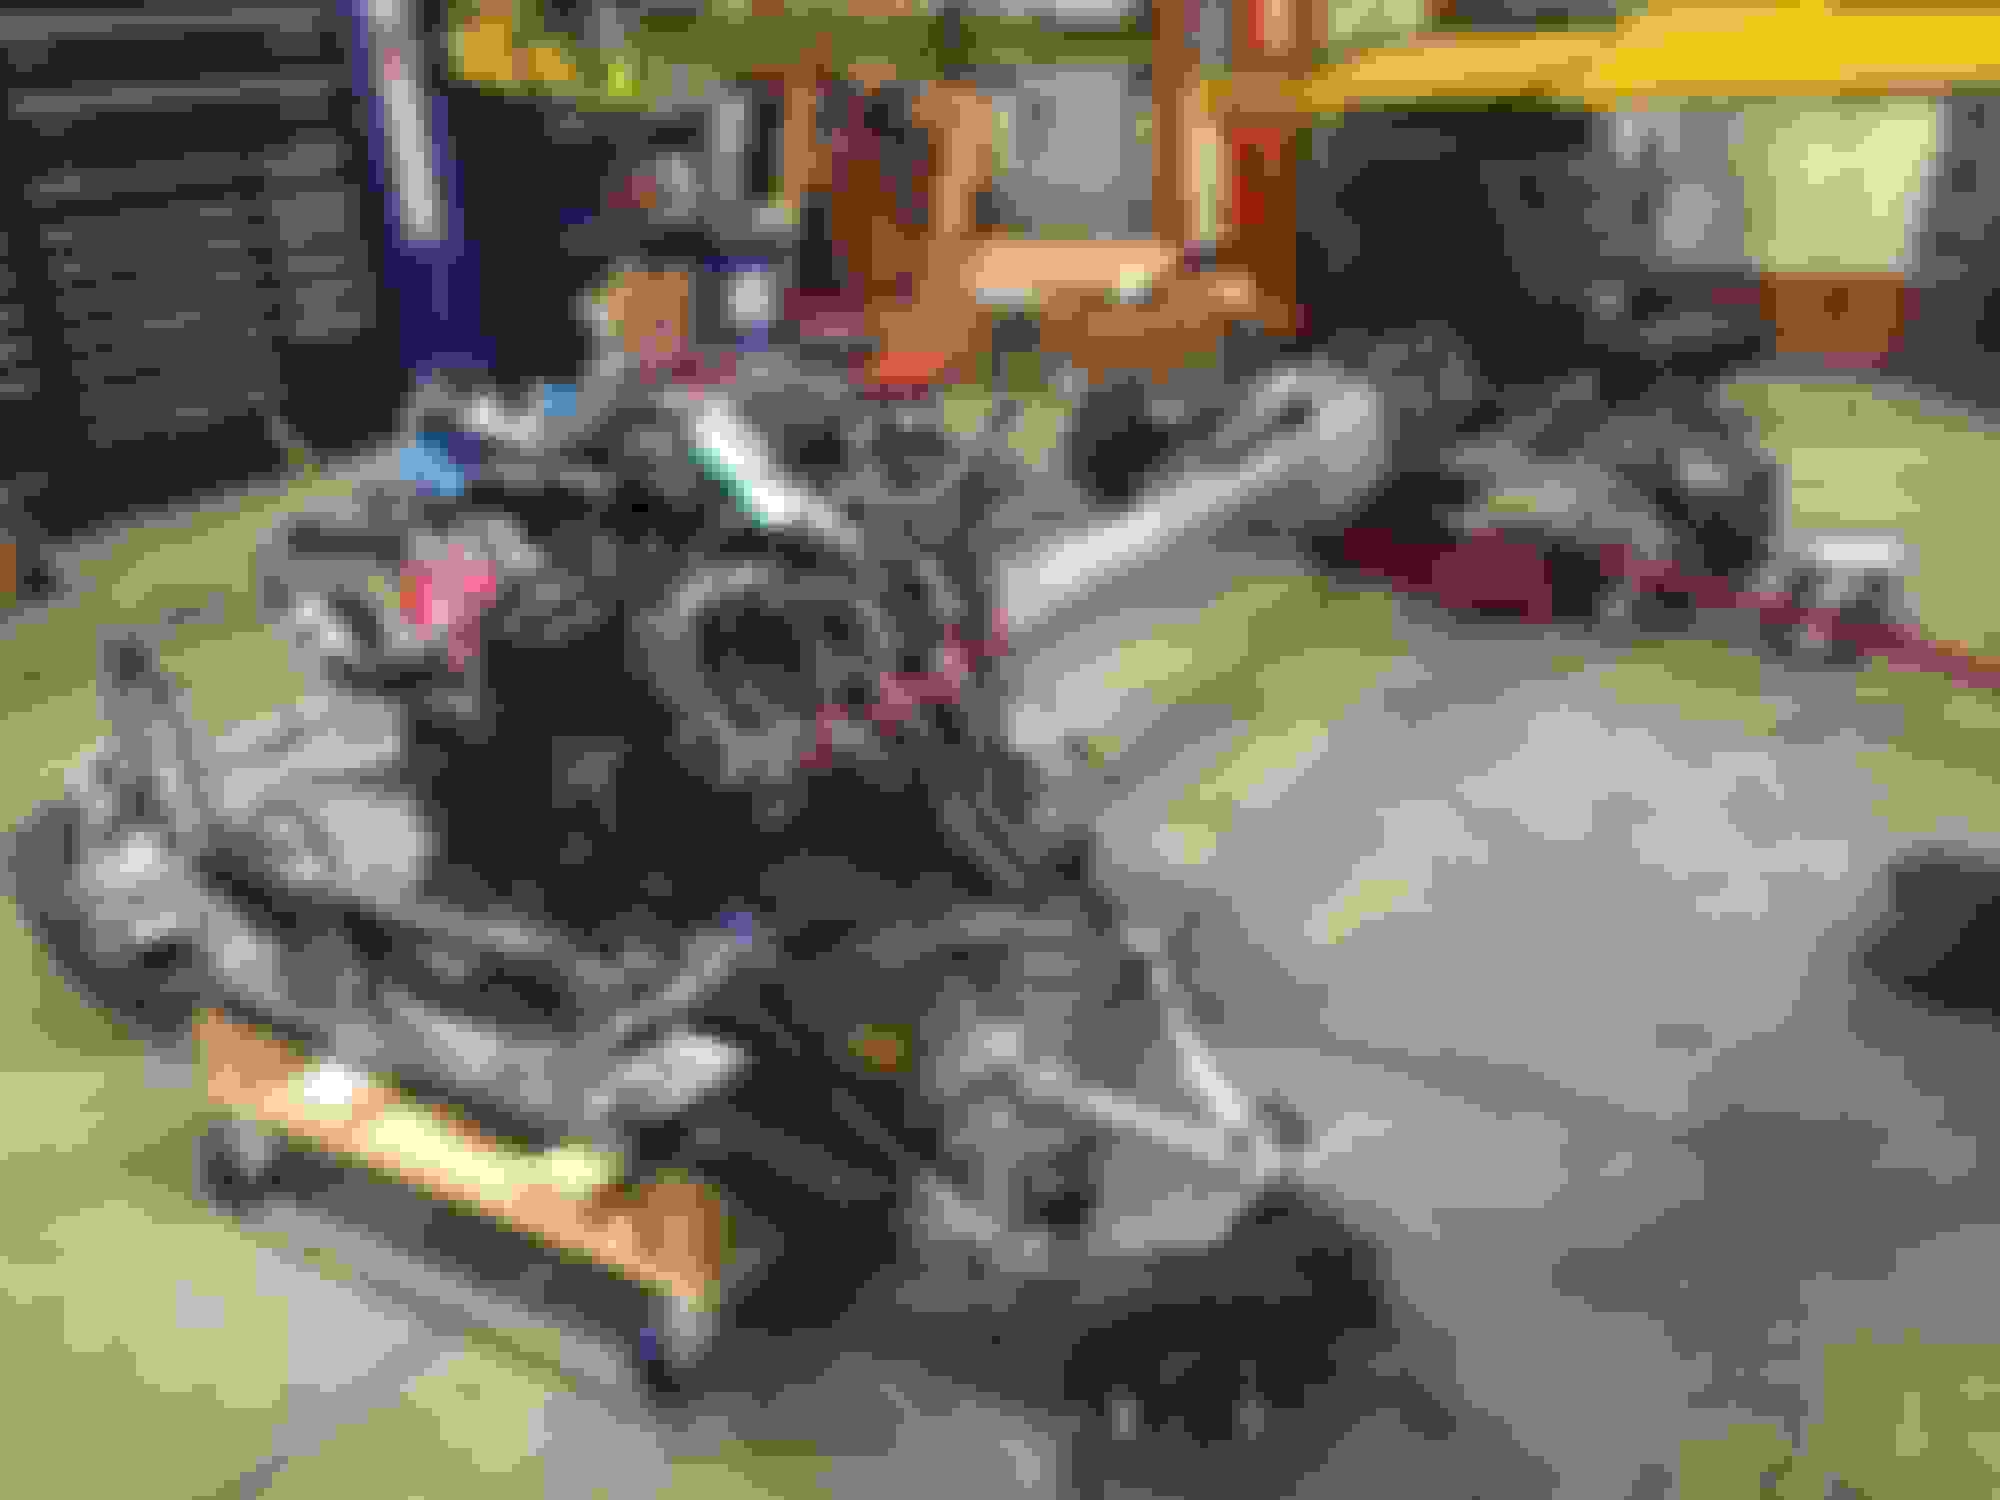
For some reason I don't have a picture but the exhaust is complete. I have also built sub frame cradles to make removing the drive train easier. They are much better than using 85 jack stands. Not exactly sure how GM does it but this was my best go at it. If the car works, I will be pulling the drive train out again for Dry sump and heads/cam, so they will get there use.
The rear isn't on this one since I needed to pull the rear.
Next up:
-Engine bay painting
-Seat Belts
-Shifter Mount
-Electrical
-Test run!
But presumably there is a way to run the rear transaxle setup without needing to retain a torque tube ?
I think that would actually be a more difficult task (not impossible, this project should prove that ) In order to pull that off you would need to do the following:
1. Build a custom bellhousing adapter piece that has a shaft input to the clutch and a yoke output supported via 2 roller bearings.
2. Support the engine since you just lost a support. Could go off the custom bellhousing piece.
3. Support the transmission, it currently only has 1 rubber mount which is basically the transmission cross member for the corvette setup. The new supports would probably need to be adjustable to set your driveshaft angle.
4. Make or buy a yoke to go onto the input shaft of the transmission. This is where things get iffy. So a typical yoke is held on with a nut which sets preload on roller bearings. I would venture to guess that the T56 input doesn't have a roller bearing but a ball bearing since the drive-line is usually all inline. If it is a ball bearing the side loading of a driveshaft will eat the bearings alive. That's why bearings on a live axle are so large, relatively speaking.
5. Buy a driveshaft, make sure its balanced well since it sees engine RPM. Good news is it can be light since is doesn't see transmission torque multiplier. If I remember correctly the original shaft that came out the TT was .065 or .083 wall! I upped it to .095 since the shaft got longer and I was (and still am) worried about harmonics.
To me that is a lot harder than just extending the torque tube and remounting the shifter. But I'm also crazy and am not afraid to take apart stuff I shouldn't.
Sway bars - So as you know I narrowed the subframes so the stock sway bars are a little to long now. Because they are kinda important I need to solve this issue. I'm planning on getting aFe setup and they just so happen to sell service kits which have everything but the shaft I can't use anyway. They run 1 1/4 x 48 spline shafts (if my counting is correct).
Anyone know of a place that sells 4130 splines swaybar shafts? And because the end links are at an angle I need extra long splines.
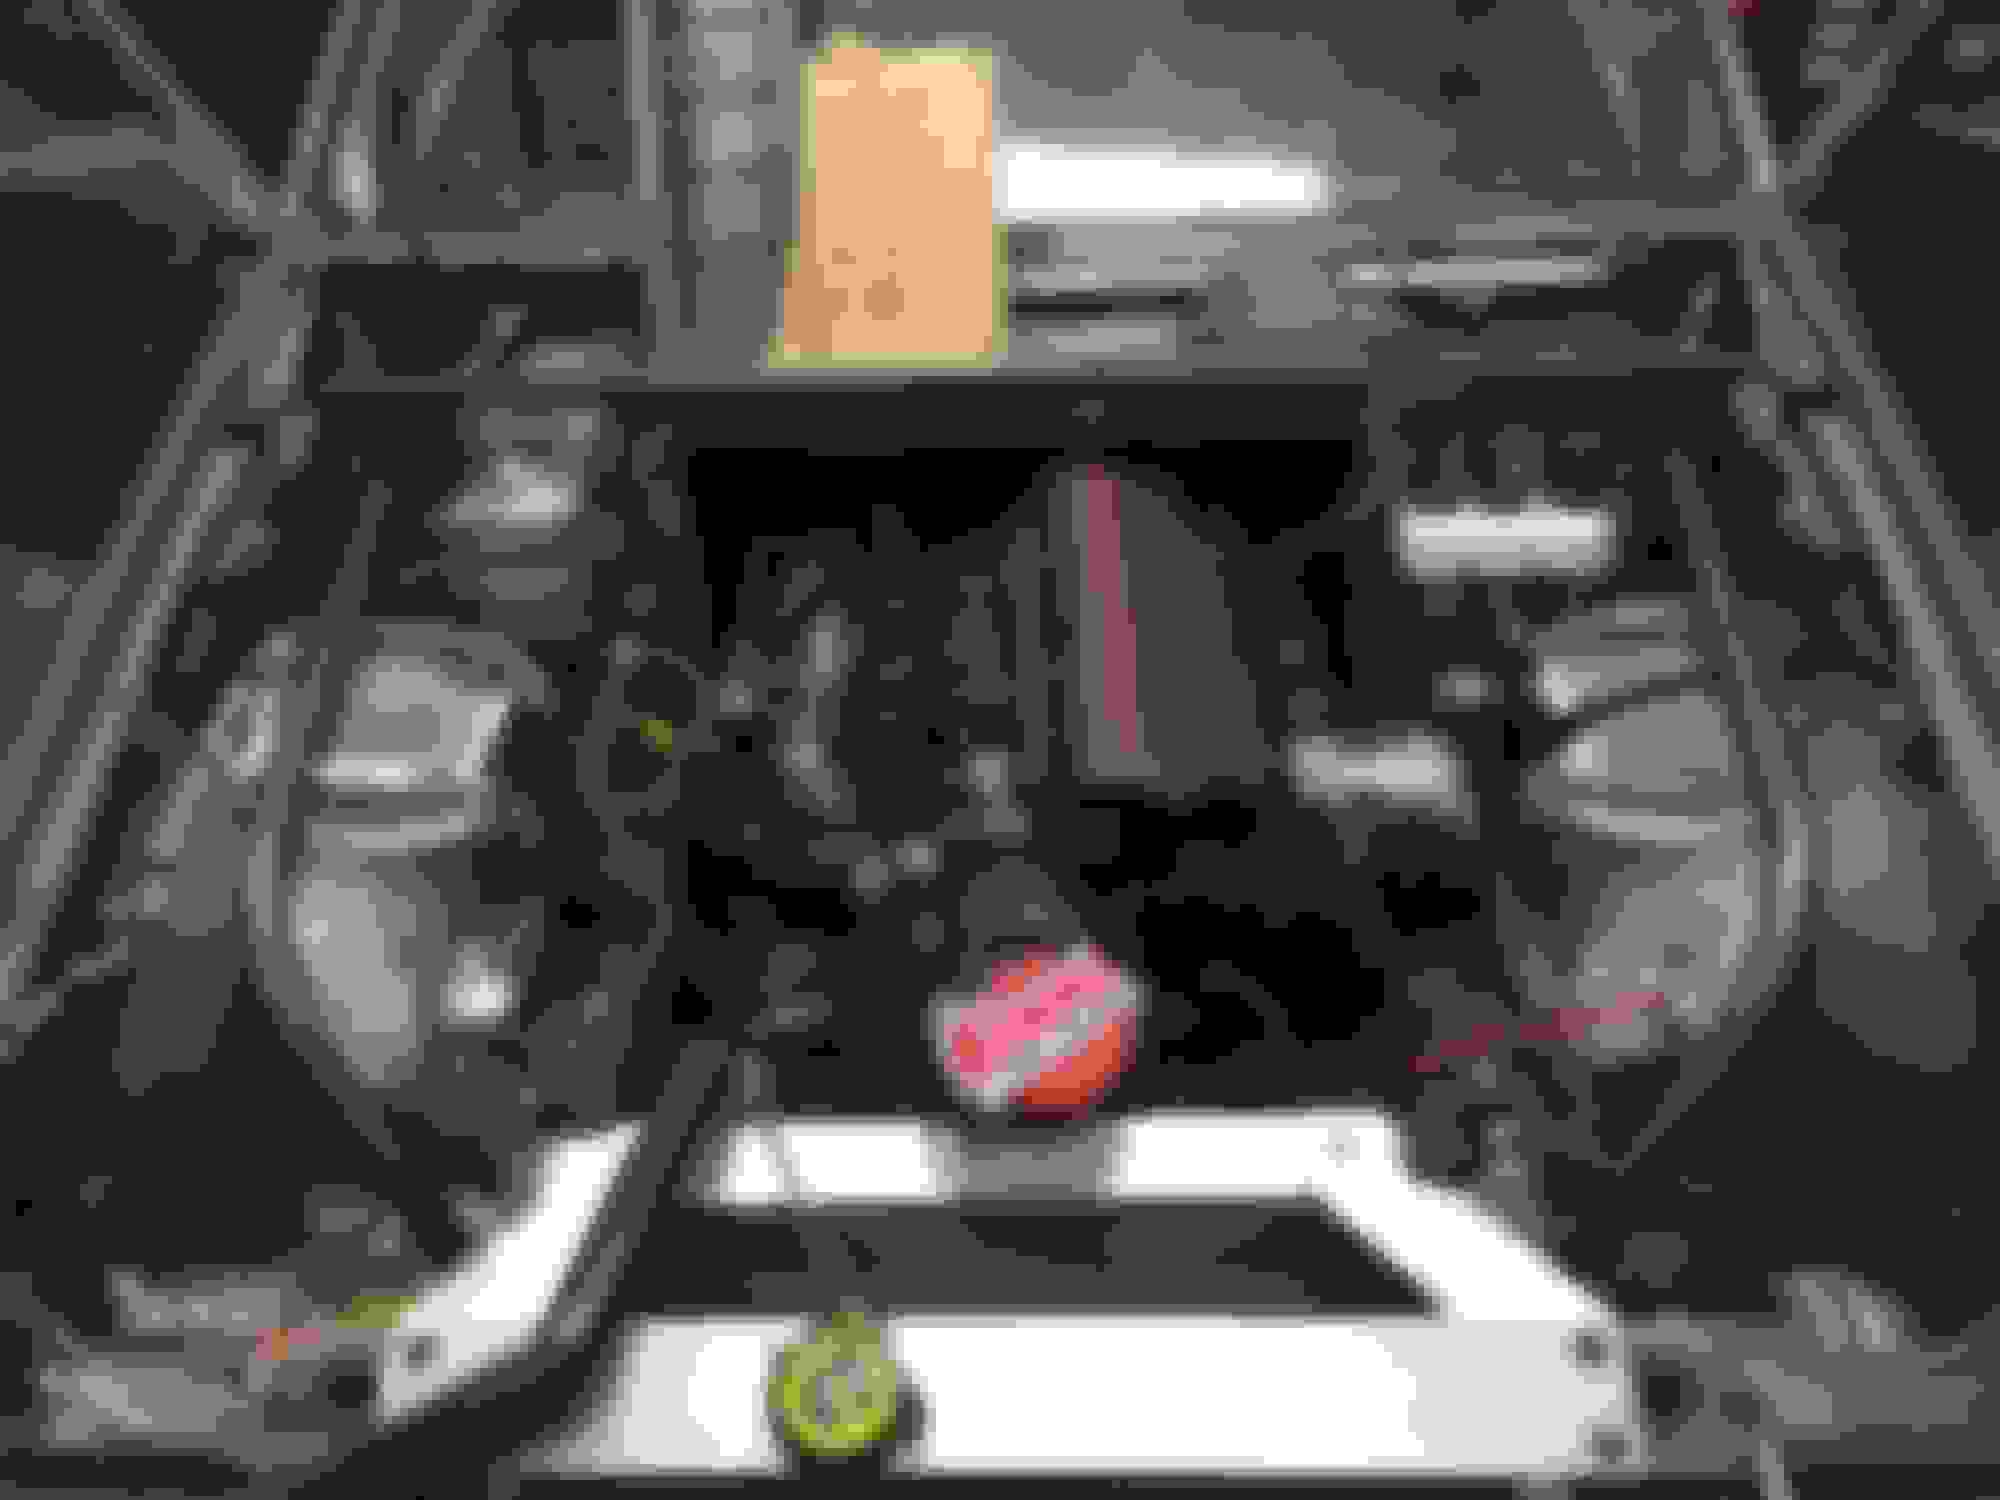
After much sanding, painting, bondo I finally got the engine bay all one color again! The color I went with was a Hyundai Charcoal Gray Metallic color code 2M. I would have never guessed but Hyundai has some of the best colors. The painting setup wasn't the best (not a spray booth, didn't have all the right masking stuff, etc) but my hands were tied since it wasn't a roller. In the end it's just an engine bay and the results still came out good. Anyway here are some pictures:
I also got the front 1/3 of the car undercoated as well as the driver side interior. That way everything that goes in stays in unless it doesn�t work.
Next up is seat belts and getting the drivetrain back in. Getting closer
Nice job ! Those manzo headers what specific car are they made for ?
They were made for the C5 corvette. They keep it nice and tight to the engine which is convenient for doing a swap. I also used part of Manzo's X pipe that way I didn't have to fabricate everything.


 10-30-2015, 12:47 PM


 Its only safety.