'83 Monte Twin Turbo LQ4 Build

 12-19-2013, 08:55 PM
#62
Staging Lane
Thread Starter
Join Date: Nov 2007
Location: Connecticut
Posts: 86
Likes: 0
Received 0 Likes
on
0 Posts

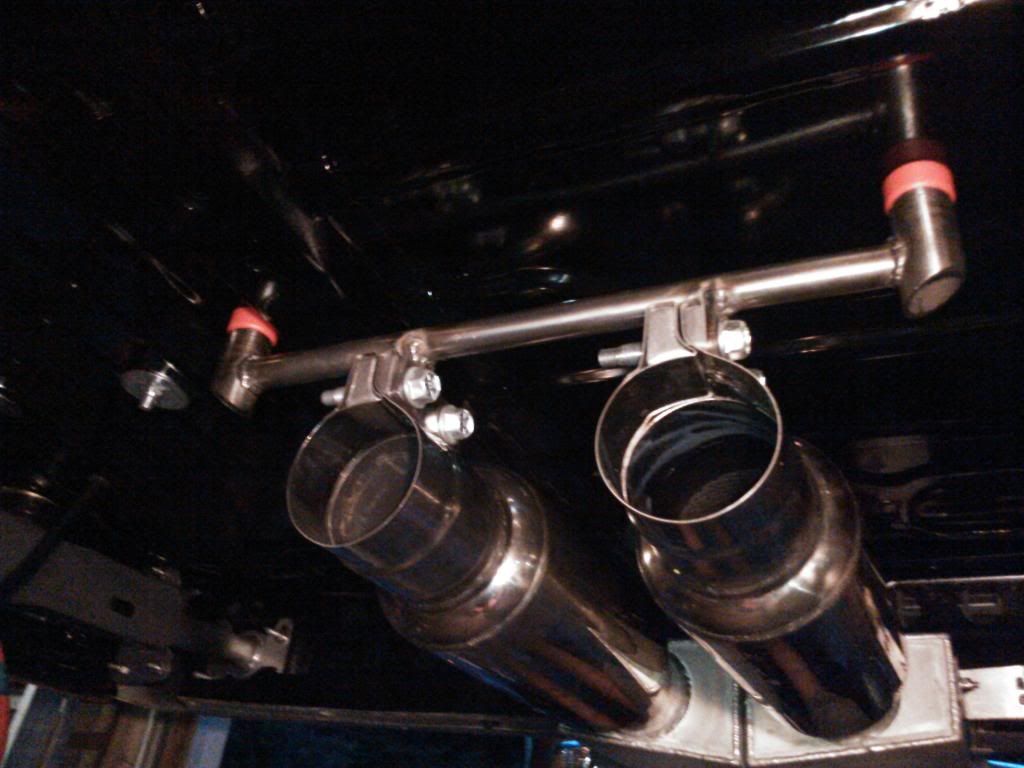
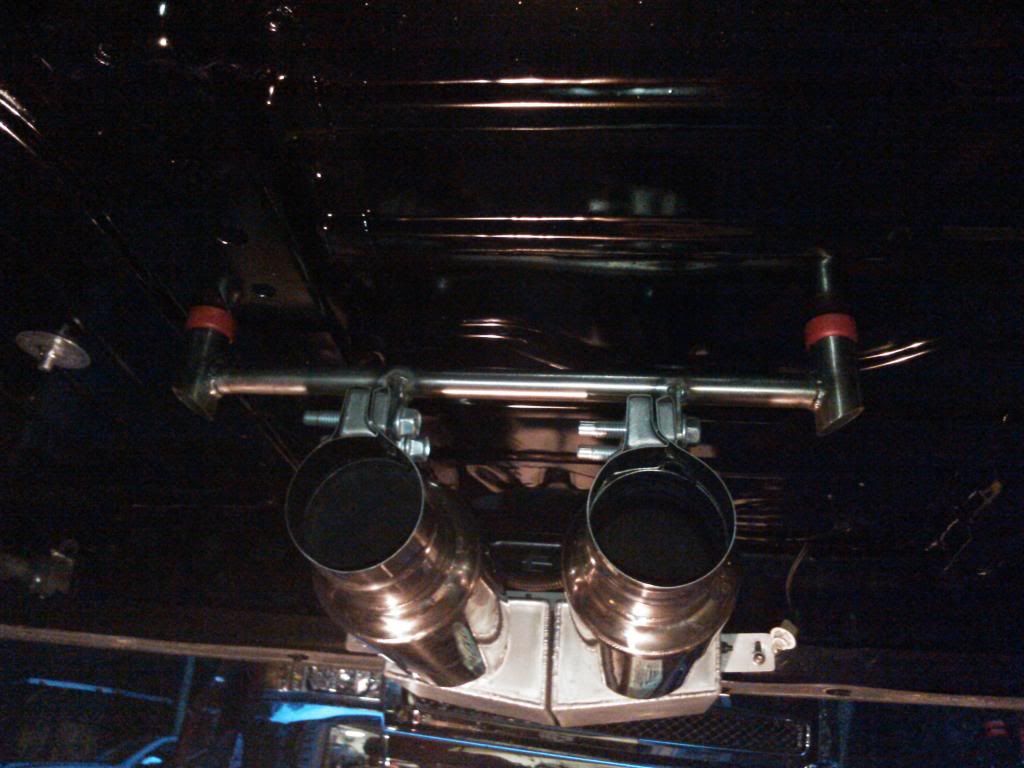
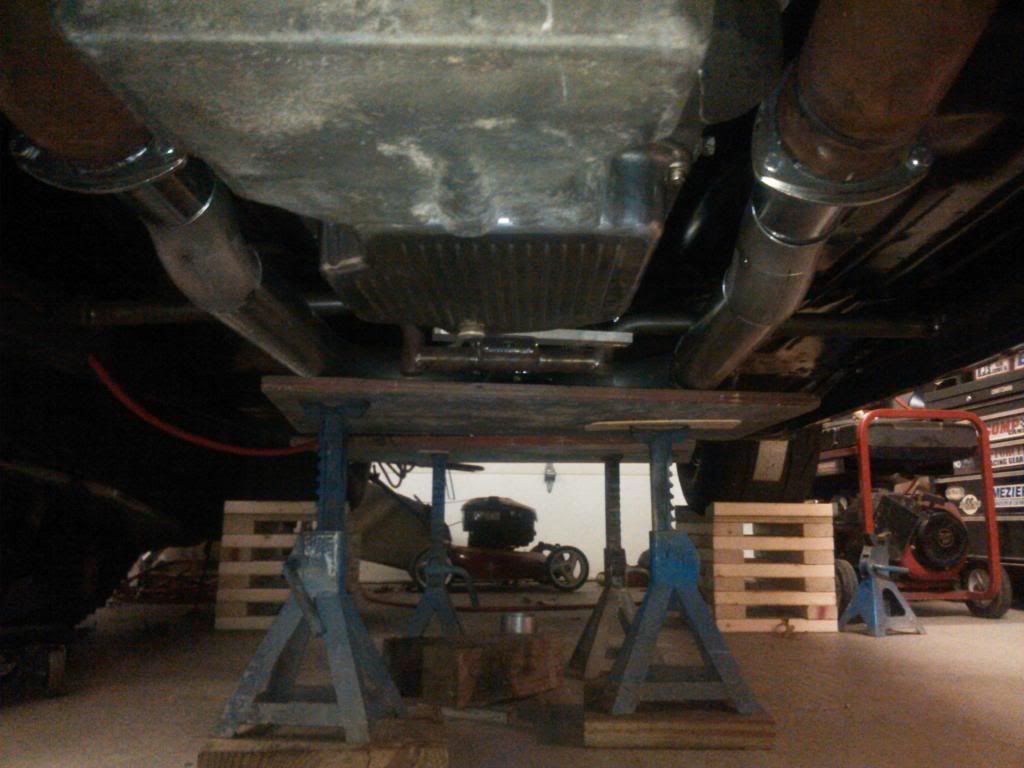
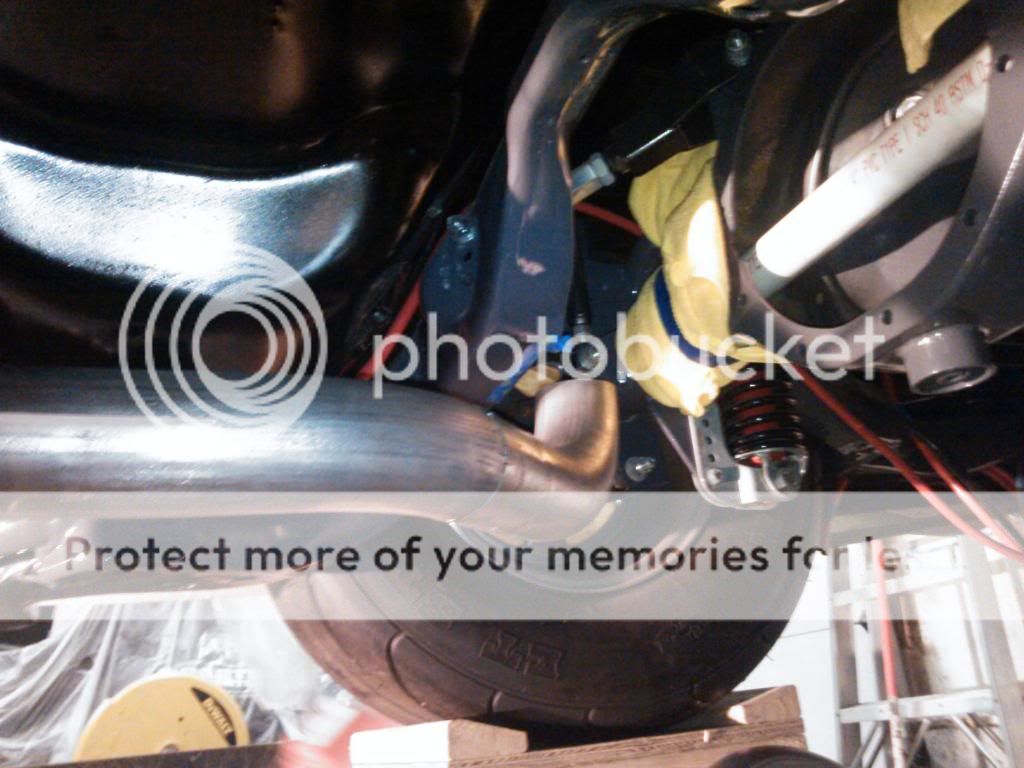
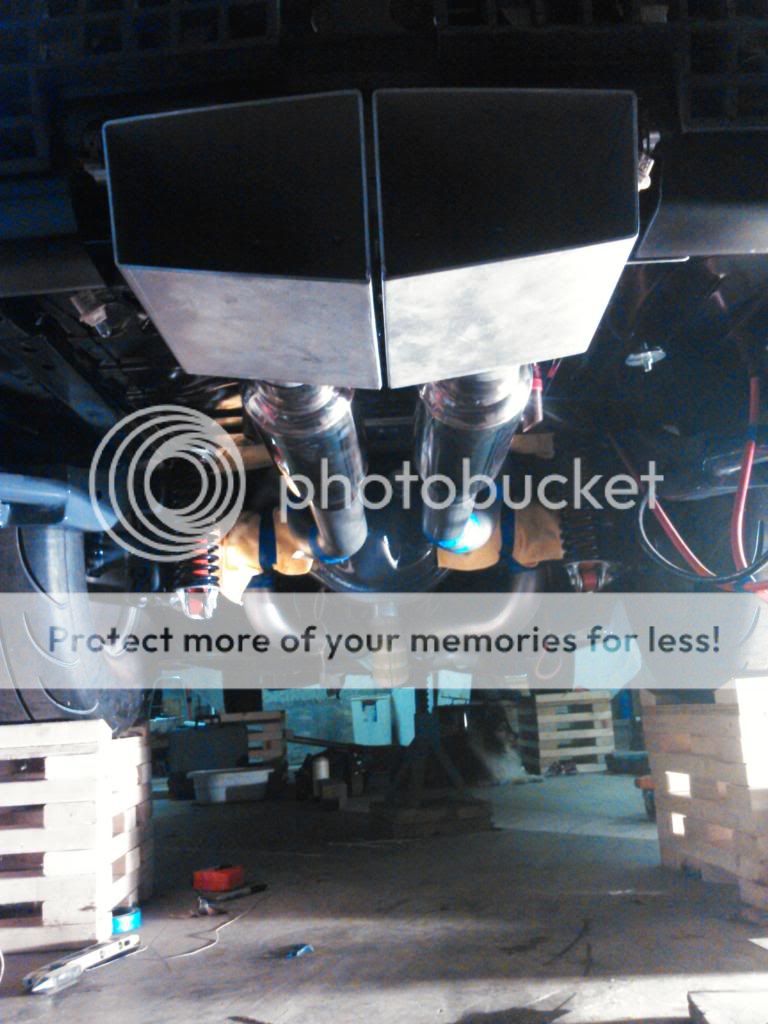
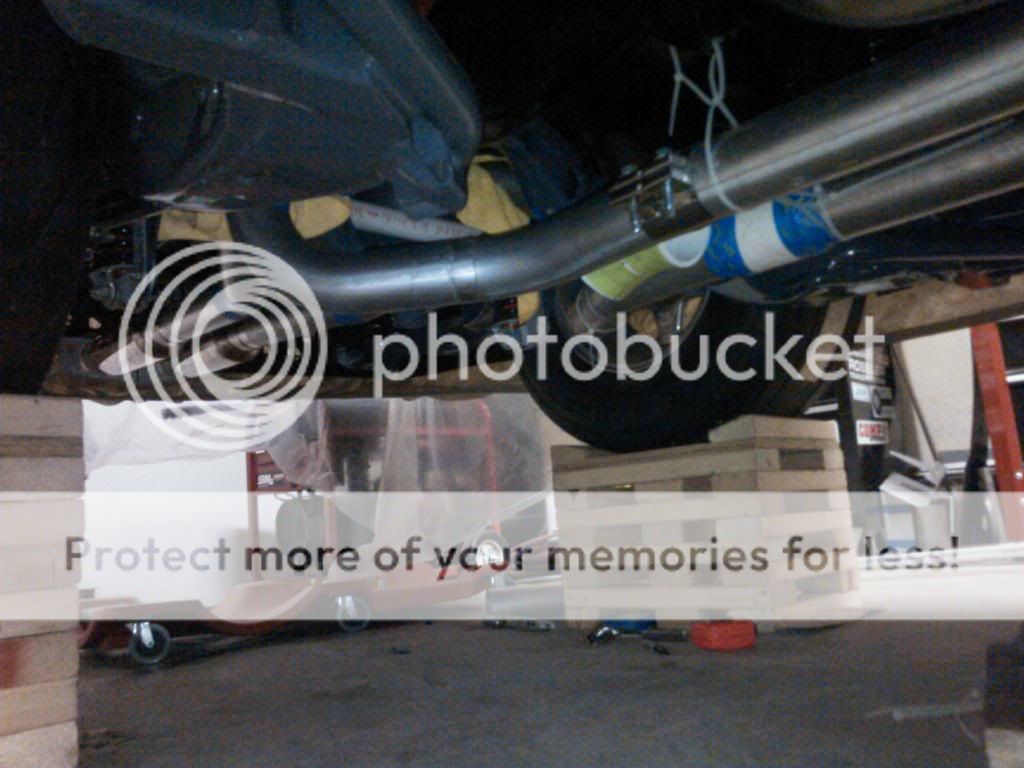
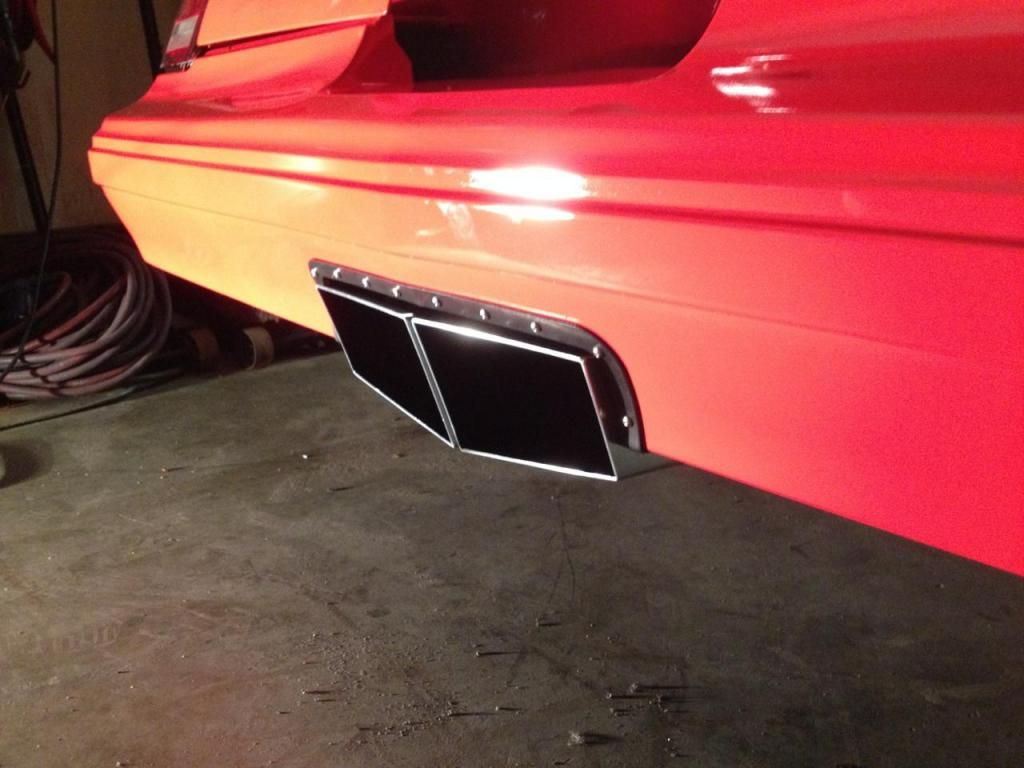
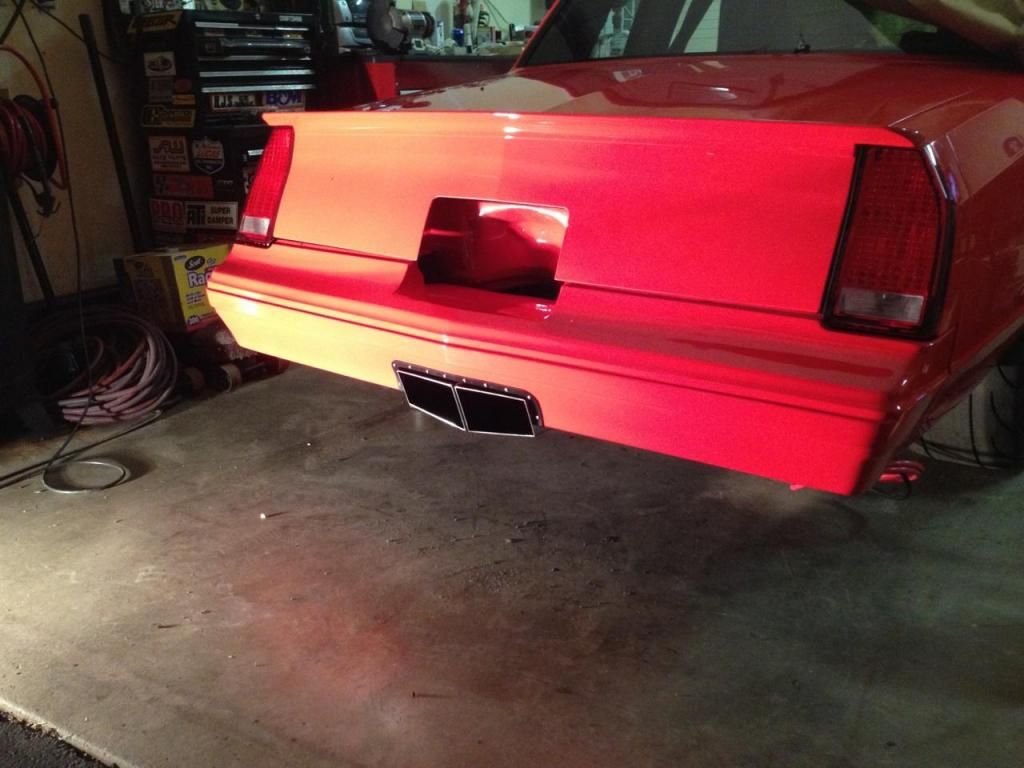
We've been jumping around from project to project, getting a little done at a time. If you've been following, you've seen the custom center exit exhaust through the rear bumper. We fabricated a hanger bracket to hang the front of the mufflers and the rear section of exhaust.
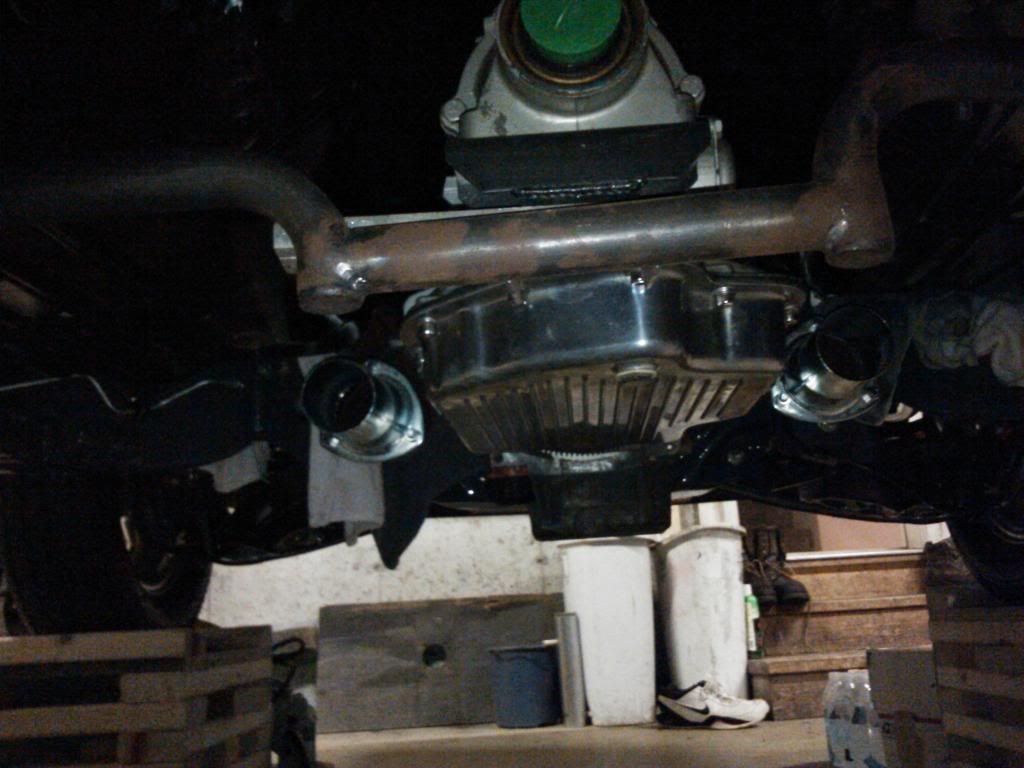
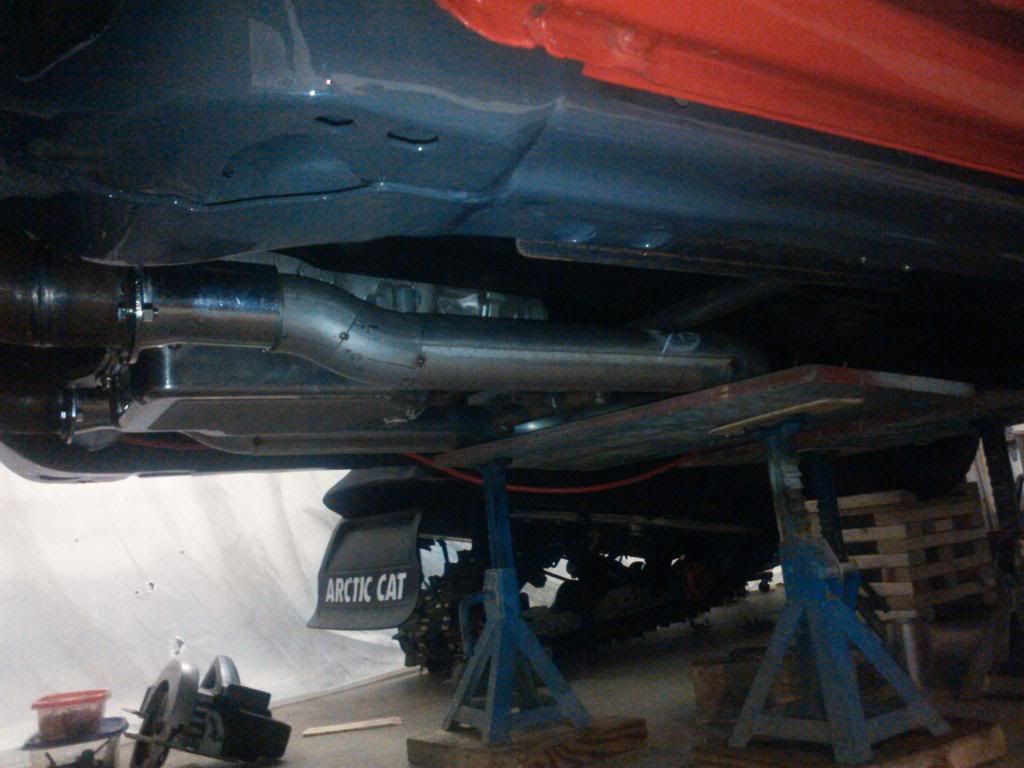
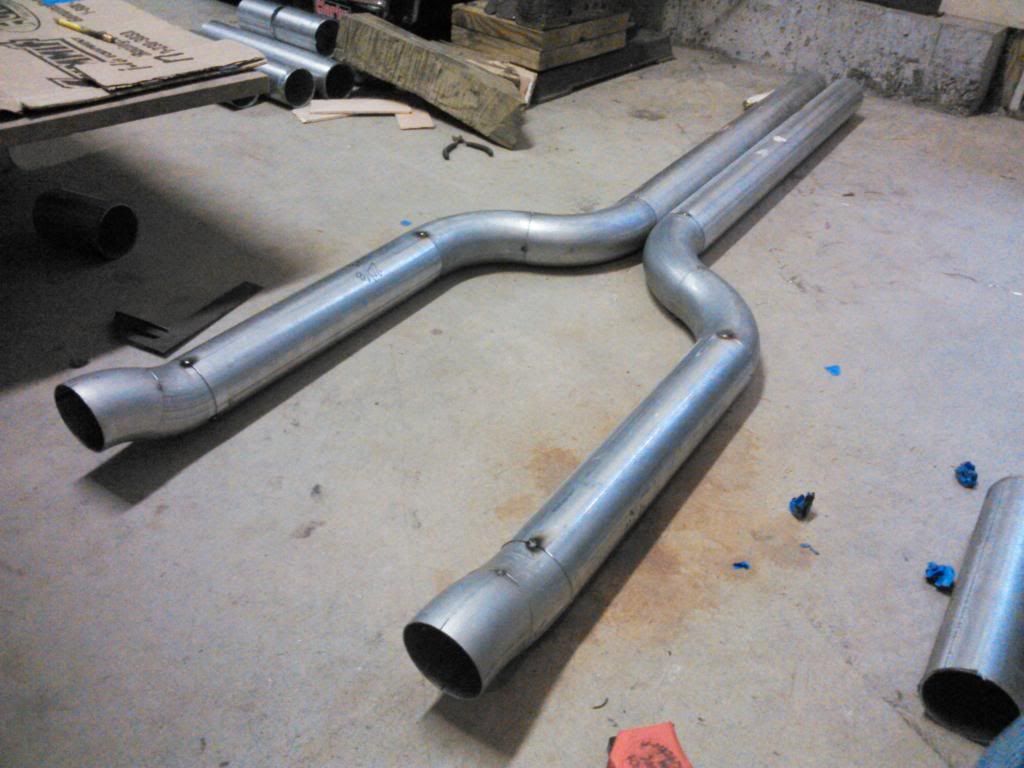
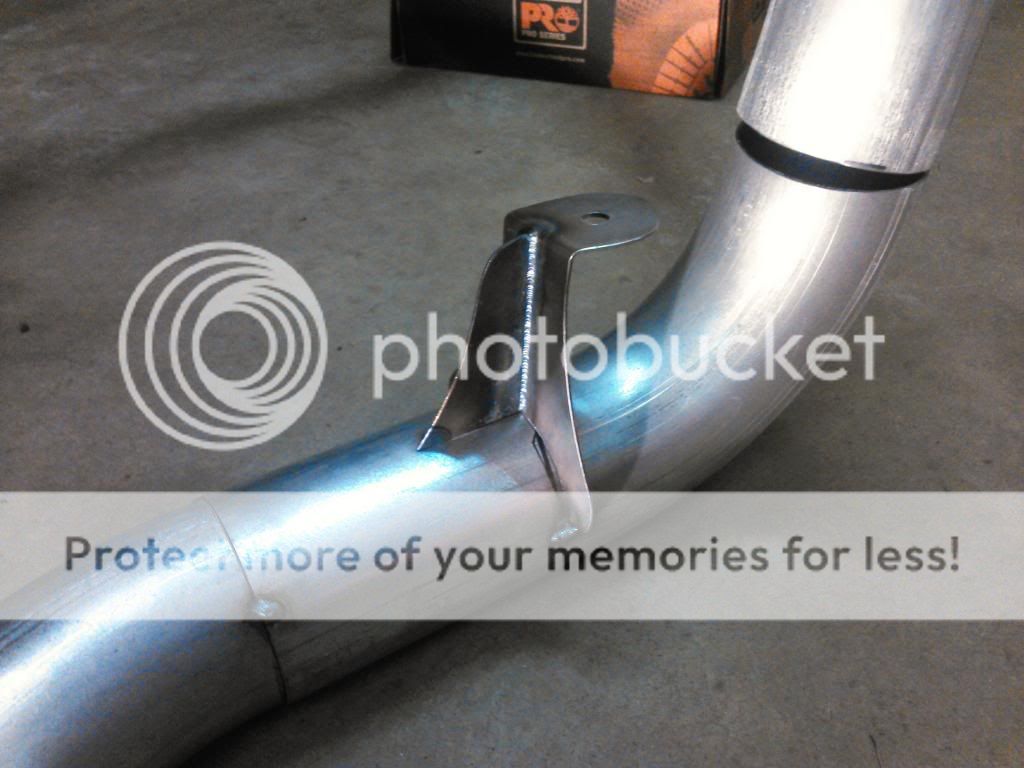
We've also been piecing the exhaust together under the car, trying to make it hug the floor as close as possible. The turbo downpipe "header collectors" exit at the same spot a set of long tubes would. Misjudged and ended them a little high, to the point where the exhaust would be going through the floor. As much as we didn't want to, we made a small "s" curve to lower the exhaust, but still make it close to the floor (you'll see what I mean in the pictures). Front half is tacked together, still need to order the tubing for the rear section over the rear end. (Not having it bent, we're piecing it together with straights and bends).
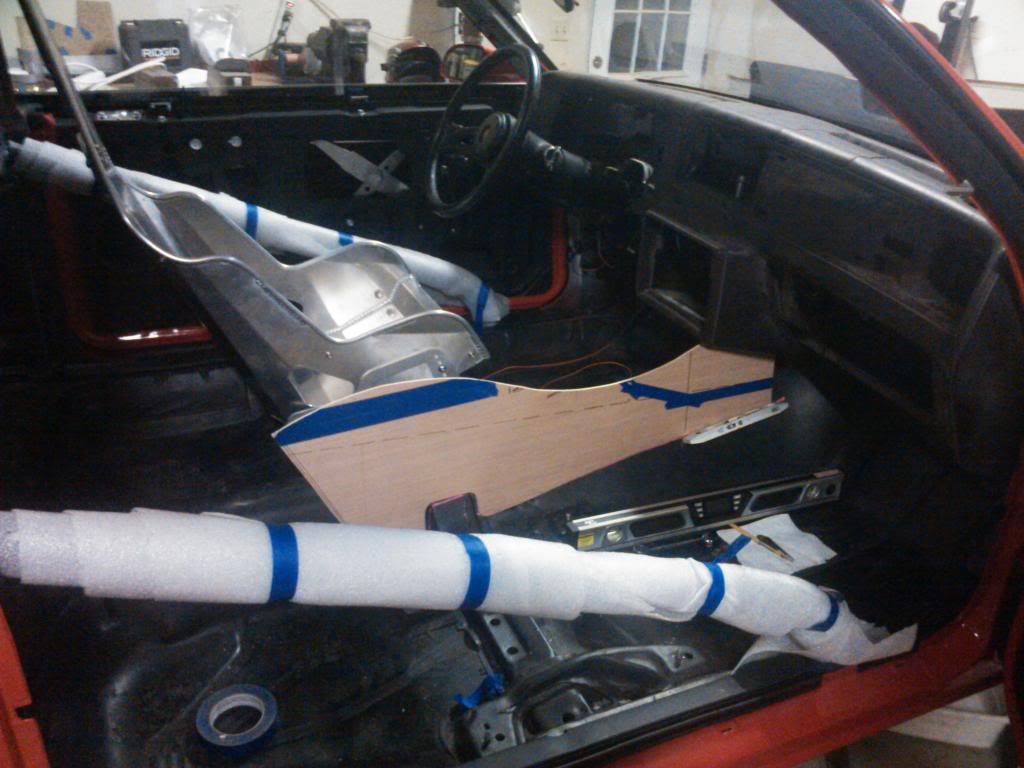
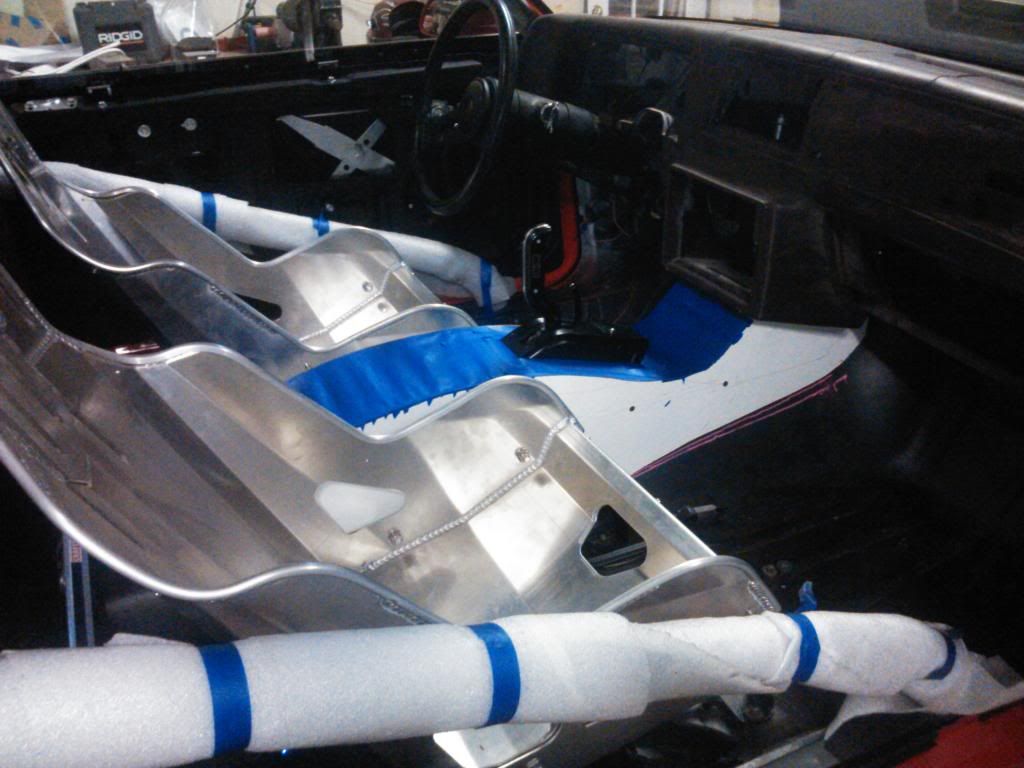
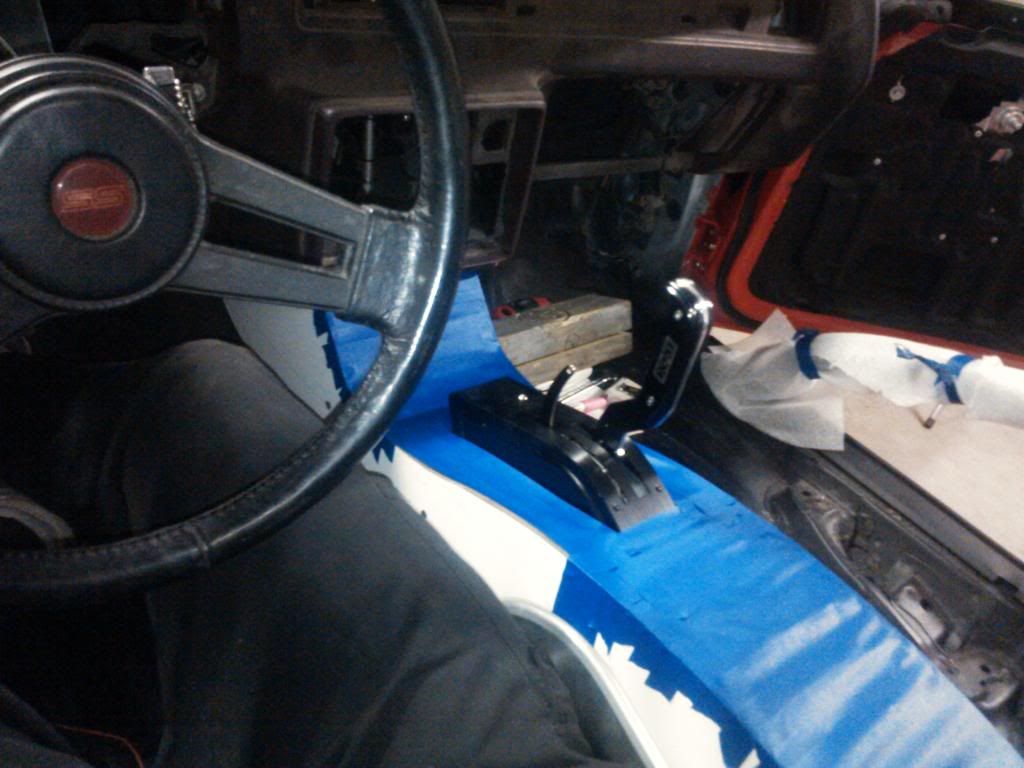
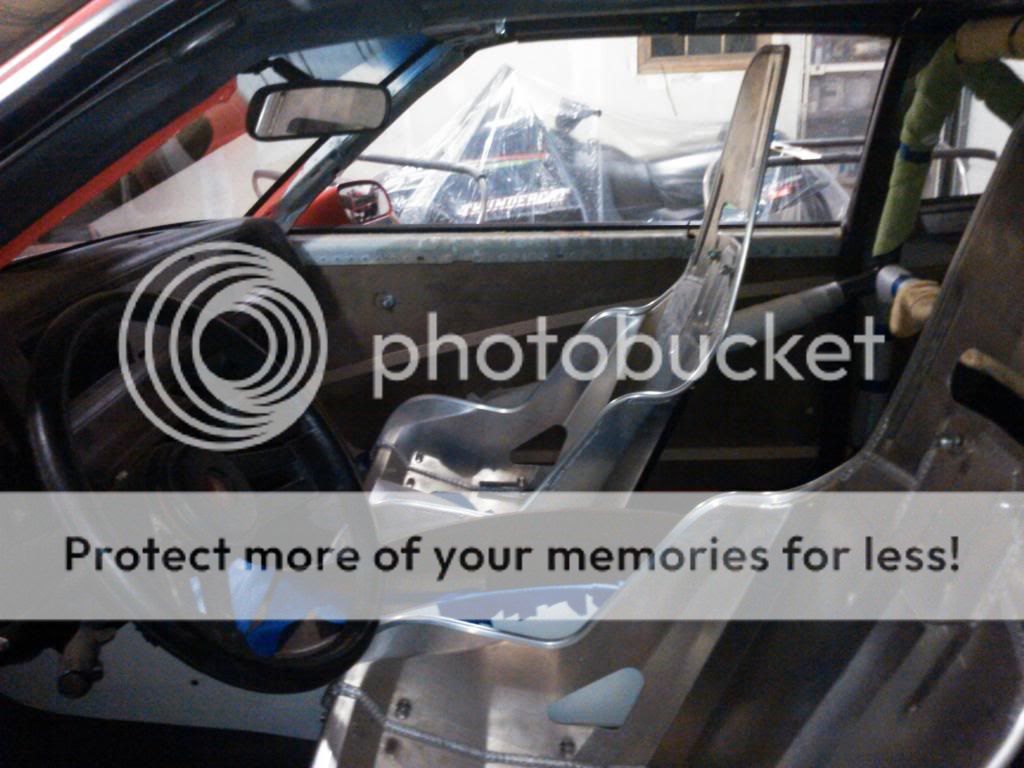
Next.. As much of a drag car as we're making, we want the interior to look decent. Check out Interiors by Shannon.. Beautiful work and inspiration for this interior. Definitely wont be able to make ours as nice as the ones there, but we're going to try! We started coming up with a custom center console, made a paper template, then a 1/4 wood template. Dad works for a kitchen company and the just got a new wood CNC, so the console will be the experimental project on the new machine.
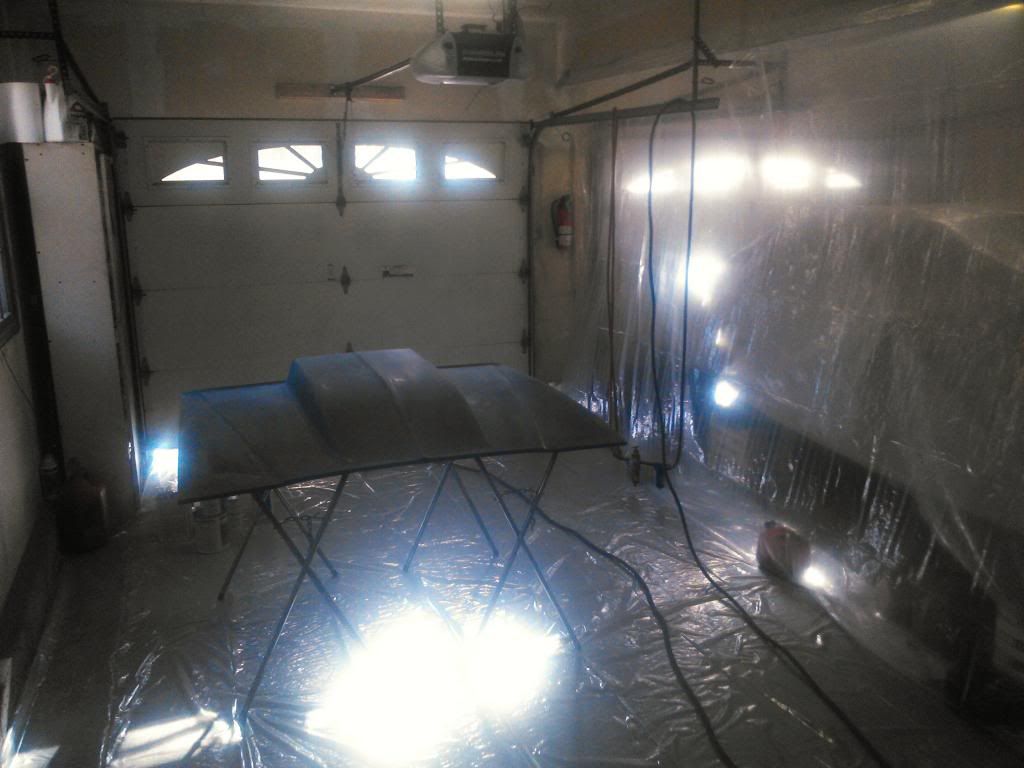
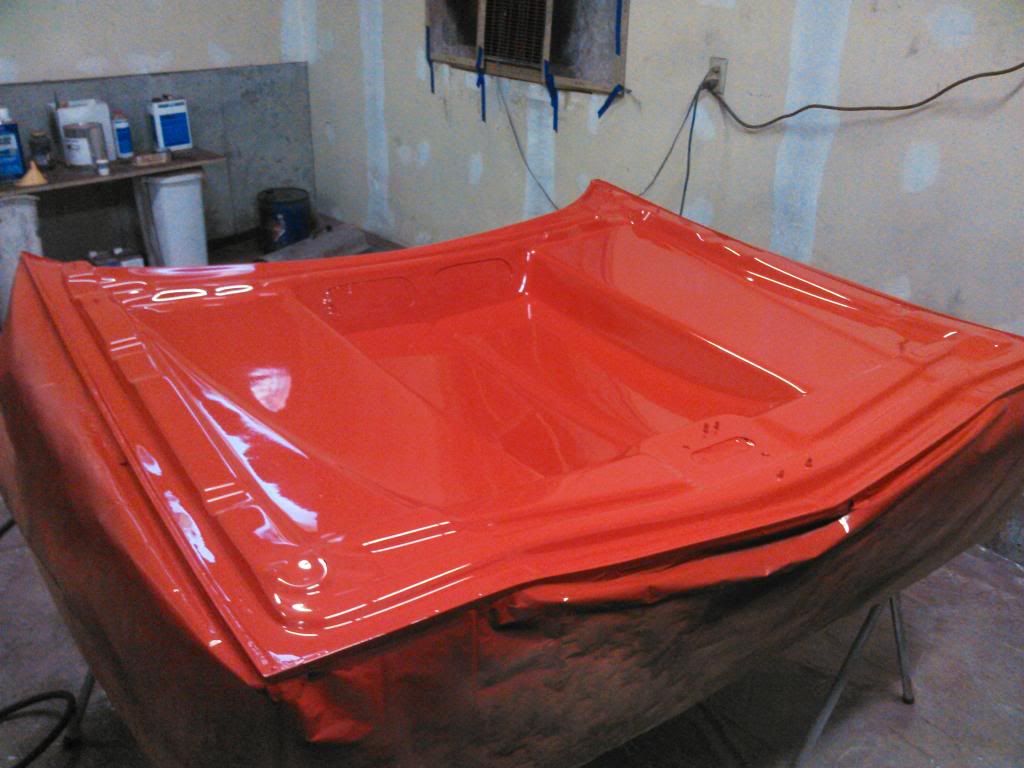
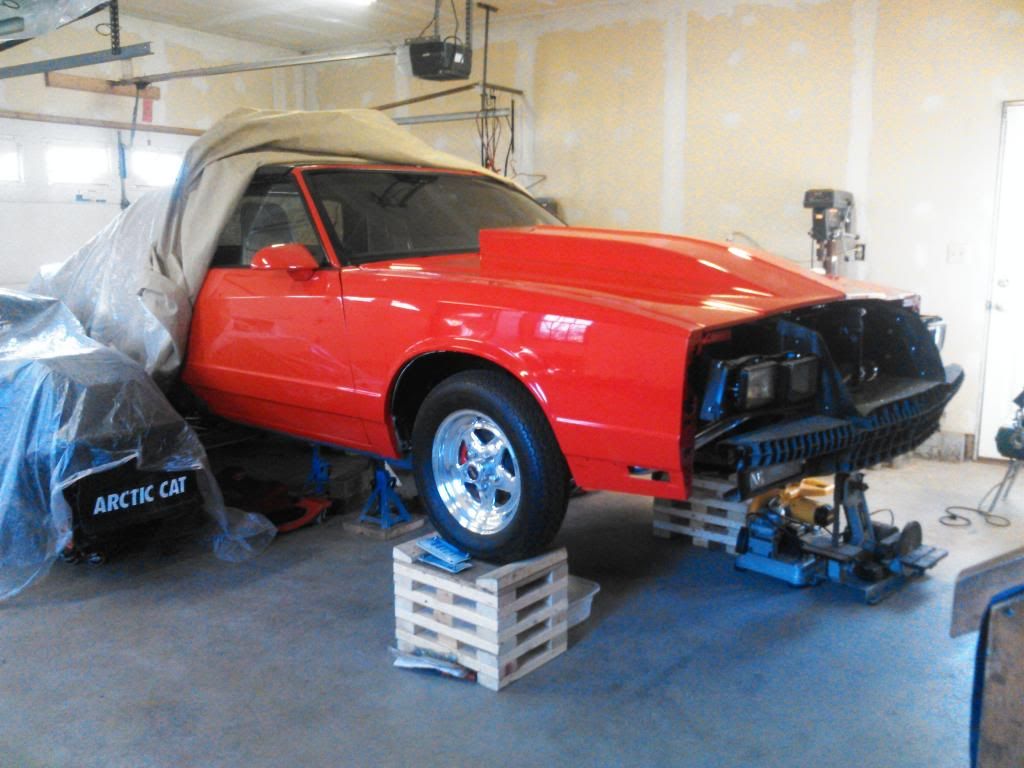
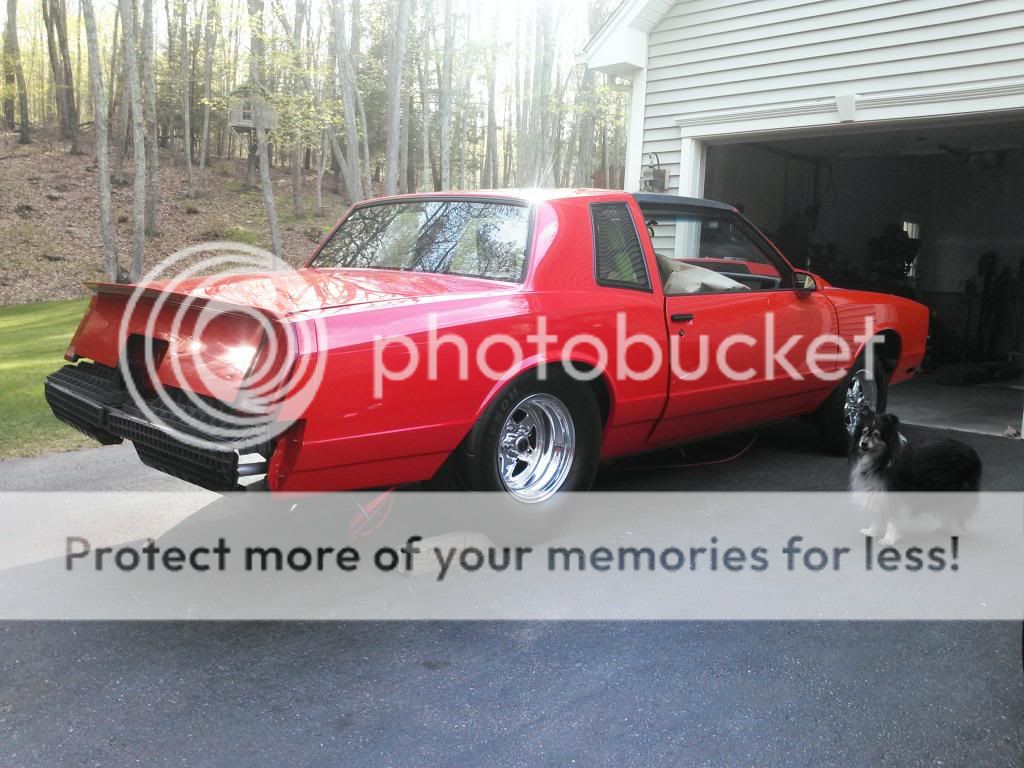
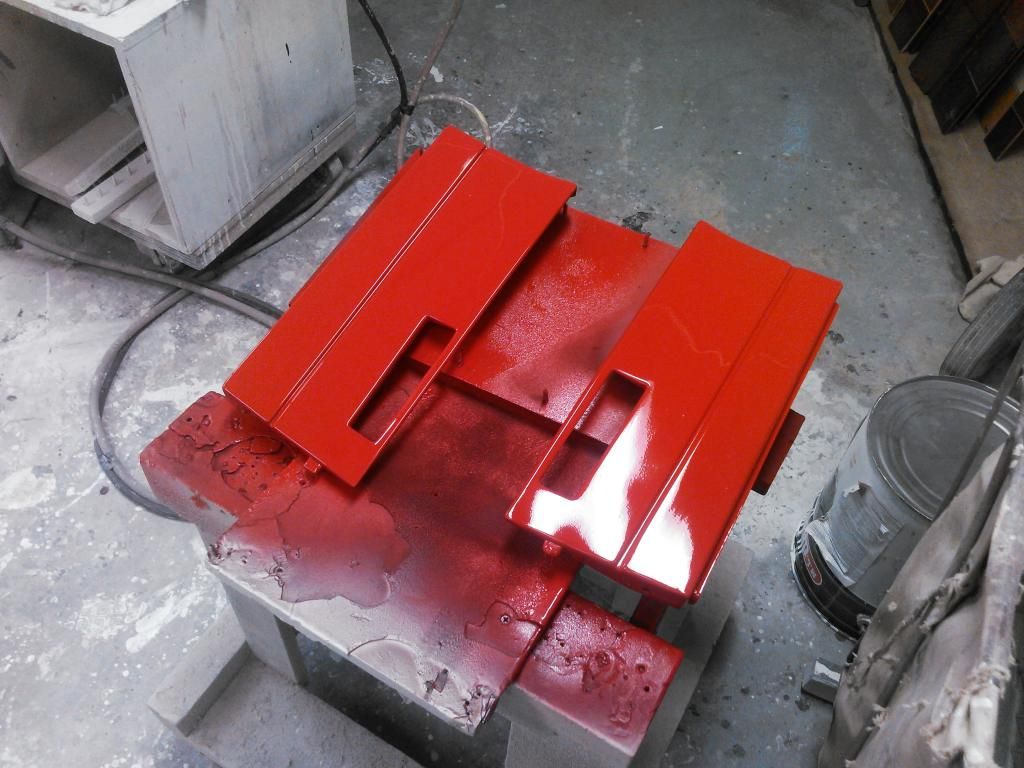
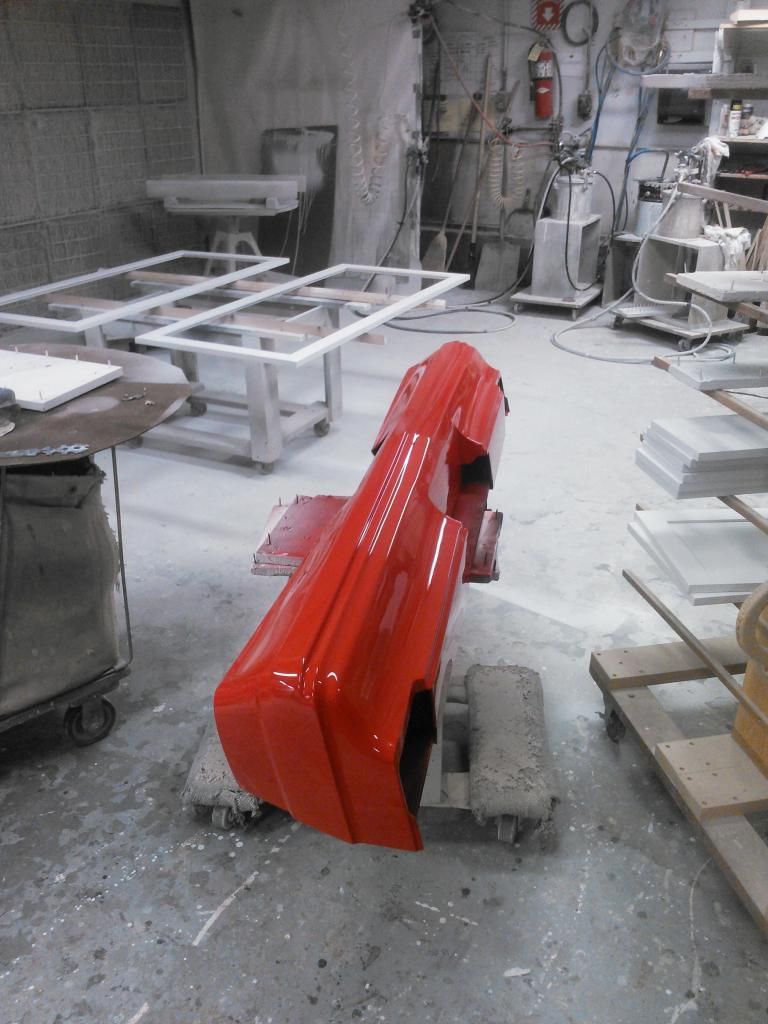
Finally got back to painting, always makes me smile when I open the can of red paint! lol. Still haven't color sanded it but hopefully within the next couple days we'll start that. All that's left are the front and rear bumper covers, front fender extensions, and engine.
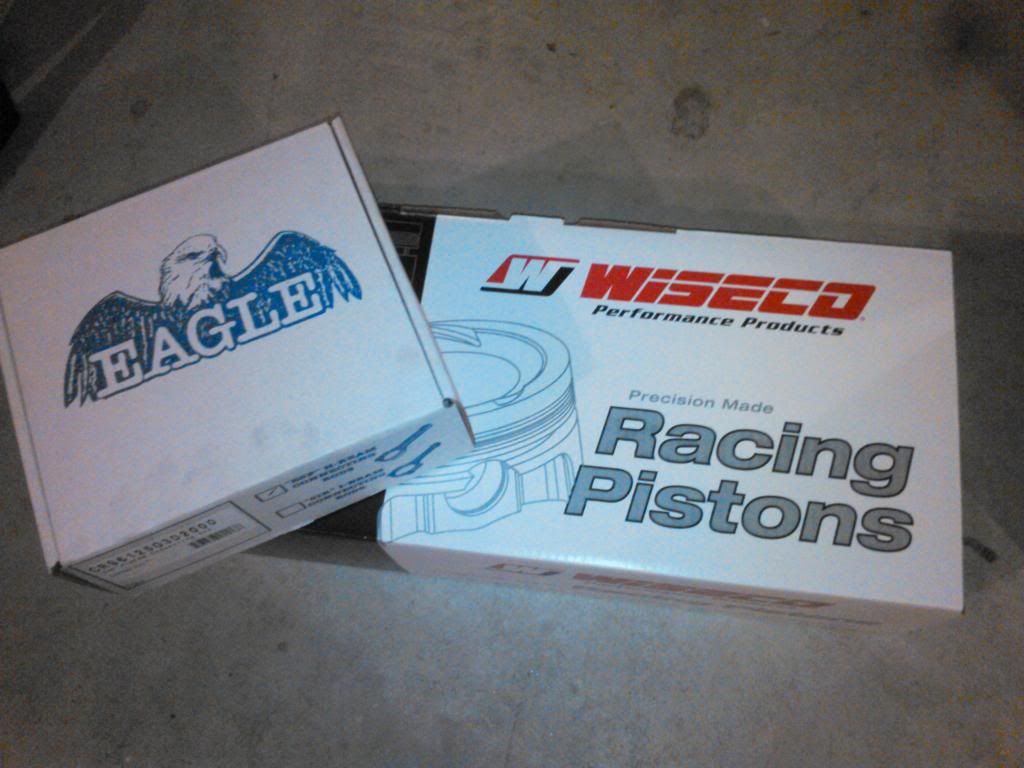
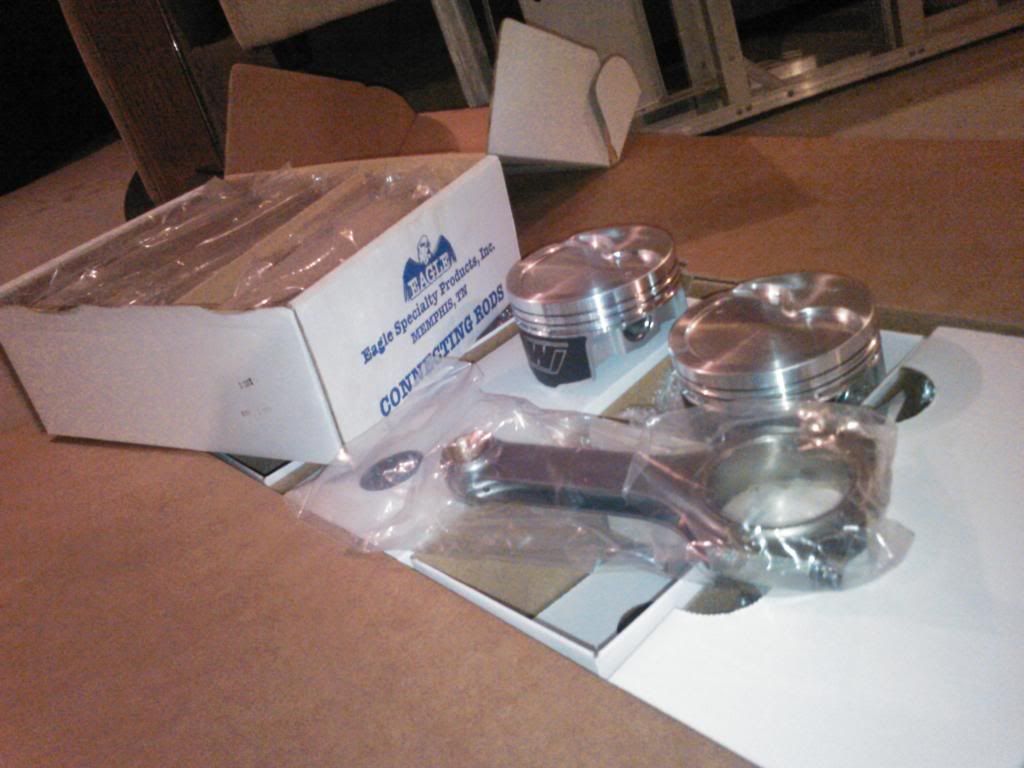
And the UPS truck dropped off my early Christmas present to myself. Told myself not to buy anything, but I couldn't resist..
Eagle H-beam rods and Wiseco Forged 11cc dish pistons


We've also been piecing the exhaust together under the car, trying to make it hug the floor as close as possible. The turbo downpipe "header collectors" exit at the same spot a set of long tubes would. Misjudged and ended them a little high, to the point where the exhaust would be going through the floor. As much as we didn't want to, we made a small "s" curve to lower the exhaust, but still make it close to the floor (you'll see what I mean in the pictures). Front half is tacked together, still need to order the tubing for the rear section over the rear end. (Not having it bent, we're piecing it together with straights and bends).


Next.. As much of a drag car as we're making, we want the interior to look decent. Check out Interiors by Shannon.. Beautiful work and inspiration for this interior. Definitely wont be able to make ours as nice as the ones there, but we're going to try! We started coming up with a custom center console, made a paper template, then a 1/4 wood template. Dad works for a kitchen company and the just got a new wood CNC, so the console will be the experimental project on the new machine.


Finally got back to painting, always makes me smile when I open the can of red paint! lol. Still haven't color sanded it but hopefully within the next couple days we'll start that. All that's left are the front and rear bumper covers, front fender extensions, and engine.


And the UPS truck dropped off my early Christmas present to myself. Told myself not to buy anything, but I couldn't resist..
Eagle H-beam rods and Wiseco Forged 11cc dish pistons

 12-19-2013, 10:08 PM
#64
Staging Lane
Thread Starter
Join Date: Nov 2007
Location: Connecticut
Posts: 86
Likes: 0
Received 0 Likes
on
0 Posts
Thanks! hopefully it works out.. And I'm a mechanic at the local Chevy dealer and dad works for a custom kitchen company, being a father-son build, both of us pitch in.
12-19-2013, 11:05 PM
#66
TECH Veteran
iTrader: (17)
Join Date: Mar 2009
Location: Indy
Posts: 4,220
Likes: 0
Received 0 Likes
on
0 Posts
Happy to see an update man! Im actually in the market for a Monte as of earlier today and was just wondering what happened with this. Thanks for the update and she is looking beautiful!
12-19-2013, 11:07 PM
#67
TECH Enthusiast
iTrader: (5)
Join Date: Aug 2008
Location: Middletown, DE
Posts: 691
Likes: 0
Received 0 Likes
on
0 Posts
Looks freaking awesome man! Wish my pops was more of a hands on dad with the car rather than rolling of the eyes type of dad lol.
This thing is just simple so bad *** man, I wish you all the luck to get that thing all together and romp on it like it should be.
This thing is just simple so bad *** man, I wish you all the luck to get that thing all together and romp on it like it should be.
 07-21-2014, 08:58 AM
#72
Staging Lane
Thread Starter
Join Date: Nov 2007
Location: Connecticut
Posts: 86
Likes: 0
Received 0 Likes
on
0 Posts
It's been a while! But I have a few more updates to post.
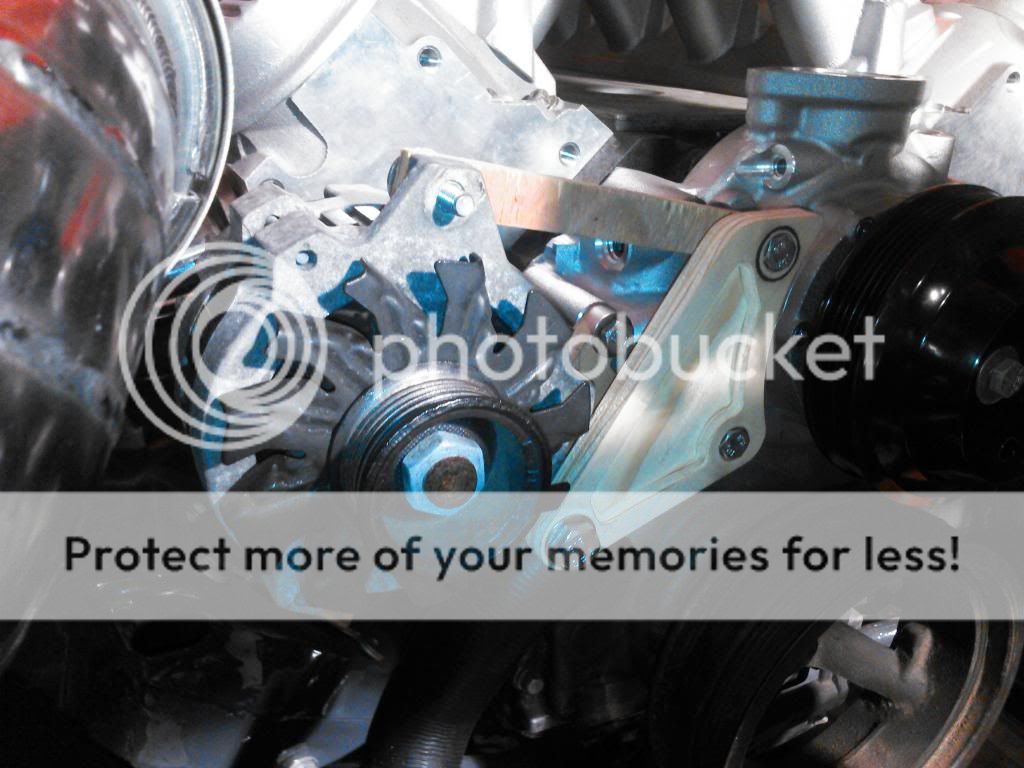
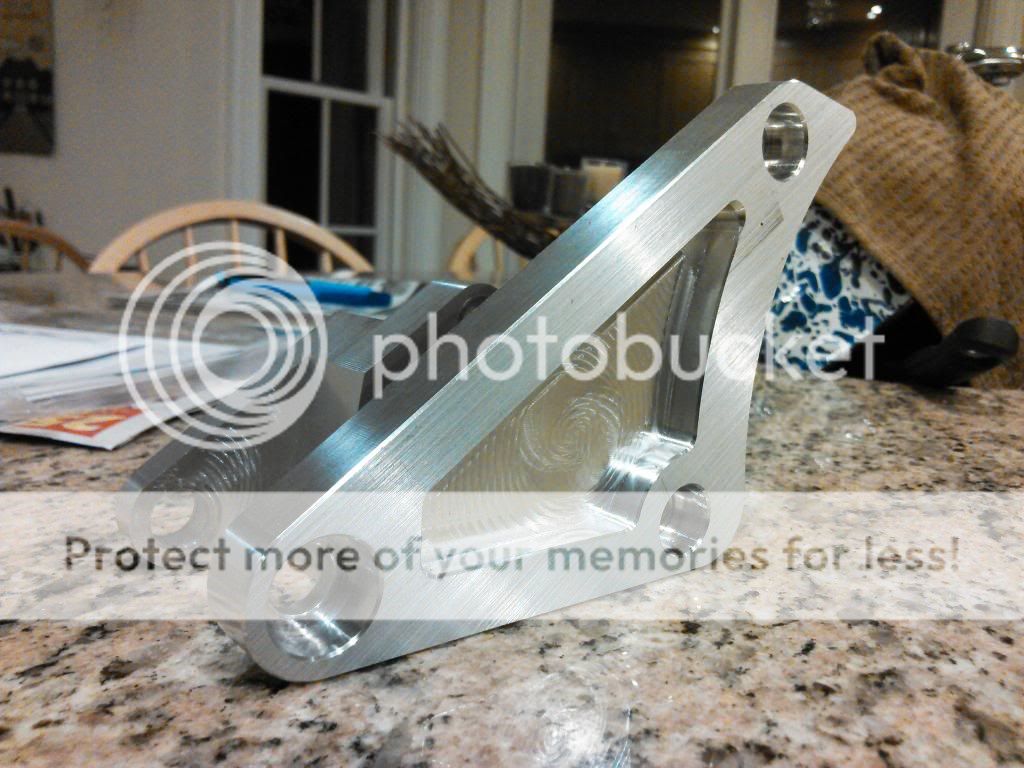
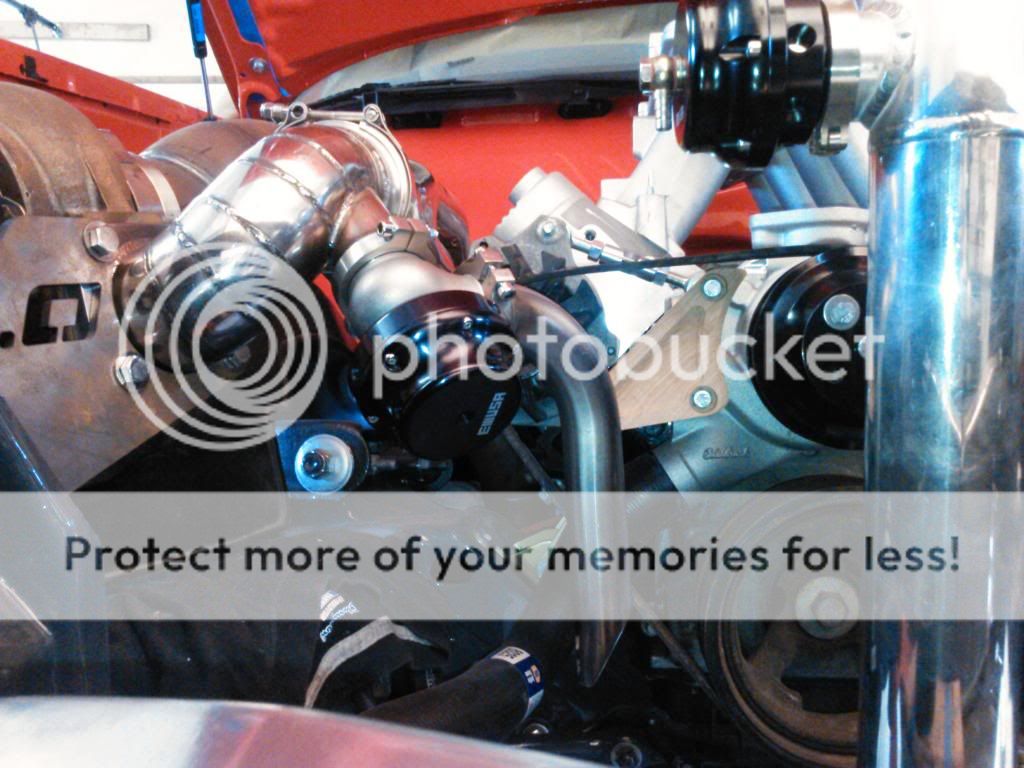
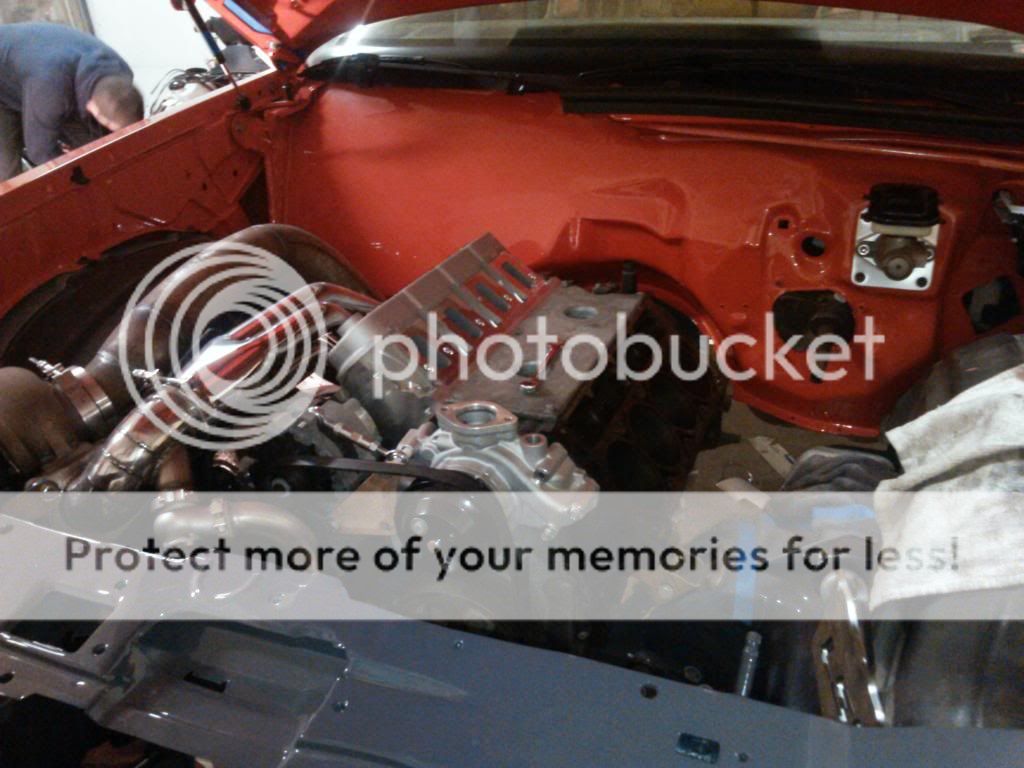
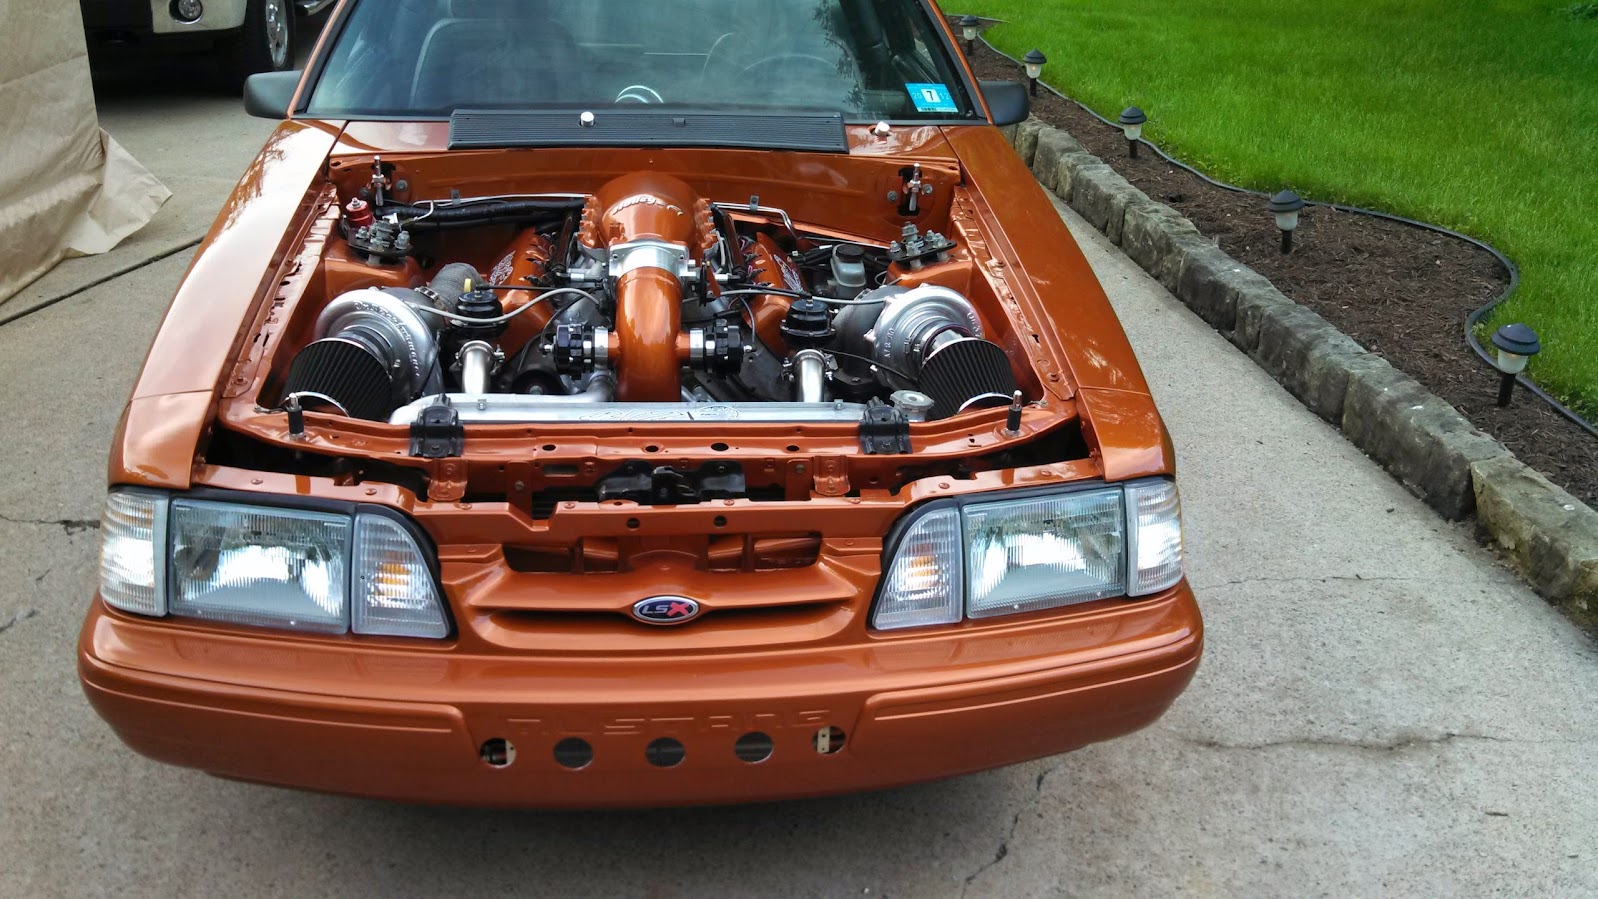
We're trying to make the motor look as clean as possible. Hate how the accessories look on the front of LS motors, so we bought a reverse flow (from oem) Edelbrock water pump in order to eliminate the ugly belt tensioner. Now there's only three pulleys, crank, water pump, and alternator. We designed a custom alternator bracket to resemble a normal small block accessory drive setup. We have the alternator mounted in front of the right head, with that being the tensioner. Made the first one out of wood and it worked great. Then my brother machined the final one at his work.

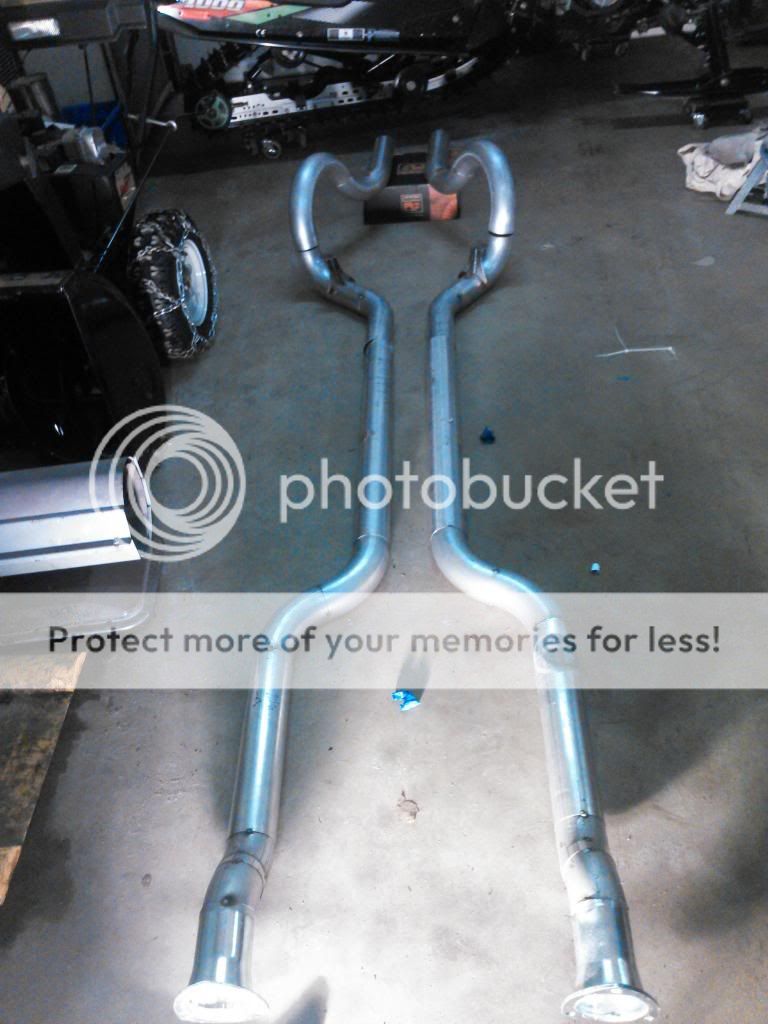
Previously, I posted pictures of the front half of the exhaust being complete. Now the rest of it is finished. Not much room to fit the 3" pipes over the rear end with how close we have it set to the frame. Started out with PVC tubing then made the final pieces.
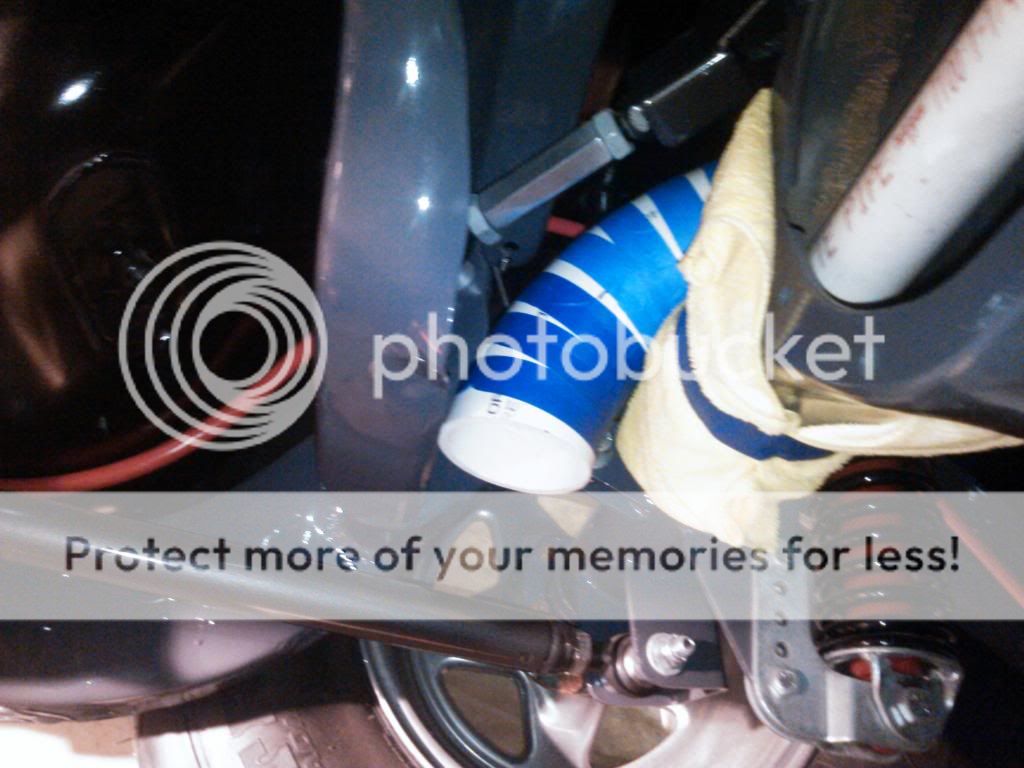
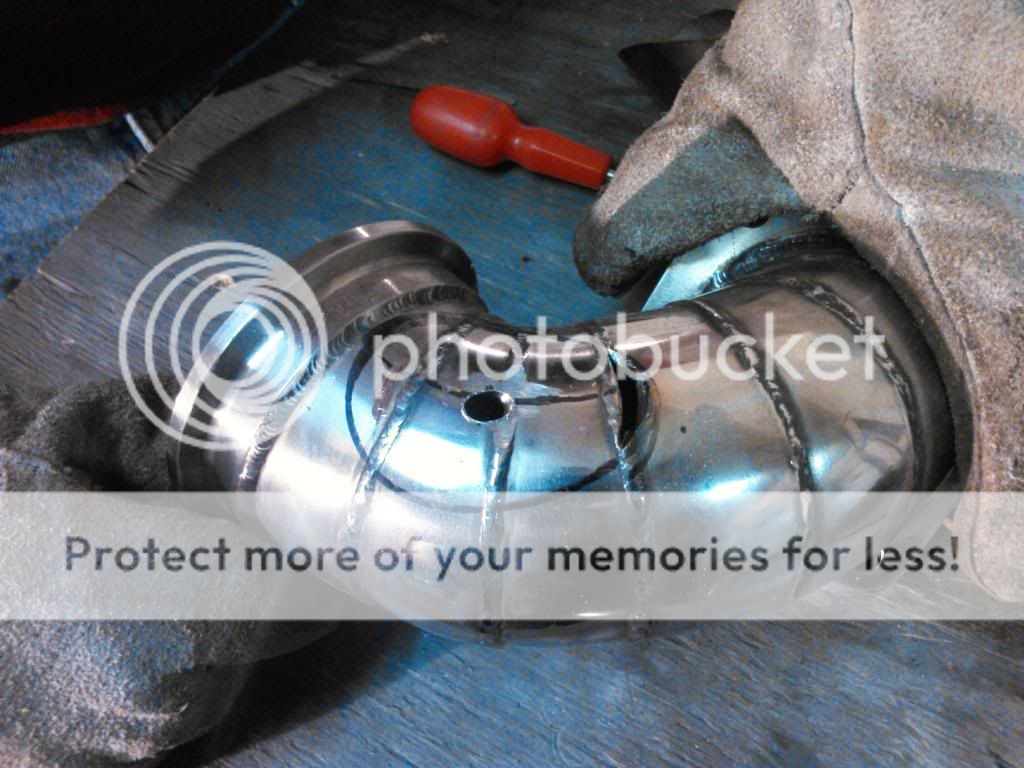
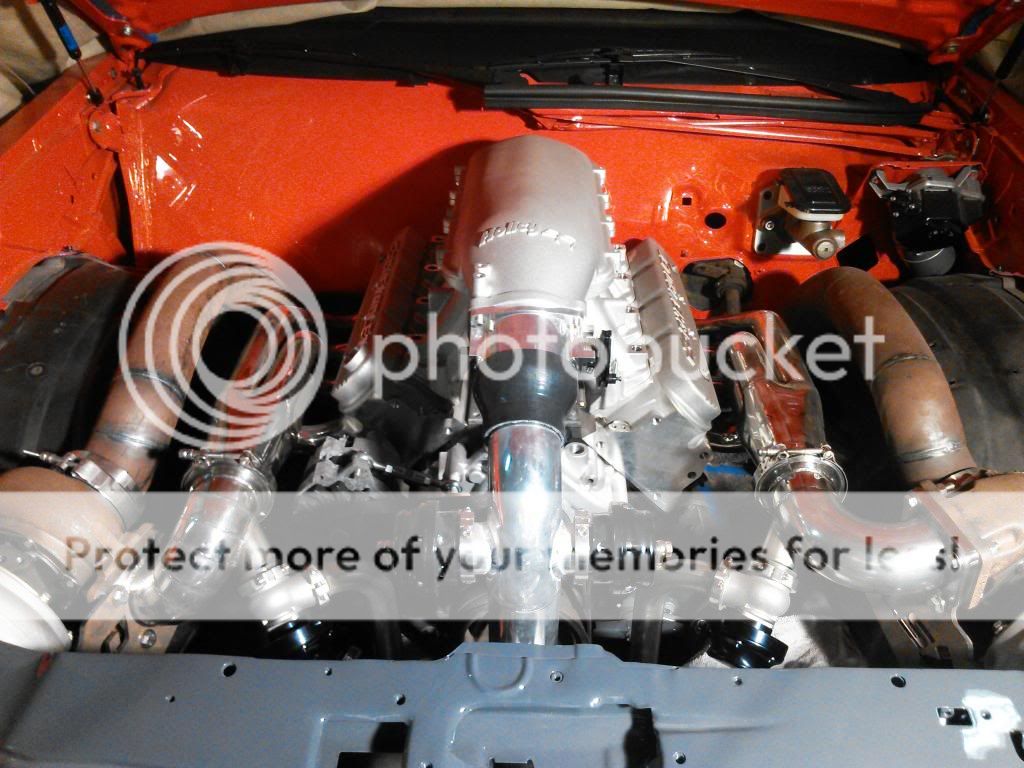
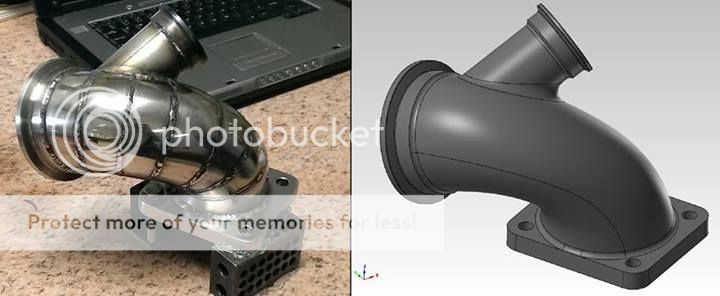
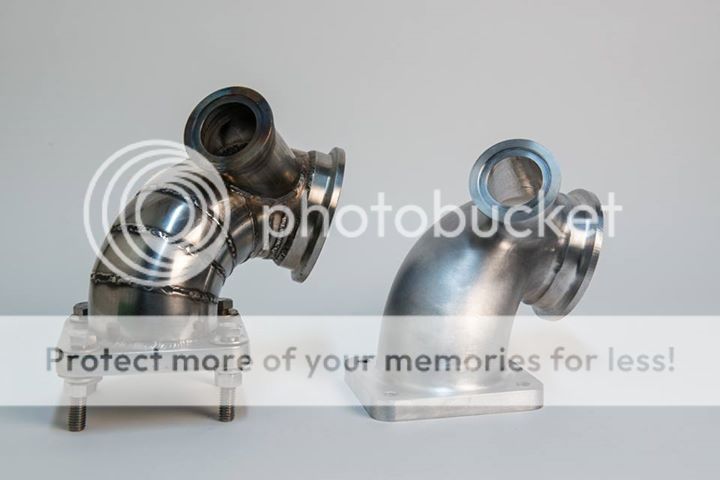
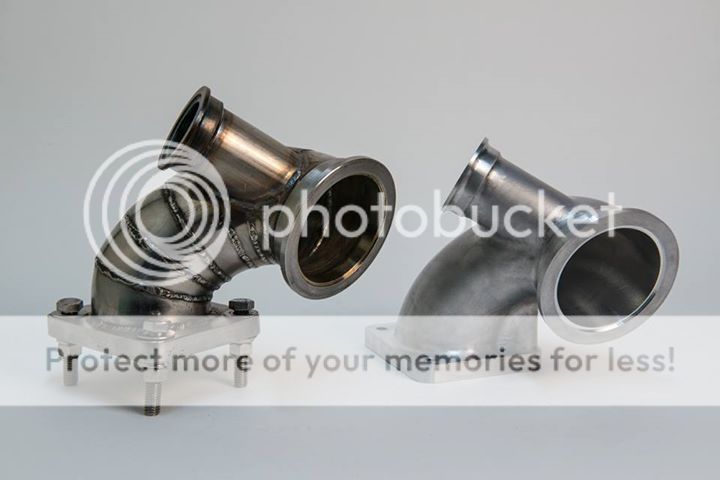
The turbo build mock-up is finally finished. We mounted the wastegates and let them dump to atmosphere. After we finished one, my brother took the tight bend tube from header to turbo..where the wastegate goes out..to work with him and used it as a practice project for training. He pretty much made the entire piece with all kinds of pie cuts out of one chunk of metal (aluminum at first, stainless coming soon).
Love this picture..
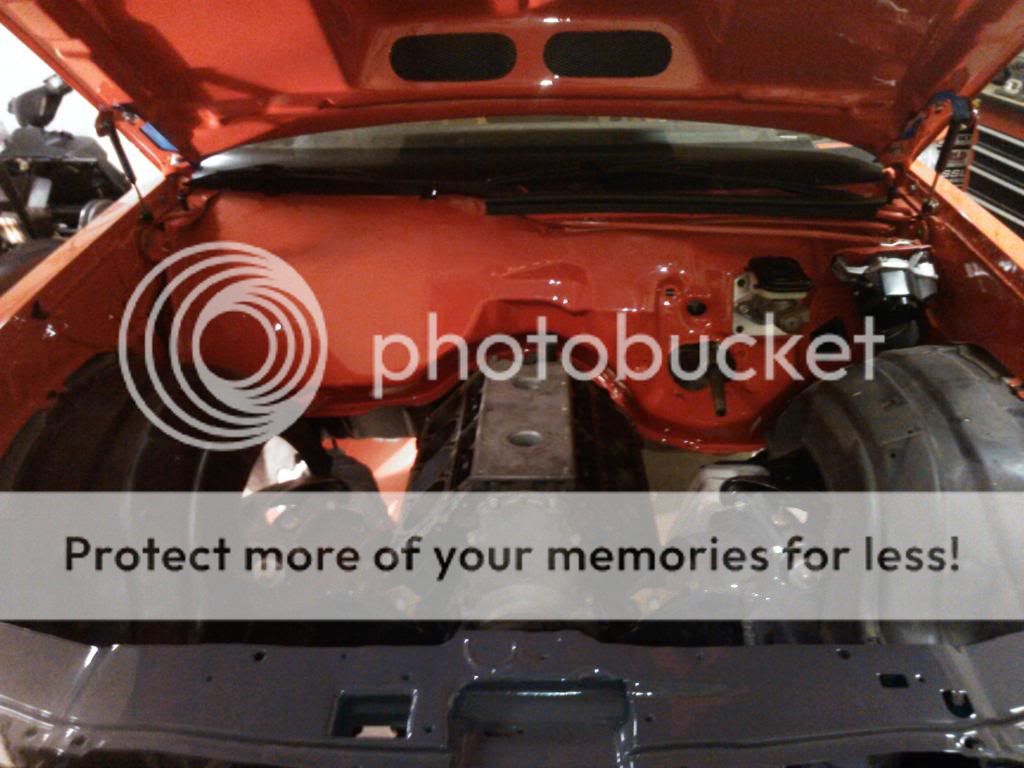
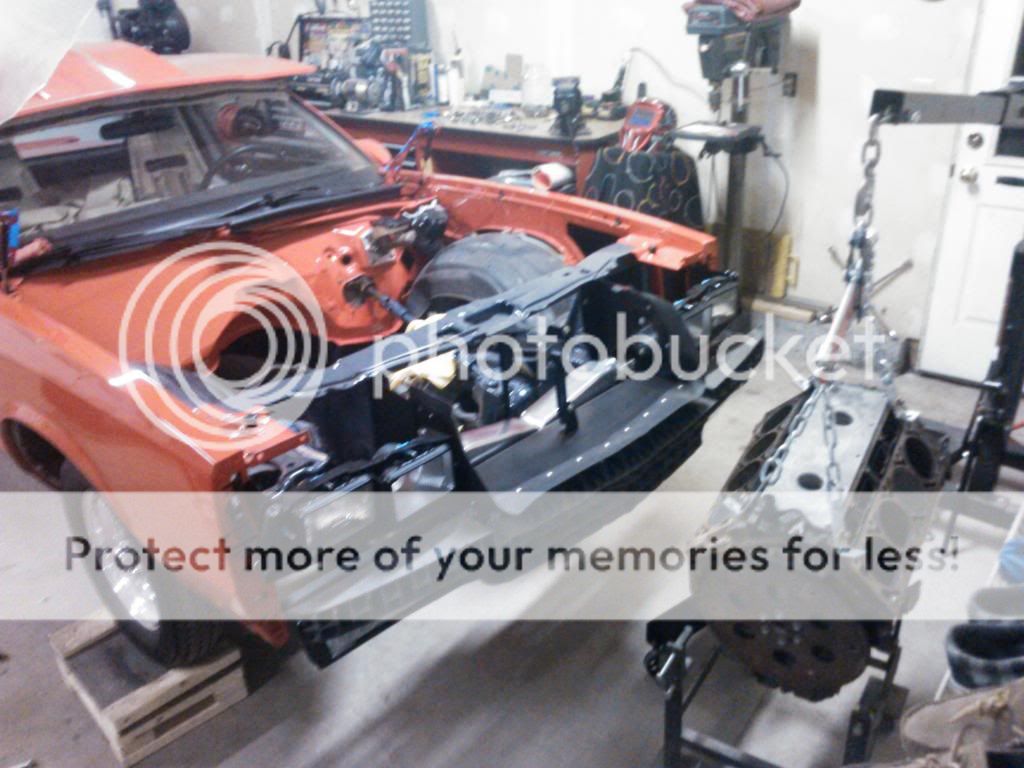
Sad part now, but finally a big step forward. Engine is out, at the machine shop right now.
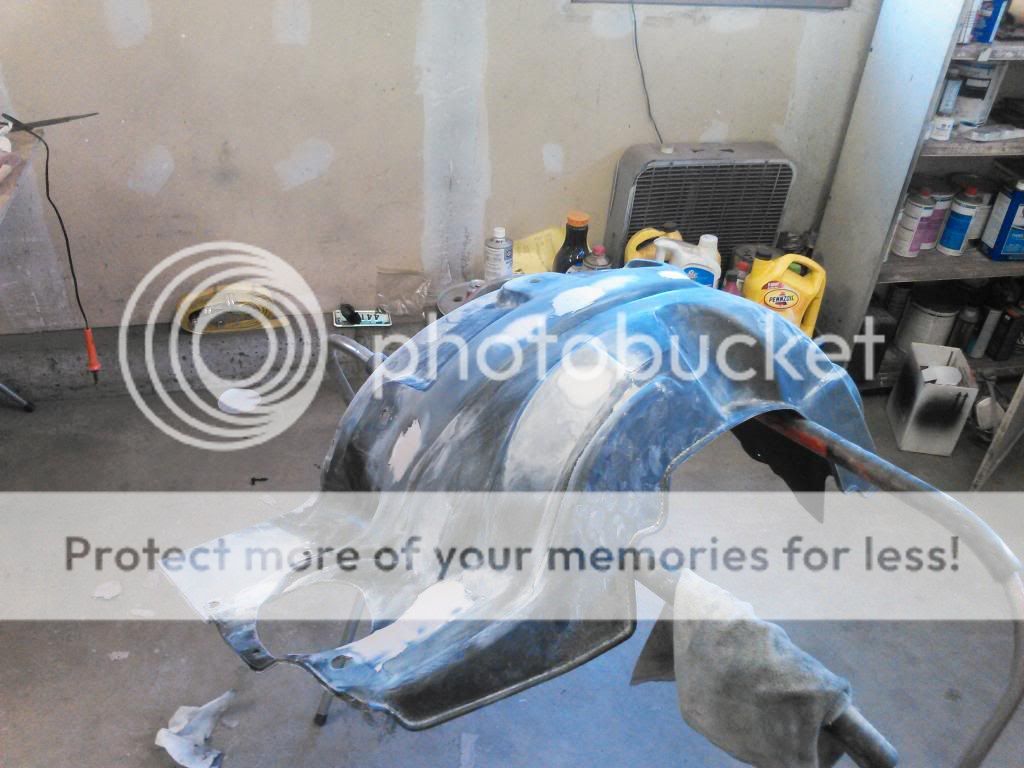
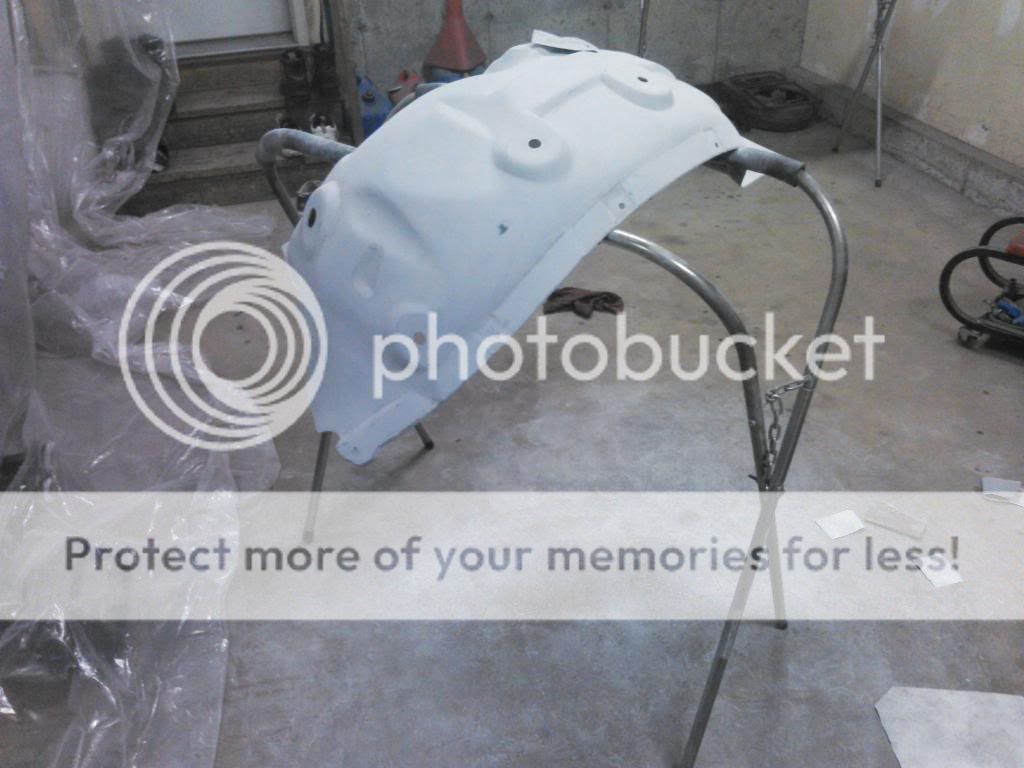
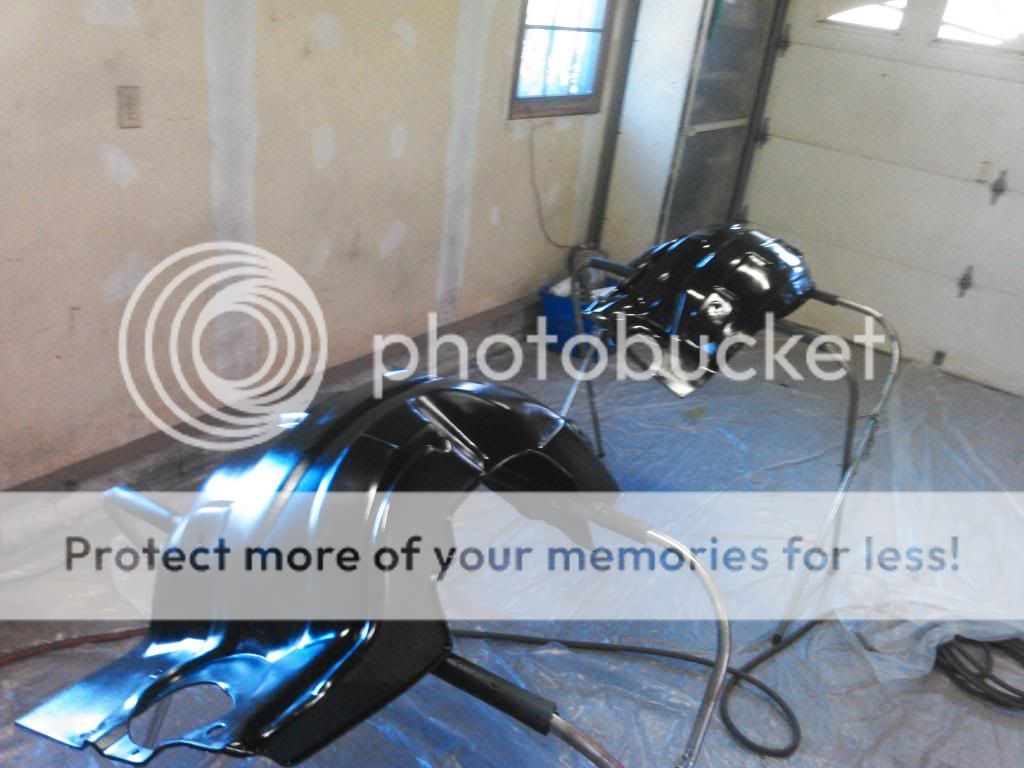
Put a lot of hours into the fender wells. Bought an extra from a junk yard and took pieces from it and melted it into all the ugly holes. Filled over everything, K36 primed and sanded, then finally painted satin black.
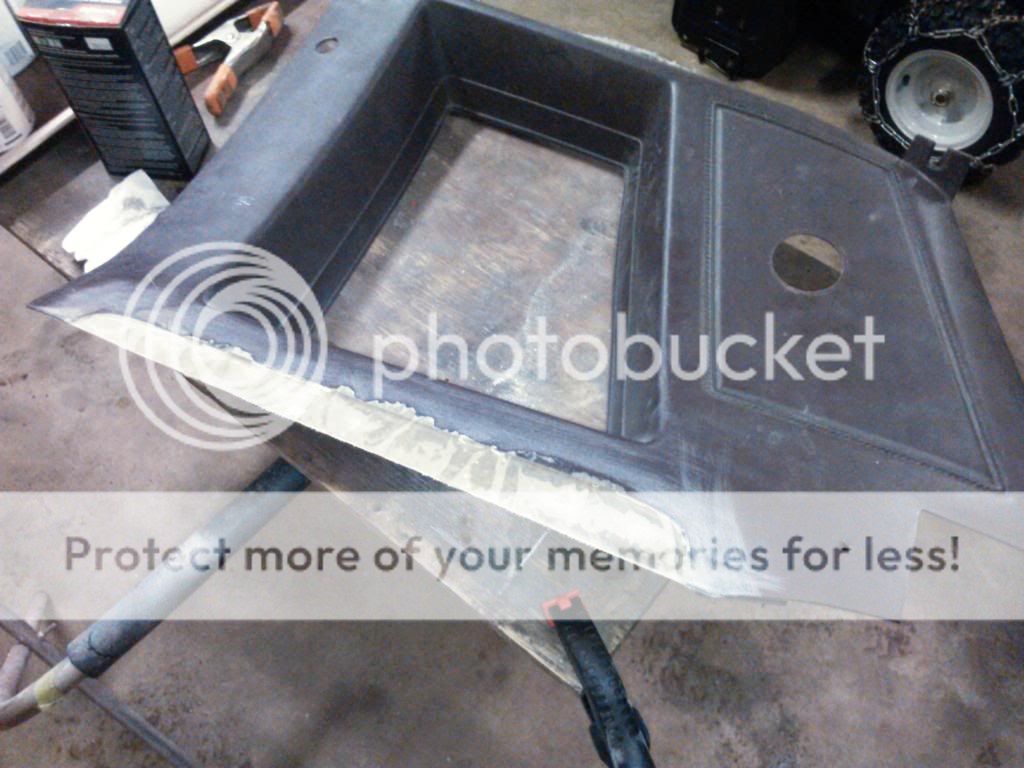
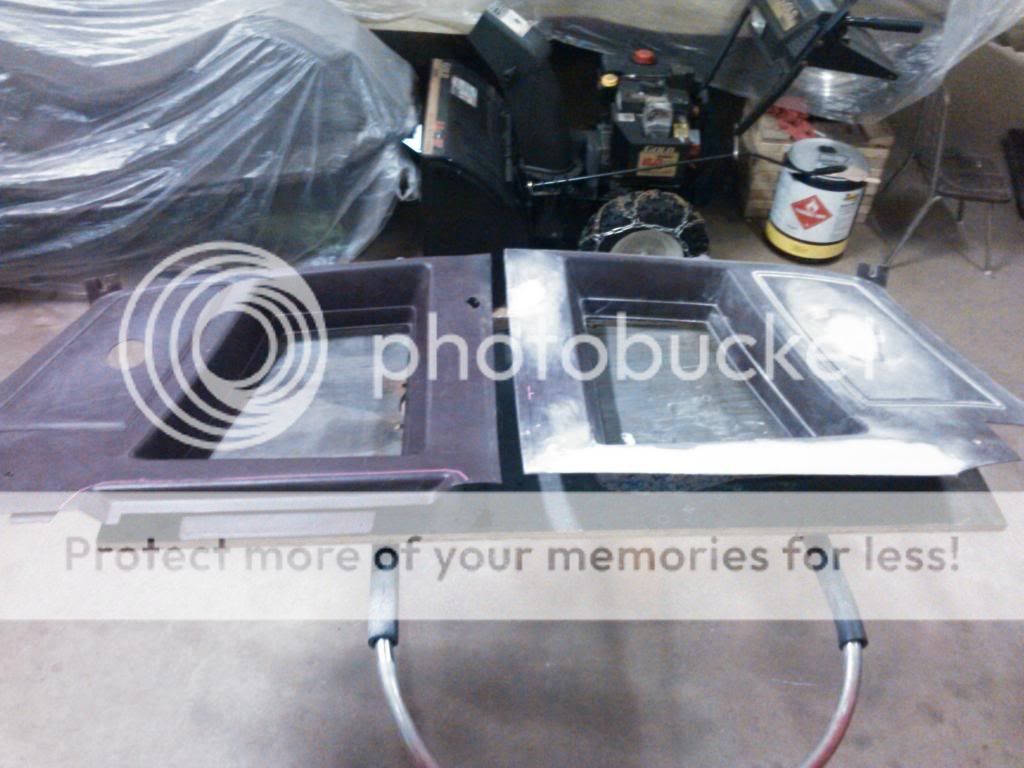
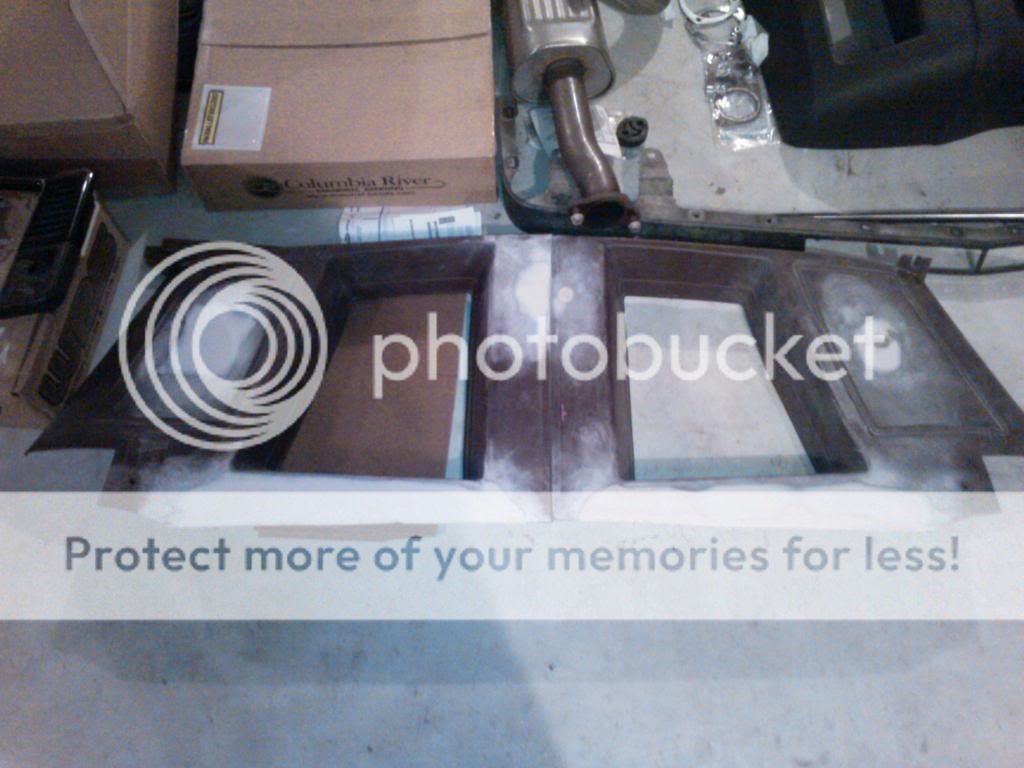
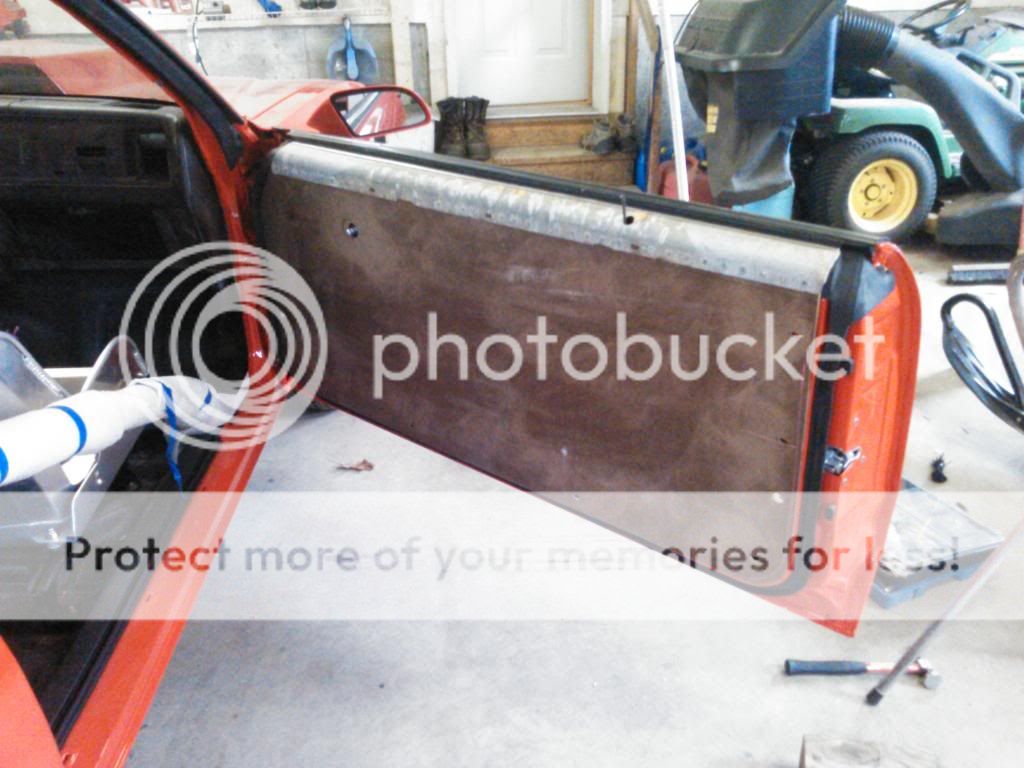
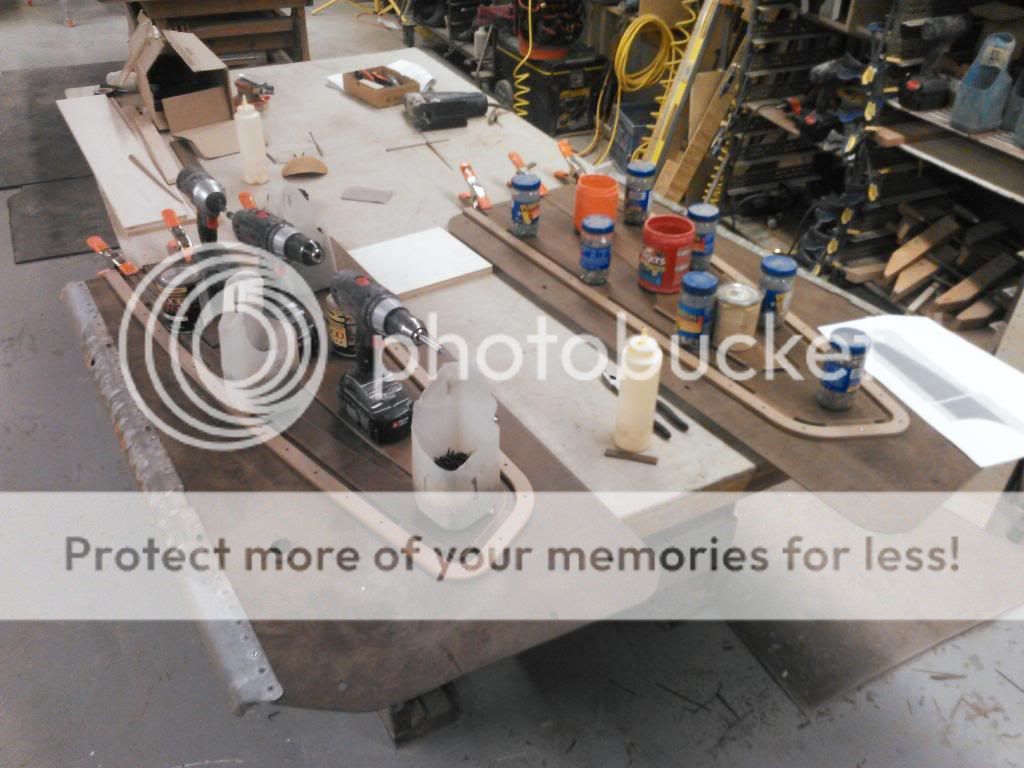
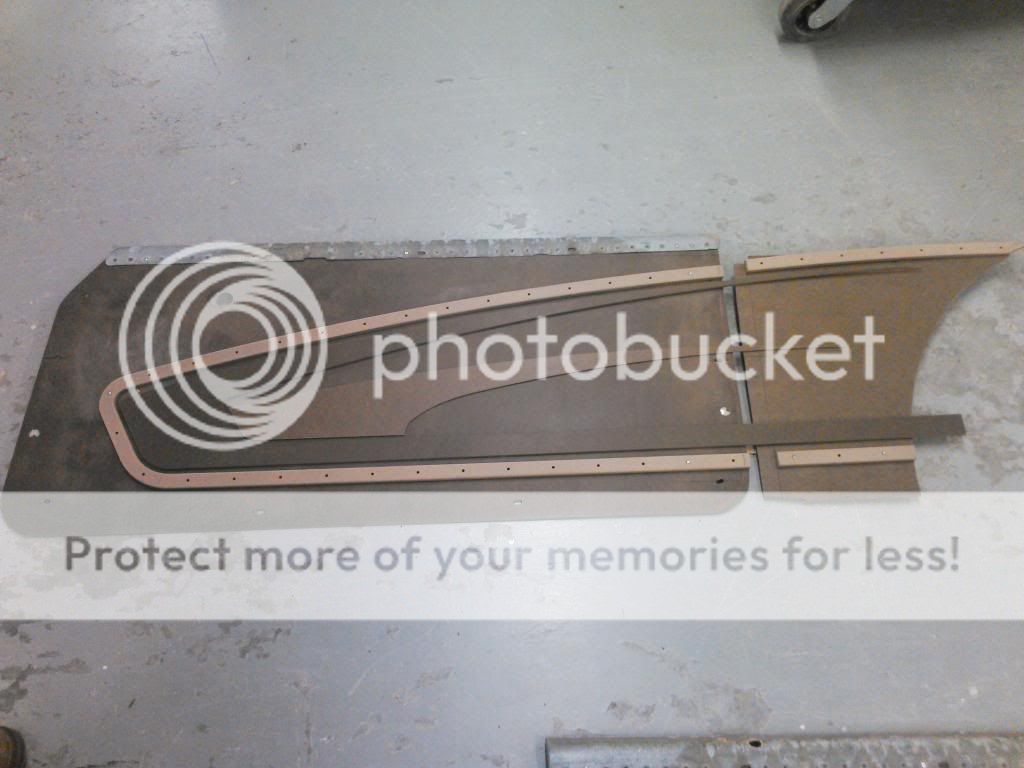
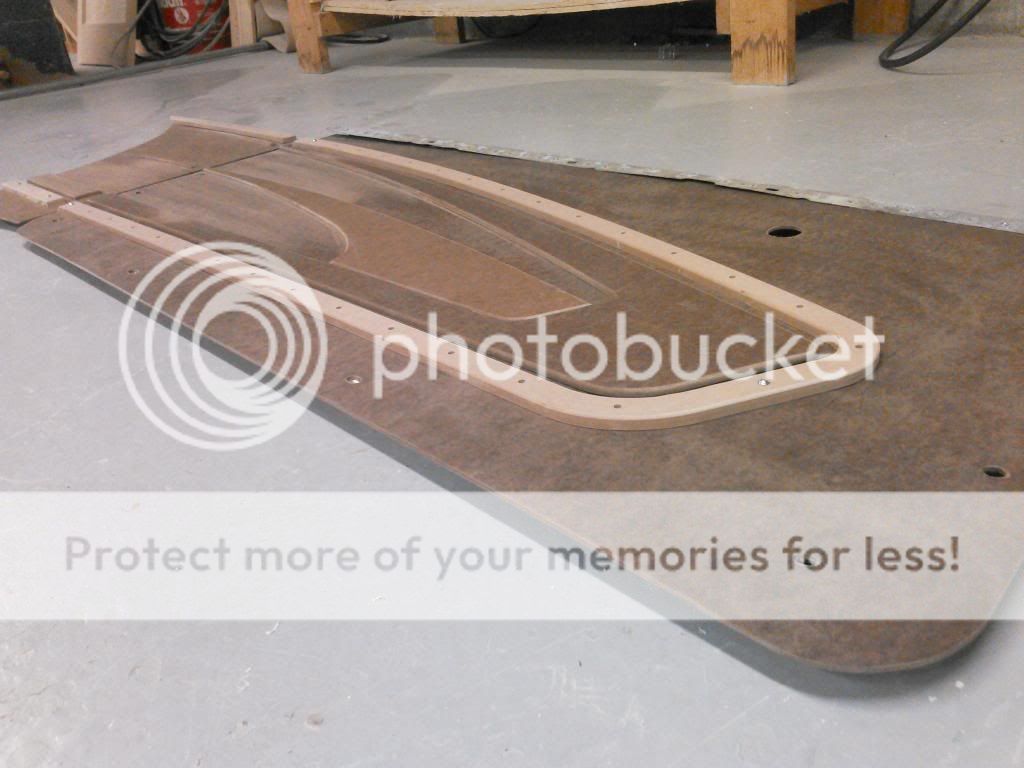
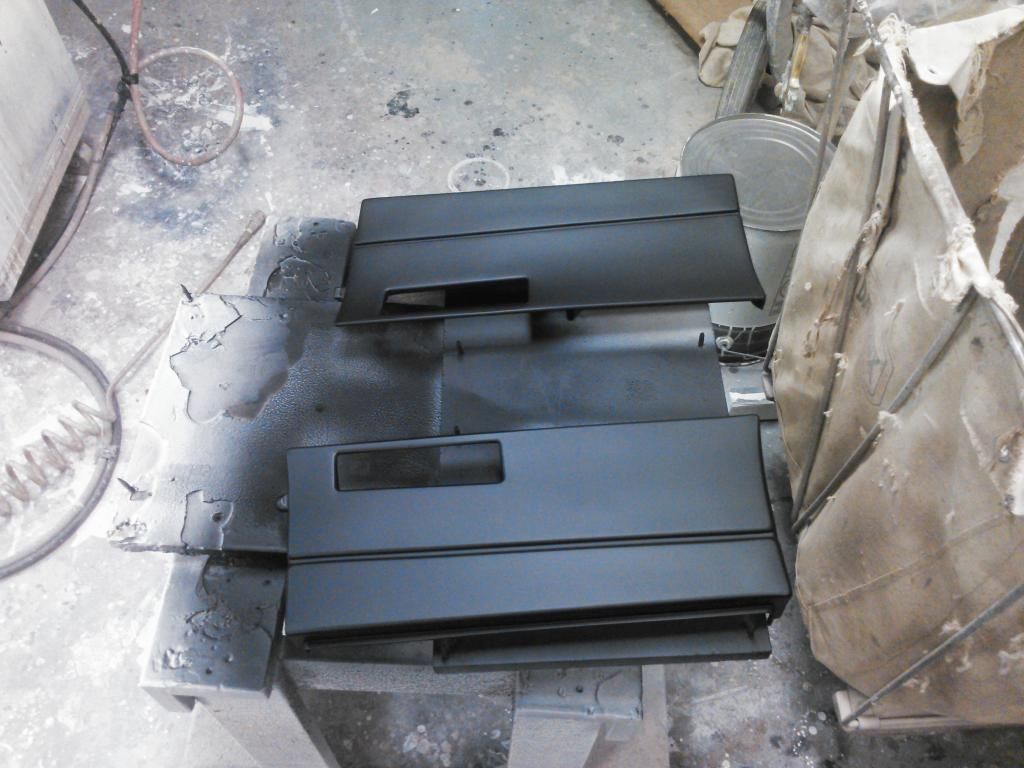
Started working on the interior, Making it simple but fancy at the same time. Its nice being able to use the CNC machine at dad's work to make all the parts for the door panels.
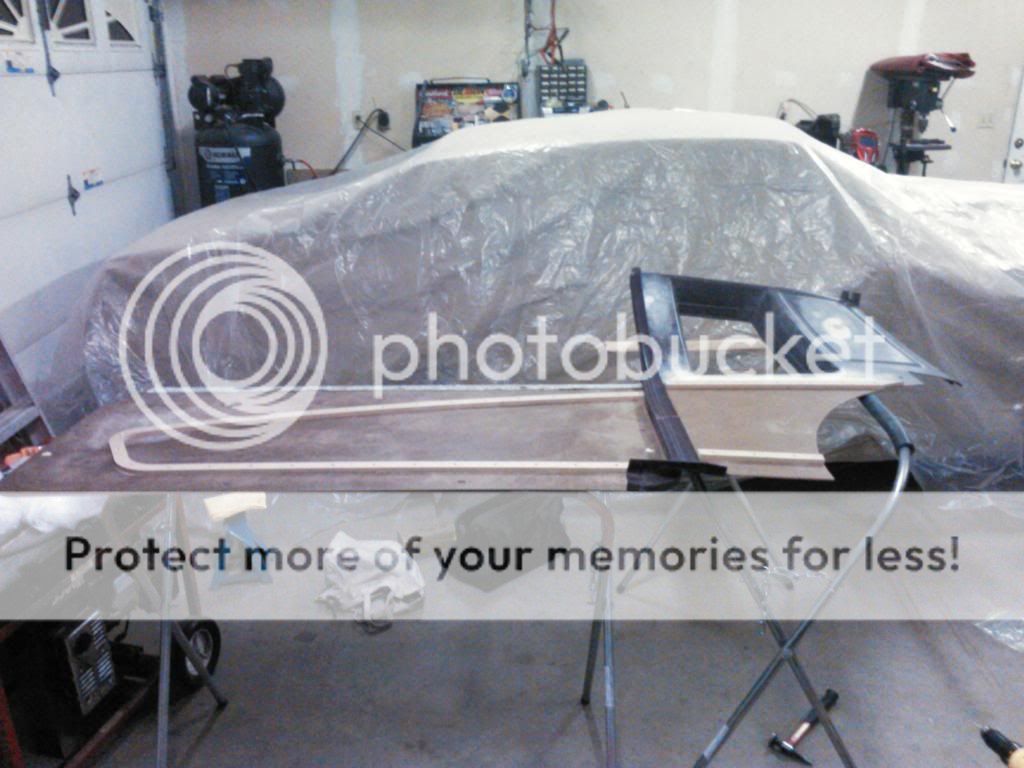
With the big wheel tubs, we cant really used the stock lower panel for under the back window. We're using a flat piece of Masonite in place of it so the upper piece around the window, we had to make that flat to match..you'll see in pictures..
Car is outside again after a longgg time!
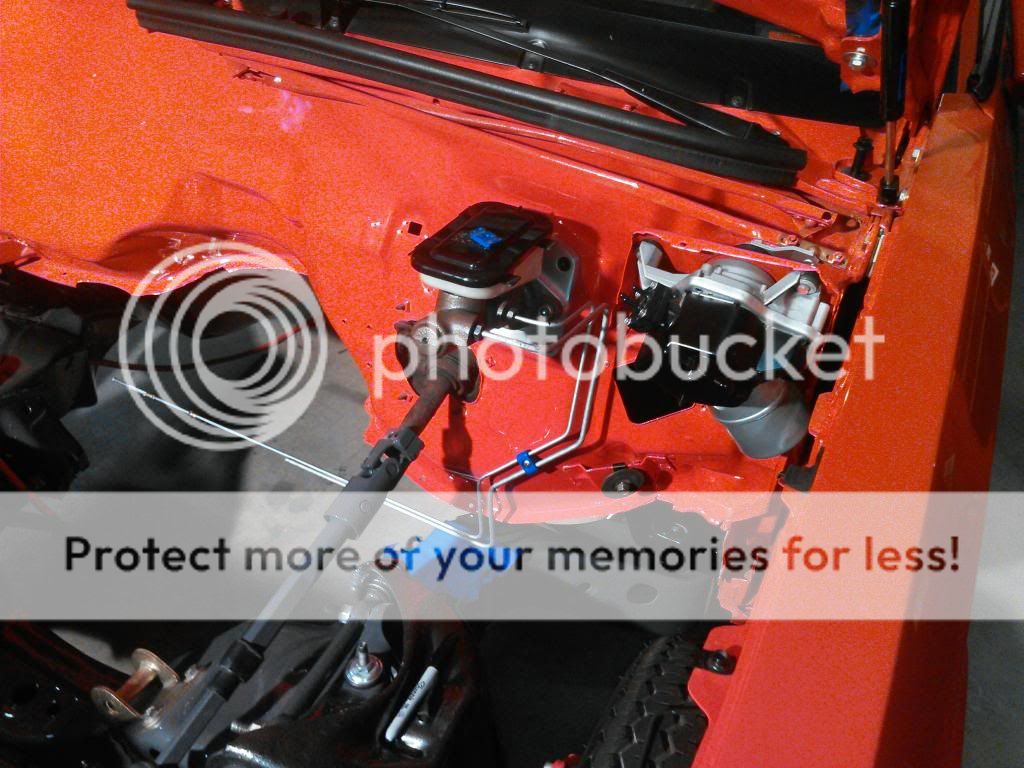
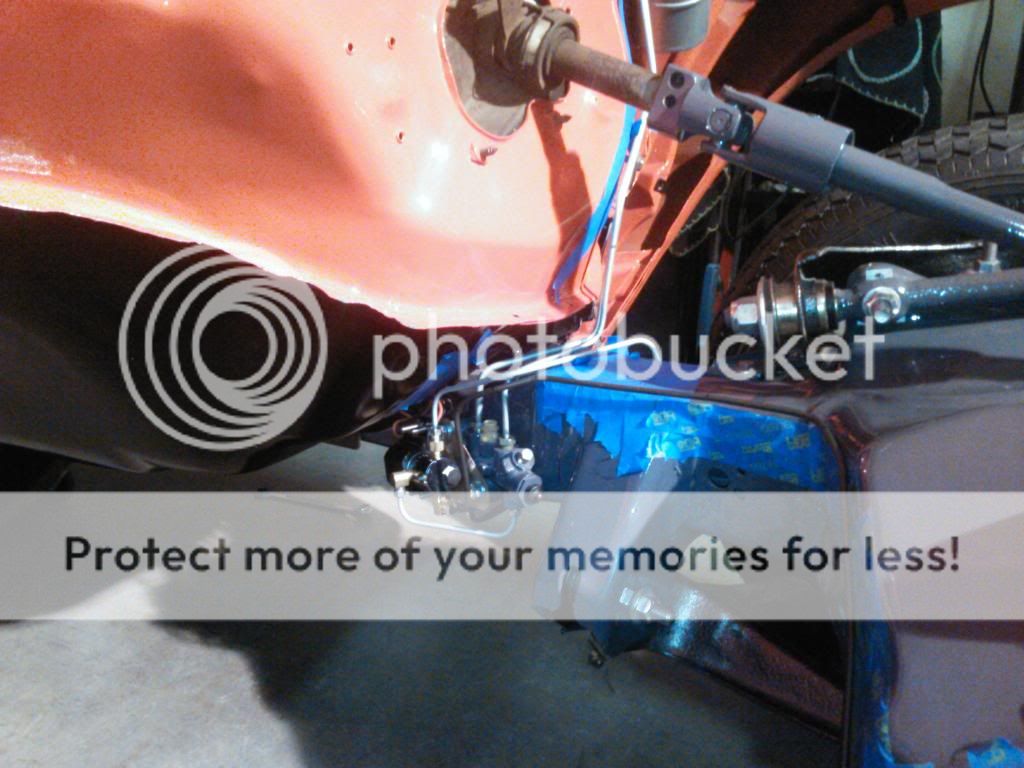
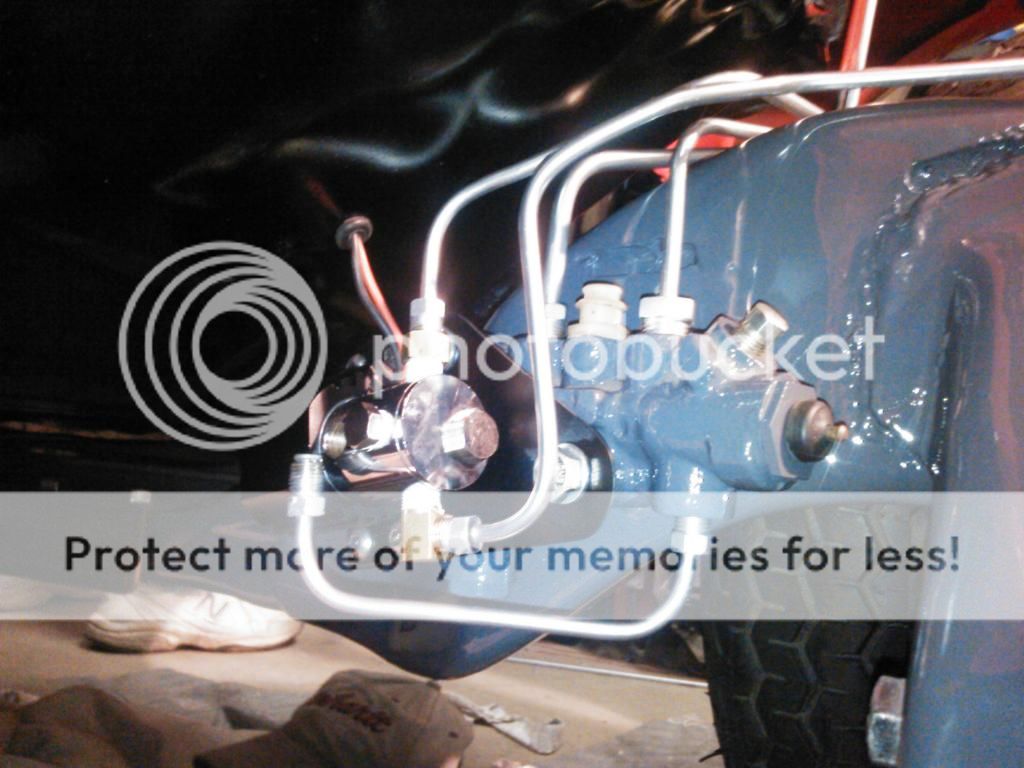
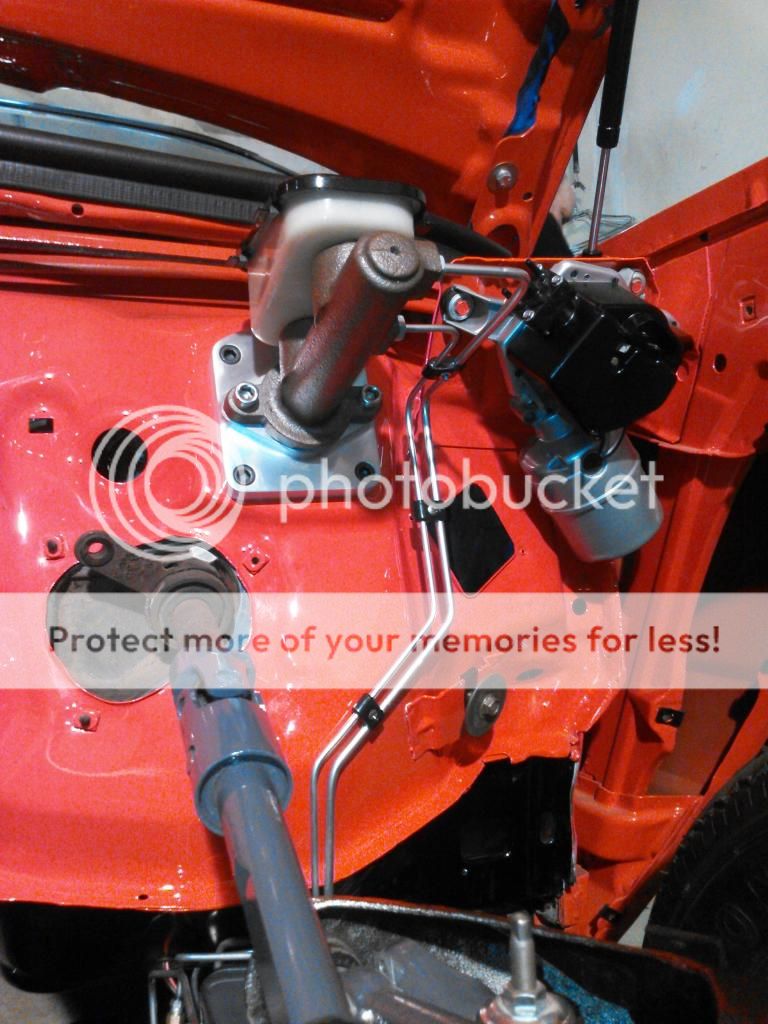
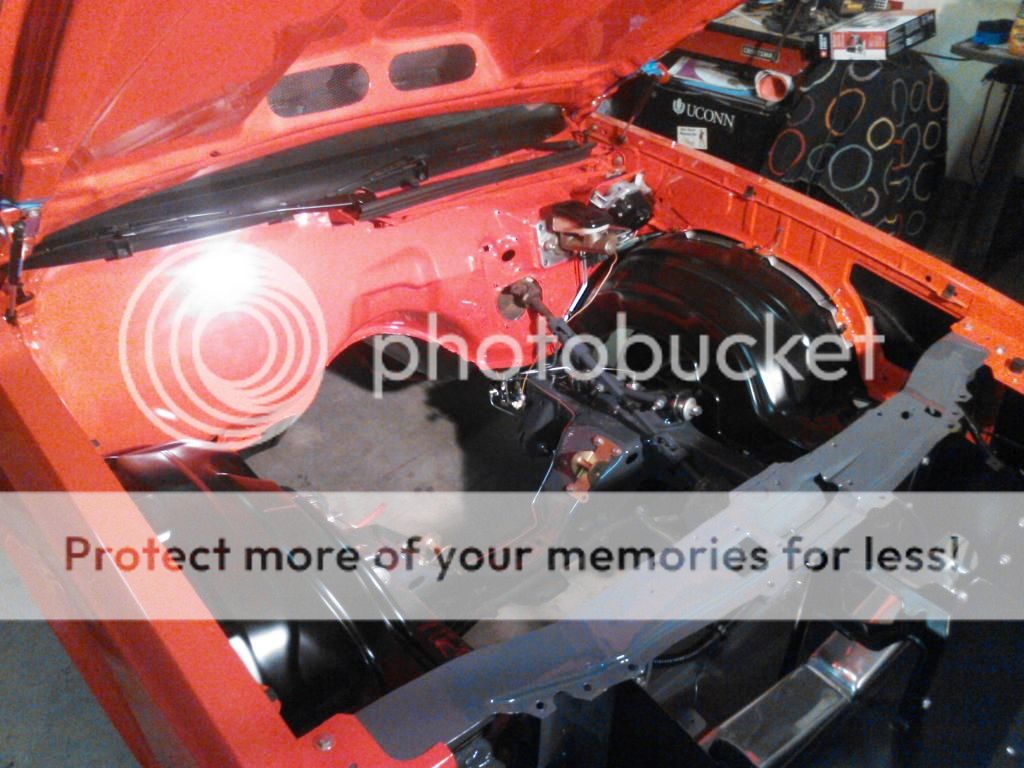
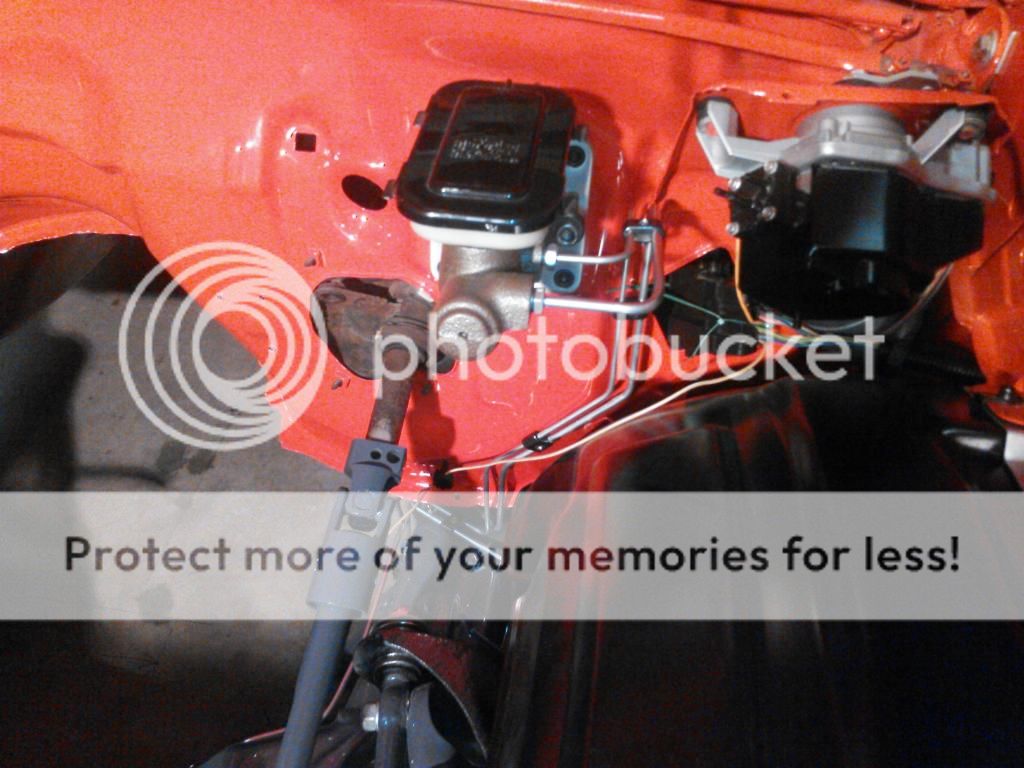
Finished the brake lines, only had to do the front brakes. Mounted the line lock solenoid on the proportioning valve bolts.
We're trying to make the motor look as clean as possible. Hate how the accessories look on the front of LS motors, so we bought a reverse flow (from oem) Edelbrock water pump in order to eliminate the ugly belt tensioner. Now there's only three pulleys, crank, water pump, and alternator. We designed a custom alternator bracket to resemble a normal small block accessory drive setup. We have the alternator mounted in front of the right head, with that being the tensioner. Made the first one out of wood and it worked great. Then my brother machined the final one at his work.


Previously, I posted pictures of the front half of the exhaust being complete. Now the rest of it is finished. Not much room to fit the 3" pipes over the rear end with how close we have it set to the frame. Started out with PVC tubing then made the final pieces.


The turbo build mock-up is finally finished. We mounted the wastegates and let them dump to atmosphere. After we finished one, my brother took the tight bend tube from header to turbo..where the wastegate goes out..to work with him and used it as a practice project for training. He pretty much made the entire piece with all kinds of pie cuts out of one chunk of metal (aluminum at first, stainless coming soon).


Love this picture..


Sad part now, but finally a big step forward. Engine is out, at the machine shop right now.


Put a lot of hours into the fender wells. Bought an extra from a junk yard and took pieces from it and melted it into all the ugly holes. Filled over everything, K36 primed and sanded, then finally painted satin black.


Started working on the interior, Making it simple but fancy at the same time. Its nice being able to use the CNC machine at dad's work to make all the parts for the door panels.

With the big wheel tubs, we cant really used the stock lower panel for under the back window. We're using a flat piece of Masonite in place of it so the upper piece around the window, we had to make that flat to match..you'll see in pictures..


Car is outside again after a longgg time!
Finished the brake lines, only had to do the front brakes. Mounted the line lock solenoid on the proportioning valve bolts.


 07-22-2014, 03:51 PM
#77
Staging Lane
Thread Starter
Join Date: Nov 2007
Location: Connecticut
Posts: 86
Likes: 0
Received 0 Likes
on
0 Posts
Another update..Didnt have my cord to take pictures from my phone to the computer the other day, so heres some more!
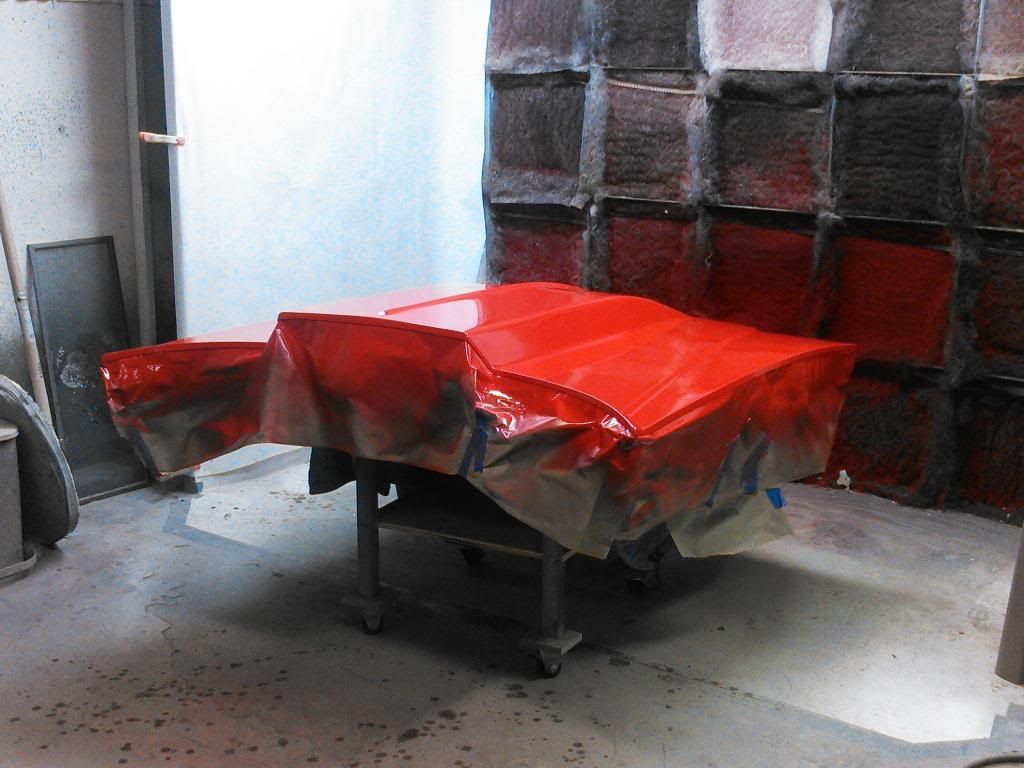
Last weekend we finally got the rear bumper, front bumper, front fender extensions, and lower lip all painted. Also polished the exhaust tipes and painted the insides black and mounted those along with the rear bumper.

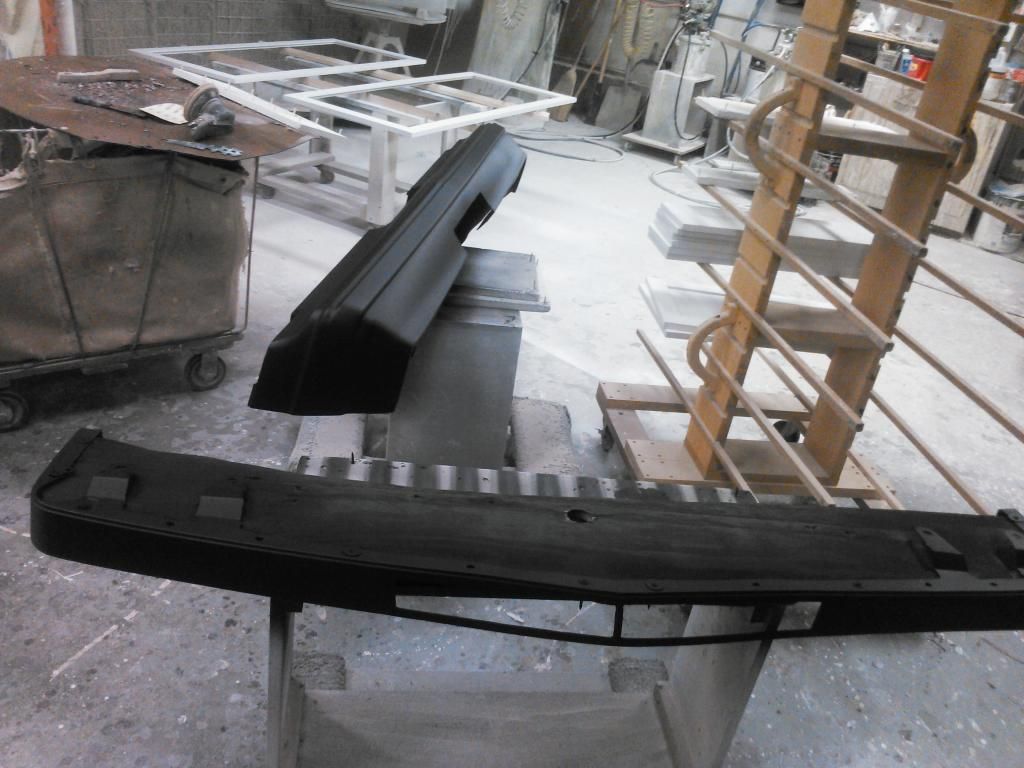
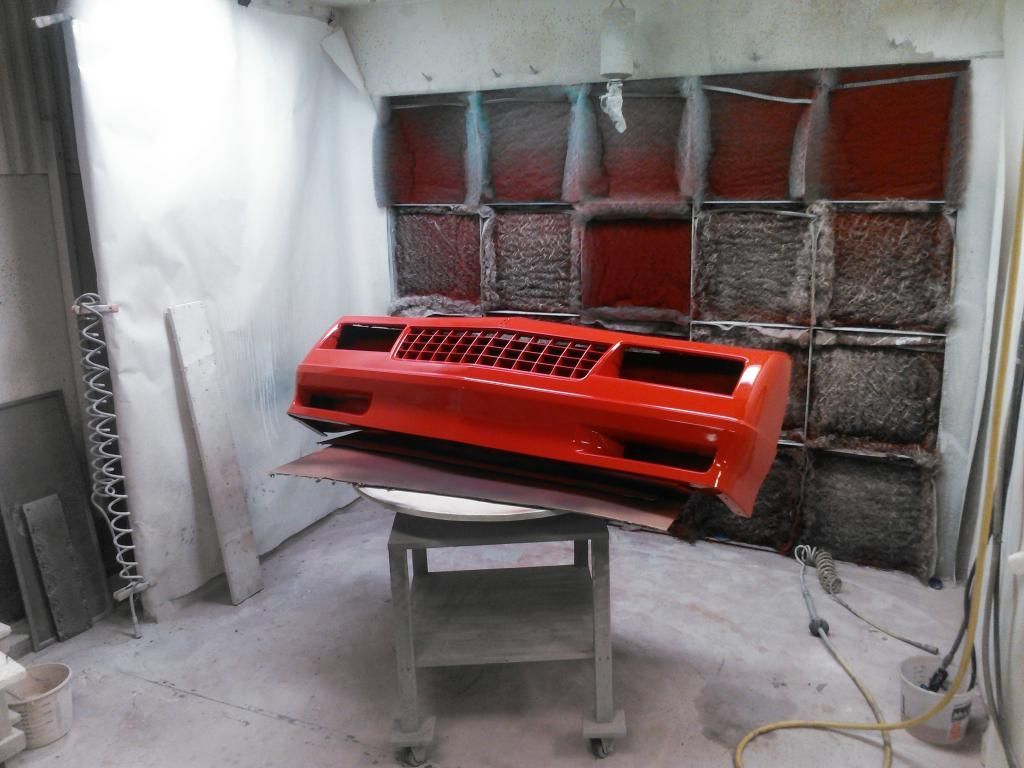
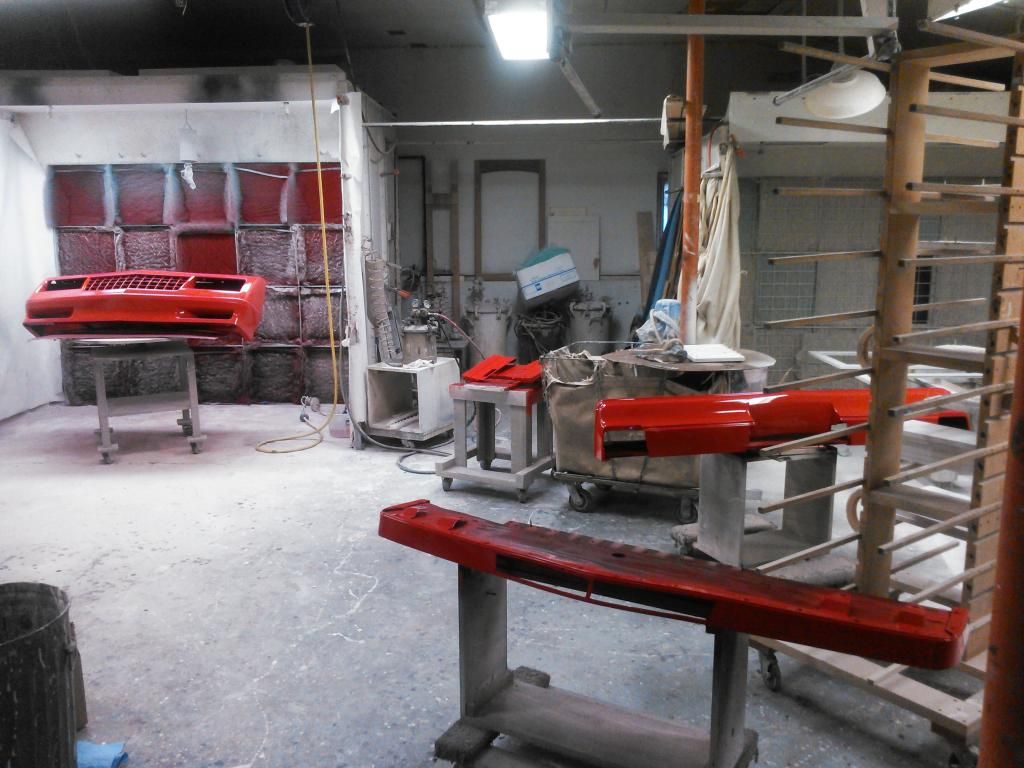
Last weekend we finally got the rear bumper, front bumper, front fender extensions, and lower lip all painted. Also polished the exhaust tipes and painted the insides black and mounted those along with the rear bumper.


