
Gforce1320 Fab IRS 9" Install
 04-29-2012, 12:00 PM
#1
FormerVendor
Thread Starter
iTrader: (2)

Join Date: Sep 2009
Location: Wichita, KS
Posts: 624
Likes: 0
Received 0 Likes
on
0 Posts
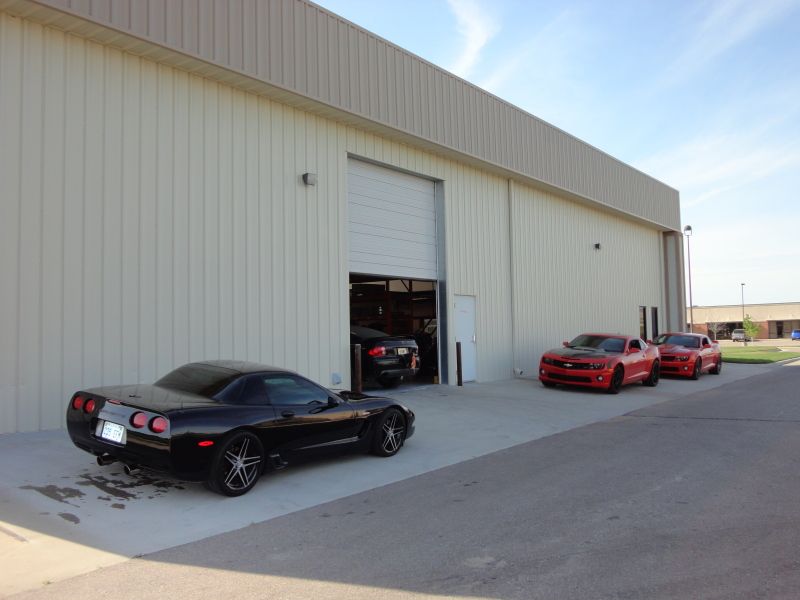
We installed one of our fabricated 9" IRS rear ends in a local customer’s car a few days ago.
Brad (Tornado SS) was starting to get some gear noise from his rear and decided to replace the entire rear drivetrain with Gforce Engineering parts.
He has some pretty big plans down the road and wanted the strongest rear so he wouldn’t have to worry about it later.
We talked with him about his goals which were streetable manners, the ability to go on road trips and the occasional track thrashing and he also wanted something that would be plenty strong enough to later handle a supercharged engine.
We ordered up a Strange Engineering pre-built Pro Iron pumpkin with 4.11 gears and a Strange S-Trac 35 spline posi.
We also went with a Dyno-Tech 3.5" Aluminum slip style driveshaft for super smooth highway driving.
Once everything came in and got built we got to installing everything.
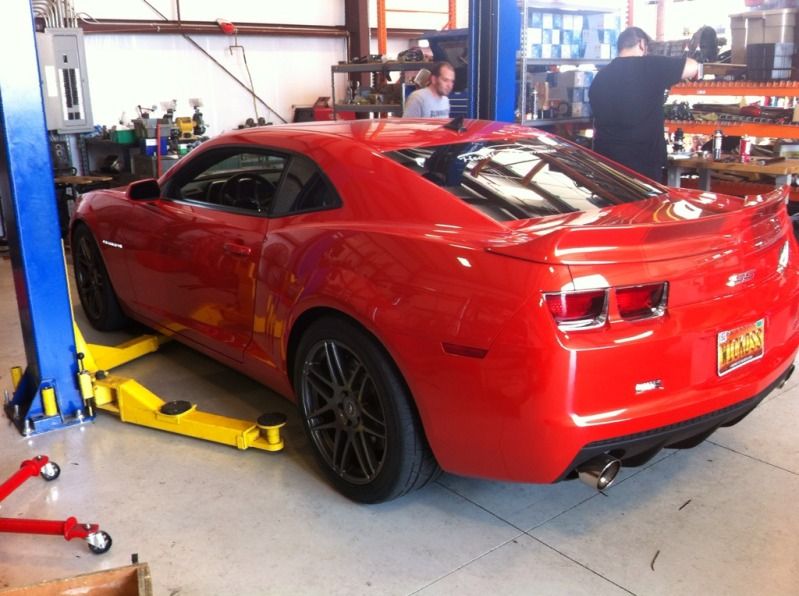
We actually installed 2 9" kits this day and both in Orange Camaro!
The other one we took the 9" kit out and did a big bearing up-grade and installed a new set of 3.70 gears.
Not bad, 2 9" kit installs in one day.
Our 9" kit bolts in so easily that anyone with a lift can do one in half a day with nothing more then regular tools.
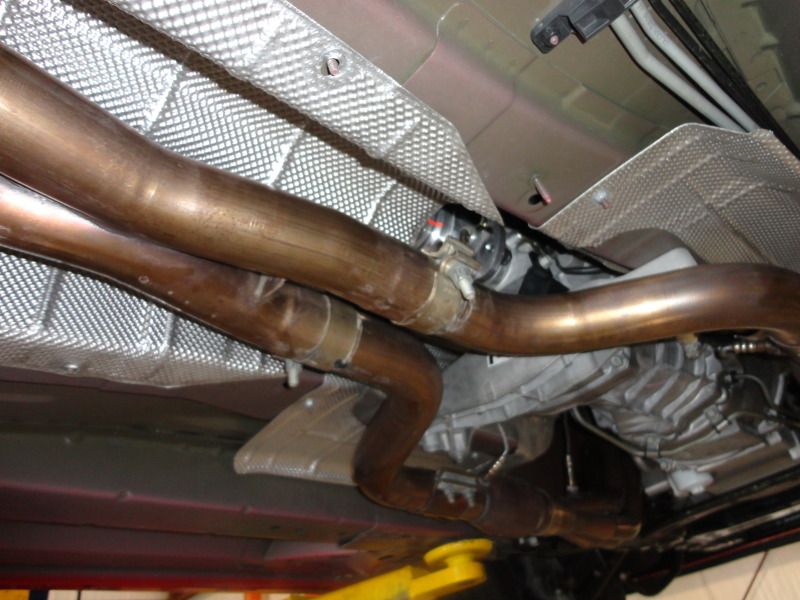
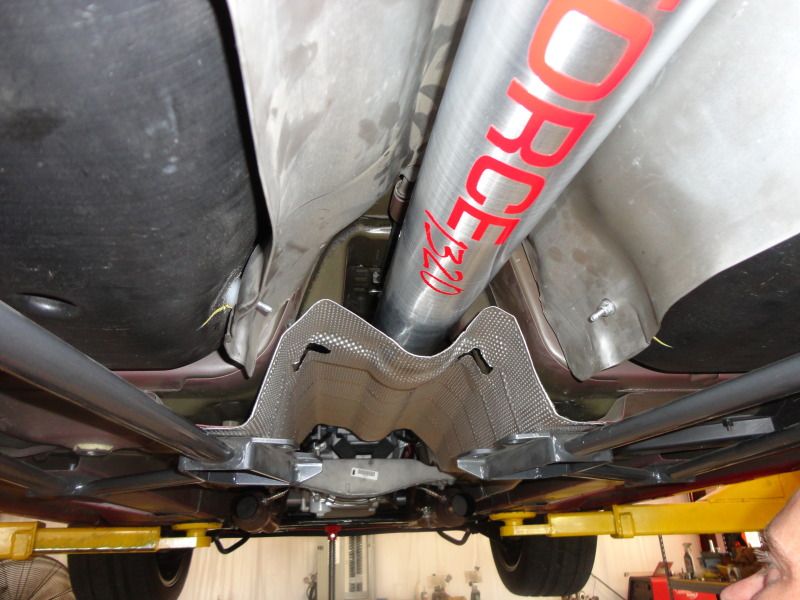
First up was getting the cat back and stock driveshaft down and out of the way.
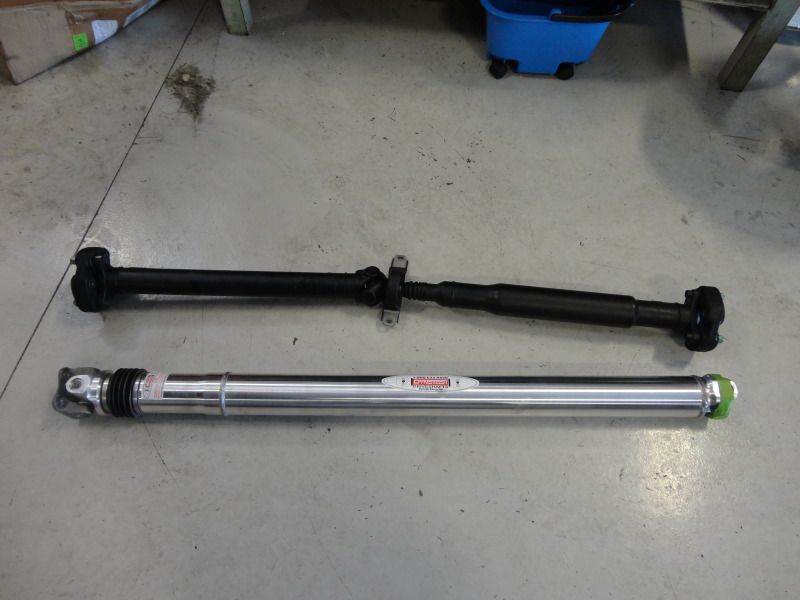
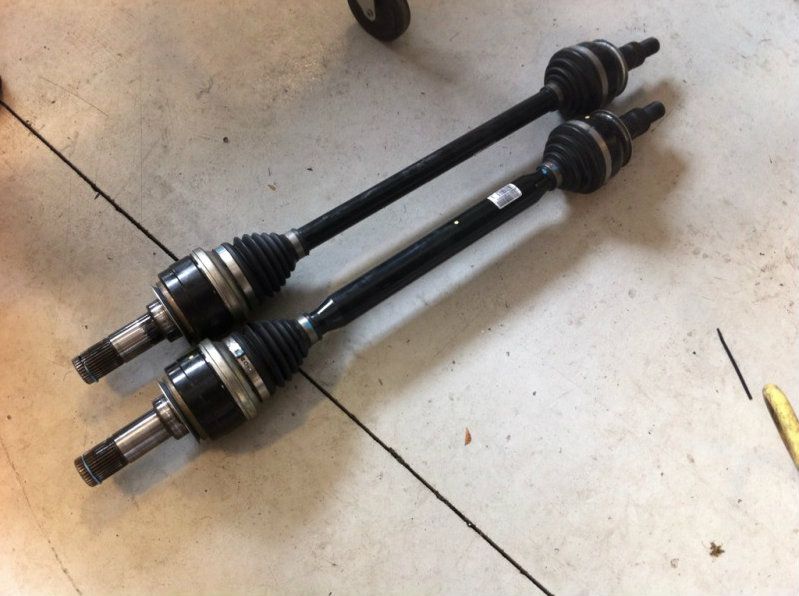
Here is the stock driveshaft compared to the new Dyno-Tech 3.5" aluminum shaft.
The stocker weighs 24 lbs and the Dyno-Tech shaft weighs 15 lbs for a 9 lb weight savings.
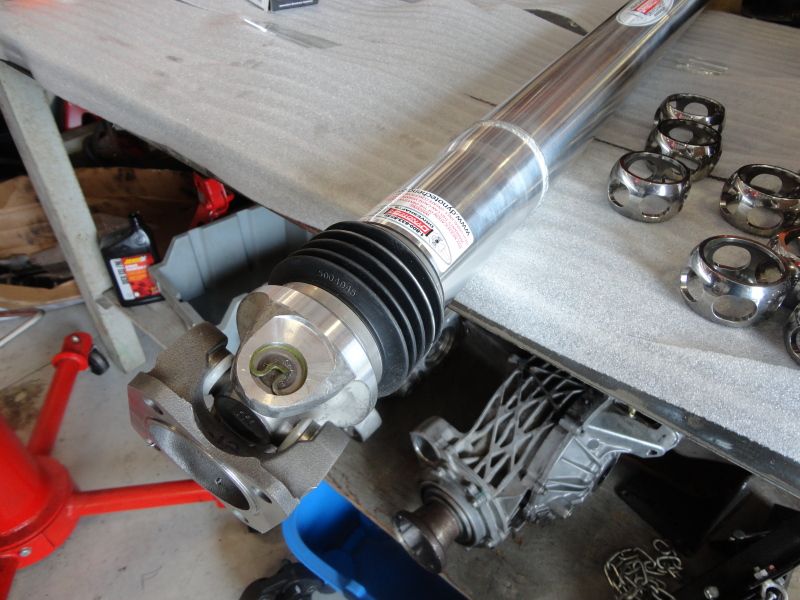
You will notice the Dyno-Tech shaft does not use any rubber couplers or a cv joint on the front.
It has an internal slip shaft assembly that allows it to move in and out with the suspension travel, this type of shaft provides a very smooth and vibration free ride with our 9" kits.
We can also do this shaft in a 4".
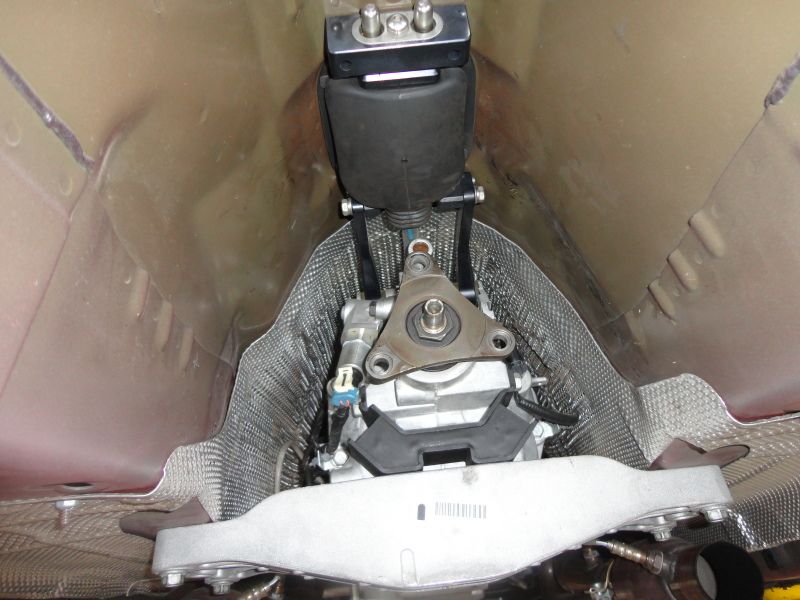
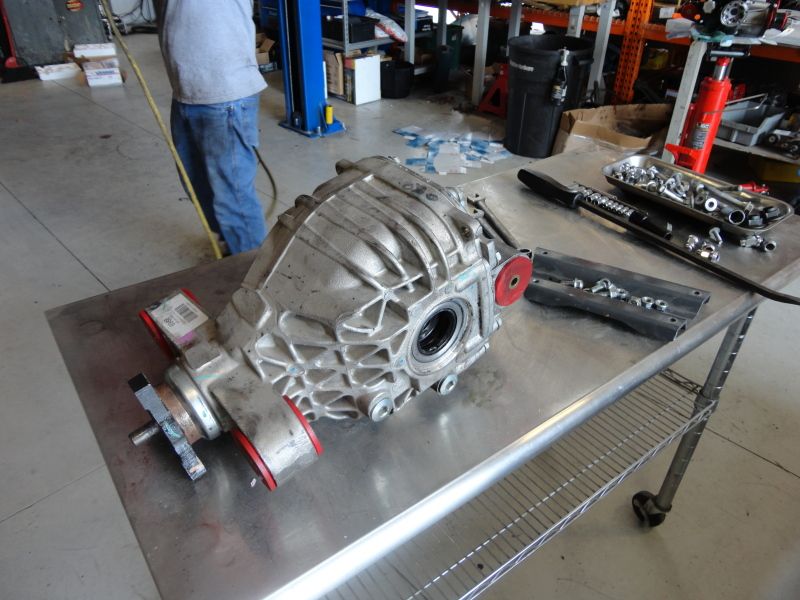
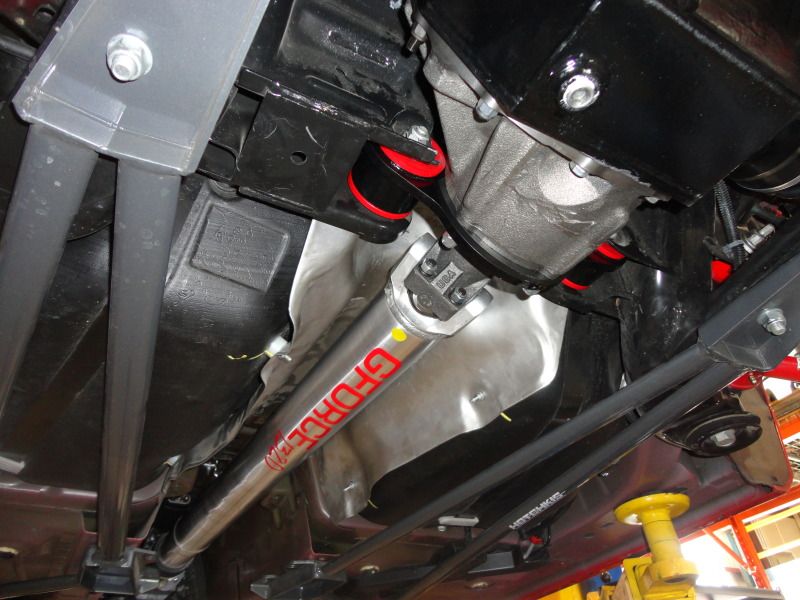
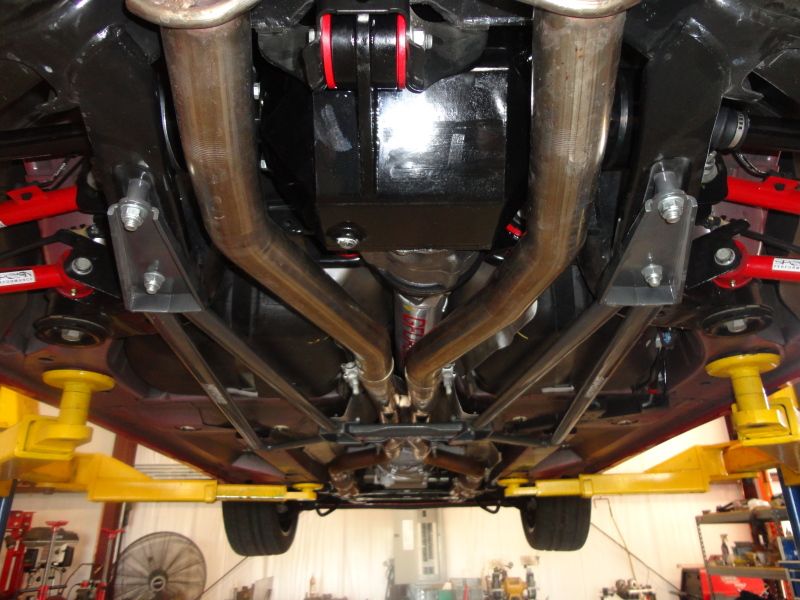
And now out with the stock center section and axles. Now we can bolt all the new components in.
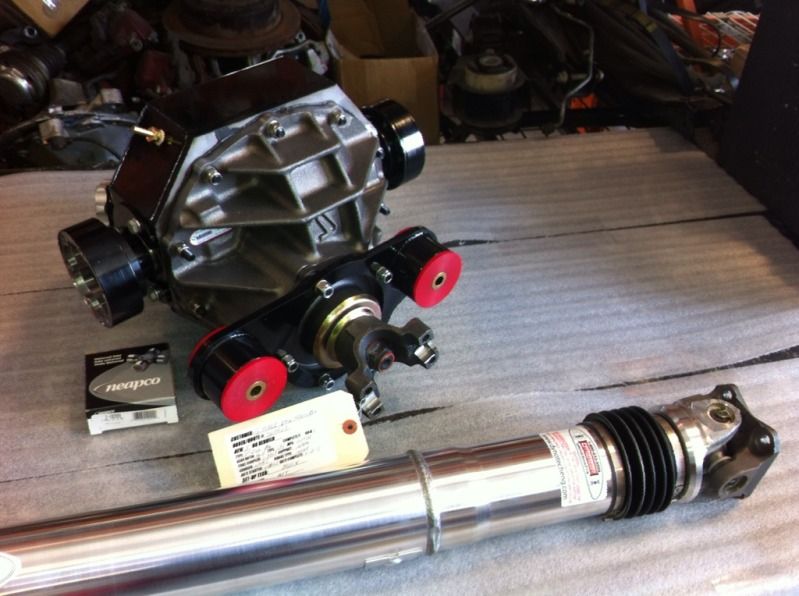
The new axles and assembled center section ready to bolt in.
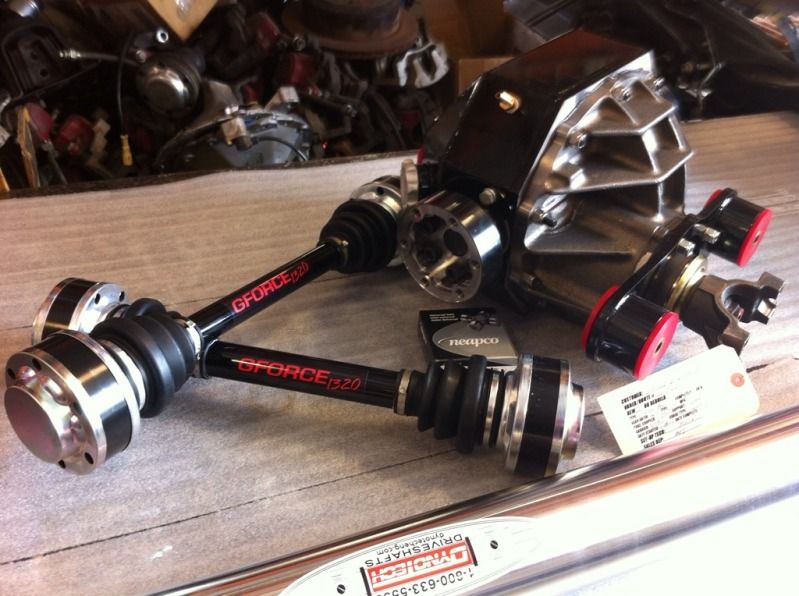
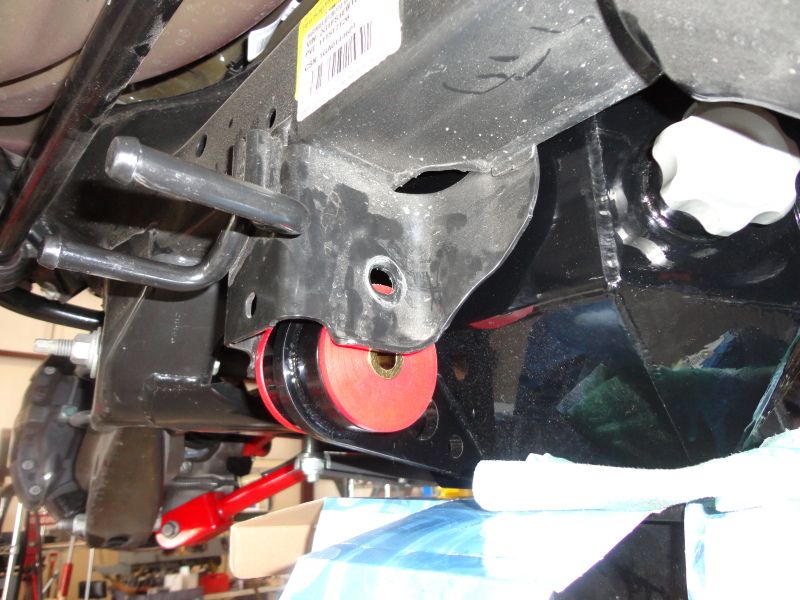
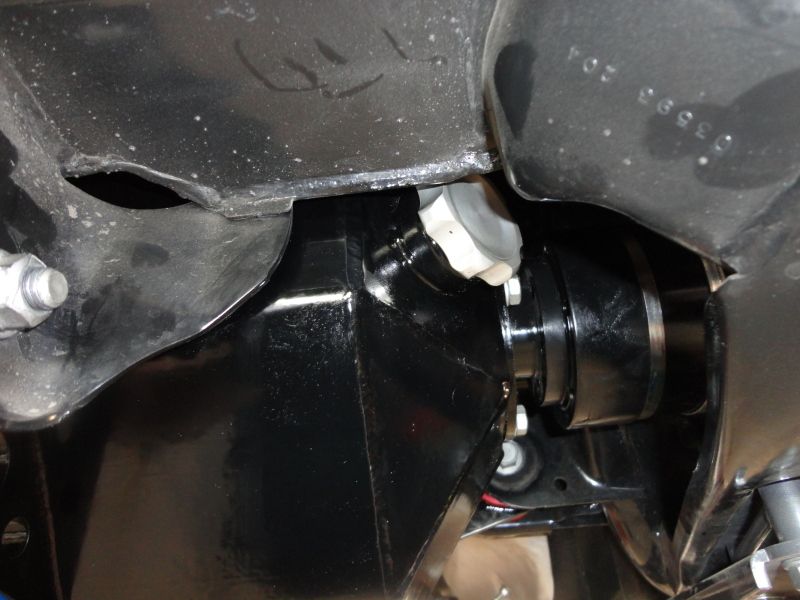
We start by installing the new outer stubs and then the axles, once they are installed you can raise the center section up in place and bolt the axles to the inner stubs.
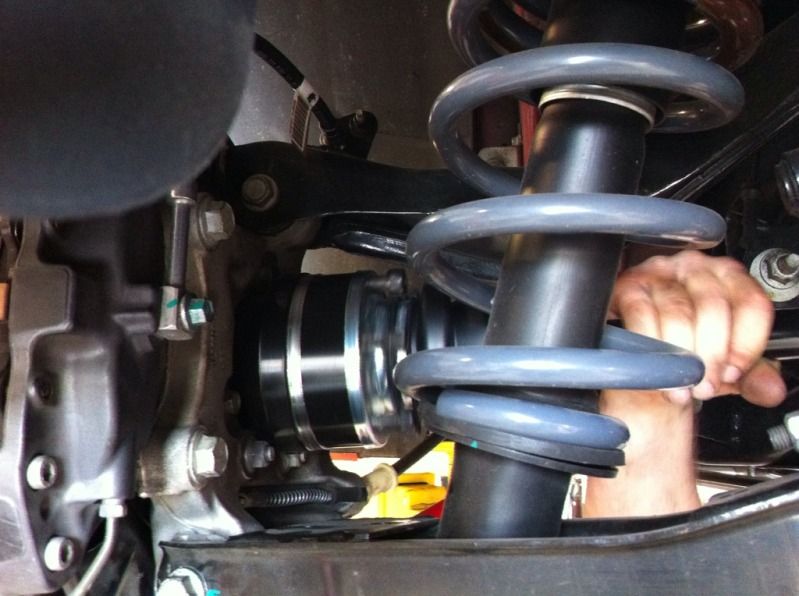
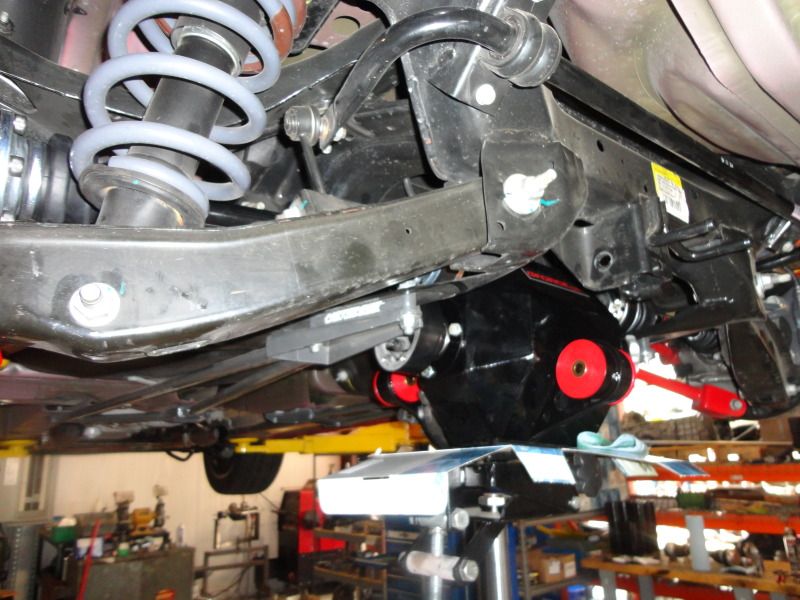
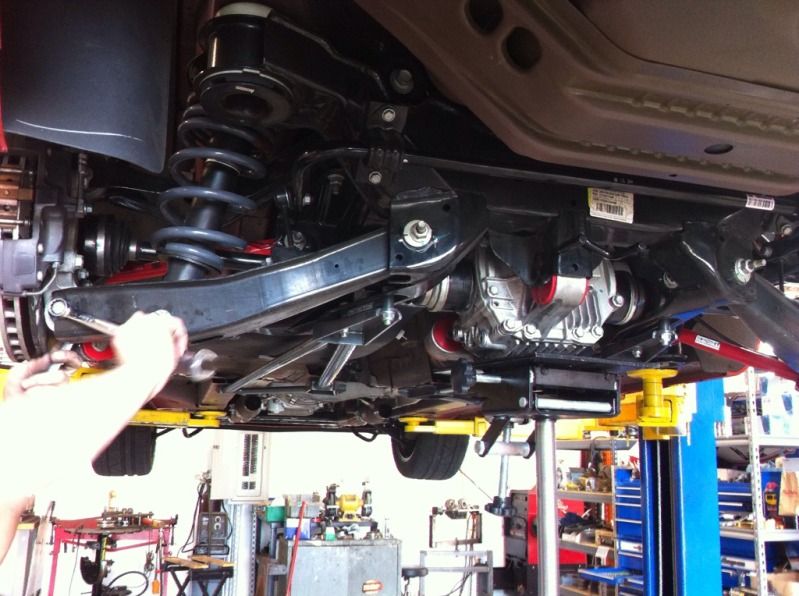
You simply raise the center section up into the OEM mounting locations just like you would the factory rear.
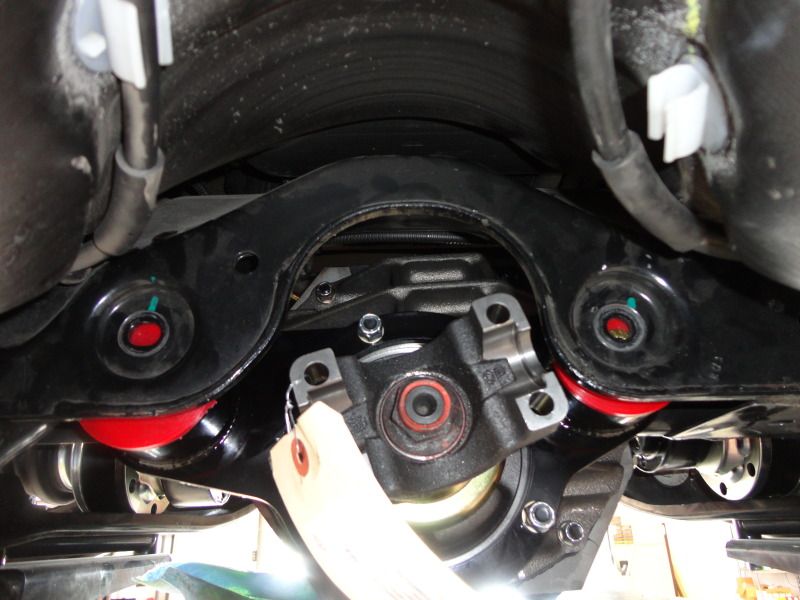
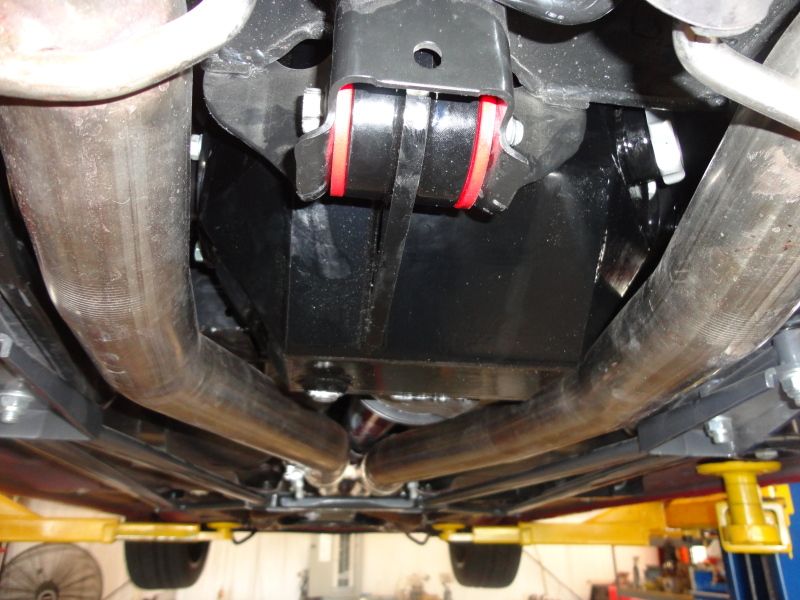

Our 9" housing comes with a fill bung so you can easily fill it with lube after install.
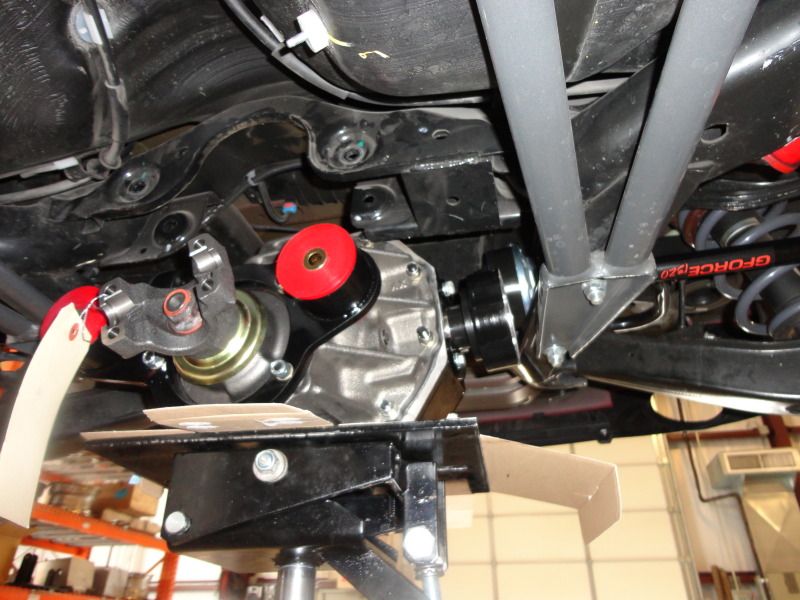
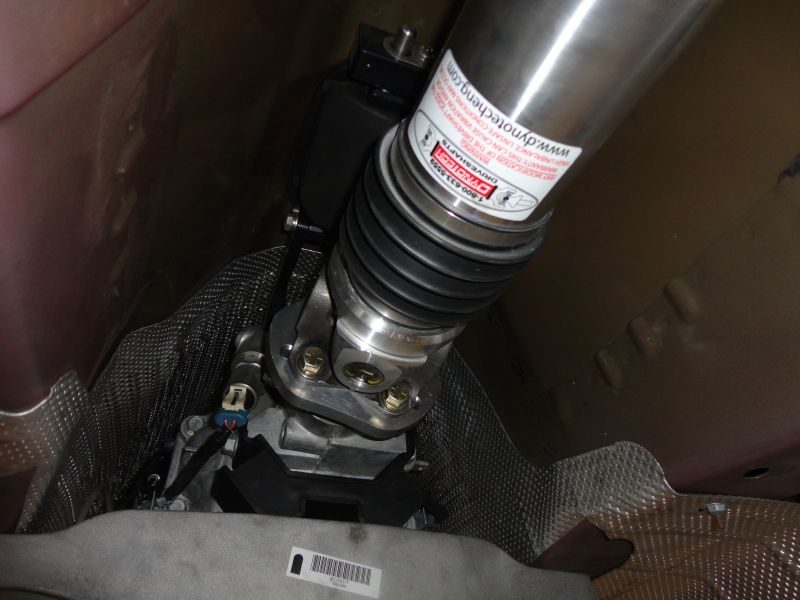
Next up is installing the driveshaft.
You bolt the supplied front adapter on first.
You need to push the heat shield up a bit but the driveshaft will bolt right in with all the factory heat shields in place.
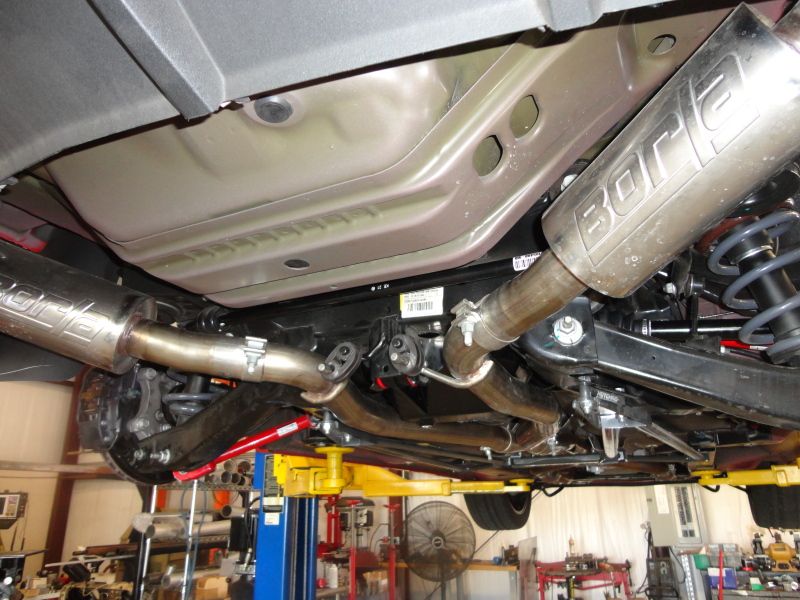
Next up is hanging the cat back up.
Brad had a Borla cat back and it fit perfect with the 9"!
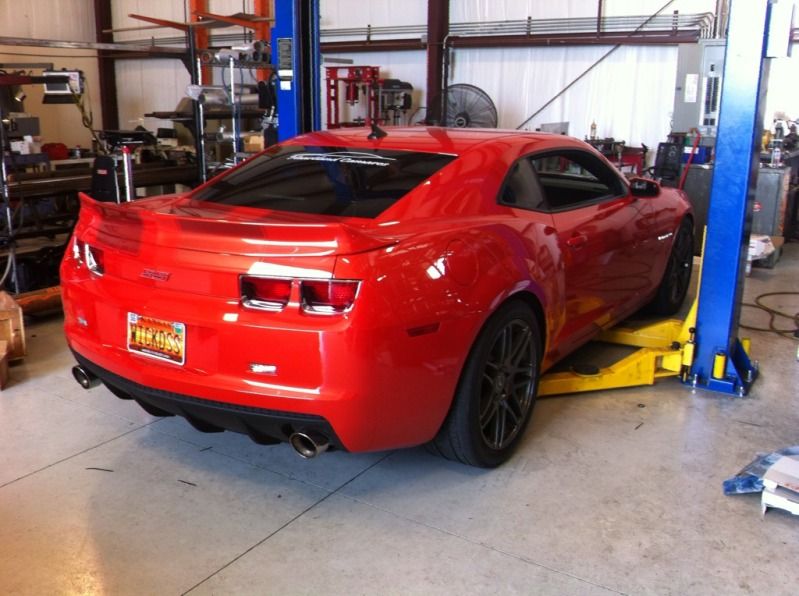
Back on the ground all done in under 3.5 hours
Brad (Tornado SS) was starting to get some gear noise from his rear and decided to replace the entire rear drivetrain with Gforce Engineering parts.
He has some pretty big plans down the road and wanted the strongest rear so he wouldn’t have to worry about it later.
We talked with him about his goals which were streetable manners, the ability to go on road trips and the occasional track thrashing and he also wanted something that would be plenty strong enough to later handle a supercharged engine.
We ordered up a Strange Engineering pre-built Pro Iron pumpkin with 4.11 gears and a Strange S-Trac 35 spline posi.
We also went with a Dyno-Tech 3.5" Aluminum slip style driveshaft for super smooth highway driving.
Once everything came in and got built we got to installing everything.
We actually installed 2 9" kits this day and both in Orange Camaro!
The other one we took the 9" kit out and did a big bearing up-grade and installed a new set of 3.70 gears.
Not bad, 2 9" kit installs in one day.
Our 9" kit bolts in so easily that anyone with a lift can do one in half a day with nothing more then regular tools.
First up was getting the cat back and stock driveshaft down and out of the way.
Here is the stock driveshaft compared to the new Dyno-Tech 3.5" aluminum shaft.
The stocker weighs 24 lbs and the Dyno-Tech shaft weighs 15 lbs for a 9 lb weight savings.
You will notice the Dyno-Tech shaft does not use any rubber couplers or a cv joint on the front.
It has an internal slip shaft assembly that allows it to move in and out with the suspension travel, this type of shaft provides a very smooth and vibration free ride with our 9" kits.
We can also do this shaft in a 4".
And now out with the stock center section and axles. Now we can bolt all the new components in.
The new axles and assembled center section ready to bolt in.
We start by installing the new outer stubs and then the axles, once they are installed you can raise the center section up in place and bolt the axles to the inner stubs.
You simply raise the center section up into the OEM mounting locations just like you would the factory rear.
Our 9" housing comes with a fill bung so you can easily fill it with lube after install.
Next up is installing the driveshaft.
You bolt the supplied front adapter on first.
You need to push the heat shield up a bit but the driveshaft will bolt right in with all the factory heat shields in place.
Next up is hanging the cat back up.
Brad had a Borla cat back and it fit perfect with the 9"!
Back on the ground all done in under 3.5 hours


