is my block trashed??? see pics :( HELP
 09-04-2011, 07:27 PM
#1
Staging Lane
Thread Starter

Join Date: May 2011
Posts: 69
Likes: 0
Received 0 Likes
on
0 Posts
I have a 98 LS1+T56 going into my iroc.
(noob build)
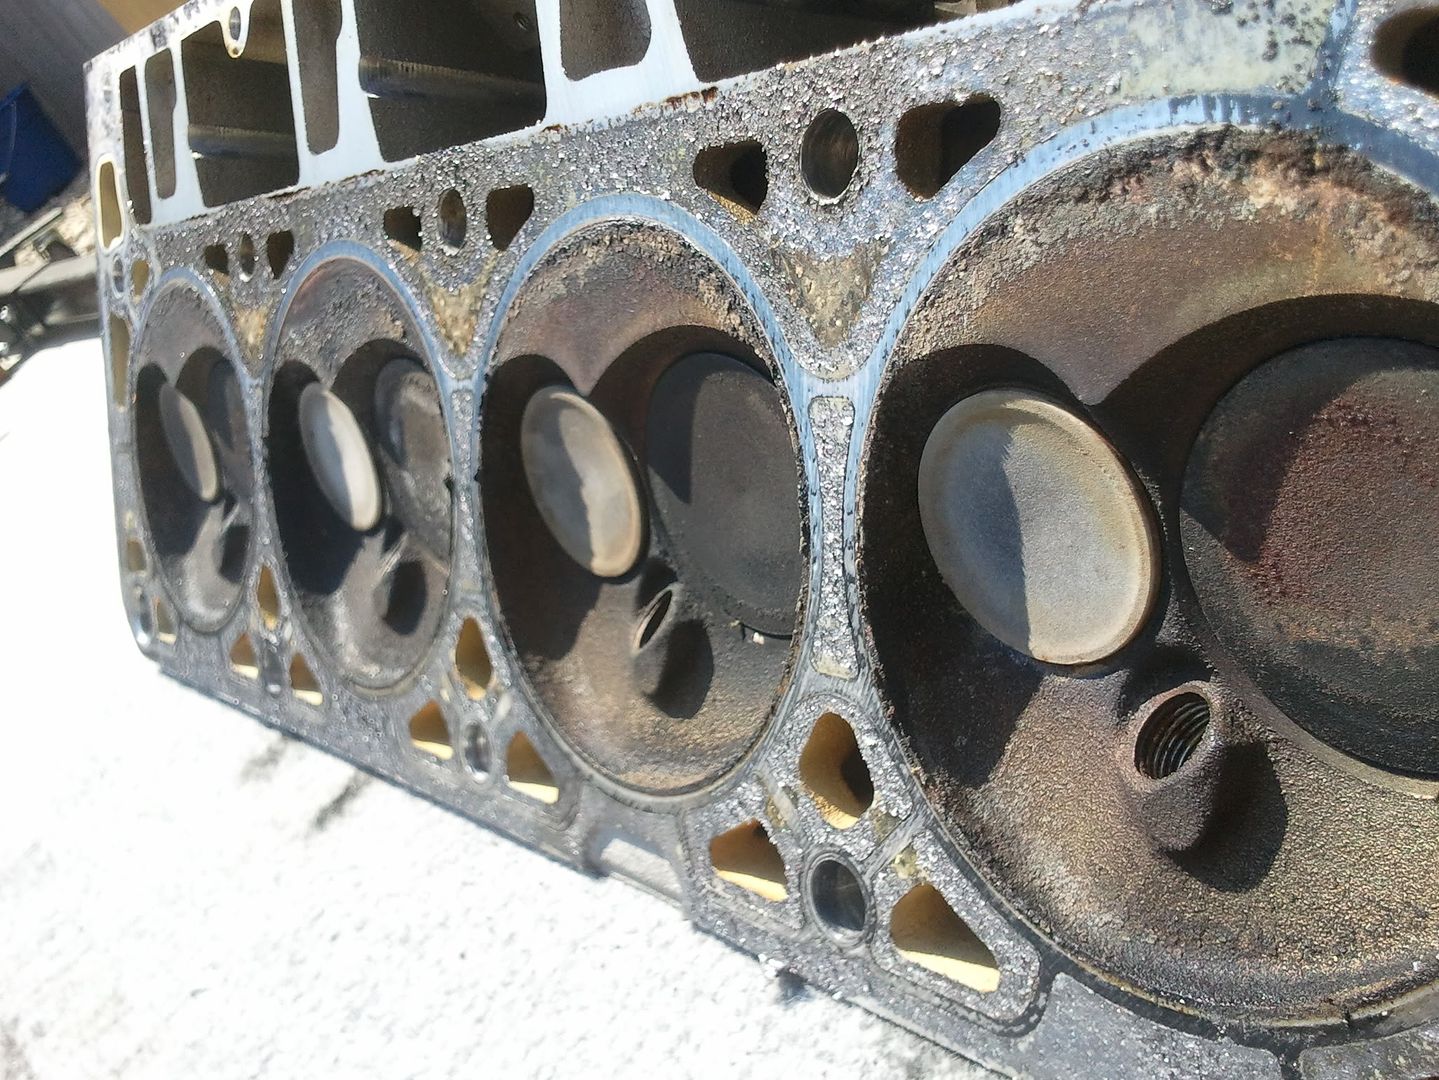
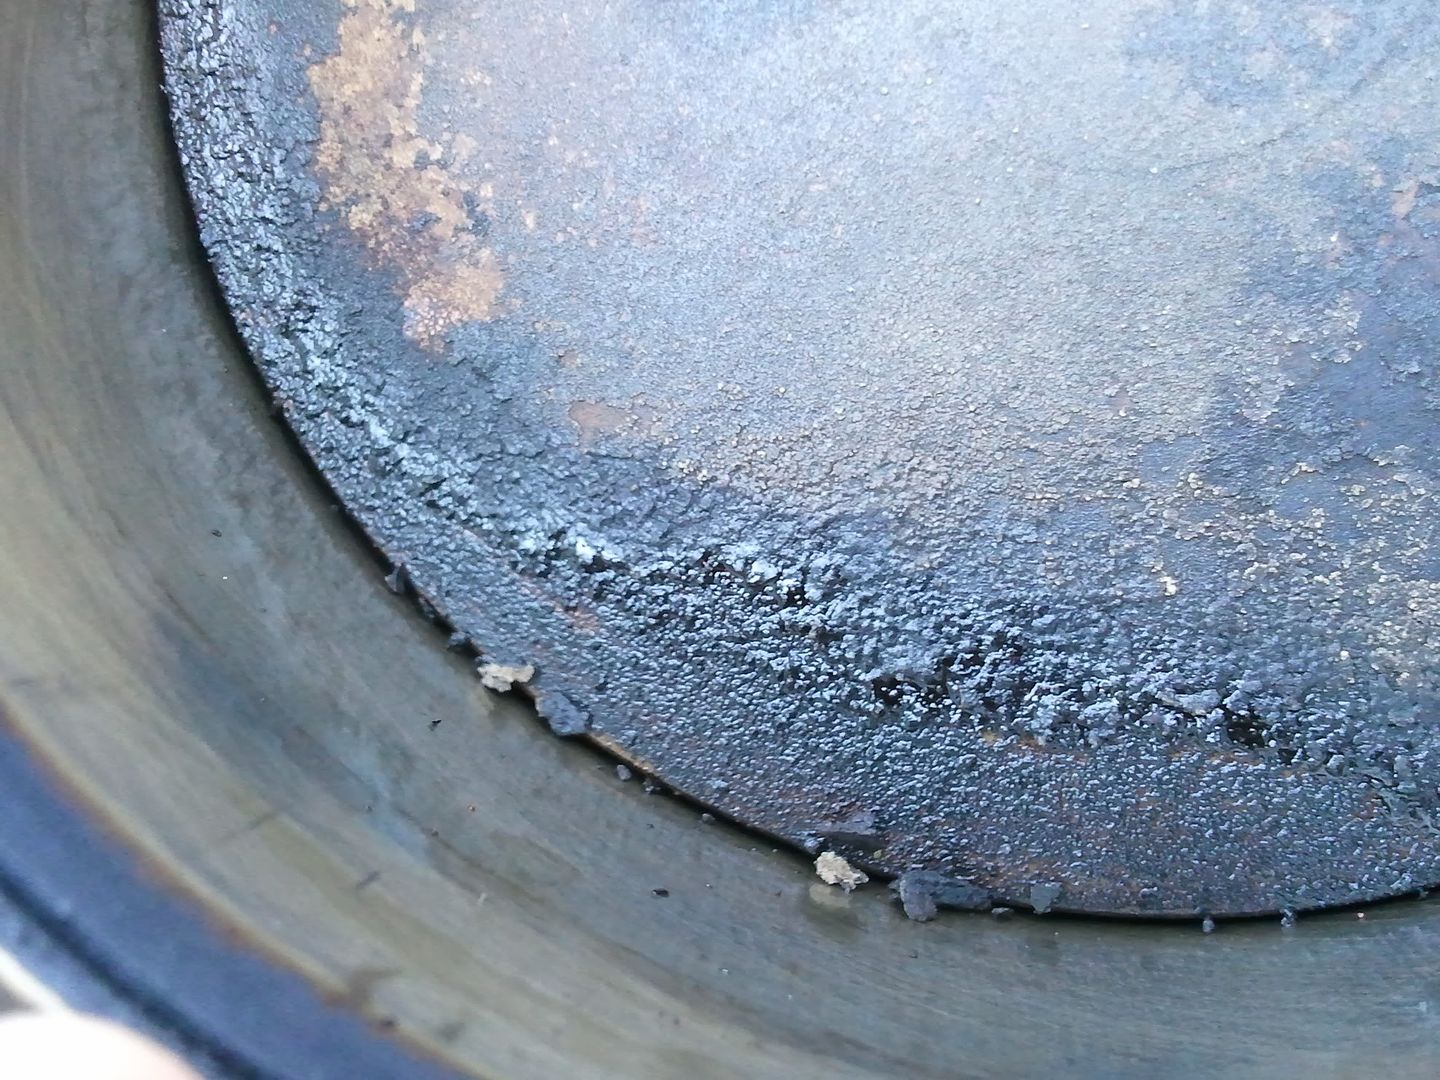
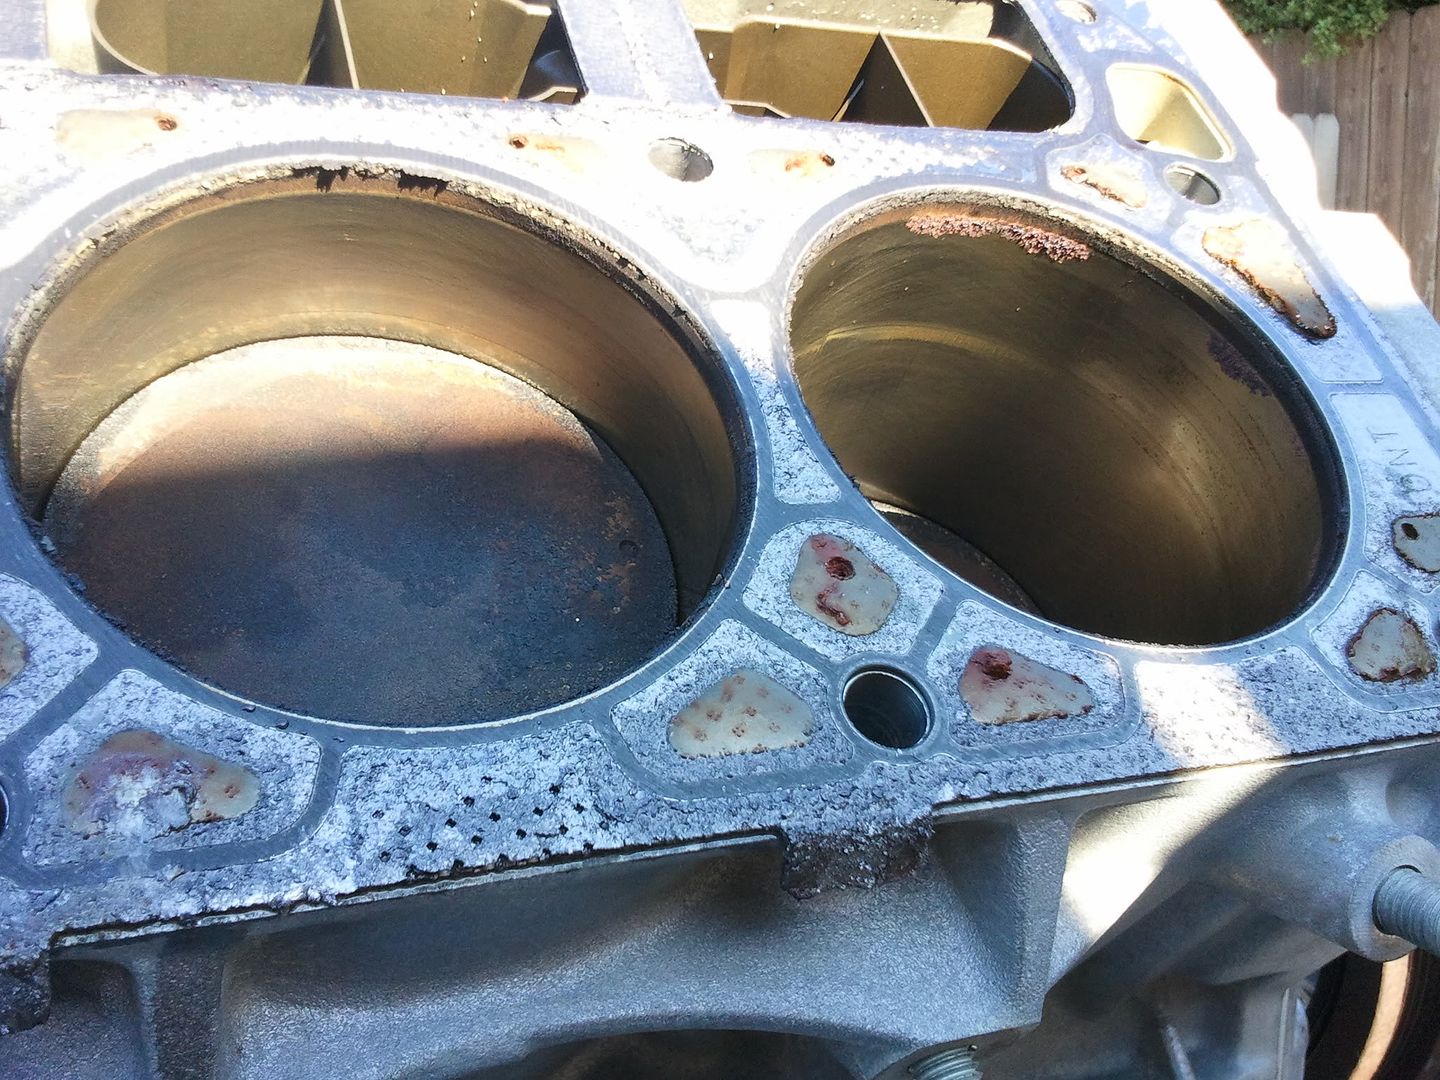
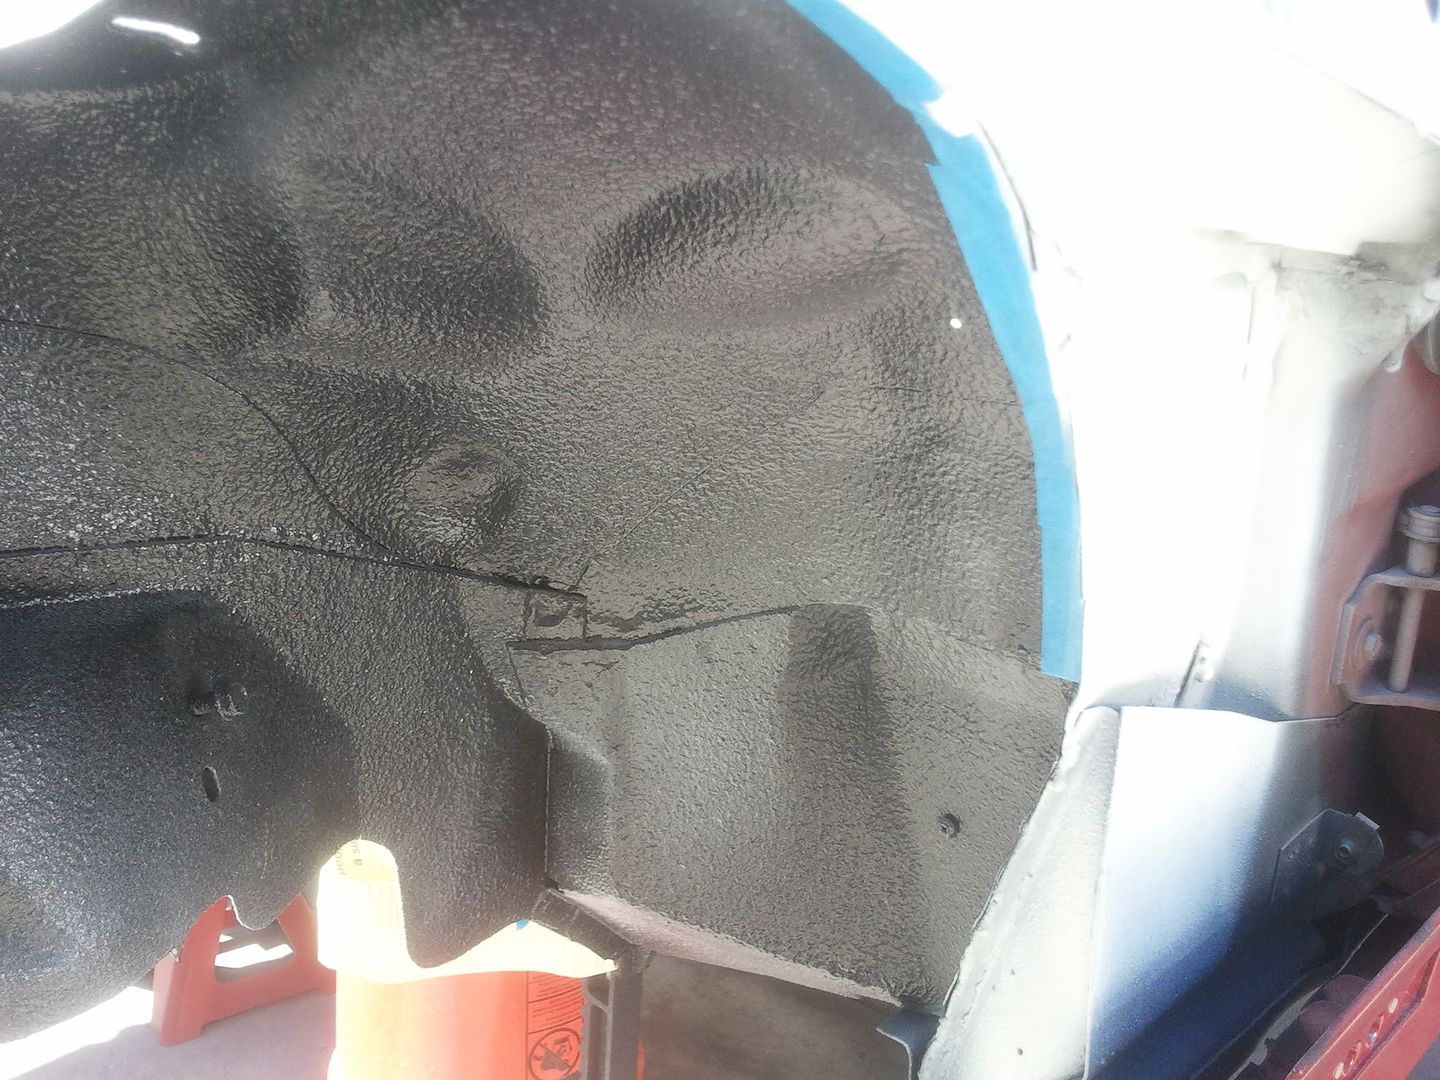
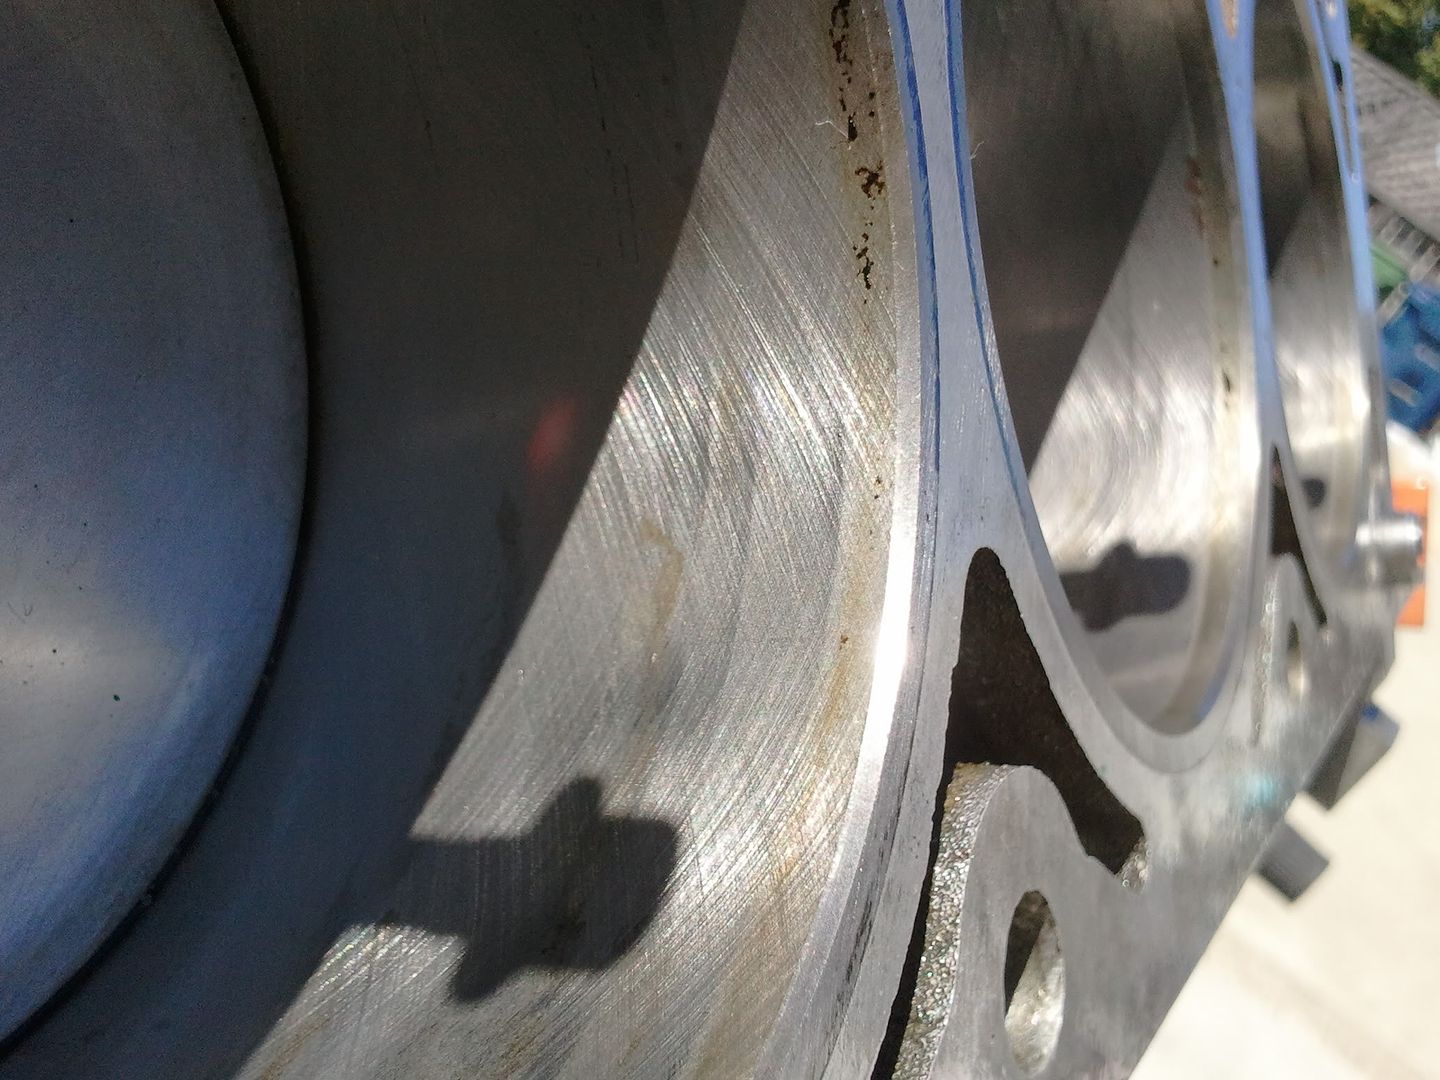
I removed and painted the valve covers, I noticed some debris behind the rocker support bracket... so I took the bracket off and noticed more down some of the holes... so I took the whole head off. All the Rods+rockers seem to be in good shape, but the pistons look like crap and something looks to be growing on the otherwise smooth walls.
what should I do?
(noob build)
I removed and painted the valve covers, I noticed some debris behind the rocker support bracket... so I took the bracket off and noticed more down some of the holes... so I took the whole head off. All the Rods+rockers seem to be in good shape, but the pistons look like crap and something looks to be growing on the otherwise smooth walls.
what should I do?

 09-04-2011, 09:19 PM
#3
Staging Lane
Thread Starter
Join Date: May 2011
Posts: 69
Likes: 0
Received 0 Likes
on
0 Posts
It's a 98... I was told it has 73k on it.
Seems to be the 1st time it's been pulled apart.
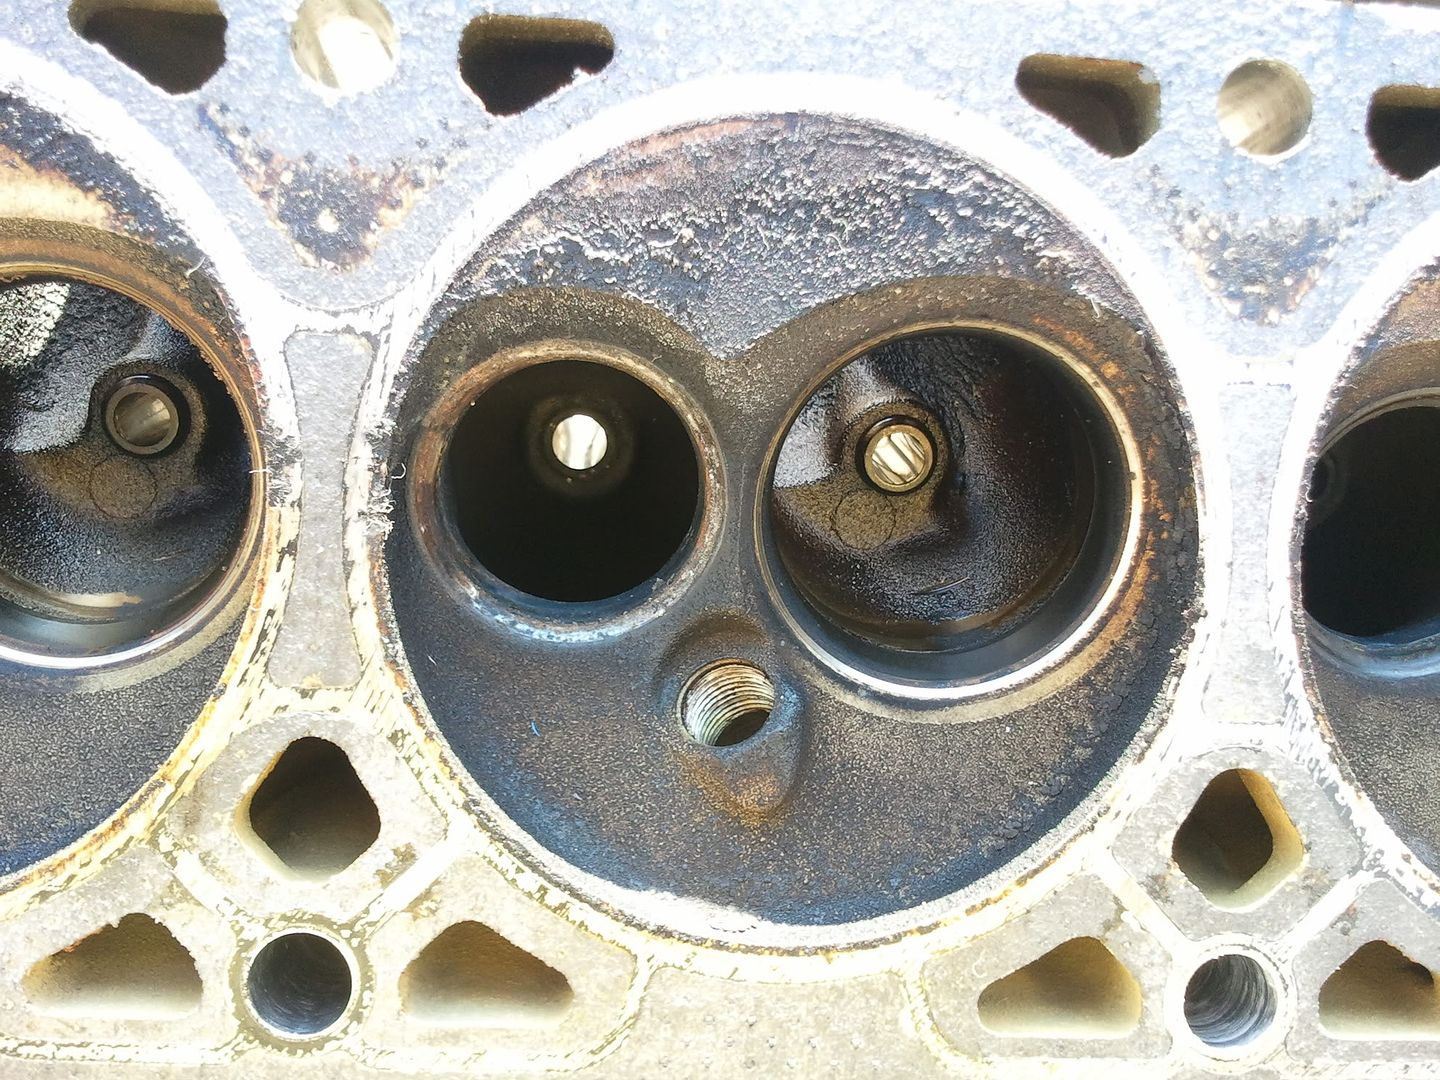
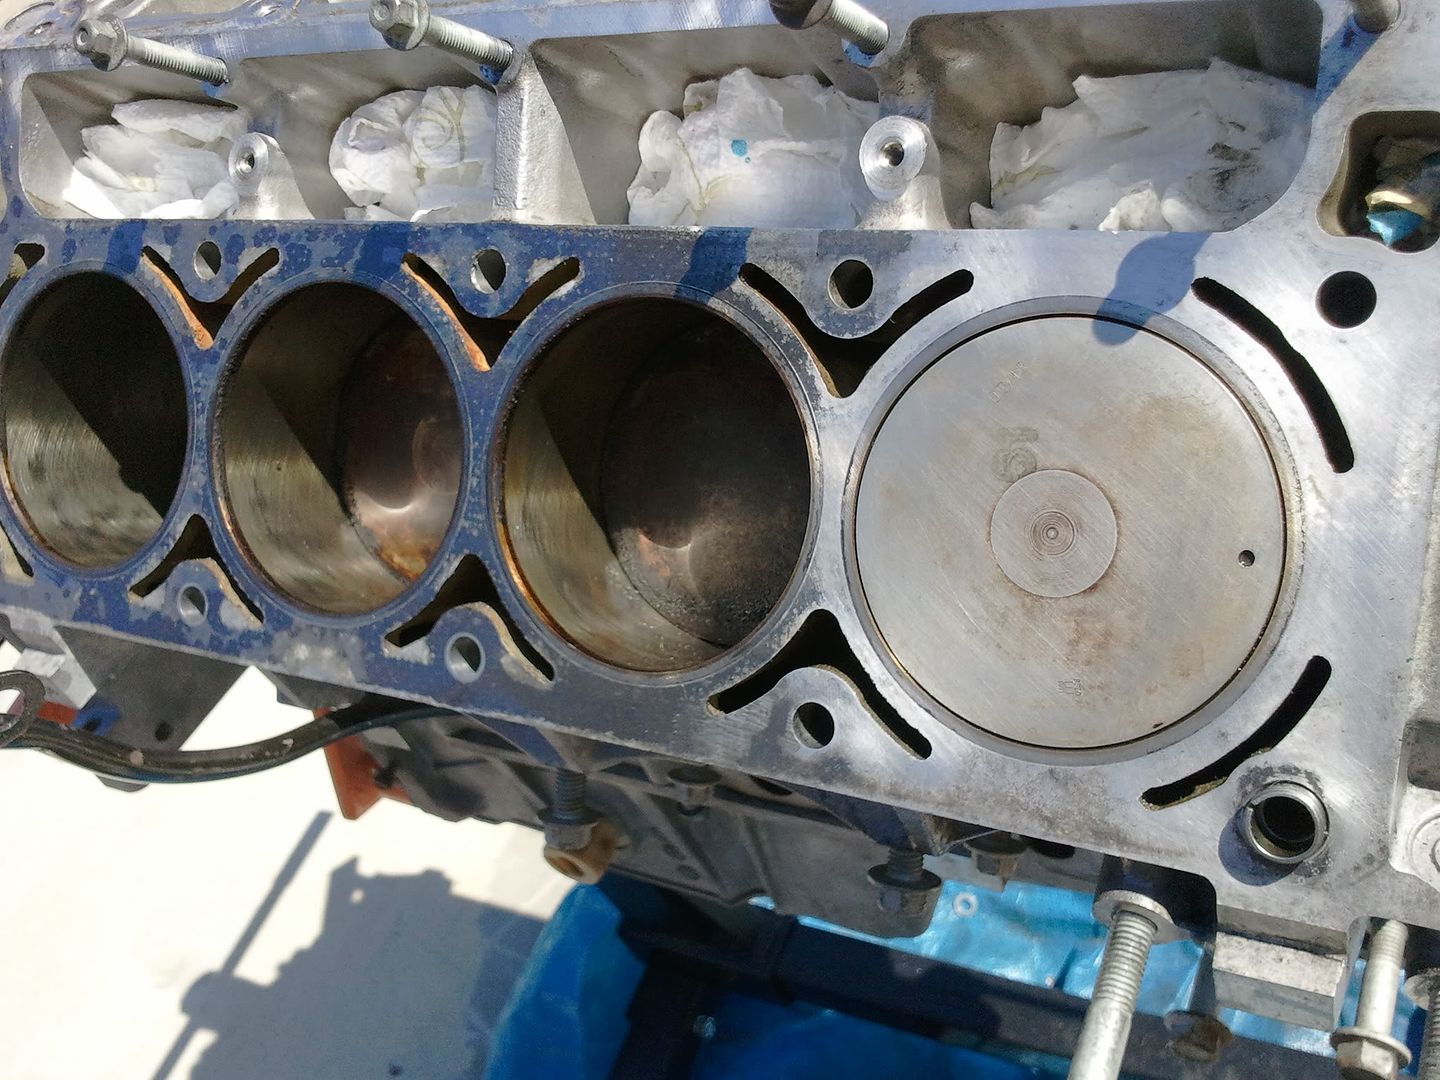
It was never in the car at all, I took off the valve covers to paint them... but noticed some sand and dirt. It was behind the wall of the head as well (I could not reach), so I took the whole head off and found some rusty looking corrosion on the cylinder walls. Is this normal?
Seems to be the 1st time it's been pulled apart.
It was never in the car at all, I took off the valve covers to paint them... but noticed some sand and dirt. It was behind the wall of the head as well (I could not reach), so I took the whole head off and found some rusty looking corrosion on the cylinder walls. Is this normal?
09-04-2011, 09:31 PM
#4
I don't see anything that indicates major damage. The carbon build up on the tops of the pistons is normal on a street driven car. You can run each pistion up to TDC and clean them if you like - brake cleaner and a scotchbrite pad works well for this. At least one of the cylinder bores has some rust that looks like the car sat undriven for awhile.

 09-04-2011, 10:02 PM
#6

Yea man....just clean the pistons as well as knocking all that other crap off with sandpaper. Also, smooth out the deck with light sandpaper. Vacuum the crap out of the cylinders real good because some is bound to fall into them. Looks like burnt oil over years and years of driving on the pistons, thats all. Clean it off, it can cause detonation due to hot spots when the engine is hot under acceleration.
I had bad valve seals gum up my pistons something terrible with burnt oil....I was detonating like crazy because hot spots were pre-igniting my fuel/air mixture after I got up to operating temp. Cleaned them off while my heads were rebuilt and put it back together, and no more detonation at all.
.
I had bad valve seals gum up my pistons something terrible with burnt oil....I was detonating like crazy because hot spots were pre-igniting my fuel/air mixture after I got up to operating temp. Cleaned them off while my heads were rebuilt and put it back together, and no more detonation at all.
.
Trending Topics
09-05-2011, 12:27 AM
#8
Staging Lane
Thread Starter
Join Date: May 2011
Posts: 69
Likes: 0
Received 0 Likes
on
0 Posts
I got a good deal on these parts 1 year ago $1800
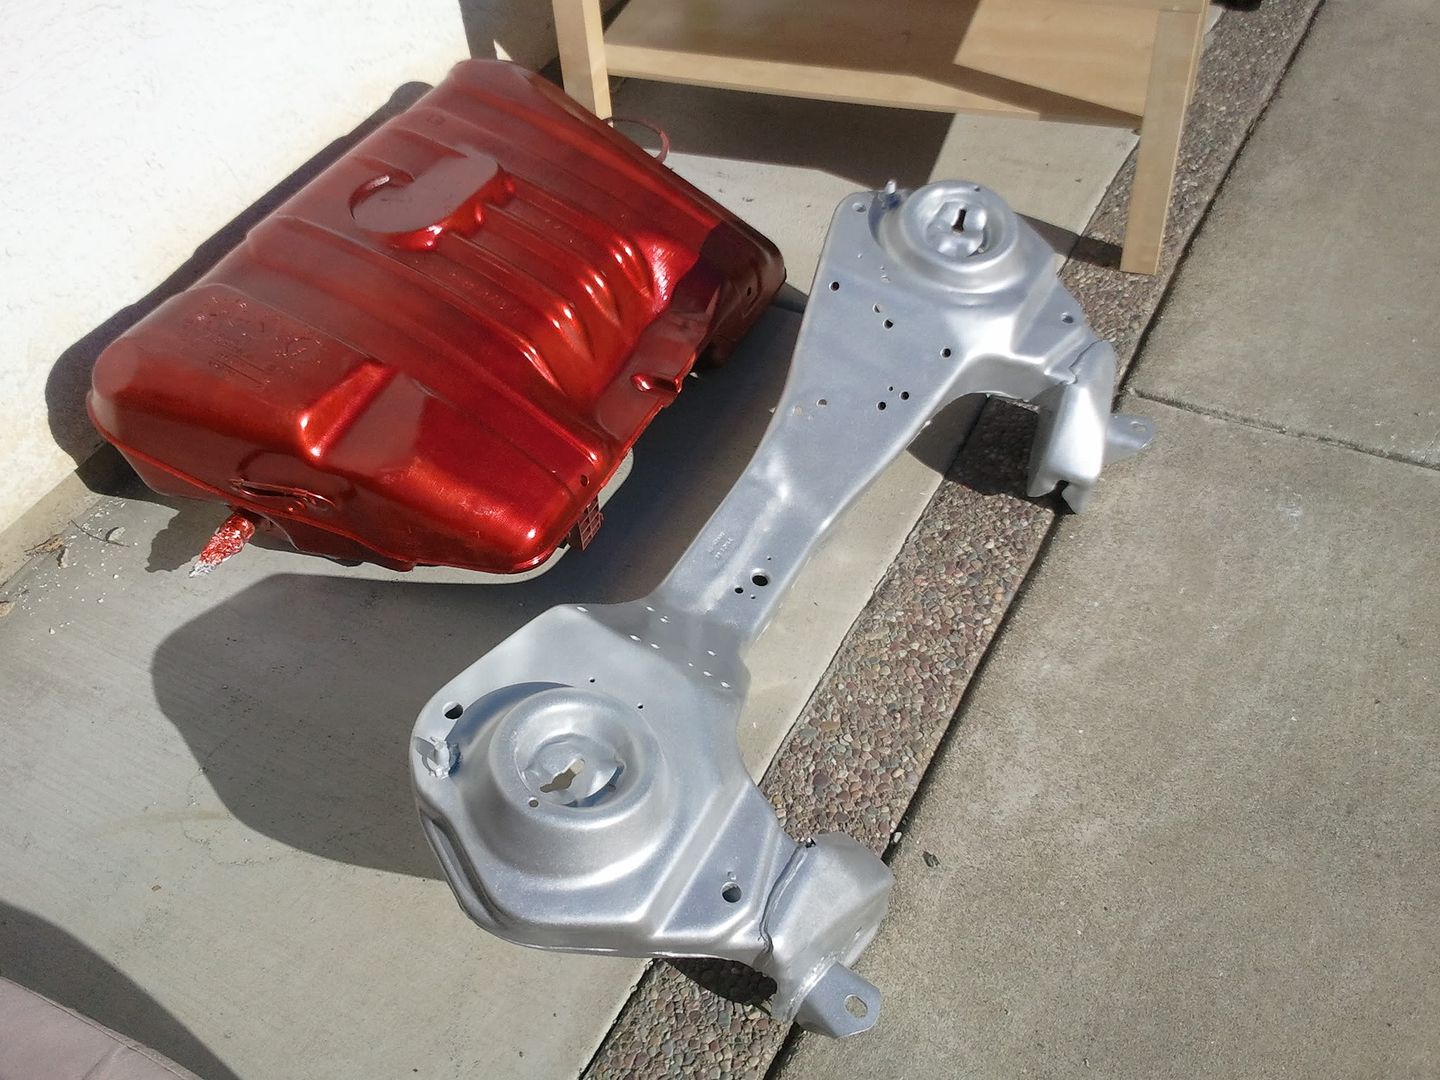
98 LS1/T56 + harness + PCM + pedals + LS1 tank + manifolds + mounts + radiator
it's been sitting in my garage up until now....
So I should clean the machined gasket surfaces and get the carbon off the piston tops (before it scrapes the walls). then after all that is done I should wipe the cylinder walls down with a bit of oil?
should I take the pistons out for this or can it be done while installed?
will sea foam or mineral sprites on a rag do the trick?
09-05-2011, 12:30 AM
#9
TECH Senior Member
iTrader: (96)
Join Date: Aug 2007
Location: Turnin' Wrenches Infractions: 005
Posts: 24,241
Likes: 0
Received 81 Likes
on
72 Posts

I always use brake parts cleaner or a scotchbrite roloc disc, just go easy. It helps to have the engine on a stand so you flip it over/blow it out. Try not to let any of that junk get wedged around the piston where it could scratch the cylinder wall.
 09-08-2011, 06:36 PM
#11
Staging Lane
Thread Starter
Join Date: May 2011
Posts: 69
Likes: 0
Received 0 Likes
on
0 Posts
problem solved, thanx everyone
ordered bolts and gasket from summit.... while I was waiting a bit of cleaning was done.
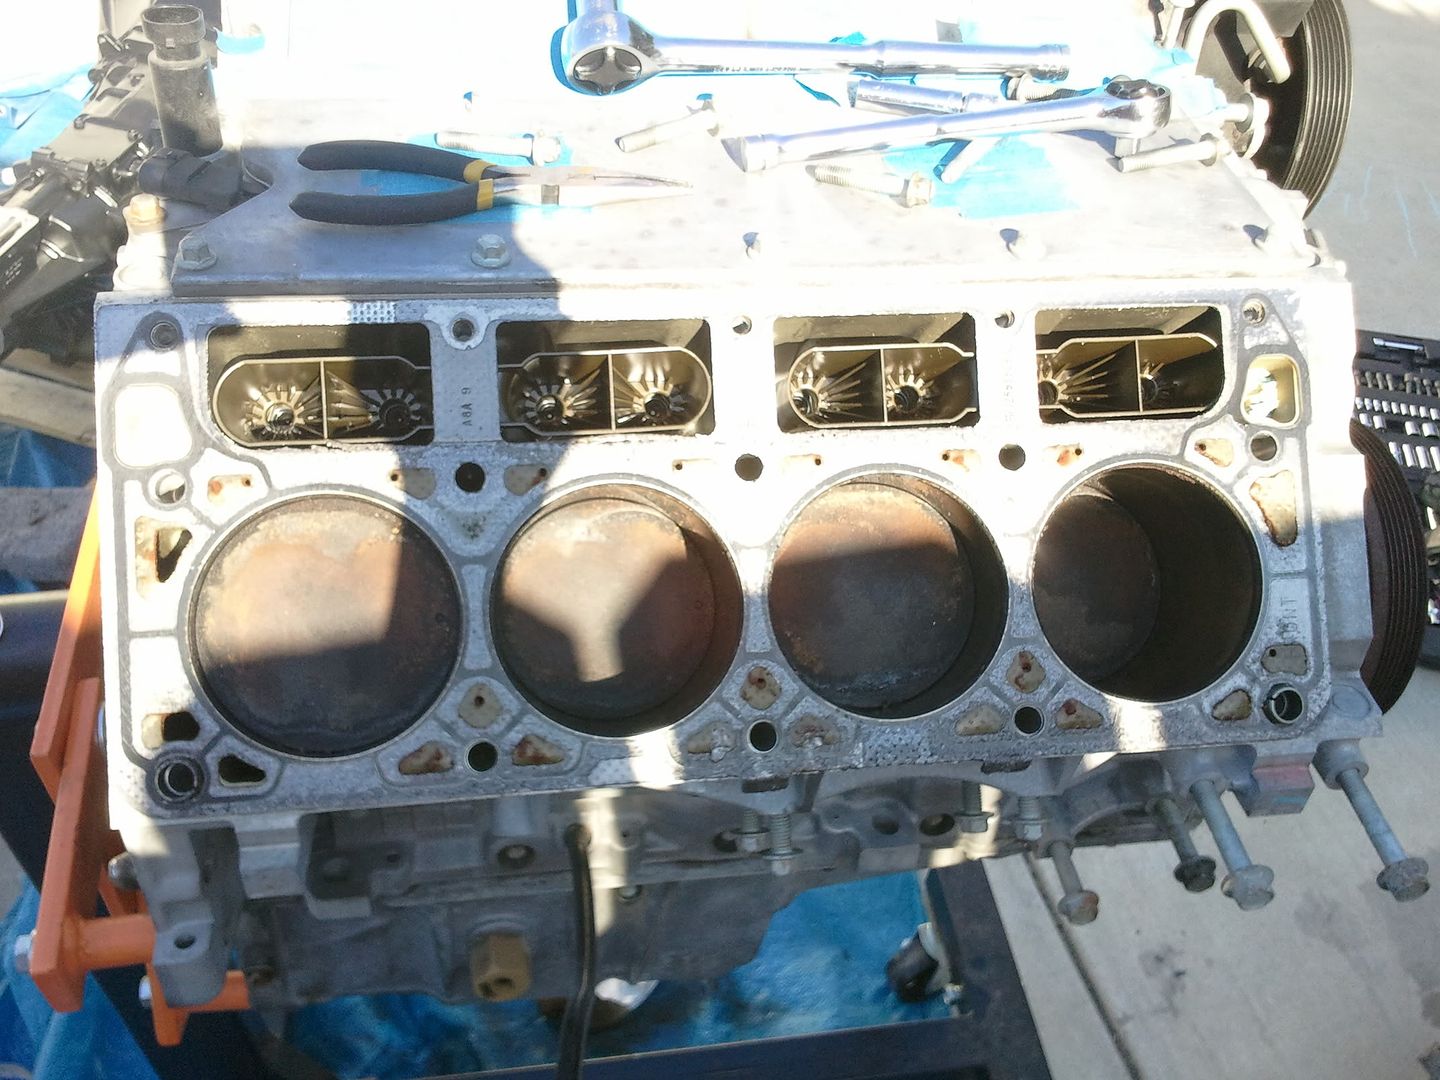
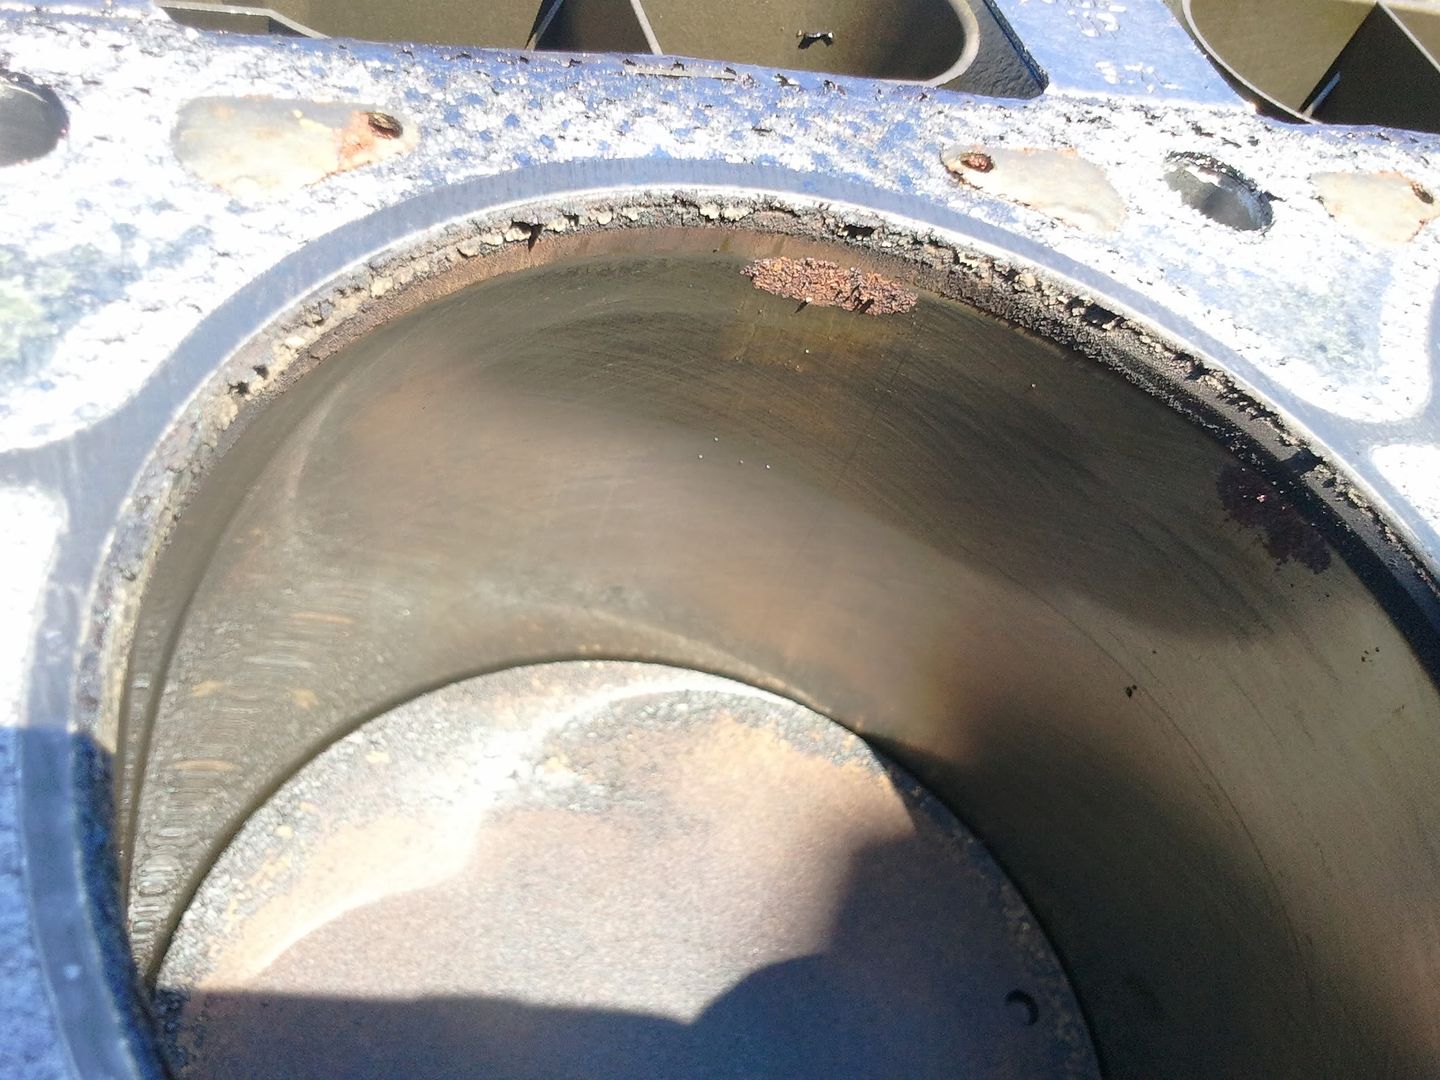
I rotated the engine to get each piston TDC. The piston's head surface was cleaned, then ran over the whole thing with vacume, then wiped down the deepest cylinder wall. repeated this 4 times (for each rotation).
Driver side after cleaning
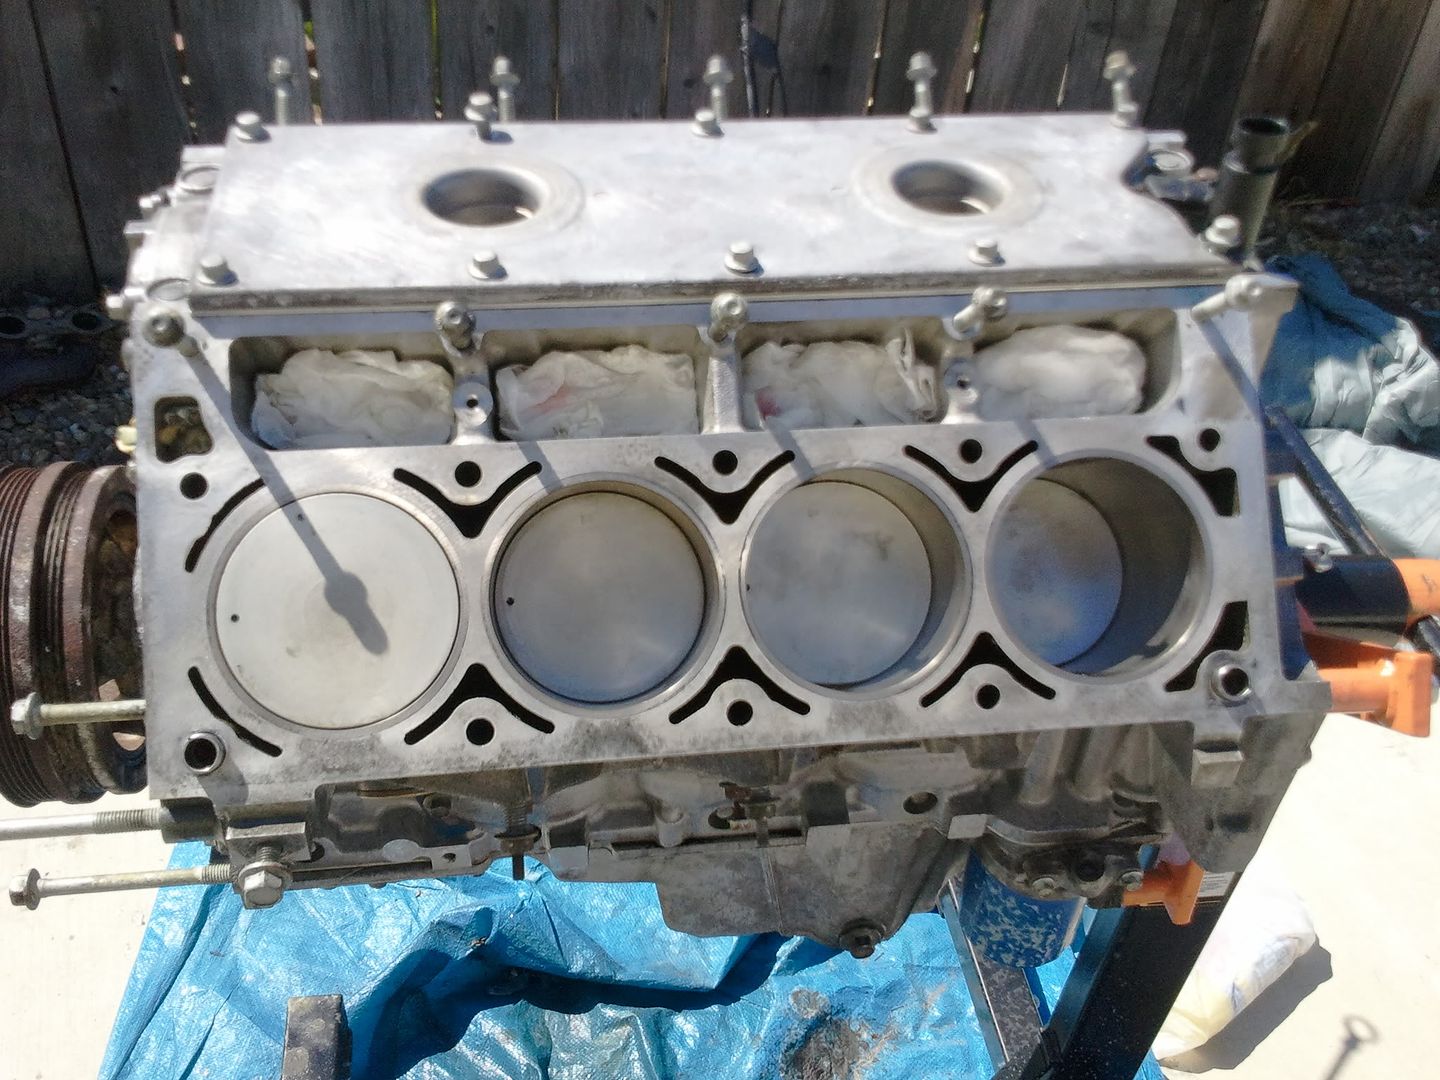
Pass side after cleaning
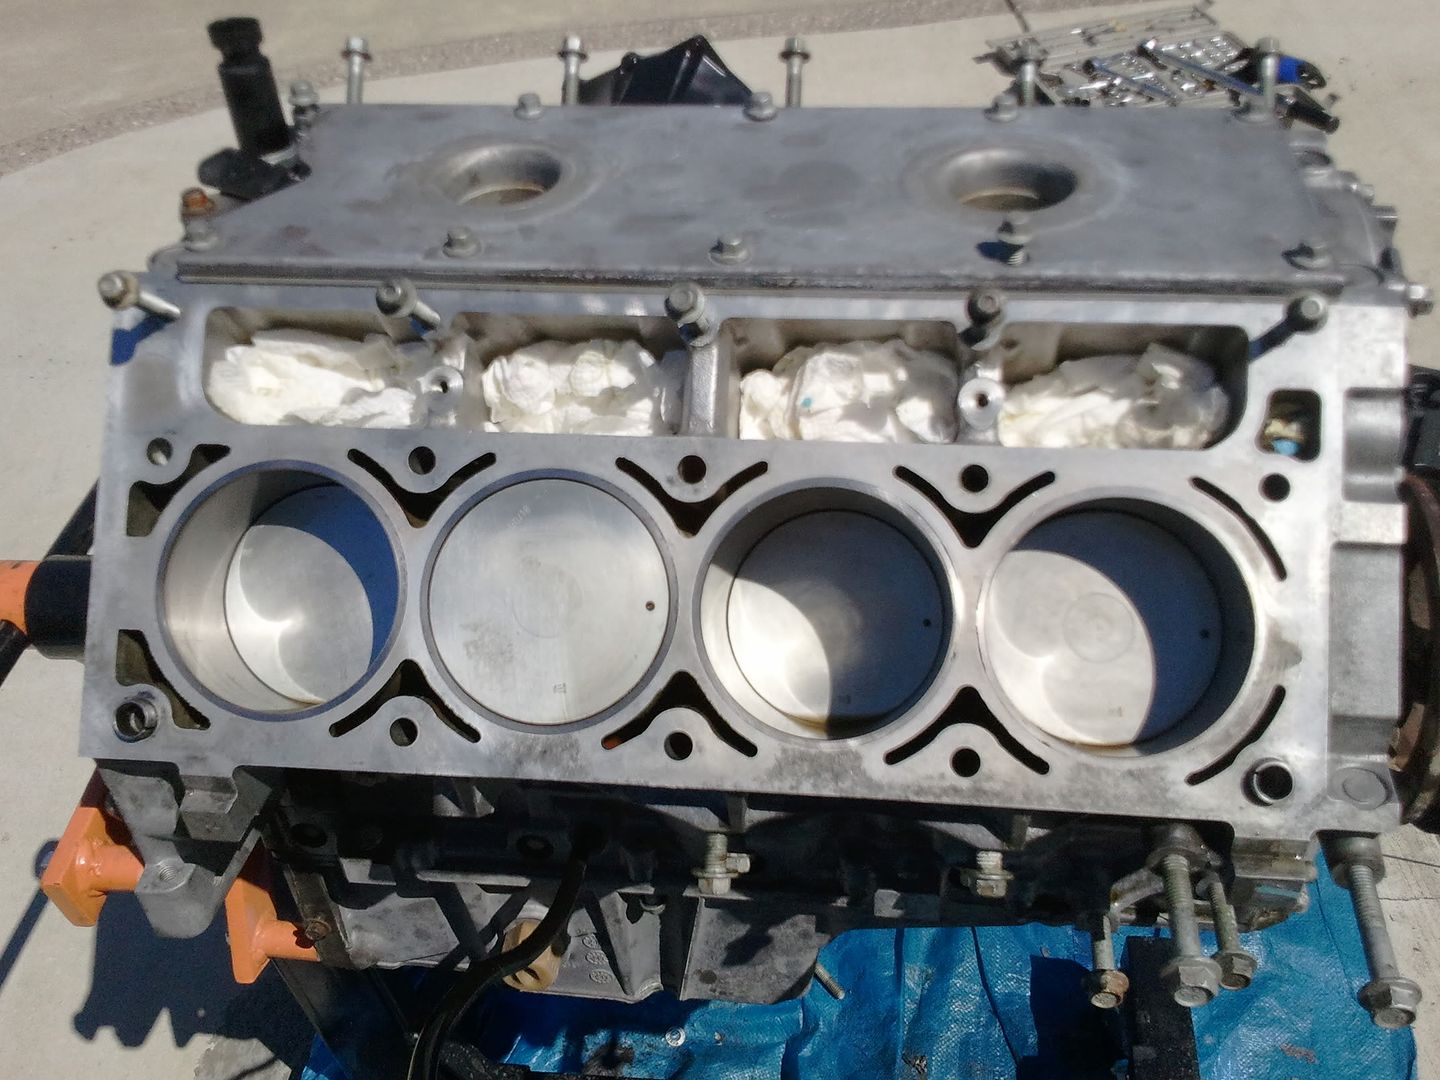
wiped down the walls with WD40, this is as clean as I could get them.
ordered bolts and gasket from summit.... while I was waiting a bit of cleaning was done.
I rotated the engine to get each piston TDC. The piston's head surface was cleaned, then ran over the whole thing with vacume, then wiped down the deepest cylinder wall. repeated this 4 times (for each rotation).
Driver side after cleaning
Pass side after cleaning
wiped down the walls with WD40, this is as clean as I could get them.


 09-10-2011, 10:04 AM
#18
Registered User
Join Date: Aug 2011
Location: Toledo area of Ohio
Posts: 17
Likes: 0
Received 0 Likes
on
0 Posts
Looks like a good engine. Still has the corss hatch in the cylinders. Might have had a small head gasket leak or that could just be from sitting. Either way you have enough sense to put new gaskets on so that should take care of the problem.
Great looking project by the way. Keep us posted on your progress.
Great looking project by the way. Keep us posted on your progress.
09-10-2011, 06:23 PM
#19
Staging Lane
Thread Starter
Join Date: May 2011
Posts: 69
Likes: 0
Received 0 Likes
on
0 Posts
called around to a few places to get my heads clean.. I was quoted $200 ($100ea) + 5 weeks from one place. a few other places said they don't work on aluminum, the last place said they wont do it. Unless I was getting more done the work was not worth the money
*******!!!
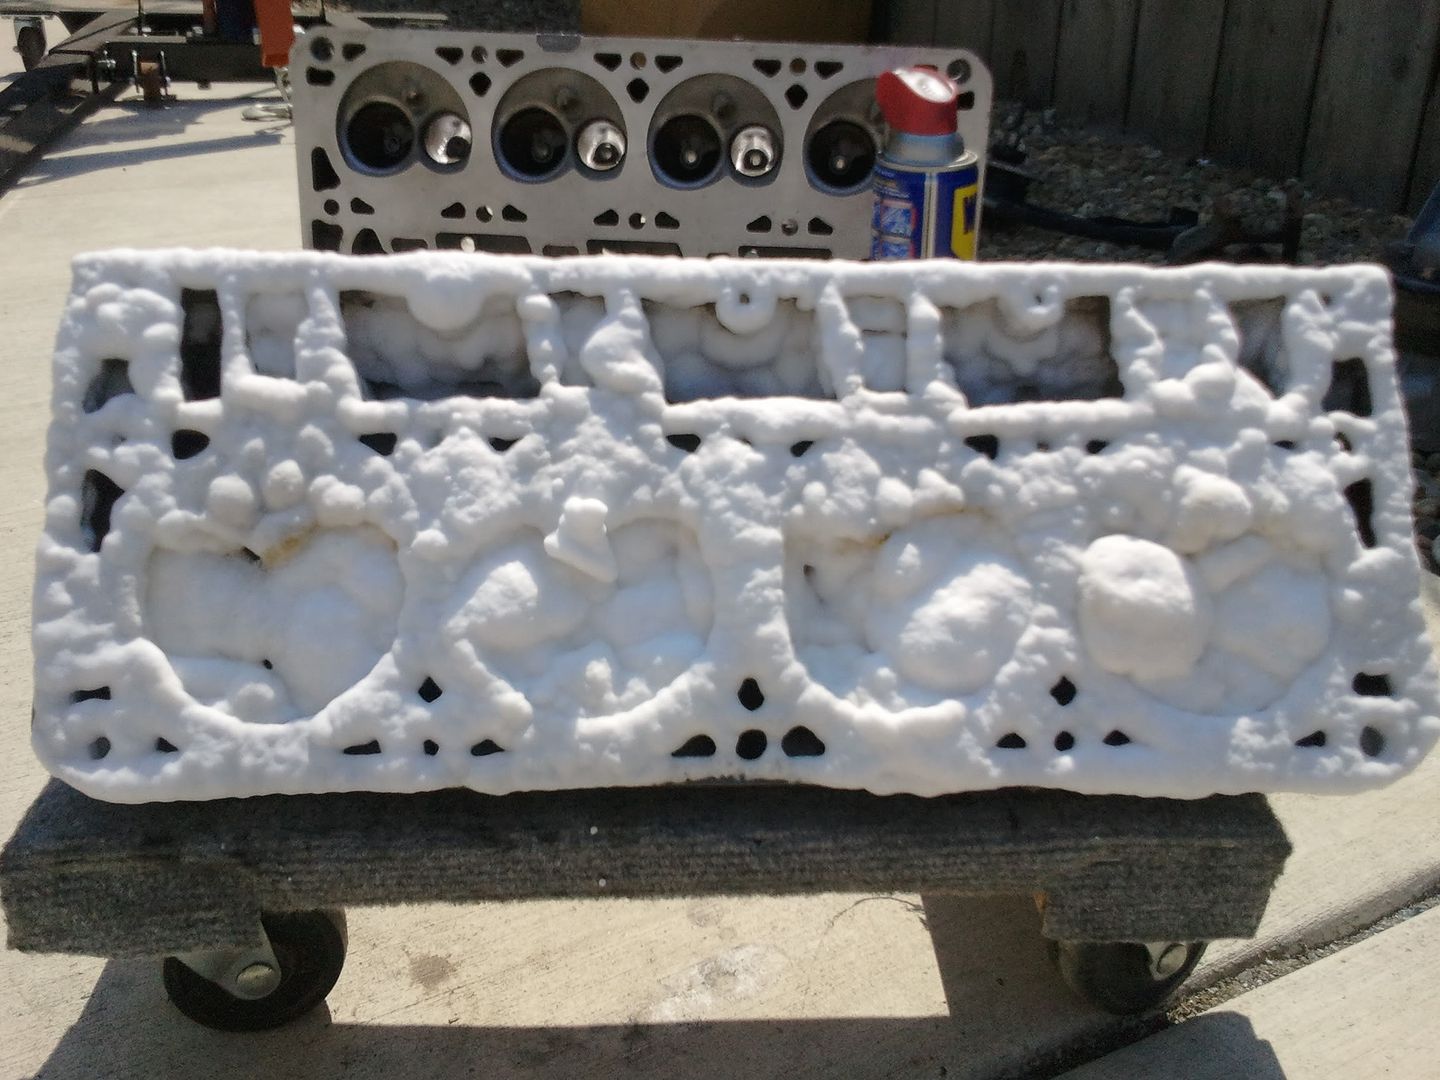
so I broke the heads down and did it myself. here are some before and afters for ya
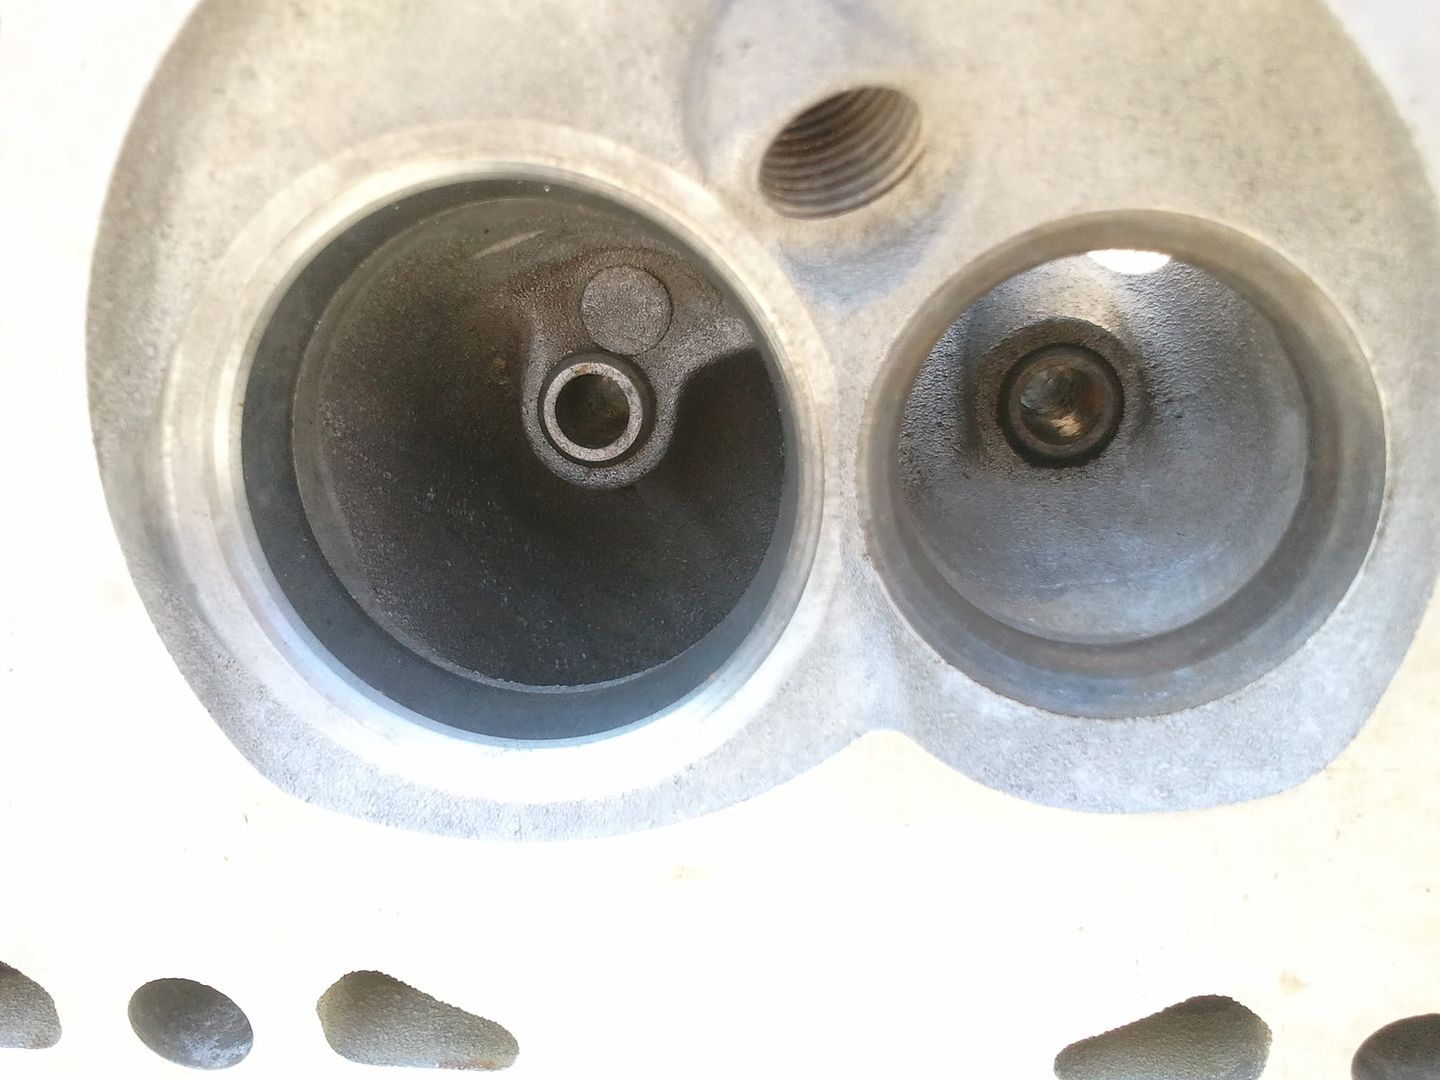
made sure oven cleaner touched every wall and showed the combustion chamber some extra love.. YUK
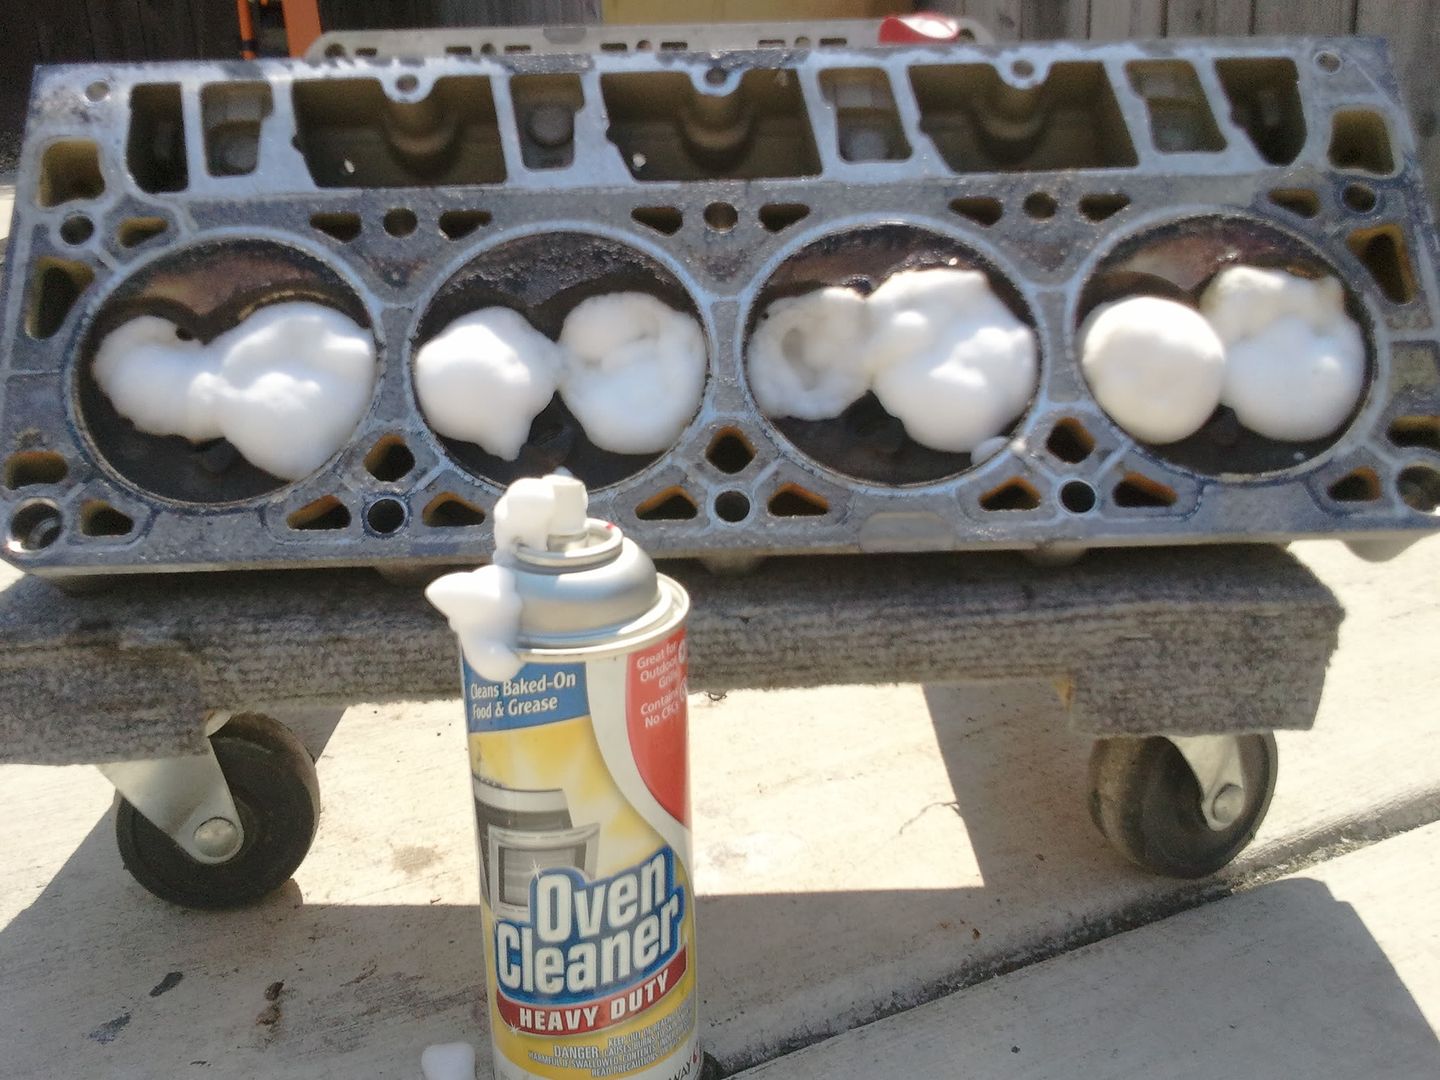
then sprayed it everywhere, let it sit... then hit the gasket with a razor, then a GREY scotch bright pad.
*******!!!
so I broke the heads down and did it myself. here are some before and afters for ya
made sure oven cleaner touched every wall and showed the combustion chamber some extra love.. YUK
then sprayed it everywhere, let it sit... then hit the gasket with a razor, then a GREY scotch bright pad.