3M Headlight repair and detail pics
 02-14-2011, 09:48 AM
#1
TECH Senior Member
Thread Starter
iTrader: (6)
Join Date: Jul 2005
Location: Decatur, AL
Posts: 5,276
Likes: 0
Received 0 Likes
on
0 Posts

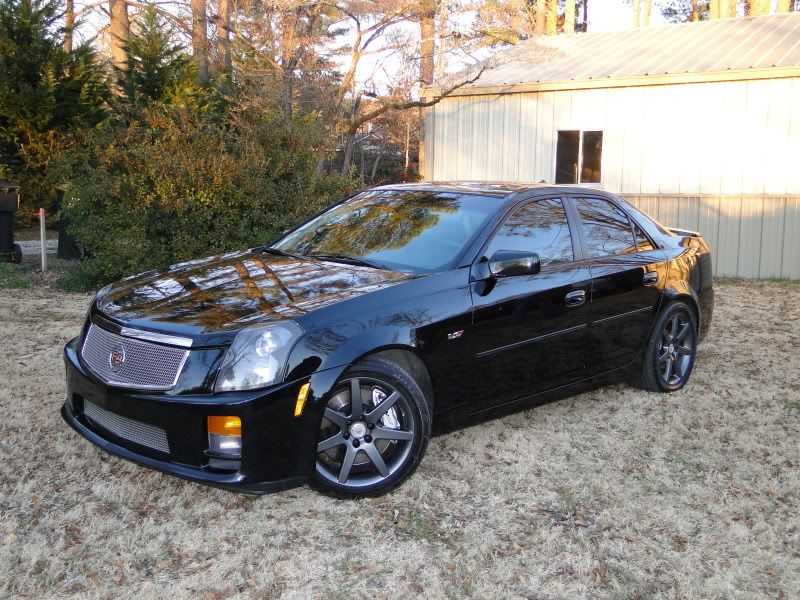
I finally got around to putting on the new front and "V" emblems that were sun faded and gave the passenger headlight a treatment with the 3M healight repair kit(driver's side had been replaced). I highly recommend this kit. It has a pad for a drill so no manual labor like the other kits. I also used water with the first 2 stages to keep the pads from clogging. Previous owner clearcoated the pass side so it took me 2 hours to complete it. Never clearcoat your plastic headlights!
The car needs a good clay bar job and waxing still but at least it looks presentable now.

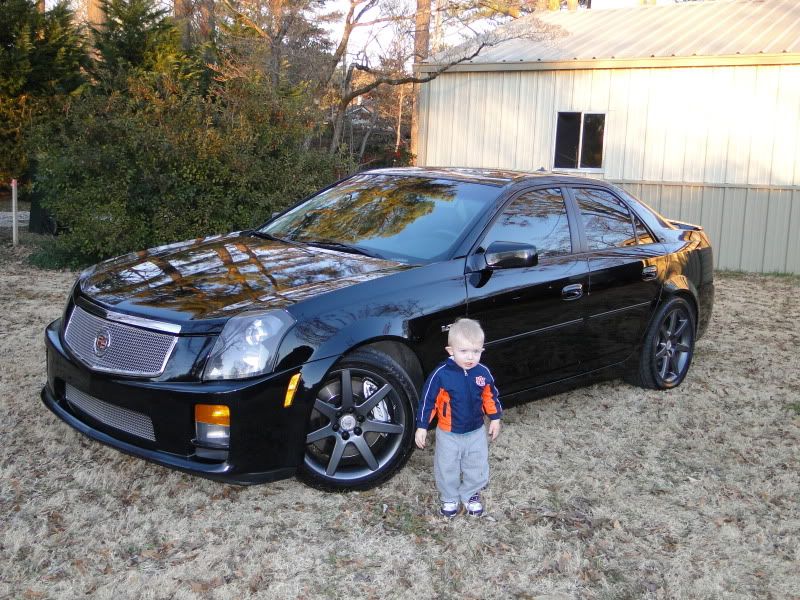
And the helper. He almost "helped" sand the front fascia.
Never clearcoat your plastic headlights!The car needs a good clay bar job and waxing still but at least it looks presentable now.
And the helper. He almost "helped" sand the front fascia.
 02-14-2011, 10:53 AM
#4
TECH Senior Member
Thread Starter
iTrader: (6)
Join Date: Jul 2005
Location: Decatur, AL
Posts: 5,276
Likes: 0
Received 0 Likes
on
0 Posts
I forgot to get any before pics.
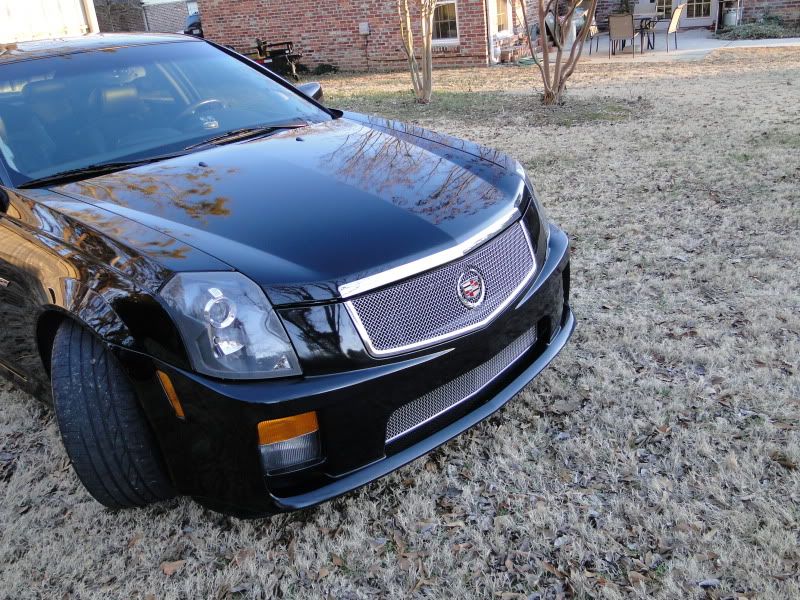
But done properly, IMO you can make any sun-faded headlight look 95% like new with the 3M system. Mine has a few sand scratches, if you look really close, from the 500 grit pad and 400 wet sand paper I used. If I was super **** I would have gone back with the 800 and 3000 again but called it good. There is just a slight hazing on the inside. And I do mean slight. If you didn't know, you couldn't tell which one is new and which is re-ferbed from 5 feet away.
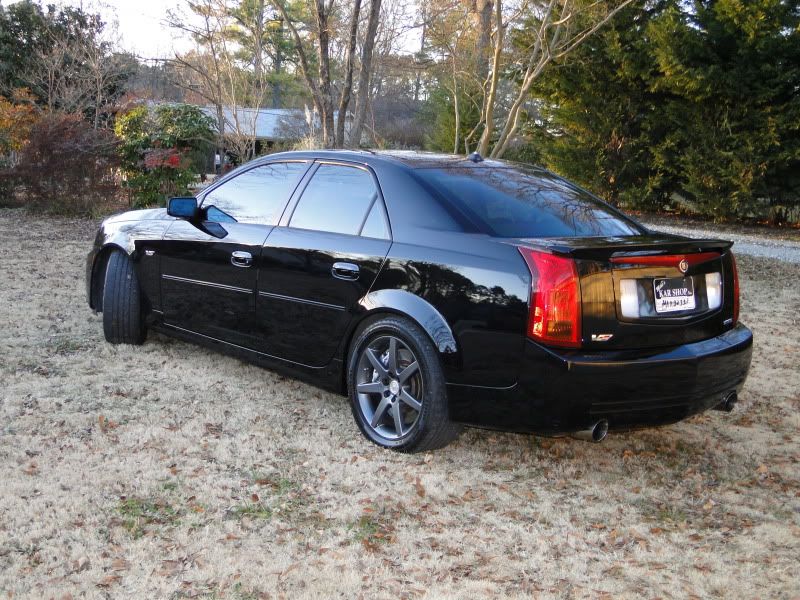
The wheels were powder coated gun-metal grey by the previous owner.
But done properly, IMO you can make any sun-faded headlight look 95% like new with the 3M system. Mine has a few sand scratches, if you look really close, from the 500 grit pad and 400 wet sand paper I used. If I was super **** I would have gone back with the 800 and 3000 again but called it good. There is just a slight hazing on the inside. And I do mean slight. If you didn't know, you couldn't tell which one is new and which is re-ferbed from 5 feet away.
The wheels were powder coated gun-metal grey by the previous owner.
02-14-2011, 12:59 PM
#5
TECH Addict
iTrader: (19)
Join Date: Aug 2007
Location: Where the Navy tells me to go
Posts: 2,398
Received 106 Likes
on
88 Posts
I recently did the headlights on my brother's 2000 Eclipse with the 3M kit. As TurboGibbs said, it really is easy to use and makes a huge difference. Something had been spilled on his passenger side headlight and left some stains, plus they were both yellowed and hazy. DS cleaned up like new. PS (like Gibbs described on his) I could still see some swirl marks from the sanding discs, but from a couple feet away they disappeared, so I didn't bother to go back over it again. I had already spent about twice as much time on the PS as on the DS trying to get the stains off and my motivation was tapering off. :p
This isn't a before-and-after with the 3M kit, but I saw the same results on the Eclipse. This is my Subaru and was with a different kit (this one) a few years back. The 3M kit worked just as well, and since it comes with the drill attachment it was quite a bit more user-friendly.

(passenger side before, driver side after)
This isn't a before-and-after with the 3M kit, but I saw the same results on the Eclipse. This is my Subaru and was with a different kit (this one) a few years back. The 3M kit worked just as well, and since it comes with the drill attachment it was quite a bit more user-friendly.
(passenger side before, driver side after)
02-14-2011, 05:44 PM
#7

I'm wondering if this is the same kit I saw at the store for $20? Looked nice, but from I could tell had a few discs, a foam piece for drill and maybe a little baggy of plastic polishing compound? Was gonna pick up something like that, but now that I think about it, I believe I already have most all the goods. Glad to see it works though, as these headlights start looking really bad on the colored areas, with the scratches and what looks like clear cracking away!
Trending Topics
02-14-2011, 09:41 PM
#8
TECH Senior Member
Thread Starter
iTrader: (6)
Join Date: Jul 2005
Location: Decatur, AL
Posts: 5,276
Likes: 0
Received 0 Likes
on
0 Posts
I'm wondering if this is the same kit I saw at the store for $20? Looked nice, but from I could tell had a few discs, a foam piece for drill and maybe a little baggy of plastic polishing compound? Was gonna pick up something like that, but now that I think about it, I believe I already have most all the goods. Glad to see it works though, as these headlights start looking really bad on the colored areas, with the scratches and what looks like clear cracking away!
Taking your time and doing it right, on an average set of UV damaged lenses, I'd say you could do both lenses in an hour or so.
02-14-2011, 11:15 PM
#10
^^^^^AGREED...I was looking for black/black. I "settled" for silver/black, but I wouldn't give in on the black interior...Just not a fan of tan interior in any car. I bought one of the 3M headlight restoration kits for my Tacoma and my wife's Altima...Worked GREAT. Let my dad use it and he apparently used the velcro pad that is supposed to be where you stick the sand paper as the final buffing disc with the compound on it. Needless to say it burned the soft velcro pad up and I guess I'll have to buy another kit for the V. My headlights are as bad as any that I've seen....I'll be sure to take before and after pics....If I can remember..