
bottle install bracket pictures for tire well area
 06-13-2005, 09:58 AM
#1
TECH Fanatic
Thread Starter
iTrader: (6)
Join Date: Nov 2003
Location: Commerce Twp, MI
Posts: 1,516
Likes: 0
Received 0 Likes
on
0 Posts

started installing my nitrous kit and figured i would post pics of the progress for anyone looking to make brackets real freakin easy.
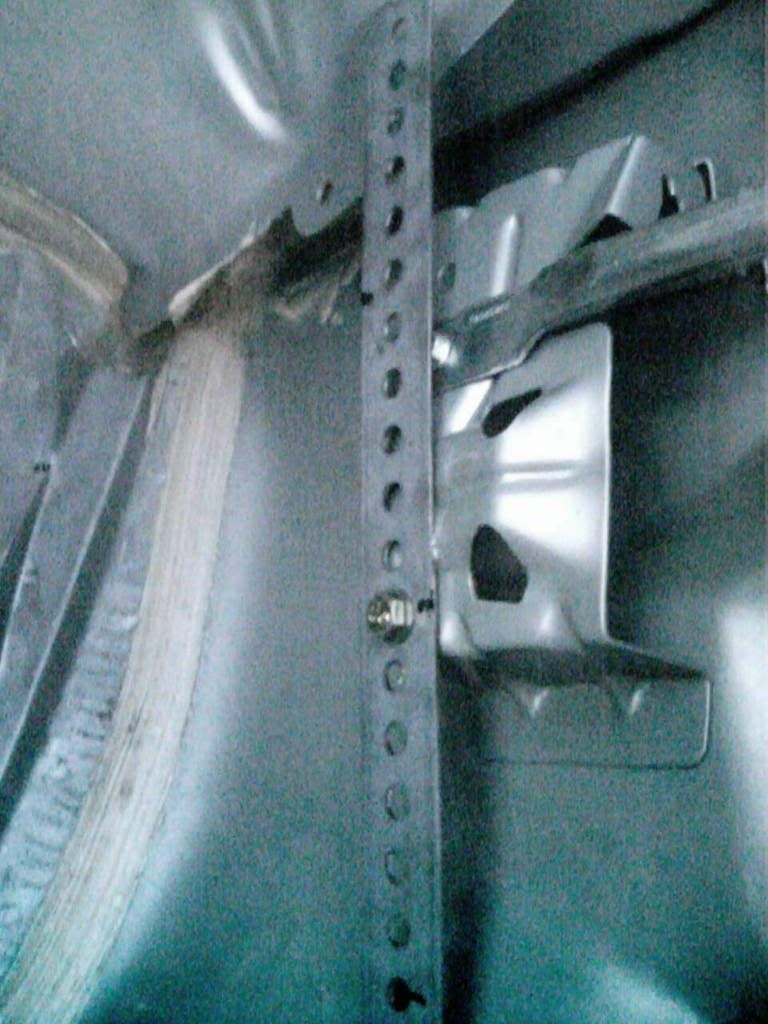
Went up to lowes and bought this metal strip with holes in it(technical term), it was like $9 for a 6ft strip i think. cut a piece about the length i did for the main crossbar. put a nut and bolt to hold it in place. the second bolt to hold this brace is also used to hold the front bottle mount bar as well. you kinda have to force it to wrap around the existing bolt for the verticle brace in the car(for the antenna i think). you can see in the first pic where i marked on the brace with a black marker where the bolt goes through. the second picture shows the front bottle bracket placed between the crossbrace and the car, but we had to later move it to the outside closest to the middle of the car, because of the space between the crossbrace and the body bracket it made the front bottle bar very loose. the bolt acts as the weight support instead of the crossbrace holding the weight, and with the bolt tightened it does not move as much. we also put the rear brace on the inside as well so that the bottle would be straight.

To make the bracket bars, bend the ends at the right spot and cut to length.
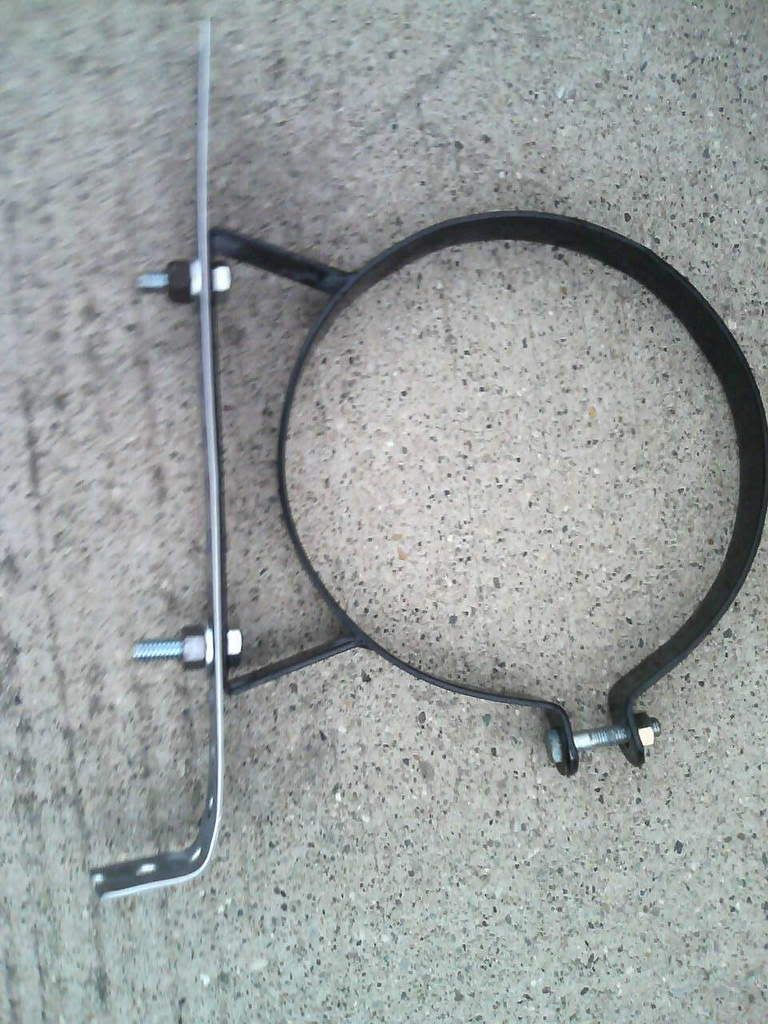
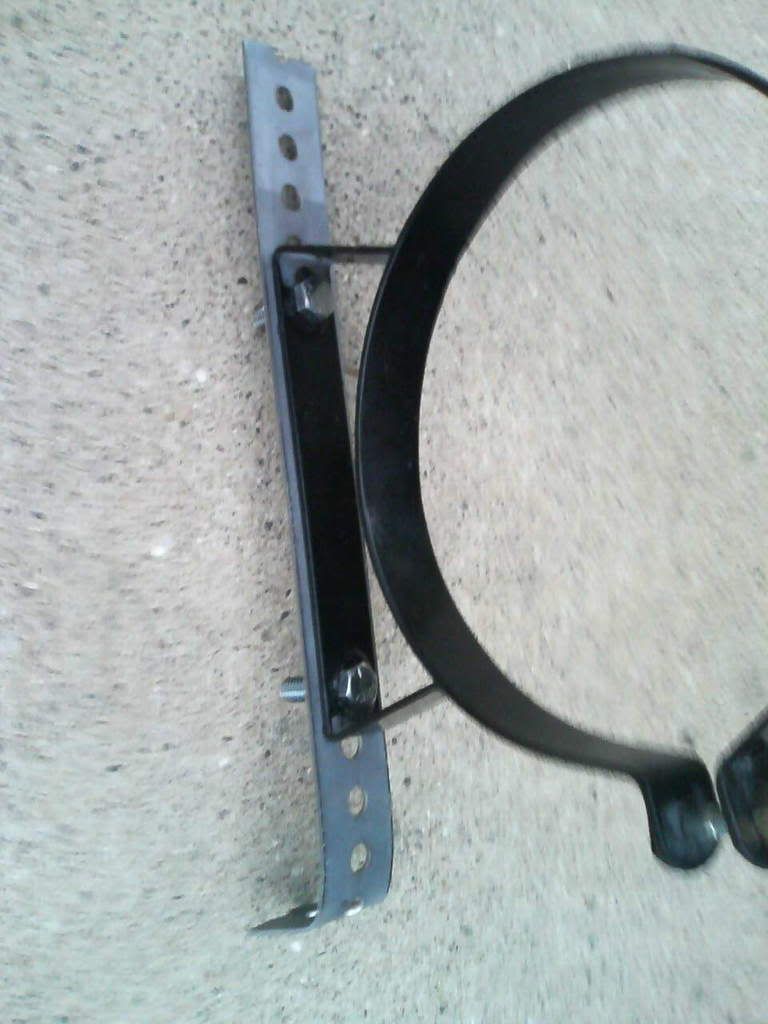
Using a crossbrace allows us to mount the bottle as far back as possible for easy removal and installation. testing showed its very easy to remove and install the bottle with little effort. We used a couple bolts and zip ties to mock everything up first.
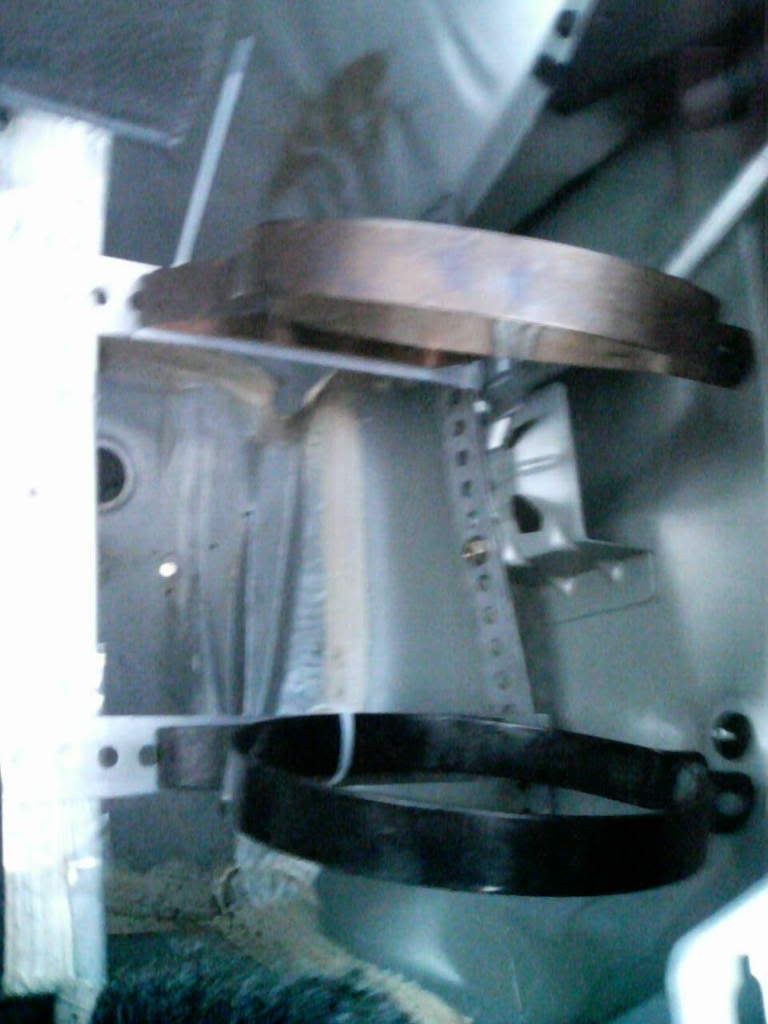
At this point you would then drill holes or use self tapping screws to bolt the bracket braces to the body. or have it welded like i eventually did.


Went up to lowes and bought this metal strip with holes in it(technical term), it was like $9 for a 6ft strip i think. cut a piece about the length i did for the main crossbar. put a nut and bolt to hold it in place. the second bolt to hold this brace is also used to hold the front bottle mount bar as well. you kinda have to force it to wrap around the existing bolt for the verticle brace in the car(for the antenna i think). you can see in the first pic where i marked on the brace with a black marker where the bolt goes through. the second picture shows the front bottle bracket placed between the crossbrace and the car, but we had to later move it to the outside closest to the middle of the car, because of the space between the crossbrace and the body bracket it made the front bottle bar very loose. the bolt acts as the weight support instead of the crossbrace holding the weight, and with the bolt tightened it does not move as much. we also put the rear brace on the inside as well so that the bottle would be straight.
To make the bracket bars, bend the ends at the right spot and cut to length.
Using a crossbrace allows us to mount the bottle as far back as possible for easy removal and installation. testing showed its very easy to remove and install the bottle with little effort. We used a couple bolts and zip ties to mock everything up first.
At this point you would then drill holes or use self tapping screws to bolt the bracket braces to the body. or have it welded like i eventually did.
Last edited by hourang; 05-05-2008 at 08:26 AM. Reason: updated image links and info


