SQ system install
 02-09-2008, 11:24 PM
#1
On The Tree
Thread Starter
iTrader: (1)

Join Date: Jan 2005
Location: Corpus Christi, Texas
Posts: 102
Likes: 0
Received 0 Likes
on
0 Posts
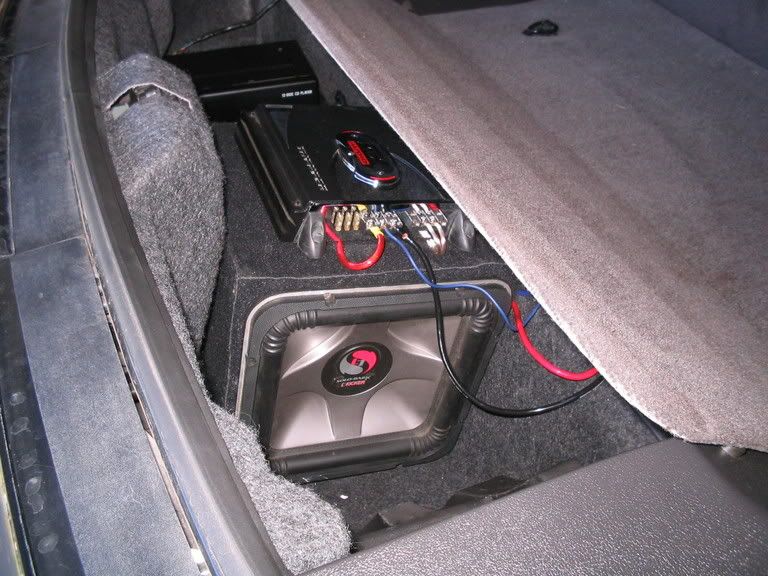
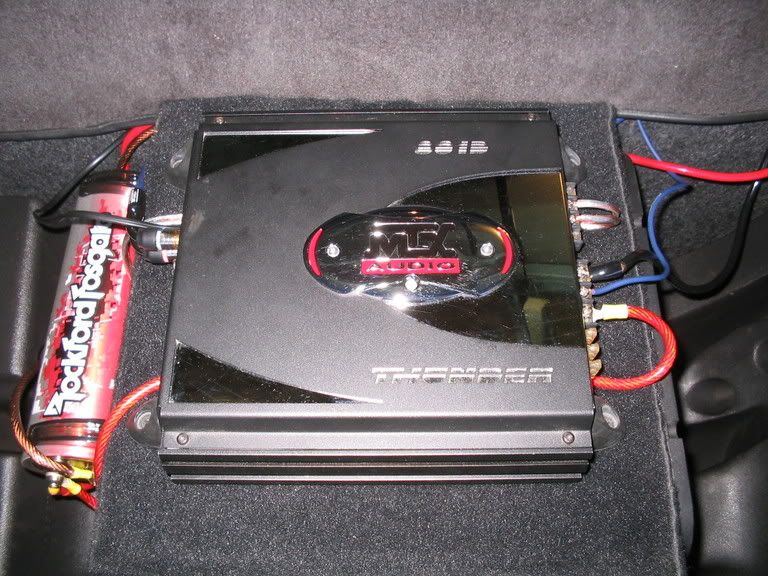
When I bought my car it was already wired for a sub and amp on the factory deck by the previous owner. Because I didnt want to deal with it I just stuck this in the back:
This project was started because I grew tired of not having the use of my t-top holders, but eventually spawned into a full sound deadening and system install.
I ordered:
-125sq ft. of RaamMat BXT
-40sq ft. of Second Skin damplifier(ran out of bxt and didnt need a full roll)
-2 gallons of Second Skin Spectrum sludge
-7 yards of ensolite foam
-Alpine IVA-W205 Head Unit
-Alpine PDX-4.150
-MTX 801d (already had)
-MTX Remote bass module (alredy had)
-CDT HD-62 Components
-CDT UP-222 Upstage system
-CDT CL-6.25 Mid woofers
-CDT EF-100 Sub
-KEEAUDIO Stealth box (awesome box made by an awesome guy)
-Subthump extended amp rack
-$220 worth of wiring and misc. stuff from knukoncepts.com
I started the install a few months ago. Some of my pics were deleted but here is what I found.
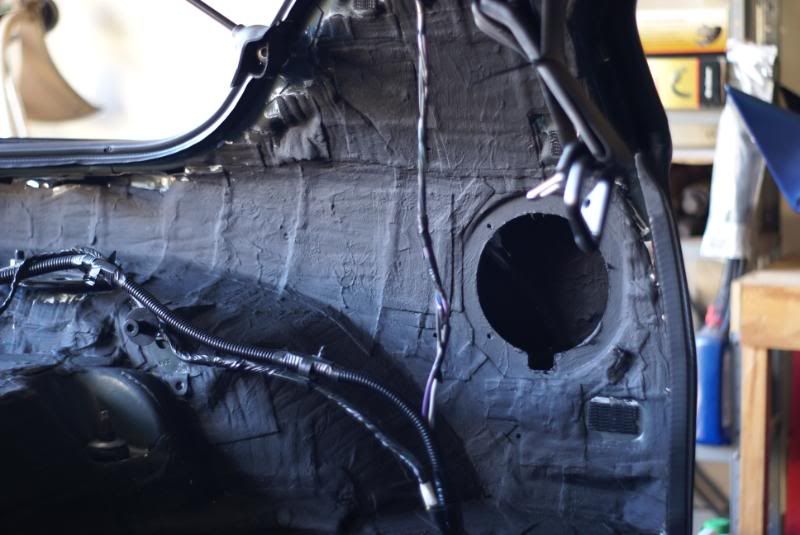
Doors with 2 layers of damplifier on inner skin, total of 3 layers behind speaker, 1 layer on outer skin and ensolite foam on inner skin.
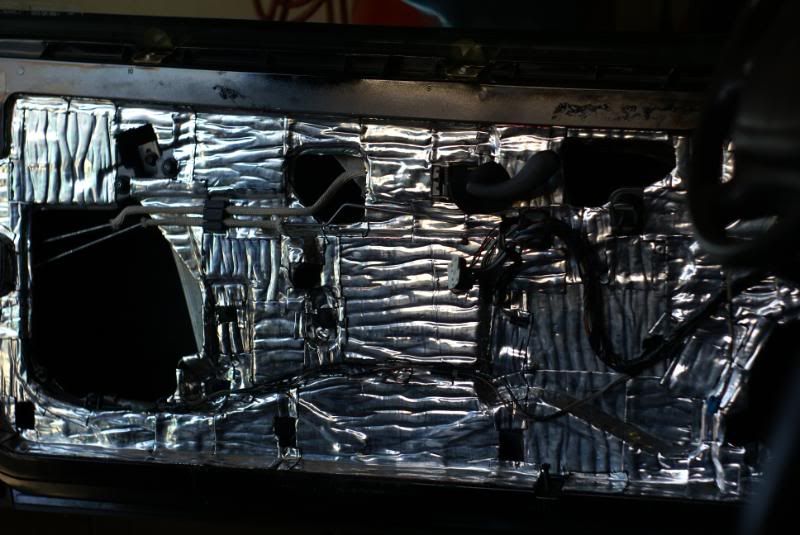
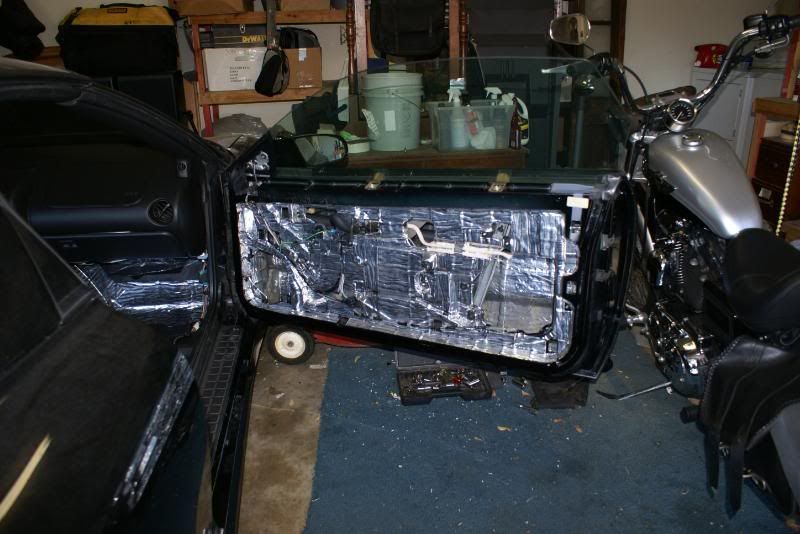
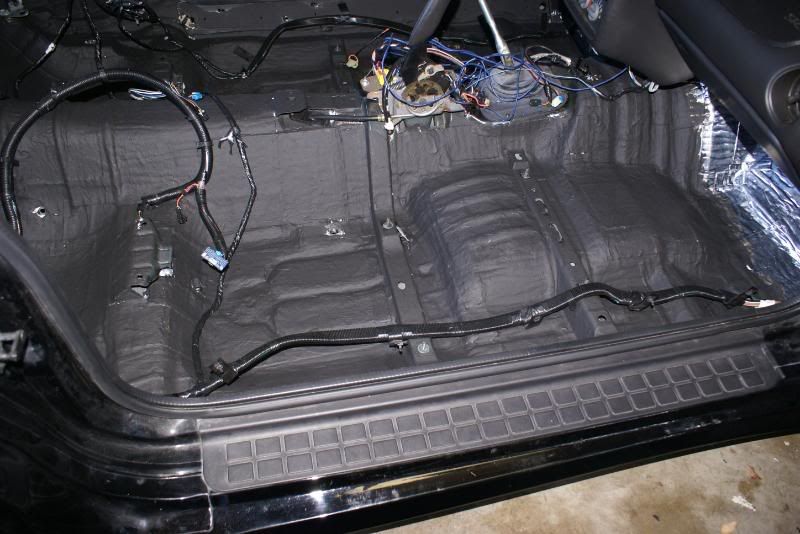
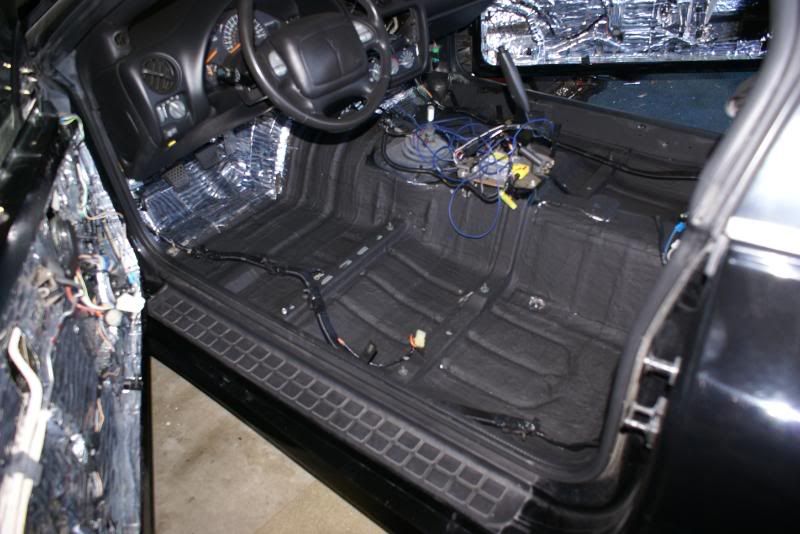
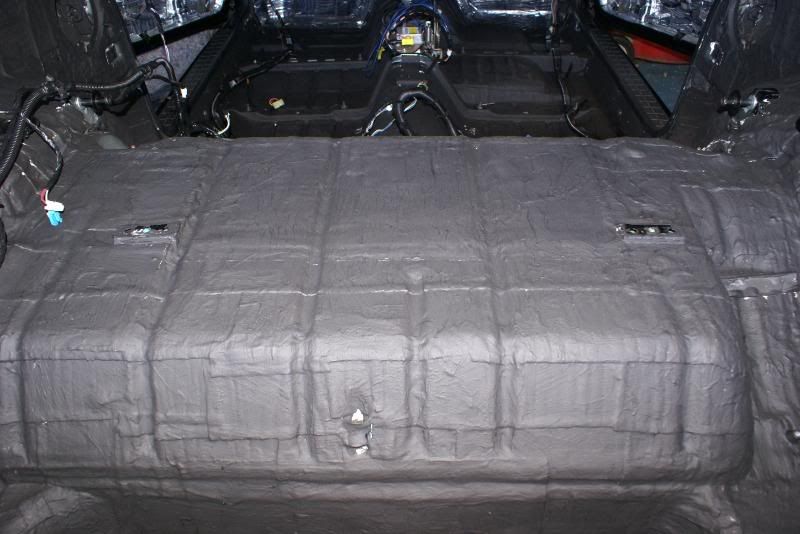
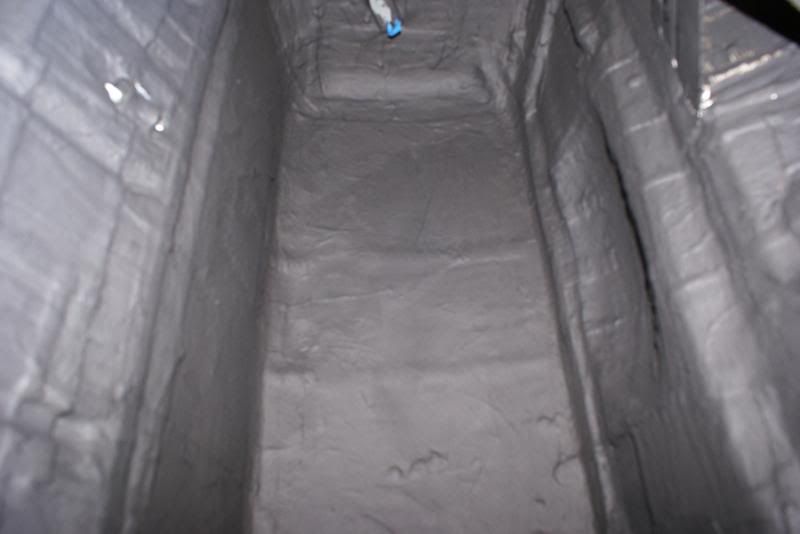
Here are pics of the sludge over the mat:
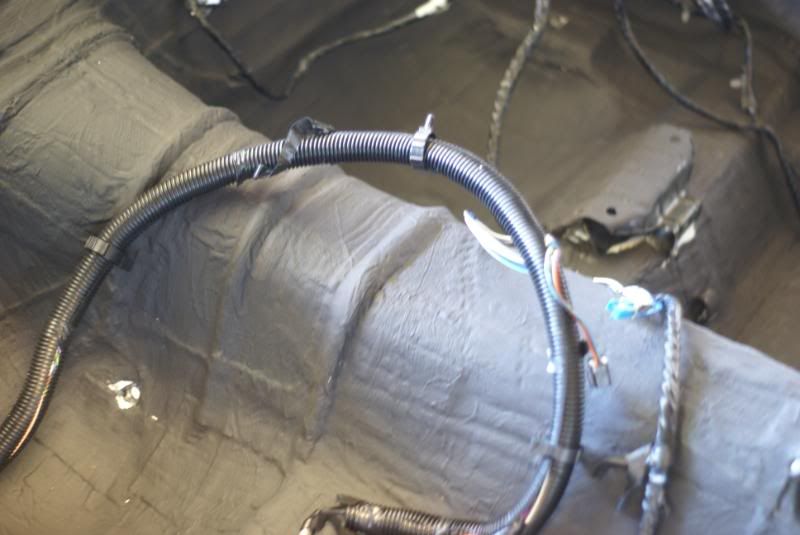
The pics of the foam install got deleted and I already have the new wiring and carpet in so I will just document from here on out.
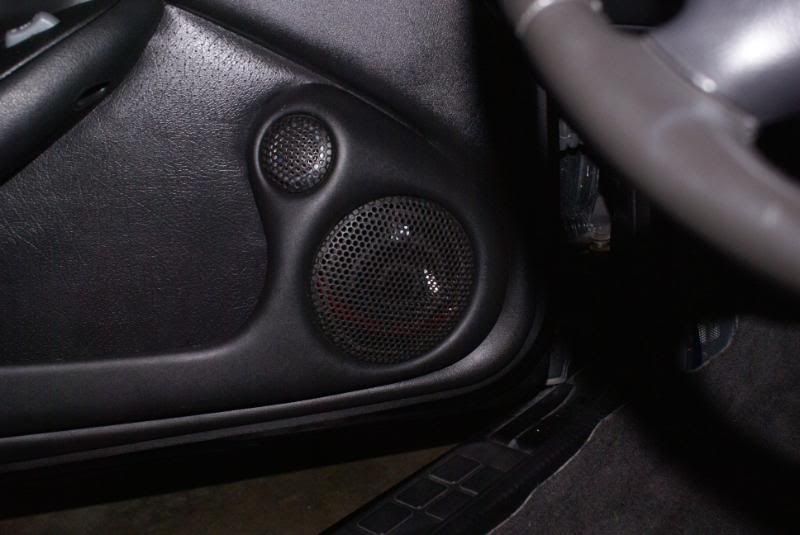
Here are some pics of the front stage installed, and main cross overs. The pics are kinda dark:

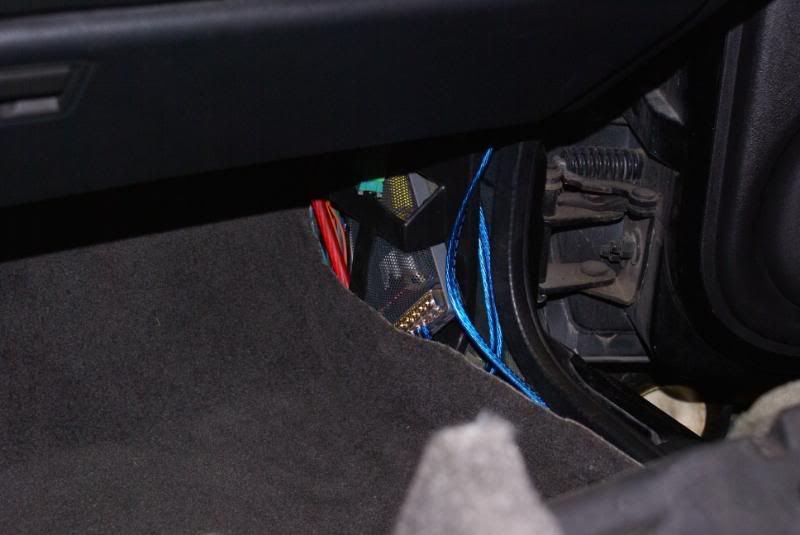
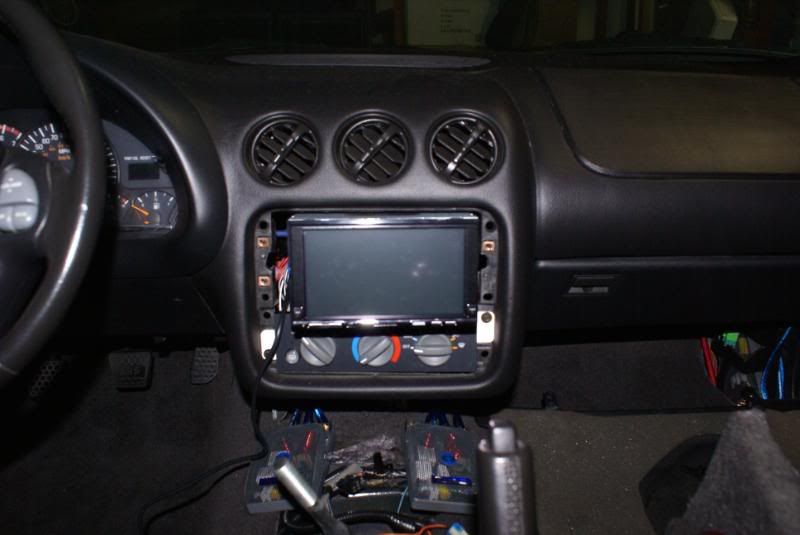
Here's a sneak peak of the hu when I was testing the speakers. You can see the upstage cross overs at the bottom of the pic:
I will update this thread as the install progresses.
This project was started because I grew tired of not having the use of my t-top holders, but eventually spawned into a full sound deadening and system install.
I ordered:
-125sq ft. of RaamMat BXT
-40sq ft. of Second Skin damplifier(ran out of bxt and didnt need a full roll)
-2 gallons of Second Skin Spectrum sludge
-7 yards of ensolite foam
-Alpine IVA-W205 Head Unit
-Alpine PDX-4.150
-MTX 801d (already had)
-MTX Remote bass module (alredy had)
-CDT HD-62 Components
-CDT UP-222 Upstage system
-CDT CL-6.25 Mid woofers
-CDT EF-100 Sub
-KEEAUDIO Stealth box (awesome box made by an awesome guy)
-Subthump extended amp rack
-$220 worth of wiring and misc. stuff from knukoncepts.com
I started the install a few months ago. Some of my pics were deleted but here is what I found.
Doors with 2 layers of damplifier on inner skin, total of 3 layers behind speaker, 1 layer on outer skin and ensolite foam on inner skin.
Here are pics of the sludge over the mat:
The pics of the foam install got deleted and I already have the new wiring and carpet in so I will just document from here on out.
Here are some pics of the front stage installed, and main cross overs. The pics are kinda dark:
Here's a sneak peak of the hu when I was testing the speakers. You can see the upstage cross overs at the bottom of the pic:
I will update this thread as the install progresses.
Last edited by blackbird007; 02-09-2008 at 11:32 PM.
 02-10-2008, 09:30 AM
#2
TECH Regular
iTrader: (5)

Join Date: Jan 2006
Location: Iowa
Posts: 478
Likes: 0
Received 0 Likes
on
0 Posts
Looking good so far. I am curious as to why you decided to put the tweets up in the a pillar as opposed to the factory locations where you could "aim" them for a better listening stage. I know there are myths going around about bouncing the sound off the windshields or glass but it is only a myth.
02-10-2008, 10:22 AM
#3
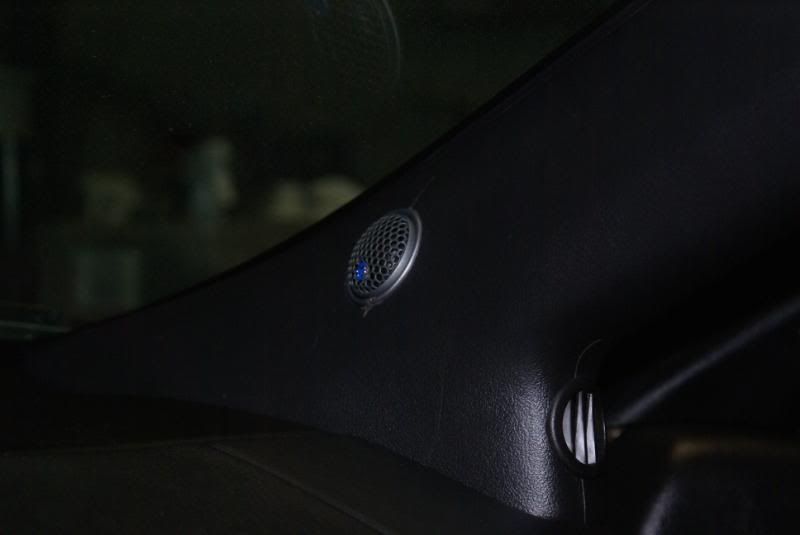
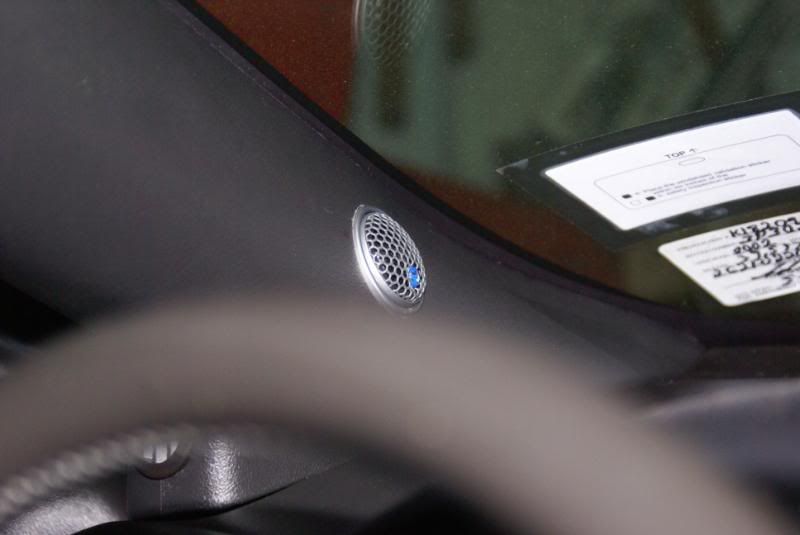
Those are the CDT Upstage imaging tweeters. They are used in addition to the regular tweeters in the stock locations. Here's more info on how it works:
http://www.cdtaudio.com/stagefront_upstage_systems.htm
http://www.cdtaudio.com/stagefront_upstage_systems.htm
02-10-2008, 11:19 AM
#4
On The Tree
Thread Starter
iTrader: (1)
Join Date: Jan 2005
Location: Corpus Christi, Texas
Posts: 102
Likes: 0
Received 0 Likes
on
0 Posts
I do have tweeters in the stock locations also. As kee said the pillar tweeters are part of the upstage system. Basically through the cross over network they effectively bring the sound stage from your knees to the windshield directly infront of you while keeping everything blended together and let me tell you they work awesome.
02-19-2008, 08:50 AM
#5
On The Tree
Thread Starter
iTrader: (1)
Join Date: Jan 2005
Location: Corpus Christi, Texas
Posts: 102
Likes: 0
Received 0 Likes
on
0 Posts
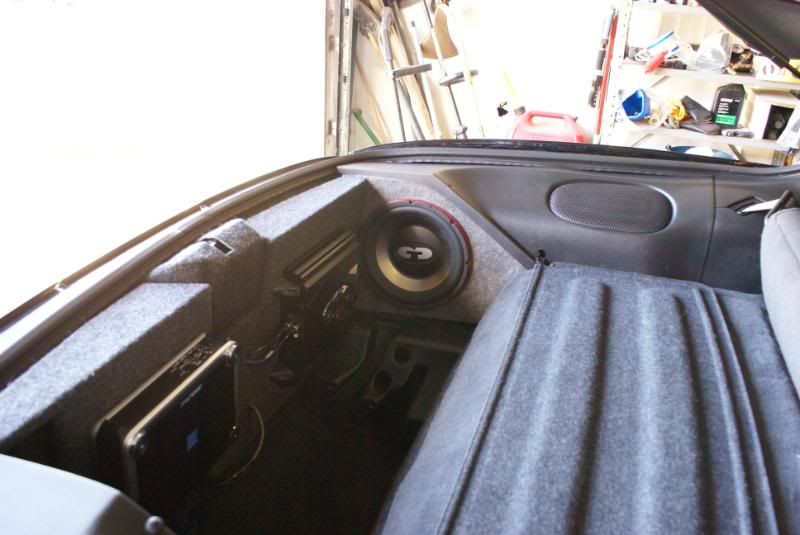
Here's a little update of what I have accomplished since my last post. I mounted the cdt mids in the sails and put the trim back on. I also put the carpet, t-top holders, spare tire stuff back in the trunck. It was hell getting the t-top holders back in because of the sound deadening and foam. I mounted up the amp rack and amps as well as put the sub in. Here are some pics of that:
Mids mounted before the trim went back on. The trim was also a pita to get on.
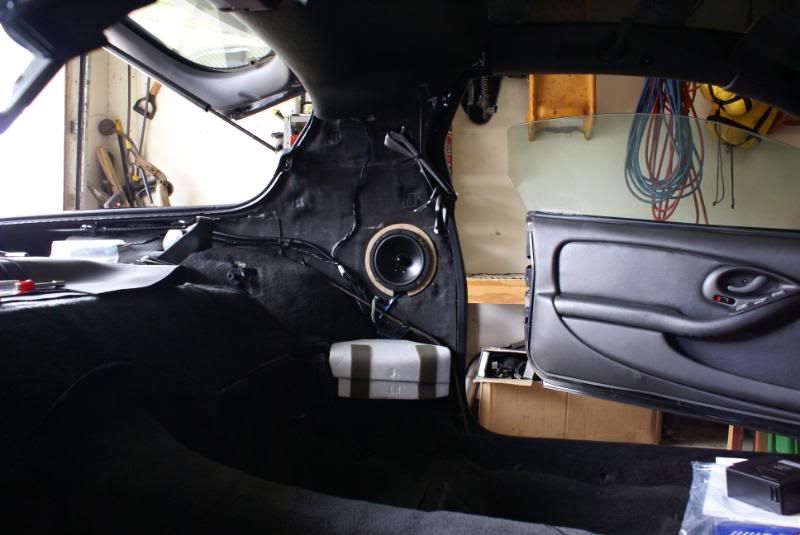
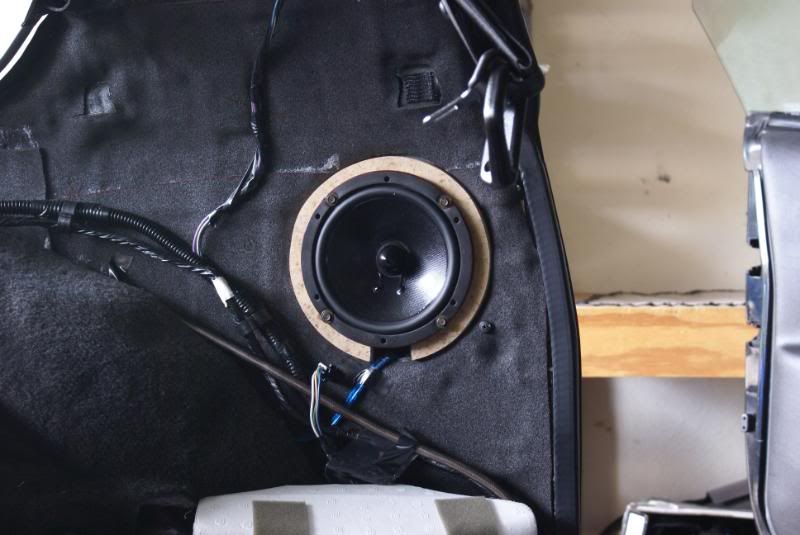
Here is the rear with all the trim back on:

The other project that has been taking up some time is making a mount for the screen to fit in the dash. I had to cut out the stock plastic tray from inside the dash and fab up a metal mount for the stereo. My goal with this mount was to get the screen to sit flush with the dash and not stick out, which I have been told cannot be done due to the depth of the screen. Here is the progress I have made on the mount:
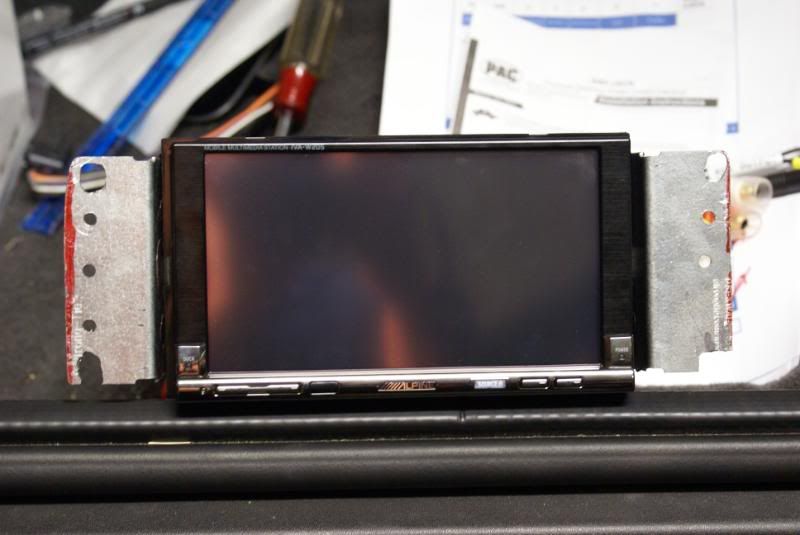
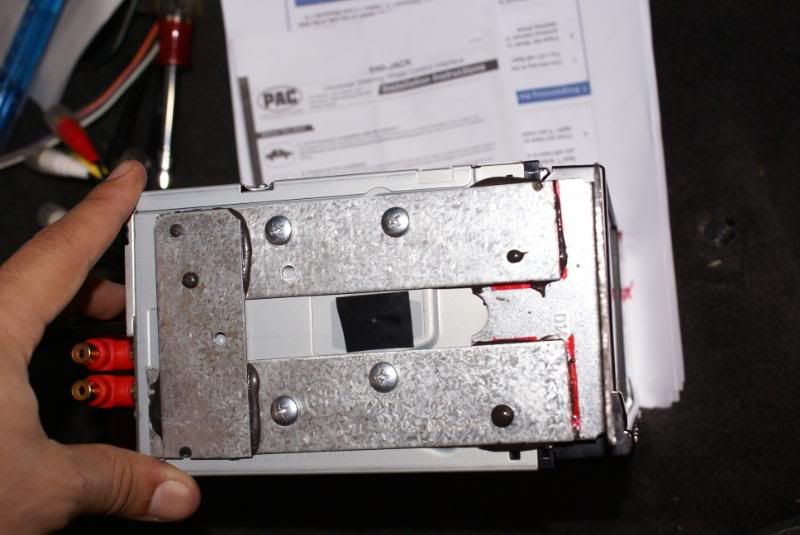
Its ugly but this thing is solid. I used simpson or sampson (i forget what their called) strong ties and JB Weld. The holes that look like they were grinded out with a dremel are for the trim clips to pass through and the clean holes are where it bolts to the dash. I reused the stock screw holes in the dash and screws. I bolted it up last night, and the screen does sit flush with the dash. Now I just need to mod the trim piece and tune the system. I'll post some installed pics tonight hopefully.
Mids mounted before the trim went back on. The trim was also a pita to get on.
Here is the rear with all the trim back on:
The other project that has been taking up some time is making a mount for the screen to fit in the dash. I had to cut out the stock plastic tray from inside the dash and fab up a metal mount for the stereo. My goal with this mount was to get the screen to sit flush with the dash and not stick out, which I have been told cannot be done due to the depth of the screen. Here is the progress I have made on the mount:
Its ugly but this thing is solid. I used simpson or sampson (i forget what their called) strong ties and JB Weld. The holes that look like they were grinded out with a dremel are for the trim clips to pass through and the clean holes are where it bolts to the dash. I reused the stock screw holes in the dash and screws. I bolted it up last night, and the screen does sit flush with the dash. Now I just need to mod the trim piece and tune the system. I'll post some installed pics tonight hopefully.