When you click on links to various merchants on this site and make a purchase, this can result in this site earning a commission. Affiliate programs and affiliations include, but are not limited to, the eBay Partner Network.
I've done a few things on the car lately. Slowly plugging a way at my list of things to do.
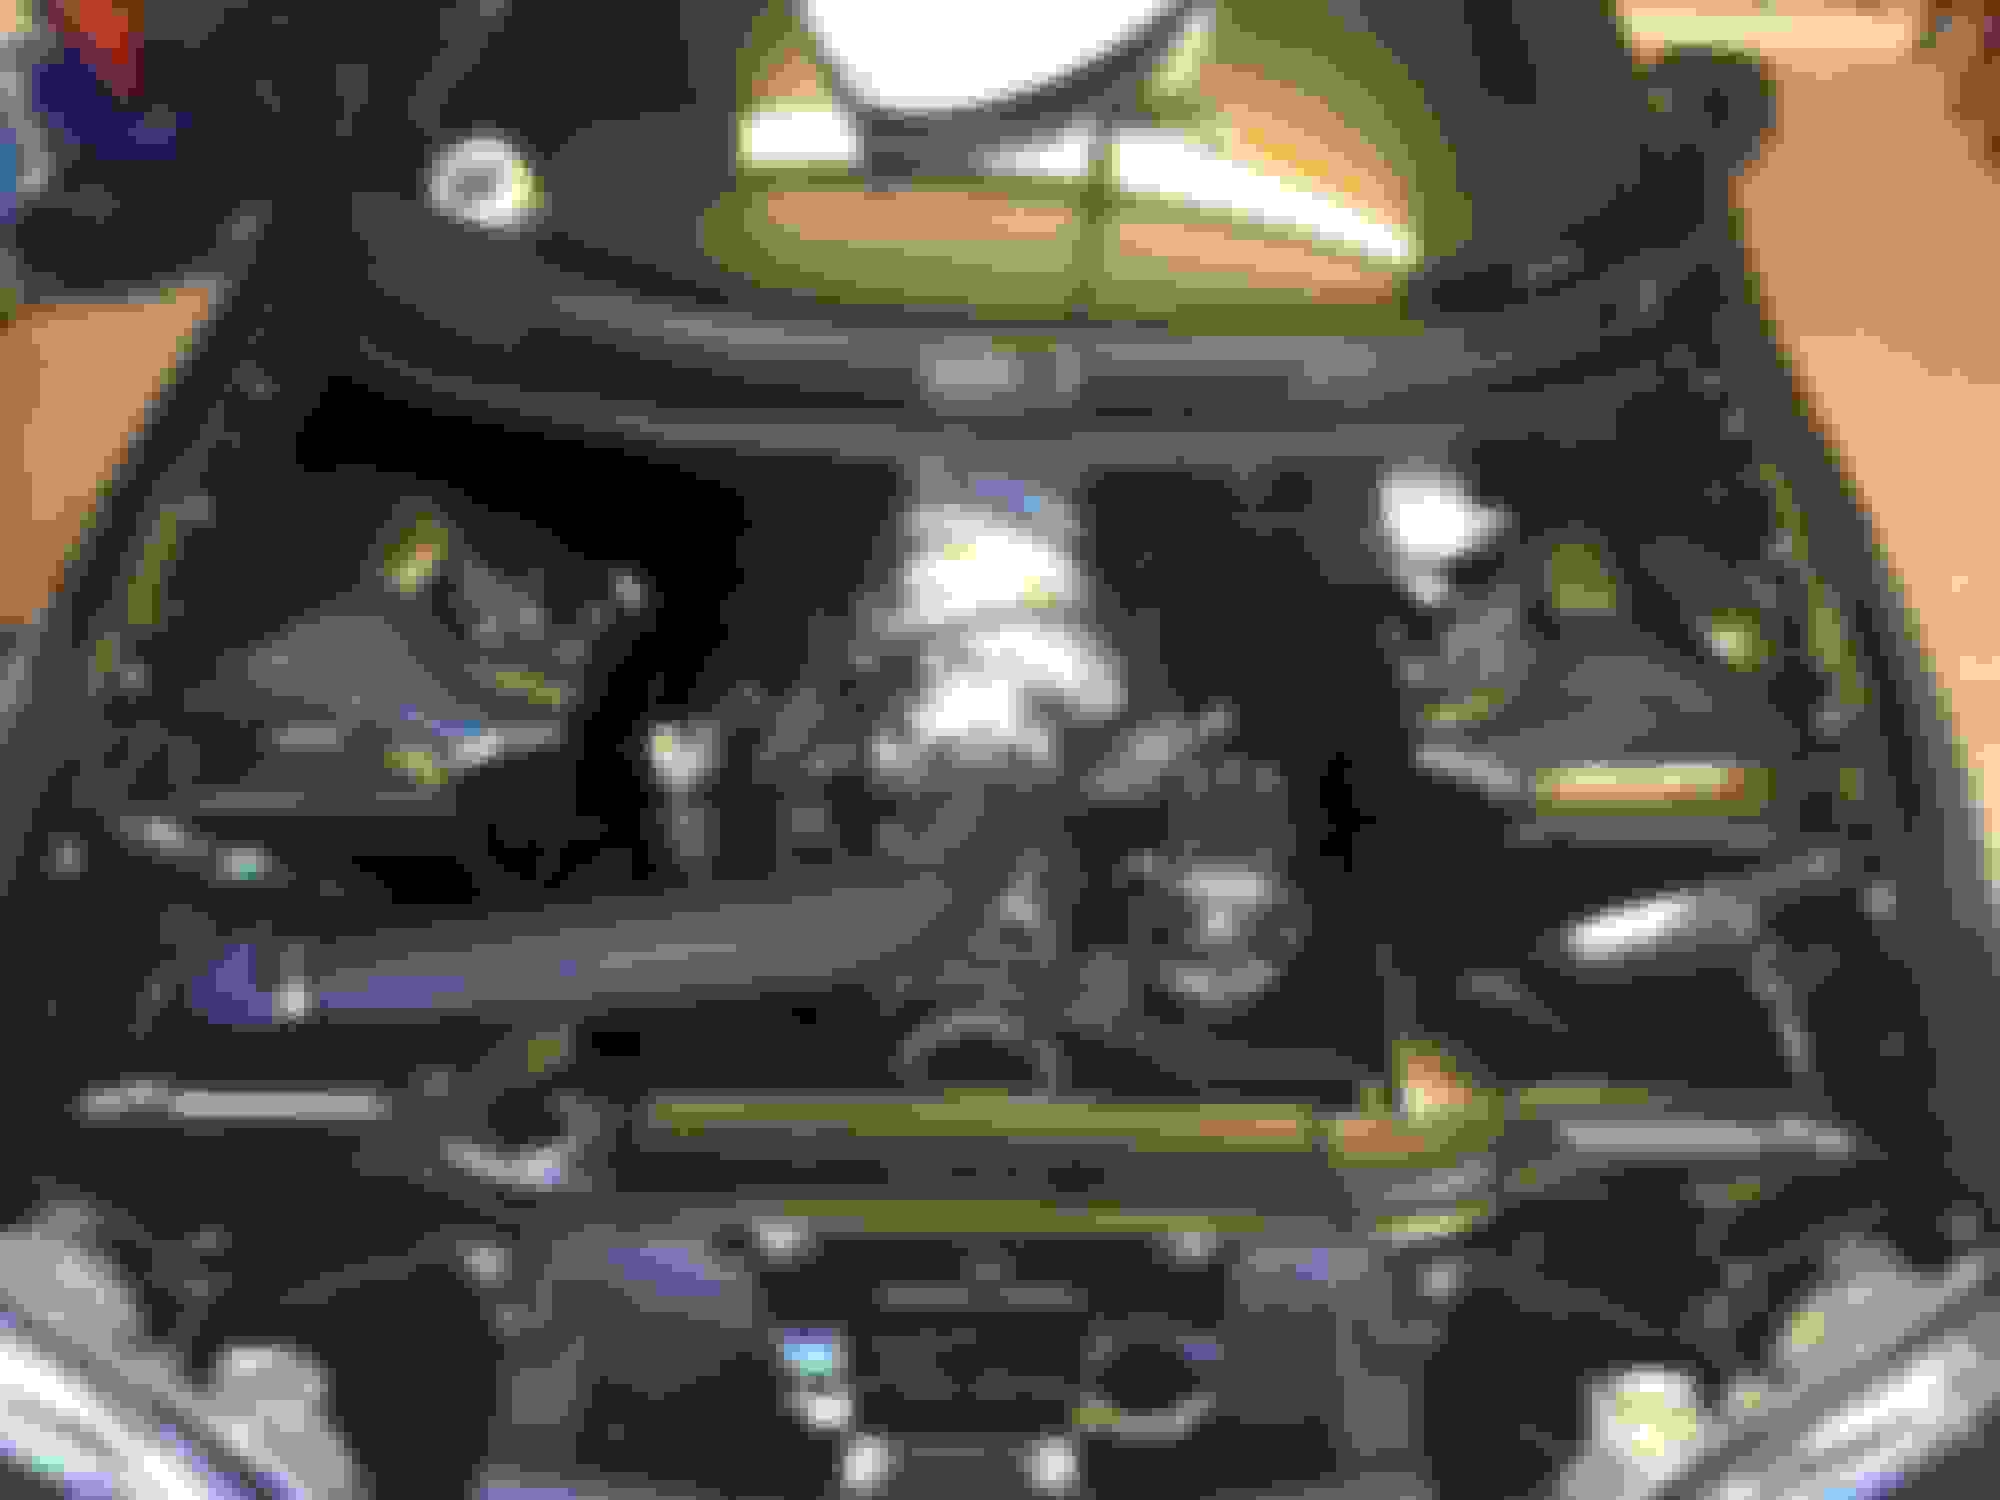
Pulled the dash and finished tidying up all the wiring, fuse box, ecu, bcm, battery cable/ starter wiring is all complete. I just need to send the ecu off for a mail order to to get it running before going on the dyno to get all the kinks worked out. Will have to do this before the dash goes back, just for ease of installation.
I also made a bracket for the clutch reservoir to mount it right next to the brake master. Since I removed the OEM bracket from the shock tower I had to mount it elsewhere. Will probably get a billet cap to match the other one and will probably replace the push pins with black ones.
I also got all the brake lines finalized, and bled. I had to redo a few flares but otherwise everything went fine there. Brakes are 100% now. I also did the same for the clutch. Filled and bled and working. Still will need to adjust tick pedal height adjustment once car is running though.
Mounted a universal coolant overflow tank below the headlight. Pretty much hidden but still accessible for filling if need be. Finished the AN line for this too.
I also picked up these from a member. I originally retrofitted a set of housings and did a complete black out on them but upon mock up didn't like the all black with the car so im using these instead. Much better IMO. And easier. Will be selling the other set soon.
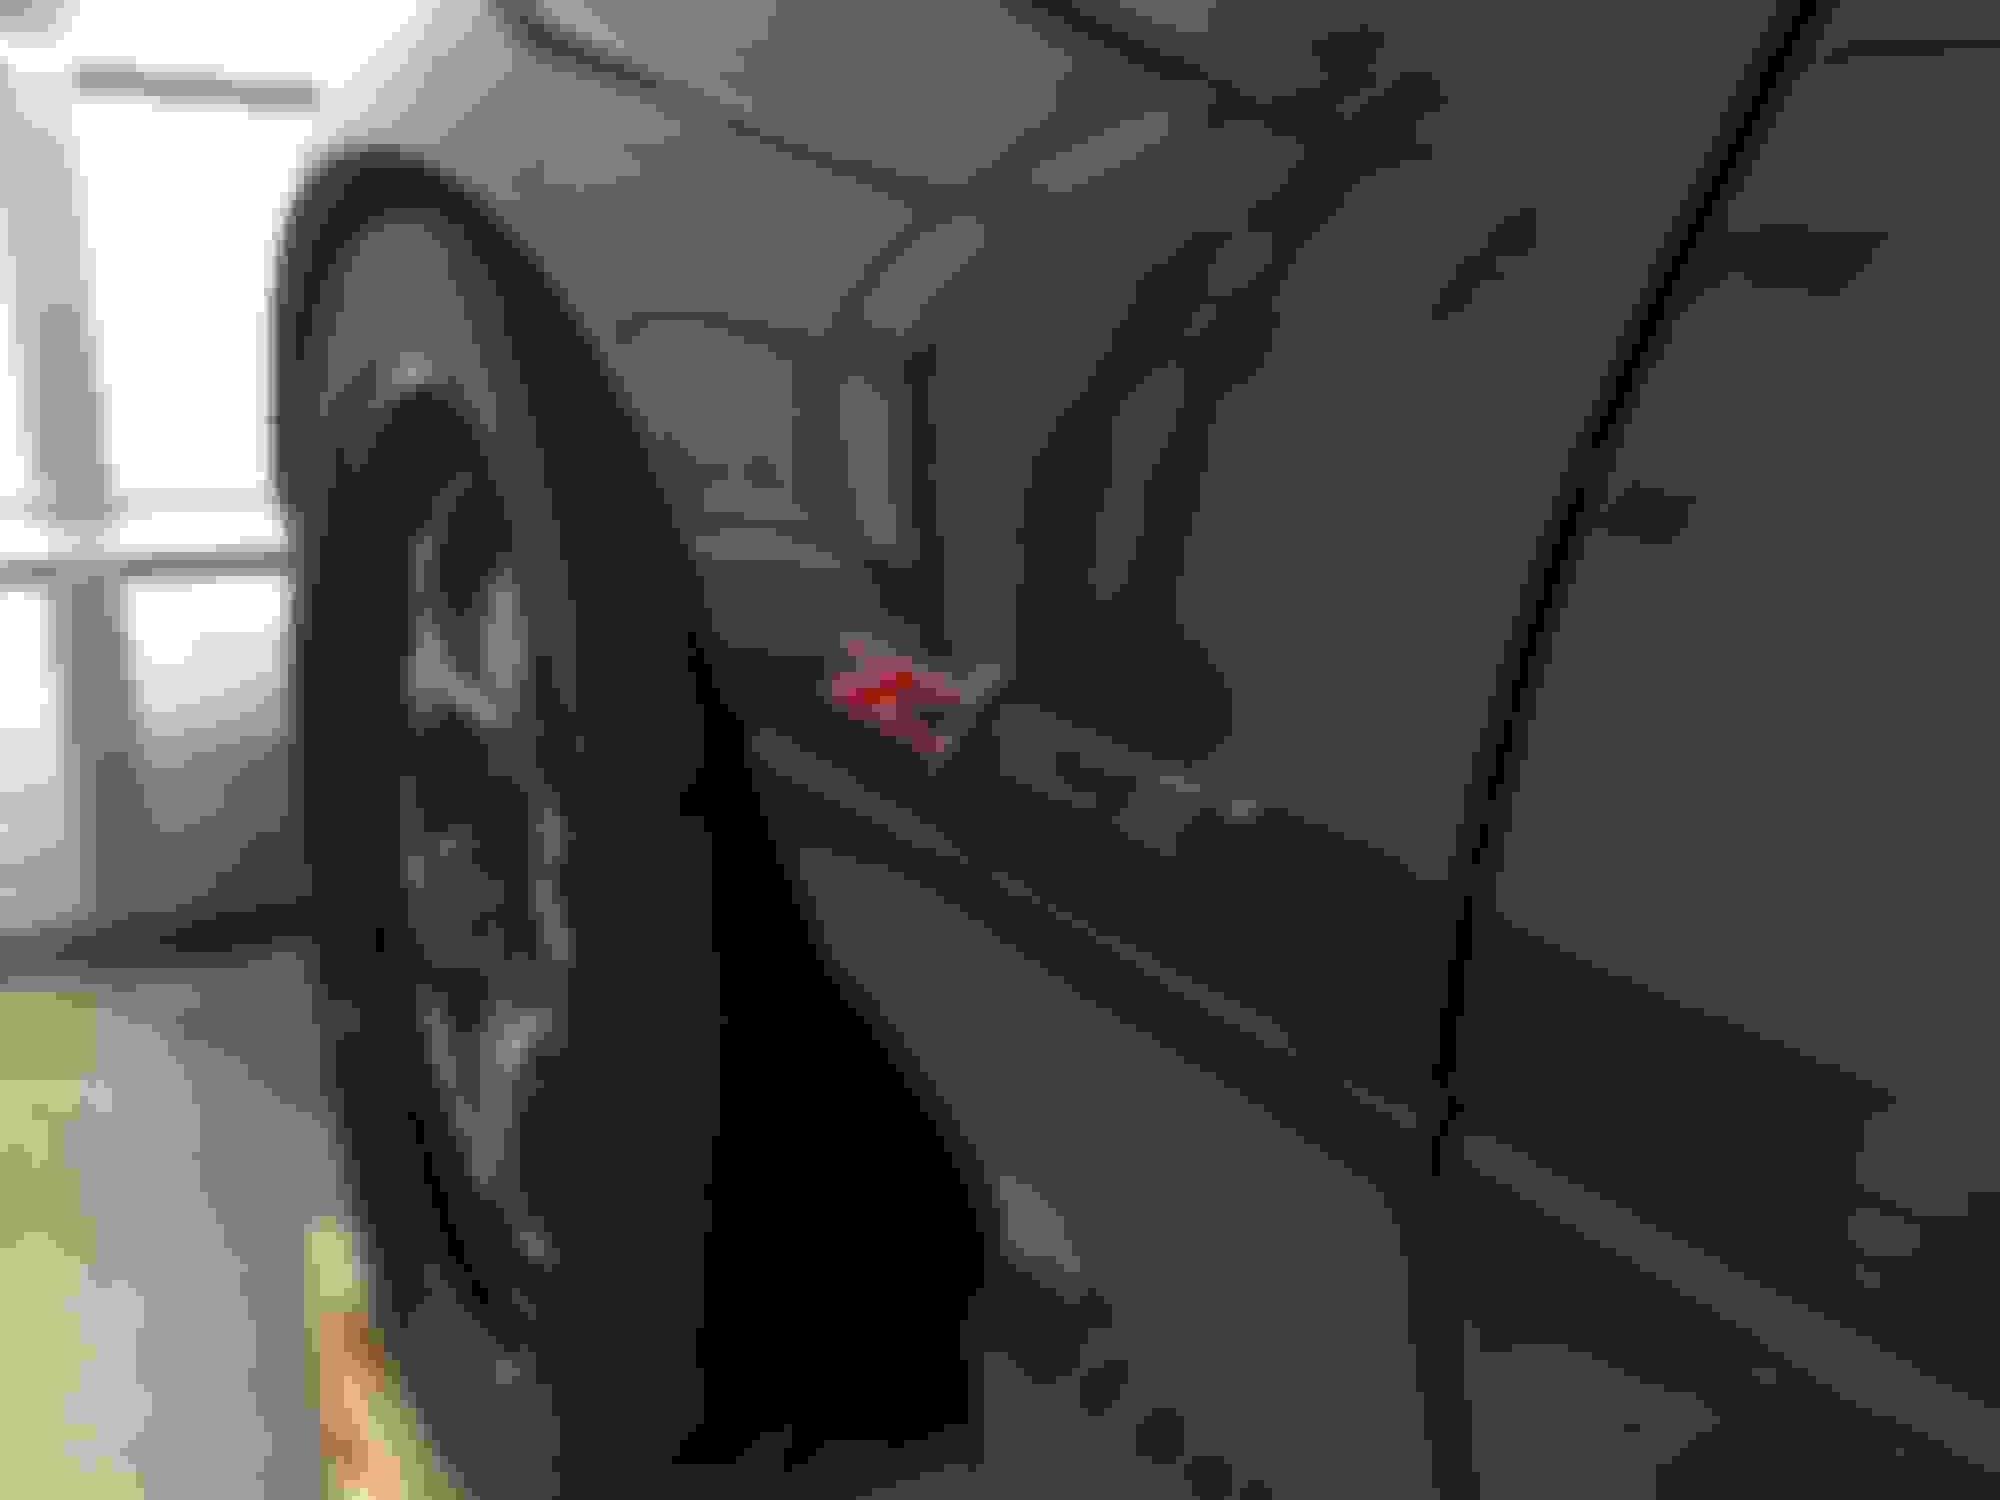
Just a money shot of the engine bay coming together.
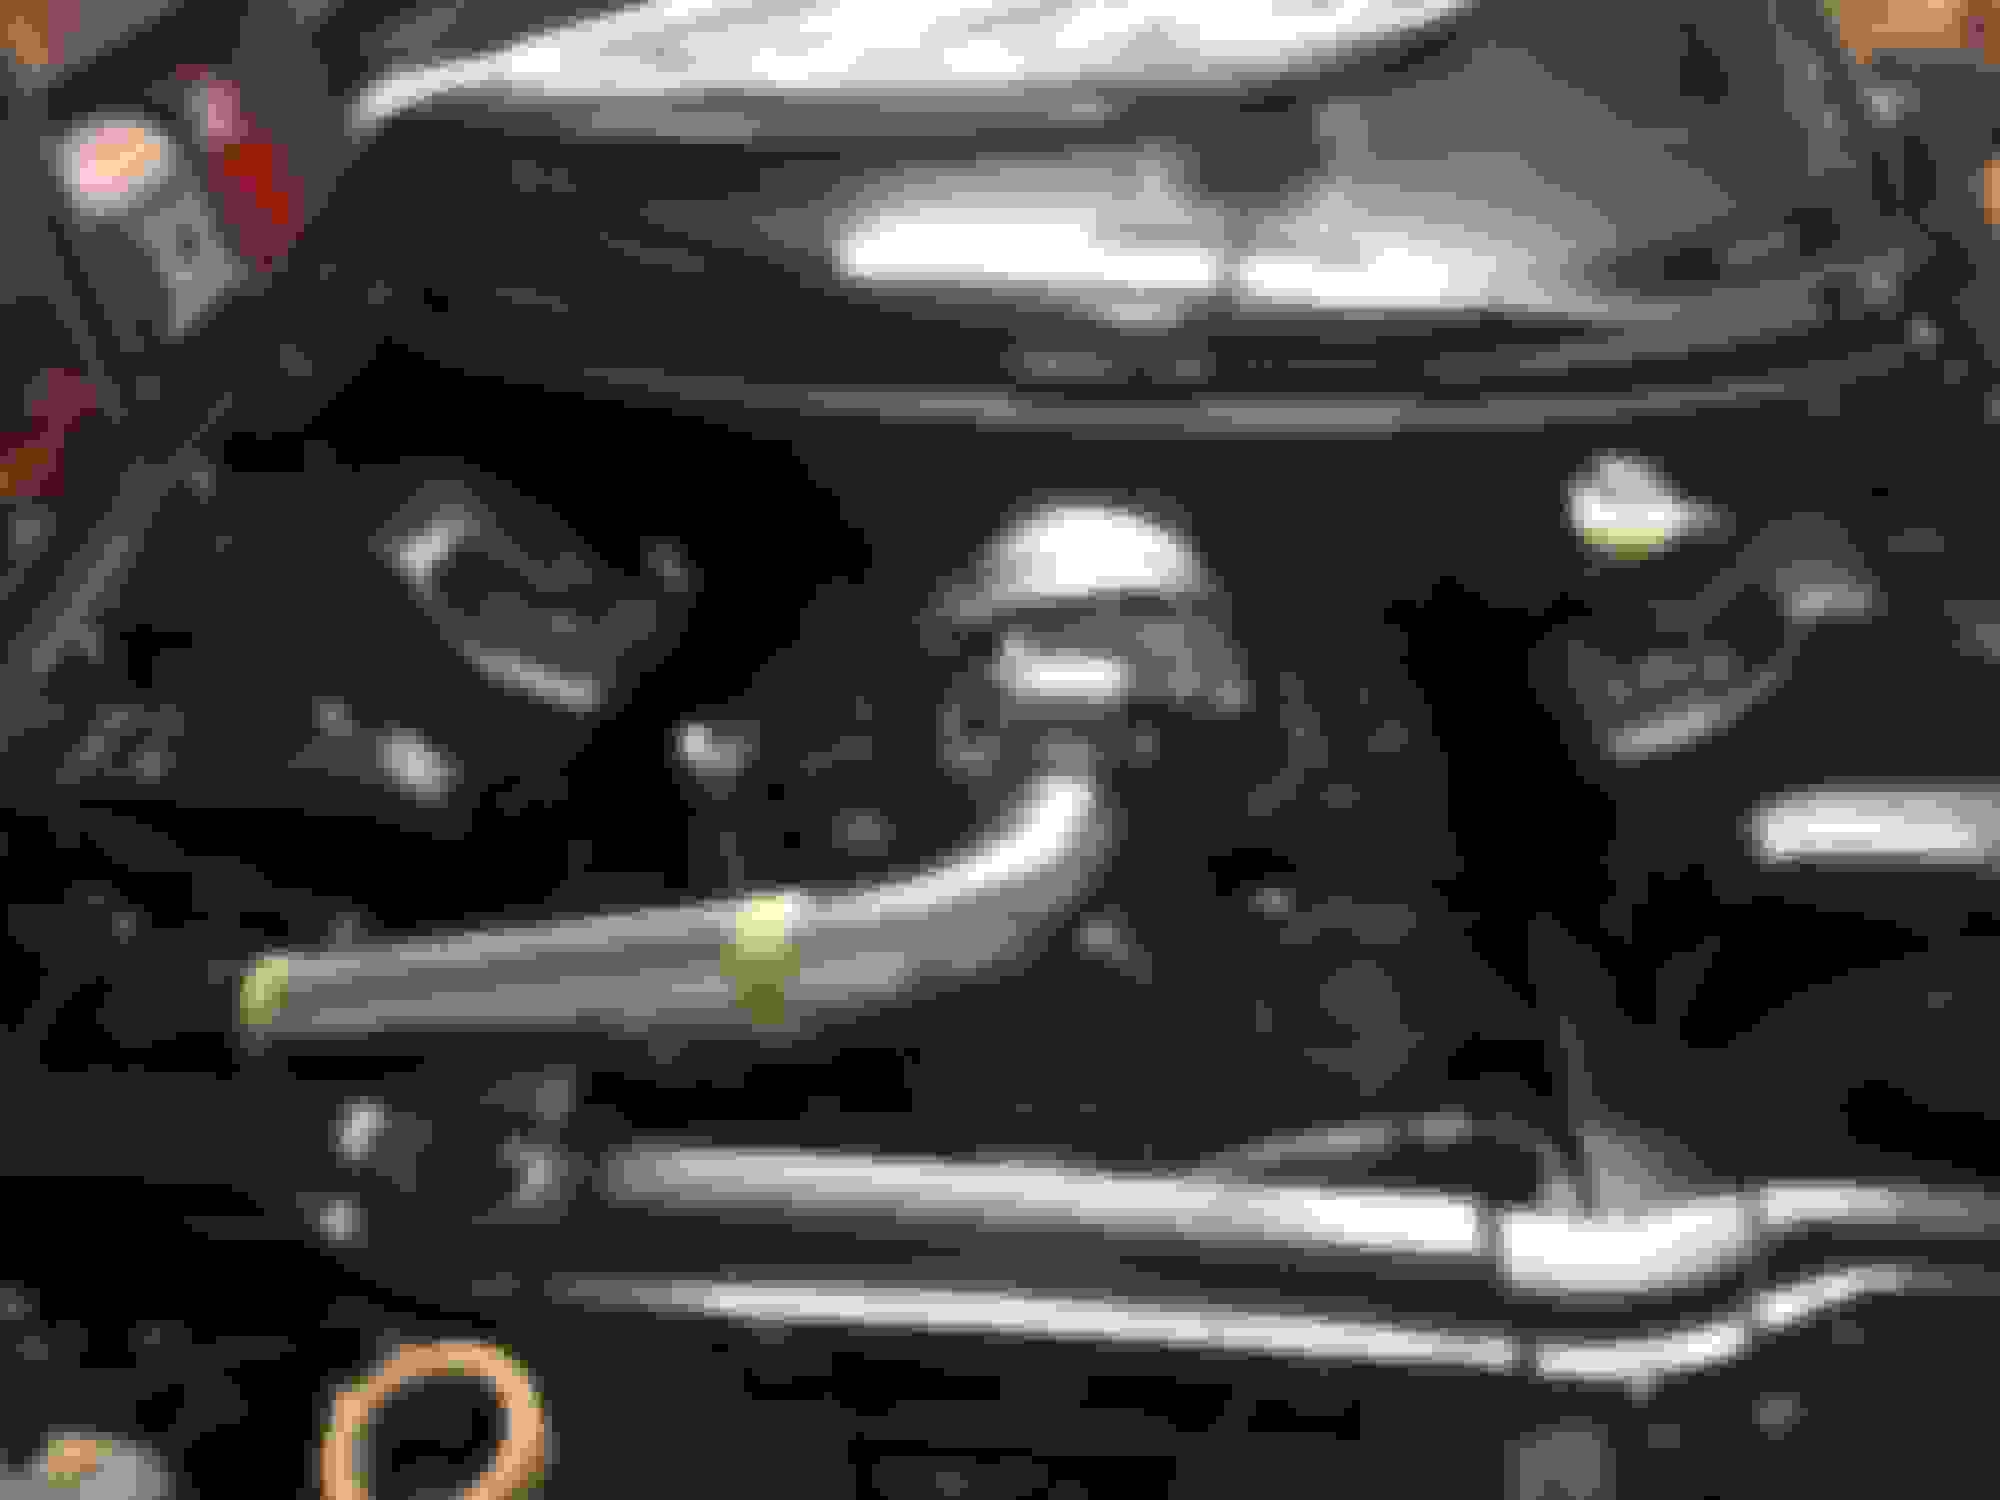
Oh and finished the oil cooler lines and mounted the cooler right in the front by the hood latch on the core support centered between the radiator.
On another note, got me a daily/work truck/ tow pig so I'll probably be trailering this car to the track in the future. Looking into a steel deck 18ft hauler.
I'll let the pictures do the talking but just a few words.
Put windshield in, made intake pipe with mandrel bends and ls7 maf bung with help of my good buddy with some valuable skills (Thanks jake), had spark plug wires made. Custom length live wires by Davis unified ignition, plumbed radiator hoses with BMRS custom stuff -16 and -20, made -4 coolant vapor line, finished fuel line to rail, finished wiring and installed battery, filled with fuel, filled with coolant( had to pull radiator from bad weld leaking on the tank where I had drain plug bung welded on years ago, thanks again to jake for fixing.), Primed fuel pump and lines. Verified fuel pressure at rails. Filled with oil, cranked to prime oil pressure. Waiting on tune file from pat G as I type this. Stay tuned. Oh and buddy jake and I with use of a lathe added a knurled edge to my nasty performance billet oil cap as it was nearly impossible to remove before doing this.
The moment everyone been waiting for... including myself. almost 7 yrs in the making including the lt1 setup and now this one and its coming to a close.
The first start went about as lousy as anyone could expect, lol.
woundnt run on its own, immediately died, had to give it throttle to keep it running, sounded terrible. haha, but it got better.
i got the 1st tune file from Pat G, and loaded it, but was still having issues. Map reading was constant 104-105kpa with engine running, so that was strange. Tps voltage was .69v and was not resetting using the normal tps reset procedure, any more closed on the throttle screw and it would just crank and die immediately. IAC counts were way too high, and therefore car was sturging and would die intermittently even after a lot of adjusting. therefore some diagnostic was required. first thing i tackled was the map sensor issue. i pulled the intake and hooked a vac pump directly to the map sensor and KOEO the data was communicating with the pcm and it was registering vacuum with the mityvac, so my only conclusion was that the way i had it relocated was not allowing it to read the vacuum while connected to the intake. i'm assuming this was due to soft vac line collapsing while the engine was running, so i flipped the map upwards in the stock location and made a little L bracket to mount it on the back in a similar fashion as stock and drilled the intake for the rear map location. upon re-installation of the intake, the p0108 i was getting disappeared and map was now reading correctly. so i then tackled the TPS/IAC issue. i found out my tps voltage should be reading .55-.68v with the throttle body in the closed position and apparently will not reset to 0% if it is over this voltage. so i drilled out the mounting holes and removed the locating tab and clocked the sensor until i had my voltage in this range. reset to 0% no problem, adjusted screw a little more, and got the IAC counts down like they should be within just a few mins. the car would now idle correctly, and all the DTC codes i had related to map and iac/tps and maf went away at this time. heres some fun in the mist of all this.
i'm a skinny ******, but notice i'm actually standing in between the radiator and engine. vertical radiator mod ftw!
Now here's the pretty much finished engine bay. still think i'm going to paint the back of the headlight buckets at some point, but don't feel like pulling them back out at the moment, then of course id love to show off all the beauty under the hood all the time and drive it without the hood, but i will be installing my sunoco once i know i wont be under the hood every few mins.
heres a quick one of the whole car, cleaned it up a little from sitting.
and yes, it moved under its own power for the first time.
i've given it a couple drives to data log for the tuner, but it's still not quite all there tuning wise.
now on to the money, sorry phone died as soon as i revved it, so i had my wife take another video with a quick rev while i had my son, lol.
Got the hood fit up today. Have a little uneven gap on the driver side fender I've gotta fix, but otherwise it's pretty much there. I had to cut 3/8" thick peices of abs to shim the front bumper toward the hood to close that gap. Horrible 90's Gm fitment. I tried adjusting all the factory adjustments but could not close the gap between the hood and bumper no matter what I loosened and tugged on. I got the hood flush with the curve of the rear of the fenders and got a good gap at the front now with the shim. I guess I could blame vfn, but who knows. I also had to slot the hood hinge plate holes that mount the hood to the hinge to get it forward enough to even open/close. Can't get the 6le aluminum hood hinges things to work properly though. Seems like the bracket is about 1/4" too long, so I may have to modify this to fit and work too. Anyhow, on to the goodies.


 09-09-2016, 09:24 PM