Camaro and Firebird: How to Replace Brake Master Cylinder
A faulty brake master cylinder can reduce braking performance and, in severe cases, cause a brake system failure. If your brake master cylinder is failing and you are having trouble stopping your car, do yourself and other drivers a favor by installing a new brake master cylinder to get your brakes back up to snuff.
This article applies to the Chevrolet Camaro and Pontiac Firebird (1993-2002).
The brake master cylinder acts as the heart of the braking system. When the brake pedal is depressed, the master cylinder piston travels in its bore to force brake fluid to each brake caliper. Since fluids are unable to be compressed, this hydraulic action from the master cylinder causes the caliper pistons to extend and the brake pads to contact the rotors, thus slowing the car. With age and often neglected maintenance, the master cylinder body can become corroded and the piston seals damaged. The result is brake fluid that leaks past the piston instead of being forced to the brake calipers, causing a reduction in stopping power.
While master cylinder rebuild kits are available, most do not find them cost-effective and prefer to simply install a new unit. Fortunately, master cylinder replacement is quite easy and can be completed at home. Additionally, many owners use this as an opportunity to swap in a different master cylinder to change the braking characteristics to suit their needs. If your master cylinder is not performing up to par, or you are looking to increase braking performance, this article will outline the master cylinder replacement procedure for 1993 to 2002 Camaro and Firebird models.

Materials Needed
- Metric socket set
- 3/8" drive ratchet and extension
- Metric flare nut wrench set
- Bench bleeding kit
- Brake fluid (DOT 3 or 4)
- Shop rags
- Torque wrench
- Bench vise
- Turkey baster or syringe
- Large Phillips screwdriver (or similar blunt metal object)
Warning
This job requires working with brake fluid, which is highly corrosive to your vehicle's finish. Take the necessary precautions to avoid spilling any brake fluid. Clean up any spilled fluid immediately to prevent damage to your vehicle.
Step 1 – Drain fluid reservoir
It is always a good idea to place a fender cover or towel over the body panels when working with brake fluid to keep any spilled fluid off of painted surfaces.
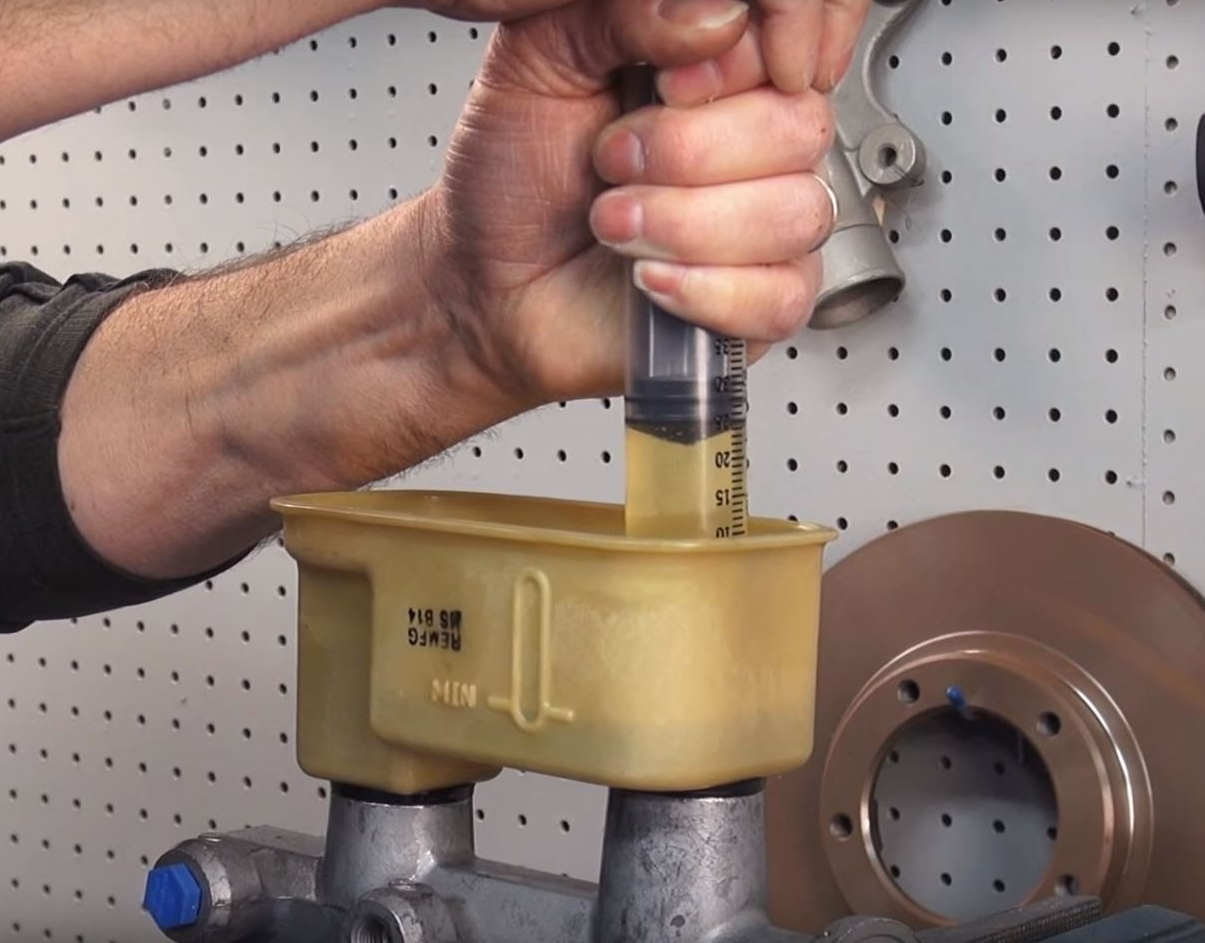
- Before removing the brake master cylinder, it is best to remove the brake fluid from the reservoir. Remove the reservoir cap and suck the brake fluid from the reservoir using a turkey baster or syringe. Place the used fluid in a suitable catch container.
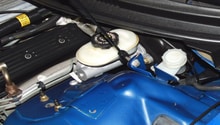
Step 2 – Remove master cylinder
- Disconnect the brake fluid level sensor's electrical connector from the fluid reservoir.
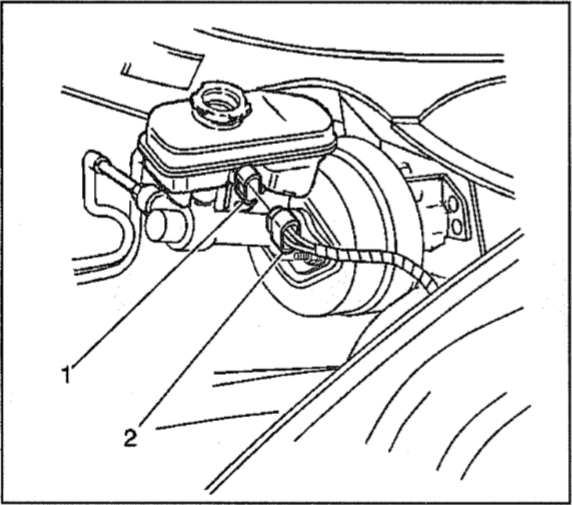
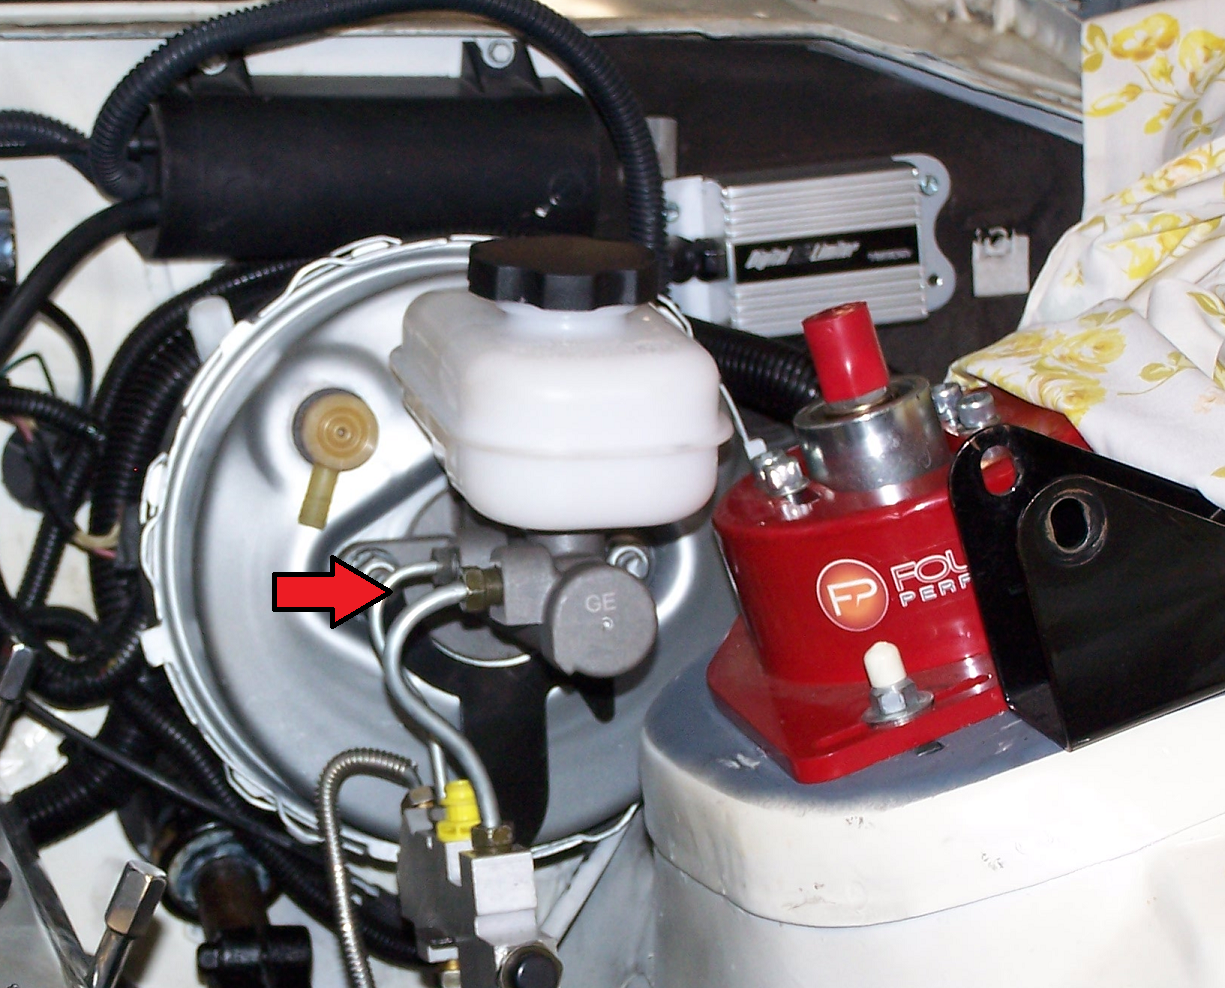
- Using a 12mm flare nut wrench (line wrench), disconnect the hard brake lines from the master cylinder body. Have shop rags handy to absorb any emerging brake fluid.
- Using a 15mm socket, ratchet and extension, remove the nuts holding the master cylinder to the brake booster. With the nuts removed, remove the master cylinder assembly from the car.

Step 3 – Bench bleed new master cylinder
Bench bleeding a brake master cylinder may not be necessary, but will allow for quick bleeding of any residual air from the brake system once the master cylinder has been installed in the car. Many replacement master cylinders will include a bench bleeding kit; however, they are readily available at any auto parts store for a few bucks.
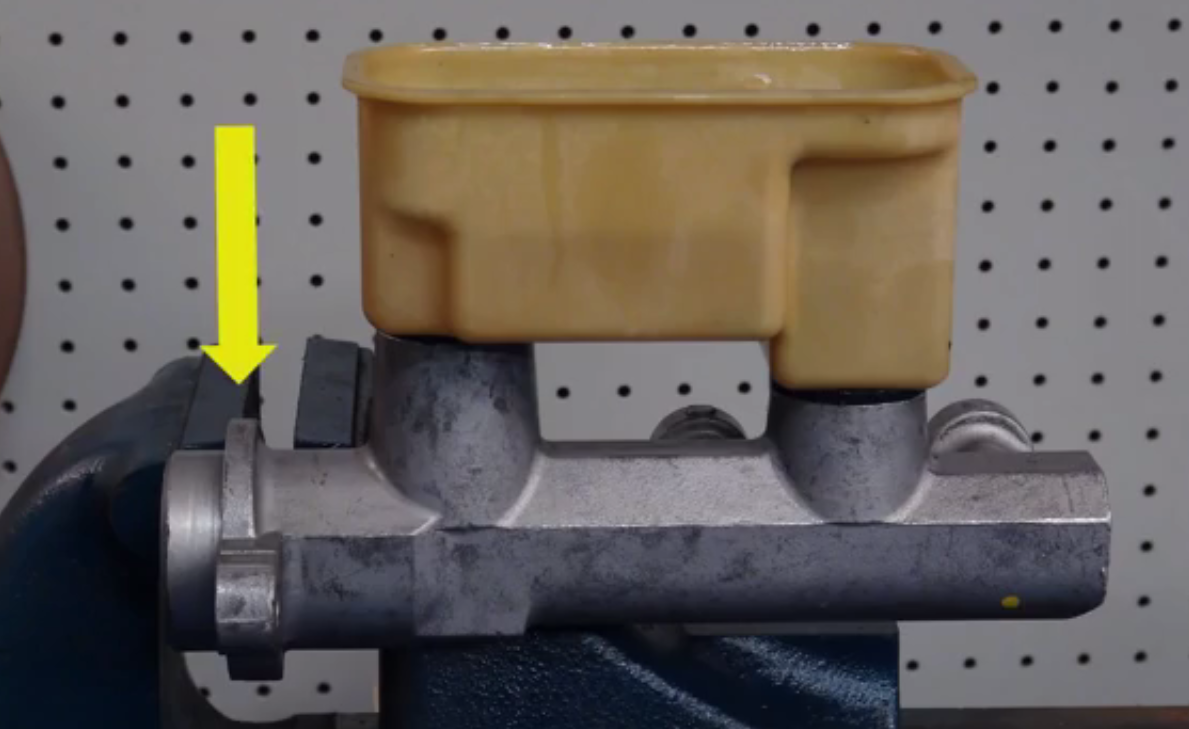
- Mount the master cylinder in a bench vise. Clamp the master cylinder on its mounting flange and be sure it is sitting level.
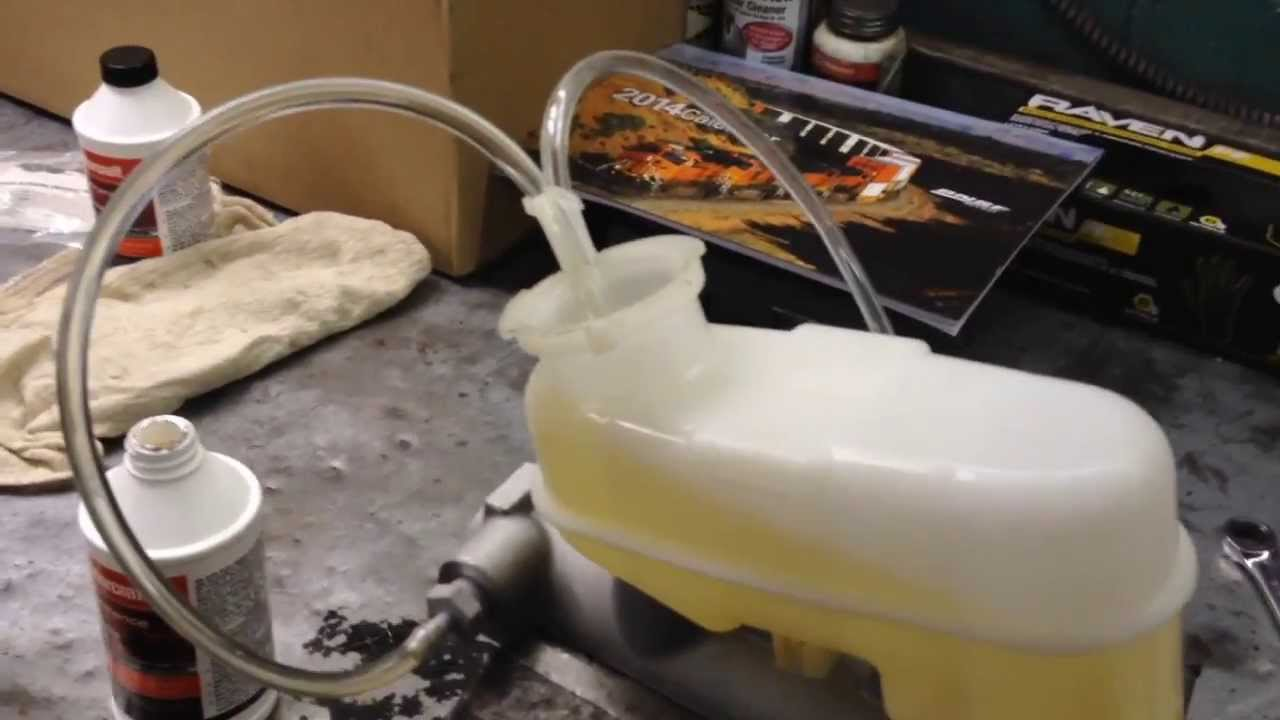
- Install fittings into each brake line port of the cylinder body and route the hoses into the reservoir.
- Fill the reservoir with fresh brake fluid. Be sure the ends of the hoses are submerged.
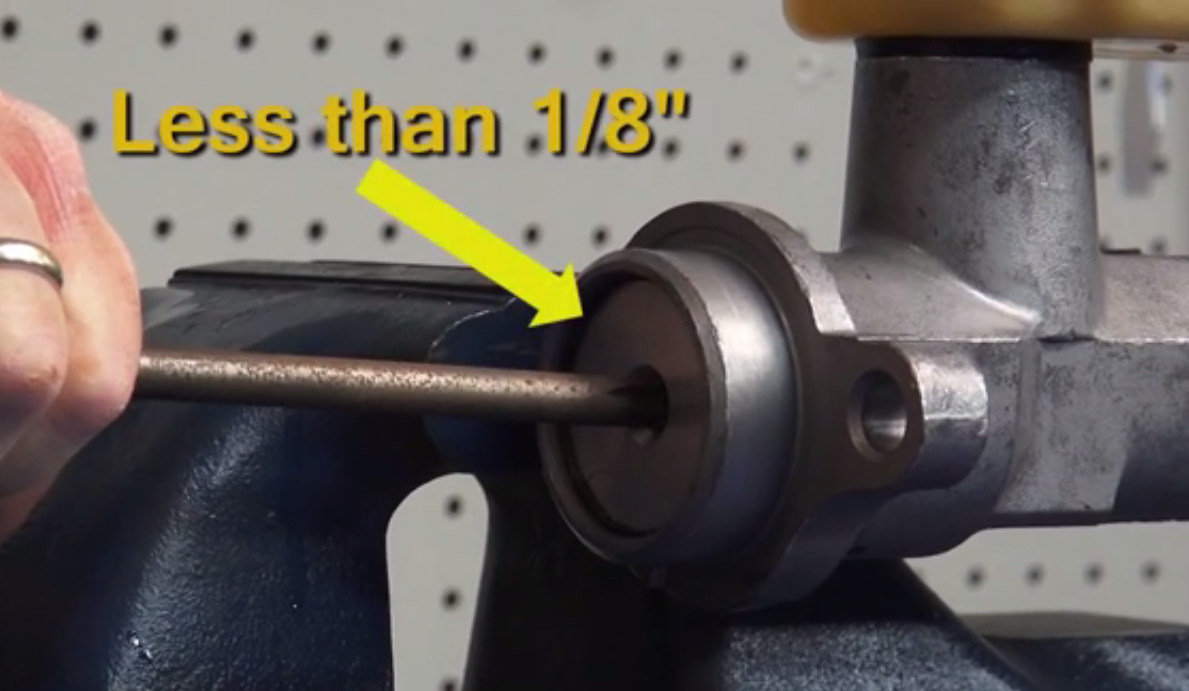
- Use a blunt object such as a metal rod or Phillips screwdriver to slowly depress the piston. Continue to work the piston in and out while monitoring the hoses for air bubbles. The piston should become increasingly difficult to depress. When the stroke of the piston can only be depressed approximately 1/8" and no air bubbles remain, bleeding is complete.
- Remove the hoses and cap off the brake line ports before installing the master cylinder.
Pro Tip
An alternative method of bench bleeding involves forcing brake fluid through the brake line ports and into the fluid reservoir. This method tends to be quicker, but requires a special syringe to fit into the brake line ports.
Step 4 – Install new master cylinder
- Attach the master cylinder to the brake booster studs. Tighten the nuts to 21 ft/lbs.
- Remove the caps from the brake line ports and re-attach the hard brake lines. The factory service manual calls the brake line fittings to be torqued to 24 ft/lbs.
- Connect the brake fluid level sensor plug.
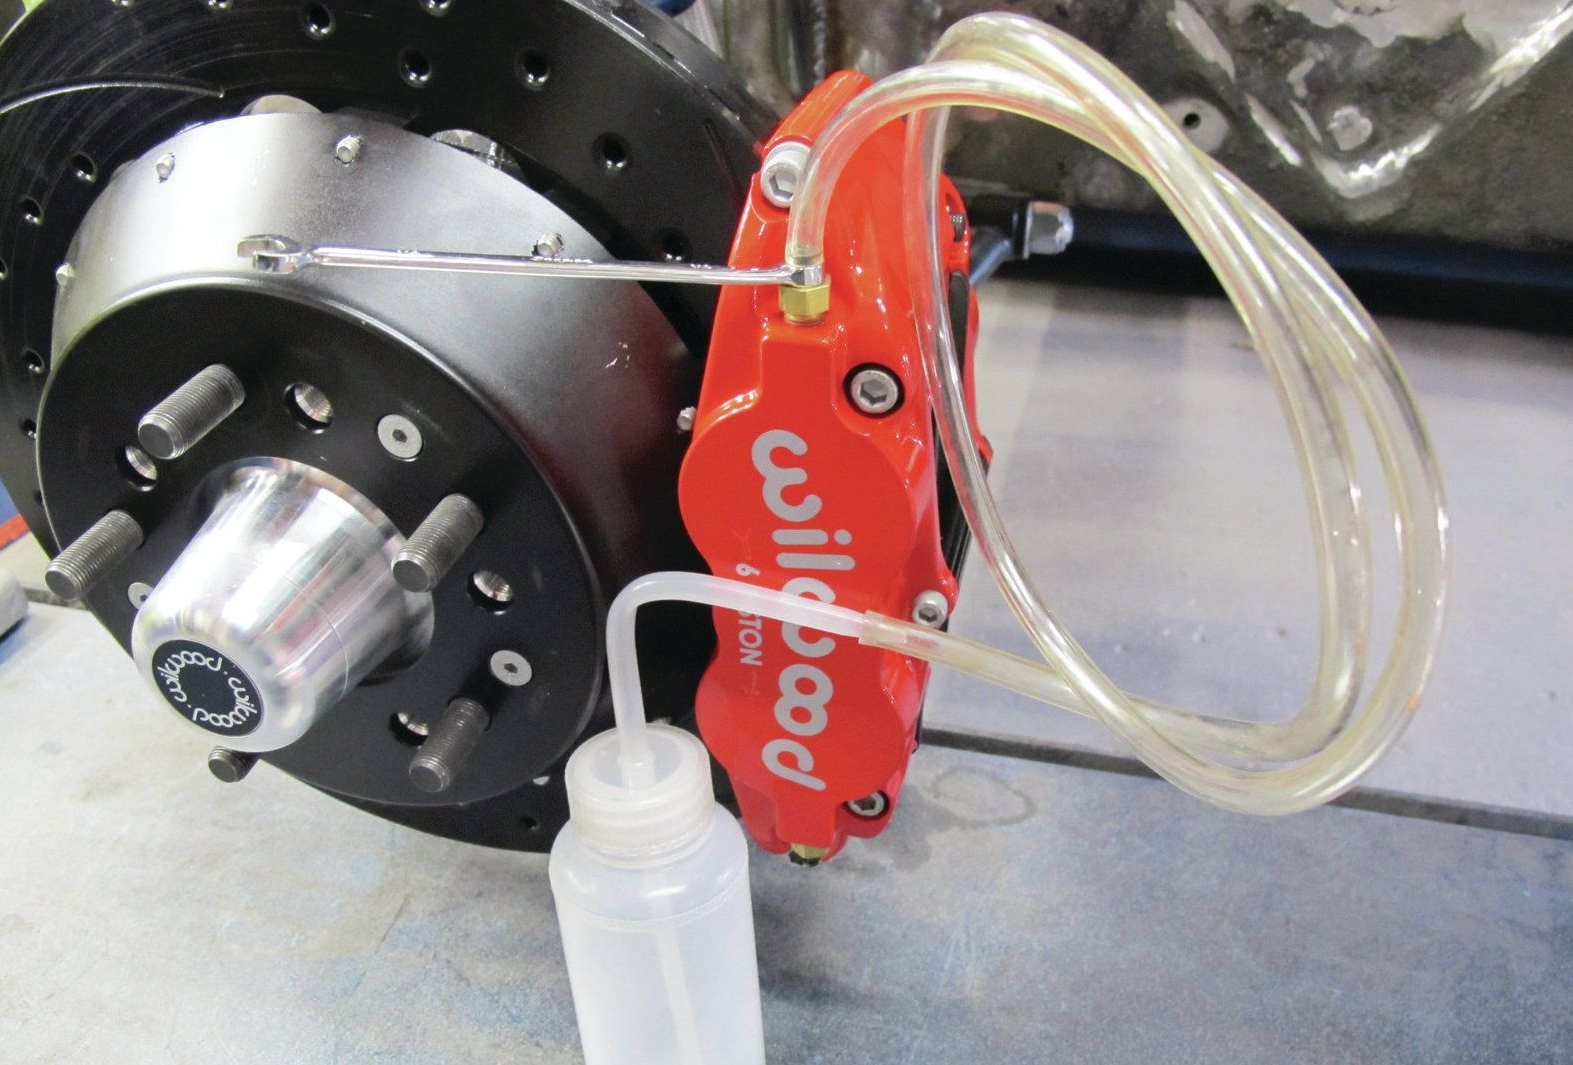
- Top off fluid reservoir and bleed the entire brake system to remove any residual air. Additional information on brake bleeding can be found in the related article How to Replace Brake Fluid.
Pro Tip
Some brake fluid loss can be expected when removing the caps from the brake line ports and attaching the brake lines. Have some shops rags handy to catch any fluid.
Featured Video: LS1 Camaro/Firebird Master Cylinder Removal
Related Discussions
- Master Cylinder Bench vs In-car Bleed - LS1Tech.com
- Brake Master Cylinder Reservoir, Can It Be Replaced By Itself? - LS1Tech.com
- Anyone Ever Rebuild Their Brake Master Cylinder? - LS1Tech.com