Chevrolet Camaro 2010-Present: How to Install XM Satellite Radio
Satellite radio is a popular upgrade for any car that doesn't come from the factory so equipped. Here's how to install it on your late model Camaro.
This article applies to the Chevy Camaro (2010-Present).
Satellite radio has become a must have for lots of people, and for good reason. With hundreds of commercial free radio stations that cover every genre in high quality sound, it's no surprise that you can get most any new vehicle equipped from the factory with satellite radio. If you didn't spring for the option, however, adding satellite radio to your ride isn't a terribly difficult task depending on how you decide to wire it up.

Materials Needed
- Satellite radio kit
- Ratchet and standard sockets (optional)
- Flat head screwdriver or panel removal tool (optional)
- FM transmitter (optional)
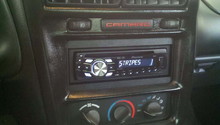
Step 1 – Mount radio unit and choose installation method
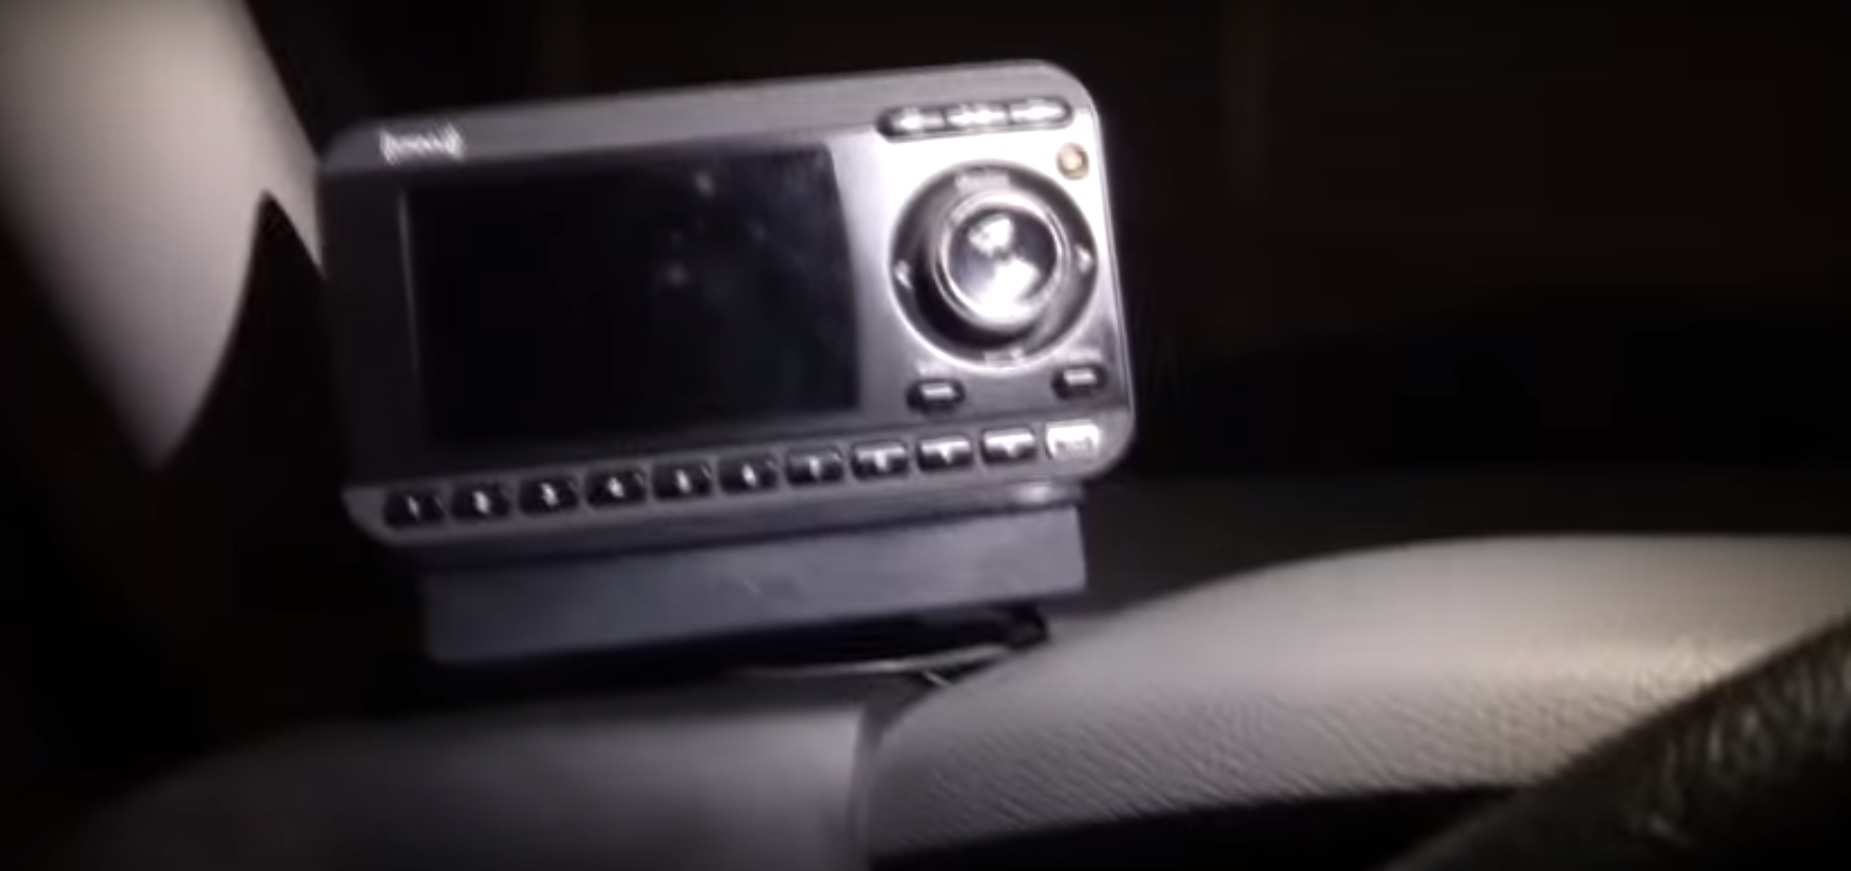
There are several options when it comes to mounting and wiring an aftermarket satellite radio unit. First, decide where you want to place the control unit. This can sit anywhere on top of the dash or around the console area. Choose a spot that is easy to reach and one that doesn't adversely affect your line of sight. The unit can then be attached using the supplied tape.
Next, decide how you want to wire the unit. You can simply run the wires from the unit to the radio, or you can choose to remove the stereo and work to hide all the wires. There are three wires included in the kit: a power wire, auxiliary wire, and antenna. The simplest installation involves plugging the AUX wire into the AUX port of the stereo and the power wire into the cigarette lighter. If you don't want to use the AUX wire, you can purchase an FM transmitter to send the audio signal through a selected FM channel wirelessly, but sound quality will suffer a bit.
Step 2 – Install the antenna
The antenna can be placed in a variety of areas. The roof is the most common spot, but you can also hide it by installing the antenna underneath the dash, inside the hatch, or even in the trunk. To route the antenna line to the roof, work your way from the receiver and push the wire underneath the trim. You can run the wire through the deck lid opening or through where the dash meets the glass, pushing the wire underneath the outside edge of the glass as you go.

Figure 2. Antenna installed underneath the dash. 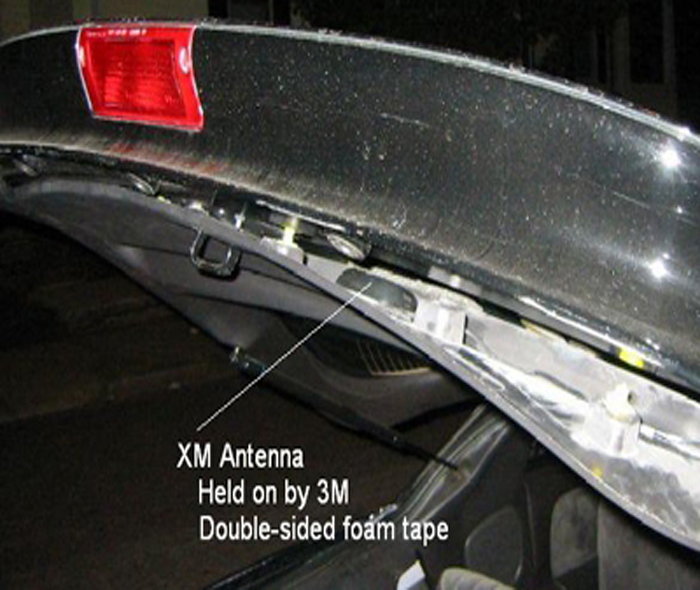
Figure 3. Rear hatch antenna installation. 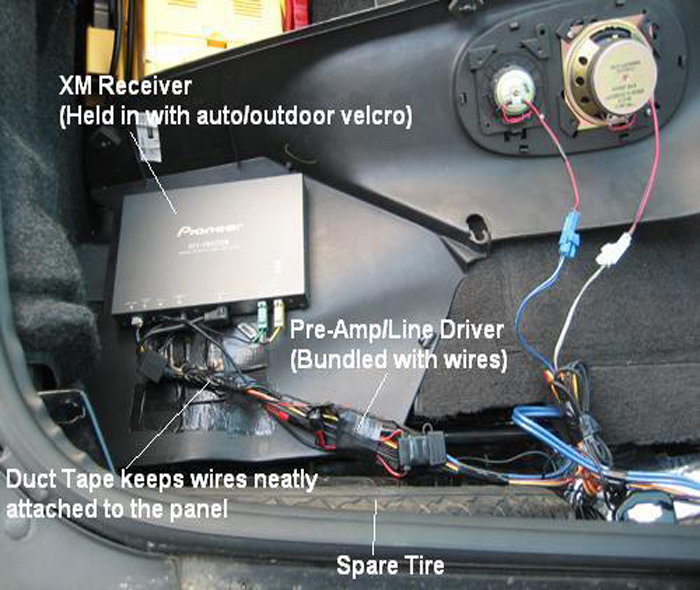
Figure 4. Trunk mounted installation.
Step 3 – Run the AUX wire to the back of the stereo
If you want a completely clean look for your installation with no exposed wires, you will need to remove the factory stereo to plug in the AUX cable. Pry the control panel off using a panel removal tool, then remove the connectors on the back. Remove the four bolts that hold the radio in place, then pull the radio out. Plug the AUX cable into the back of the stereo and run the wire to your desired location. Reinstall the radio, bolts, and control panel.
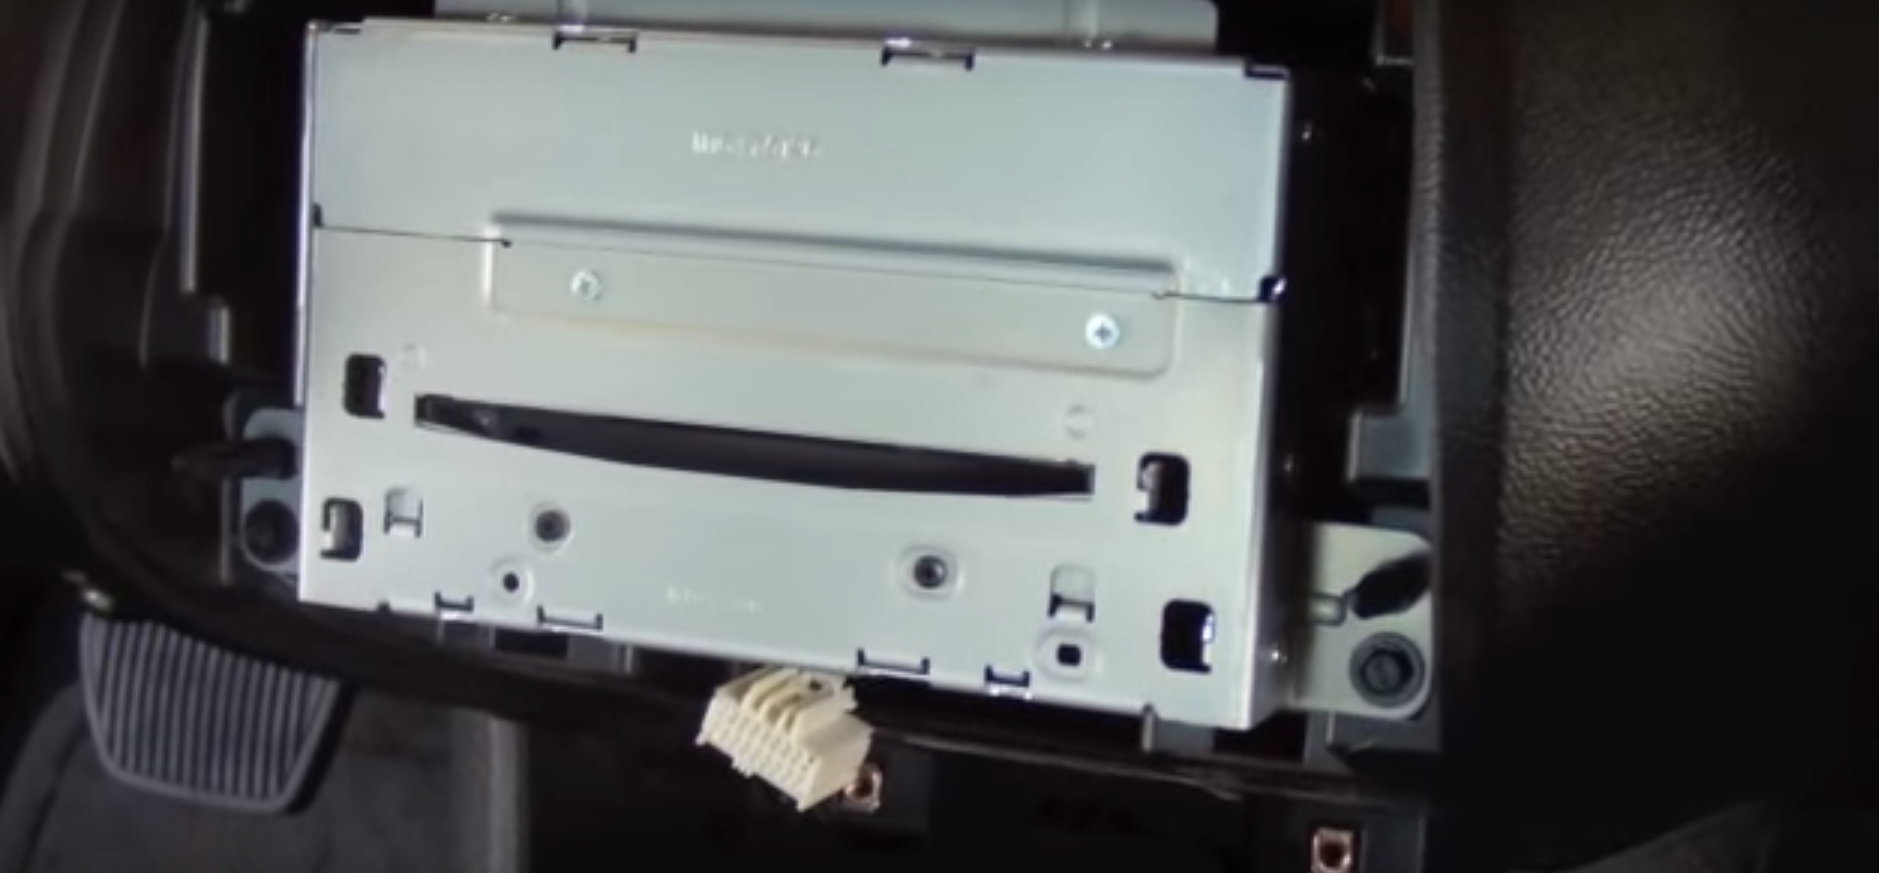
Figure 5. Remove the control panel to access the radio. 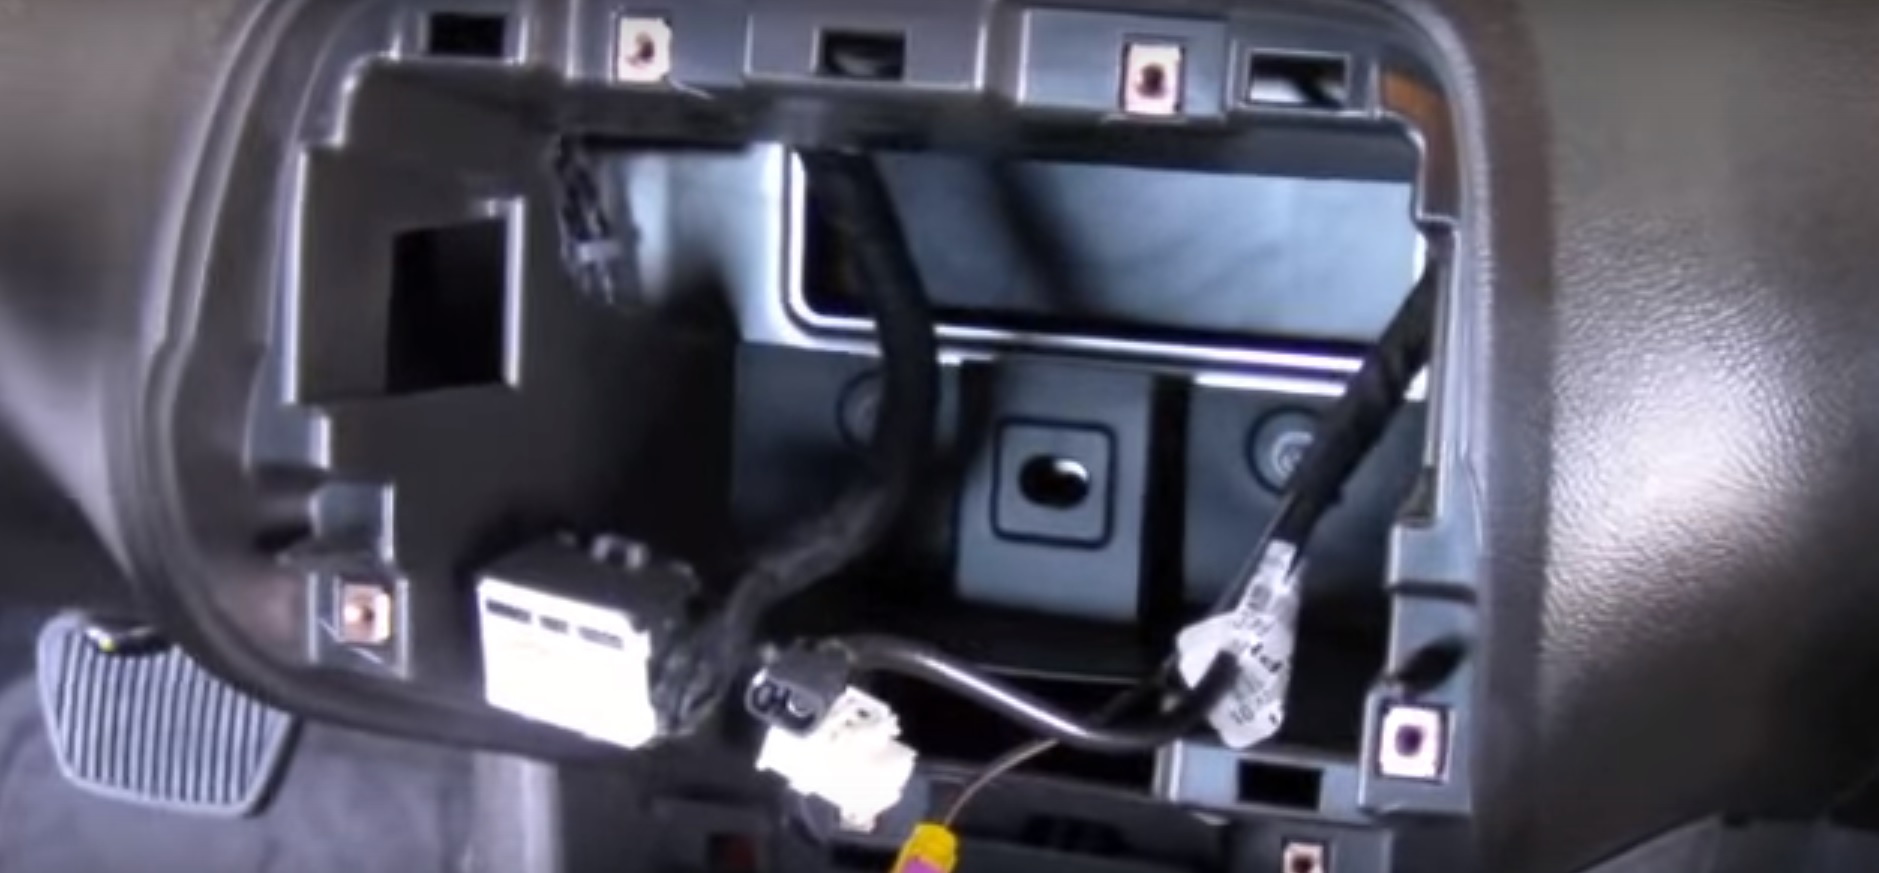
Figure 6. Remove the four bolts to access the back of the radio.
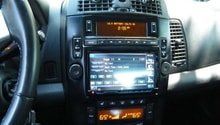
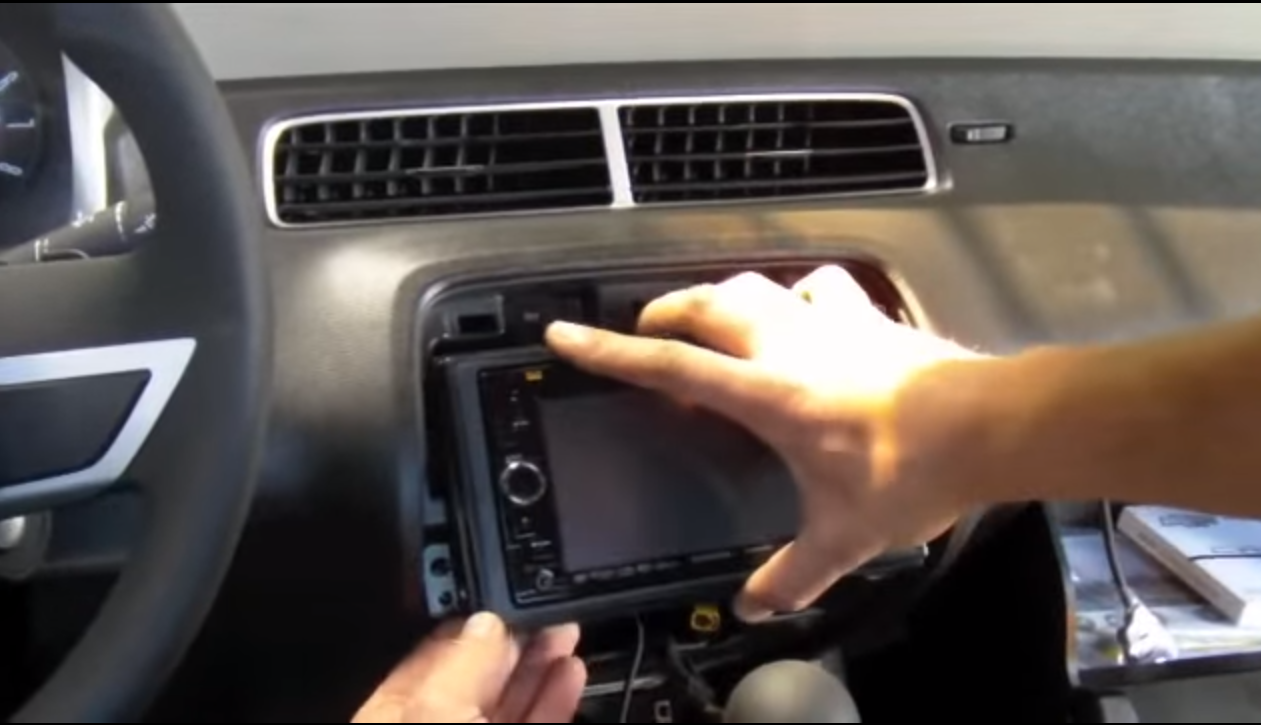
Step 4 – Install new display
Connect all the wires and plugs into the back of the head unit. Insert the head unit into the center console area. Put the bezel back around the head unit to complete the finished look.
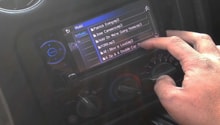
Step 5 – XM service
Sign up for XM radio service and enjoy the new tunes.

Featured Video: 2010 Chevy Stereo Installation
Related Discussion and Video
- Mounting a Satellite Radio Antenna - LS1Tech.com
- XM Radio Installation - YouTube.com