


How to: 6LE Shift Boot Install
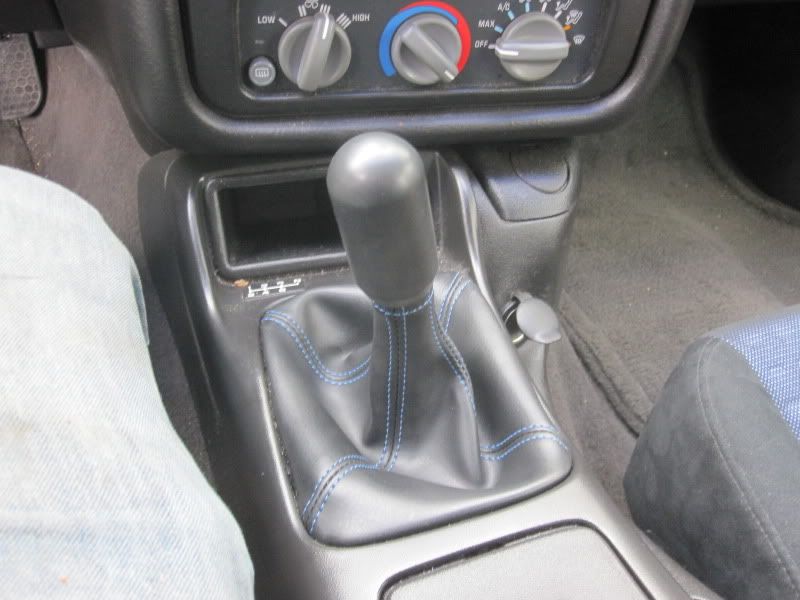
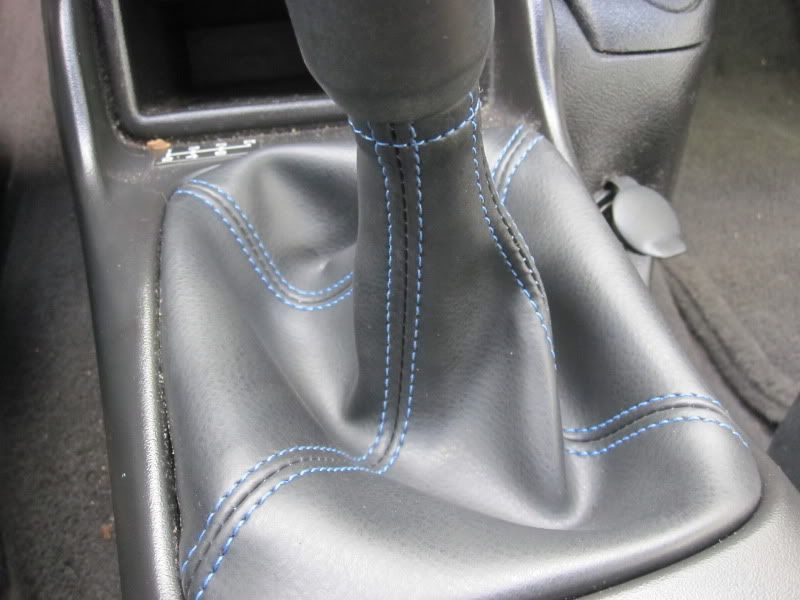
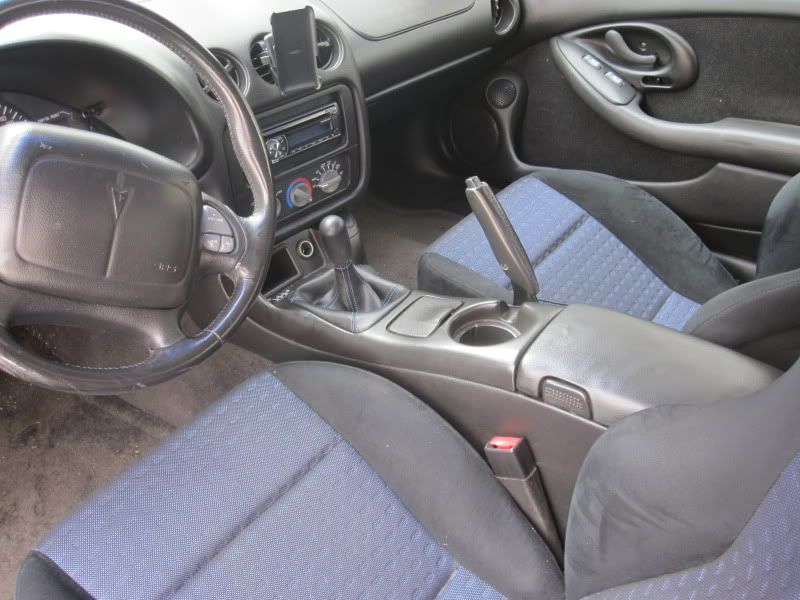
I ordered a custom shift boot from 6LE about a month ago, and just finally got around to installing it today. It's a matte ebony, smooth/non-textured boot with blue stitching (to match the other blue accents in my interior).
For anybody who doesn't know how to replace the shift boot, here's how:
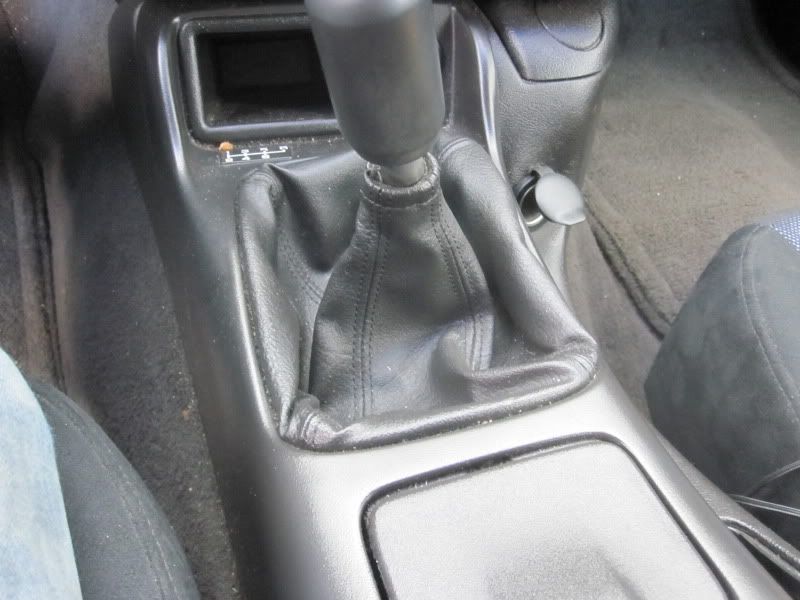
Stock, 10 year-old boot. It's seen better days.
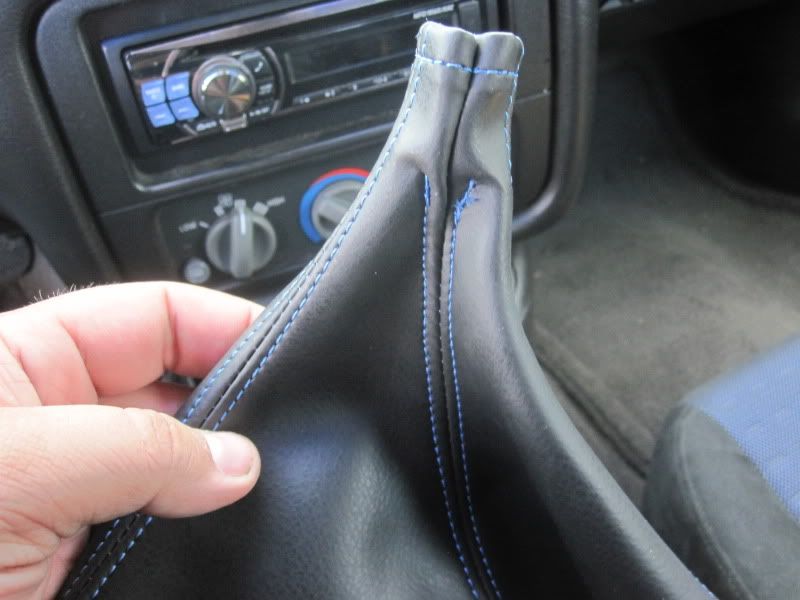
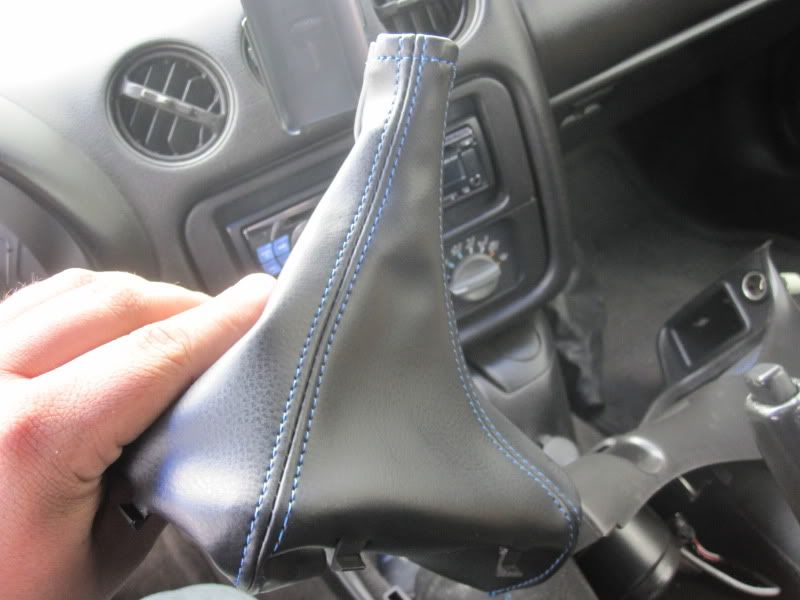
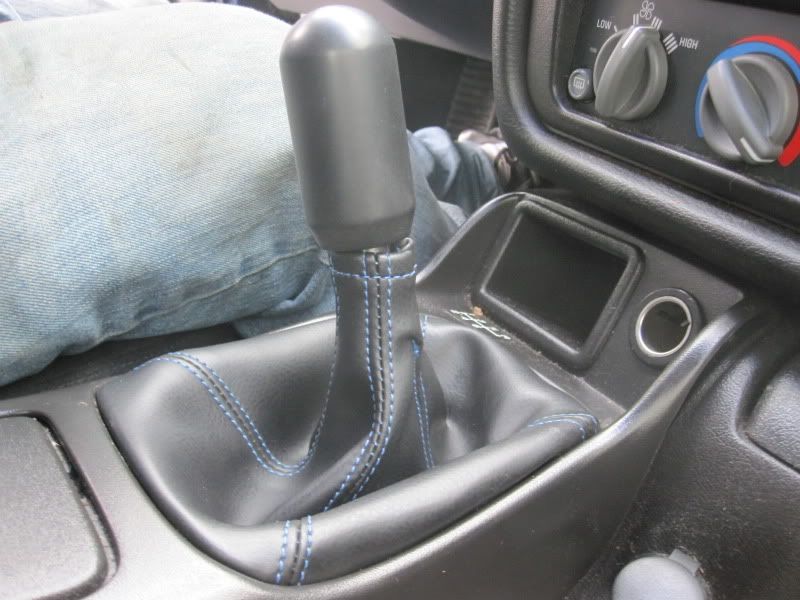
Nice, brand-new boot!
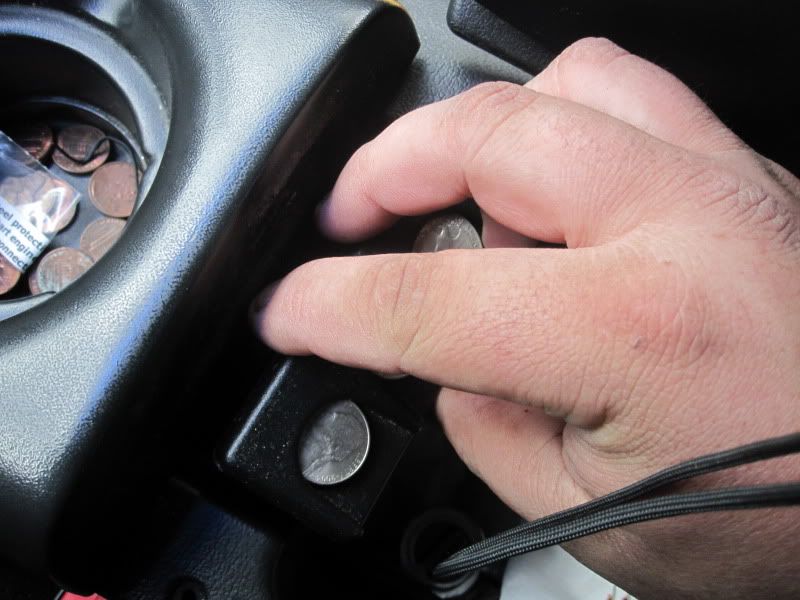
Start by opening the center console armrest/lid and removing the coin holder. Just pull it upwards, it'll come right out.
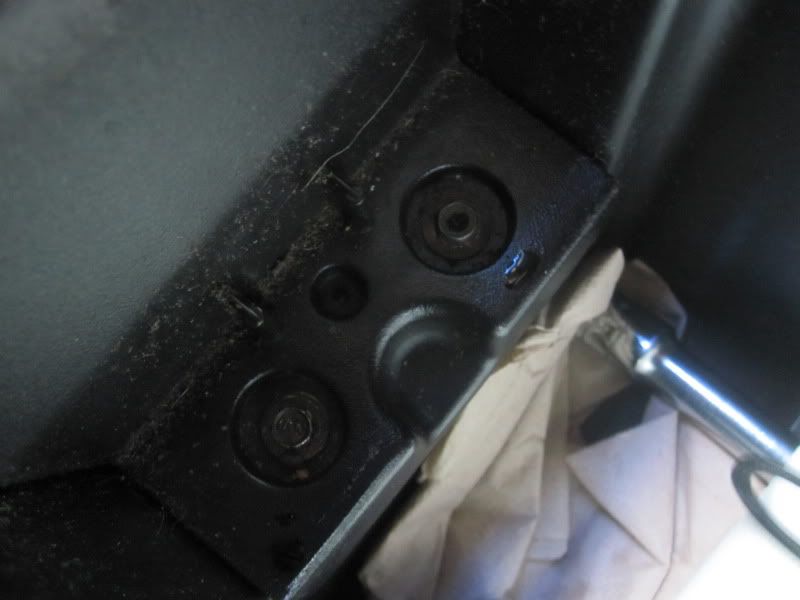
You'll see these two 7mm bolts, which hold down the top of the center console. Take them out.
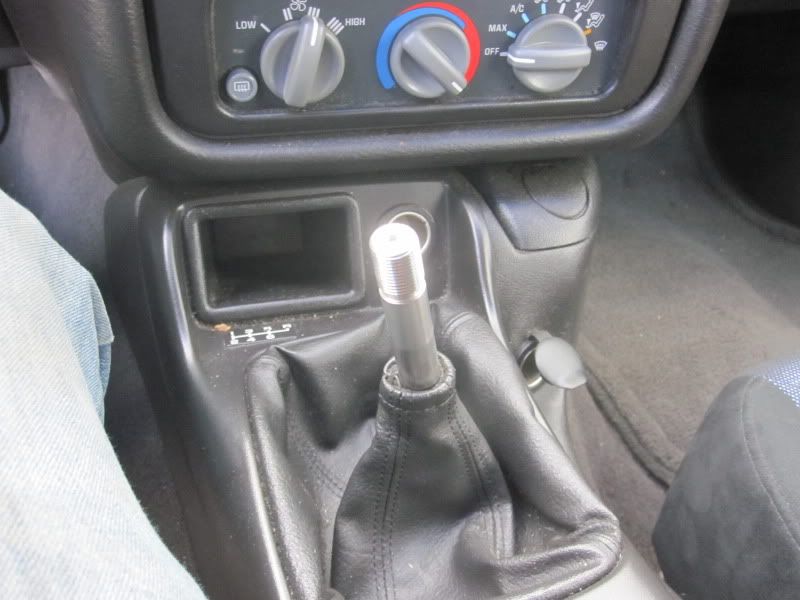
Remove the shift **** by unscrewing it.
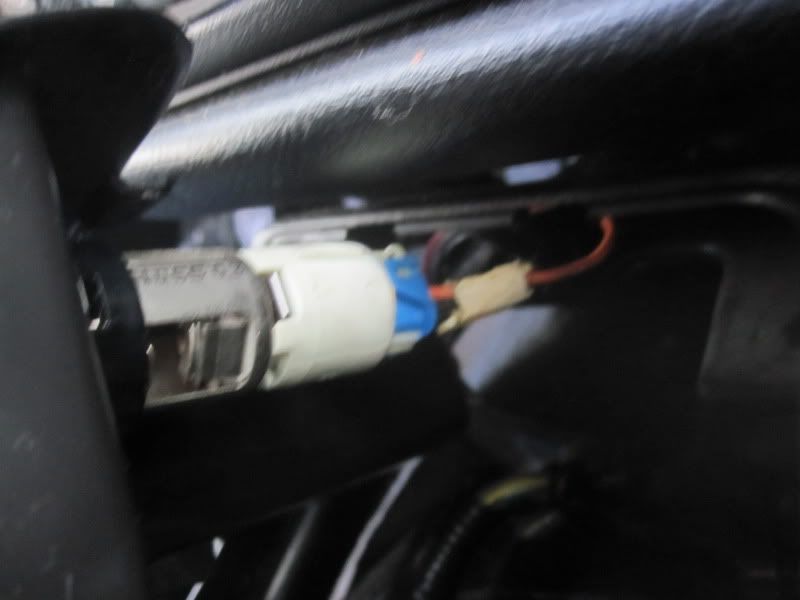
Pull the top of the center console up and back a little bit. You'll need to unplug the connector on the cigarette lighter. Now you can completely remove the top of the center console. It helps to tilt it forward towards the dashboard and then lift it up.
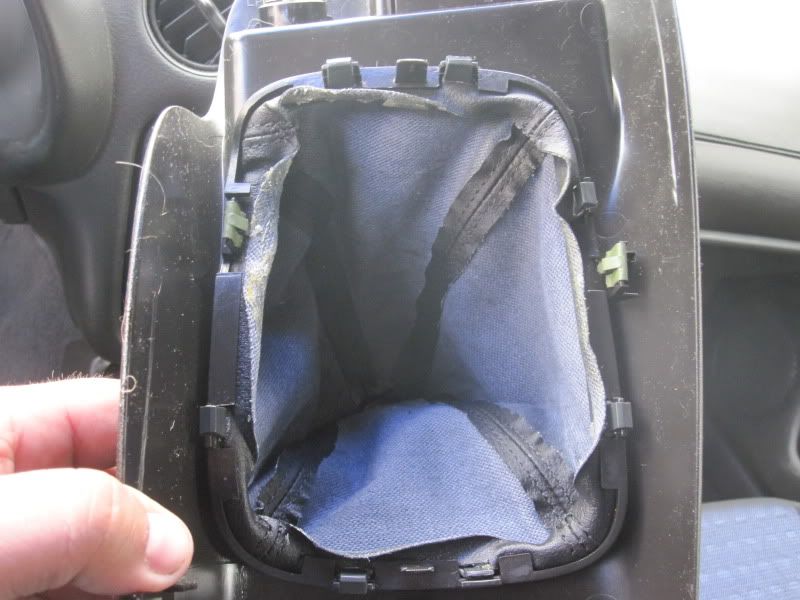
This is the underside of the shift boot, still attached to the top of the center console. It's held in by a plastic "ring" with little clips on each side. Just push the clips back and down to remove it.
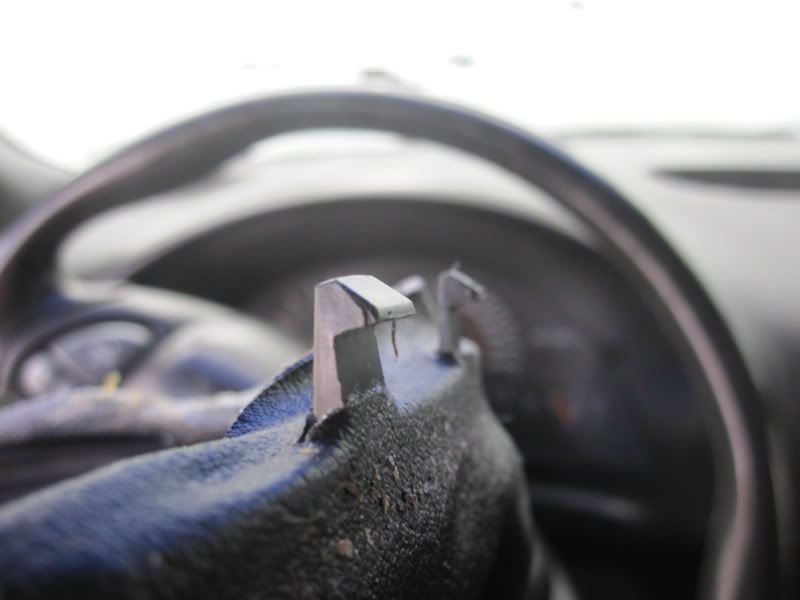
Here's a close-up of how the clips look when the ring is inside the boot. Just slide the clips out of the holes in the boot, and the ring will come out.
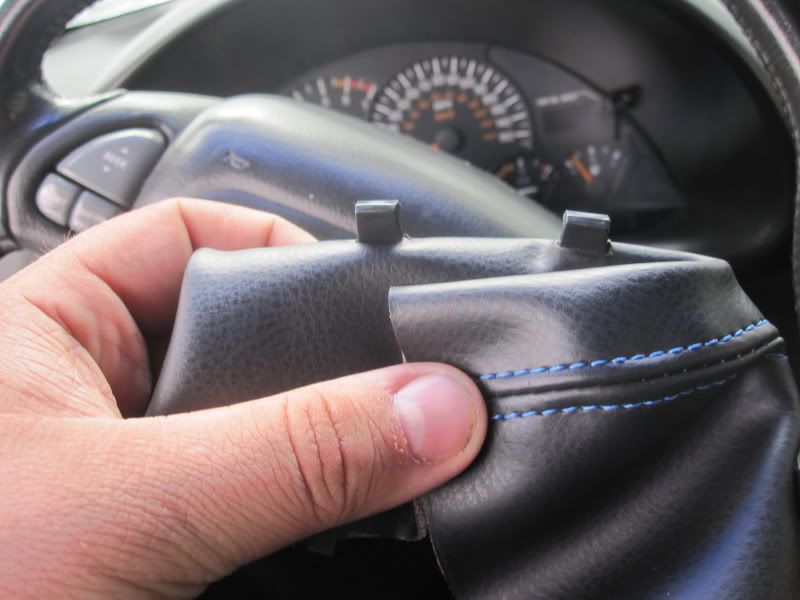
Put the ring in the new boot by lining up the clips with the proper hole in the boot. Just slide the clips through the holes.
Here's the new boot with the ring installed.
For anybody who doesn't know how to replace the shift boot, here's how:
Stock, 10 year-old boot. It's seen better days.
Nice, brand-new boot!
Start by opening the center console armrest/lid and removing the coin holder. Just pull it upwards, it'll come right out.
You'll see these two 7mm bolts, which hold down the top of the center console. Take them out.
Remove the shift **** by unscrewing it.
Pull the top of the center console up and back a little bit. You'll need to unplug the connector on the cigarette lighter. Now you can completely remove the top of the center console. It helps to tilt it forward towards the dashboard and then lift it up.
This is the underside of the shift boot, still attached to the top of the center console. It's held in by a plastic "ring" with little clips on each side. Just push the clips back and down to remove it.
Here's a close-up of how the clips look when the ring is inside the boot. Just slide the clips out of the holes in the boot, and the ring will come out.
Put the ring in the new boot by lining up the clips with the proper hole in the boot. Just slide the clips through the holes.
Here's the new boot with the ring installed.
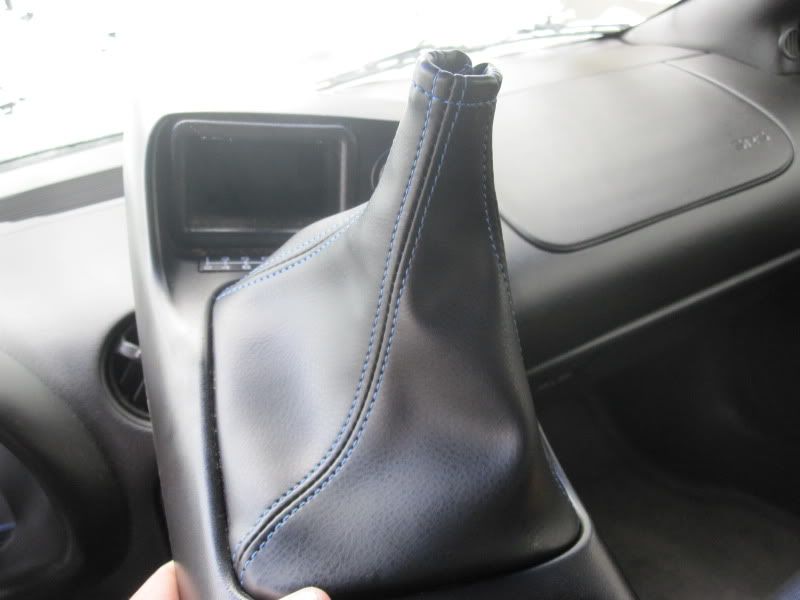
Reinstall the boot by pushing the clips back into place.
Reinstall the top of the center console, plug in the cigarette lighter, reinstall the 7mm bolts, put in your coin holder, put the shift **** back on, and you're done!
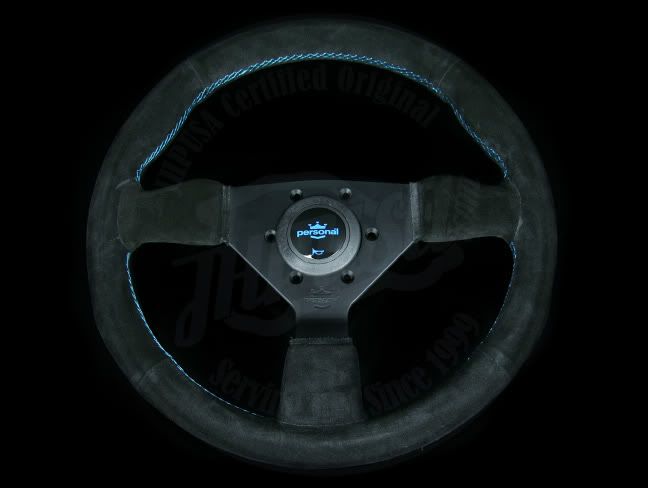
Have you looked at Personal steering wheels ? They make a cool 3 spoke in suede with blue stiching . Grinta(330mm) I think is the model Im thing of .
JMO , I would keep it minimum on the CF. Id hate to clutter up the clean look ya got going on. I think 3M di-noc would look pretty good on the radio bezel and door lock/window bezels , and I would prolly call it a day at that. Thats jus me though
JMO , I would keep it minimum on the CF. Id hate to clutter up the clean look ya got going on. I think 3M di-noc would look pretty good on the radio bezel and door lock/window bezels , and I would prolly call it a day at that. Thats jus me though
I was thinking about having that re-upholstered in black Alcantara and possibly having the metal part of the spokes wrapped in carbon fiber.
Like I said, I want to do the CF tastefully. I wouldn't use the Di-noc stuff or get anything hydrodipped. It's either real CF or nothing for me.
EDIT: Just saw the link you posted. That steering wheel looks awesome!
Trending Topics
LS1 Tech Stories
The Best V8 Stories One Small Block at Time

Topdon ONE vs. Artidiag 800 BT2: Which is the Diagnostic Tablet For You?
Pouria Savadkouei
Gas Monkey Built a 6-Wheel Ferrari Testarossa With a Corvette LT4 Engine
Verdad Gallardo
7 Most Reliable High-Performance Engines GM Has Ever Built
Verdad Gallardo
Amazing '71 Camaro Restomod Is Modern Muscle Car Under the Skin
Verdad Gallardo
6 Common C5 Corvette Failures and What's Involved In Repairing Them
Pouria Savadkouei
Retro Modern Bandit Pontiac Trans AM Comes With Burt Reynolds' Autograph
Verdad Gallardo
Top 10 Greatest Cadillac V Series Performance Models Ever, Ranked
Pouria Savadkouei
Top 10 Most Powerful Chevy Trucks Ever Made!


