
Finally fixed my tail light. Write-up?

Thread Starter

Joined: Jan 2004
Posts: 544
Likes: 0
From: Fort Lauderdale, FL
Finally got around to fixing my tail light situation. I would get people telling me my tail light is always out and blah blah blah

I followed a few topics and kinda did it my own way.
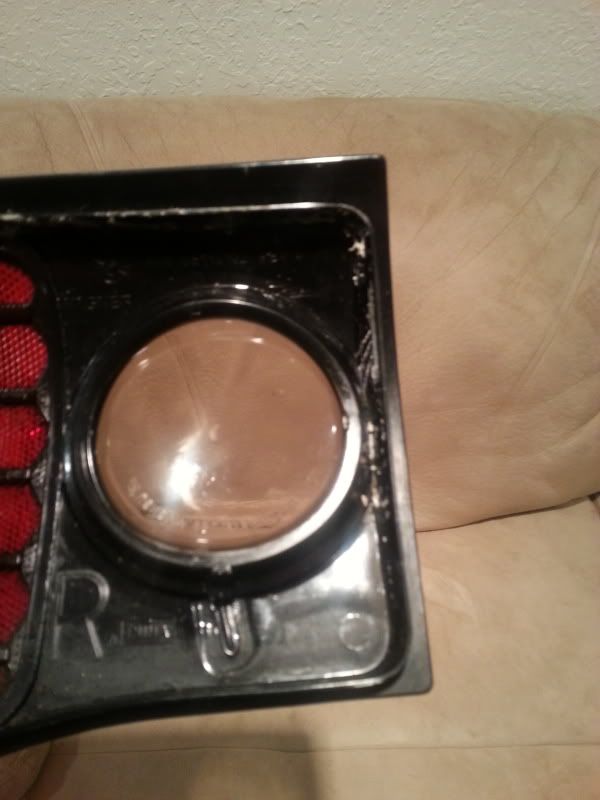
first step is pre-heating the oven, i went with 225 and baked it for 20 mins. make sure to air out your kitchen/house cause it will smell like burning plastic. After it baked i pulled it out and began splitting it, i used a small flathead and just carefully went around the edges and pulled it apart. I didnt hear any breaking (another write up said they heard that) probably because it was really hot.
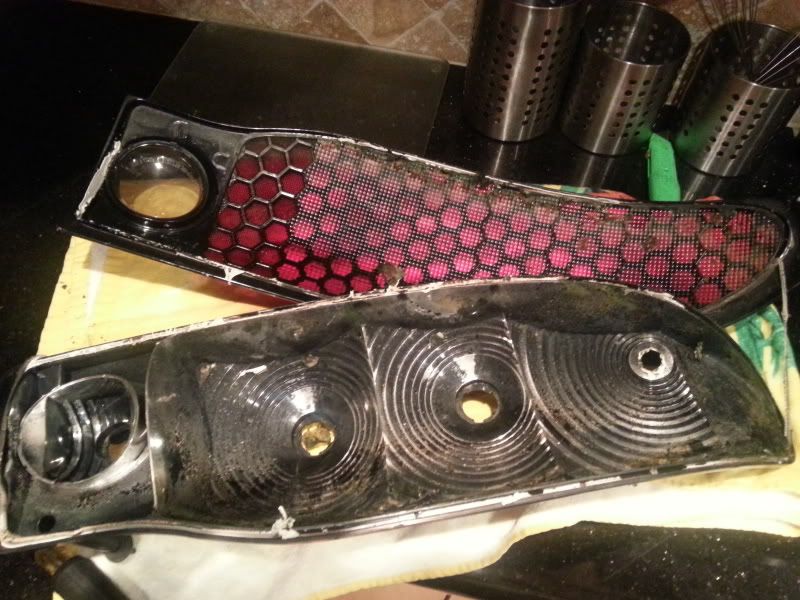
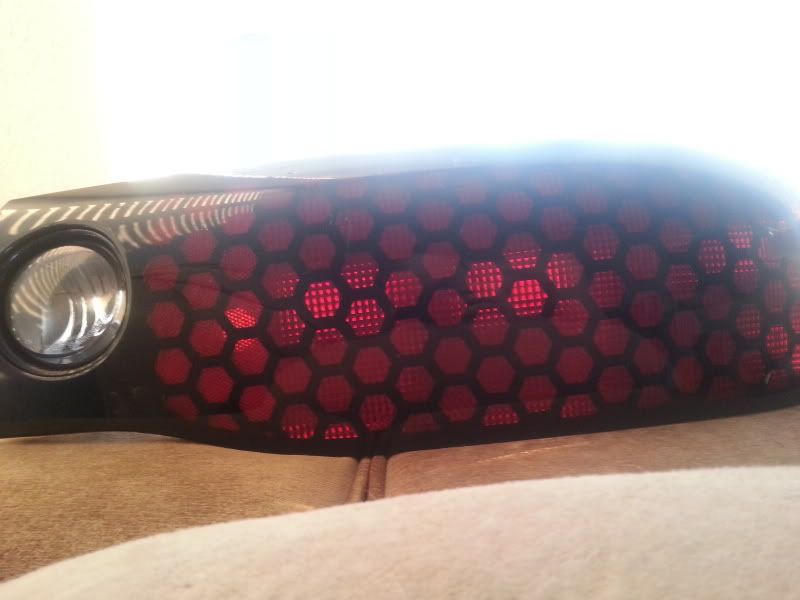
You can tell here that the reflective surface was flaking off and i eventually rubbed most of it off before i sealed it:
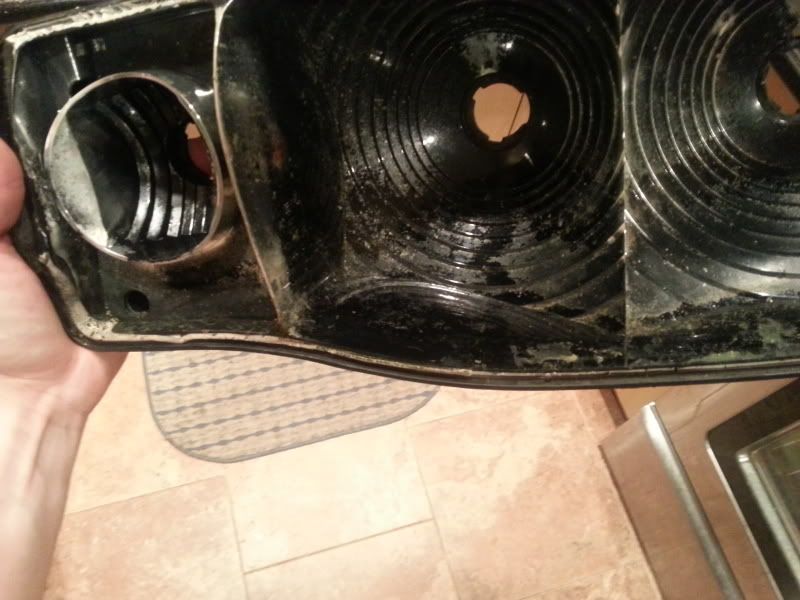

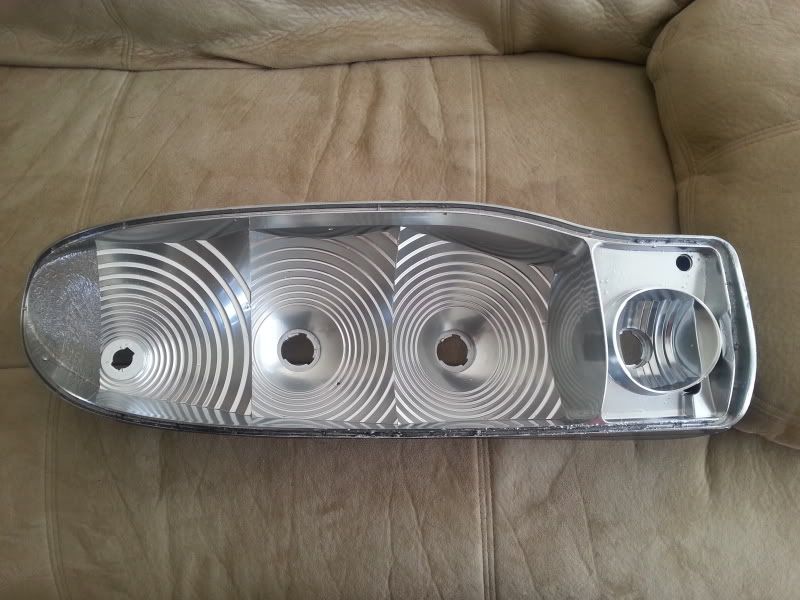
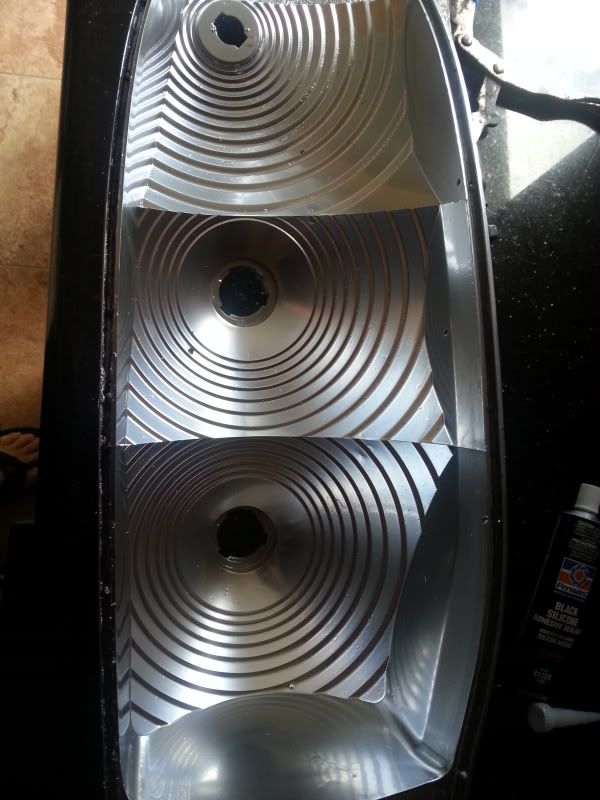
Now removing the glue was the hardest part. i basically kept the oven at 200 degrees and just kept rotating the parts so i can get most of the glue off. Some people say its bad cause it warps the plastic but place a tower down on the rack and lay it on there, just dont leave it in there very long. A heat gun would be ideal here as well
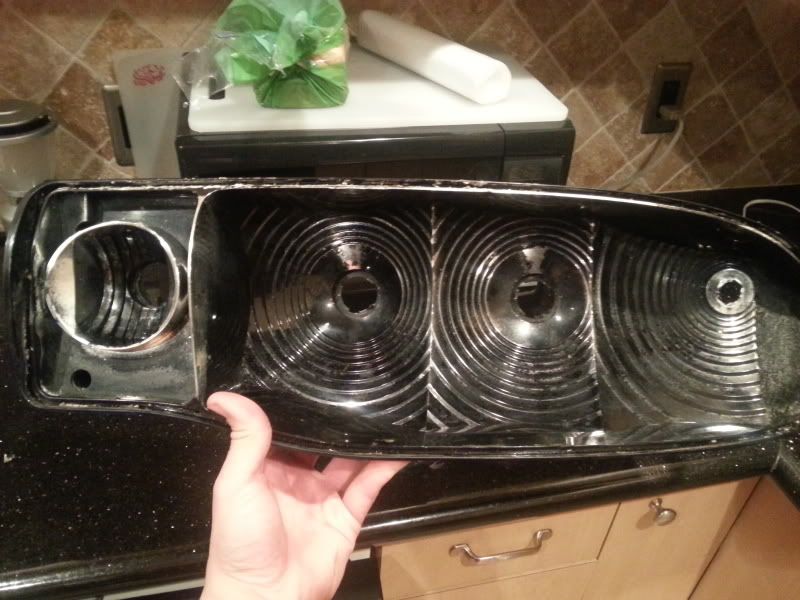
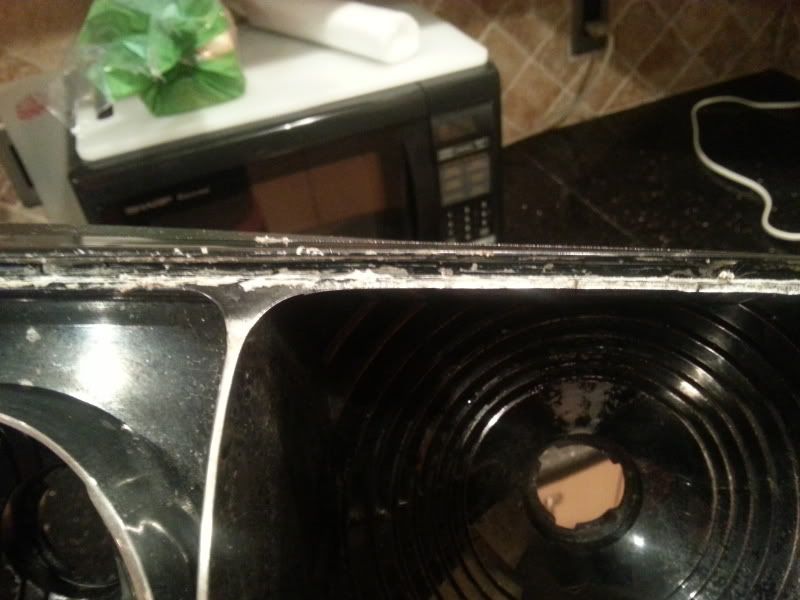
Glue off and flaking rubbed off:
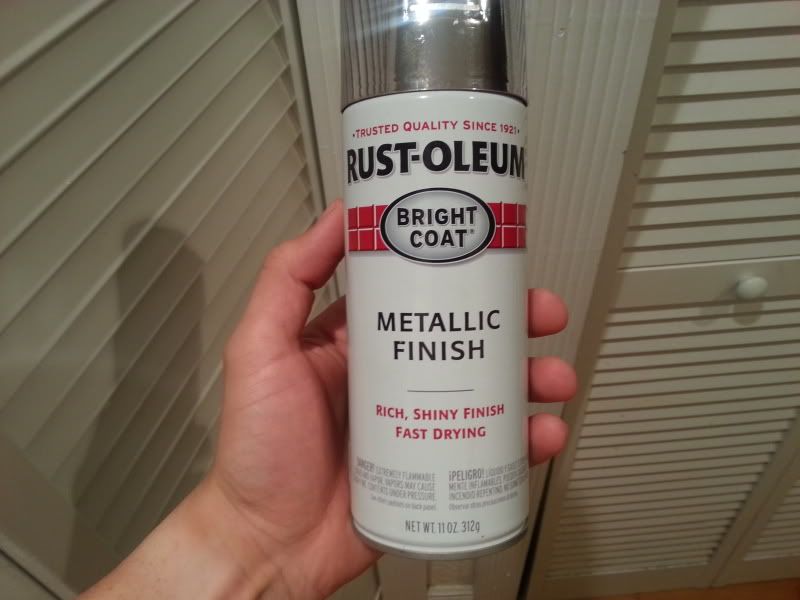
Now time to tape up the light really good and spray. i used Rust-o-lem metallic finish rather then the chrome, on the next light im going to use the chrome and see the difference:
now i applied about 3 coats with giving it some time to dry. it was nice out so it dried pretty quick.

i let it dry overnight:
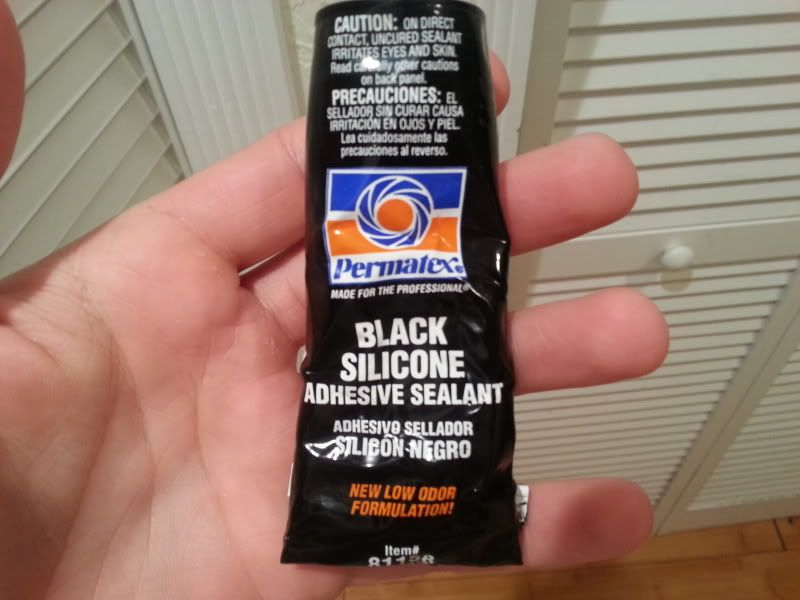
Now time to clamp it and seal it. I used Permatex black silicone sealant and it worked great, just make sure to get a lot in all of the lines. i made sure to use a lot on it. I clamped it with some clamps i bought at home depot and 2 vice grips with painters tape on all of them so it wouldnt scratch it it.
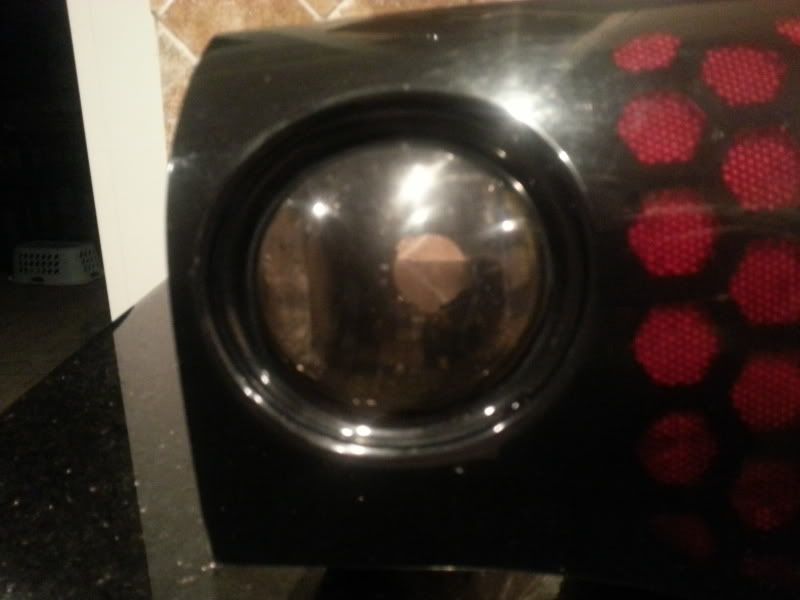
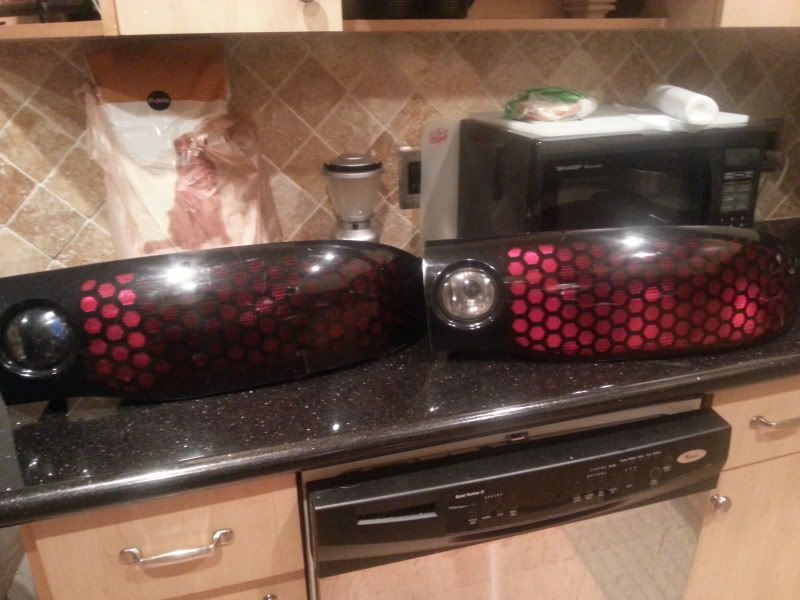
Here is the finish product after letting it cure for 24 hours:

I followed a few topics and kinda did it my own way.
first step is pre-heating the oven, i went with 225 and baked it for 20 mins. make sure to air out your kitchen/house cause it will smell like burning plastic. After it baked i pulled it out and began splitting it, i used a small flathead and just carefully went around the edges and pulled it apart. I didnt hear any breaking (another write up said they heard that) probably because it was really hot.
You can tell here that the reflective surface was flaking off and i eventually rubbed most of it off before i sealed it:
Now removing the glue was the hardest part. i basically kept the oven at 200 degrees and just kept rotating the parts so i can get most of the glue off. Some people say its bad cause it warps the plastic but place a tower down on the rack and lay it on there, just dont leave it in there very long. A heat gun would be ideal here as well
Glue off and flaking rubbed off:
Now time to tape up the light really good and spray. i used Rust-o-lem metallic finish rather then the chrome, on the next light im going to use the chrome and see the difference:
now i applied about 3 coats with giving it some time to dry. it was nice out so it dried pretty quick.
i let it dry overnight:
Now time to clamp it and seal it. I used Permatex black silicone sealant and it worked great, just make sure to get a lot in all of the lines. i made sure to use a lot on it. I clamped it with some clamps i bought at home depot and 2 vice grips with painters tape on all of them so it wouldnt scratch it it.
Here is the finish product after letting it cure for 24 hours:
Thread Starter
Joined: Jan 2004
Posts: 544
Likes: 0
From: Fort Lauderdale, FL
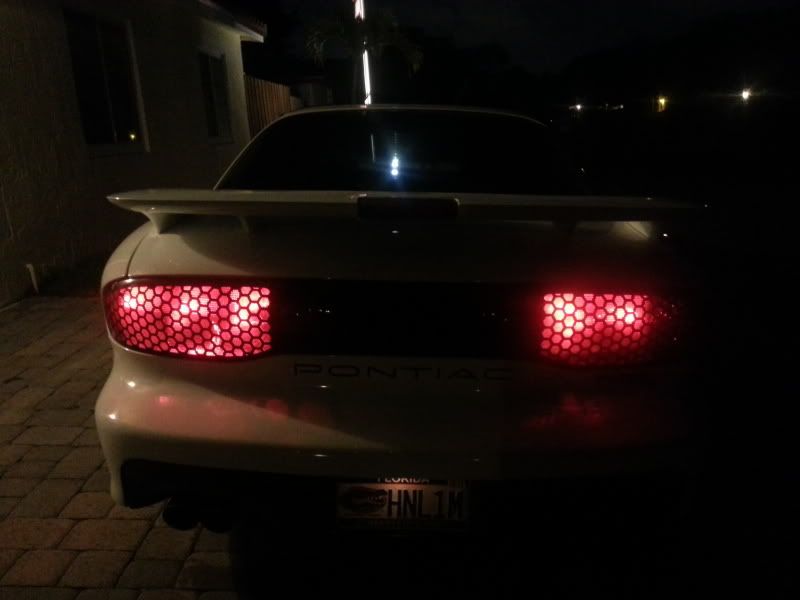
here is some comparison pics between the reverse lights and some of the old light that i had on there. (I found one at the junkyard so this is the stock one that came with my car)
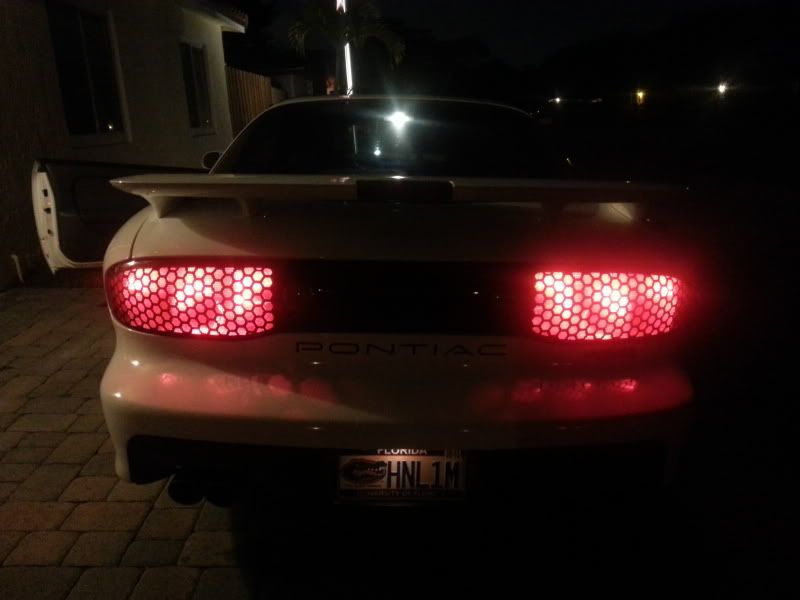
And lights:
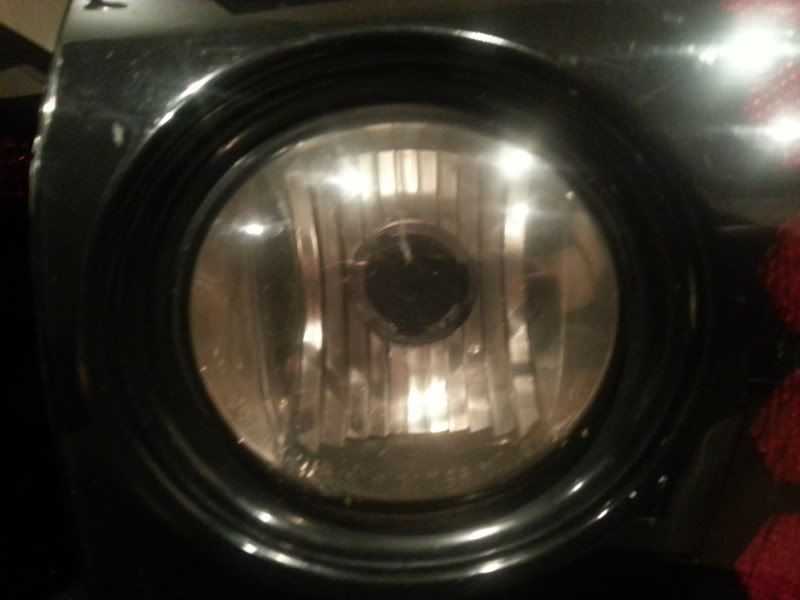
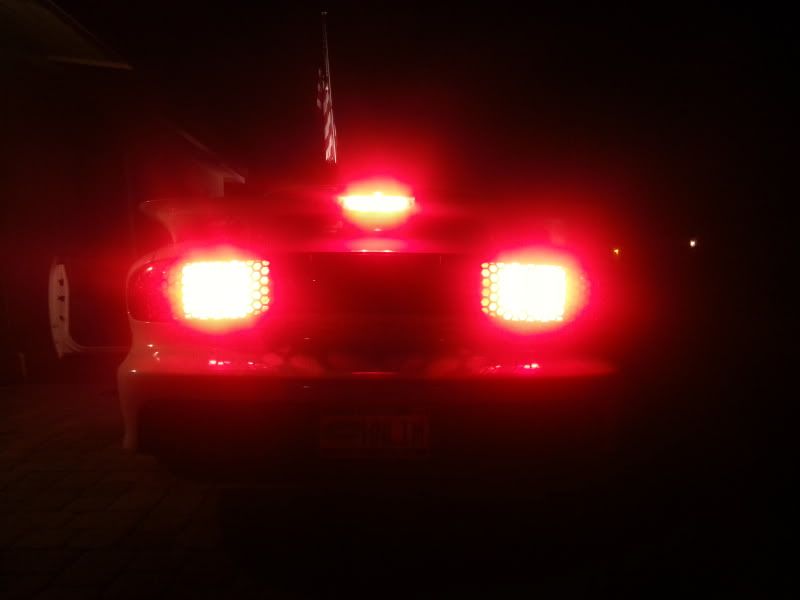
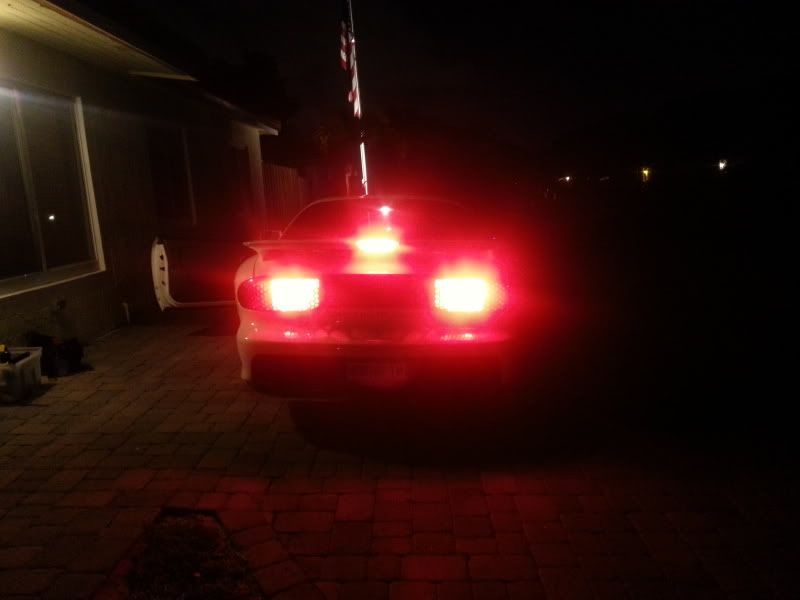
And here is the lights with the car running and when the brakes are pressed:
Before:
After:
Brakes:
Before:
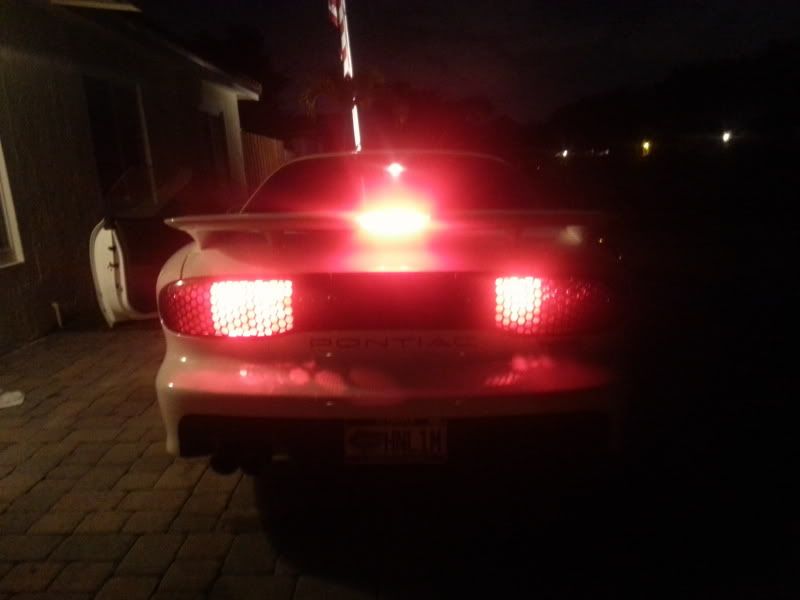
After:
It was really easy just time consuming. Now my driver side light looks dim 0_o
time to wetsand and polish them after i do it to the driver side.
What do you guys think? Any questions please feel free to ask here or pm.
And lights:
And here is the lights with the car running and when the brakes are pressed:
Before:
After:
Brakes:
Before:
After:
It was really easy just time consuming. Now my driver side light looks dim 0_o
time to wetsand and polish them after i do it to the driver side.
What do you guys think? Any questions please feel free to ask here or pm.


