When you click on links to various merchants on this site and make a purchase, this can result in this site earning a commission. Affiliate programs and affiliations include, but are not limited to, the eBay Partner Network.
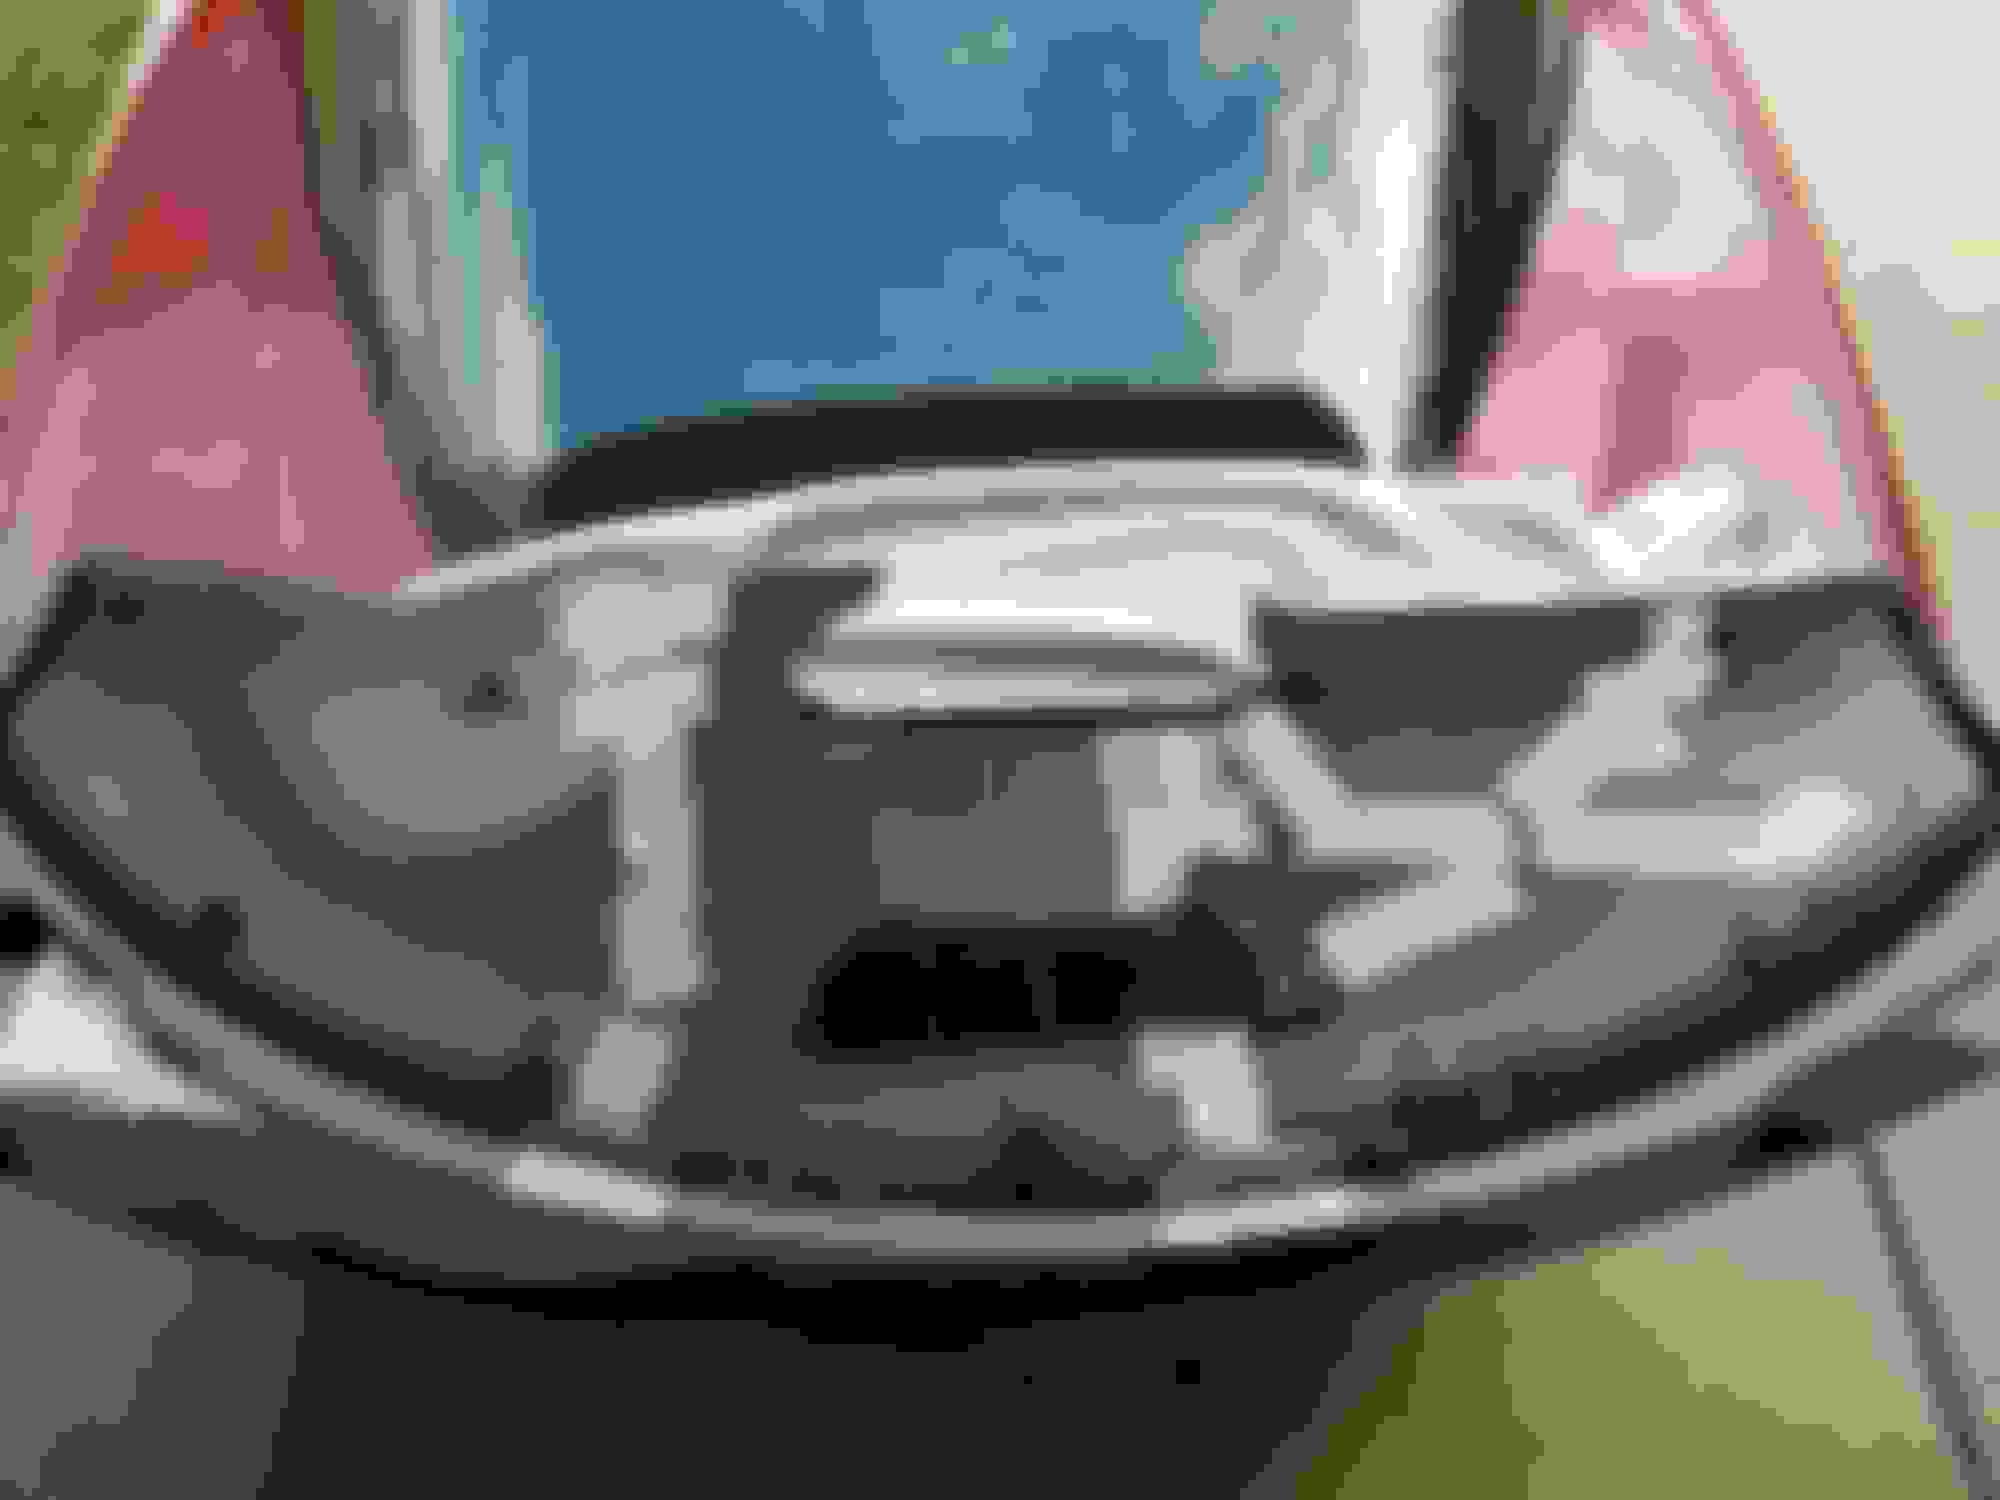
I read all I could here on this topic and decided to attempt to make a more permanent type Dash "Cap" for my 1998 Z28. This might not be for everyone but I though I'd share my results with you that have helped me enormously over the years. So I have attached some pictures. This is the old broken dash and the replacement. You can see that the New is actually a Cap, meaning that it was made to fit over the broken dash. So I had to take my Dremel tool and trim the lip that sits under the windshield and then do a little scraping the a knife so that it would fit good.
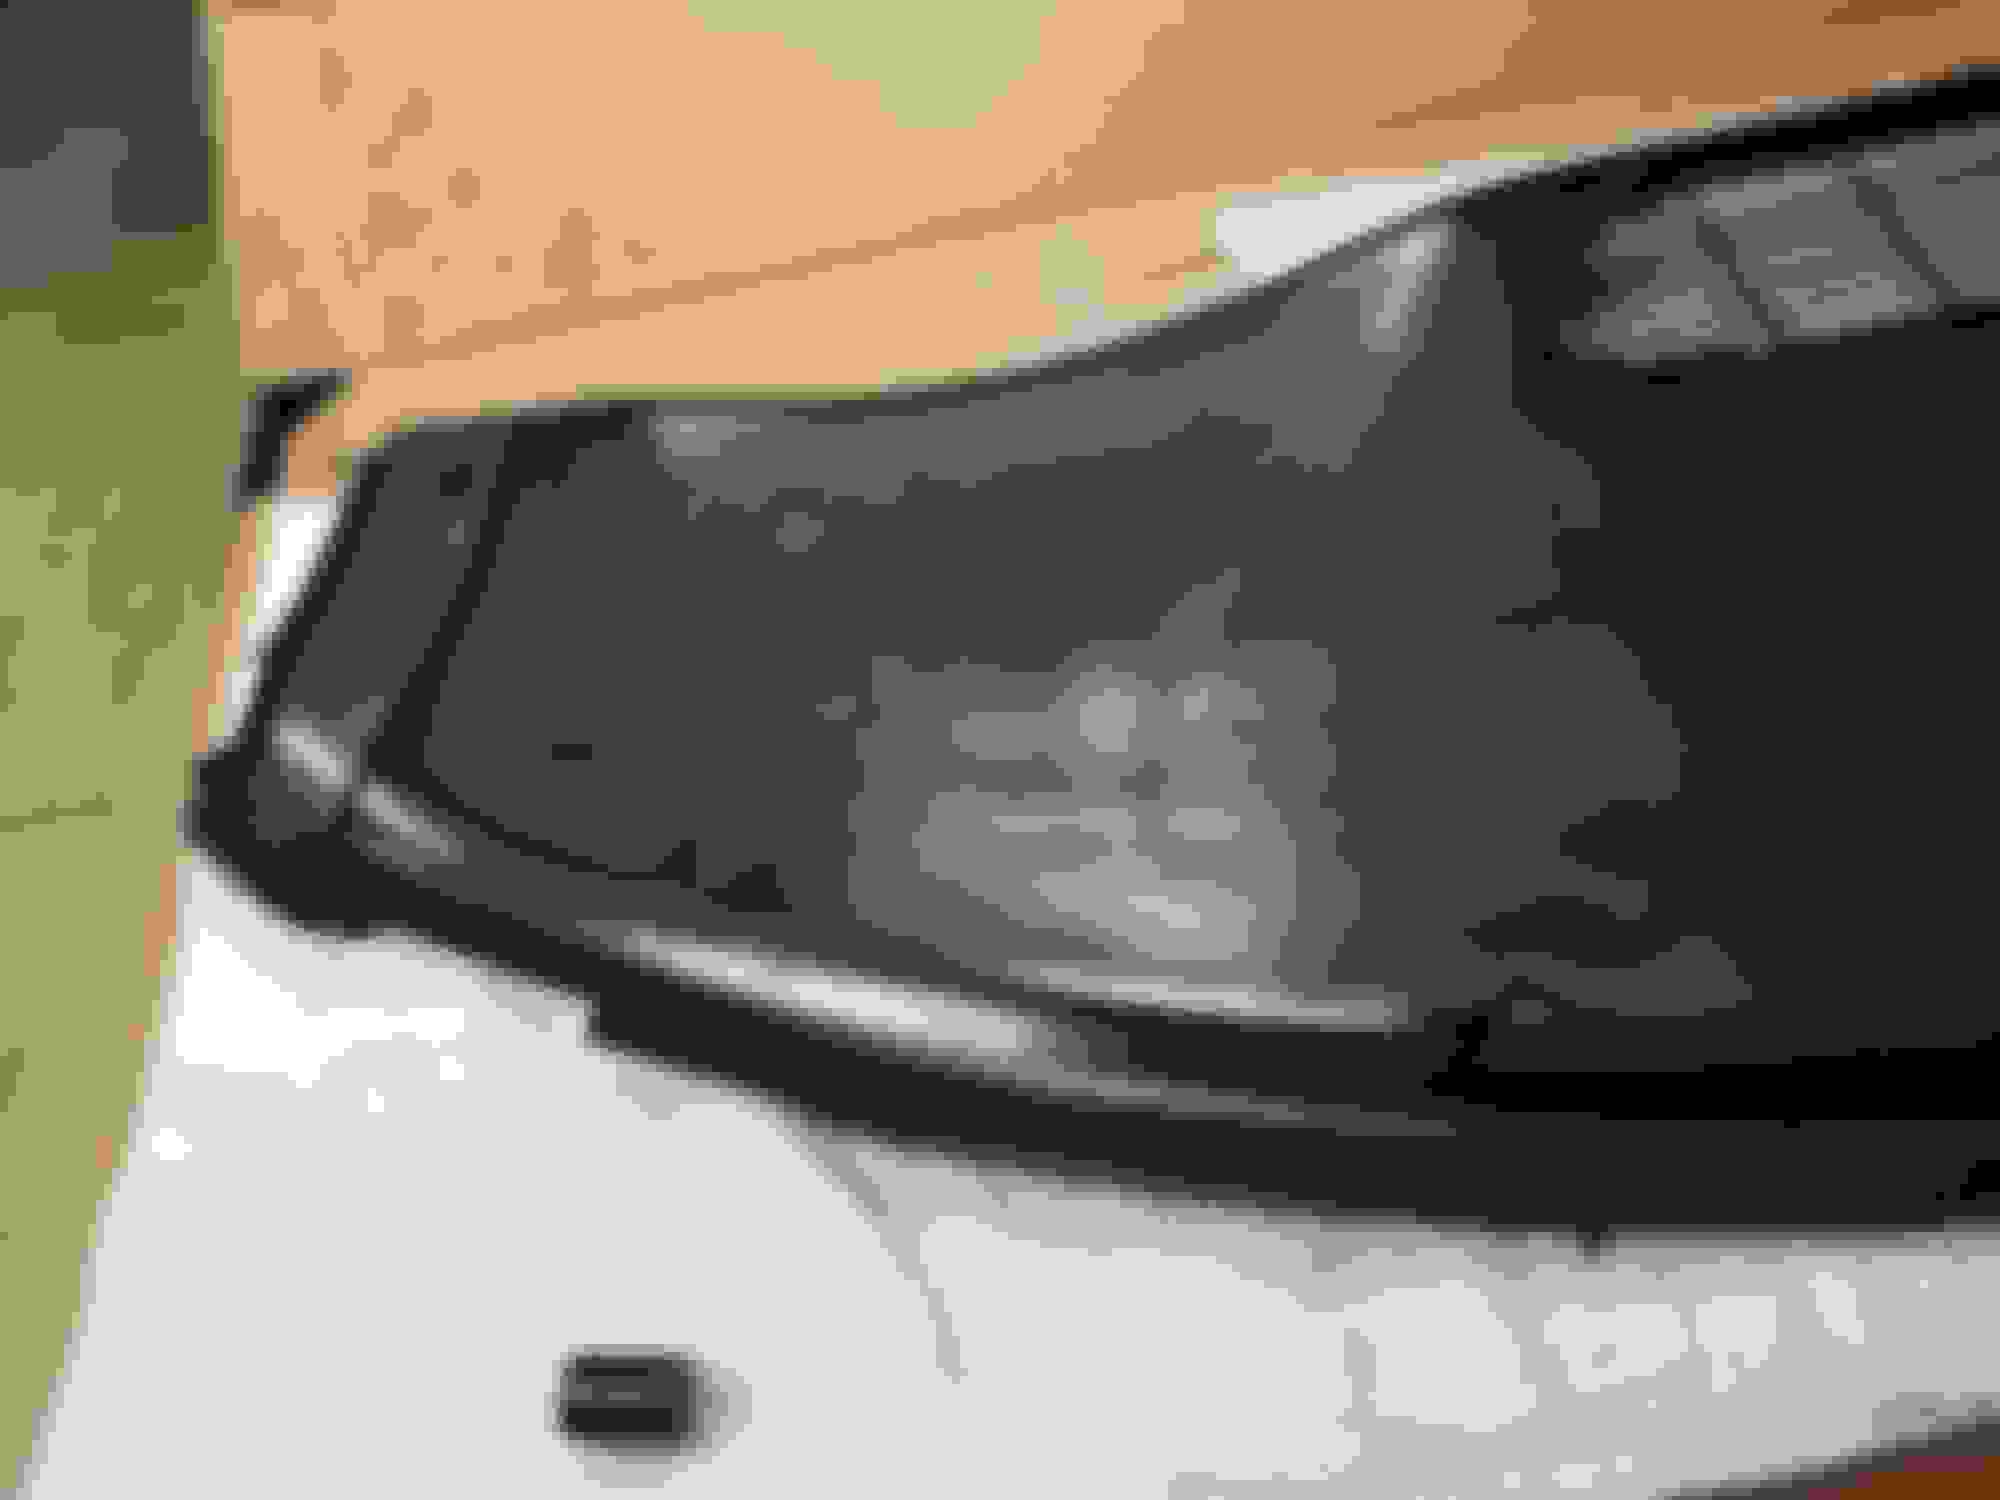
Here you can see that I cut the ends off of the old dash where the A Pillars attach and glued them on to the new one. You can also see a round black plastic foot off of something that was laying around to cut and use in the manufacture as attachment pieces.
Here are some of the materials that I used that were laying around my garage. You can see the Red Carbon fiber/Kevlar material that I used to add strength to the cap.
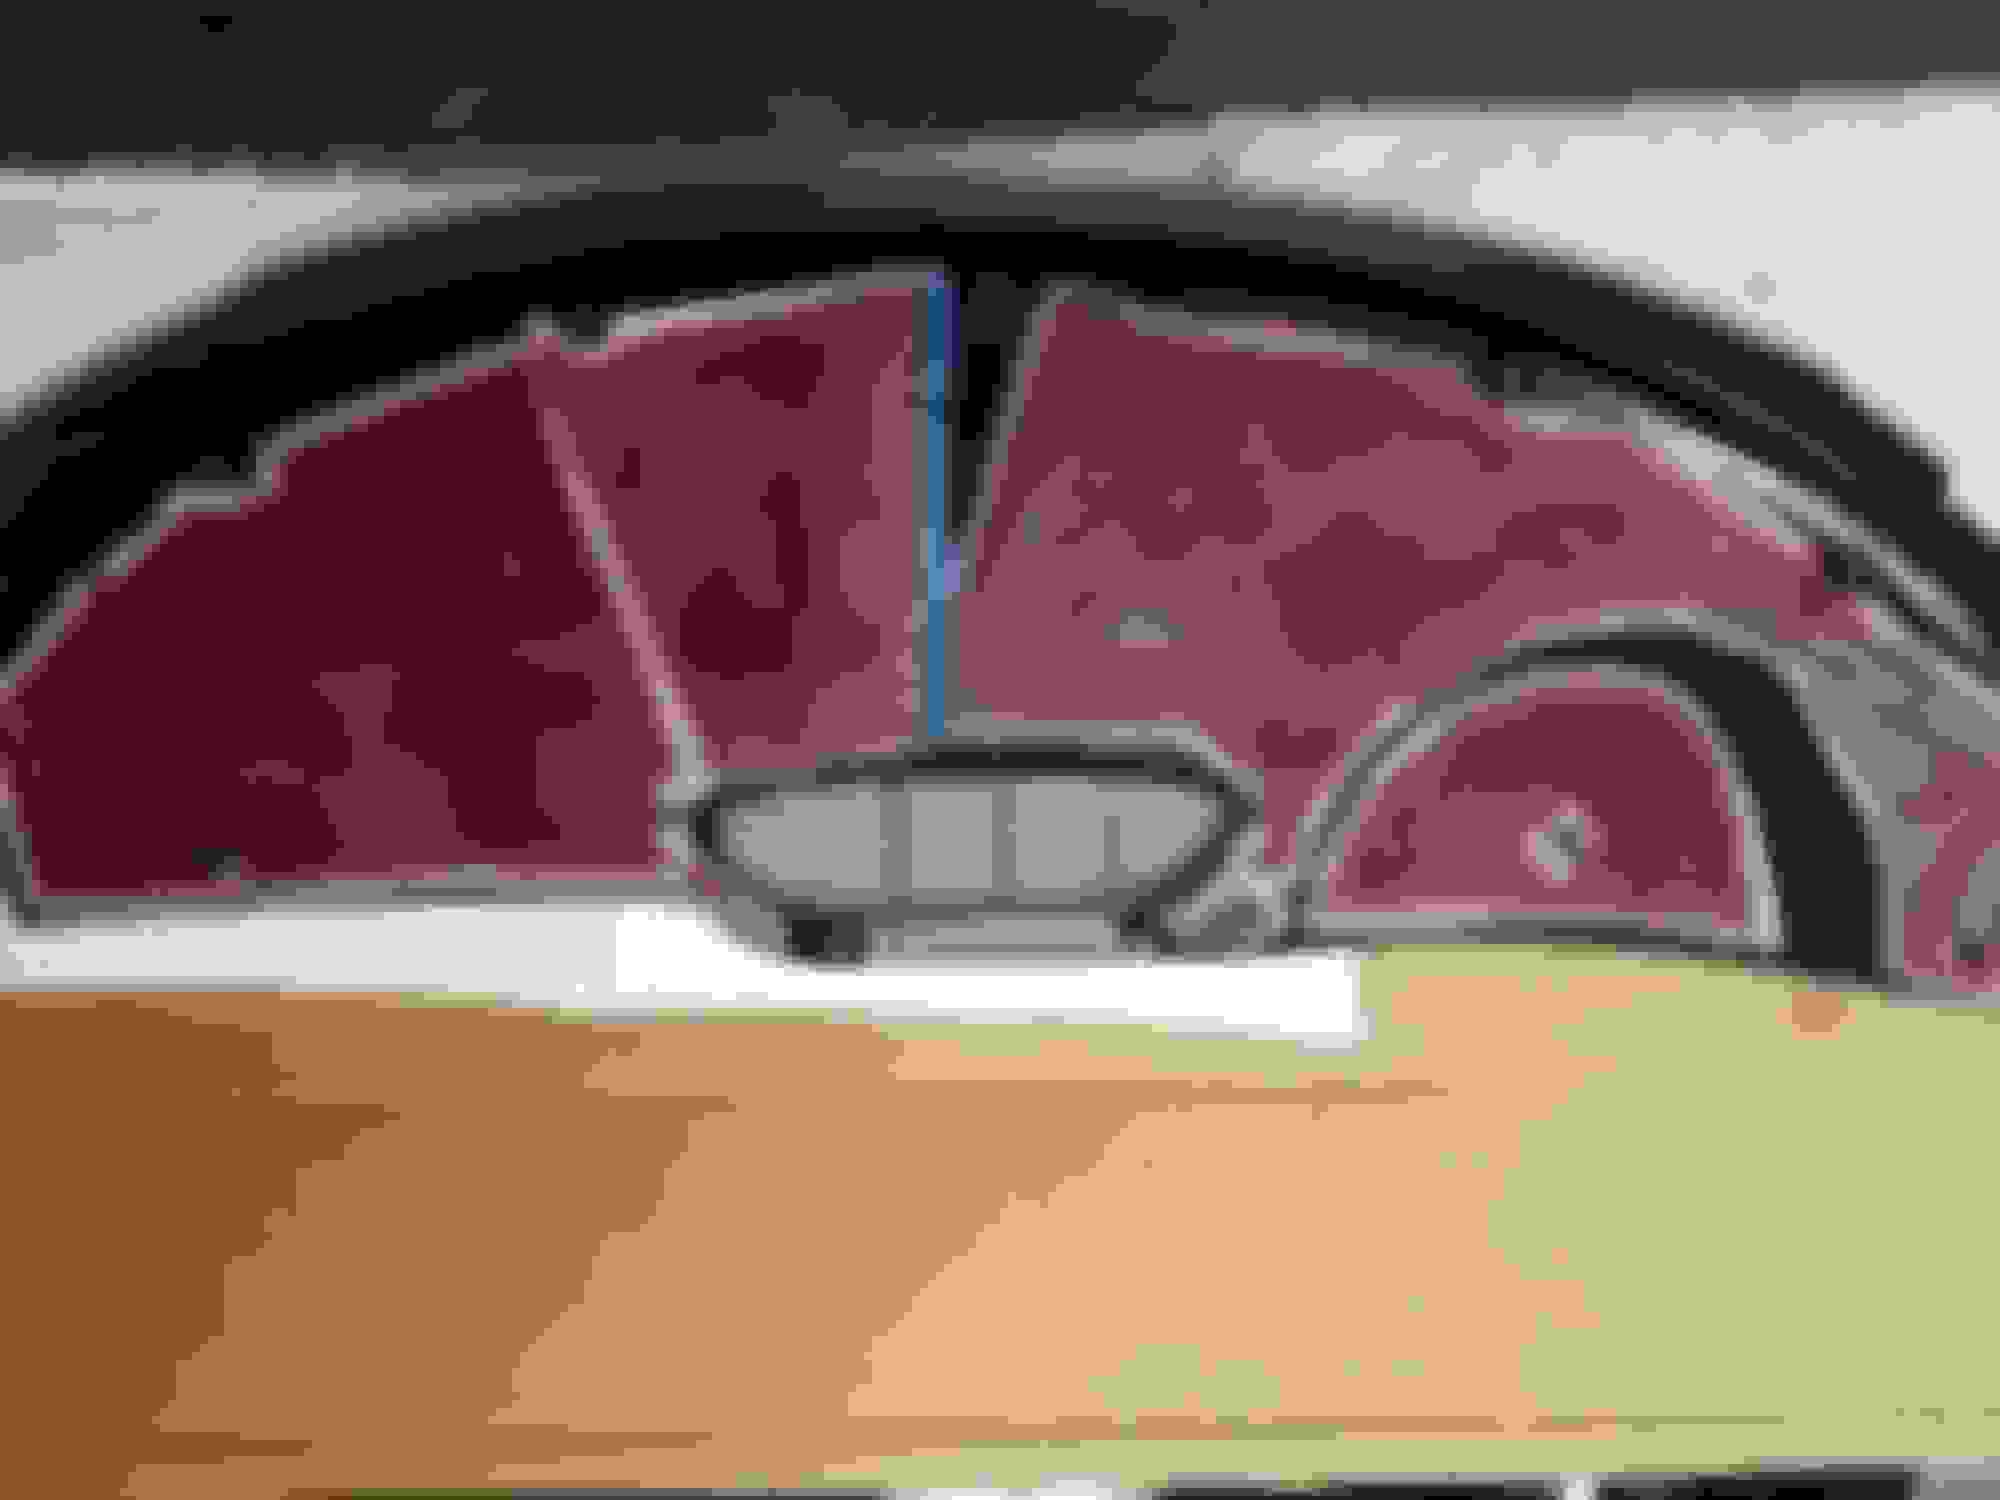
Here you can see where I had to reinforce where the A-Pillars attached, and added pins to hold the cap permanently in place. I also re-used the old foam insulation material from the old cap.
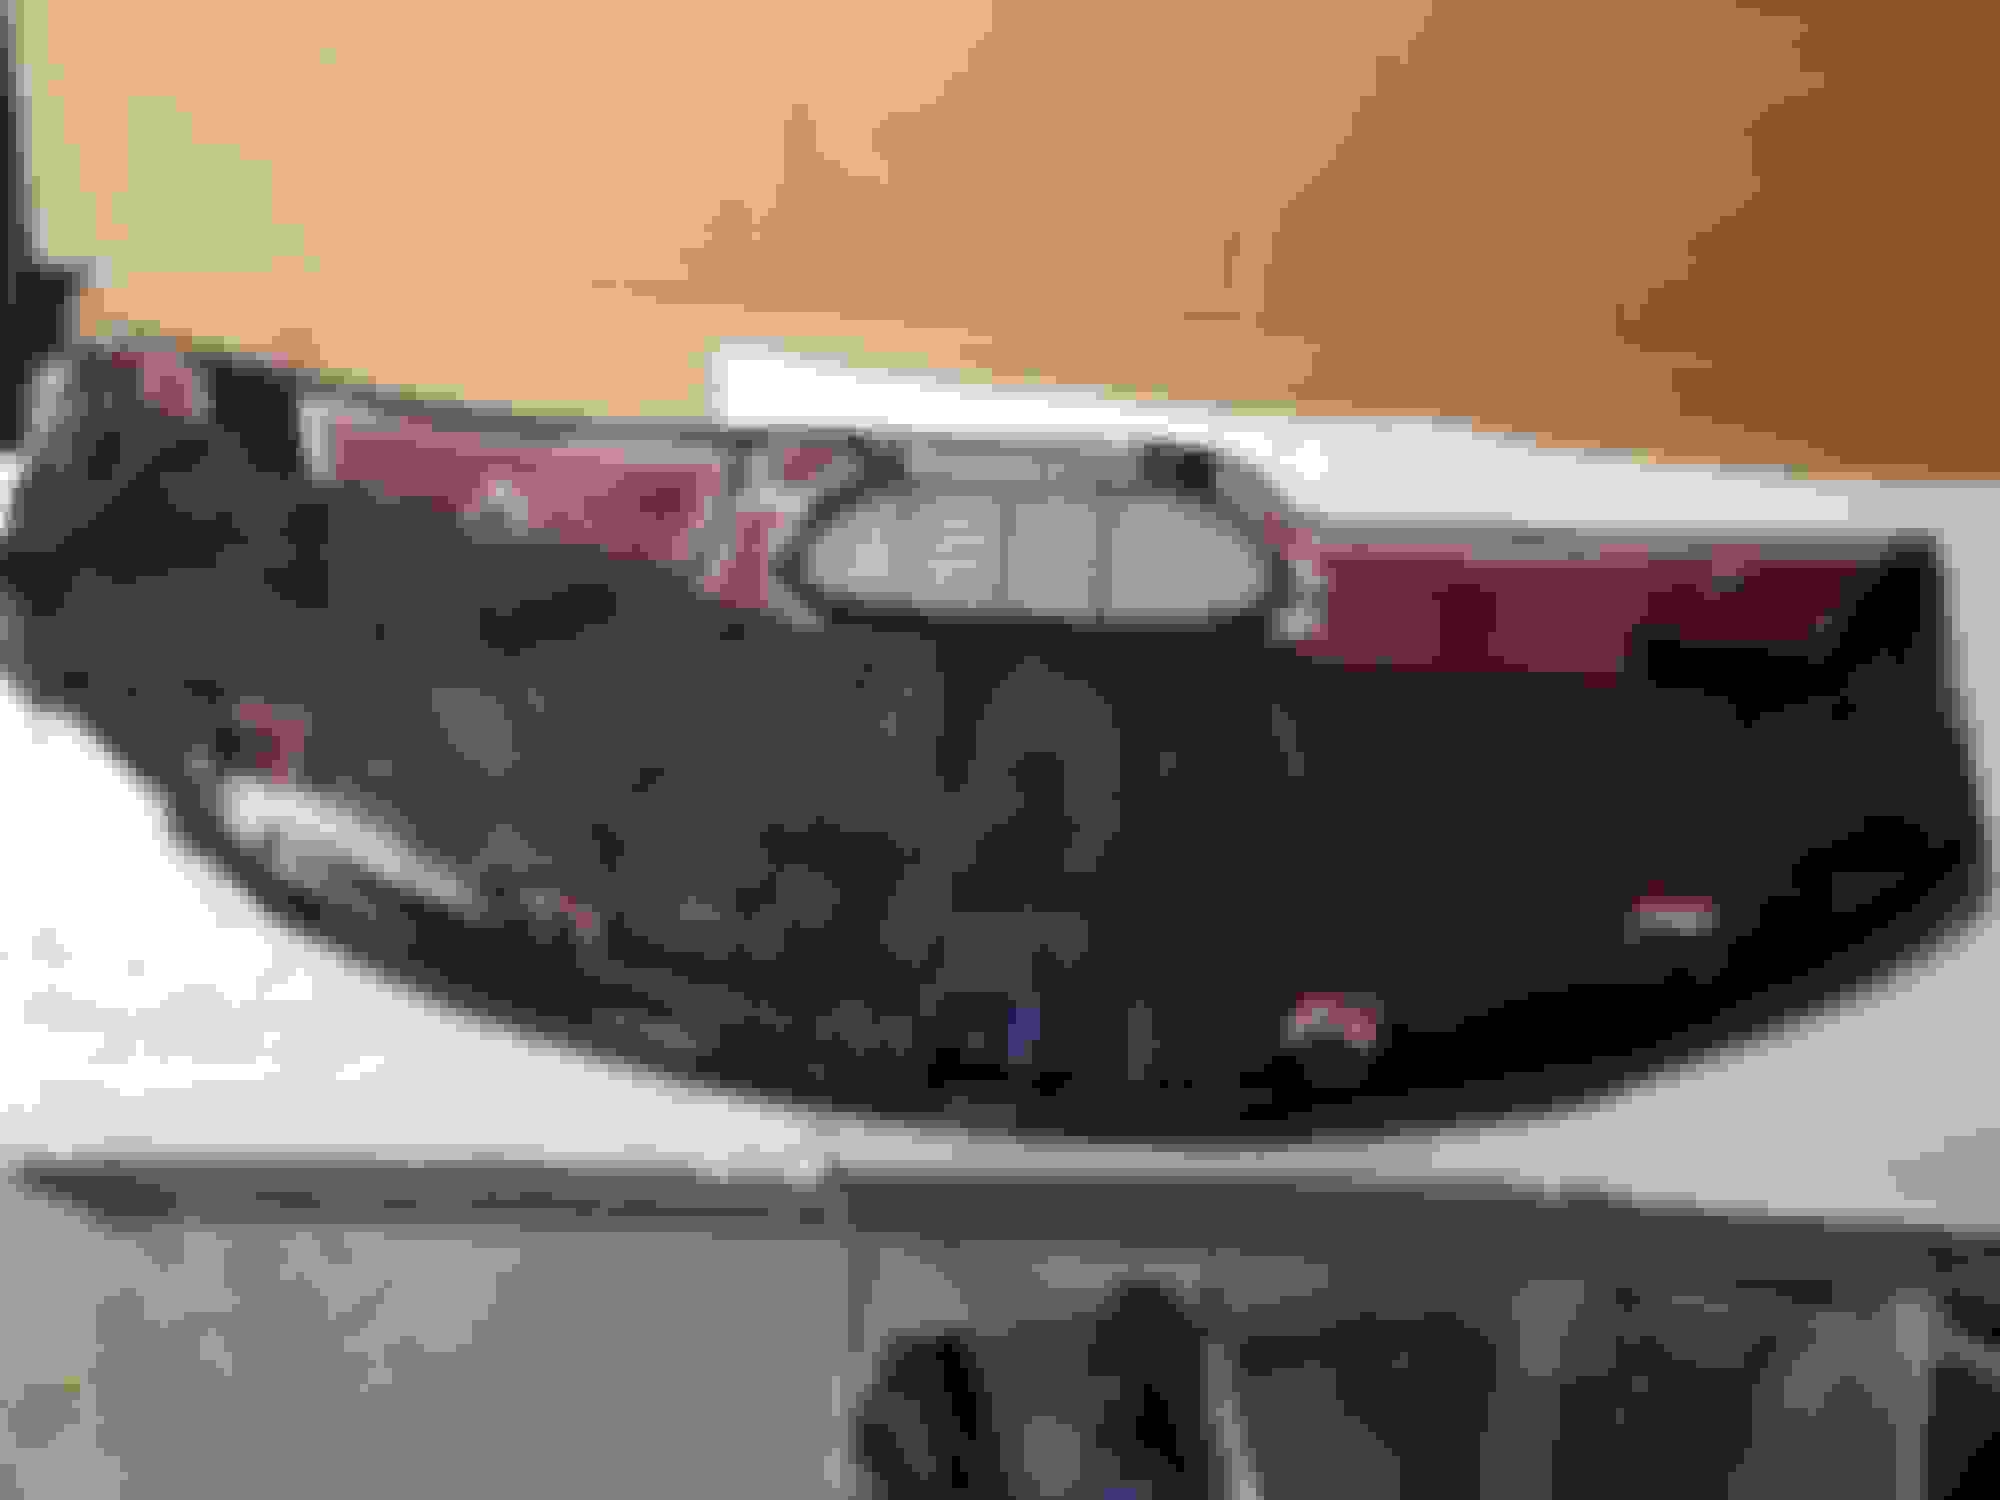
Here it is installed and looks pretty good, for me that is. It is not perfect but I will never have to mess with it again, and I can get rid of that old ratty looking dash carpet I have been using for many years.
6 Common C5 Corvette Failures and What's Involved In Repairing Them
Slideshow: From wobbling harmonic balancers to failed EBCMs, these are the issues that define long-term C5 ownership and what repairs typically involve.
Retro Modern Bandit Pontiac Trans AM Comes With Burt Reynolds' Autograph
Slideshow: A modern Camaro transformed into a retro icon, this limited-run "Bandit" build blends nostalgia with brute force in a way few revivals manage.
Top 10 Greatest Cadillac V Series Performance Models Ever, Ranked
Slideshow: Cadillac didn't just crash the high-performance luxury vehicle party, it showed up loud, supercharged, and occasionally a little unhinged...
Coachbuilt N2A Anteros Is an LS2-Powered C6 Corvette In Italian Clothes
Slideshow: A one-off sports car that looks like a vintage Italian exotic-but hides a C6 Corvette underneath-just sold for the price of a new mid-engine Corvette.