


66 Impala Convert LS2 Conversion

Thread Starter
TECH Fanatic


Joined: Jul 2008
Posts: 1,570
Likes: 173
I've already started with the conversion and will be posting updates directly here in the future.....but....here's a link explaining what has happened up to this point.....
http://www.yenko.net/ubbthreads/ubbt...453#Post455453
Ken
http://www.yenko.net/ubbthreads/ubbt...453#Post455453
Ken
Thread Starter
TECH Fanatic
Joined: Jul 2008
Posts: 1,570
Likes: 173
For anyone considering the Holley Pan for this type of a conversion, there is a slight issue that Holley should have taken care of before releasing the pan for sale....the Pan itself fits with plenty of steering clearance for the "B" body cars...I have a engine height issue I have to correct (Pan rests on the crossmember) need to raise the engine about a 1/2"......But....I guess that's to be expected......The issue that Holley should have corrected is the pick-up tube assy that is supplied with the pan has an attachment bracket welded to it that bolts to one of the nuts on the windage tray.....there is an embossed profile that the nut fits into on the tray.......the bracket on the pickup has an embossed shape also....except it is way too big to seat the bracket into the tray.....it ***** the tube assy at an angle and won't allow the pan to seat against the block due to the tipping.......the instructions say there might be a problem in this area.....it's almost impossible to correct without having a beltsander some 1/8" metal to make some gussetts for proper support and a welder handy......if you just grind the bracket away to clear, theres almost nothing left to hold the tube........Poor Engineering....they should have just had the tooling made to the smaller shape and it would work in any situation........Big Companies........Sheesh!!.....such a simple fix that now becomes a major problem for the average guy working in his garage that shouldn't have to deal with that nonsense...........Just a few words of "Experience".......
Ken
Ken
Thread Starter
TECH Fanatic
Joined: Jul 2008
Posts: 1,570
Likes: 173
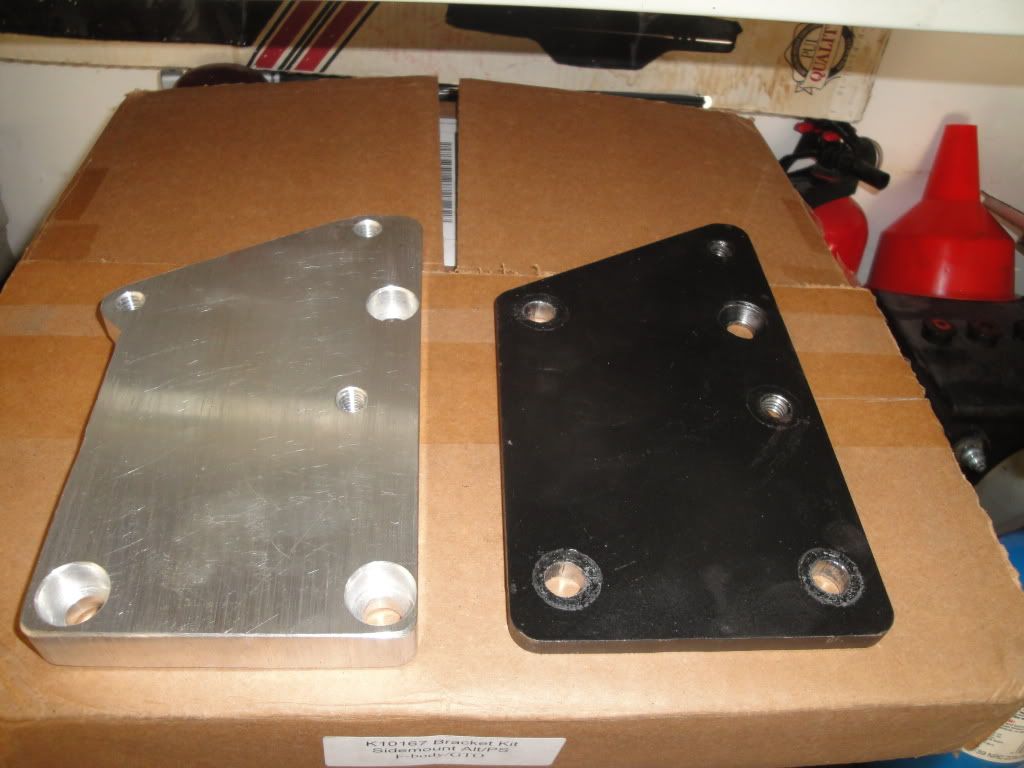
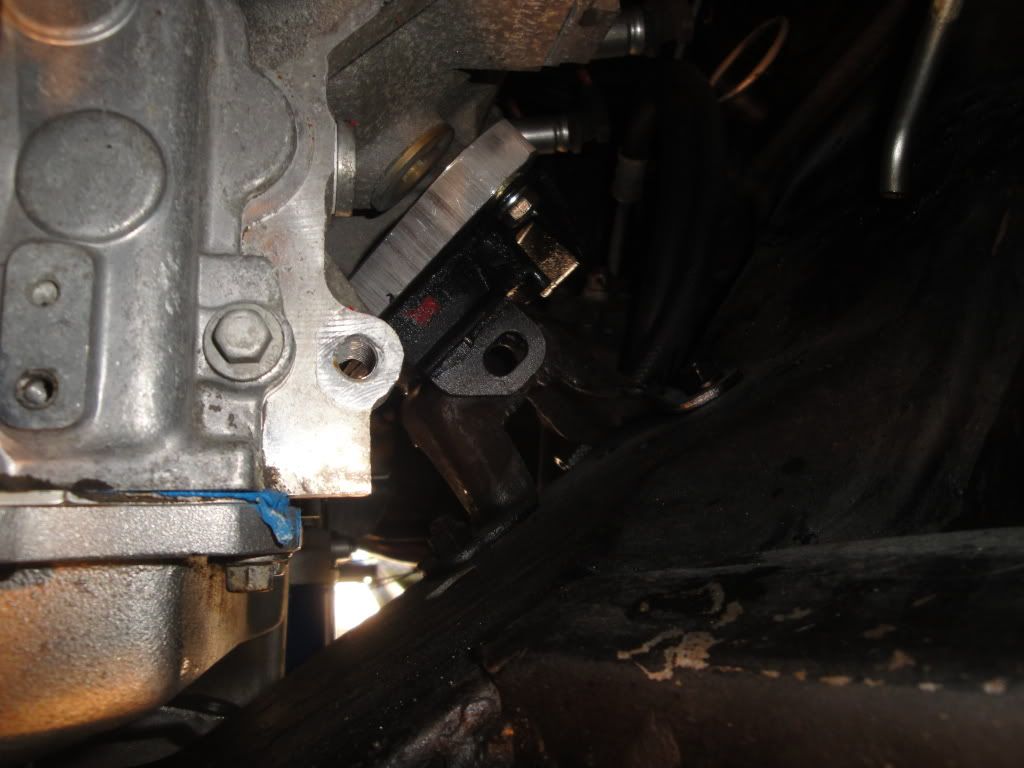
I needed to raise the Engine about 5/8" to get the Pan off the Crossmember.....Rather than mess around with Frame mounts and Motor mounts, I decided to make new motor mount adaptor plates......because the mounts are on an angle and I wanted to raise the engine, I had to figure out how much to move the rubber mount holes and how much thicker to make the plate to get everything to fall into place.....here are some pic's
Store bought plate in black......you can see how the 3 rubber mount holes are moved down and the plate is also thicker
New plate mounted to the engine......
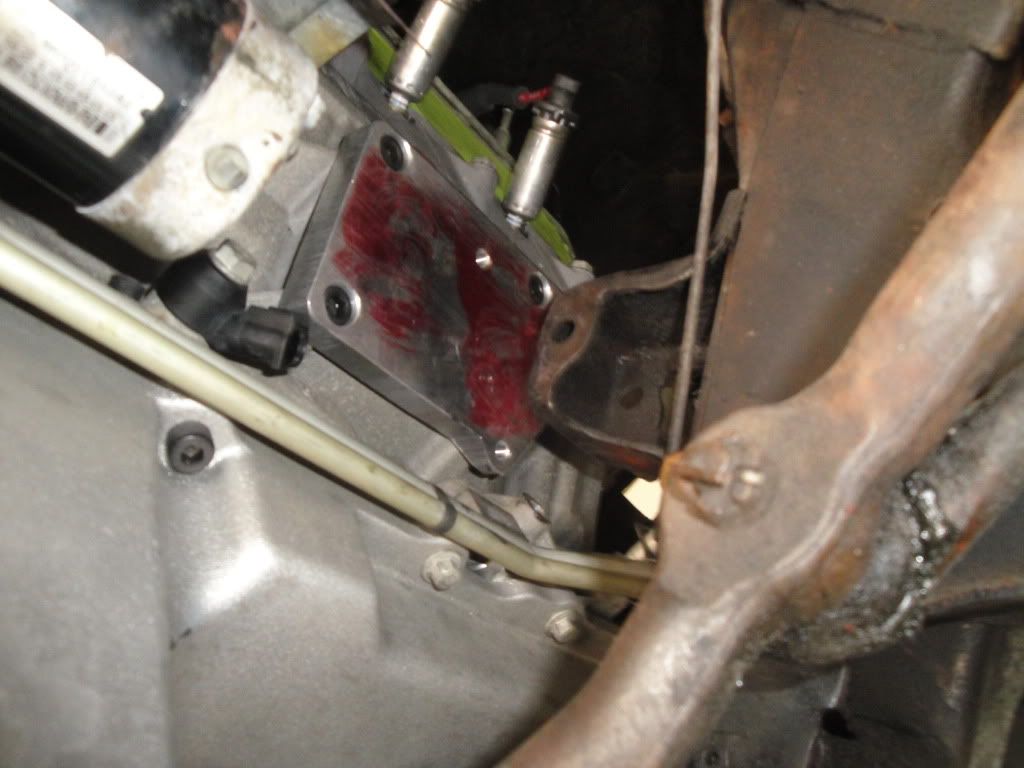
Rubber mount installed......
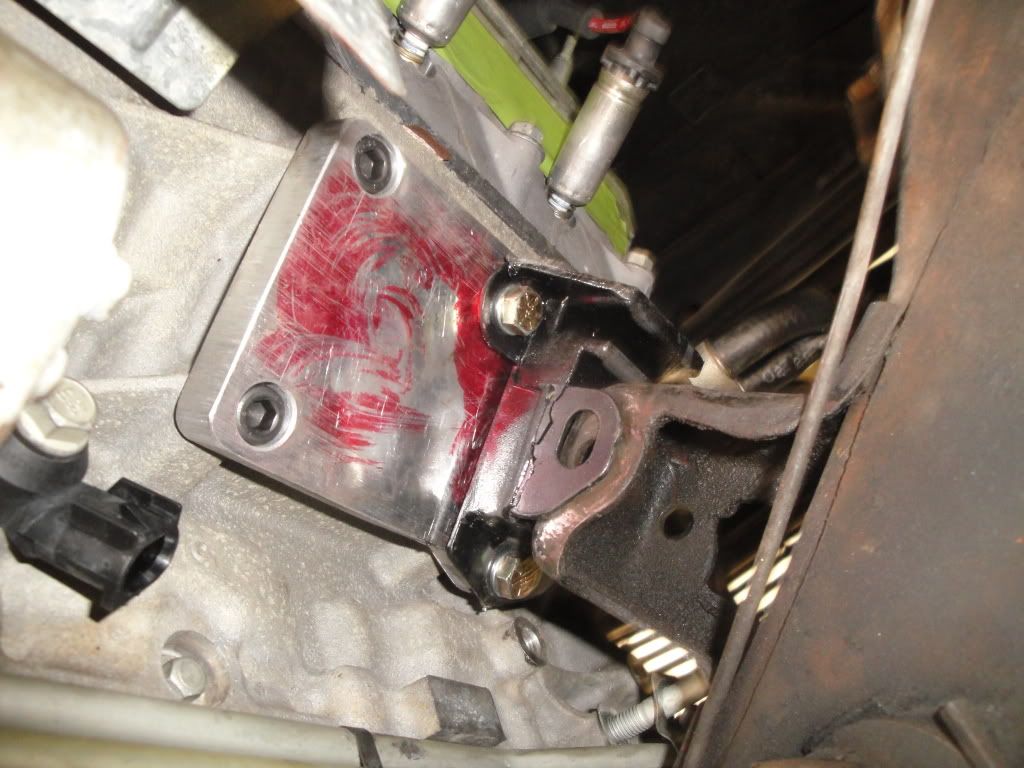
Engine down on the mounts and the holes line up perfectly....Just slid the bolts in....I love it when a plan comes together....
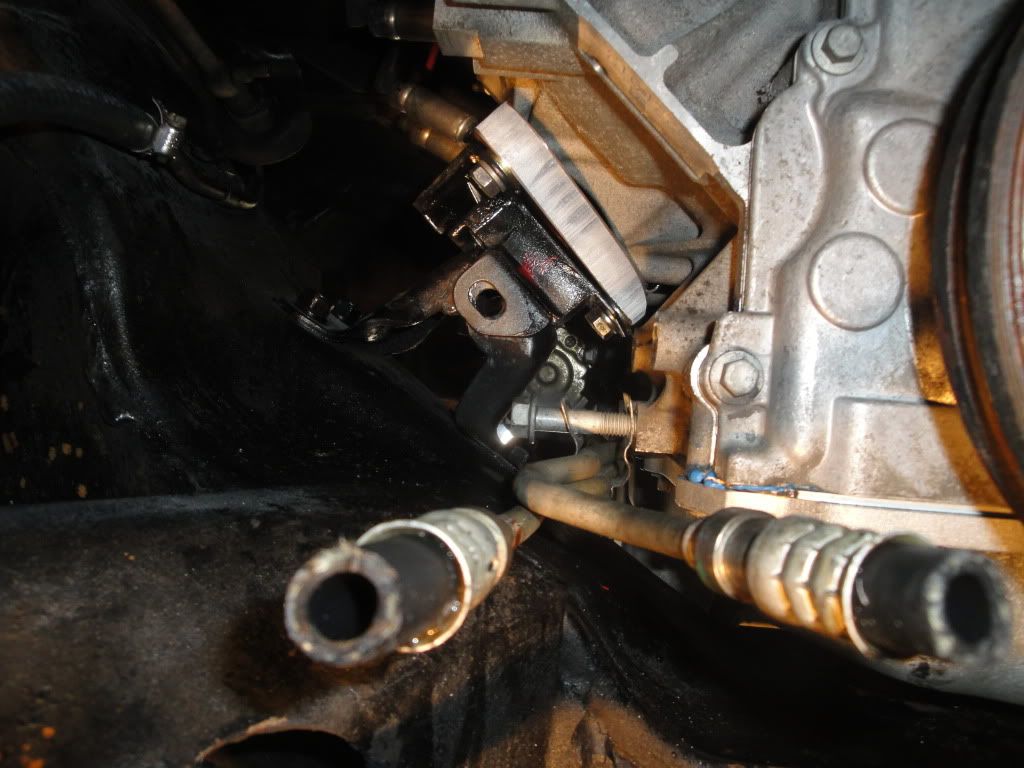
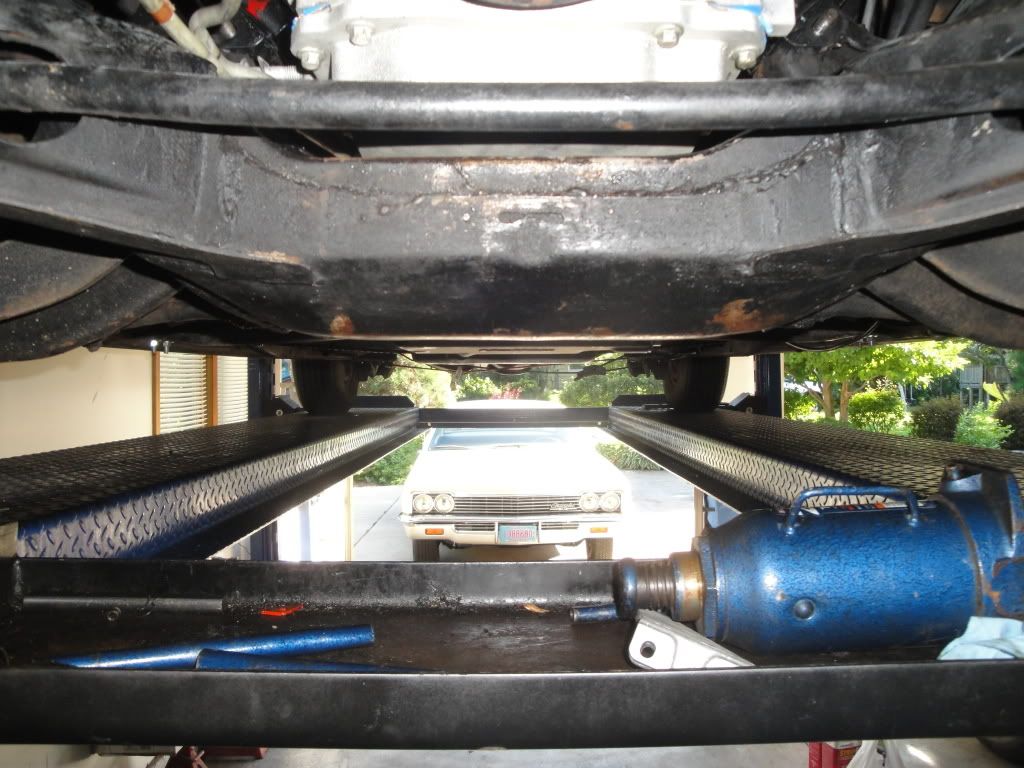
Pan not sits nicely above the crossmember.....
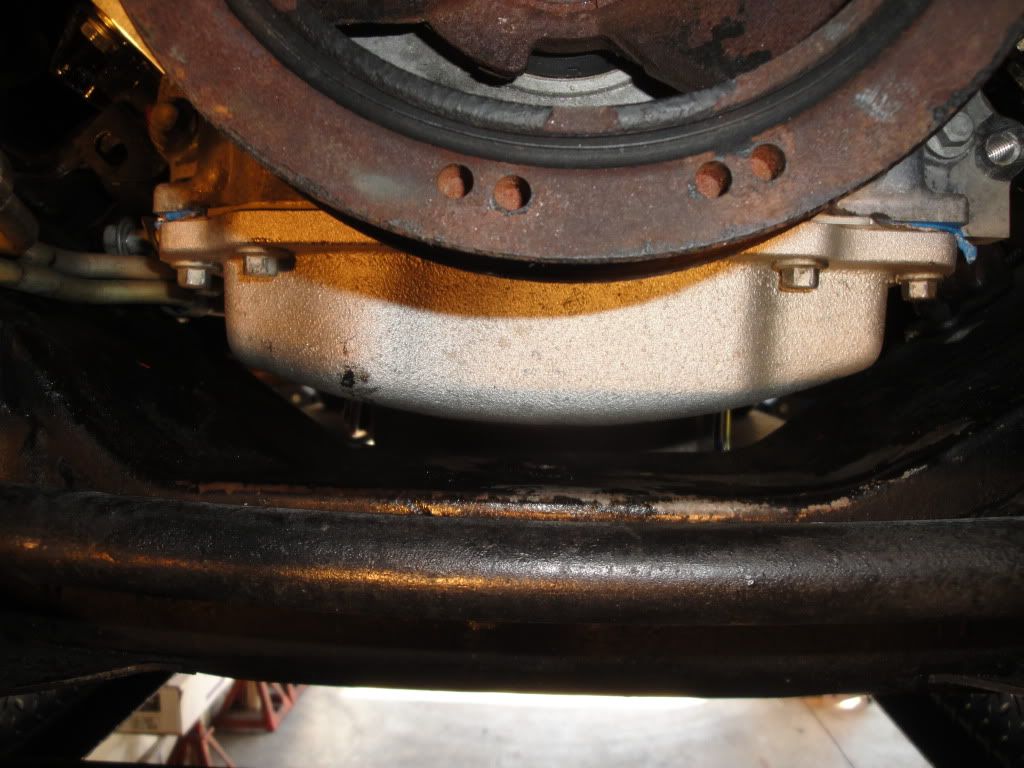
And sits perfectrly with the bottom of the crossmember
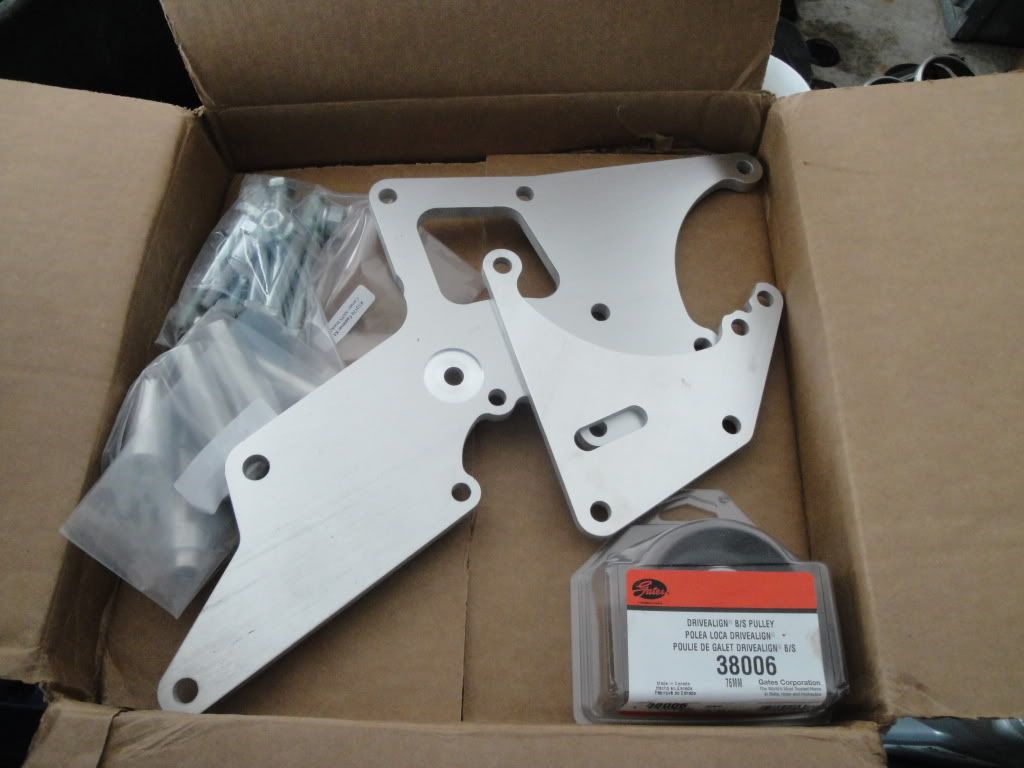
Also got my raised alternator mounting kit....

Store bought plate in black......you can see how the 3 rubber mount holes are moved down and the plate is also thicker
New plate mounted to the engine......
Rubber mount installed......
Engine down on the mounts and the holes line up perfectly....Just slid the bolts in....I love it when a plan comes together....
Pan not sits nicely above the crossmember.....
And sits perfectrly with the bottom of the crossmember
Also got my raised alternator mounting kit....
Thread Starter
TECH Fanatic
Joined: Jul 2008
Posts: 1,570
Likes: 173
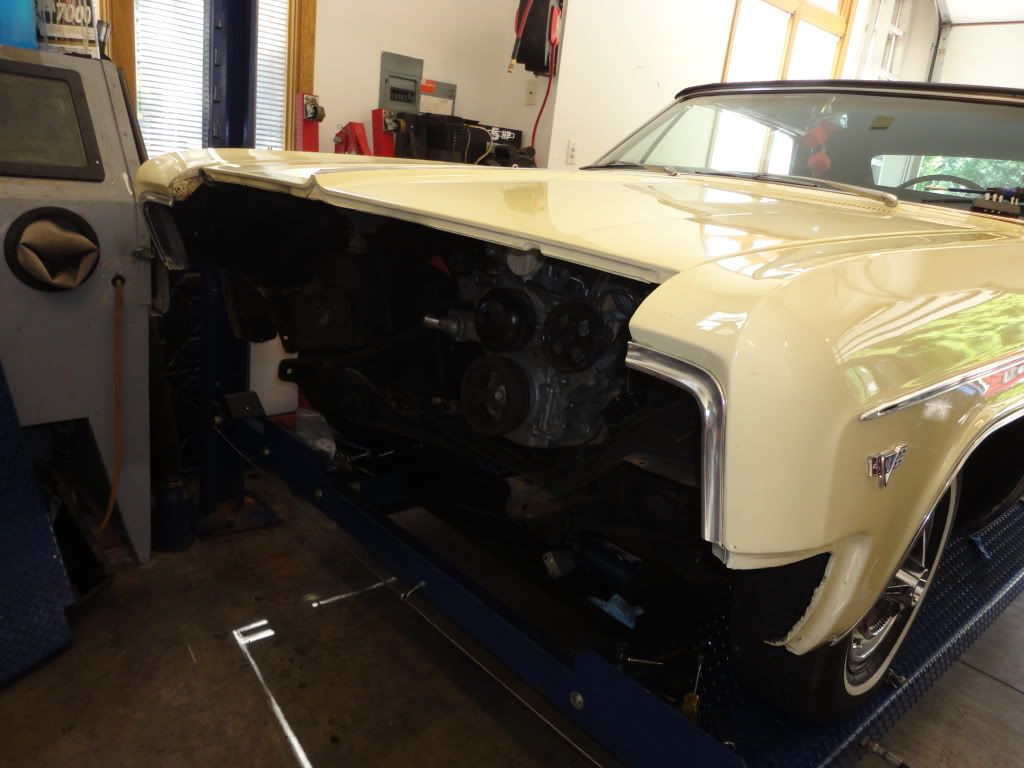
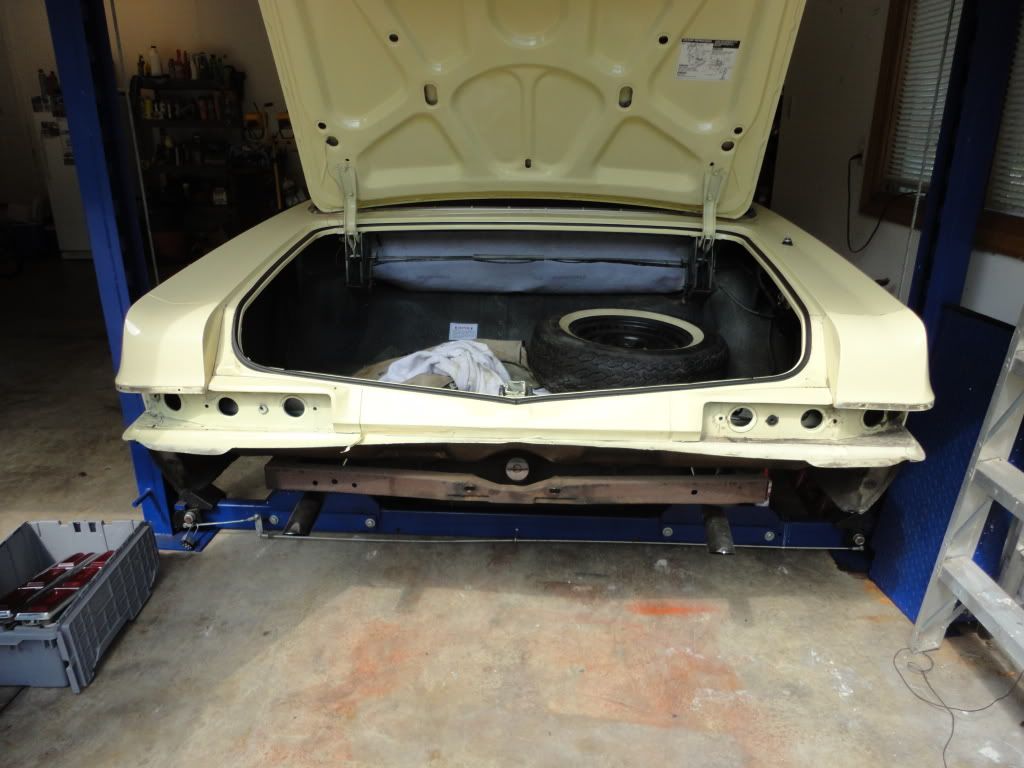
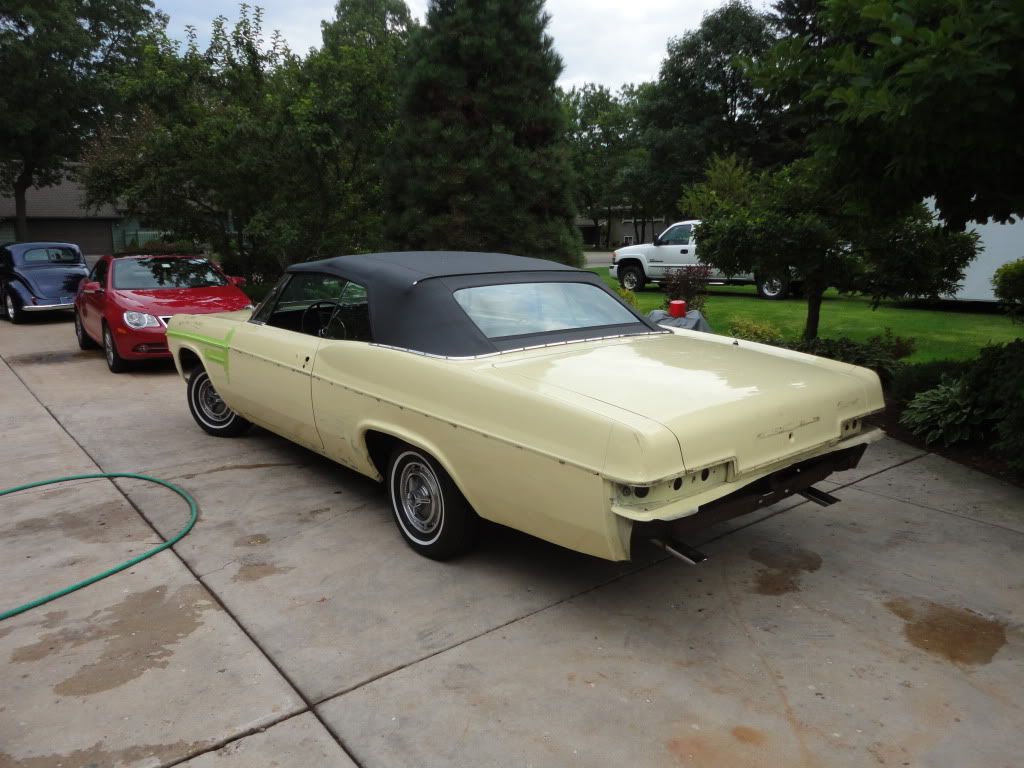
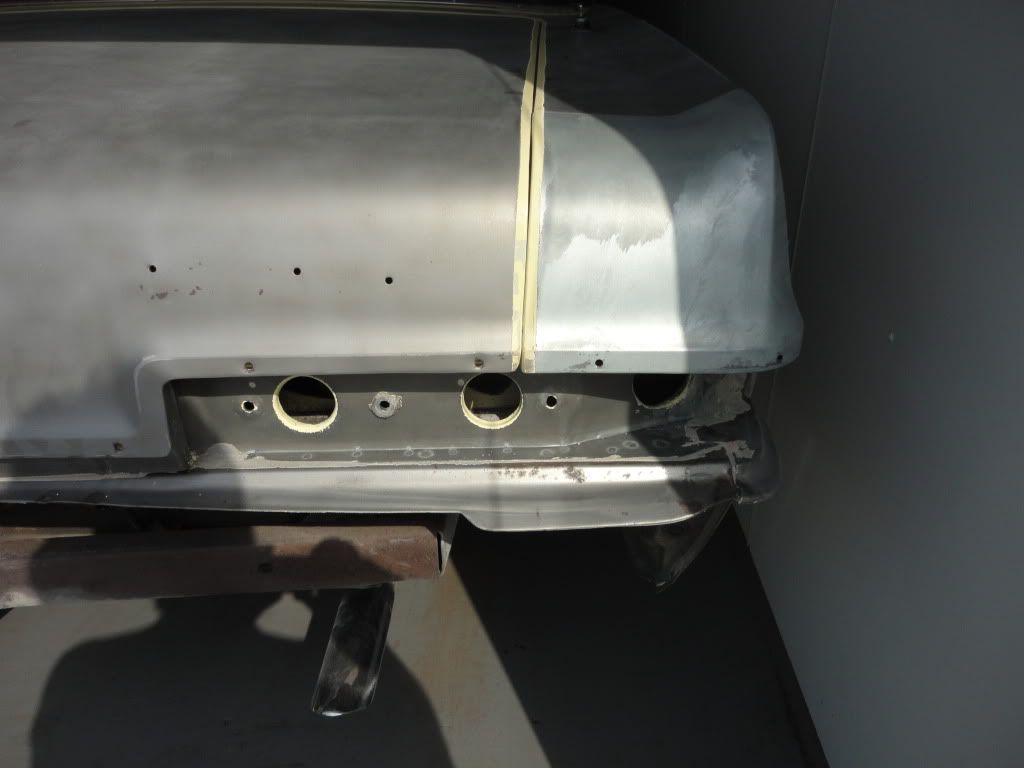
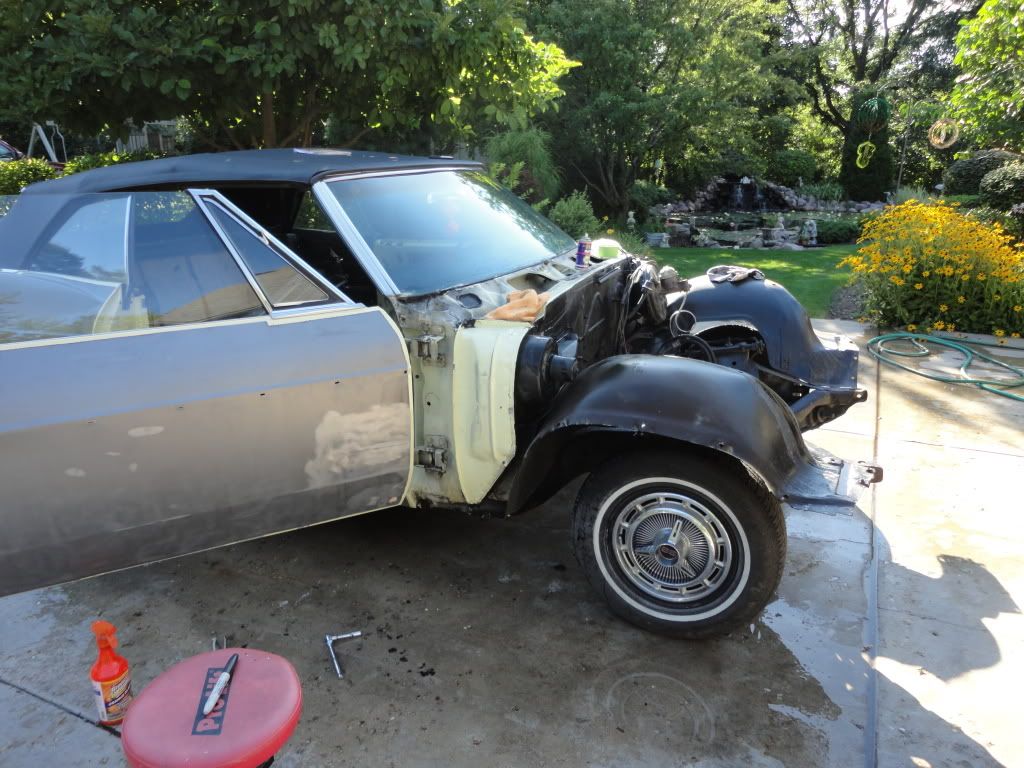
Got entergetic this morning and created a major mess in the garage.....took the front end apart....Grille, bumper, lights, etc.......also took off the rear bumper assy.....the car is going for Media blasting on Tuesday....when it gets finished there (gonna be interesting to see what's under the 1/8" of paint) I'll bring it back home and gut the Interior and then off to the Puleras where they will work their magic on the Body.......The Bumpers will also go out for re-chroming

LOL.............
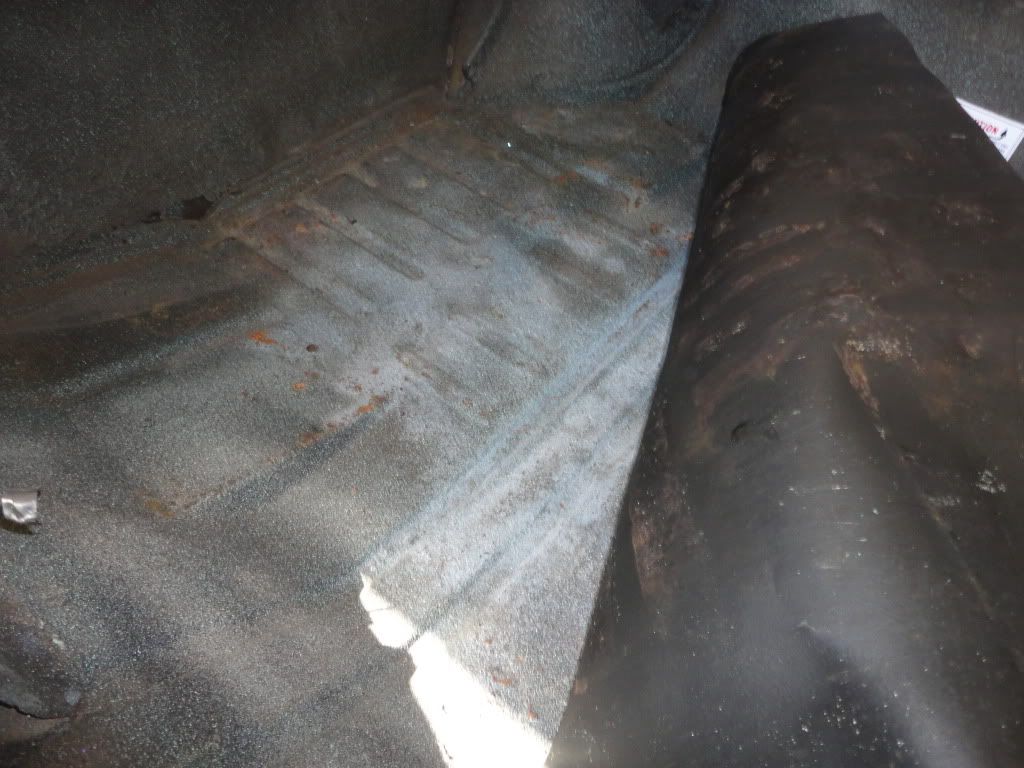
But....as Shoddy the body and paint on the car is....the "Important" stuff is in pretty good shape....Trunk floor is perfect......and there is just minor surface rust behind the rear bumper.....should clean up pretty easy......could be a lot worse
Time to start ordering parts ............
LOL.............
But....as Shoddy the body and paint on the car is....the "Important" stuff is in pretty good shape....Trunk floor is perfect......and there is just minor surface rust behind the rear bumper.....should clean up pretty easy......could be a lot worse
Time to start ordering parts ............
Trending Topics
Thread Starter
TECH Fanatic
Joined: Jul 2008
Posts: 1,570
Likes: 173
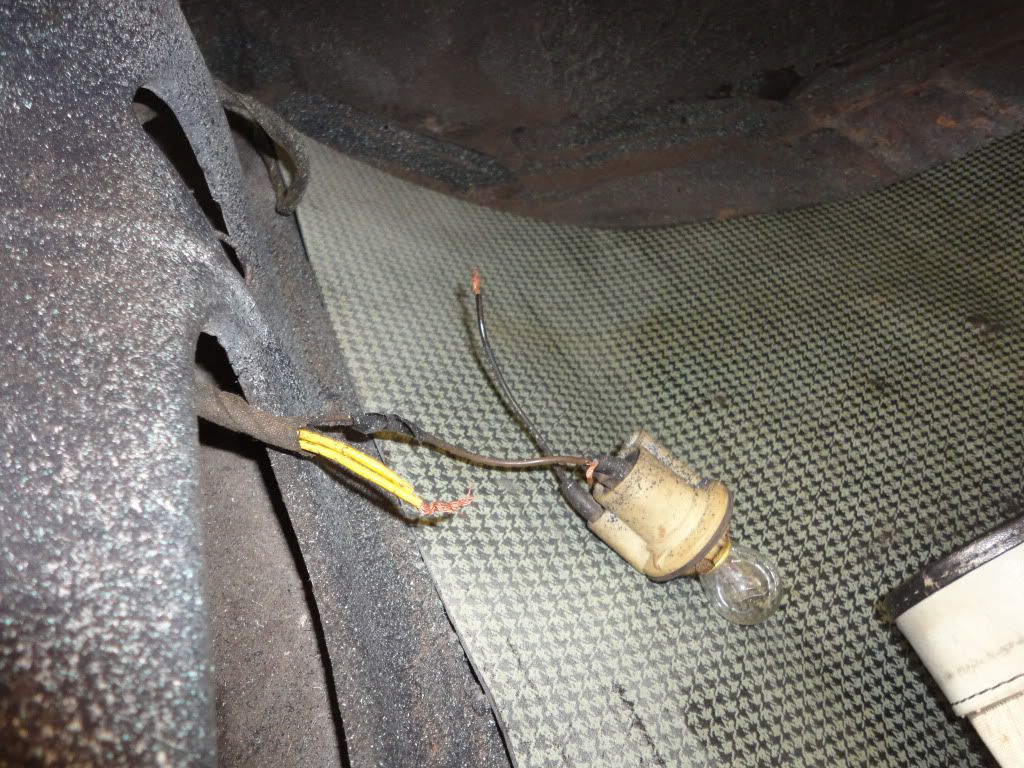
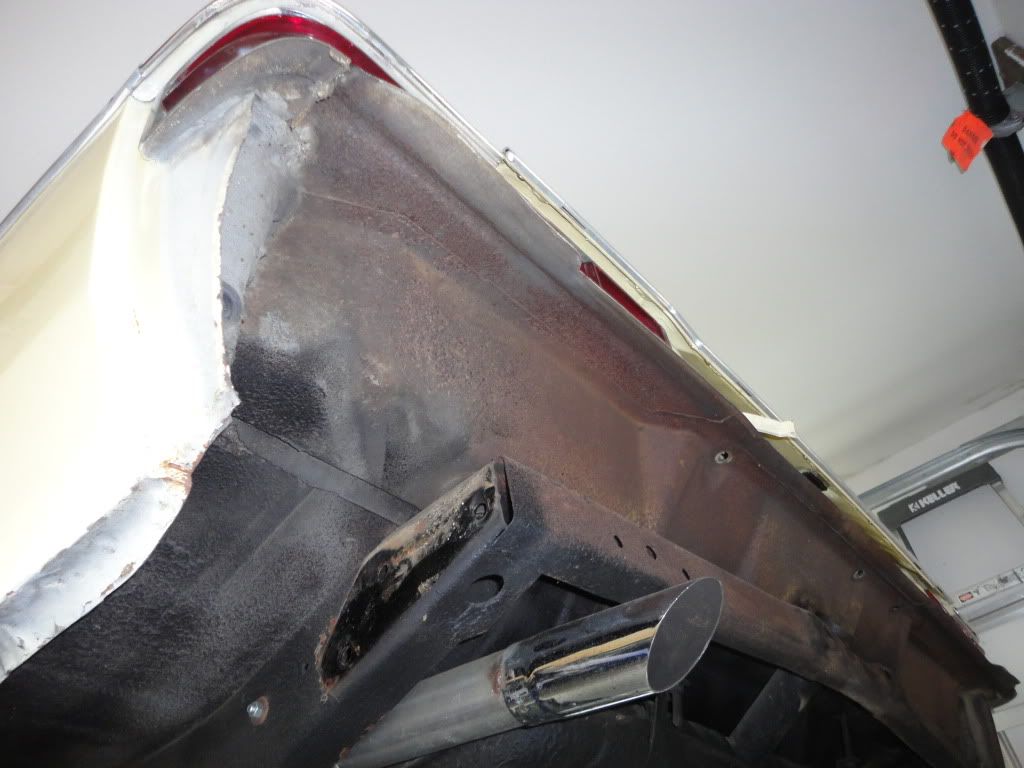
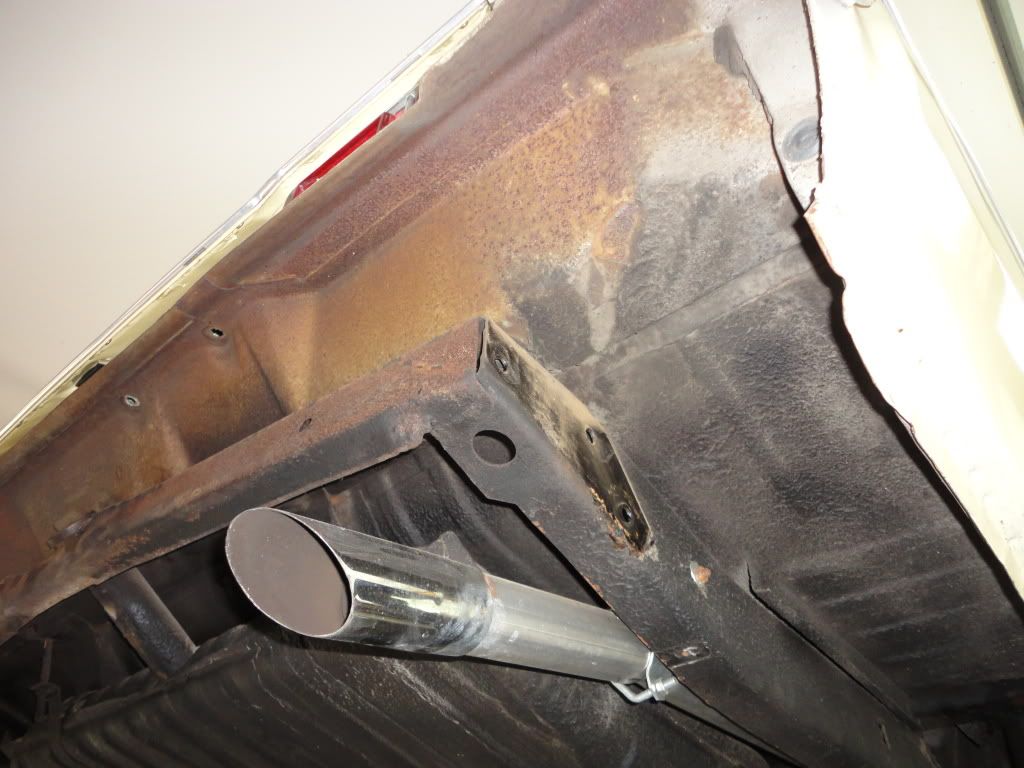
The car is going for Media blasting tomorrow.....So....I wanted to break the car down a little more......Found the trunk full of Nu Yawk mouse crap....

tail light assy's are pitted with lousy chrome....I'll try and find some NOS ones......if not I'll just get these rechromed$$$$$$
The paint is probably 1/16" thick in spots....

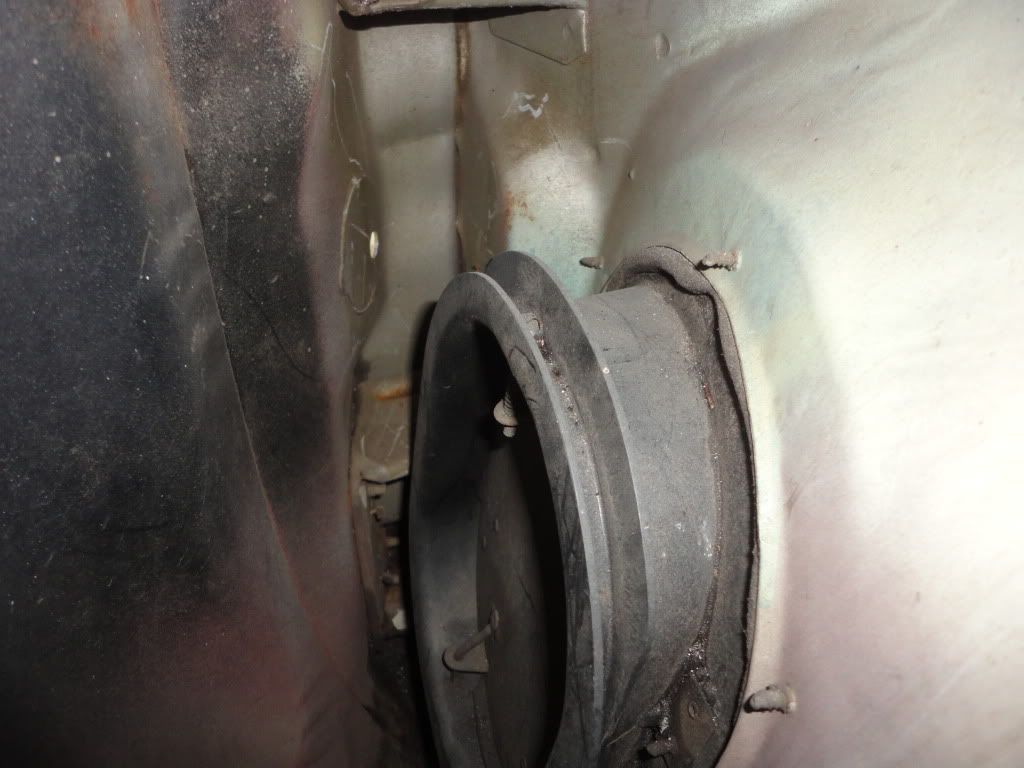
Anyone need any Nu Yawk Day 2 Speakers....LOL
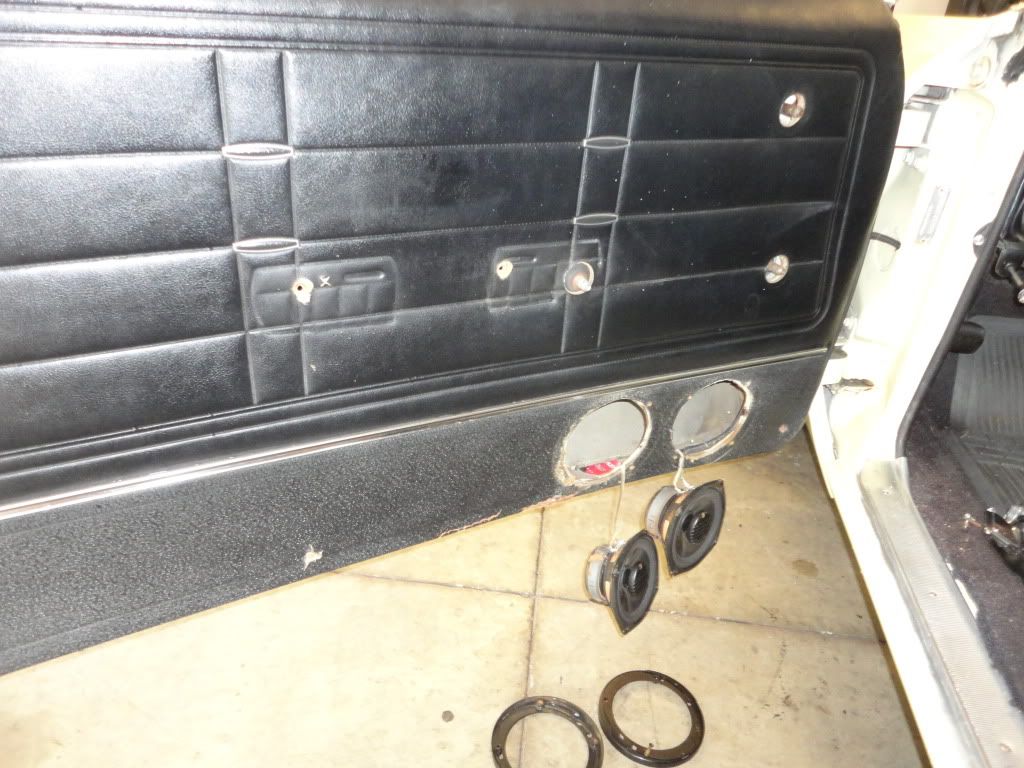
Except for the speaker holes and the dents on the outside of the doors......the doors are rust free.....a welcome surprise..
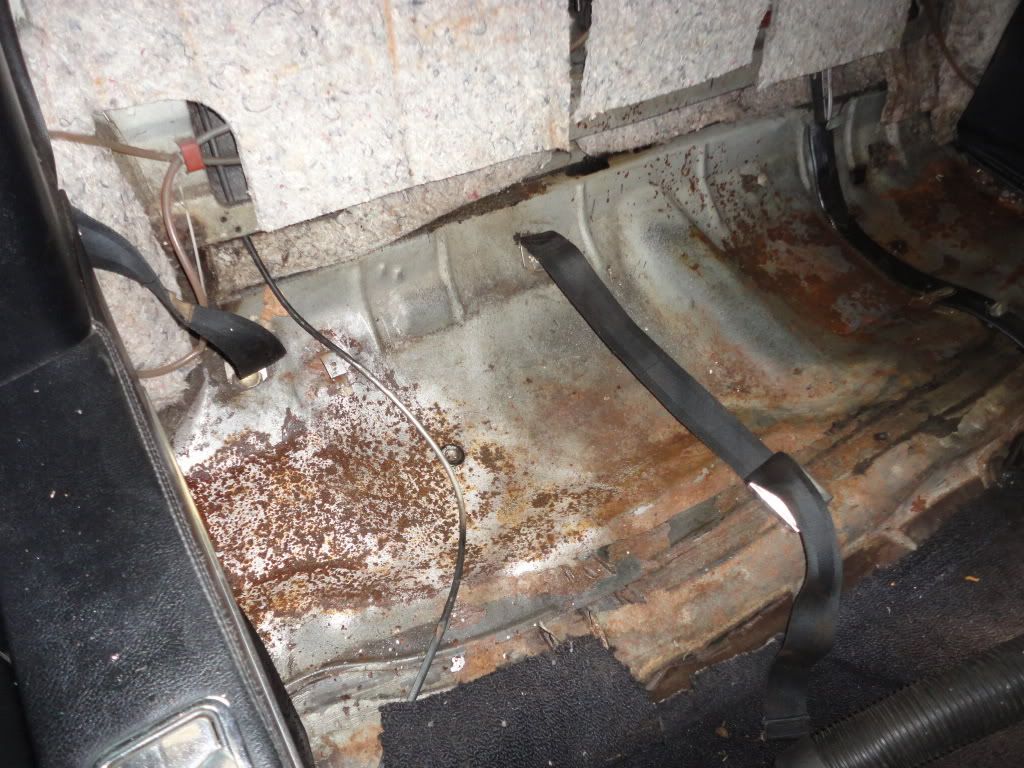
Took the rear seat out and the there was just light surface rust on the seat pan.....
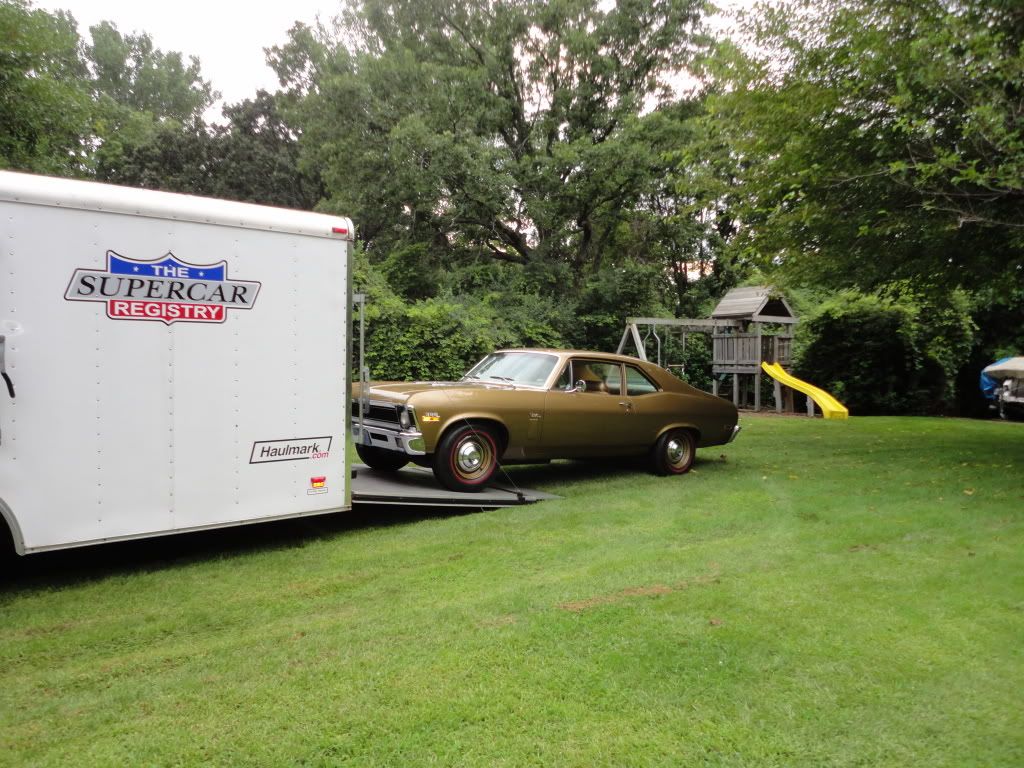
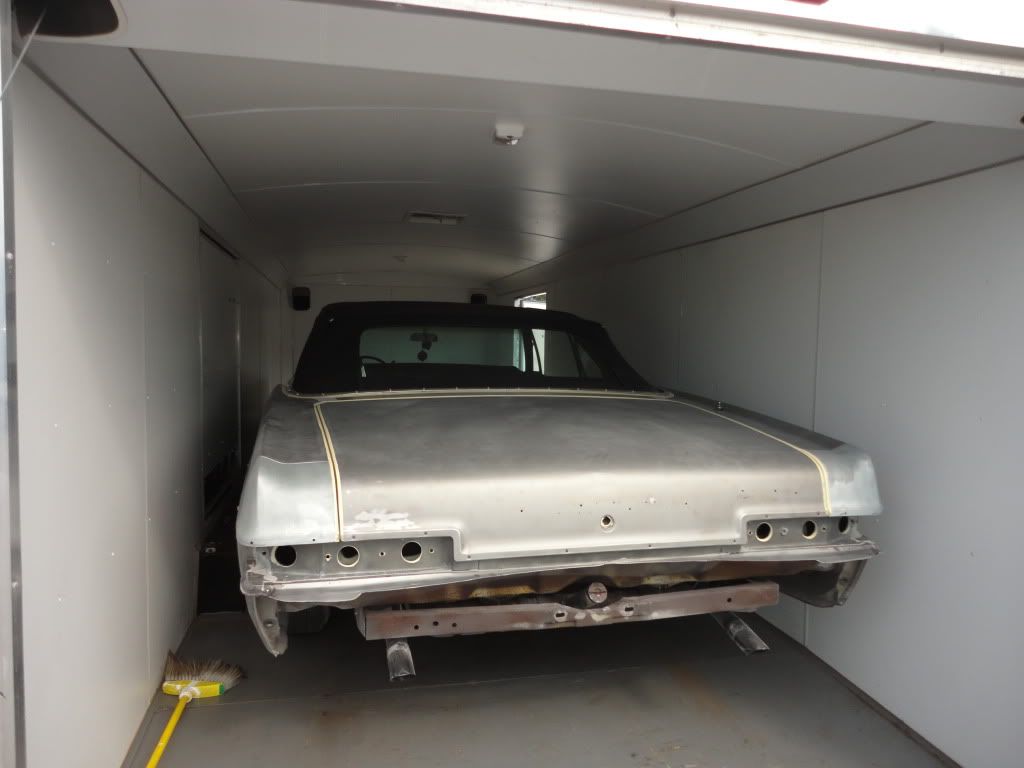
Ready for the trailer.....
Look what I found.........Hadn't been started for two years.....110 octane and a Diehard and she started right up....amazing...
we will see what's under all that paint in a couple of days
tail light assy's are pitted with lousy chrome....I'll try and find some NOS ones......if not I'll just get these rechromed$$$$$$
The paint is probably 1/16" thick in spots....
Anyone need any Nu Yawk Day 2 Speakers....LOL
Except for the speaker holes and the dents on the outside of the doors......the doors are rust free.....a welcome surprise..
Took the rear seat out and the there was just light surface rust on the seat pan.....
Ready for the trailer.....
Look what I found.........Hadn't been started for two years.....110 octane and a Diehard and she started right up....amazing...
we will see what's under all that paint in a couple of days
LS1 Tech Stories
The Best V8 Stories One Small Block at Time

6 Common C5 Corvette Failures and What's Involved In Repairing Them
Pouria Savadkouei
Retro Modern Bandit Pontiac Trans AM Comes With Burt Reynolds' Autograph
Verdad Gallardo
Top 10 Greatest Cadillac V Series Performance Models Ever, Ranked
Pouria Savadkouei
Top 10 Most Powerful Chevy Trucks Ever Made!

Hennessey's New Supercharged Silverado ZR2 Has 700 HP
Verdad Gallardo
Coachbuilt N2A Anteros Is an LS2-Powered C6 Corvette In Italian Clothes
Verdad Gallardo
Awesome K5 Blazer Restomod Comes With C7 Corvette Power
Verdad Gallardo
10 Camaros You Should Never Buy

10 LS Engine Myths That Refuse to Die
Verdad Gallardo Thread Starter
TECH Fanatic
Joined: Jul 2008
Posts: 1,570
Likes: 173
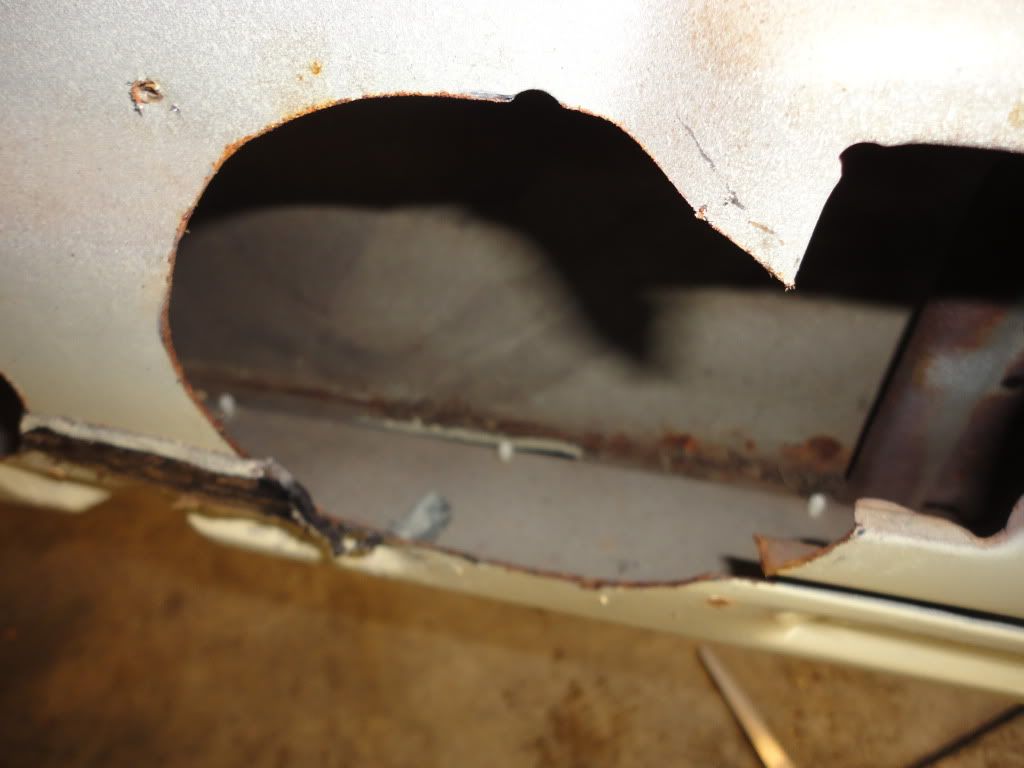
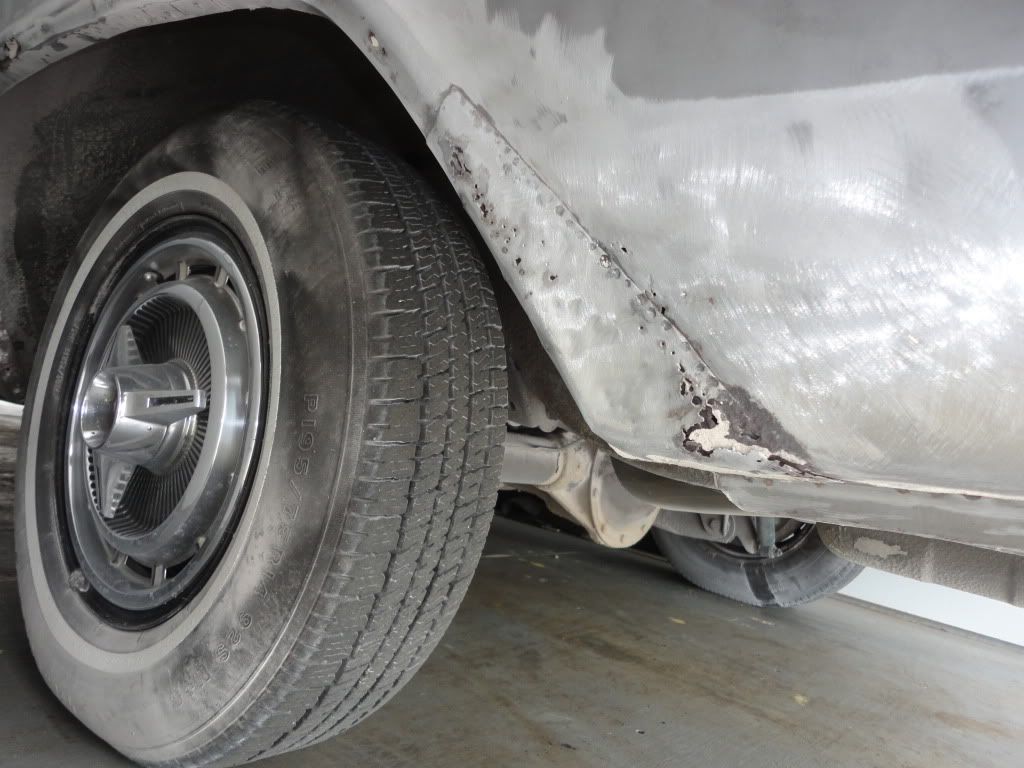
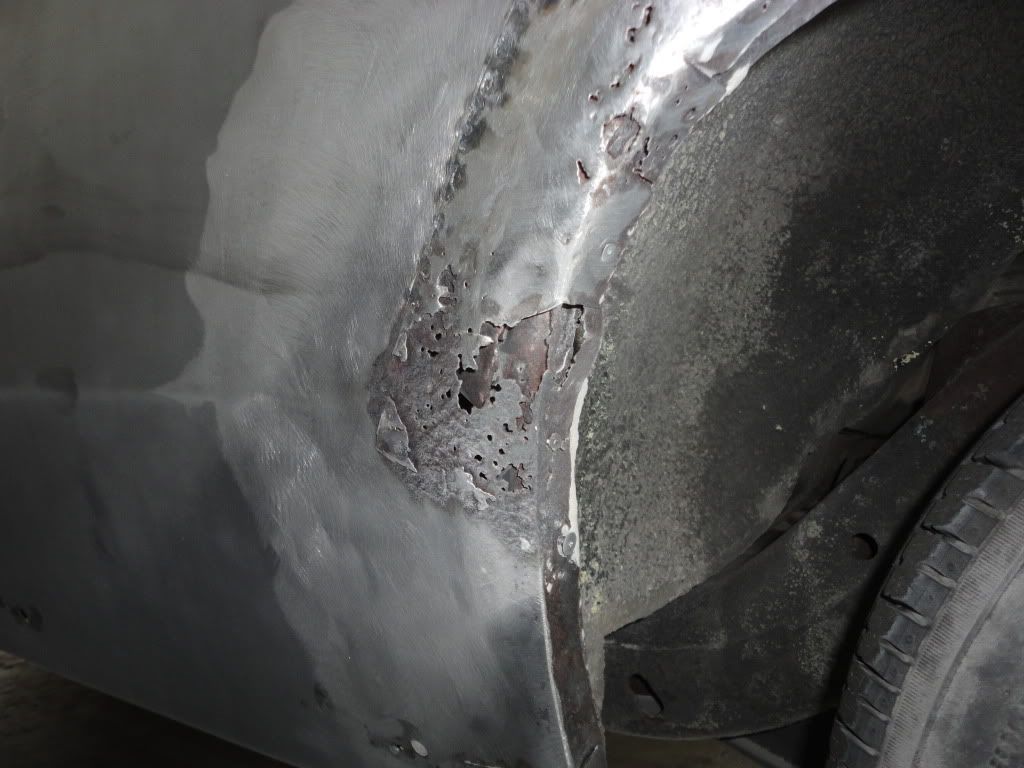
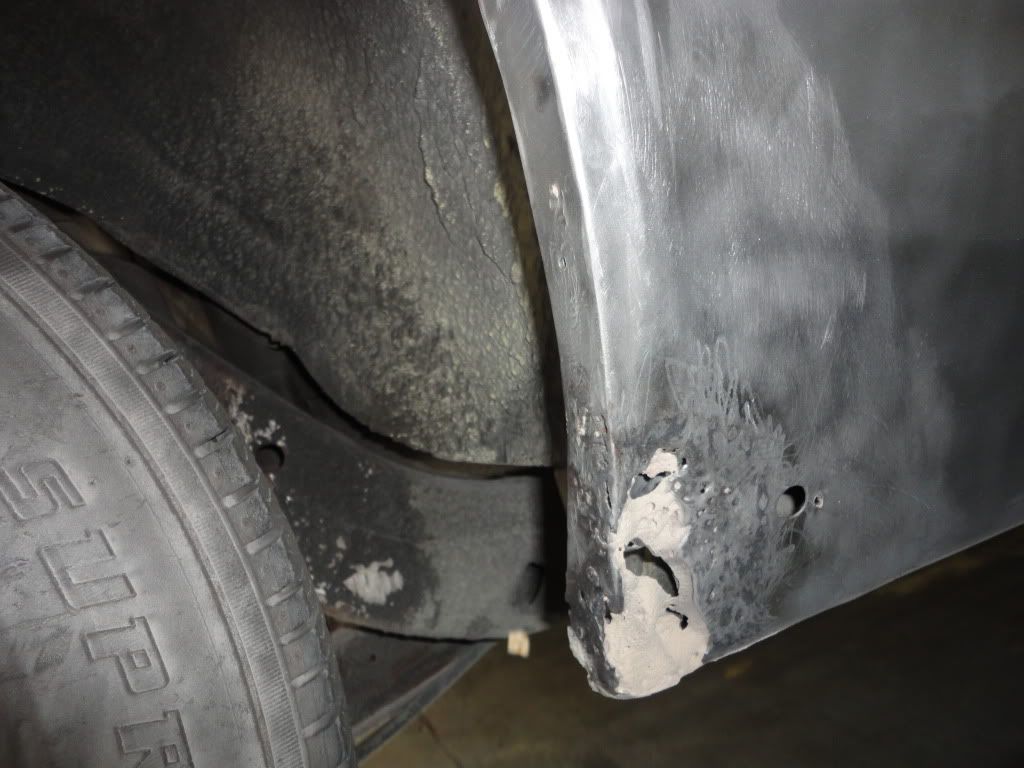
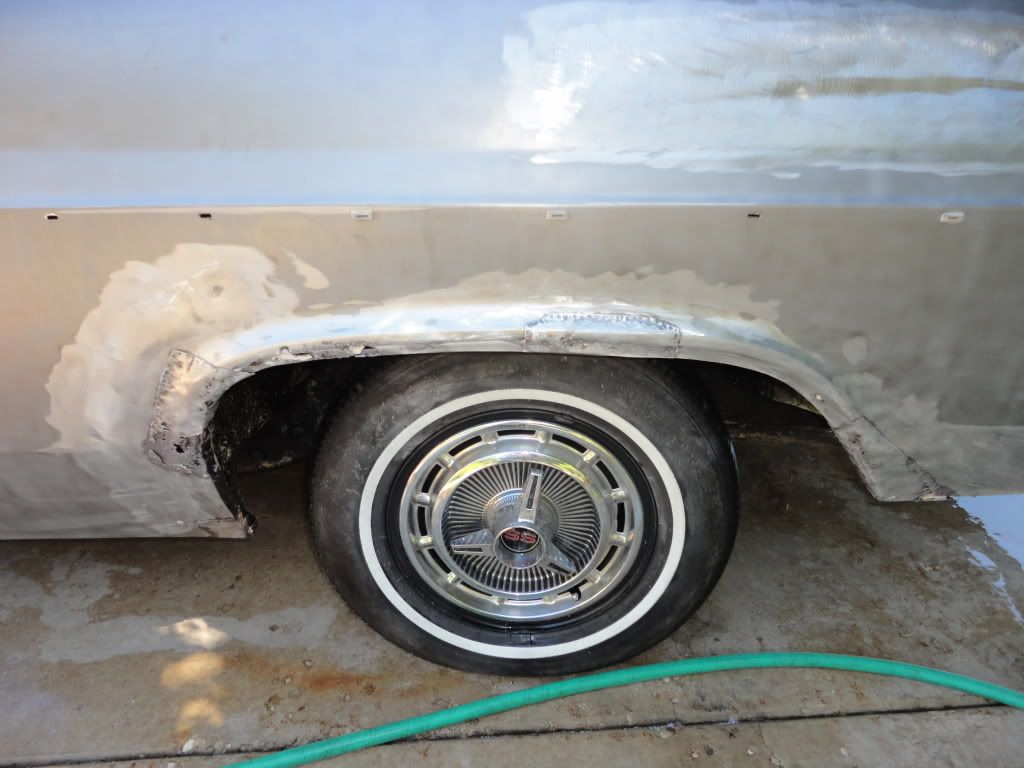
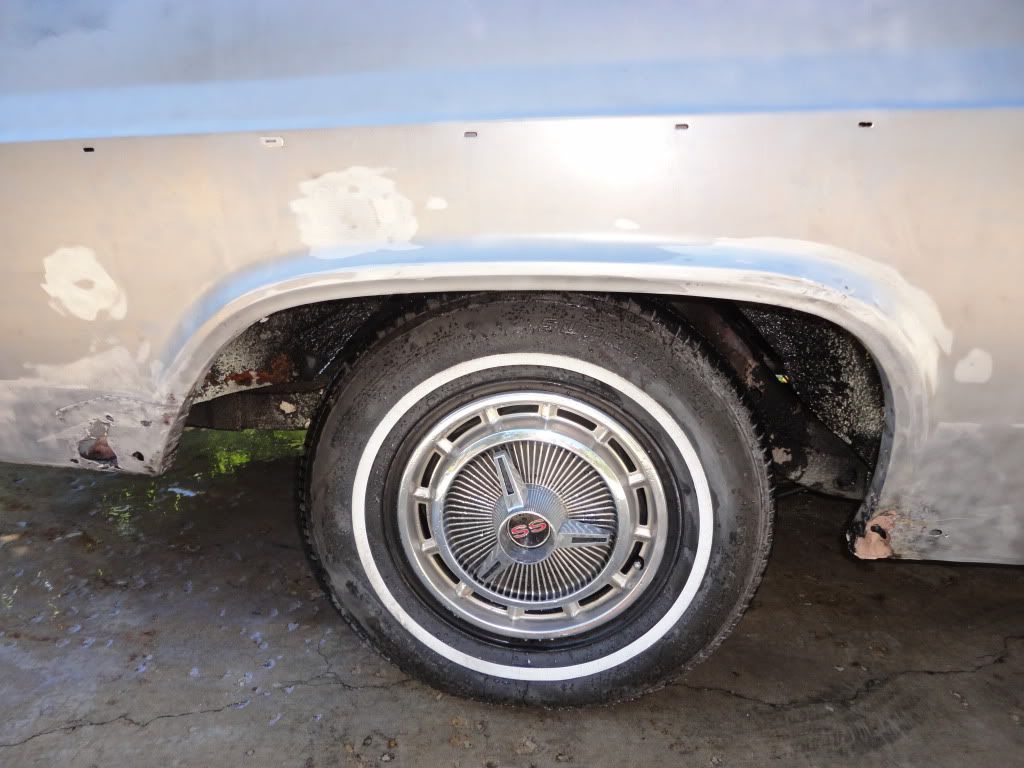
Picked the car up this afternoon......I'll post some better pic's tomorrow...but...In a nutshell........It's better than I thought......Remember, I have new fenders so I didn't have the old ones blasted, but....the Doors,Hood, Trunk Lid, Rockers are all in great shape........the wheel openings in both quarters had rust and had been patched..........Gonna have to get some patch panels and repair them correctly.......Not as bad as I expected, but......I'm glad we decided to blast the body to really see what was under that "Survivor" Nu Yawk Paint.....LOL
Drivers Side
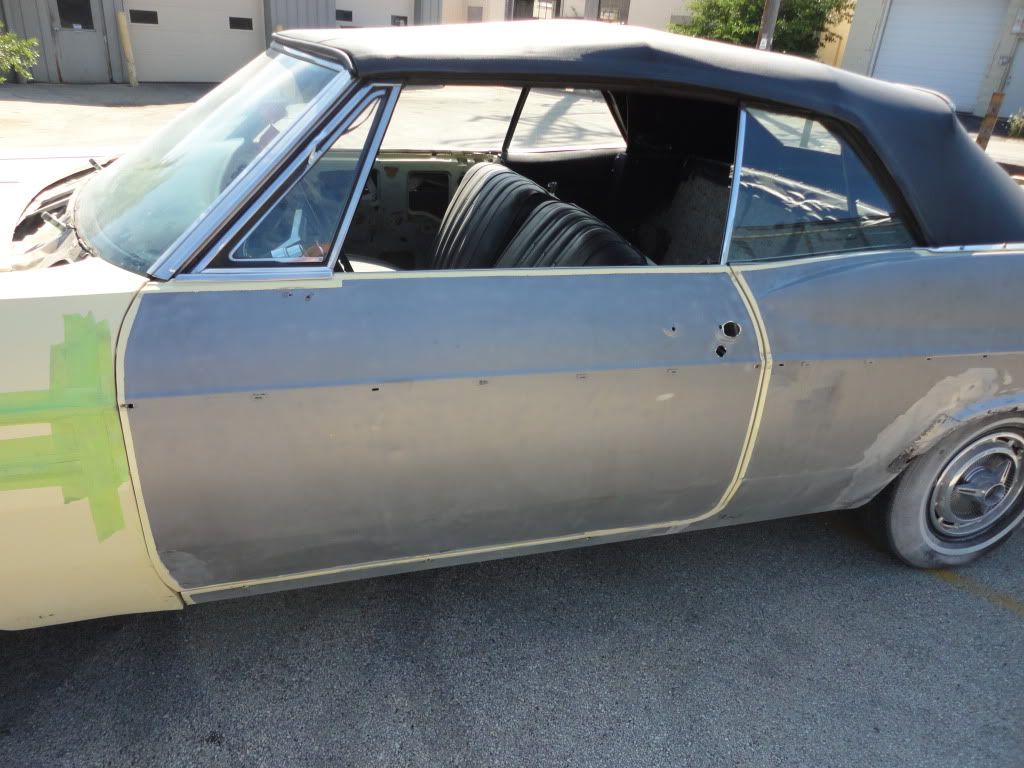
Passenger side....

Rear......
More Tomorrow..........
Drivers Side
Passenger side....
Rear......
More Tomorrow..........
Thread Starter
TECH Fanatic
Joined: Jul 2008
Posts: 1,570
Likes: 173
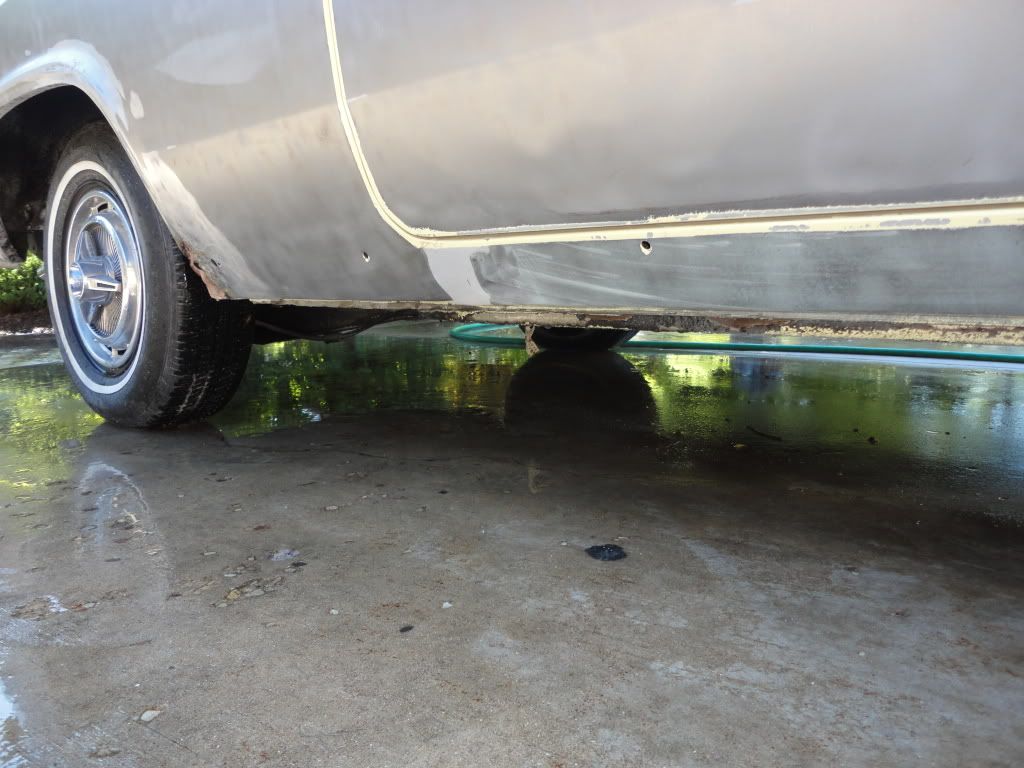
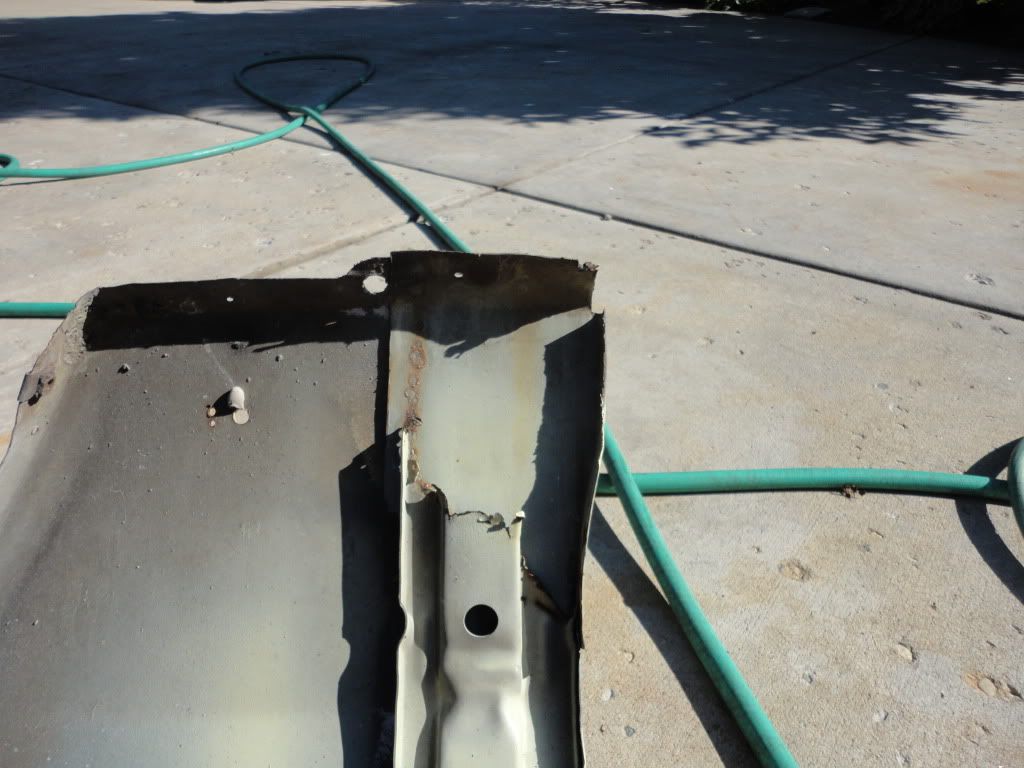
Got the car out of the trailer today to clean it up and strip the inside so when I get the call to take it to Pulera's for Body/Paint.....it will be ready......Again....there is good and bad after stripping.....but....I think there is more good than bad.....
Here are the bad pic's.....
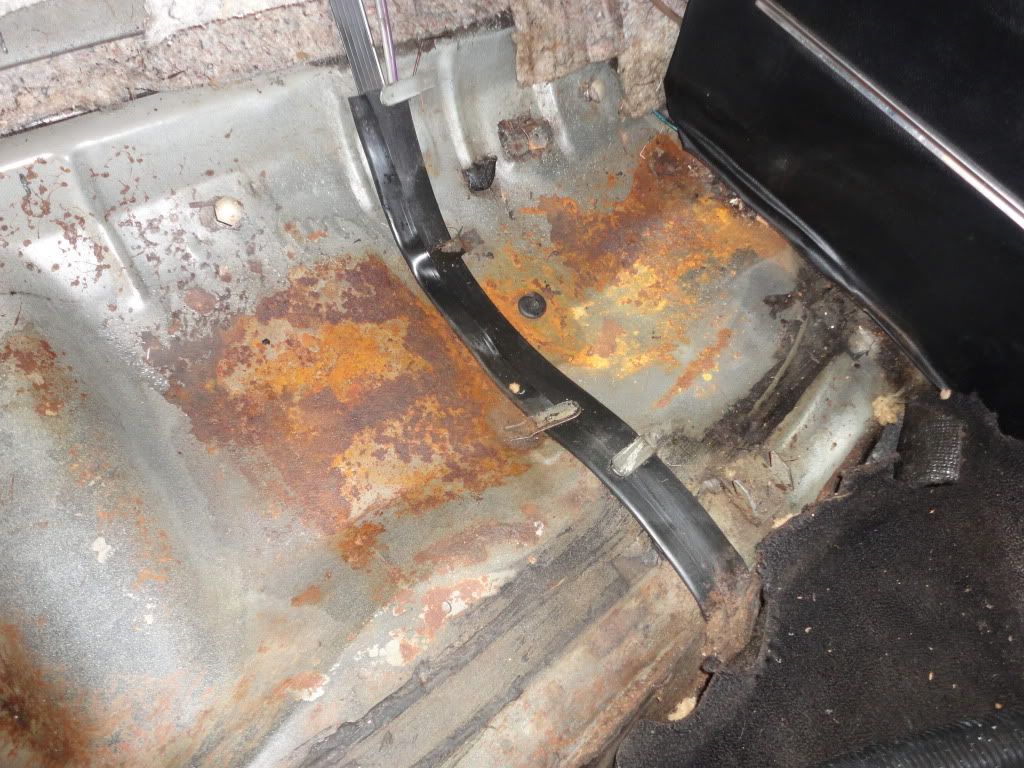
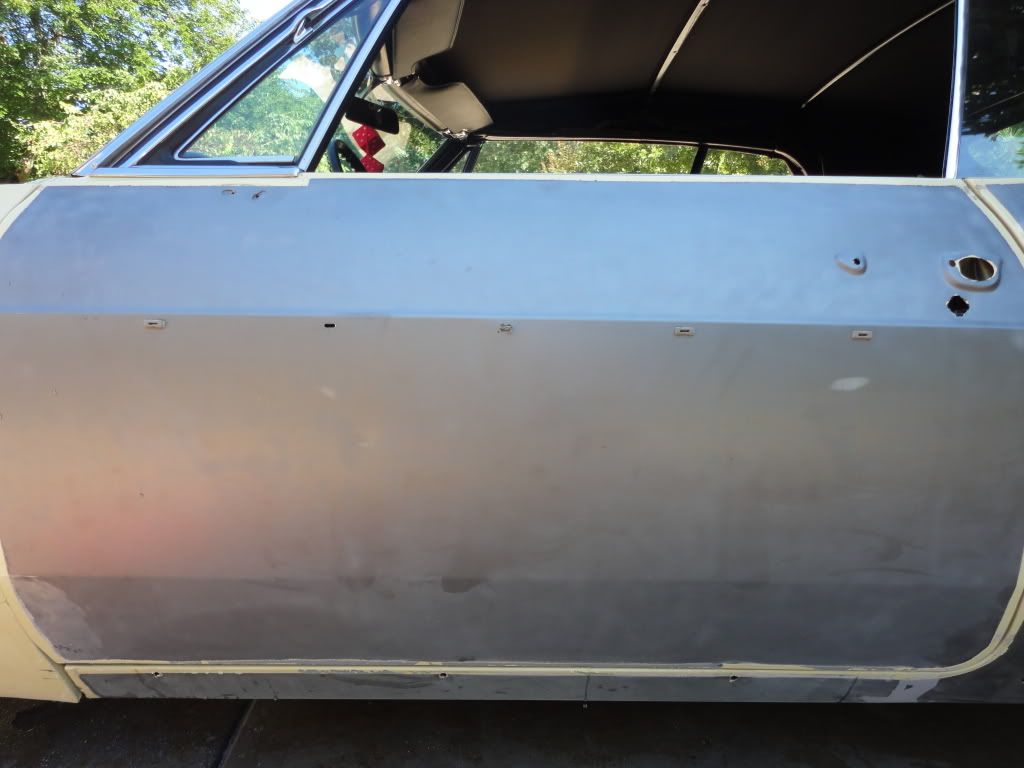
And some good pic's......the doors are rust free except for a minor area that will require a little a little patch...
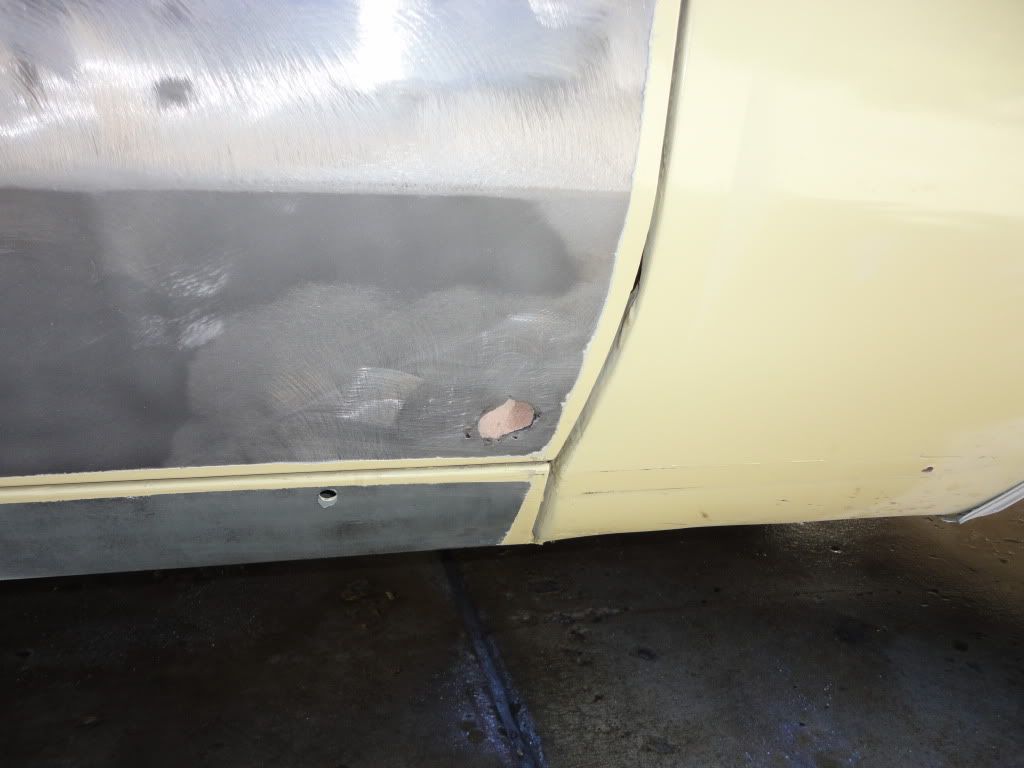
Doors and rockers are in great shape.....
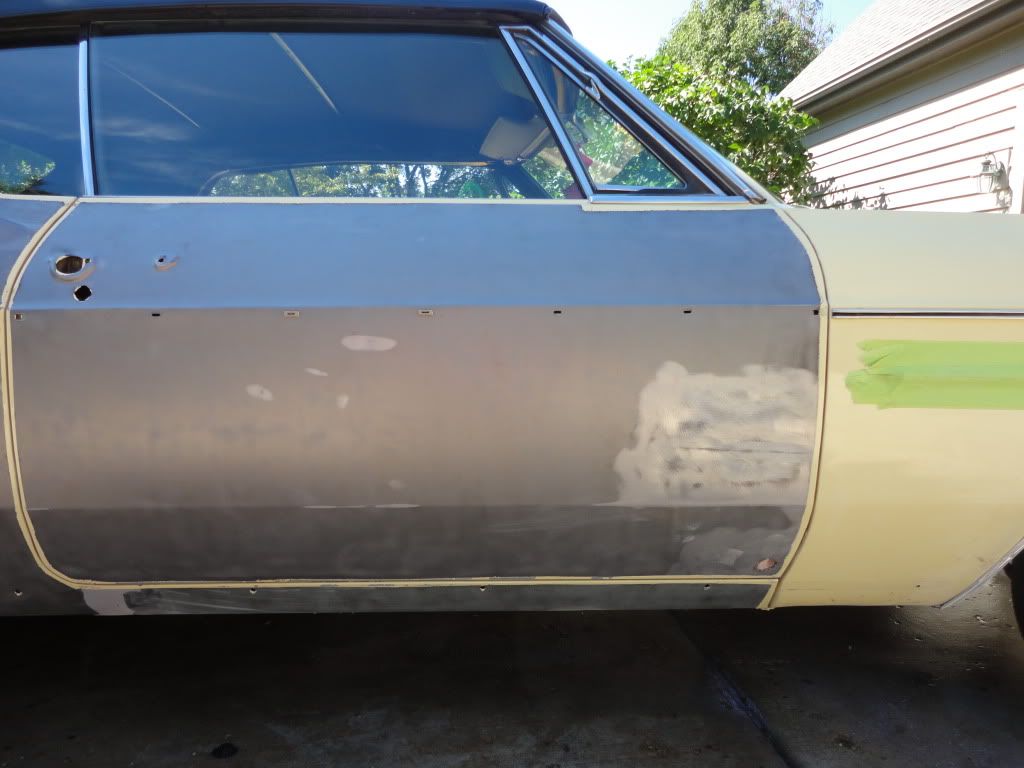
Drivers side is perfecto.......
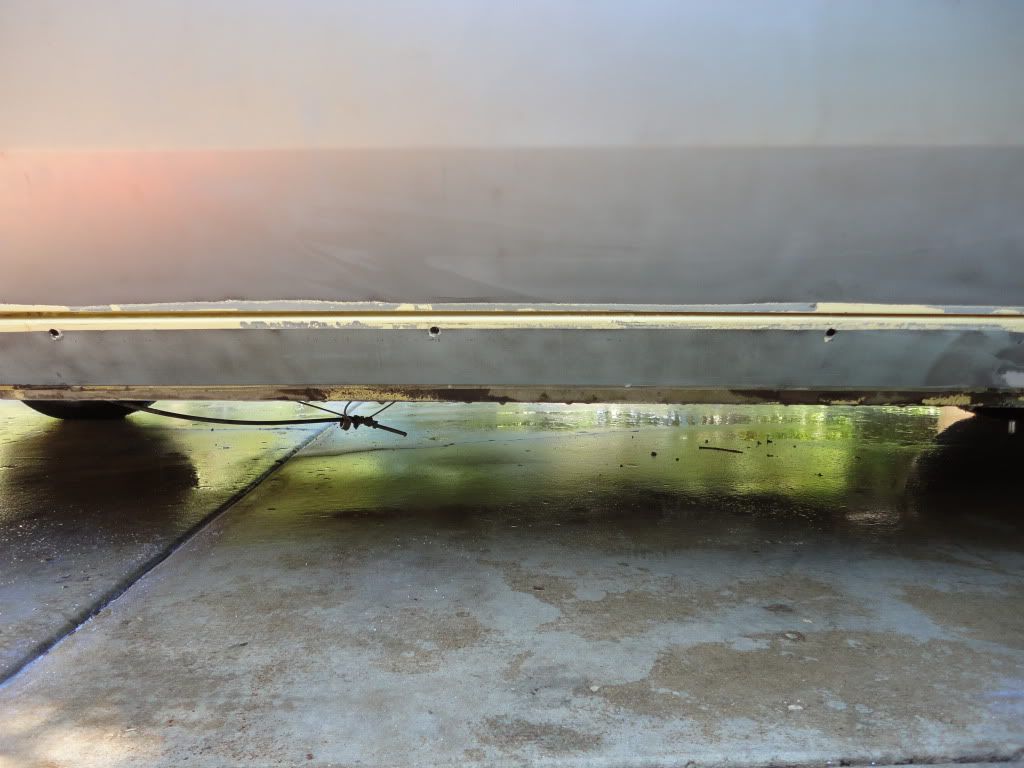
Floors......Minor surface rust only....

Found this "Classic" Nu Yawk spare tire cover.........
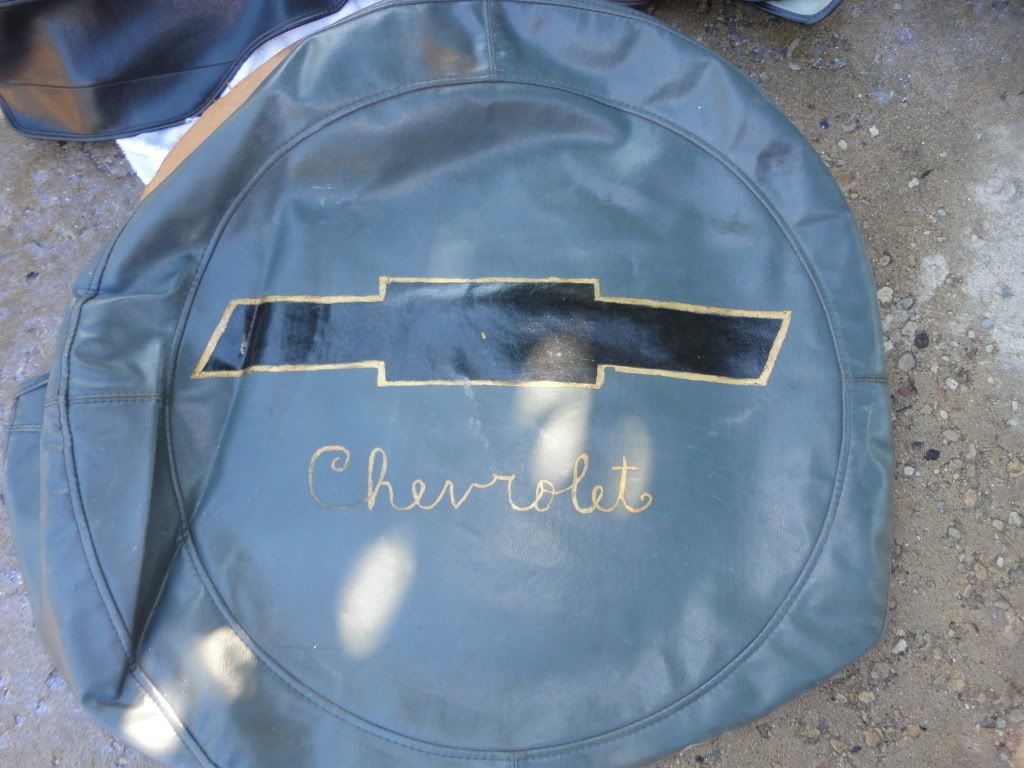
And I decided to store it in the Garbage can.....A fitting end..
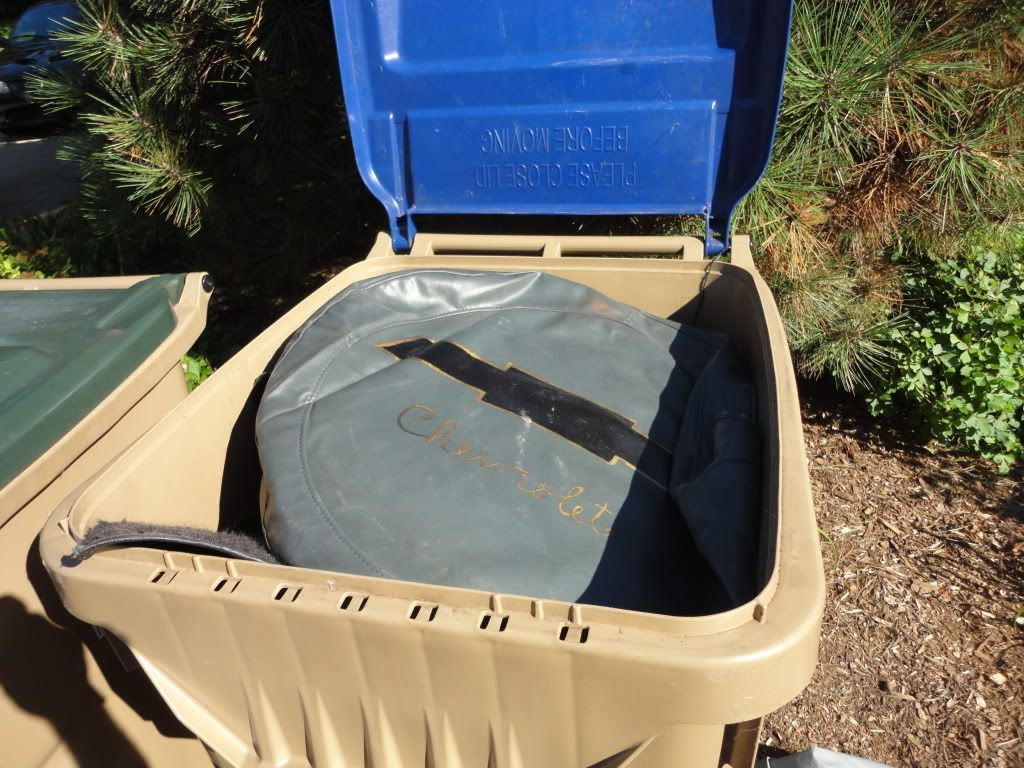
And.....as I was working on the car today I could almost hear it telling me "Thank You" for getting me out of Nu Yawk....LOL
Here are the bad pic's.....
And some good pic's......the doors are rust free except for a minor area that will require a little a little patch...
Doors and rockers are in great shape.....
Drivers side is perfecto.......
Floors......Minor surface rust only....
Found this "Classic" Nu Yawk spare tire cover.........
And I decided to store it in the Garbage can.....A fitting end..
And.....as I was working on the car today I could almost hear it telling me "Thank You" for getting me out of Nu Yawk....LOL
Thread Starter
TECH Fanatic
Joined: Jul 2008
Posts: 1,570
Likes: 173
Eric........I've had the Nova for 7 years....it's a 11,500 mile L.A. car.....396-375 H.P. column shift turbo 400, Bench seat rubber floor mat car.....It's been in the trailer sealed up for two years........needed the trailer to move the Impala around........I actually drove it to a car show today......not a squeek or a rattle......Great car that needs a new home......
Ken


Thread Starter
TECH Fanatic
Joined: Jul 2008
Posts: 1,570
Likes: 173
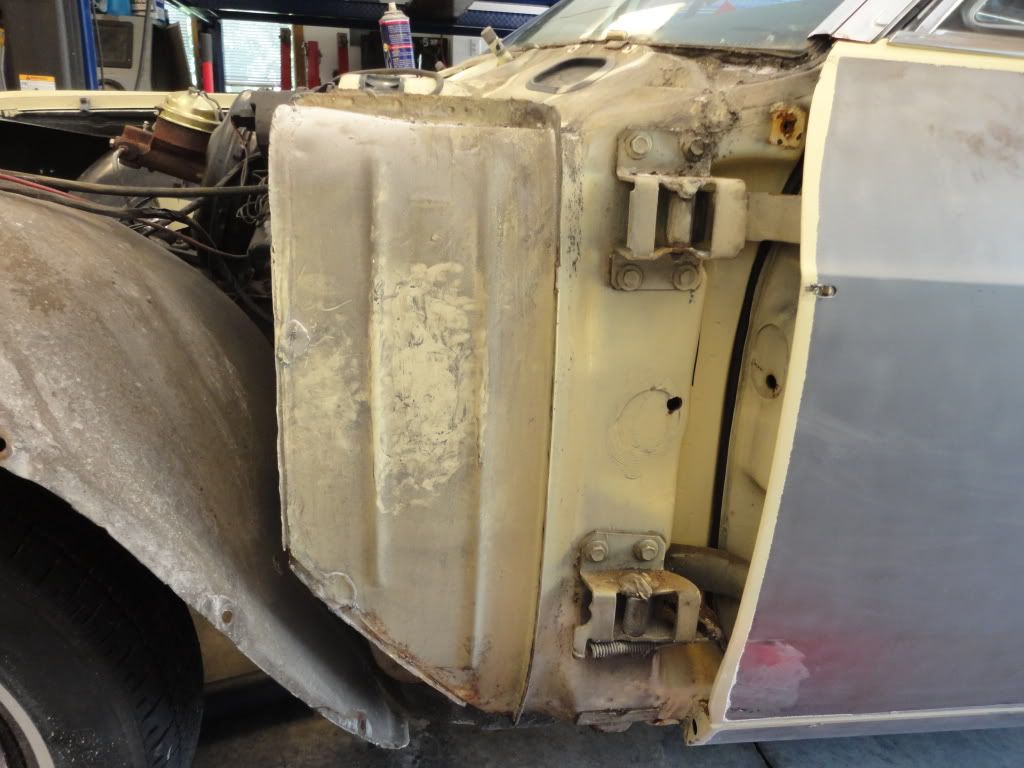
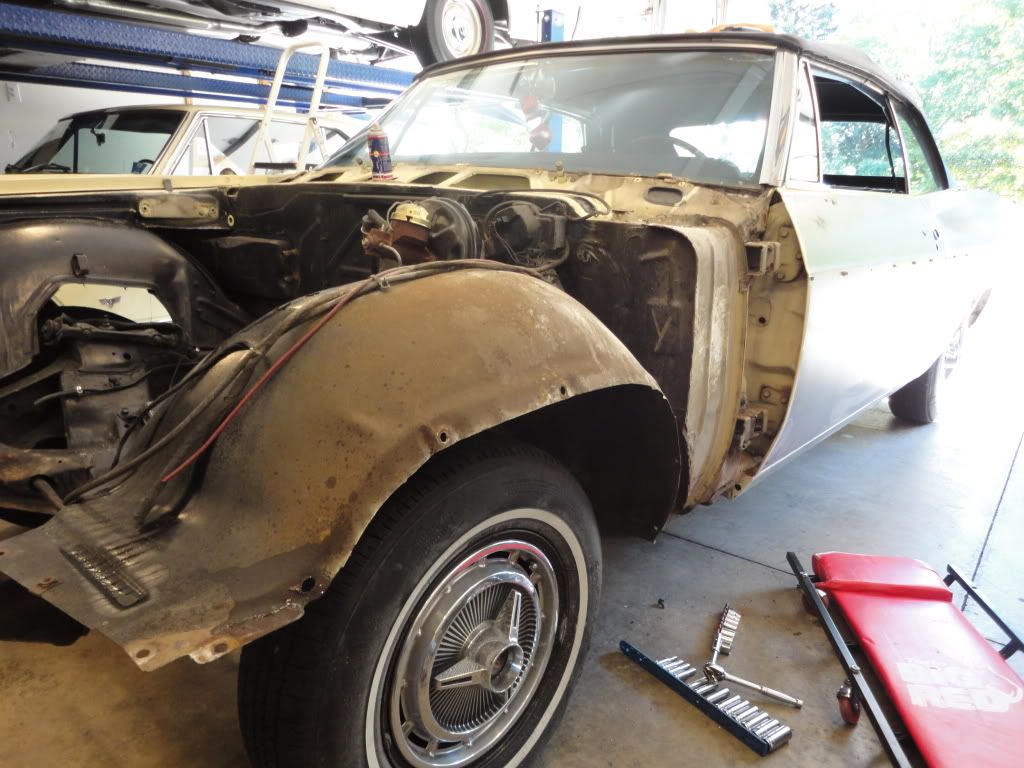
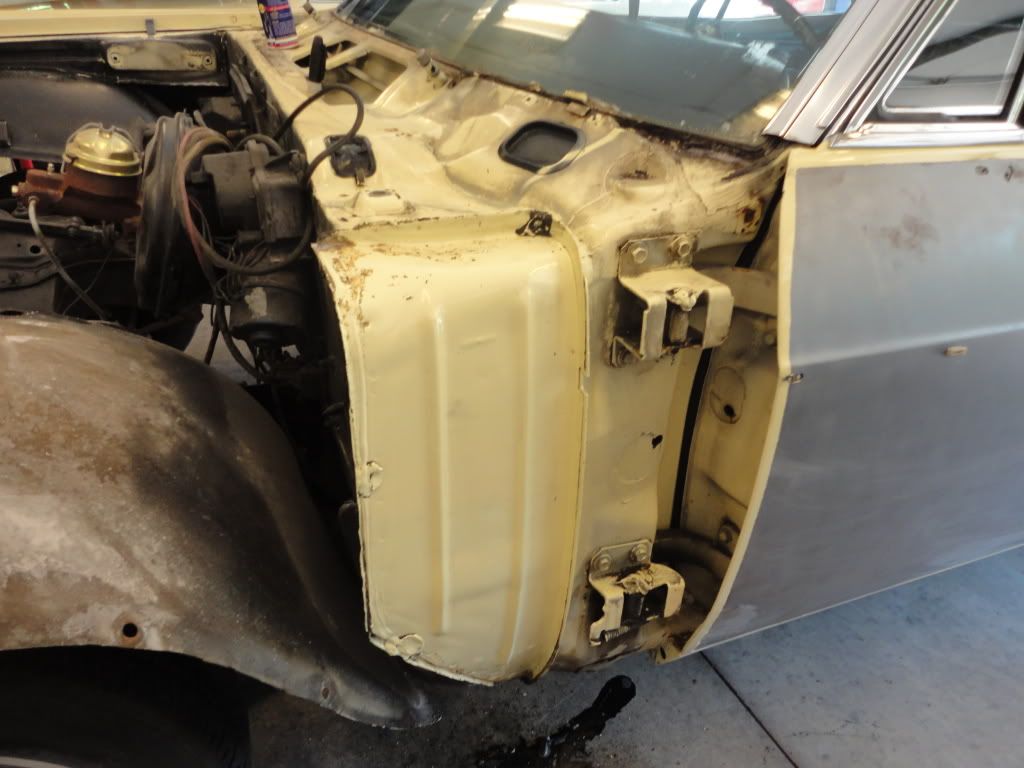
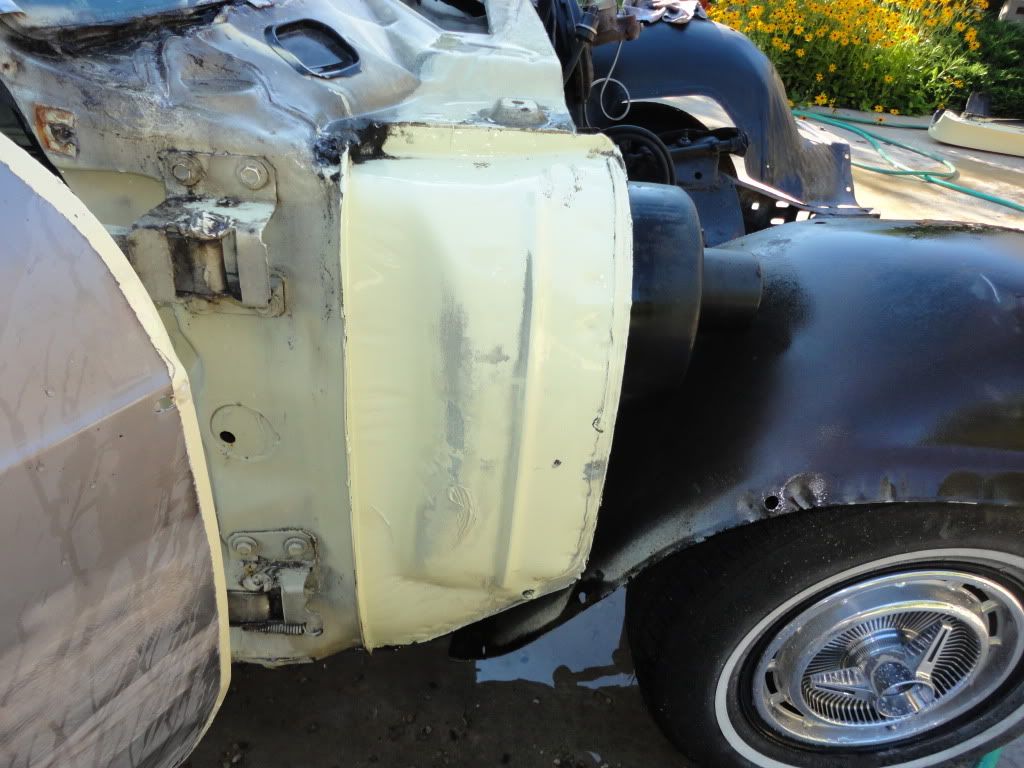
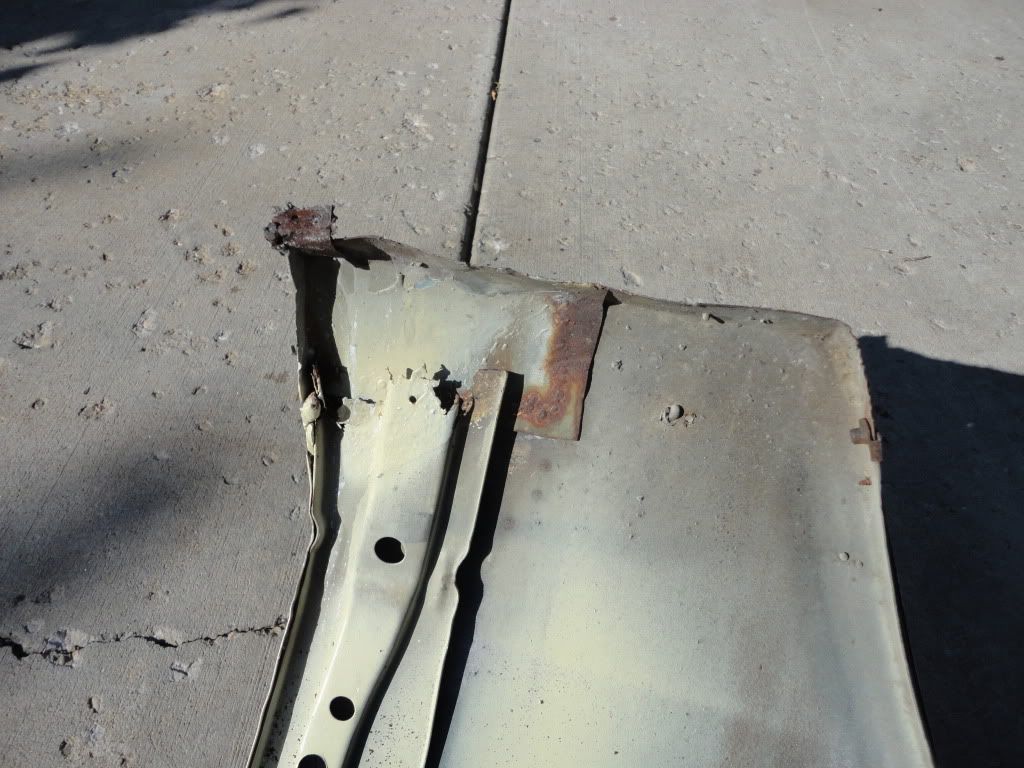
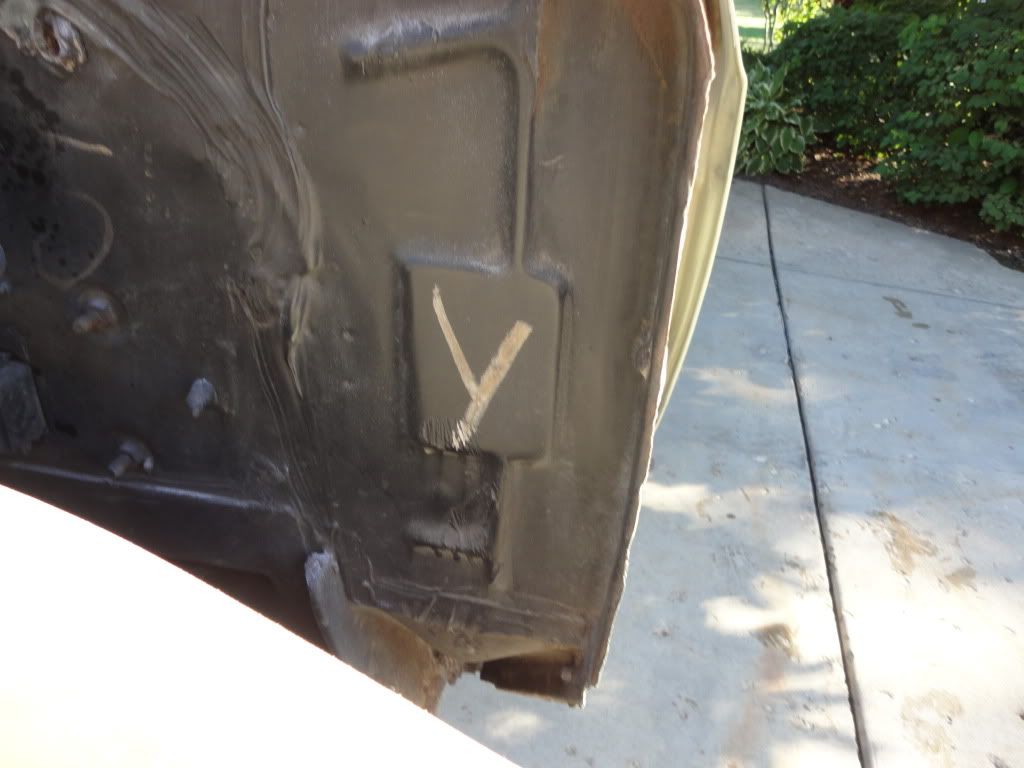
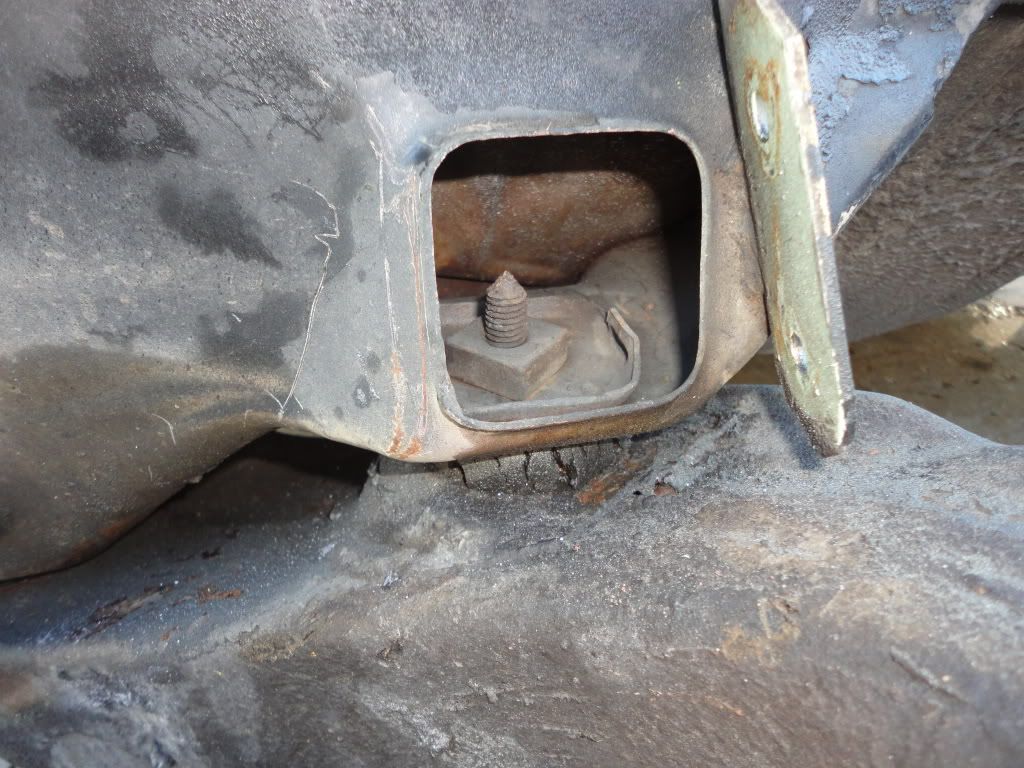
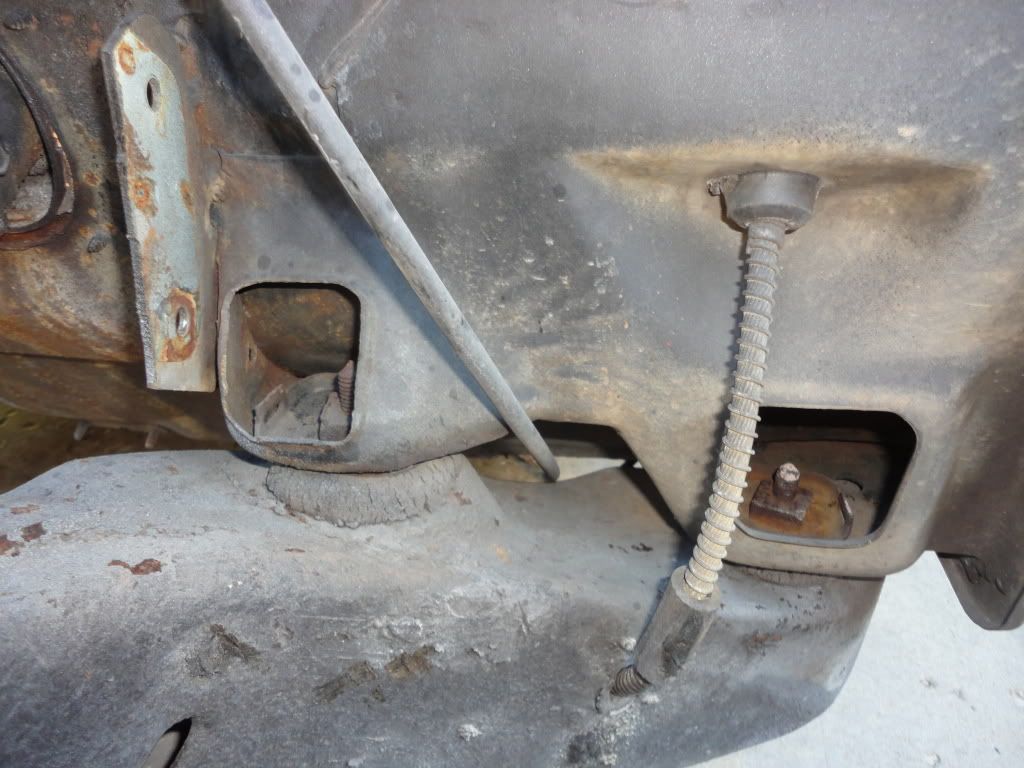
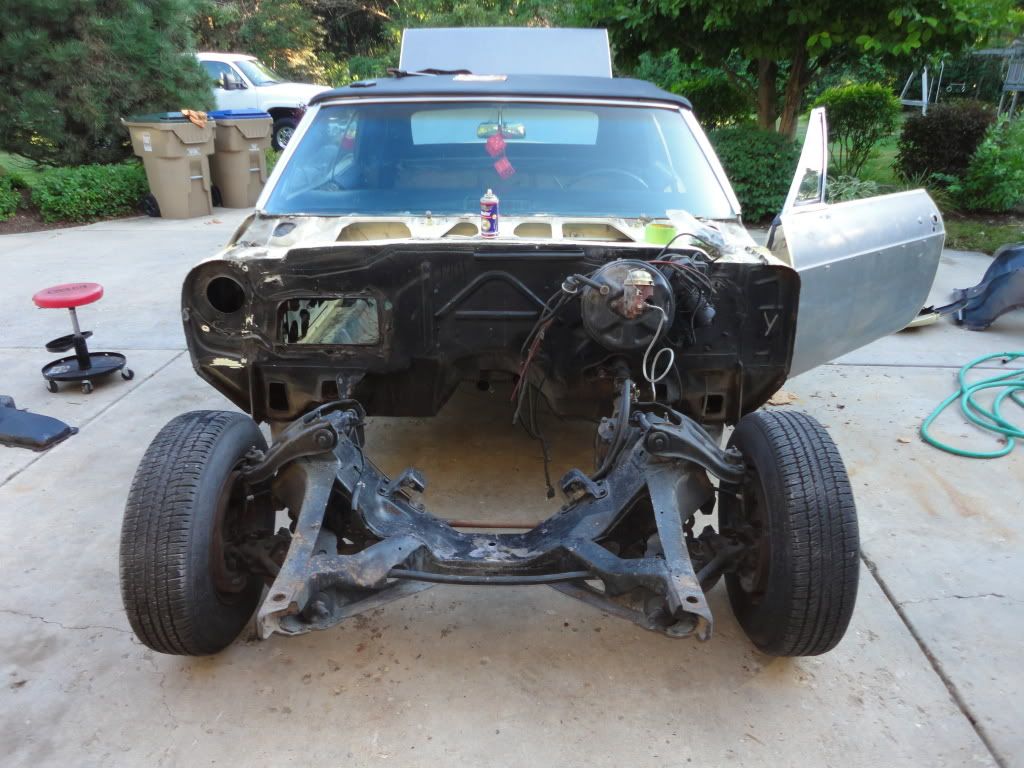
Did some more dis assembly today.....took the rest of the front sheetmetal off and things ended up being better than expected.....all the Body mounts are in great shape.....the only issue is the lower fender mount on the passenger side will need to be replaced.......the mounting surface was rusted away and the body shop (LOL) that repaired the fenders just tack welded the lower portion of the fender to the body......Nu Yawk's finest.......the original cowl paint behind the fender cleaned up very nicely.......Here's some pic's from today...
Ken, you have an amazing talent for finding and building great cars. That car is a sure keeper and will be a head turner when it's done. Of course I will be following along. 
What did they use when they media blasted the car? I want to get my Impala done and thought about baking soda but it has some rust and a few spots with a lot of filler.
Edit: Sorry about the deal Ken. That really hurts when you buy something that isn't quite the deal you thought it was. I still stand by my original statement, it will be a head turner when complete.
Last edited by gofastwclass; Aug 30, 2011 at 12:18 AM.
Thread Starter
TECH Fanatic
Joined: Jul 2008
Posts: 1,570
Likes: 173
They used plastic media.....it's very gentle, not aggressive like sand......it won't take rust out.......also you won't have a possible issue like happens with Baking Soda if it's not neutralized correctly........
Ken
Ken
Thanks, that is good to know about baking soda.
I'm not really concerned about getting the rust out because most of what is rusted I have replacement metal for. I just need a good clean slate so I can work and not have to worry about making a new mess trying to clean each area before I work.
I'm not really concerned about getting the rust out because most of what is rusted I have replacement metal for. I just need a good clean slate so I can work and not have to worry about making a new mess trying to clean each area before I work.
Thread Starter
TECH Fanatic
Joined: Jul 2008
Posts: 1,570
Likes: 173
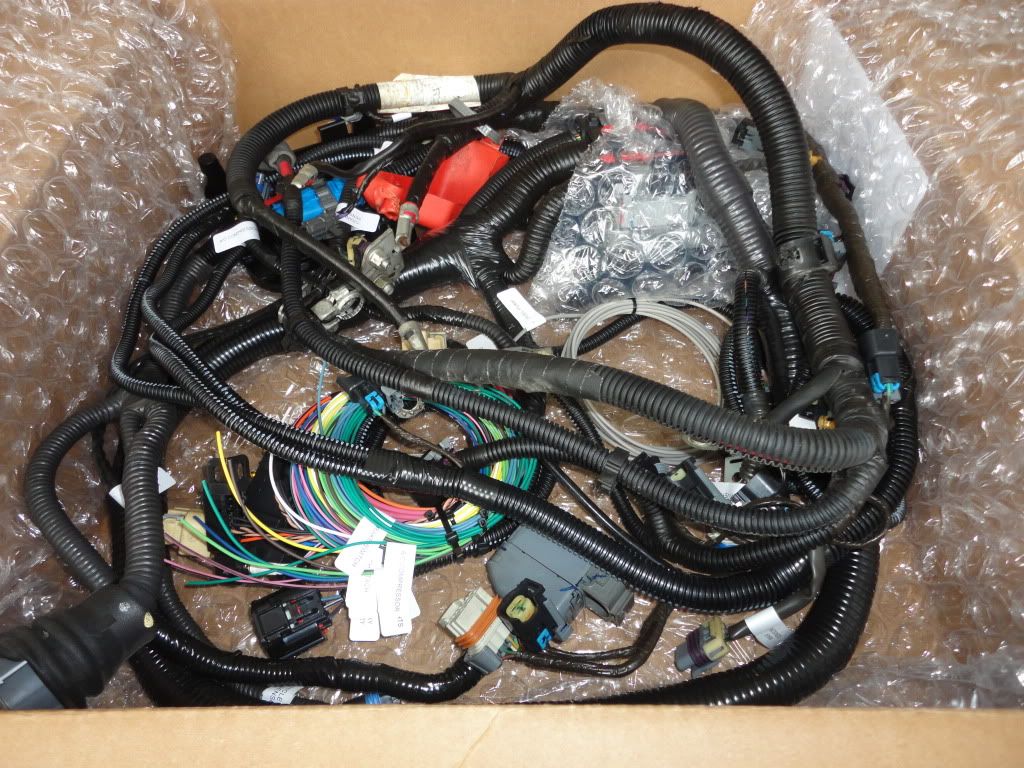
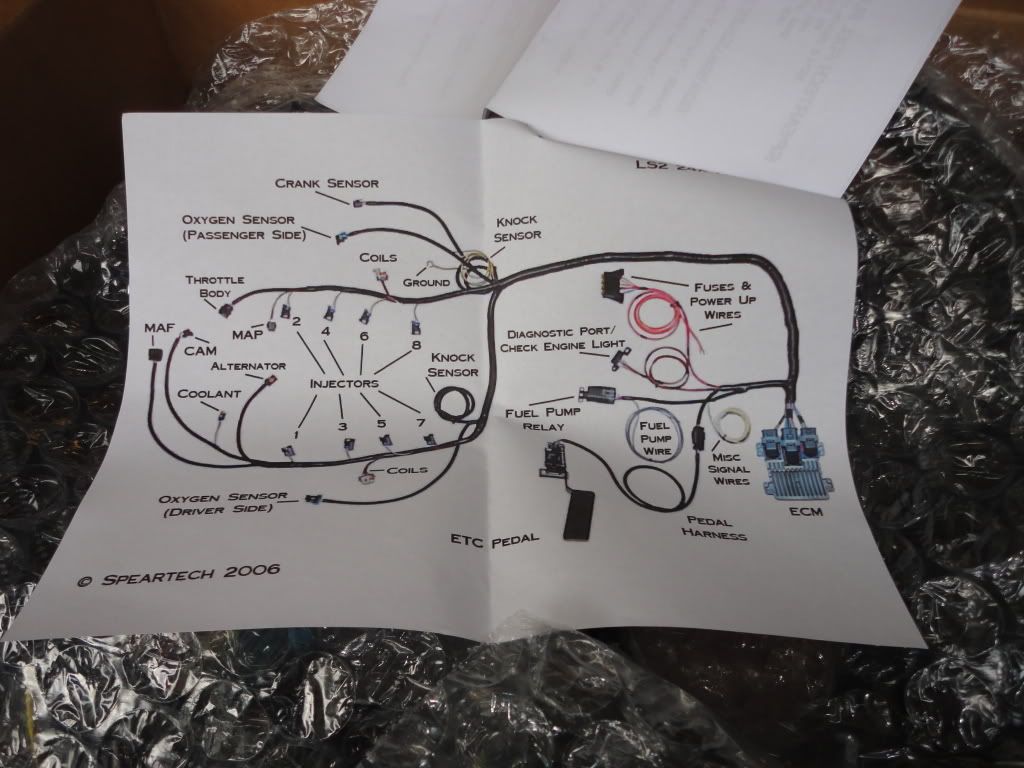
Almost Done......LOL.....Got the Goodie box from John at Speartech today.......Plug and play....Well almost....
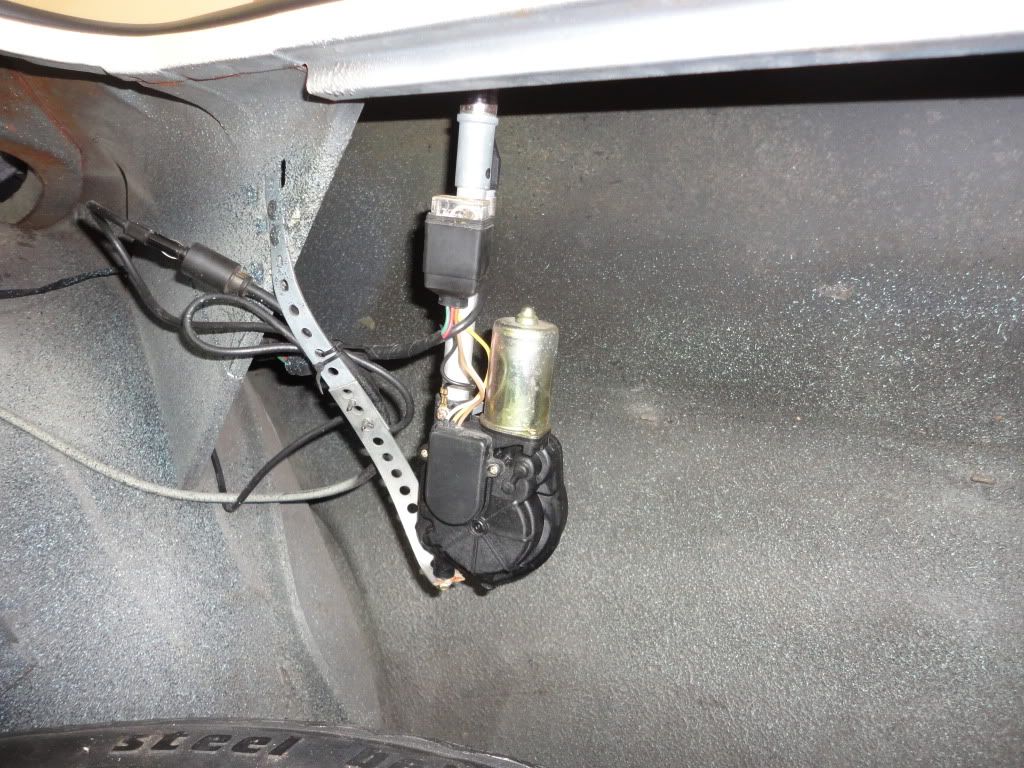
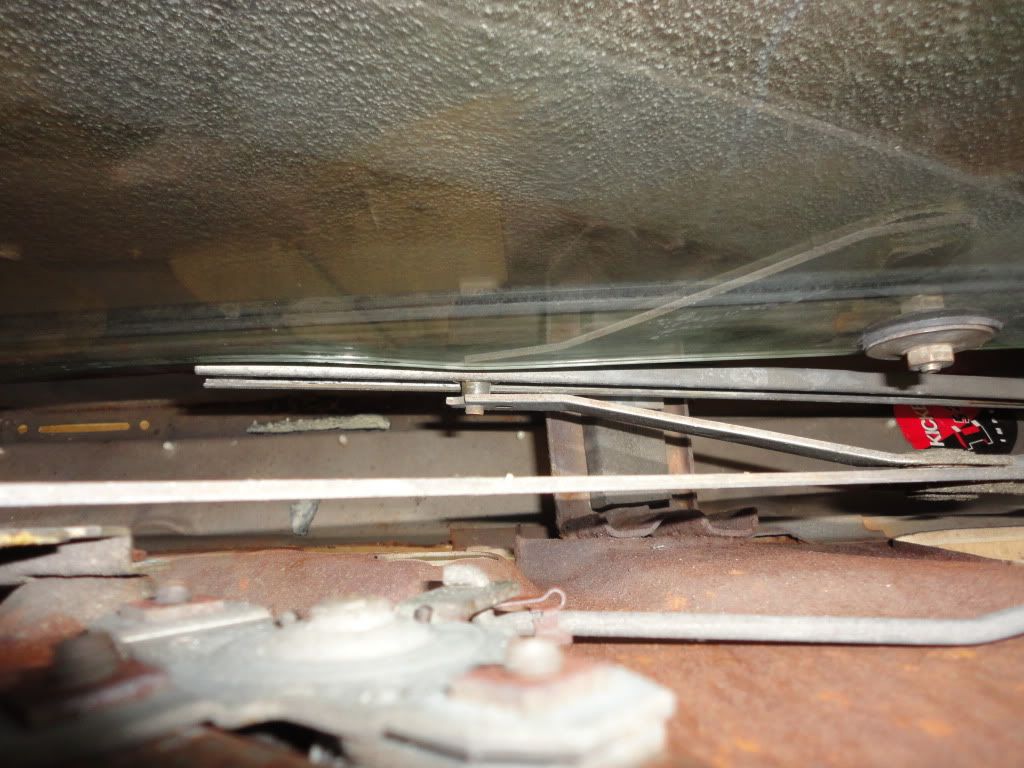
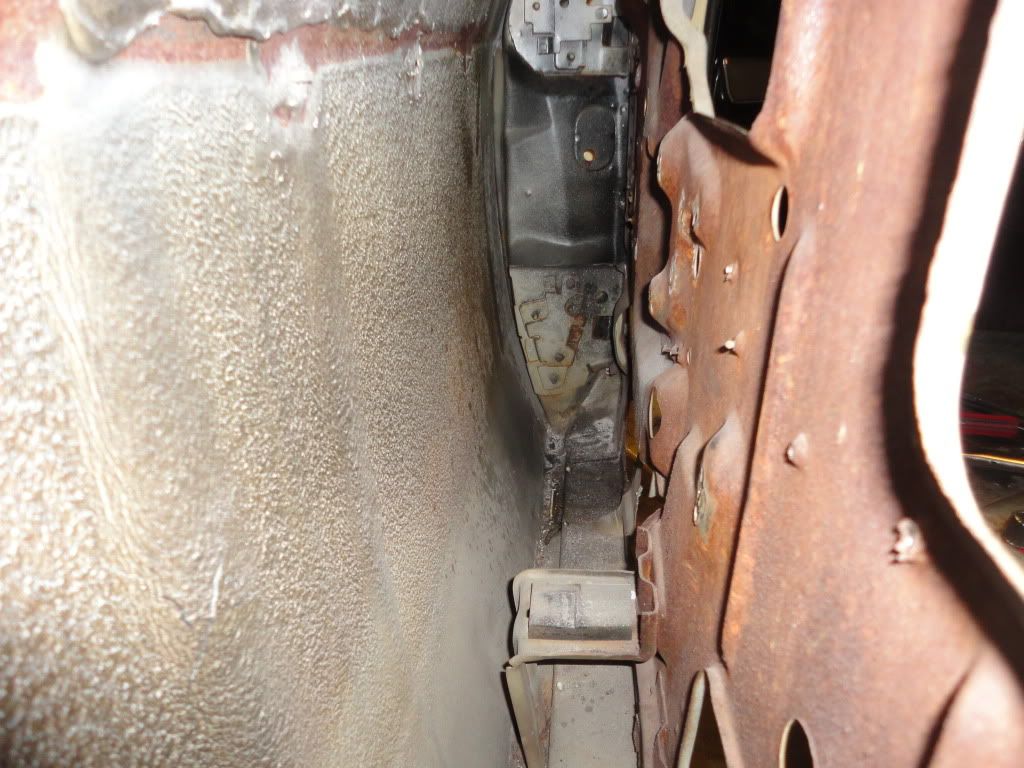
Stopped at the Body Shop today (Puleras in Kenosha, Wi)and talked to Randy about getting the car in......Randy told me to bring all the bolt on parts in, Hood, Fenders,Doors,Deck Lid, etc.......So.....The part of doing a project that I hate more than anything........Taking the window mechanisms out of the car........What a Pain in the A$$!!!.........Only have the patience to do one a day........
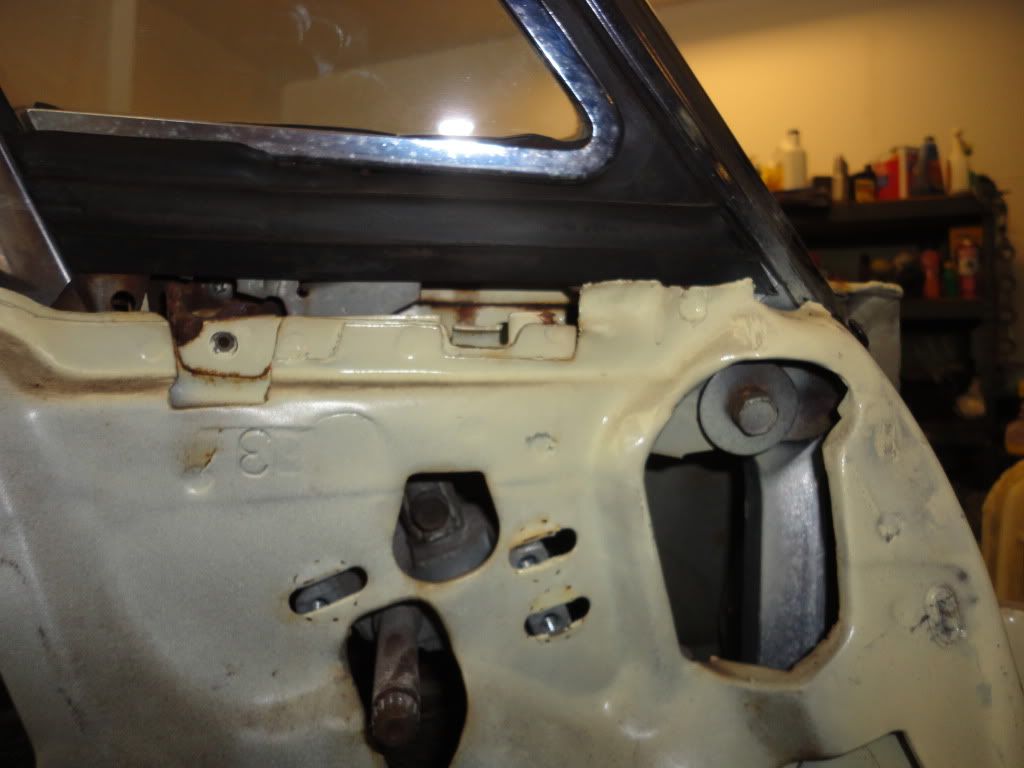
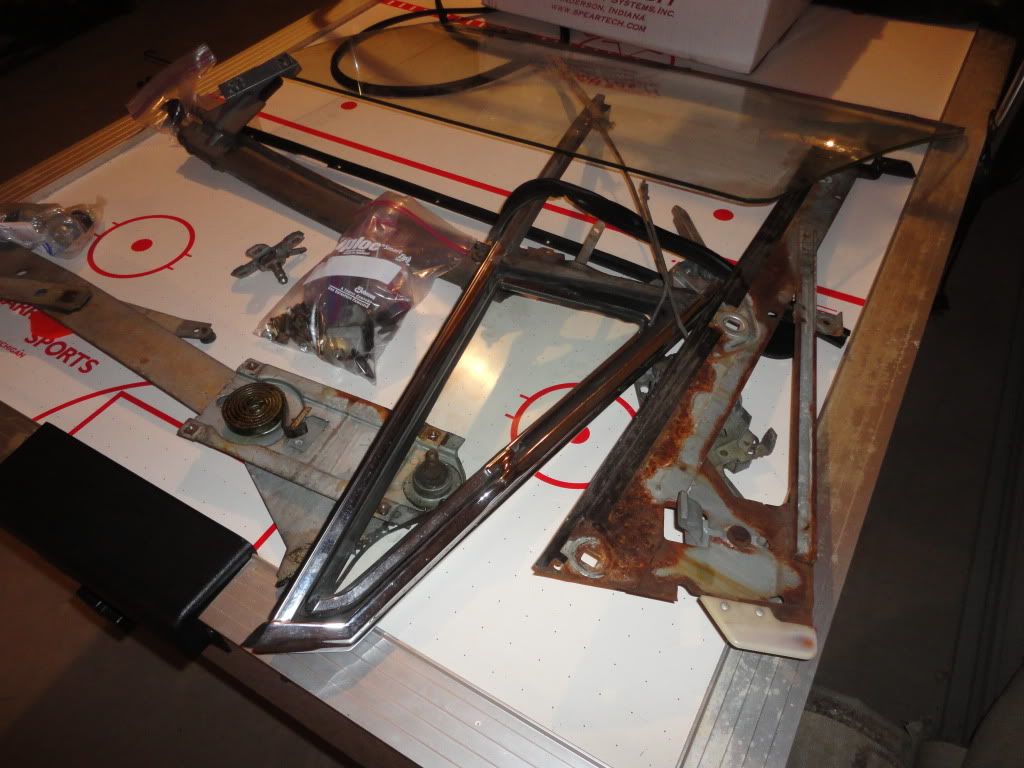
Parts from inside one door.....
Gonna order the quarter patch panels and in a week or two the body should be at Puleras.........
Getting Closer......
Stopped at the Body Shop today (Puleras in Kenosha, Wi)and talked to Randy about getting the car in......Randy told me to bring all the bolt on parts in, Hood, Fenders,Doors,Deck Lid, etc.......So.....The part of doing a project that I hate more than anything........Taking the window mechanisms out of the car........What a Pain in the A$$!!!.........Only have the patience to do one a day........
Parts from inside one door.....
Gonna order the quarter patch panels and in a week or two the body should be at Puleras.........
Getting Closer......