When you click on links to various merchants on this site and make a purchase, this can result in this site earning a commission. Affiliate programs and affiliations include, but are not limited to, the eBay Partner Network.
thanks alot for the info. found a guy that has done it b4. An was willing to do the same for $120 and the pick up. so ill be dropping it off on friday. so I tried to find more info on the dip stick an haven't found anything yet. what are going use. I was wondering if f-body would work.
thanks alot for the info. found a guy that has done it b4. An was willing to do the same for $120 and the pick up. so ill be dropping it off on friday. so I tried to find more info on the dip stick an haven't found anything yet. what are going use. I was wondering if f-body would work.
You don't want to raise the oil level above where the stock level was as you will start foaming up the oil with crank windage through it if it gets too high.
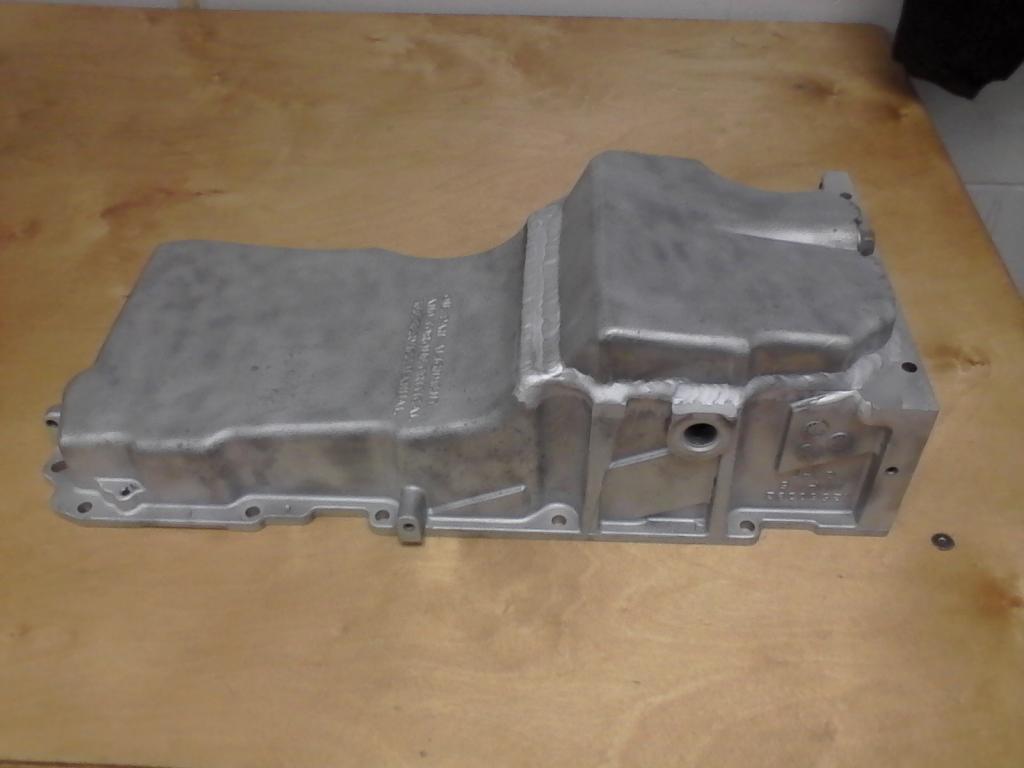
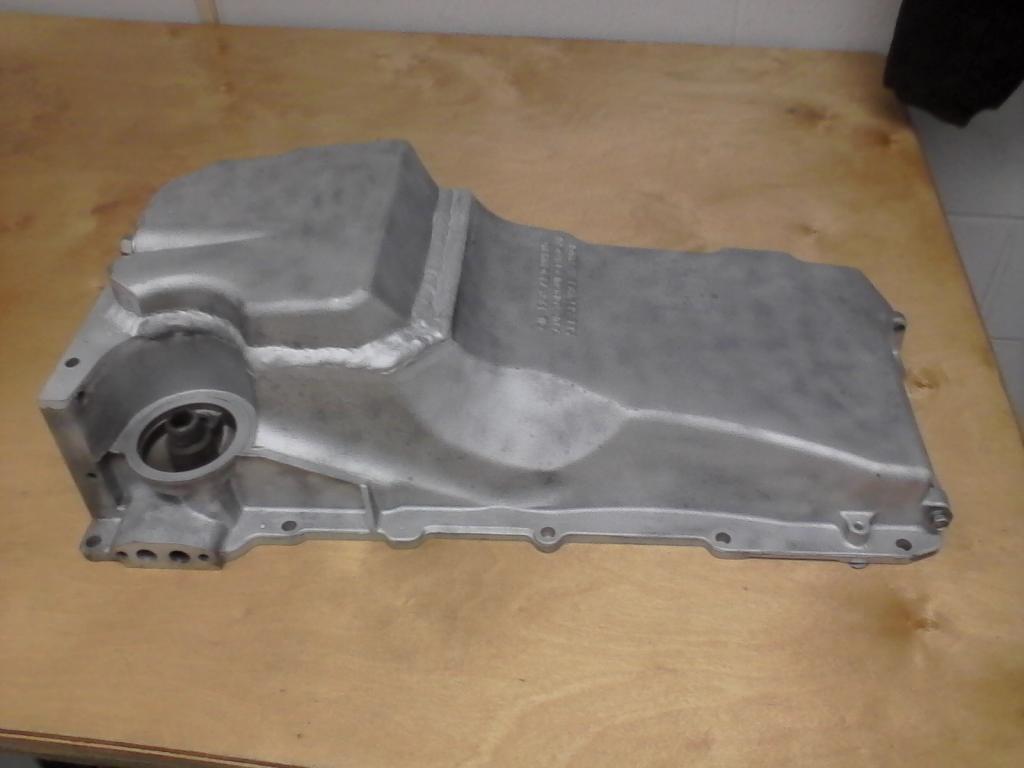
I sectioned mine. took 1 1/2 inch out and brought the bottom portion back up to retain the drain plug. 1 1/2 " = a quart of oil. That plug you have where the oil level indicator was makes a great oil temp sender location, just hog out the inside and tap some 1/8 npt threads and your good.
Same idea I had.
Add in the extra volume to the area in front of the sump like was previously mentioned and you could gain back a portion of the lost volume.
Also add in some side kick outs where you have clearance and you could end up with more volume than stock.
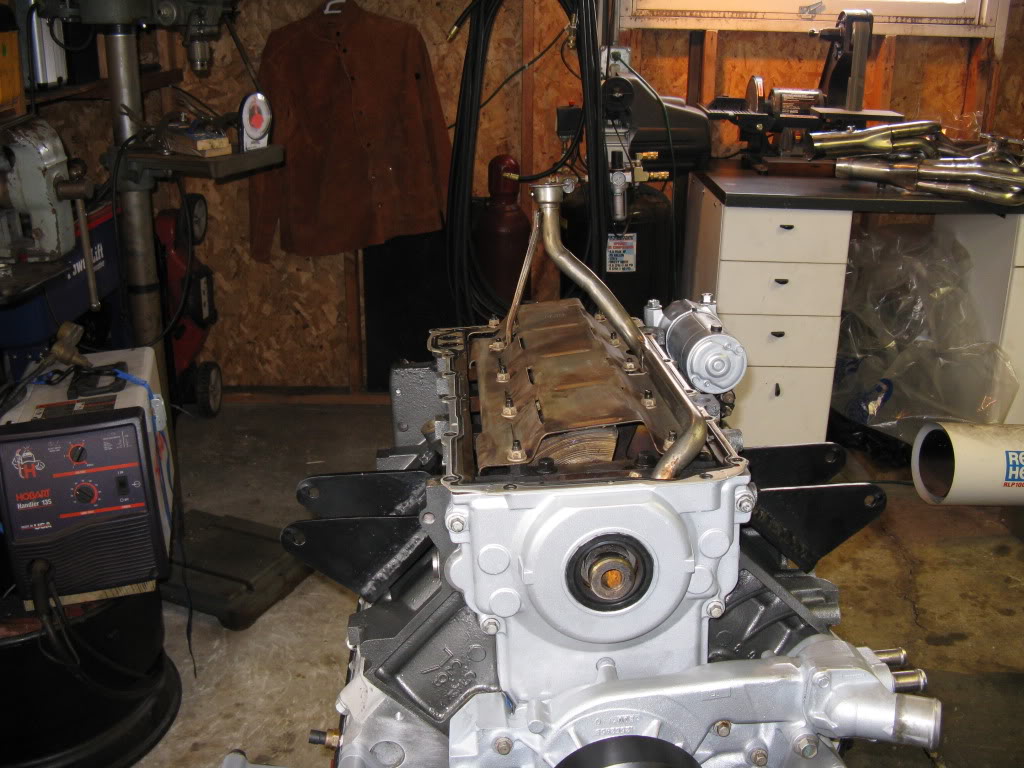
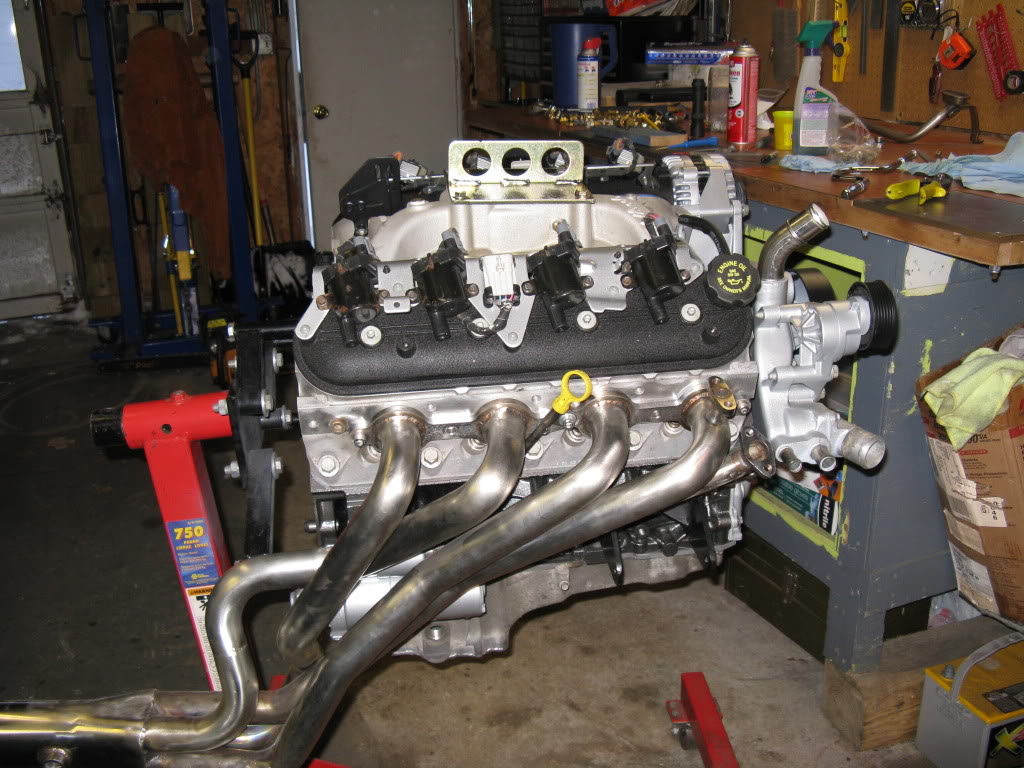
First off I'm sorry about the huge picture format...My garage camera is getting a bit old and decided to reformat itself to take huge pictures! I'll be changing the settings back to a smaller format. Now onto progress.
OK, the oil pan is chopped down, time to make the pick up and dipstick match! Here is the stock pick up. In need of about 2.75" chop.
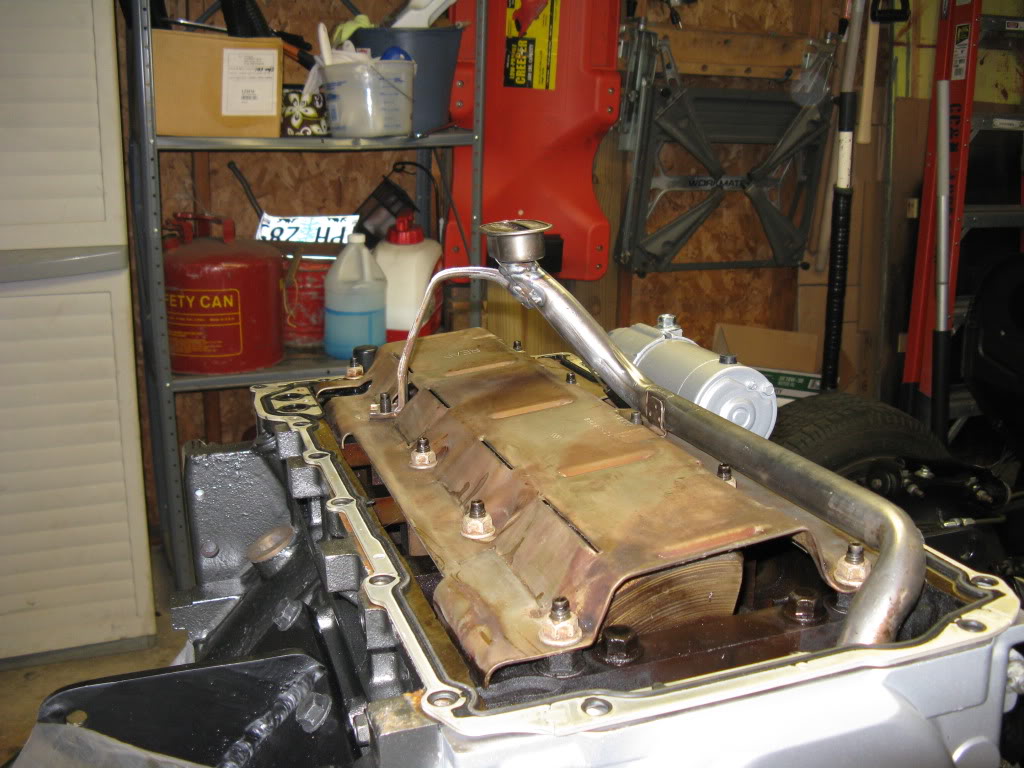
I forgot to take any during pictures, but here is the finished pickup. It took quite a bit of work. If I had it to do over I could save myself quite a bit of frustration! But in the end the results were satisfactory.
Here is a neat little trick. I taped a small 150 lumen tactical flashlight inside the pan and installed it on the engine. I was able to check pick up to pan clearance and dipstick height. I also used clay to ensure proper height. Pick up is a little over 3/8 from the bottom of the pan.
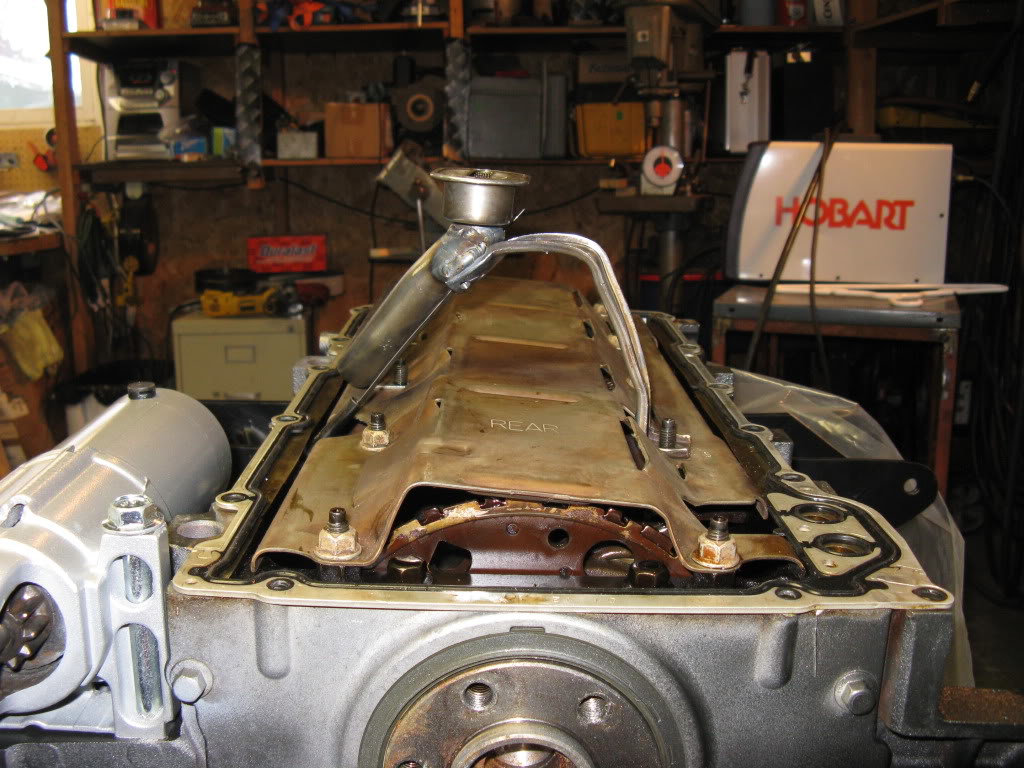
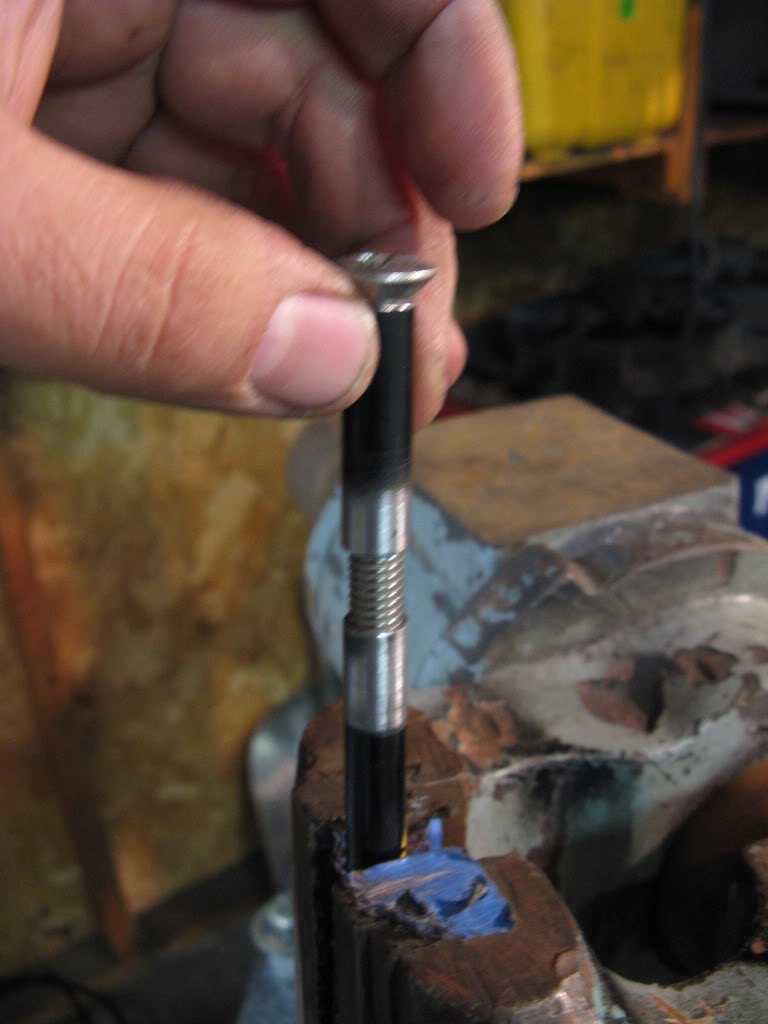
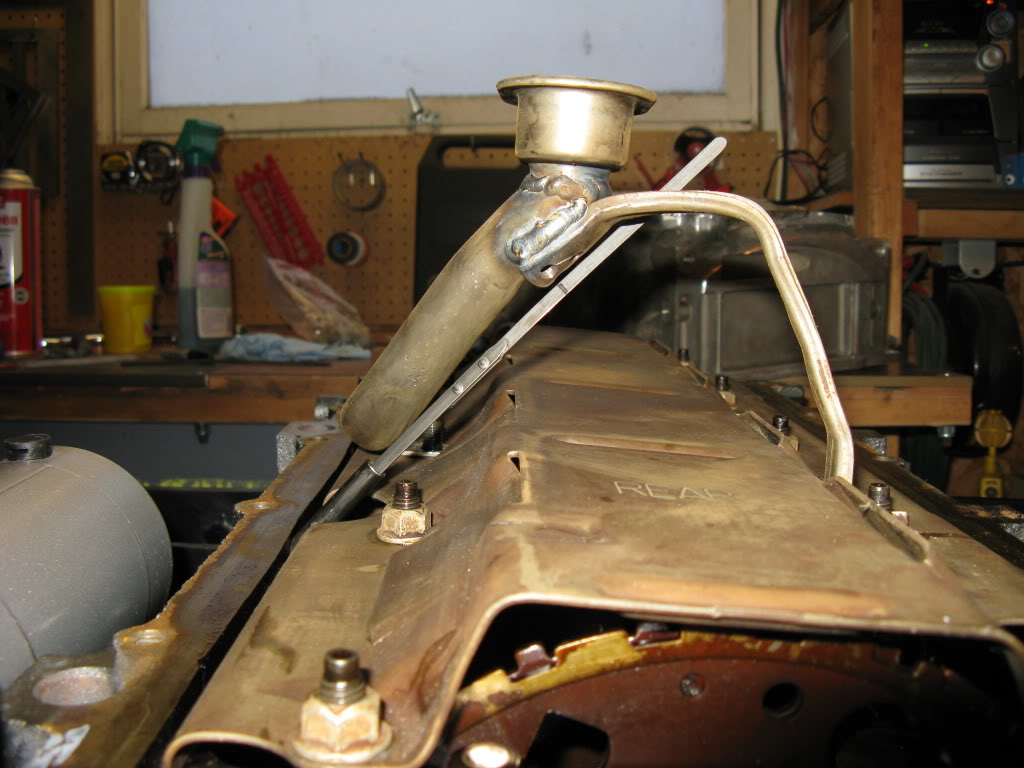
With the pan and pickup done, onto the dipstick. As you can see the handle end of the dipstick is far too long and ugly. So it will have to be shortened along with the pan end.
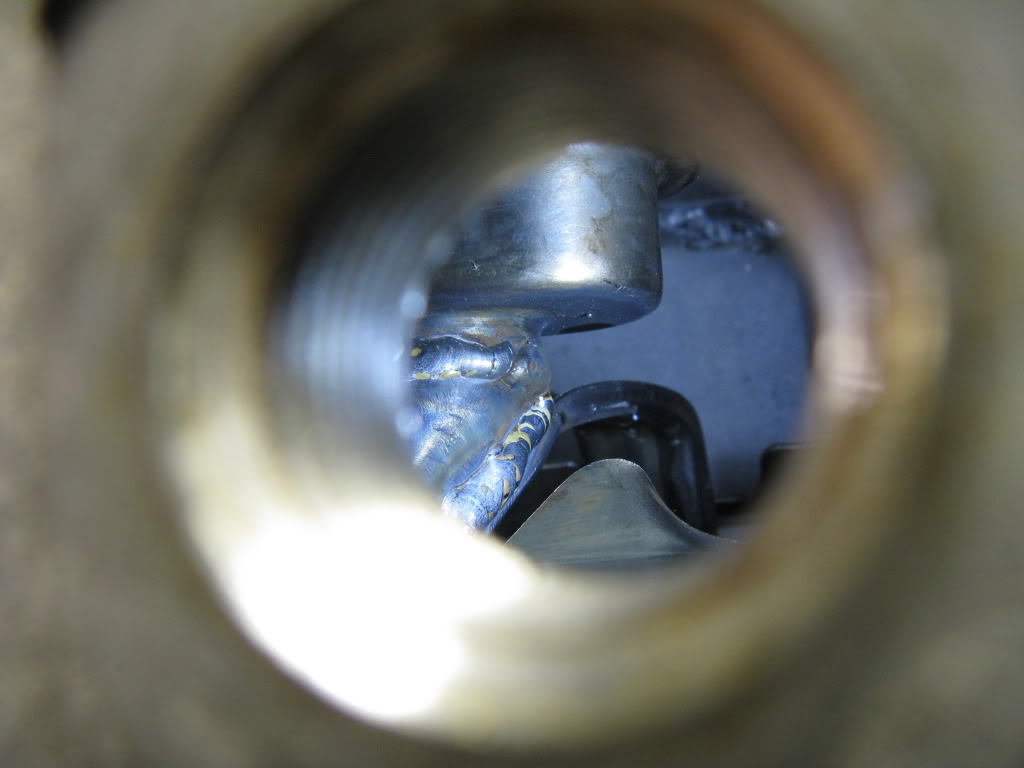
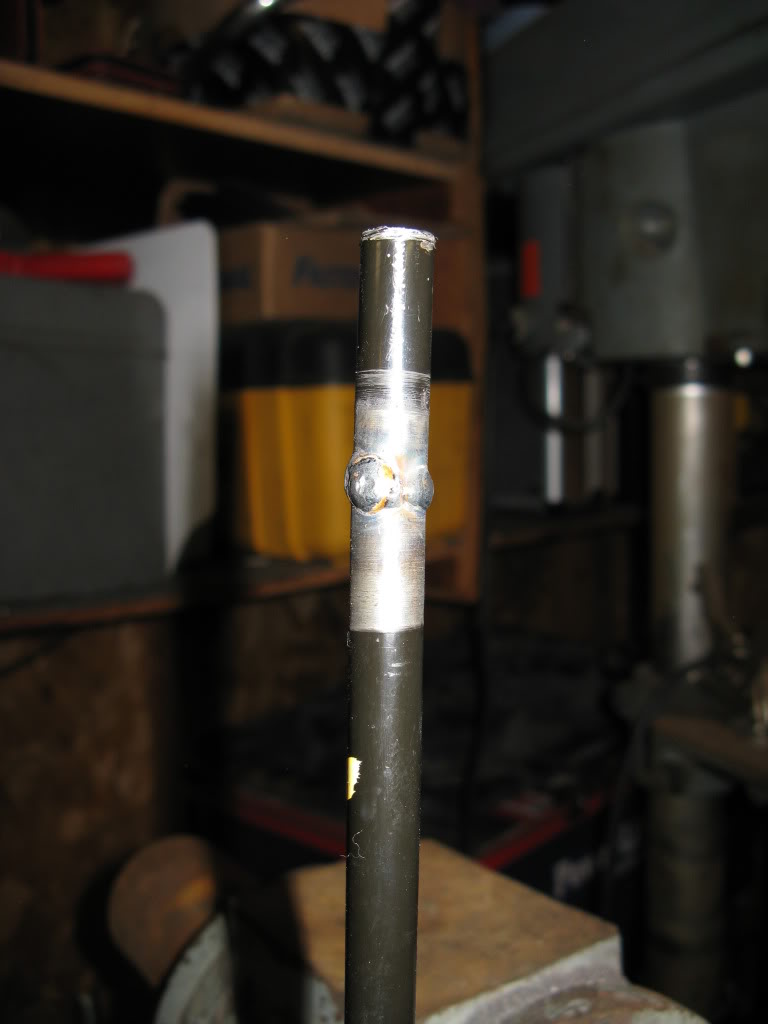
The welding pictures are from my practice dipstick welds. It is easy to get excited and forget to take pictures! With the tube ends cut and prepped I used a 5/16th bolt to align the halves for welding. This trick worked well, but I made the mistake of leaving the bolt in for the entire welding process and had to "unthread" the bolt out. That is why we practice.
The tube actually welded pretty well. I had to be careful not to p]penetrate to far into the tube.
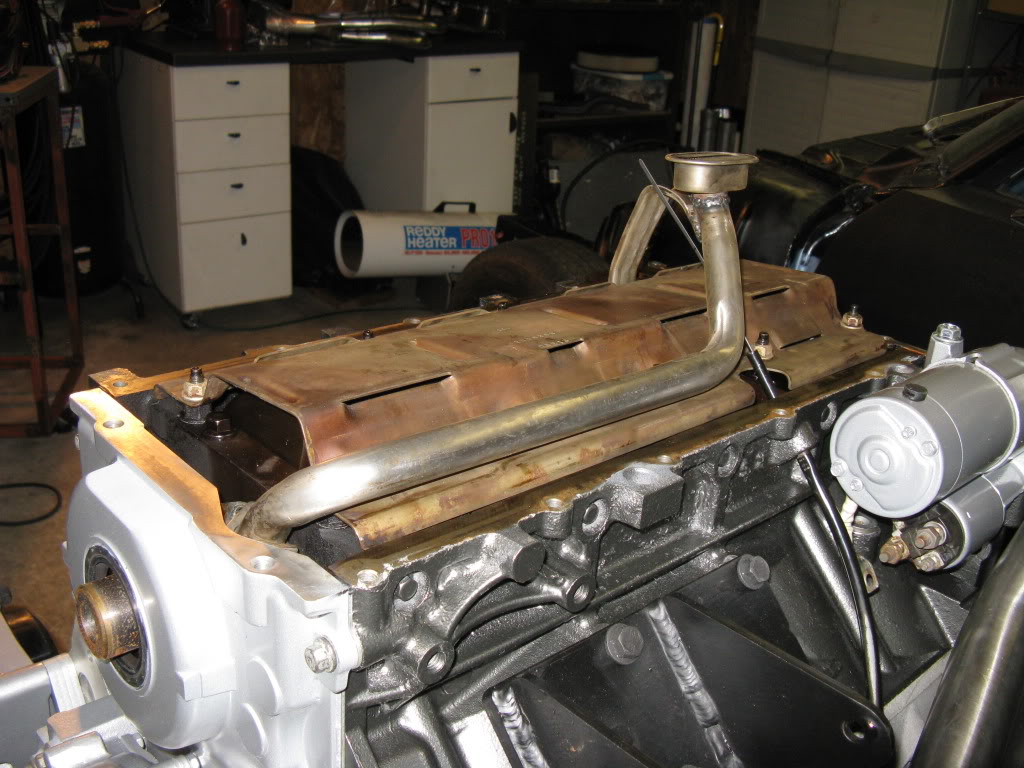
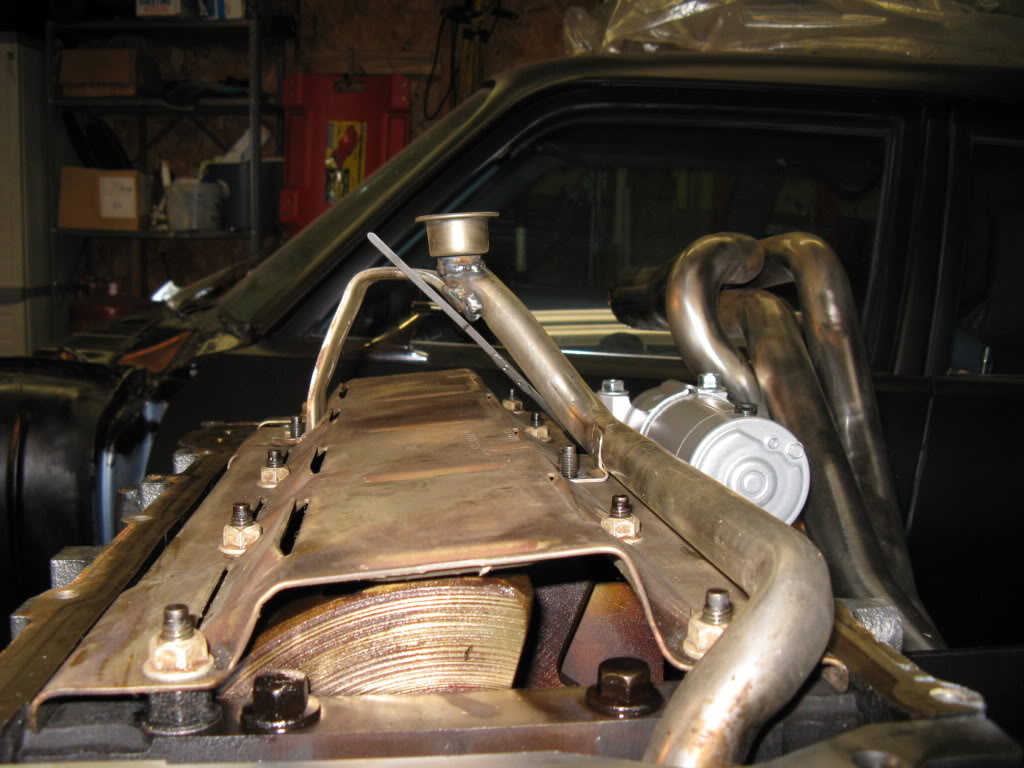
Here is the shortened dipstick in the pan. I marked the LOW about 1qt above the pick up, and I will be marking the FULL at the height of the bottom of the windage tray. I expect that to be about a 1.5qt difference.
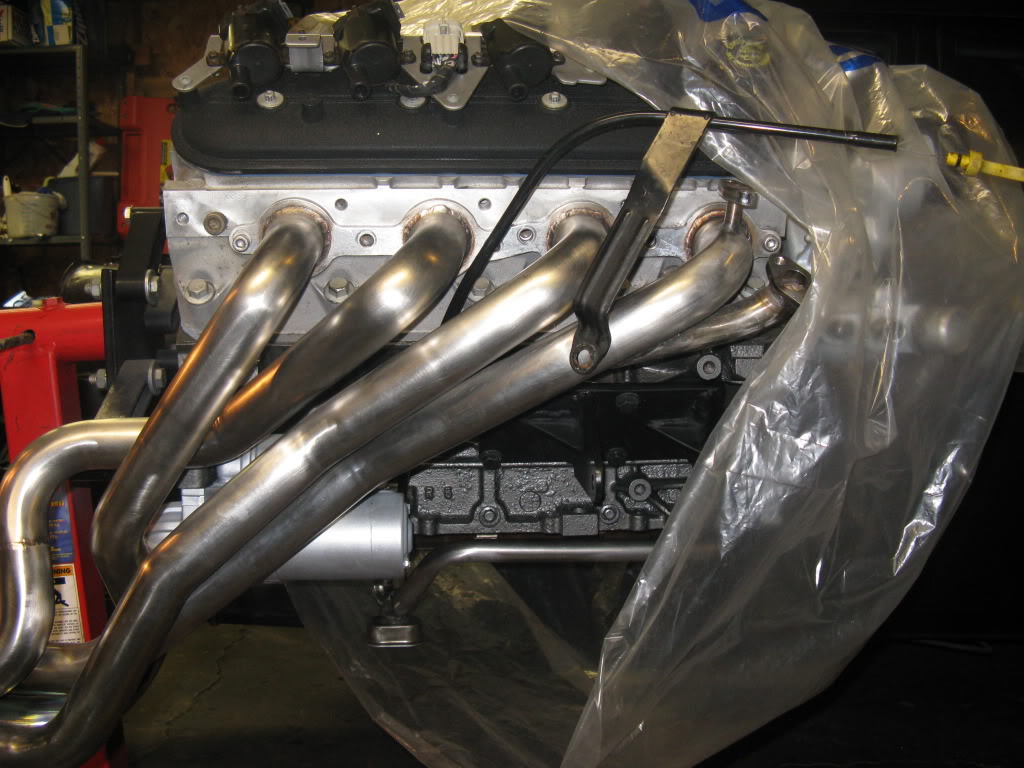
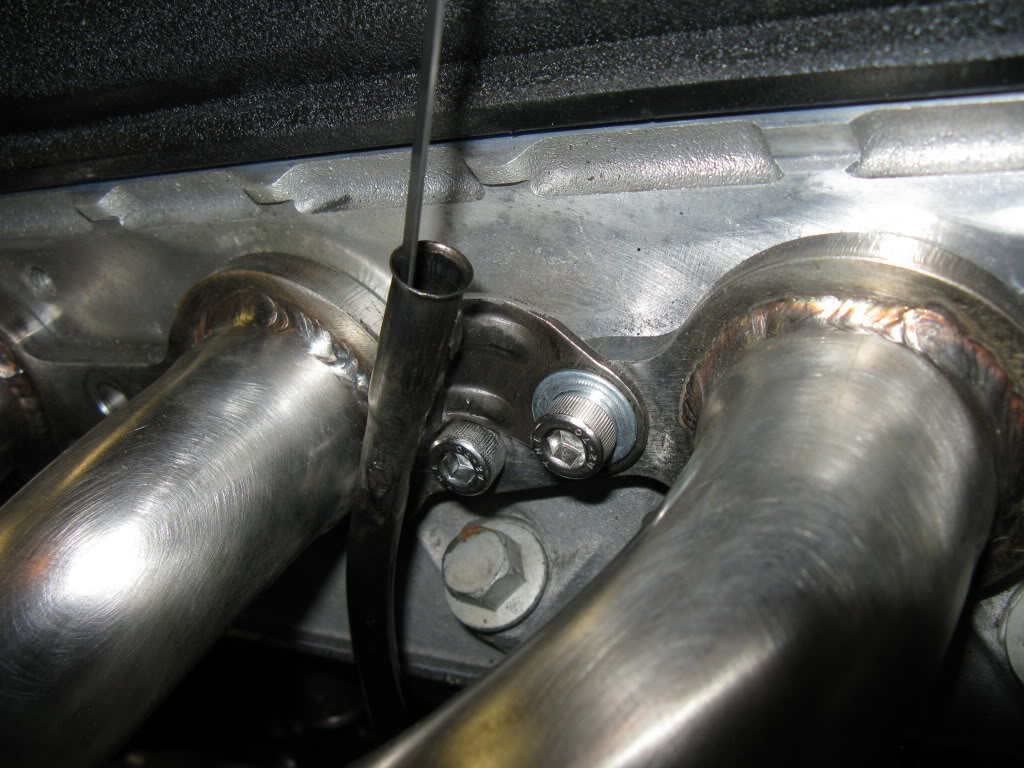
Here is the chopped dipstick from the outside view. I kept it nice and short. The dipstick tube is as far from the header as possible, about 1/2" from the #6 primary. I was able to cut down the original dipstick support bracket and weld it to the tube. I had to clearance it a little to clear the other header mounting bolt.
The fiance` is working tonight so I will have some time to finish the oil drain valve! Thanks for checking up on my progress!
Its the least I can do. I must have gone through almost every applicable build thread on here and Steve's Nova Site gleaming design and appearance tips from each one of them. FroJoe, GTC99, Bandit, Hookem', Marktanium, Tarantula, RocketRod and a bunch of others all contributed ideas for me. I just hope someone will find my thread useful as well. Welcome to LS1Tech!
how did you measure how much you needed to cut off the dipstick? I assume whatever distance you shortened the tube by you also shortened the stick by?
why did you make it go so far down into the pan vs just dipping into the oil level at the top?
I made the end of the dipstick level with the oil pickup screen so I could use it to determine oil level all the way to the very lowest useable level. I selected my low line ~1qt above the pickup height for LOW, and used the windage tray for HI, which aligned with the 2 rivets on the dipstick perfectly.
Almost 3 years later and no problems. Hope this helps.
I sectioned mine. took 1 1/2 inch out and brought the bottom portion back up to retain the drain plug. 1 1/2 " = a quart of oil. That plug you have where the oil level indicator was makes a great oil temp sender location, just hog out the inside and tap some 1/8 npt threads and your good.
thats what i did, didnt end up using it but it worked fine.
That pan looks real good, with the bottom welded back in place. I wonder why others weld a flat plate, then muck around with placing the drain plug. Is it more difficult to join up reusing the bottom piece?
That pan looks real good, with the bottom welded back in place. I wonder why others weld a flat plate, then muck around with placing the drain plug. Is it more difficult to join up reusing the bottom piece?
It all lines up good but you do need a small filler piece at the front because of the angles.
I made the end of the dipstick level with the oil pickup screen so I could use it to determine oil level all the way to the very lowest useable level. I selected my low line ~1qt above the pickup height for LOW, and used the windage tray for HI, which aligned with the 2 rivets on the dipstick perfectly.
Almost 3 years later and no problems. Hope this helps.
so how did you know that the top of the windage tray was the right amount of oil for the pan?
Edit: are the two rivets where the oil level should be between?
Last edited by superskaterxes; 10-27-2015 at 08:45 AM.
so how did you know that the top of the windage tray was the right amount of oil for the pan?
Edit: are the two rivets where the oil level should be between?
The purpose of a windage tray is to keep oil away from the rotating assembly to avoid oil agitation and foaming by limiting sloshing. It can also acting as a suedo crank scraper to remove oil from the rotating assembly limiting foaming and saving a little HP. Having oil above the tray defeats all those goals. Yes, I used the rivets as my HI mark.
Not sure if this was already mentioned but you could add a remote dual filter setup to add some capacity back into the system. Could even add a cooler on top of that. That would probably put you back to stock capacity.


 02-04-2013, 04:35 PM