
Nerd Rods, 55-59 Truck Frame Project 1956, C4 suspension, 5.3L Auto, Kit Frame Design


 12-04-2013, 09:23 PM
#42
Launching!
Thread Starter
Join Date: Jan 2007
Location: Luling TX In the Hot Rod Shop
Posts: 294
Likes: 0
Received 3 Likes
on
3 Posts

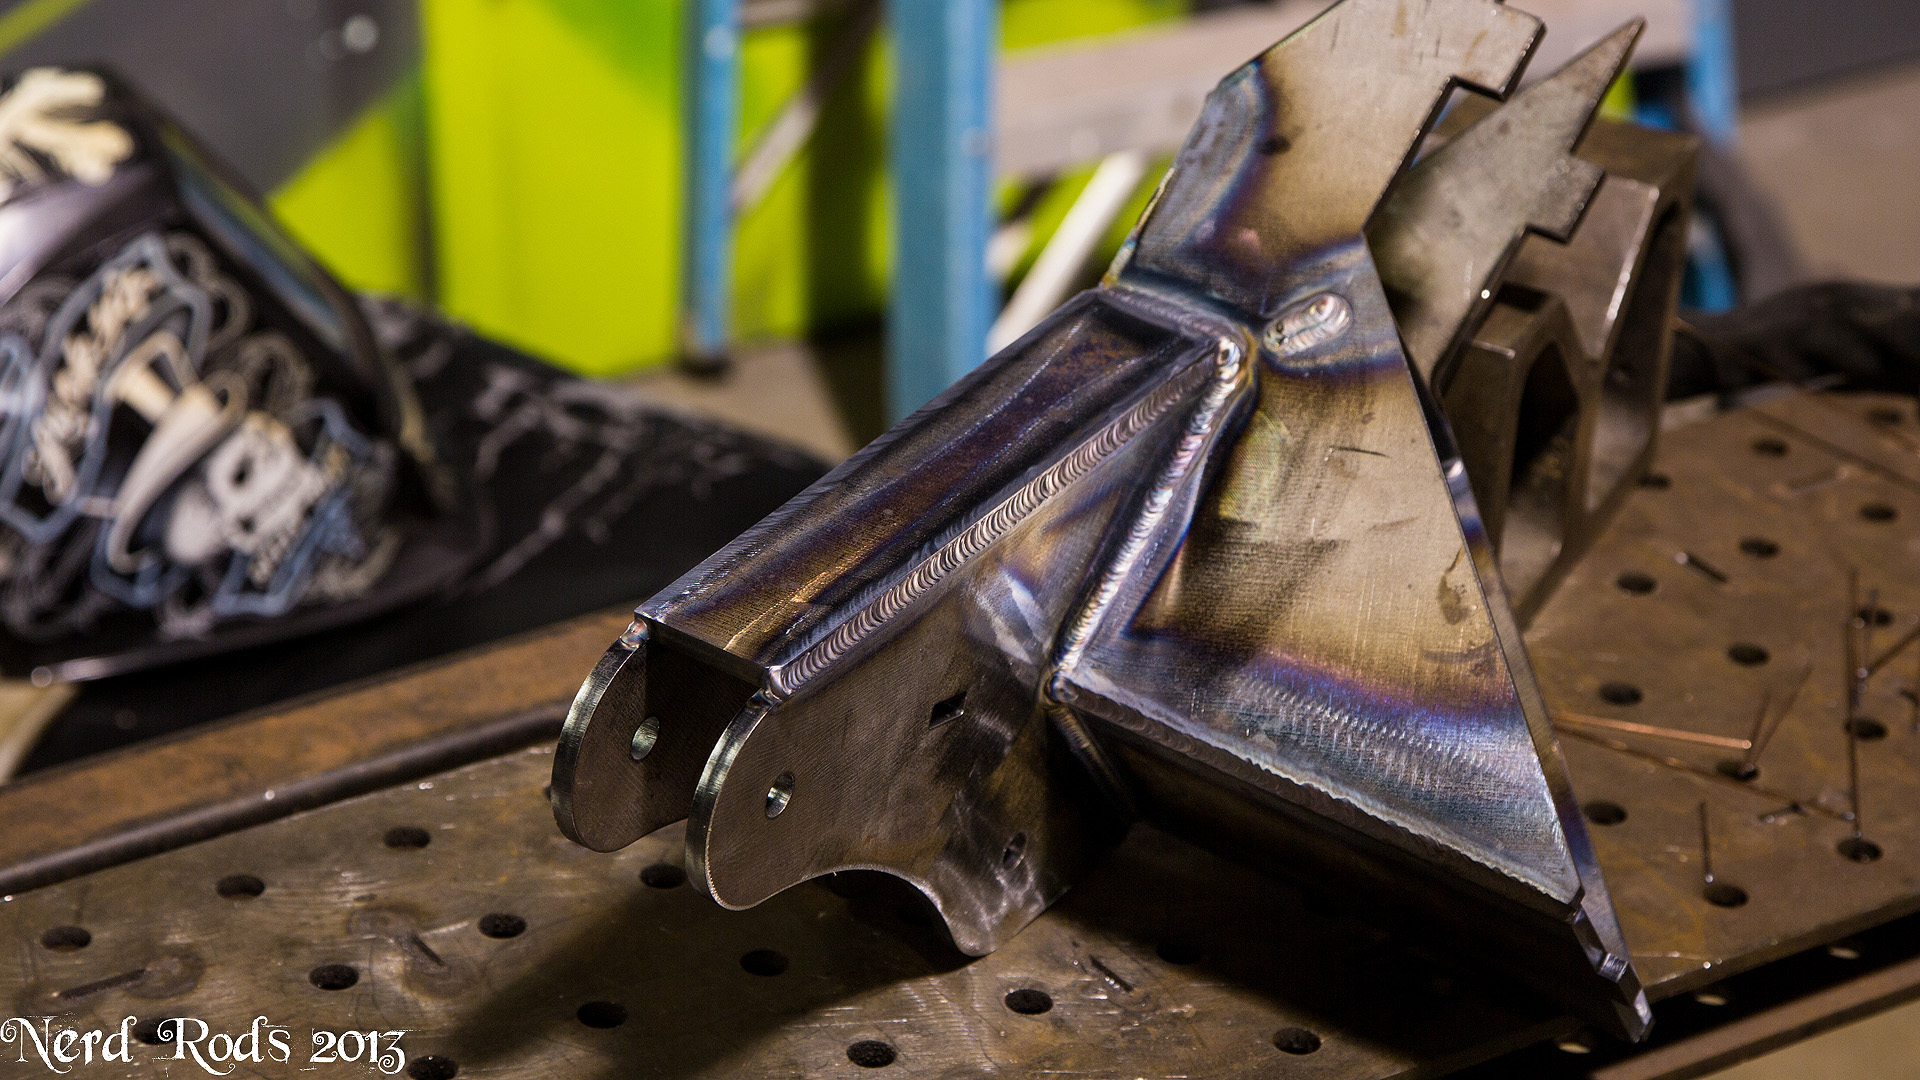
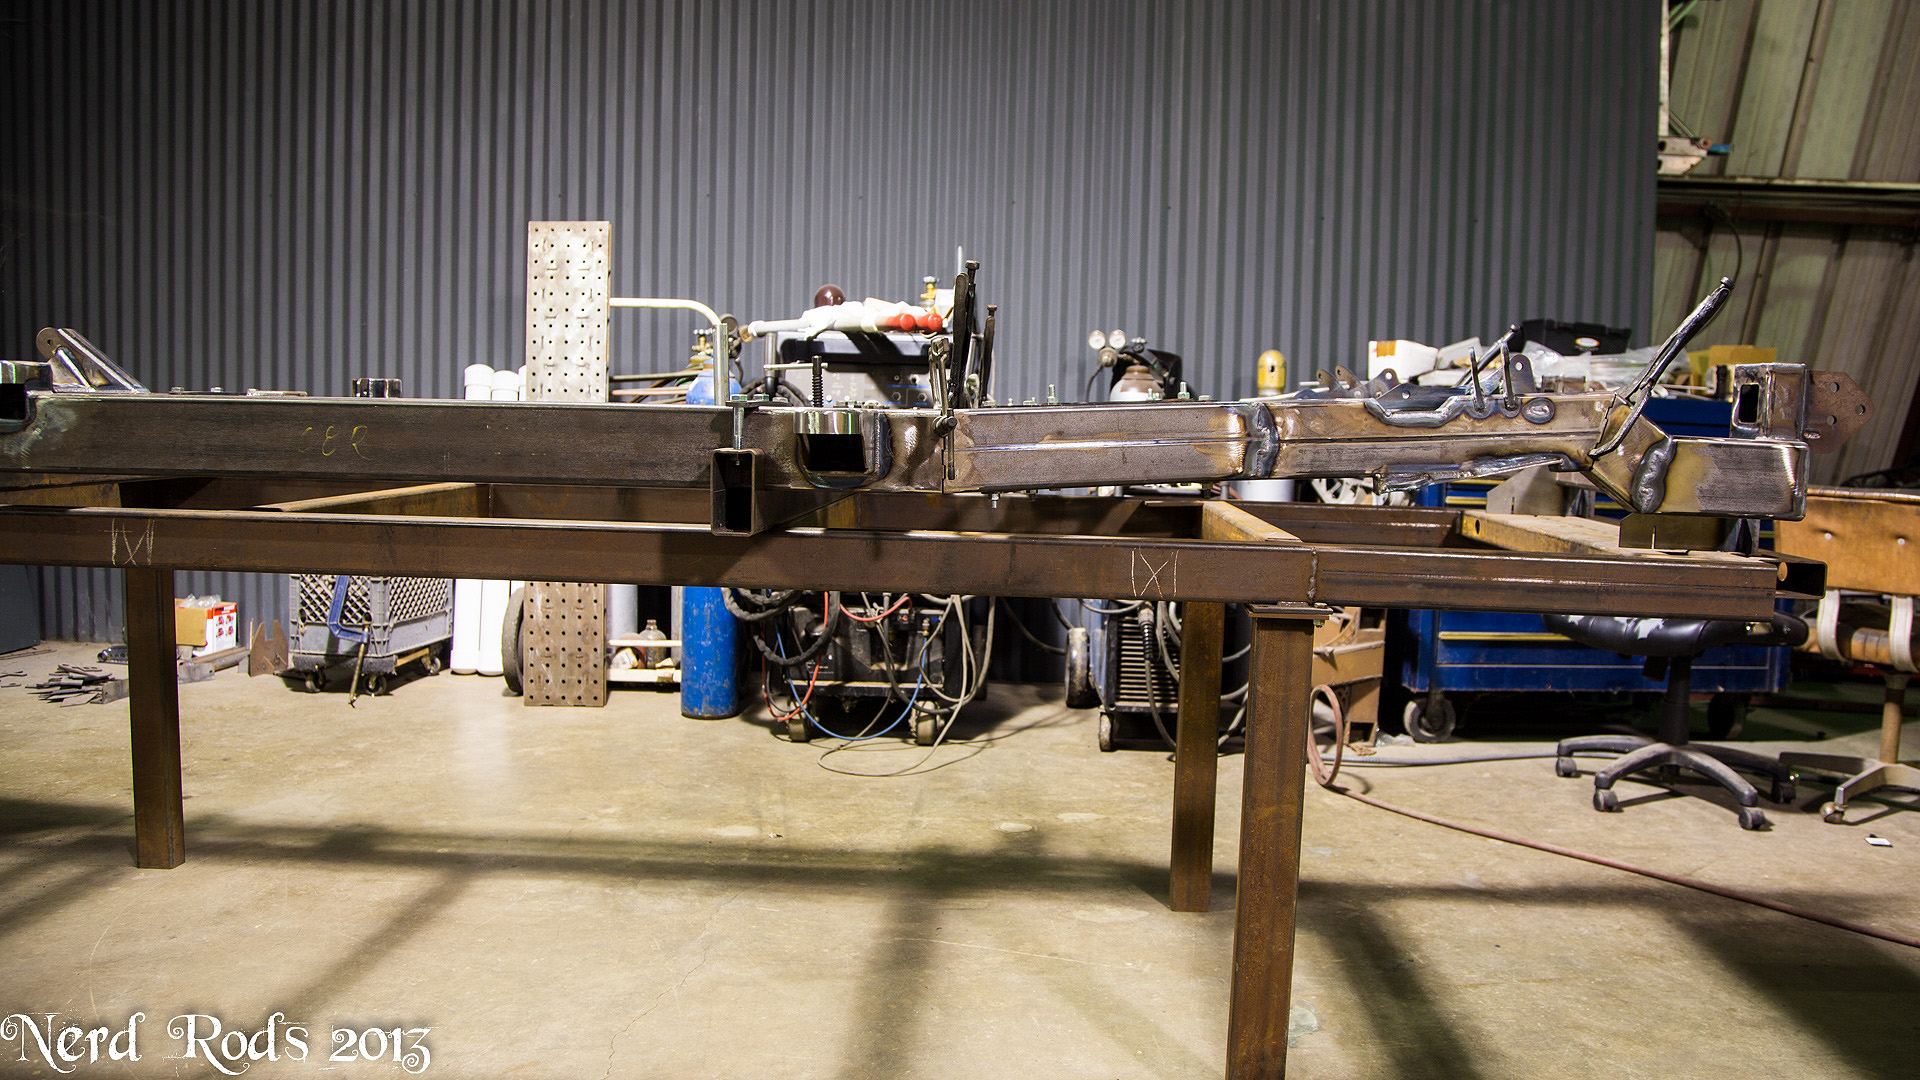
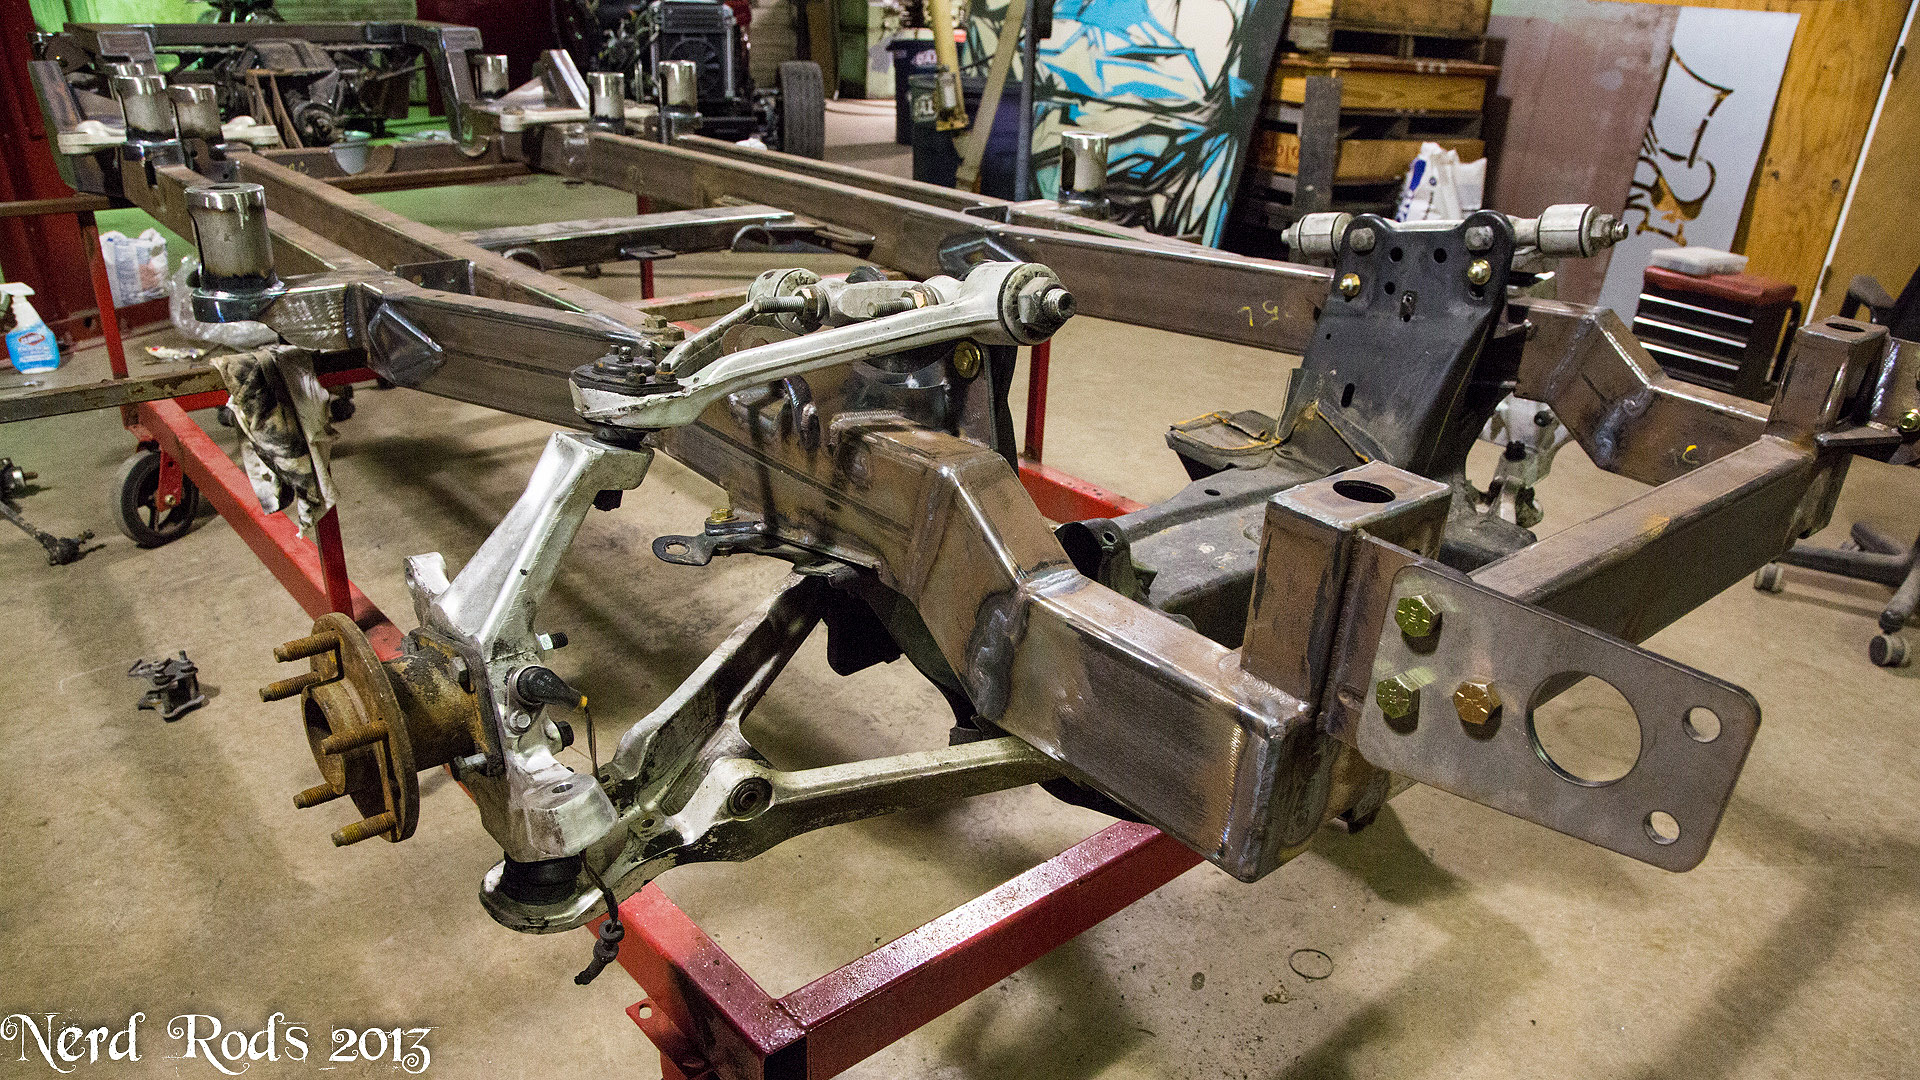
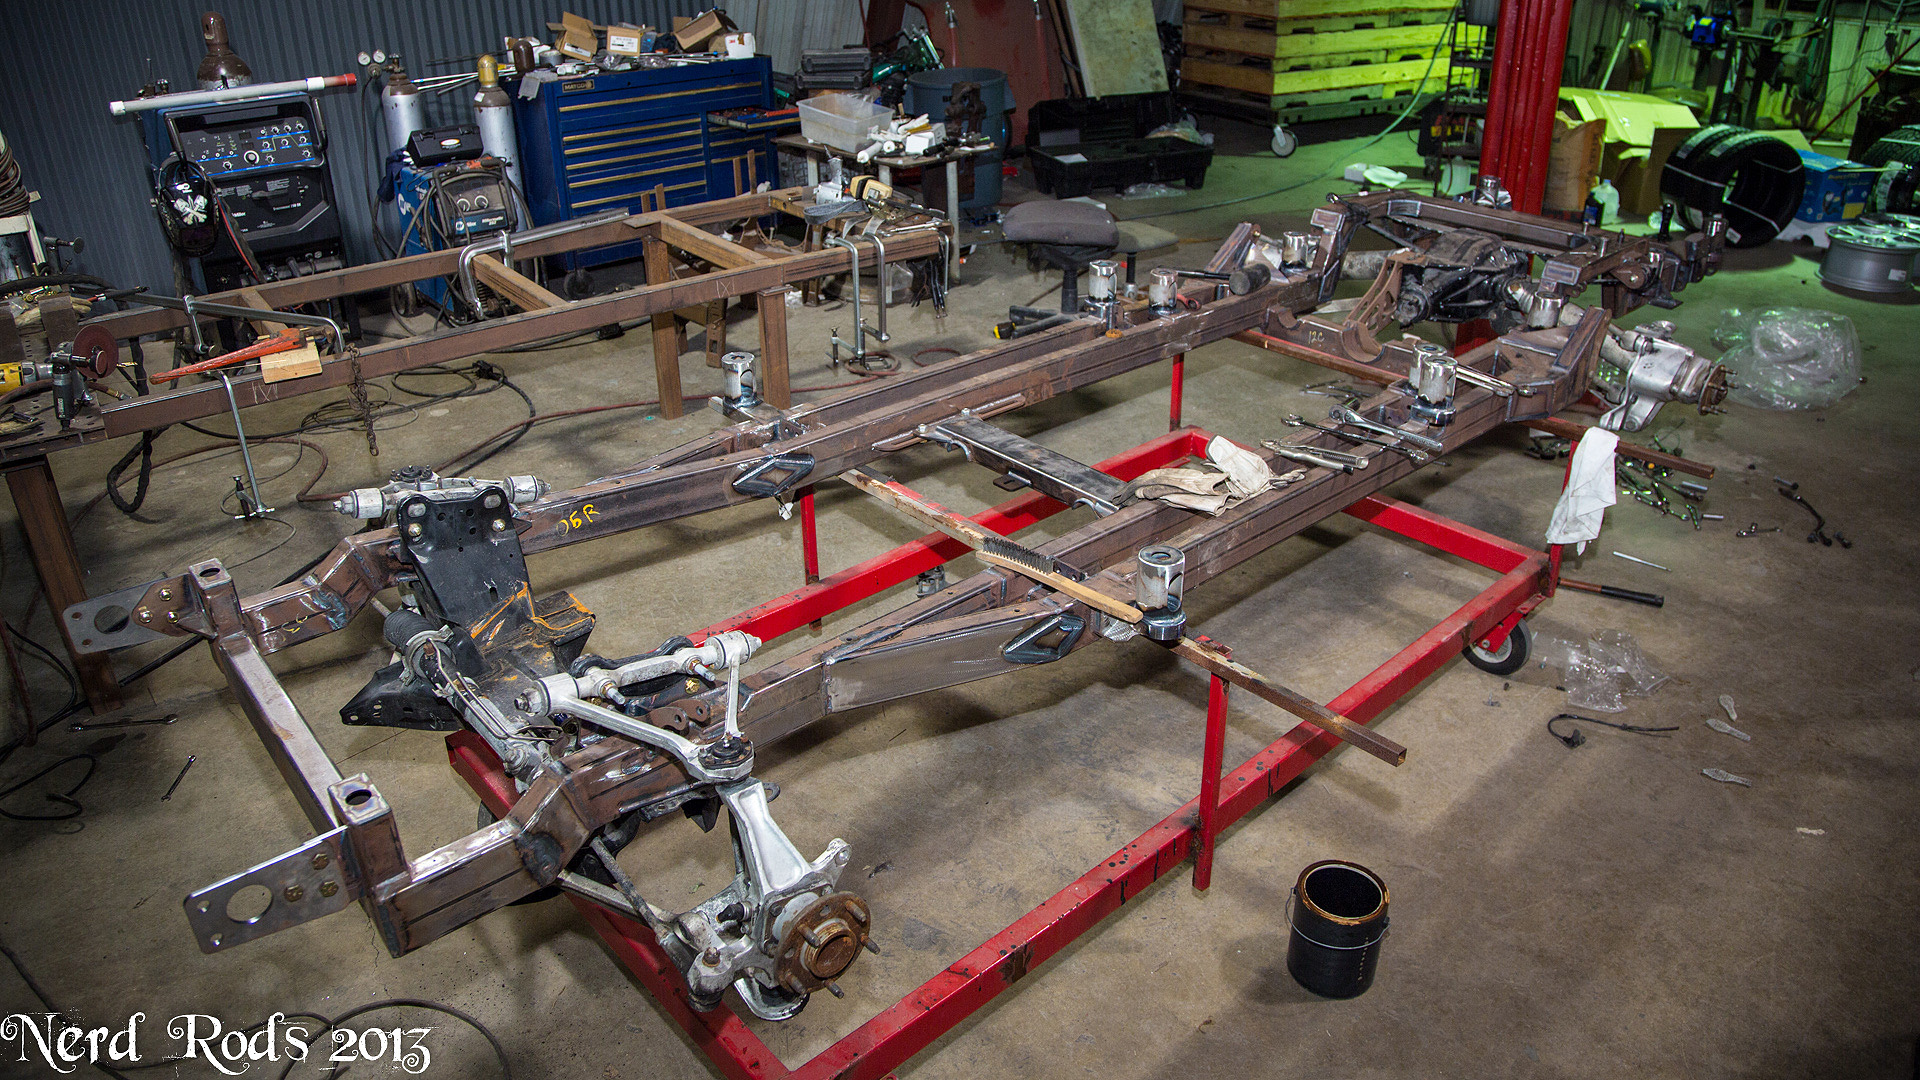
Holiday season is the worst for hot rodders but I survived again. Got a little done on the other front rail and I bagged the first Truck frame today for delivery in a day or two. And by I, I mean Nerd Rods Minion T. Funny thing is the guy buying the frame is a pro shop and is going to put it under a C-10, not a TriFive truck. So he's going to find out how easy the design is going to be for me and he's close enough I can go over to take notes on the fitment. Thanks Kendell!  KB Speed and Custom in Boerne if anyone wants to go bother him for me. It would be embarking if he finished before I did.
I did a few things differently on this side of the frame in terms of process and I've been making my list of tweaks I need to do for the production version of the frame. Just little things I missed like making keys one way so you can't put them in backwards. I've already gotten a hand full of those located. I've got even more photos on my computer with notes written on them to help me in making the animation video and other instructions, it all adds up but I like being able to answer questions as soon as they pop up.


Later
-Russell
KB Speed and Custom in Boerne if anyone wants to go bother him for me. It would be embarking if he finished before I did. I did a few things differently on this side of the frame in terms of process and I've been making my list of tweaks I need to do for the production version of the frame. Just little things I missed like making keys one way so you can't put them in backwards. I've already gotten a hand full of those located. I've got even more photos on my computer with notes written on them to help me in making the animation video and other instructions, it all adds up but I like being able to answer questions as soon as they pop up.


Later
-Russell
12-05-2013, 02:34 AM
#43

Bad azz!!!
12-12-2013, 12:21 PM
#44
Launching!
Thread Starter
Join Date: Jan 2007
Location: Luling TX In the Hot Rod Shop
Posts: 294
Likes: 0
Received 3 Likes
on
3 Posts
ITS COLD!!!!
Alright now that I got that out of my system.
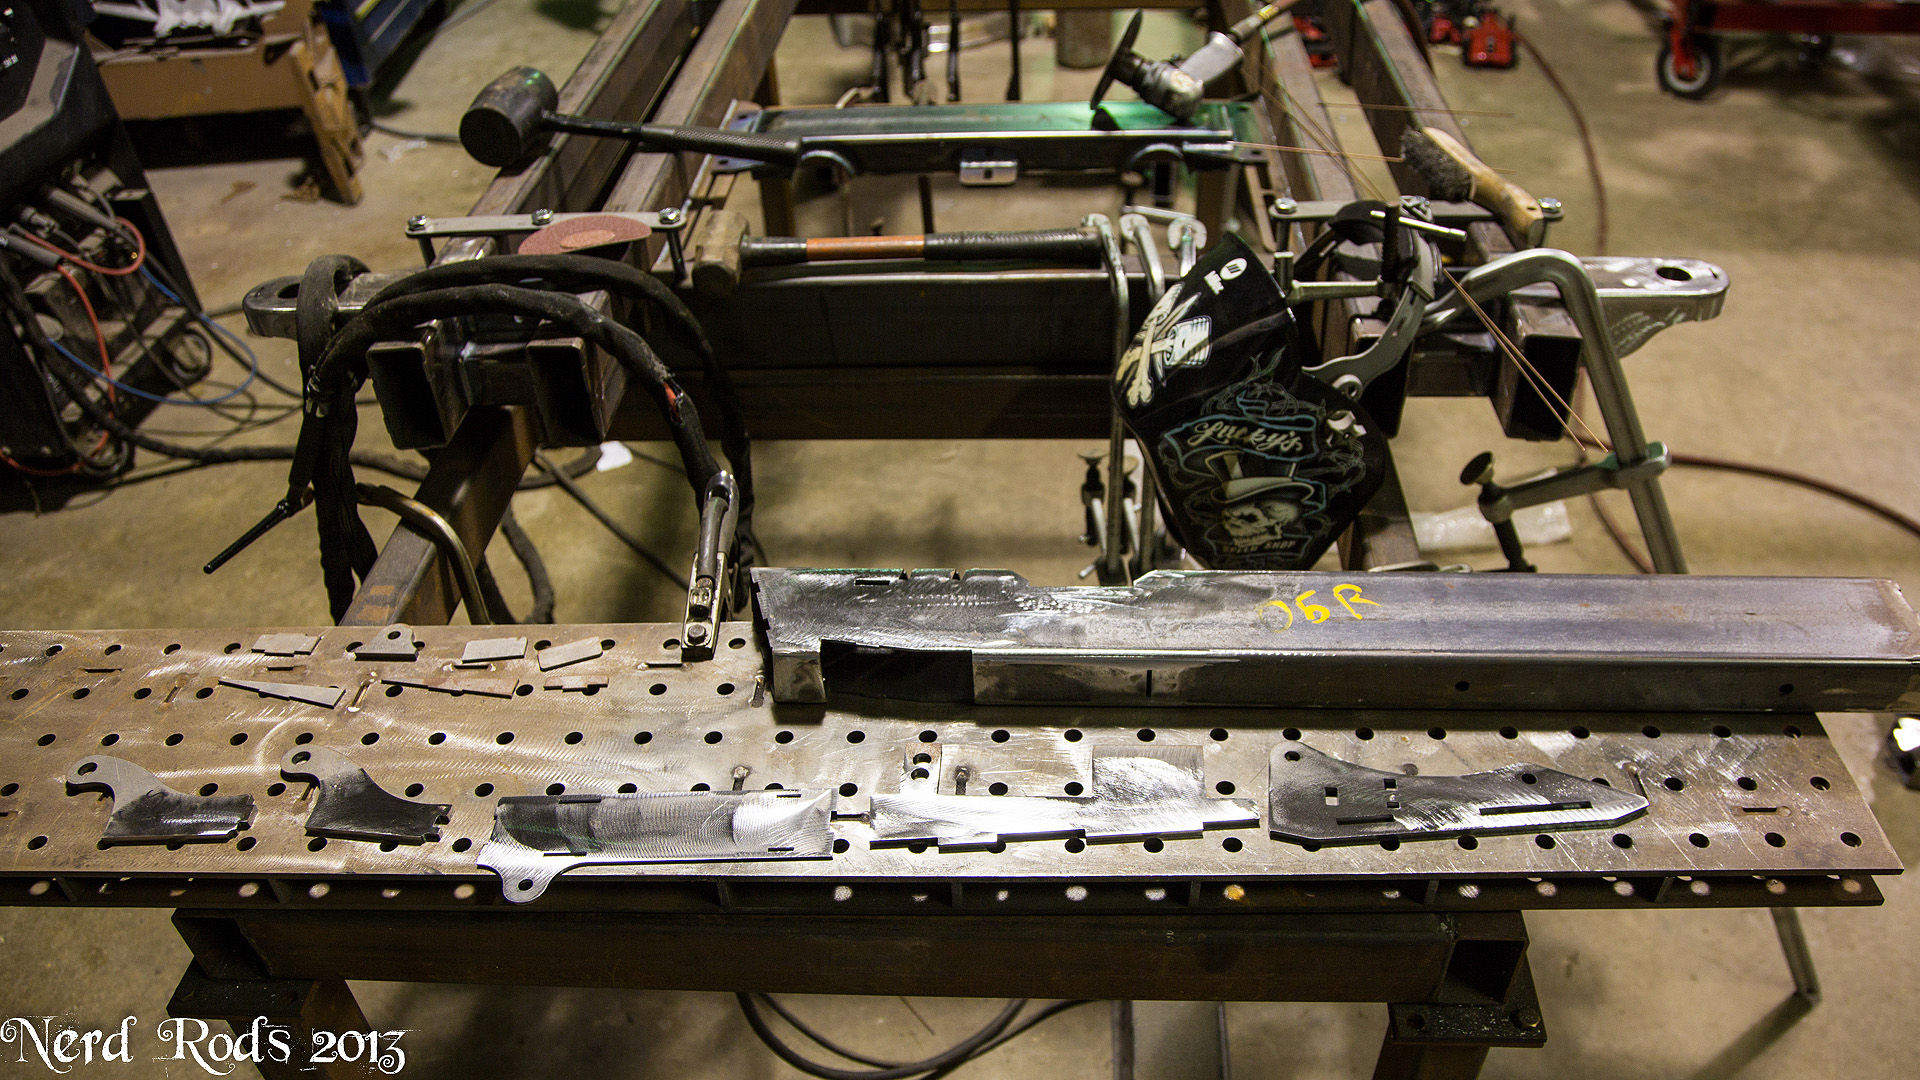
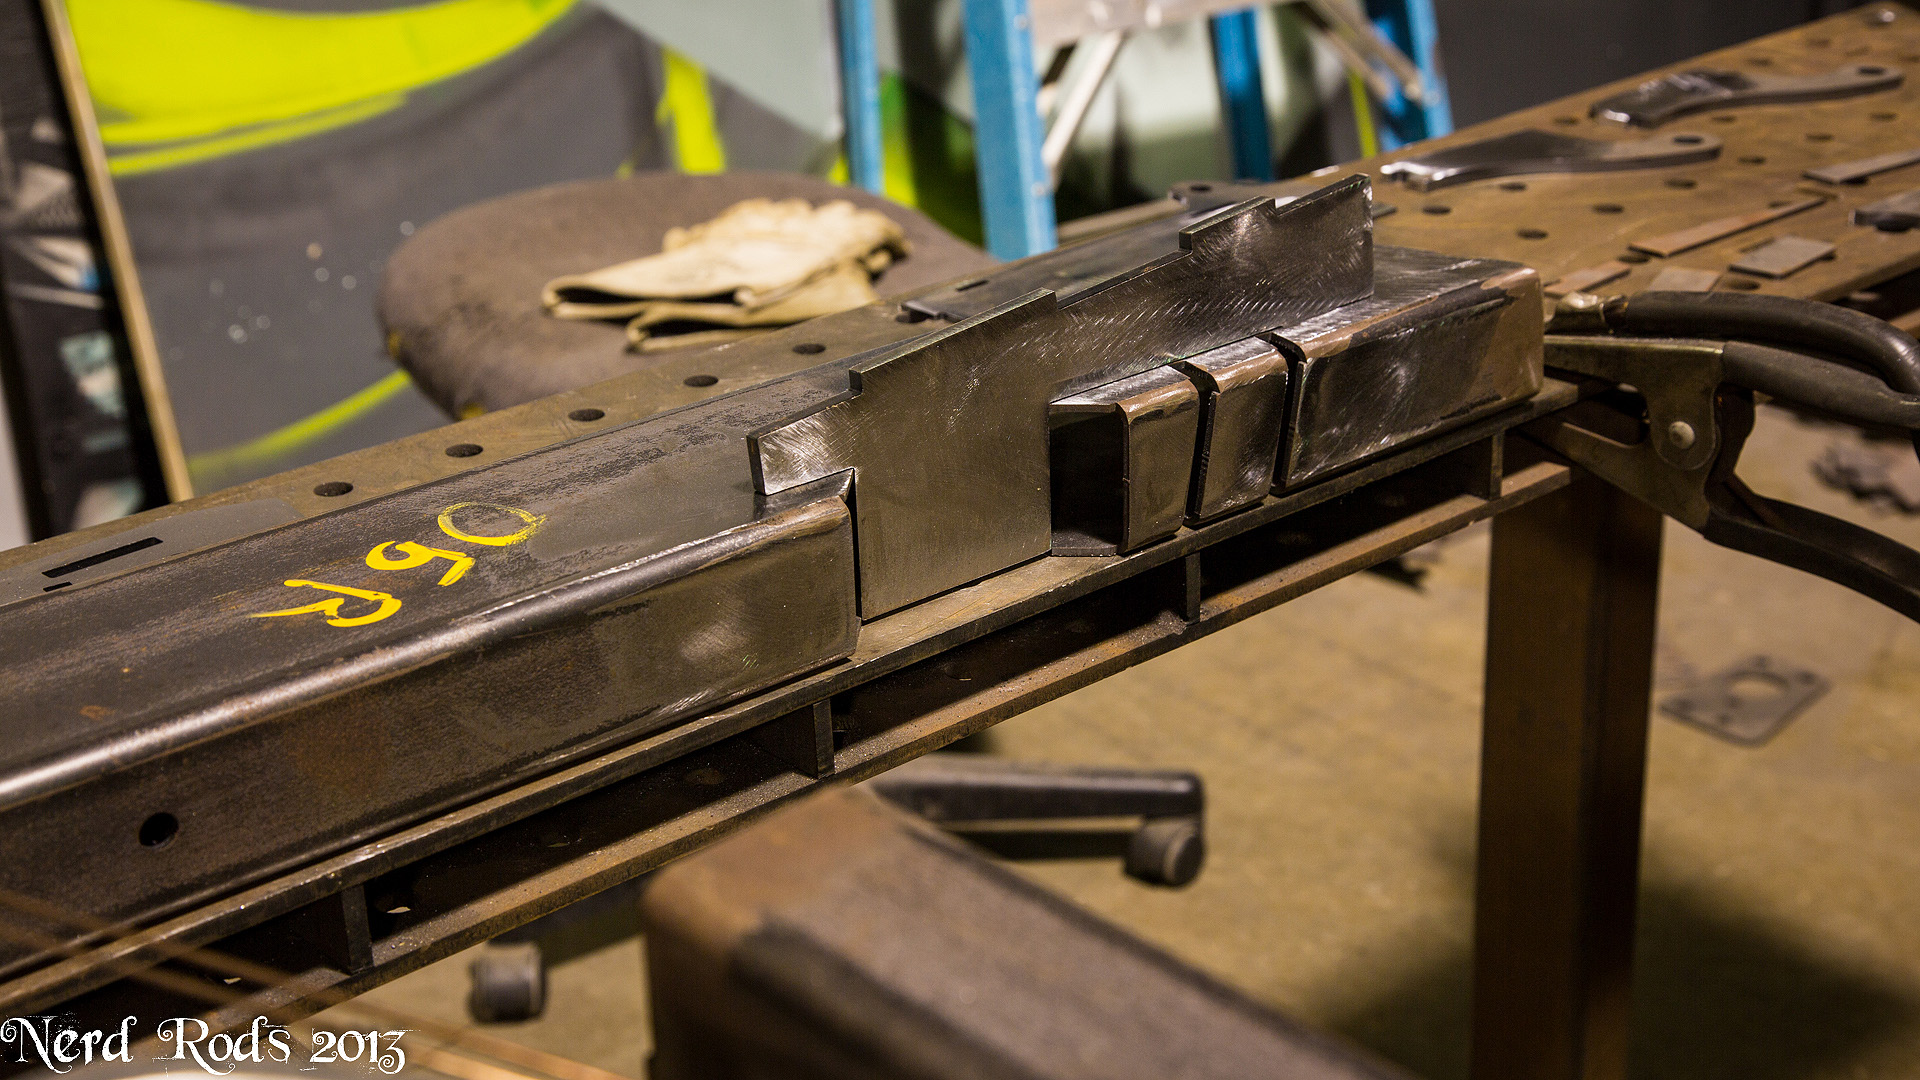
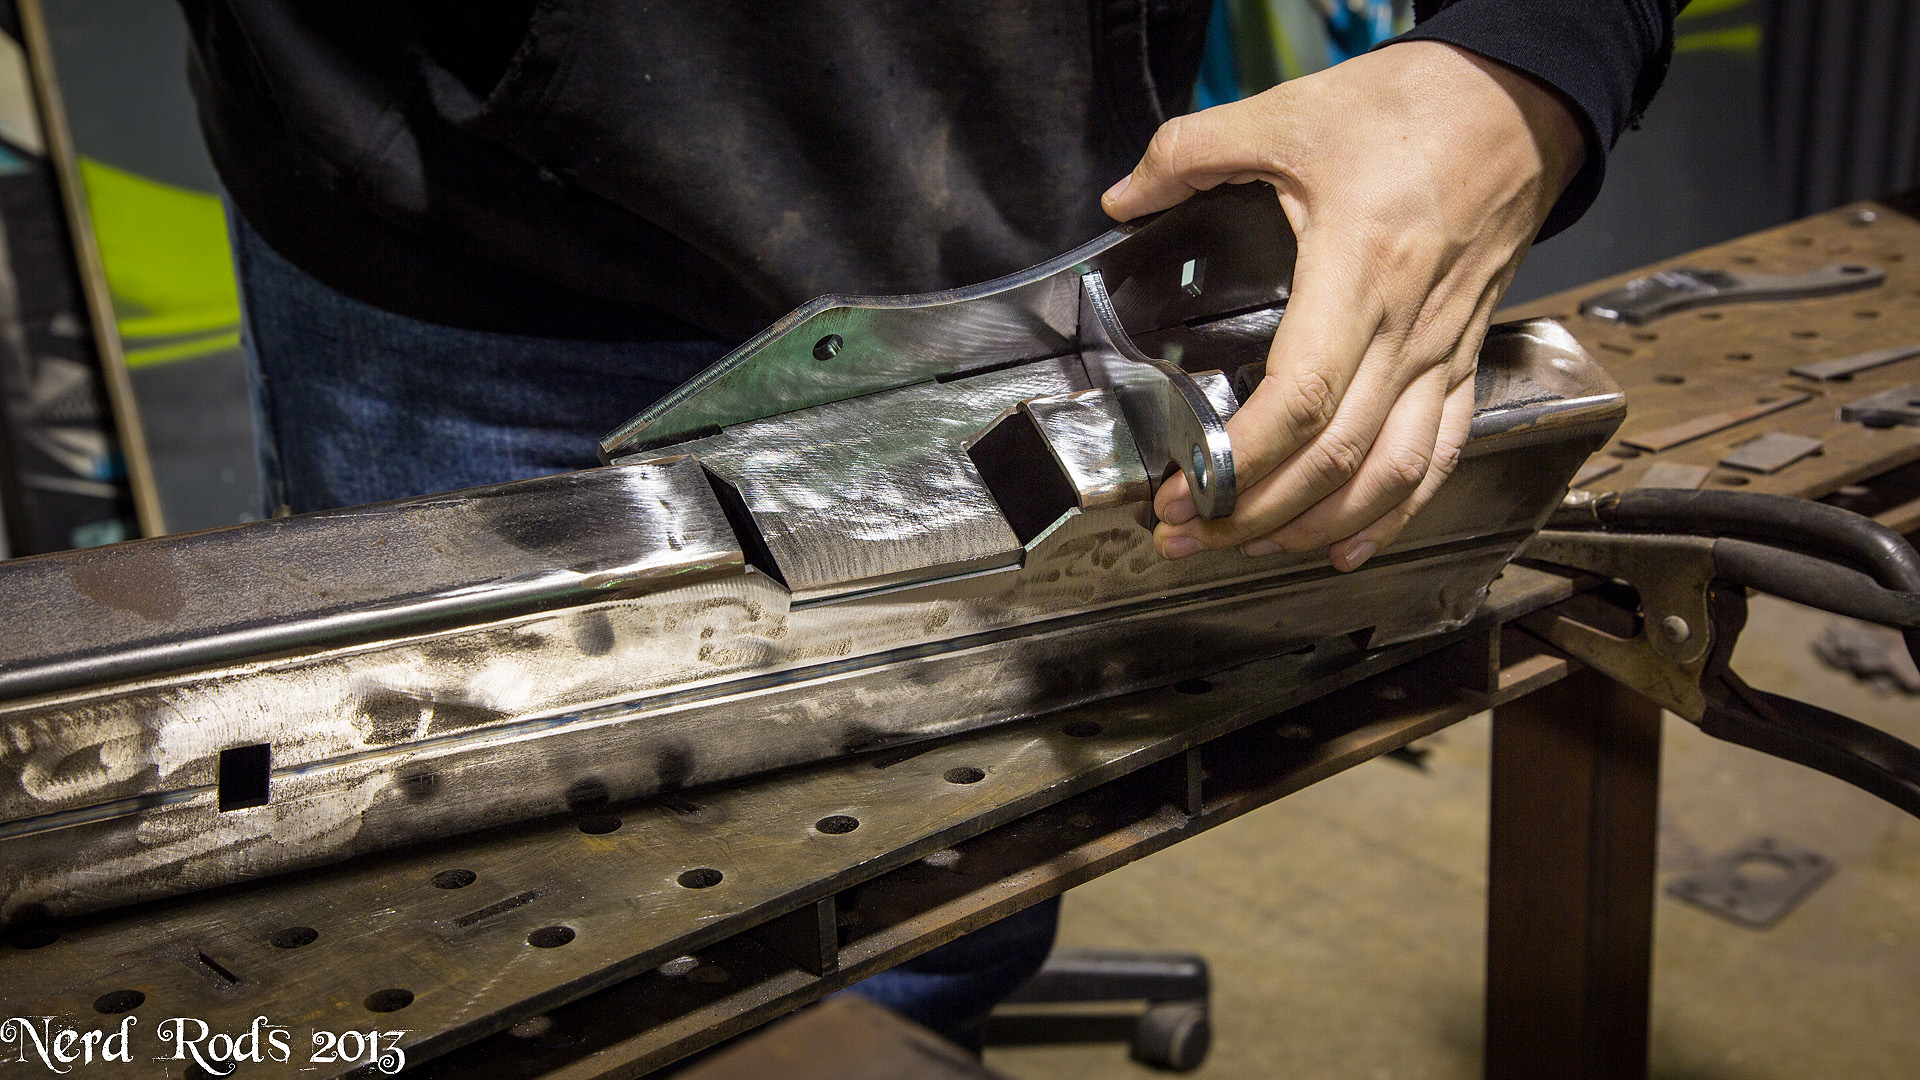
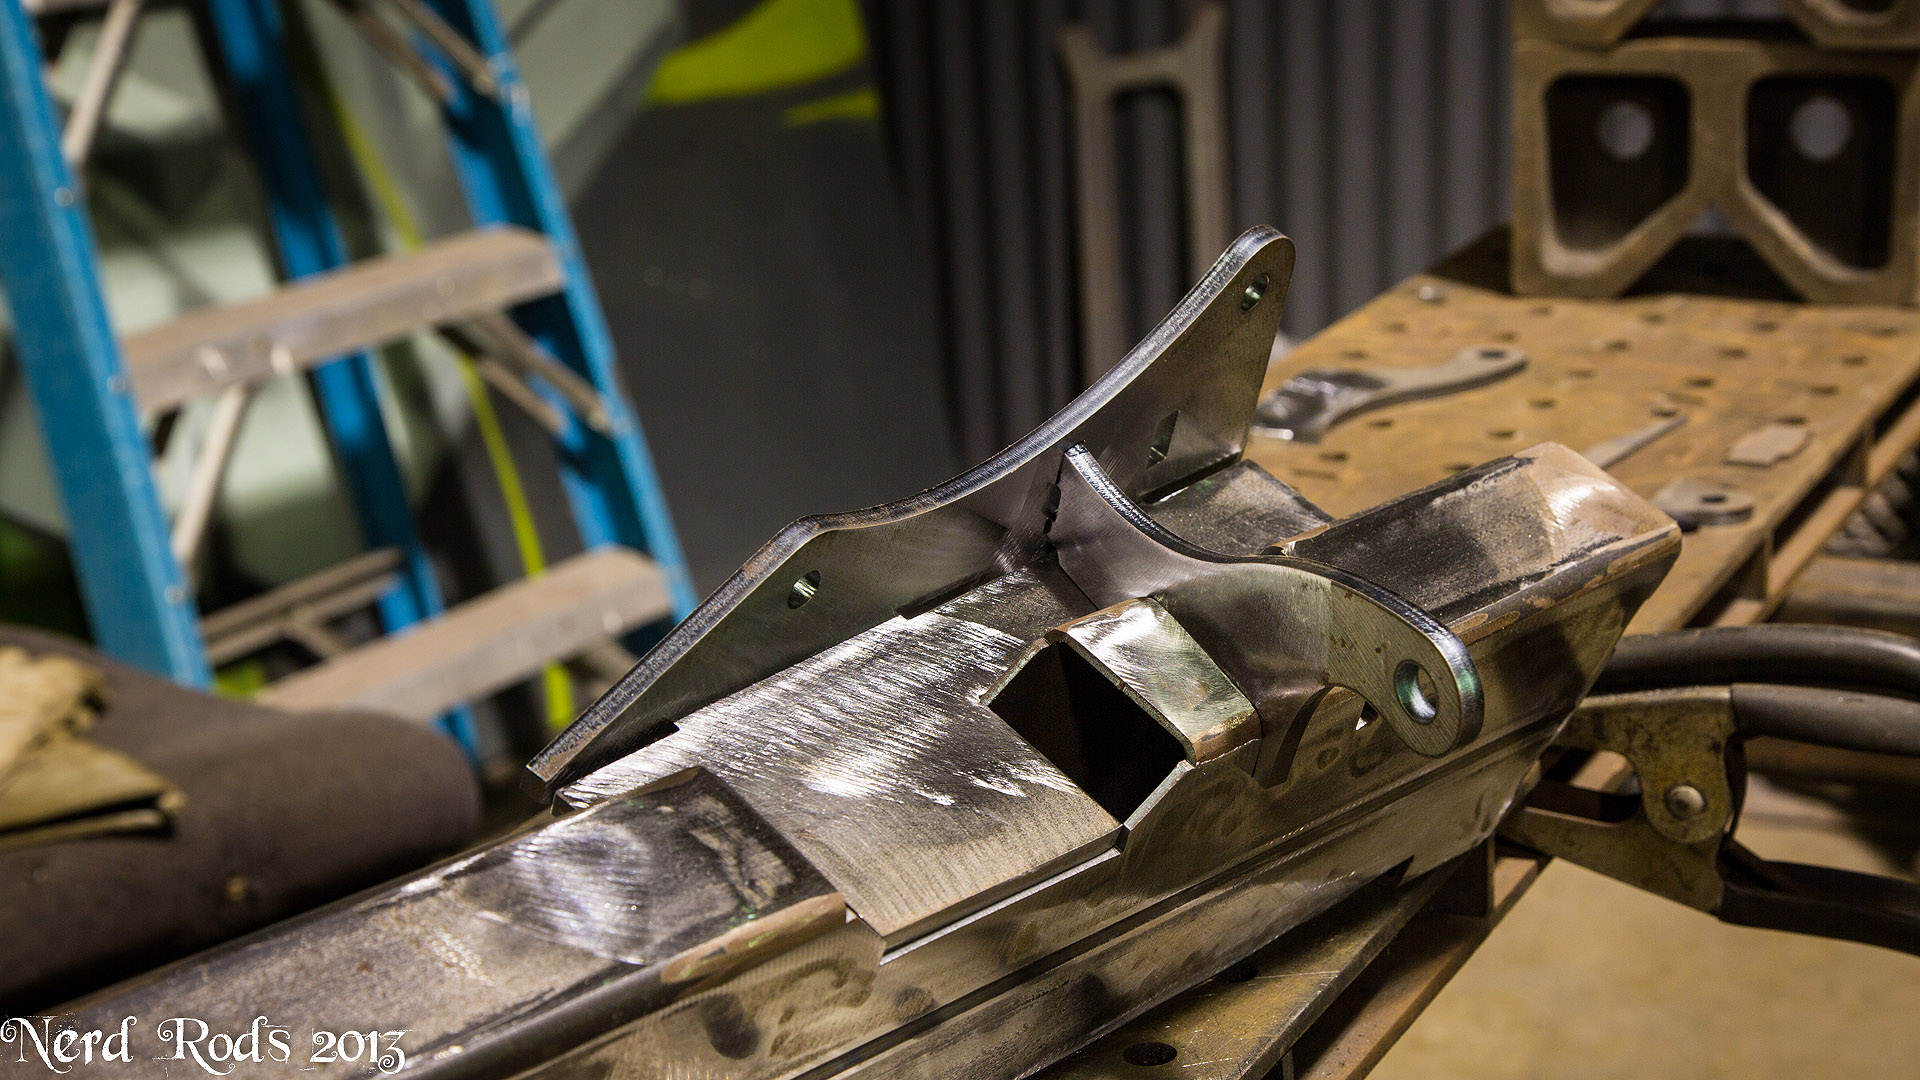
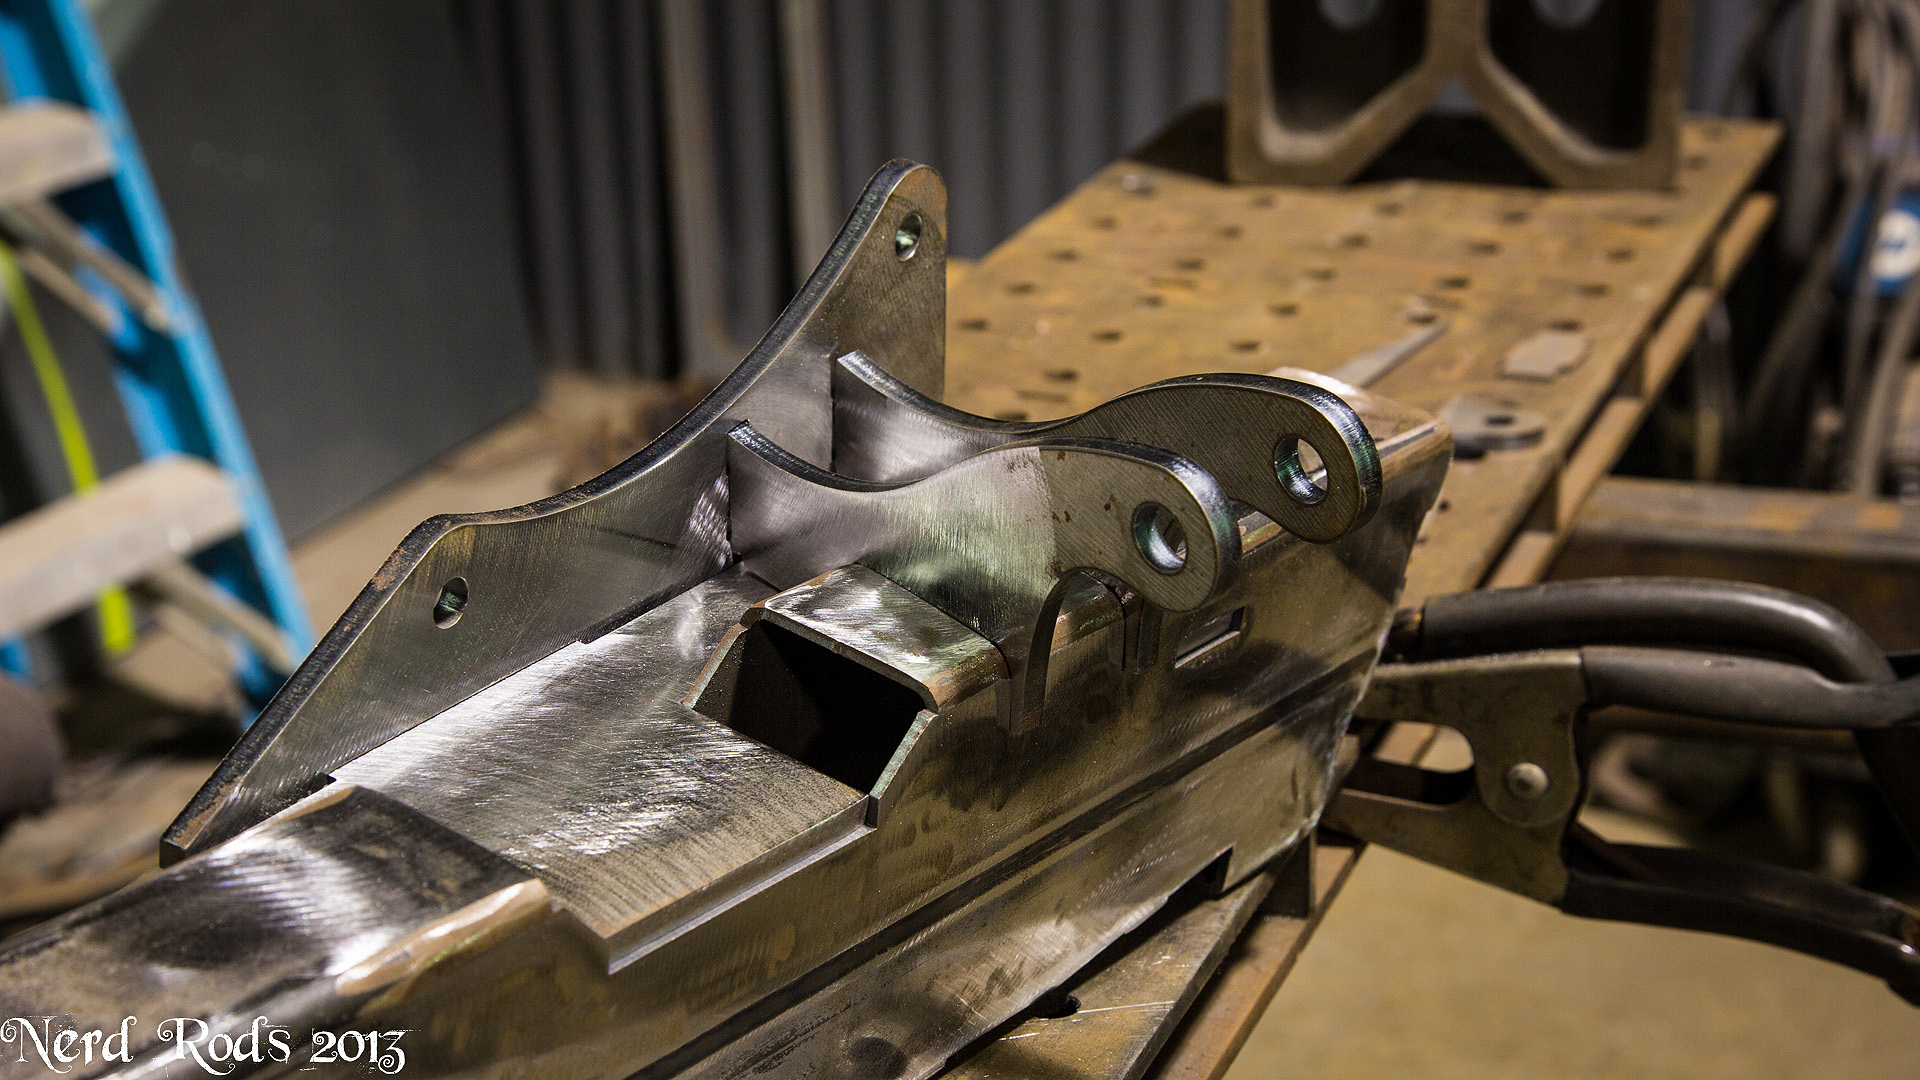
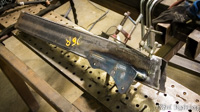
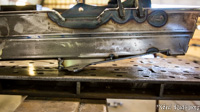
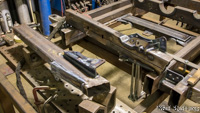
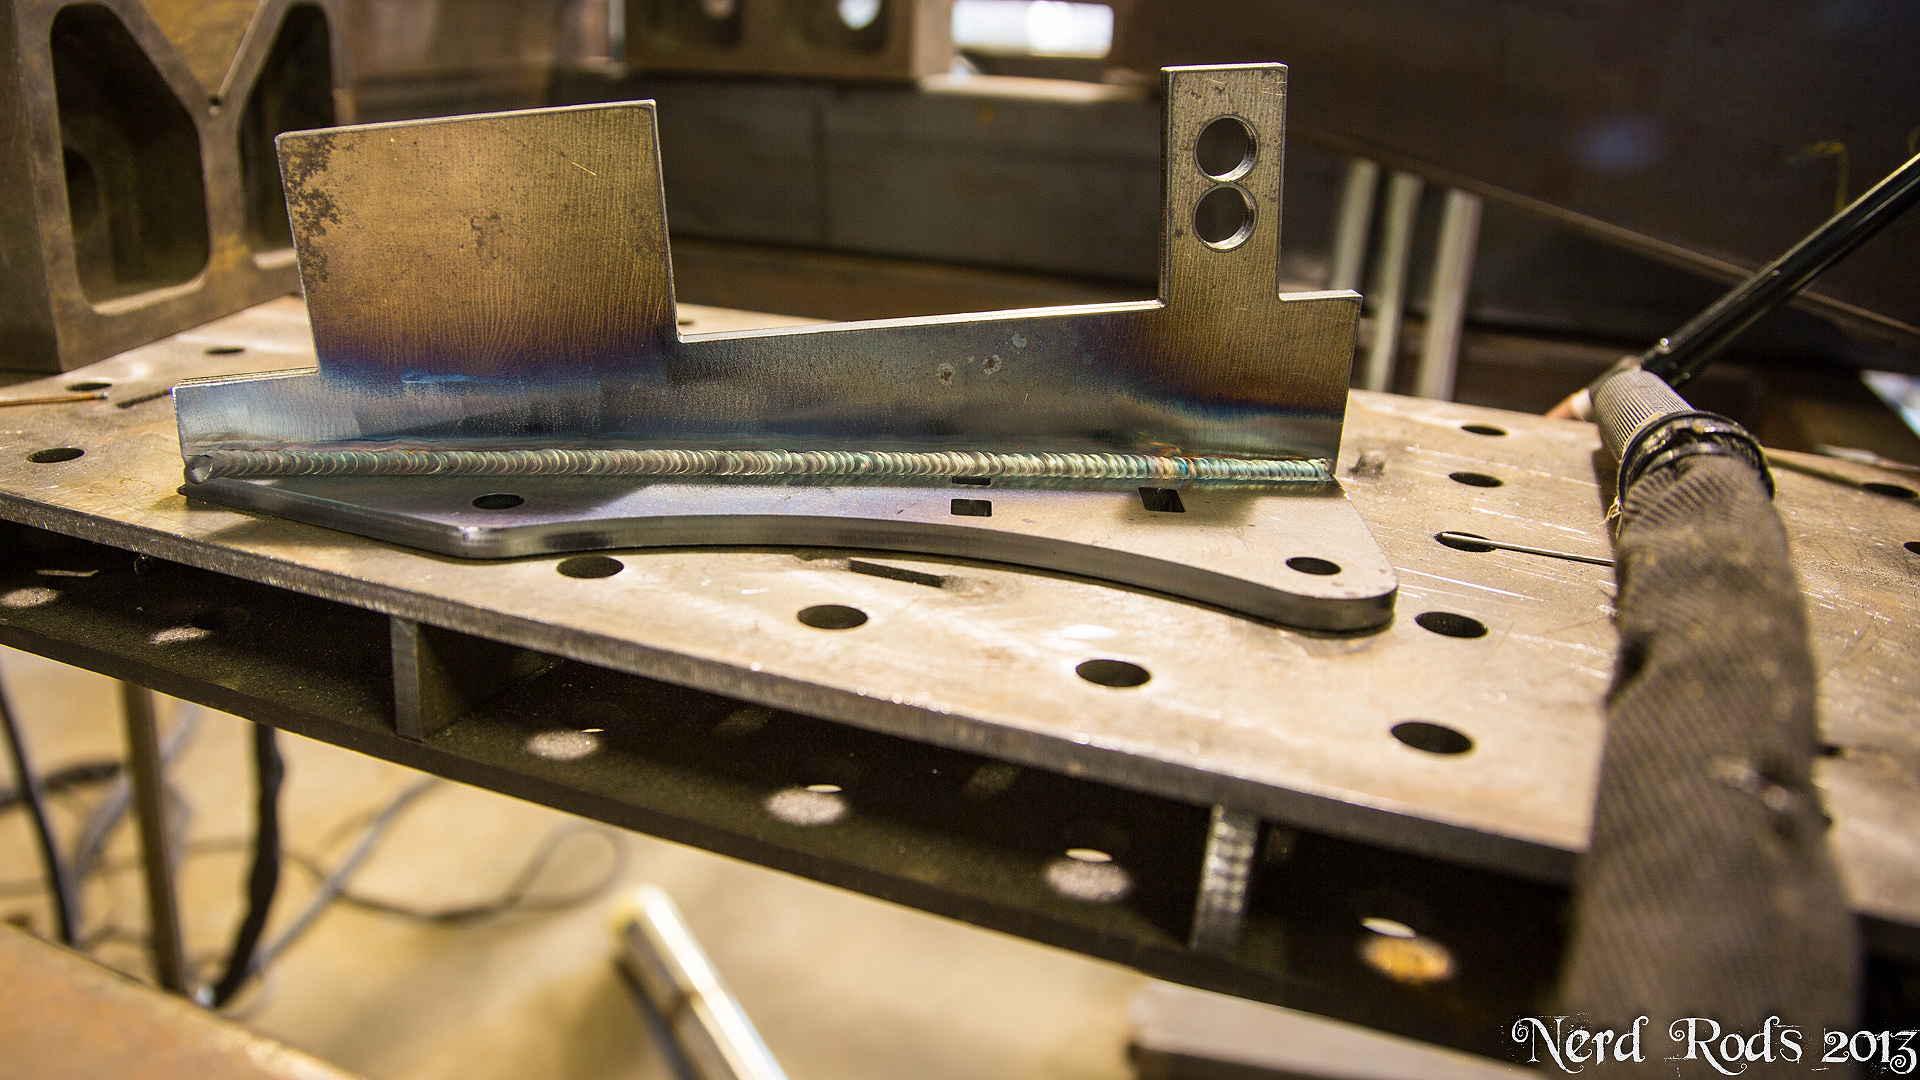
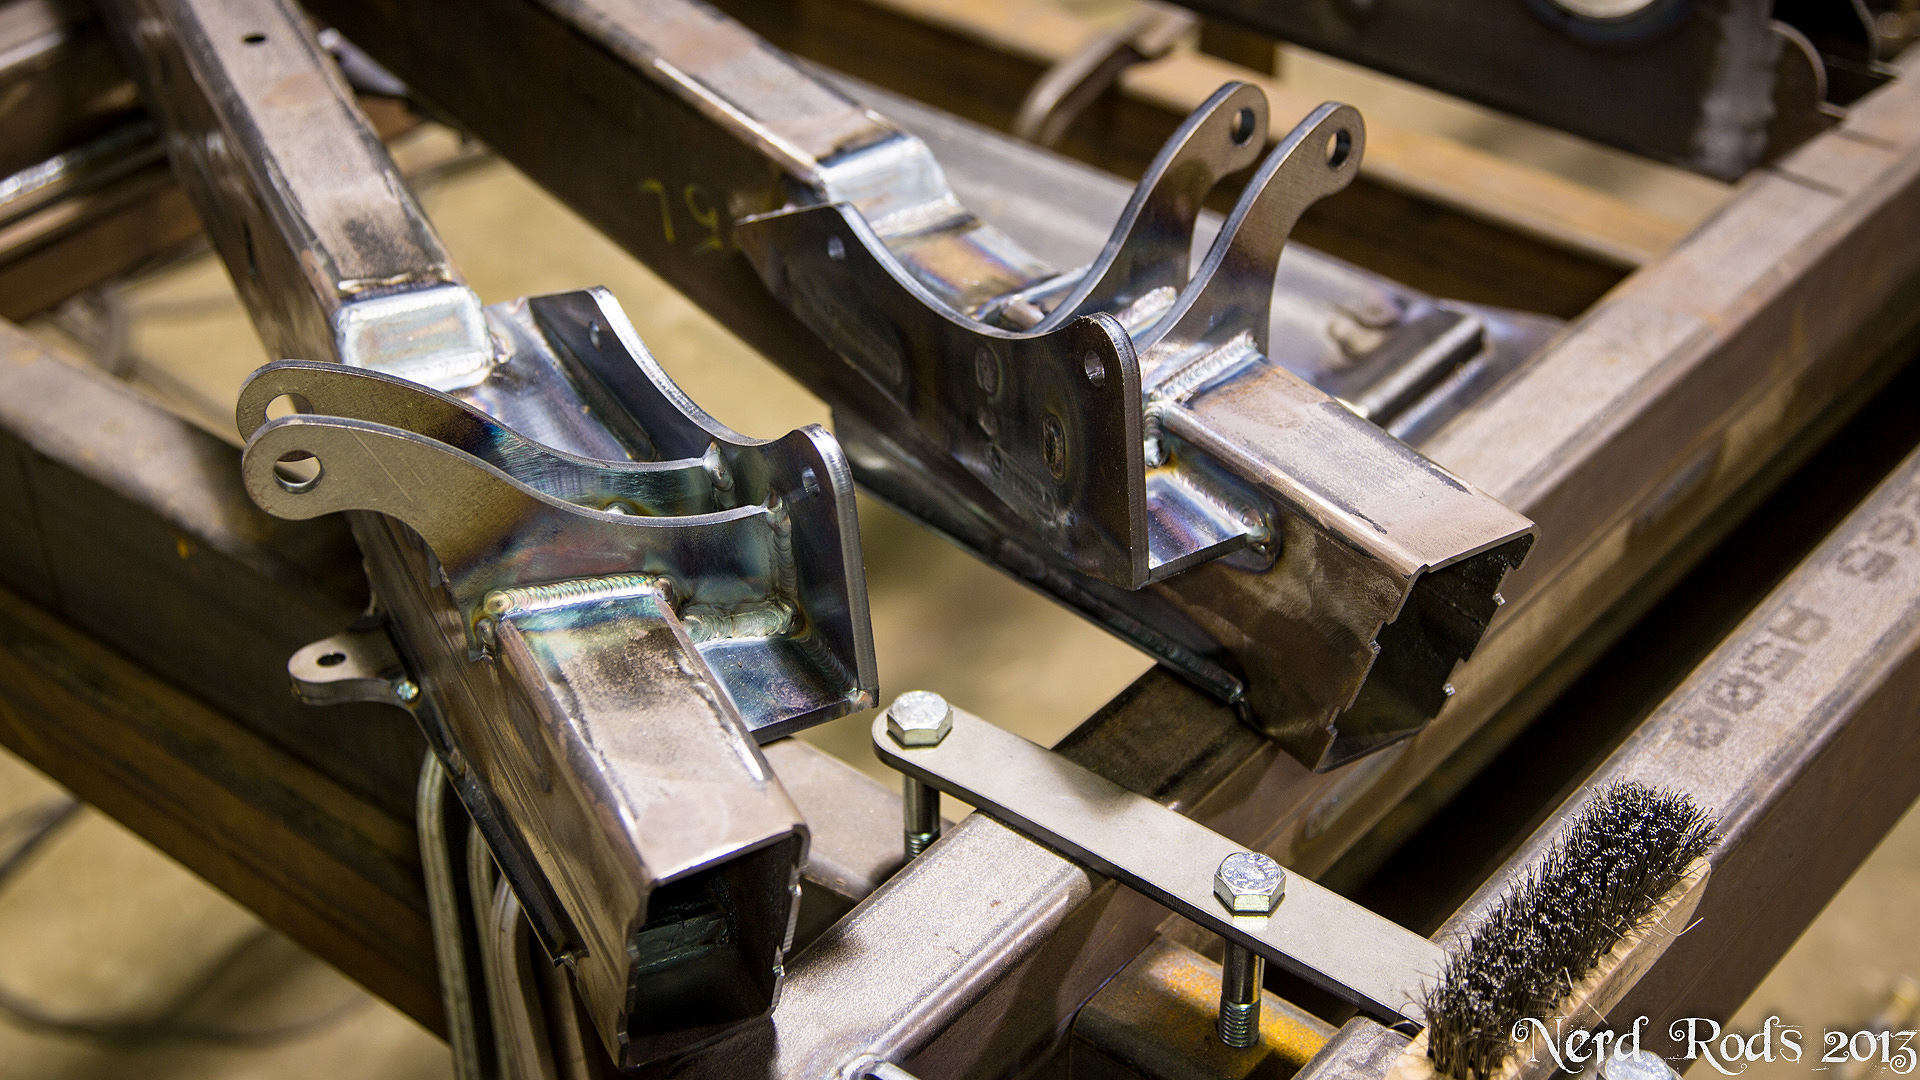
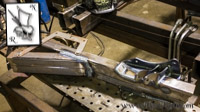
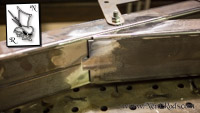
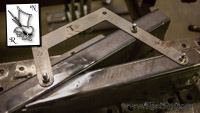
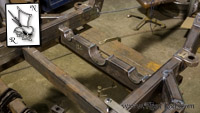
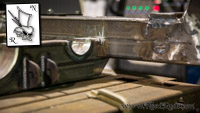
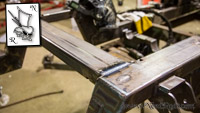
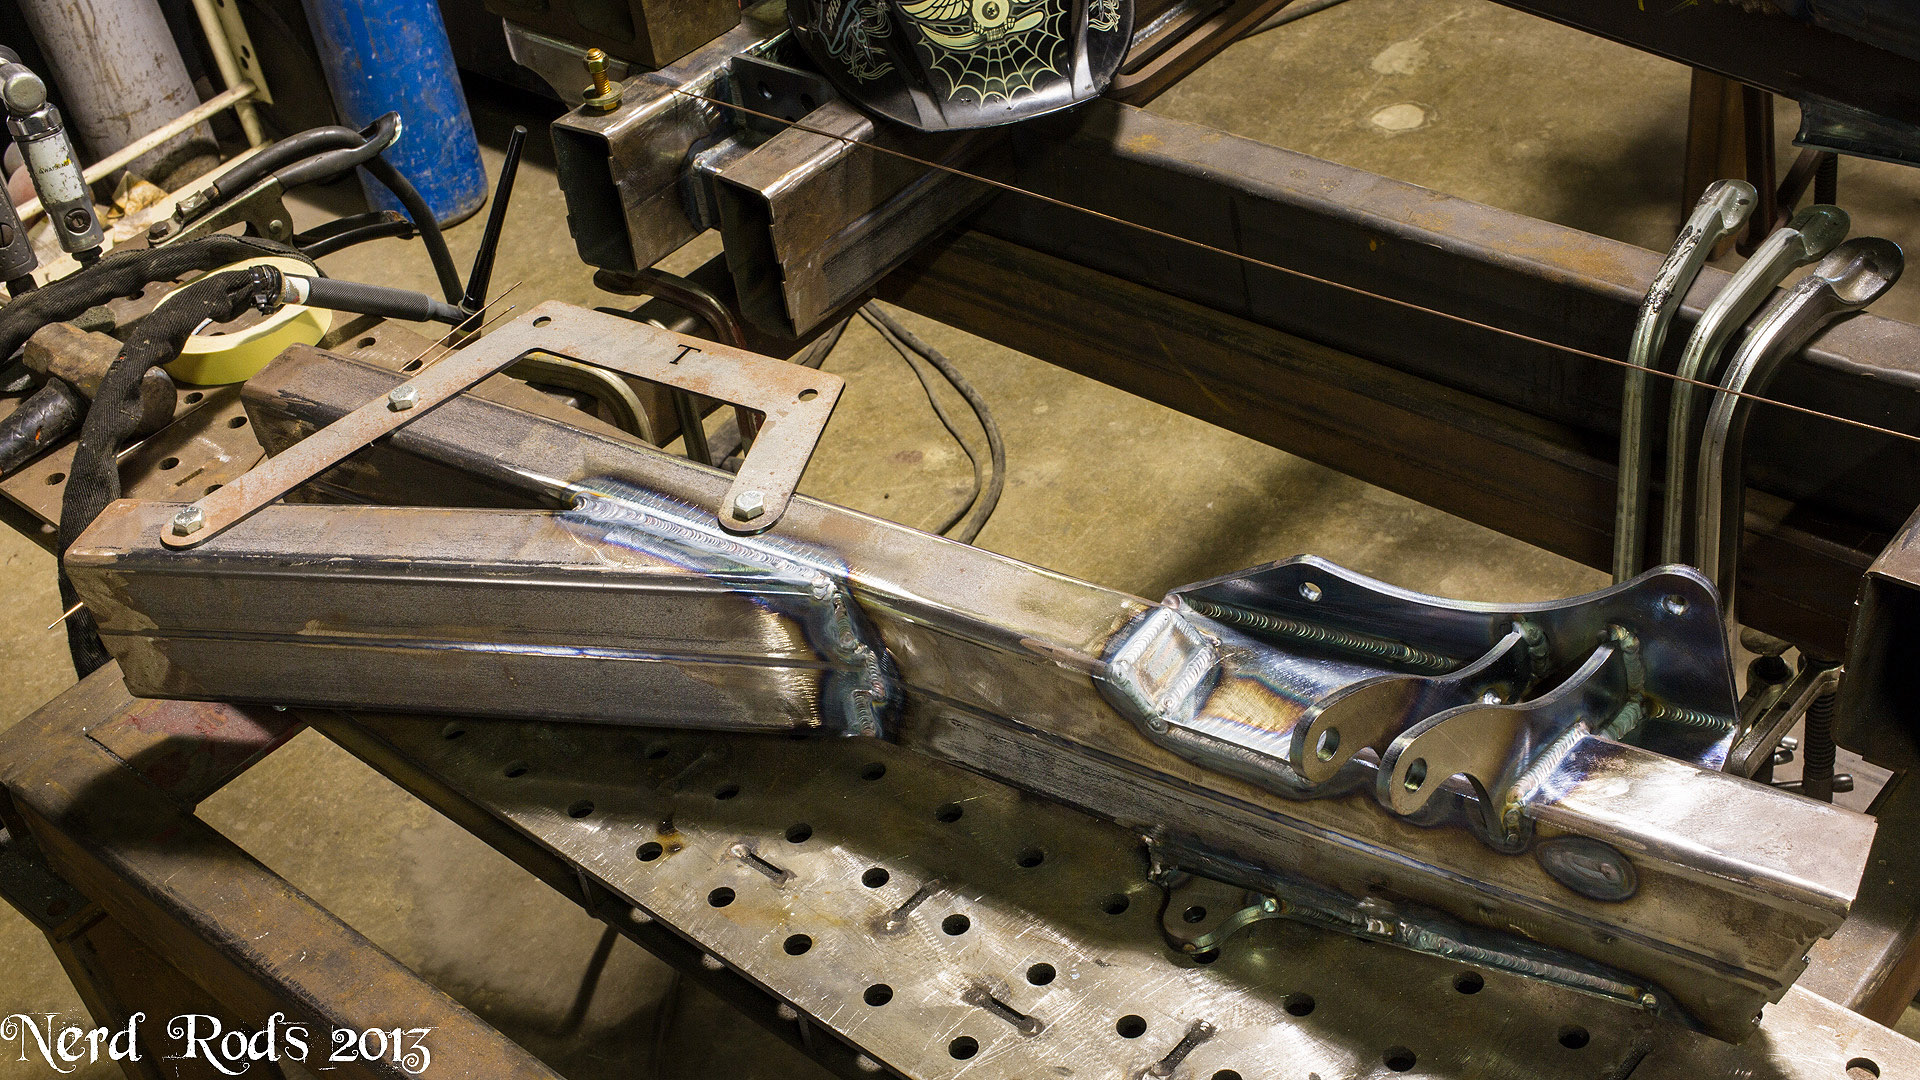
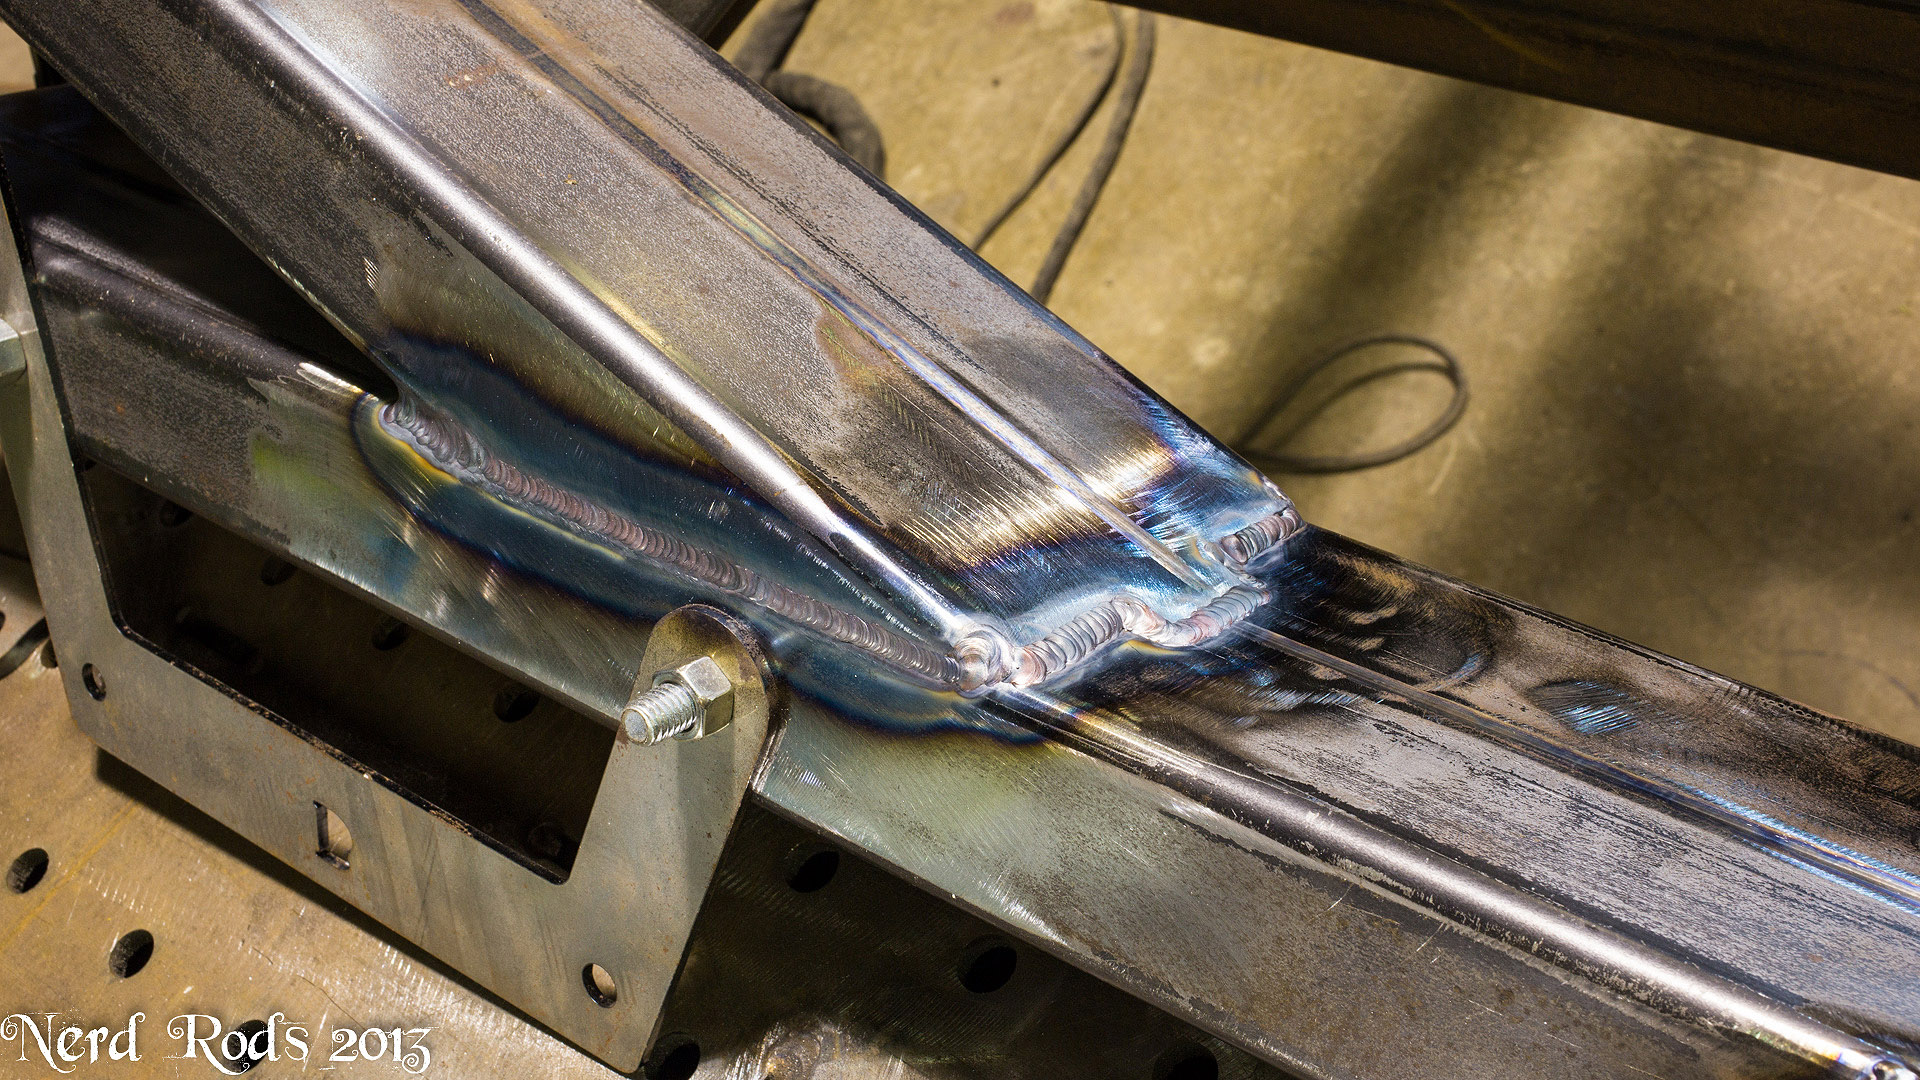
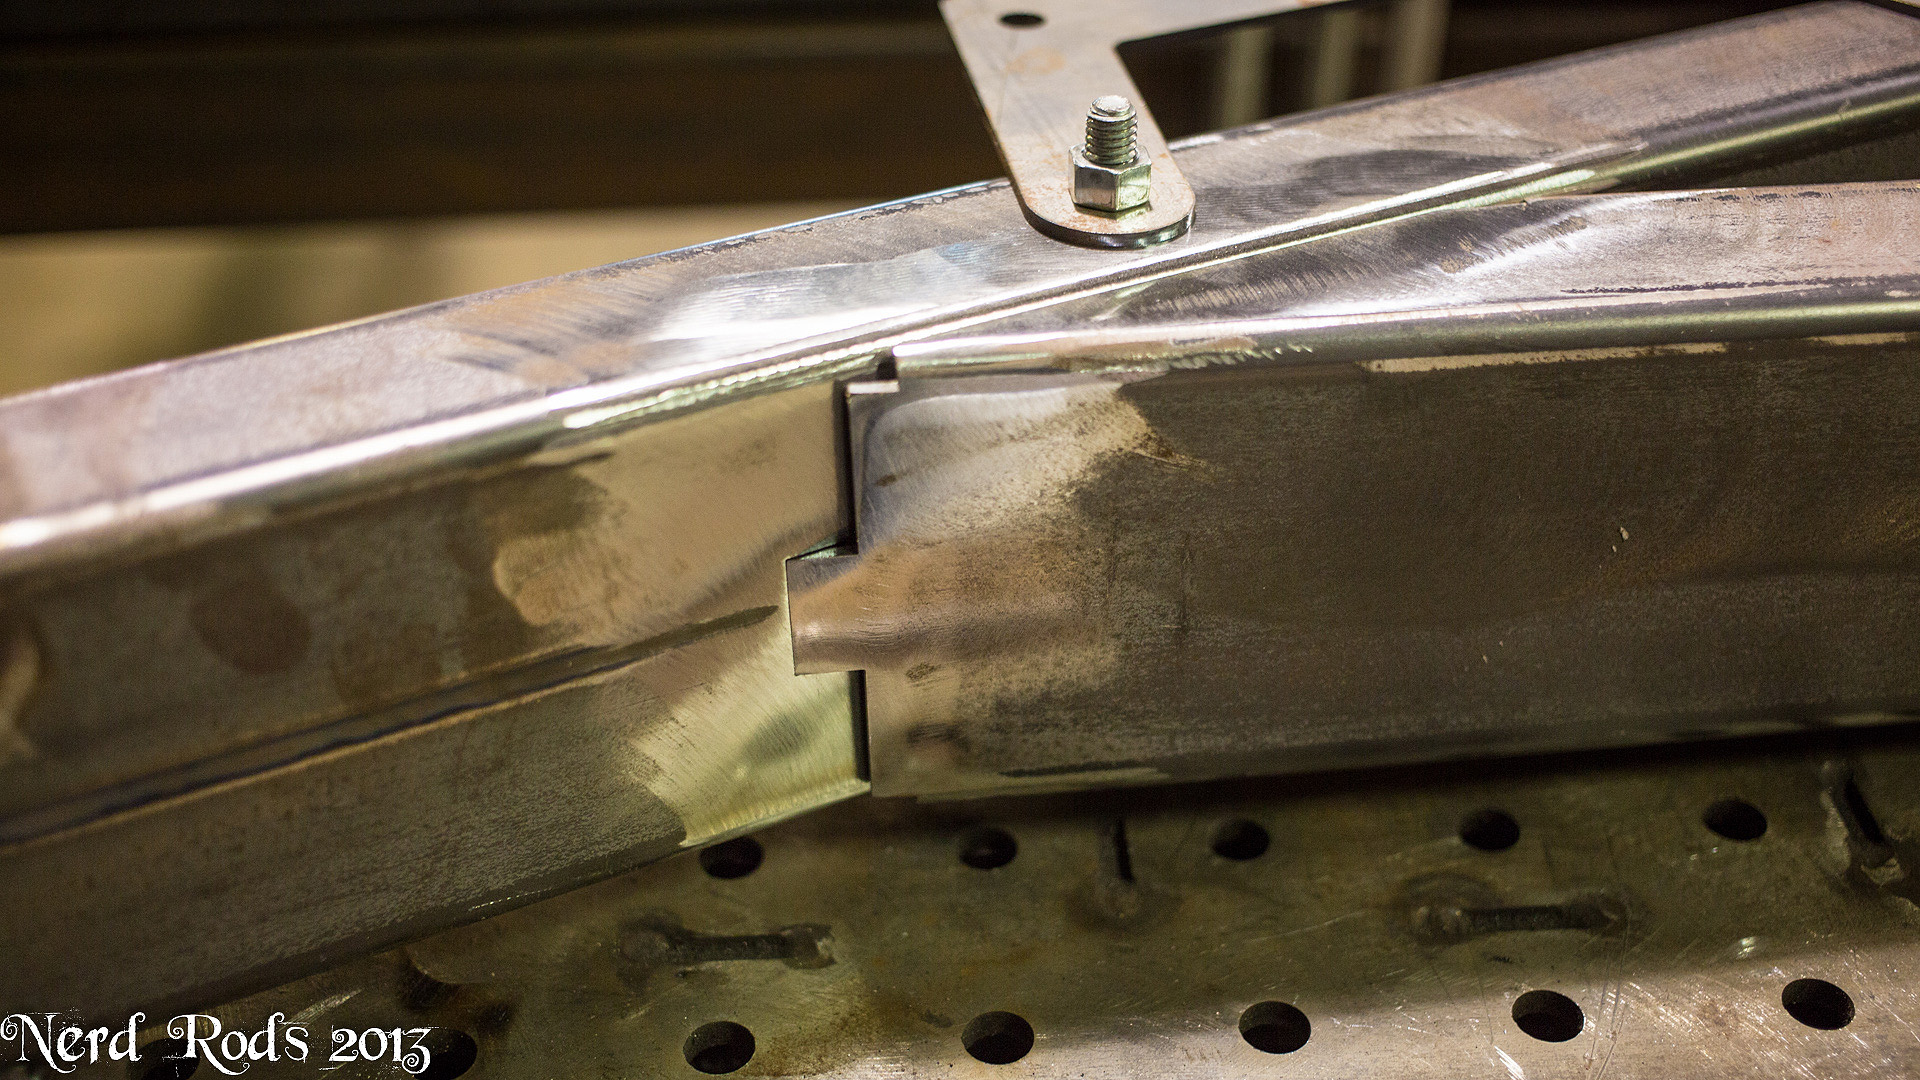
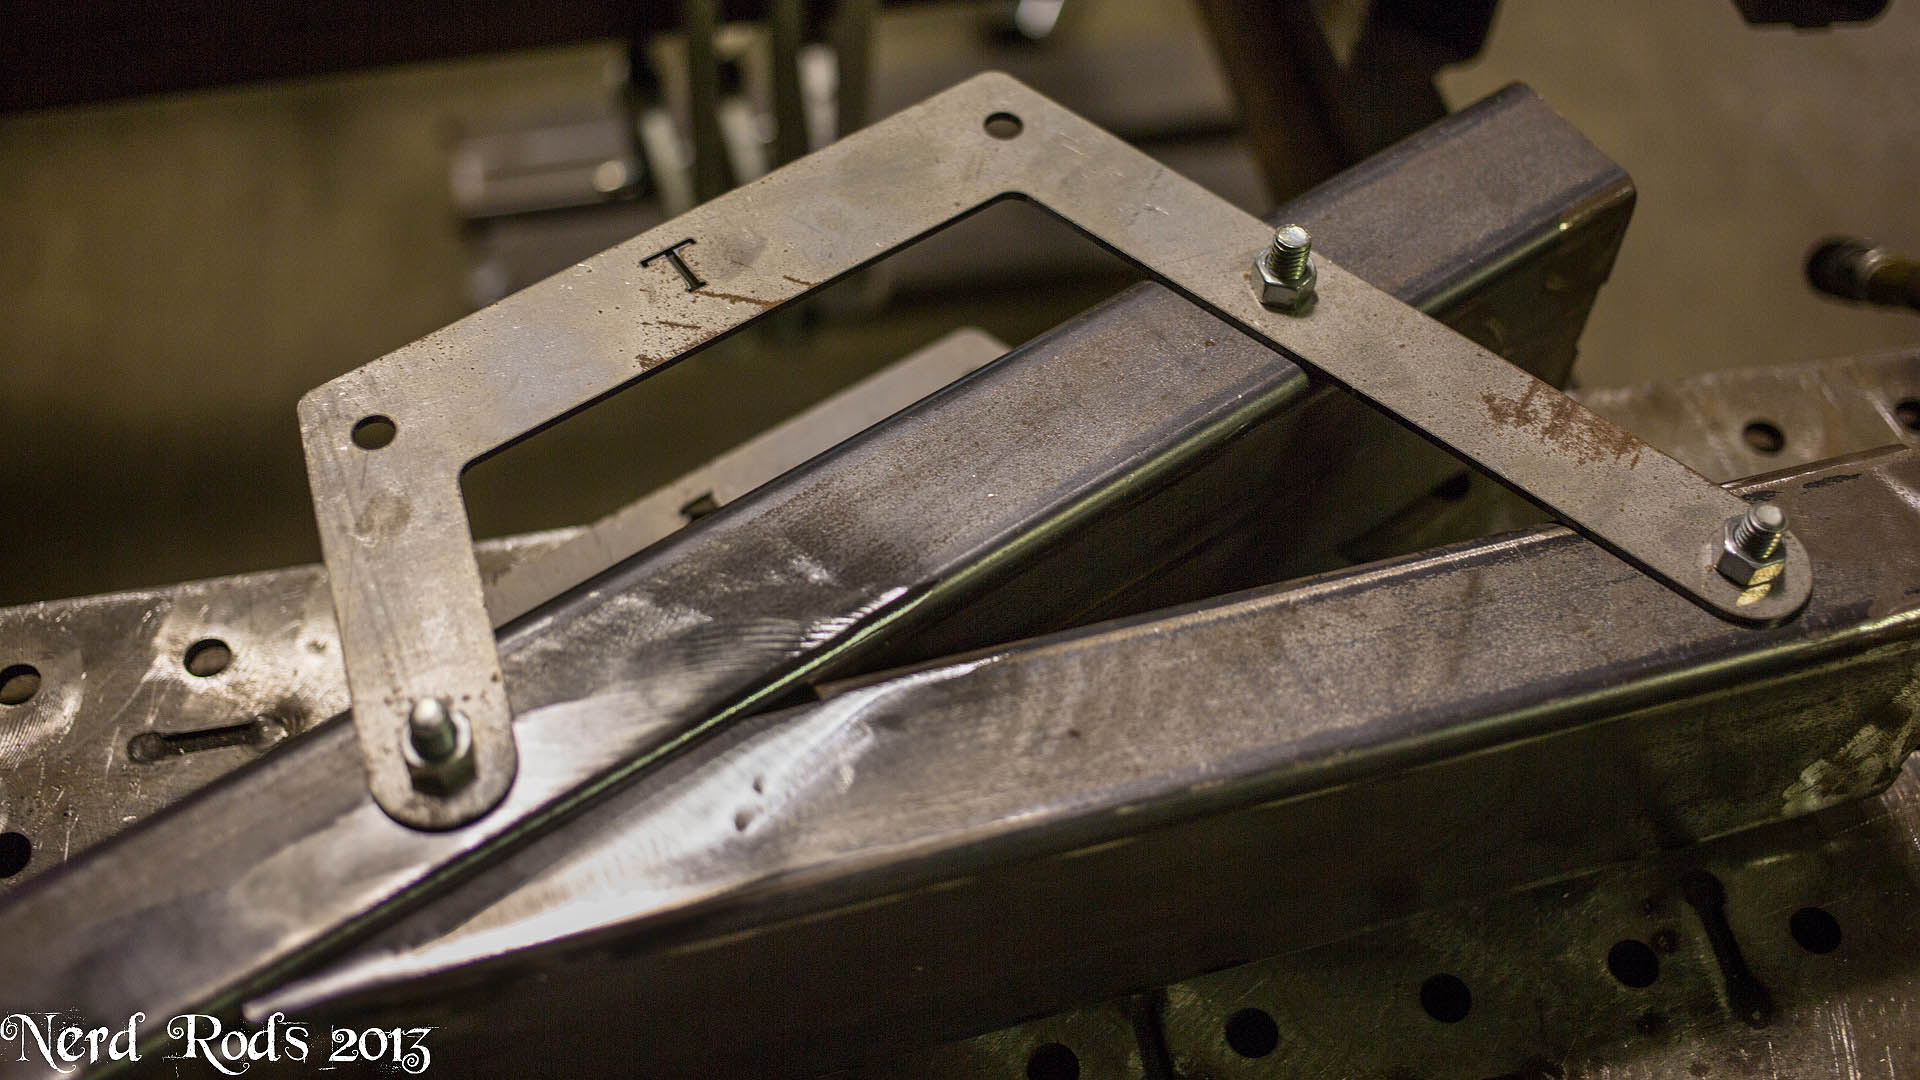
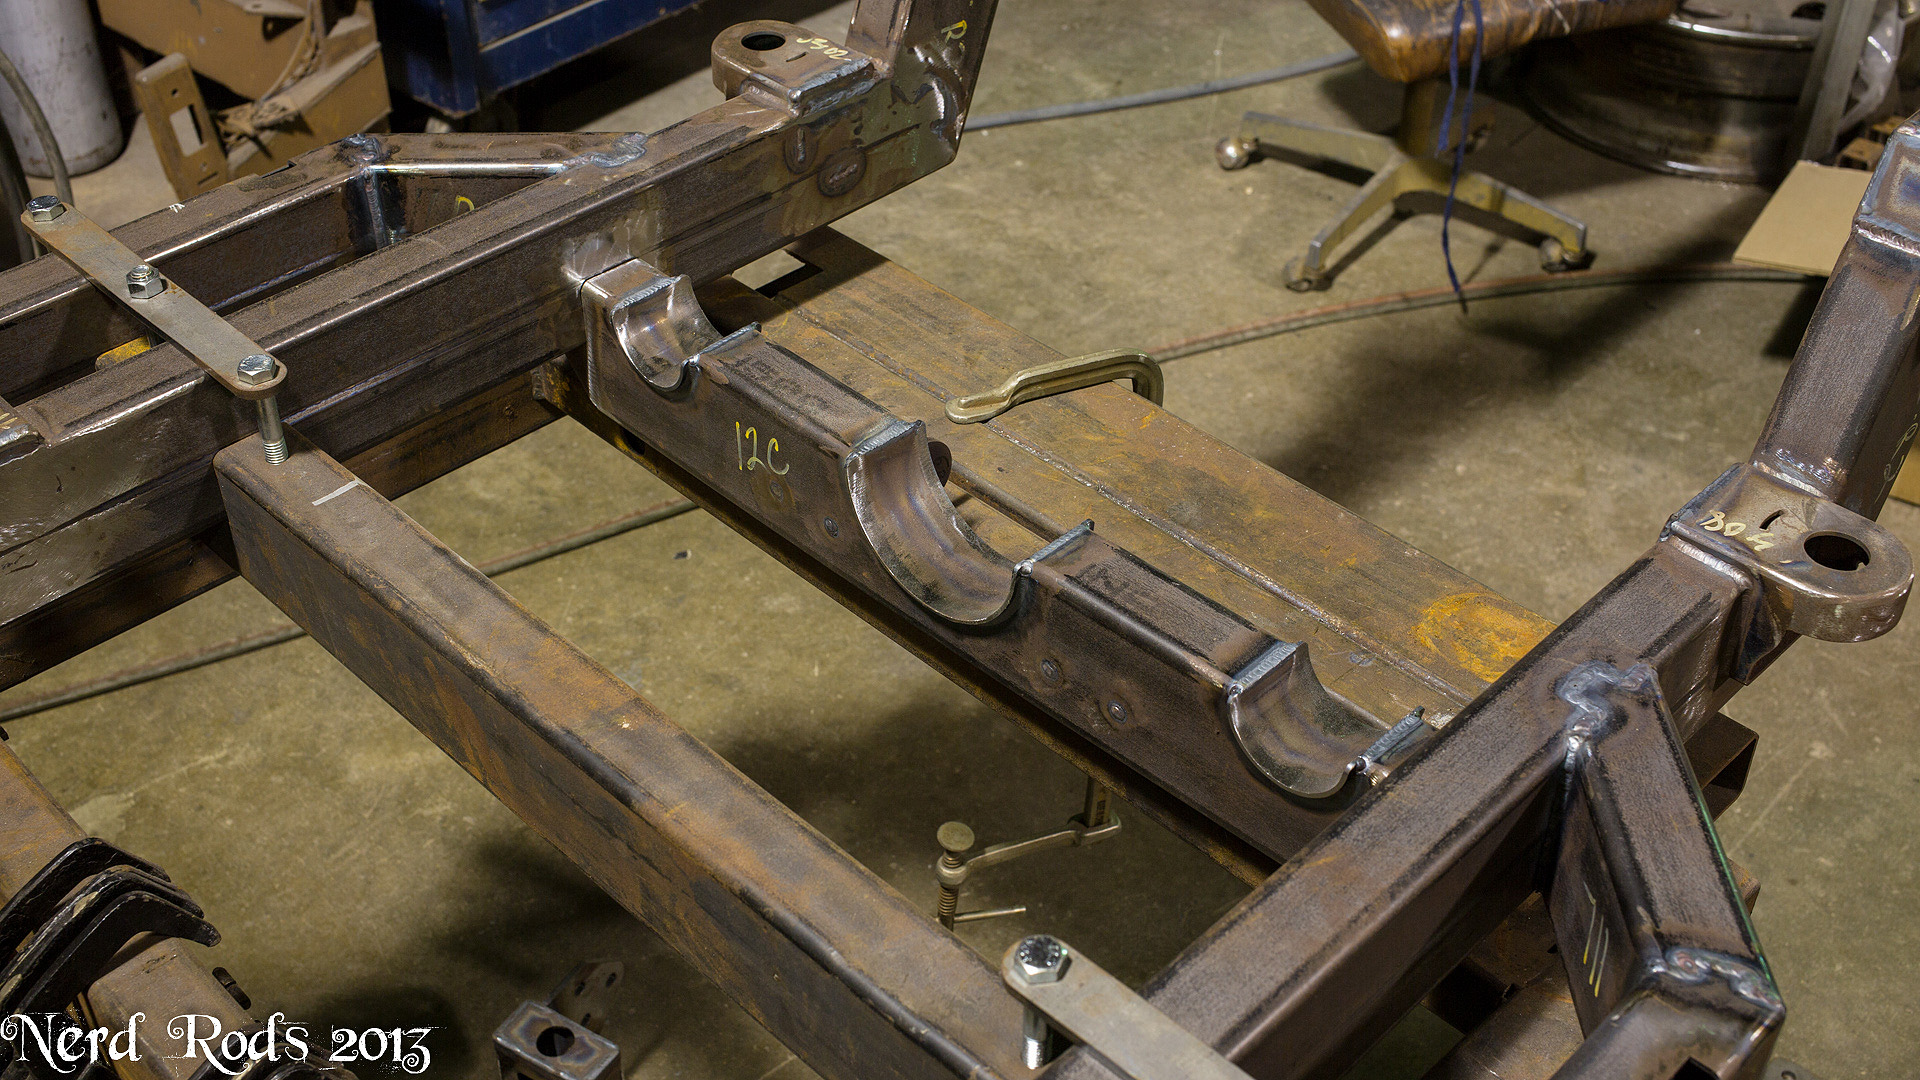
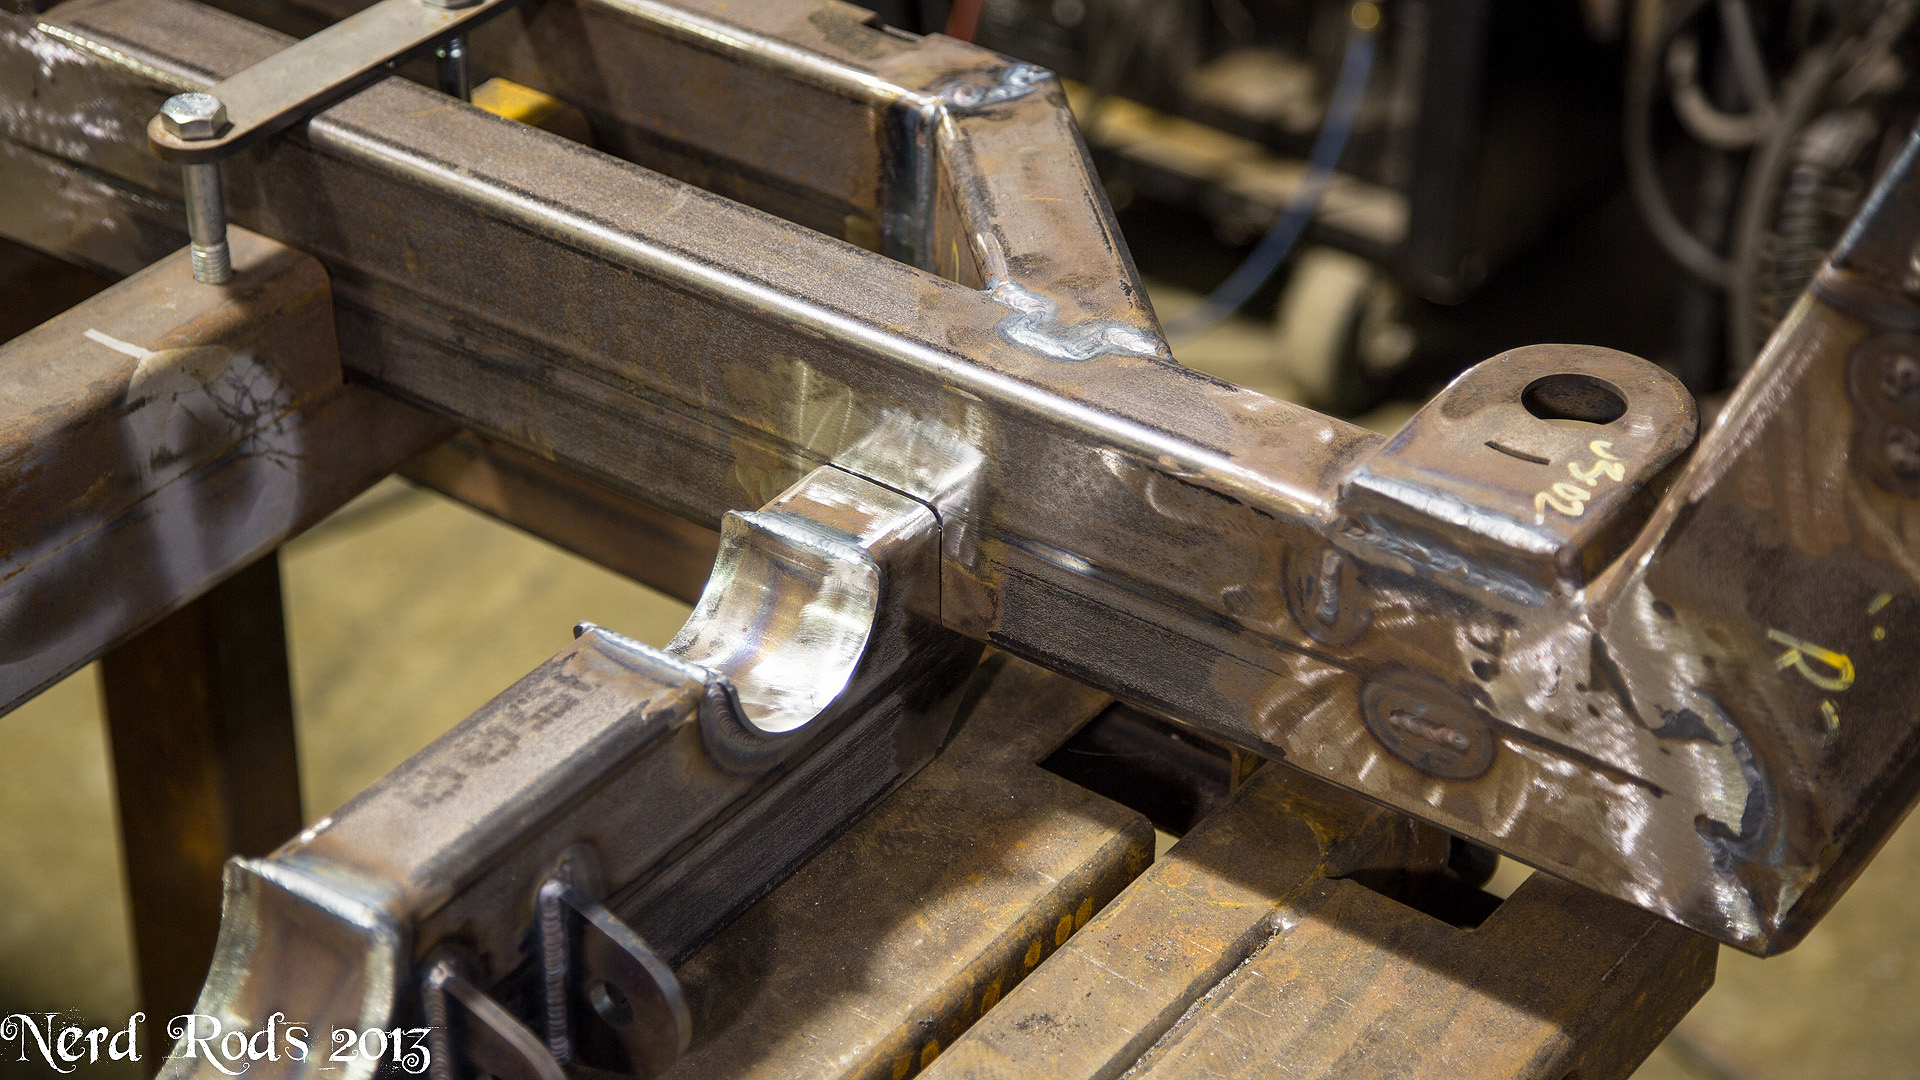
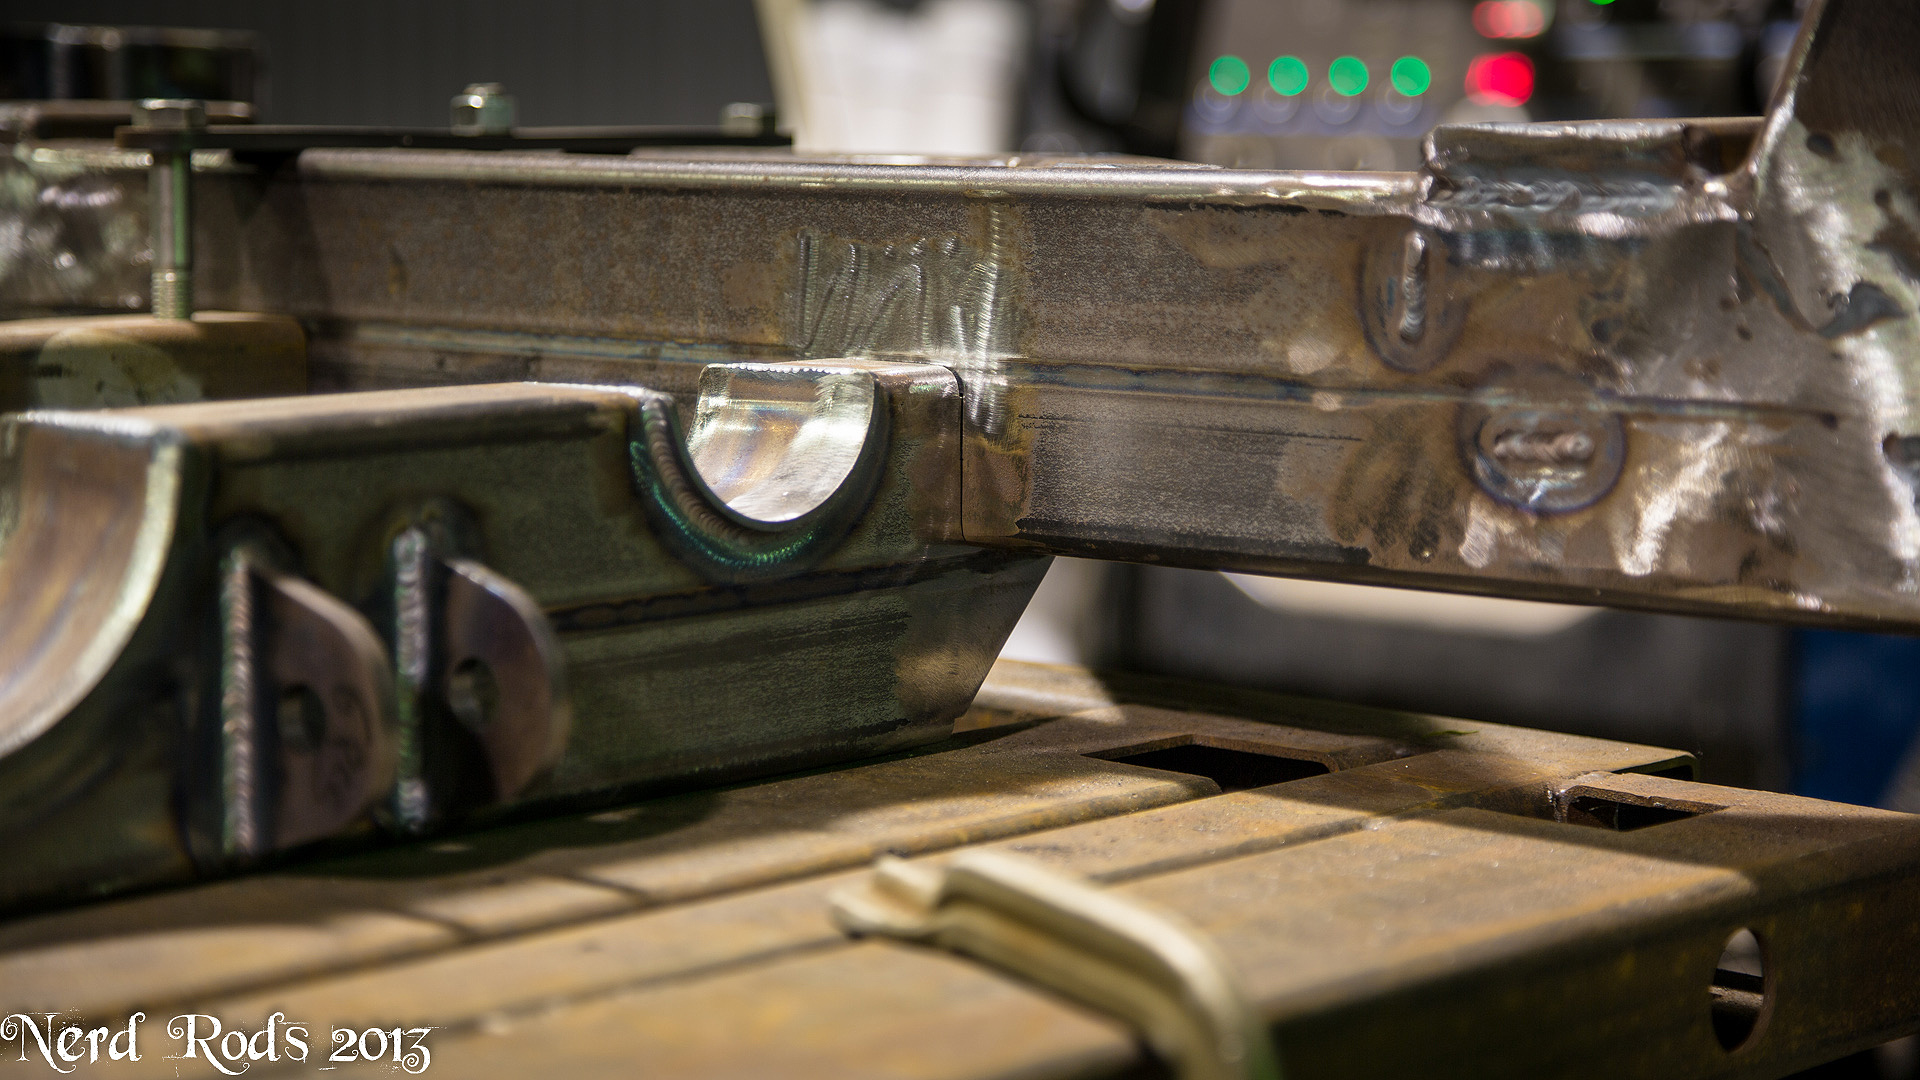
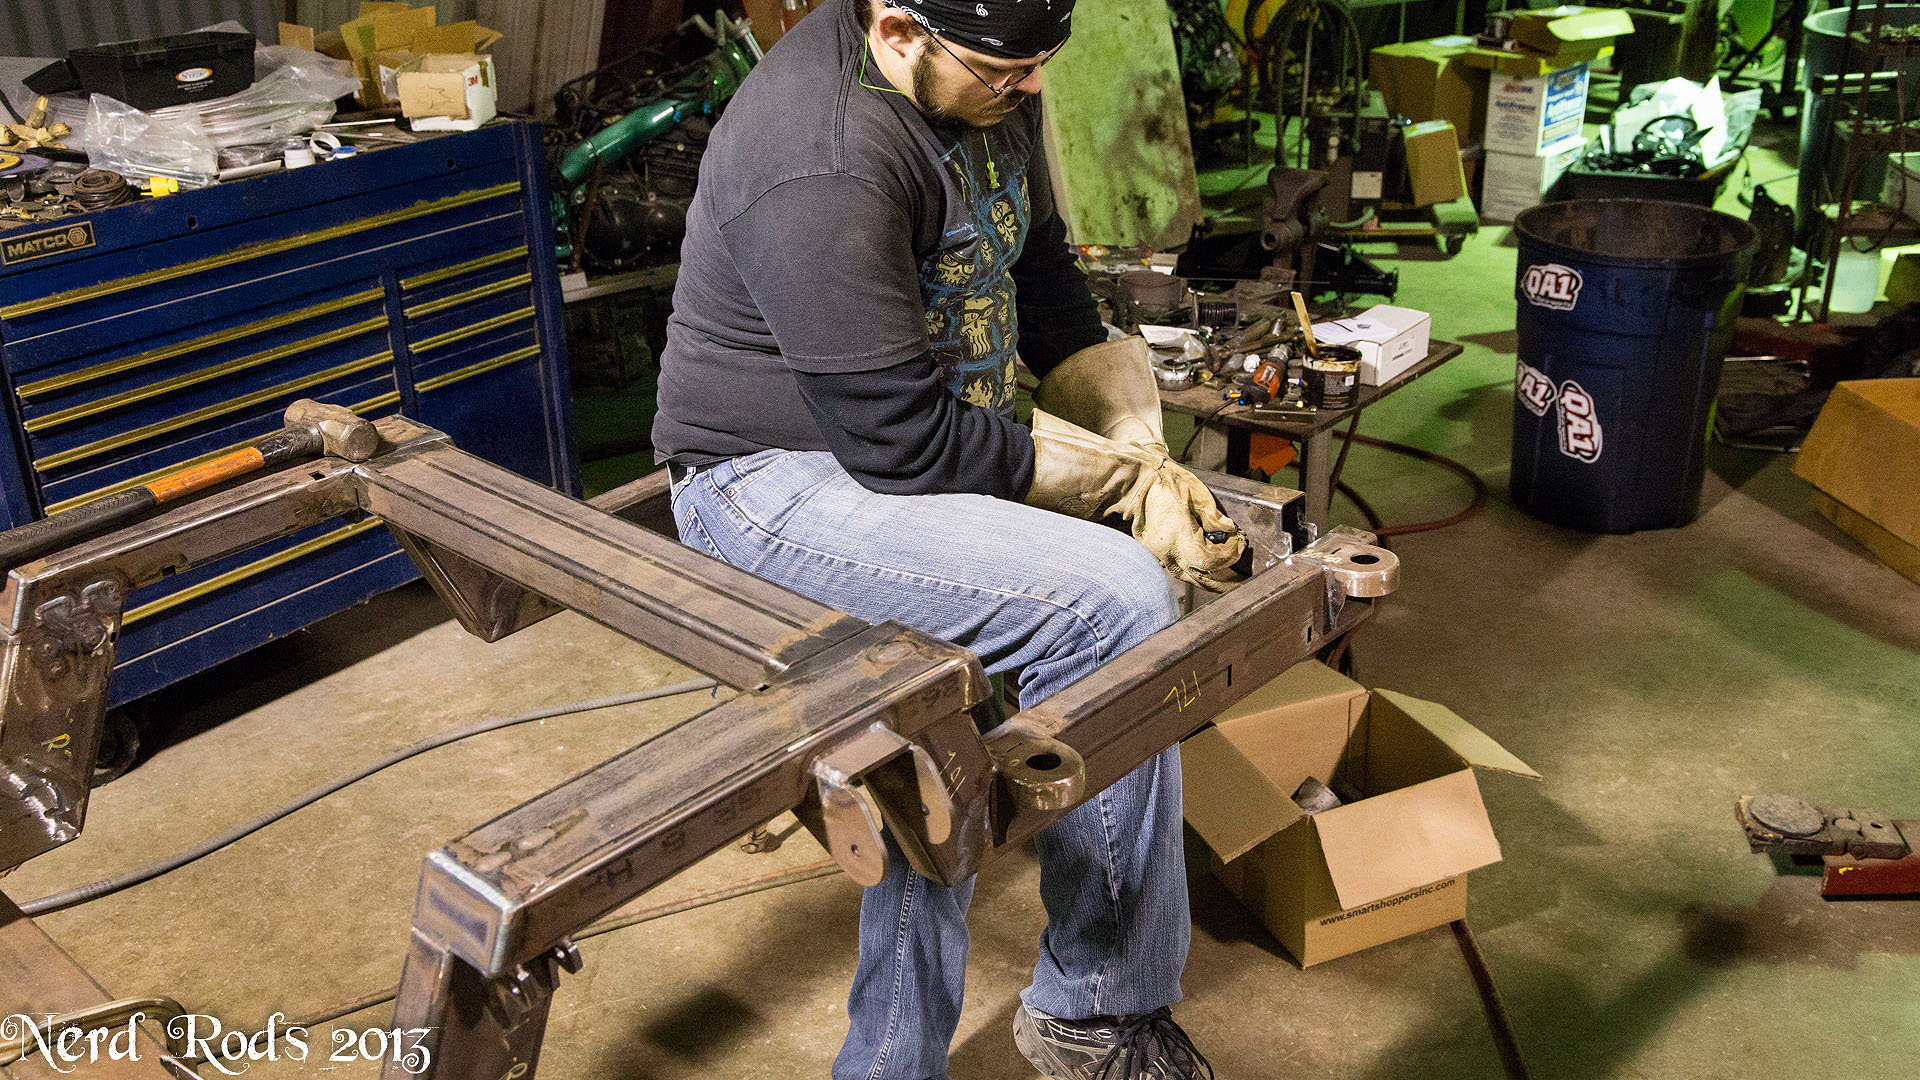
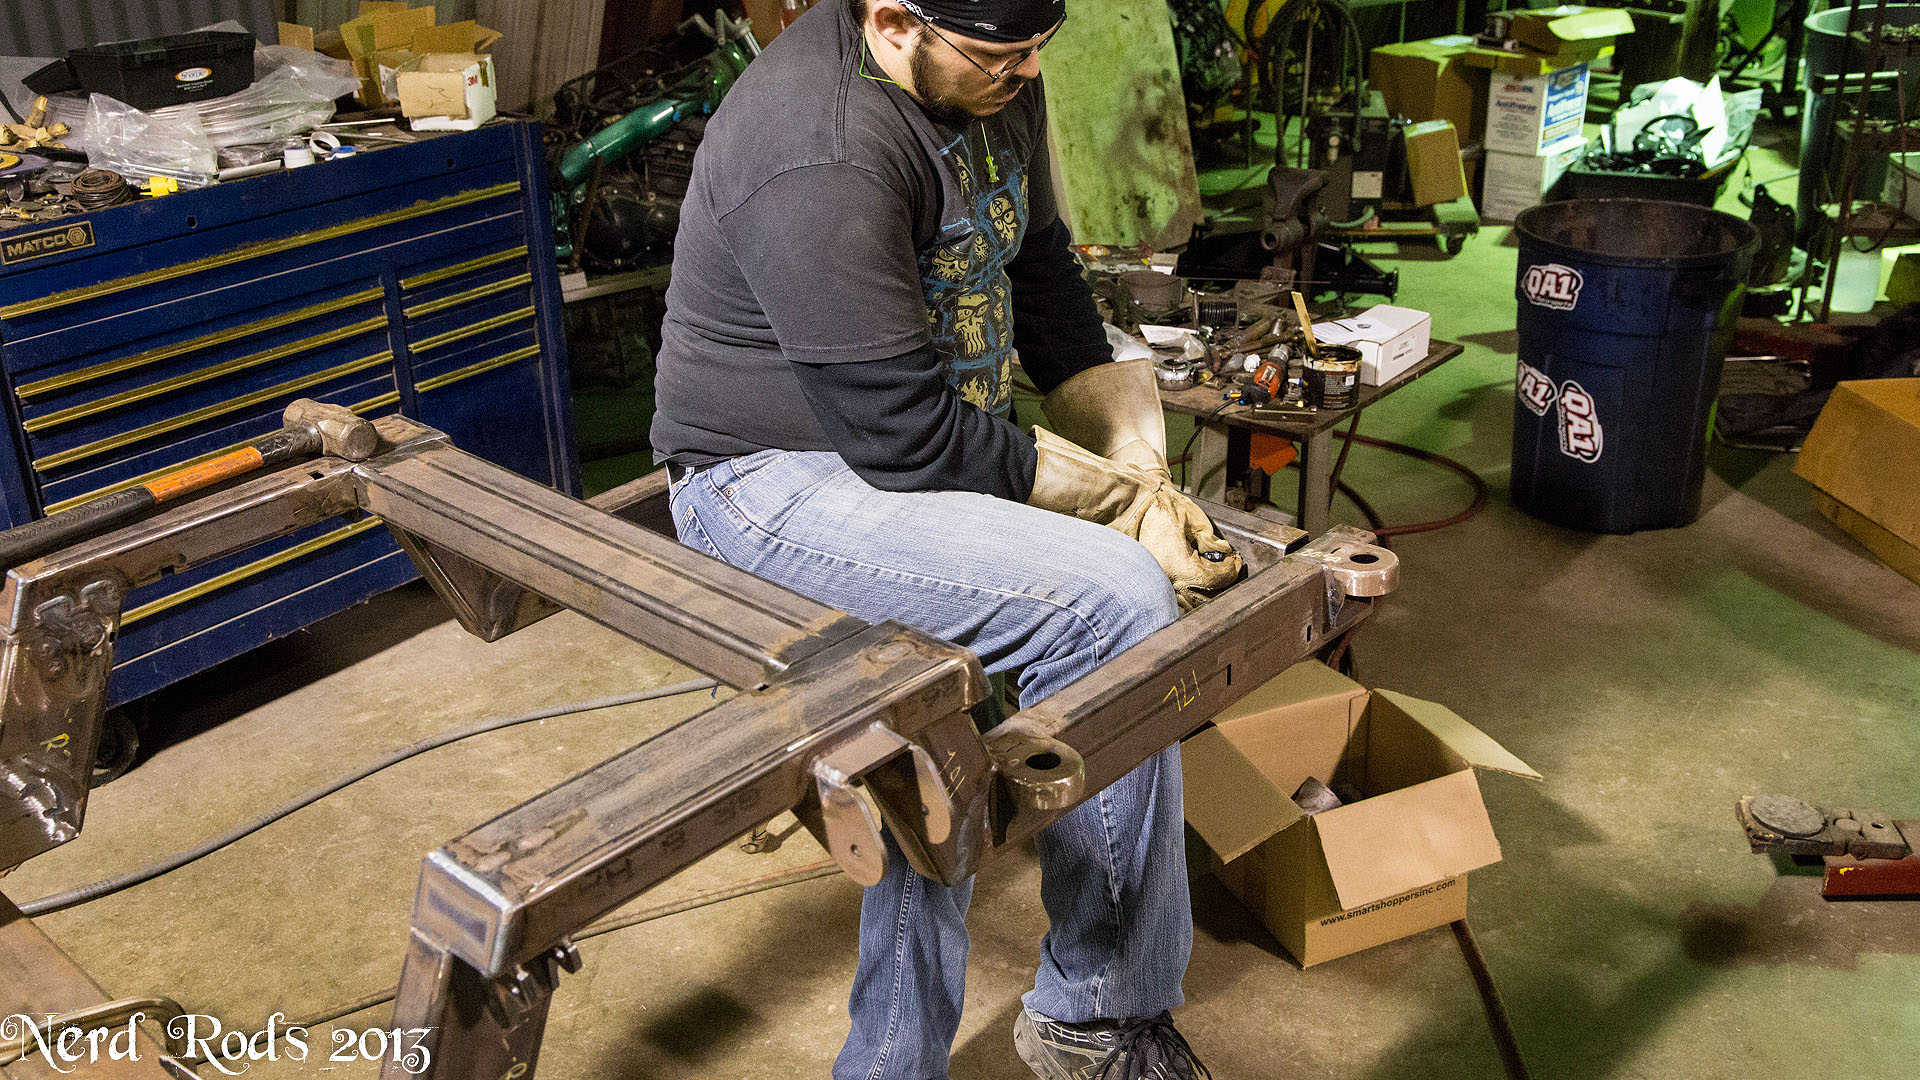
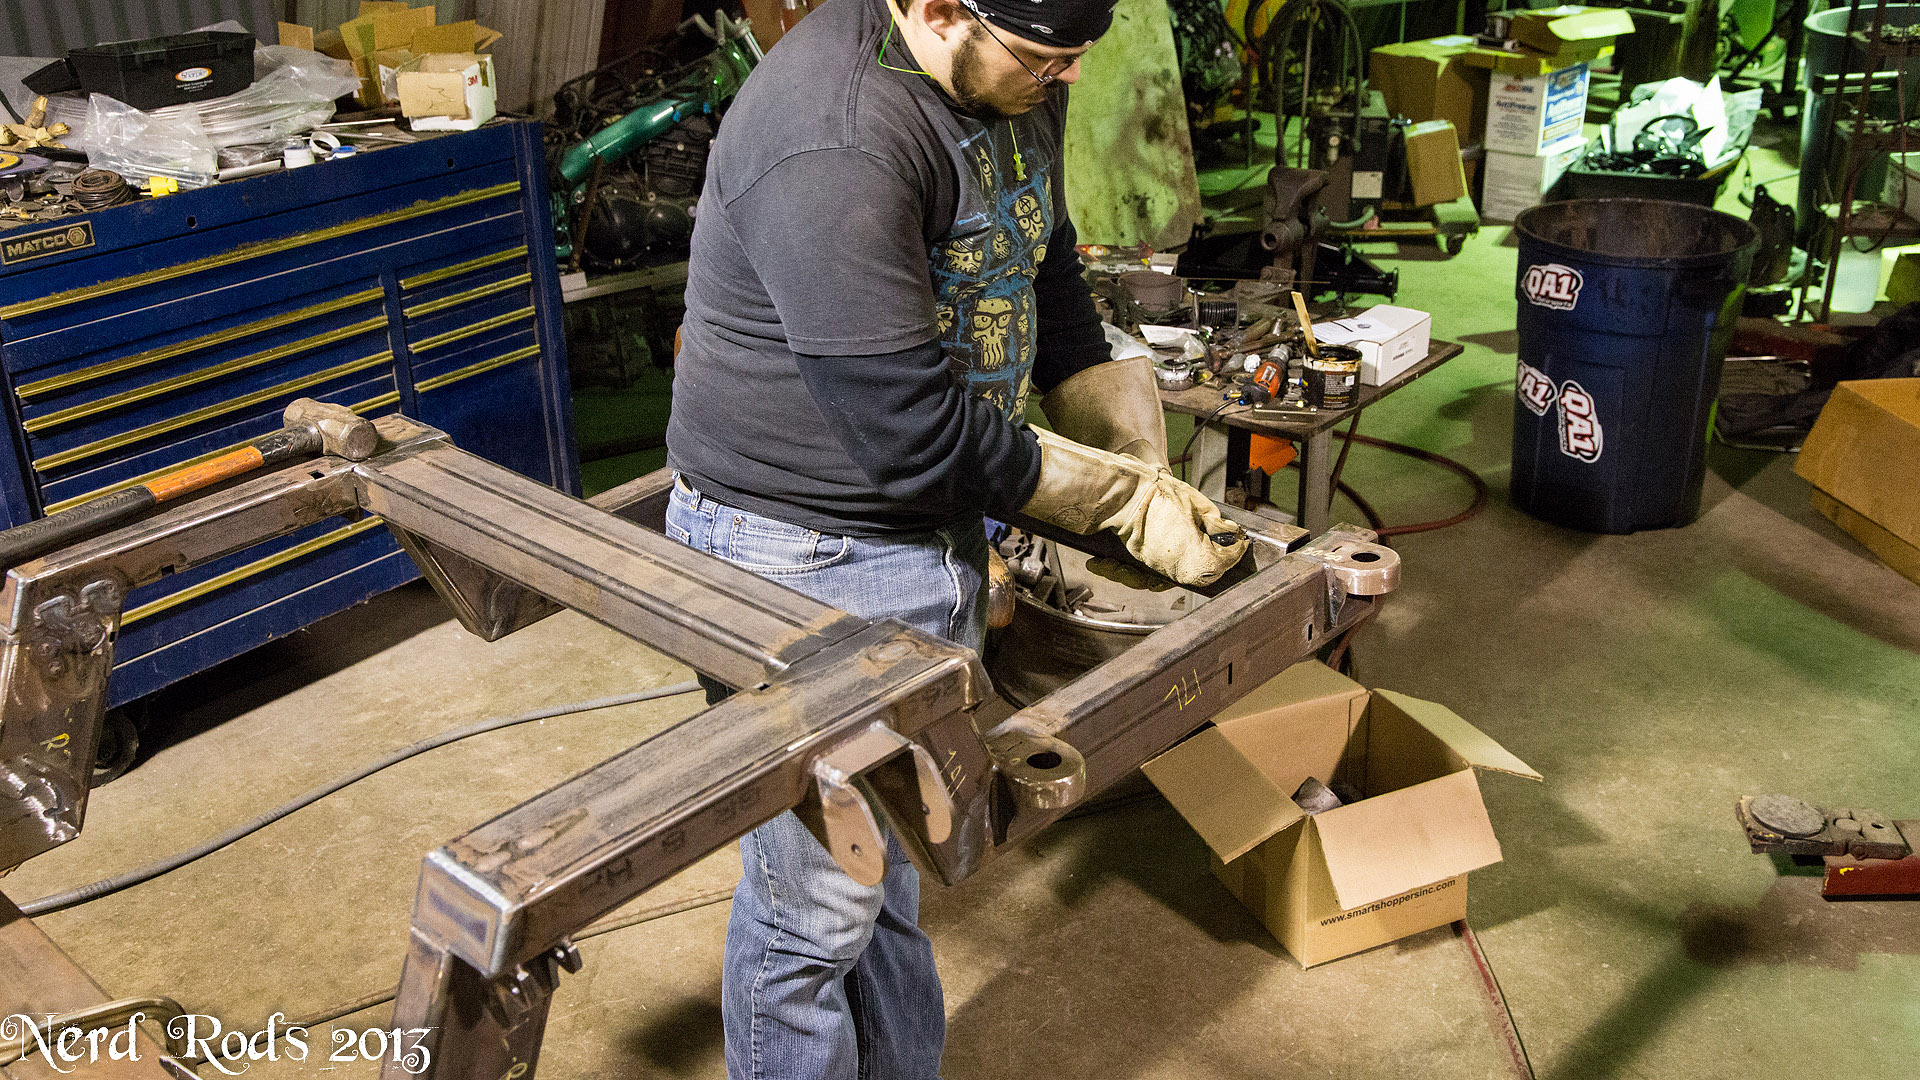
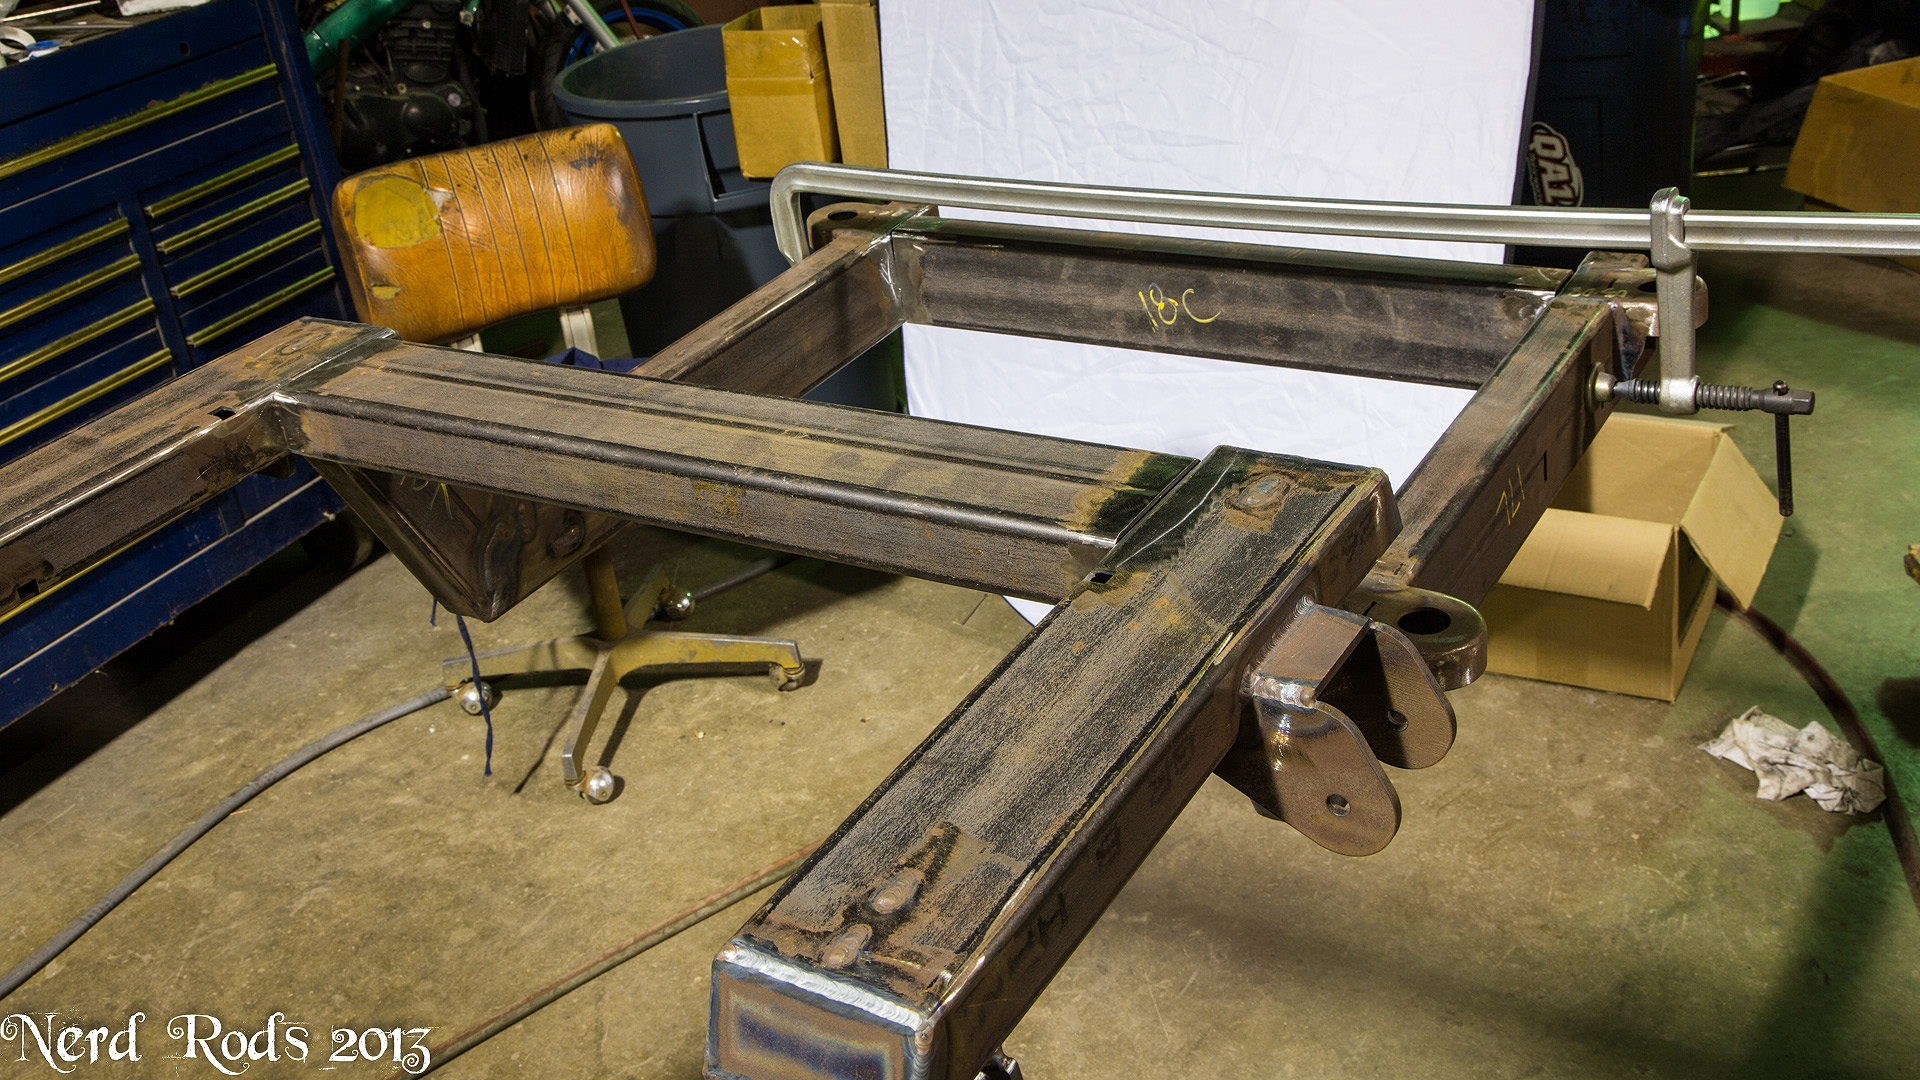
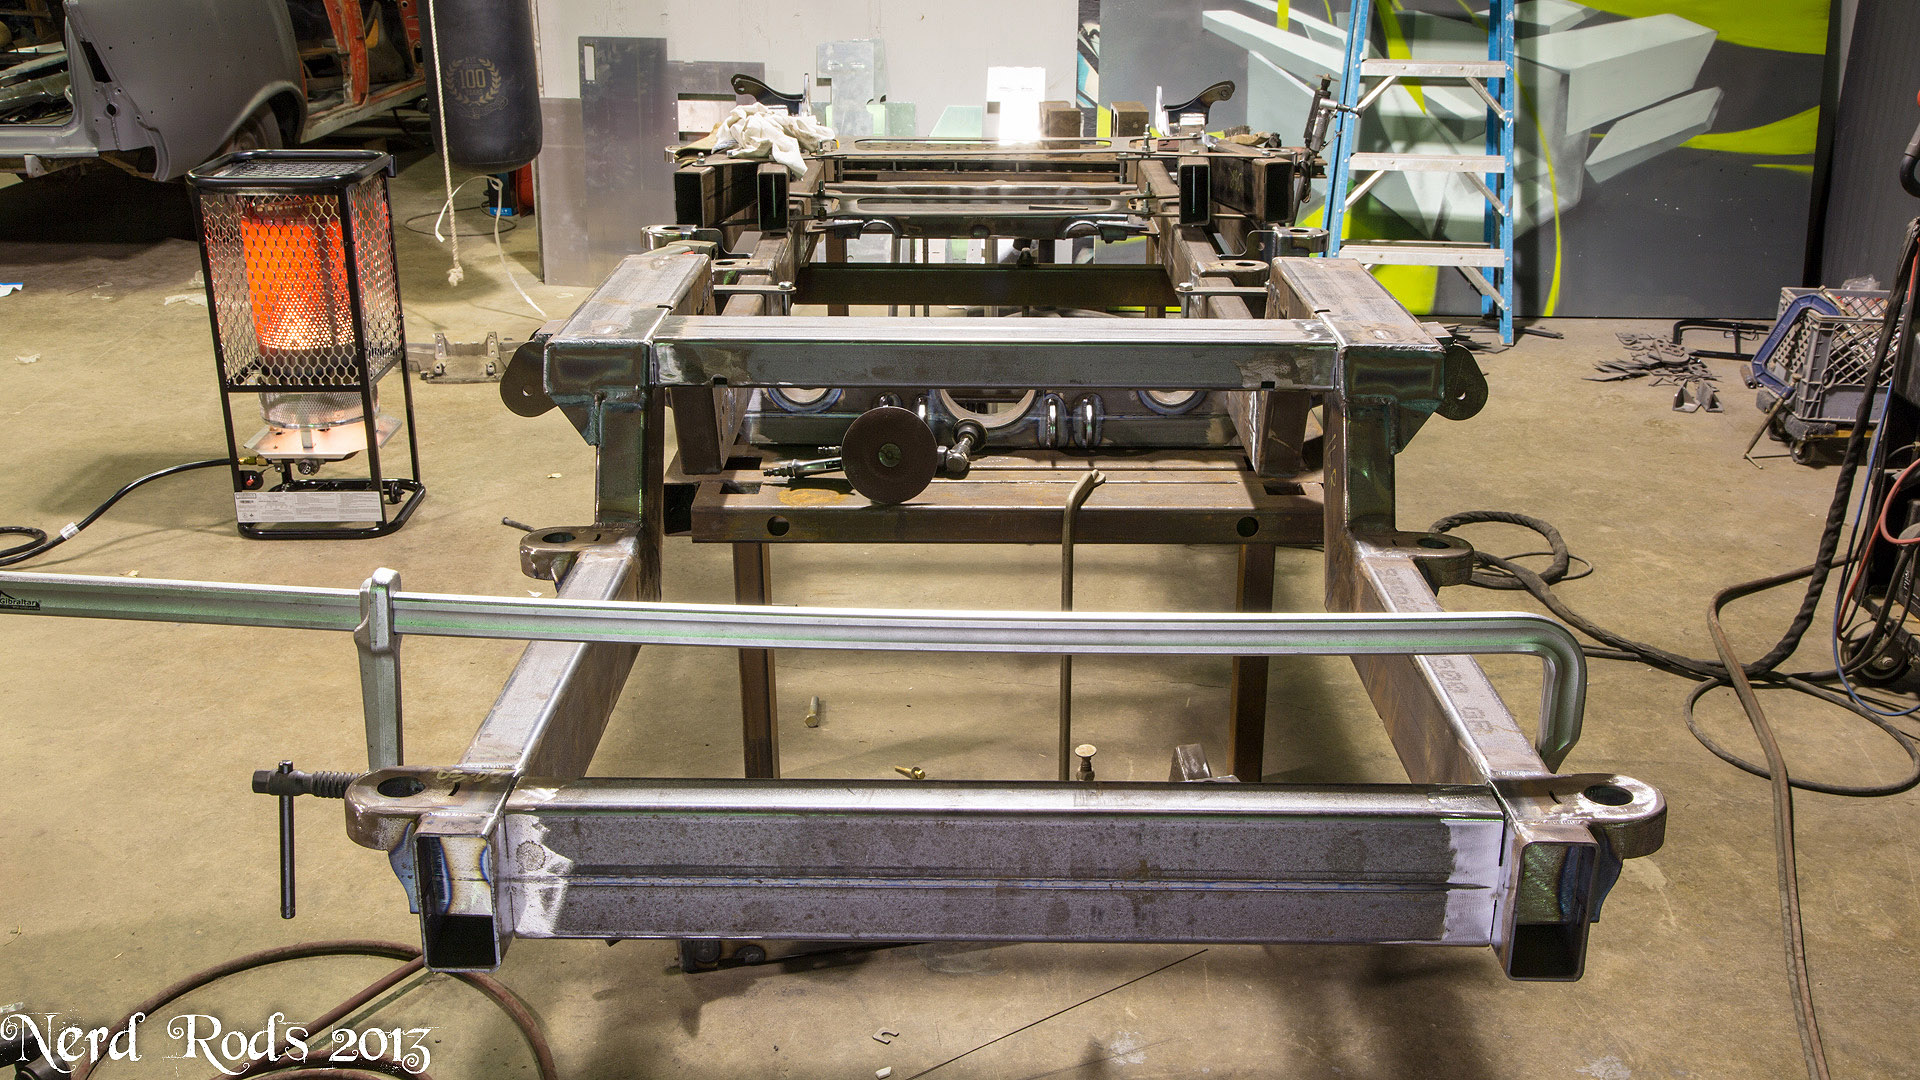
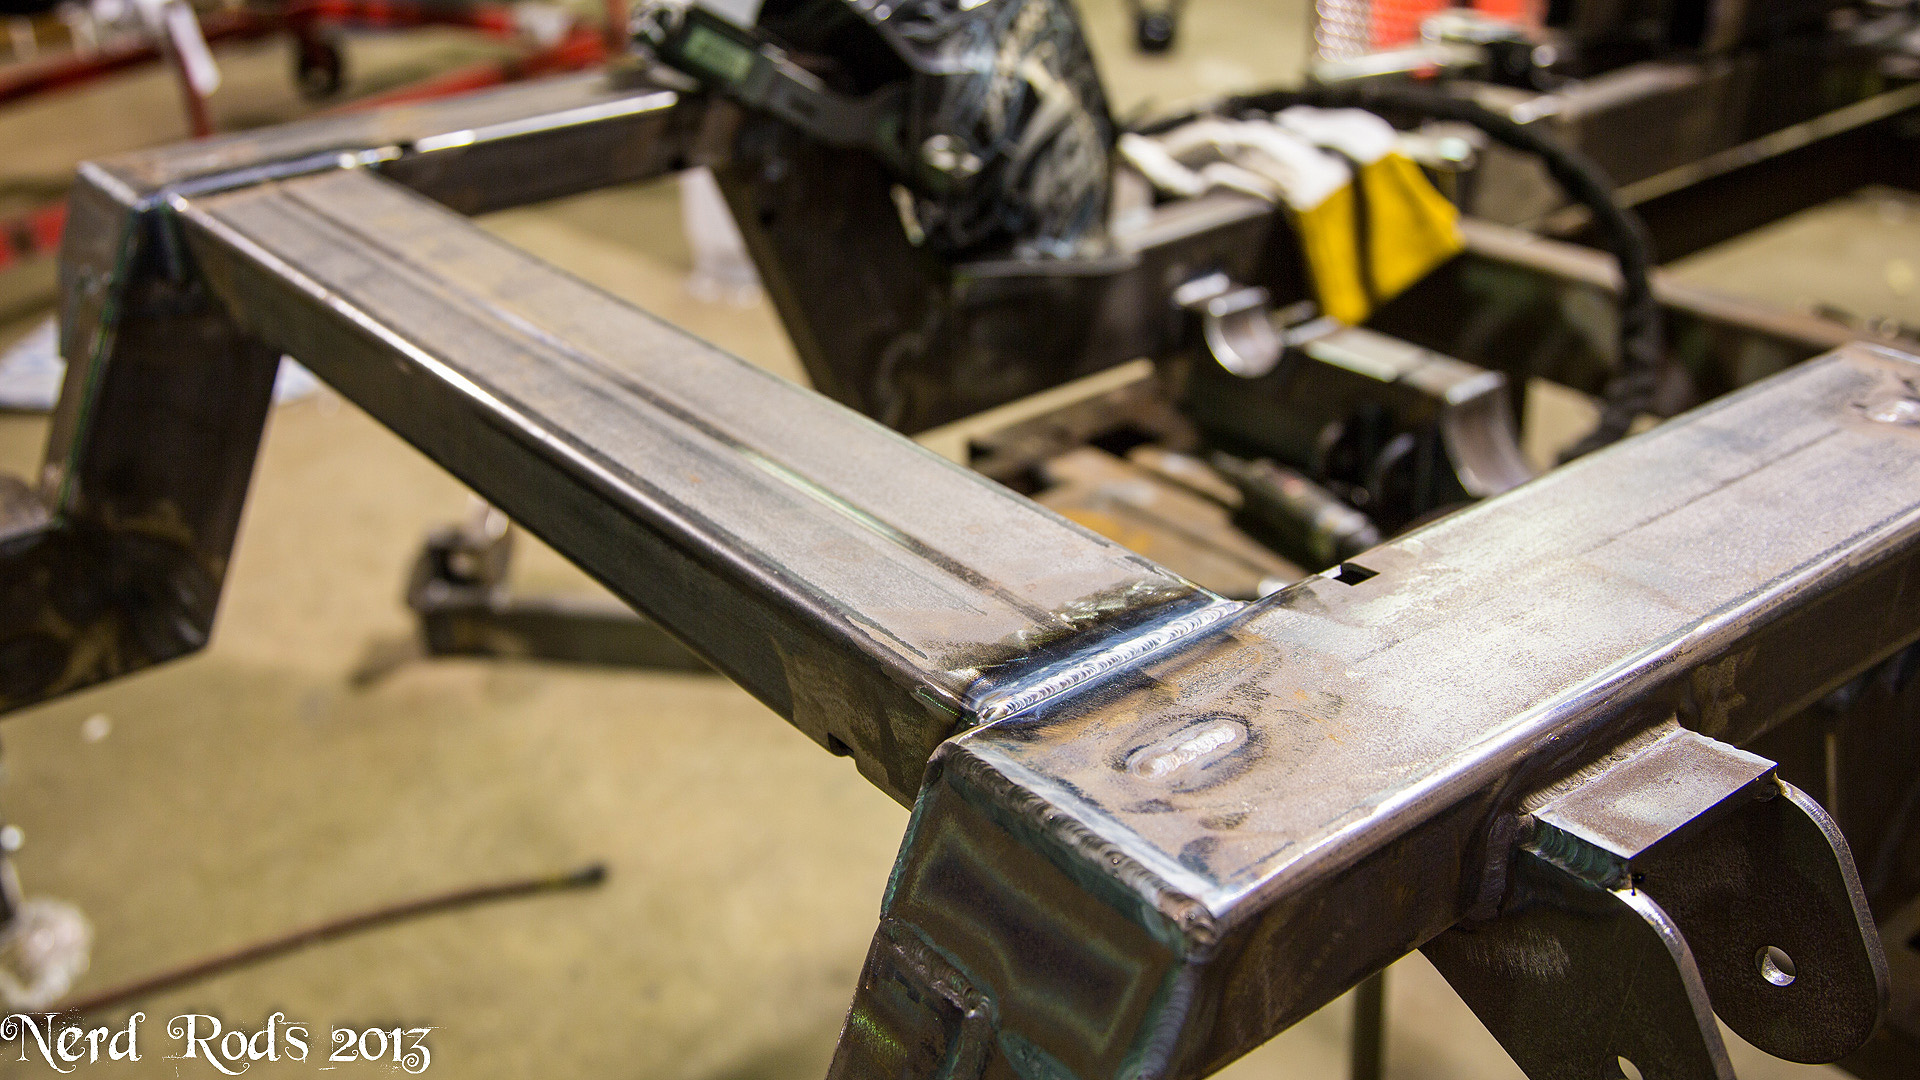
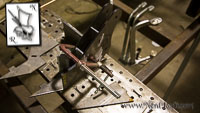
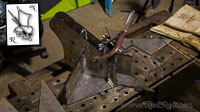
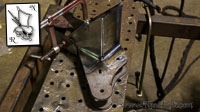
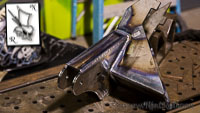
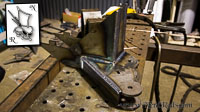
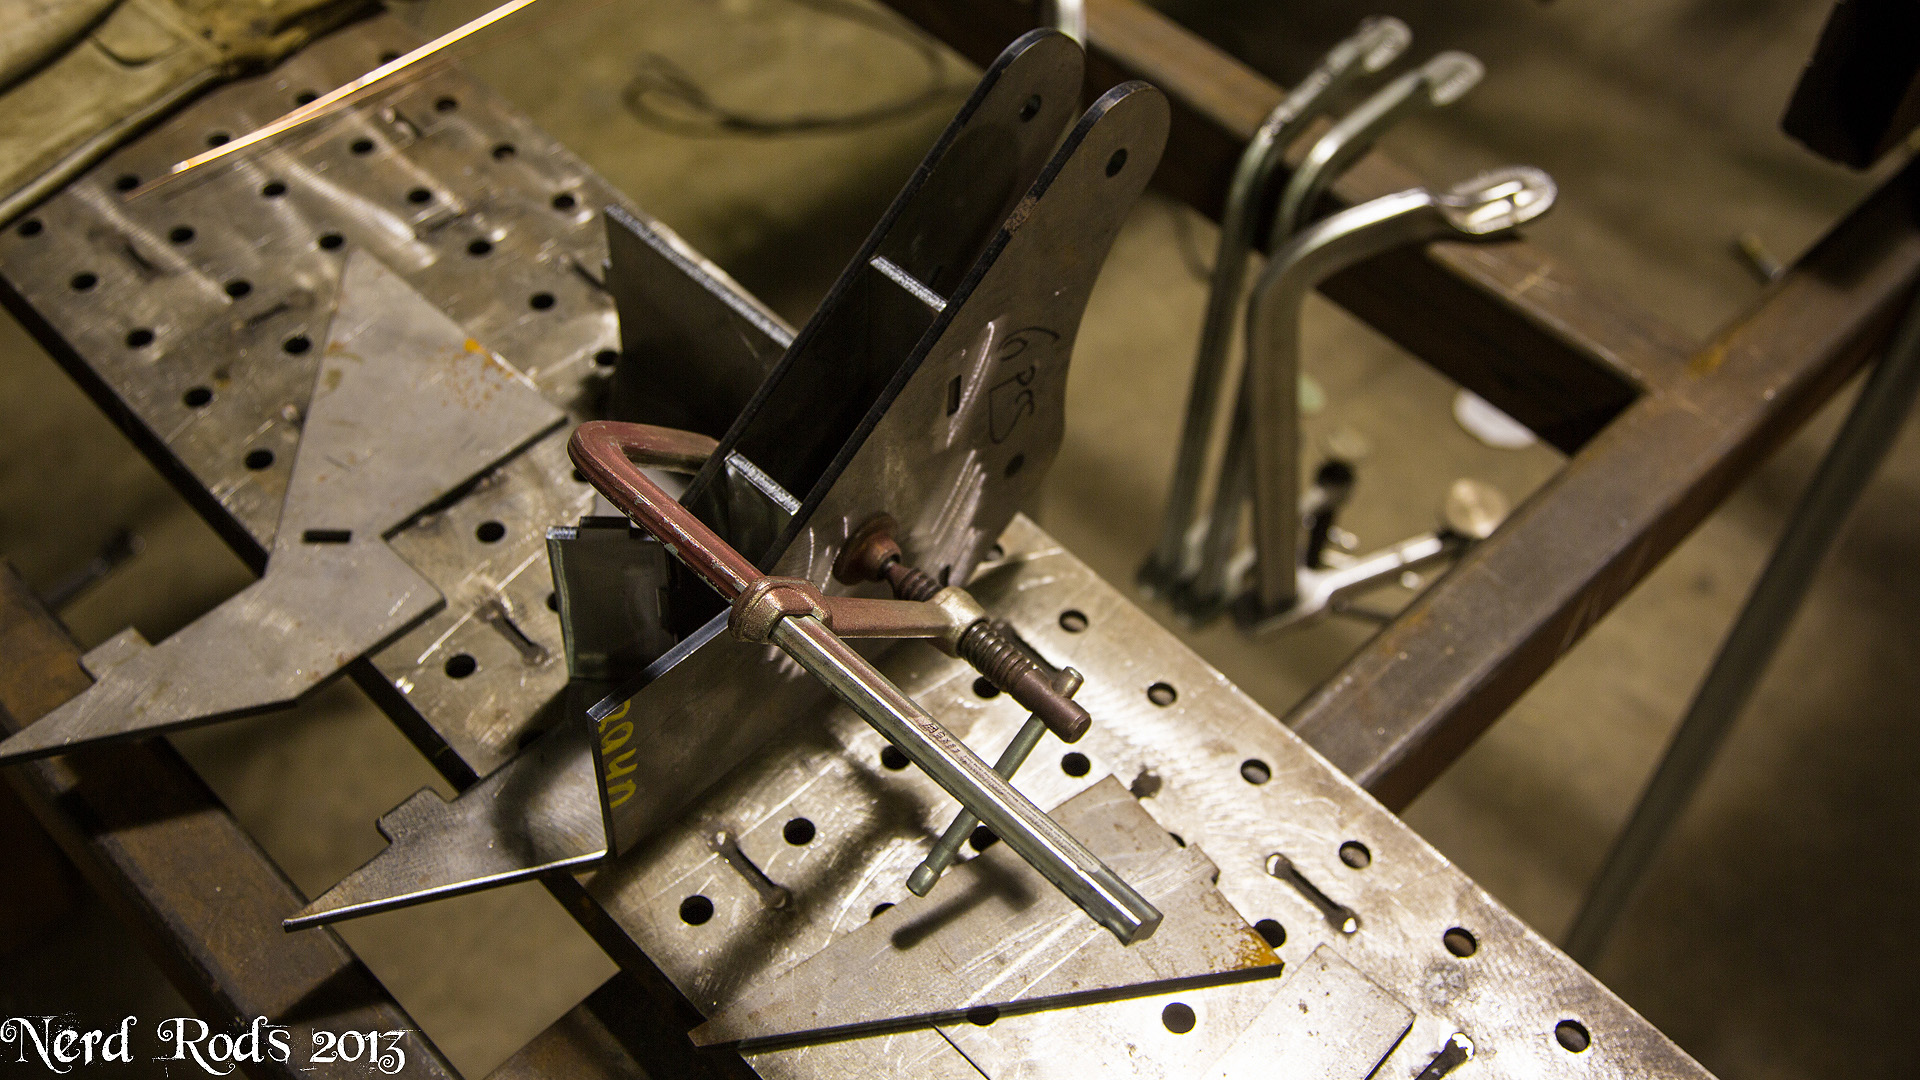
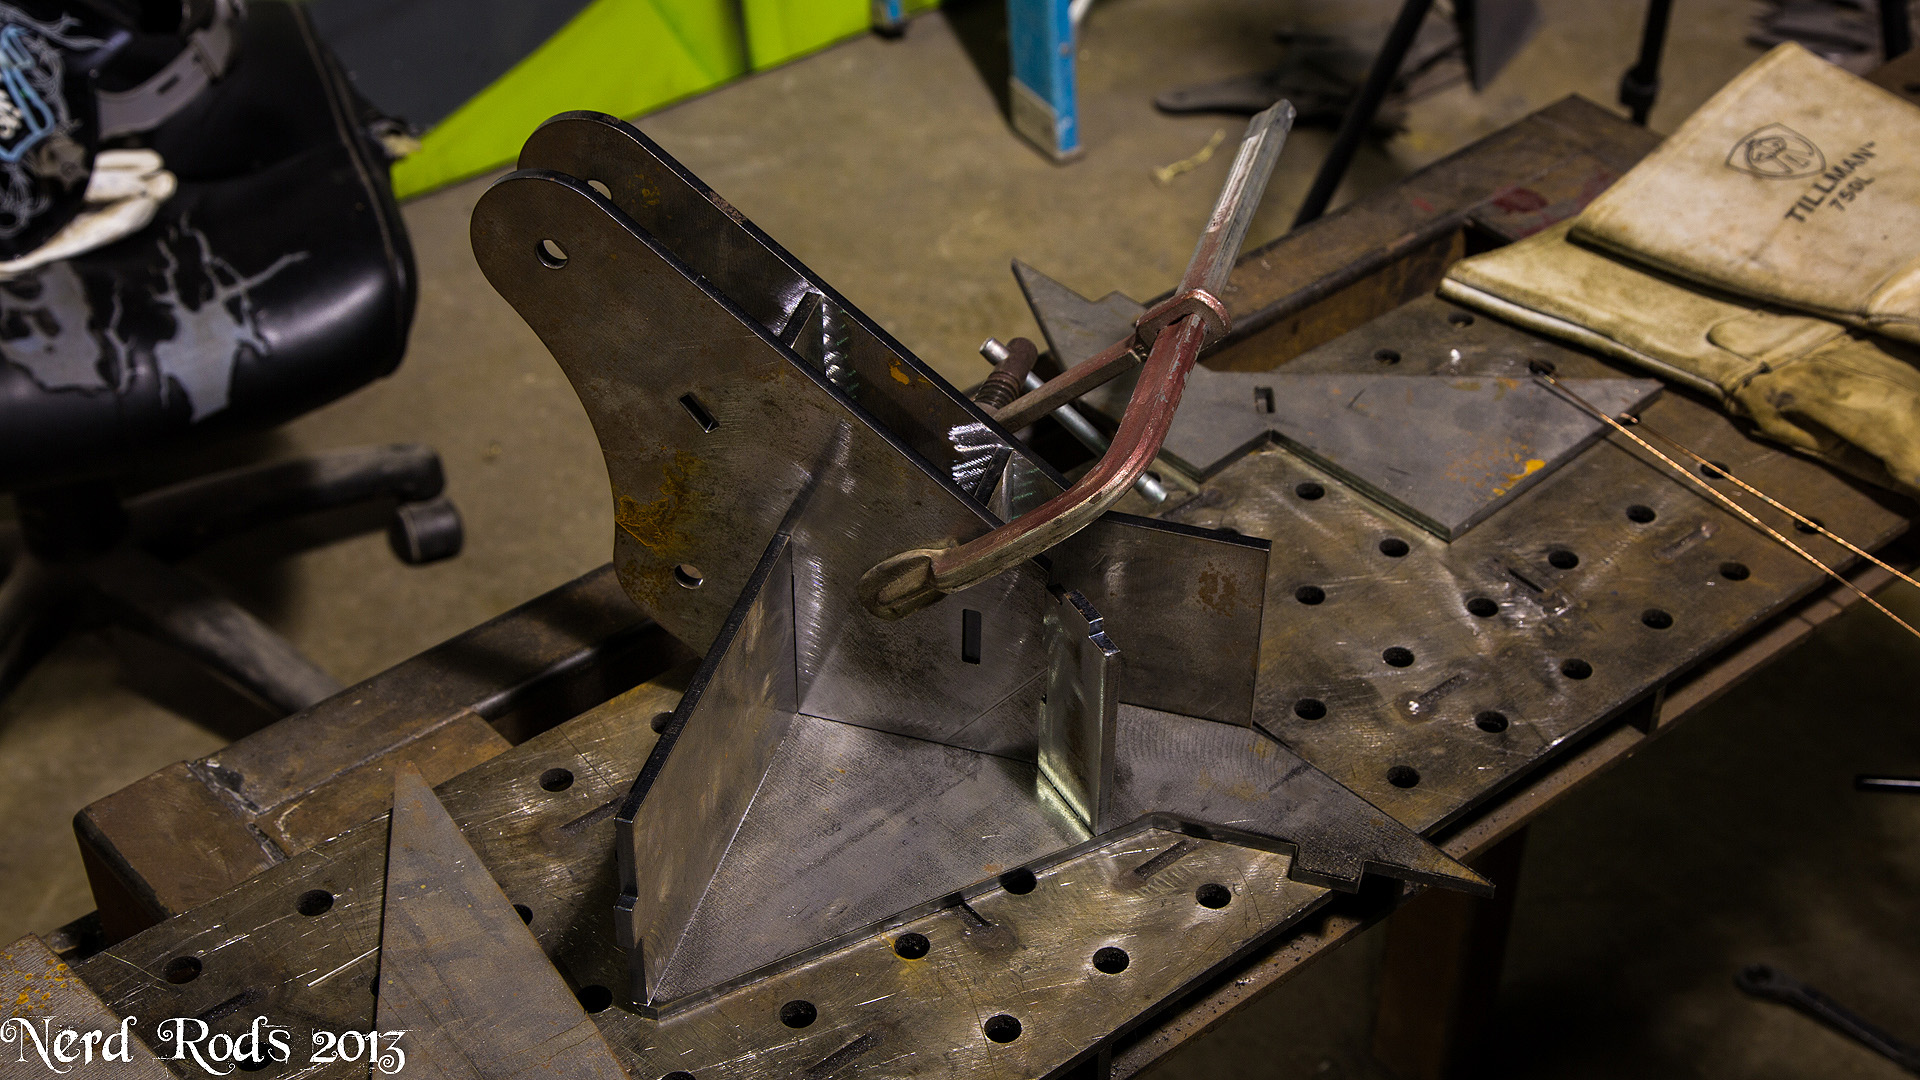
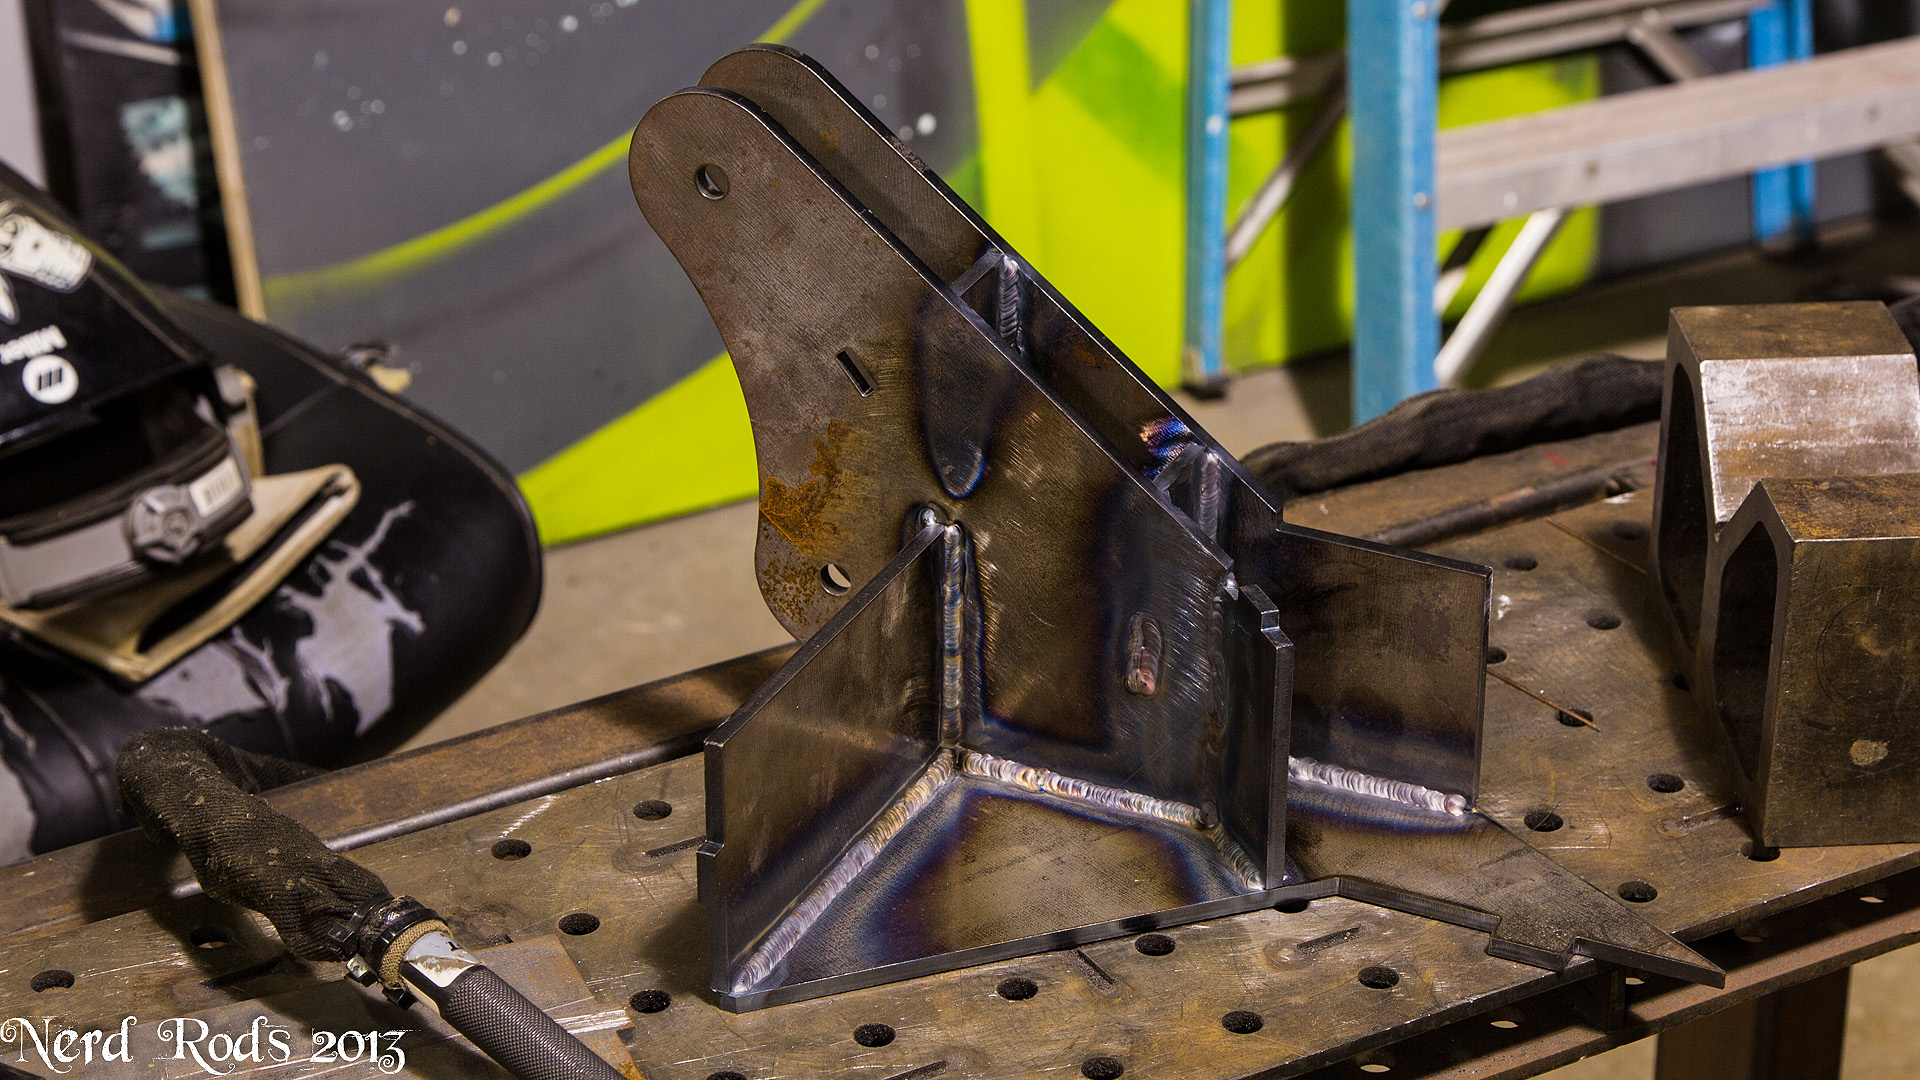
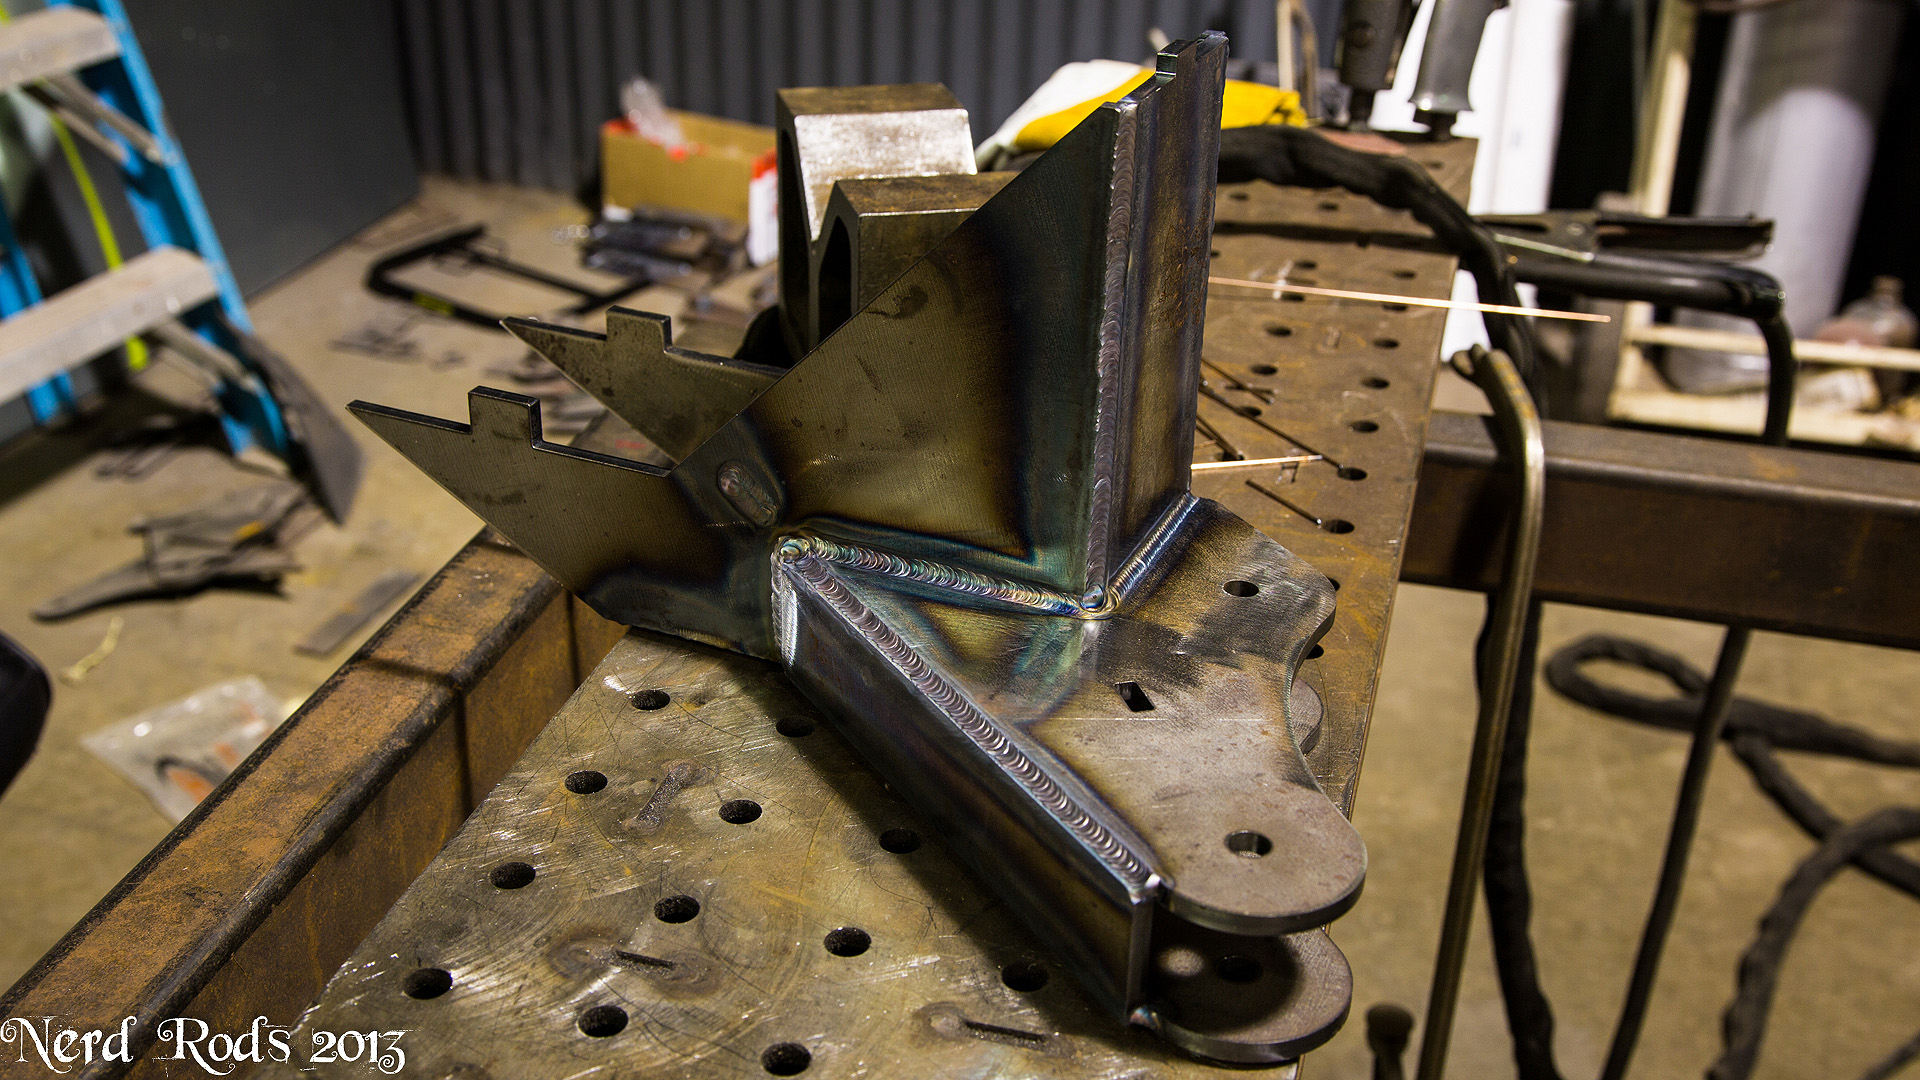
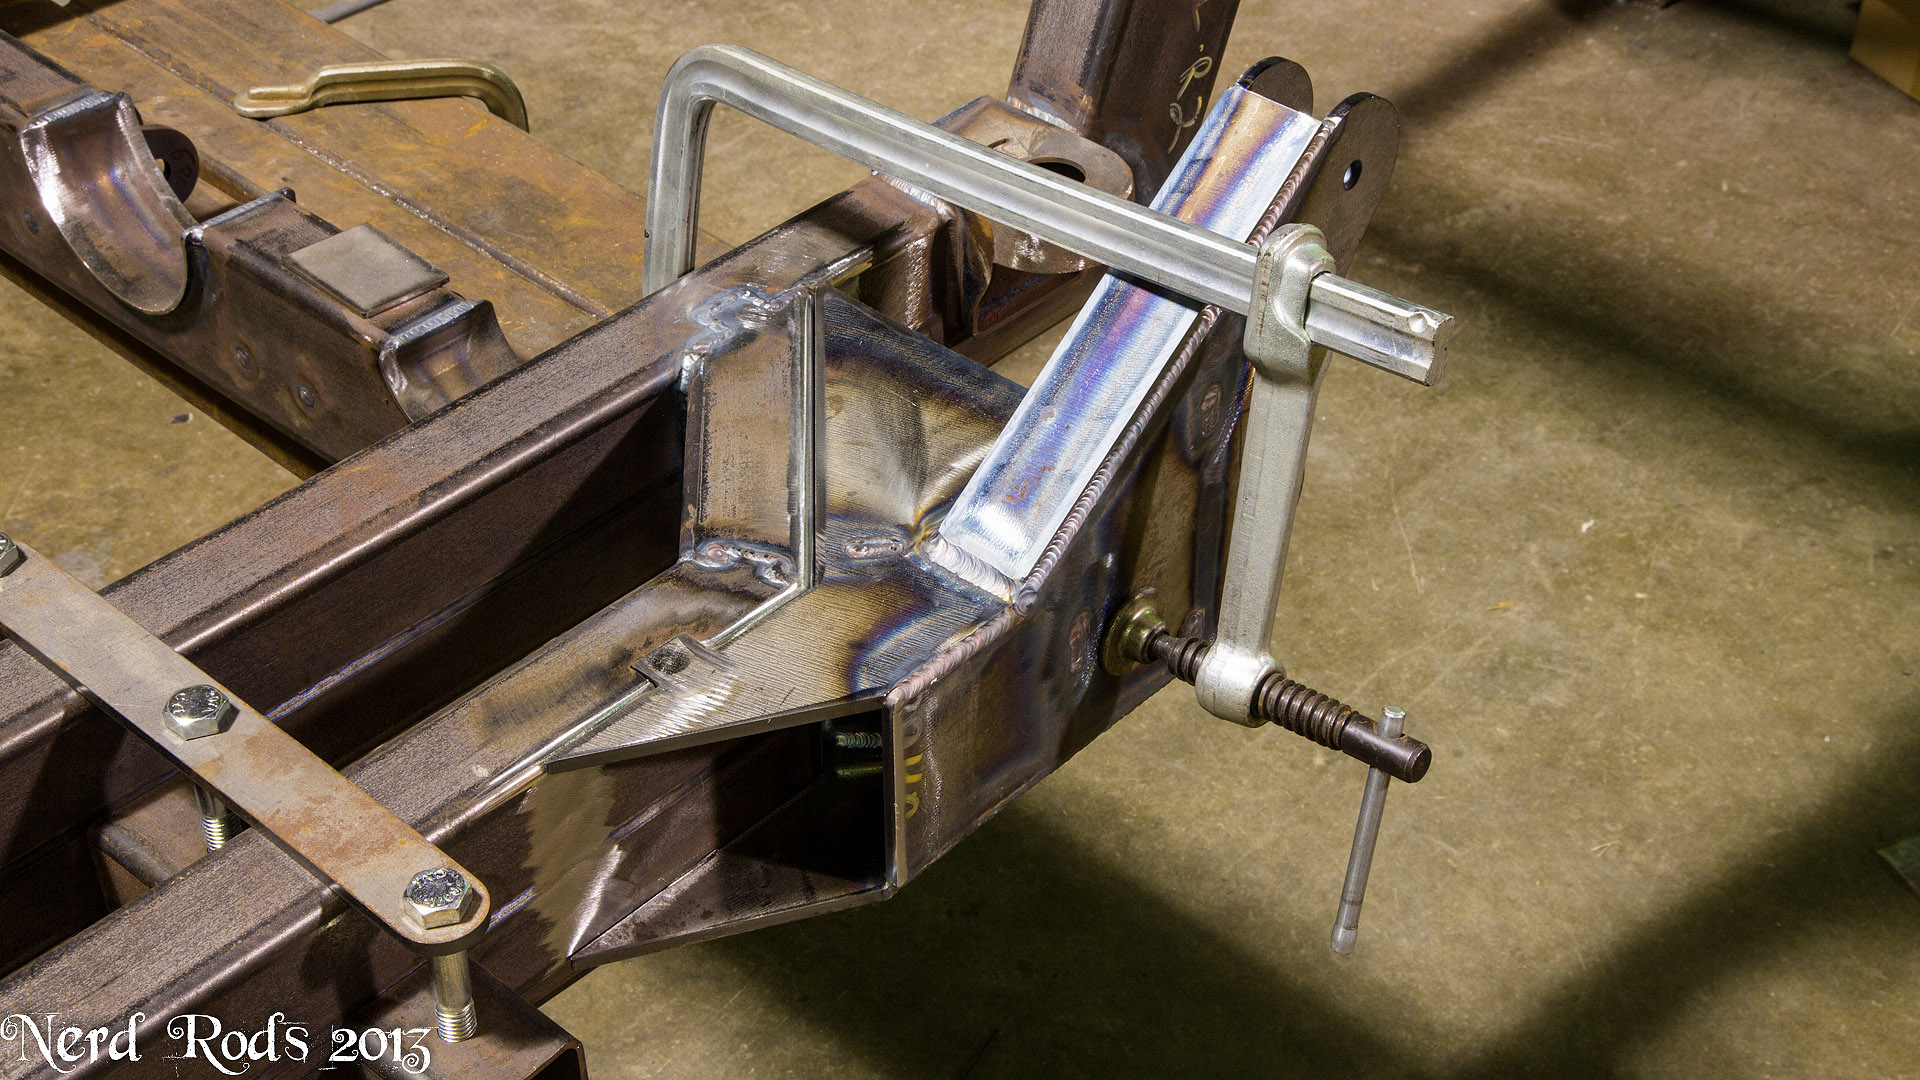
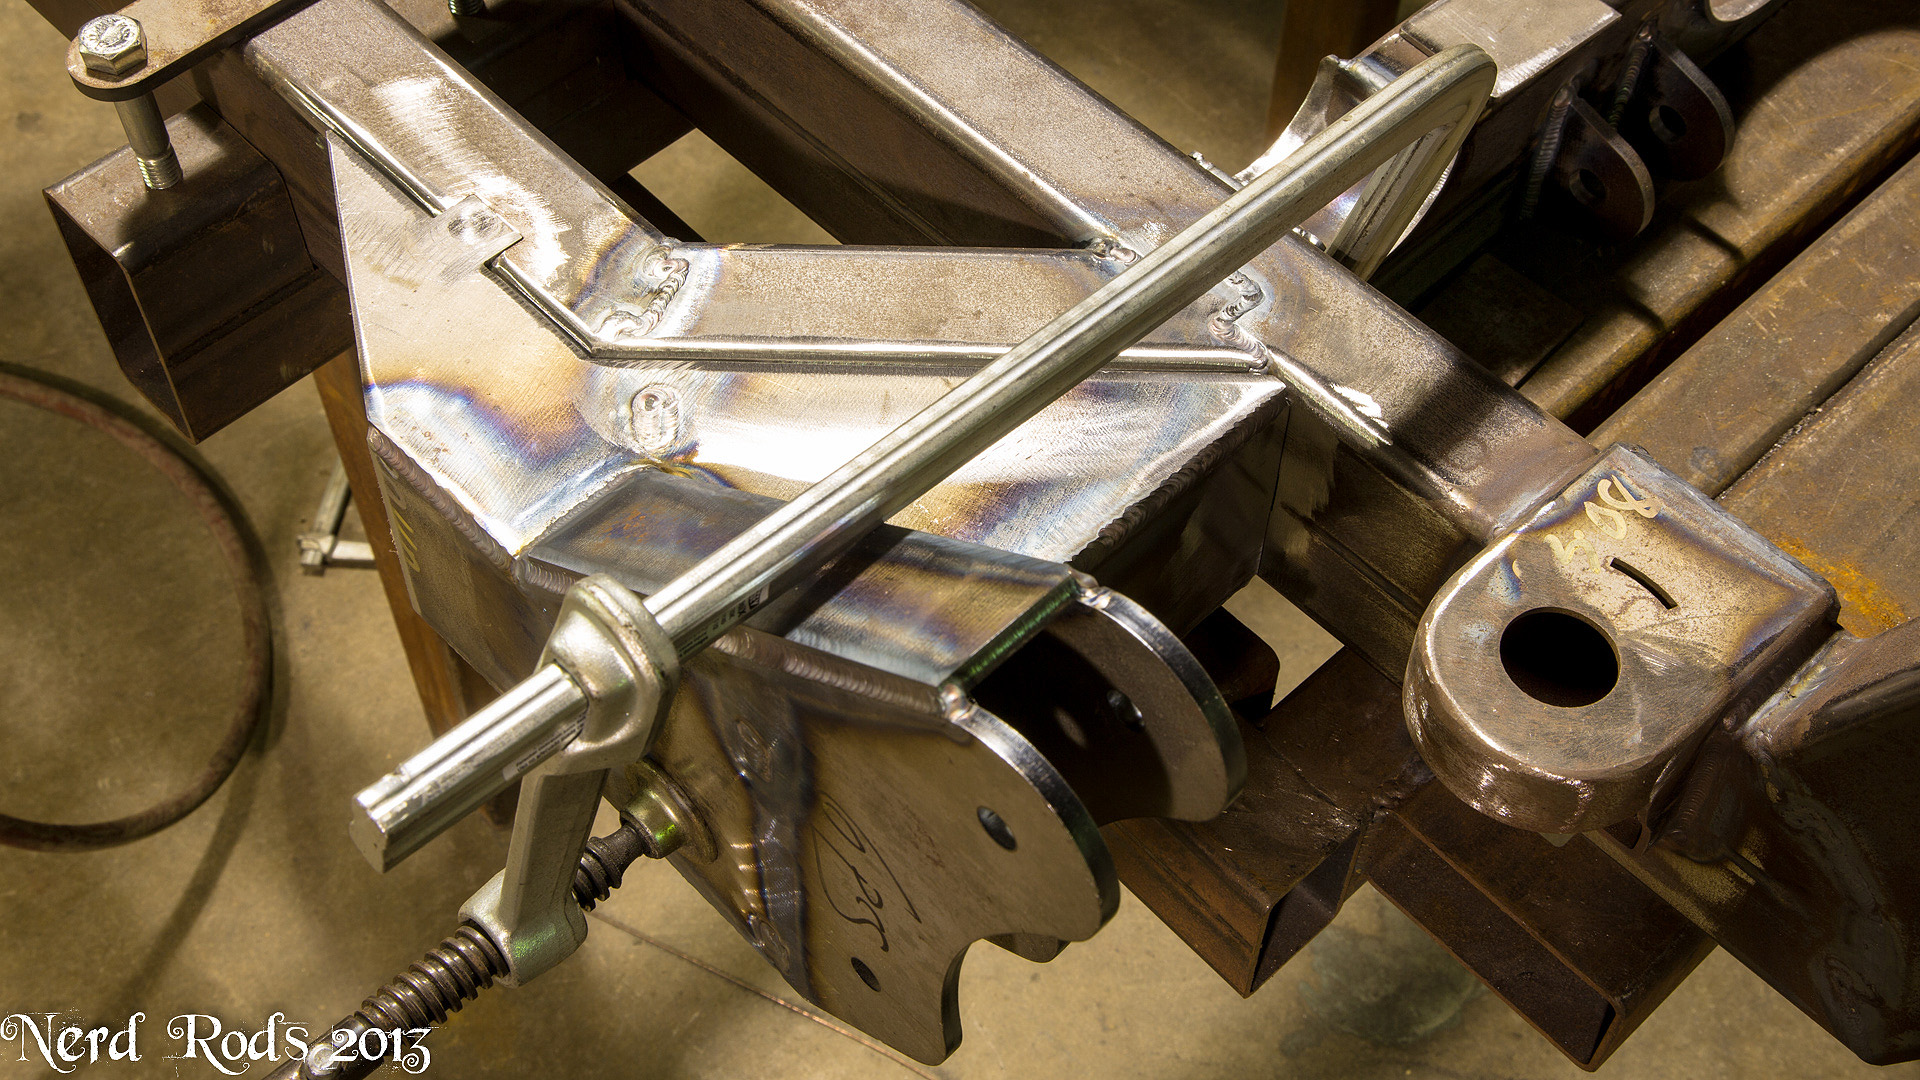
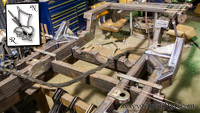
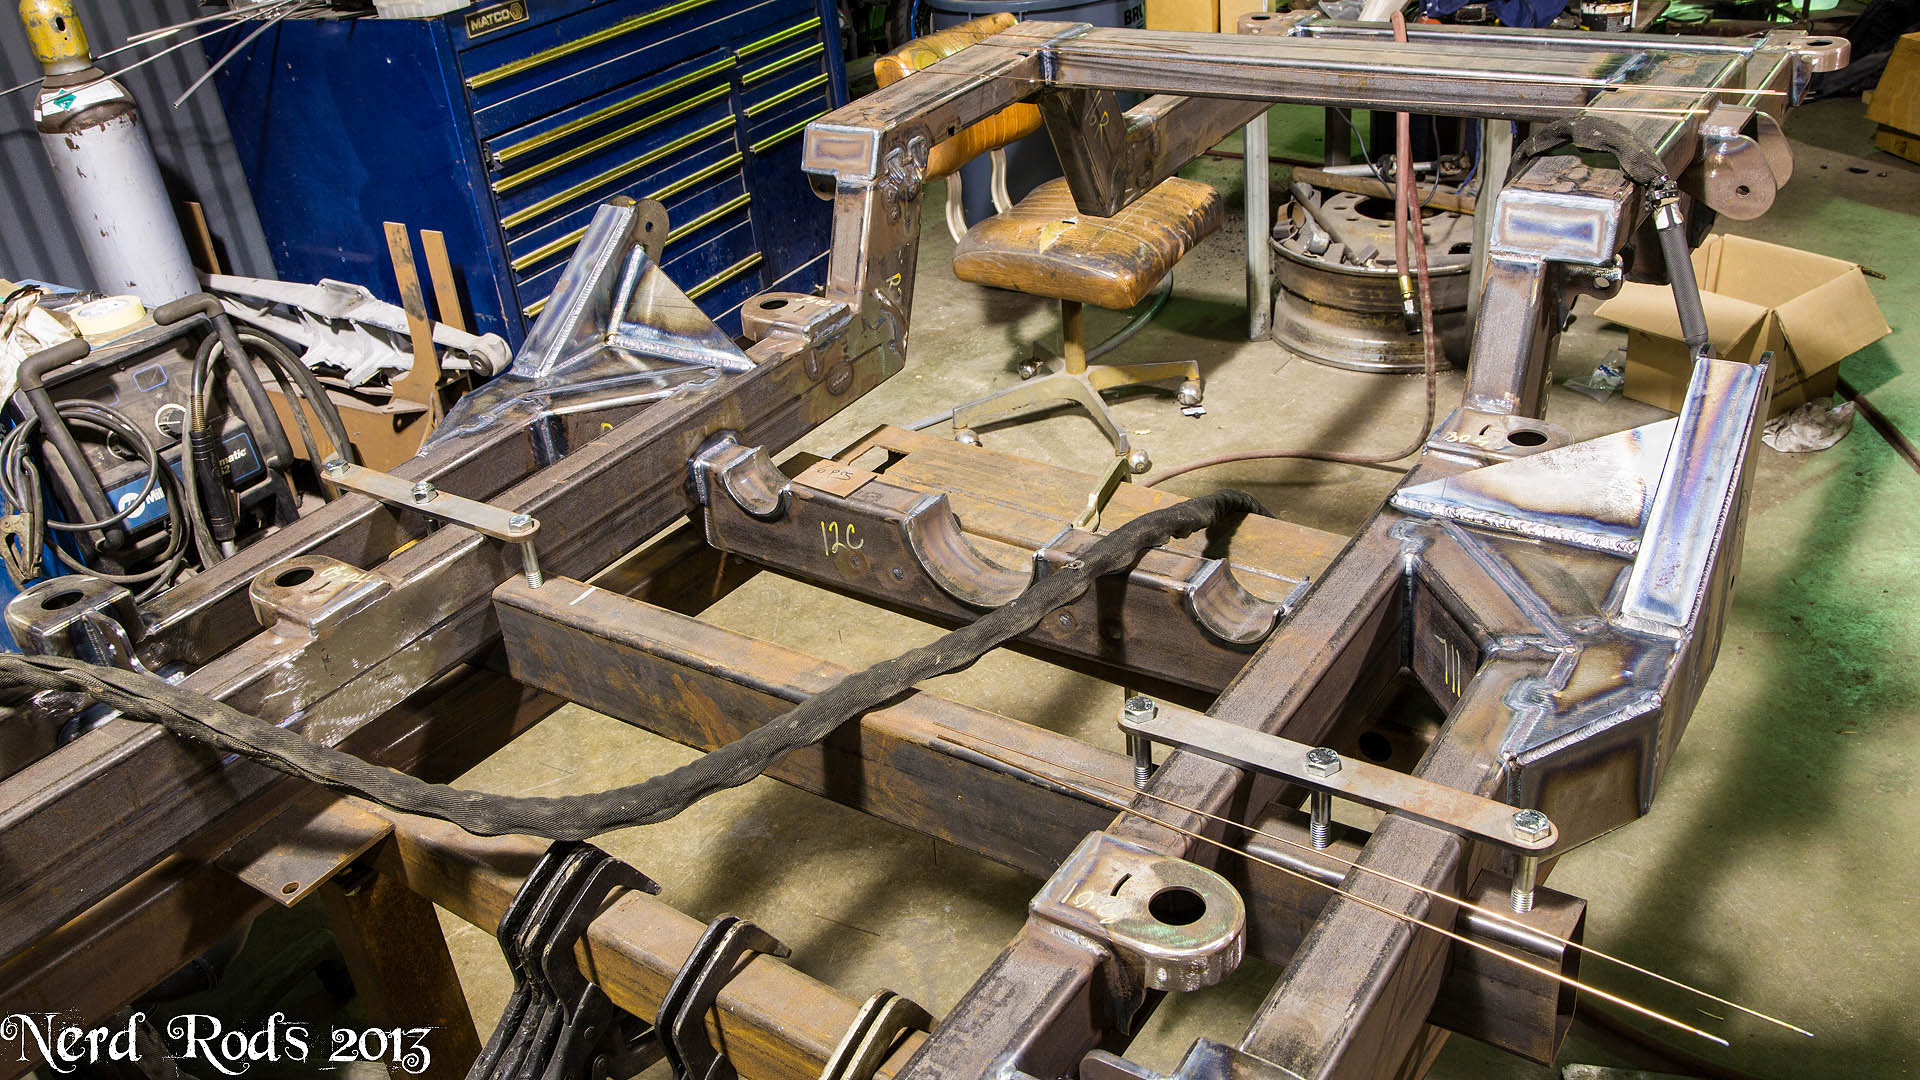
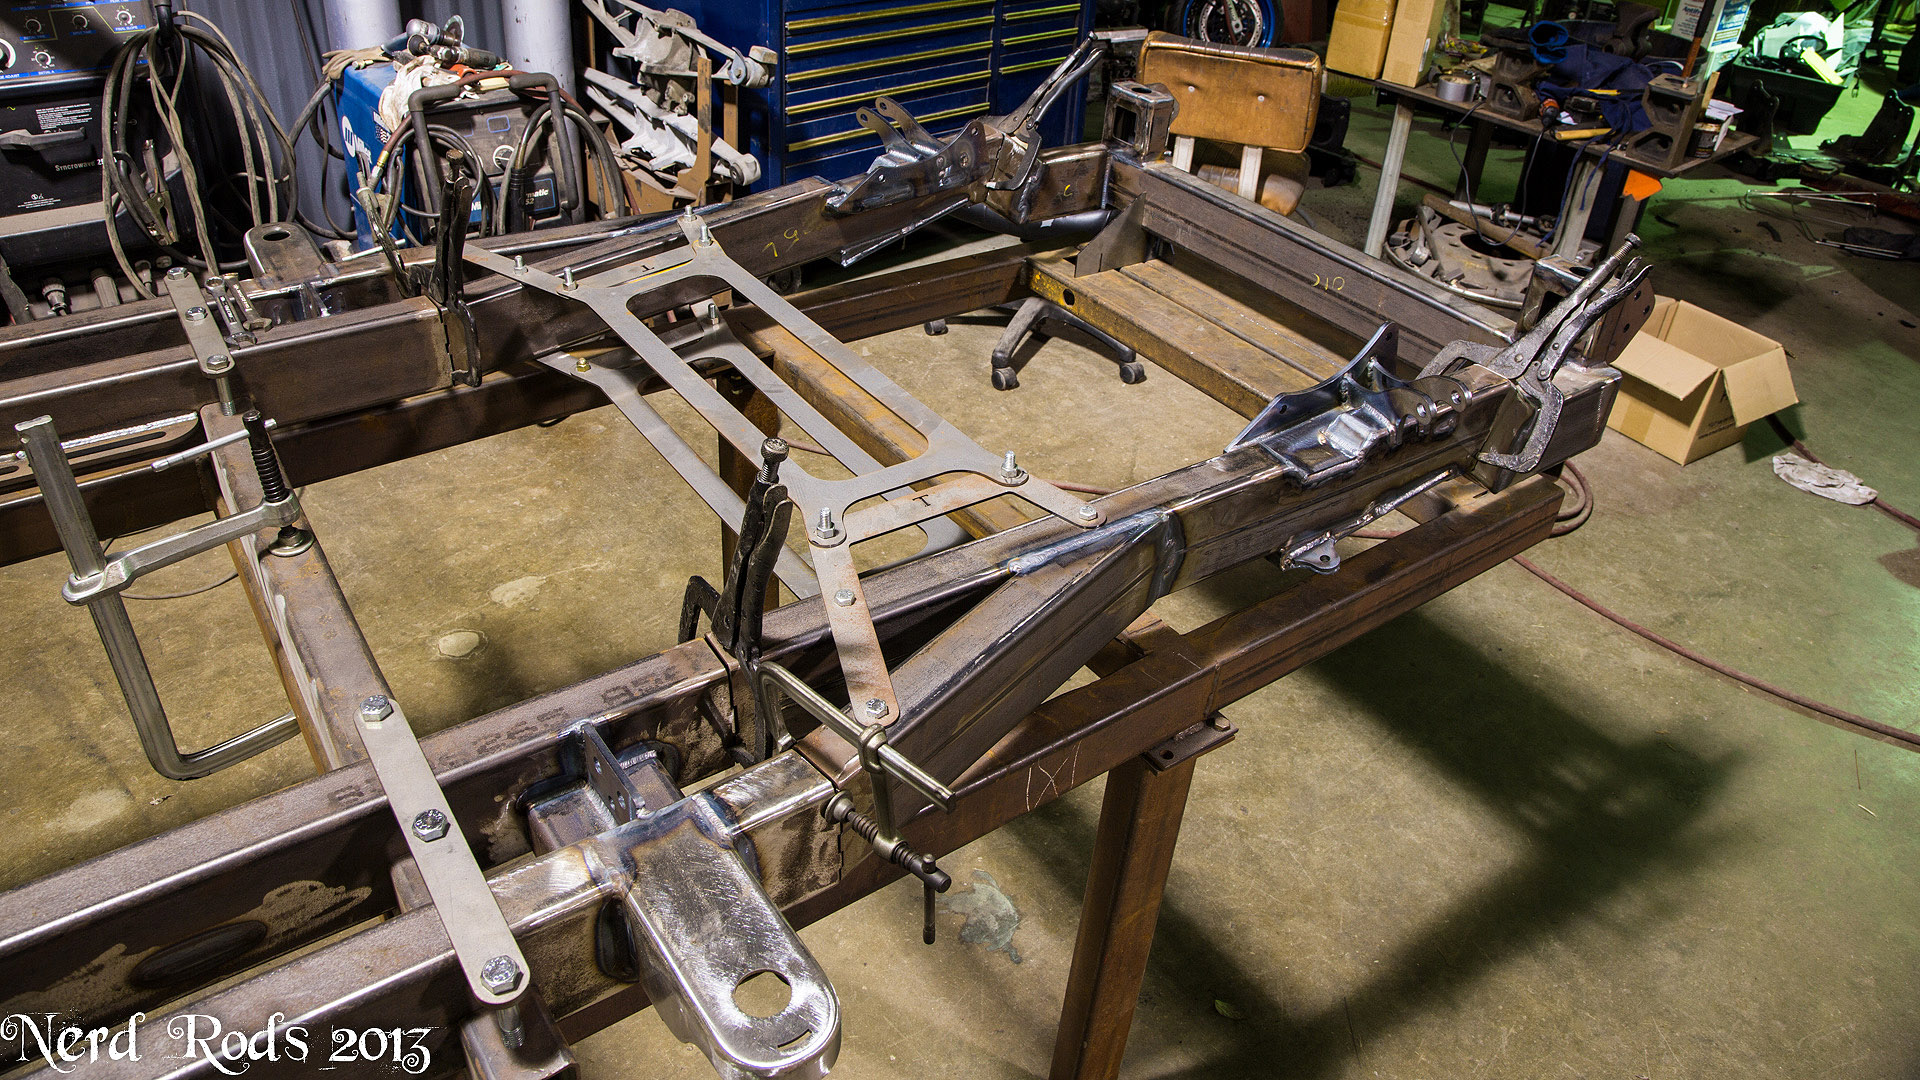
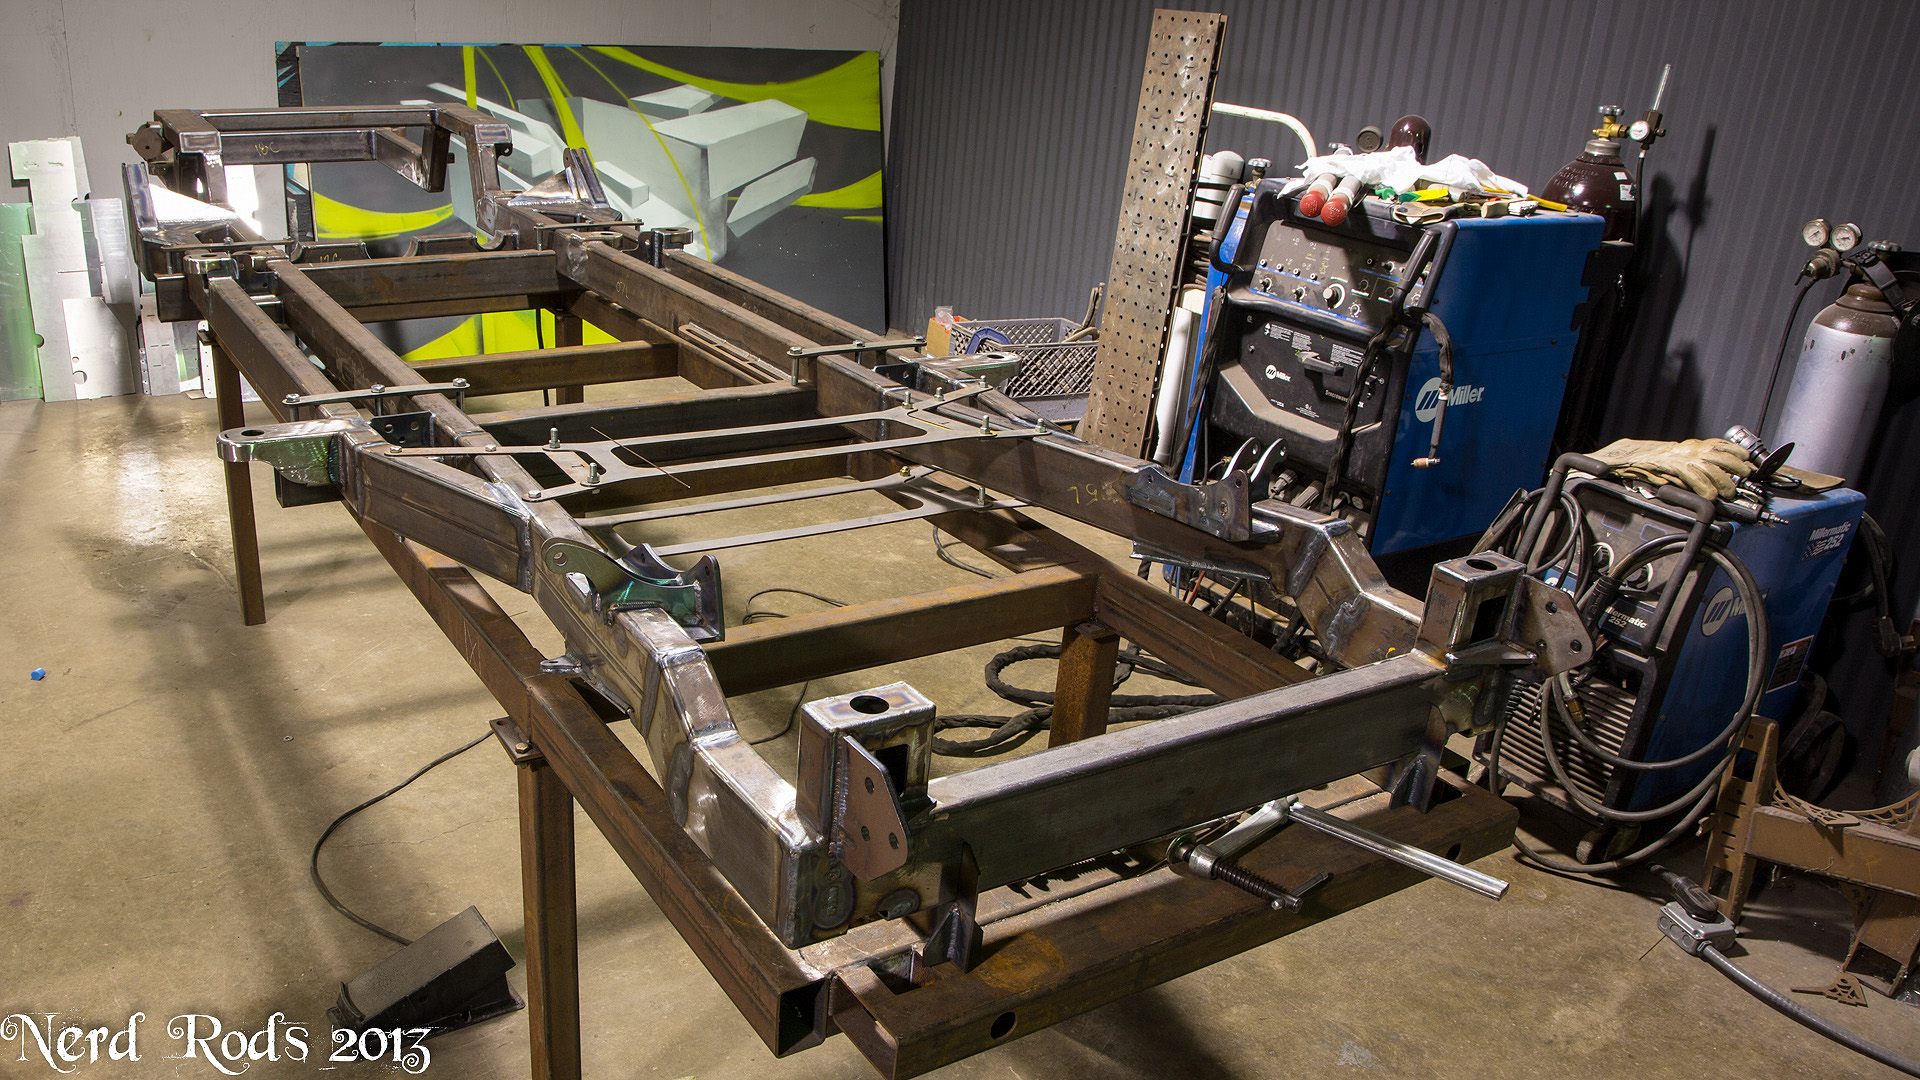
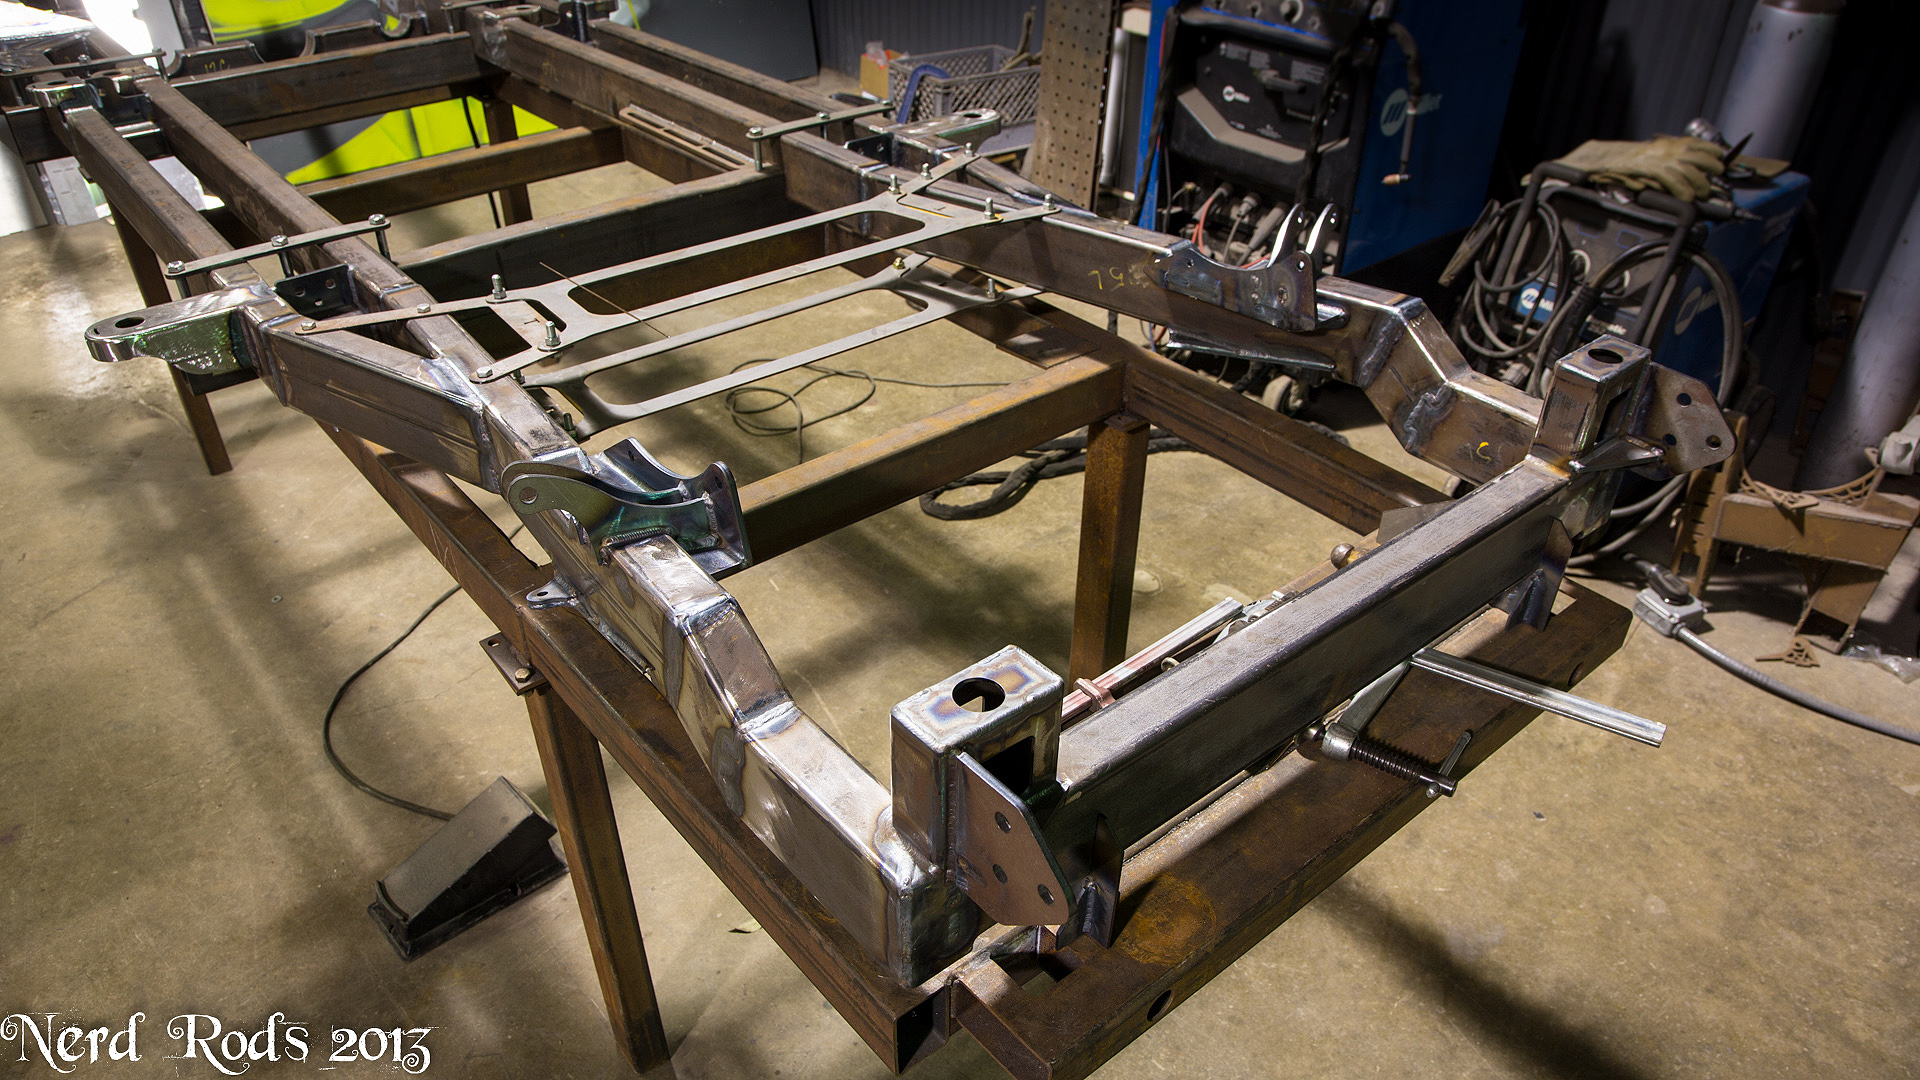
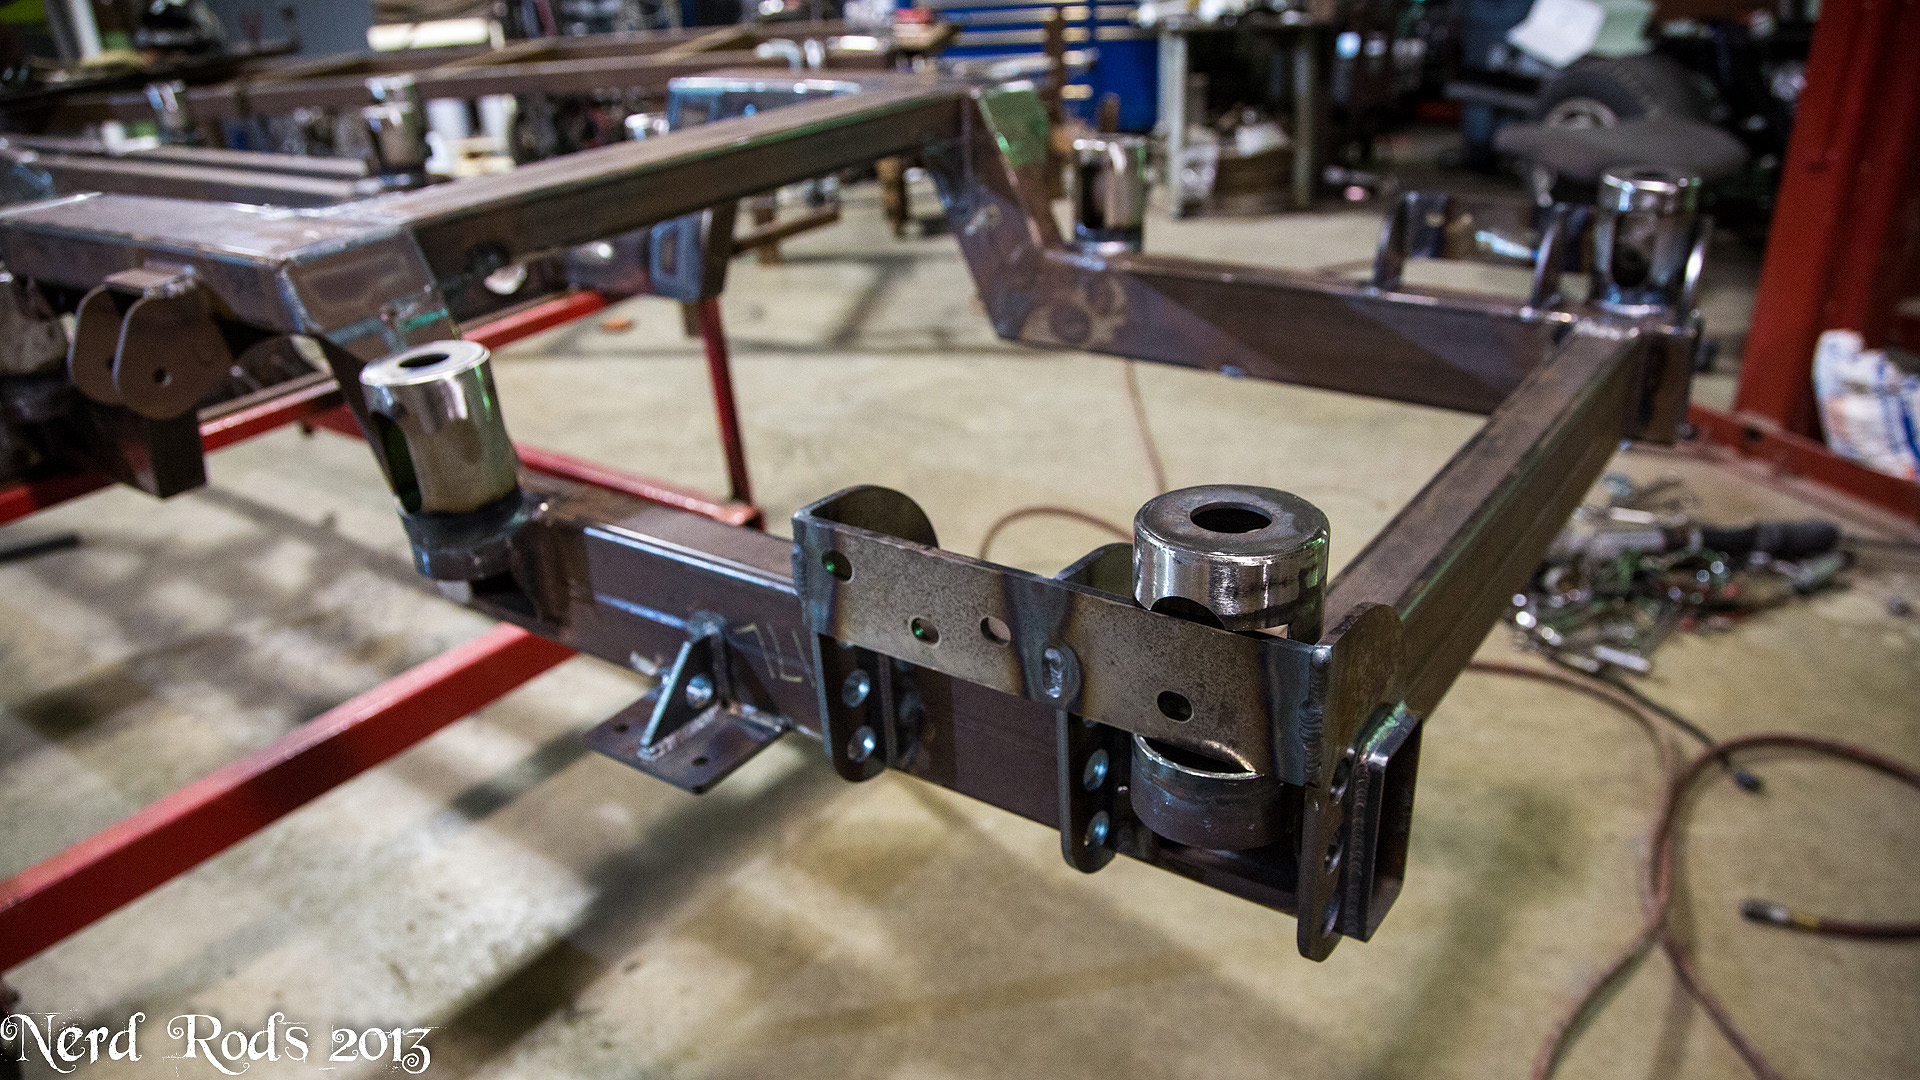
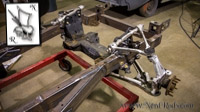
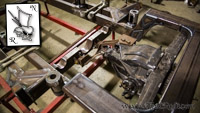
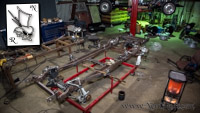
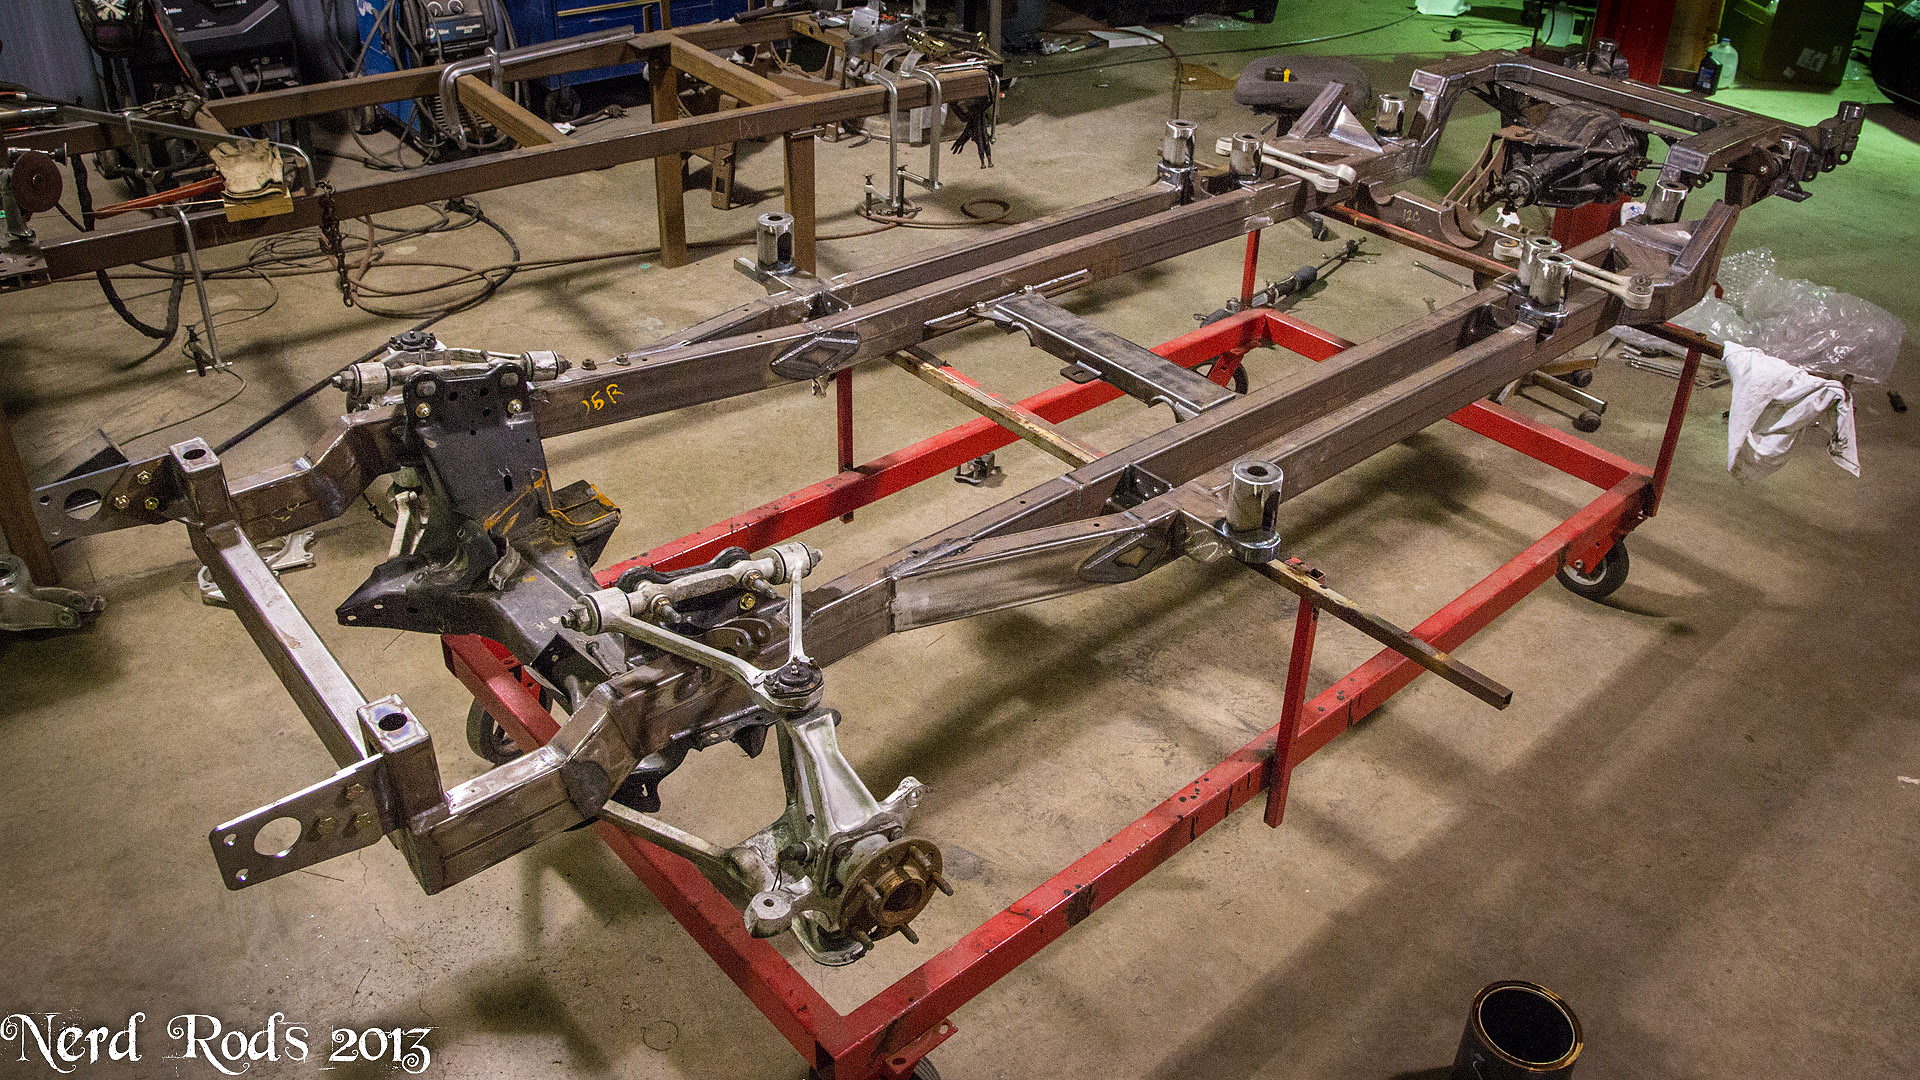
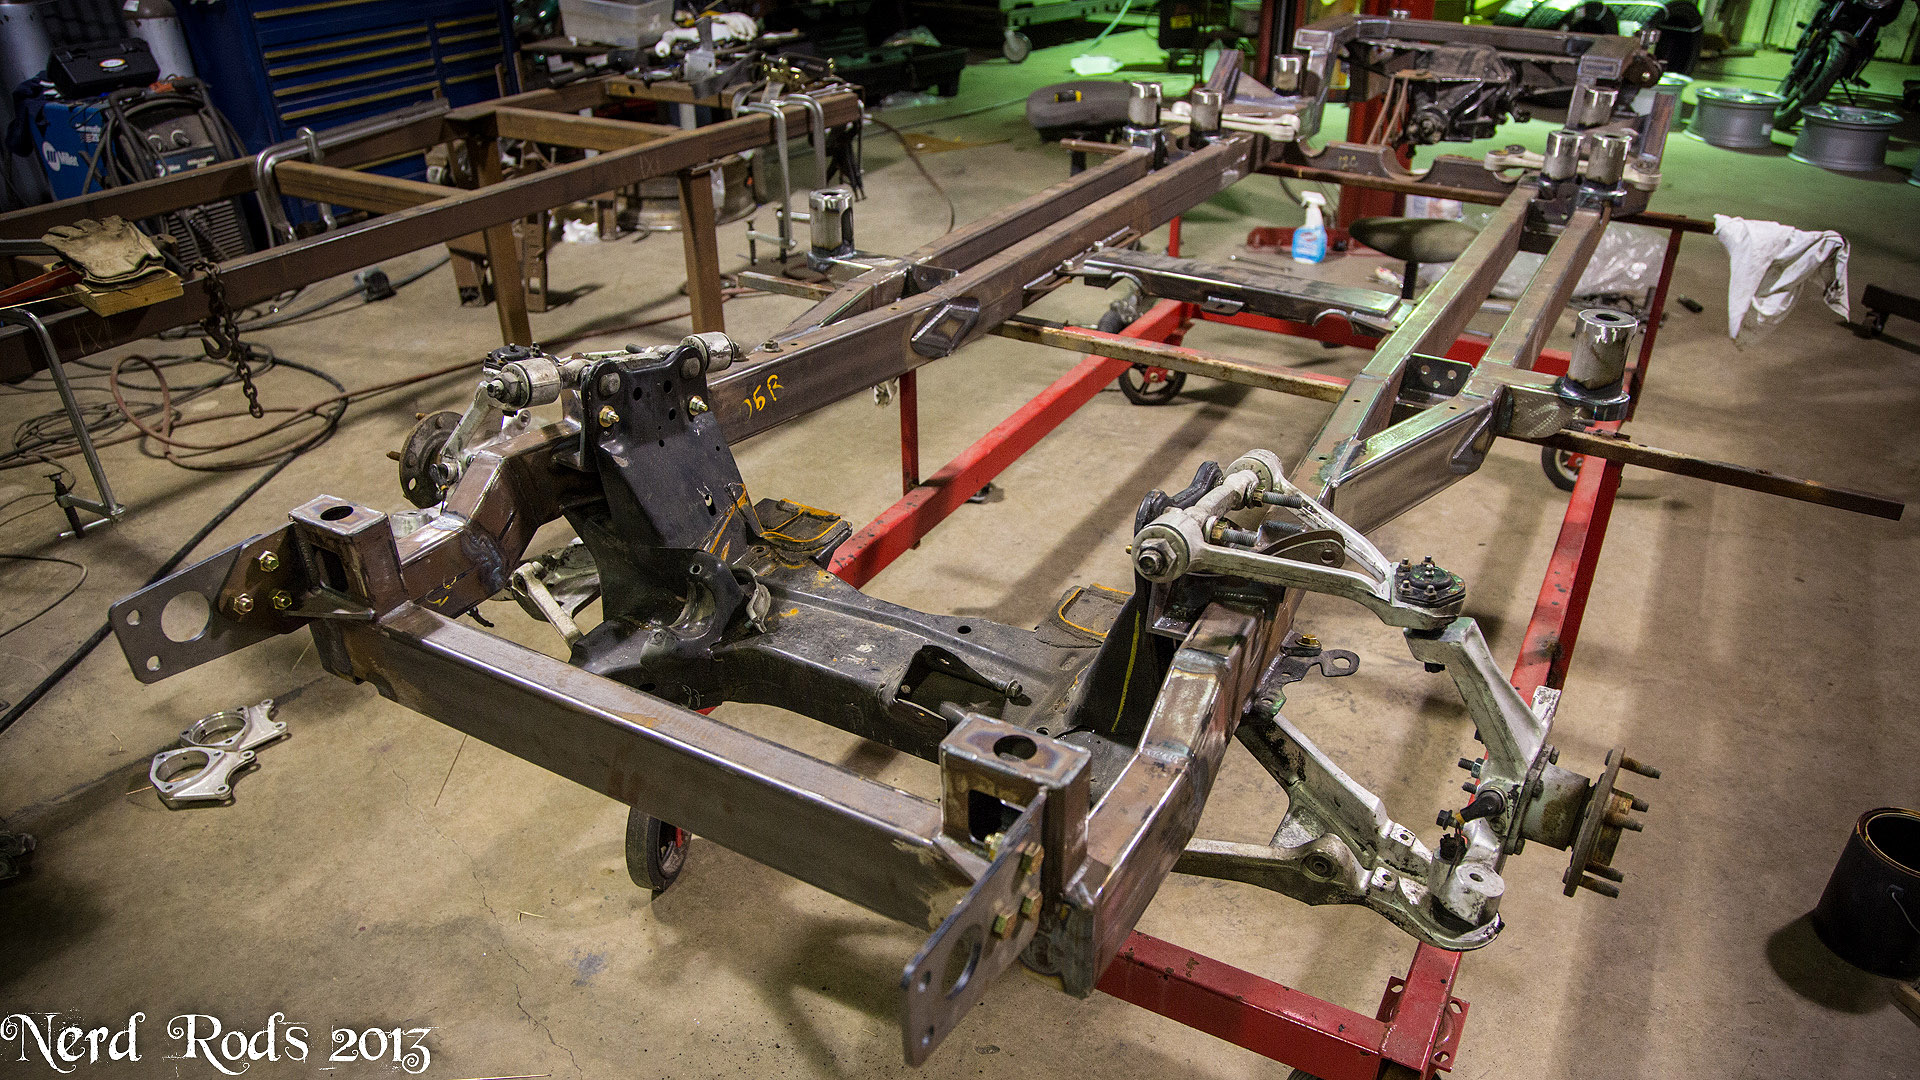
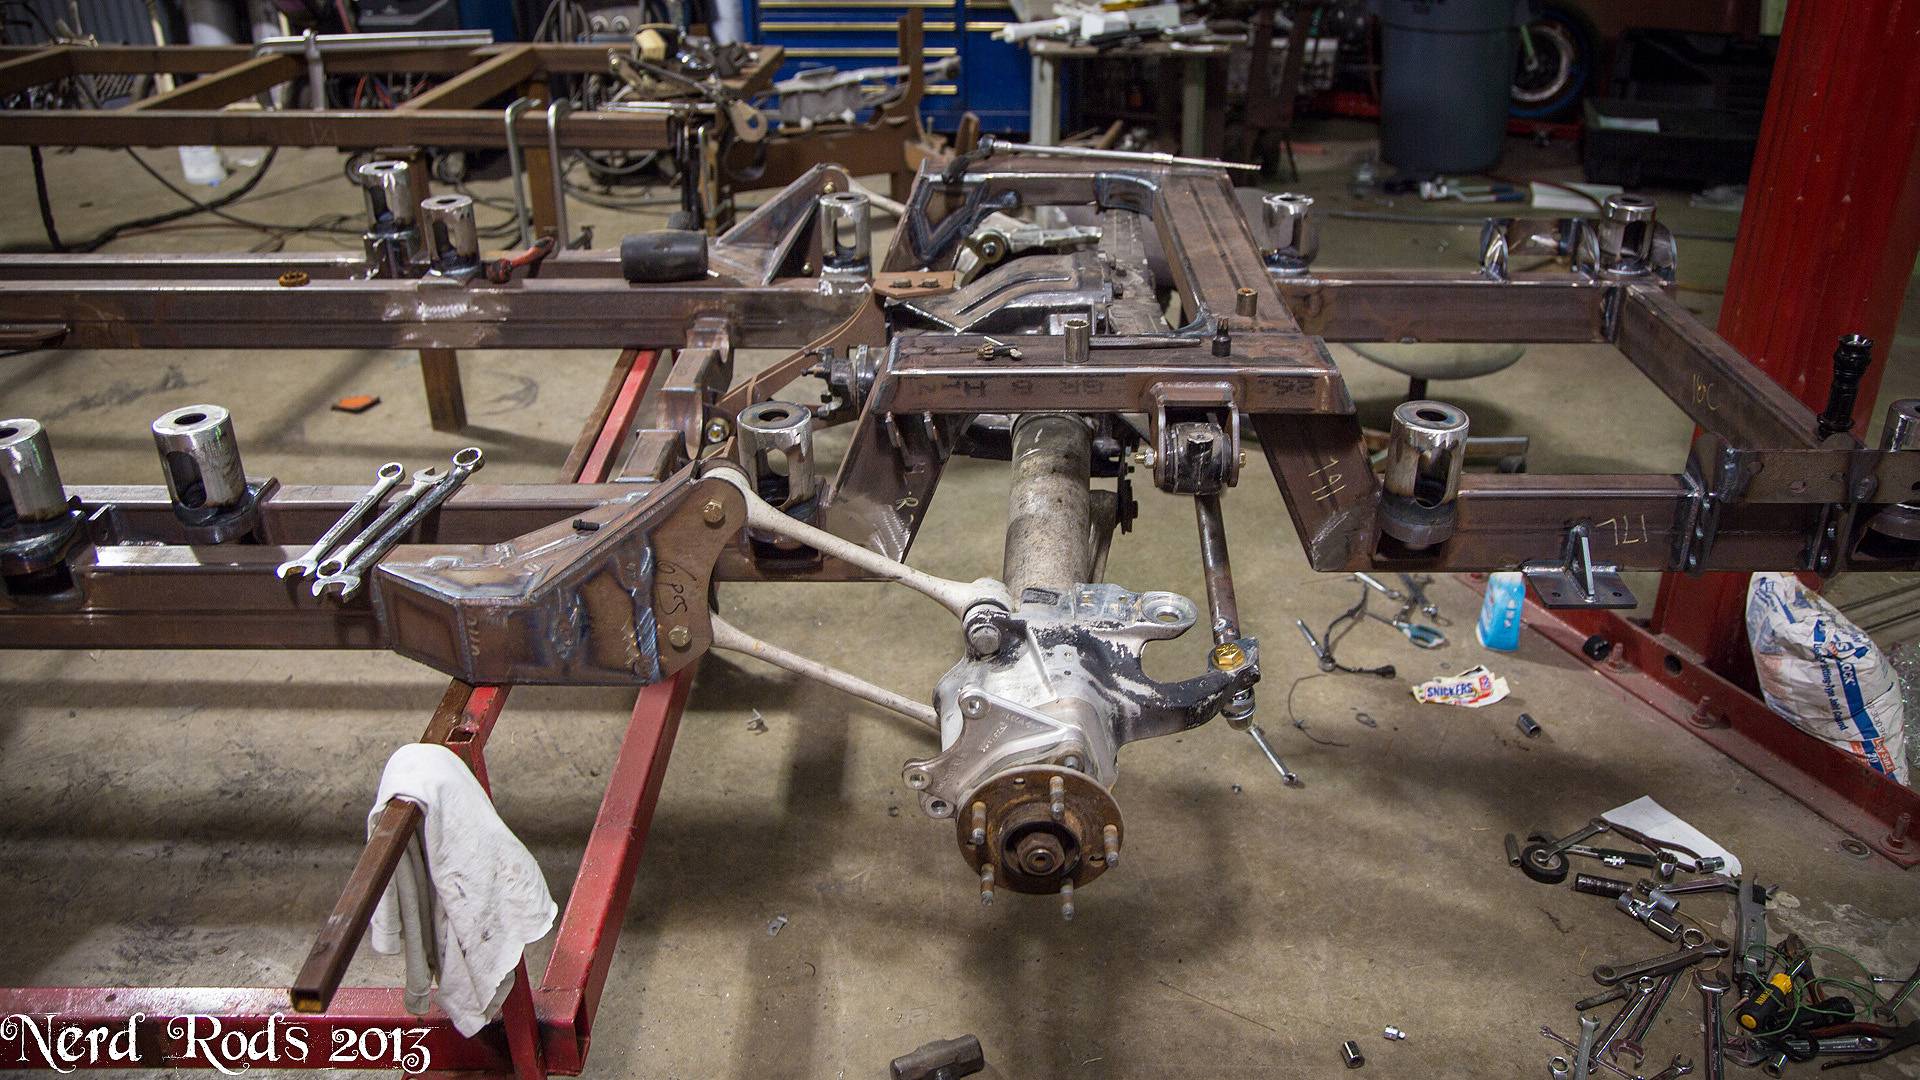
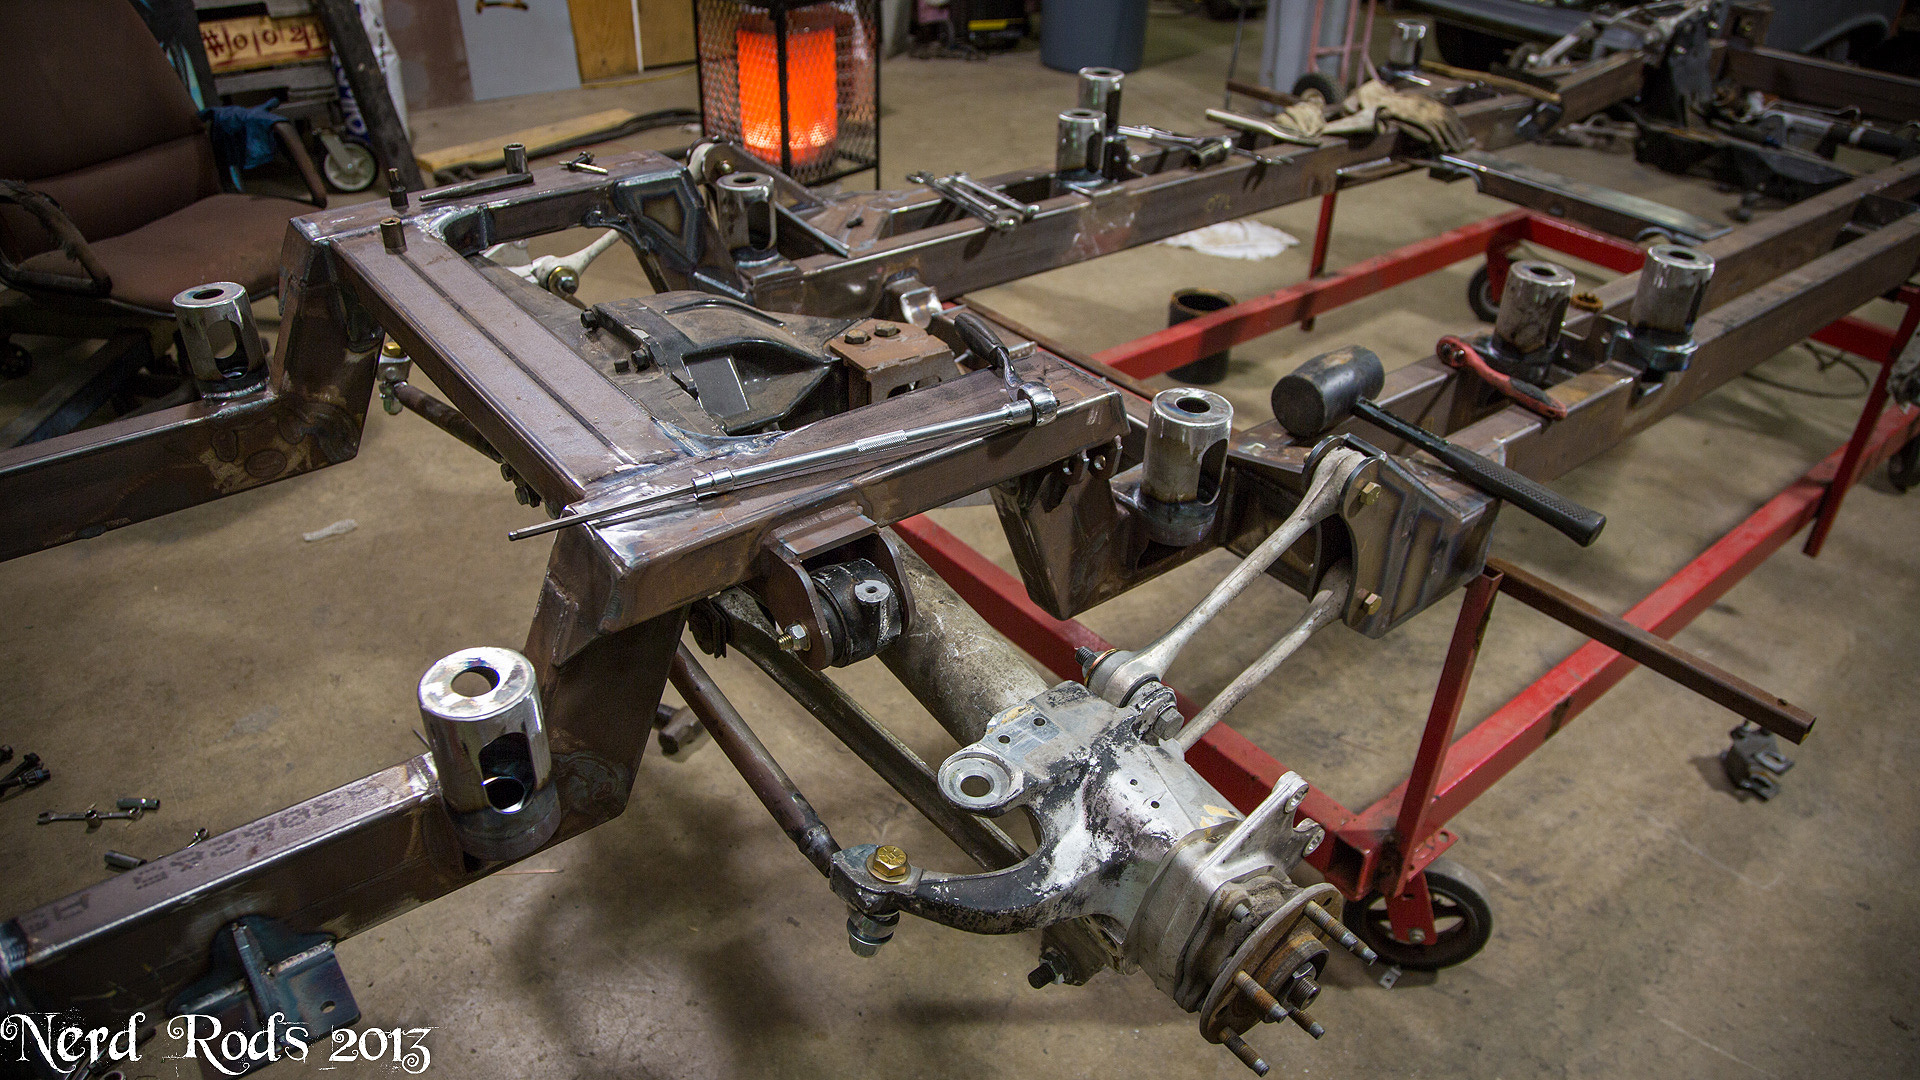
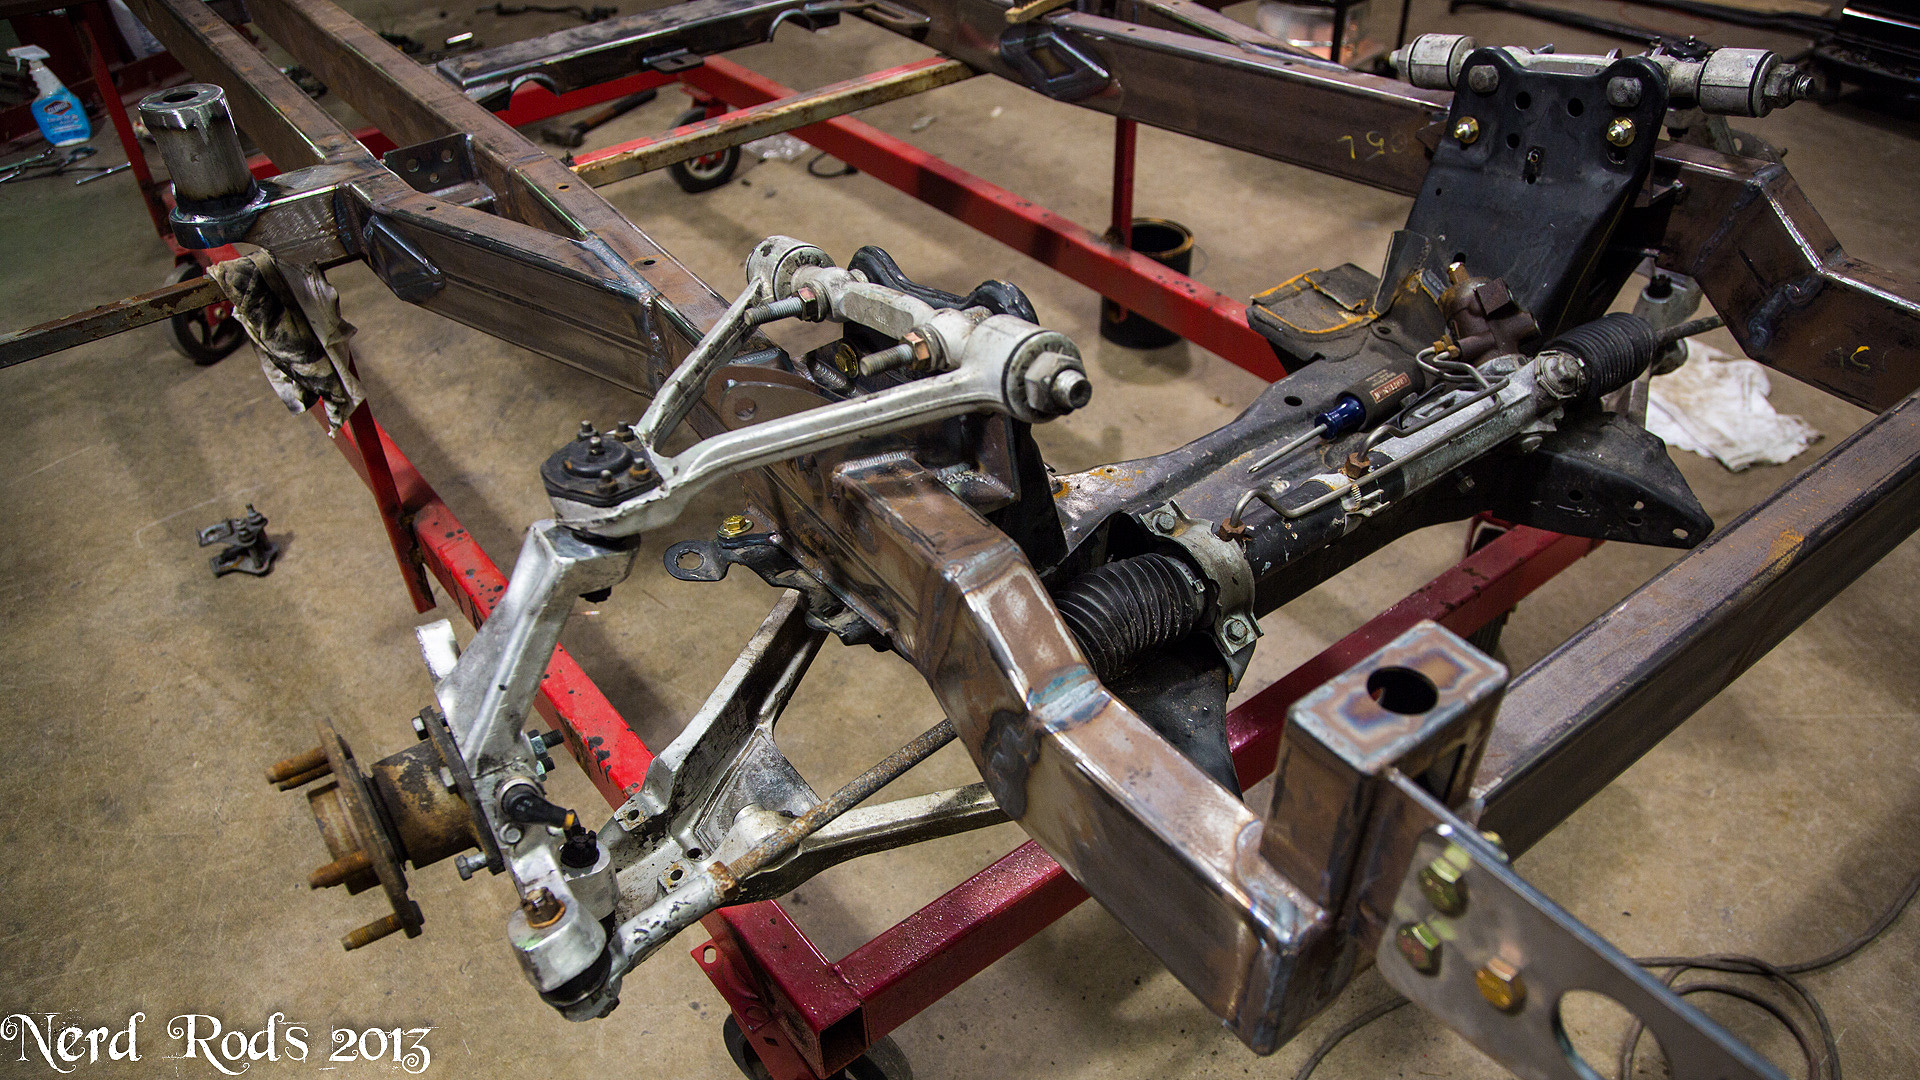
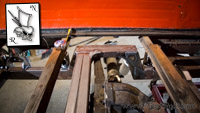
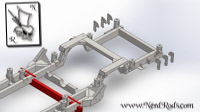
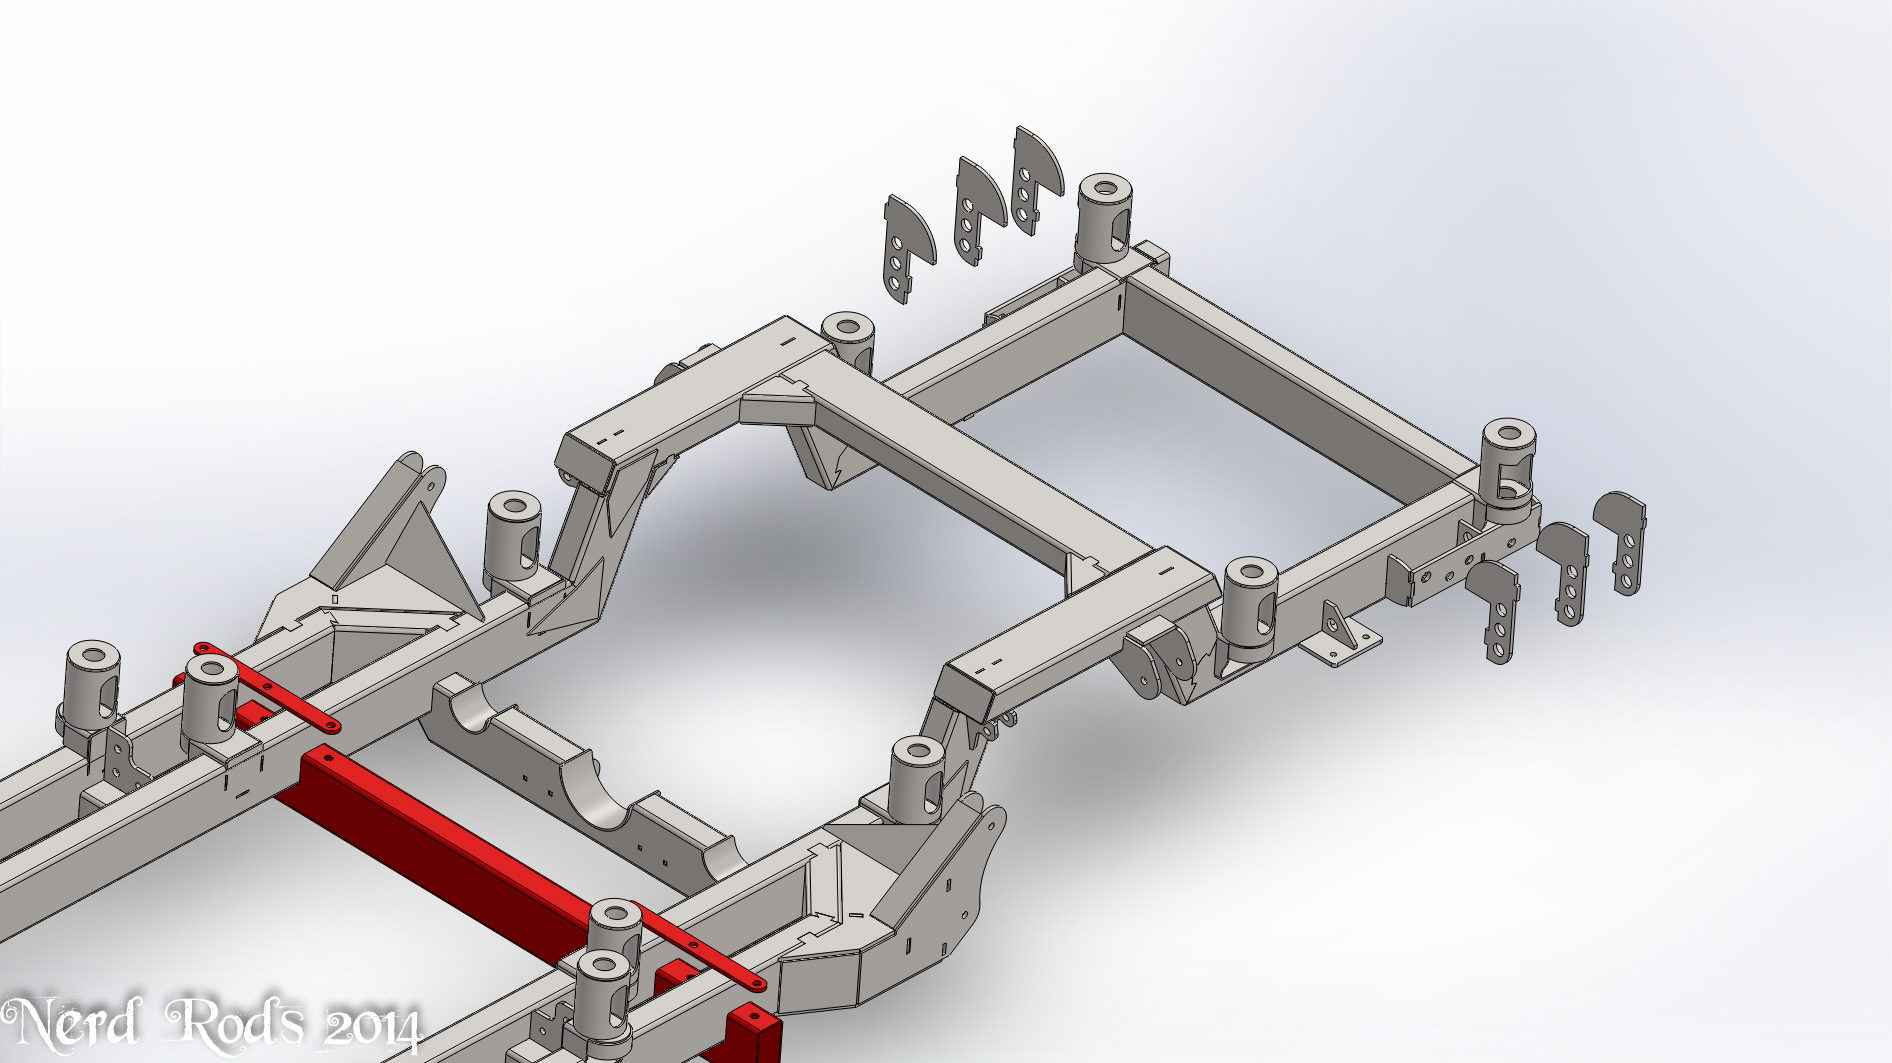
Since we're finished with the cradle mounts its time to marry the sides together. These jig parts and the nuts and bots are all included with a Stage 1 kit frame. Man I love the fitment of the these keys. The good fitment really is all the difference in between good welds and sloppy looking welds. Prep Prep Prep!!
Ugh, I found that 20 lbs I put on while designing the frame......
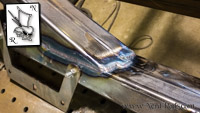
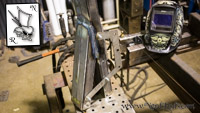
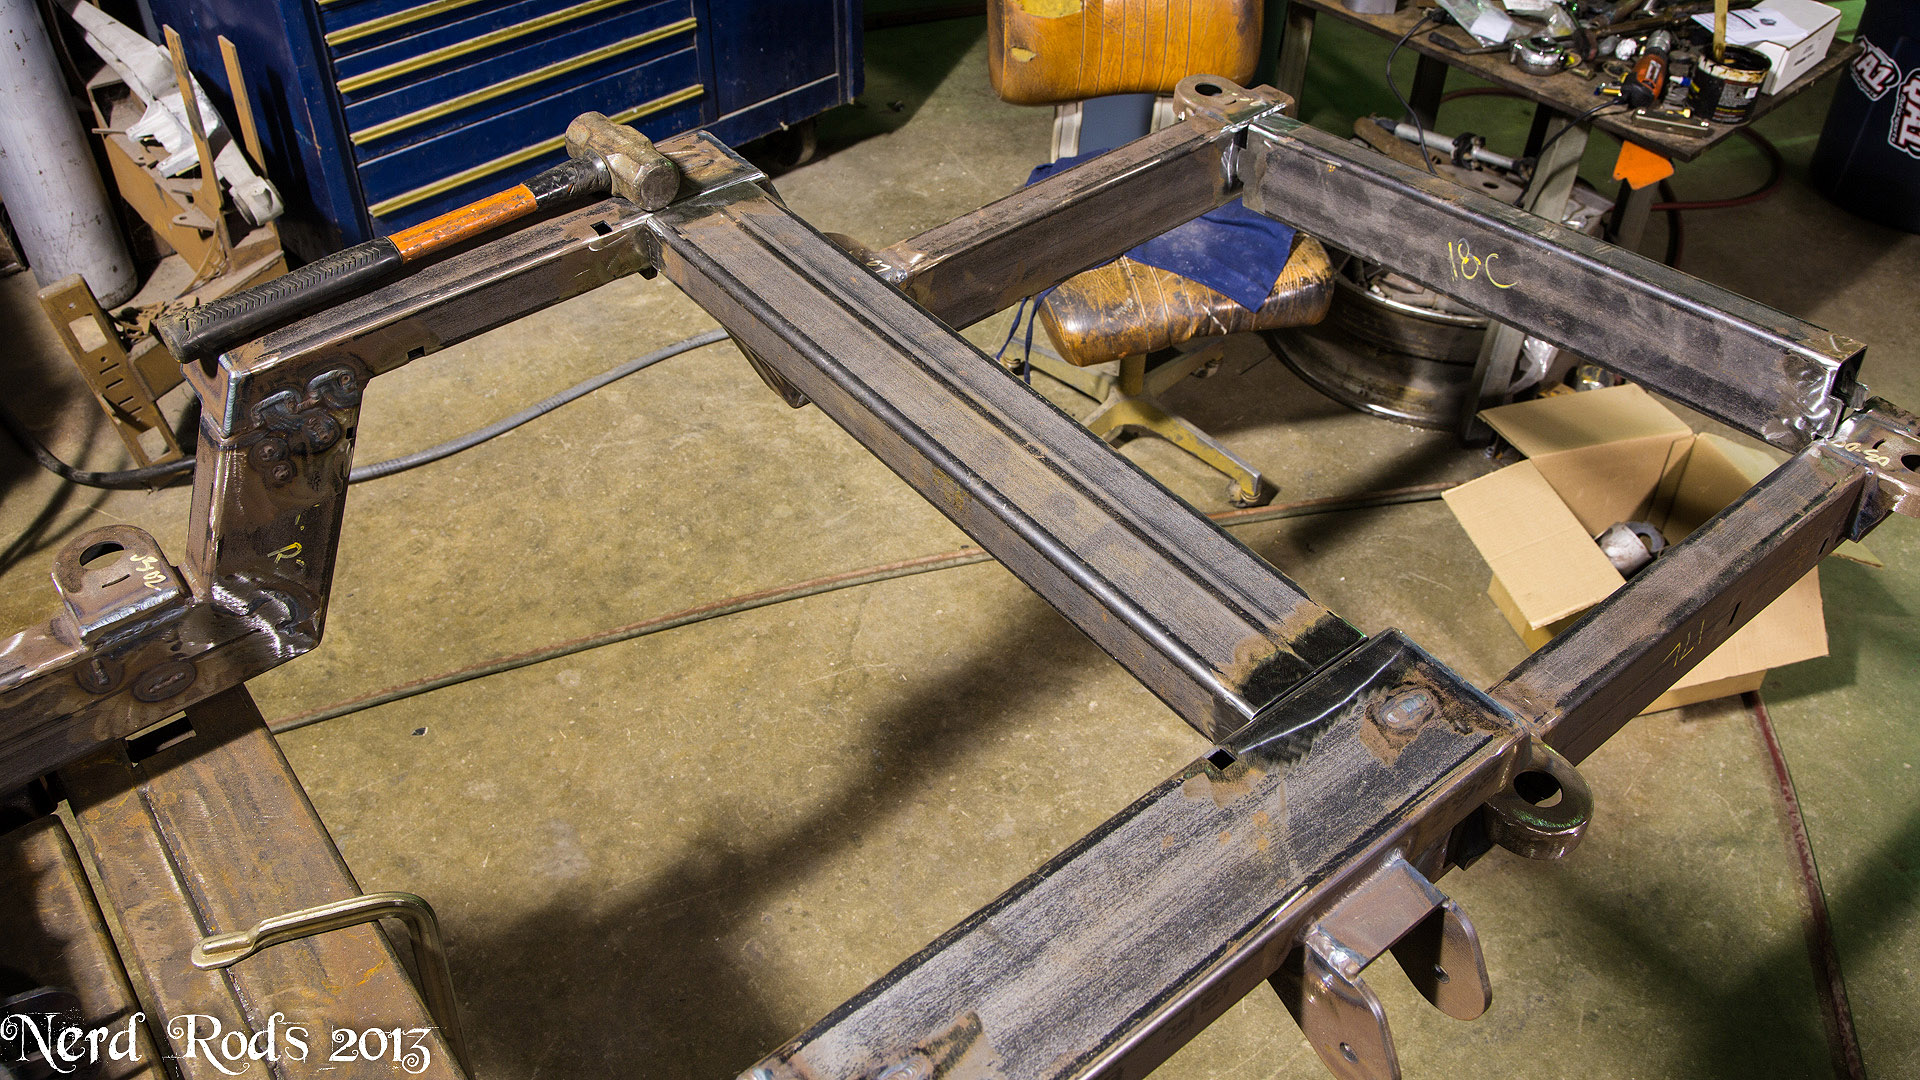
But you can see how we get these last few parts in. You might need a friend to help spread the rails out a little to make everything go together easier.
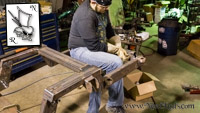
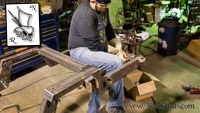
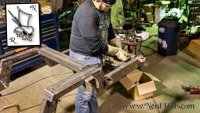
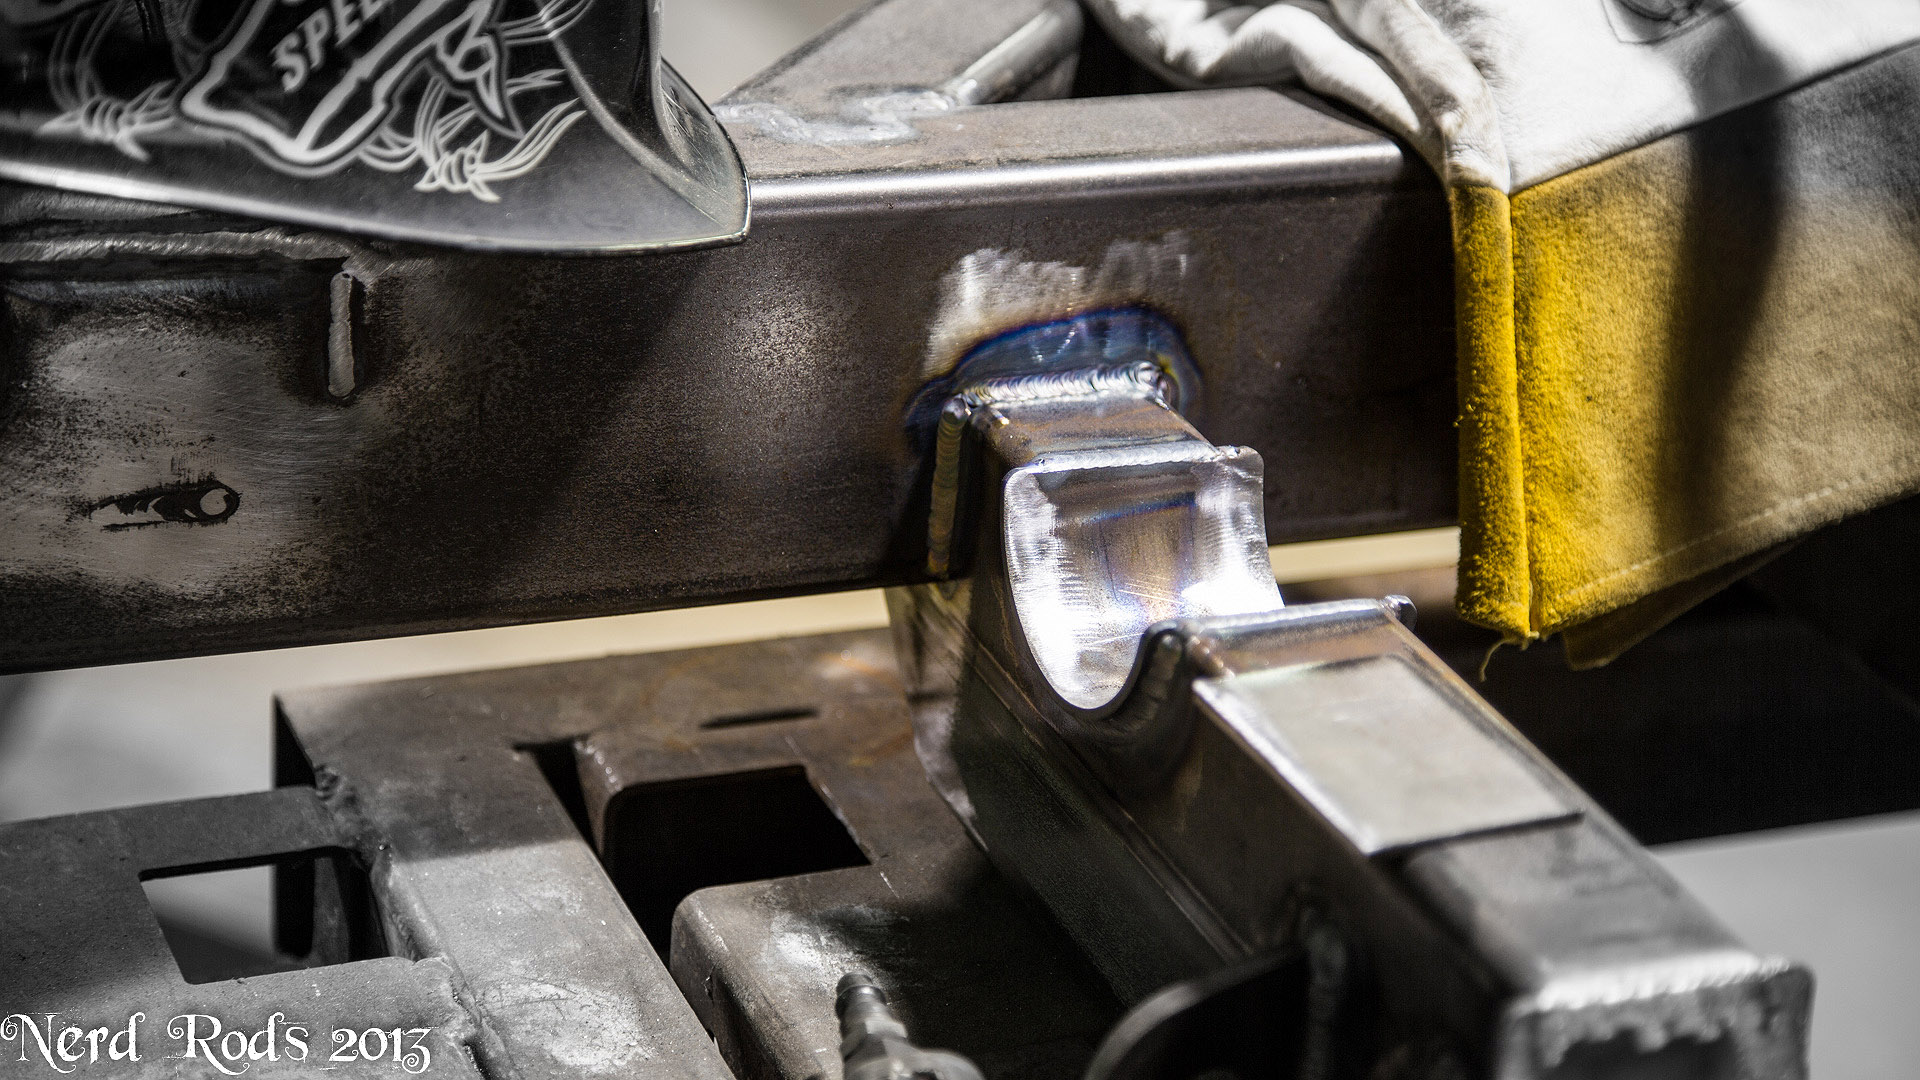
NOTE!!!!! Yes I have big clamps, but all you need is a RATCHET STRAP here to pull the rails together before welding. I was going to use one for the photos but it was in the back of the truck, and it was cold, and I'm a wuss so sue me, lol.
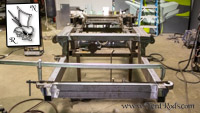
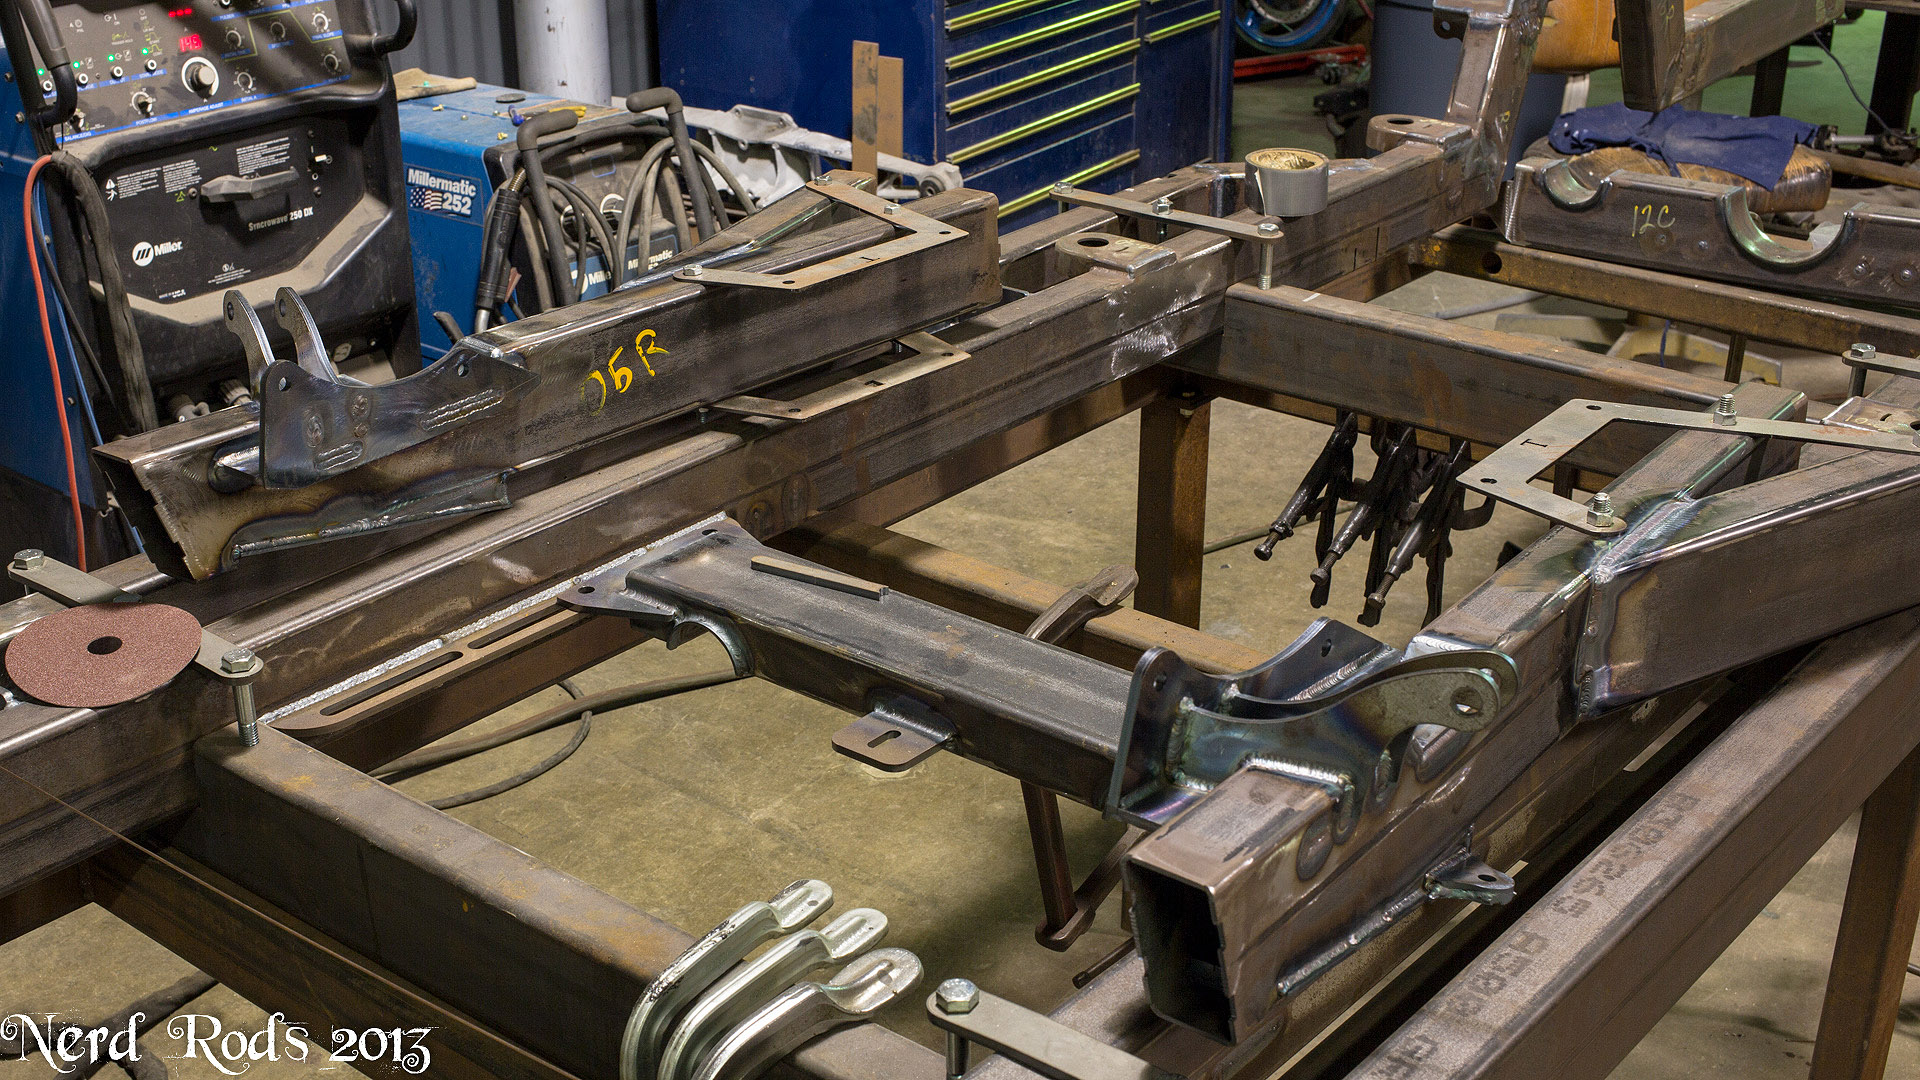
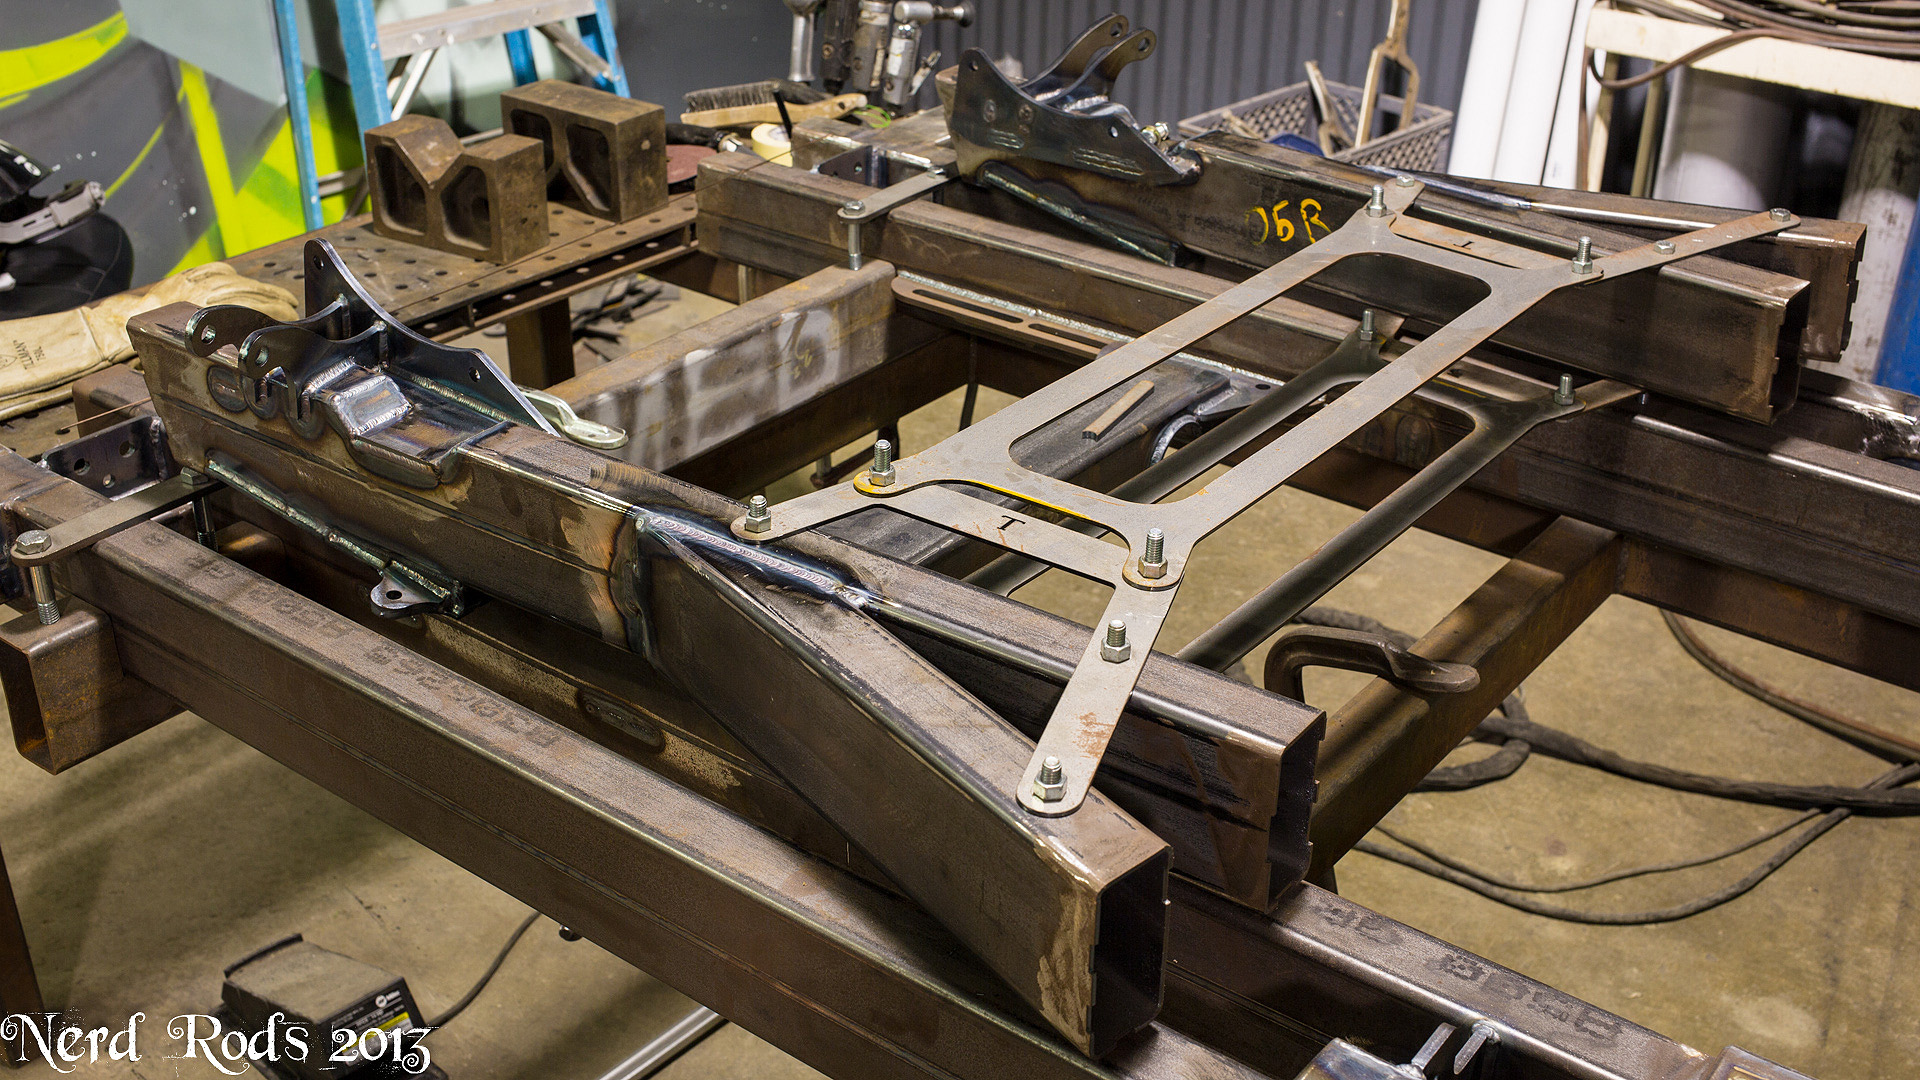
Next up is the 4 bar locators and then we marry the 3 big parts together into a single frame.
Later
-Russell
Alright now that I got that out of my system.
Since we're finished with the cradle mounts its time to marry the sides together. These jig parts and the nuts and bots are all included with a Stage 1 kit frame. Man I love the fitment of the these keys. The good fitment really is all the difference in between good welds and sloppy looking welds. Prep Prep Prep!!
Ugh, I found that 20 lbs I put on while designing the frame......
But you can see how we get these last few parts in. You might need a friend to help spread the rails out a little to make everything go together easier.
NOTE!!!!! Yes I have big clamps, but all you need is a RATCHET STRAP here to pull the rails together before welding. I was going to use one for the photos but it was in the back of the truck, and it was cold, and I'm a wuss so sue me, lol.
Next up is the 4 bar locators and then we marry the 3 big parts together into a single frame.
Later
-Russell
12-12-2013, 06:43 PM
#45
Looking good.
12-13-2013, 02:11 AM
#46
Launching!
Thread Starter
Join Date: Jan 2007
Location: Luling TX In the Hot Rod Shop
Posts: 294
Likes: 0
Received 3 Likes
on
3 Posts
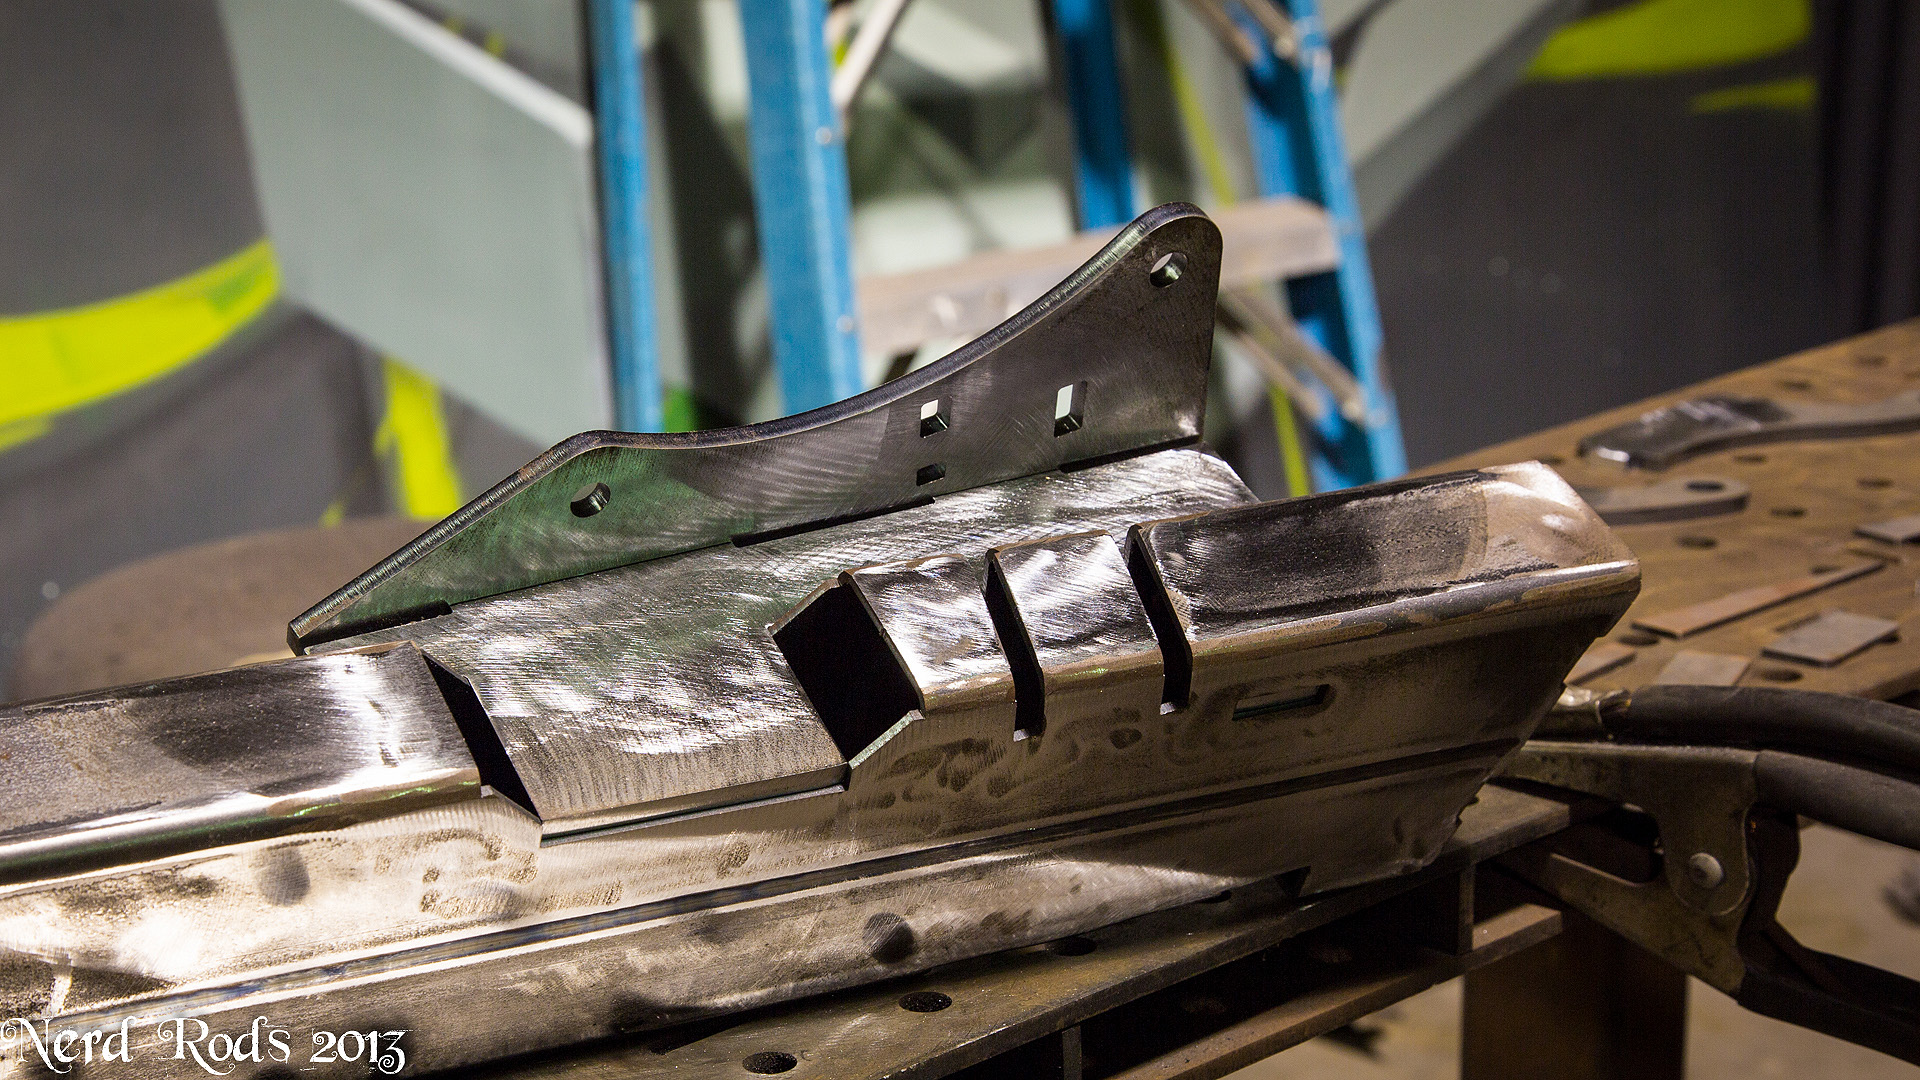
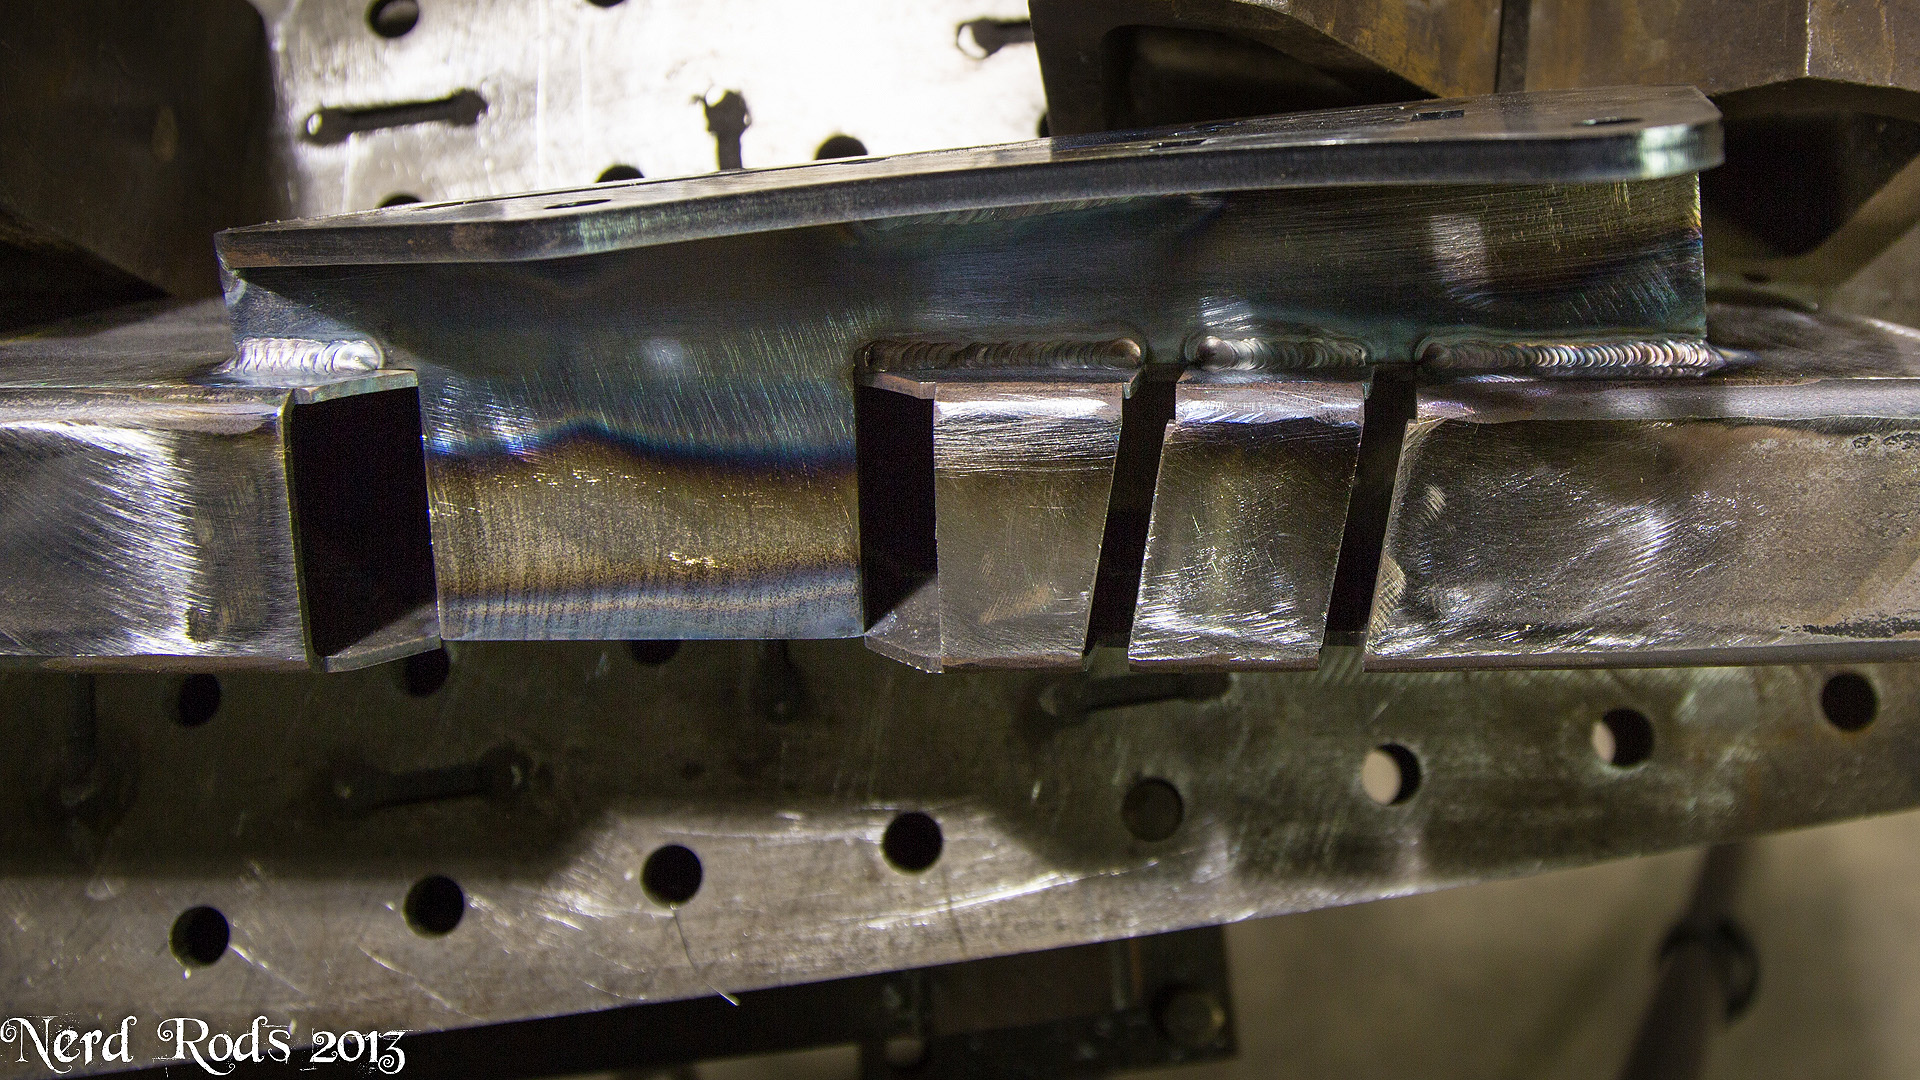
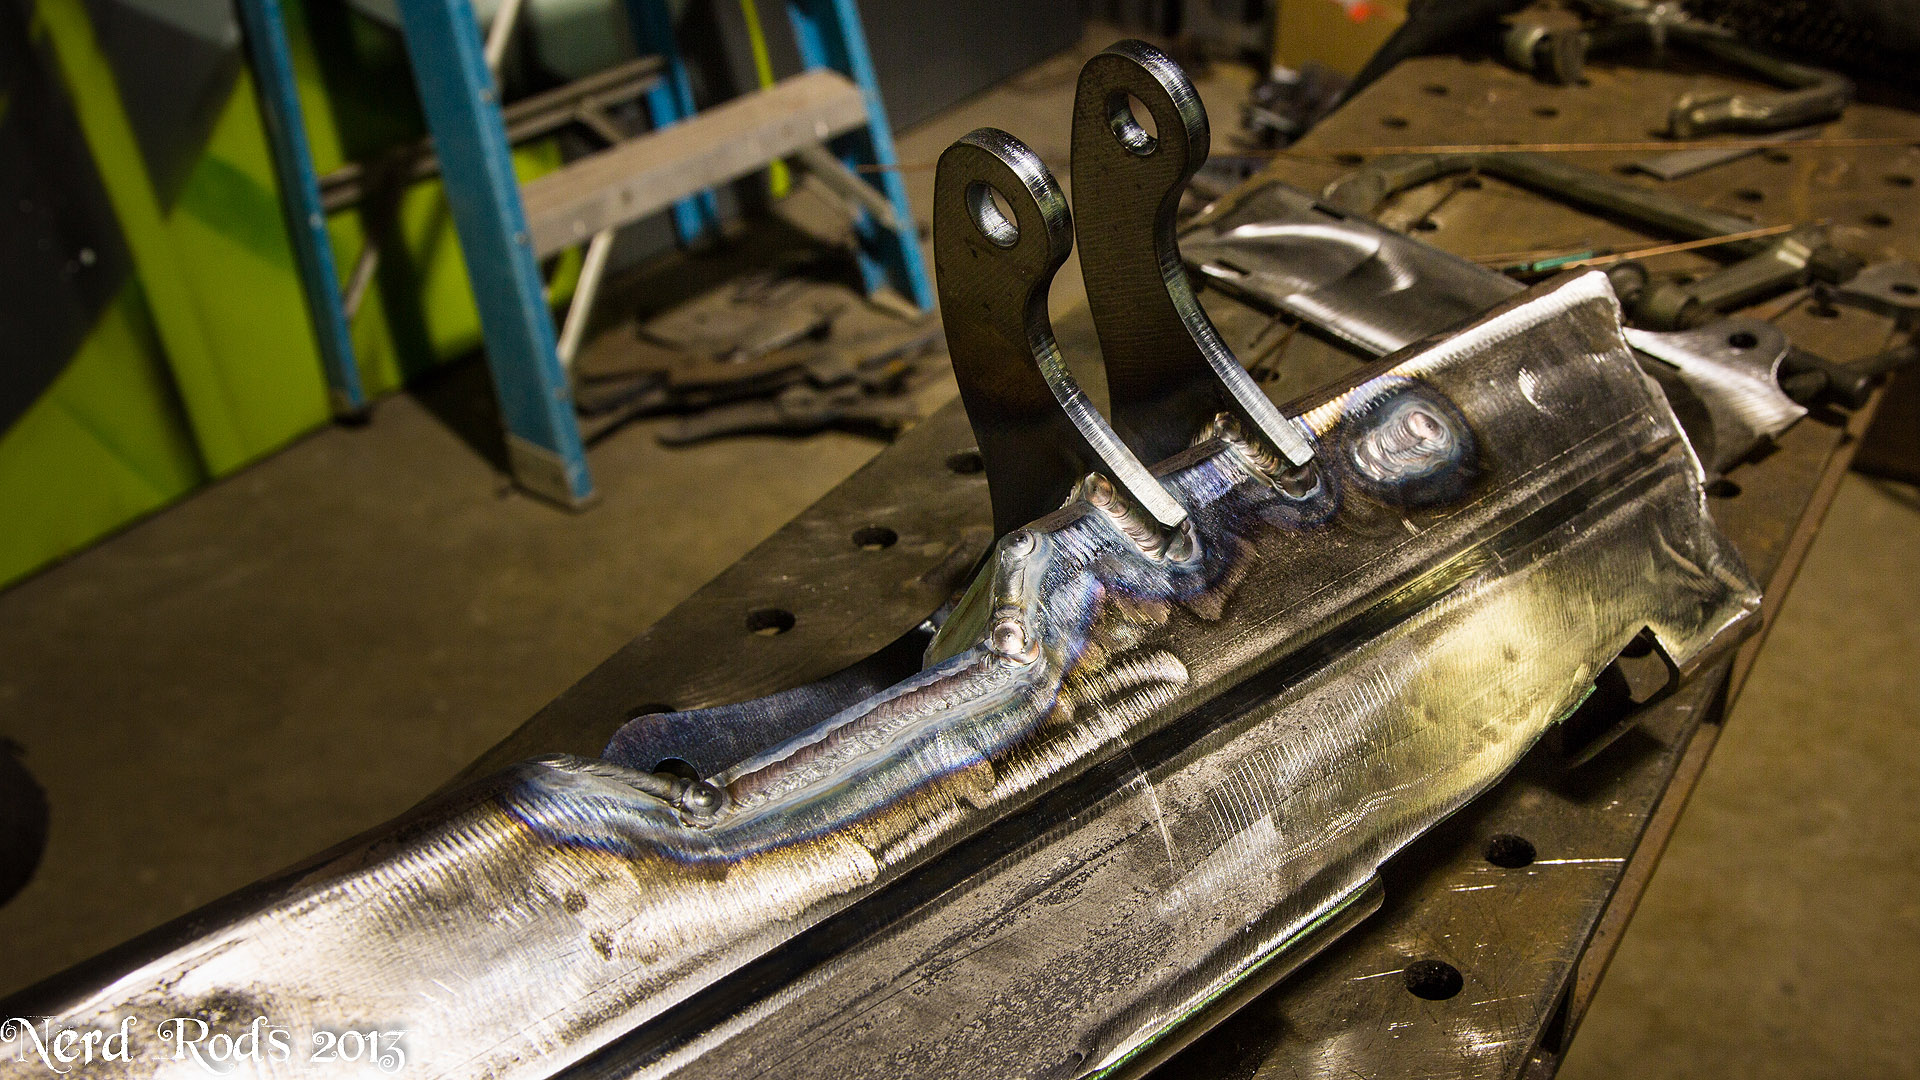
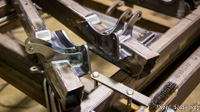
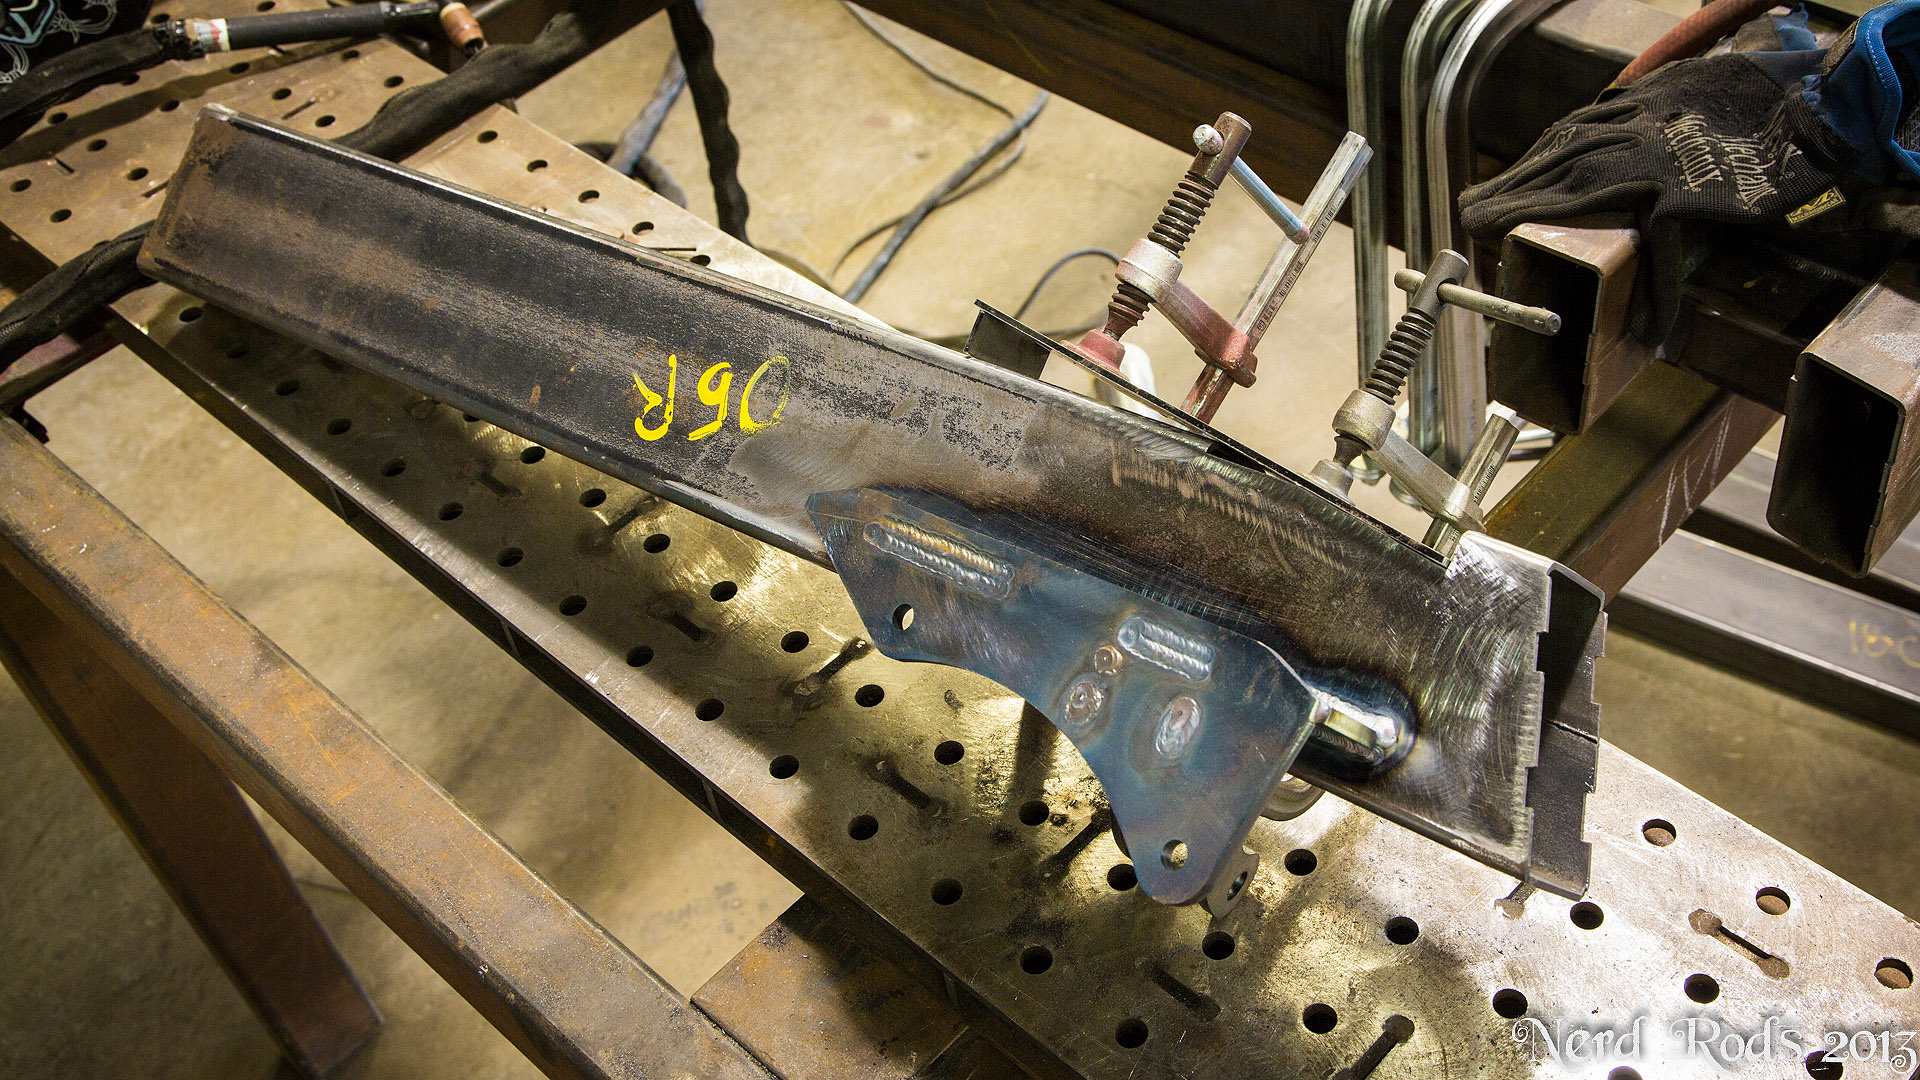
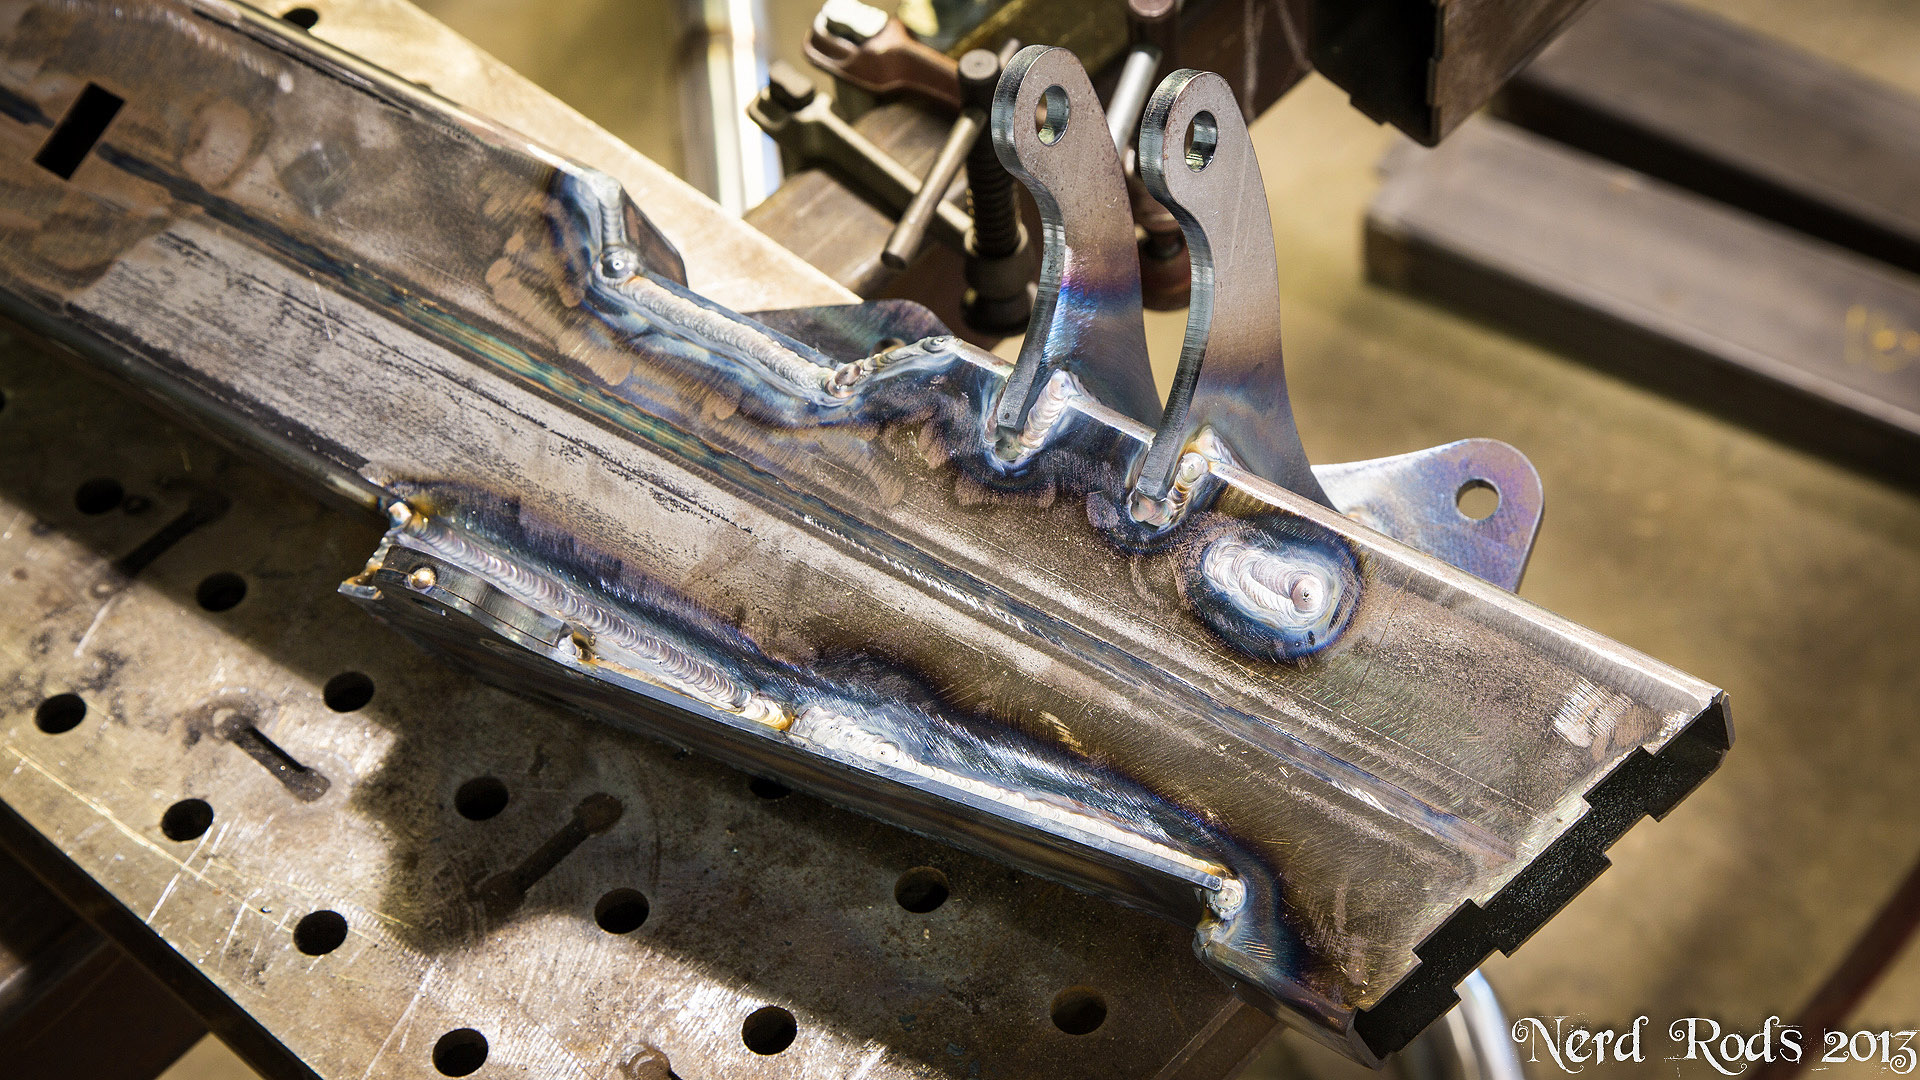
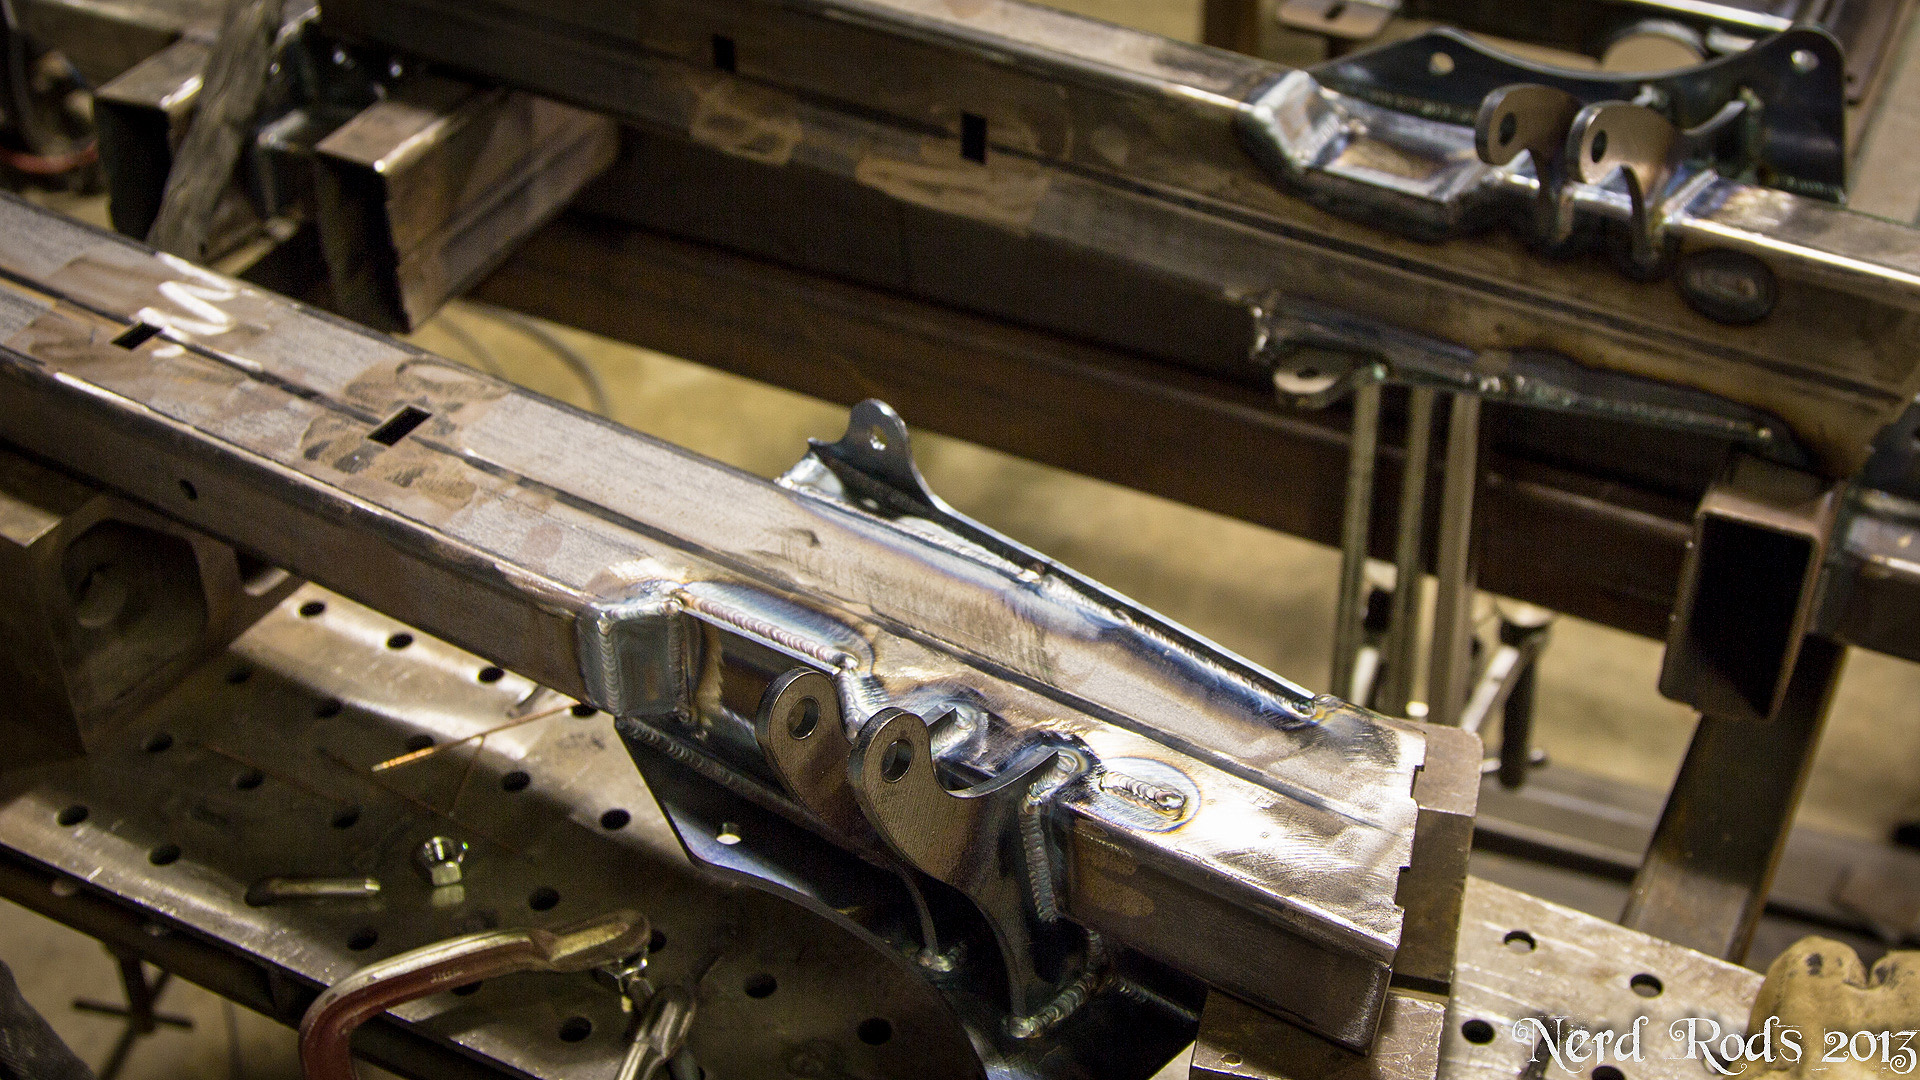
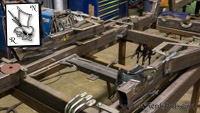
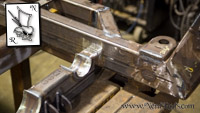
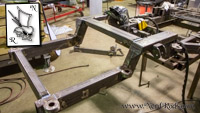
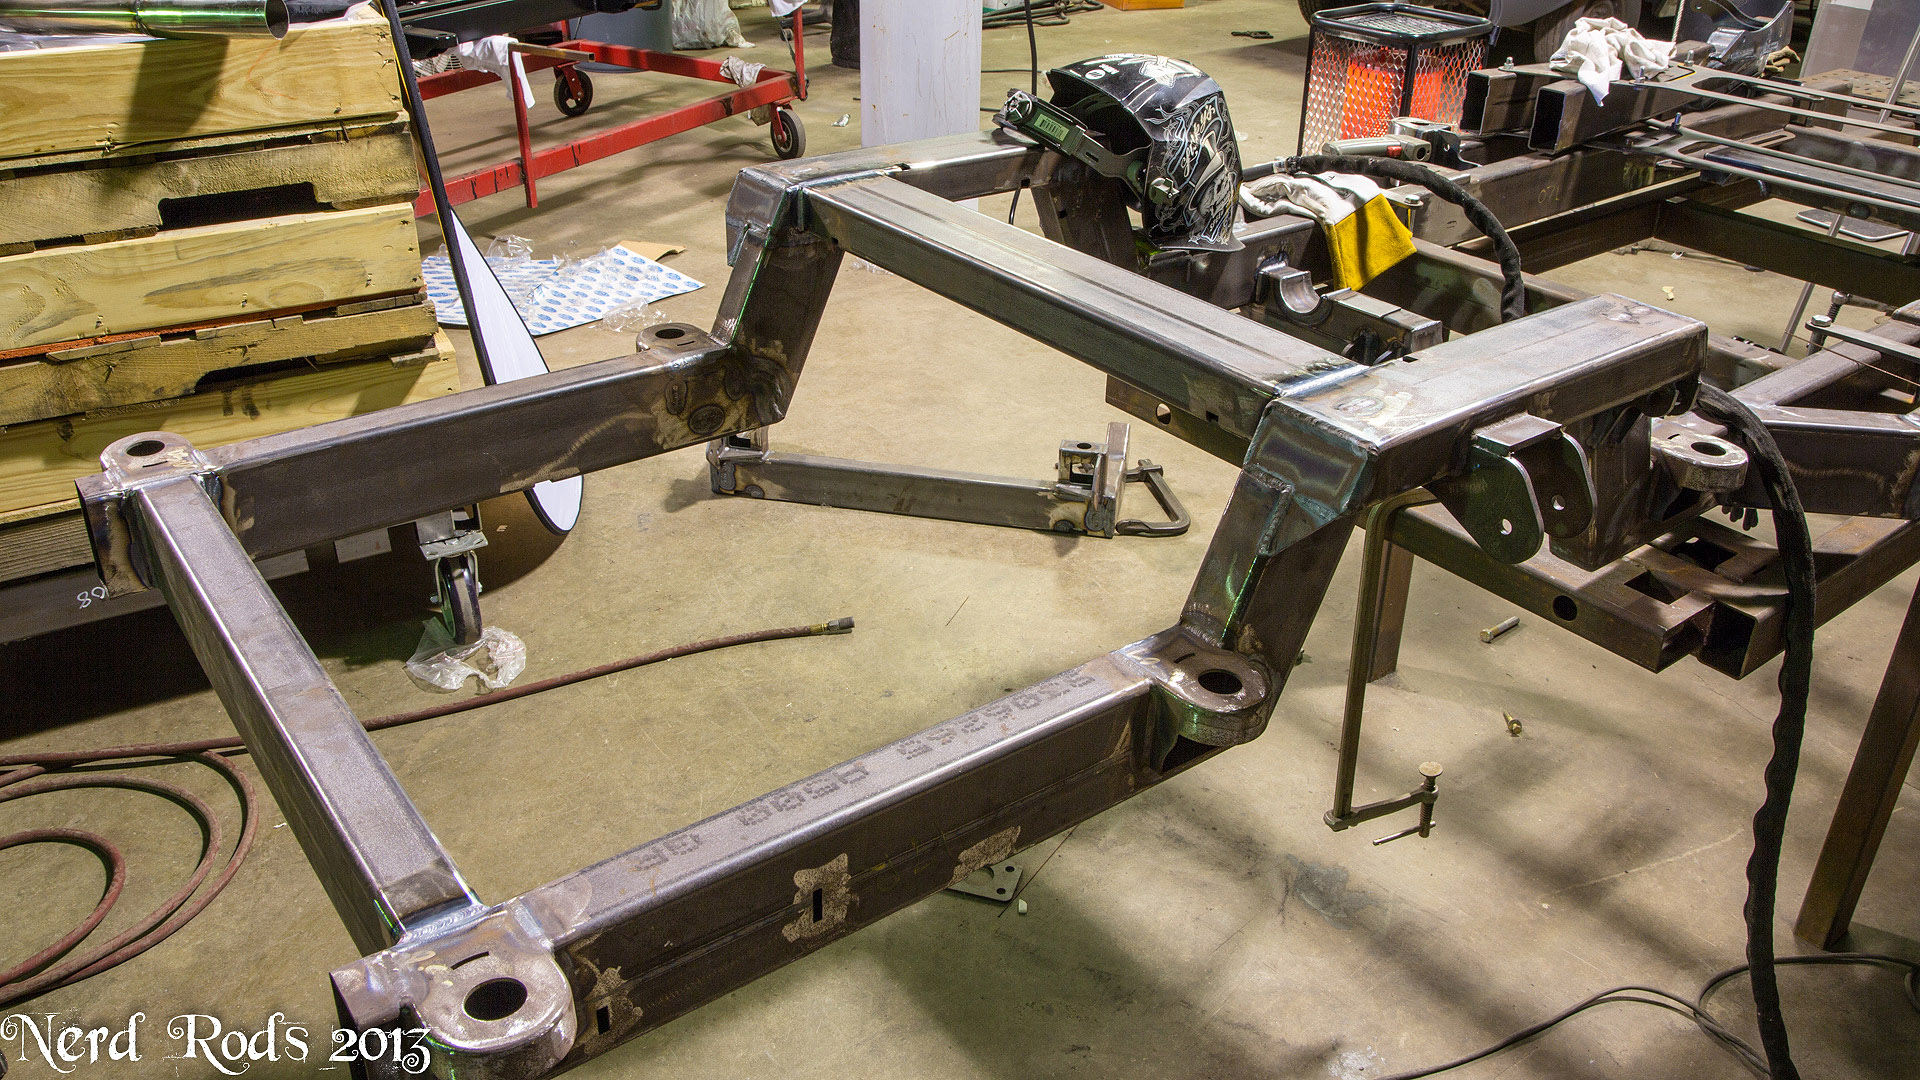
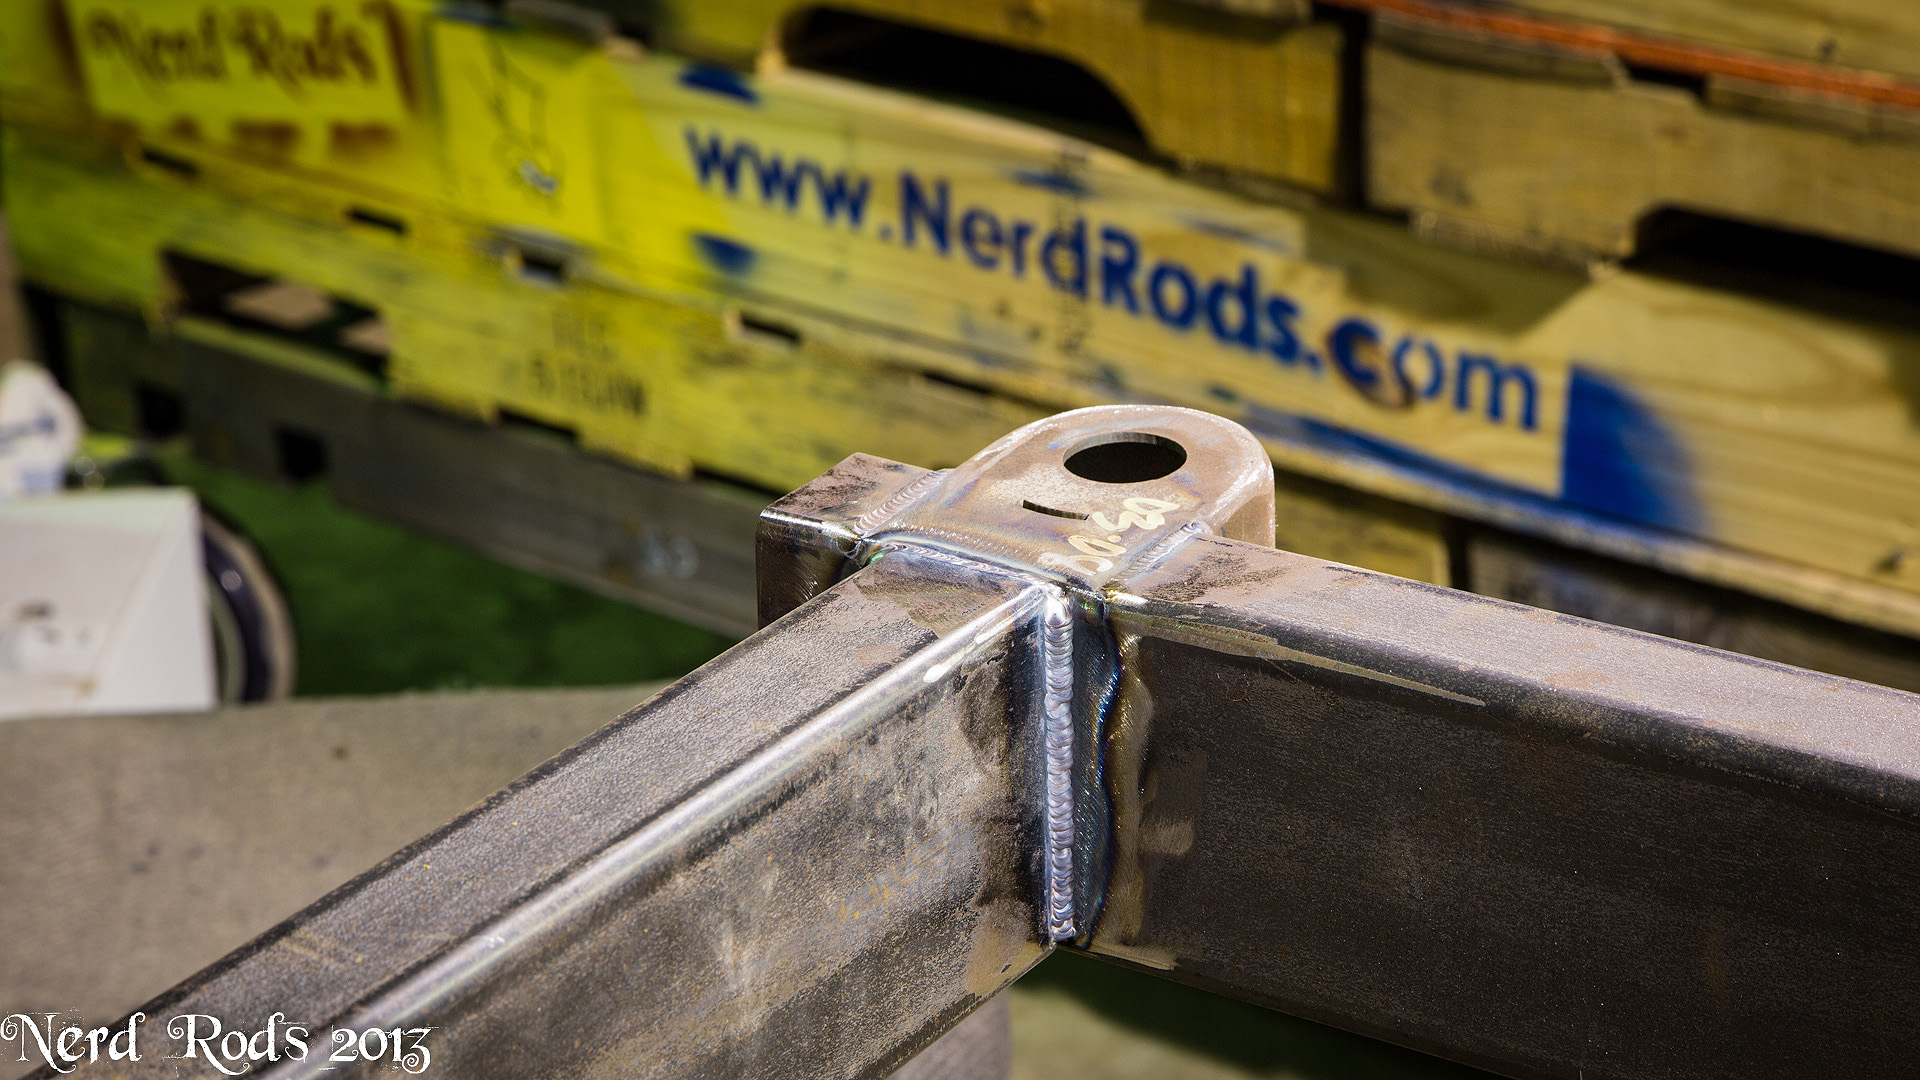
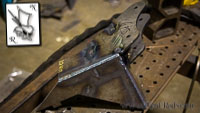
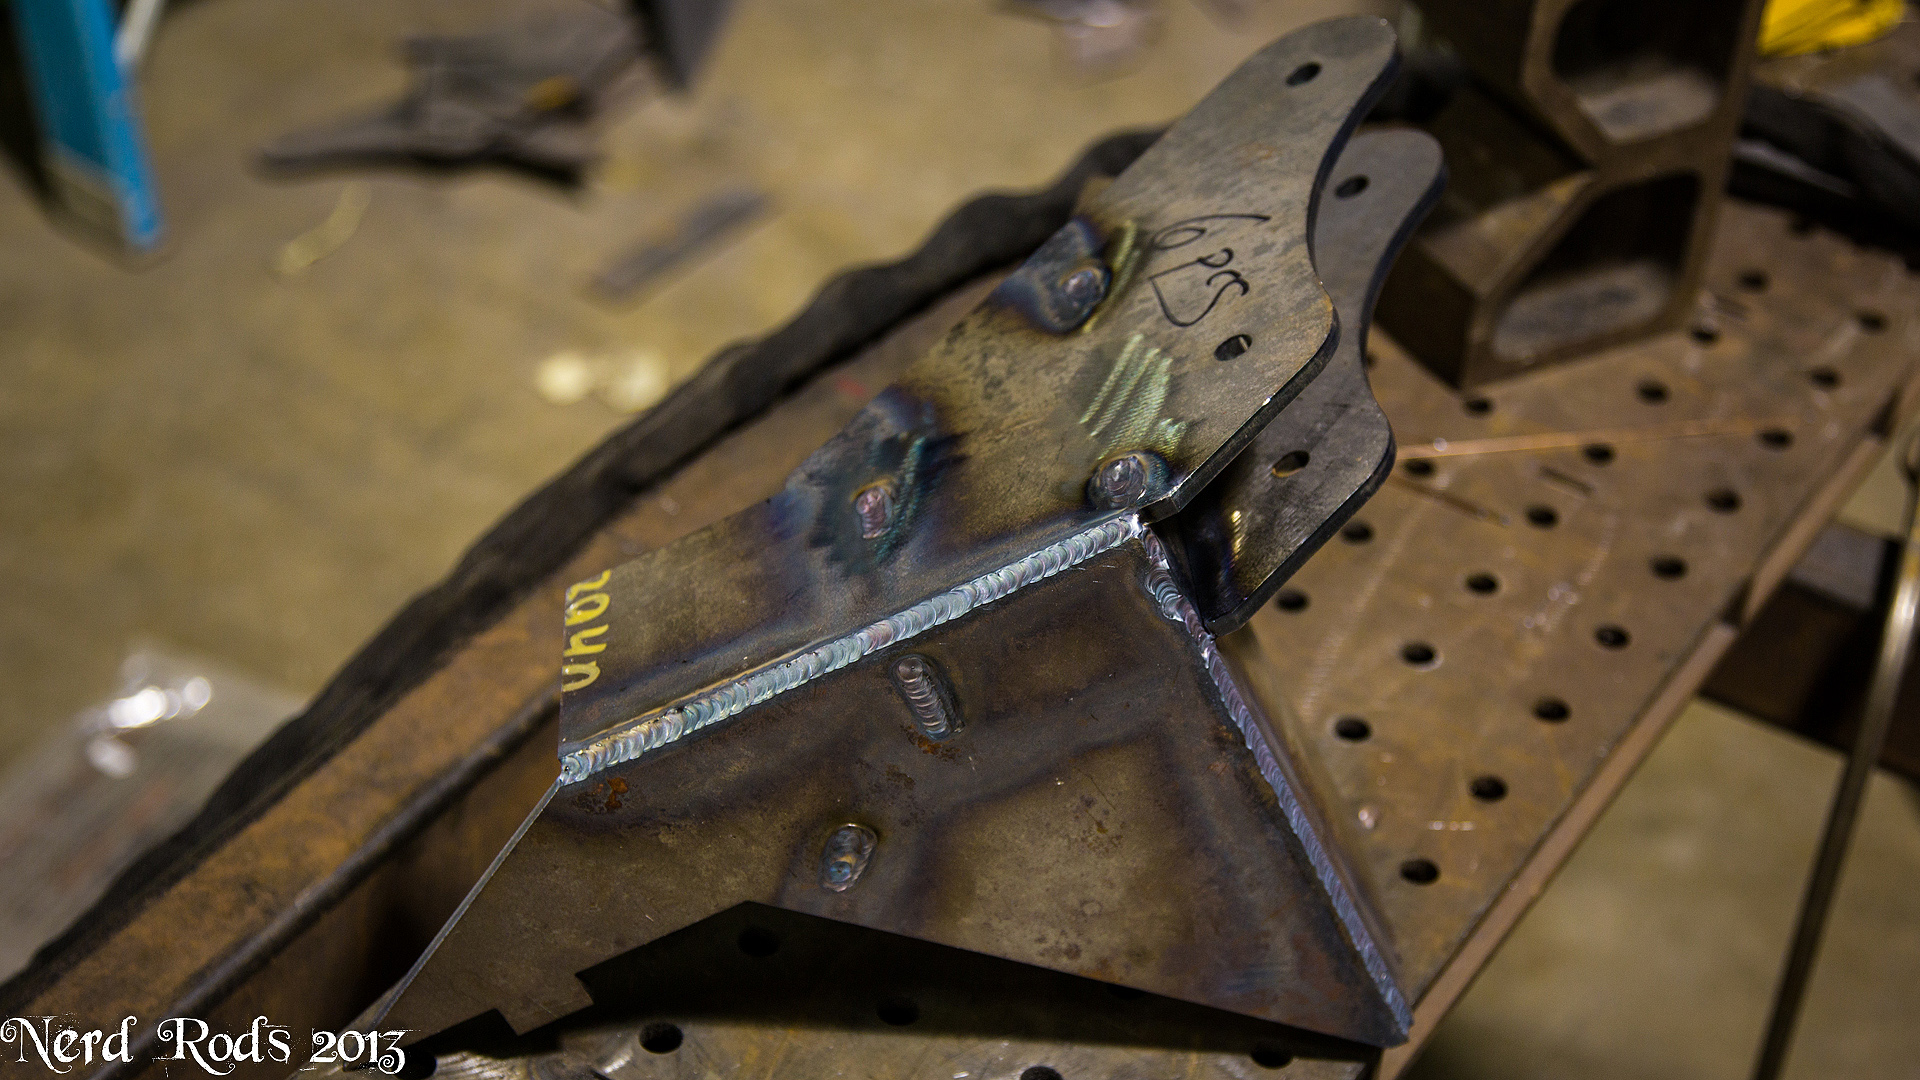
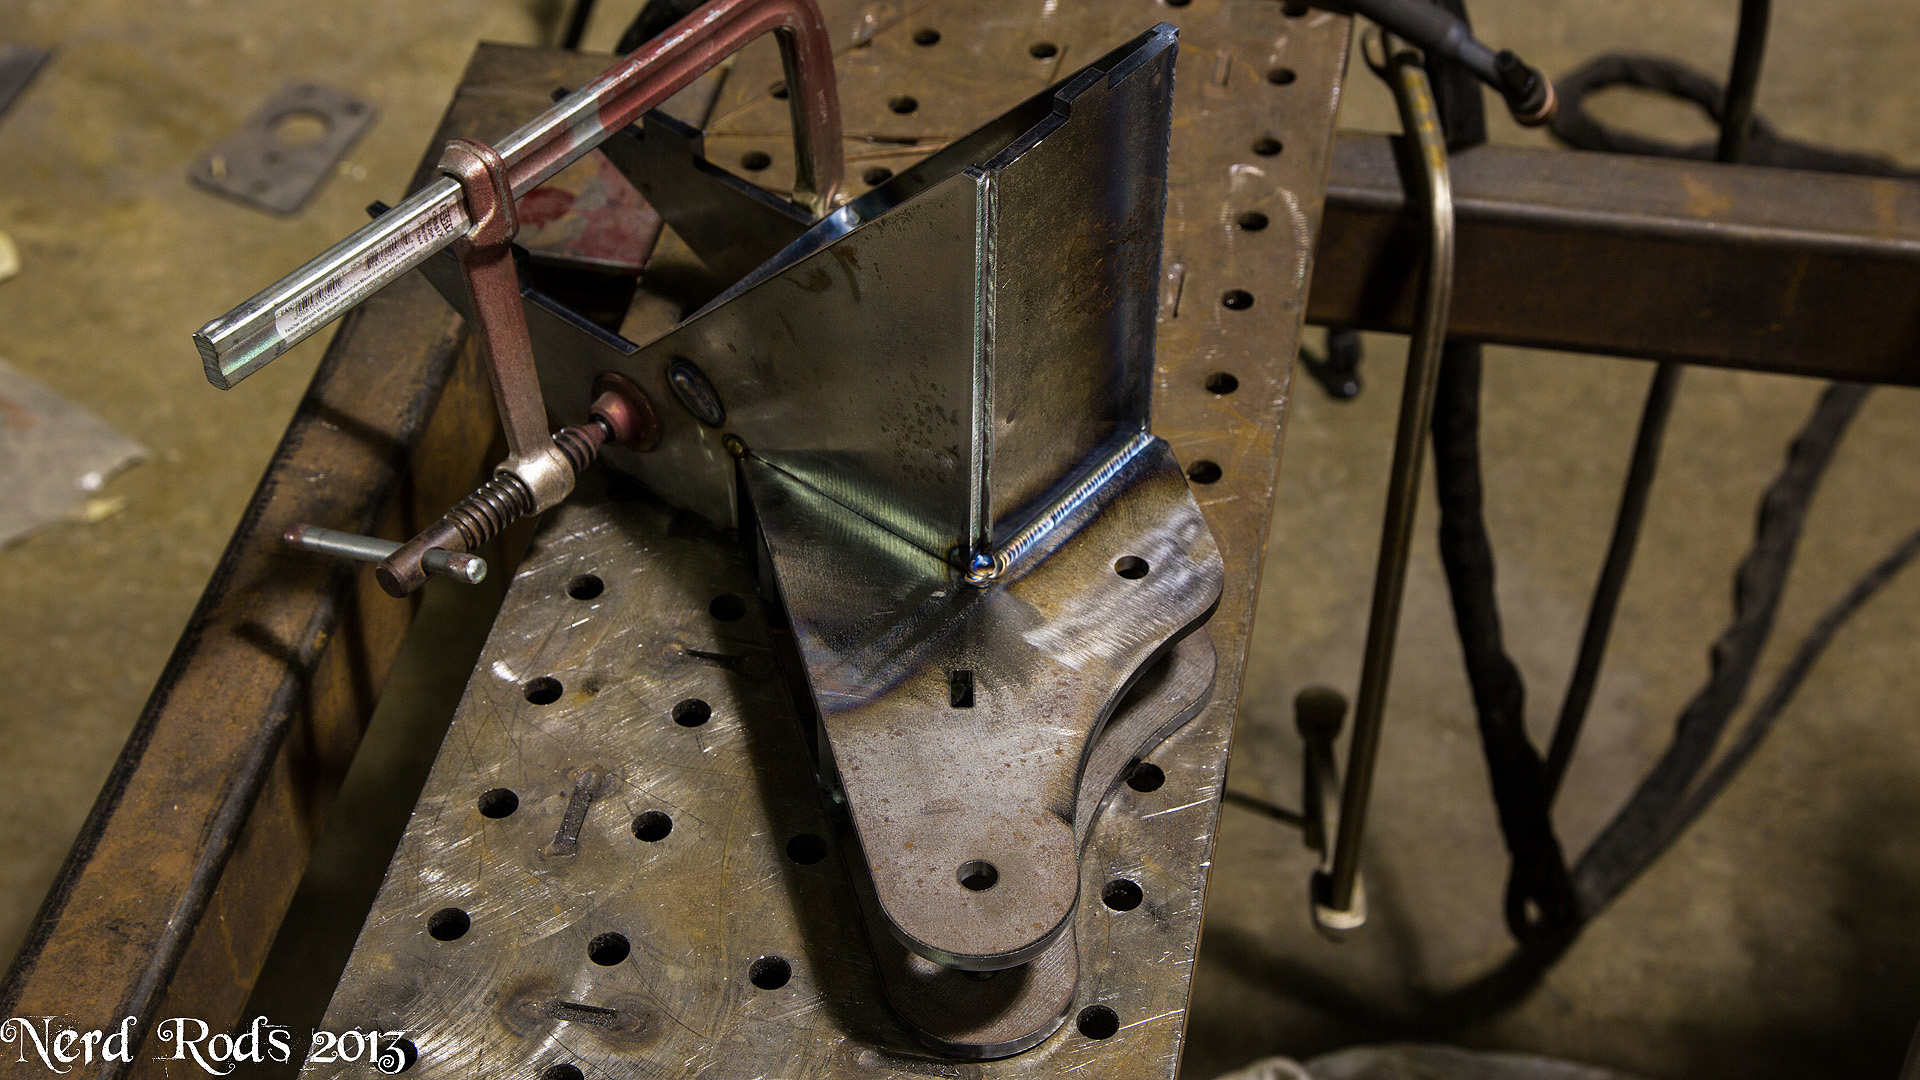
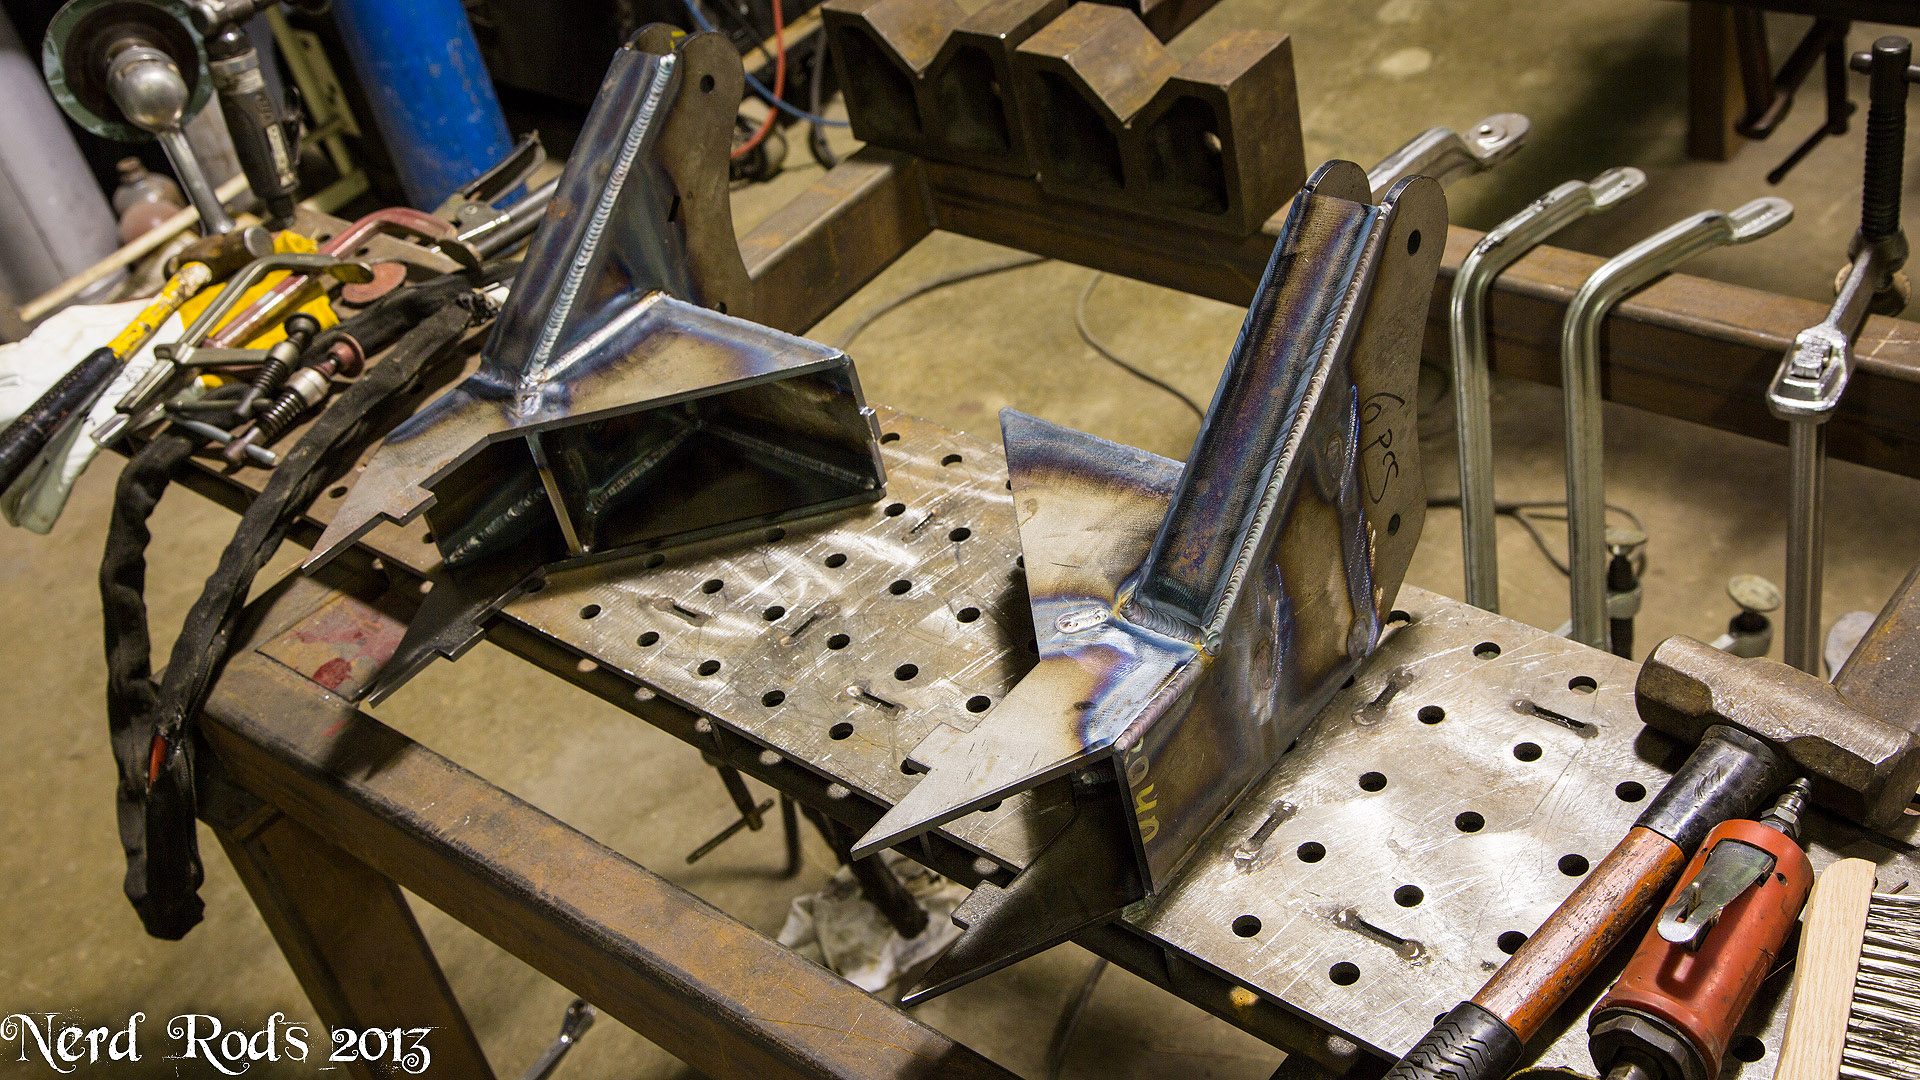
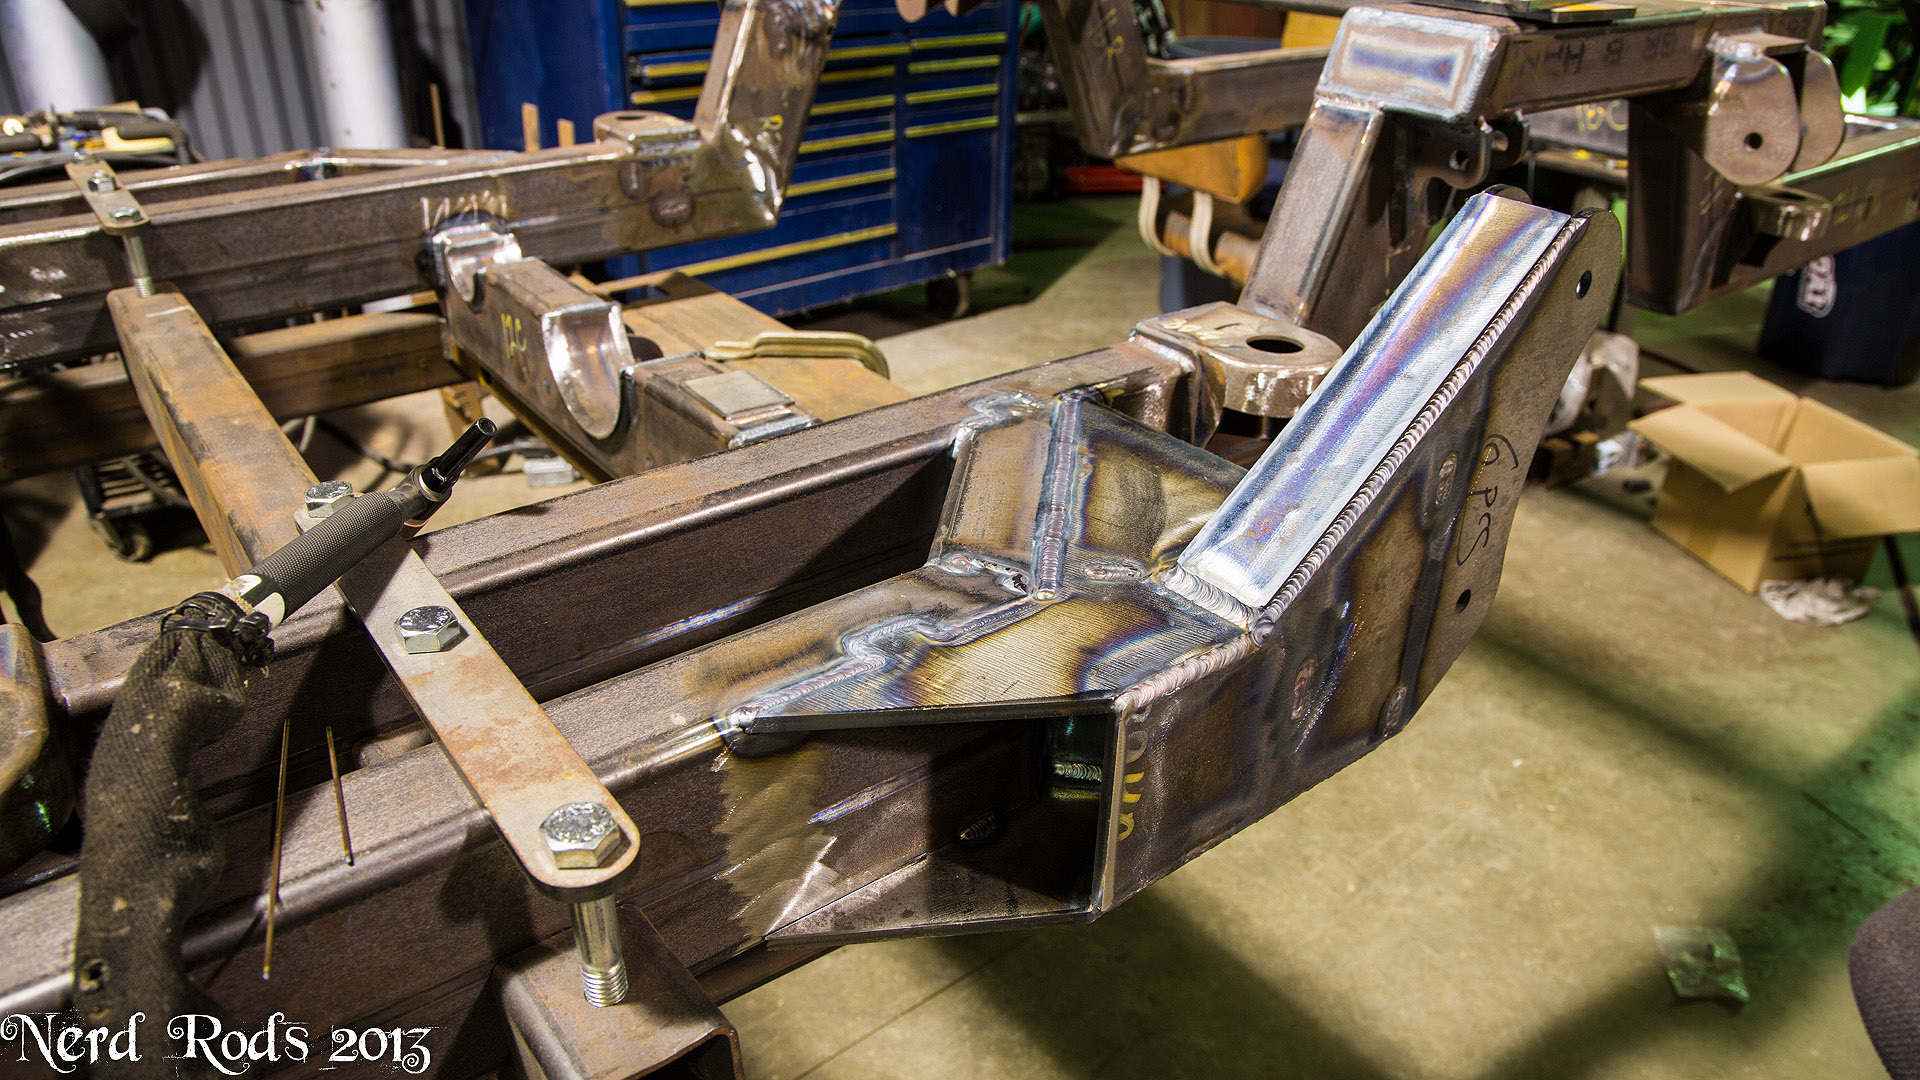
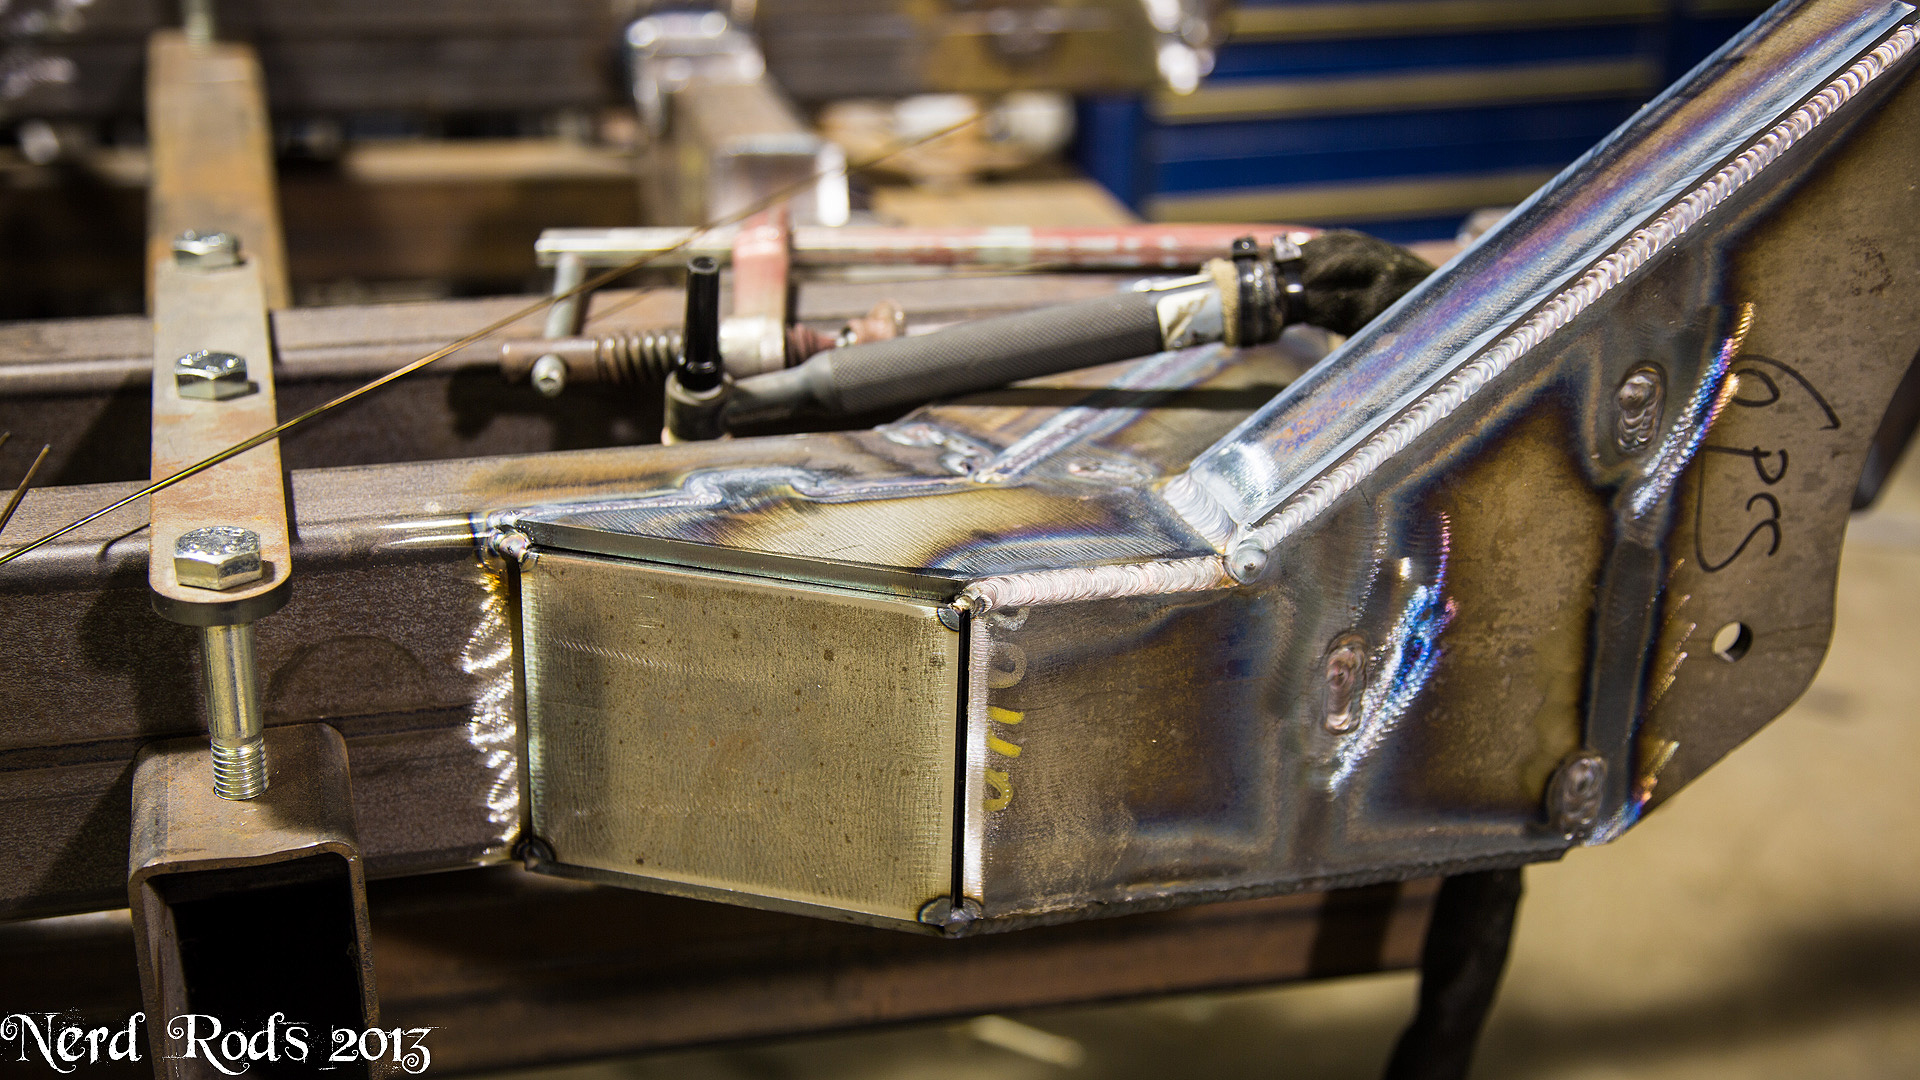
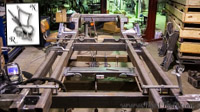
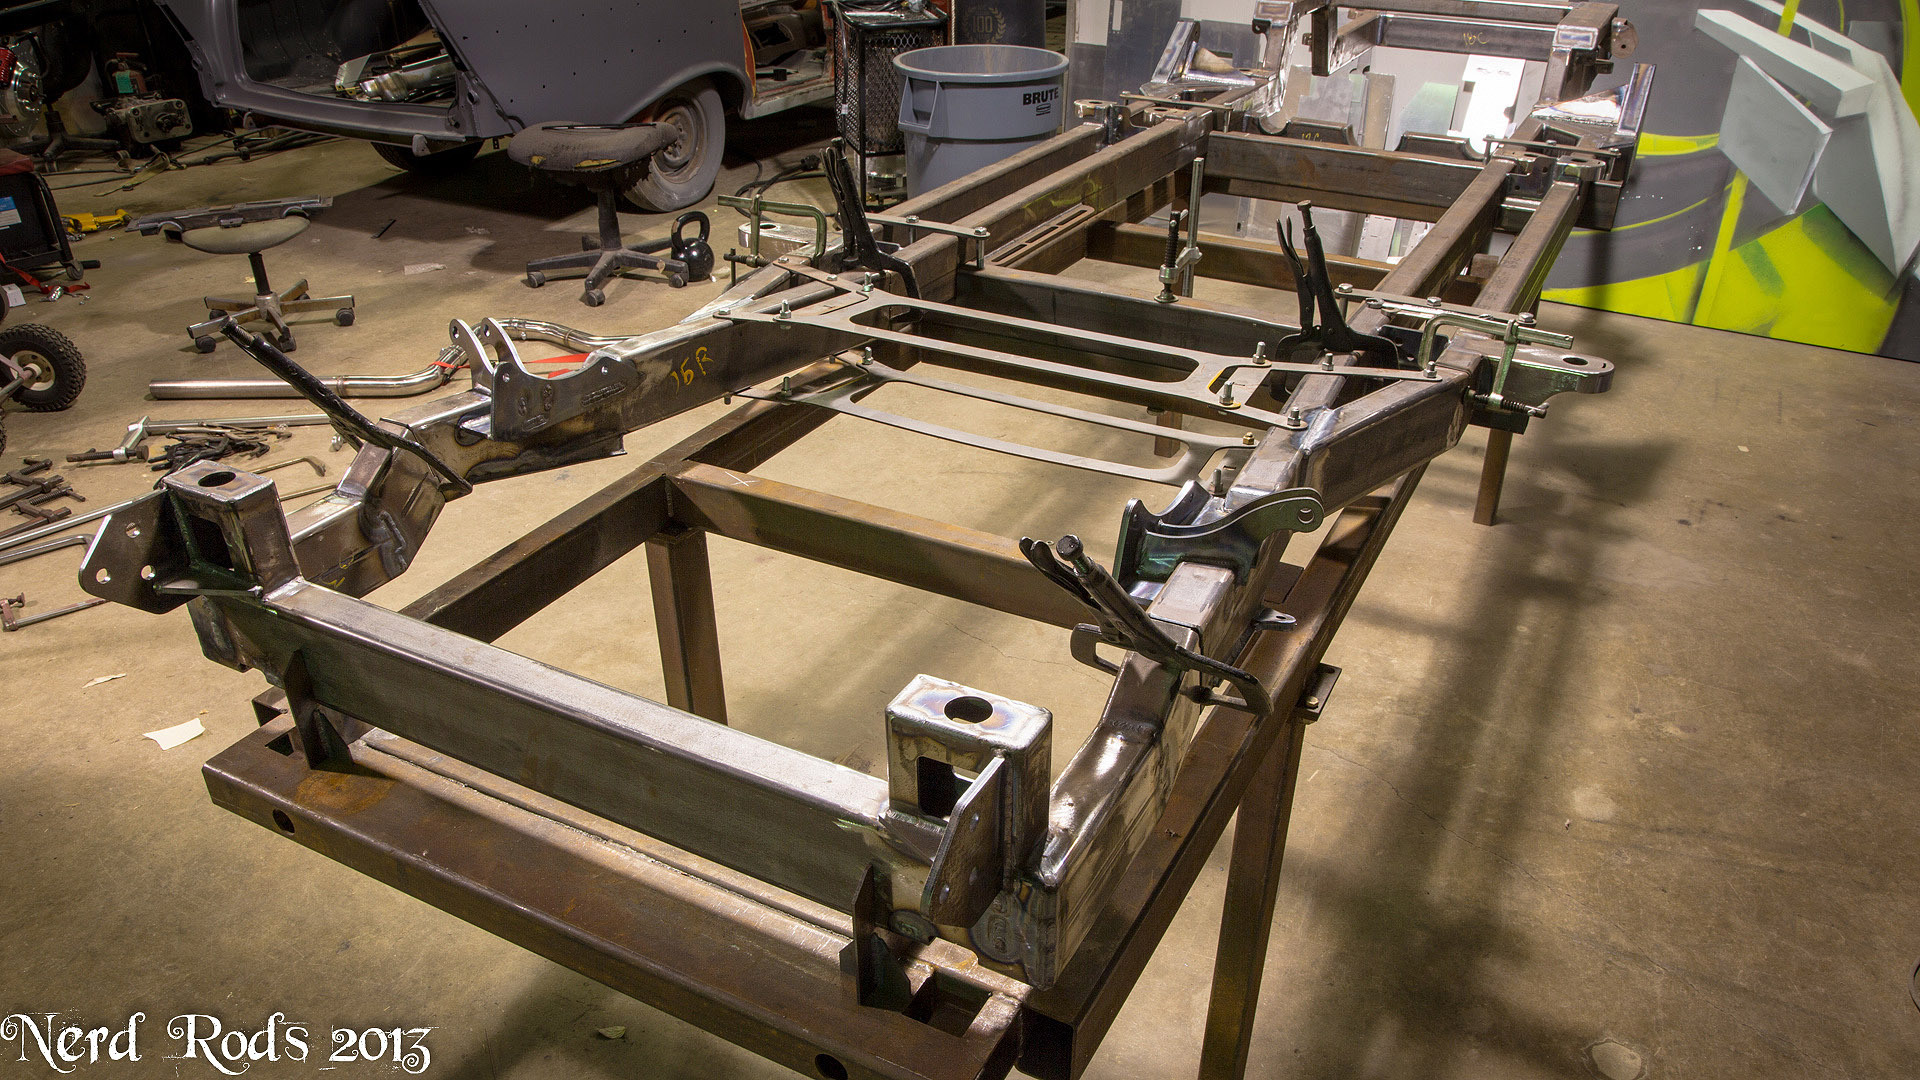
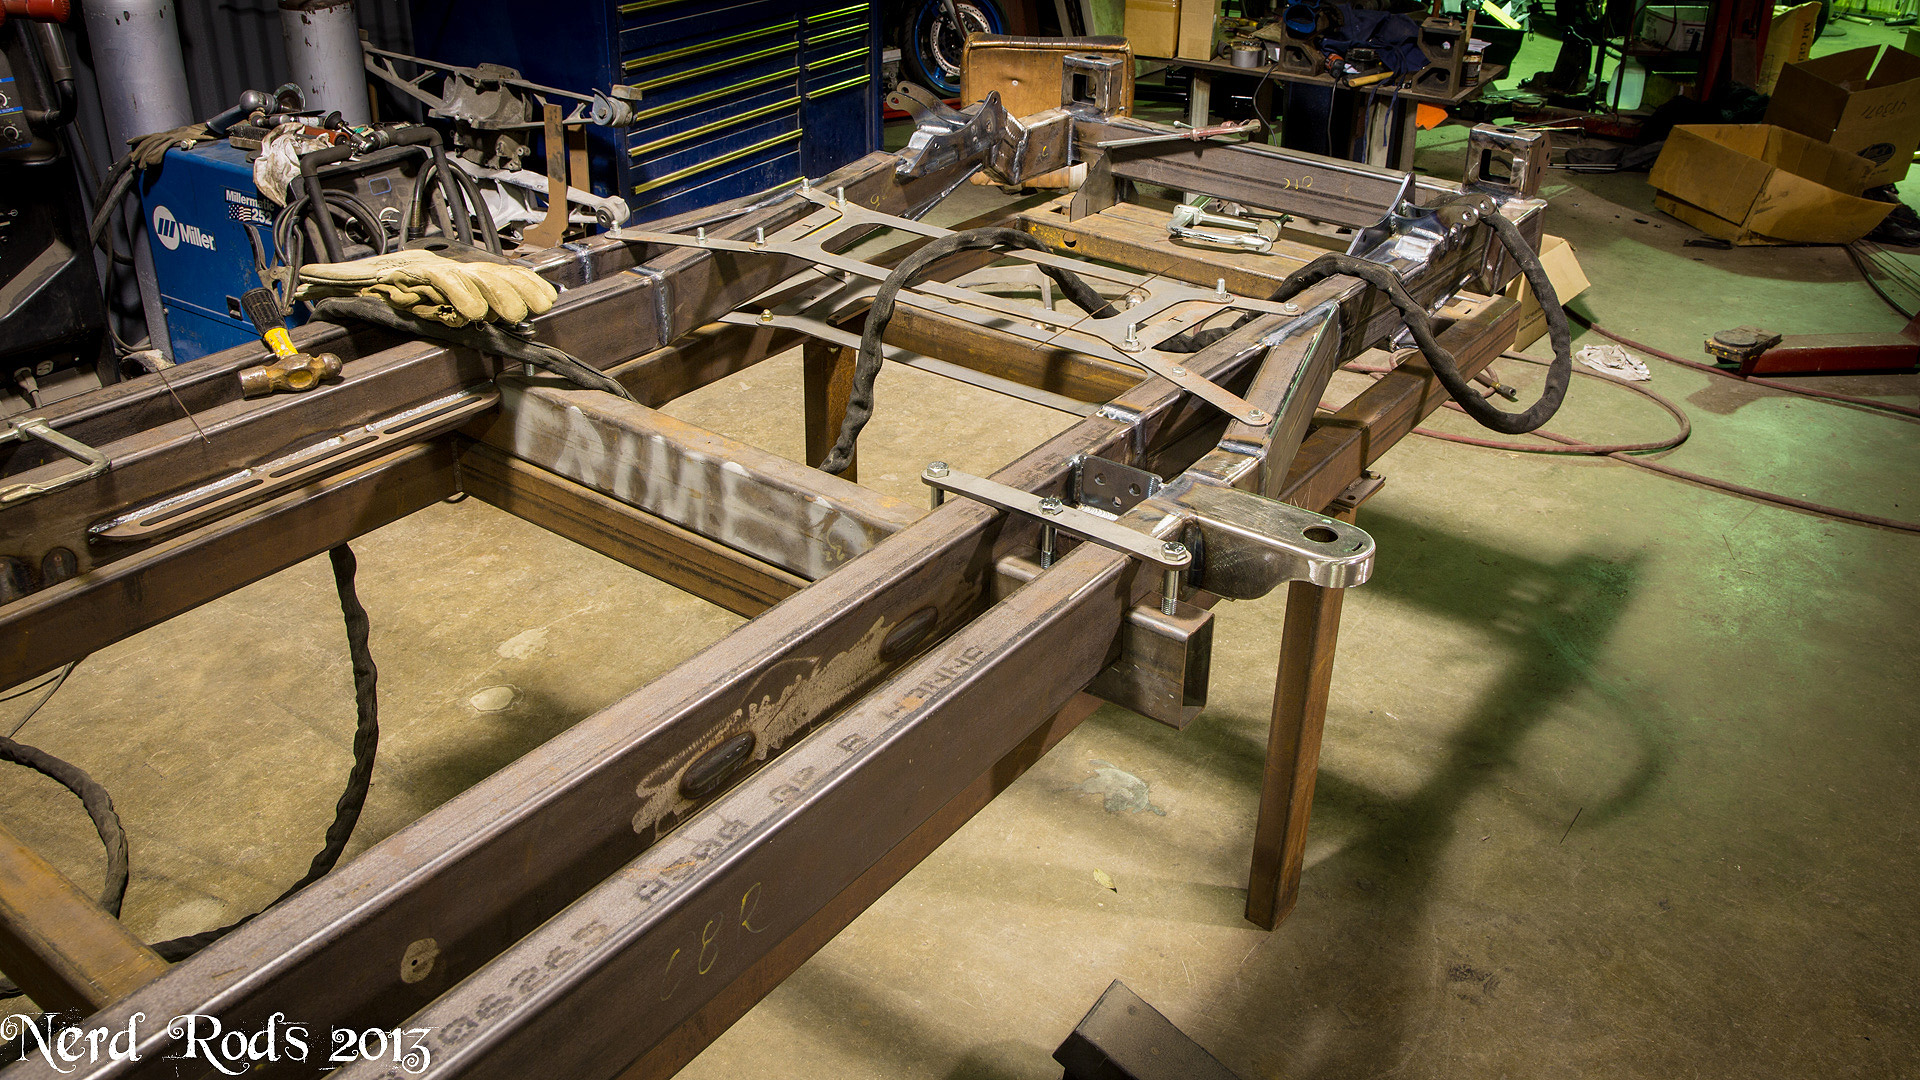
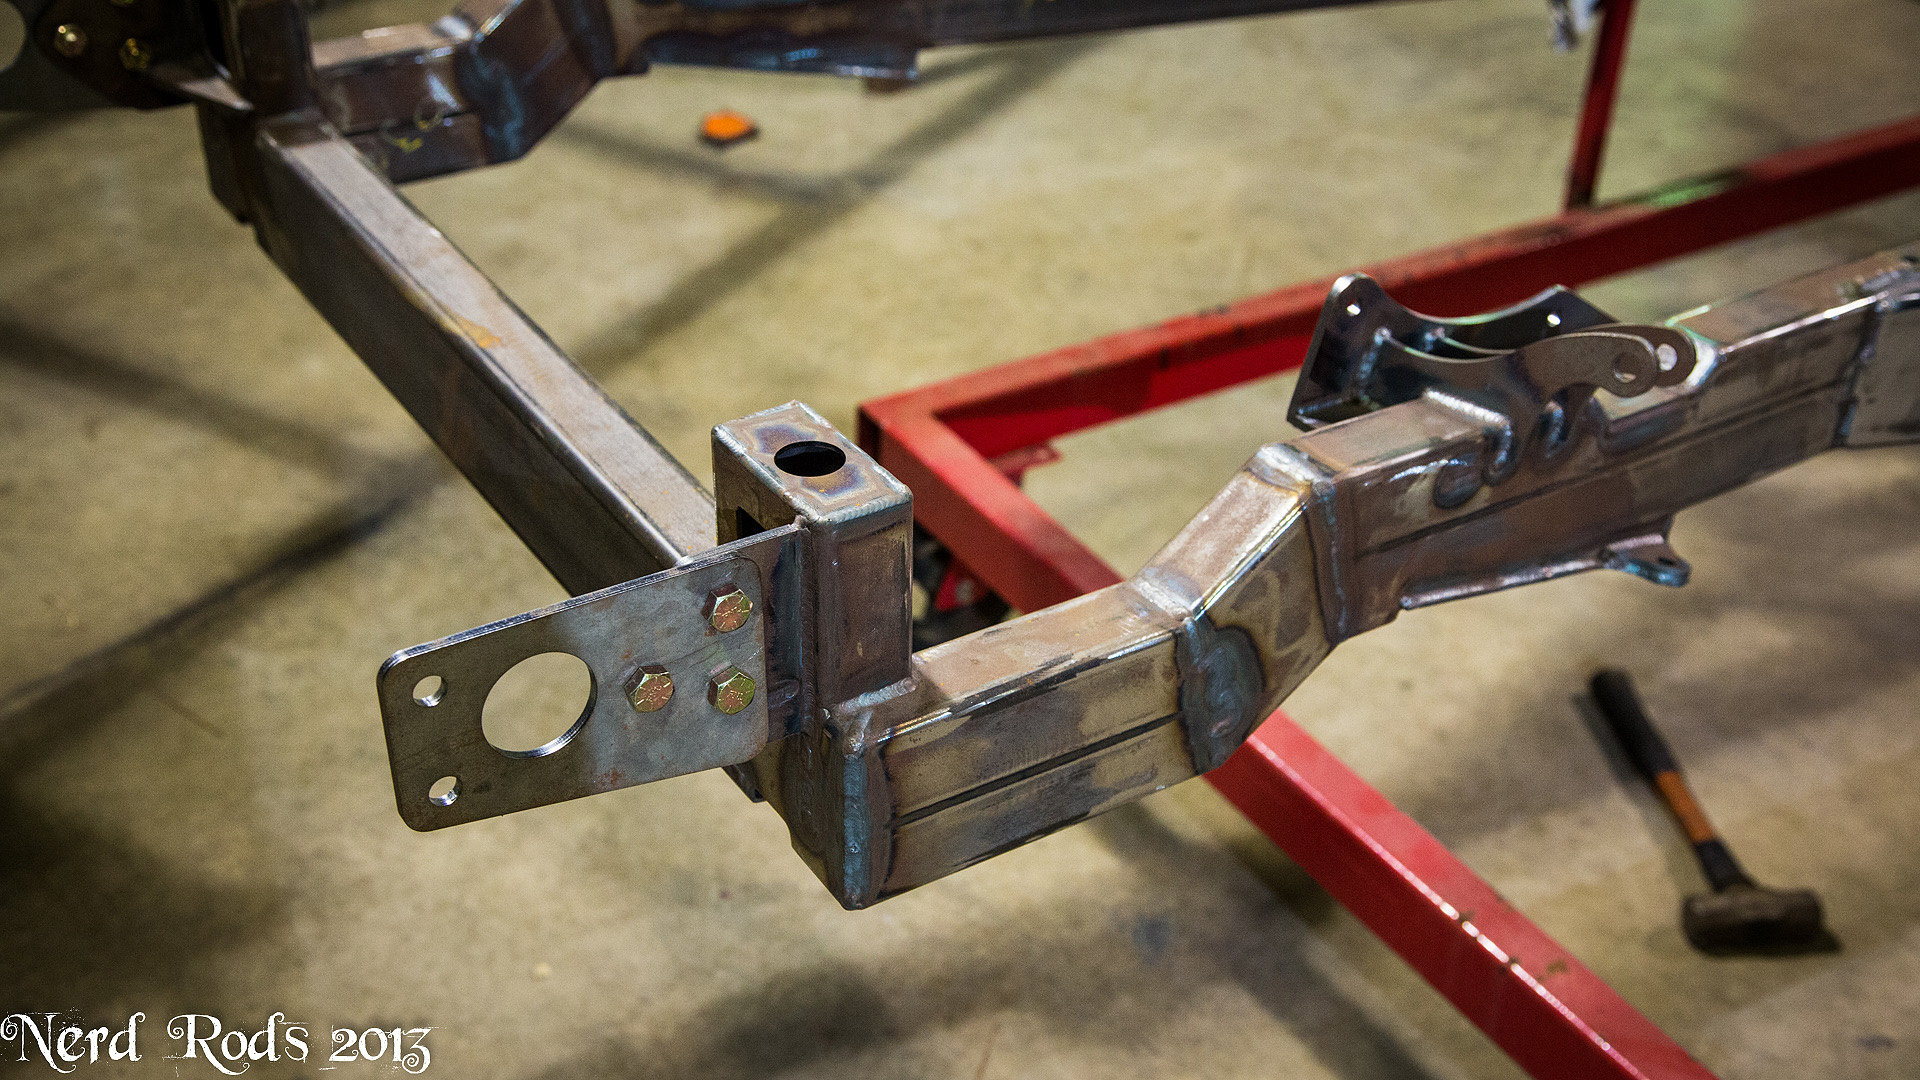
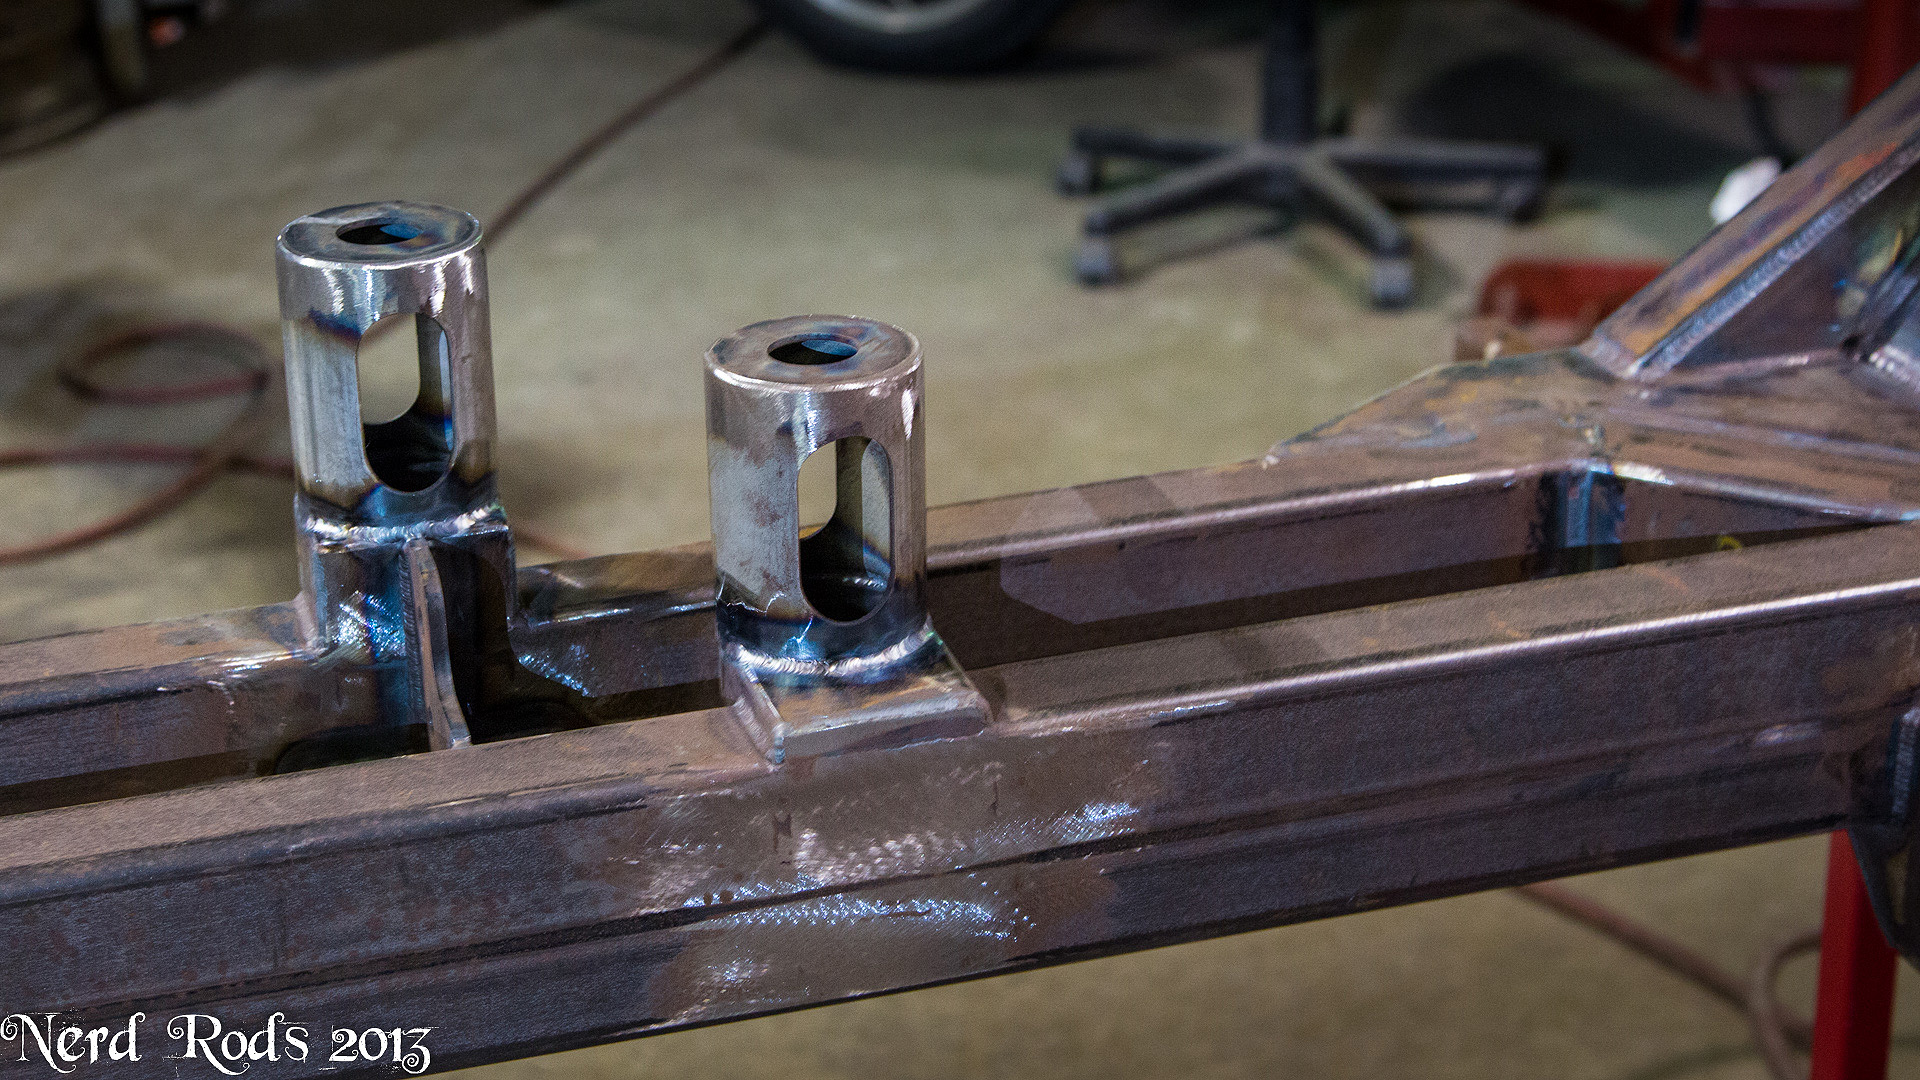
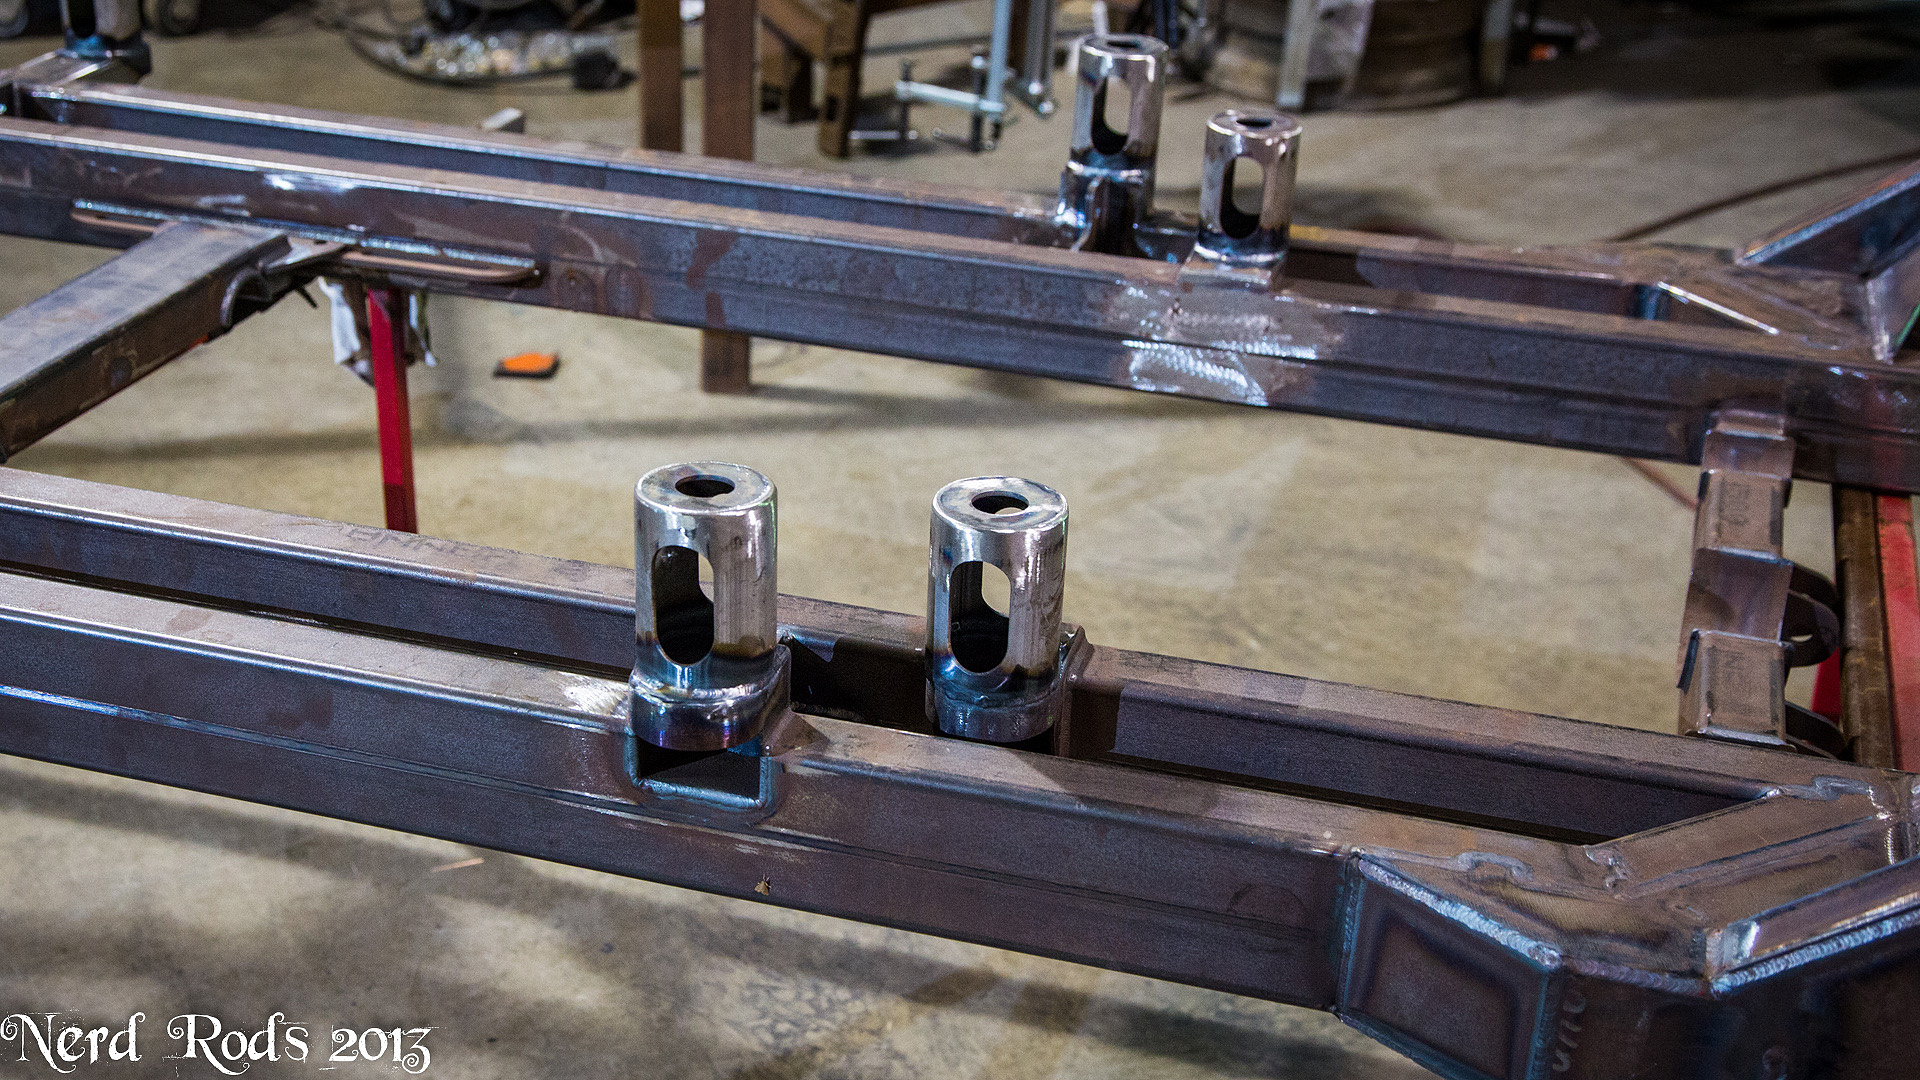
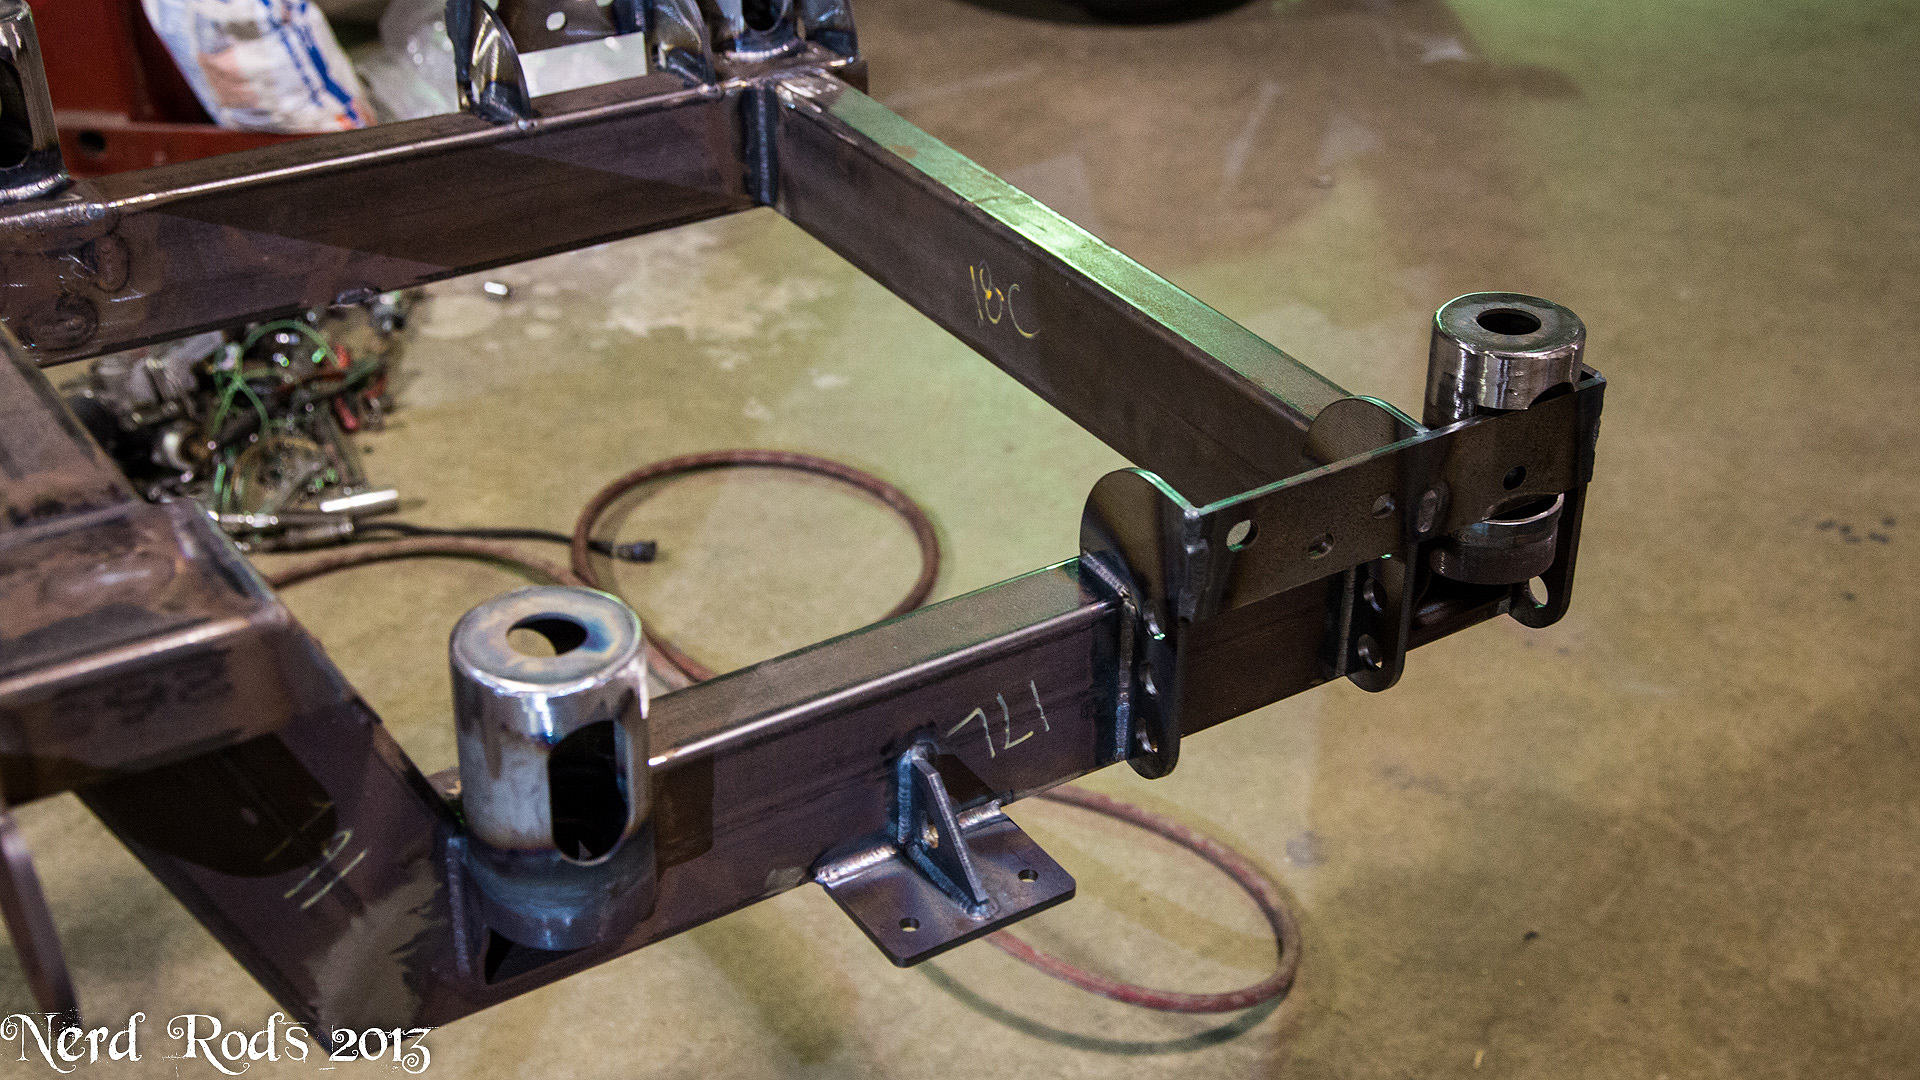
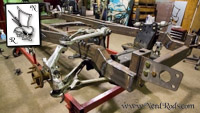
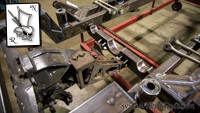
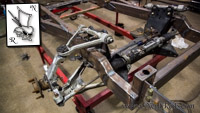
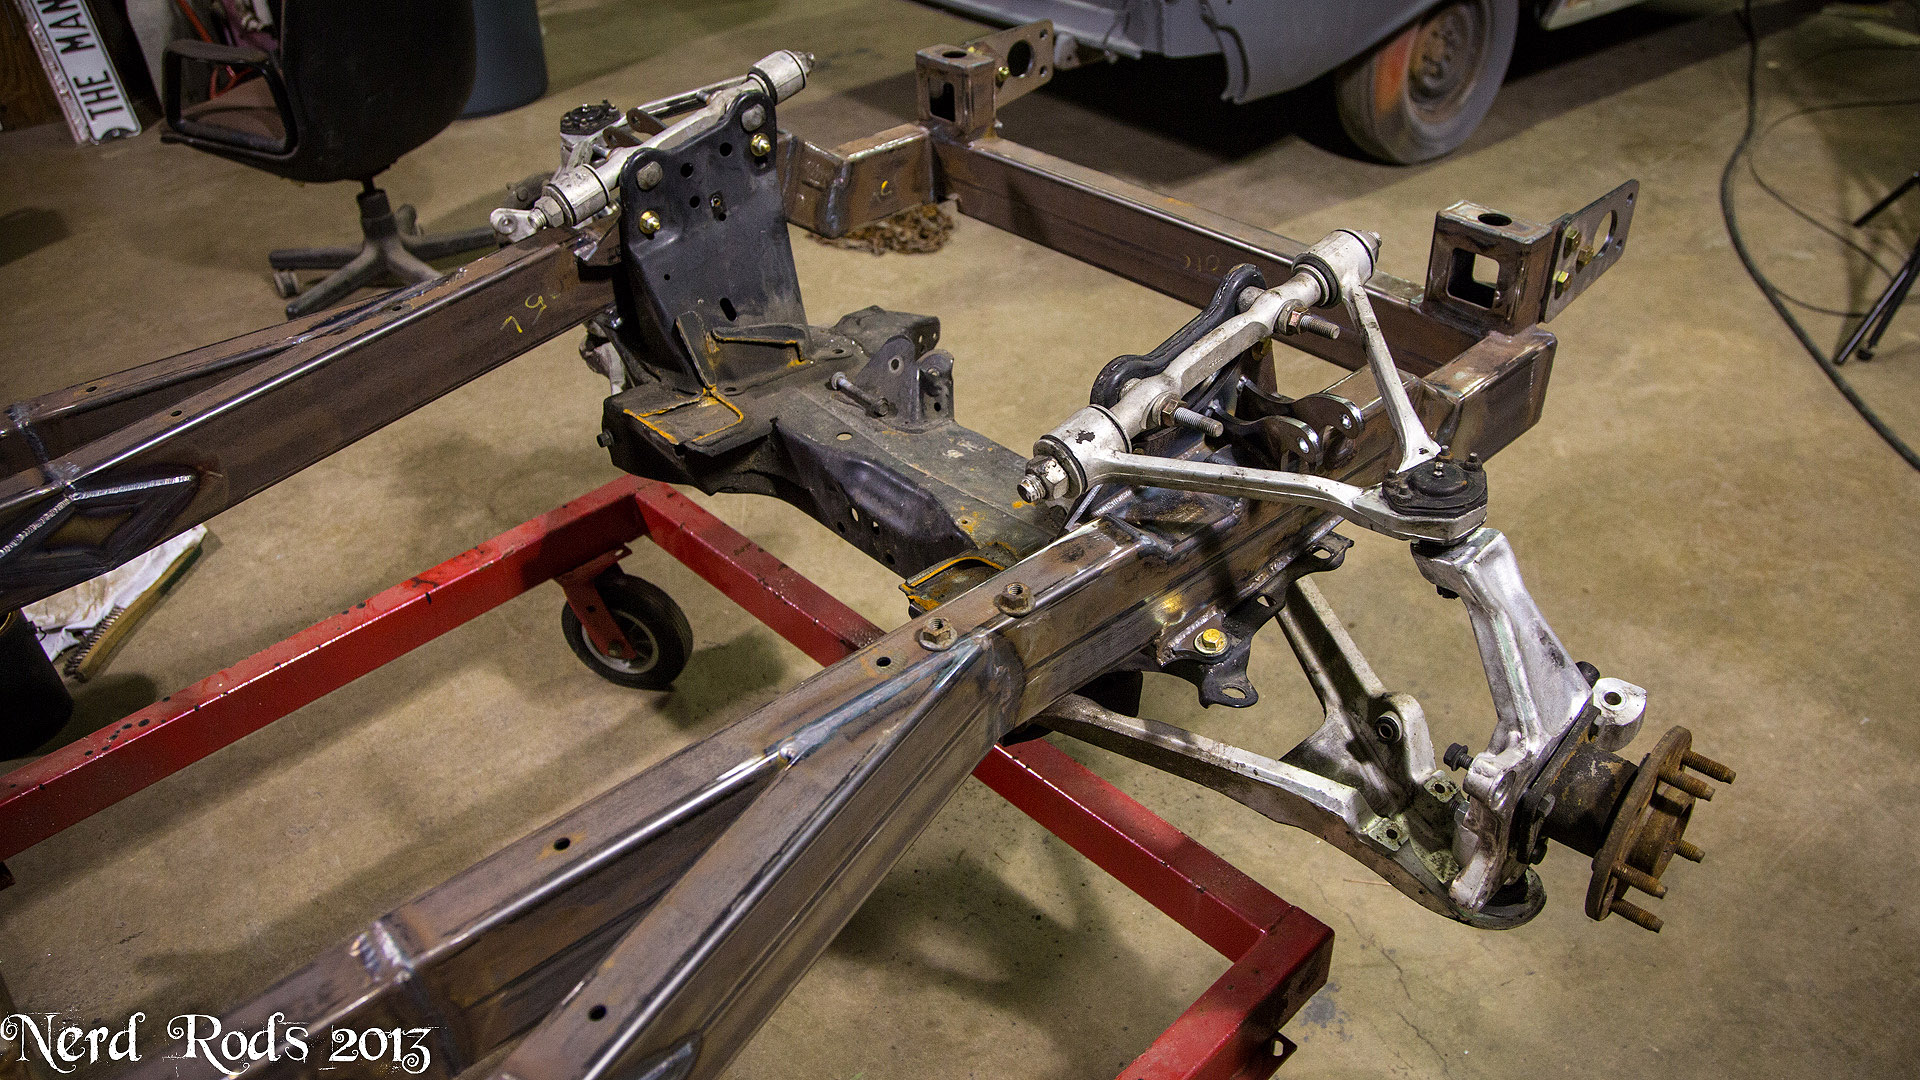
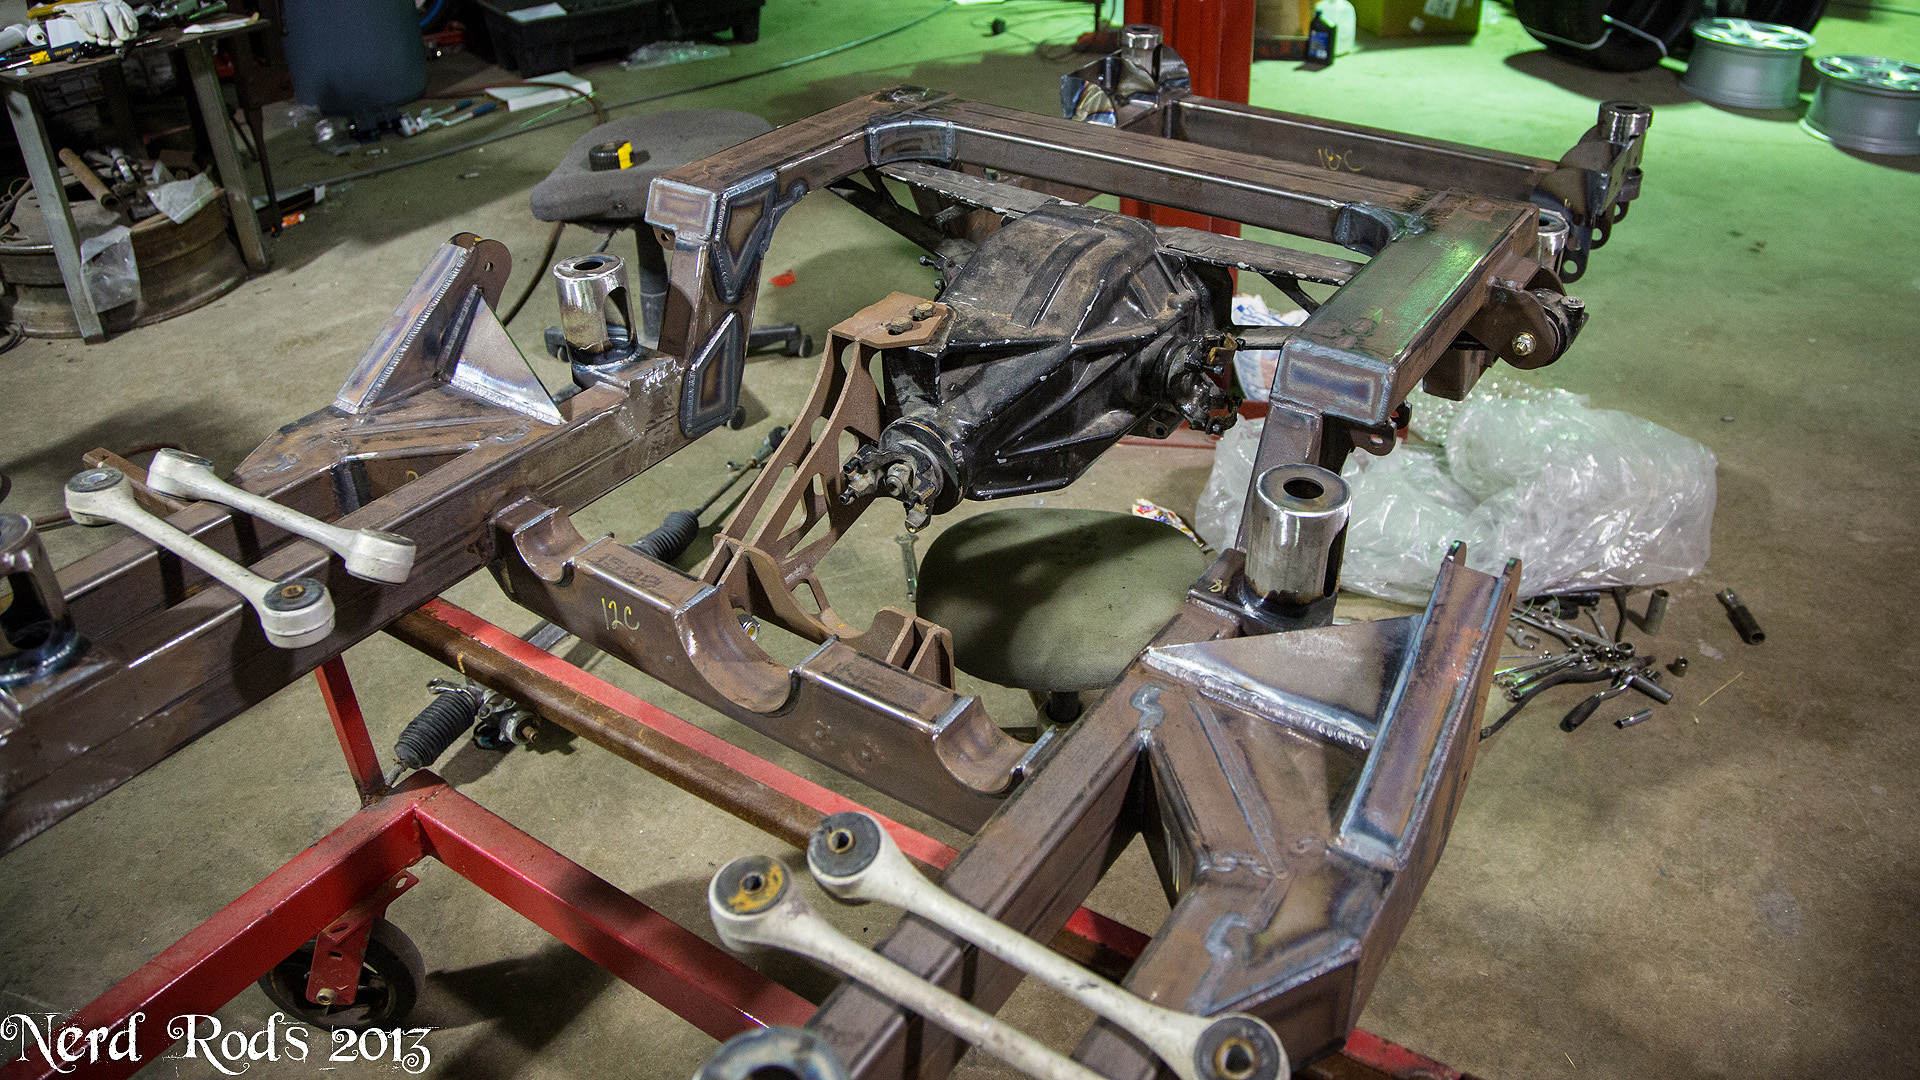
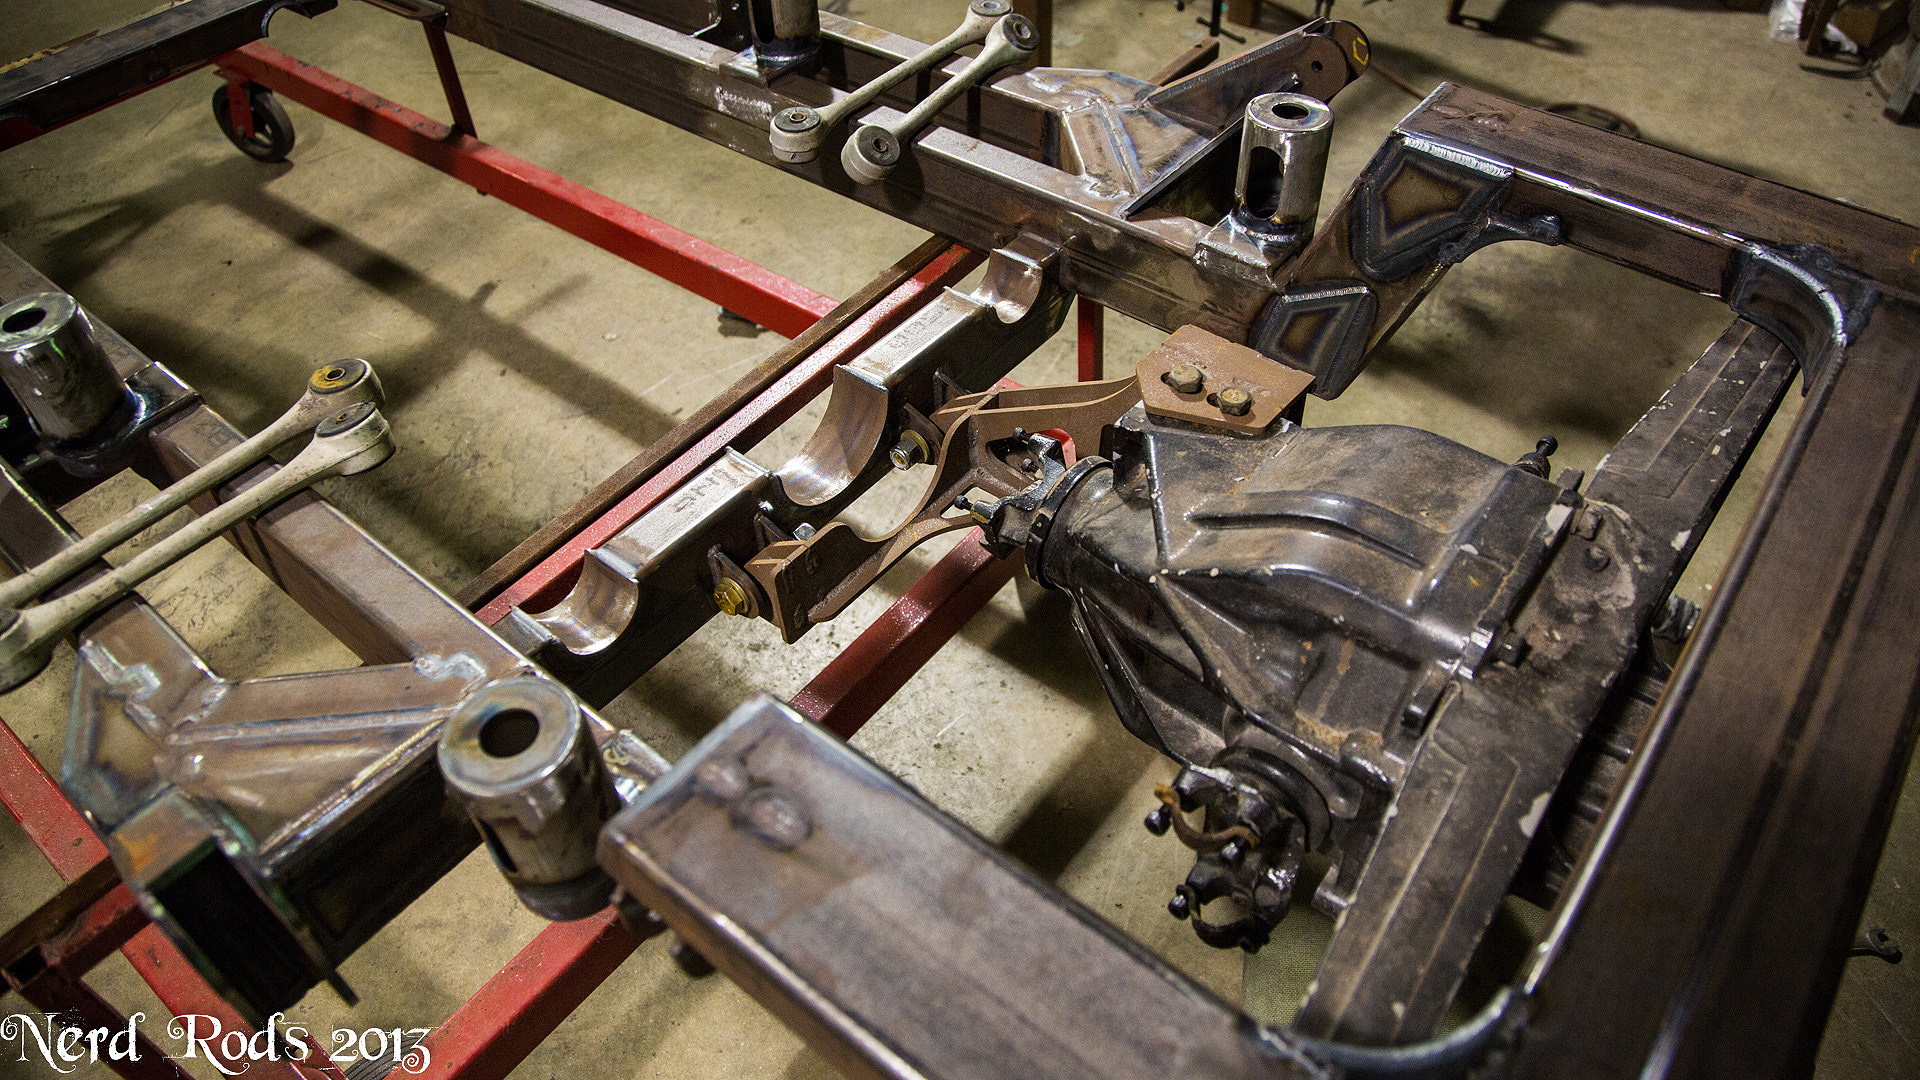
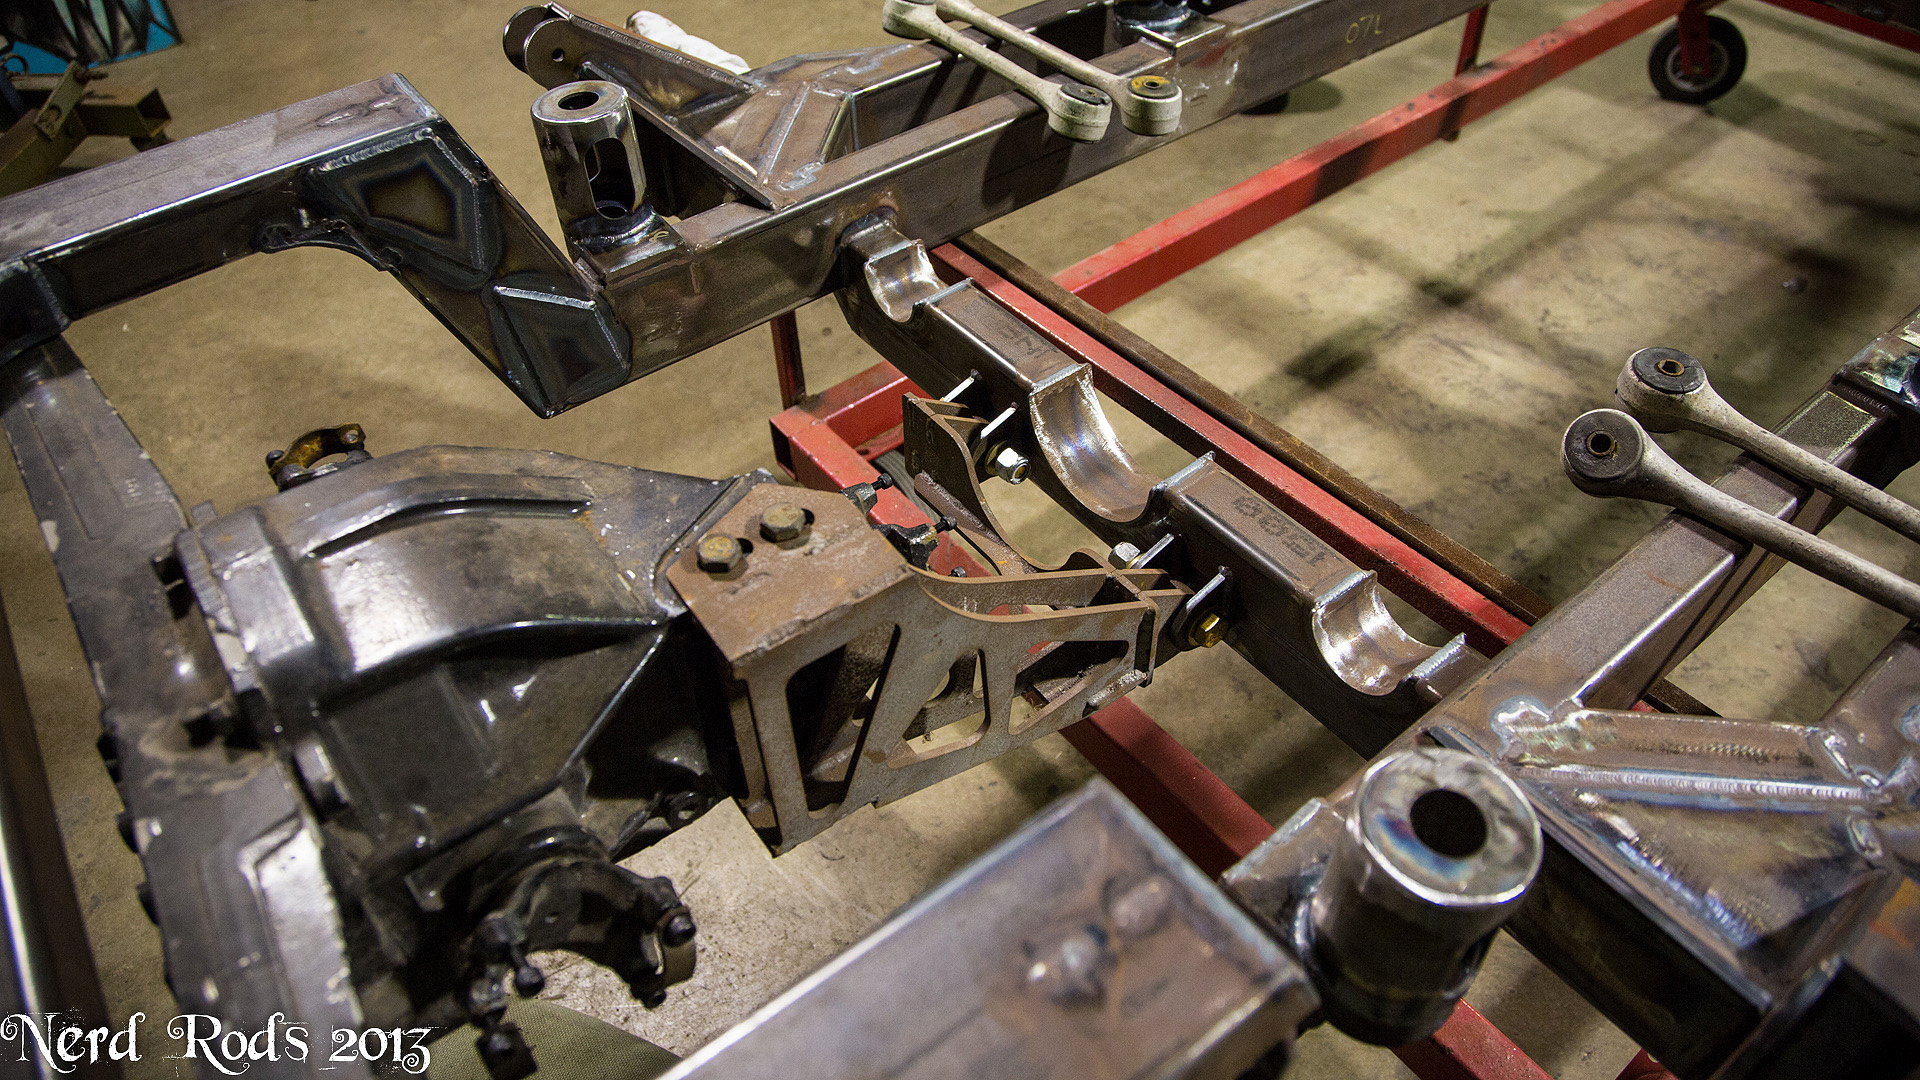
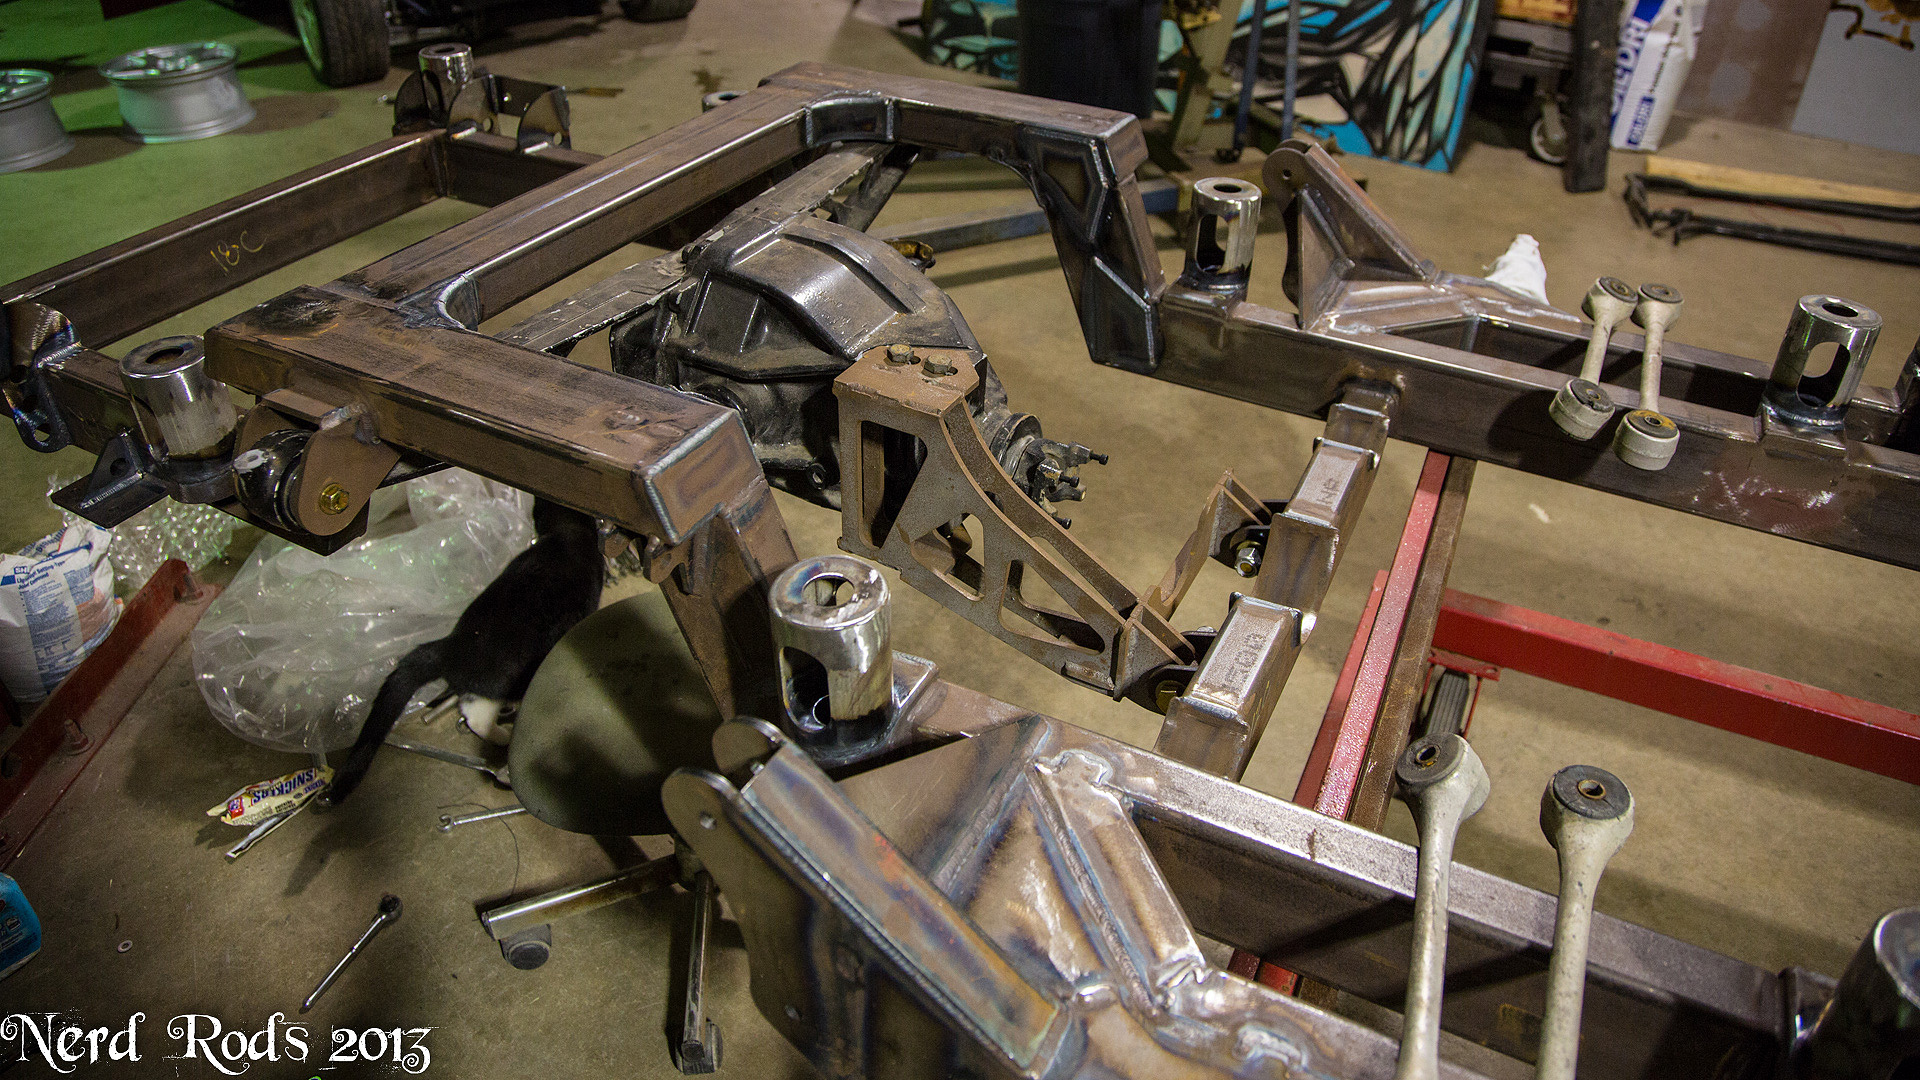
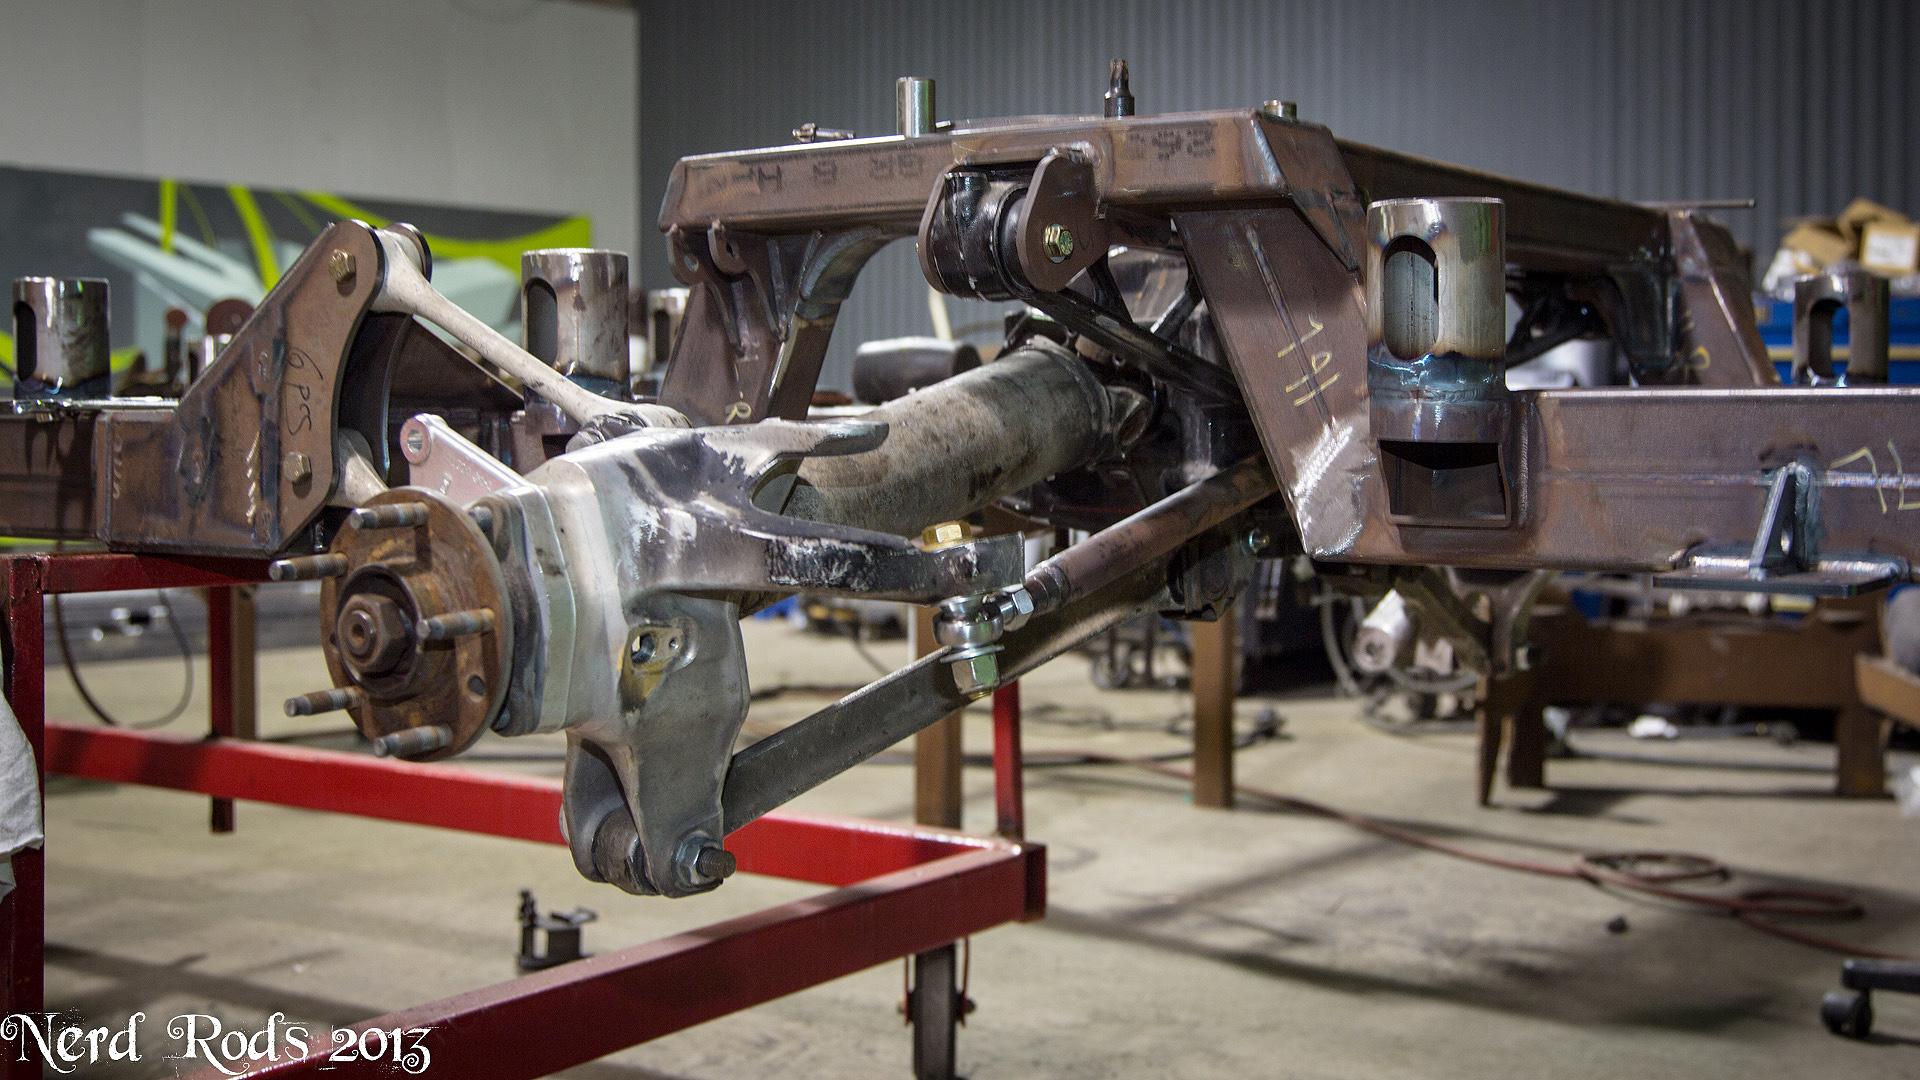
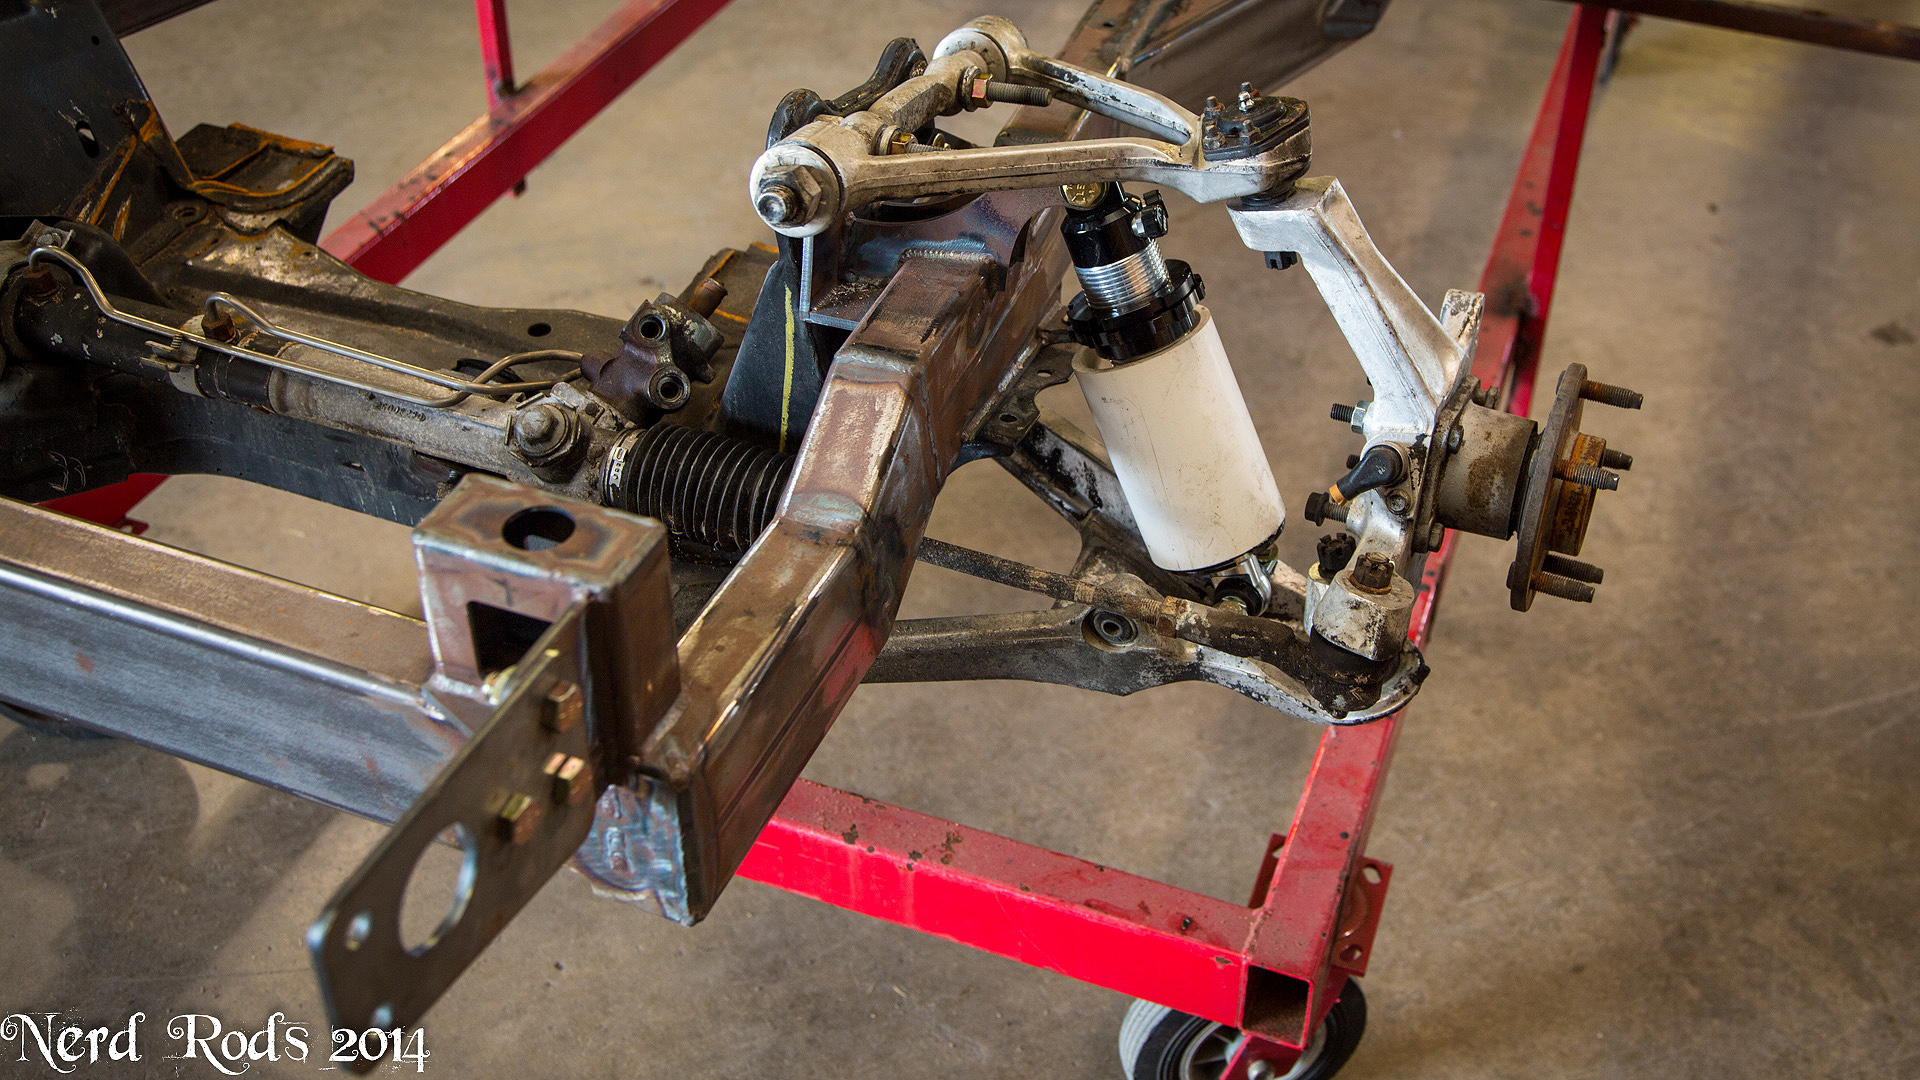
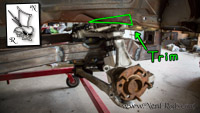
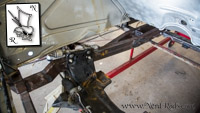
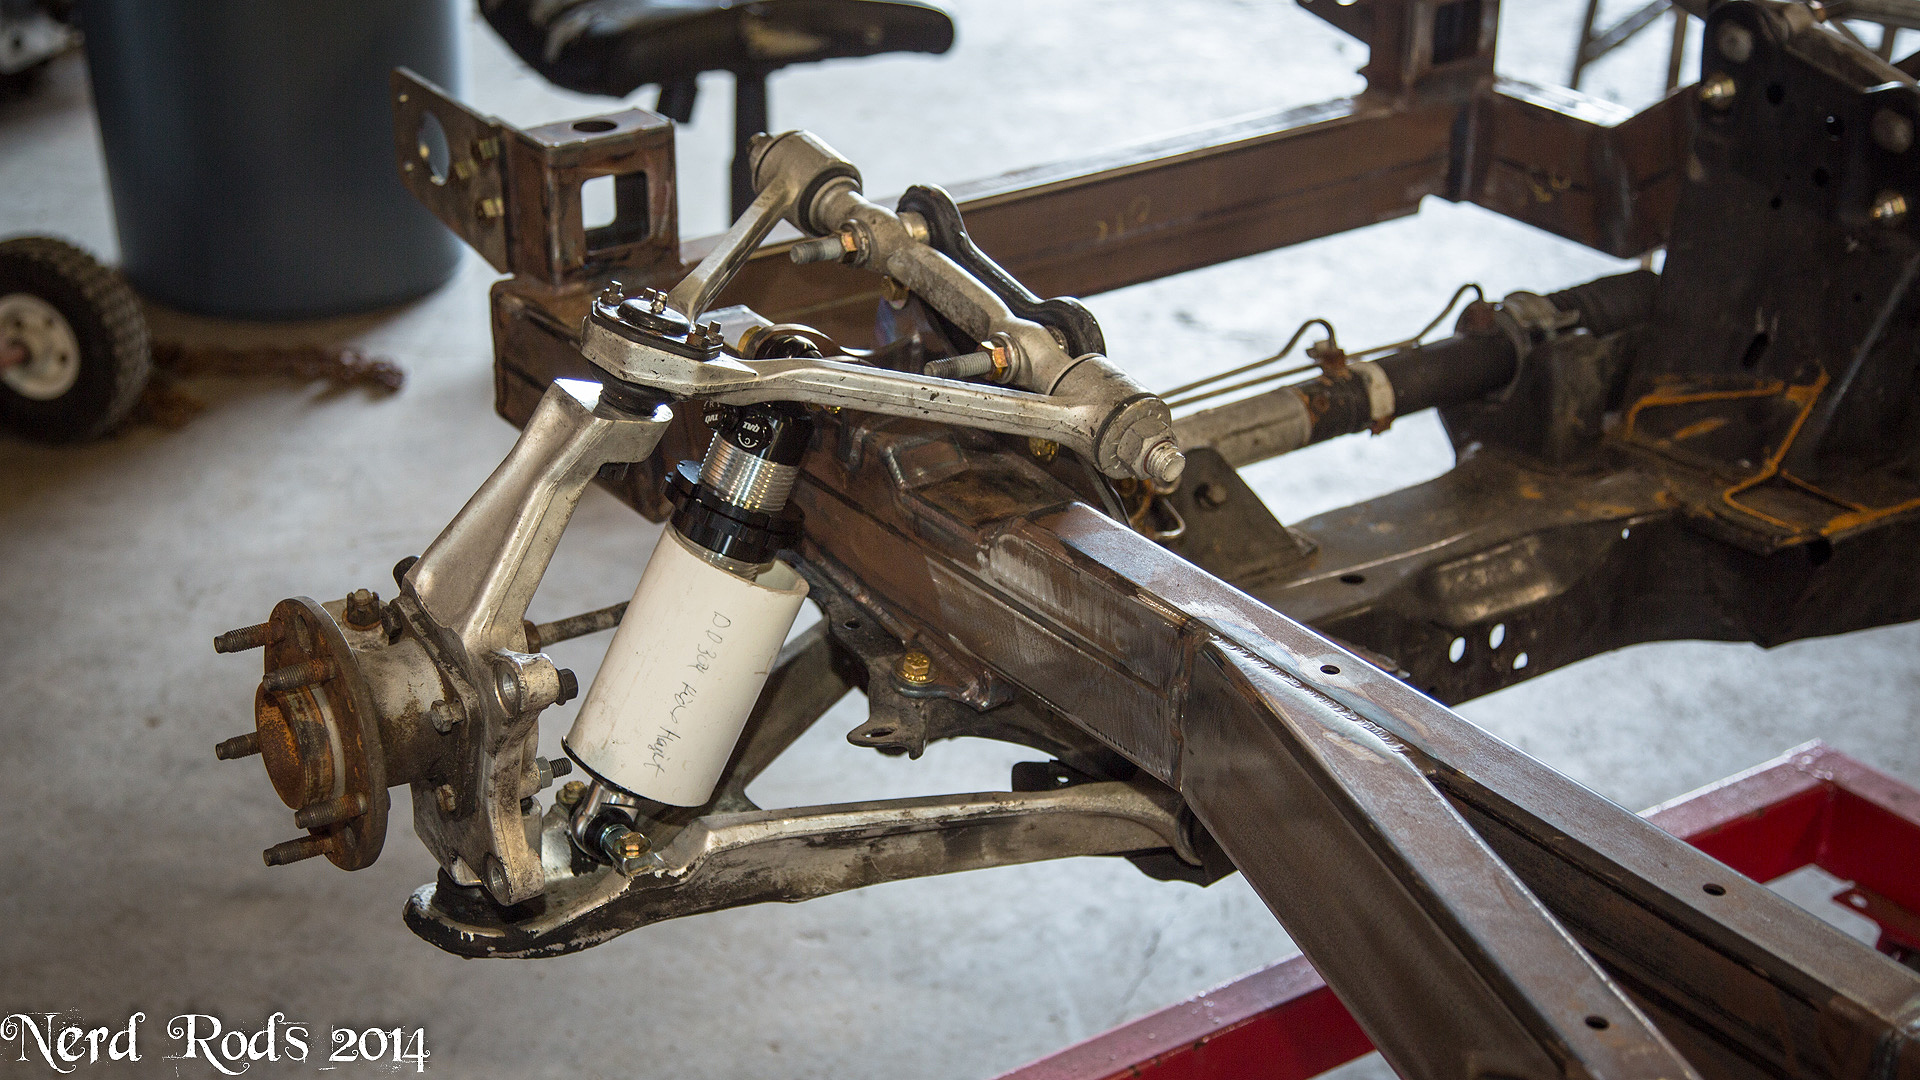
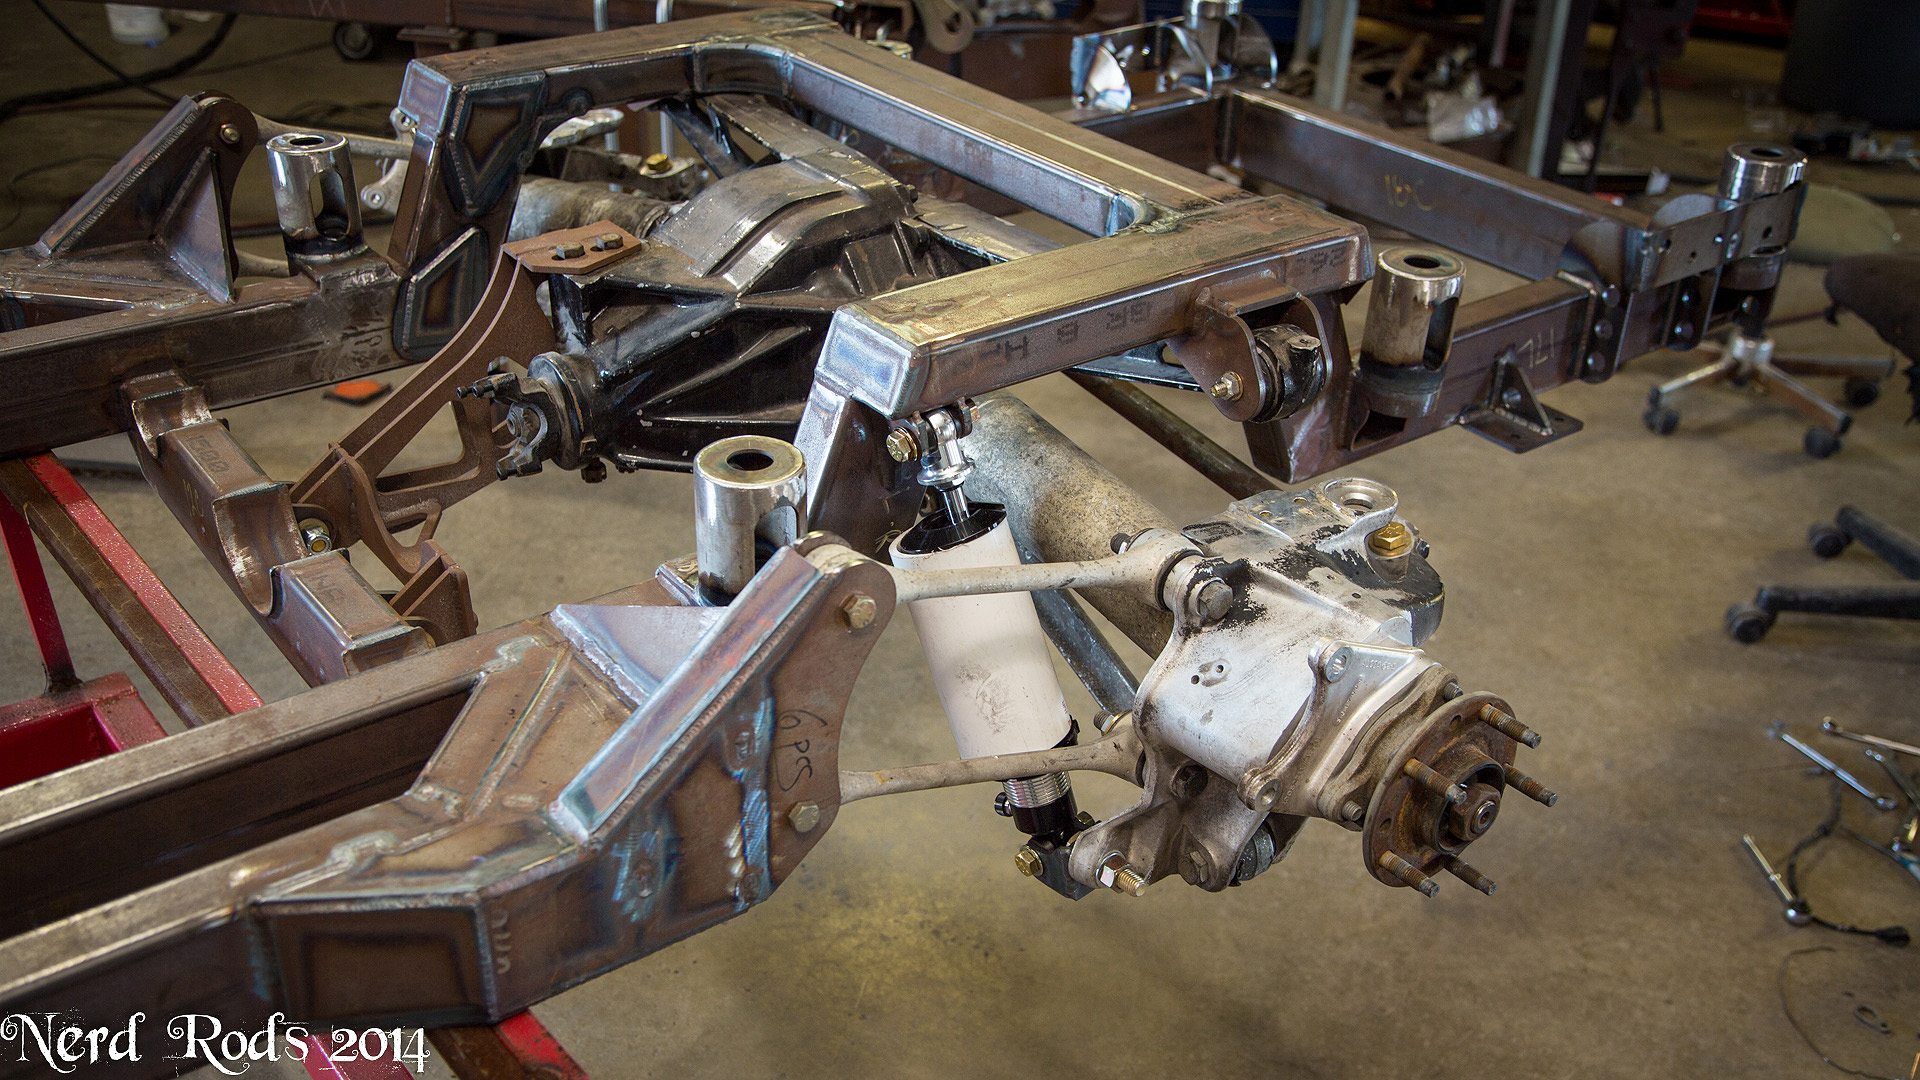
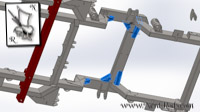
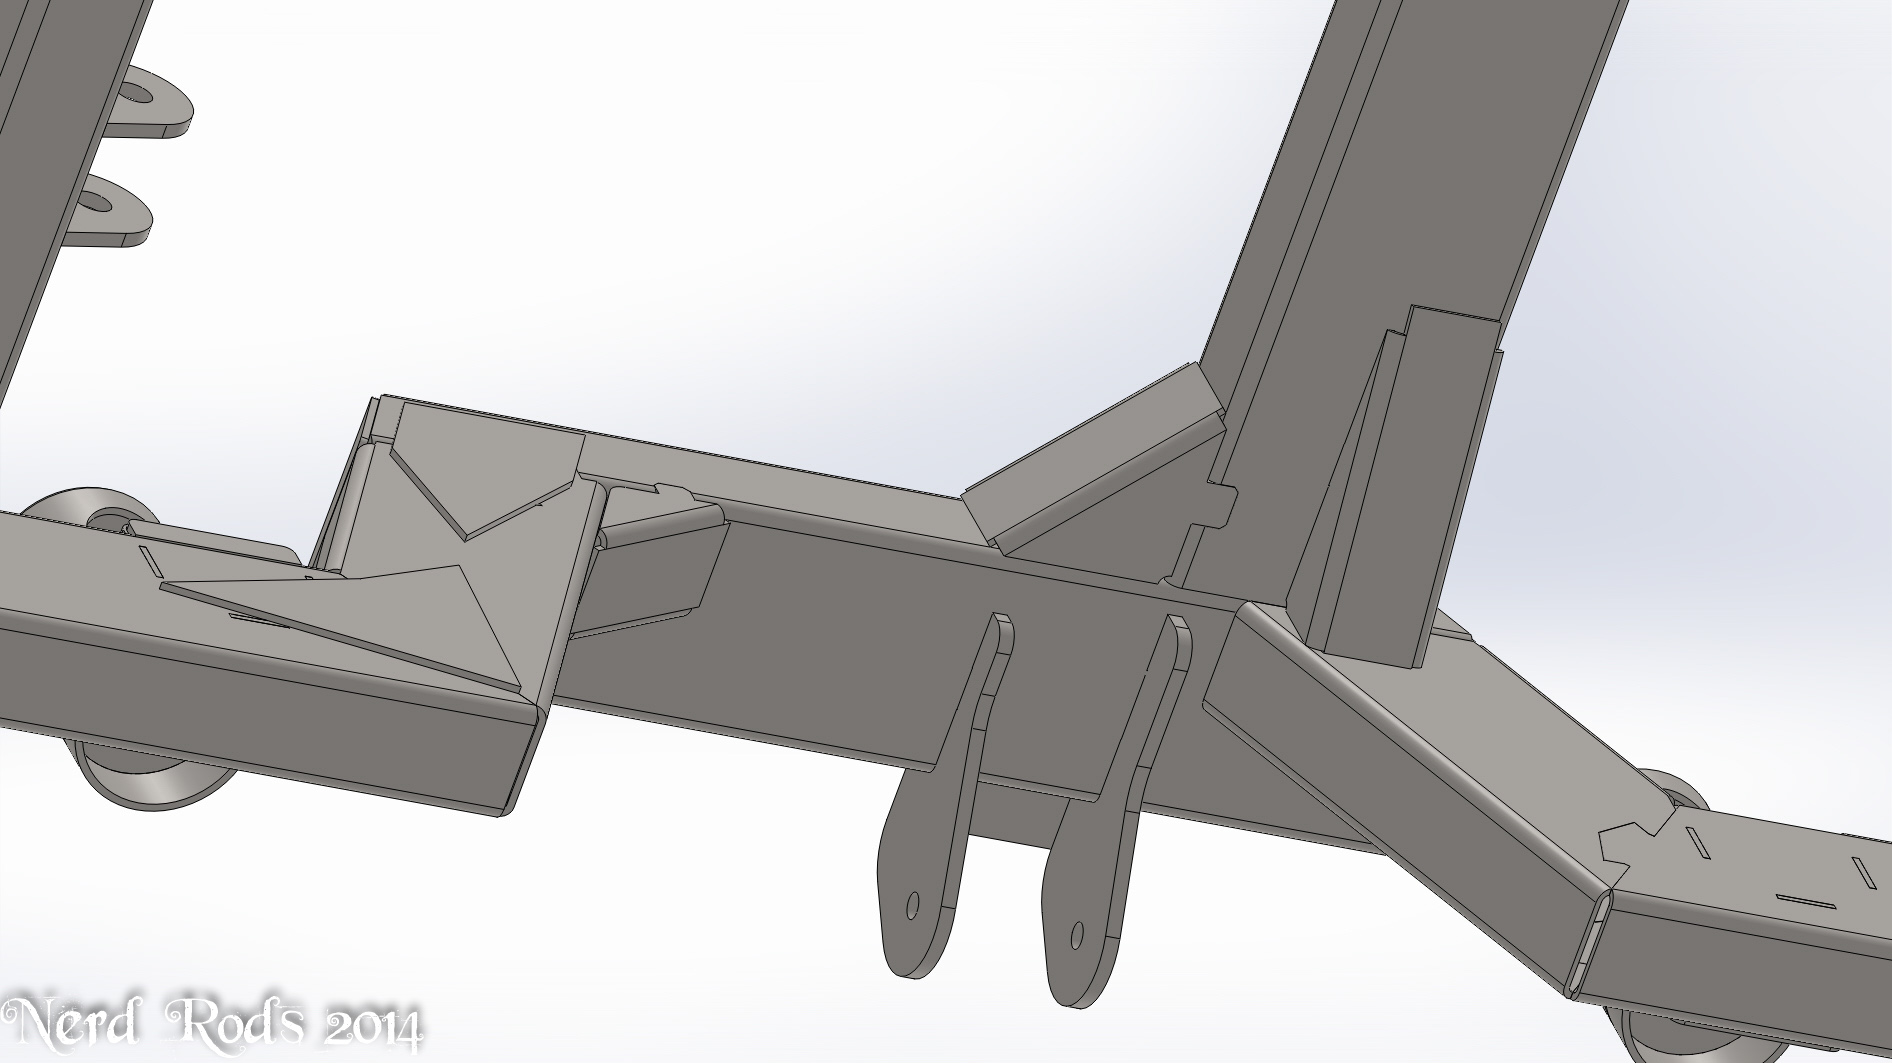
Rear four bar (Dog bone) to frame mount. If your going to run a live axle instead of the Corvette you can swap these out for different control arms, and do a 3 Link, 4 link, truck trailing arms, triangulated 4 bar, watts or pan hard bar system. There's tons of room to install any of them.

Later
-Russell
Later
-Russell
 12-18-2013, 04:07 AM
#48
Launching!
Thread Starter
Join Date: Jan 2007
Location: Luling TX In the Hot Rod Shop
Posts: 294
Likes: 0
Received 3 Likes
on
3 Posts
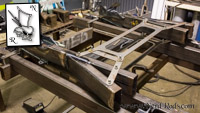
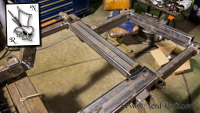
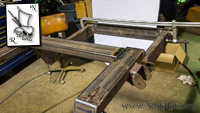
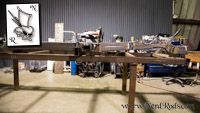
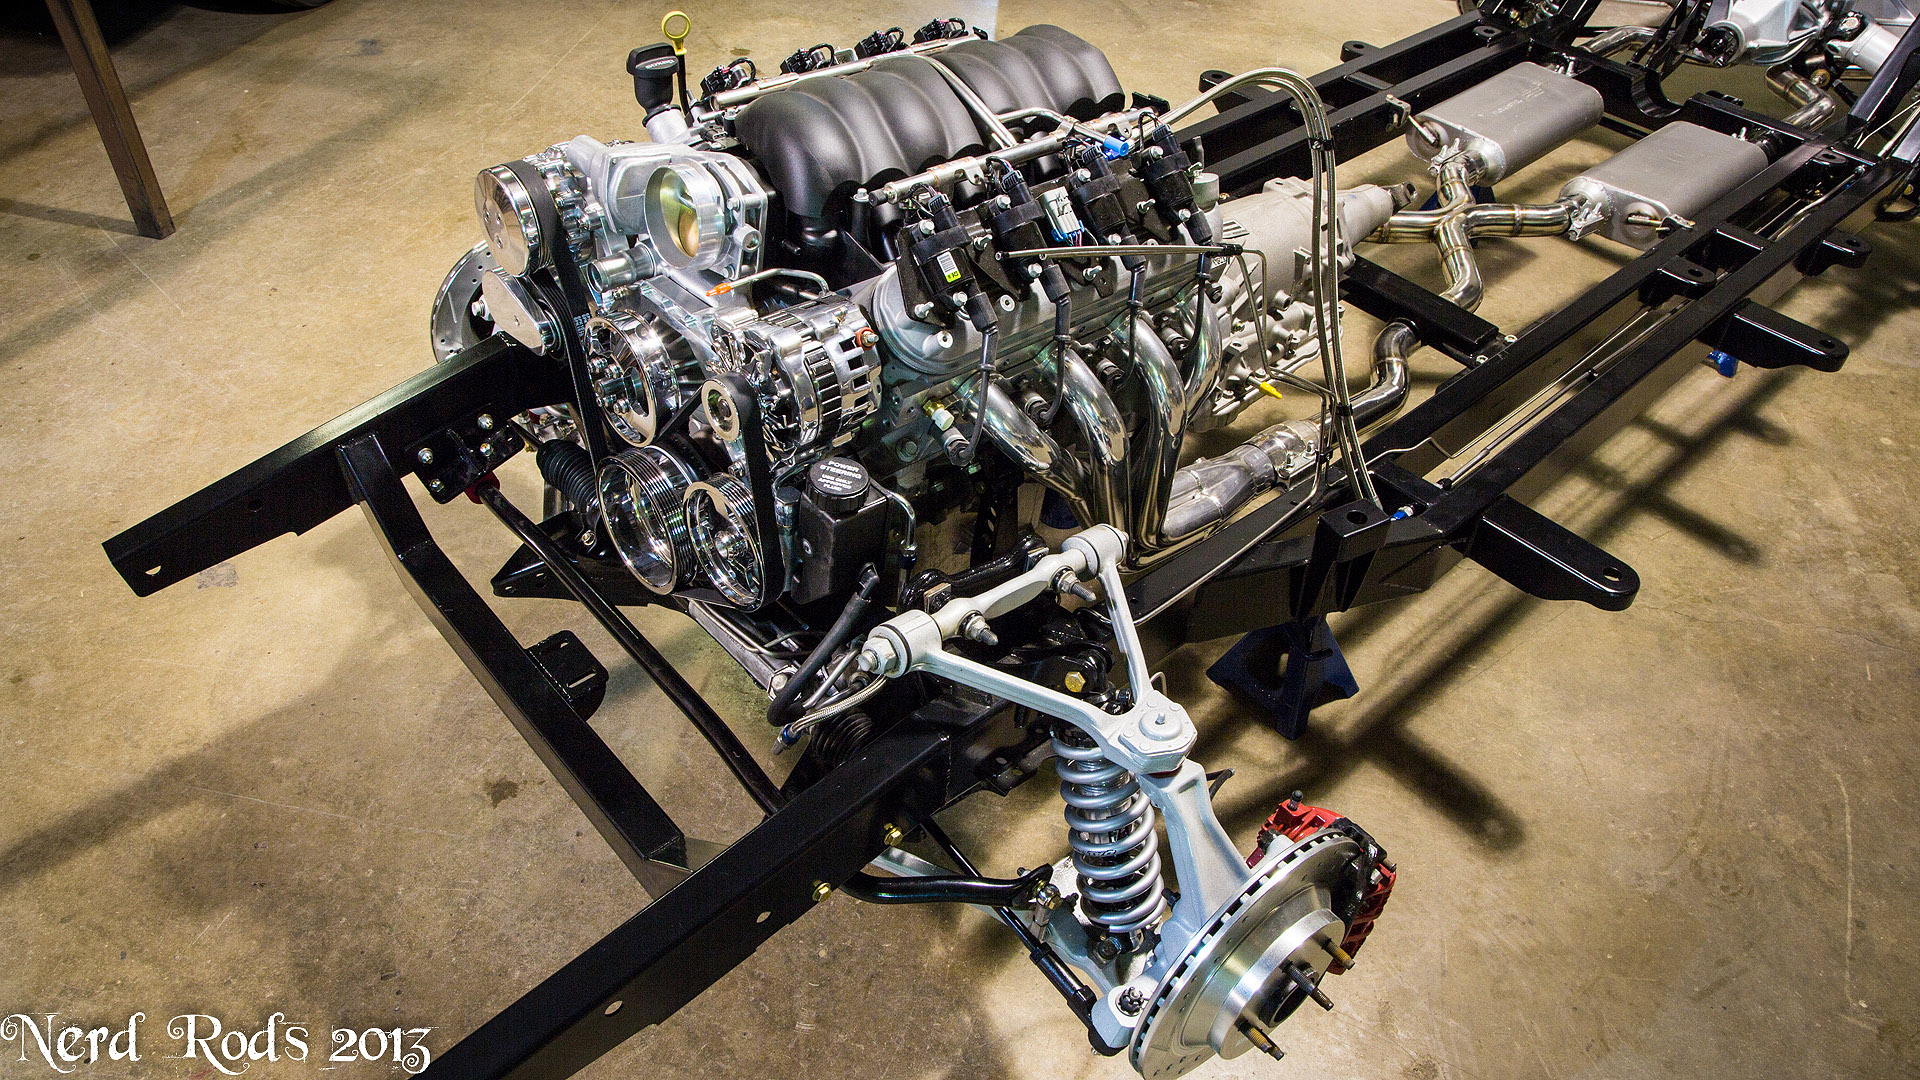
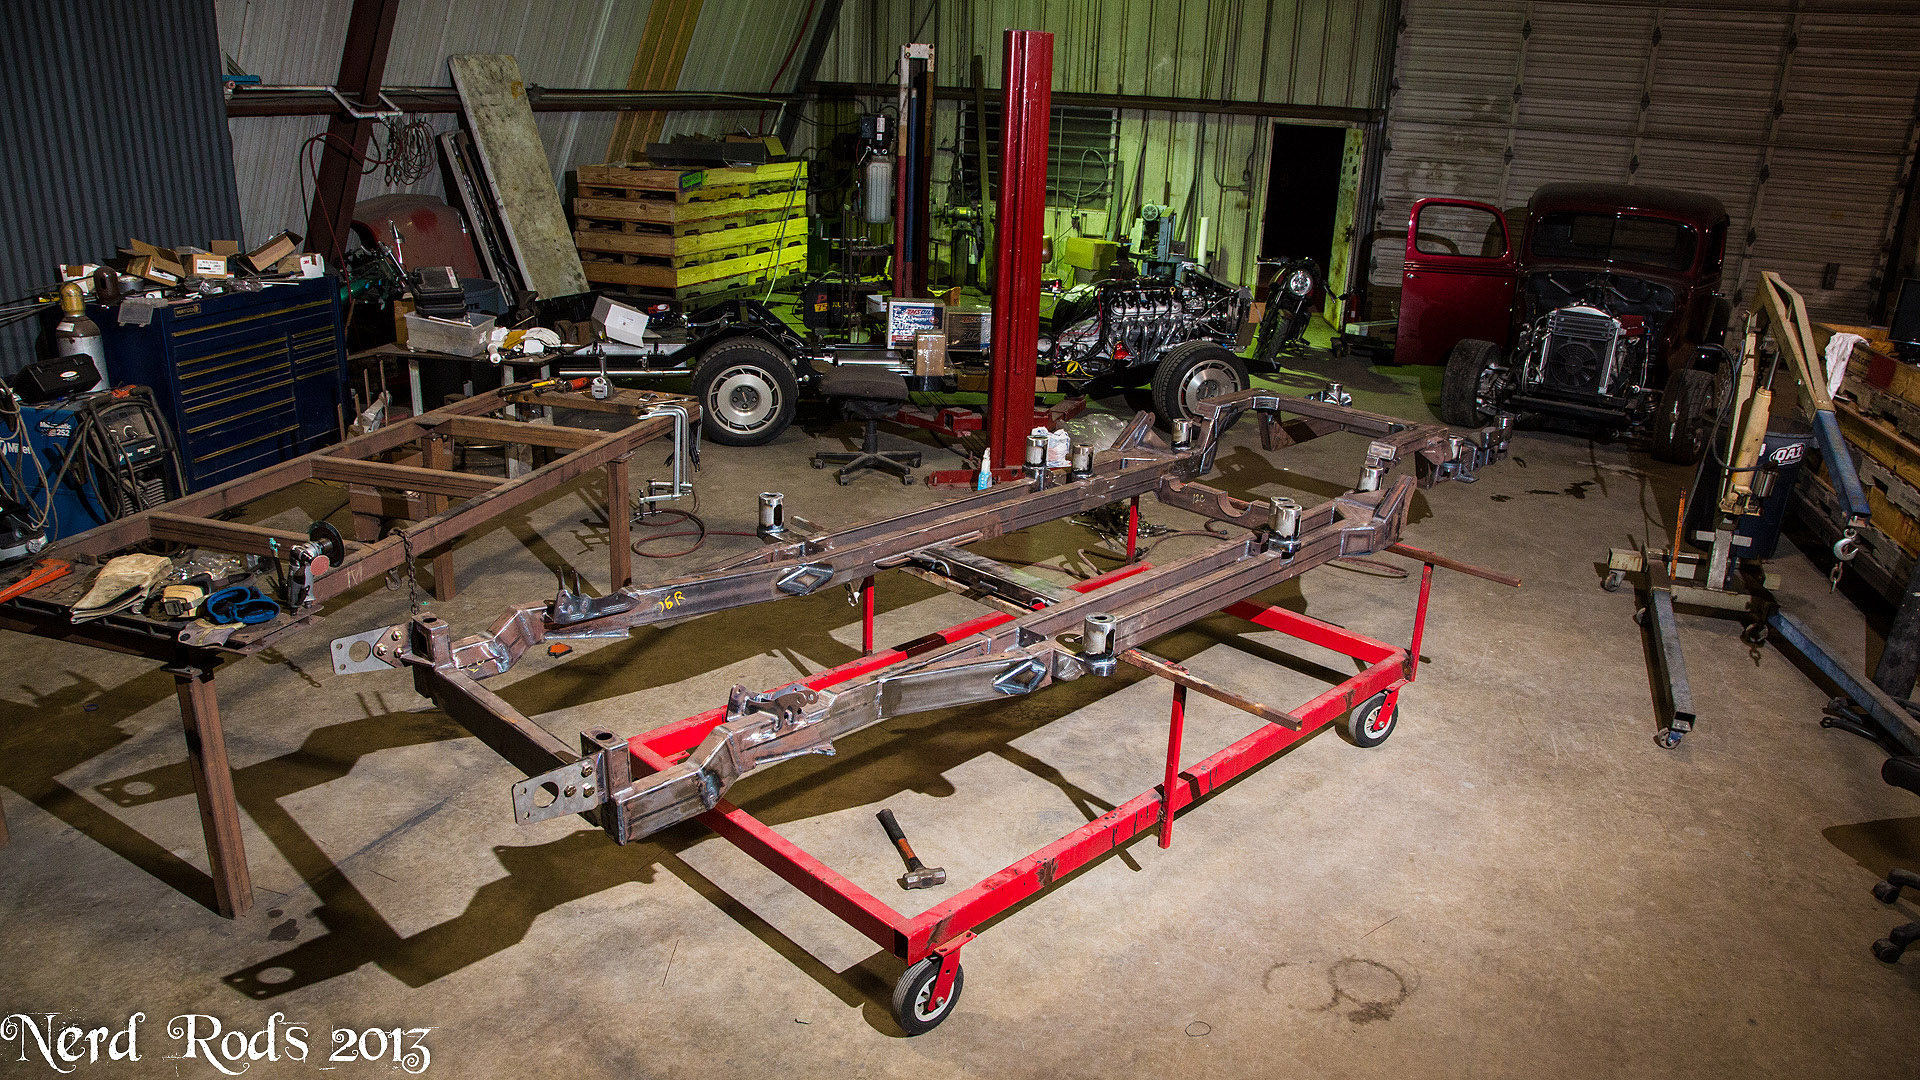
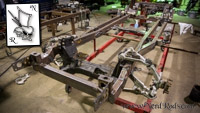
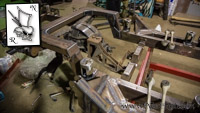
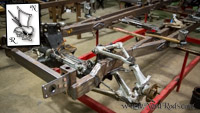
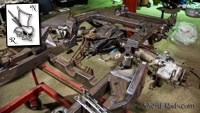
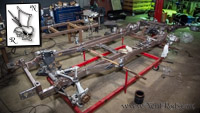
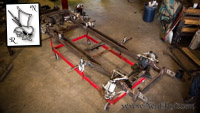
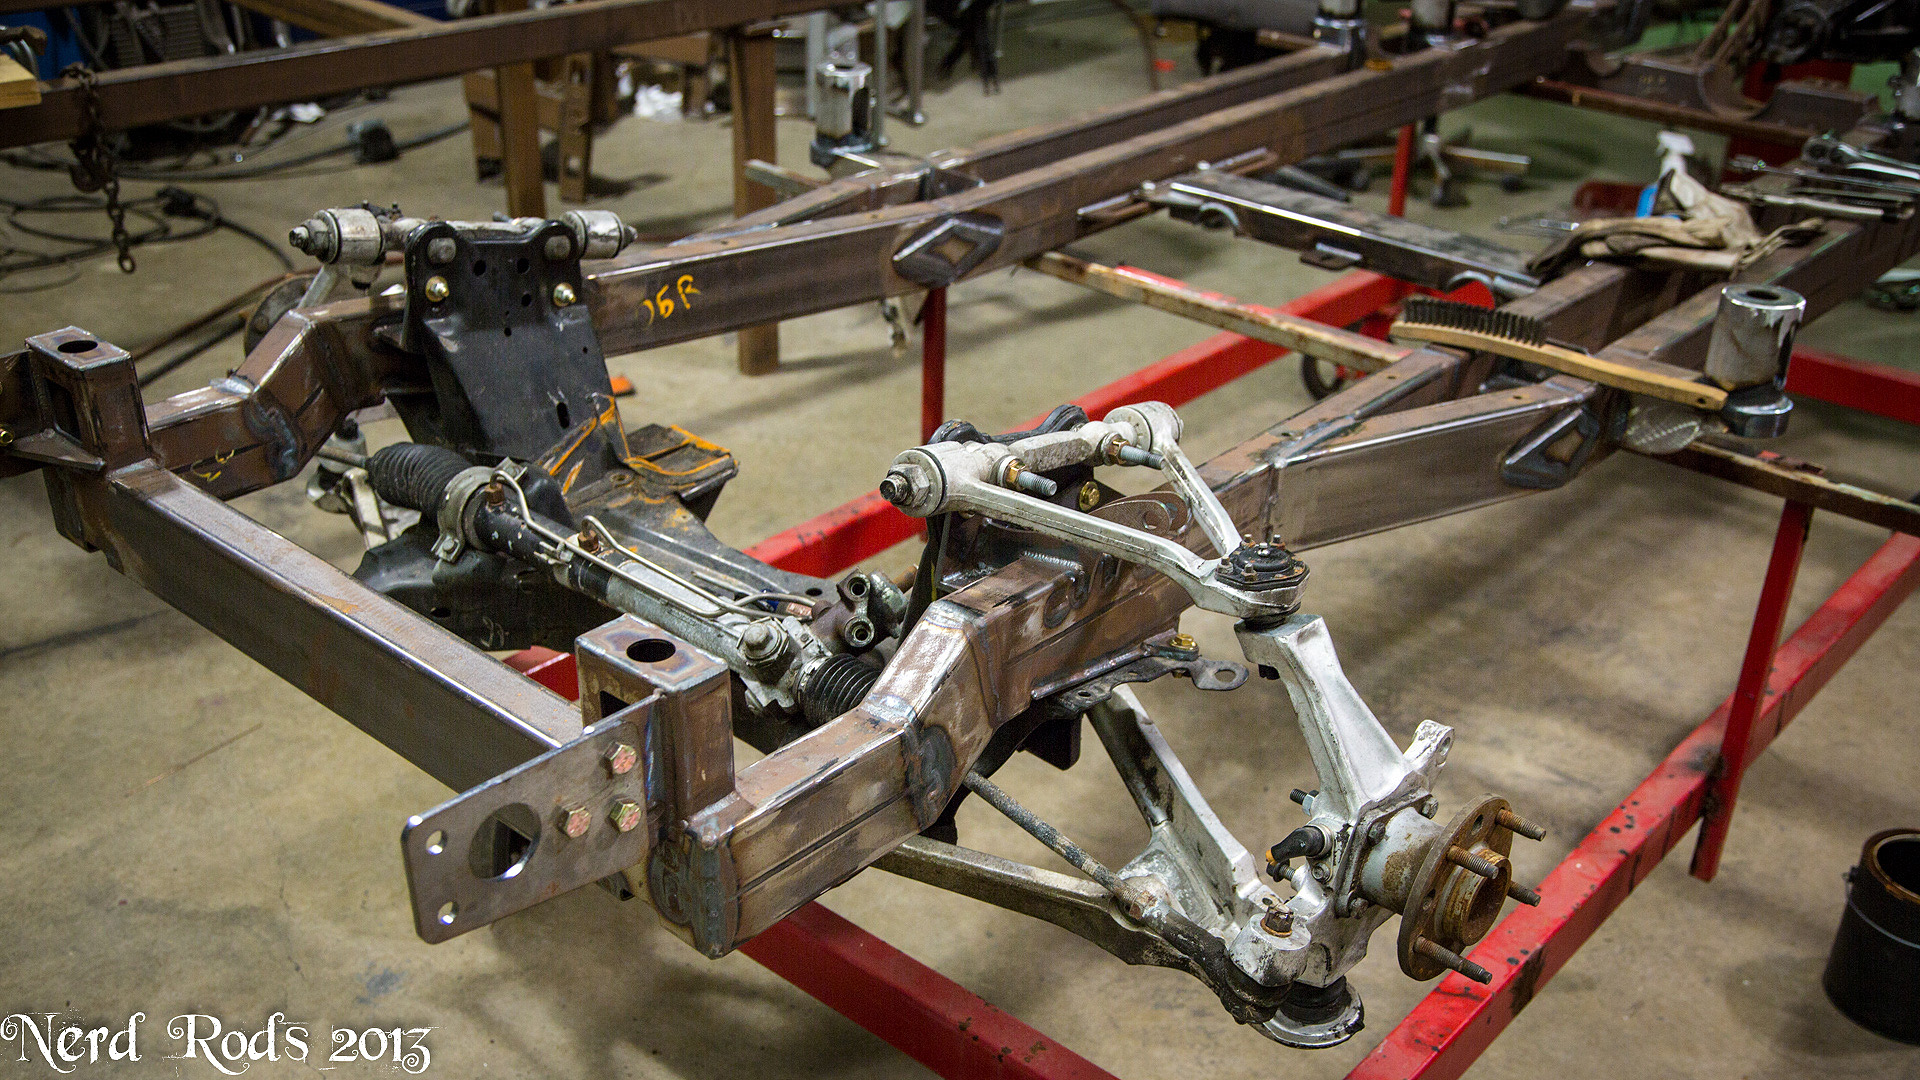
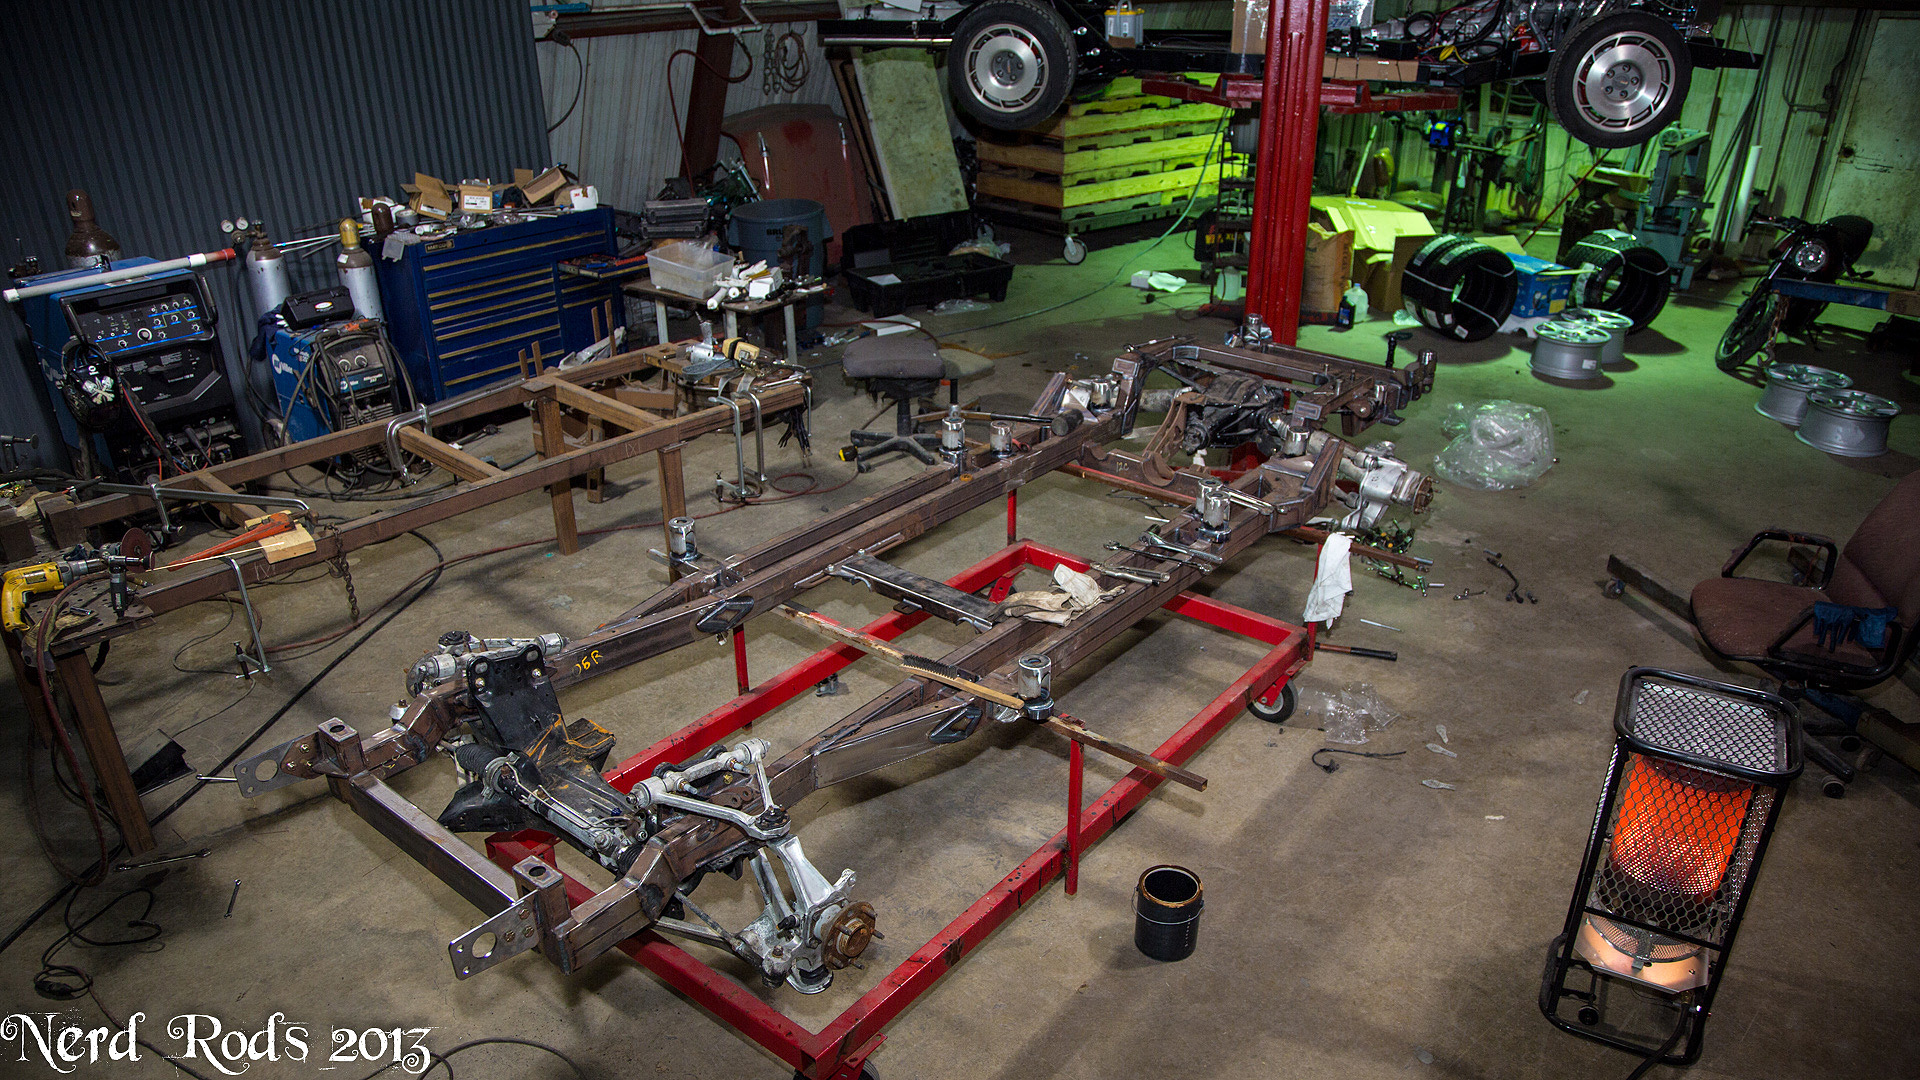
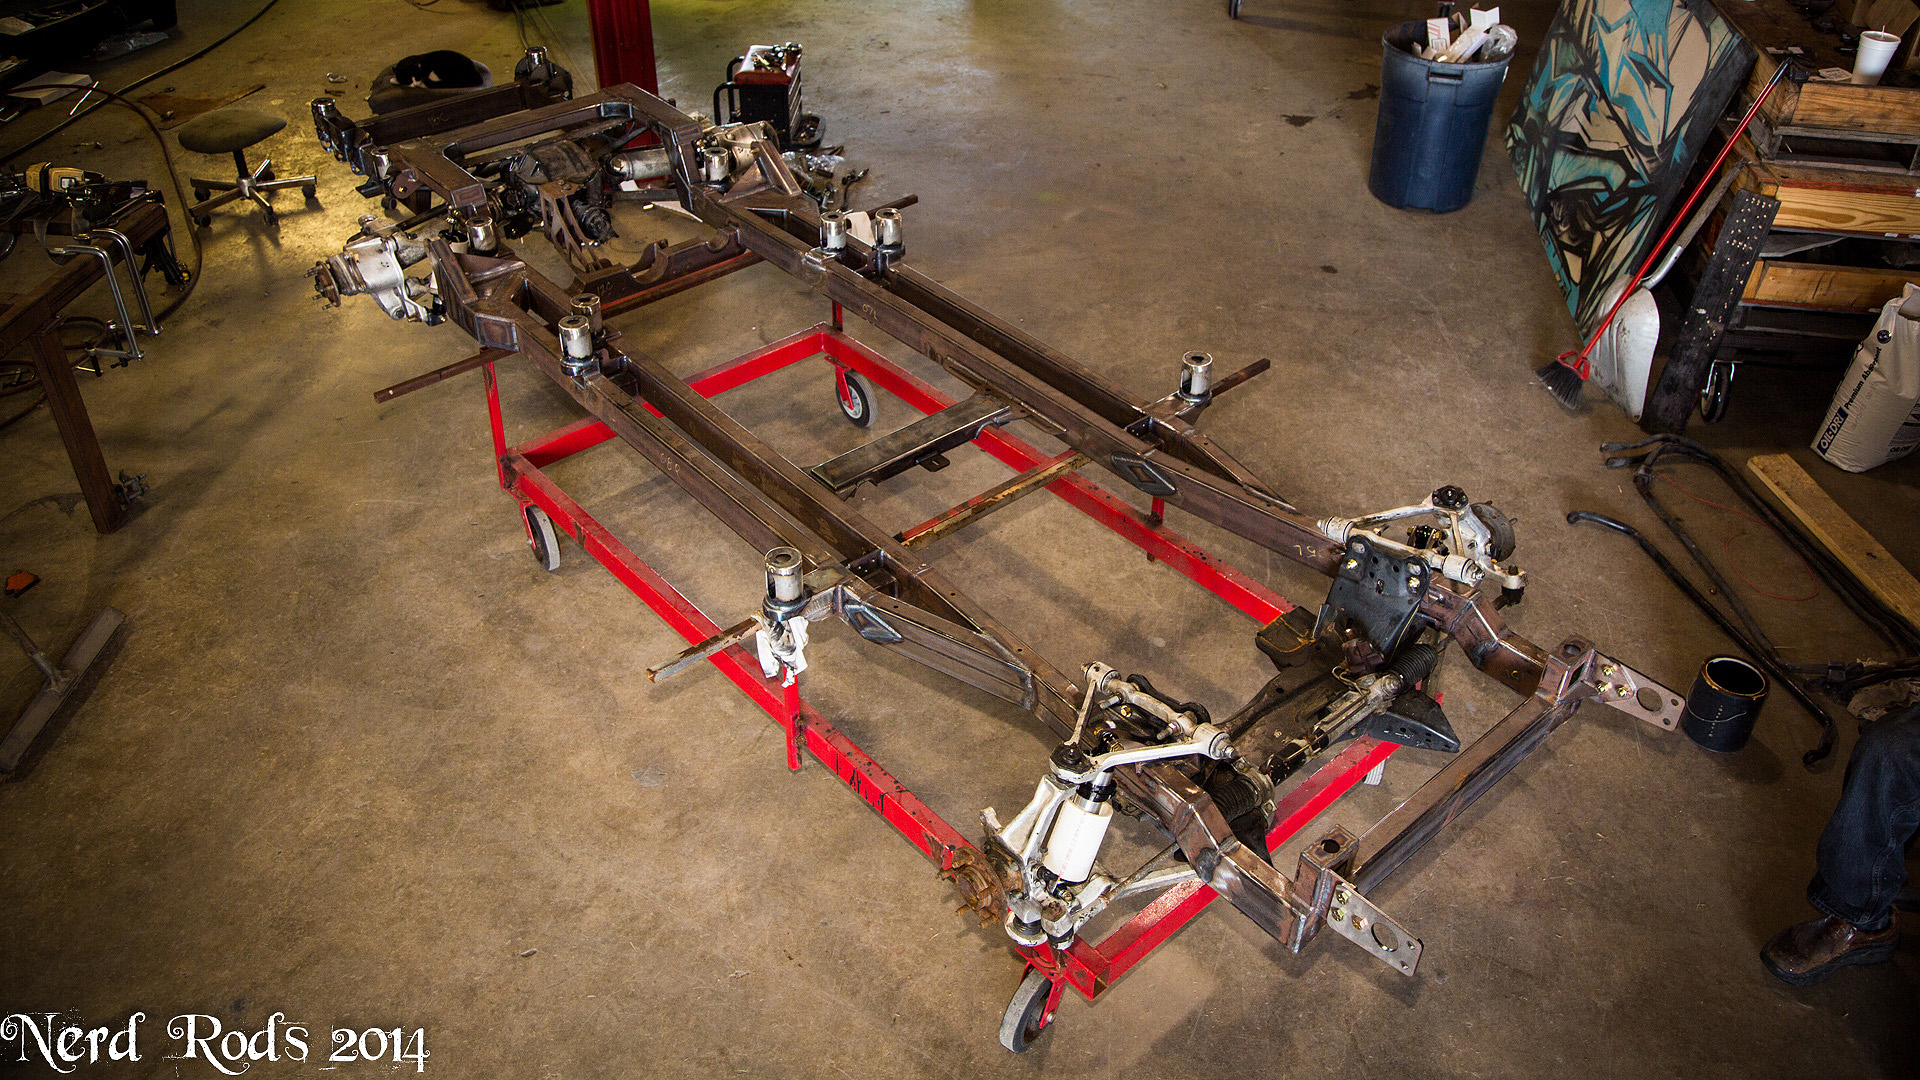
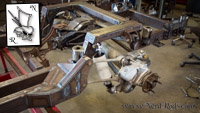
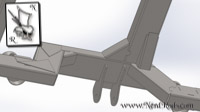
Well its finally a whole frame. I've just got some brackets, gussets and the bottom to finish up and we'll be onto fitting the body. Now that the main frame is together I need to take it off the table to finish up a fuel tank so I can get a gas tank wrapped up and deliver an over due stage 4 TriFive chassis.


 01-19-2014, 07:29 AM
#49
Launching!
Thread Starter
Join Date: Jan 2007
Location: Luling TX In the Hot Rod Shop
Posts: 294
Likes: 0
Received 3 Likes
on
3 Posts
Thanks all!
Sorry I've been out of touch. Holidays, TIG died, had to help the girlfriend move, Jim (aka dad, works here with me) had back surgery and we had a TFC4 TriFive C4 Stage 4 Chassis to wrap up. But no relatives were murdered, the TIG has been fixed, girlfriend is moved in, Jim doesn't have any of the pain he's had in his legs and was walking again same day after the surgery and the Stage 4 Chassis is awesome!
I'm almost done with the truck frame. I didn't bother doing extensive photography in favor for speed. It was all just little bottom welding and a few loose brackets but I'll get few photos posted in a day or two I hope.
The rest of the photos are here.
http://www.trifive.com/forums/showth...87#post1282187
Later
-Russell
Last edited by rat_rod_russell; 01-19-2014 at 01:03 PM.


 01-24-2014, 09:45 AM
#54
Launching!
Thread Starter
Join Date: Jan 2007
Location: Luling TX In the Hot Rod Shop
Posts: 294
Likes: 0
Received 3 Likes
on
3 Posts
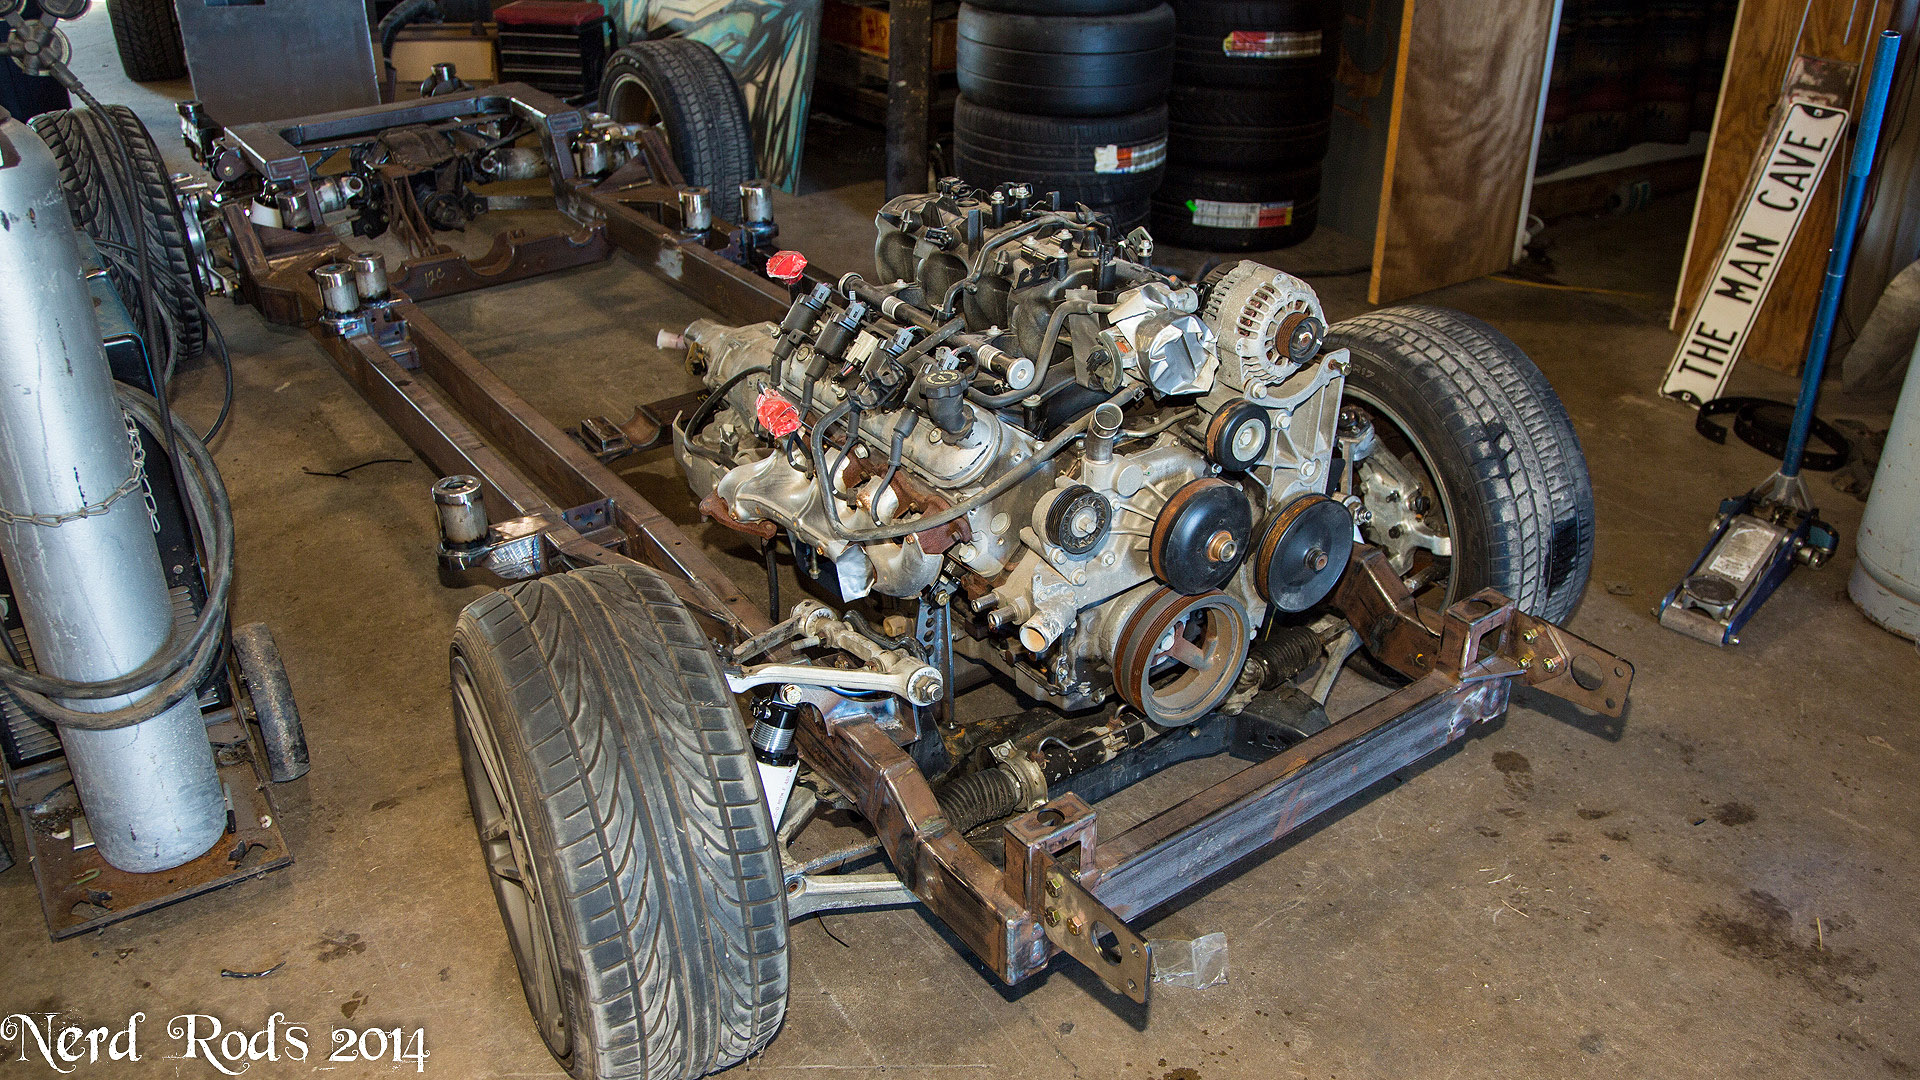
Thanks!!
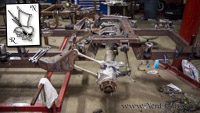
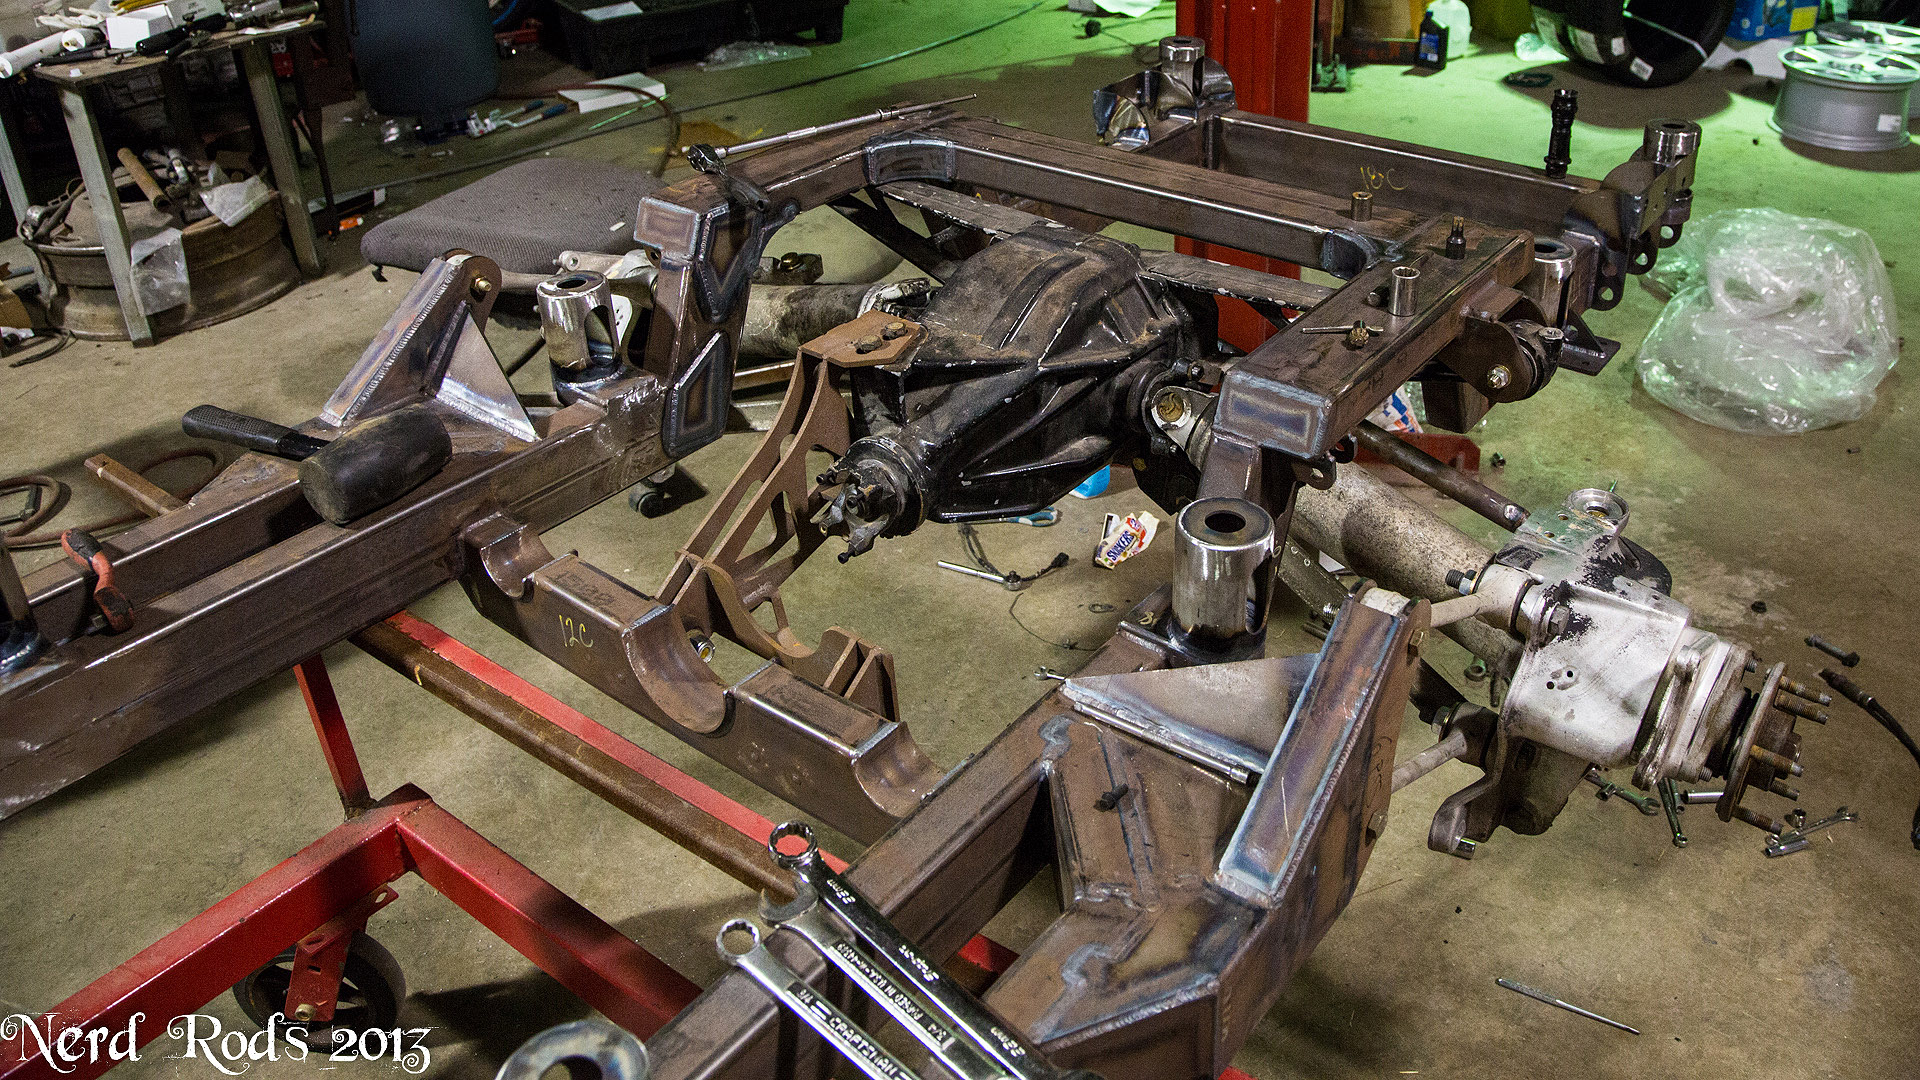
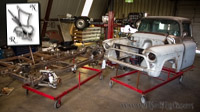
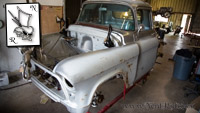
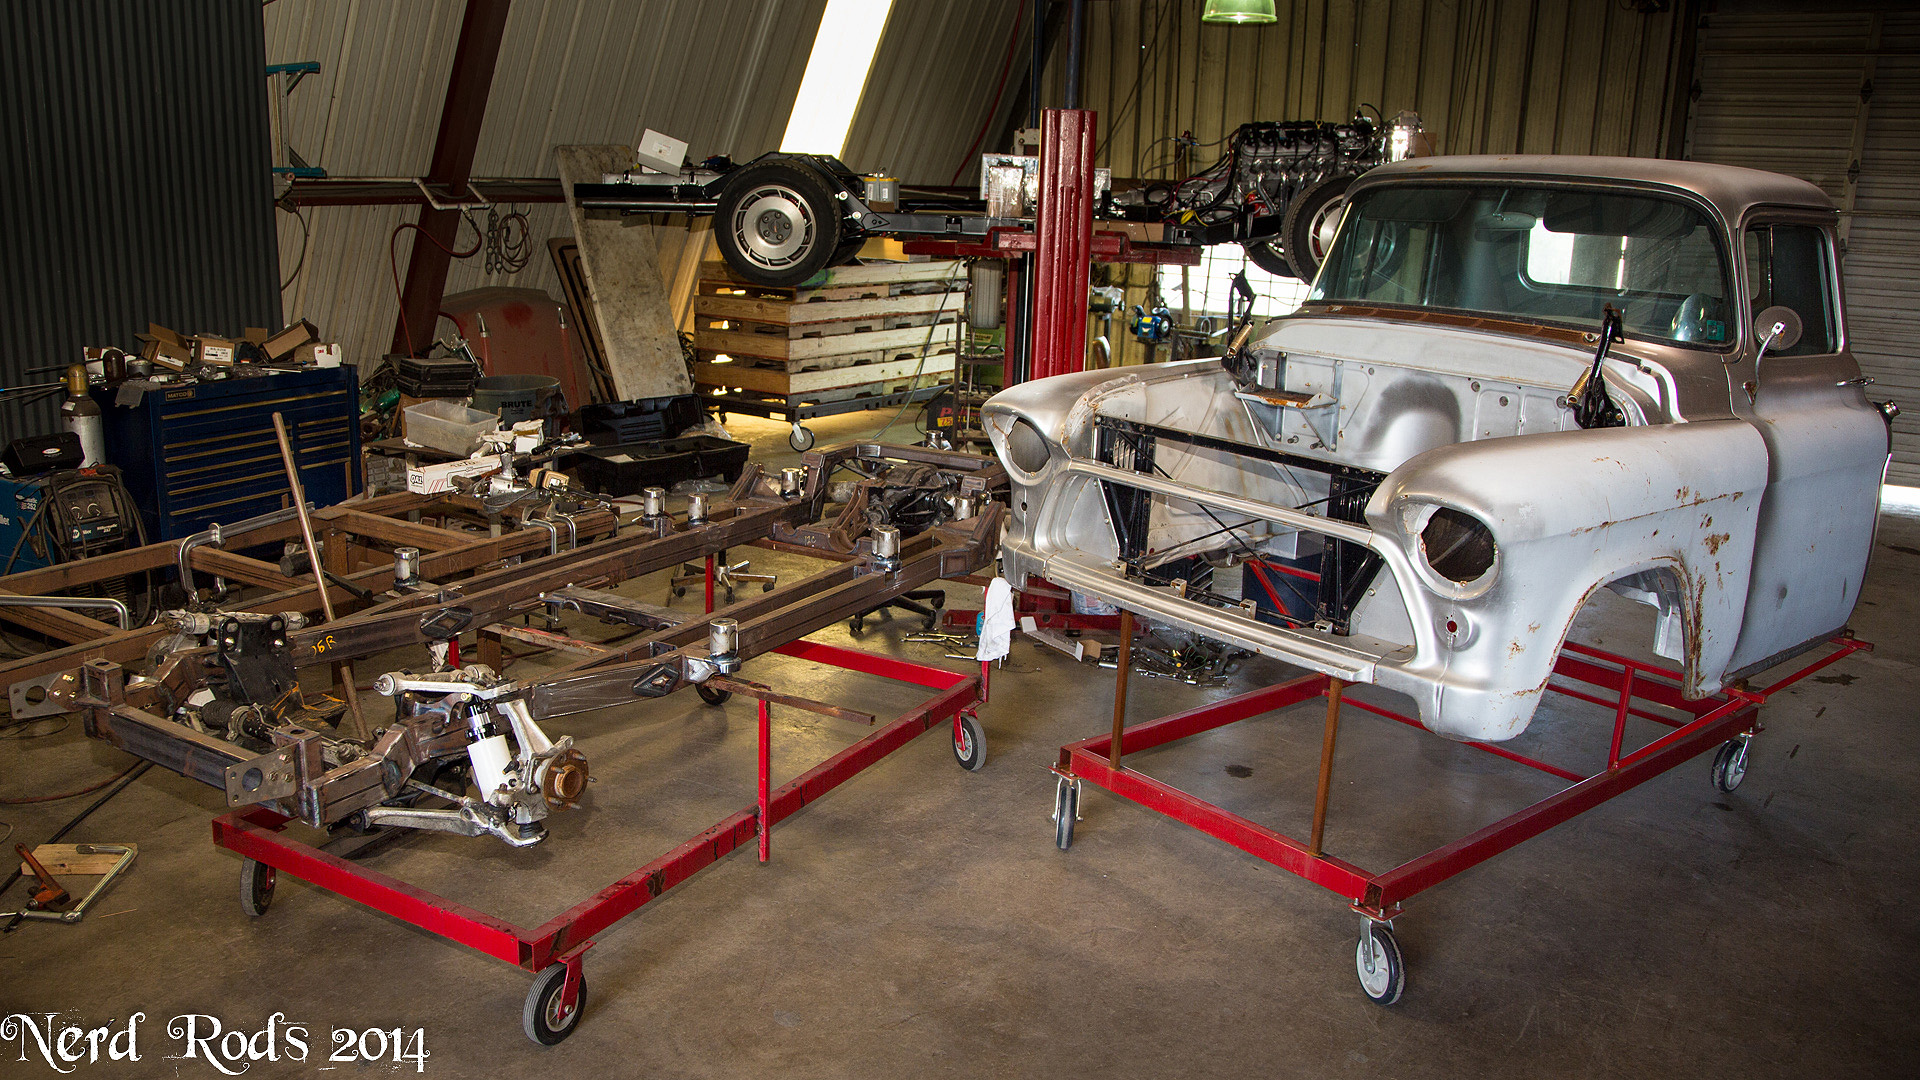
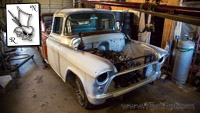
Not pretty parts but its rolling. I need to get something together for a temp coil over shock and then its time to bring the cab in. It just got really cold down here but we'll be back to normal shortly. I need the stage 4 on the lift to go away and I'm working on the wiring harness to the 38 Ford in the background as well and I need to finish that to bring the Cab and front clip in to mount up. Hopefully that will happen Tuesday or Wednesday of next week.
Later
-Russell
01-26-2014, 10:53 AM
#55
Launching!
Thread Starter
Join Date: Jan 2007
Location: Luling TX In the Hot Rod Shop
Posts: 294
Likes: 0
Received 3 Likes
on
3 Posts
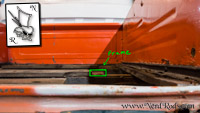
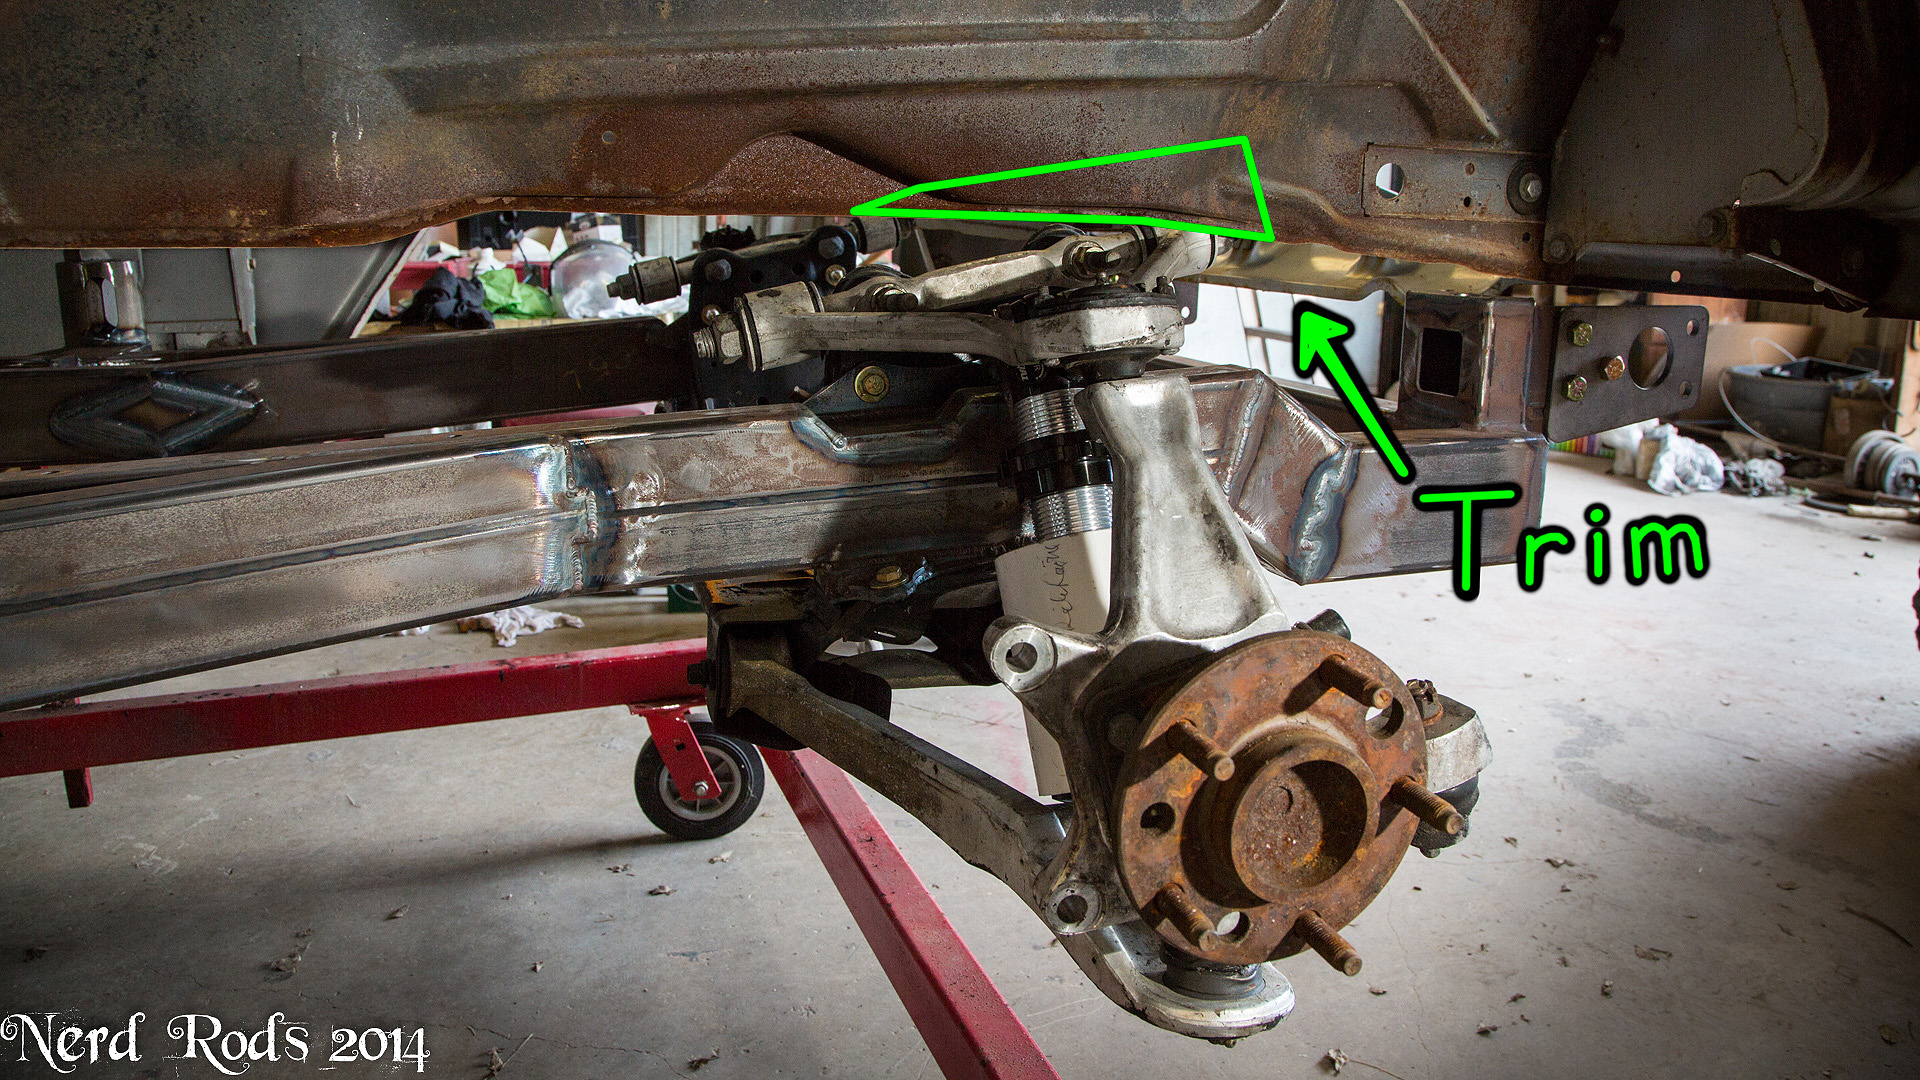
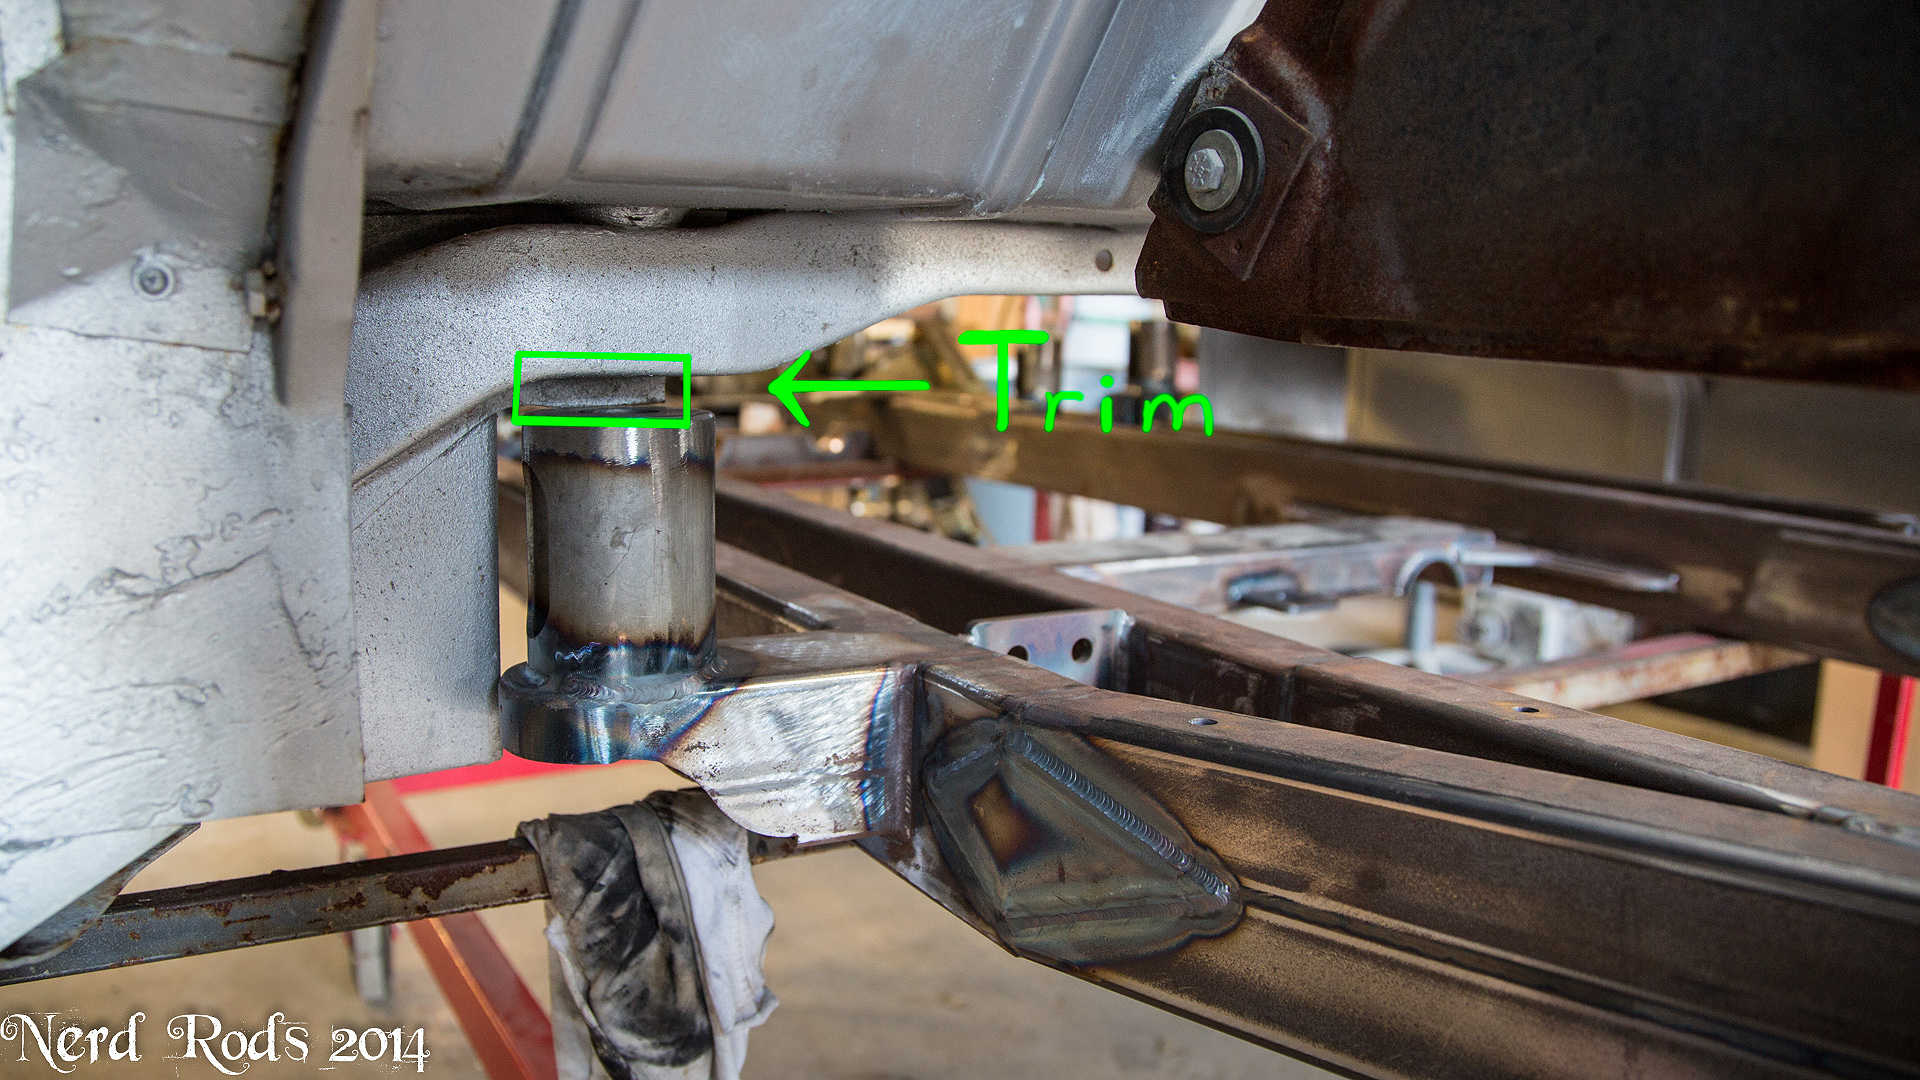
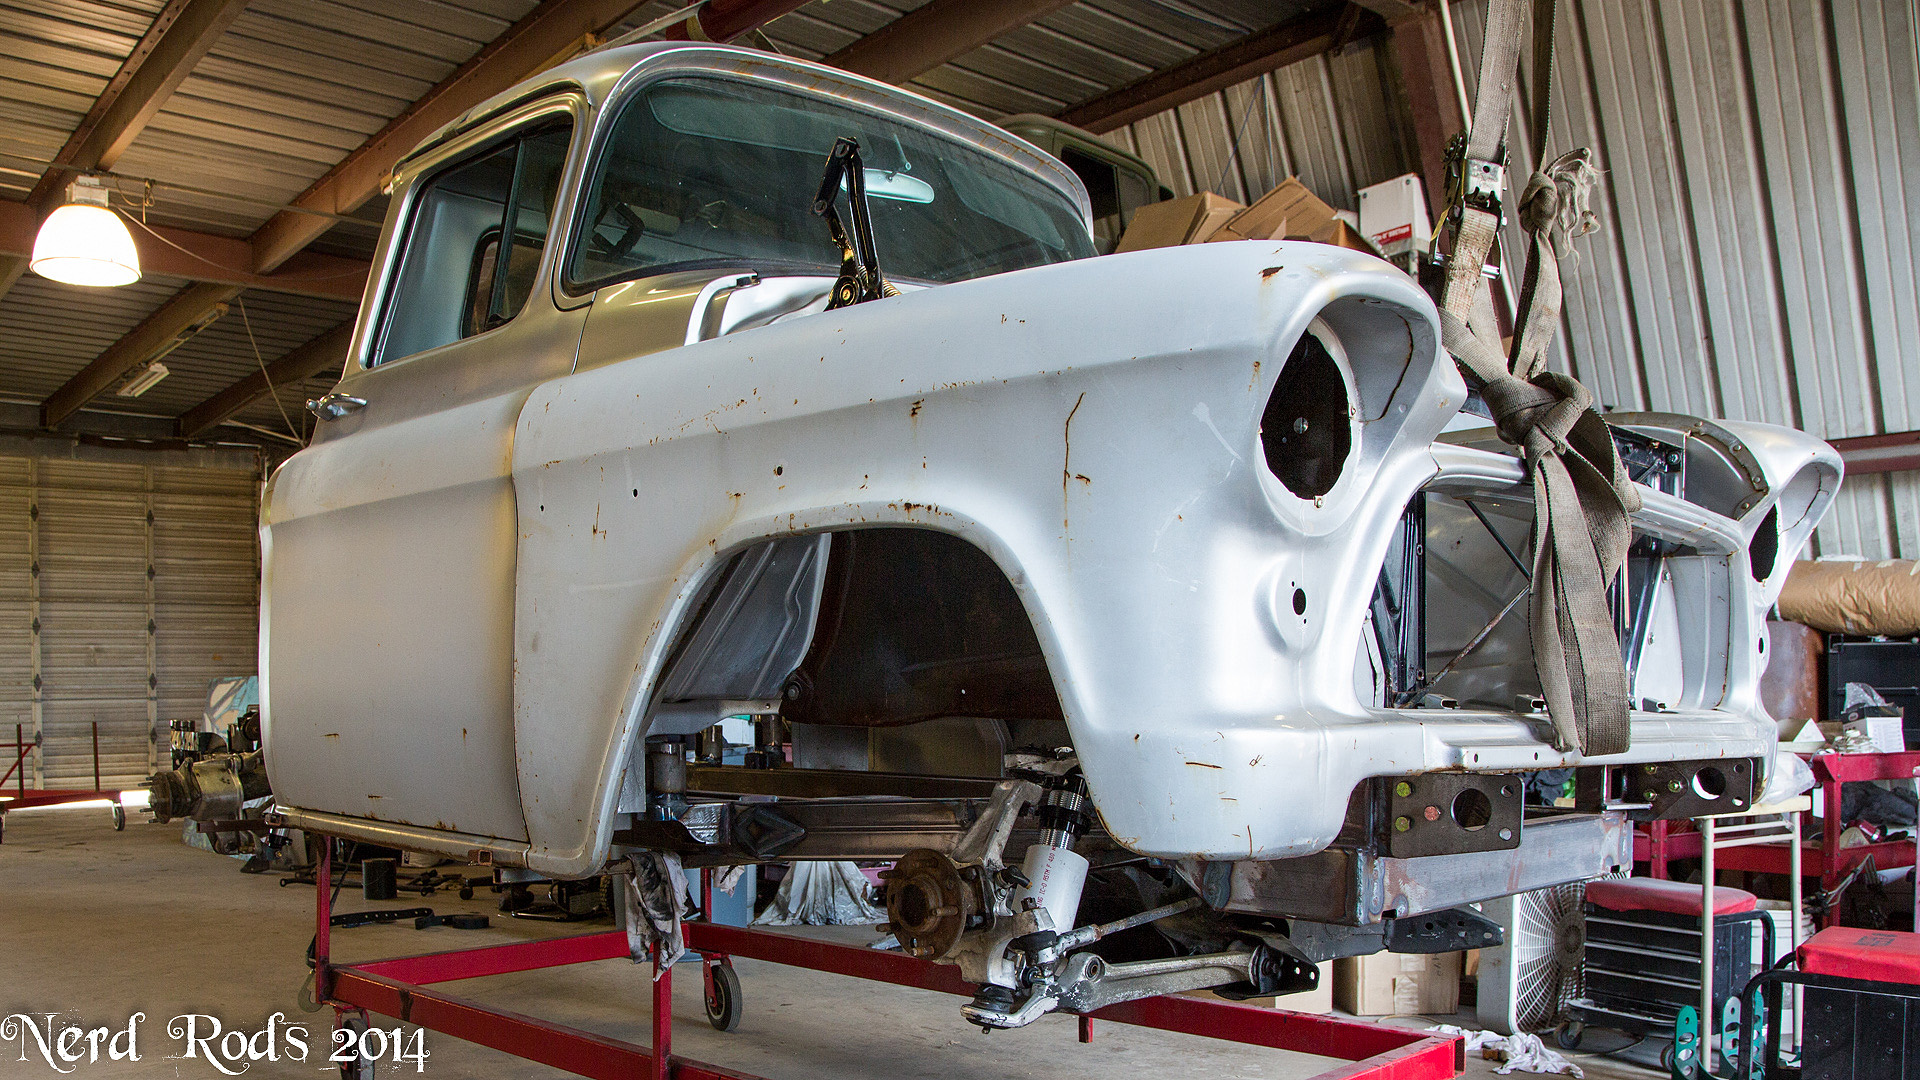
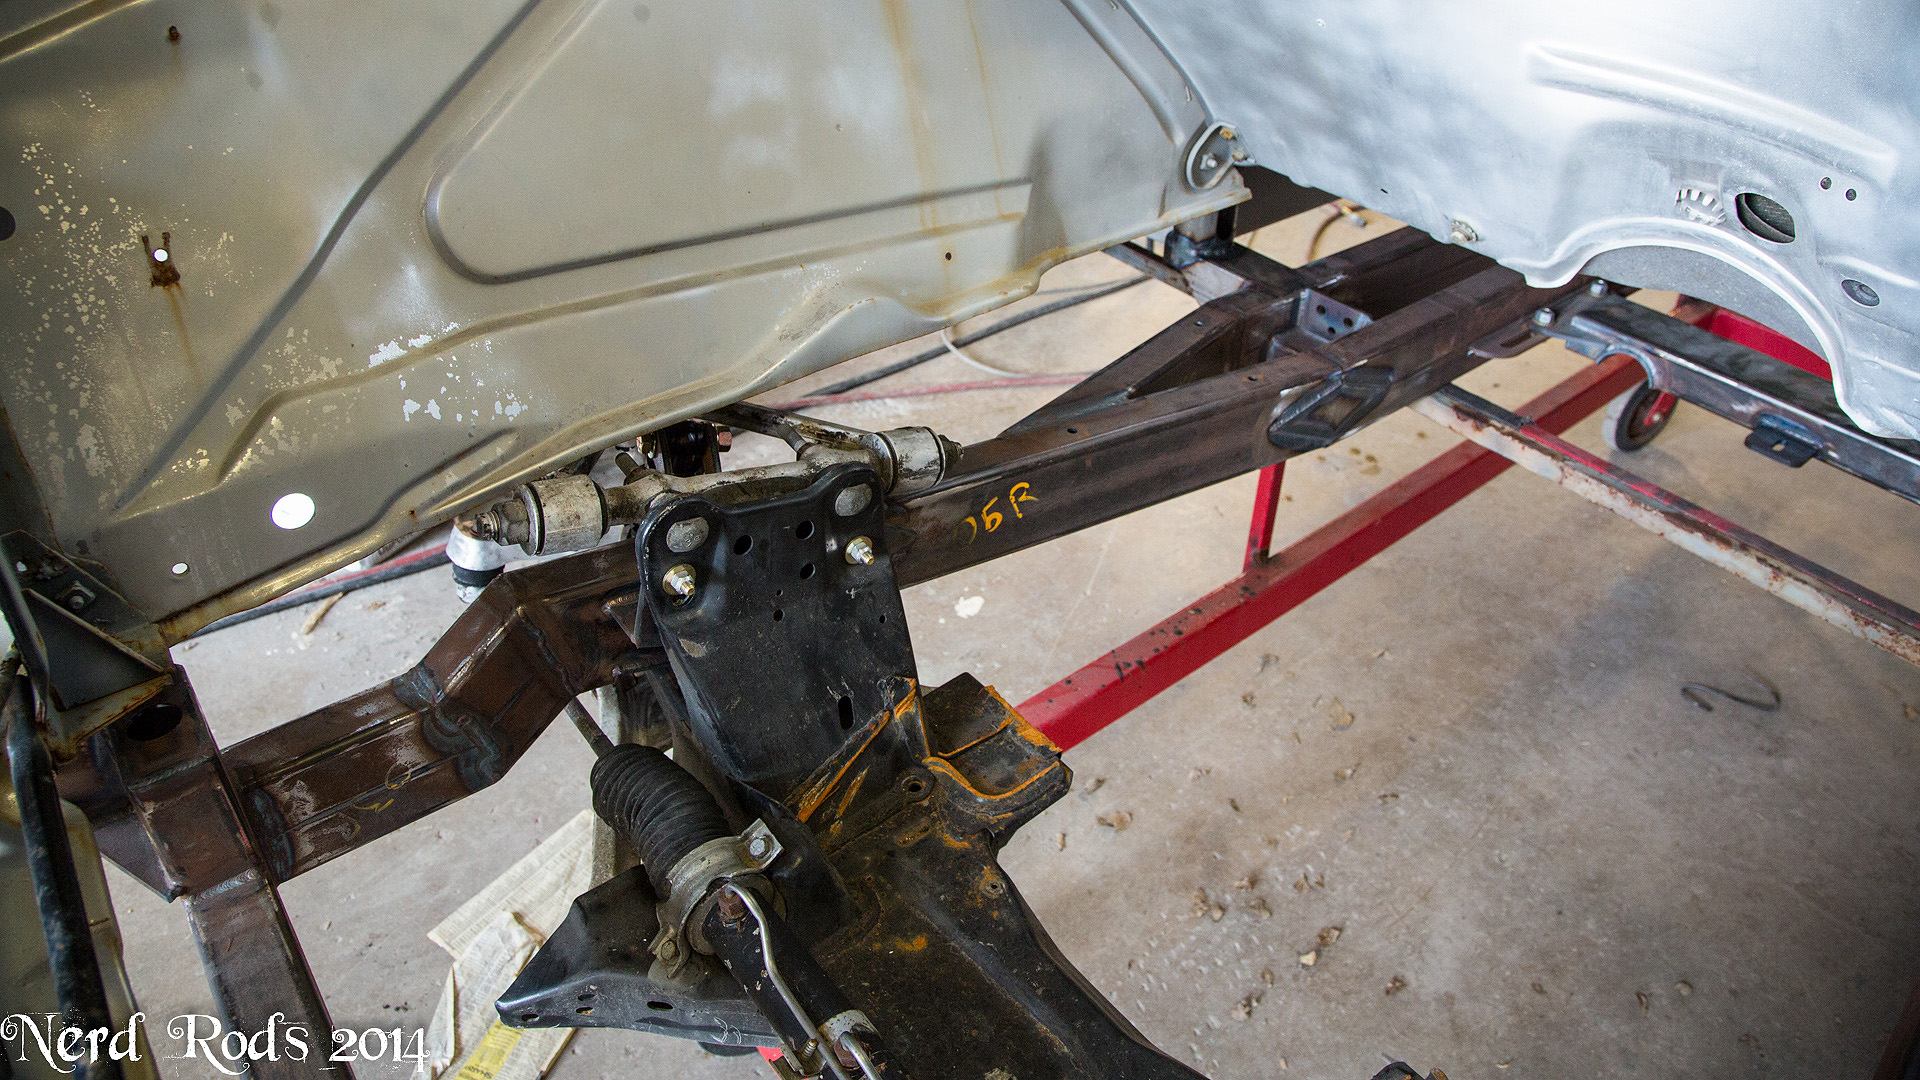
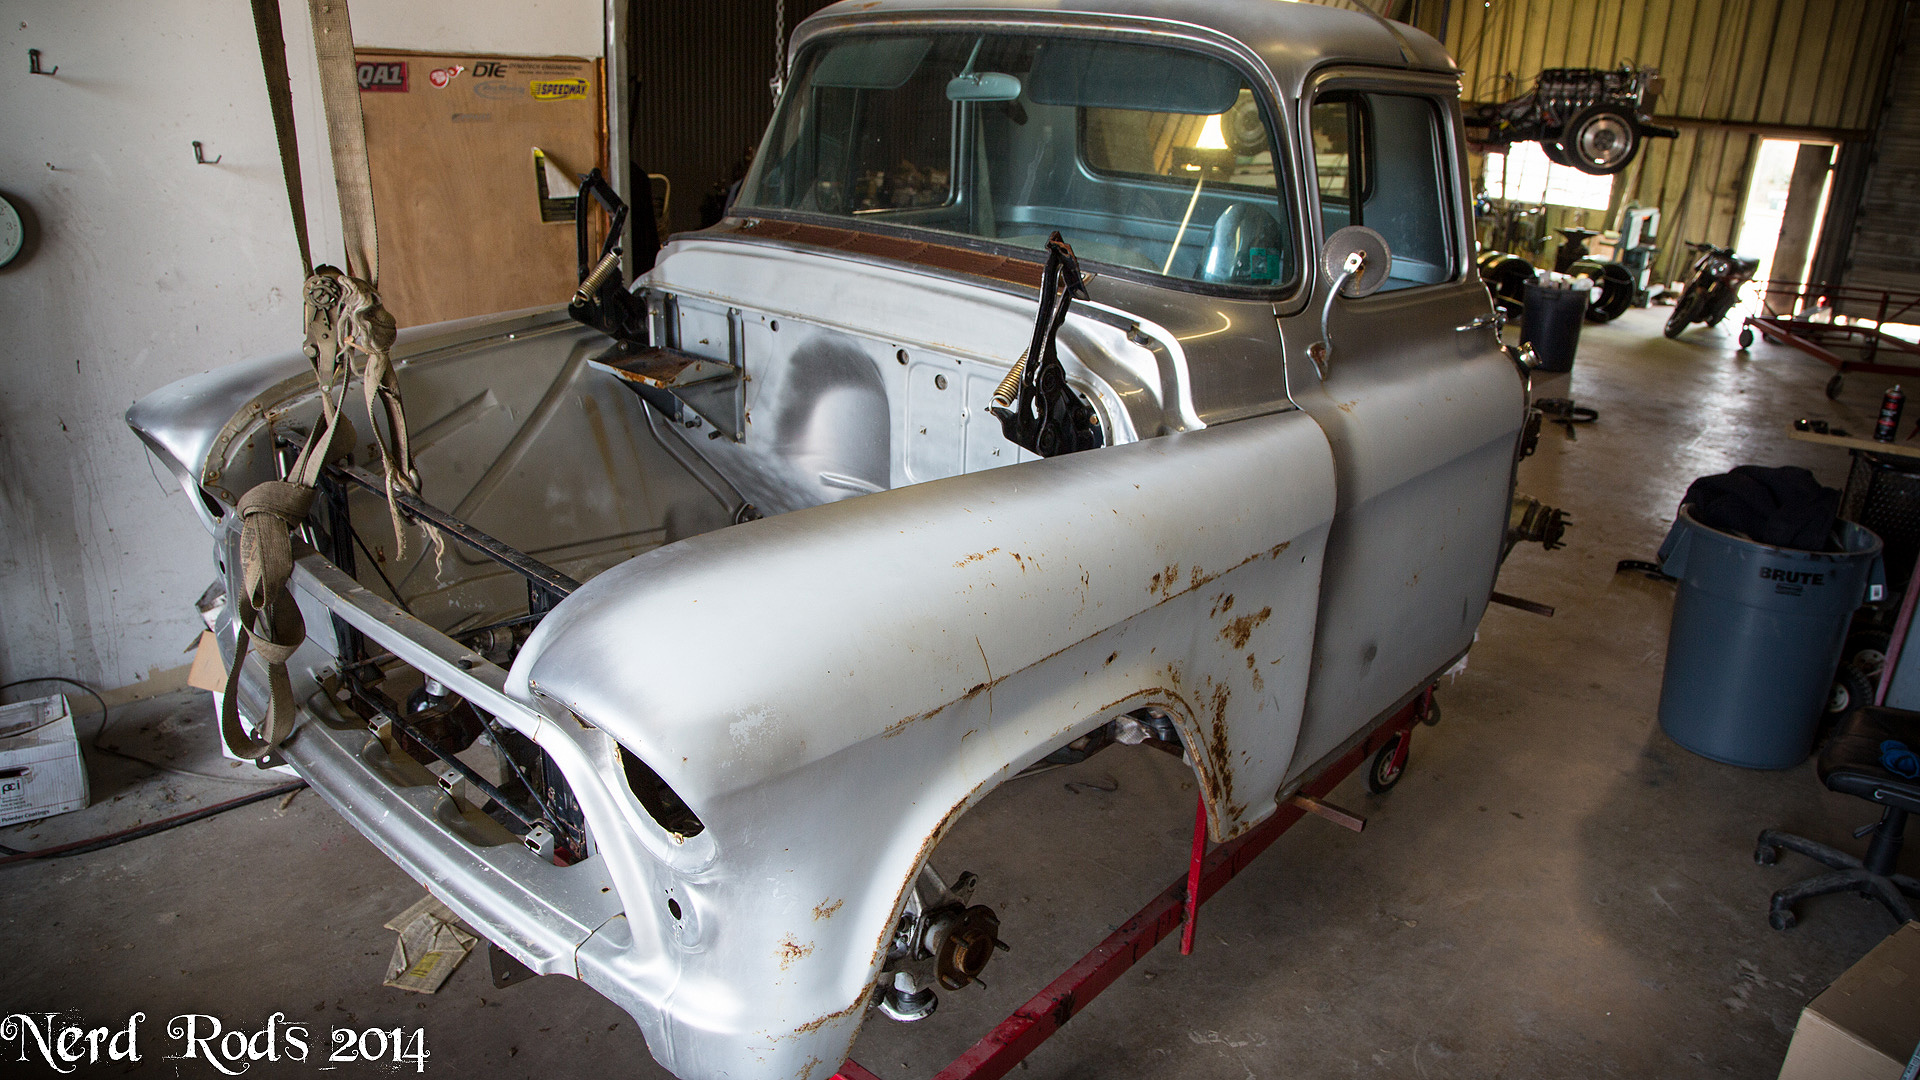
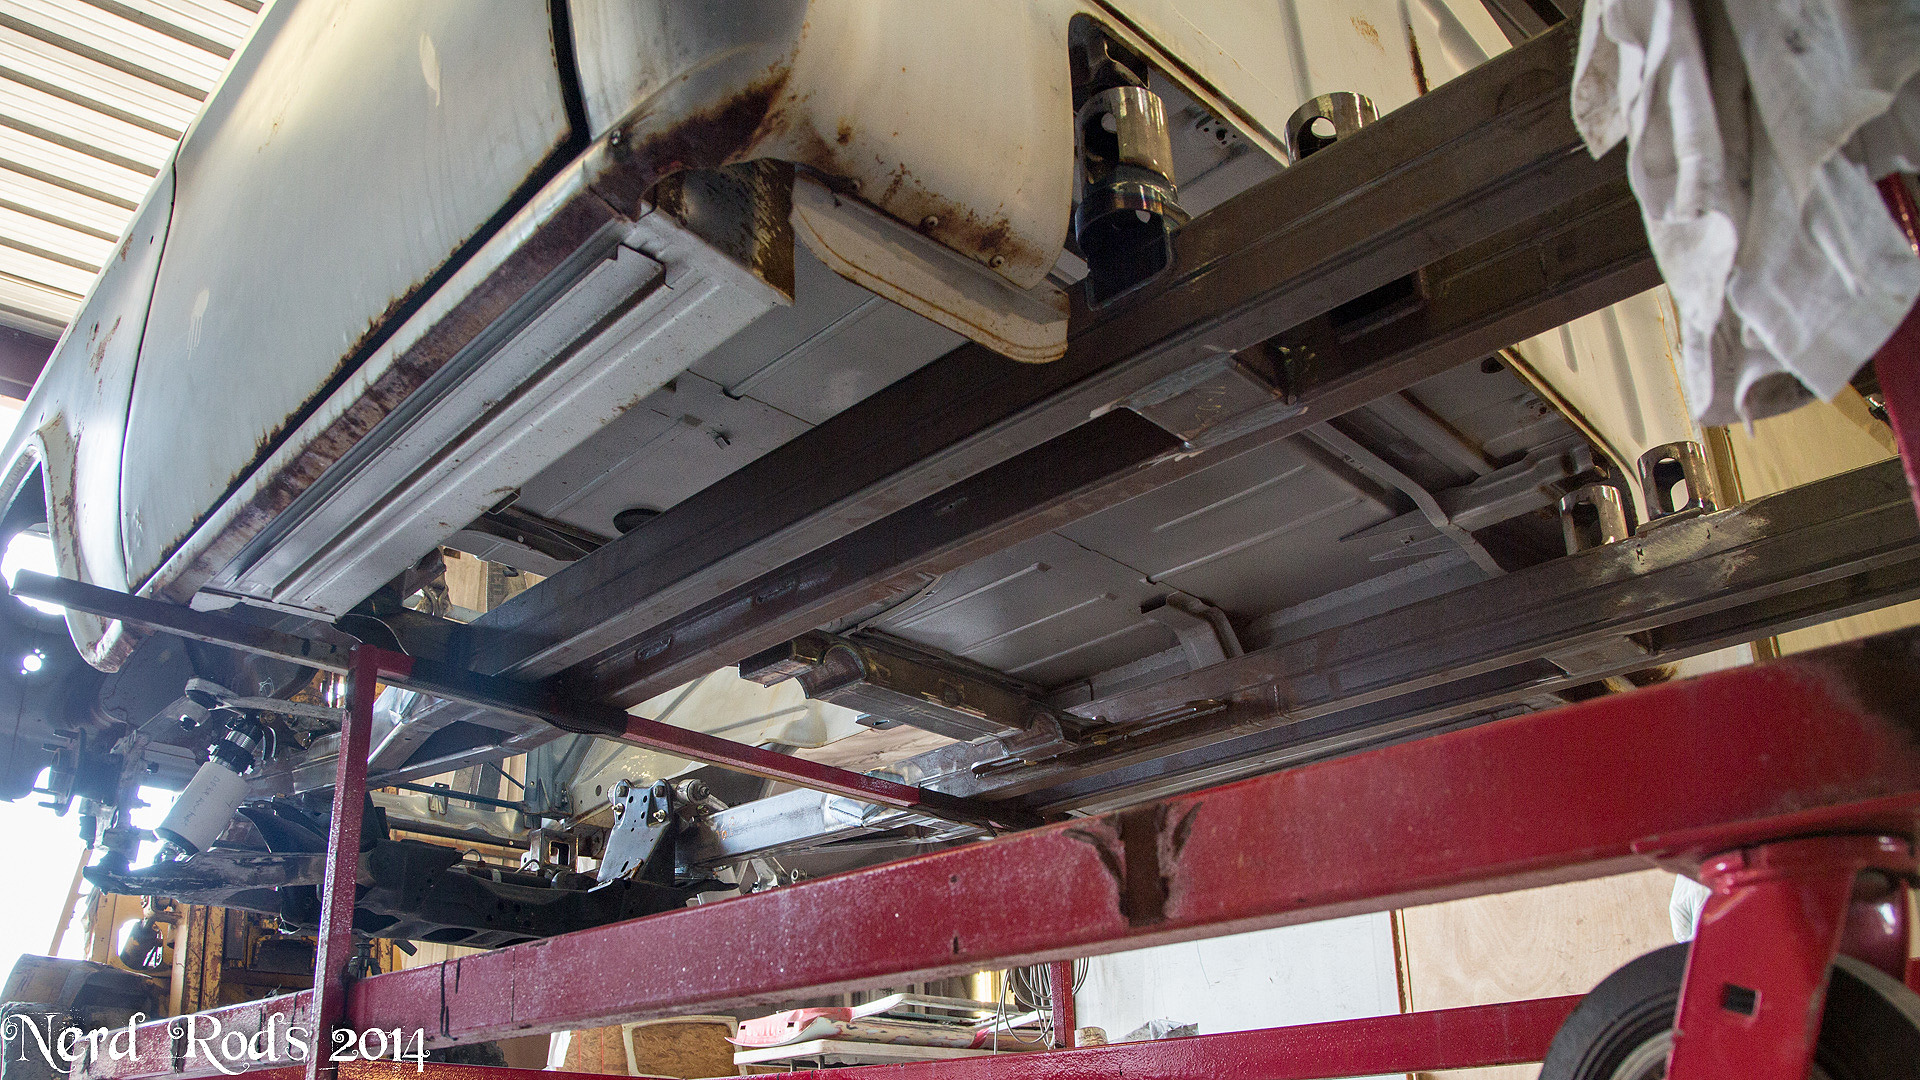
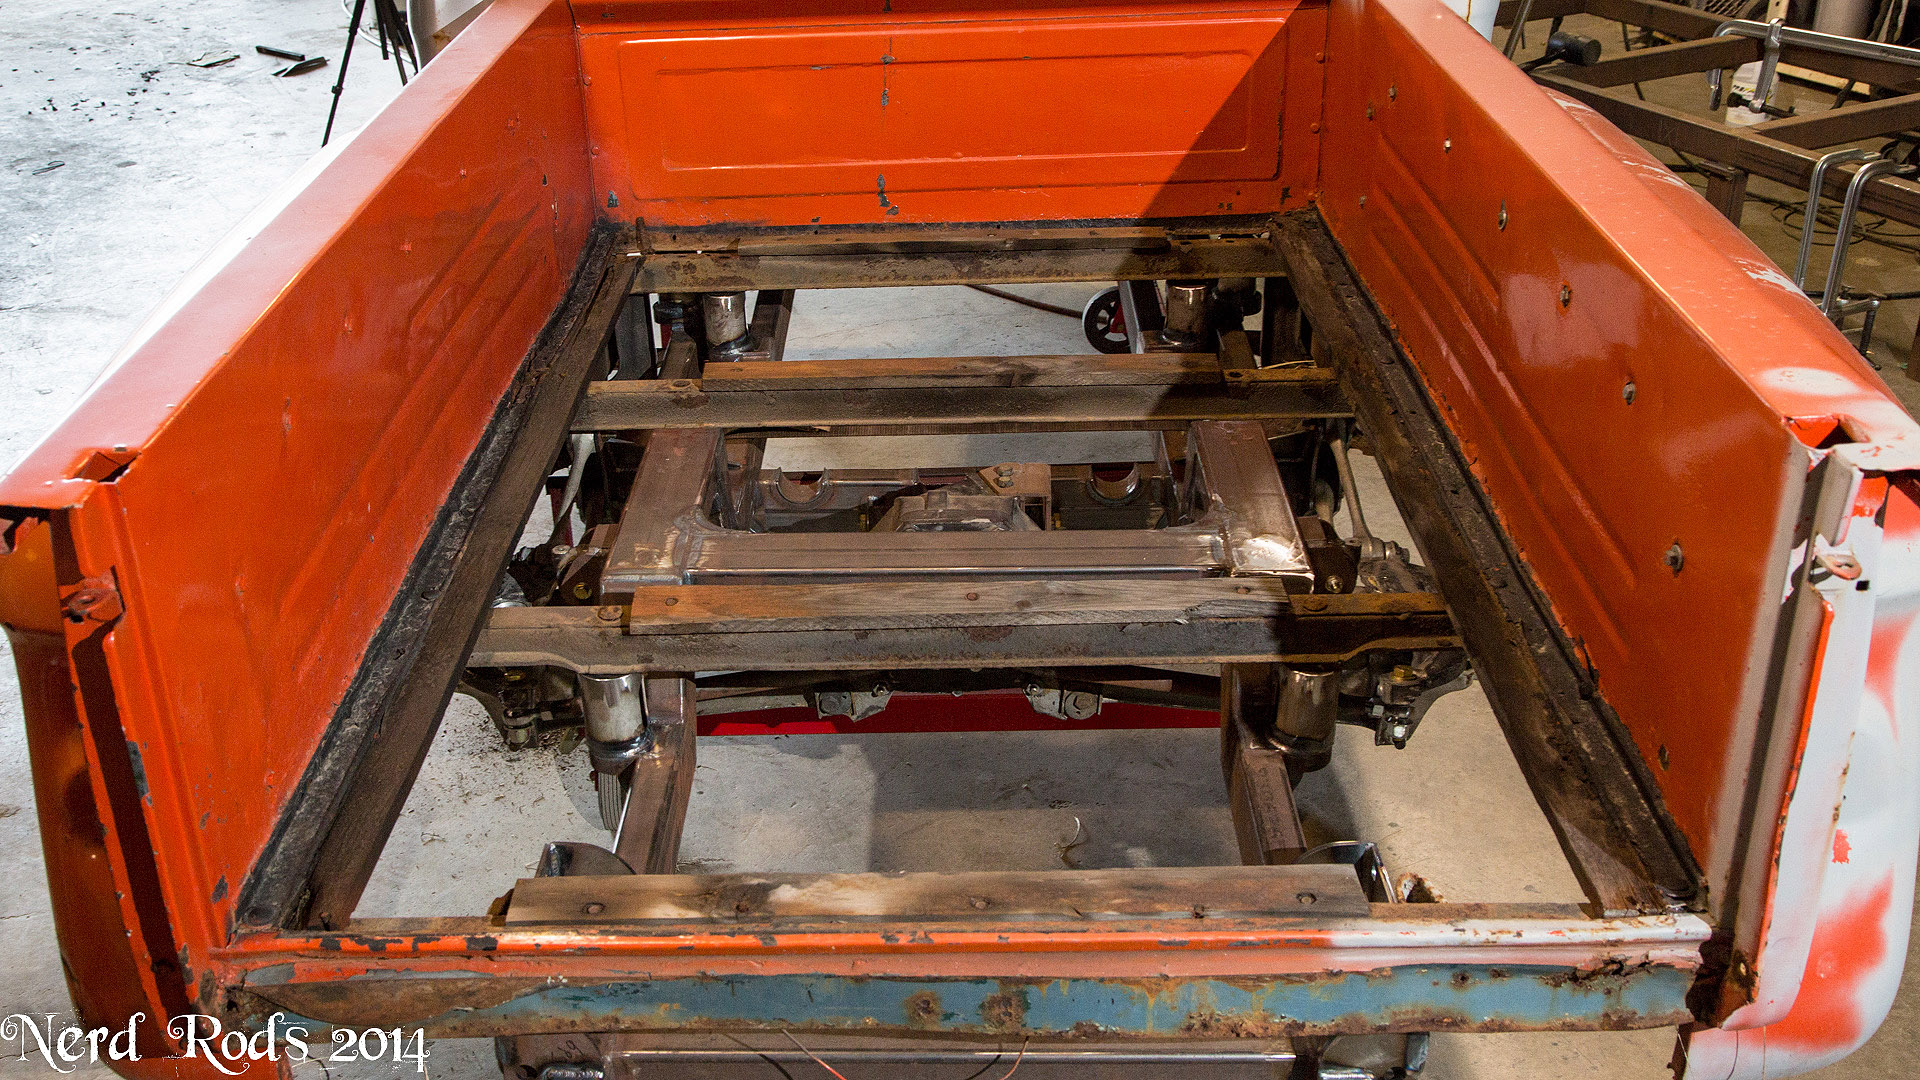
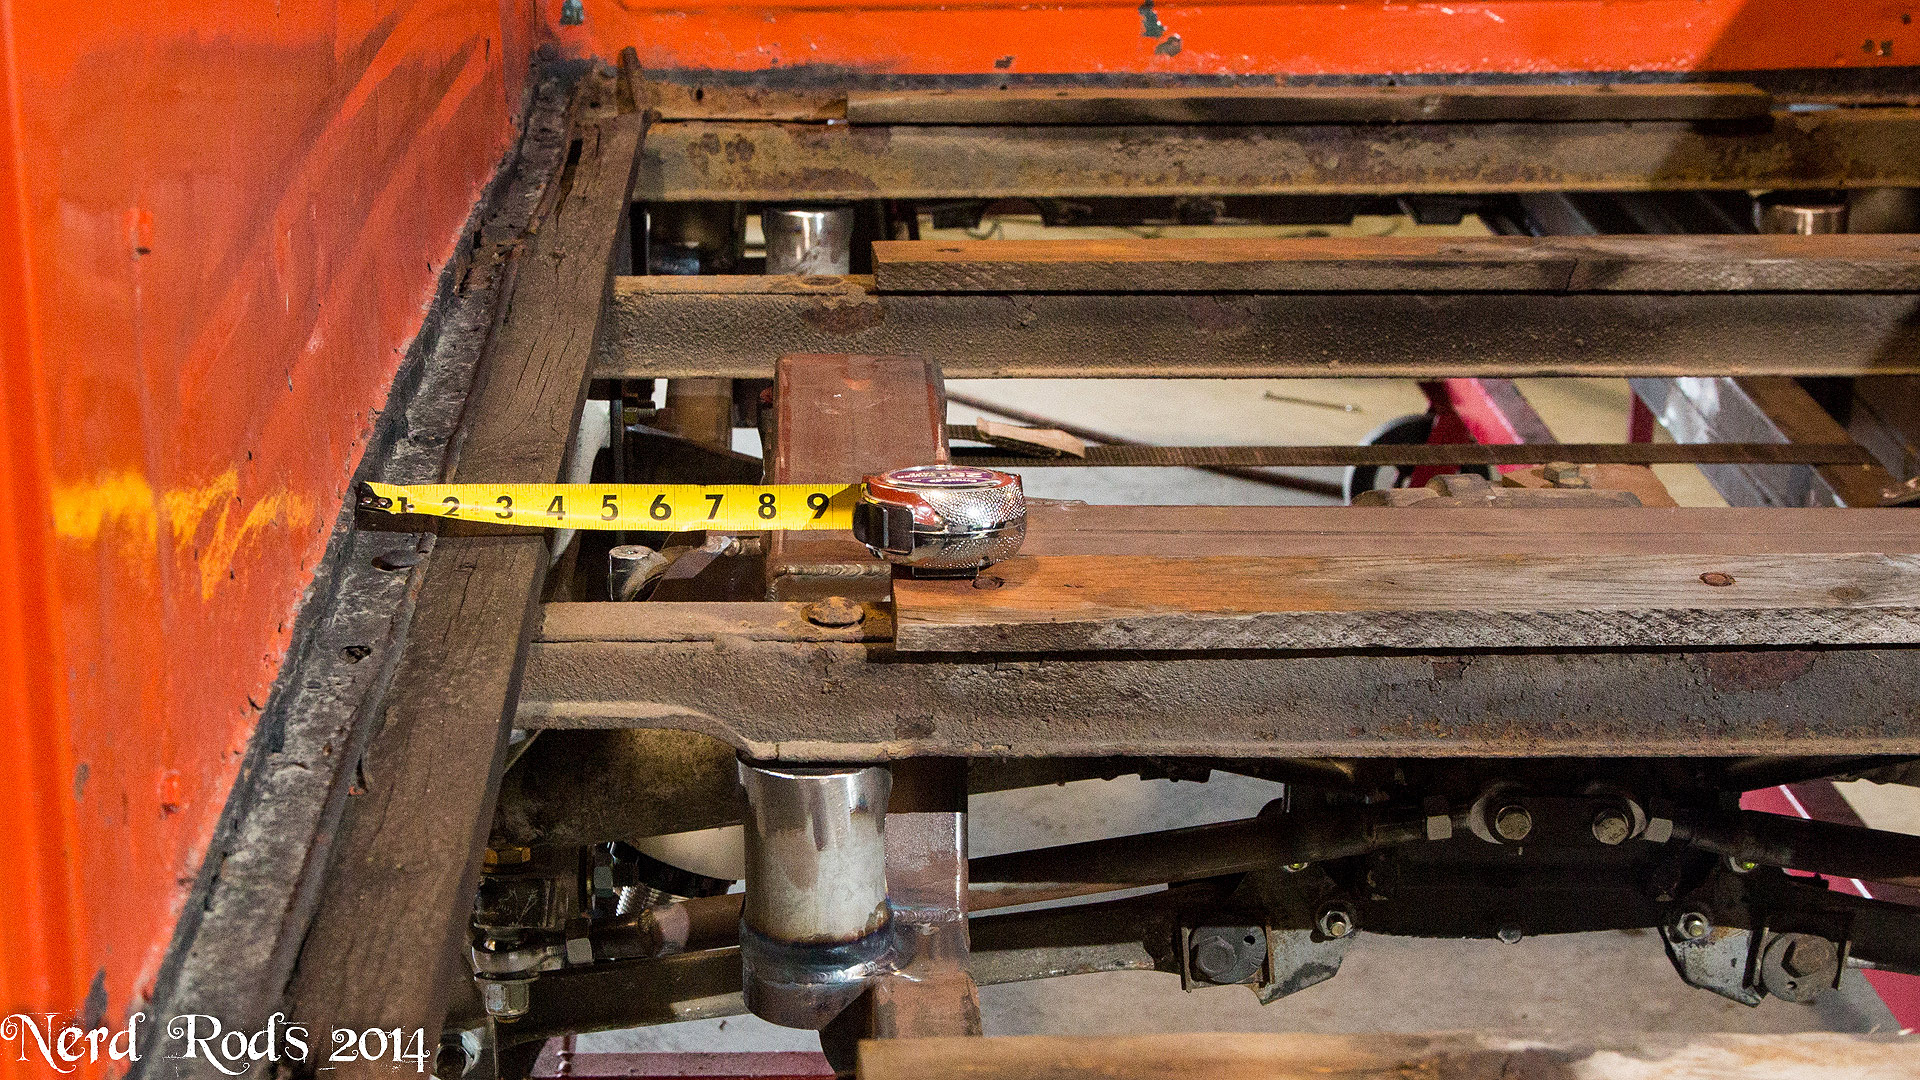
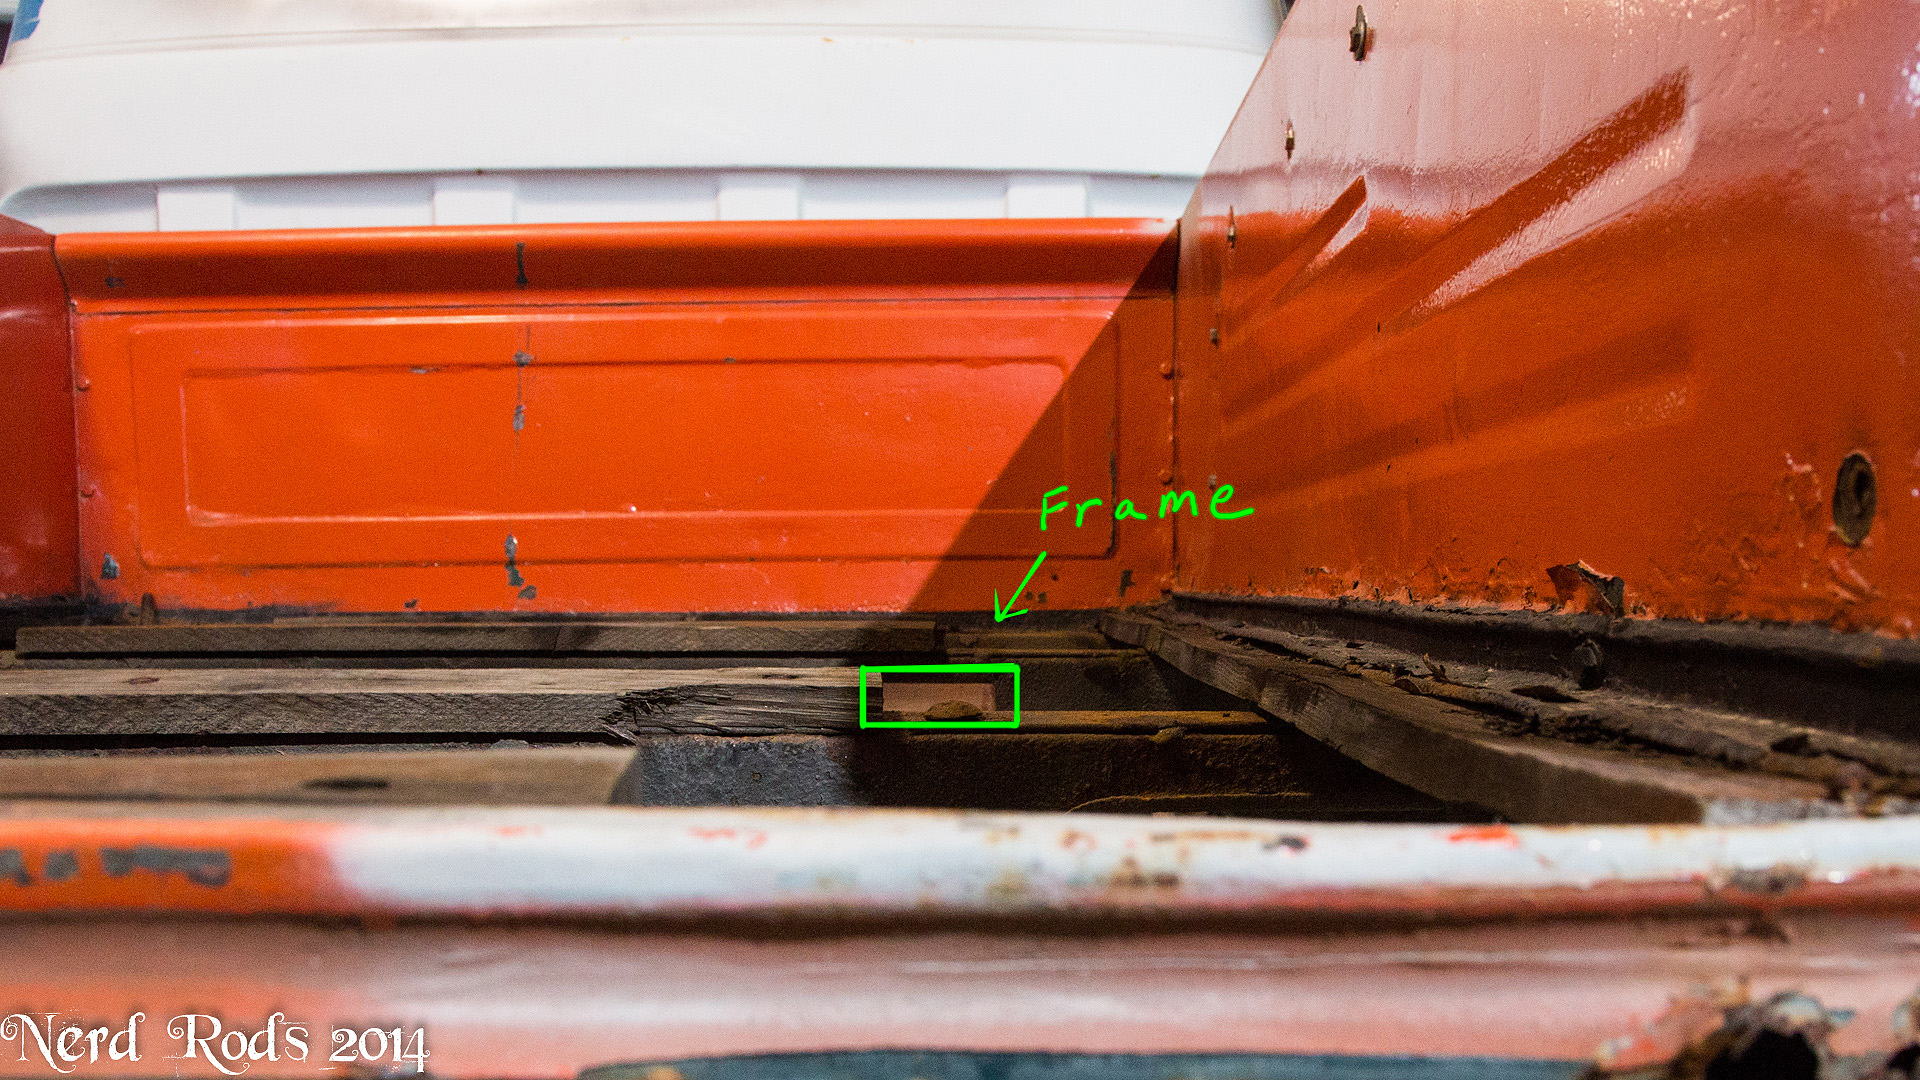
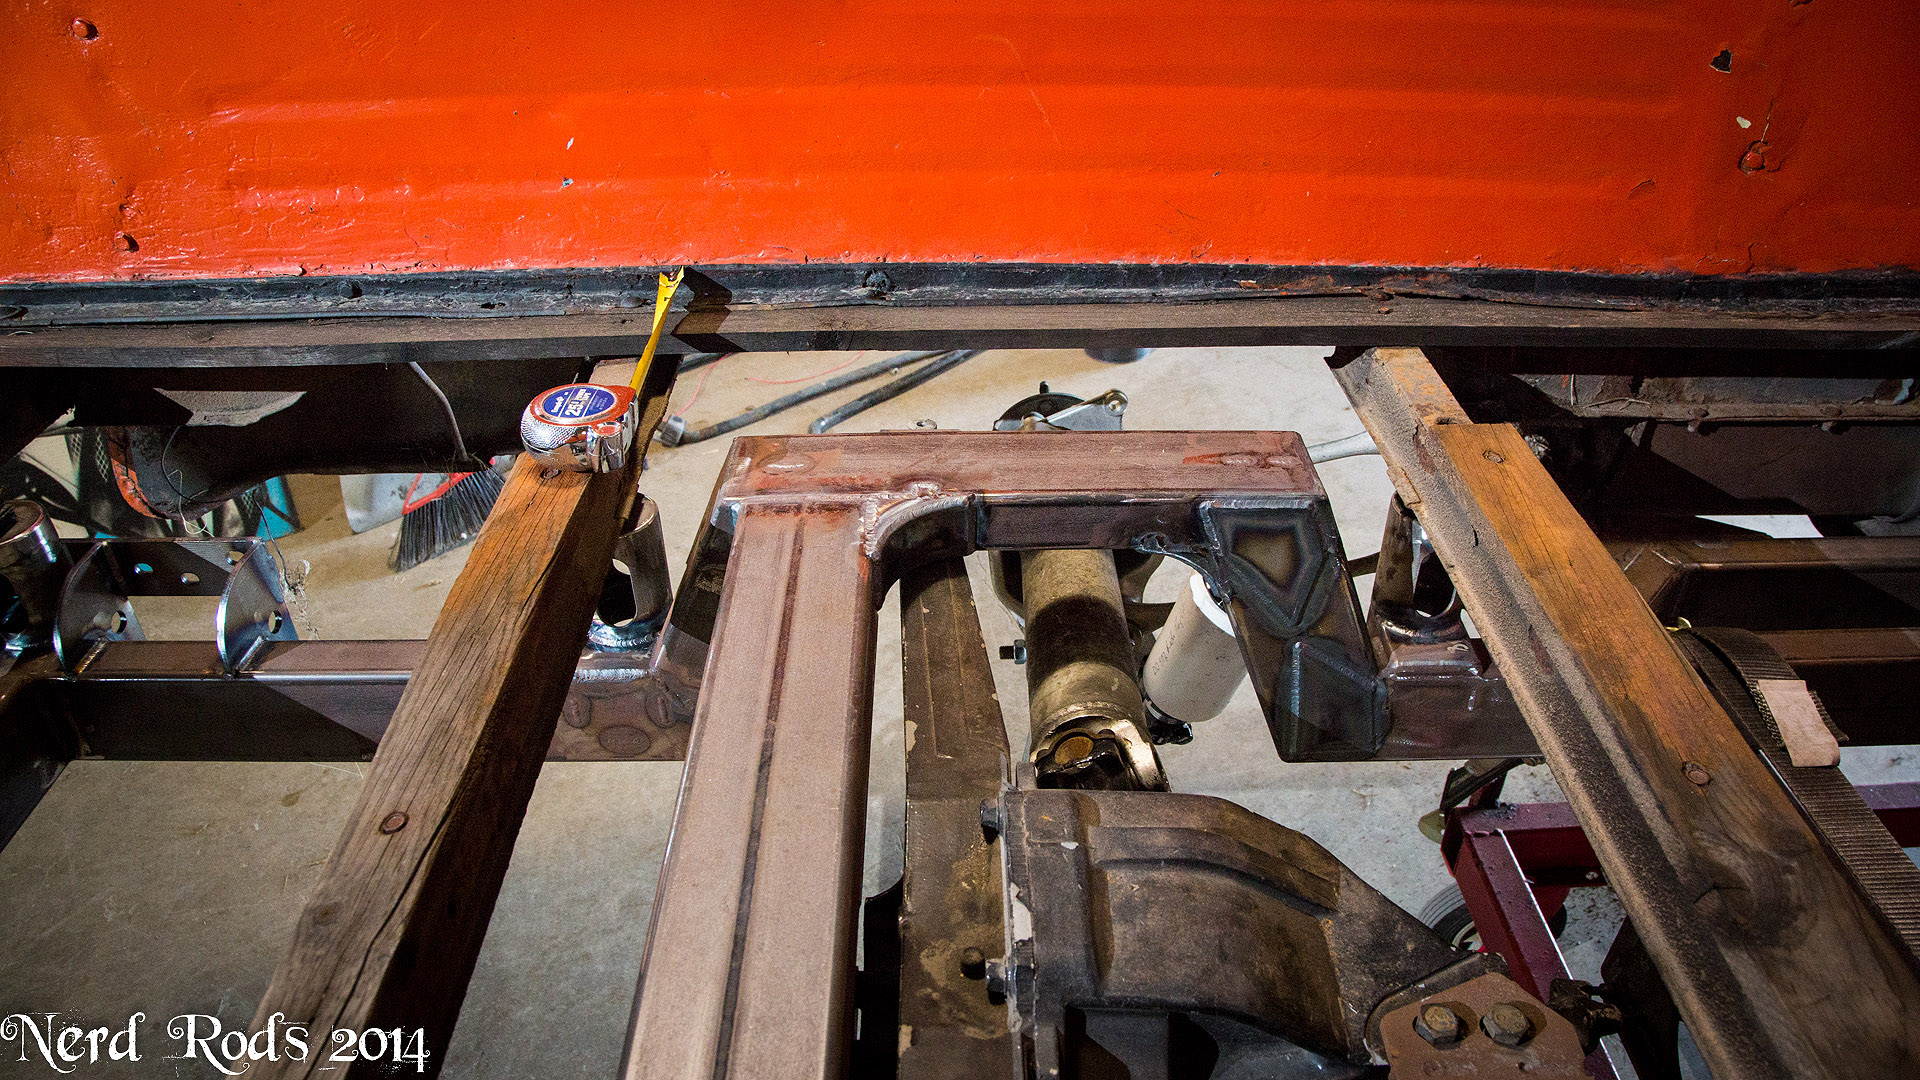
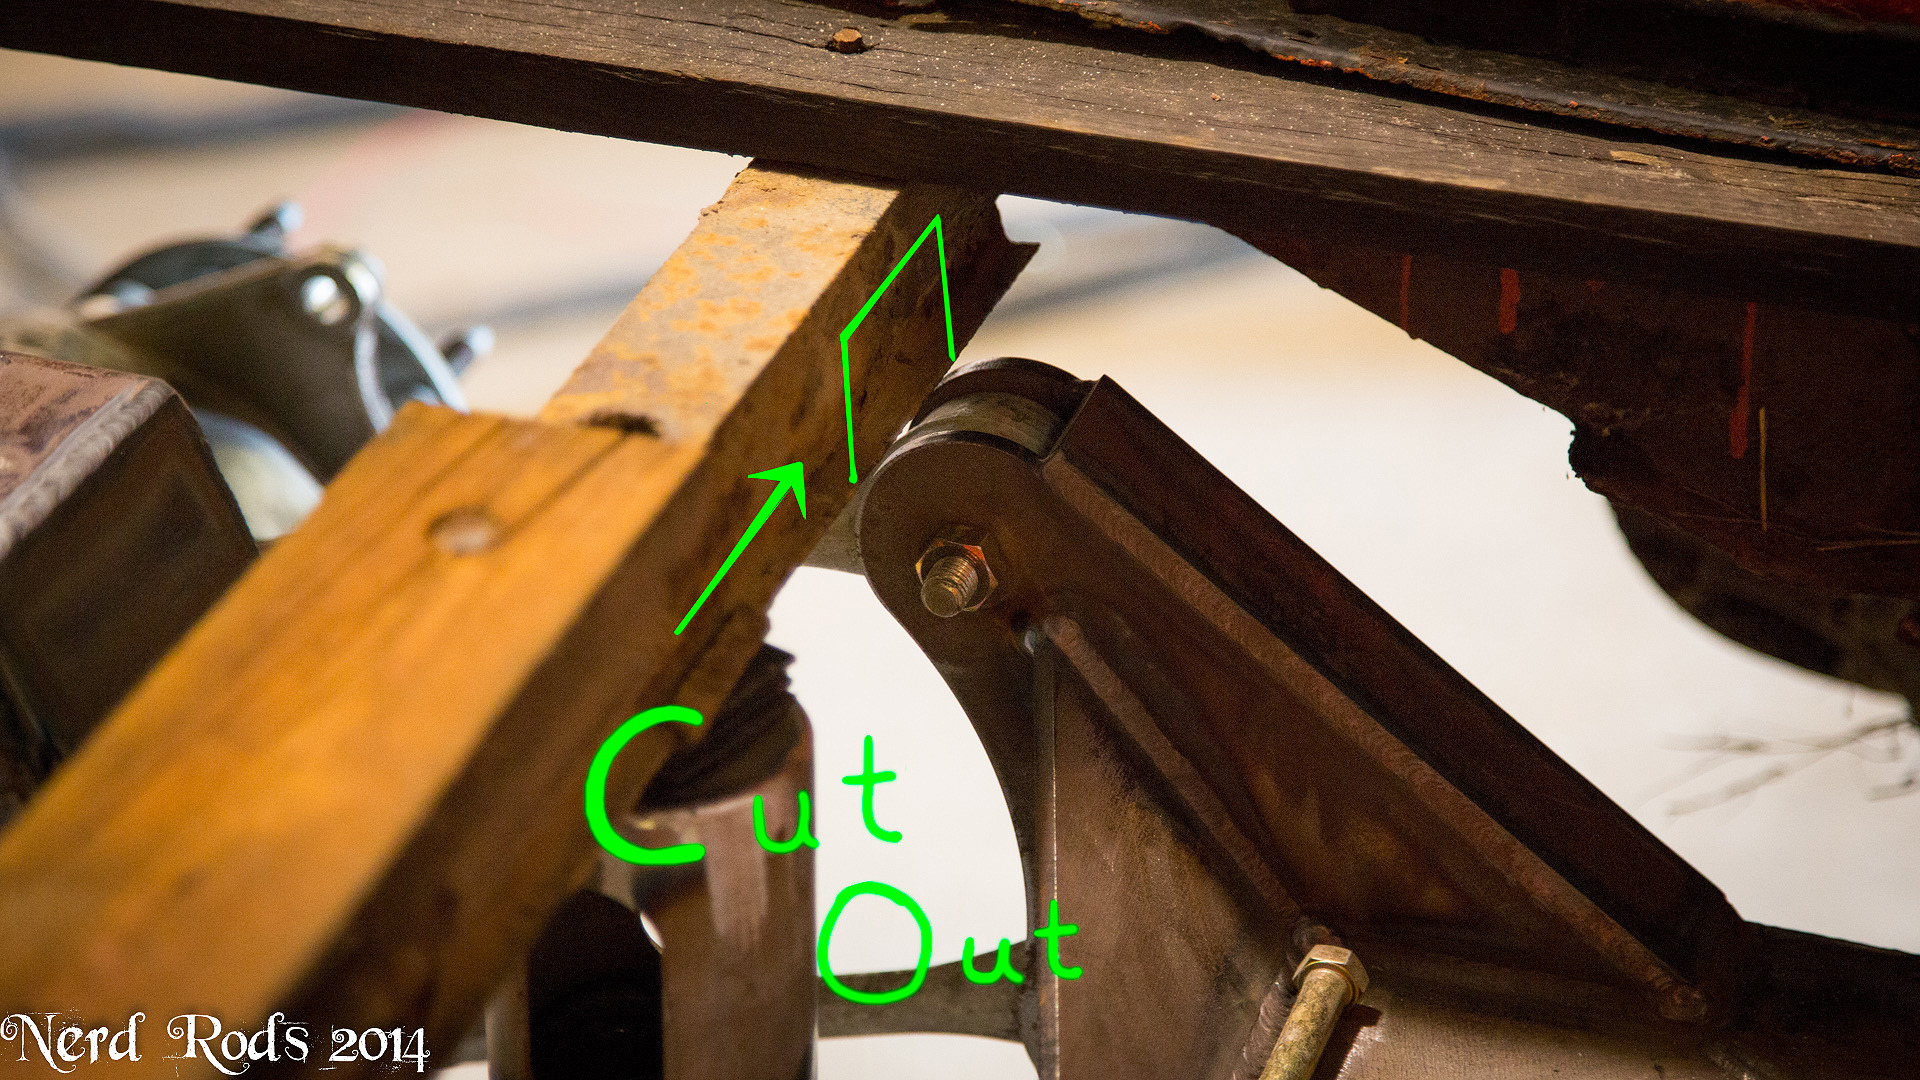
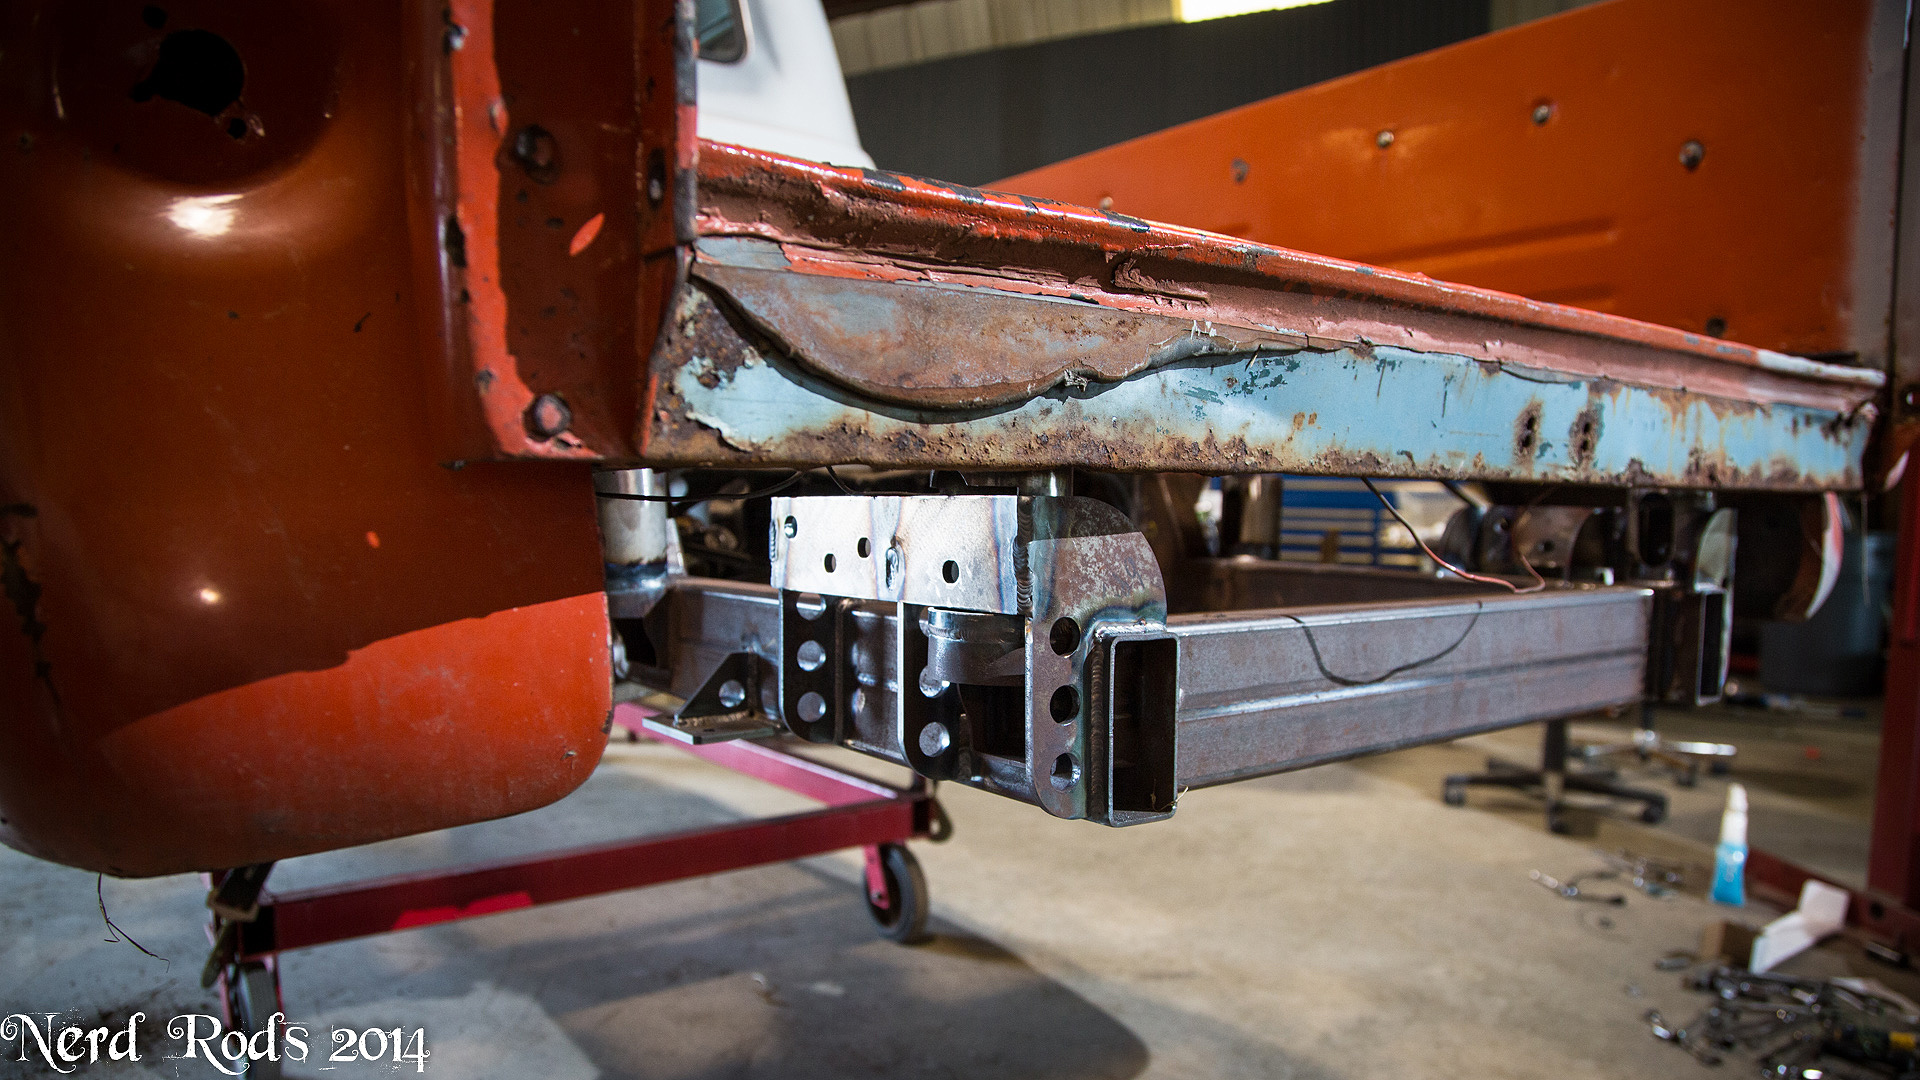
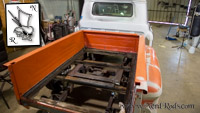
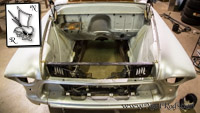
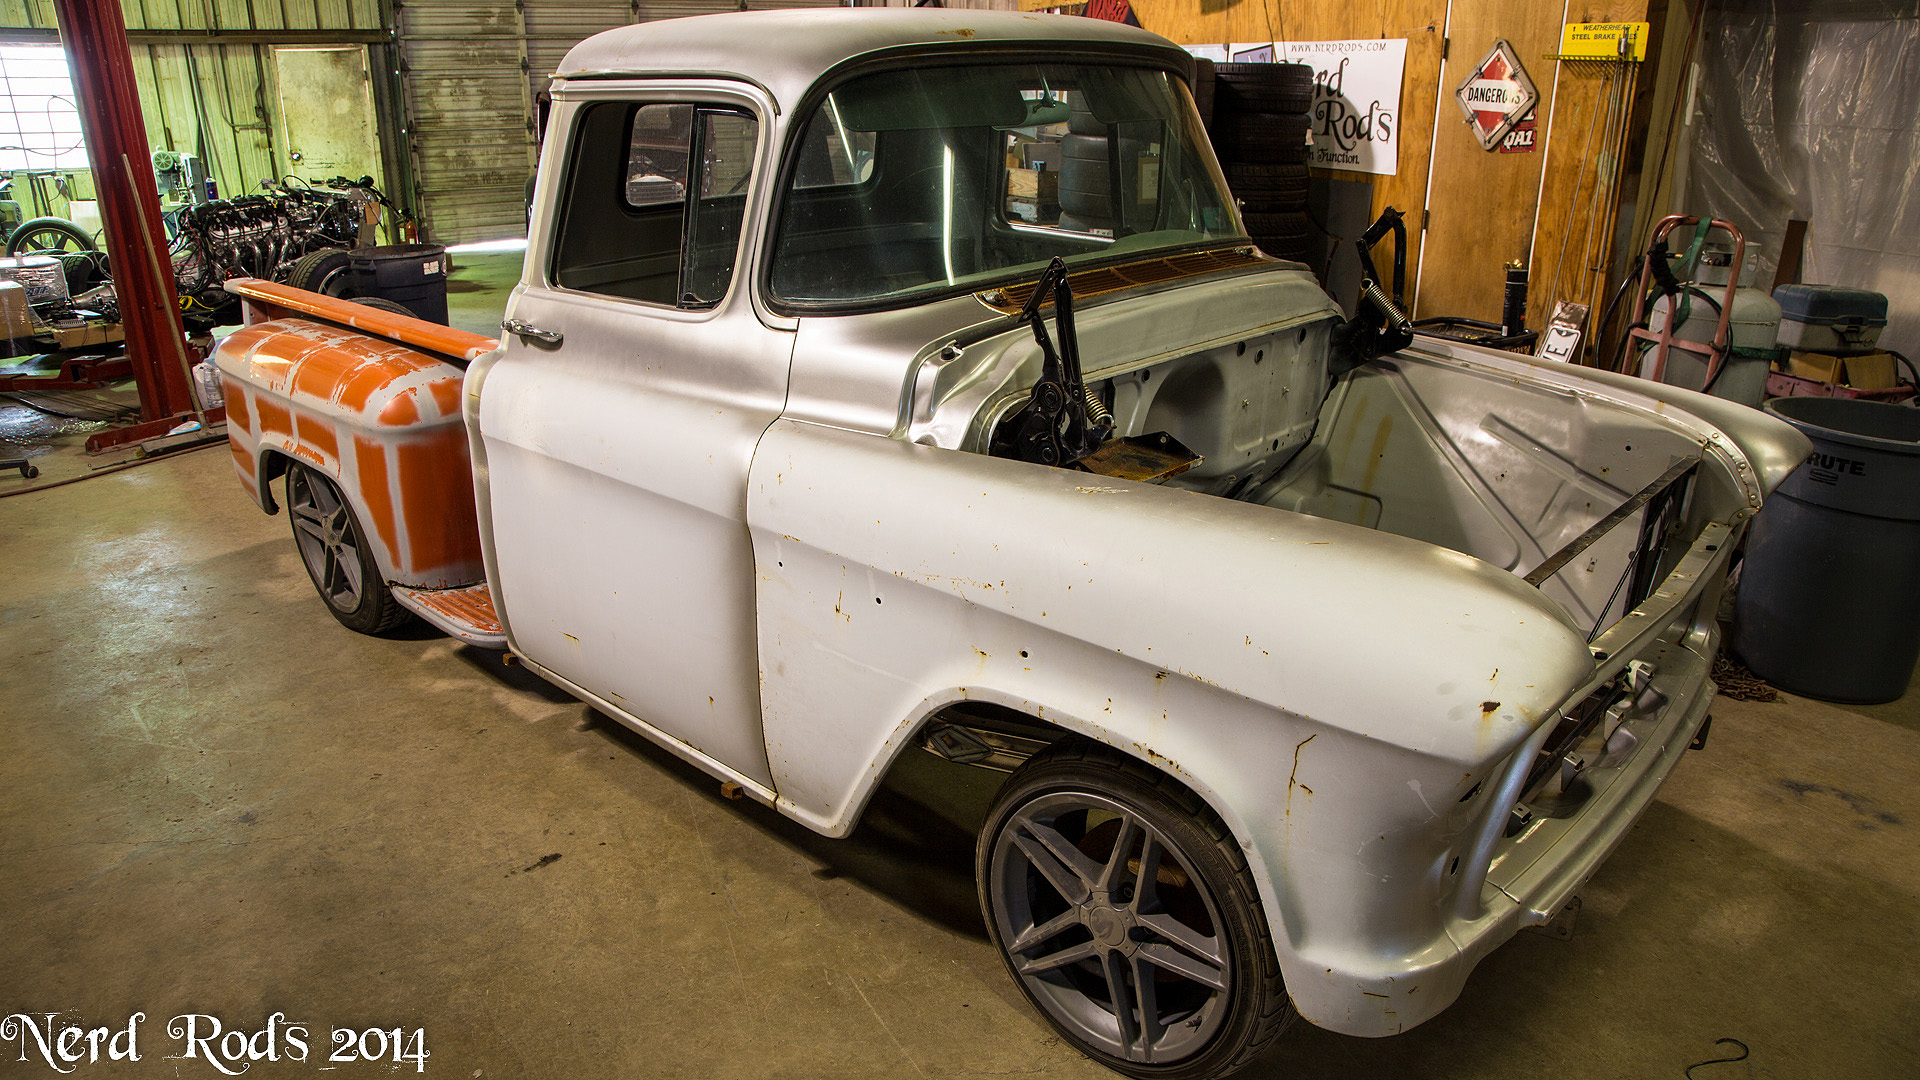
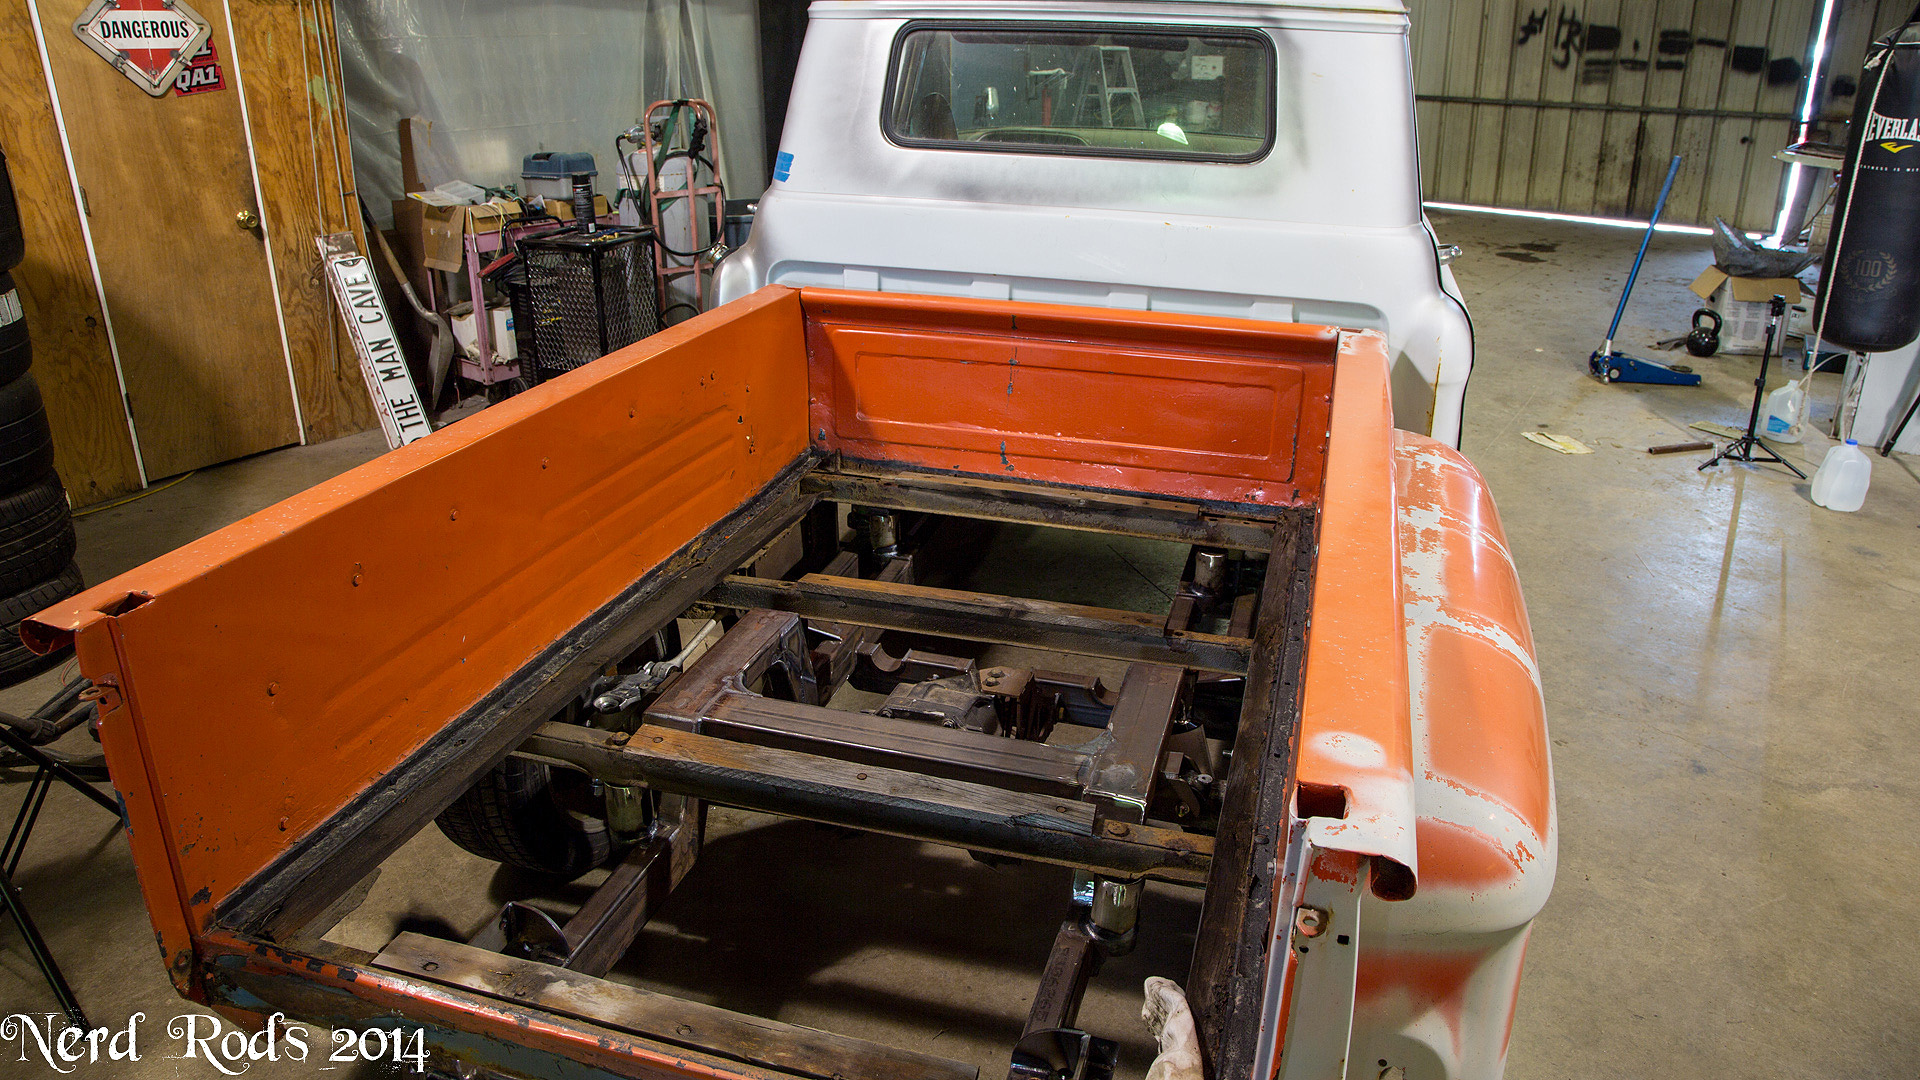
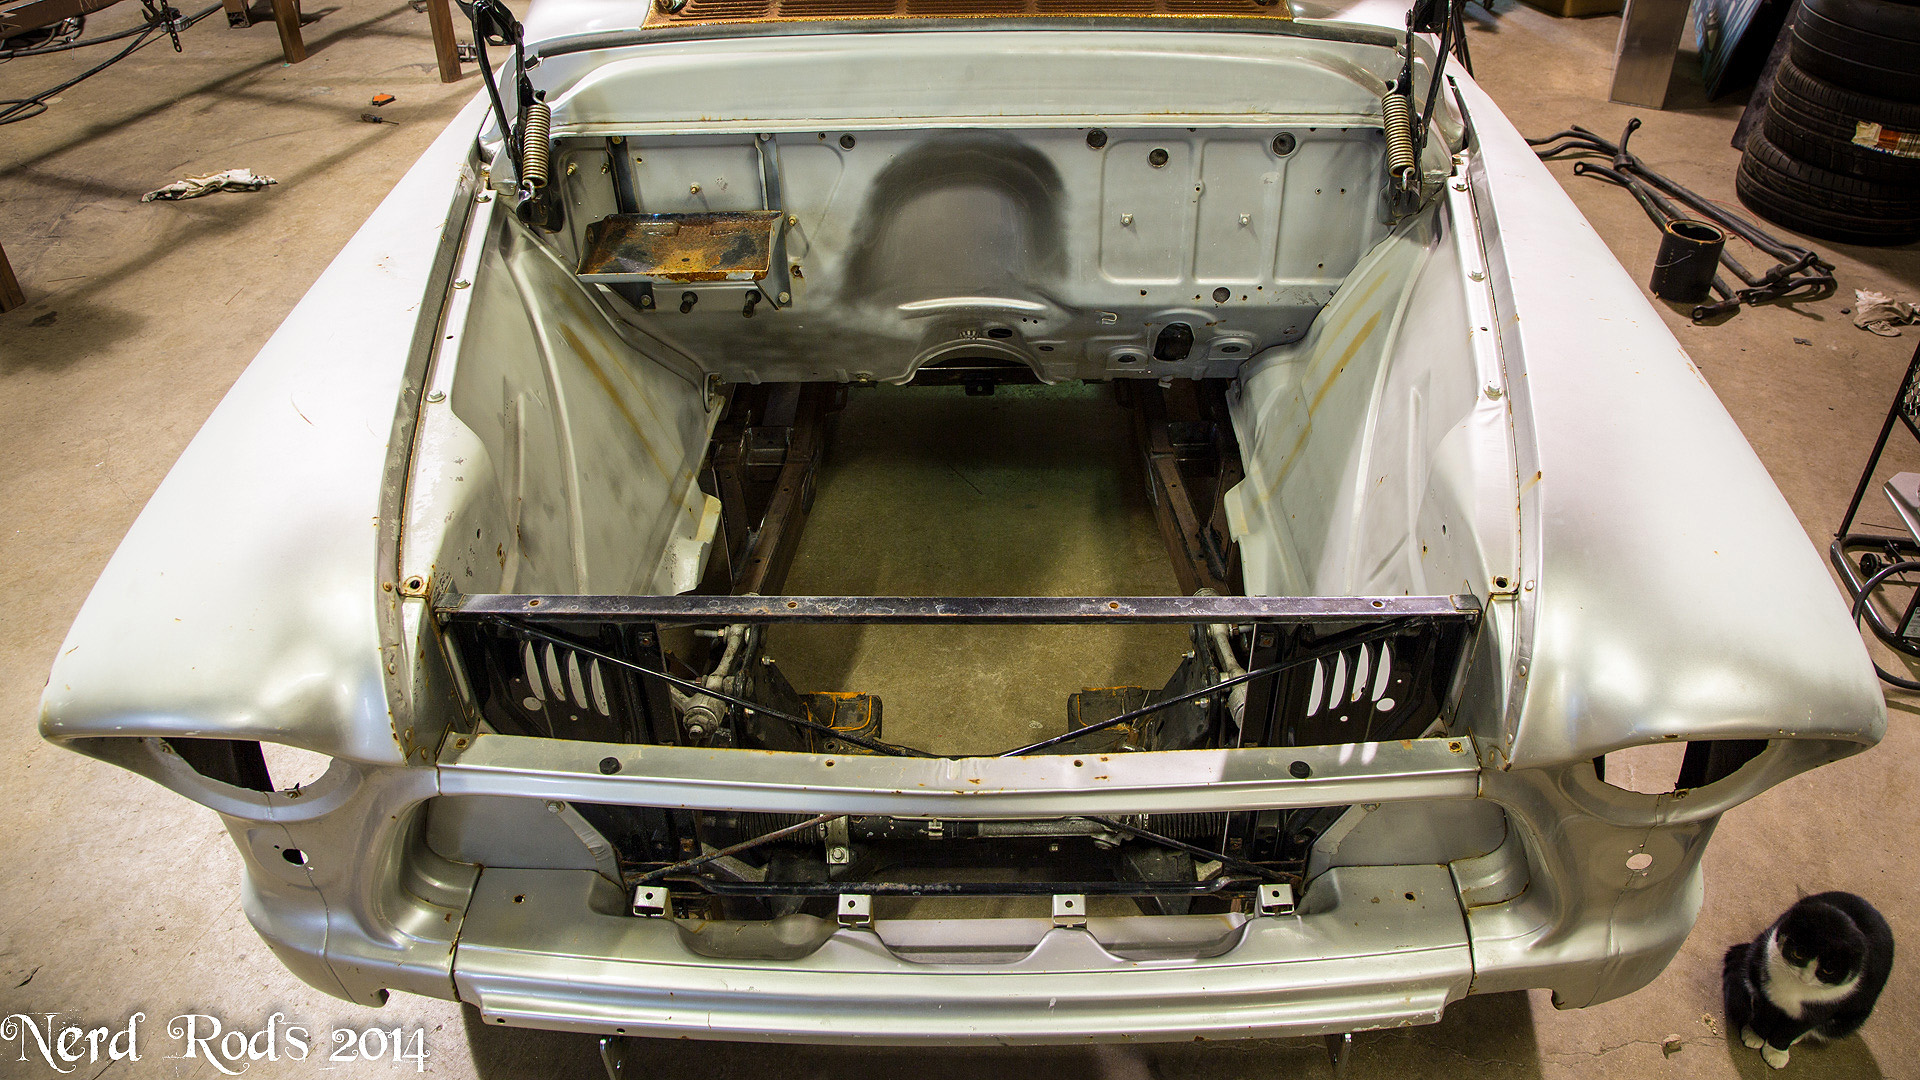
And we've mounted the cab and bed. Everything fits nicely when you use a little rubber body bushing. Factory is a piece of pressed particle board. You can see the photos with the trimming notes. And you can see the one with the frame note showing it just barely under the bed between the bed supports. It worked out really well and everything fits awesome. We will need to trim all the inner fenders weather it be tall or short for A frame clearance. That is shown as well.

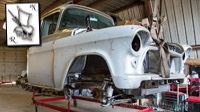
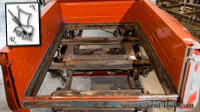
I'm getting my wheel stash out so I can check for the wides and look for possible clearance issues in the next few days. After that the body comes off and we mount the motor and check its fit.
Later
-Russell

I'm getting my wheel stash out so I can check for the wides and look for possible clearance issues in the next few days. After that the body comes off and we mount the motor and check its fit.
Later
-Russell
01-26-2014, 11:17 AM
#56
looking like a bad azz build.
01-27-2014, 10:38 PM
#57
Launching!
Thread Starter
Join Date: Jan 2007
Location: Luling TX In the Hot Rod Shop
Posts: 294
Likes: 0
Received 3 Likes
on
3 Posts
Should be a fun driver, mild cam on a 5.3 in a cool old truck. But I think I'm going to throw the PT-57 on one of these bad boys with its TT LS and 6 Speed. Also going to get some massive tires under there.
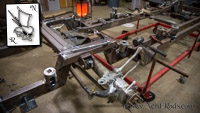
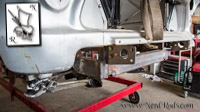
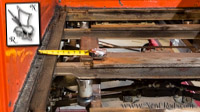
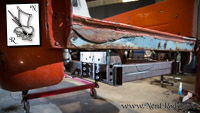
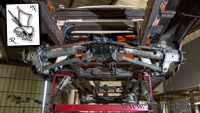
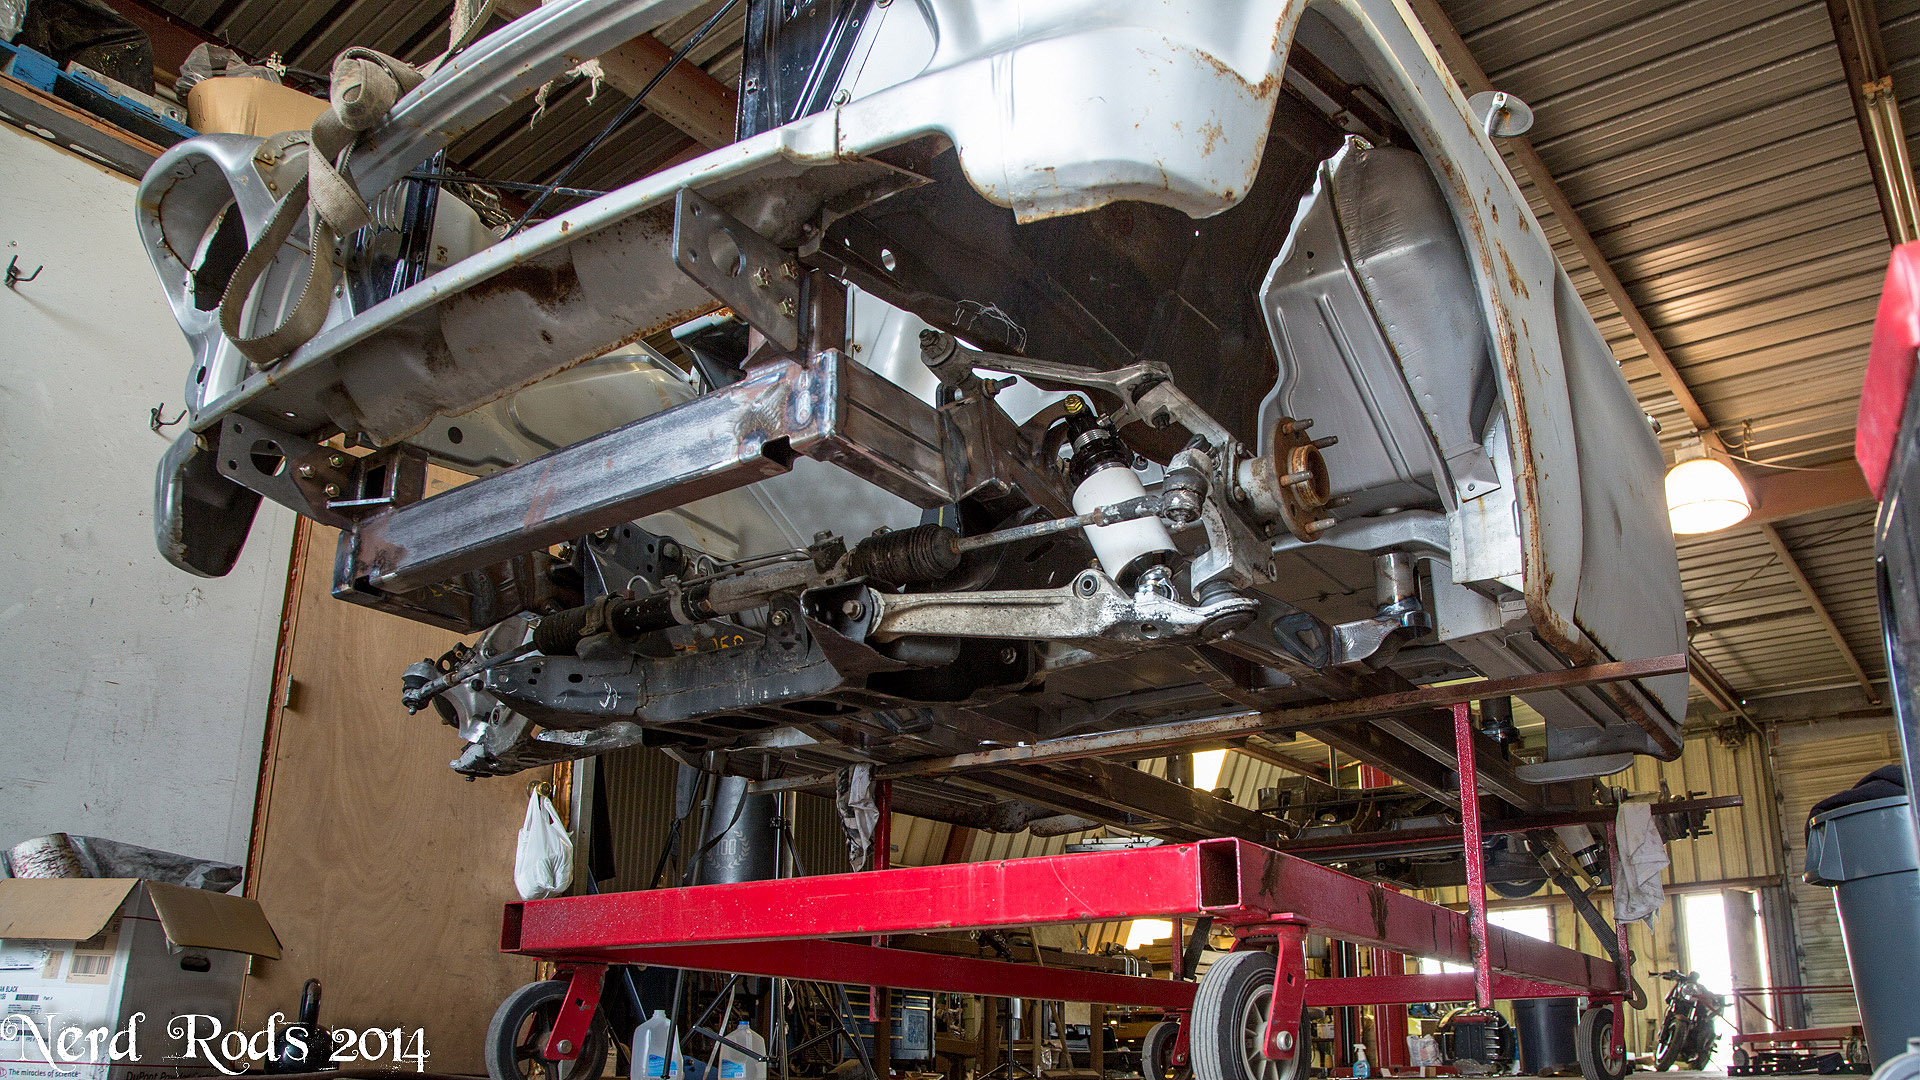
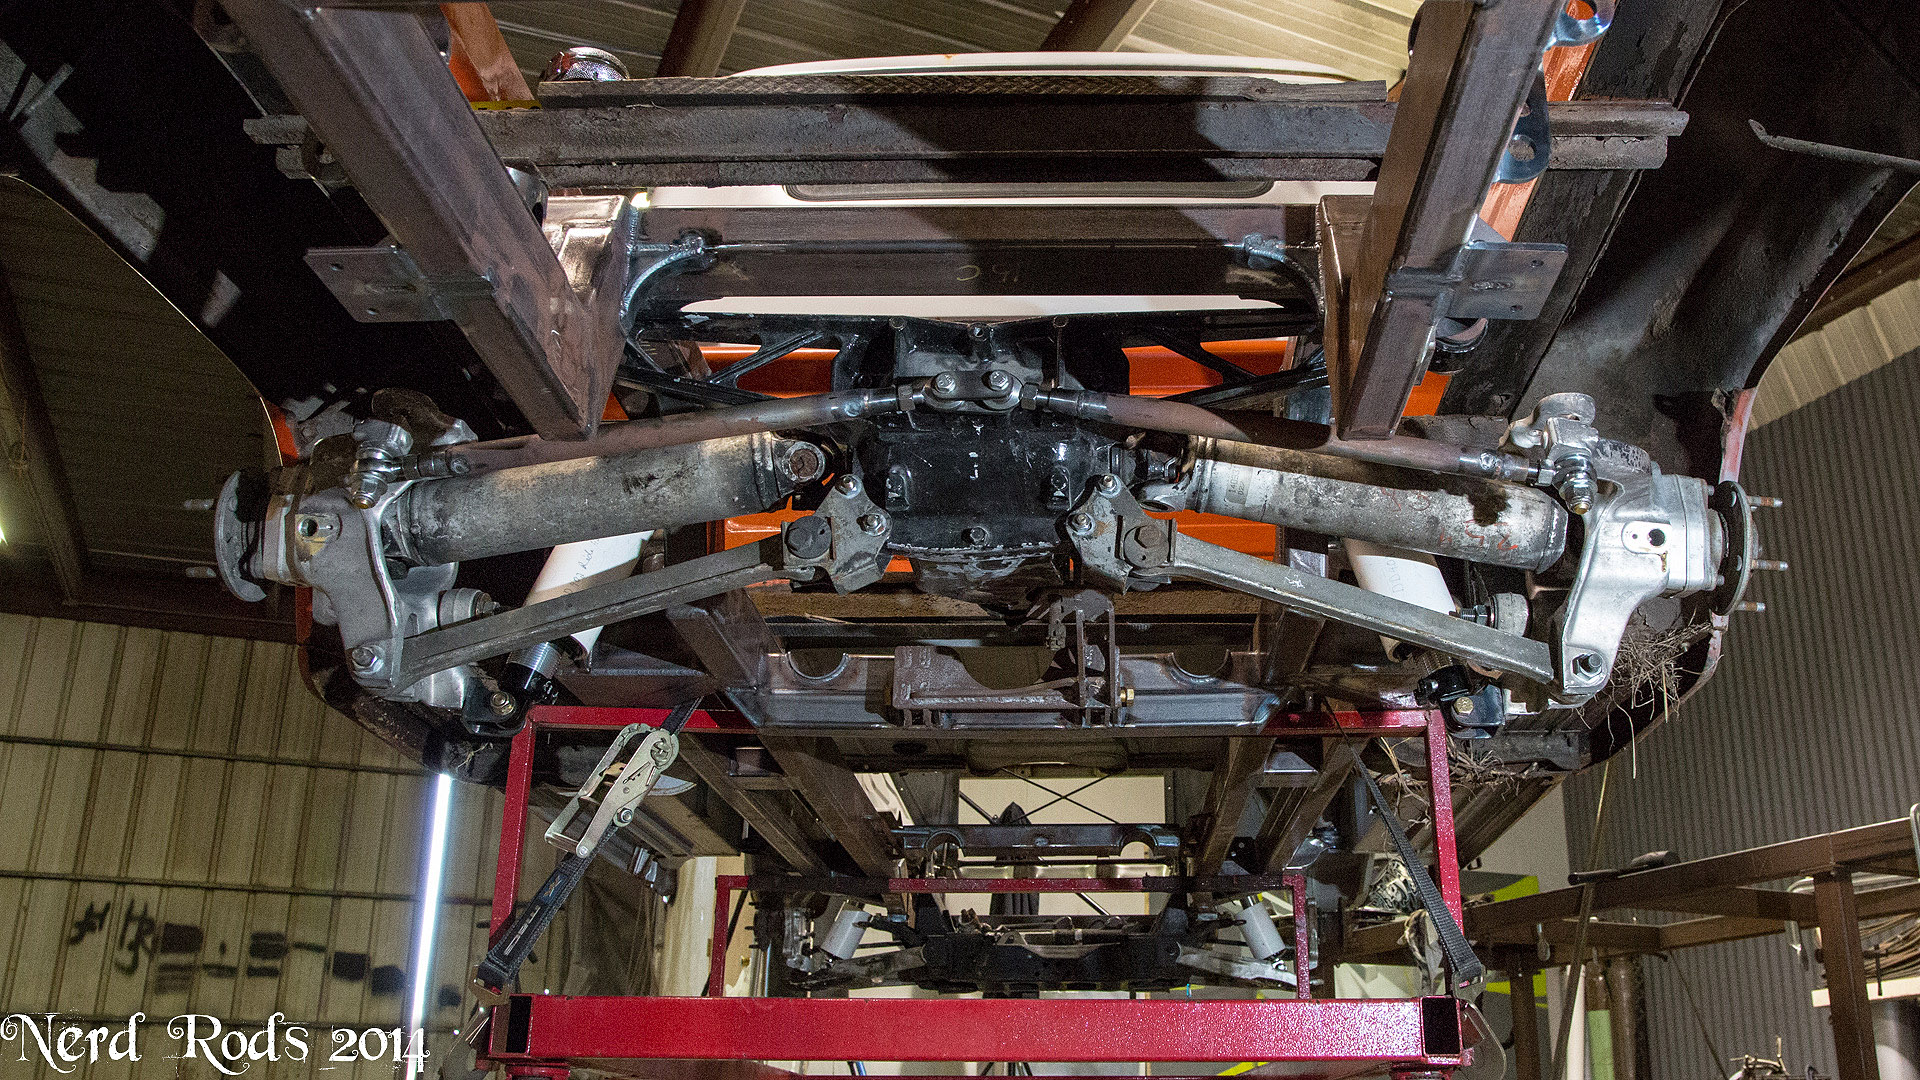
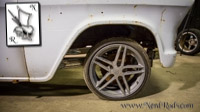
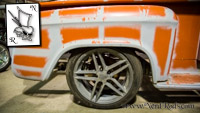
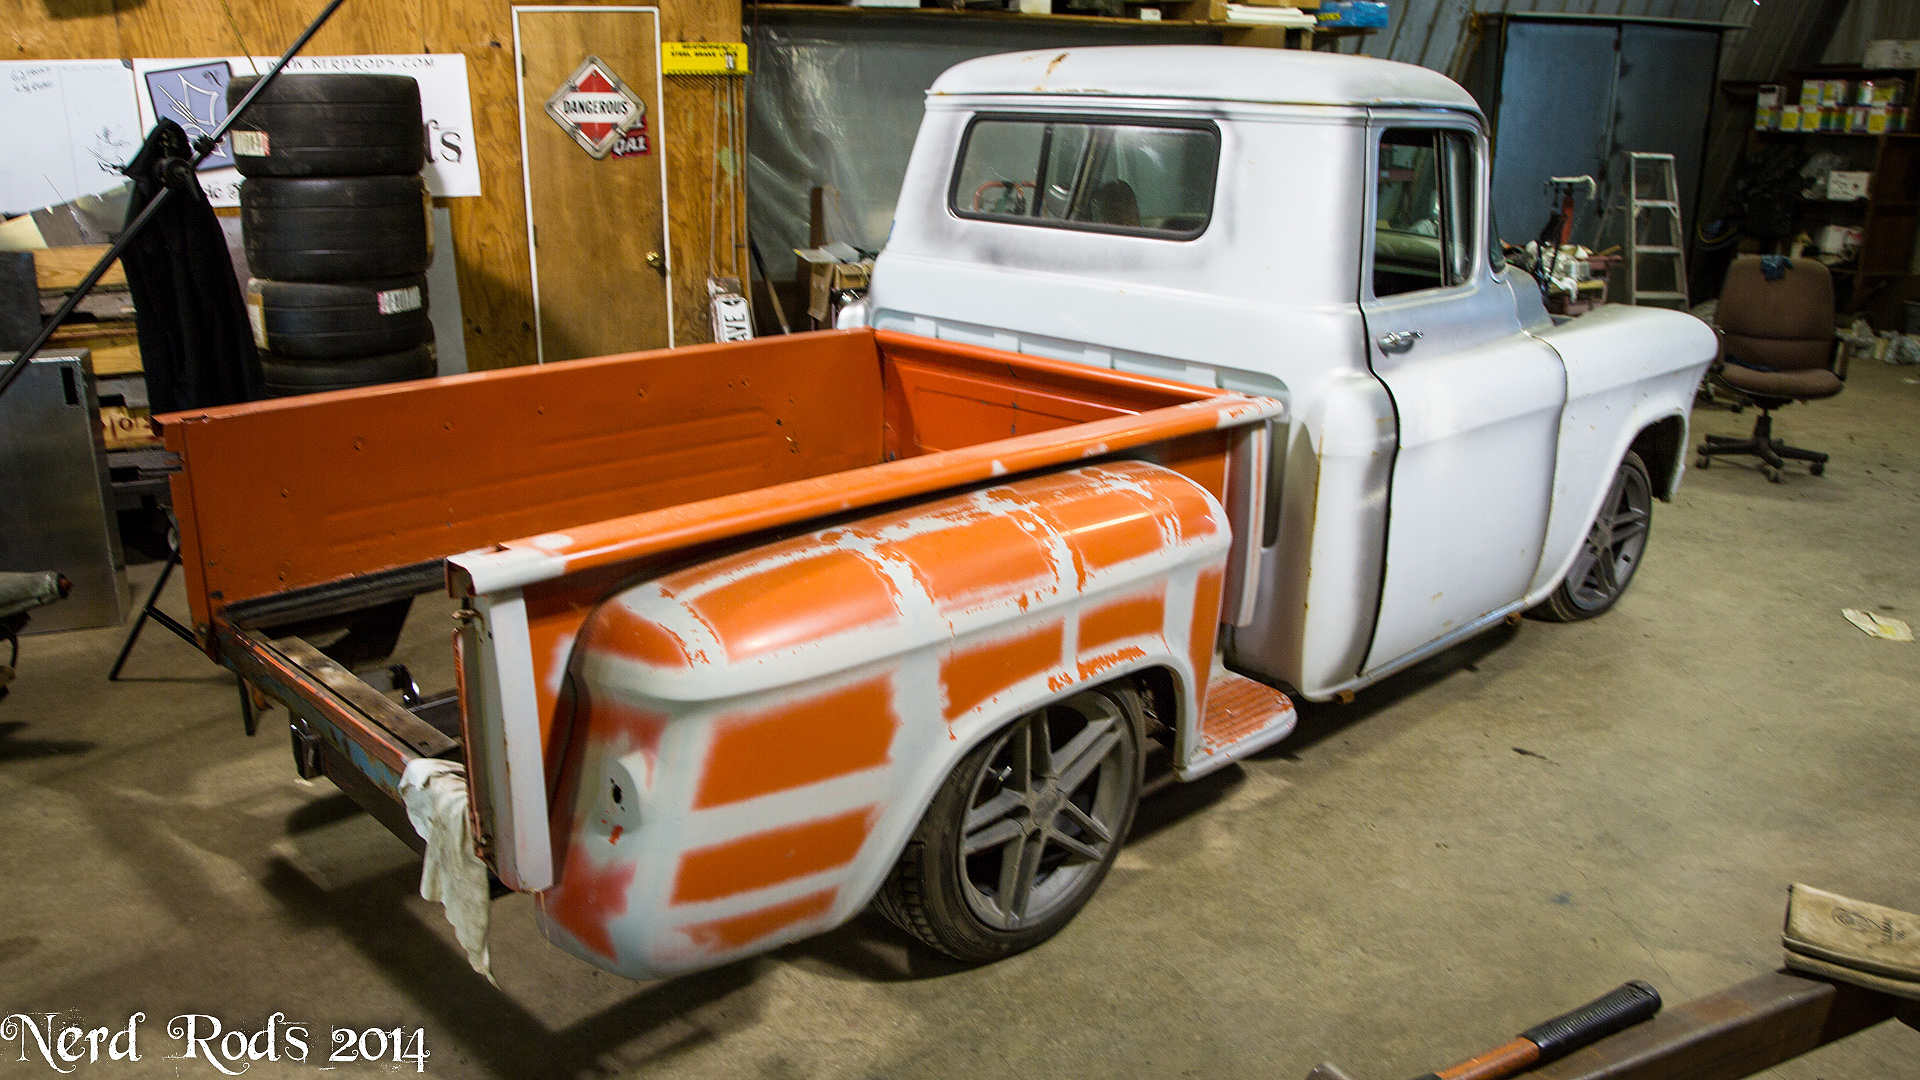
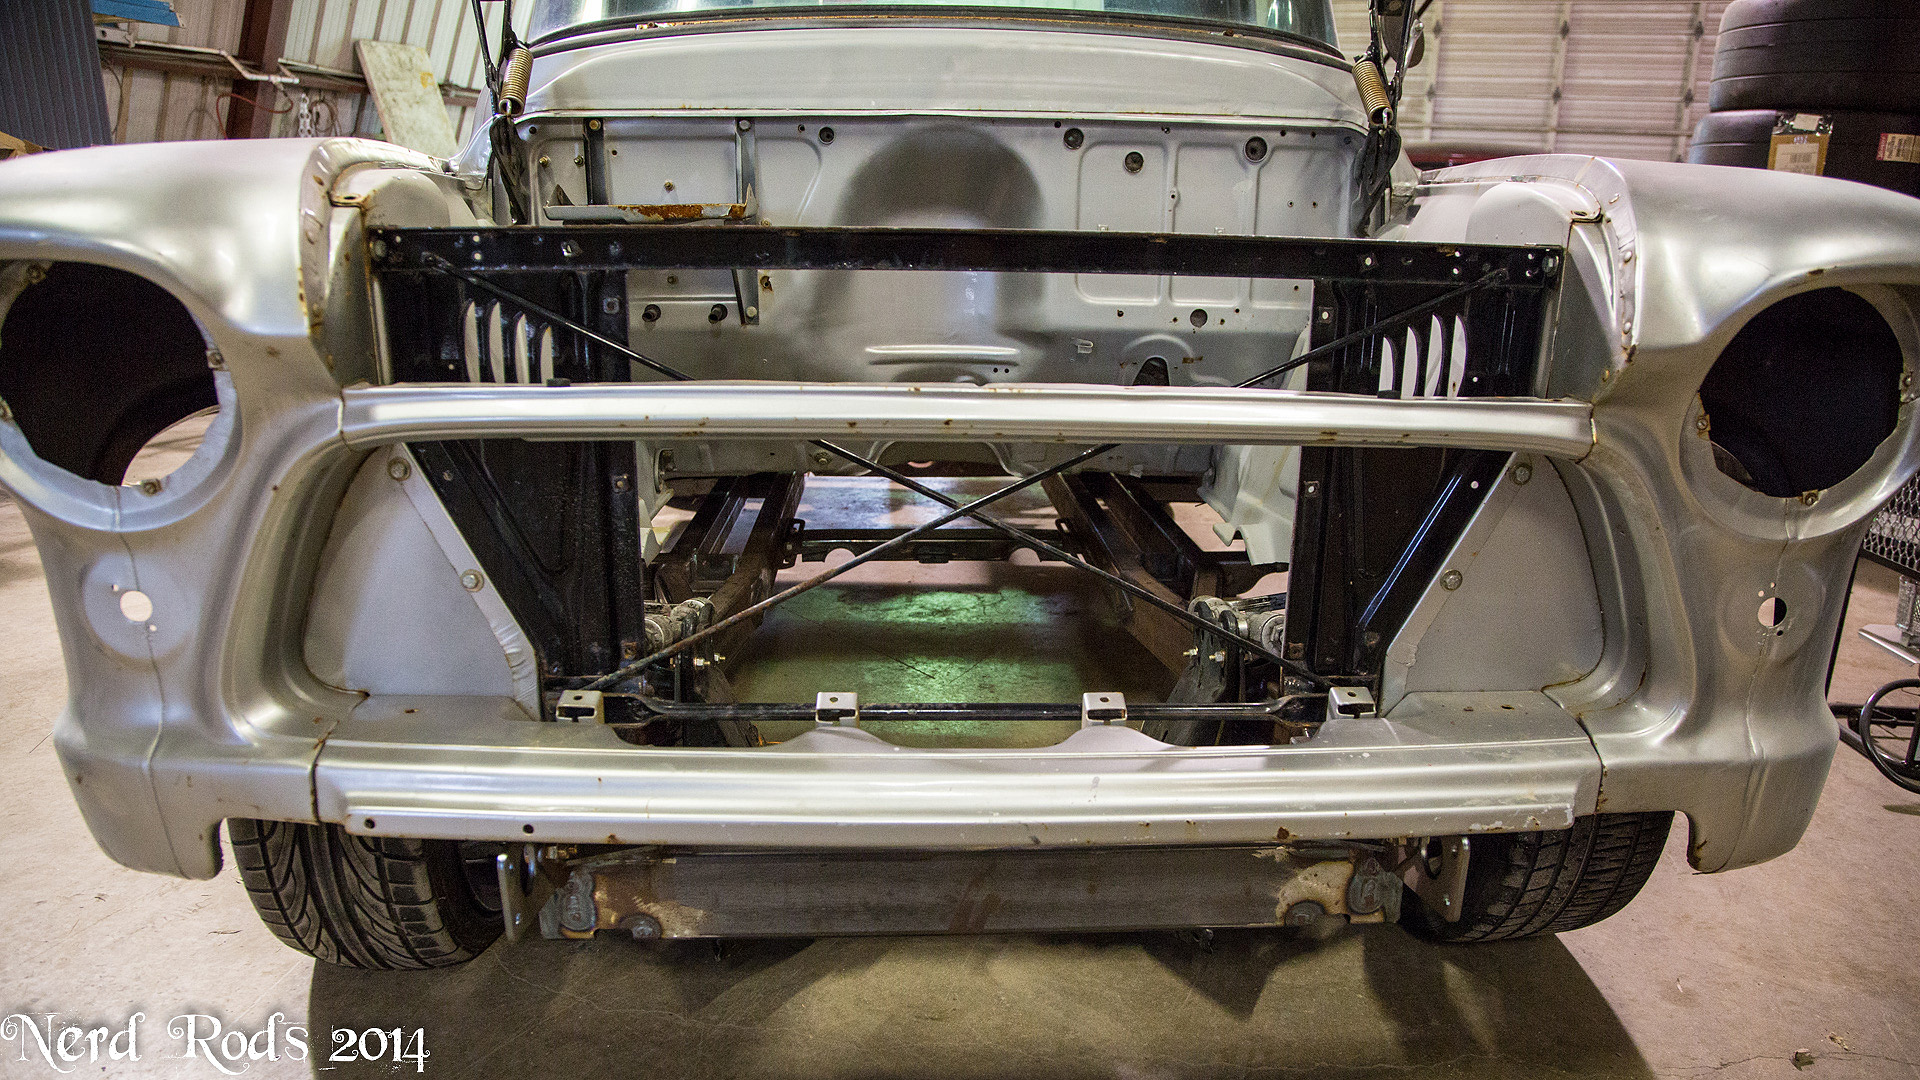
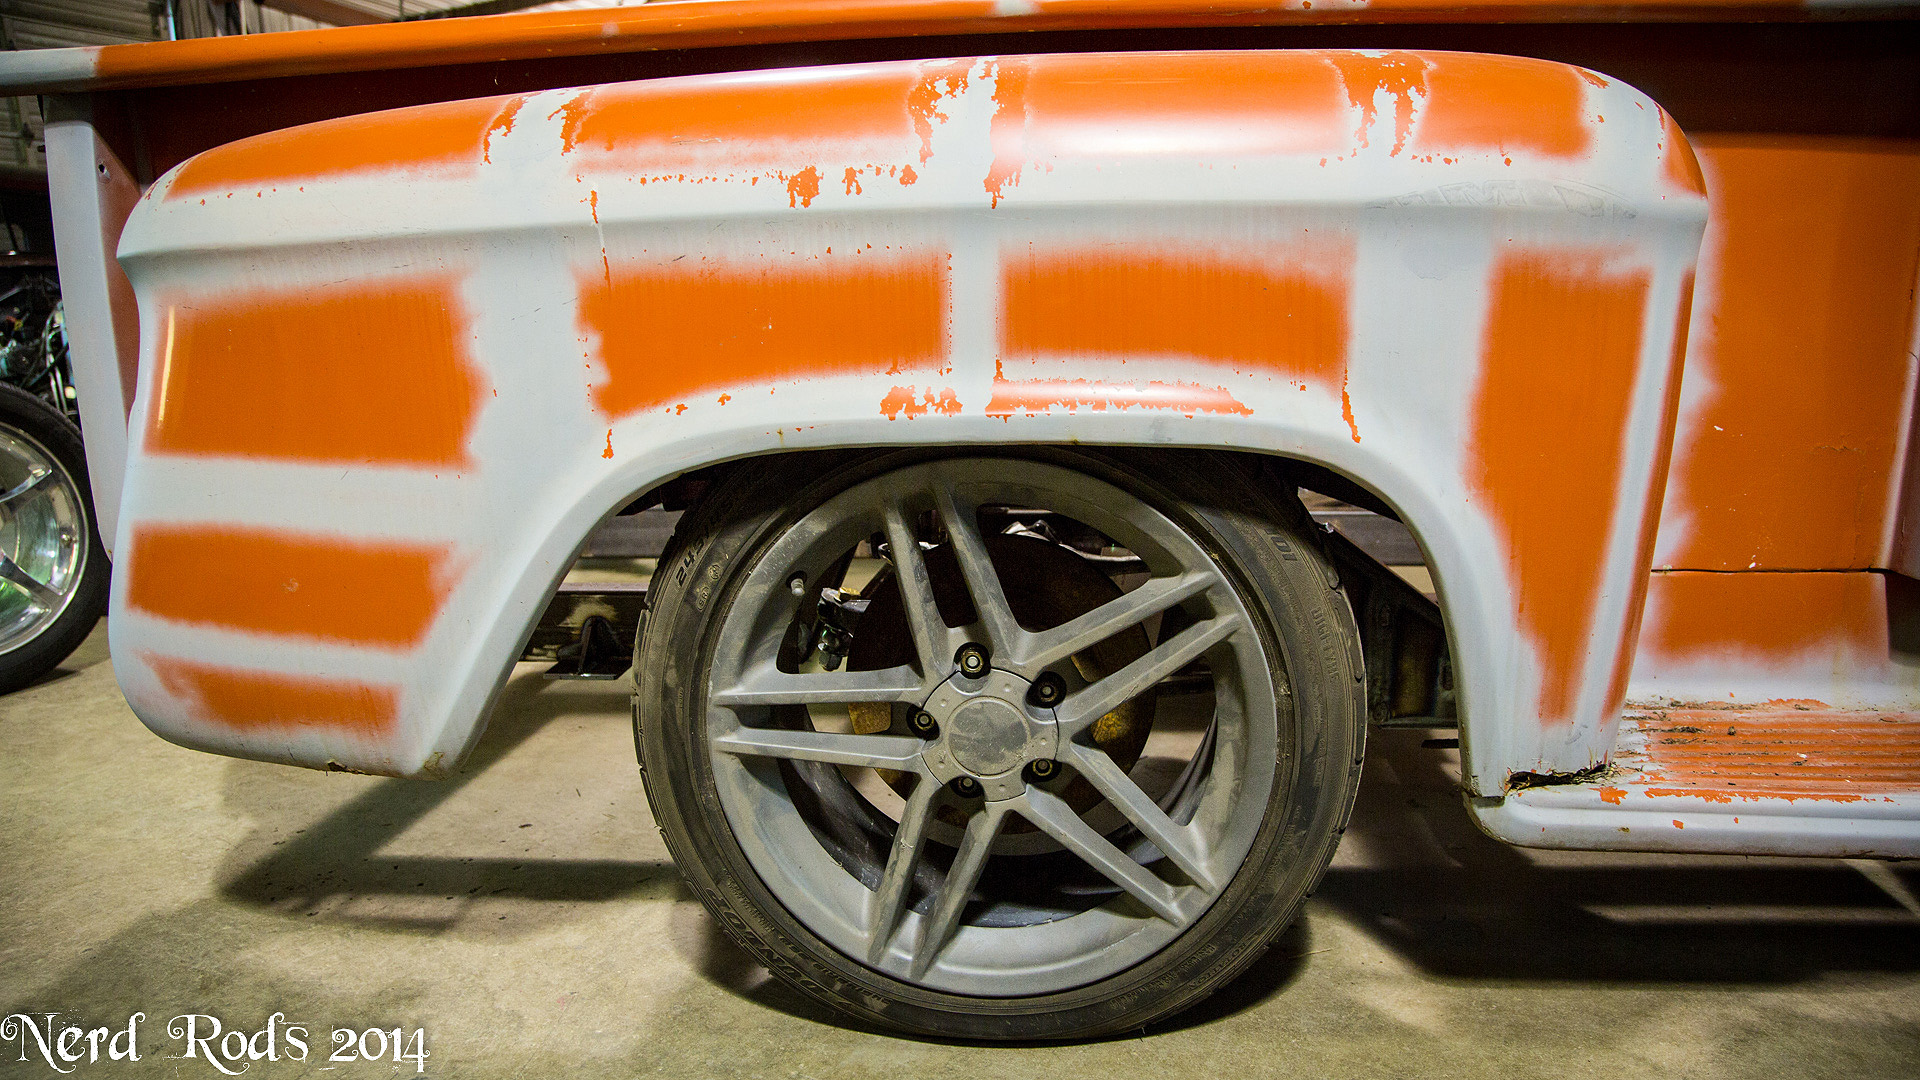
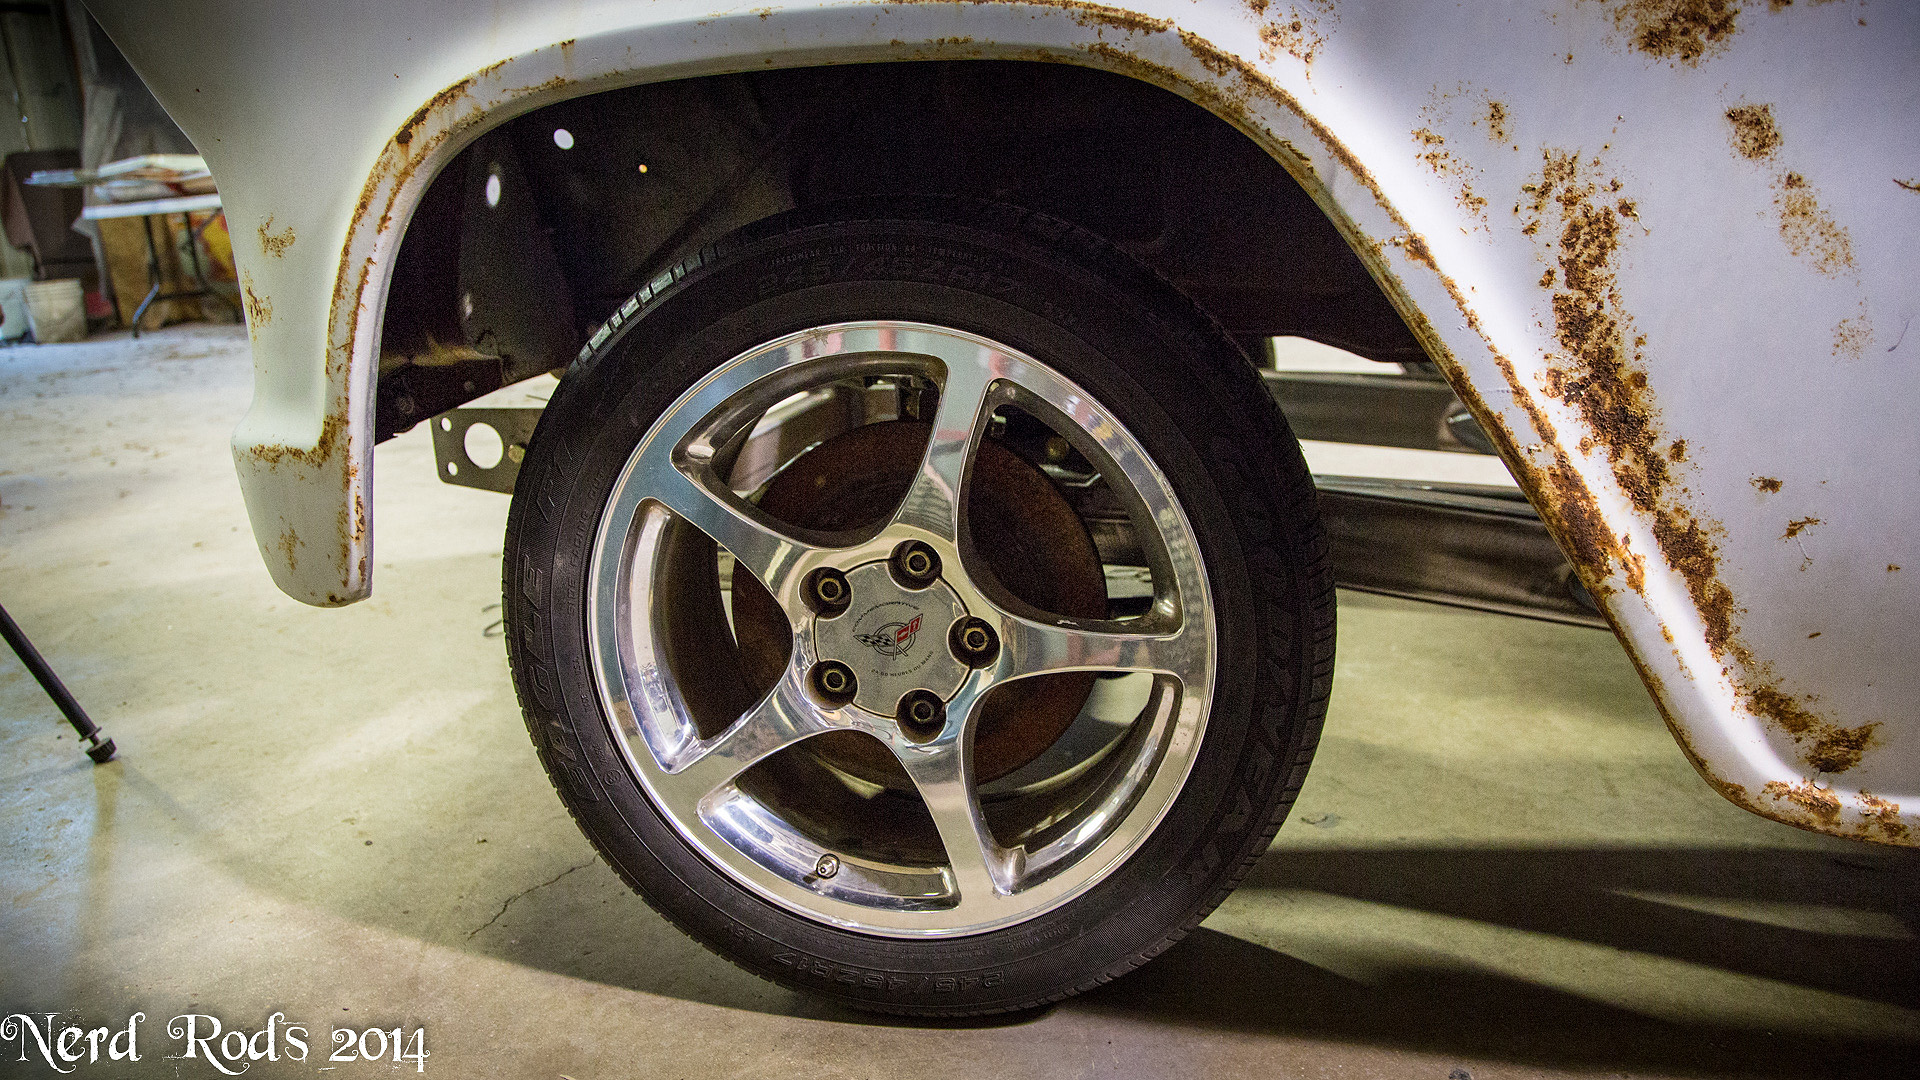
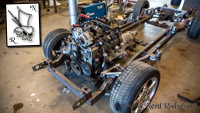
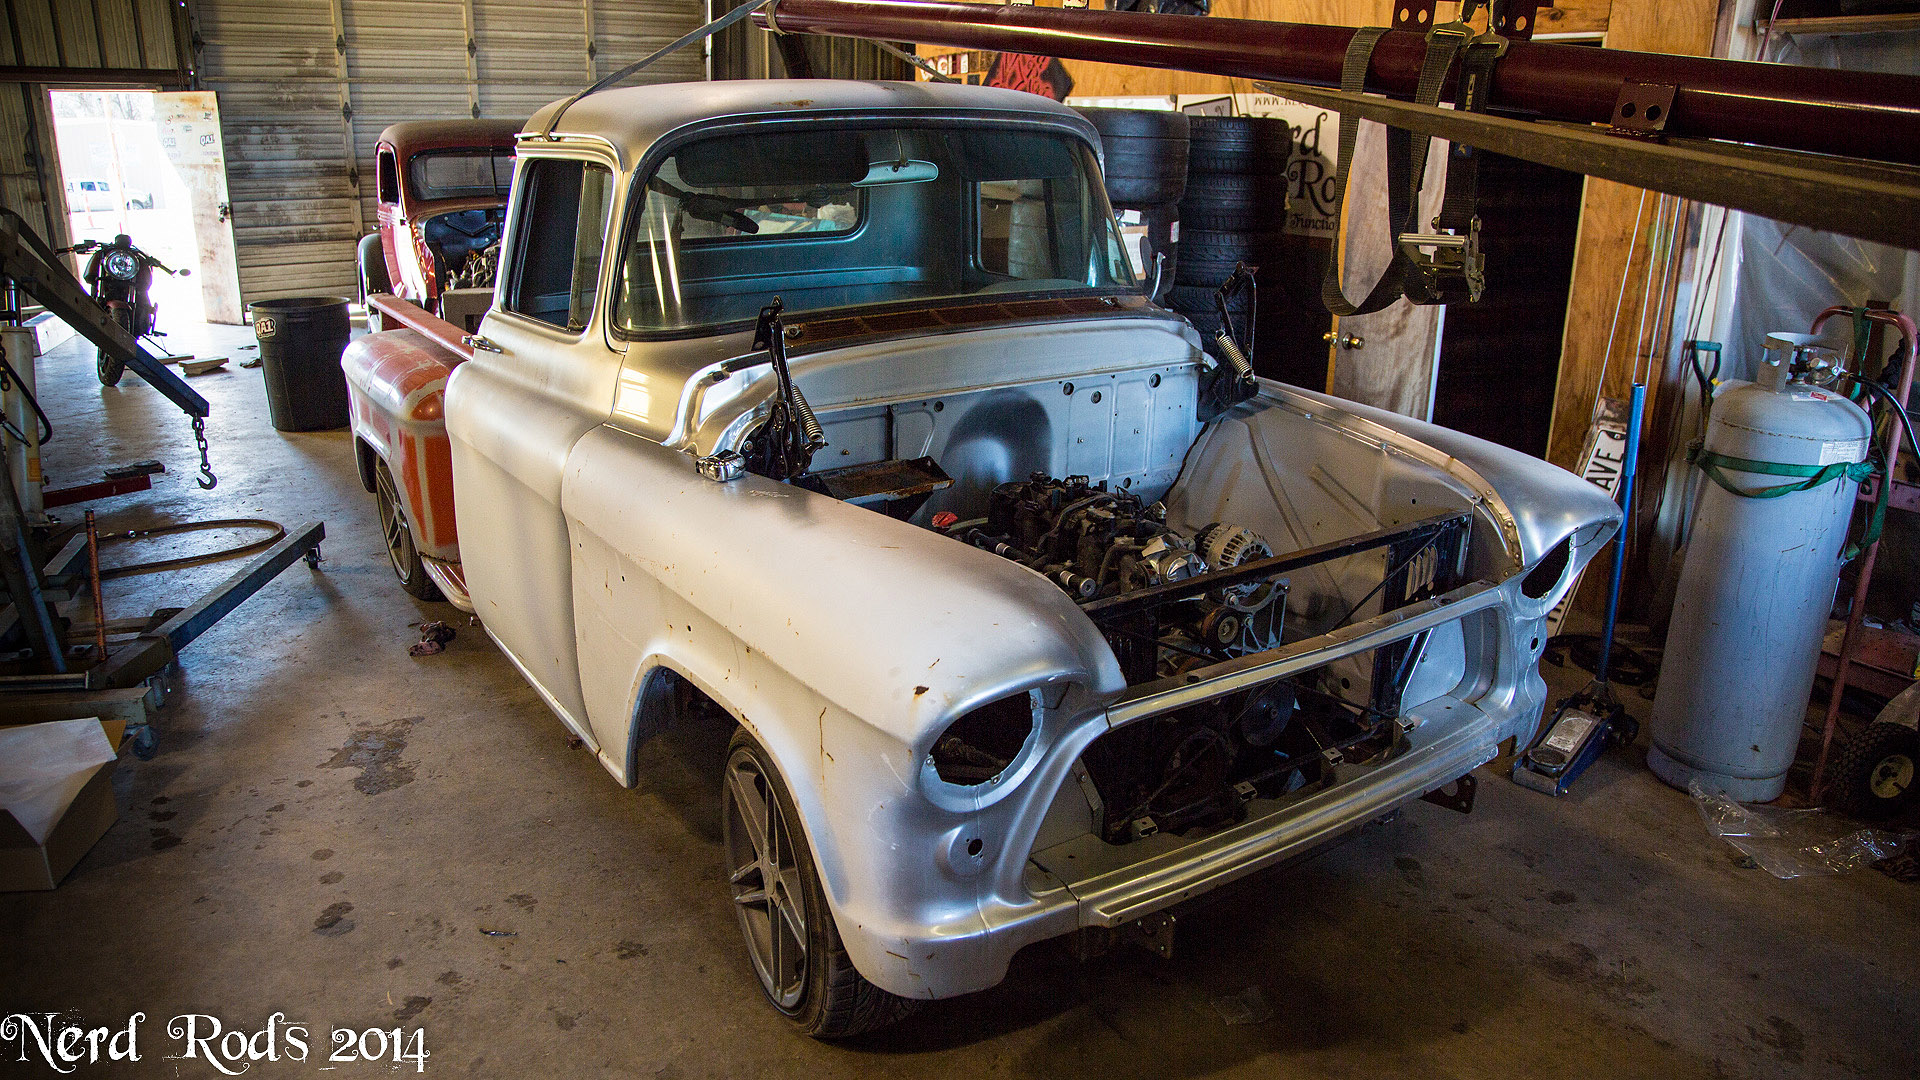
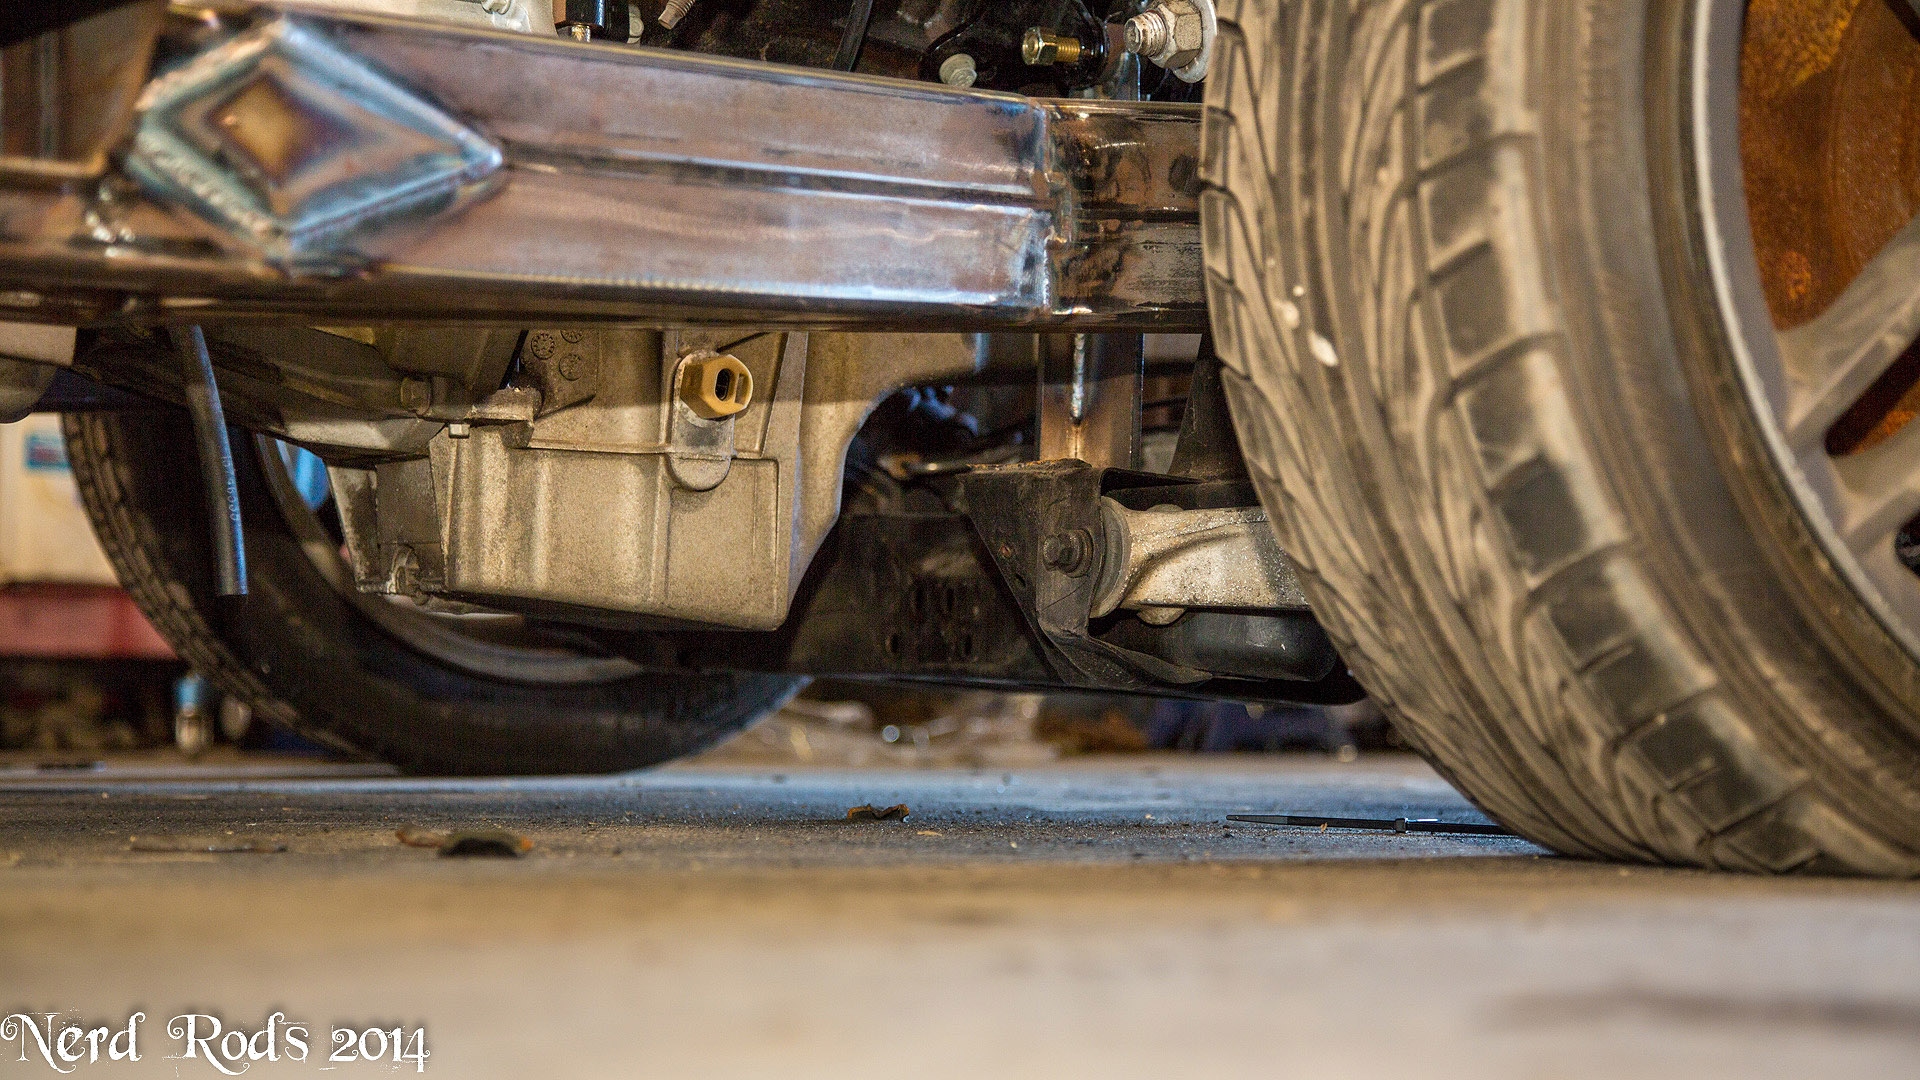
Alright, we got her on the ground. I need to adjust the shocks a little and these tires are different sizes from the other side so its sitting a little odd but close enough for photos.
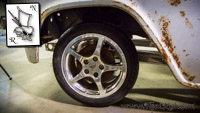
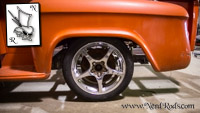
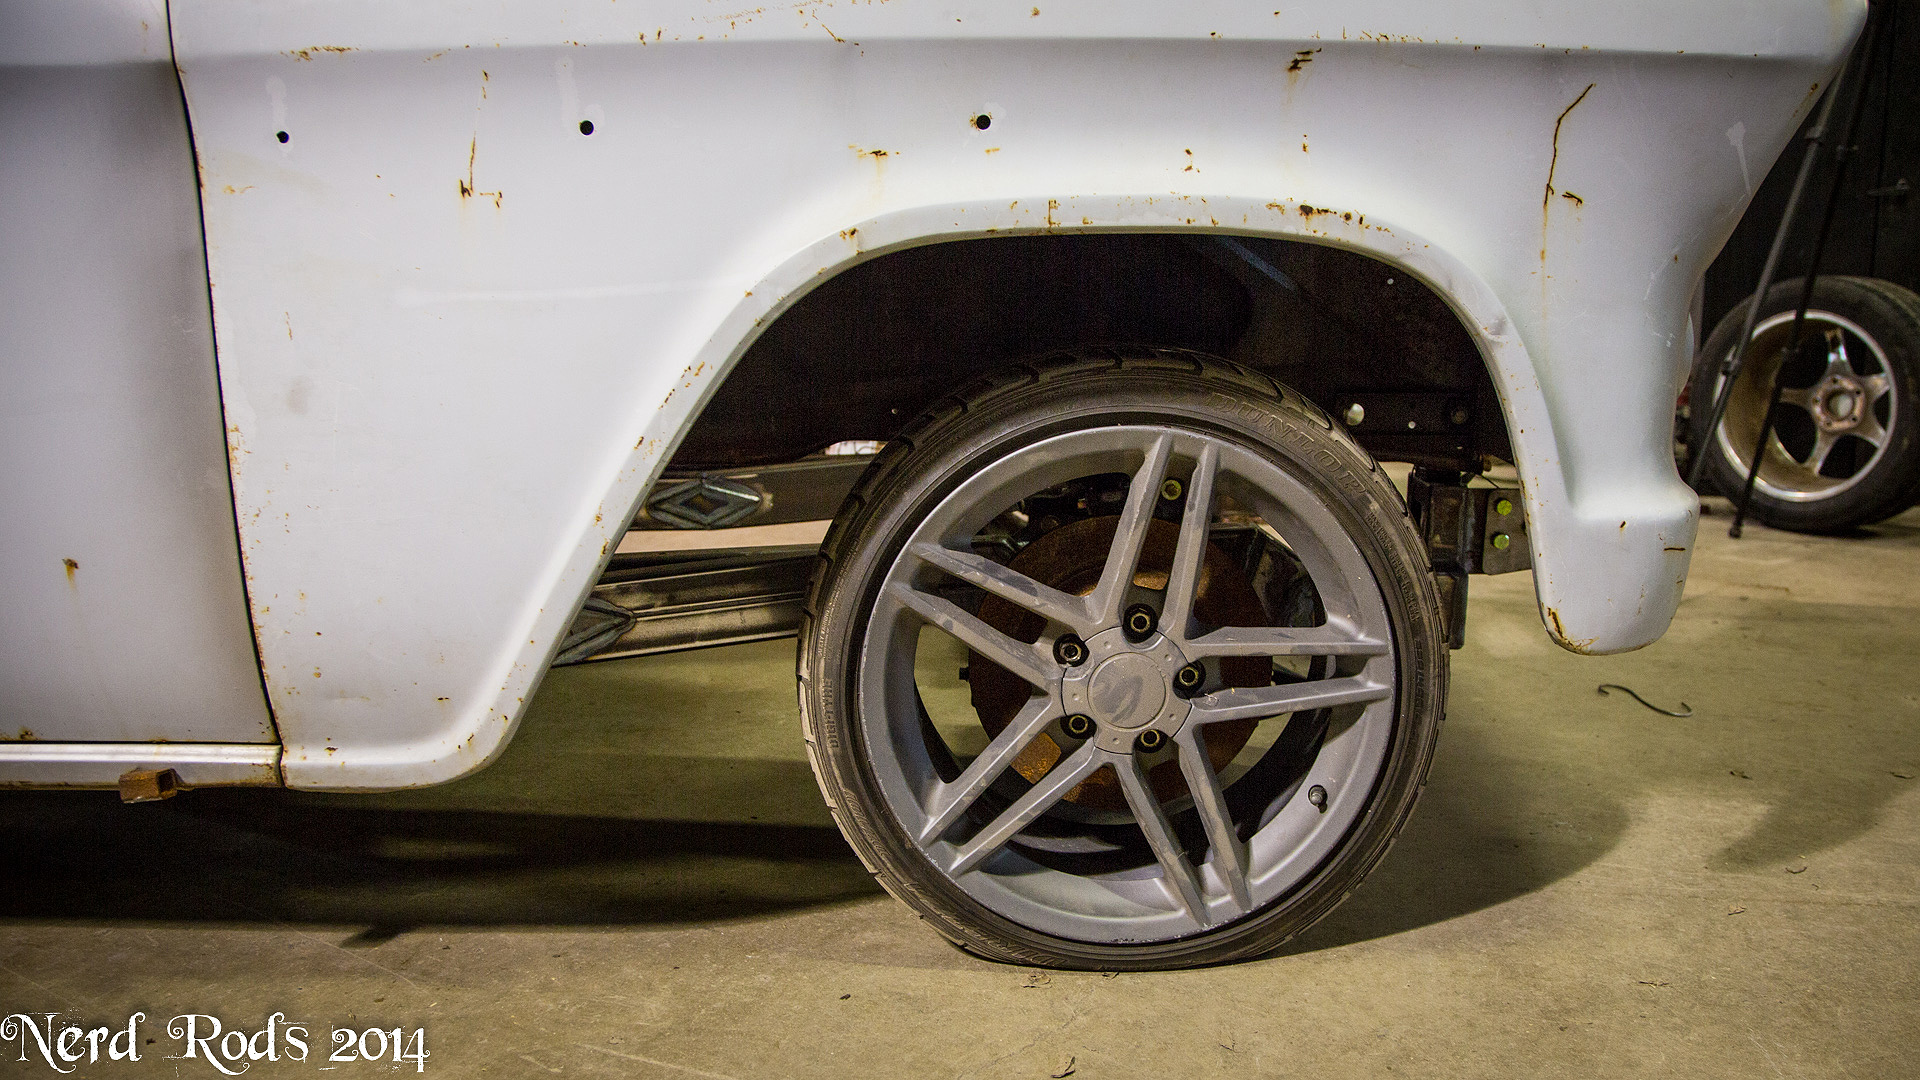
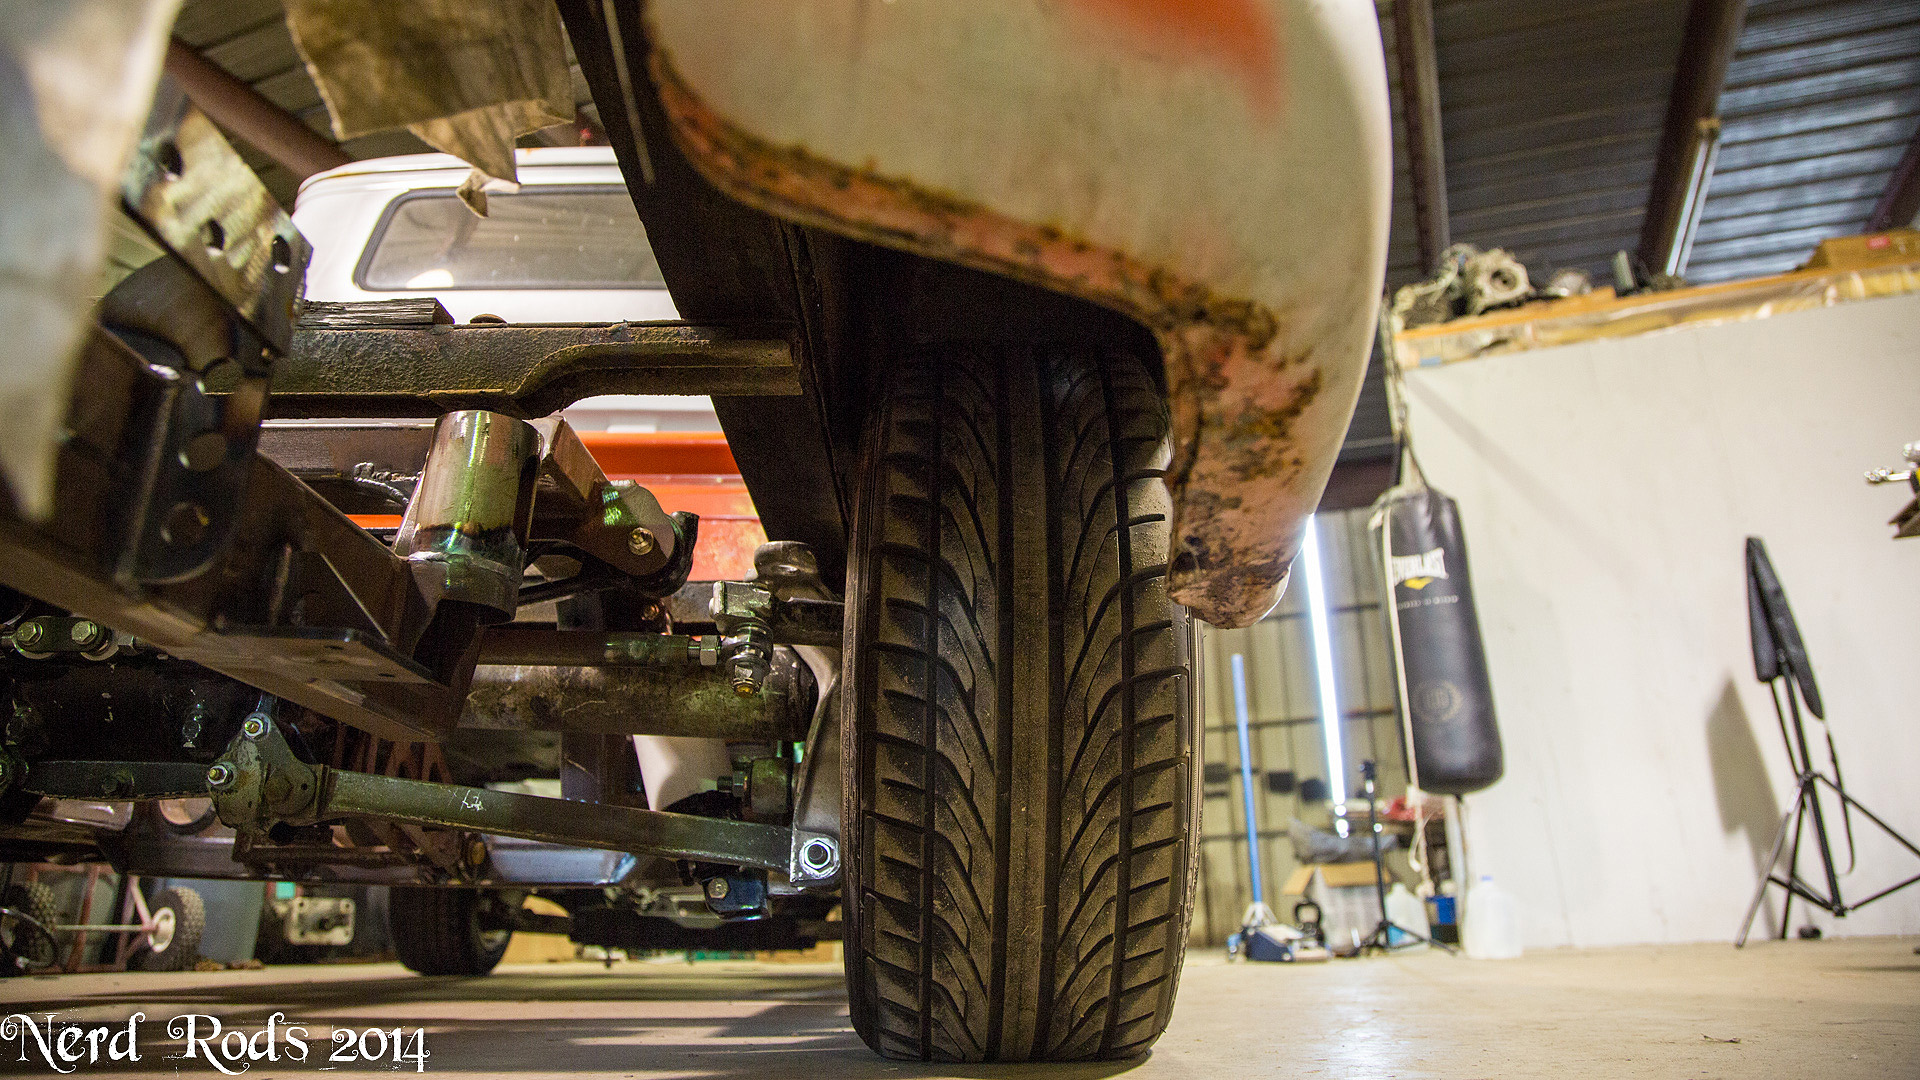
Tires! So a 245 with an 8.5 inch wheel is going to be the easiest thing to put under the truck without modifying the bed. Room is just tight under there. Now, you can see in the previous photos that the frame is designed to accommodate a lot of tire should you be willing to make the simple modification. Up front is amazing. A 275 on a 10.5" tire will fit easily and turn so you guys who want to see on of these babies handle, a 11" with a 295 should be cake with a little work to the outer fender and exact sizing to steer and stop the beast.

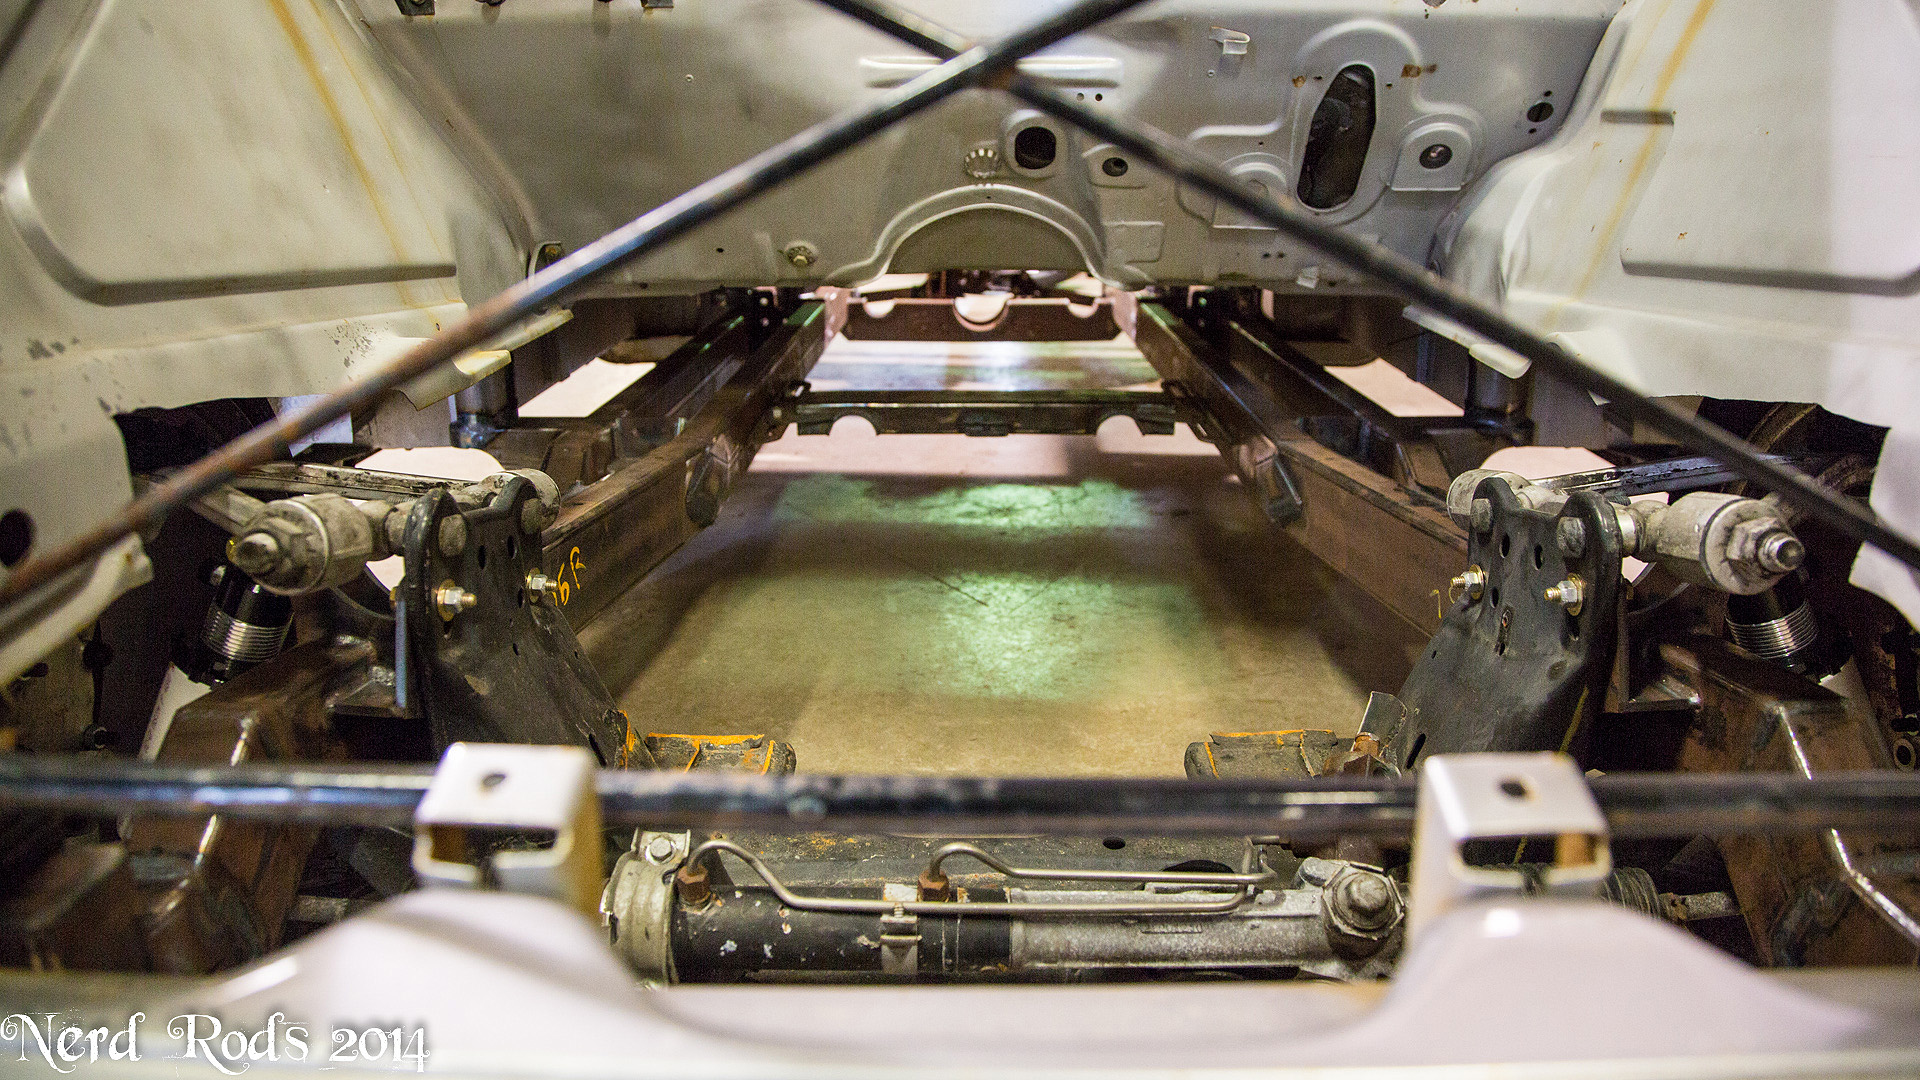
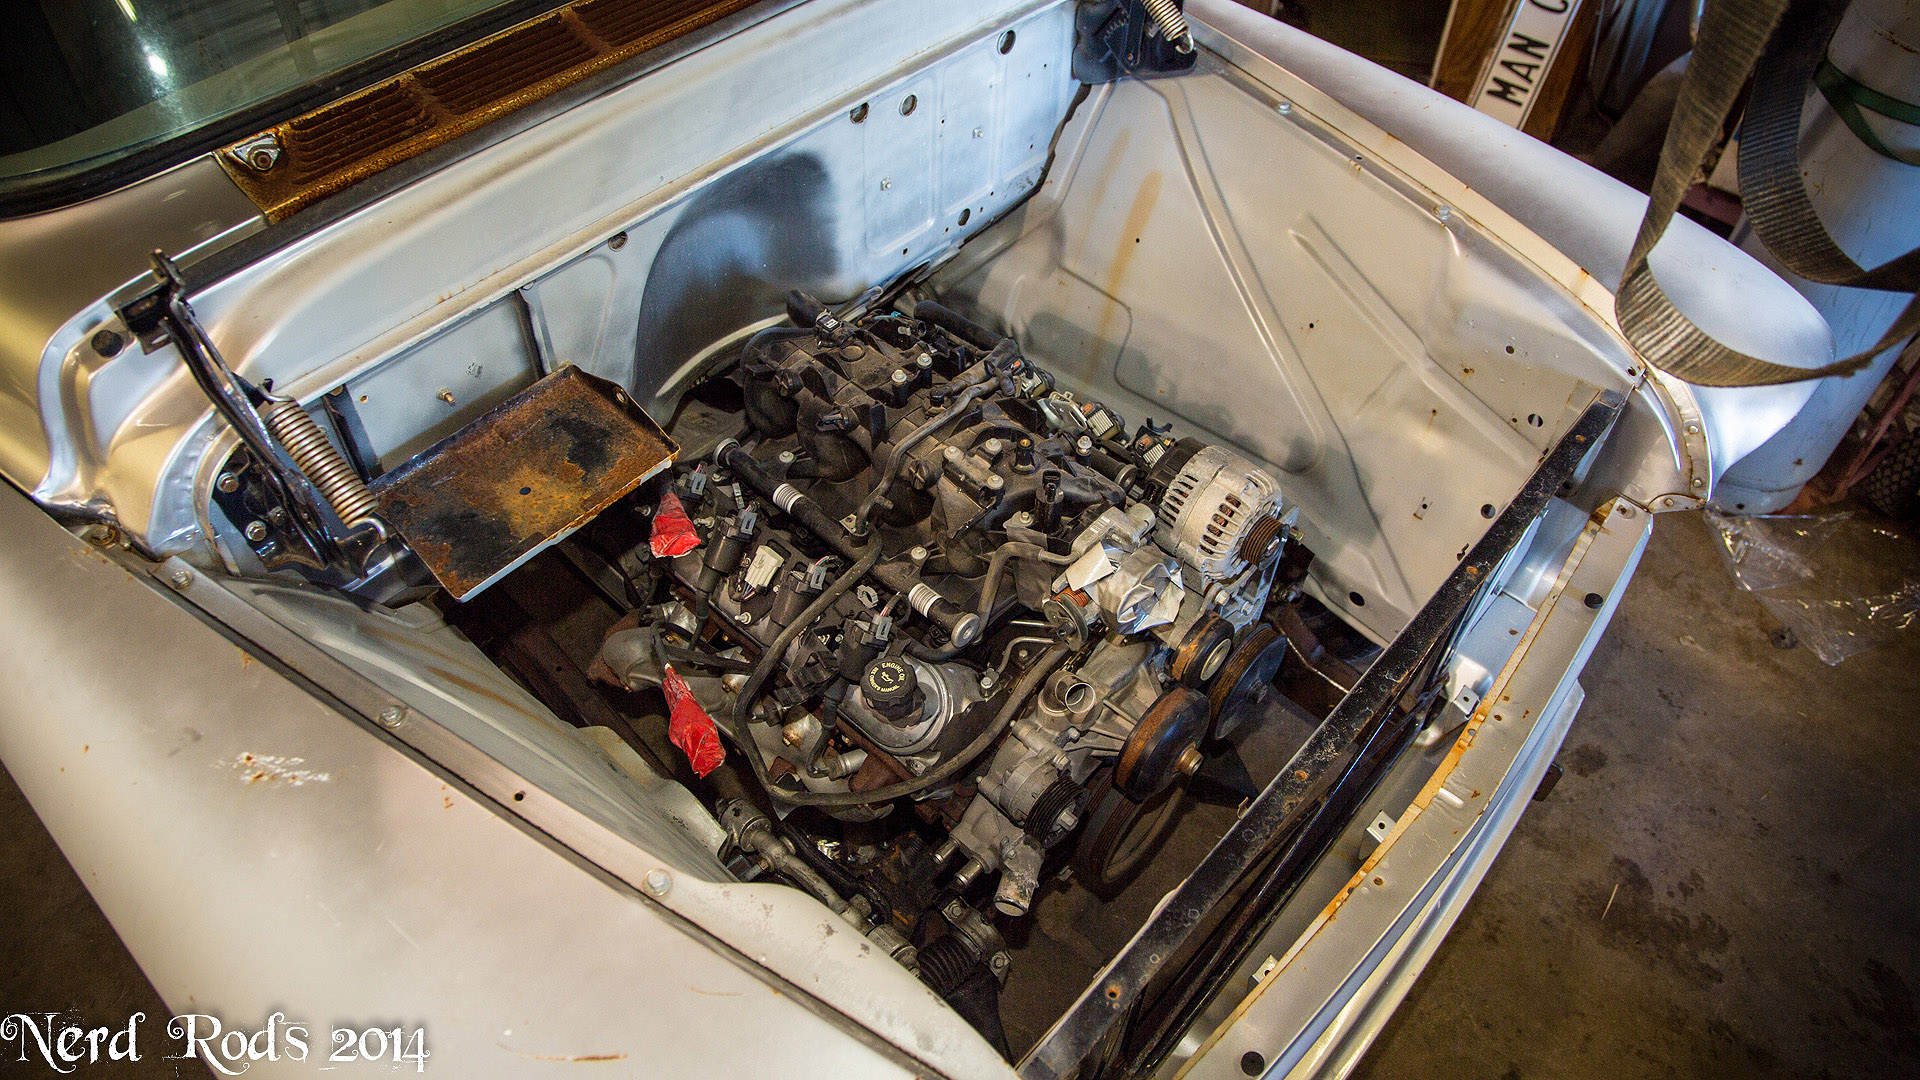
Miles and mile and miles of room under here!!! We're pulling the cab back off to mount up a 5.3L and see what the firewall clearance looks like.
Tires all fall nicely in their exact places. The gray wheels are 18" and the chrome are 17" to give you an idea of size. Some taller tires on the back would be a good look to the truck as well.
Later
-Russell
Alright, we got her on the ground. I need to adjust the shocks a little and these tires are different sizes from the other side so its sitting a little odd but close enough for photos.
Tires! So a 245 with an 8.5 inch wheel is going to be the easiest thing to put under the truck without modifying the bed. Room is just tight under there. Now, you can see in the previous photos that the frame is designed to accommodate a lot of tire should you be willing to make the simple modification. Up front is amazing. A 275 on a 10.5" tire will fit easily and turn so you guys who want to see on of these babies handle, a 11" with a 295 should be cake with a little work to the outer fender and exact sizing to steer and stop the beast.
Miles and mile and miles of room under here!!! We're pulling the cab back off to mount up a 5.3L and see what the firewall clearance looks like.
Tires all fall nicely in their exact places. The gray wheels are 18" and the chrome are 17" to give you an idea of size. Some taller tires on the back would be a good look to the truck as well.

Later
-Russell
02-03-2014, 07:05 PM
#58
Launching!
Thread Starter
Join Date: Jan 2007
Location: Luling TX In the Hot Rod Shop
Posts: 294
Likes: 0
Received 3 Likes
on
3 Posts
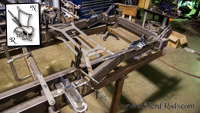
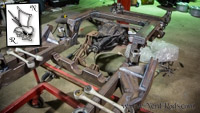
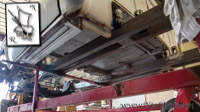
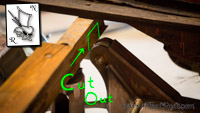
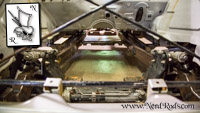
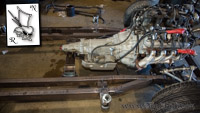
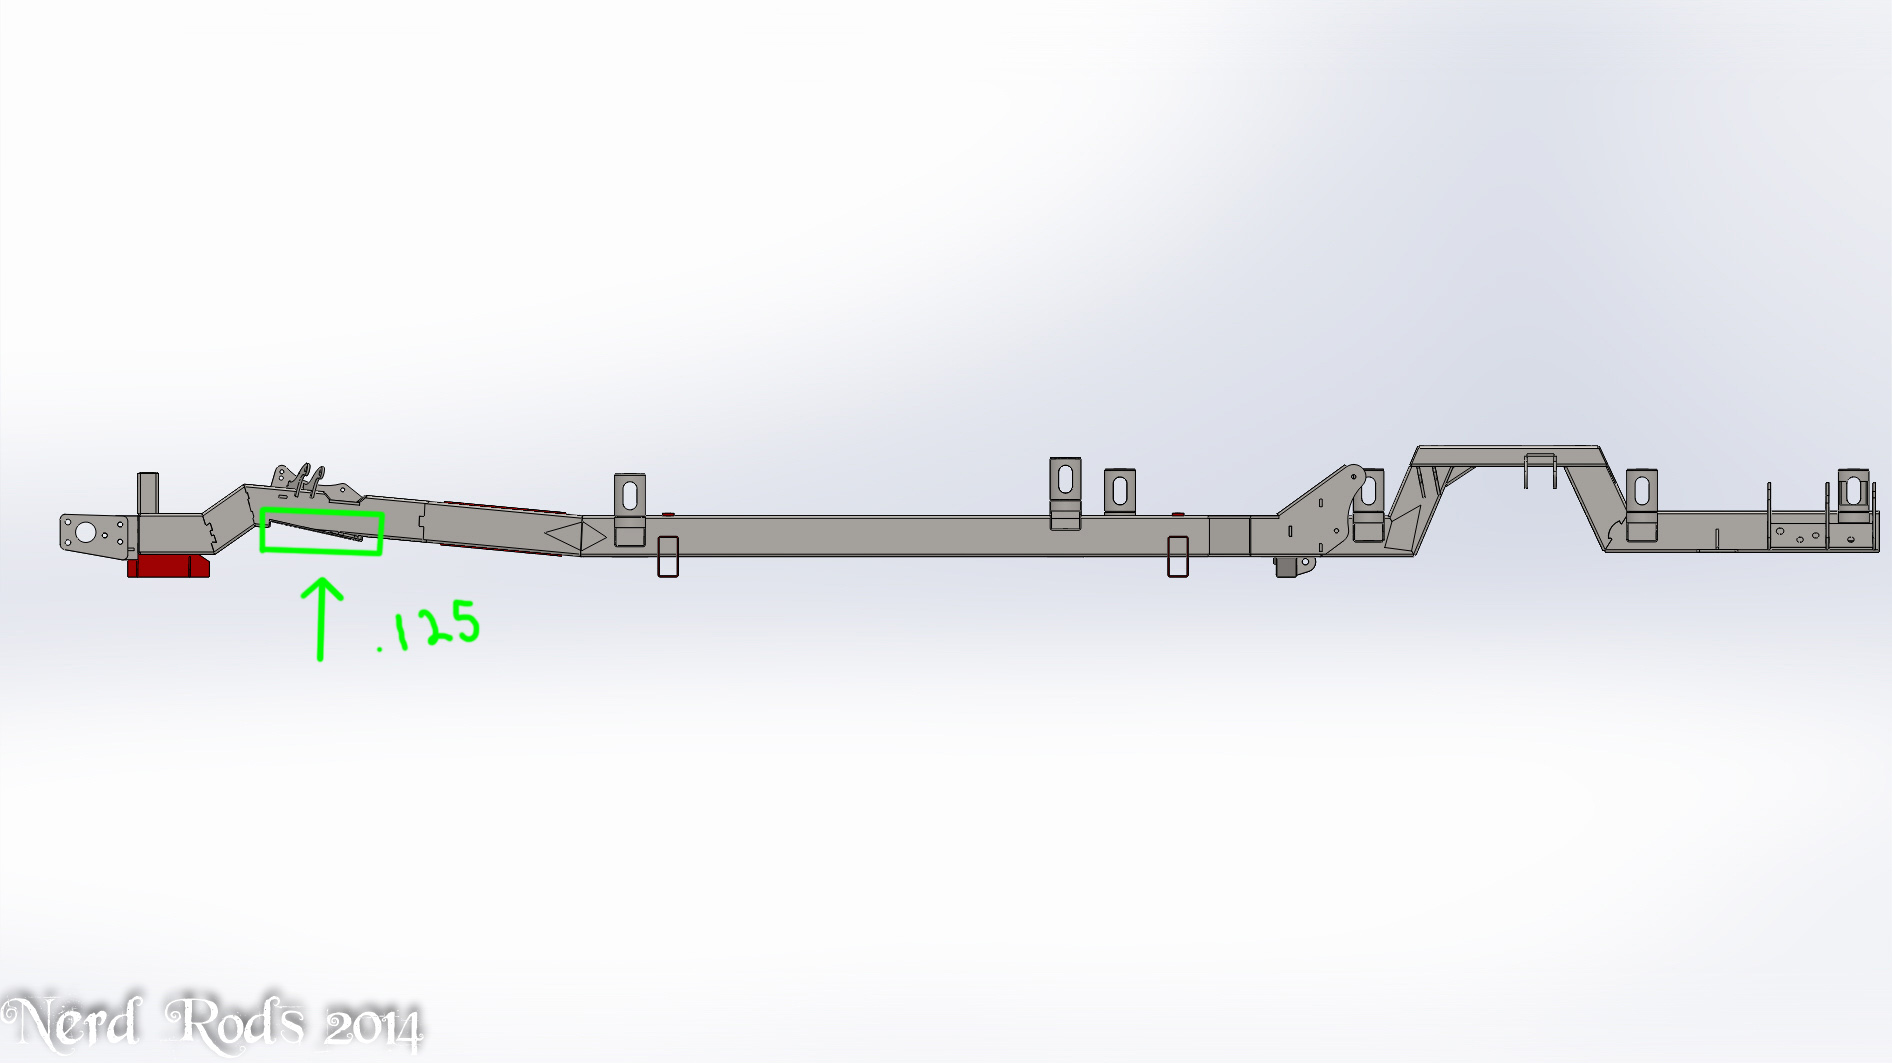
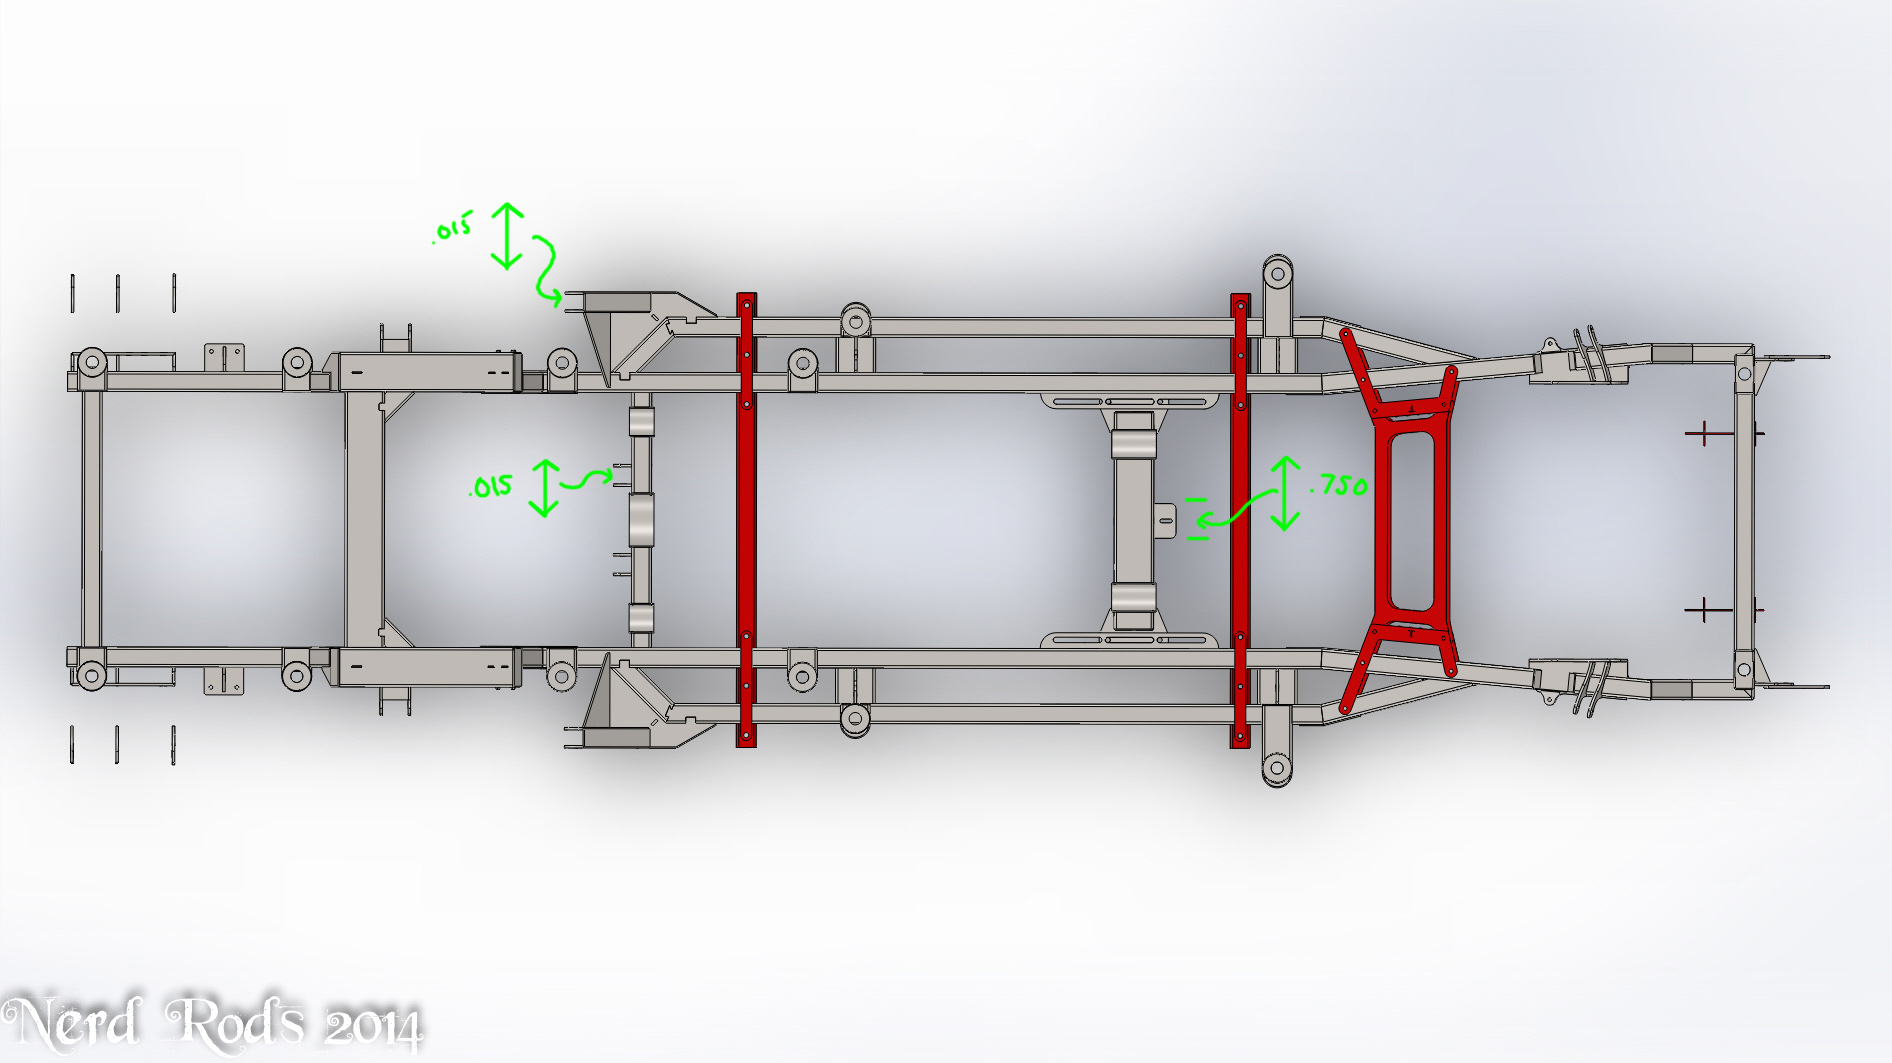
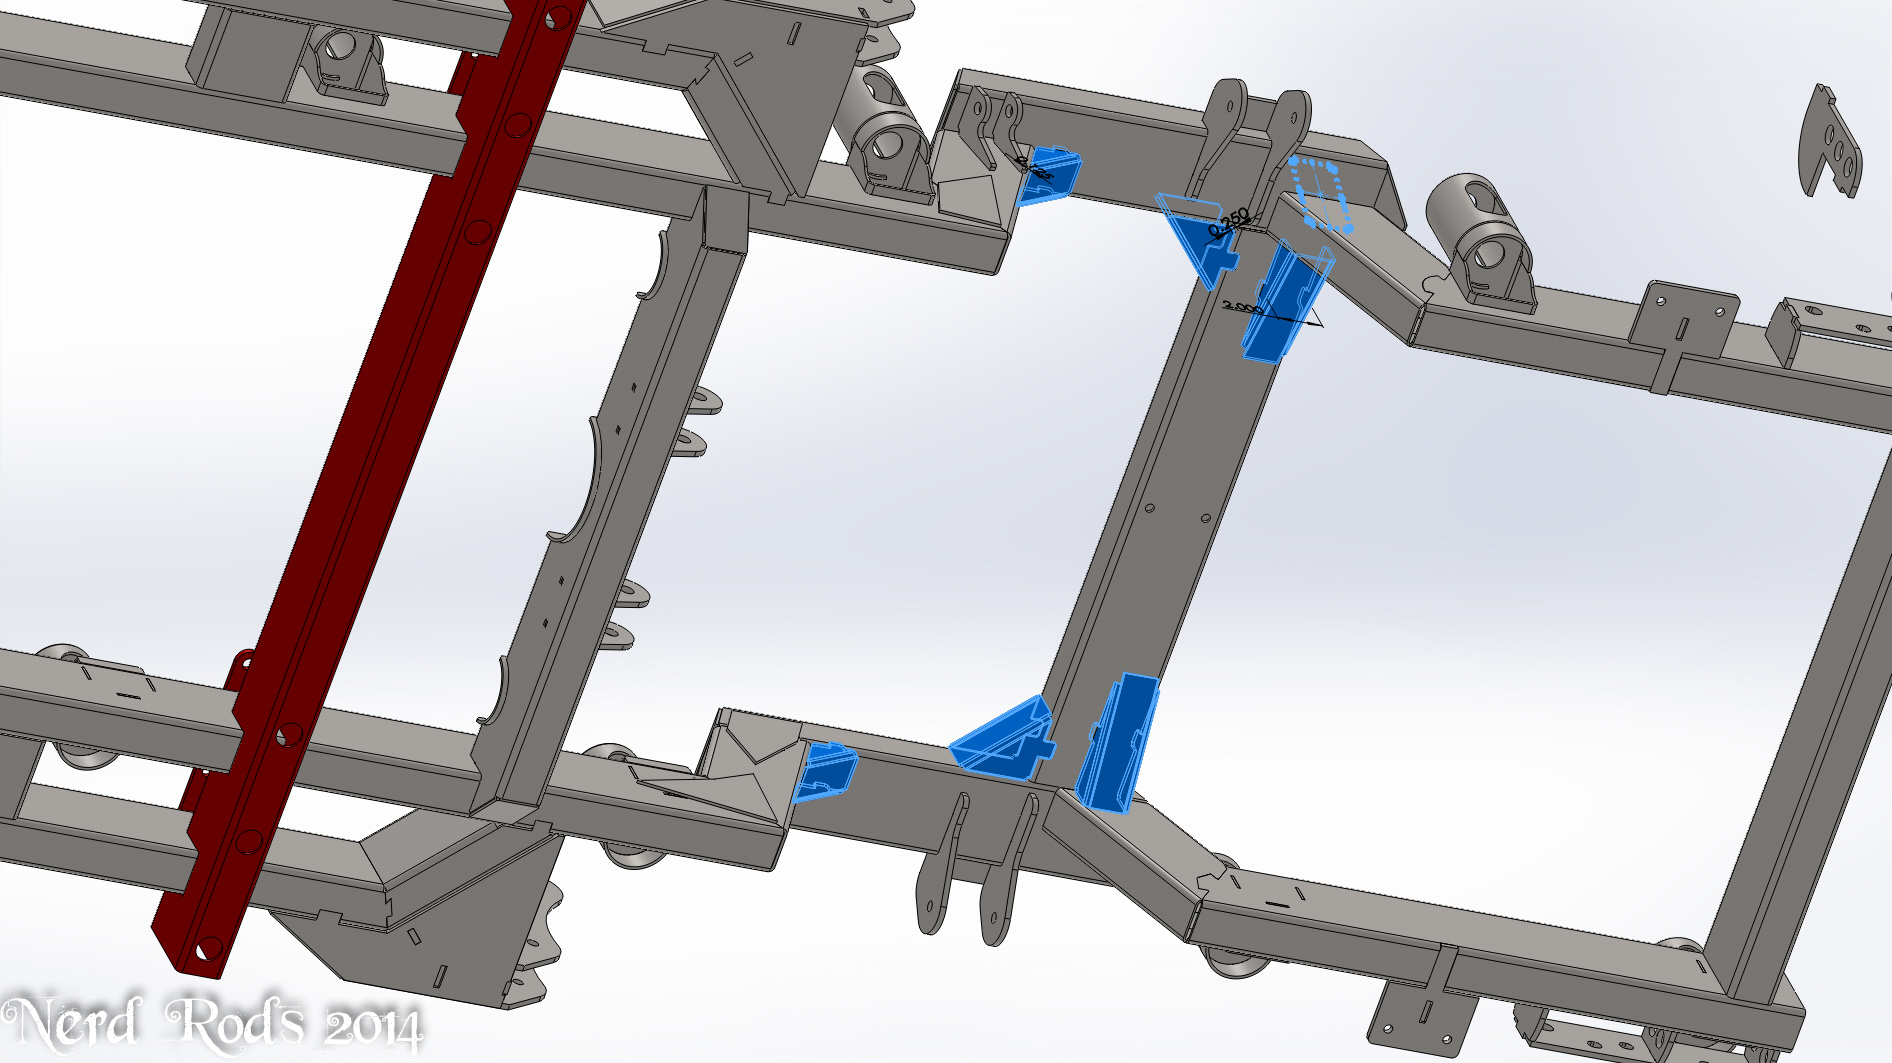
So here a some of the final mods I've made to the frame for the production batch. I'm happy that I'm only going to raise the front cradle a little bit in the production batch to get the suspension angle perfect. It will be more critical on the lower body height.
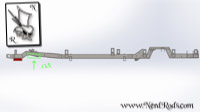
The rest are just opening up tolerances to accommodate for welding deflection in a few of the ears and the additional thickness of powder coating I didn't think about when I was designing.

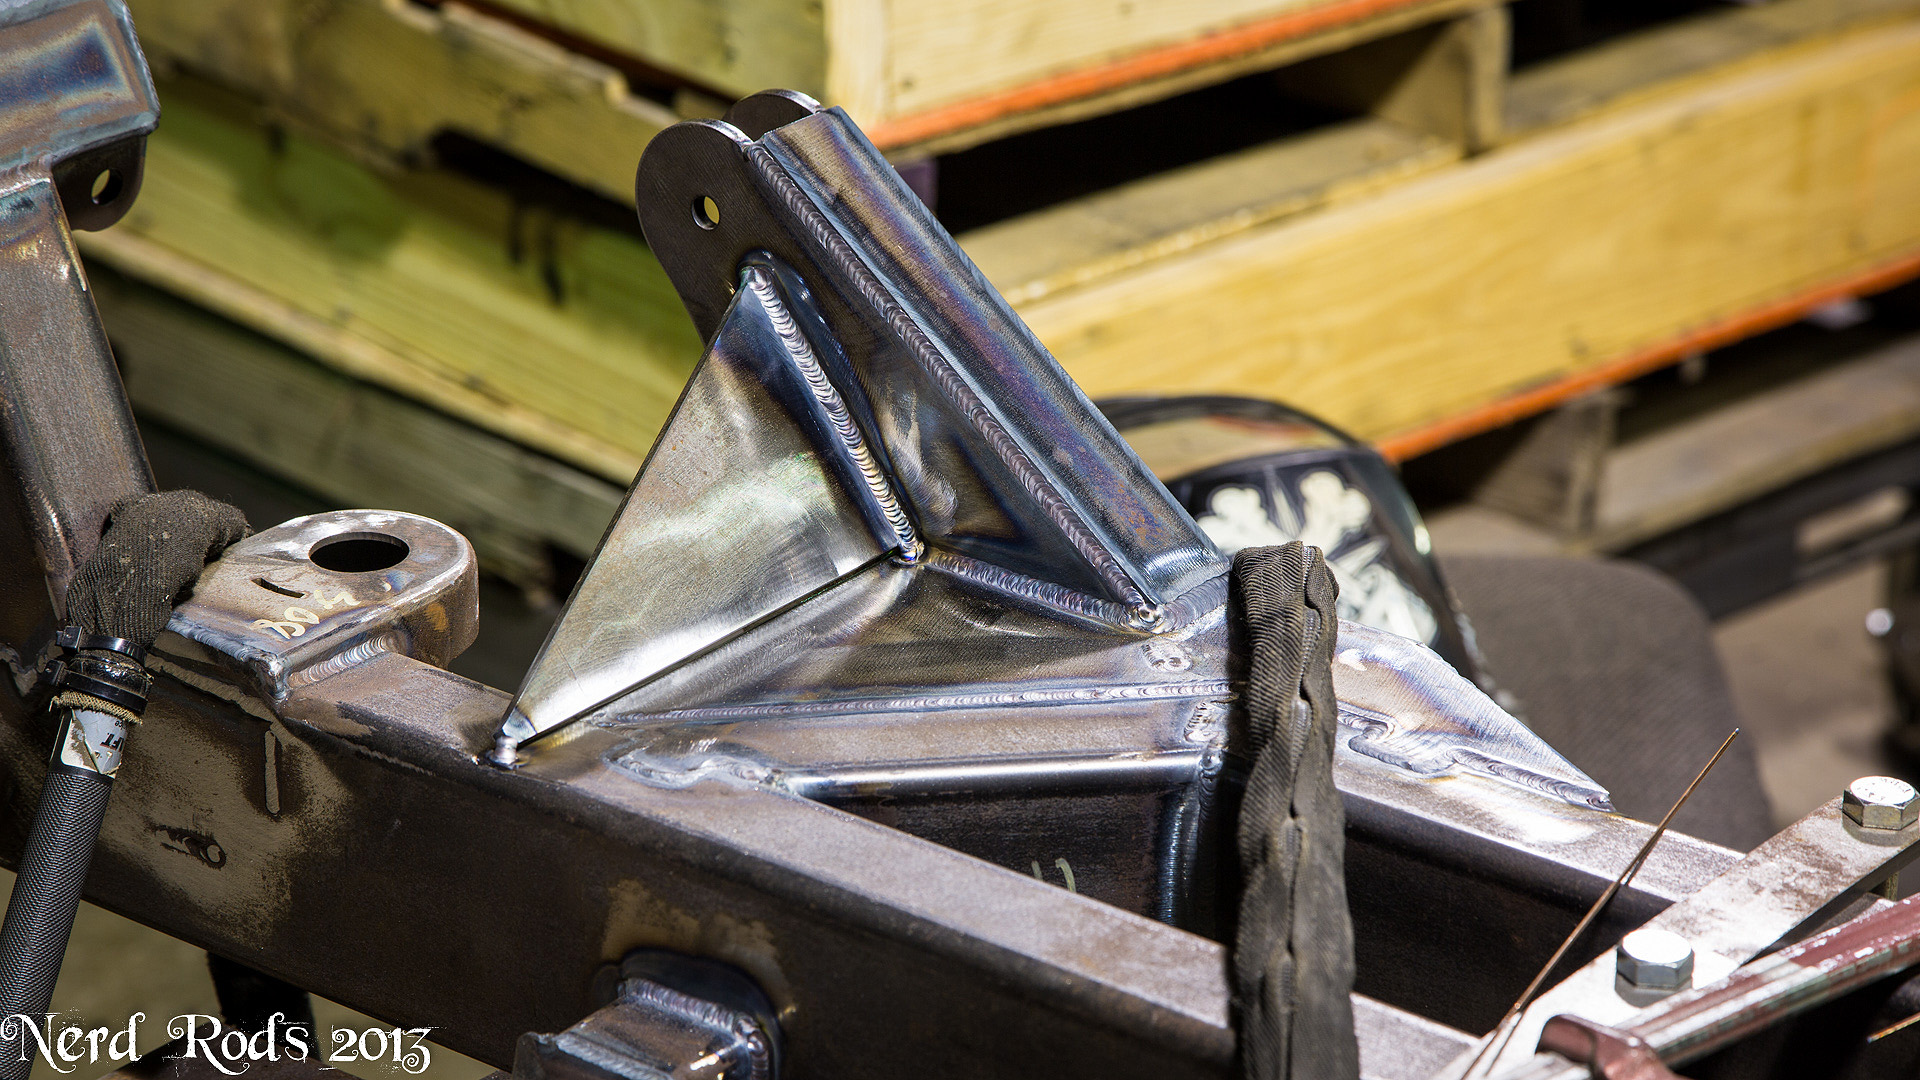
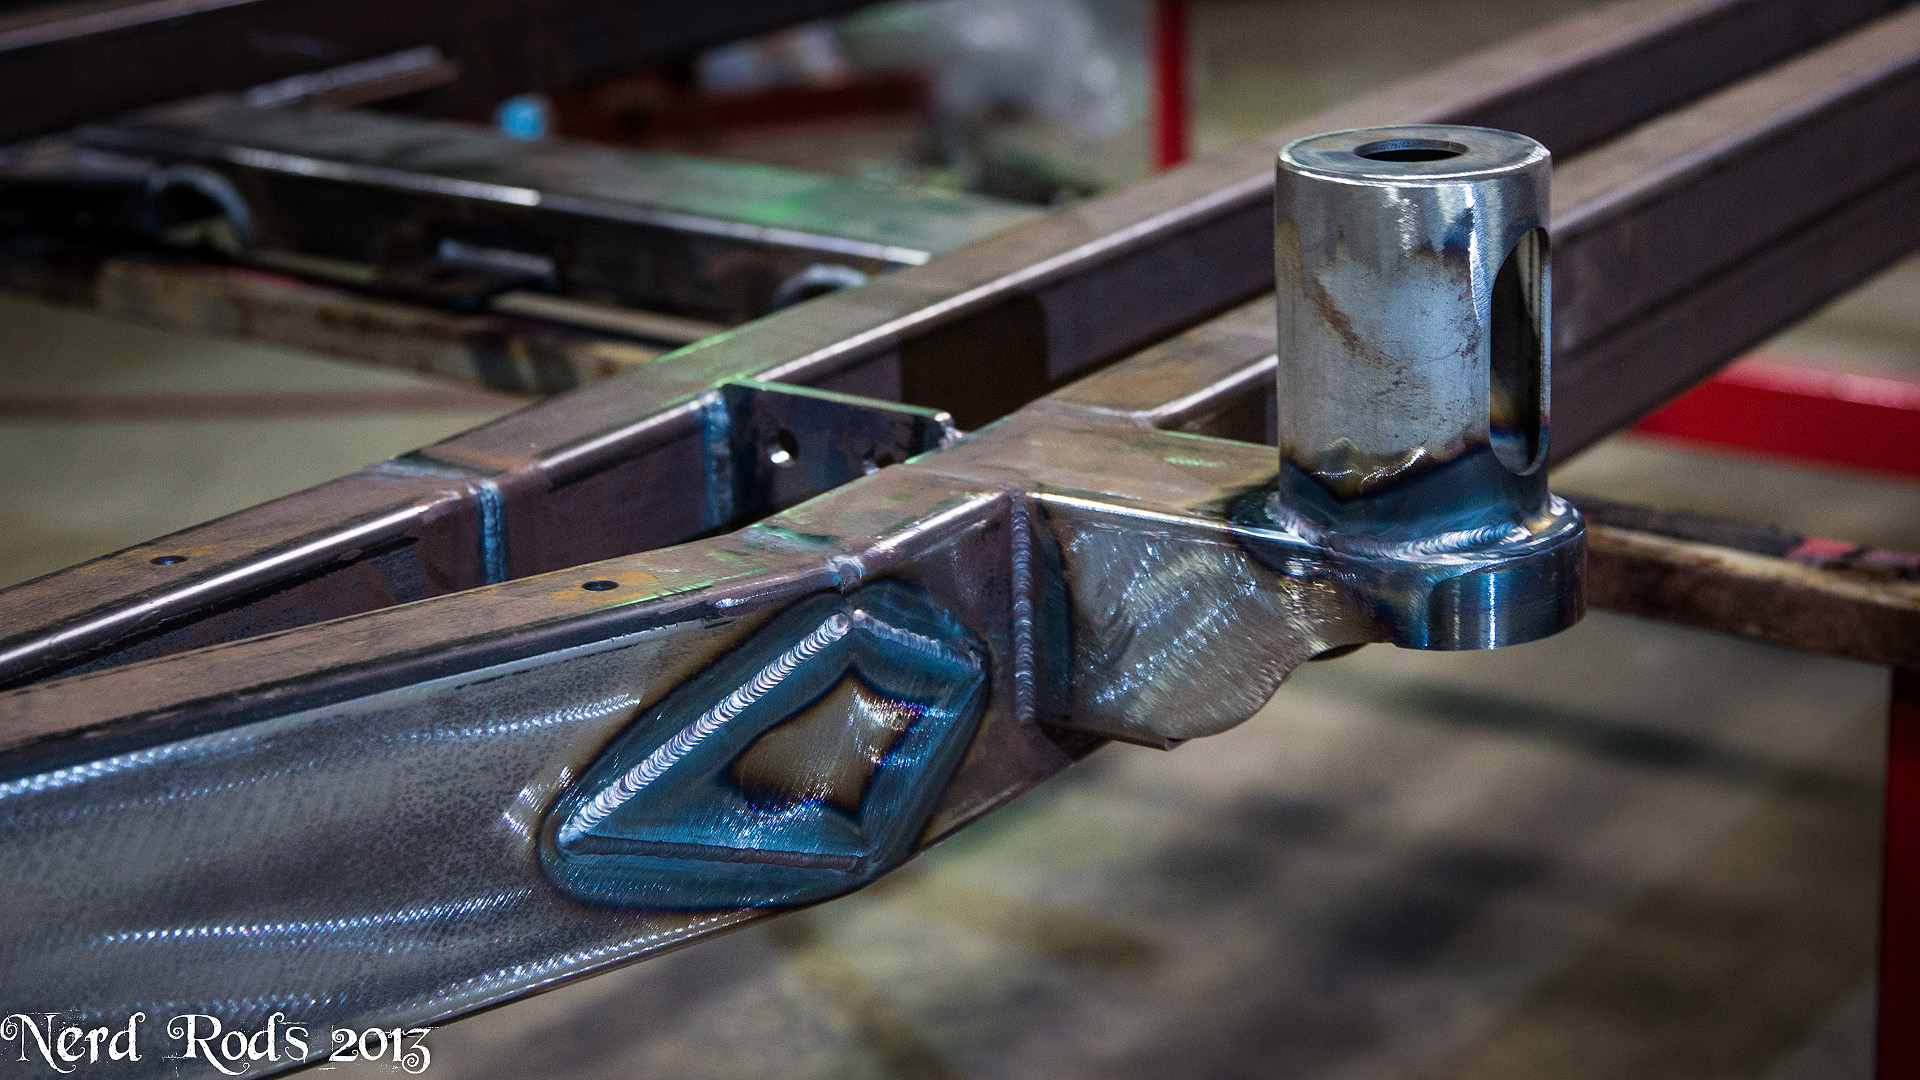
Finally I replaced these gussets with tubing parts so we can cut the total assembly down by 12 parts and 20+ inches of welding.
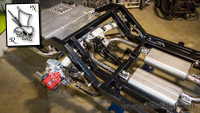
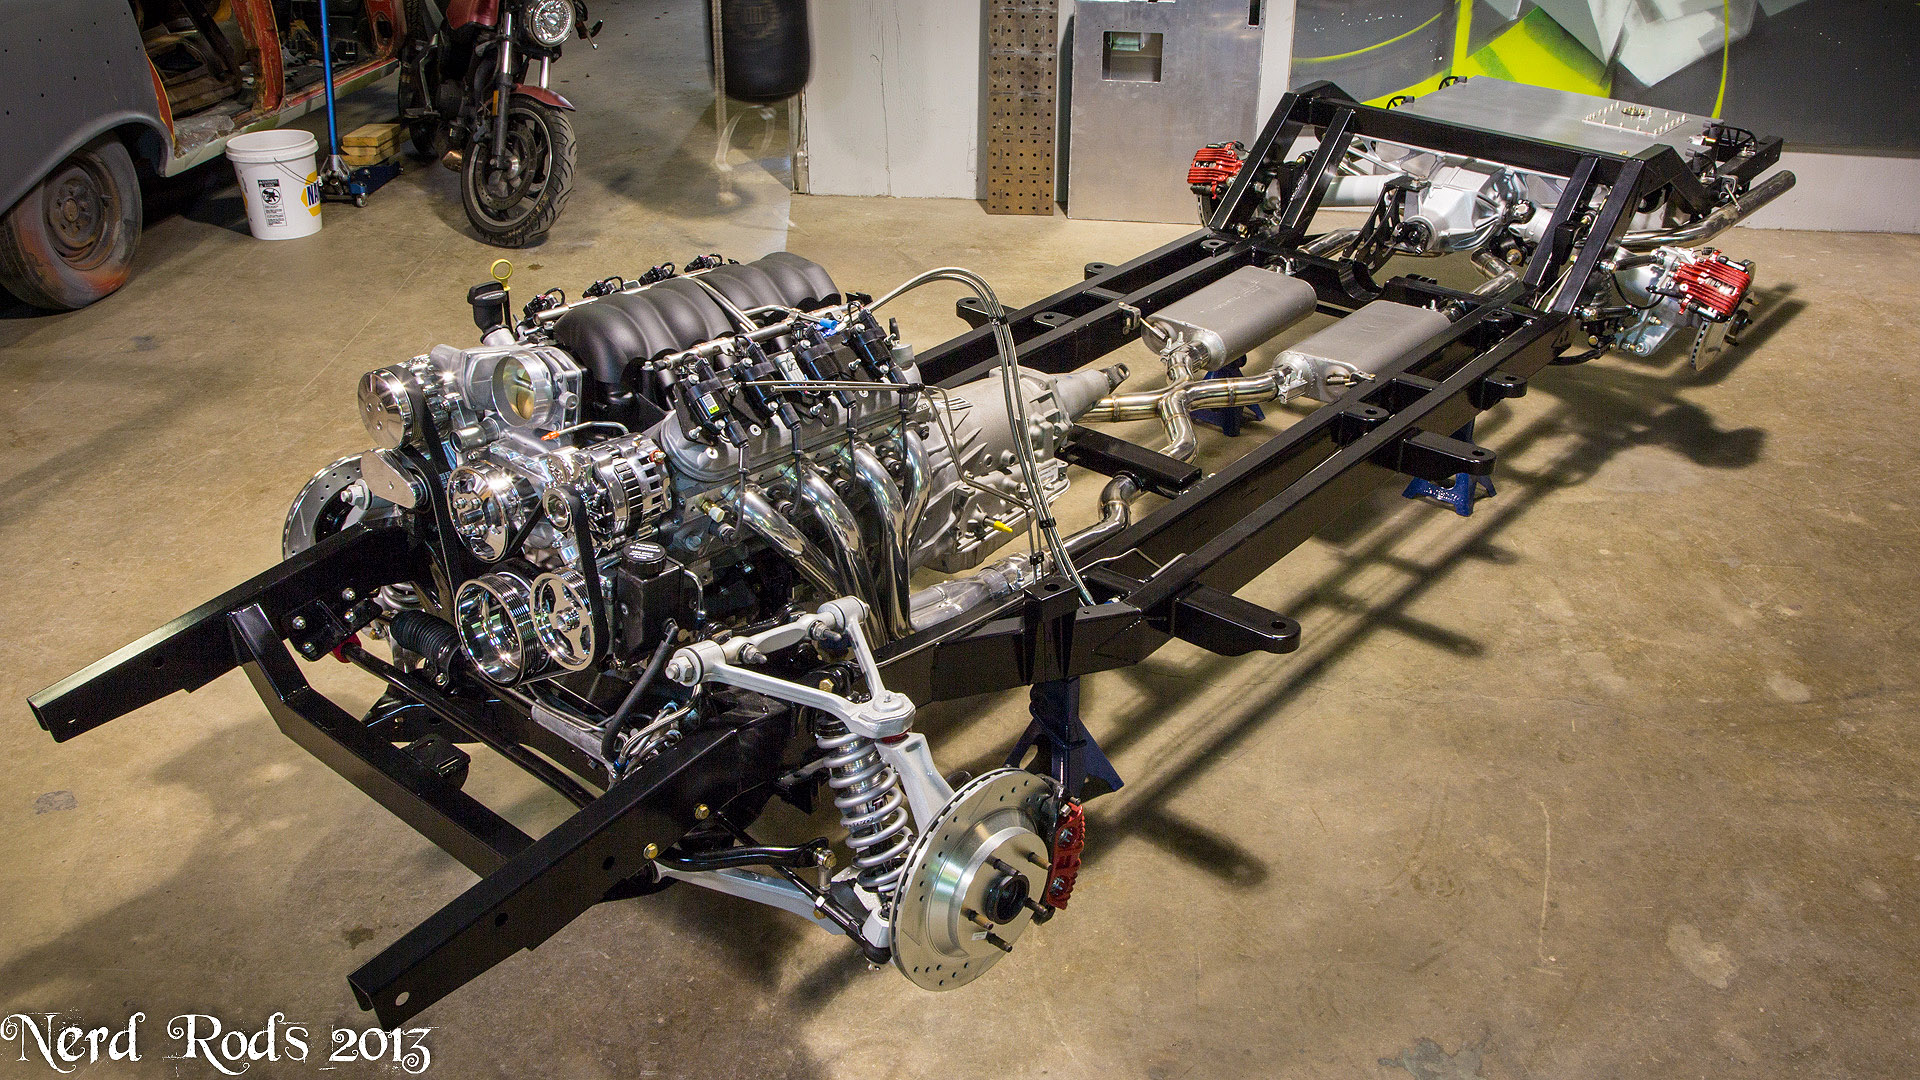
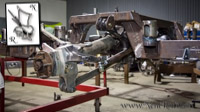
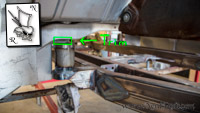
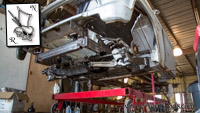
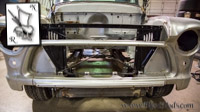
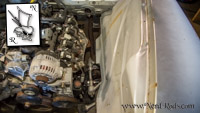
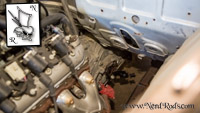
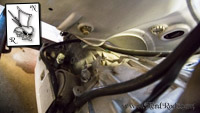
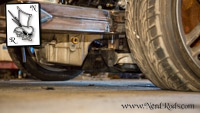
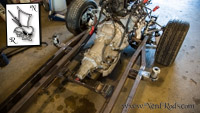
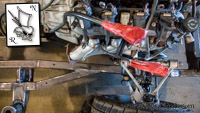
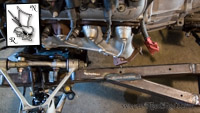
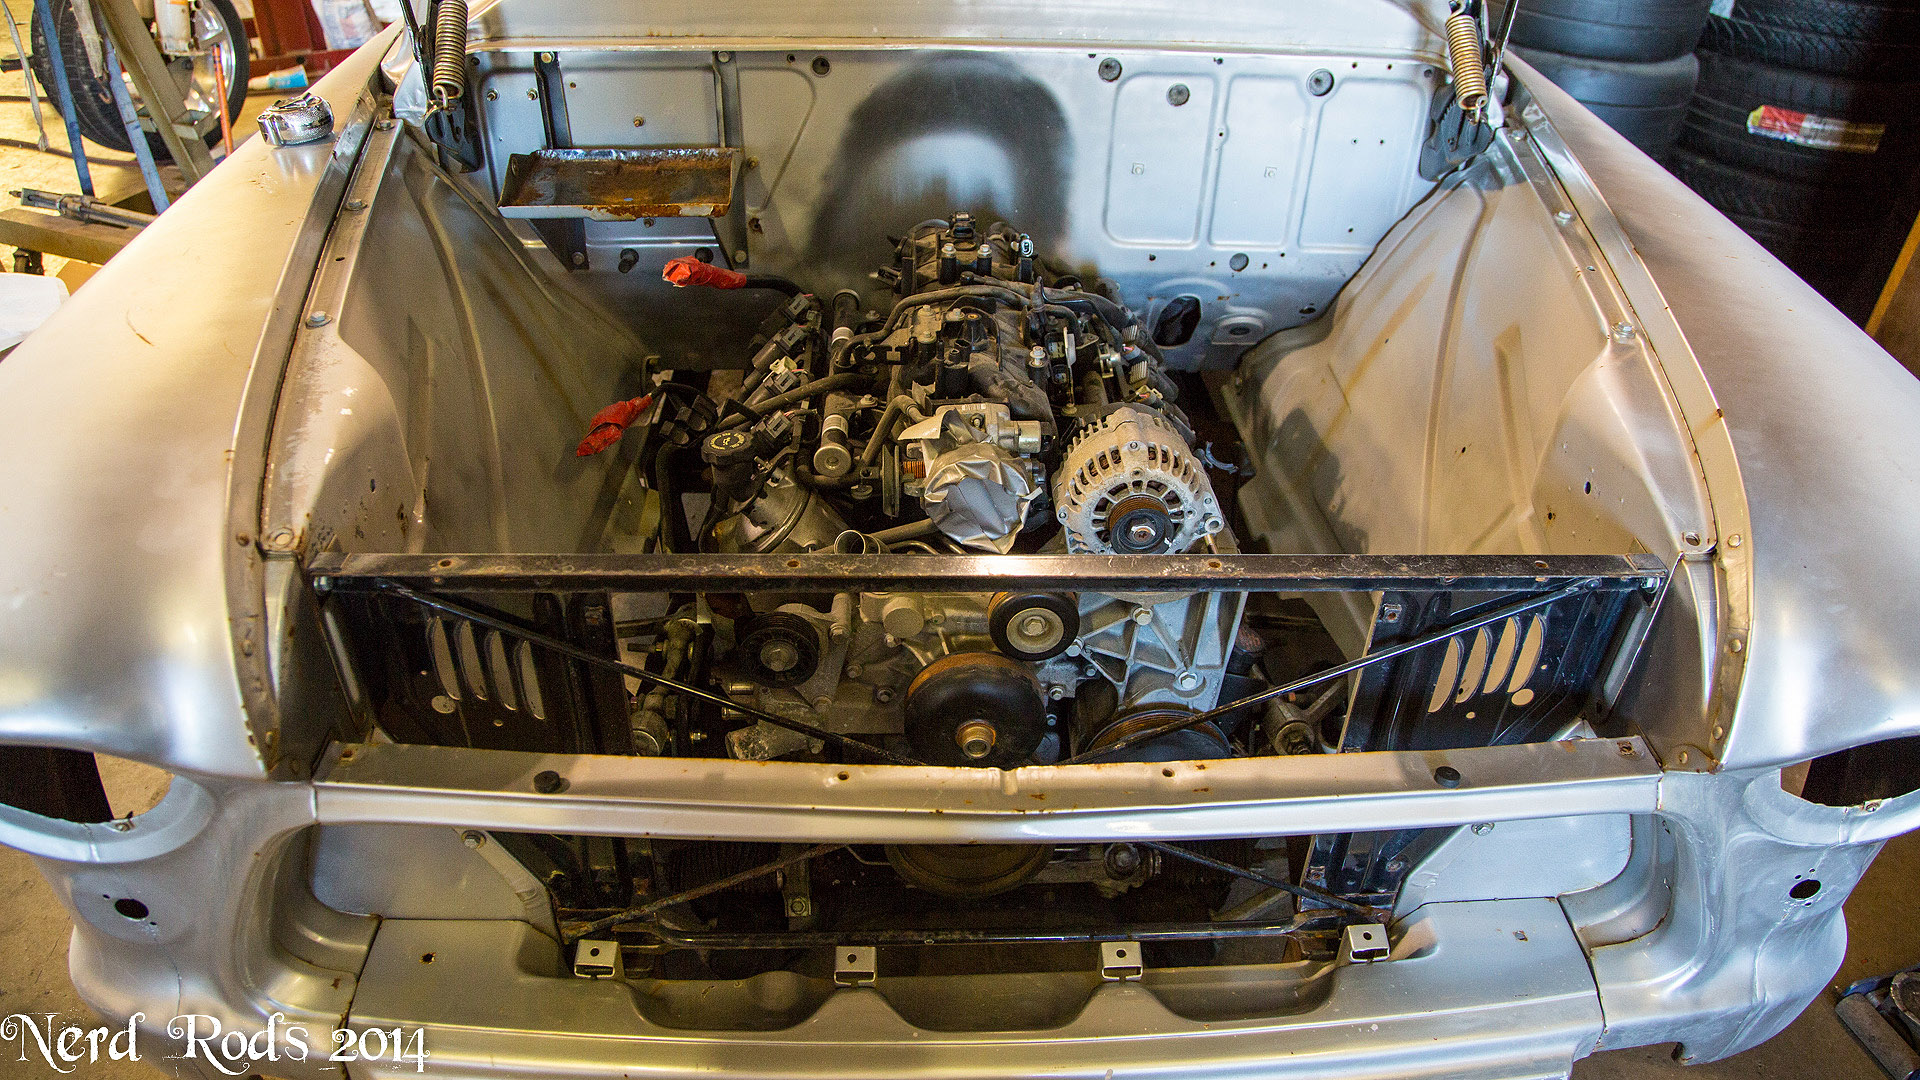
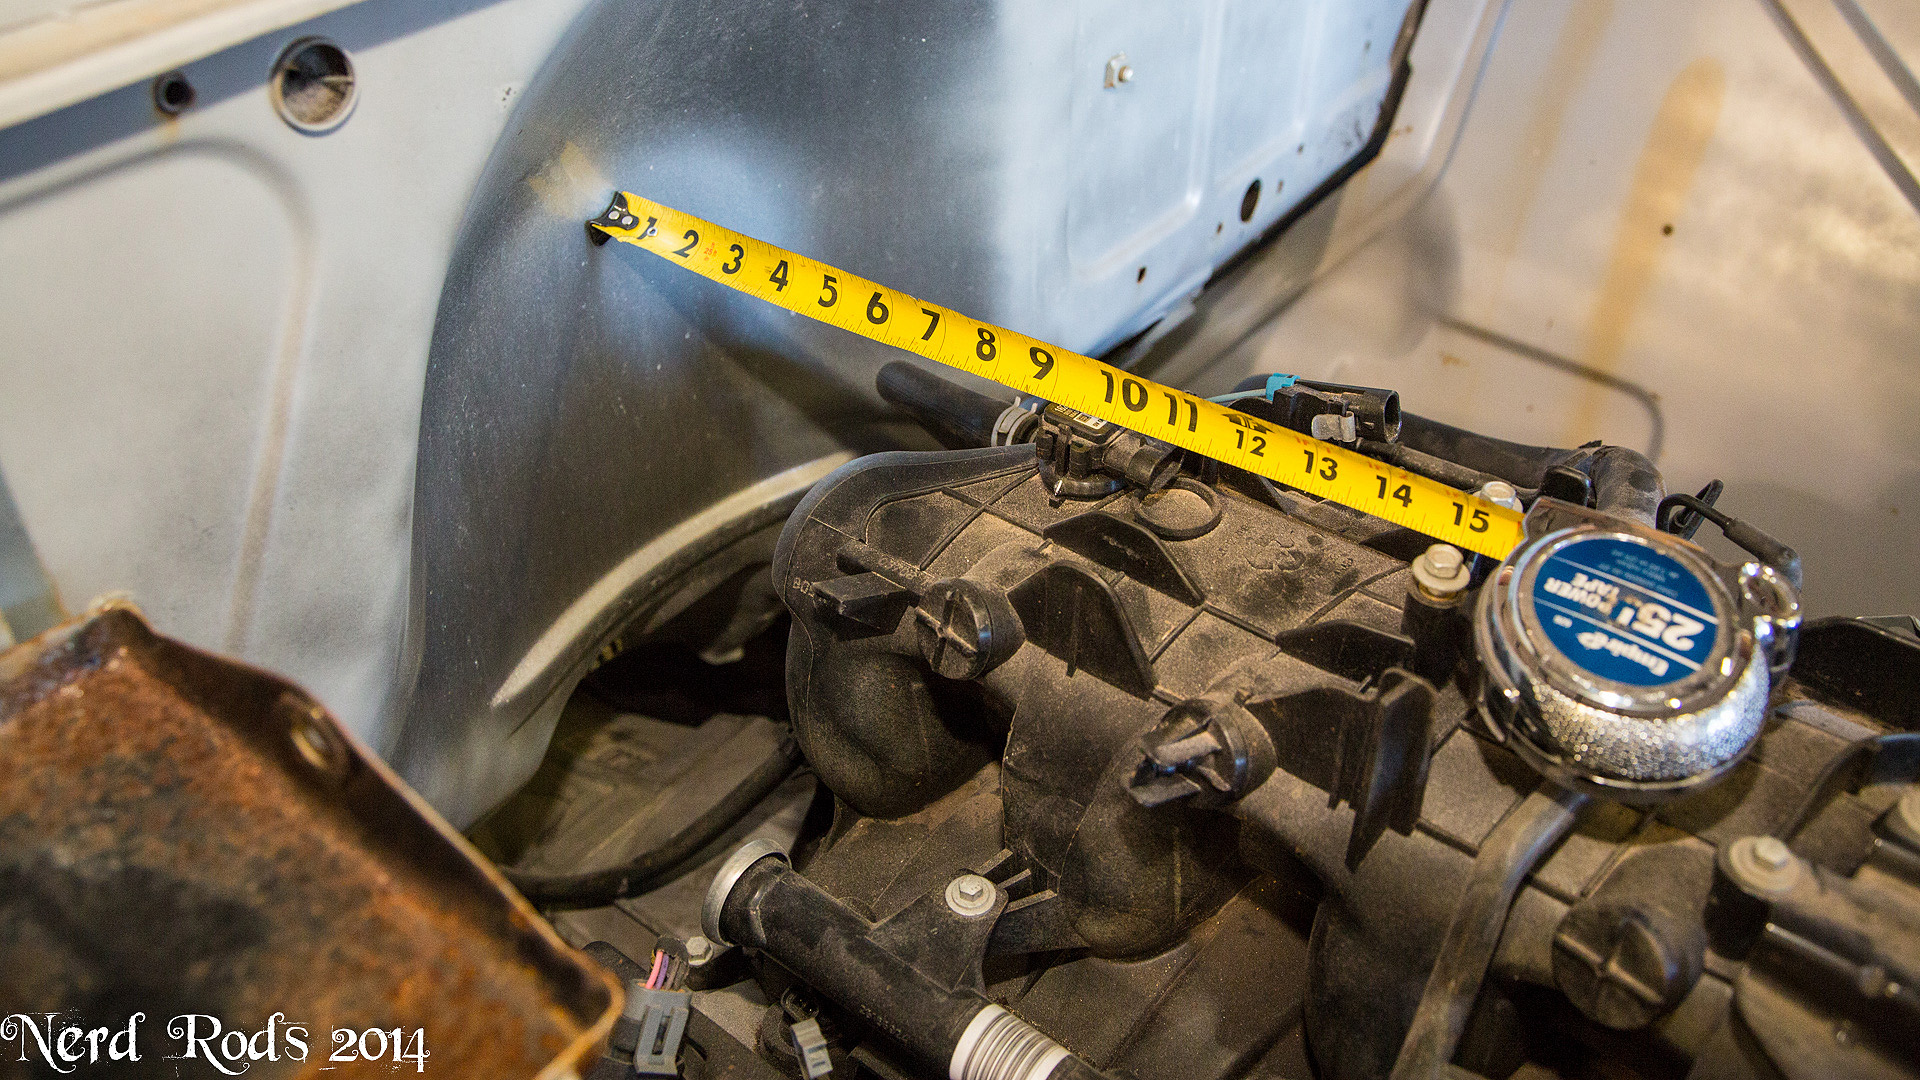
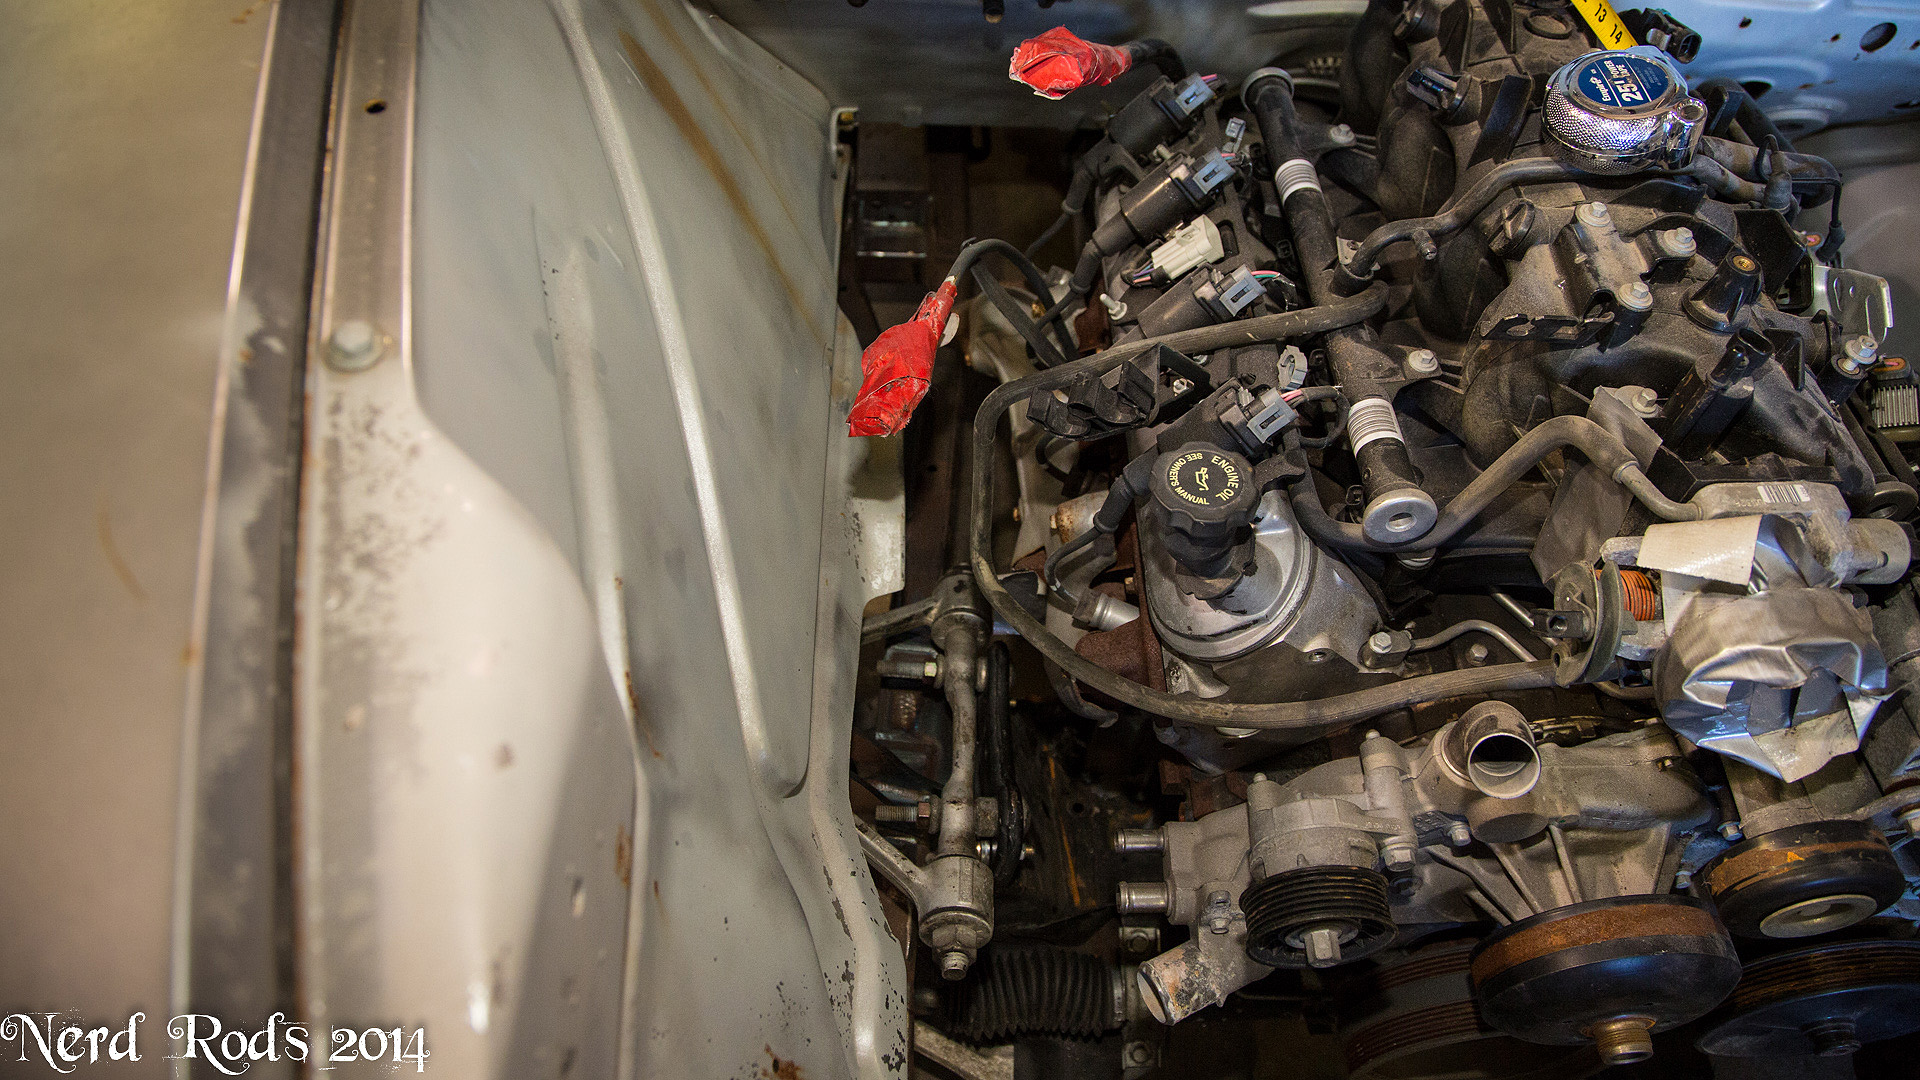
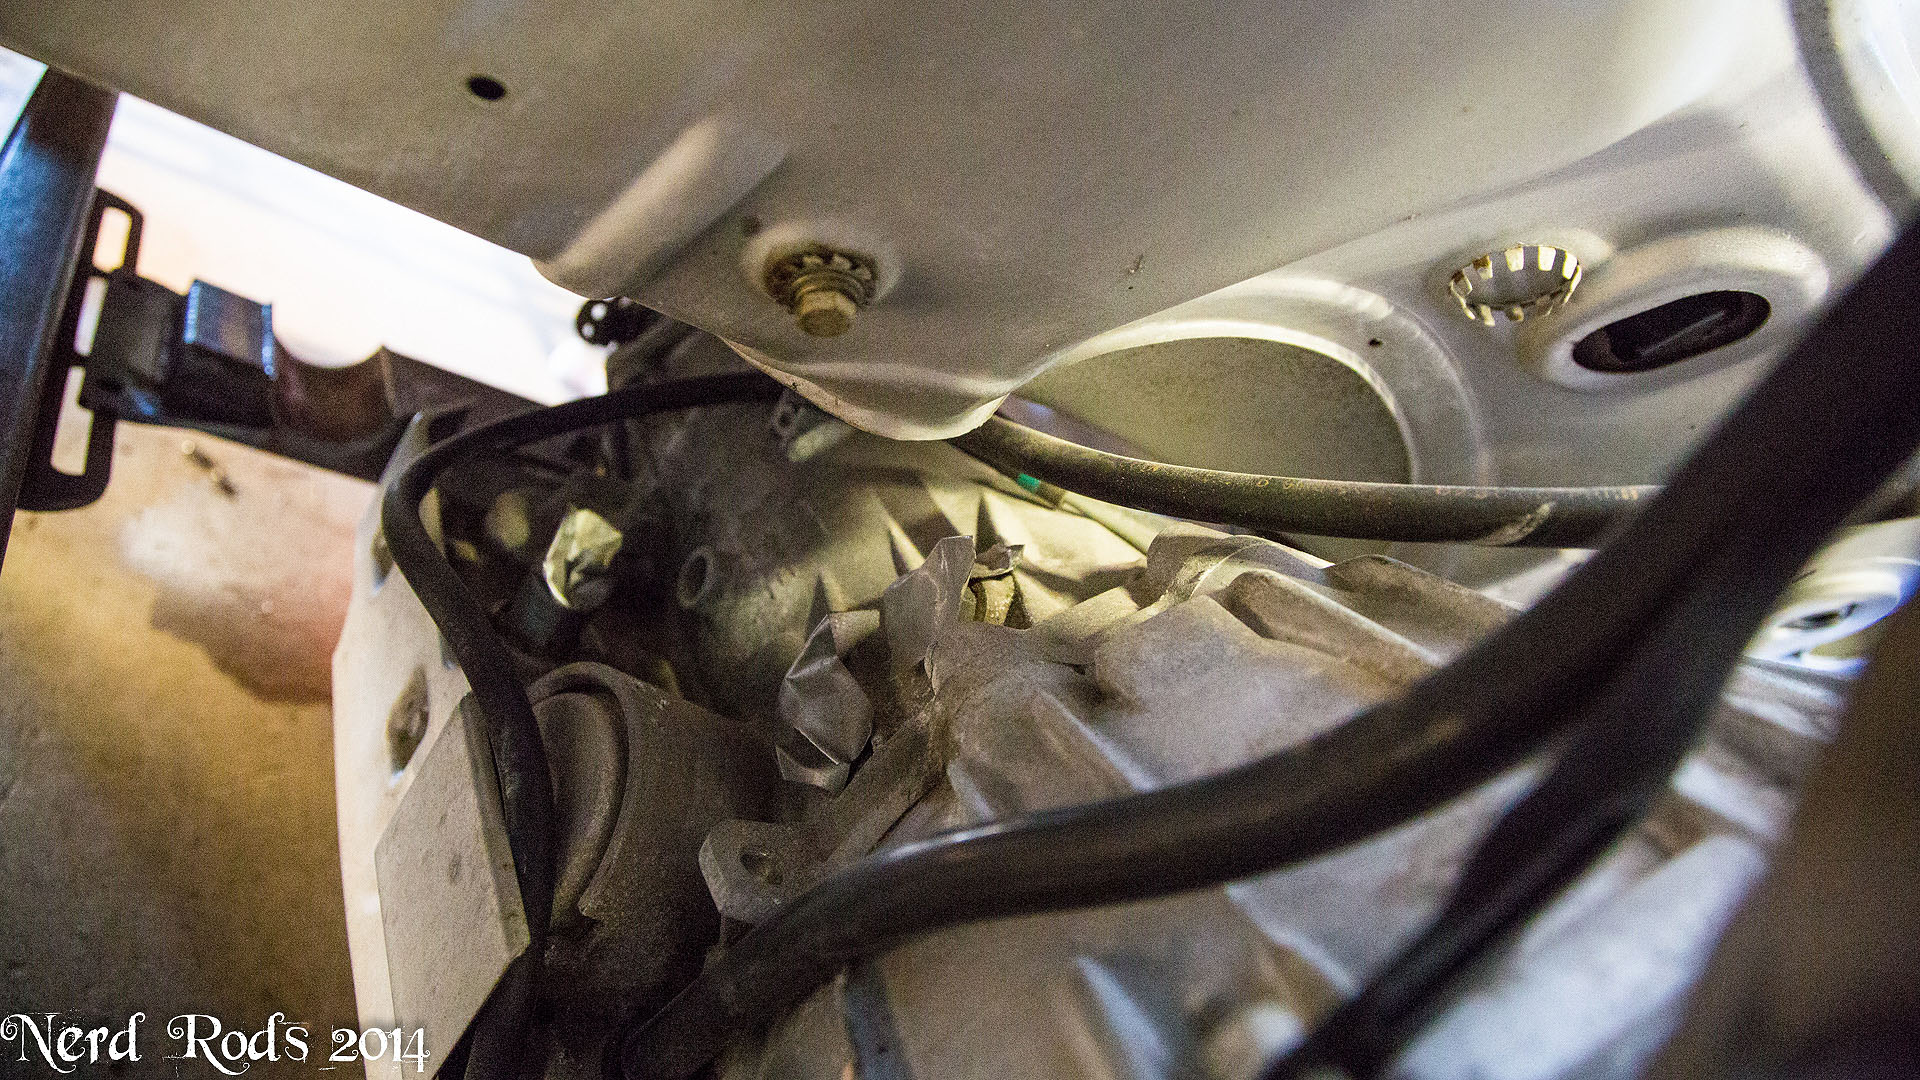
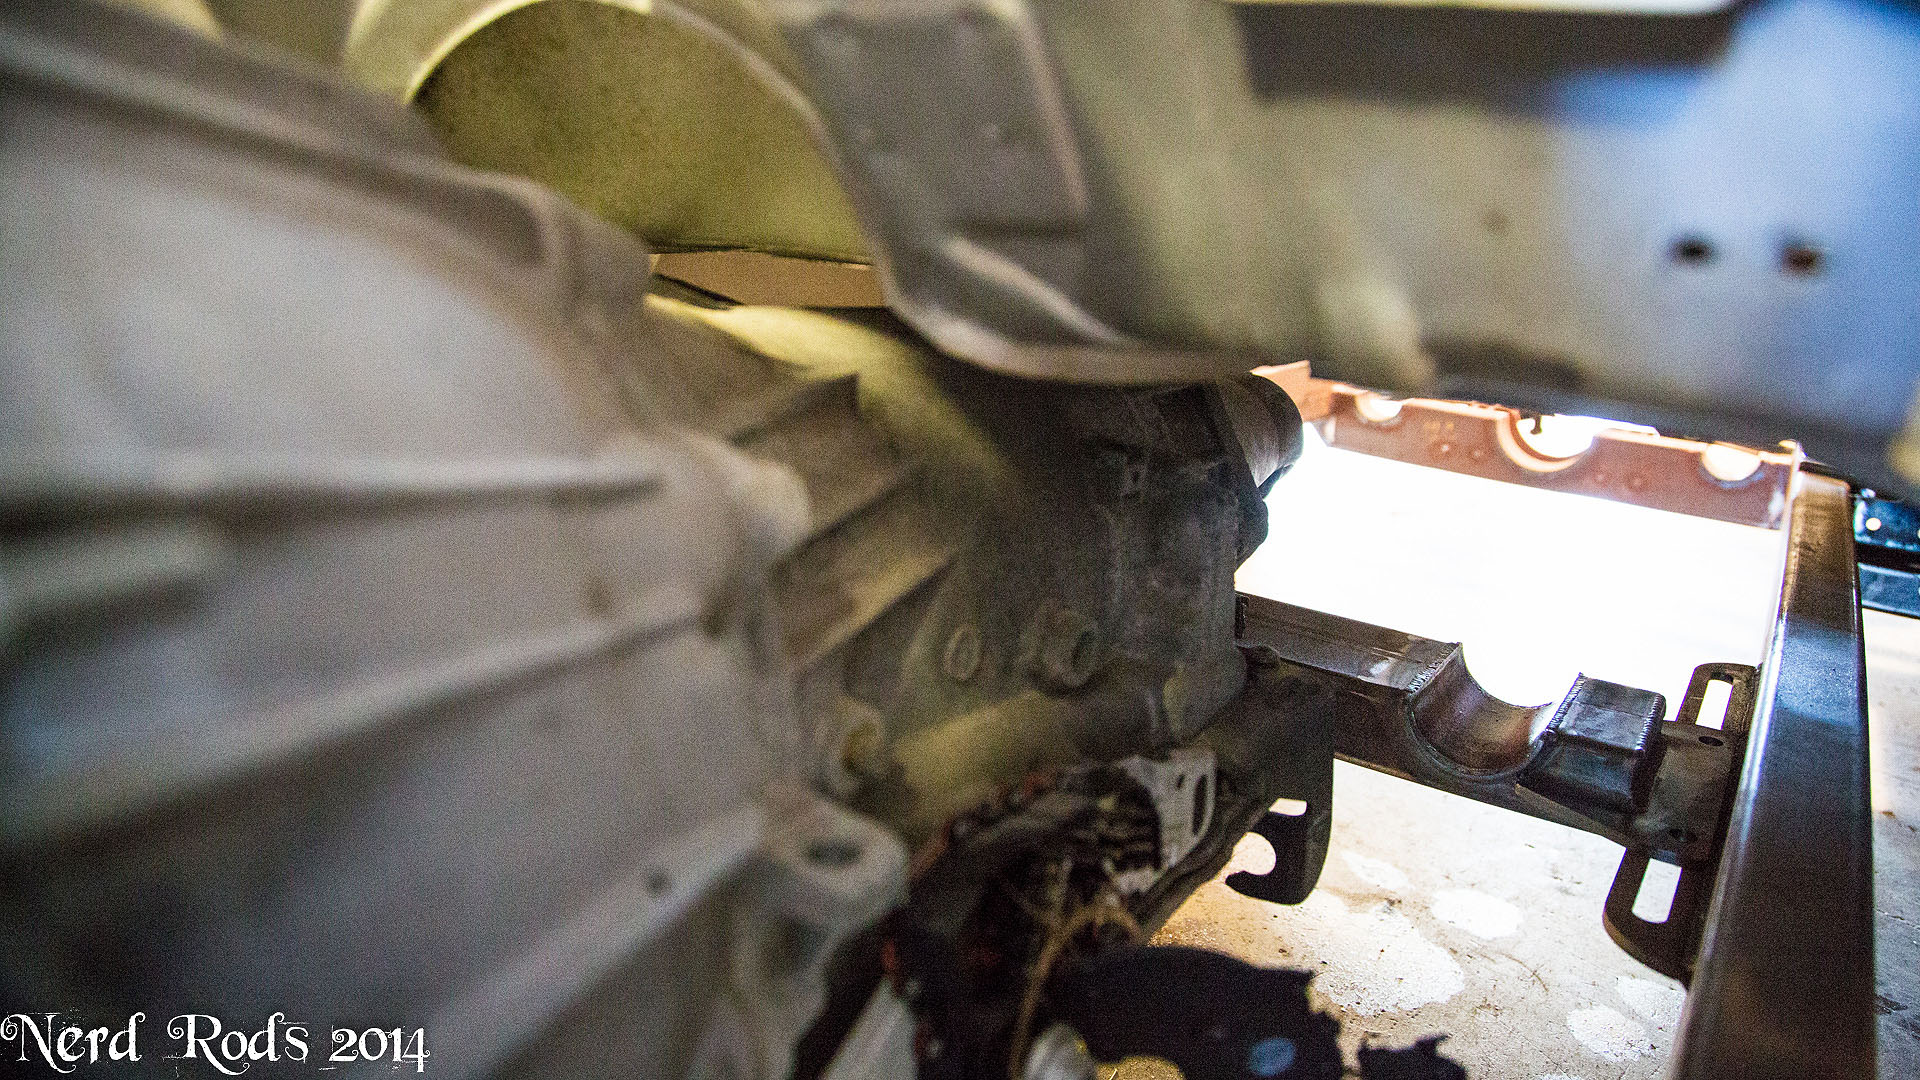
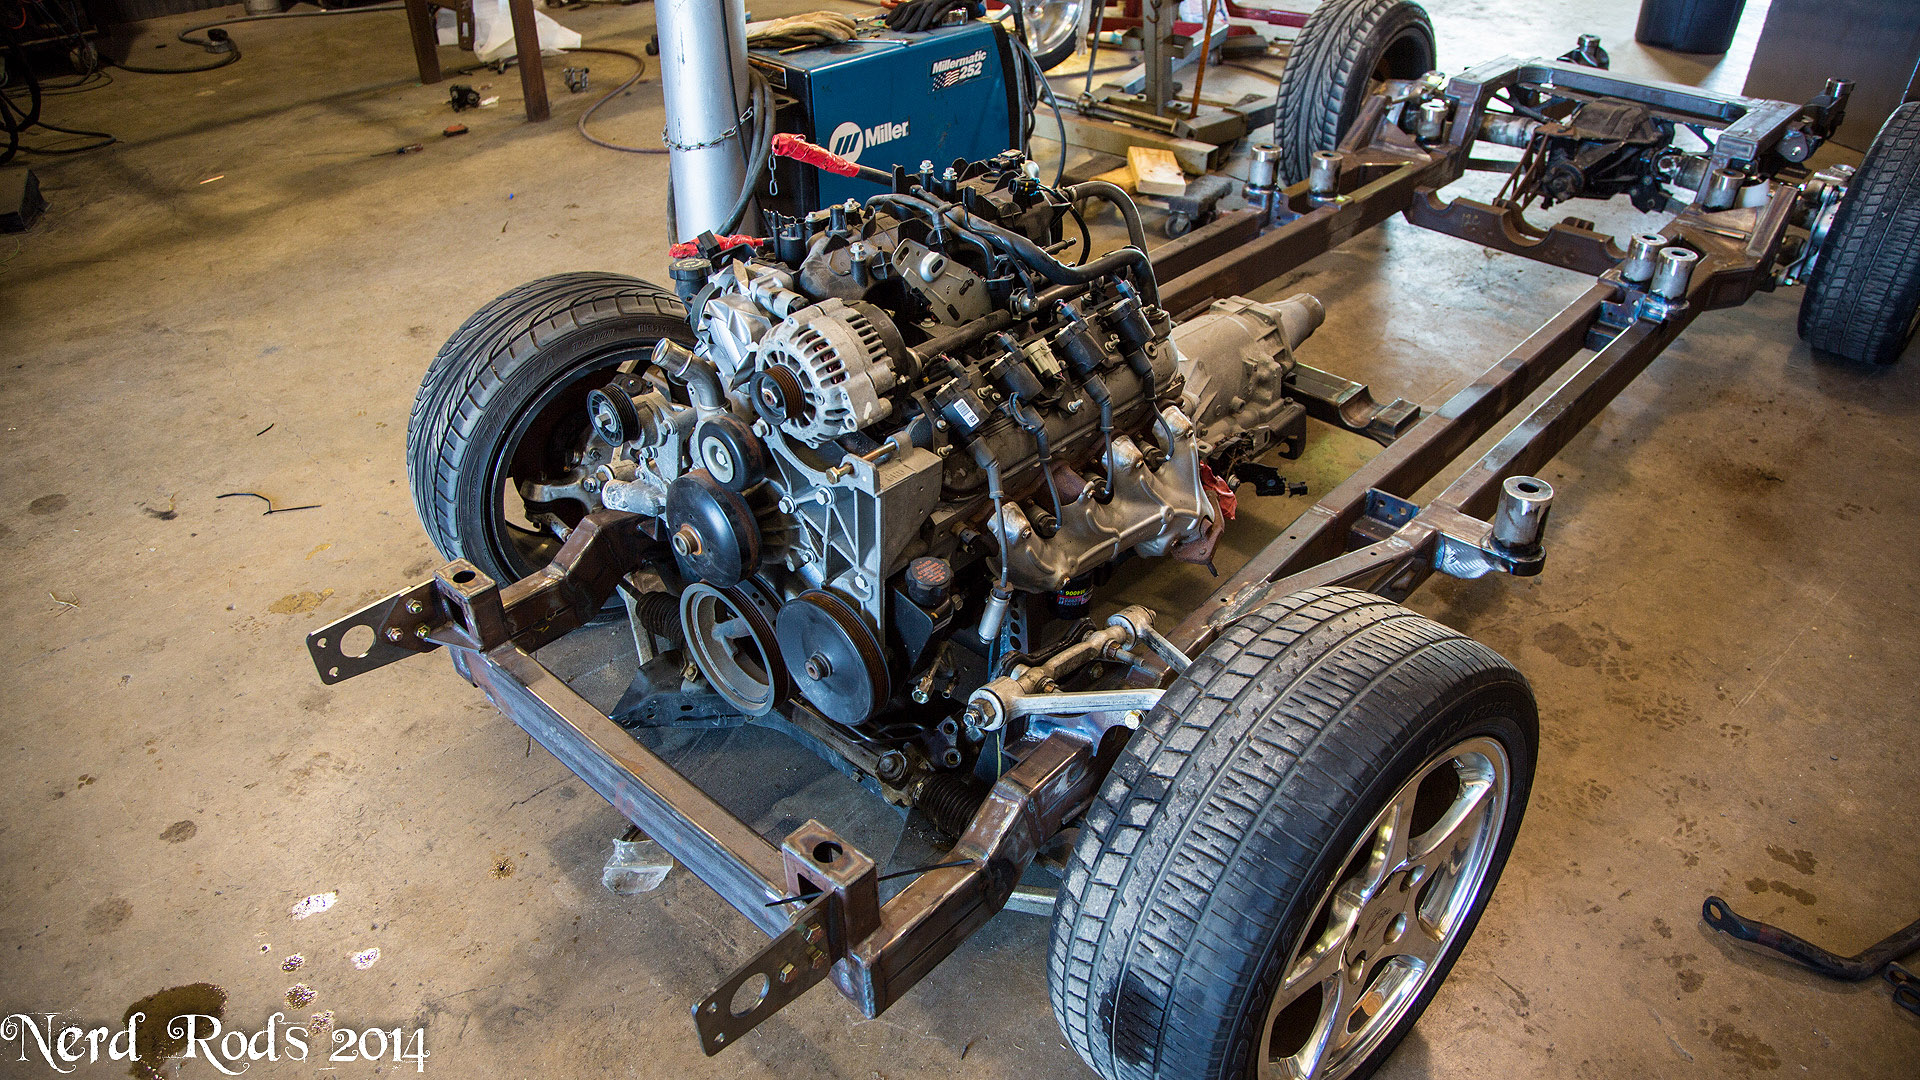
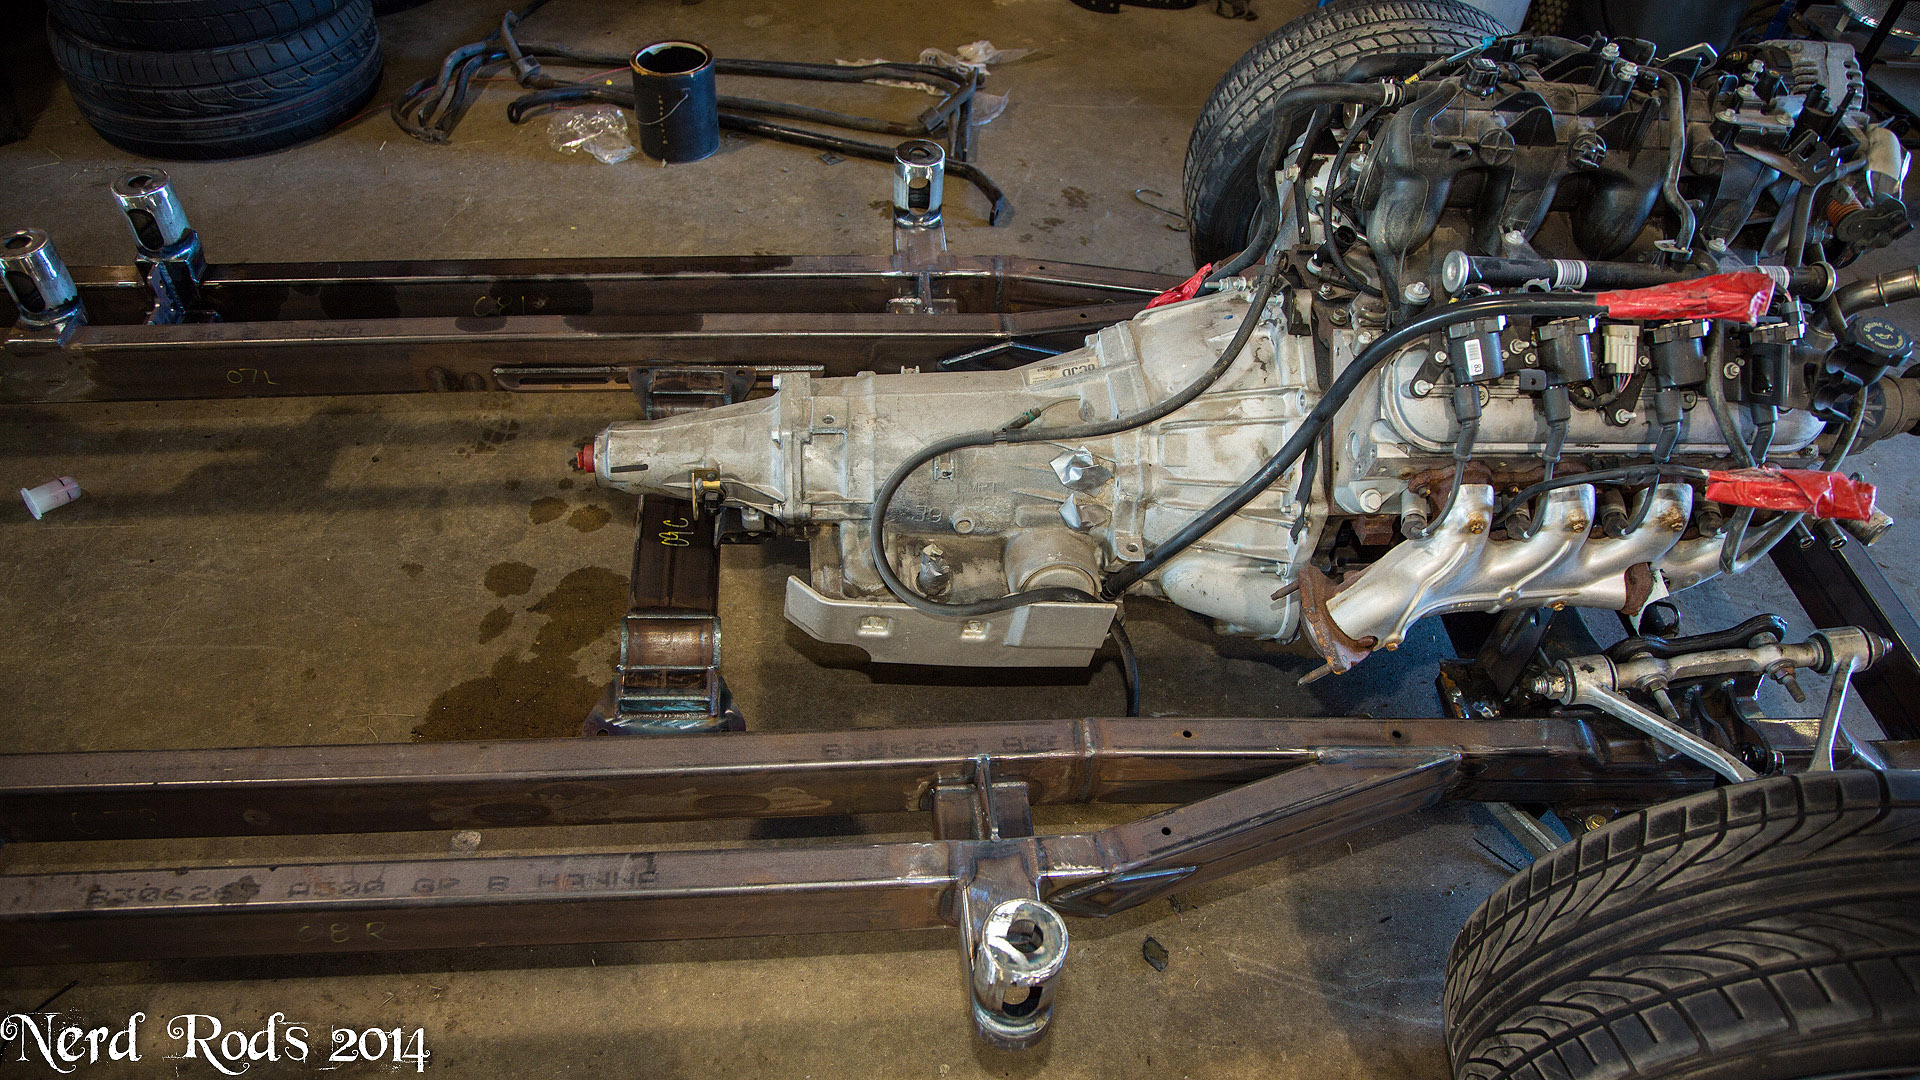
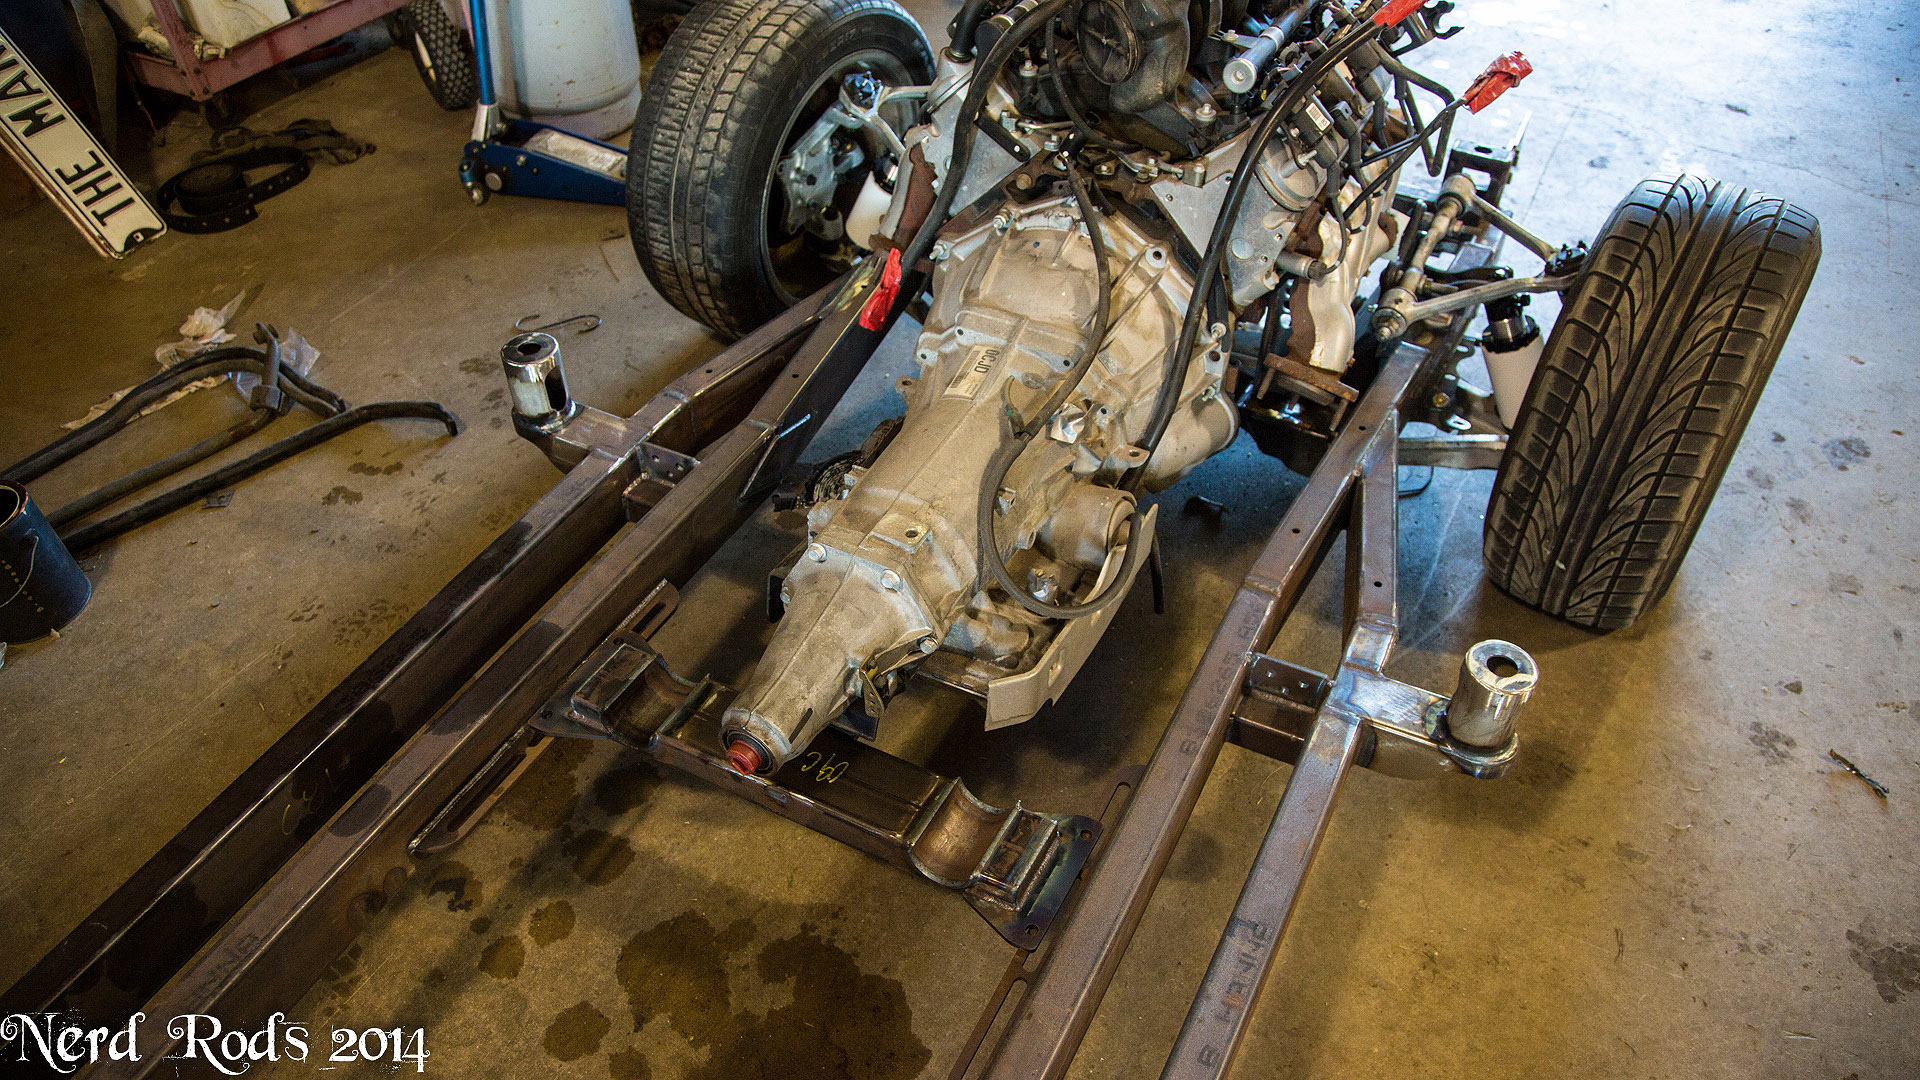
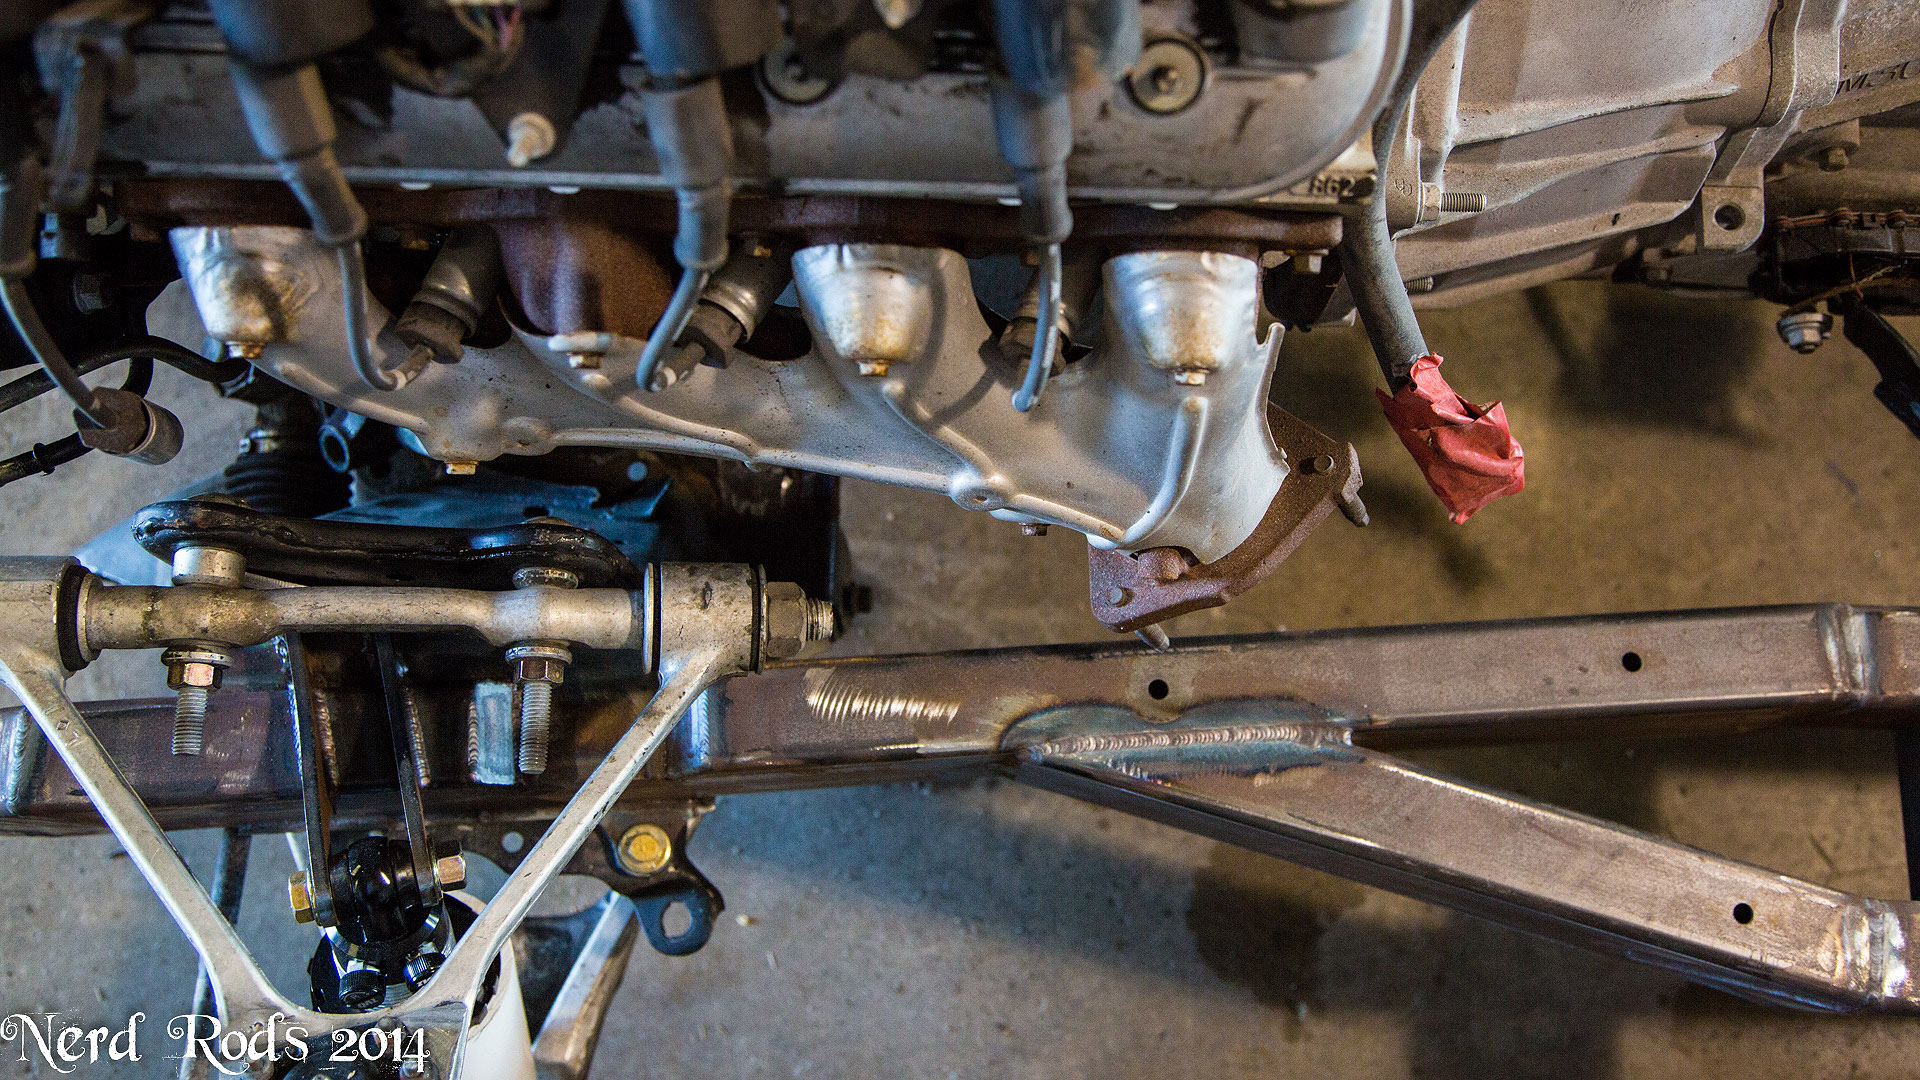
Got the LM7 mounted up and we have MILES AND MILES of room!!!!

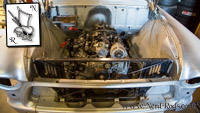
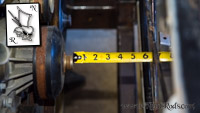
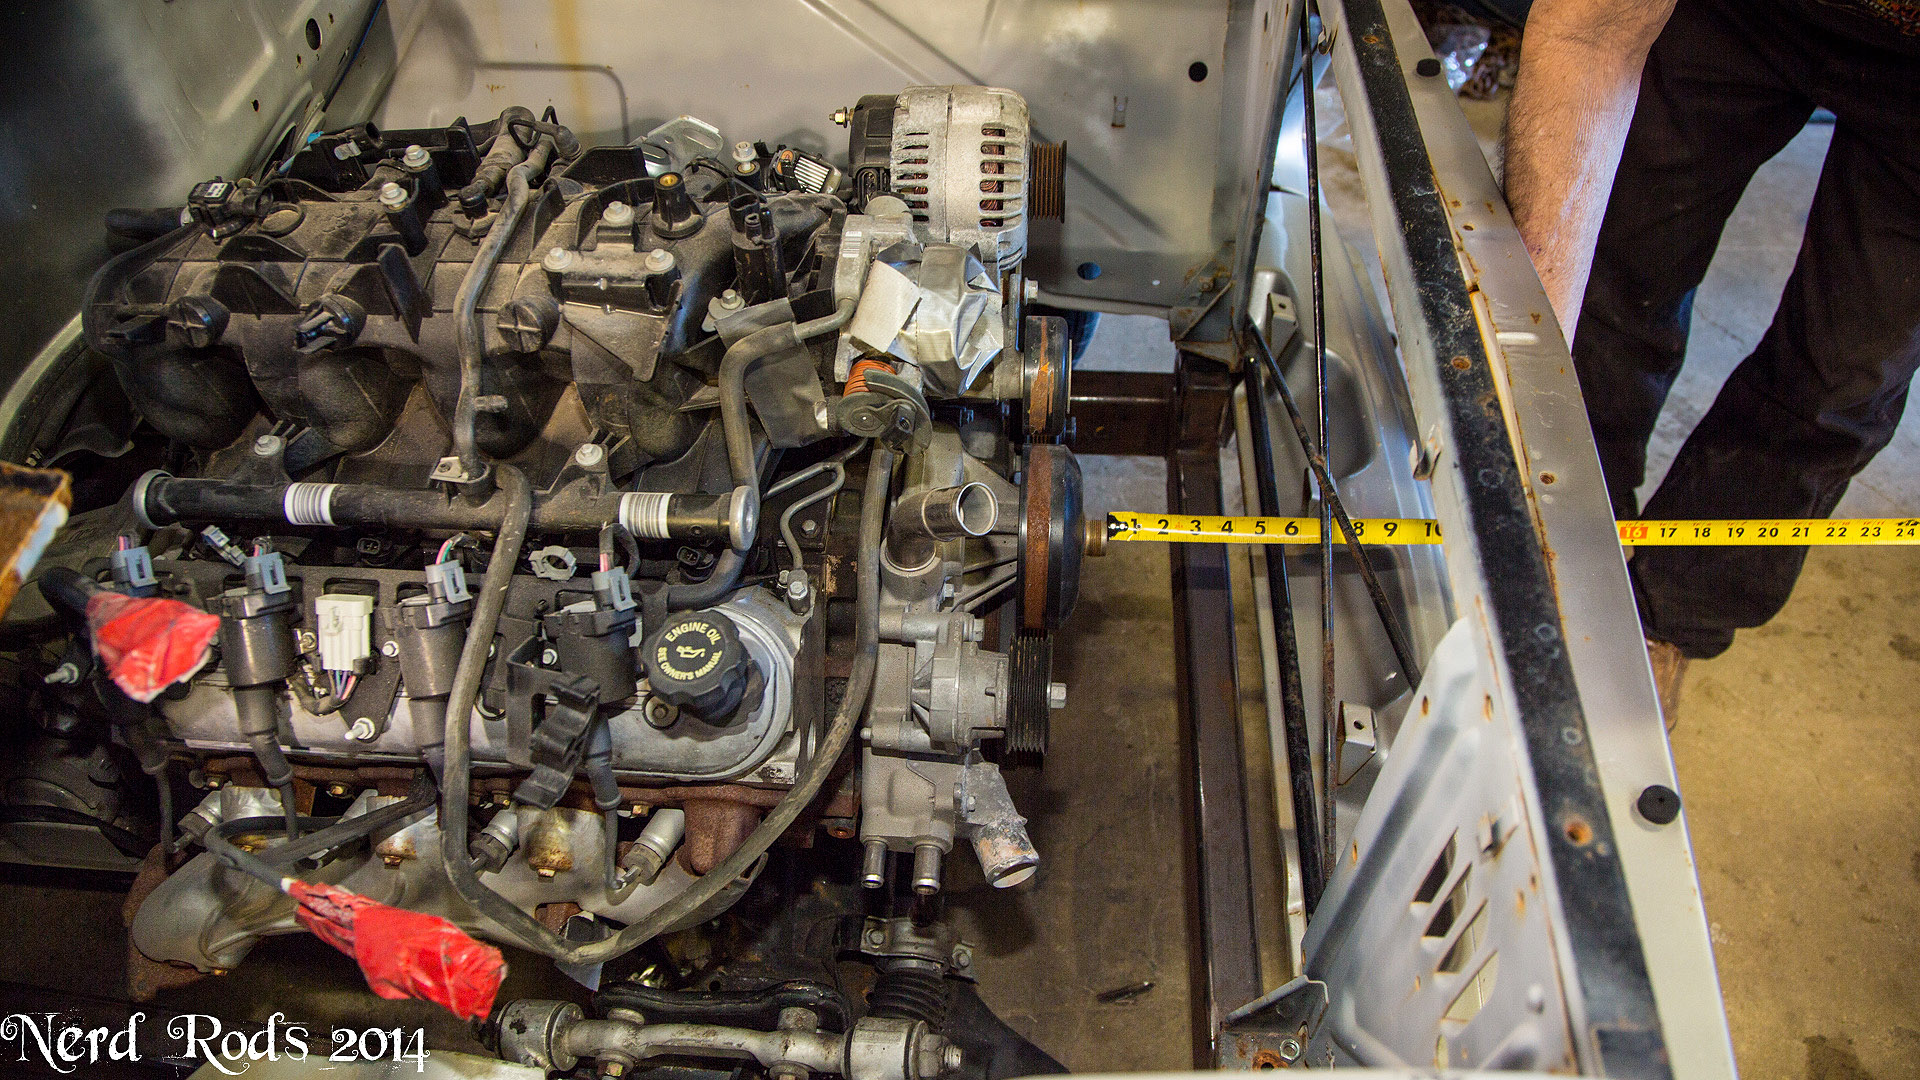
We have plenty of room up here with small electric fans but we also have a lot of room behind the motor to move it back for bigger fans or longer pulleys. These are the OEM truck Pulley and are the longest OEM LS pulleys but a forward mount system will need more room. We also have plenty of room to clear a distributor for SBC guys.
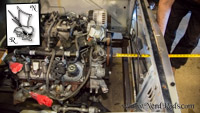
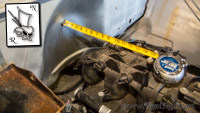
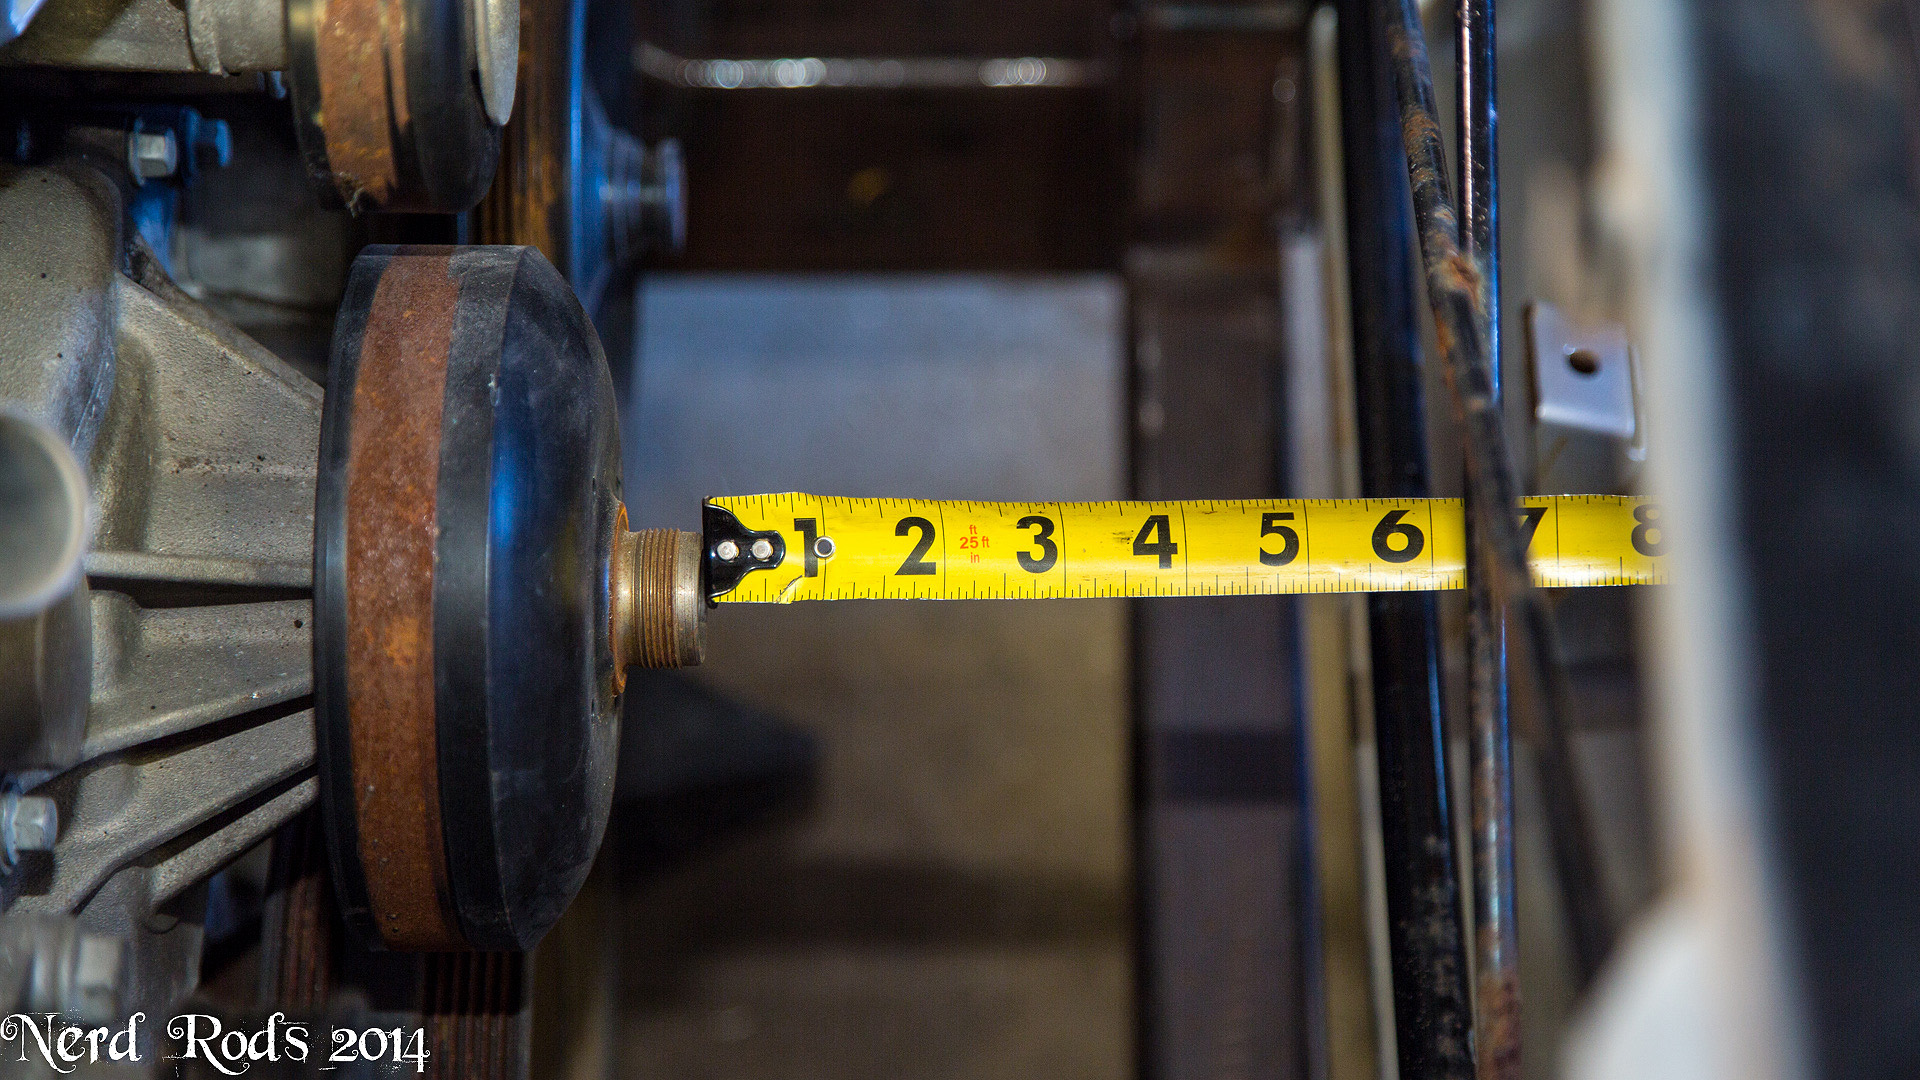
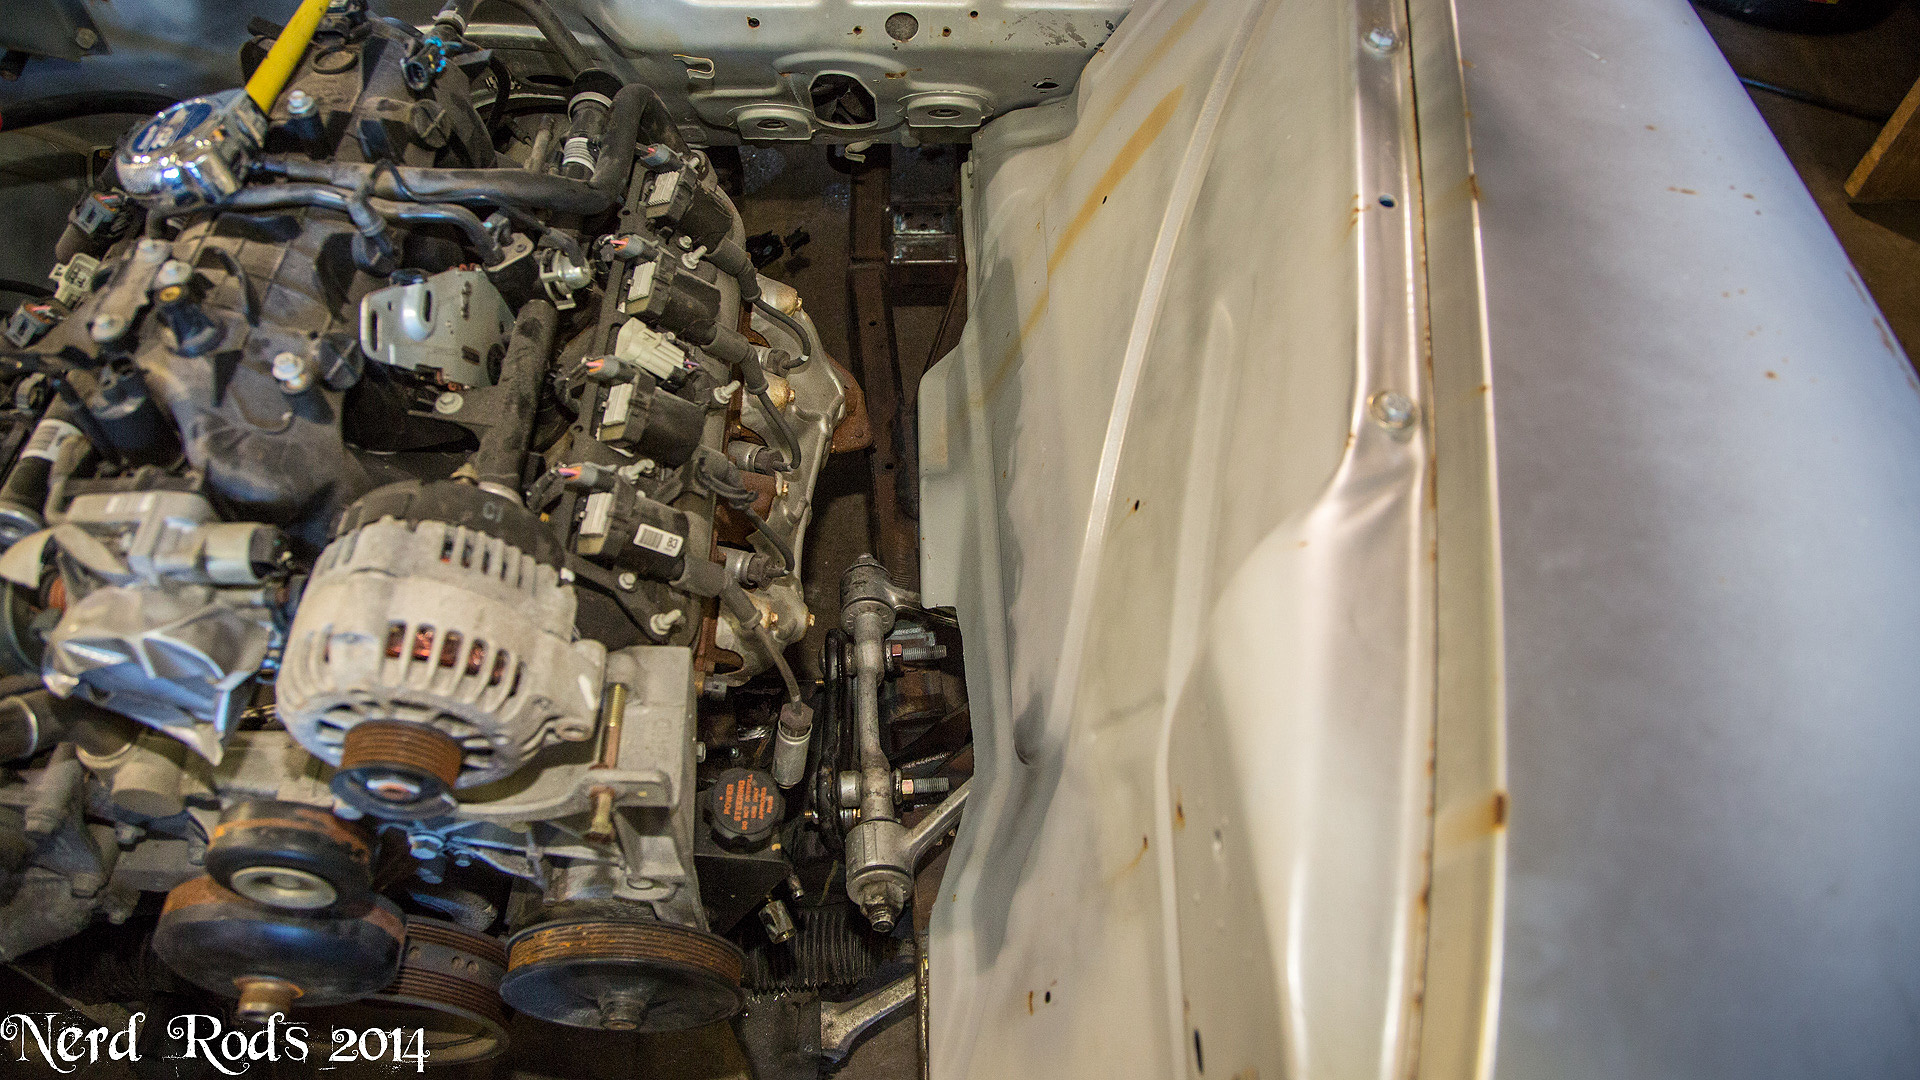
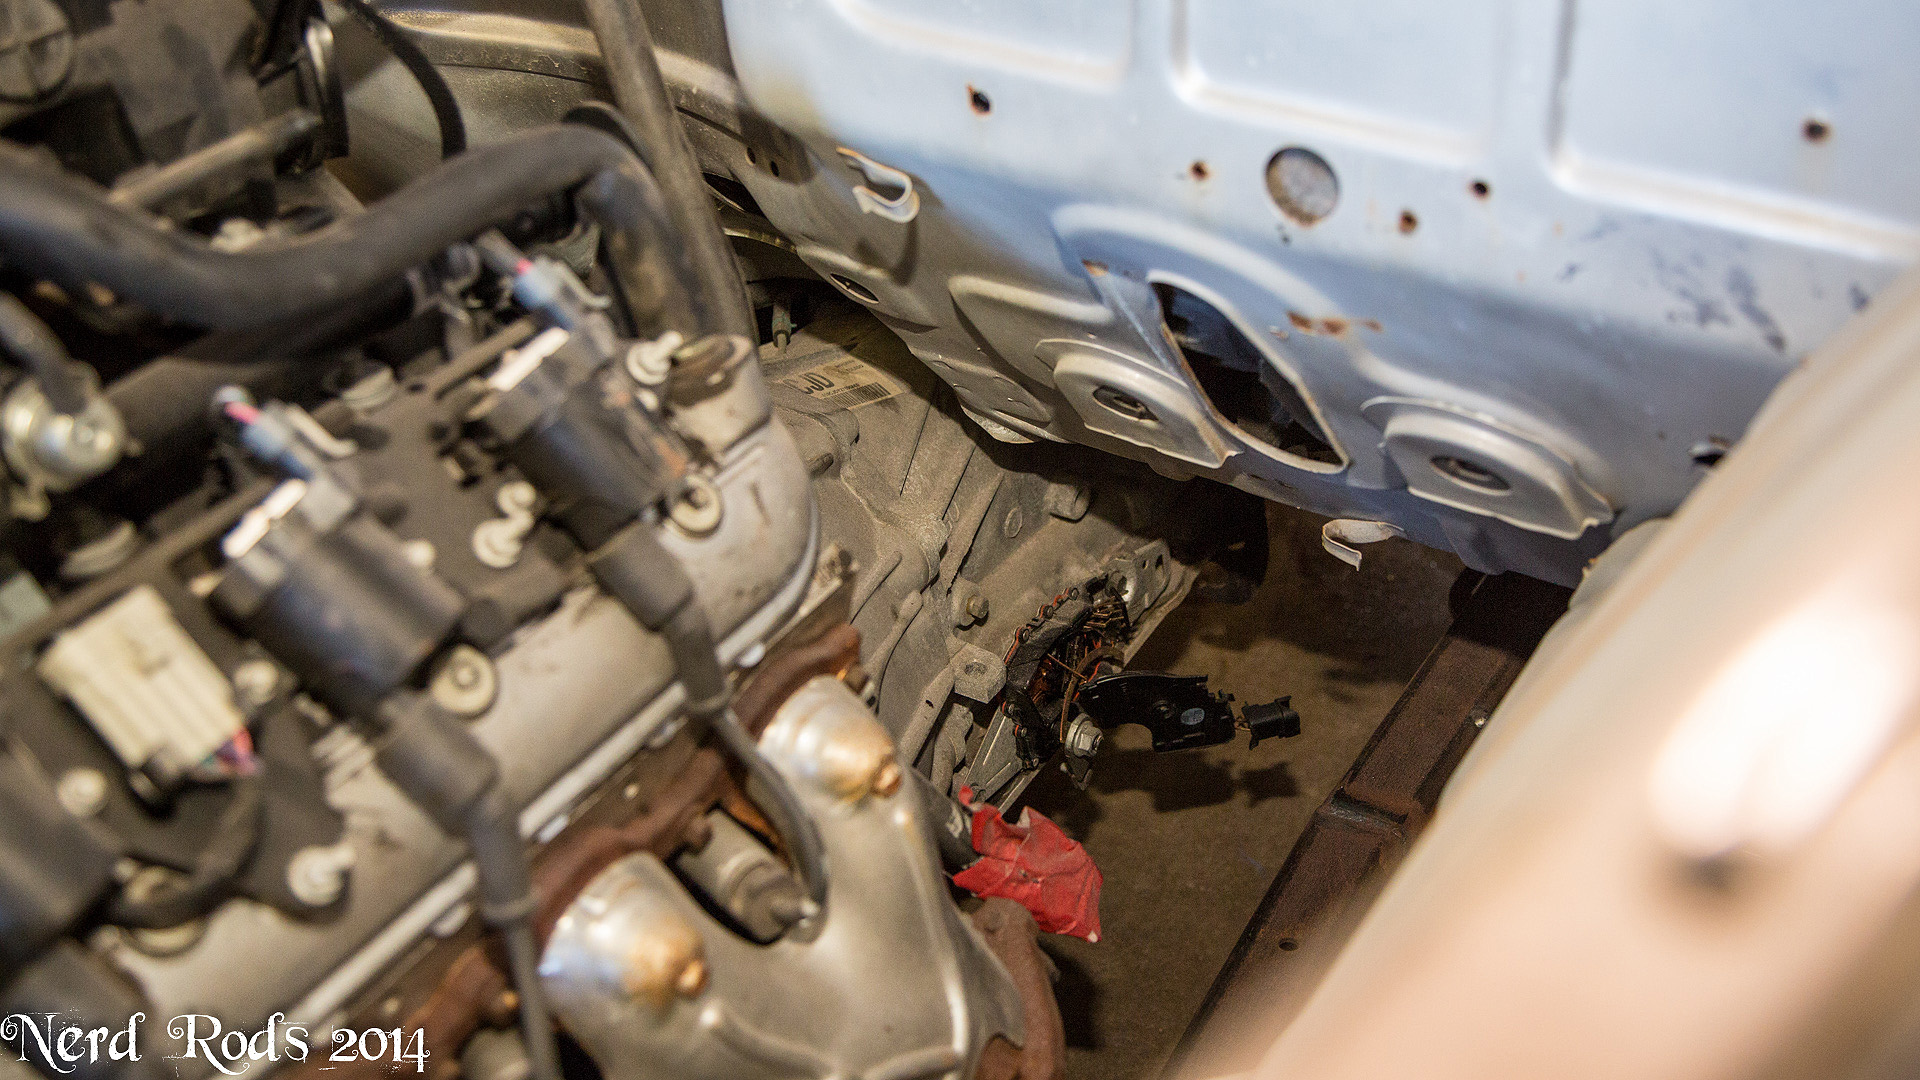
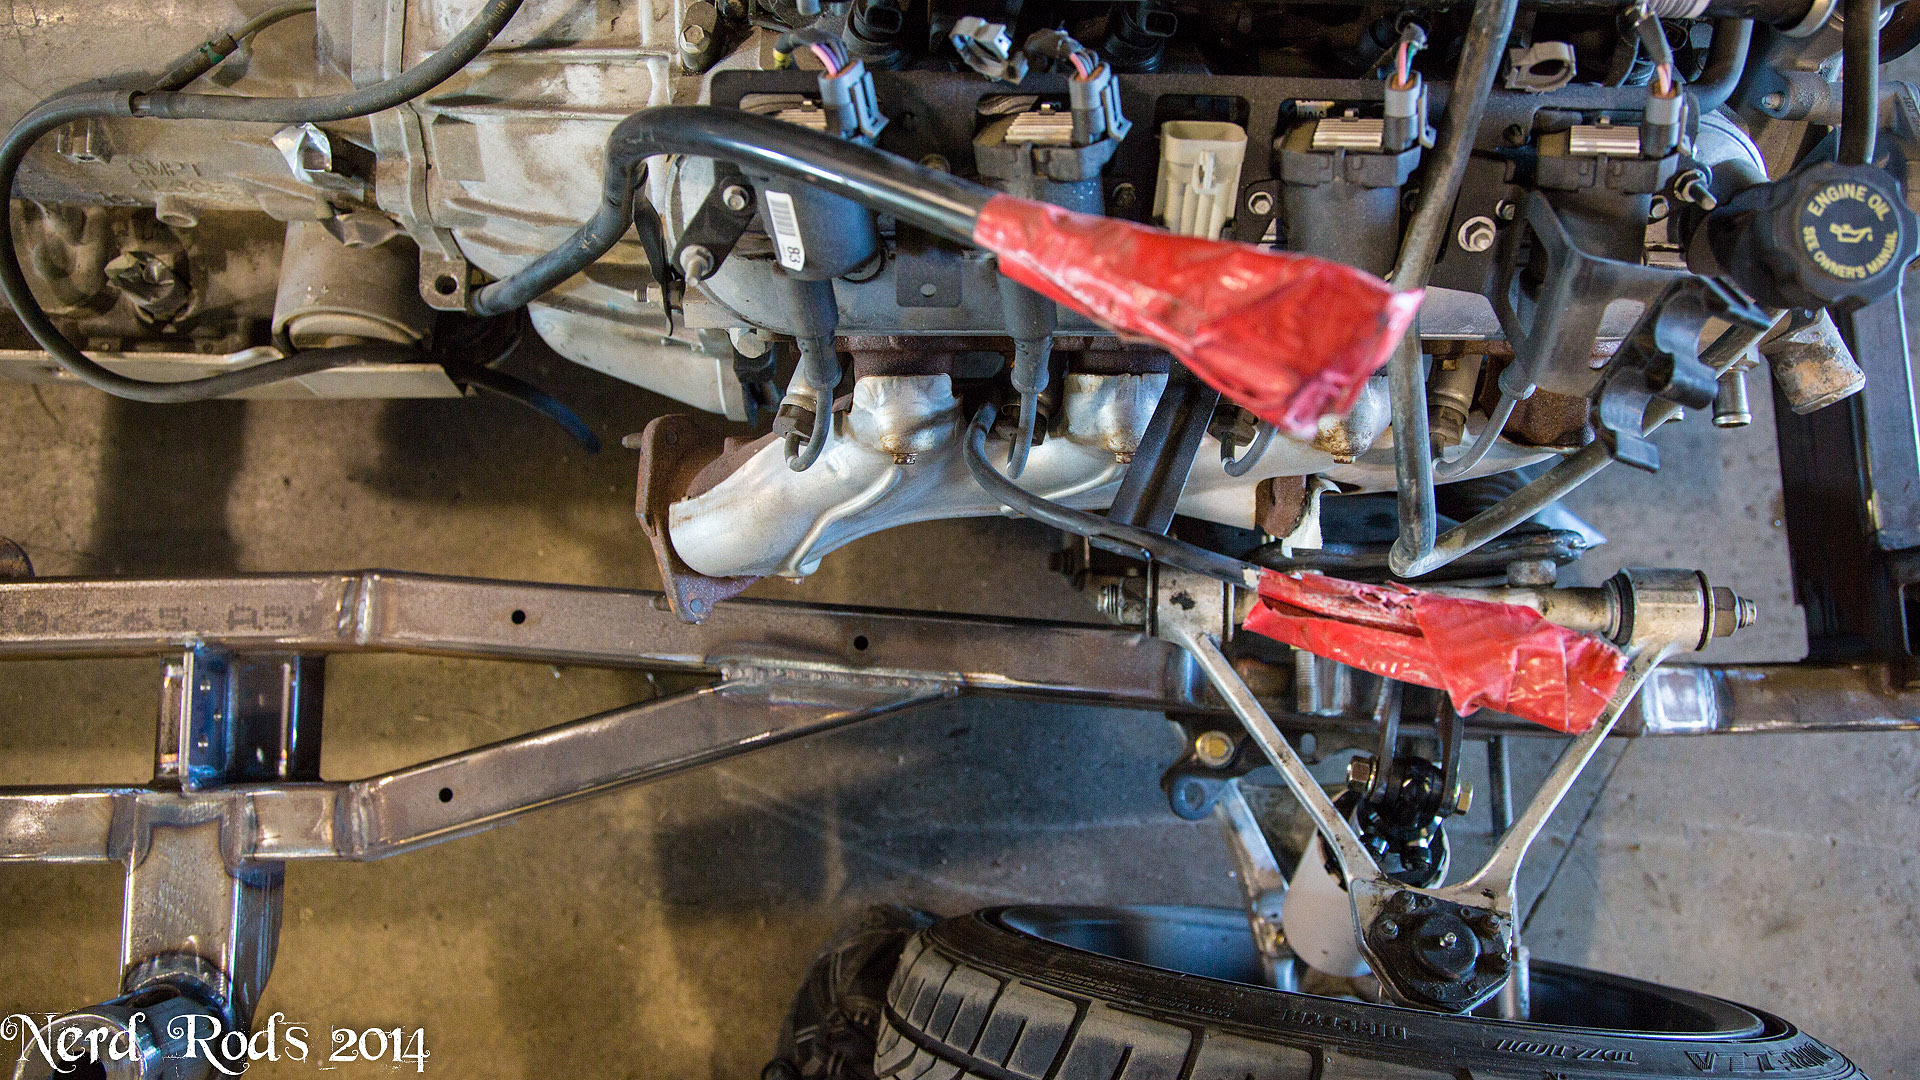
Tons of room for headers, steering is going to be cake ( ), We even have plenty of transmission room with the high body height on this 4L60E and will only need a little modification on a 4L80E or T56. You can see we're even using the stock tall oil pan and we still have room to move the motor down a bit more if we need more room.

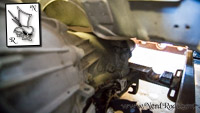
Chassis Clearance

Later
-Russell
The rest are just opening up tolerances to accommodate for welding deflection in a few of the ears and the additional thickness of powder coating I didn't think about when I was designing.
Finally I replaced these gussets with tubing parts so we can cut the total assembly down by 12 parts and 20+ inches of welding.
Got the LM7 mounted up and we have MILES AND MILES of room!!!!
We have plenty of room up here with small electric fans but we also have a lot of room behind the motor to move it back for bigger fans or longer pulleys. These are the OEM truck Pulley and are the longest OEM LS pulleys but a forward mount system will need more room. We also have plenty of room to clear a distributor for SBC guys.
Tons of room for headers, steering is going to be cake (
Chassis Clearance
Later
-Russell
02-12-2014, 08:00 AM
#59
Launching!
Thread Starter
Join Date: Jan 2007
Location: Luling TX In the Hot Rod Shop
Posts: 294
Likes: 0
Received 3 Likes
on
3 Posts
List of parts to get ordered! This is why I don't normally do full builds. The paperwork kills me. A necessary ordeal of course but I just here this looping in my head the whole time I'm working up prices, number and contracts.
https://www.youtube.com/watch?v=sor9GzivGbk#t=01m45s
Body
Power Windows
Power Wipers
Gauges
Wiring
Steering Column
AC System
Cooling System
Brake System
Powder Coating bits right now, We'll get back to you soon with more photos!
Later
-Russell
https://www.youtube.com/watch?v=sor9GzivGbk#t=01m45s
Body
- Bed
- Tail gate with crossmember
- Rear Fenders +3 inches, Pair
- Fender Supports
Power Windows
- Tucker Power Window Regulators
Power Wipers
- Newport Power Wiper System
- Washer Pump kit
- Washer Pump Switch
Gauges
- Dakota Digital
- Blue Lighting
- Chrome Bezel
Wiring
- Isis Power System
- 3 Cell Starter Kit
- inMotion Power Window Controller
- inTouch iPhone interface
- inVert Mini (fuel pump)
- inViroment Vintage Air Controller
- inReserve Battery Monitor
- Engine Wiring
- Engine Harness
- Optima Battery Yellow Top
- Battery Ends and Terminals
- Battery Cable
- Assorted Weather Packs
- Ignition Keyset
- Lighting
- H4 Head Lights
- LED Tail Lights
- Front Turn Signals
Steering Column
- Stainless Column Shift
- Column Adapter
- 3/4 U Joint Weld
- 17 DD to 3/4 Weld on U Joint
- Steering Shaft
- Shifter Cable
- Supports & Hardware
- Powder Coating Other Parts
AC System
- Vintage Air Gen 4 System
Cooling System
- PRC Polished Radiator Assembly
- Radiator, AC Condenser, Core Support, Dual Electric Fans, Transmission Cooler, Fan Wiring Harness, Over Flow Tank
- Radiator Hoses
- Coolant
- Installation Hardware
Brake System
- Firewall Mount Brake Pedal System
- Stainless Steel Brake Lines
- Brake Fluid
Powder Coating bits right now, We'll get back to you soon with more photos!
Later
-Russell
02-12-2014, 06:23 PM
#60
Bad ***.