Conversions & Swaps LSX Engines in Non-LSX Vehicles
Sponsored by:
Sponsored by:

Chevy Beretta Ls1/t56 Build

Thread Tools
 
Search this Thread
 
Old 09-17-2015, 08:13 AM
  #21  
TECH Junkie
iTrader: (21)
 
bluestreak98's Avatar
 
Join Date: Jan 2002
Location: Tomball, TX
Posts: 3,193
Likes: 0
Received 19 Likes on 16 Posts

Default

This is so awesome.
Old 09-17-2015, 05:53 PM
  #22  
On The Tree
Thread Starter
 
BerettaLS's Avatar
 
Join Date: Sep 2014
Location: Woodburn, OR
Posts: 129
Likes: 0
Received 11 Likes on 8 Posts
Default

Originally Posted by DavidBoren
I had a '94 Beretta and thought about something similar. I was going to use a 3.8v6 from a 4th Gen camaro, as well as the front/rear suspension from the same.

Front and back track width is right around 60" for both.

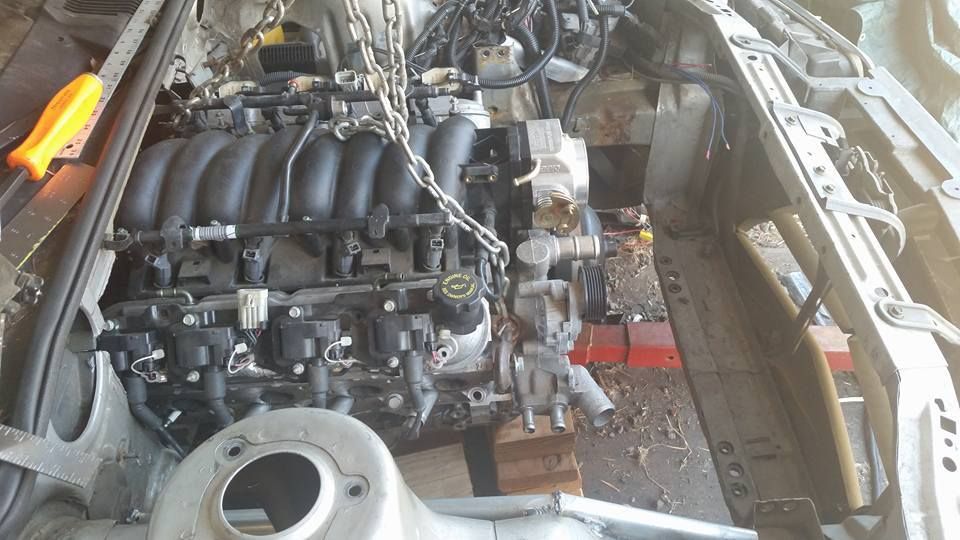
Then I was going to put the series III heads and Eaton m90 from a grand prix on the naturally aspirated shortblock.

Then I got deployed, again, came home and bought a Cadillac. Left the Beretta in Kentucky somewhere. Lol.
nice! a few guys have done the 3800 swap but left fwd. One guy right now is actually cutting the floor/suspension out of a gen4 LT1 camaro and grafting it to a beretta.


thanks! Ive always had more fun with the random cars, It makes you think more
Old 09-23-2015, 11:18 PM
  #23  
On The Tree
Thread Starter
 
BerettaLS's Avatar
 
Join Date: Sep 2014
Location: Woodburn, OR
Posts: 129
Likes: 0
Received 11 Likes on 8 Posts
Default

got a little more done.


Name:  12033193_10153683748382437_4240109344623439000_n.jpg
Views: 3791
Size:  76.7 KB
made the hole bigger..

Name:  10626447_10153683831072437_3938666869787481970_n.jpg
Views: 3872
Size:  78.7 KB

Name:  12033100_10153683831032437_6776279074519910188_n.jpg
Views: 3748
Size:  64.3 KB
hits the cowl..

Name:  11036952_10153683976242437_6584539021797632272_n.jpg
Views: 3808
Size:  80.7 KB


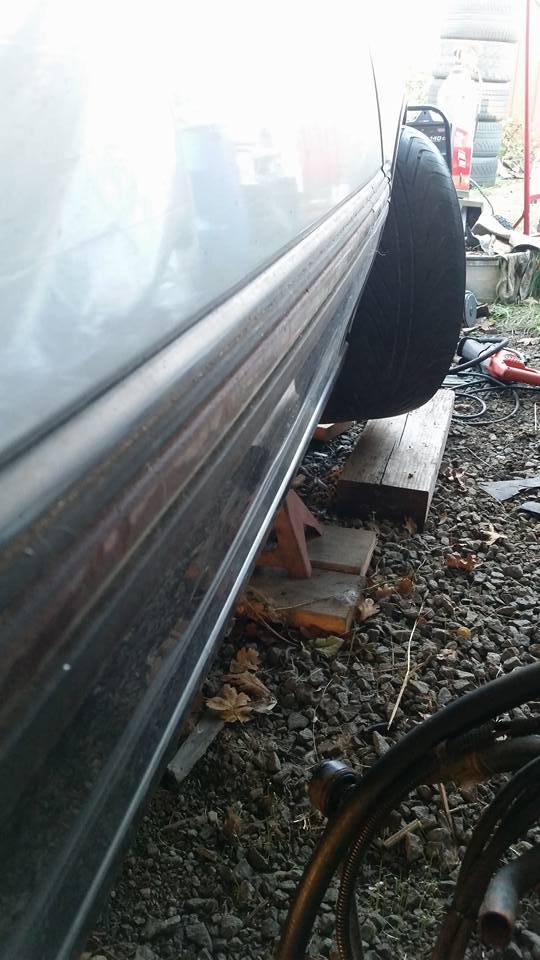
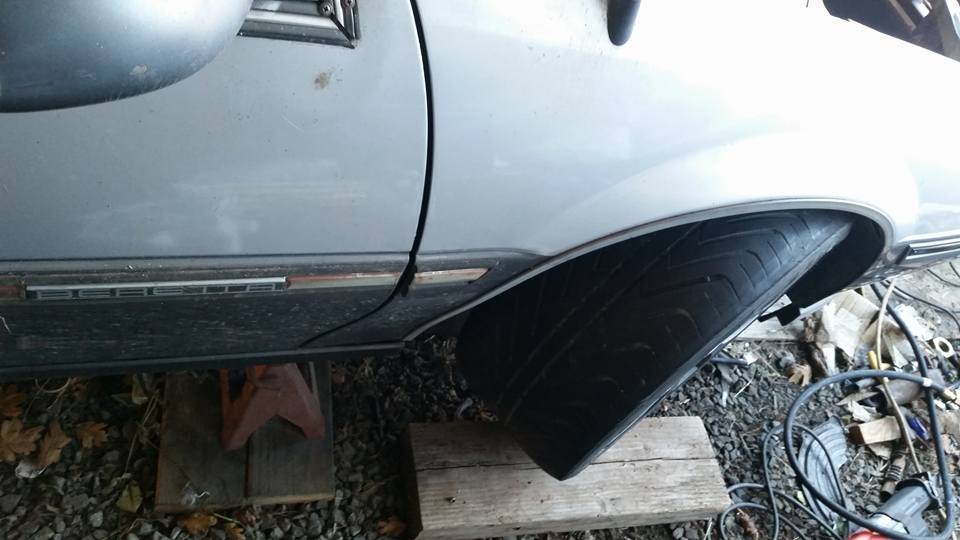
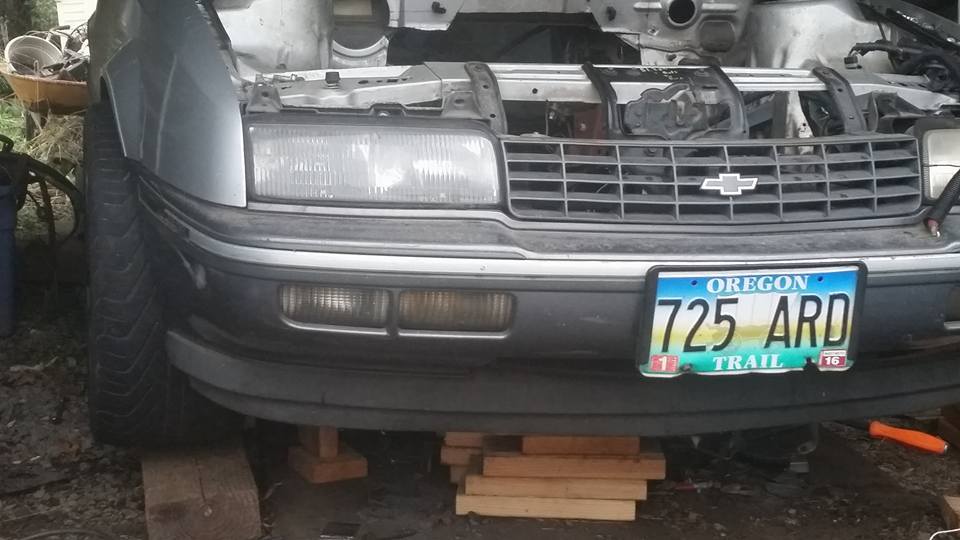
hits the sides a little, needs to go a little wider, and I think a tad back but Ill figure that out soon.
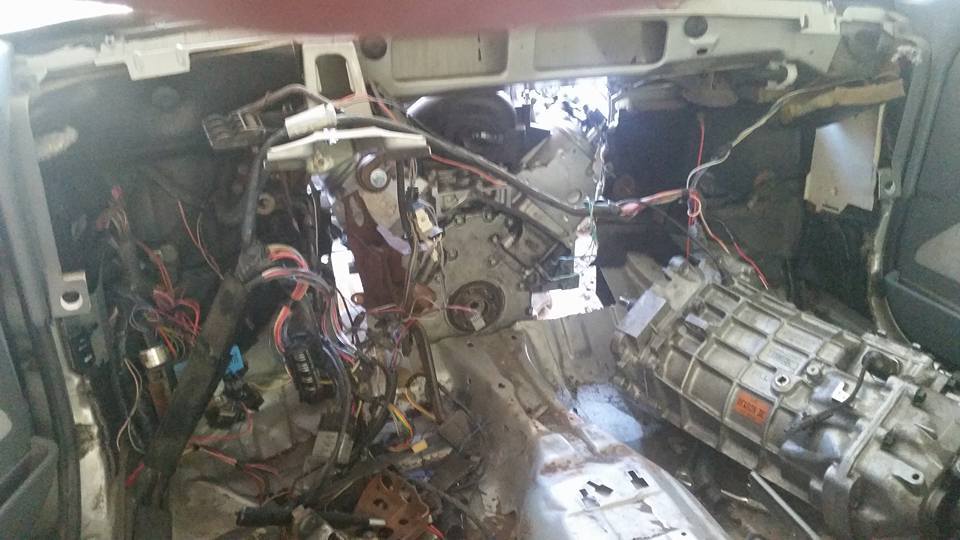
Name:  12027716_10153683979972437_1587409110503112955_n.jpg
Views: 3781
Size:  71.0 KB
from the inside!

Name:  11987047_10153684617112437_7647458591413900969_n.jpg
Views: 3781
Size:  71.2 KB


Name:  12036807_10153684617087437_3113591186271113321_n.jpg
Views: 3781
Size:  64.9 KB

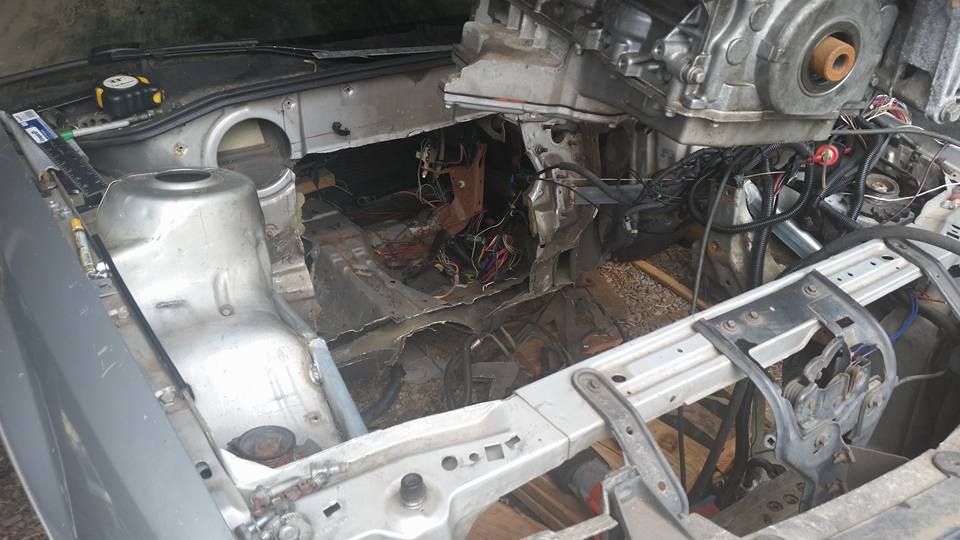
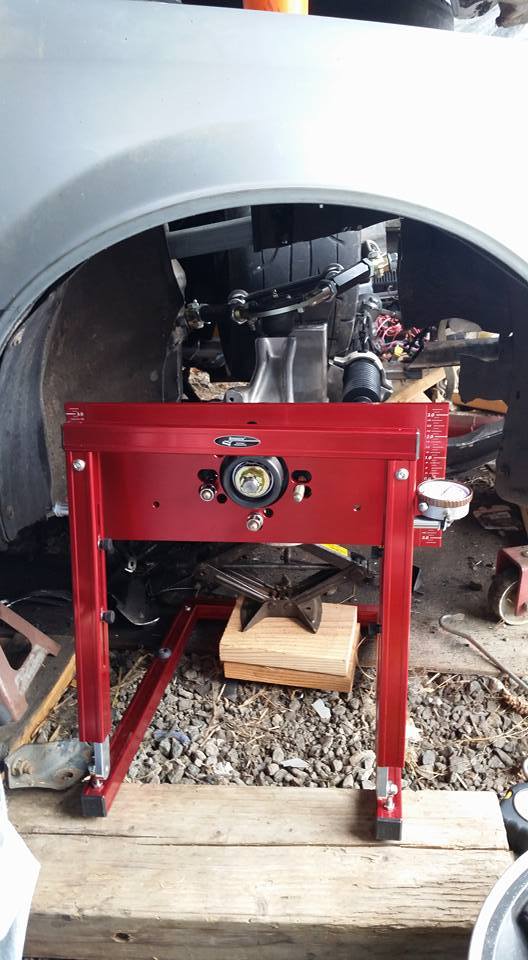
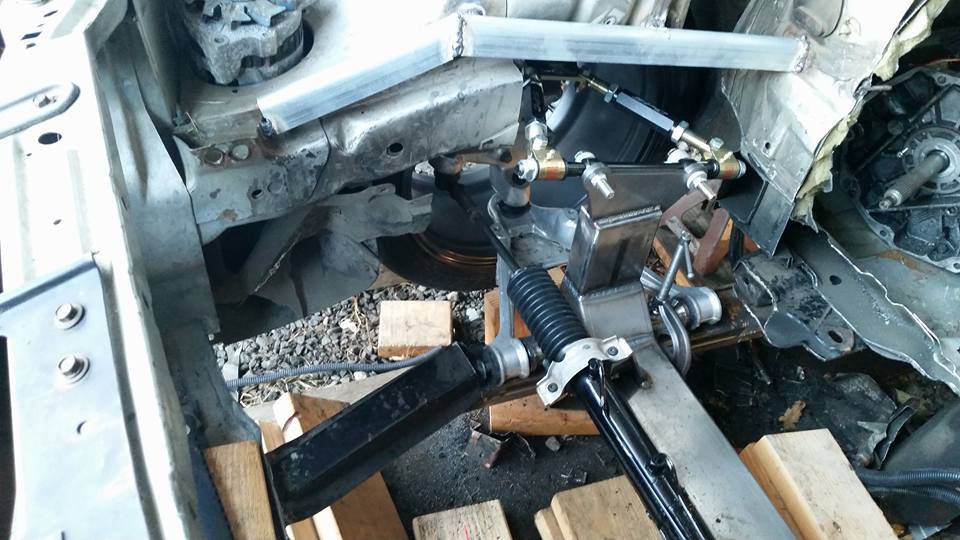
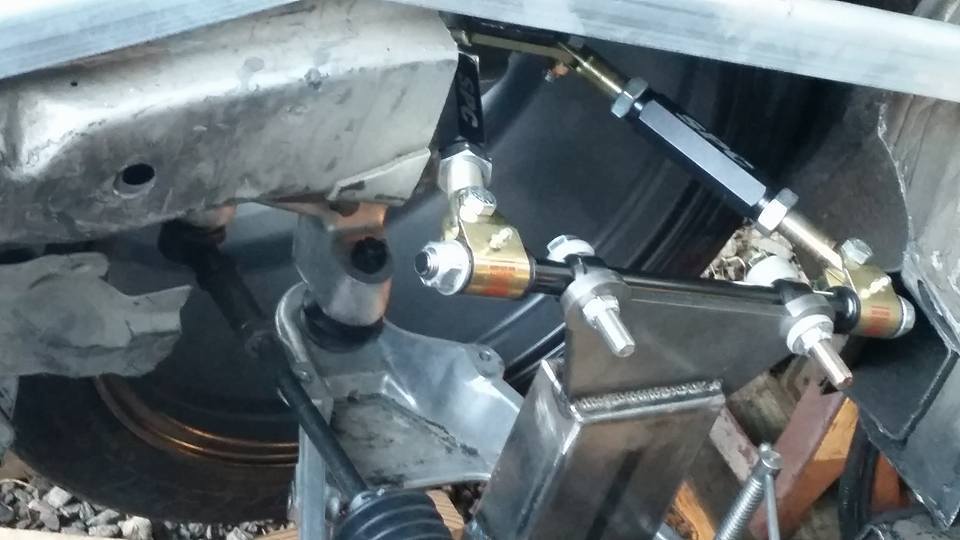
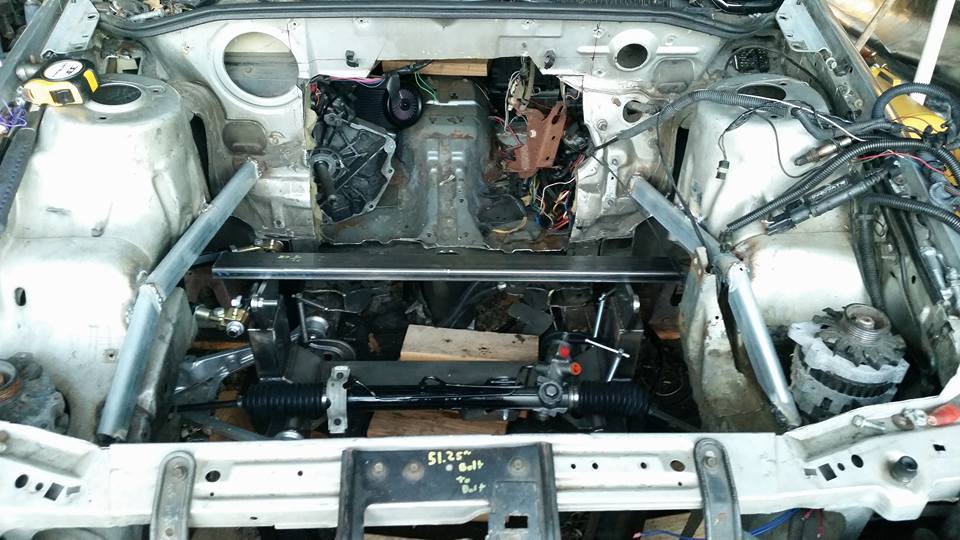
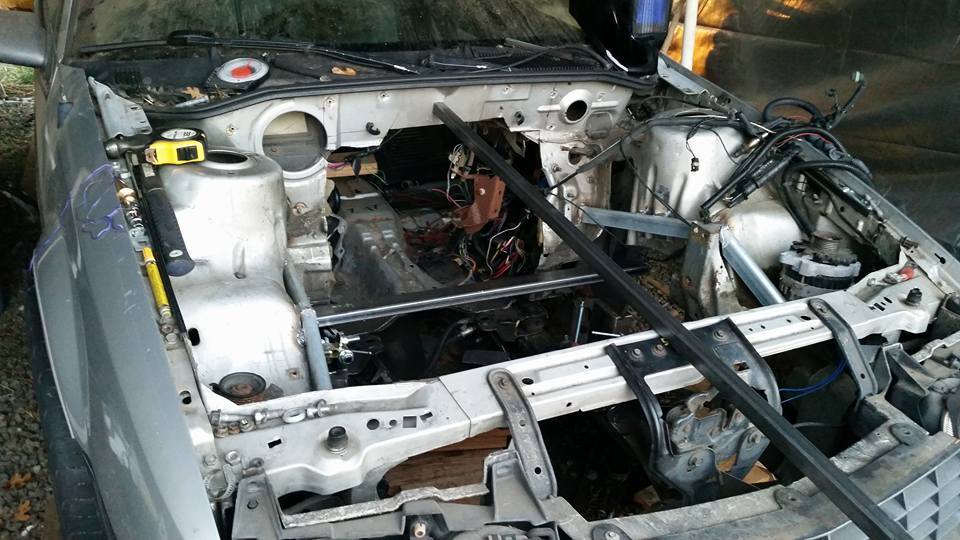
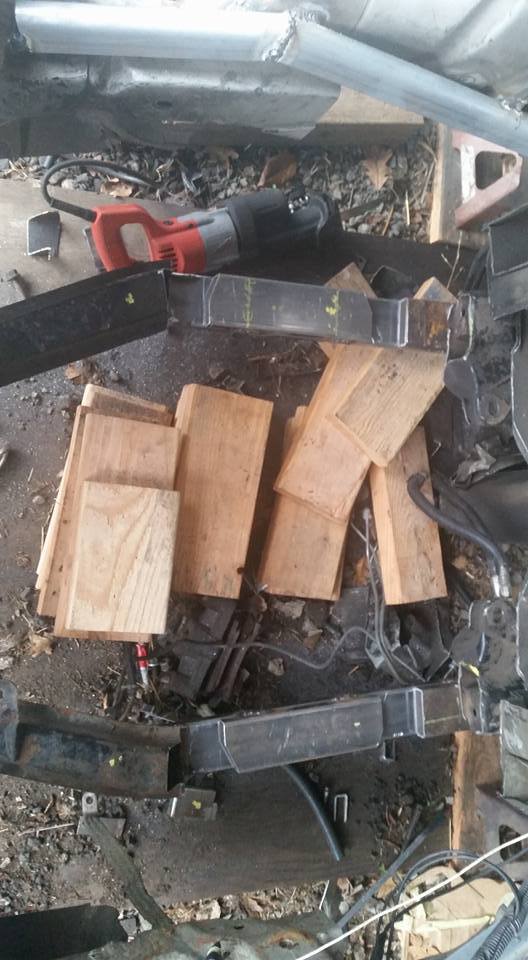
modified the stock subframe so I could have something to sit the c4 subframe on thats level and solid to figure out the bump steer and roll center, then "tack" it all together so I can get the front temporarily rolling and get the engine figured out the rest of the way
Old 09-24-2015, 09:02 AM
  #24  
TECH Junkie
iTrader: (18)
 
ramairetransam's Avatar
 
Join Date: Aug 2005
Location: Amsterdam Ny, the good part
Posts: 3,392
Likes: 0
Received 64 Likes on 51 Posts

Default

awesome build
Old 09-24-2015, 01:19 PM
  #25  
8 Second Club
iTrader: (3)
 
RonSSNova's Avatar
 
Join Date: Aug 2011
Location: Portland, OR
Posts: 4,599
Received 699 Likes on 440 Posts

Default

So this is the car Beau told me about.
You certainly have your work cut out for you!

Ron
Old 09-30-2015, 03:44 PM
  #26  
On The Tree
Thread Starter
 
BerettaLS's Avatar
 
Join Date: Sep 2014
Location: Woodburn, OR
Posts: 129
Likes: 0
Received 11 Likes on 8 Posts
Default

Thanks!

Yeah lol, this would be the other modified beretta in oregon. It keeps adding up to more work every time I think I have something figured out. It's half the fun I guess
Old 11-04-2015, 11:42 PM
  #27  
On The Tree
Thread Starter
 
BerettaLS's Avatar
 
Join Date: Sep 2014
Location: Woodburn, OR
Posts: 129
Likes: 0
Received 11 Likes on 8 Posts
Default

I made a bit of progress, changed my process a little bit.. I was trying to set the control arm angle by going off bump steer, then place the subframe in where ever it needed to be for the correct roll center. The least amount of bump steer the control arm was pointing WAY up.. so that theory was bad lol.

off to the corvette forums I went hoping to get stock angles of the control arms for a better guideline. Ended up getting a TON of help and a better way to go about this than I was. Huge thanks to "Churchkey" and everybody else from the corvette forums.

Name:  12141778_10153737117492437_5882191361842962607_n.jpg
Views: 3745
Size:  74.9 KB
my bump steer idea of doing it.. that failed.

Name:  12195957_10153761523492437_6647498095372185647_n.jpg
Views: 3758
Size:  38.0 KB
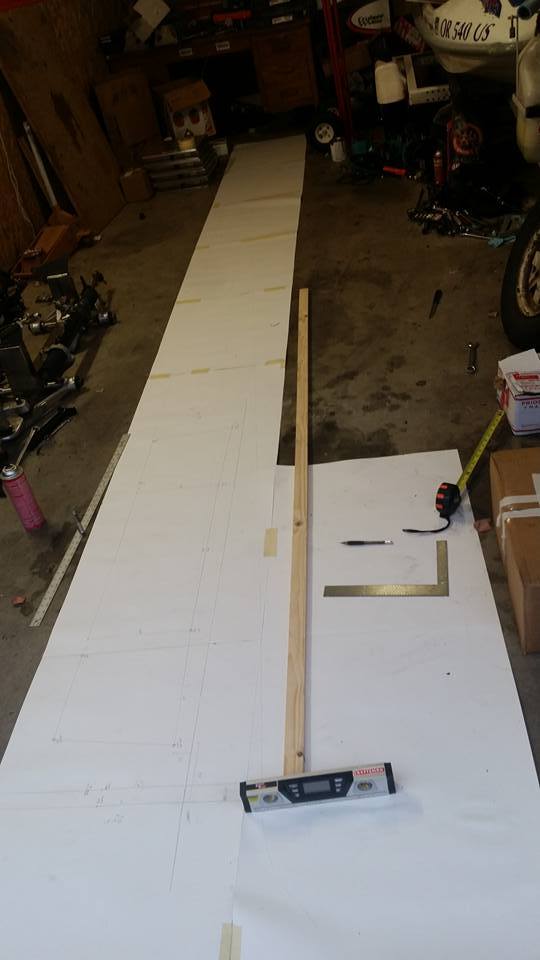
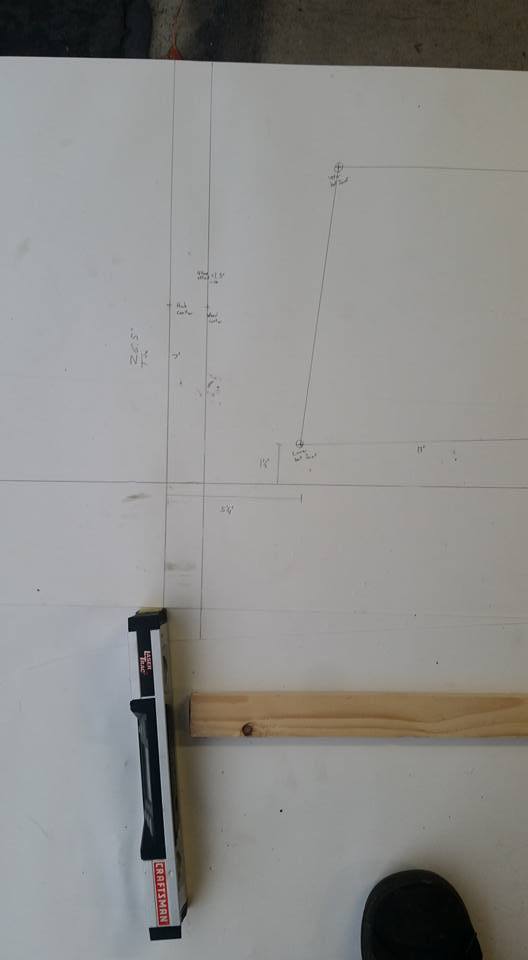
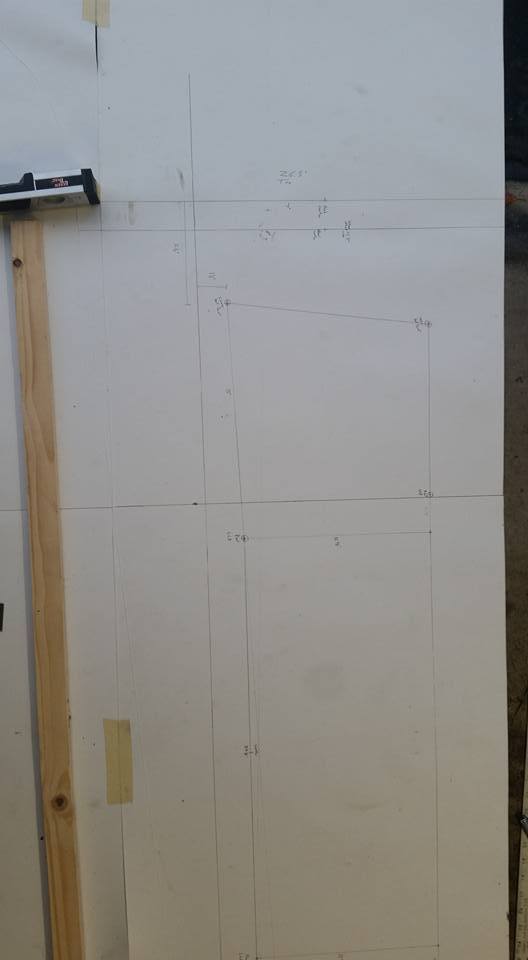
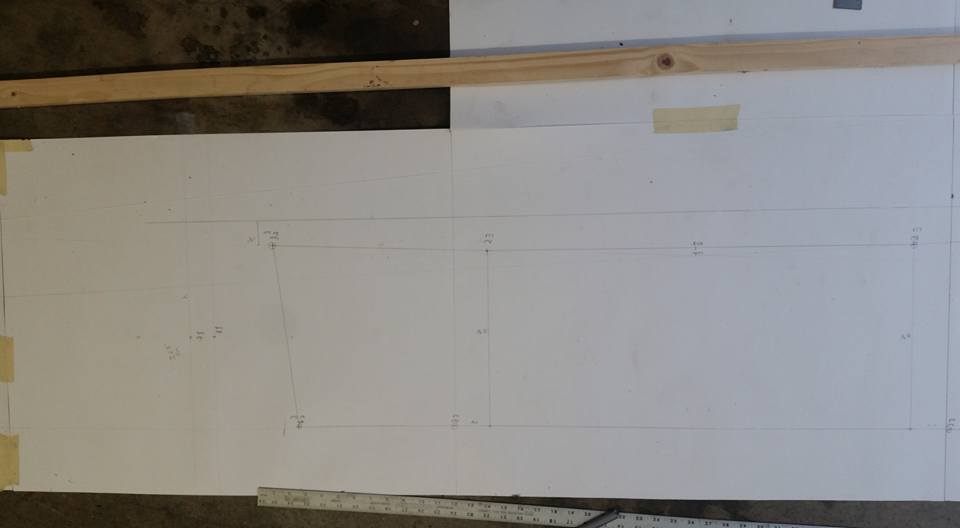
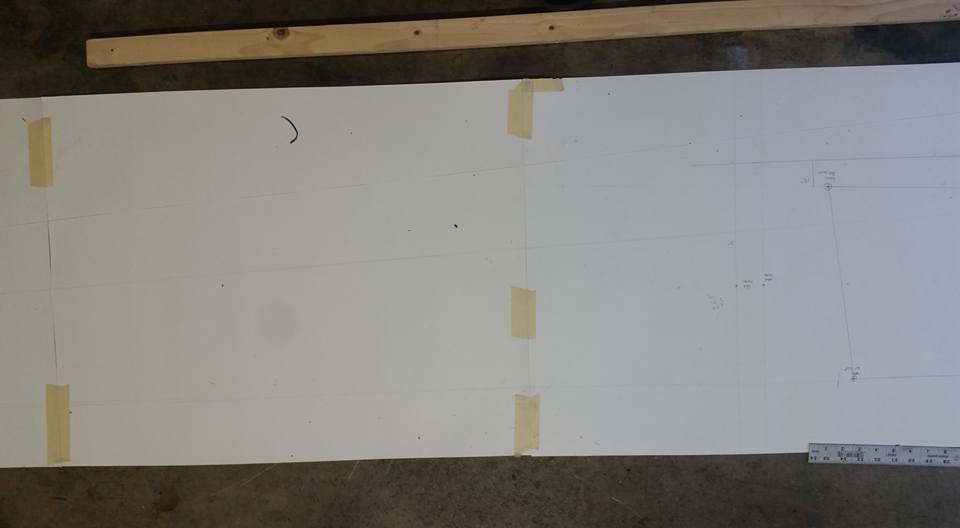
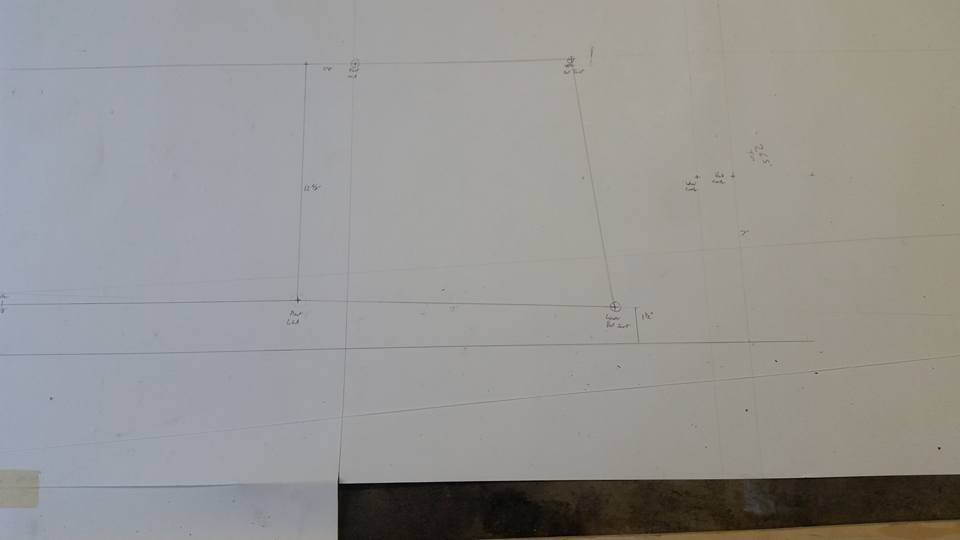
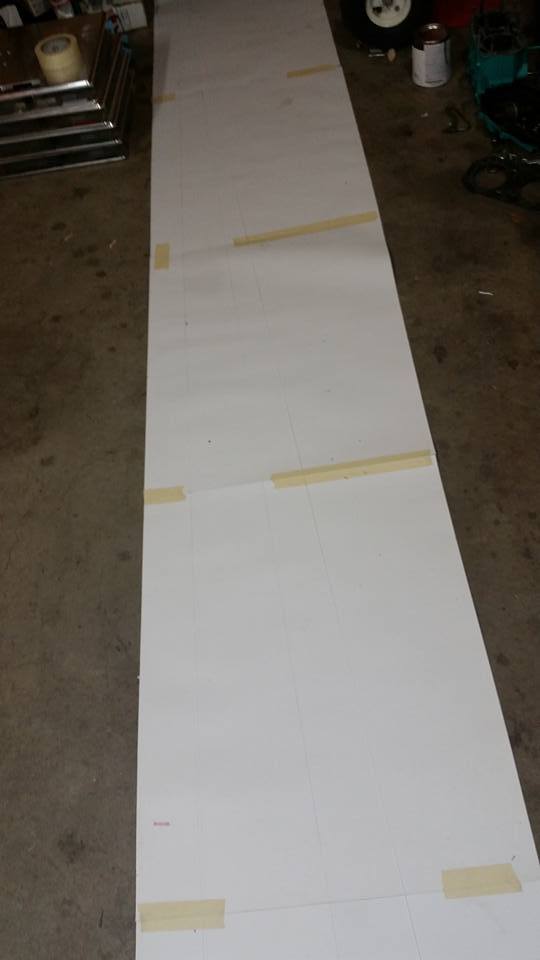
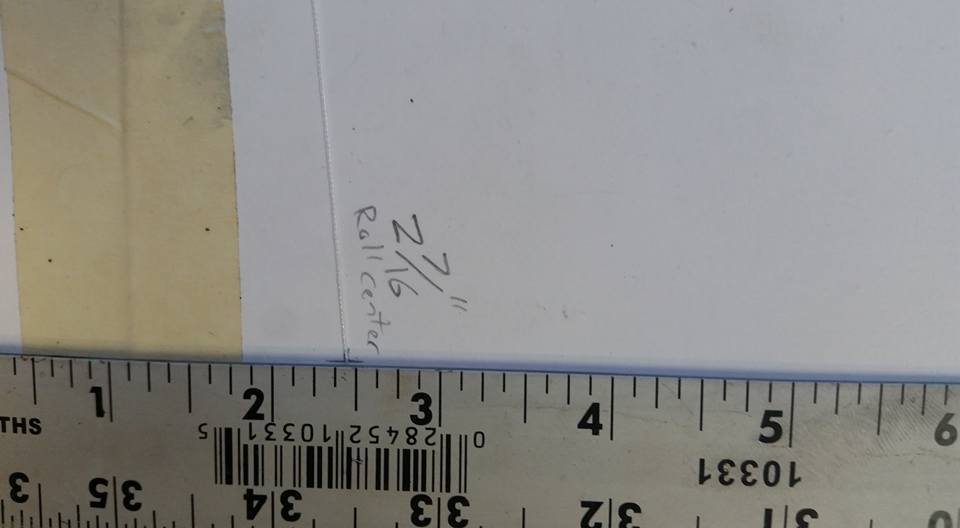
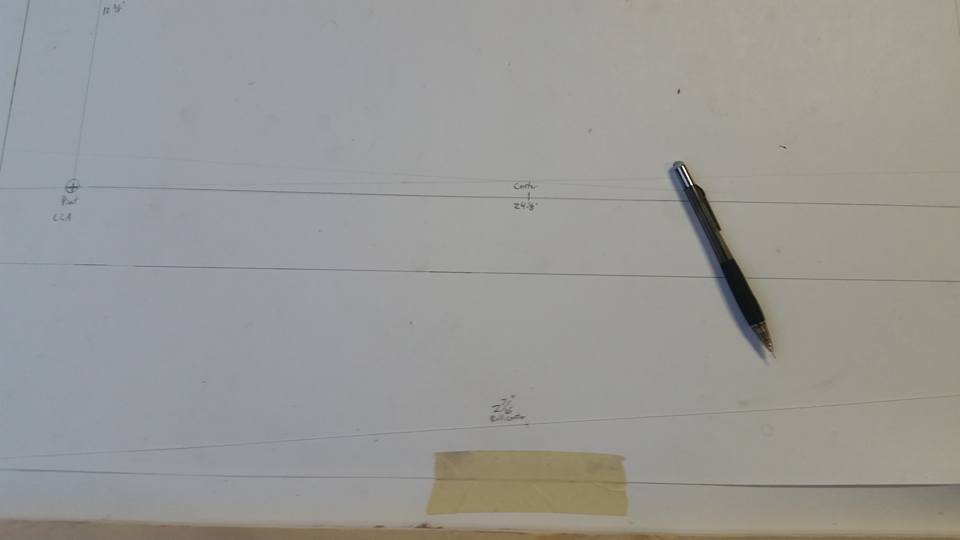
finding the roll center, drafting the whole front suspension out and getting everything figured out. literally took up my whole garage lol. talk about a pain in the ***! but I now know all the angles to go off of and can "simply" put the subframe in now.

Name:  12187924_10153761523922437_6956243457883444748_n.jpg
Views: 3736
Size:  19.2 KB

Name:  12066056_10153761523542437_1922045933697959112_n.jpg
Views: 3691
Size:  19.3 KB

Name:  12122746_10153761523572437_2357250744721989360_n.jpg
Views: 3746
Size:  21.5 KB

Name:  11230590_10153761523677437_2751642524446732438_n.jpg
Views: 3709
Size:  21.2 KB

Name:  12118718_10153761524237437_7777923440273126579_n.jpg
Views: 3753
Size:  14.5 KB

Name:  12191859_10153761523842437_859529208730240196_n.jpg
Views: 3716
Size:  25.0 KB

Name:  12193470_10153761524432437_5295203578688213021_n.jpg
Views: 3778
Size:  27.8 KB

Name:  12208643_10153761524552437_7613819916652635836_n.jpg
Views: 3747
Size:  14.3 KB

sorry for the crappy pics. they looked good on my phone when I took them...

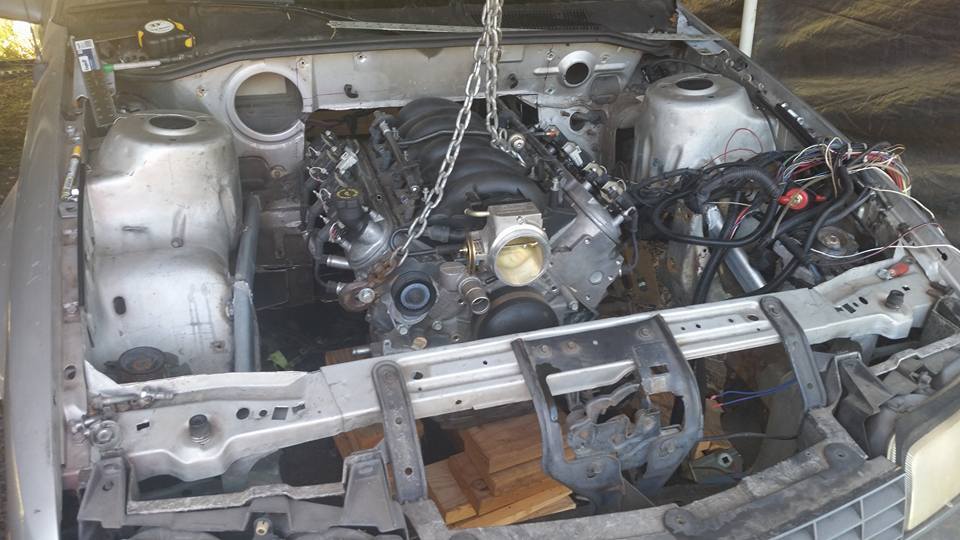
but thats where I am as of now. next step is to get it physically in place in the car and go from there.
Old 11-05-2015, 10:10 AM
  #28  
TECH Addict
 
DavidBoren's Avatar
 
Join Date: Jul 2013
Location: Portland, Oregon
Posts: 2,189
Received 119 Likes on 90 Posts
Default

While you're doing the suspension geometry and all that is still fresh in your head, contact Ron Sutton. He is the master of suspensions and offers a professional recommendation service, for a reasonable price, to set you up correctly. He will have you take a million very precise measurements of your suspension mounting points. He will discuss weight distribution, wheel alignment, spring and bar packages, he can even revalve your shocks if you want.

Point is, you're already ***** deep in your suspension, so you might as well have a professional run your exact suspension through the geometry software and make the changes he recommends.

Do it right. Do it once.
Old 11-05-2015, 12:07 PM
  #29  
On The Tree
 
SenorThumpy's Avatar
 
Join Date: May 2014
Posts: 123
Likes: 0
Received 0 Likes on 0 Posts
Default

This build is incredible! Keep at it man!
Old 11-05-2015, 09:39 PM
  #30  
TECH Resident
iTrader: (8)
 
2muchboostNY's Avatar
 
Join Date: Jun 2013
Posts: 801
Likes: 0
Received 0 Likes on 0 Posts
Default

X2 I loved reading this and seeing pics. Should confuse the hell out of people when it's done.
Old 11-06-2015, 12:50 PM
  #31  
On The Tree
Thread Starter
 
BerettaLS's Avatar
 
Join Date: Sep 2014
Location: Woodburn, OR
Posts: 129
Likes: 0
Received 11 Likes on 8 Posts
Default

Ok, I'll have to check that out. I do have a suspension analyzer program but can't figure it out to save my life.. I plan to dig into it a little more to hopefully at least verify it's setup like I believe. Can't ever check too much!

Thanks guys!
Old 11-07-2015, 08:26 AM
  #32  
TECH Regular
iTrader: (1)
 
dogger's Avatar
 
Join Date: Jan 2004
Location: Myerstown, PA
Posts: 499
Likes: 0
Received 0 Likes on 0 Posts

Default

I don't know if you know this or not but gm build a rwd v8 beretta concept back in the 90's that was yellow and blue. they called it w8 or something like that. cool build none the less. I love it. always like this cars especally the z26's.
Old 11-09-2015, 04:36 PM
  #33  
On The Tree
Thread Starter
 
BerettaLS's Avatar
 
Join Date: Sep 2014
Location: Woodburn, OR
Posts: 129
Likes: 0
Received 11 Likes on 8 Posts
Default

yeah they had a few different concepts. I swear the feretta was a v8 RWD but It says its a fwd setup still... one is saying they had a v6 awd TT setup and the other is saying its a v8 awd TT setup. I knew of the v6 so maybe they had both of those?? I know the feretta just sold on barrett jackson not too long ago for 6k.. now its street legal and being sold for 30k or something like that


Old 11-11-2015, 03:06 PM
  #34  
TECH Fanatic
iTrader: (27)
 
ryeguy2006a's Avatar
 
Join Date: Apr 2012
Location: Ruckersville, VA
Posts: 1,957
Received 530 Likes on 334 Posts

Default

That's such a cool build. I had a 1990 Z24 Cav back in the day, and always liked the Beretta's too.
Old 11-13-2015, 08:32 PM
  #35  
On The Tree
Thread Starter
 
BerettaLS's Avatar
 
Join Date: Sep 2014
Location: Woodburn, OR
Posts: 129
Likes: 0
Received 11 Likes on 8 Posts
Default

Thanks!

Nice, I've always loved the older z24s too. Pretty cool looking cars
Old 11-29-2015, 11:44 PM
  #36  
On The Tree
Thread Starter
 
BerettaLS's Avatar
 
Join Date: Sep 2014
Location: Woodburn, OR
Posts: 129
Likes: 0
Received 11 Likes on 8 Posts
Default

I finally found some time to work on it a bit more. Juggling a few projects again.. Made some decent progress I think.

Name:  12301558_10153811902782437_6335781834216629455_n.jpg
Views: 3786
Size:  85.8 KB
this is pretty much where its going to sit, I forgot my digital level so im not positive as far as height/control arm angle goes but its with in 1/2" up and down I think. just need to verify it and get it 100% now. beefed up the modified factory subframe a little so I can cut out notches for the control arms to pivot.


Name:  12311053_10153811902692437_2782416508766503227_n.jpg
Views: 3798
Size:  57.1 KB


Name:  12294722_10153811943172437_98928547756568963_n.jpg
Views: 3765
Size:  95.4 KB


Name:  12274236_10153811963382437_2296026319090864315_n.jpg
Views: 3790
Size:  91.9 KB


Name:  12299401_10153811956647437_3717681438078192819_n.jpg
Views: 3667
Size:  31.3 KB
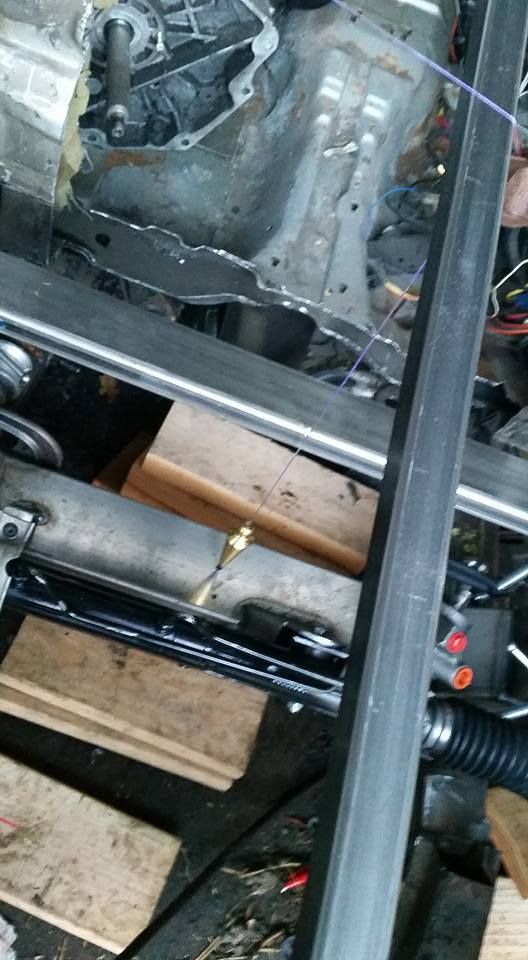
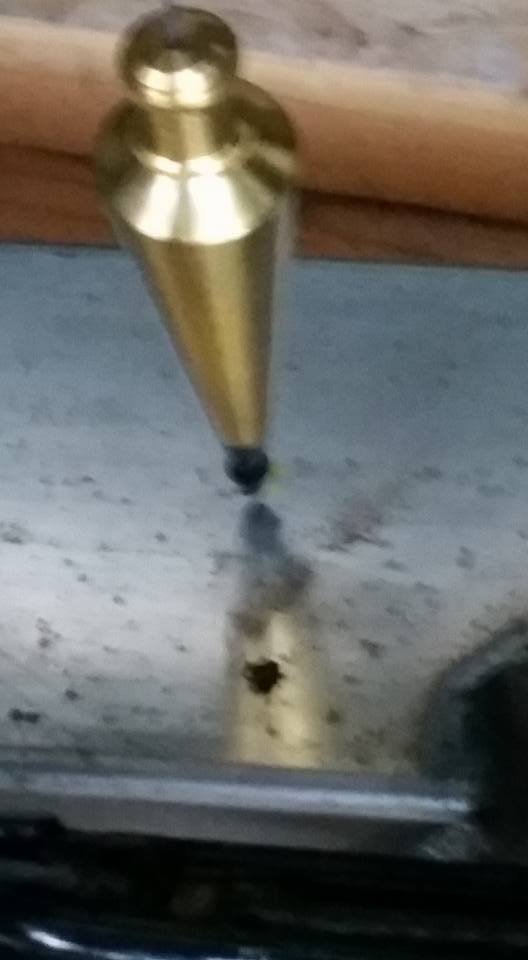
finding center. hard to see the yellow center line, but I guessed when I clamped the subframe down, it was less than 1/4" off center! pretty damn good if you ask me!! need to verify my measurements a few times before its set it stone, and get it 100% perfect. front to back is also within 1/8" to 1/4" of being perfect. little bit more tweaking.

Name:  12278910_10153811889617437_1588636903757388066_n.jpg
Views: 3776
Size:  73.7 KB

Name:  12321289_10153811889512437_5537670904980785637_n.jpg
Views: 3764
Size:  54.9 KB

Name:  12316410_10153811889737437_126077698109094462_n.jpg
Views: 3730
Size:  57.9 KB
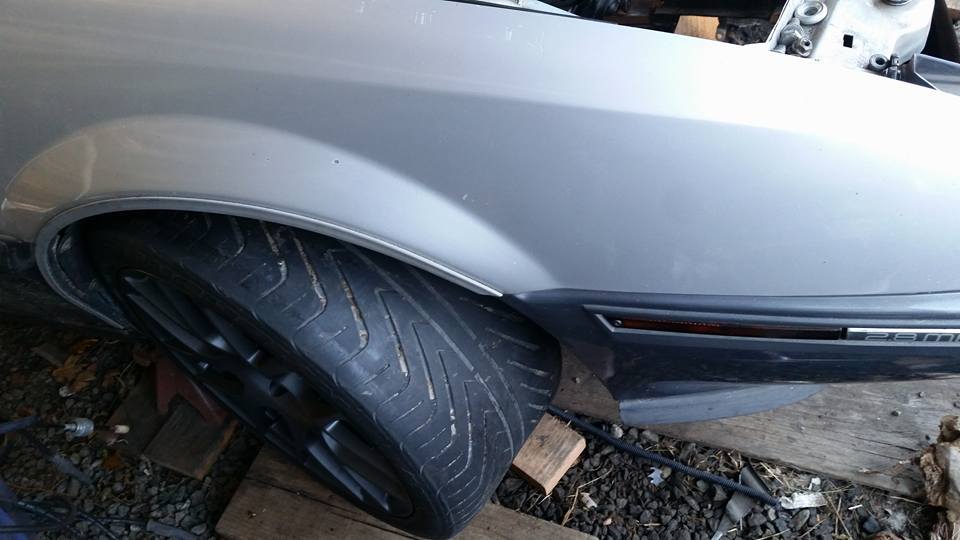
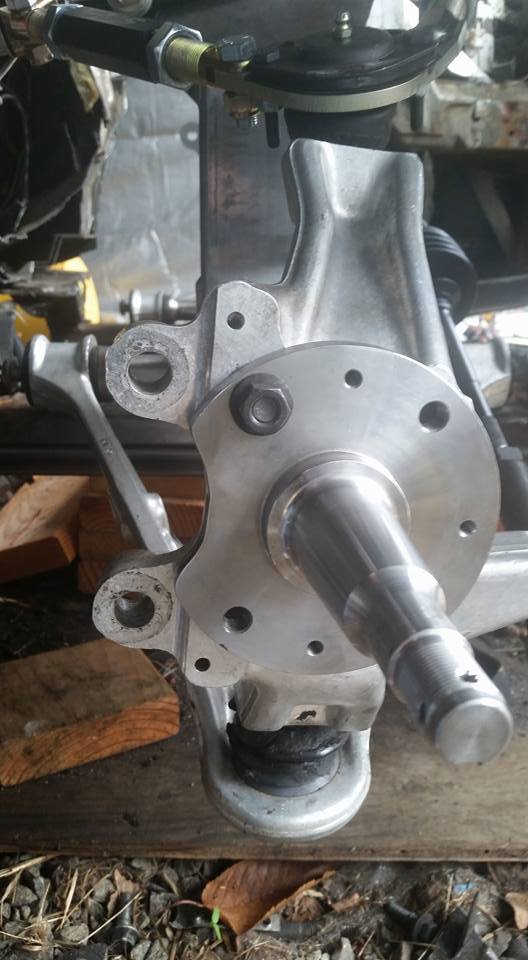
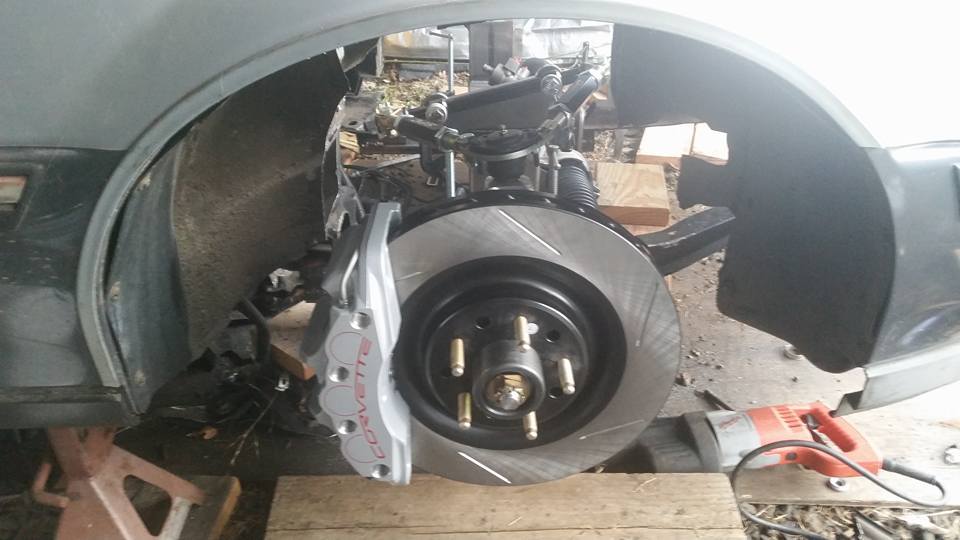
fits pretty decent, well better than expected. definitely will need to get cut for clearance but not as much as I was expecting.
Old 12-27-2015, 09:17 PM
  #37  
On The Tree
Thread Starter
 
BerettaLS's Avatar
 
Join Date: Sep 2014
Location: Woodburn, OR
Posts: 129
Likes: 0
Received 11 Likes on 8 Posts
Default

got a little bit more done yesterday.

Name:  10343688_10153873048657437_1742119933422816506_n.jpg
Views: 3749
Size:  43.4 KB
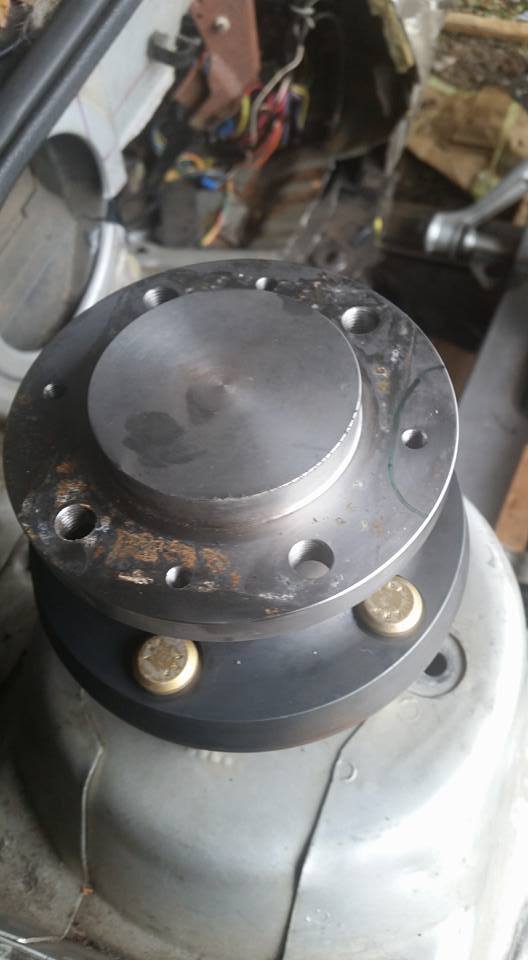
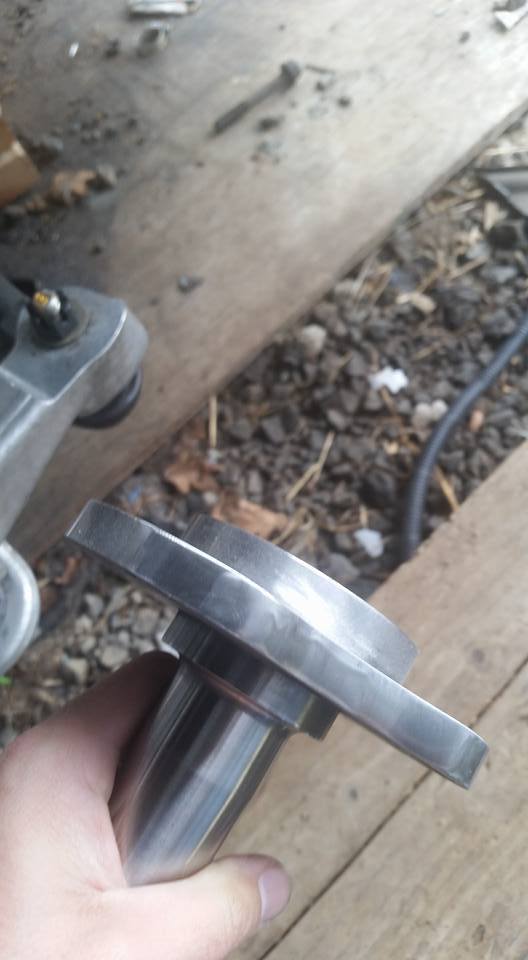
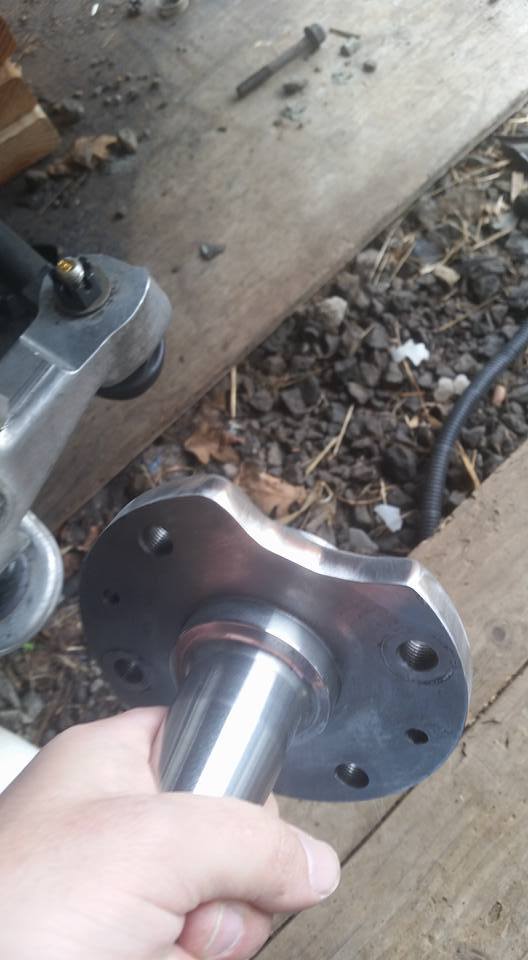
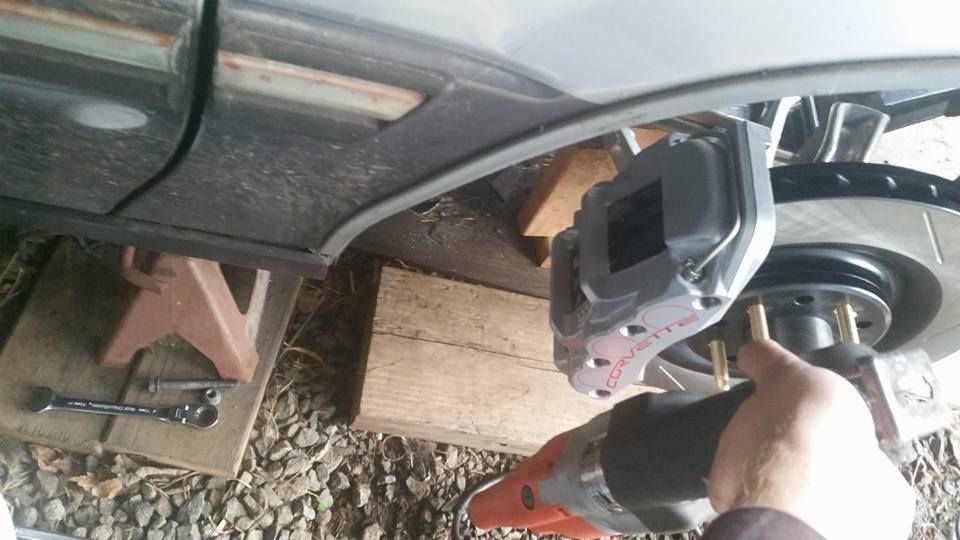
due to the caliper brackets hitting the spindles, I decided to grind the spindle down over grind the caliper bracket.

Name:  10358133_10153873048752437_1757610014406027572_n.jpg
Views: 3745
Size:  43.1 KB


Name:  988793_10153873048842437_1289984256702794572_n.jpg
Views: 3721
Size:  49.9 KB


Name:  1935125_10153873048892437_7872020848815984726_n.jpg
Views: 3759
Size:  60.0 KB
not machine quality.. but it will work. Polished it down to 220 and called it good.


Name:  7067_10153873048962437_1300910677852164946_n.jpg
Views: 3760
Size:  94.7 KB
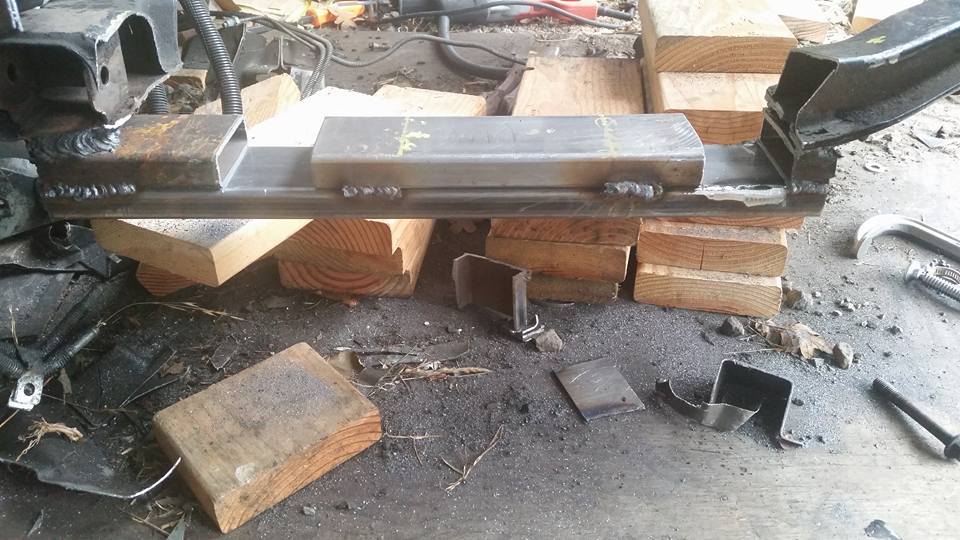
Also modified the factory subframe a bit more. Now control arms actually move. Its VERY ghetto, but it only has to support the weight of the front end until the frame goes under then its scrap metal. As it sits it wont do that, I will box it all in and gusset it, probably going to tie both sides together too.


Name:  940804_10153873049022437_5123241934821549084_n.jpg
Views: 3717
Size:  74.1 KB


Name:  8136_10153873049092437_6864628460926173022_n.jpg
Views: 3755
Size:  73.3 KB


Name:  10274325_10153873049157437_4107362511427264386_n.jpg
Views: 3784
Size:  57.5 KB
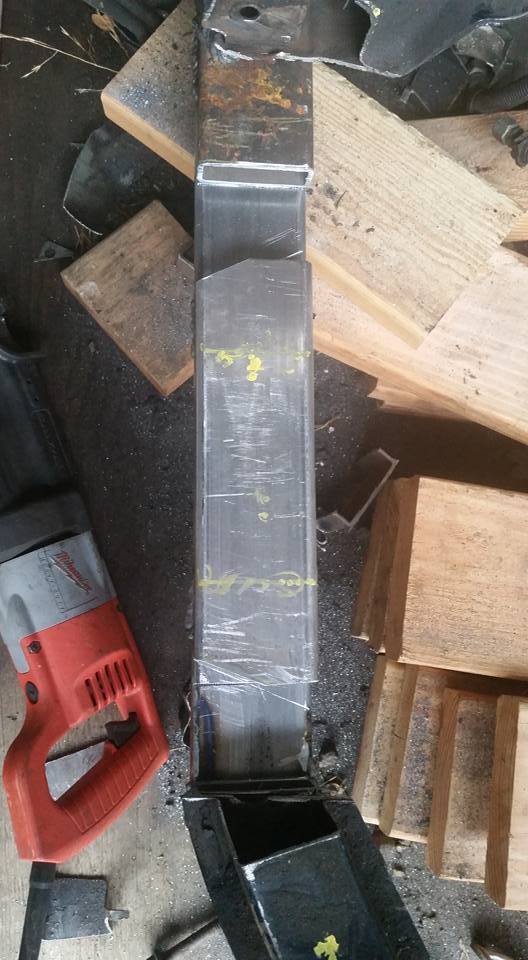
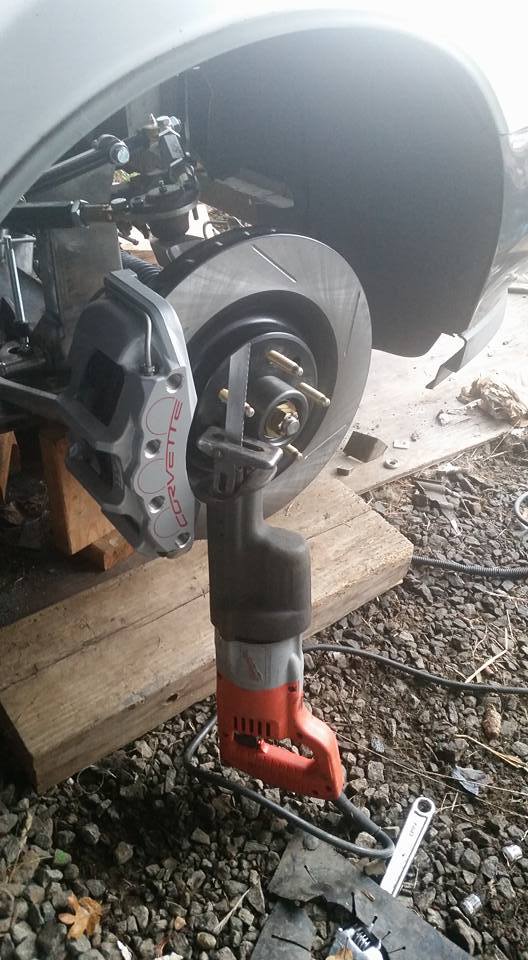
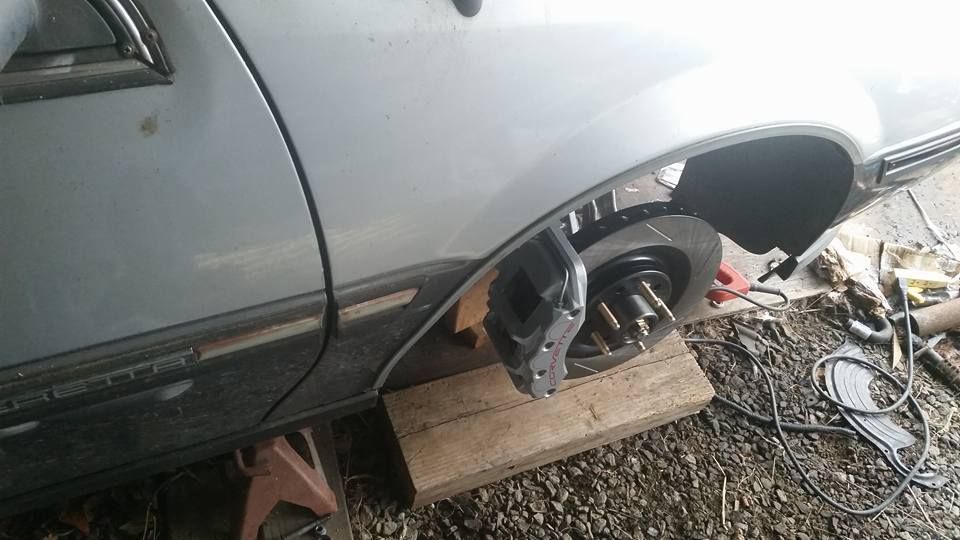
Had to toss it together real quick to see what the brakes were going to look like. Yes I know its upside down


Name:  1919164_10153873049302437_3747093907360917137_n.jpg
Views: 3730
Size:  85.4 KB
sawzall is just for size reference


Name:  479695_10153873049372437_7115701307622690523_n.jpg
Views: 3741
Size:  57.7 KB
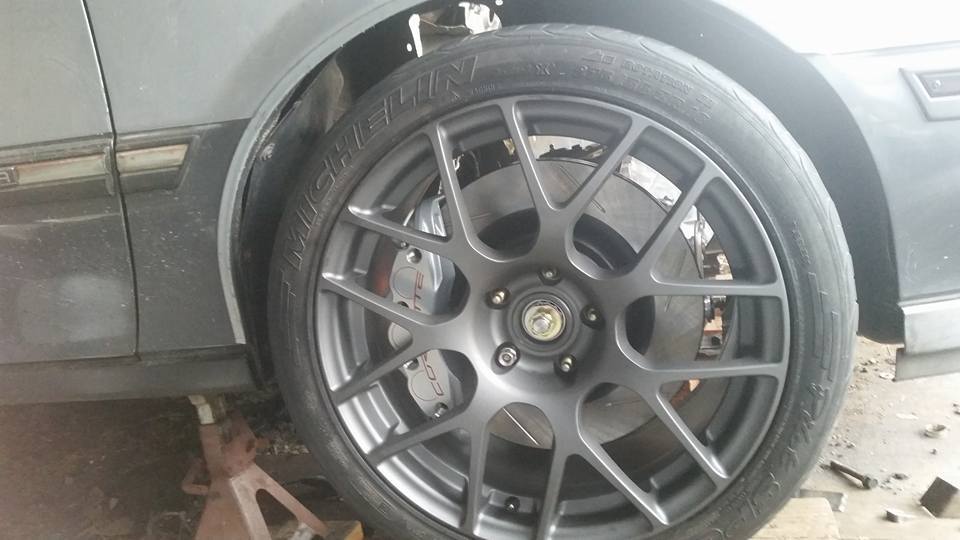
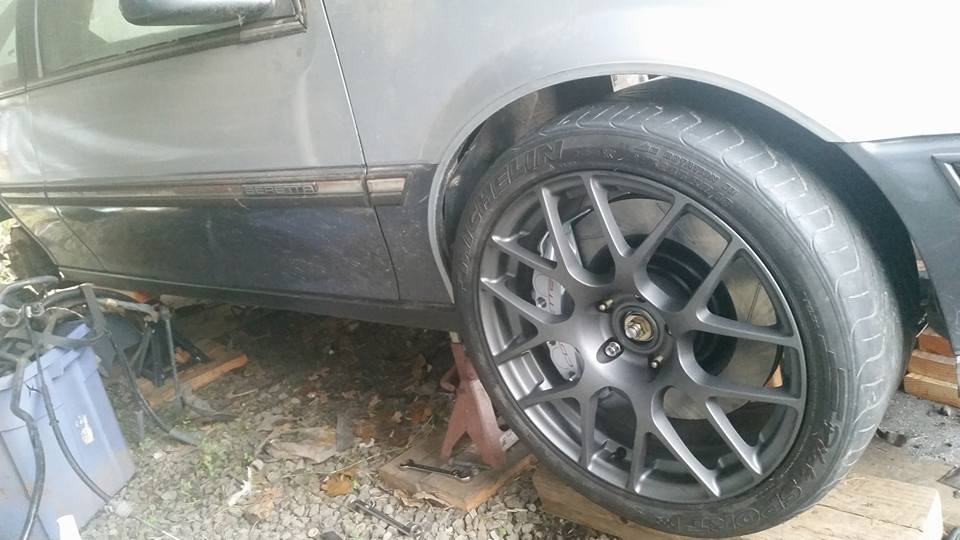
14" rotors dont seem that big with these wheels

Name:  1917593_10153873049437437_7233418730237362481_n.jpg
Views: 3755
Size:  67.1 KB


Name:  10565201_10153873068627437_3746726116827929755_n.jpg
Views: 3737
Size:  64.0 KB
I didnt measure anything when I put the subframe in for the brake pics. Thought it looked cool so I took a pic of this too.

that is all till next time.
Old 12-29-2015, 11:22 AM
  #38  
Teching In
 
89jyturbo's Avatar
 
Join Date: Nov 2012
Posts: 2
Likes: 0
Received 0 Likes on 0 Posts
Default

I like it. It looks a little overwhelming to me, but I hope you have the energy to stick with it! I'm excited to see the finished project. I also enjoyed reading about thein house GM projects above.
Old 12-29-2015, 04:03 PM
  #39  
TECH Junkie
iTrader: (18)
 
ramairetransam's Avatar
 
Join Date: Aug 2005
Location: Amsterdam Ny, the good part
Posts: 3,392
Likes: 0
Received 64 Likes on 51 Posts

Default

come on get this thing done . Im waiting on more pics.
Old 12-29-2015, 09:50 PM
  #40  
On The Tree
Thread Starter
 
BerettaLS's Avatar
 
Join Date: Sep 2014
Location: Woodburn, OR
Posts: 129
Likes: 0
Received 11 Likes on 8 Posts
Default

Thanks! I plan to work on it this weekend if its dry out. Really want to get this front subframe squared away so I can start working on the firewall and rear end again.


Quick Reply: Chevy Beretta Ls1/t56 Build


All times are GMT -5. The time now is 02:34 AM.