

65 Nova street car, 6.0 LQ4, 4L70E, mini tub, rust repair, Holley Dominator
 01-15-2017, 11:43 PM
#21
Launching!
Thread Starter
iTrader: (6)

Join Date: Jul 2010
Posts: 220
Likes: 0
Received 0 Likes
on
0 Posts
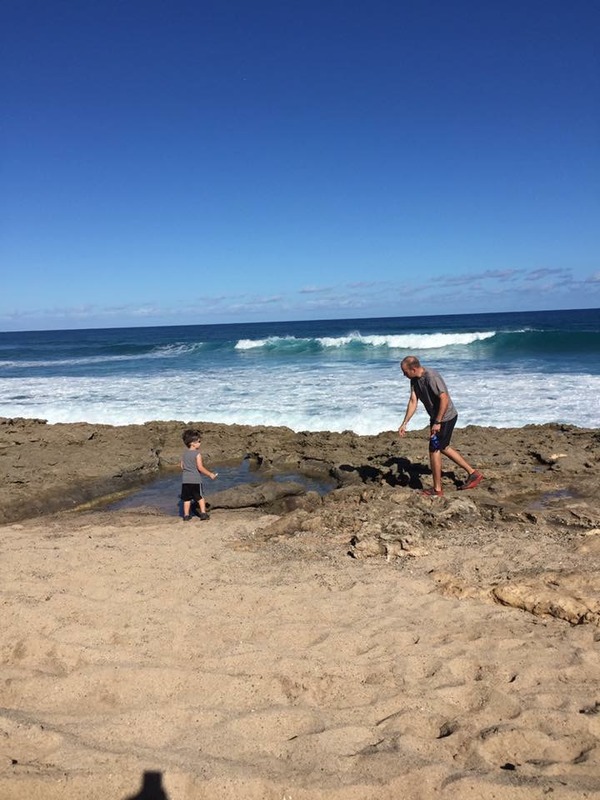
Slowly plugging away. Have to keep my time balanced with the family. I don't have a 10th of the time like before kids. But it's great
Finished up the drivers side floor pan, but forgot to take a pic. Just have to weld the seat braces in
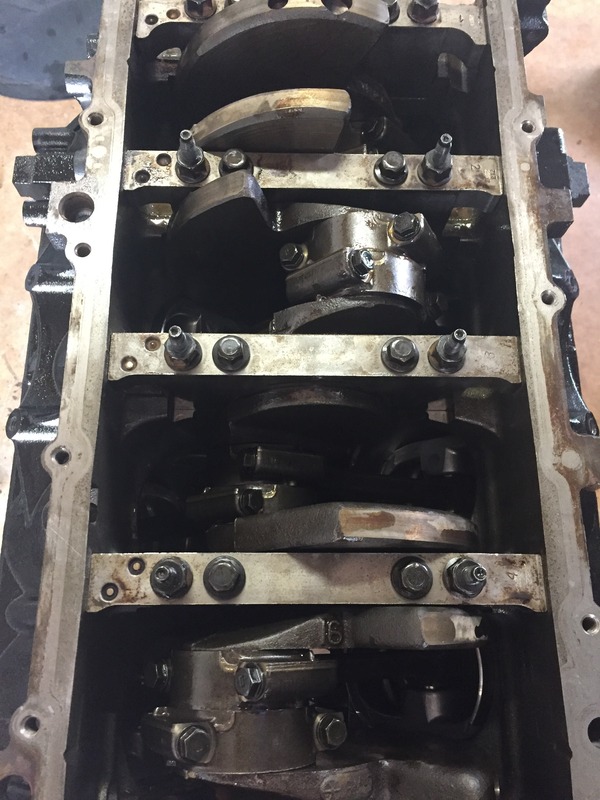
Cleaned up the rotating assembly
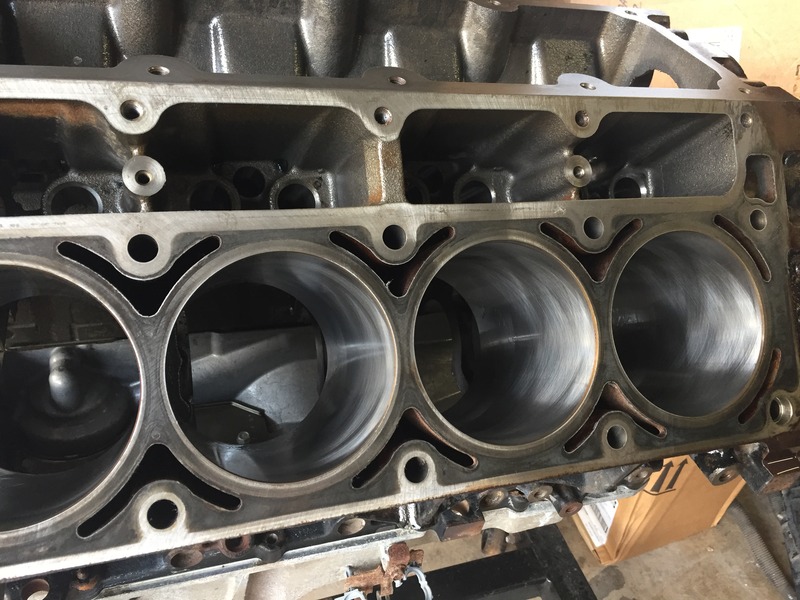
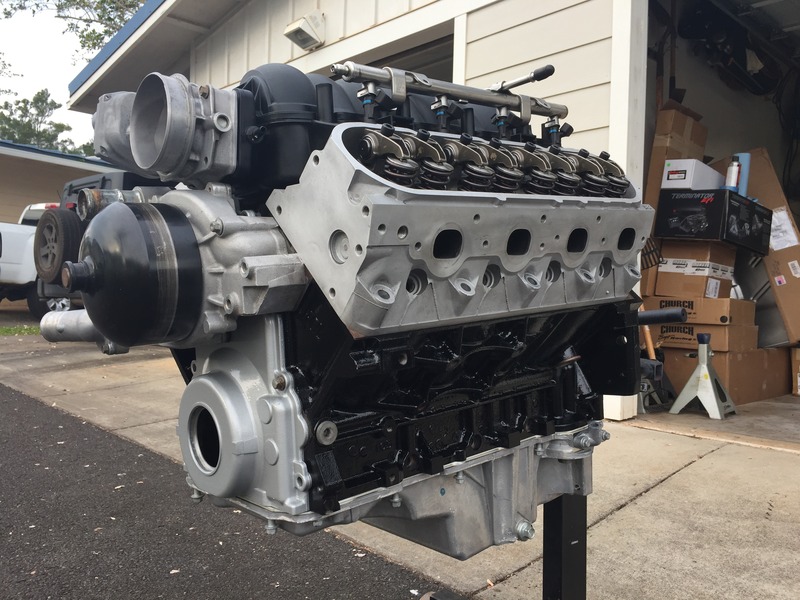
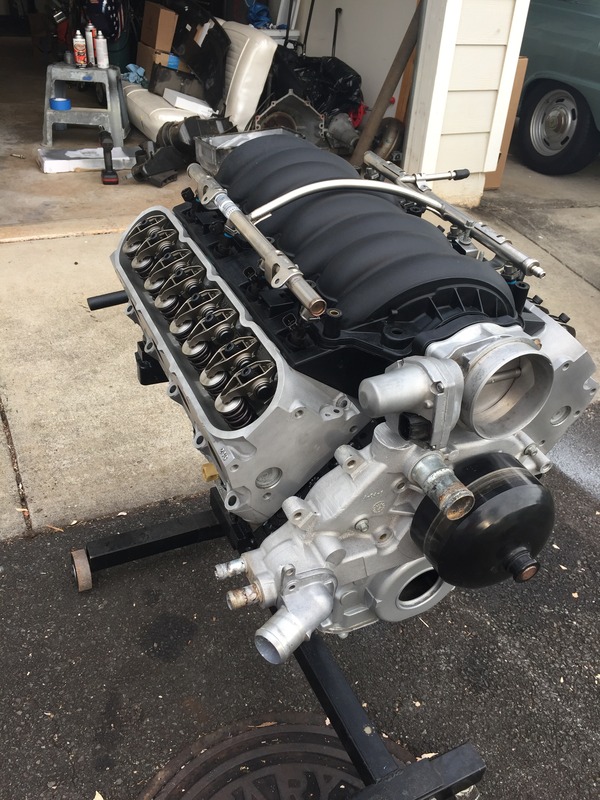
Got the block back from the machine shop a couple days ago and did a quick mock up. Then we assembled the longblock today. Went smoothly and didn't hit any snags
Mike


Finished up the drivers side floor pan, but forgot to take a pic. Just have to weld the seat braces in
Cleaned up the rotating assembly
Got the block back from the machine shop a couple days ago and did a quick mock up. Then we assembled the longblock today. Went smoothly and didn't hit any snags
Mike


 01-22-2017, 11:26 PM
#23
Launching!
Thread Starter
iTrader: (6)
Join Date: Jul 2010
Posts: 220
Likes: 0
Received 0 Likes
on
0 Posts
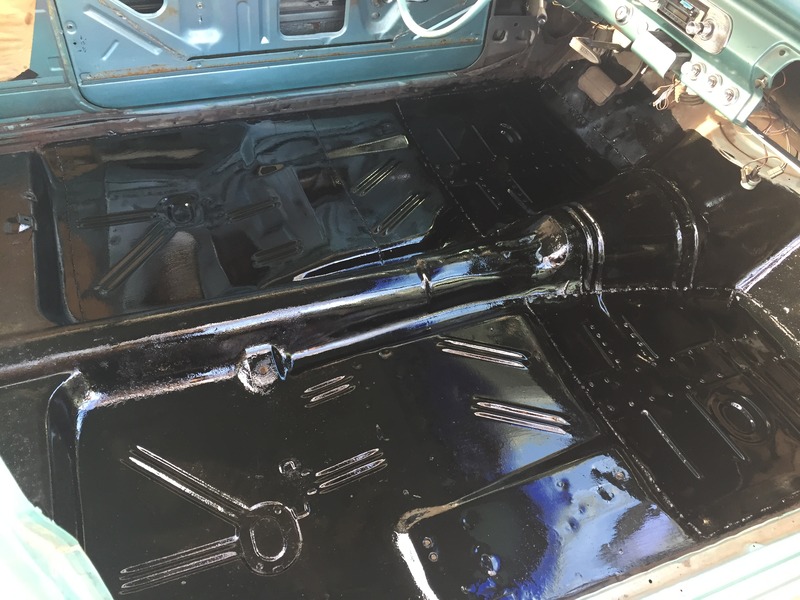
Finished up the floor. Still have to spray the sound deadener and por-15 the bottom side. Body goes to paint this week for some touch ups and then the fun stuff begins
Mike
Mike
 01-24-2017, 11:19 AM
#24

Motor looks really nice. This should be a blast. Great to see you spending time with your son.

 02-22-2017, 11:39 PM
#27
Launching!
Thread Starter
iTrader: (6)
Join Date: Jul 2010
Posts: 220
Likes: 0
Received 0 Likes
on
0 Posts
Got the car back from the body shop. They replaced the rear wheel wells and blended the quarter panels. Car had some rust coming through the cheap paint job in the trunk area and the door jambs were still original paint. Had all that done and they painted the underside of the hood.
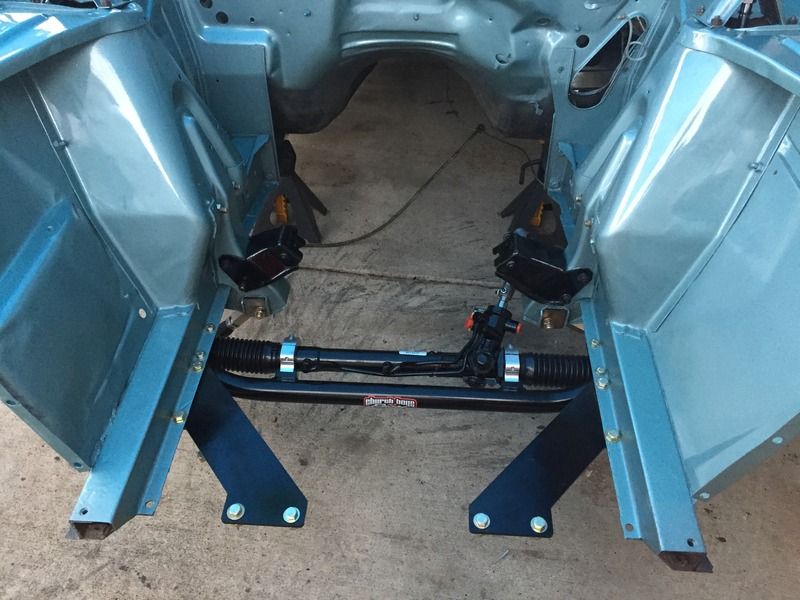
This week I'm tearing the front clip apart, painting the engine bay and installing the new front suspension
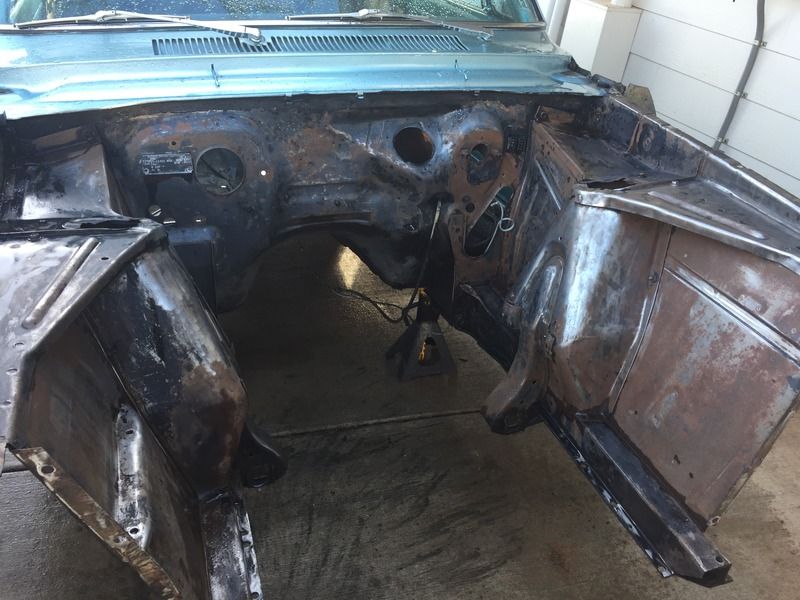
What I assumed was multiple coats of old paint was actually rubberized coating in the engine bay. Had to use aircraft paint stripper, wire brushes, scotch pads, etc. Took all afternoon, but it's done. Found some surface rust hiding underneath, so it worked out I suppose.
Yes, sand blasting would have been the best way to take care of it. But I'm on a time constraint to make it a roller again and nobody could get it done this week. Had to do it the hard way, but it's done. Tomorrow I'll sand surface rust and paint
After I get the engine bay done, the car will be 100% rust free and have decent paint everywhere.
Mike


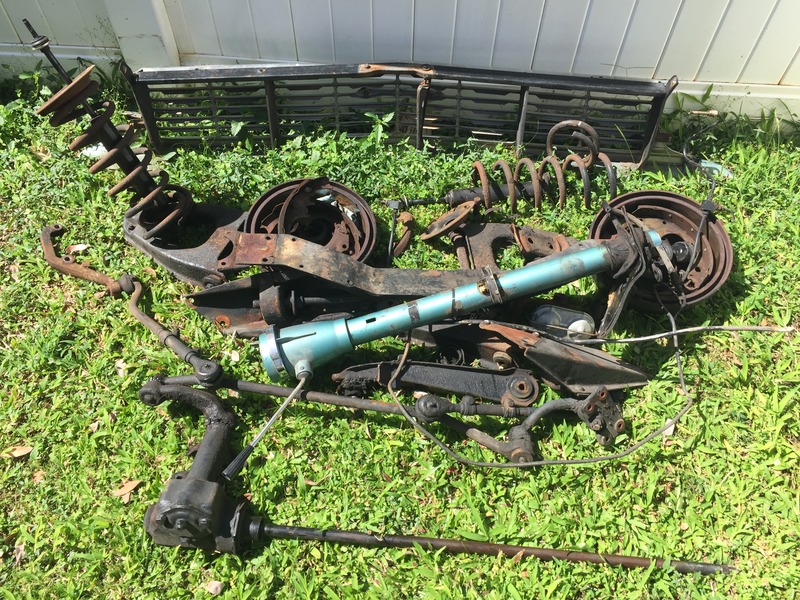
This week I'm tearing the front clip apart, painting the engine bay and installing the new front suspension
What I assumed was multiple coats of old paint was actually rubberized coating in the engine bay. Had to use aircraft paint stripper, wire brushes, scotch pads, etc. Took all afternoon, but it's done. Found some surface rust hiding underneath, so it worked out I suppose.
Yes, sand blasting would have been the best way to take care of it. But I'm on a time constraint to make it a roller again and nobody could get it done this week. Had to do it the hard way, but it's done. Tomorrow I'll sand surface rust and paint
After I get the engine bay done, the car will be 100% rust free and have decent paint everywhere.
Mike


 02-25-2017, 11:36 PM
#31
Launching!
Thread Starter
iTrader: (6)
Join Date: Jul 2010
Posts: 220
Likes: 0
Received 0 Likes
on
0 Posts
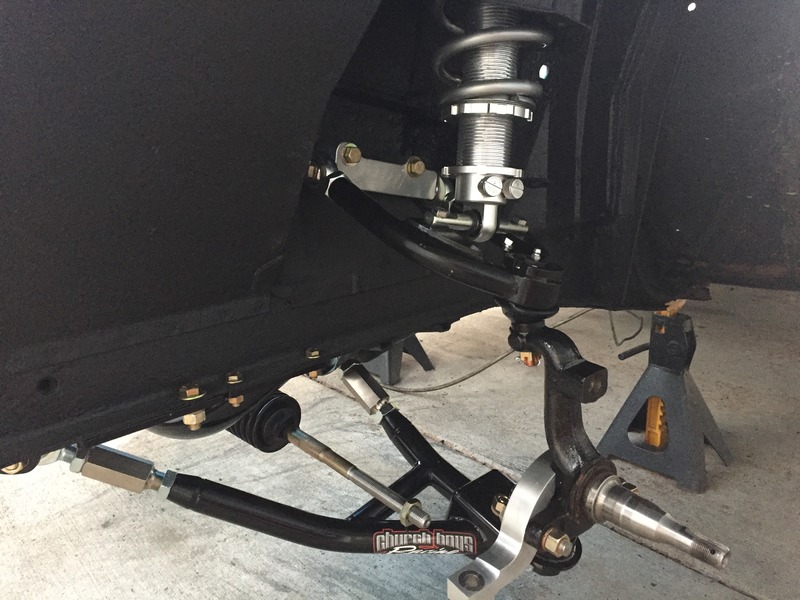
Thanks. It's moving along now. Got most of the suspension in today. Fit and quality is top notch. Very impressed with CBR. Also stripped and painted some other stuff like hood hinges, springs, shock mounts, etc. Will have it back on the ground tomorrow


 02-28-2017, 03:11 AM
#36
Mike,
What spraygun and paint system did you use for the engine compartment? That looks awesome !!!
What spraygun and paint system did you use for the engine compartment? That looks awesome !!!
02-28-2017, 01:12 PM
#37
Launching!
Thread Starter
iTrader: (6)
Join Date: Jul 2010
Posts: 220
Likes: 0
Received 0 Likes
on
0 Posts
here's some other parts and an engine bay I did. done this rodeo many times
Mike


 03-06-2017, 12:09 PM
#40
Launching!
Thread Starter
iTrader: (6)
Join Date: Jul 2010
Posts: 220
Likes: 0
Received 0 Likes
on
0 Posts
Thanks for the tip. I had that line laying around and don't care for the prop valve configuration. Will order that line and save it for a fall upgrade and line lock install. I'm under a tight deadline to get this thing driving before family comes in May. Just getting it done with what works for now
Mike
Mike