


Making your own adjustable master cylinder!
Hey guys so sometimes when you're doing a swap like I'm doing there comes a time where you can either shell out the big bucks and buy an adjustable master cylinder or save your money and make your own =D.
Here is what I did to get the perfect length push rod for my swap.
I am currently in the process of building a 383 t56 camaro converted from a v6 automatic. The placement of the master in my case was a bit tricky and I really had no reference point from any other cars locally. I guess the hole I made was not 100% correct so I had to get a little fancy. I made the stock pushrod longer with just a few simple modifications!
Now for the fun part! PICTURES =D
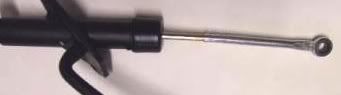
Original
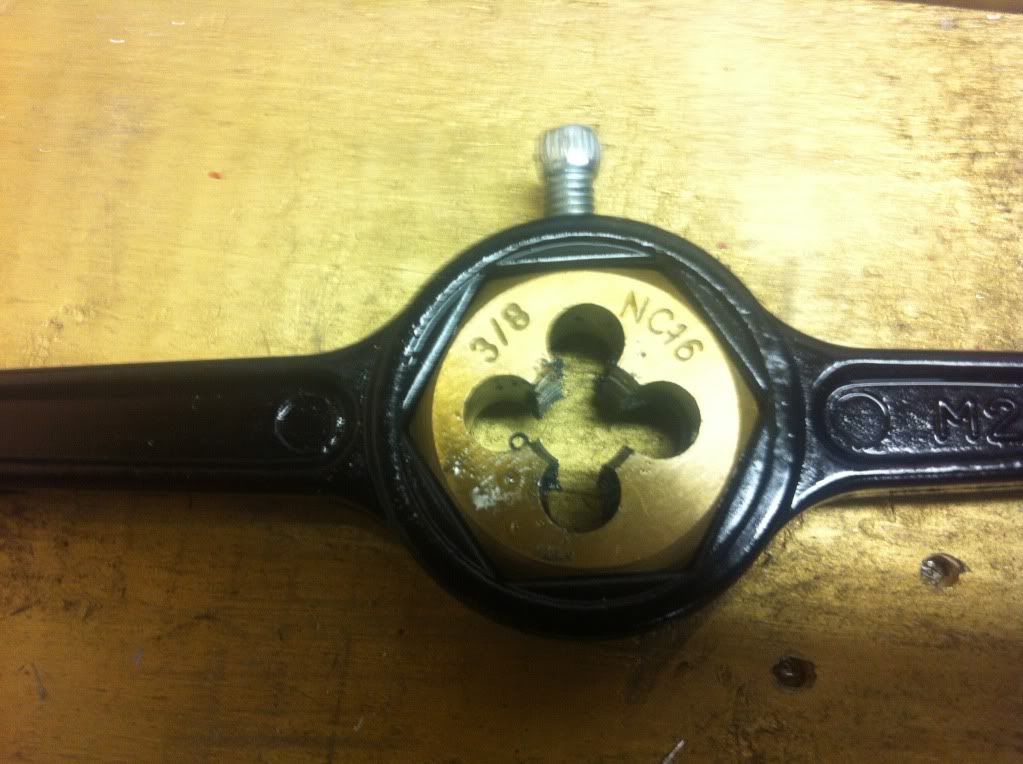
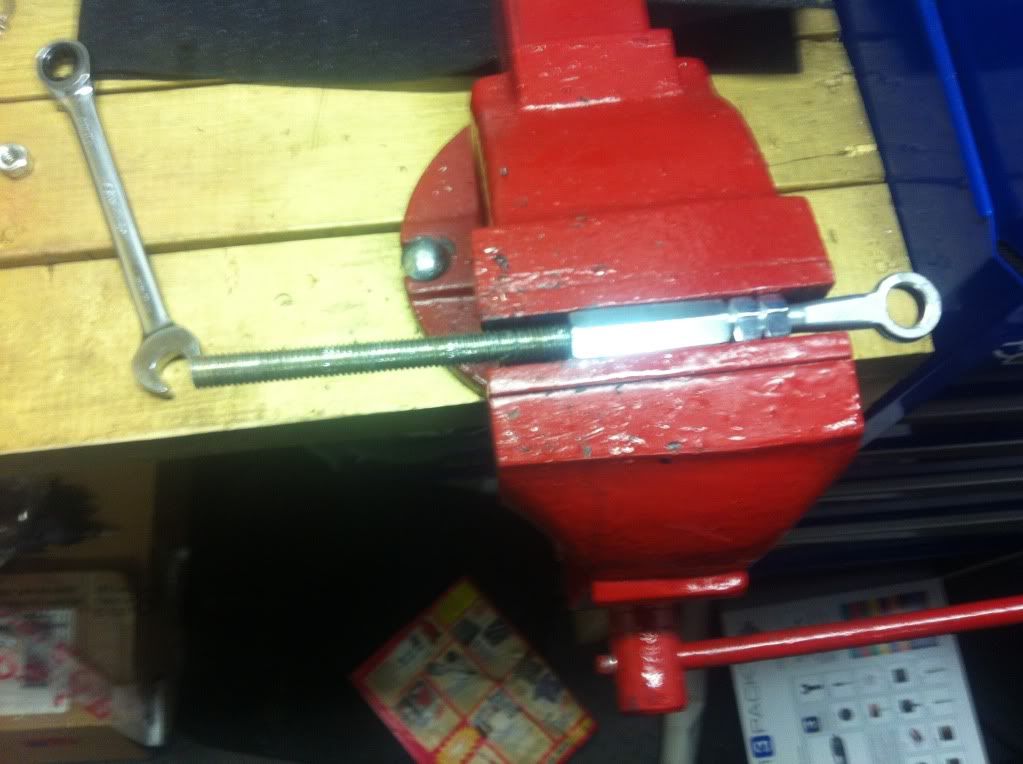
Die I used to thread the outside of the push rod
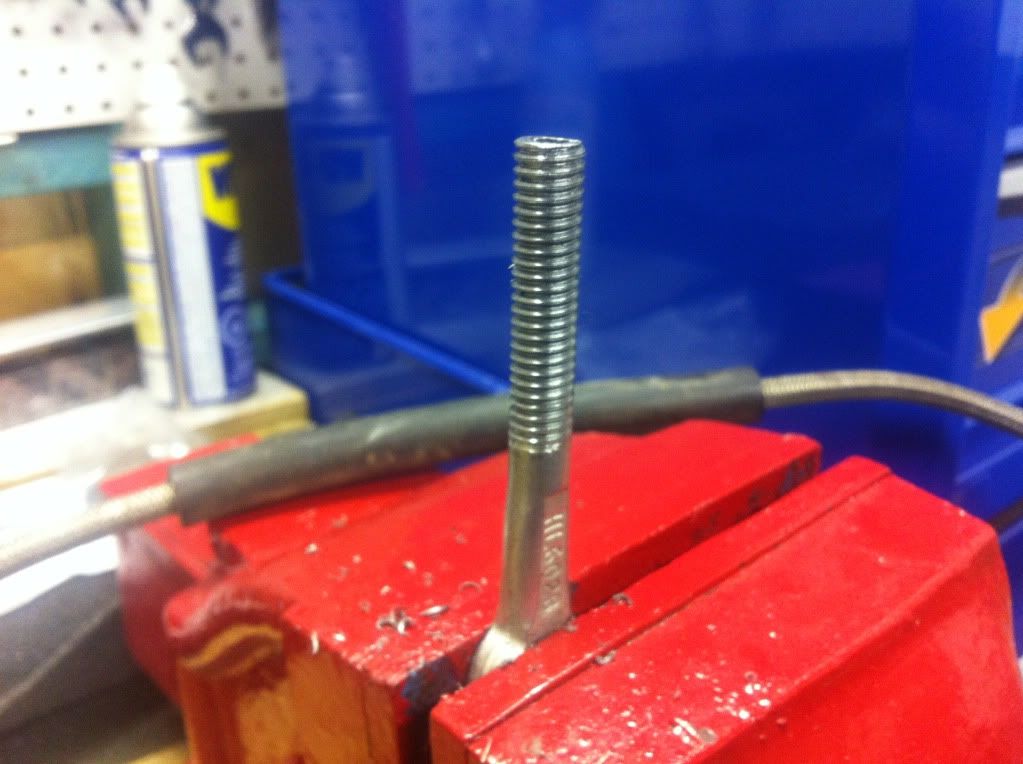
How the thread turned out
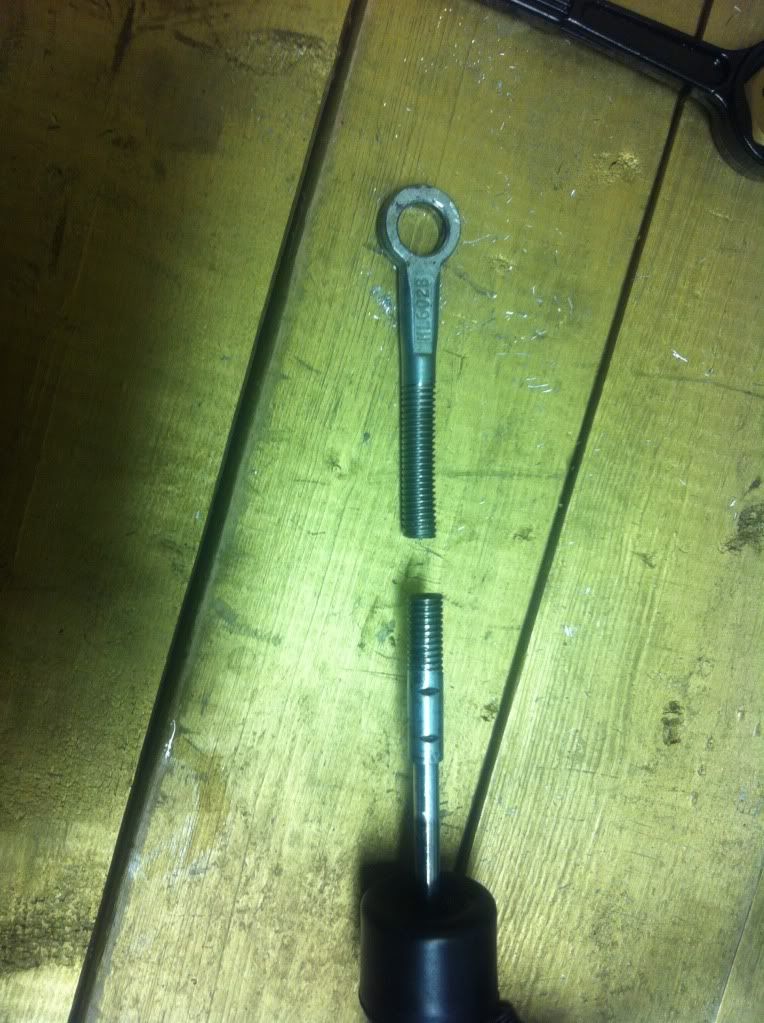
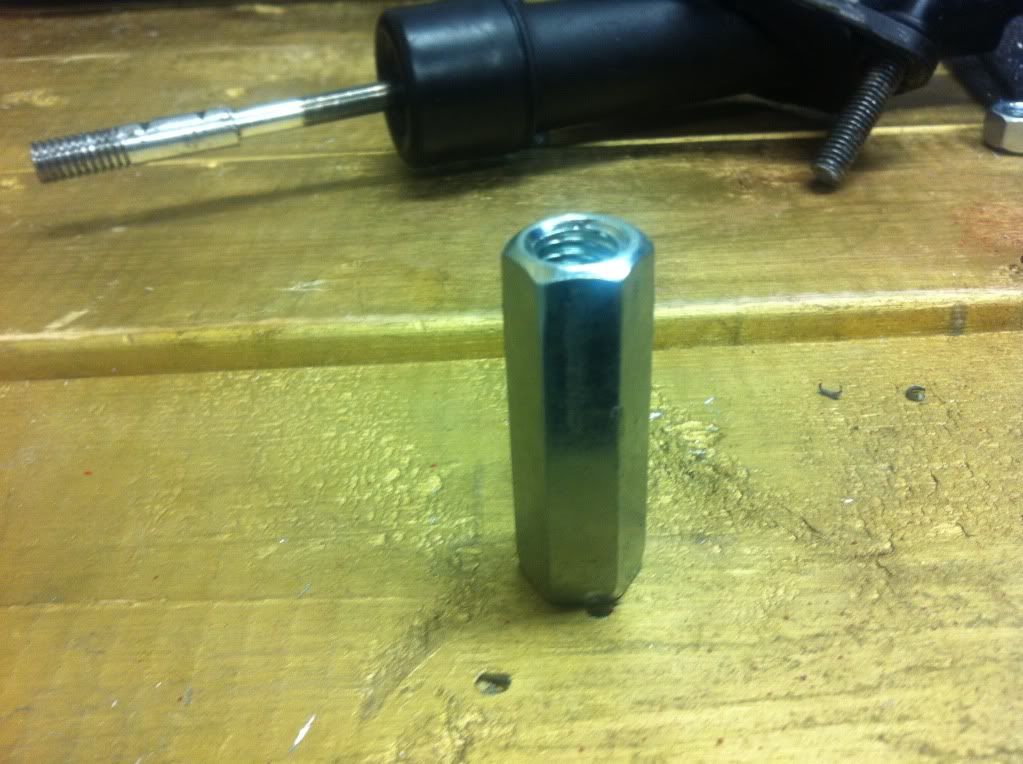
Both halves
3/8 coupler
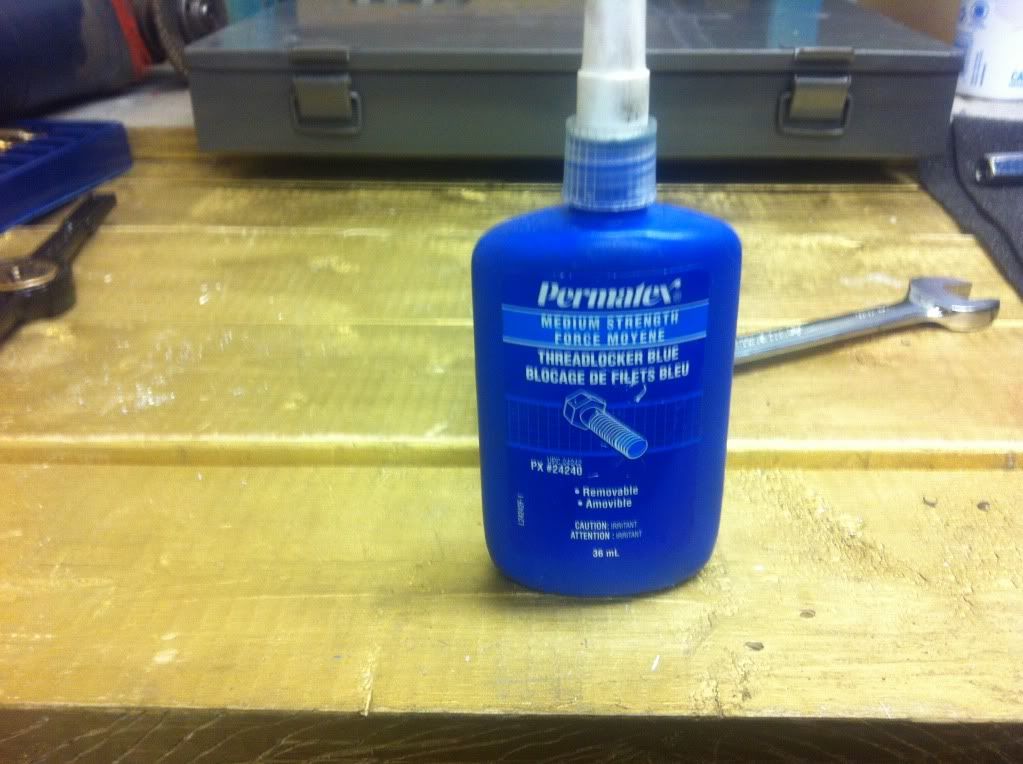
Thread locker I used to keep the 3/8 coupler stationary on the far end of the pushrod.
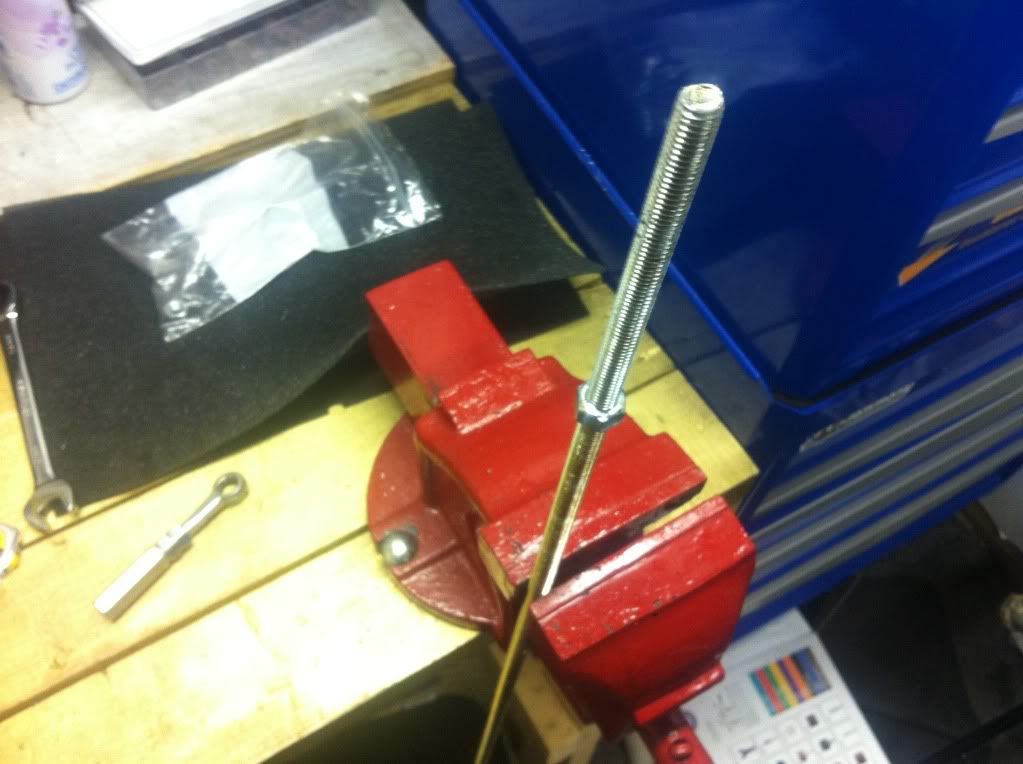
3/8 rod used to attach the two couplers together
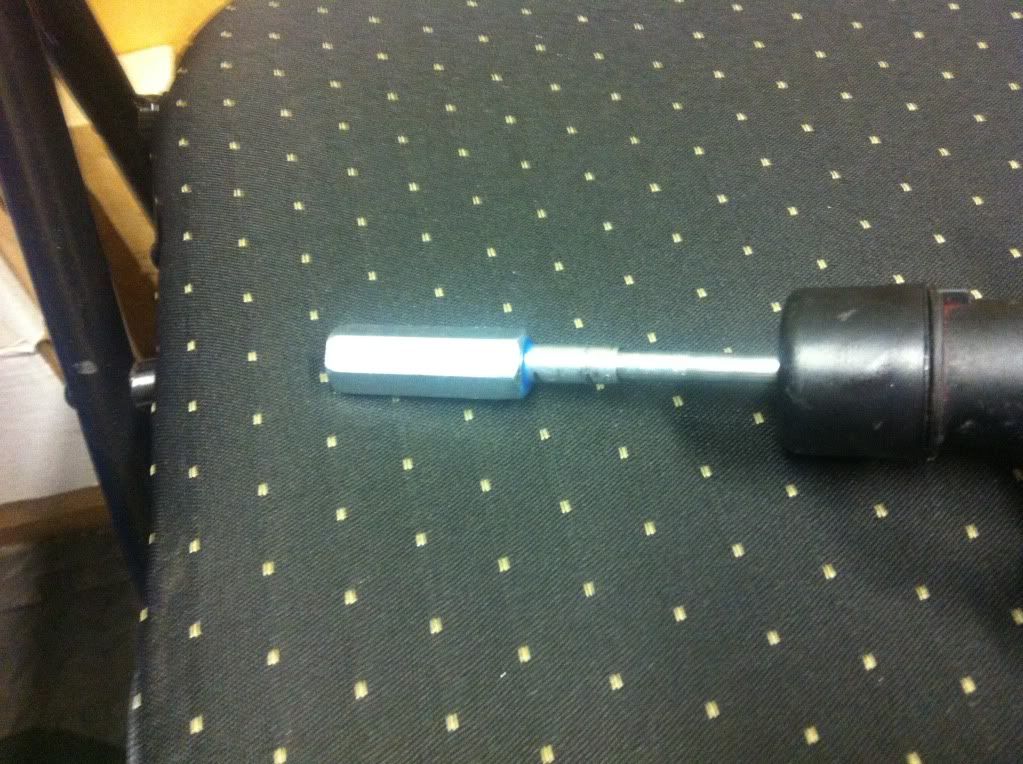
Cut down and threaded in
And sorry for the lack of final pictures I got antsy as **** and just installed it
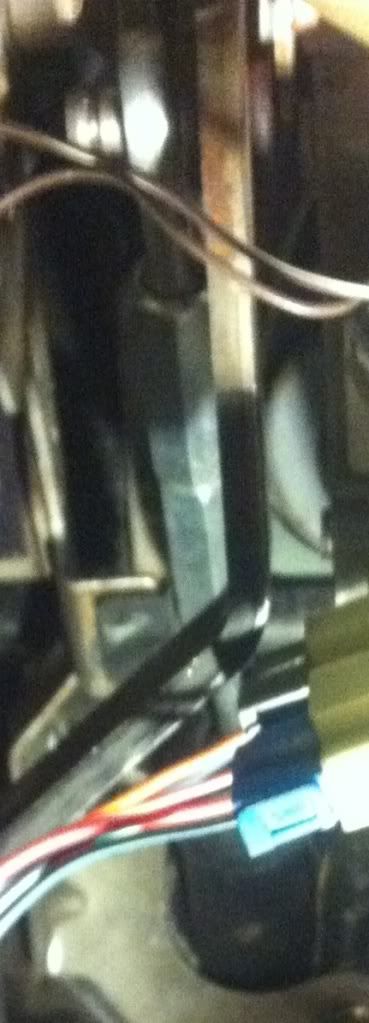
Here's a picture of what it looks like in the car. Works flawlessly!
Thanks for looking and I hope this helps someone out there.
97camaroguy
Here is what I did to get the perfect length push rod for my swap.
I am currently in the process of building a 383 t56 camaro converted from a v6 automatic. The placement of the master in my case was a bit tricky and I really had no reference point from any other cars locally. I guess the hole I made was not 100% correct so I had to get a little fancy. I made the stock pushrod longer with just a few simple modifications!
Now for the fun part! PICTURES =D
Original
Die I used to thread the outside of the push rod
How the thread turned out
Both halves
3/8 coupler
Thread locker I used to keep the 3/8 coupler stationary on the far end of the pushrod.
3/8 rod used to attach the two couplers together
Cut down and threaded in
And sorry for the lack of final pictures I got antsy as **** and just installed it
Here's a picture of what it looks like in the car. Works flawlessly!
Thanks for looking and I hope this helps someone out there.
97camaroguy
Is that allthread?
If it is I would be very careful with it. I have seen a few people get hurt when the pushrod folded up or fell out.
Just make sure it is pushing straight on the master cylinder bore and you should be ok.
Tim
If it is I would be very careful with it. I have seen a few people get hurt when the pushrod folded up or fell out.
Just make sure it is pushing straight on the master cylinder bore and you should be ok.
Tim
Trending Topics
TECH Apprentice
Joined: Aug 2010
Posts: 304
Likes: 2
From: Sunny Sothern California
Very cool post! I did something similar only I needed mine shorter for the 67 camaro conversion I'm working on...
Here is what I did to my stock 2002 clutch master based on info from another member:
"Find a speed shop that sells spherical 3/8th rod ends and purchase one that is right hand thread and then buy the companion die to cut threads(3/8 x 24 is what I normally buy). When you cut the rod end off the master make sure and taper the cut slightly as it will help when you go to cut the threads."
Measure/Mark/Cut:
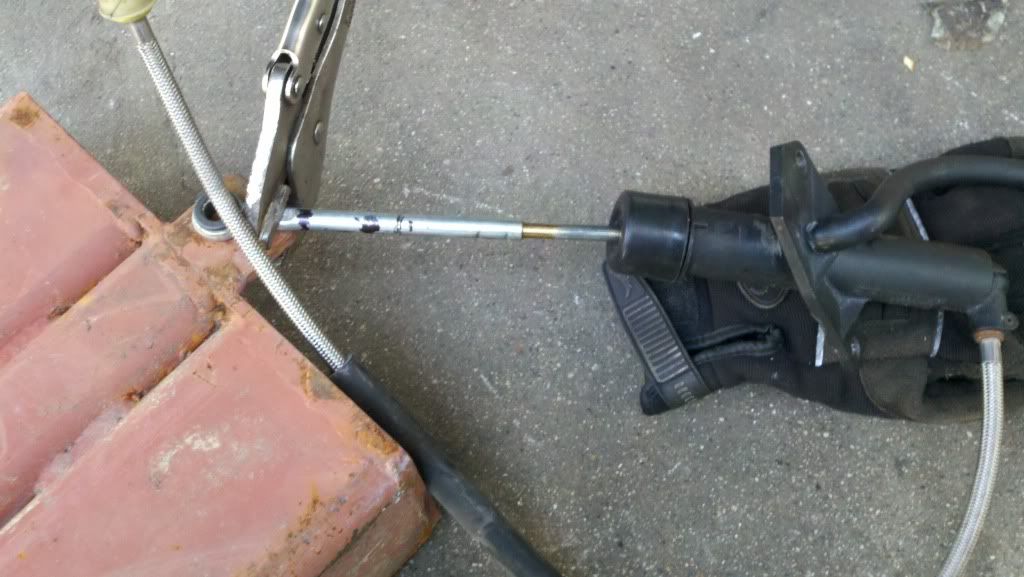
Thread/install spherical 3/8th rod end:
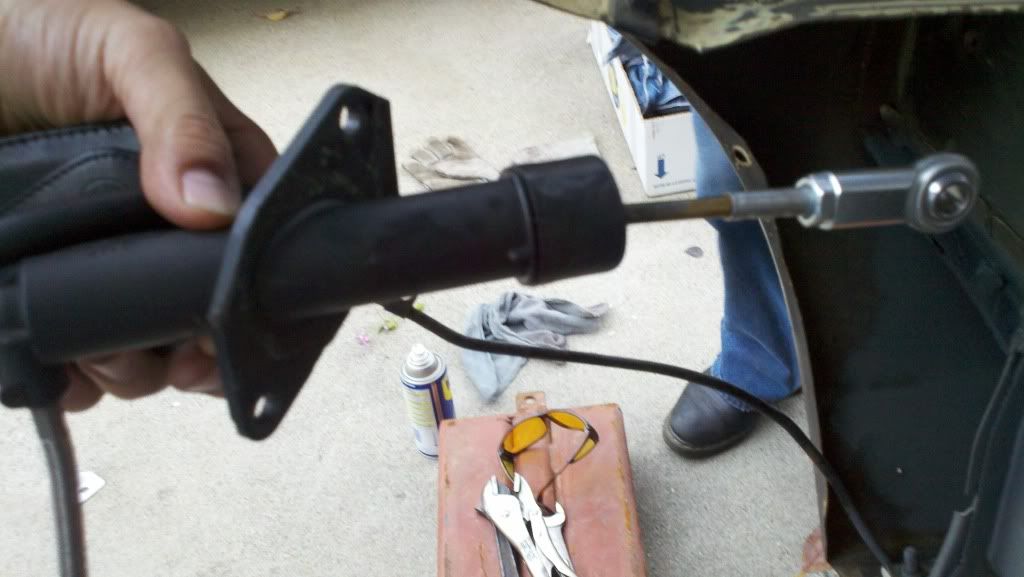
I have not used it yet but I went back and forth with this and it should work out fine. Either way, now i have a stock set up that is "adjustable":-)
Here is what I did to my stock 2002 clutch master based on info from another member:
"Find a speed shop that sells spherical 3/8th rod ends and purchase one that is right hand thread and then buy the companion die to cut threads(3/8 x 24 is what I normally buy). When you cut the rod end off the master make sure and taper the cut slightly as it will help when you go to cut the threads."
Measure/Mark/Cut:
Thread/install spherical 3/8th rod end:
I have not used it yet but I went back and forth with this and it should work out fine. Either way, now i have a stock set up that is "adjustable":-)
Last edited by MisterD; Jul 12, 2012 at 08:51 PM. Reason: edited text
LS1 Tech Stories
The Best V8 Stories One Small Block at Time

Gas Monkey Built a 6-Wheel Ferrari Testarossa With a Corvette LT4 Engine
Verdad Gallardo
7 Most Reliable High-Performance Engines GM Has Ever Built
Verdad Gallardo
Amazing '71 Camaro Restomod Is Modern Muscle Car Under the Skin
Verdad Gallardo
6 Common C5 Corvette Failures and What's Involved In Repairing Them
Pouria Savadkouei
Retro Modern Bandit Pontiac Trans AM Comes With Burt Reynolds' Autograph
Verdad Gallardo
Top 10 Greatest Cadillac V Series Performance Models Ever, Ranked
Pouria Savadkouei
Top 10 Most Powerful Chevy Trucks Ever Made!

Hennessey's New Supercharged Silverado ZR2 Has 700 HP
Verdad Gallardo
Coachbuilt N2A Anteros Is an LS2-Powered C6 Corvette In Italian Clothes
Verdad Gallardo
TECH Apprentice
Joined: Aug 2010
Posts: 304
Likes: 2
From: Sunny Sothern California