When you click on links to various merchants on this site and make a purchase, this can result in this site earning a commission. Affiliate programs and affiliations include, but are not limited to, the eBay Partner Network.
Well it's been 4 months since I've given an update. I installed a Racetronix in tank setup and installed stainless brake lines throughout.
Linelock has been installed as well and mostly wired. I built the blower bracketry using 5/8" aluminum plate and a Katech tensioner. I won't claim it's the best setup on Earth but it should do the job just fine. I painted the engine bay while I had the engine out for the blower bracket build.
I also added ID850 injectors. Wiring has been ran using a modified PSI harness, I added a few more pins for post cat O2 sensors and evap control. I'm doing everything I can to make sure this will have no issues when it is time for emissions testing. Hopefully there aren't too many hiccups with that.
Last for now is that the core support has been modified to fit a Griffin dual pass 27x15.5 radiator
Next up is the gauges and finishing off the wiring.
Last edited by MorePSI; Feb 25, 2016 at 10:27 PM.
Reason: Photos stopped showing up
Trying to get both while avoiding the C10 parked next to it:
Sitting on BMR/Koni combo (tubular suspension that's a hodgepodge of brands, doesn't really matter for how it sits). Tires are Hankook Ventus V12 Evos, 275/35r18 in front and 325/30r19 in back. Wheels are iForged TE14s, 18x9.5 front and 19x11 rear C5 fitment.
Last edited by MorePSI; Feb 25, 2016 at 10:28 PM.
Reason: Photos stopped showing up
Well life got in the way for a little while between 2 separate deaths in my family, work requiring every free moment I had for a while, a possible move to another state for my previous career that didn't go through at the last minute, etc etc so I have not been on since August and obviously haven't updated in 6 months. So much for the July of last year finish date.
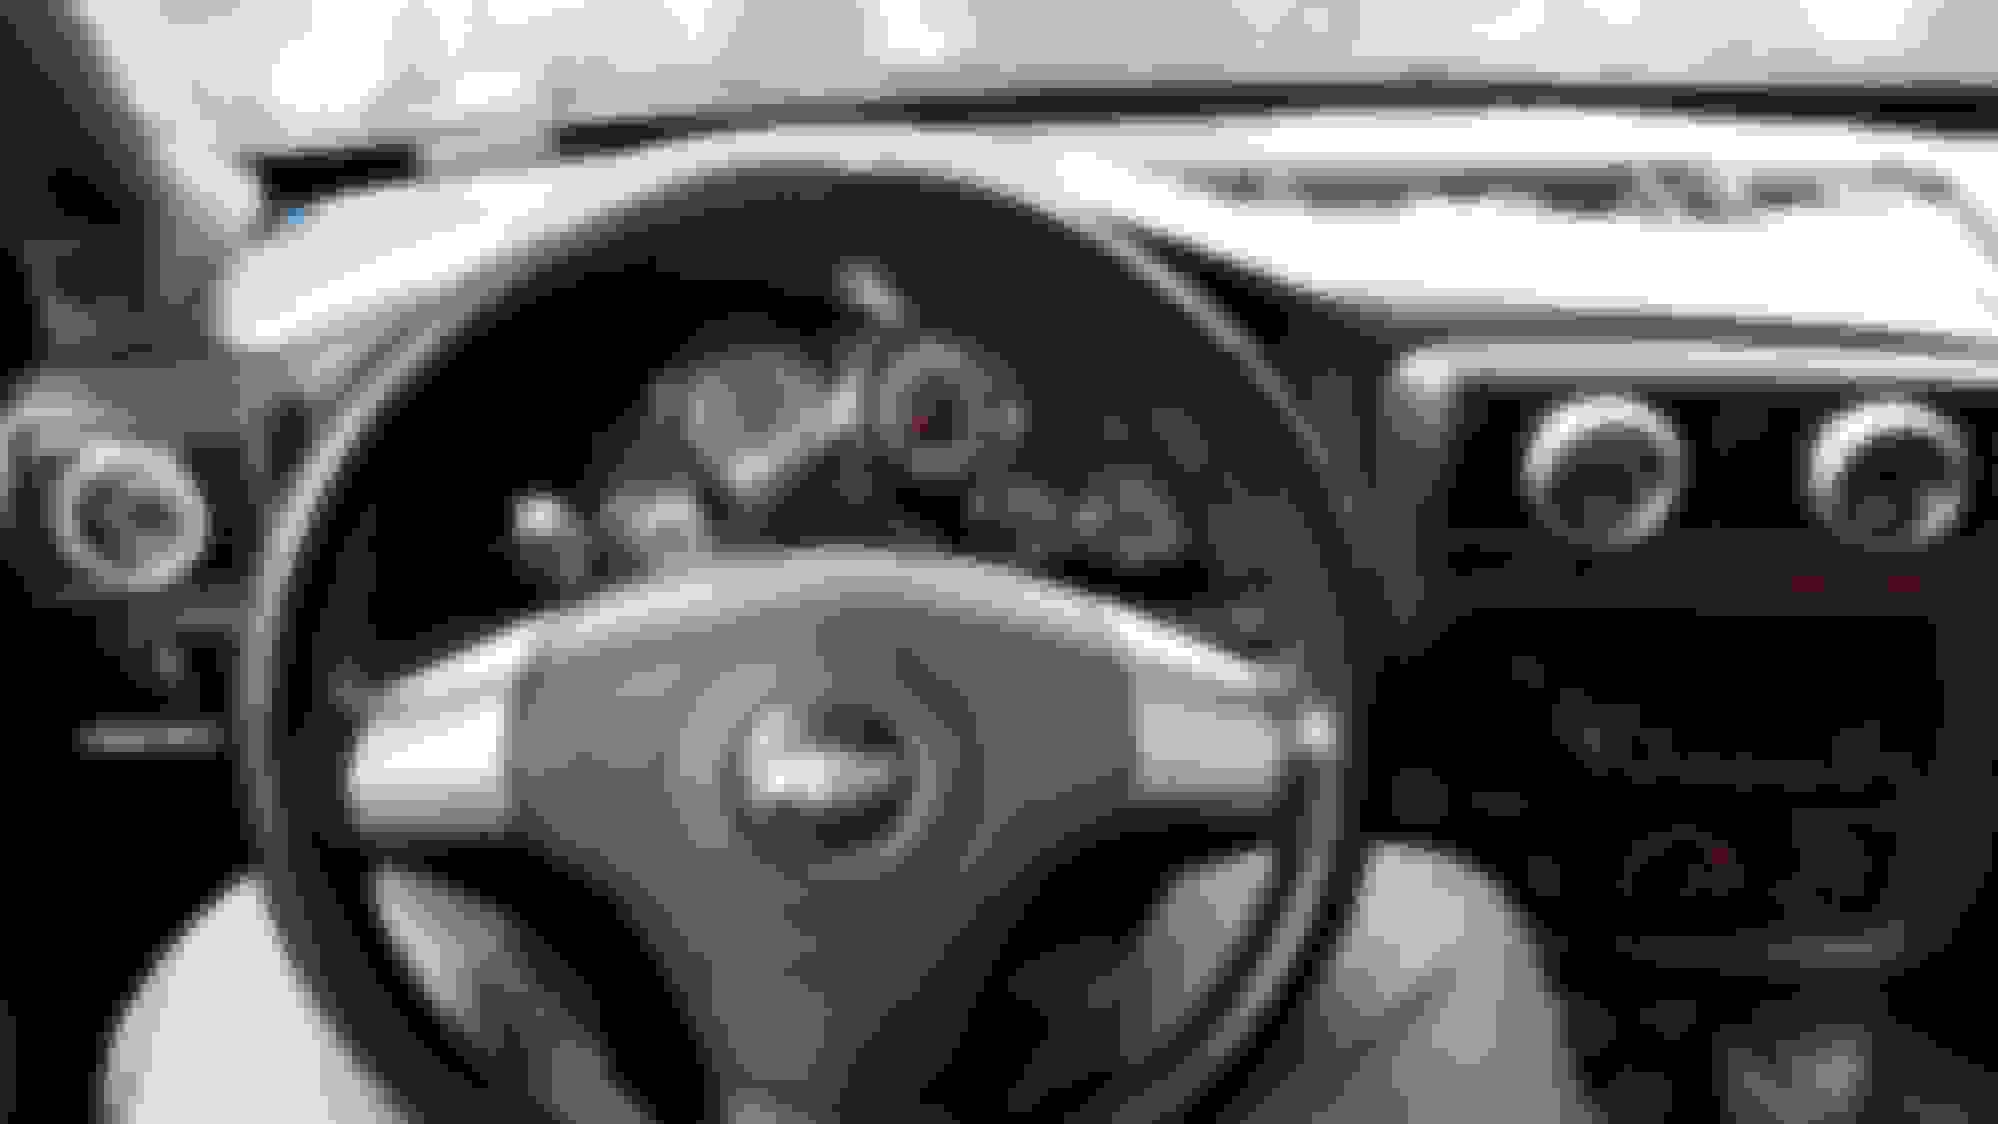
ANYWAYS, what's important here is what's been done to the Camaro. The car is wired and the interior is mostly back in, I'll be testing that this weekend after a couple more crimp 1/0 lugs arrive to finish grounding everything and hopefully shortly after that I'll be starting it up for the first time. Ended up going to Marshall stepper motor series gauges, US made at a decent price to the point where using a Lingenfelter black box would have cost more for the factory cluster.
Had cut the core support out and added a boxed stringer which ended up being redone again due to the lack of room for any kind of filter and the cobra head elbow I originally anticipated using was too thick even trimmed down as tight as it could go. I put the cart ahead of the horse fabricating without having all of the parts for mockup, oh well no big deal. Cut the box into lugs and redid it, everything fits. Using a Griffin dual pass 27.5" x 15.5" radiator with 2 1.25" rows and SPAL fans.
Hood will need a formed steel blister, couple minutes on my mini power hammer had this bulge formed up from some scrap to see how I felt about just adding a lump to the hood instead of building a cowl. I'll rework it into something shapelier since the green mushroom of death will require a bulge as well.
My dad ended up building a new garage at his own house so I was able to get some of his cars moved out, which also opened up my 4 post lift and made my life easier. First time I had it outside with any room to actually see how it looks with everything so far. This also gave me room to bring my '70 Camaro back inside.
Made some basic mounts for the Treadstone intercooler, the mounts are also gusseted but I didn't take pictures of the finished product (I'm not too great at documenting the full process to anything I do)
Which brings us to today. The engine bay needs some tidying up, I'm not a huge fan of the bright red 1/0 gauge cable running from the 140 amp alternator to the main power junction block being so obvious. I'm also not sure why I went with a 140 amp alternator and 1/0 gauge cable since this is a manual window, manual lock, no courtesy light car with just a basic radio in it but hey whatever it's done. The battery is in the trunk in a Taylor box so that the tech inspector hopefully has nothing to complain about. The charge piping will eventually get welded to cut down on silicon couplers, for now I figure I'd like the flexibility in case I want to change something down the road or need to fix something since I already found out that the first BOV flange didn't fit the Tial Q worth a damn (that's what I get for being lazy and ordering a 3" flange instead of opening up the Tial provided 2.5" flange like I ended up doing in the end anyway). The fans will need some proper brackets made as well since I hate using the nylon through straps. I'll probably make some nicer brackets for the radiator as well since they were very much a "get something to hold the radiator for now" type of deal. I'll also probably bend new master cylinder to line lock and proportioning valve lines as well, I'm not very impressed with the fitment from the kit they came in.
I know how it is when life slows you down. Glad you are still updating. This thing is going to be a beast. People are going to freak out when you pop the hood. I also like what you did with the gauges.
Thanks! It's the first time I've used this brand of gauge but the quality seems good. I also have 2 AEM UEGOs and an AEM boost gauge that will likely be going where the center vents reside unless I decide on somewhere else last minute. Right now it's a bit of a race between me and a buddy building a fairly stout SR20 powered Datsun B210 on finishing up, at which point it will likely turn into an actual race too.The goal right now is to get it running and shake down any issues, I'm a little concerned that the fuel pump is undersized but if so that's not the end of the world to redo. I'm kicking around the idea of either straightening up what little is wrong with the body and reshooting it in the same Medium Quasar Blue it already is after a season or leaving it alone in it's nearly 20 year old glory and getting back to my 70, this cars grown on me almost to the point of being my favorite of everything I've owned.
I just read this whole thread. Super cool build. Kudos for having the patience to deal with the BS that previous owners have done. This car should be a blast when done.
Thanks man. Compared to some of the FJ40s I've worked on the stuff done to this car was actually decent. At least I didn't have to fabricate half of the body from scratch. I'm just very nitpicky with work including my own, I blame it on growing up around aerospace engineers and hot rod builders.
Pulled the T56 back out, yoke didn't fit in the tail housing. I don't remember putting in a new bushing and the bushing did look like it had been ran but sure enough it needed to be honed out like a new bushing had been pressed in. I could've done that without pulling the transmission but noticed that reverse is a bit sticky in the gate so figured I might as well partially tear it back down to take a look. Couldn't find anything wrong other than possibly an issue with the shift rail maybe being drilled off by .005 or so by Tremec as the detent is not perfectly centered in any position. The shift rail had been replaced (stupid story) so it wouldn't be outside the realm of possibility but this could also be within manufacturing tolerance. I'll run it for now and keep an eye on it. Can always do a T56 magnum or something later if it proves to be a major problem.
After getting the transmission back in, I ran a couple engine to body grounds, cleaned up some wiring in the engine bay a little more, rerouted the red cable from the alternator to the junction block to hide it better, installed the heater hoses, and added a radiator recovery tank. I couldn't find a good place for it in the engine bay and didn't want anything to block airflow if possible so mounted it right behind the intercooler tank. Waiting on a fitting to show up so the NiCopp line going from the radiator to the tank has not been finish bent hence why it is kind of haphazard.
Nothing too exciting lately. Had 3 3" U bends and a 3" ID to 3" OD reducer sitting from a previous project, this one to be specific:
So I picked up another reducer, a couple 3" cats, and a flowmaster 2 3" to 1 4" merge to make a Y-pipe. Turned out okay, nicely TIG'd stainless would've been better but it fits tight to the floor so it will do the job. I still need to weld in bungs for the dual UEGOs and post cat O2s.
Waiting on a couple fittings still to finish things off enough to start the engine for the first time. I've preoiled and cranked a couple times to keep the engine lubed, hopefully issues are minimal at start up.
Last edited by MorePSI; Mar 7, 2016 at 12:07 AM.
Reason: spelling
Things have been a little slow going, dealing with some issues on getting a driveshaft and hunting for another job has been a little slow going considering I'm trying to switch industries.
Interior is almost completely back together, made some new vent/gauge pods that are drop in replacements for the stock pieces. Wanted something a little different than an A pillar pod or flat panels.
I also have the 4" exhaust finished off
As of right now I'm just waiting for my driveshaft to be finished and I'll be ready to test start it.
Finally have the driveshaft in my possession and installed. 3 1/2" diameter .125 wall aluminum shaft with a black chromoly Sonnax yoke and solid cross Spicer 1350 U joints. Tight fit with the torque arm, drive shaft loop and exhaust but everything clears. My phone is in permanent potato mode for pictures, I can't fault it though since I'm not easy on phones.
Cleaned up the last of the wiring, checked all sensors, both fans for fuctionality. I added silicone hose for vacuum/boost references which I'll need to make some nice hold downs for to make the routing a little cleaner. Using a 6 port vacuum block that after a little machining mounts using two of the intake bolts.
This was the last part I was waiting on for a test start which is the plan for tomorrow. I have a list as long as my arm of things I still want to do with it. In order of importance that includes a better radiator hold down setup/cover that will be dimpled since I need to find some kind of use for the set of dimple dies taking up a drawer in my toolbox. A PCV catch can of some sort. I also want to build a strut tower brace to help regain some of the strength lost in cutting the core support out. Eventually it'll need a basic cage, at least the main hoop and some down bars in back so that I can throw in some Willans harnesses that I have sitting around. I also need to find a couple nicer interior plastics to replace a few of the pieces which have deep gouges and cigarette burns from previous owners (cleaned out at least 2 packs' worth of cigarettes from under the carpet when I stripped the interior). Last but not least, eventually paint and body would be good.
For now though, I want it running and licensed so I can get back to my '70 Camaro which has sat for far too long.
Everything is looking great! Have you thought about blacking it out where you cut it out for the intercooler? Maybe some kind of black mesh or paint the intercooler black? I would eventually like to go the same route as you with the supercharger as I don't want to deal with a turbo.
I'll probably make a black mesh grill to finish off the opening and hide the intercooler a little bit. Either option is good in my book as far as supercharger or turbo. 8 rib drive would be easier to do then 10 rib since belt length availability is much better, I had to play around with my accessory drive to get it to fit a belt where as there were 8 ribs that would have fit no problem initially. I wish the Eatons were easier to fit, I'm not a big fan of spacing down the K member for those but love the whine of an M122.
This car is sick. If it were me I would get a Gauge Piller Pod for the A-Piller on the driver side and relocate those gauges mounted on the vents to the Gauge Pod to clean up alittle
AWSOME DASHBOARD GAUGES
I have some inspiration as to what I want to do to my car.
Thanks for the compliments! I actually have an A-pillar pod sitting on one of my parts shelves along with a trim bezel that I had grafted a plate to before making these vents. Pretty much a mix of "haven't seen this done in this way to a Camaro" as well an excuse to get back into 3D modeling and additive manufacturing after 4 years of only 2D CAD work prompted me to do these. The dash gauges weren't too difficult; you just cut a piece of aluminum to the right shape to fit a gutted gauge housing so that it could bolt in and then fit all the surrounds back to it. I took the factory gauge acrylic cover off since it seemed kind of hokey with the aftermarket gauges being individual.
Gas Monkey Built a 6-Wheel Ferrari Testarossa With a Corvette LT4 Engine
Slideshow: The controversial Ferrari F6 swaps its original flat-12 for a Corvette Z06-derived LT4 V8 and sends power to four rear wheels through a custom-built drivetrain.
7 Most Reliable High-Performance Engines GM Has Ever Built
Slideshow:These GM engines didn't just make huge power, they survived abuse, boost, track days, and six-digit mileage with a reputation for refusing to quit.
6 Common C5 Corvette Failures and What's Involved In Repairing Them
Slideshow: From wobbling harmonic balancers to failed EBCMs, these are the issues that define long-term C5 ownership and what repairs typically involve.
Retro Modern Bandit Pontiac Trans AM Comes With Burt Reynolds' Autograph
Slideshow: A modern Camaro transformed into a retro icon, this limited-run "Bandit" build blends nostalgia with brute force in a way few revivals manage.
Top 10 Greatest Cadillac V Series Performance Models Ever, Ranked
Slideshow: Cadillac didn't just crash the high-performance luxury vehicle party, it showed up loud, supercharged, and occasionally a little unhinged...
Coachbuilt N2A Anteros Is an LS2-Powered C6 Corvette In Italian Clothes
Slideshow: A one-off sports car that looks like a vintage Italian exotic-but hides a C6 Corvette underneath-just sold for the price of a new mid-engine Corvette.