





2000 Black FRC Progress Thread

Pulled out the clutch assist spring:
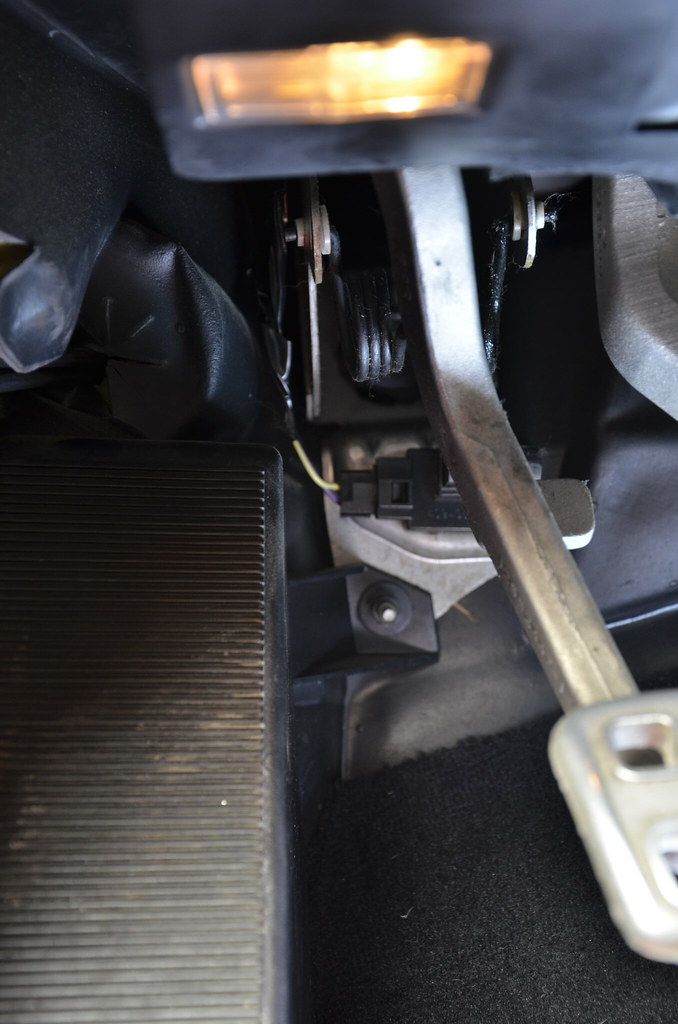 _DSC4884 by Norbert Ogiba, on Flickr
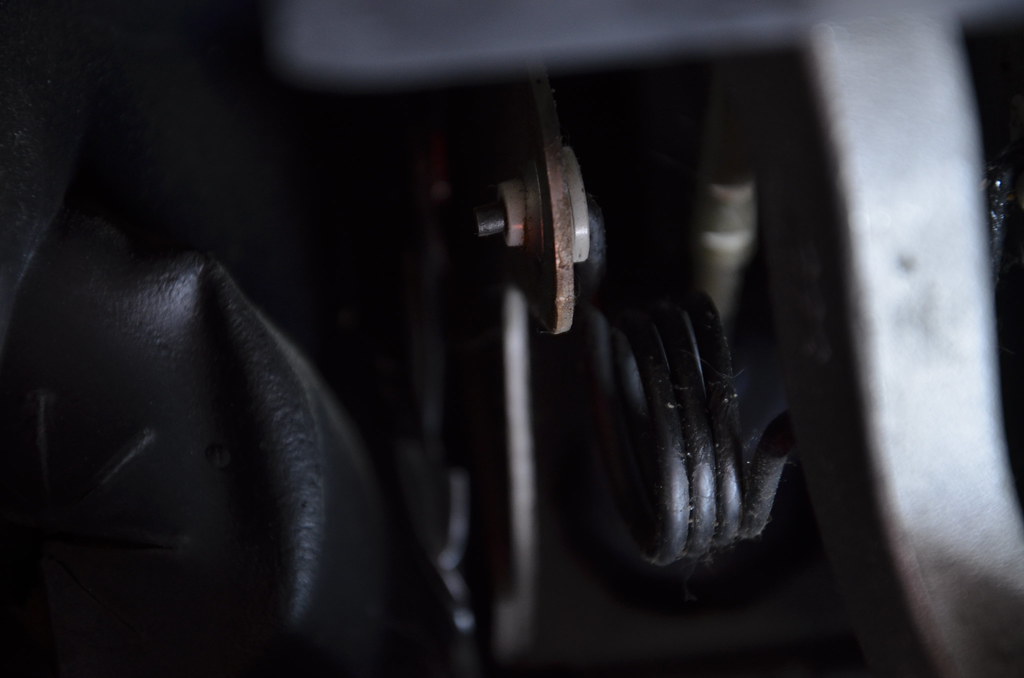 _DSC4885 by Norbert Ogiba, on Flickr
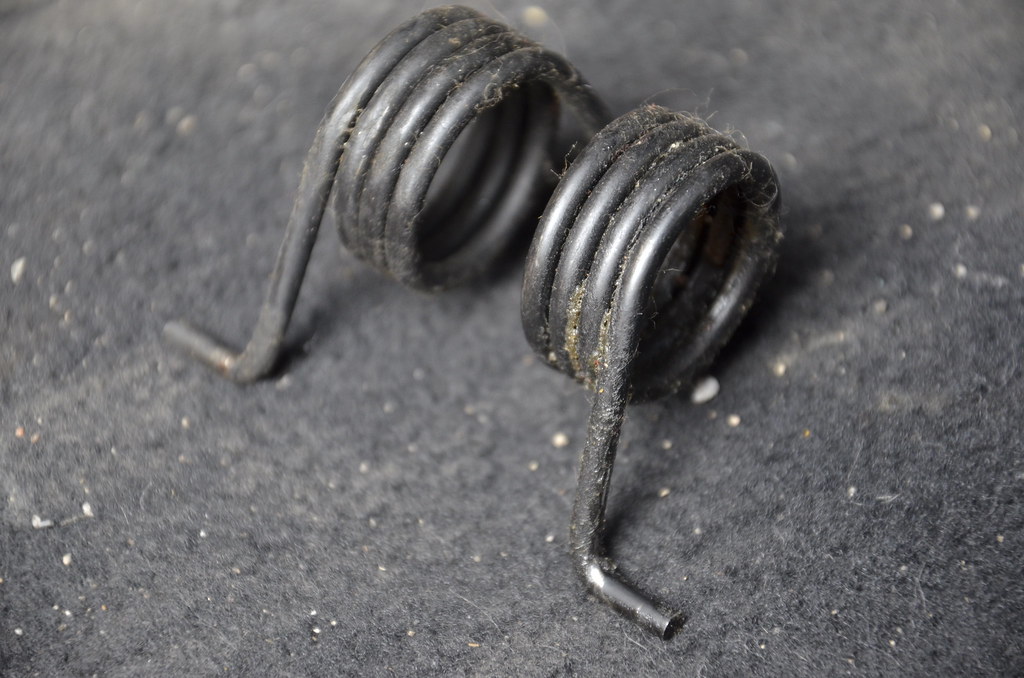 _DSC4886 by Norbert Ogiba, on Flickr
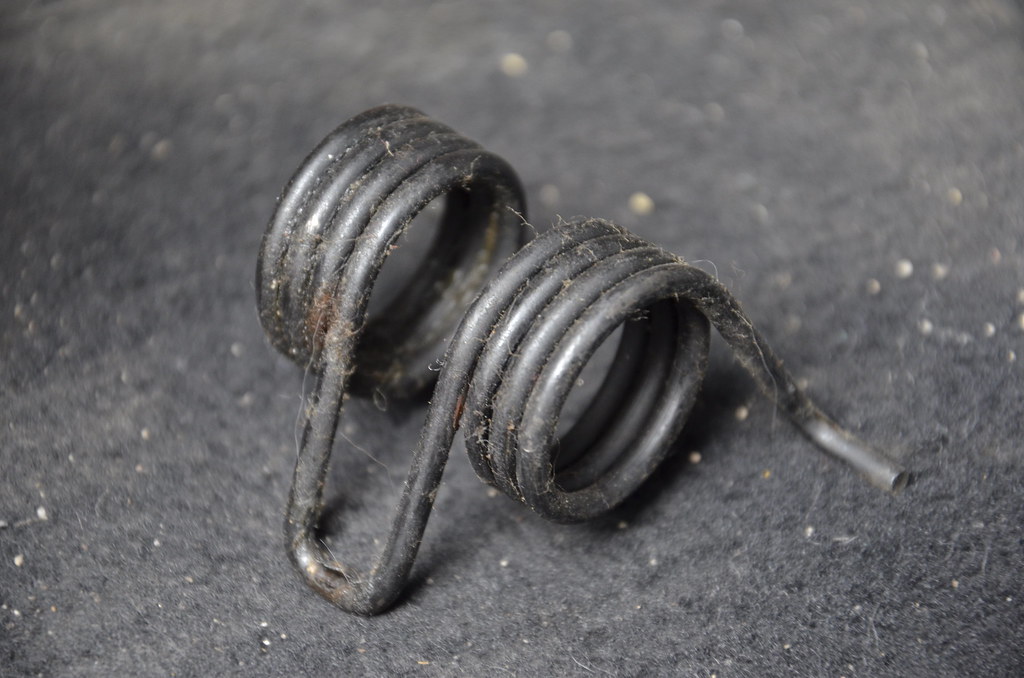 _DSC4887 by Norbert Ogiba, on Flickr
Will be fabbing up a real return spring in the next week or so
_DSC4884 by Norbert Ogiba, on Flickr_DSC4885 by Norbert Ogiba, on Flickr_DSC4886 by Norbert Ogiba, on Flickr_DSC4887 by Norbert Ogiba, on FlickrWill be fabbing up a real return spring in the next week or so
Thanks! I'm having fun.
When I bought the car it had some wacky subwoofer fiberglass box in the OEM cargo well. Hated not having room for jumper cables, couple tools, the usual "necessities", so it had to go.
so here's what I started with
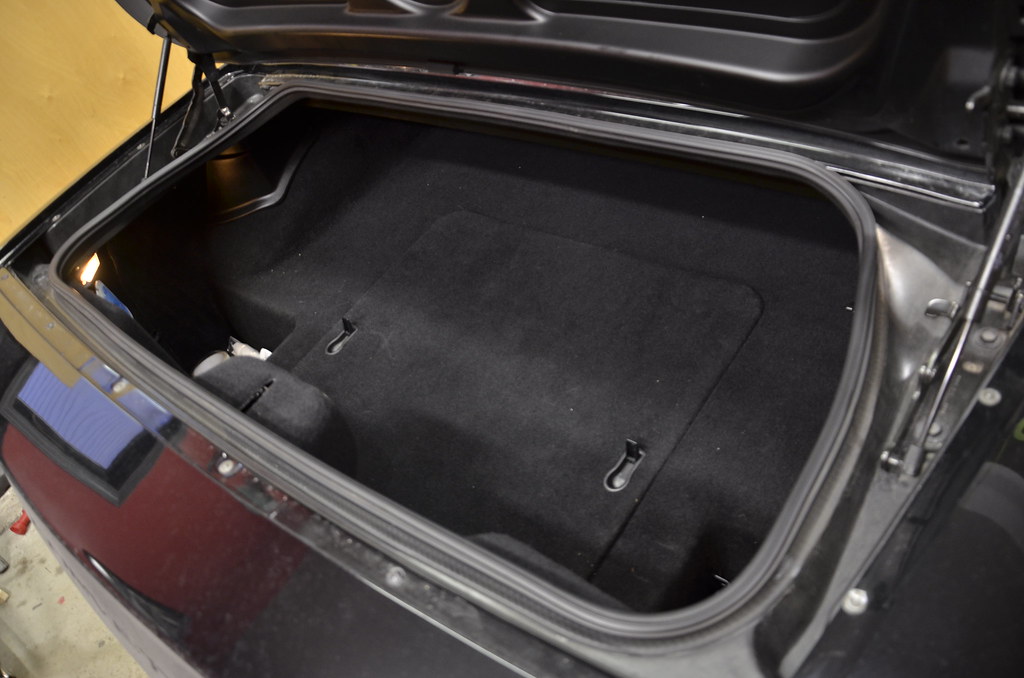 _DSC4888 by Norbert Ogiba, on Flickr
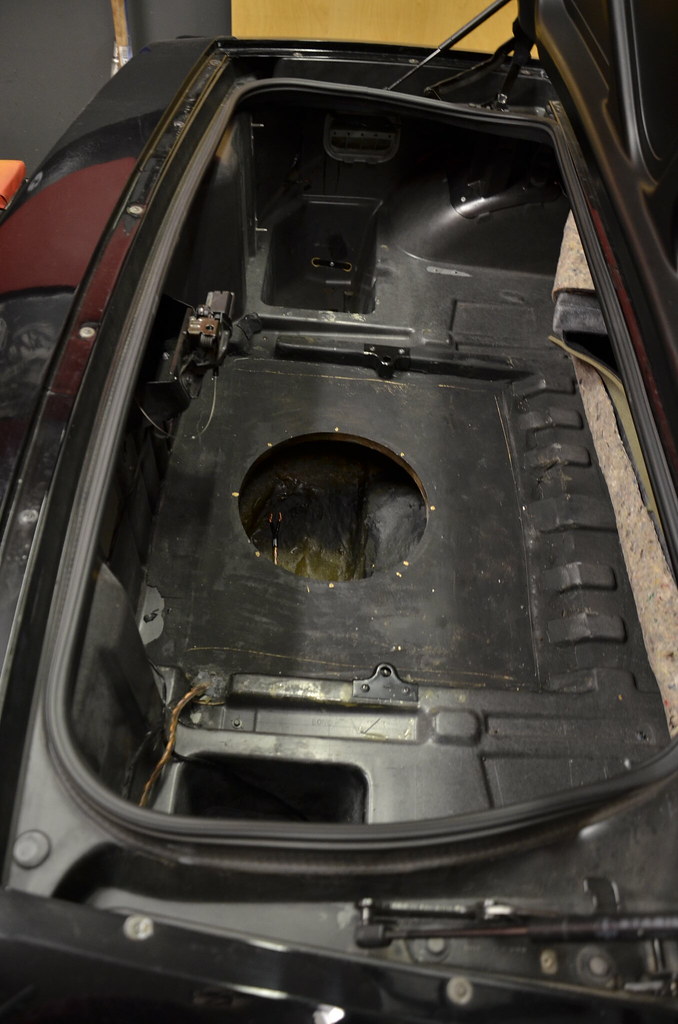 _DSC4889 by Norbert Ogiba, on Flickr
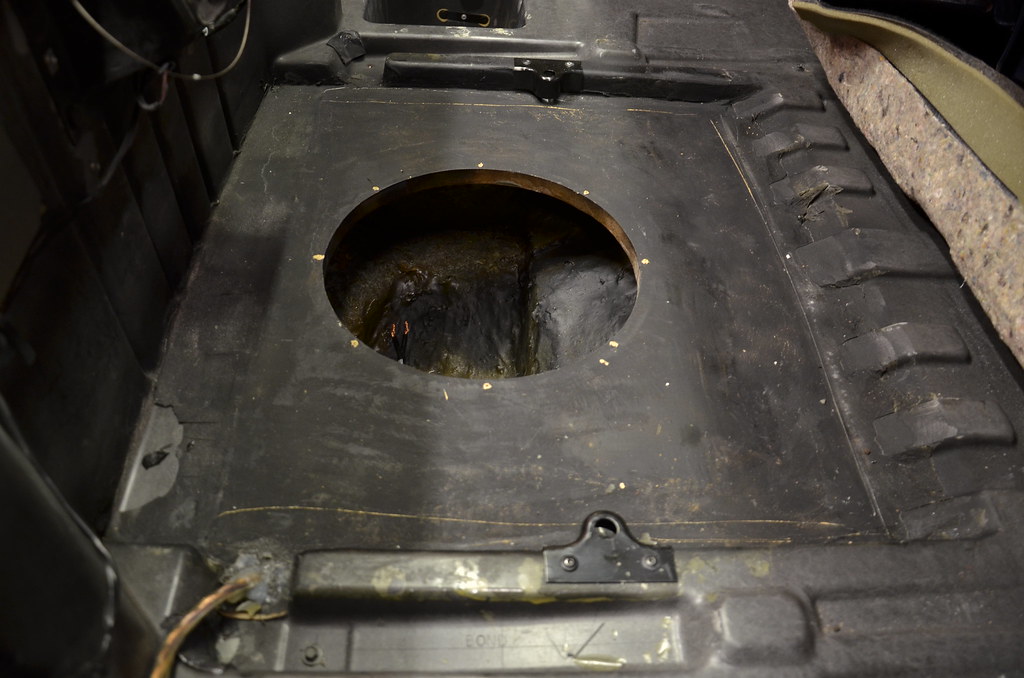 _DSC4890 by Norbert Ogiba, on Flickr
Pulled back the carpet, sure enough they glassed it right to the OEM tub. I'm sure it took somebody a long time to do this because it seemed to look pretty nice but I'm not into big audio and I want my storage space back
They glassed the wood into the shell and then bonded over that as well. Then laid the carpet over it and trimmed it with a knife.
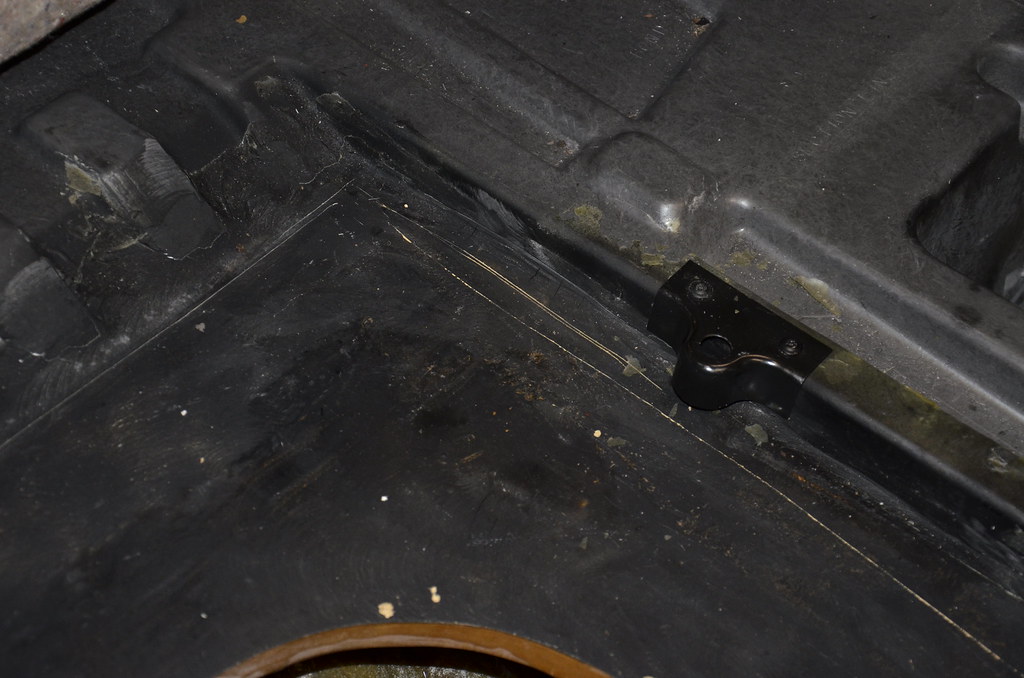 _DSC4891 by Norbert Ogiba, on Flickr
So out came the hammer for some test hits
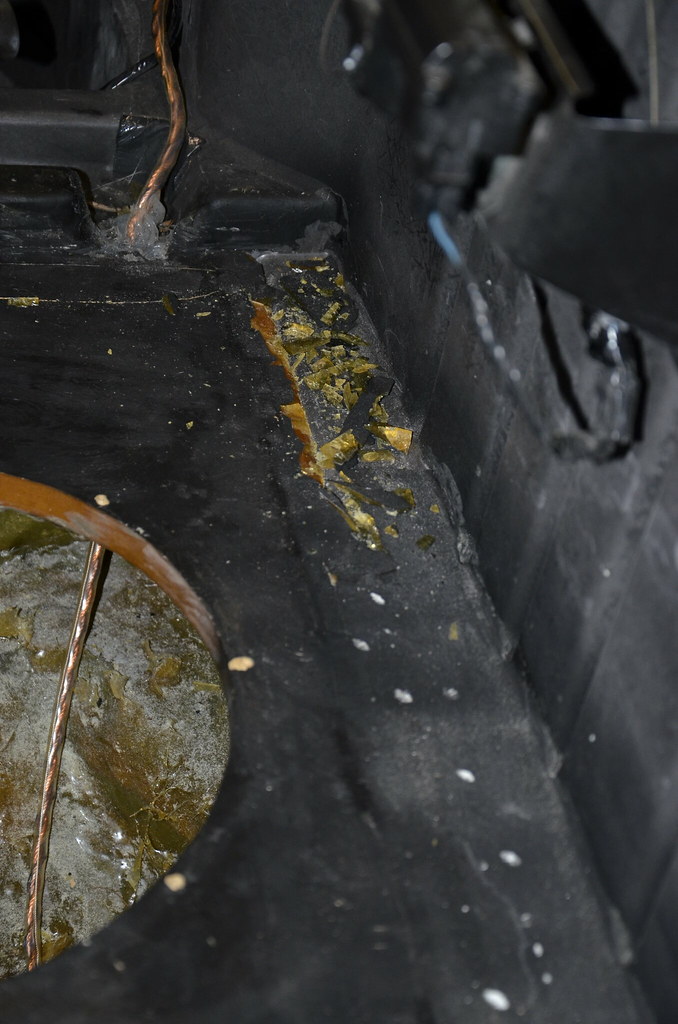 _DSC4892 by Norbert Ogiba, on Flickr
Pretty brittle stuff so it started ok along the stress points
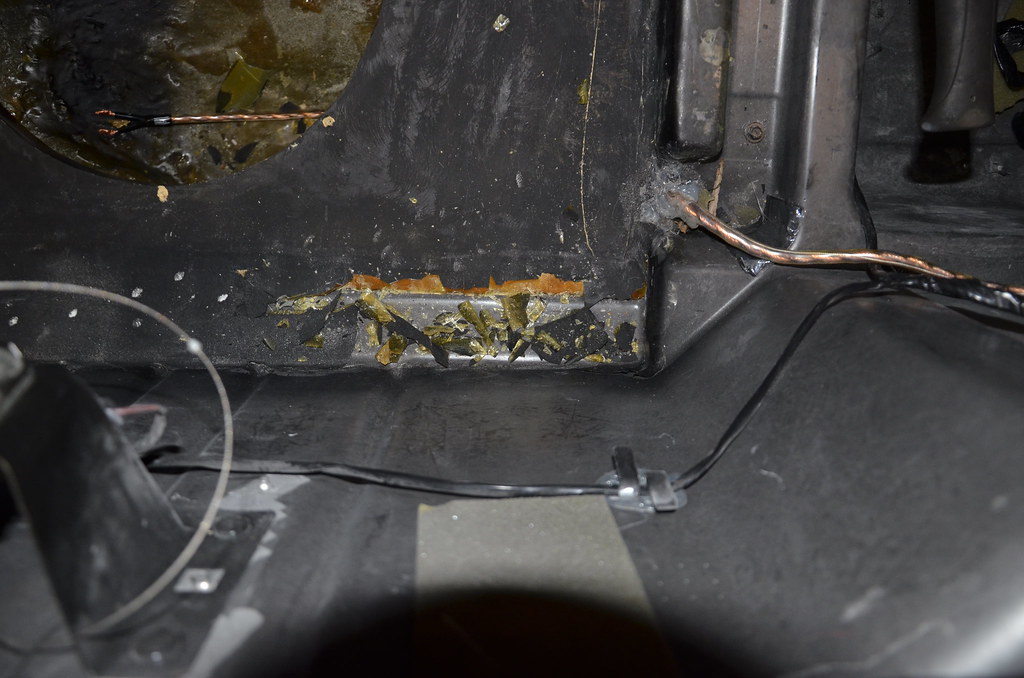 _DSC4893 by Norbert Ogiba, on Flickr
The wood flaked apart easily
_DSC4893 by Norbert Ogiba, on Flickr
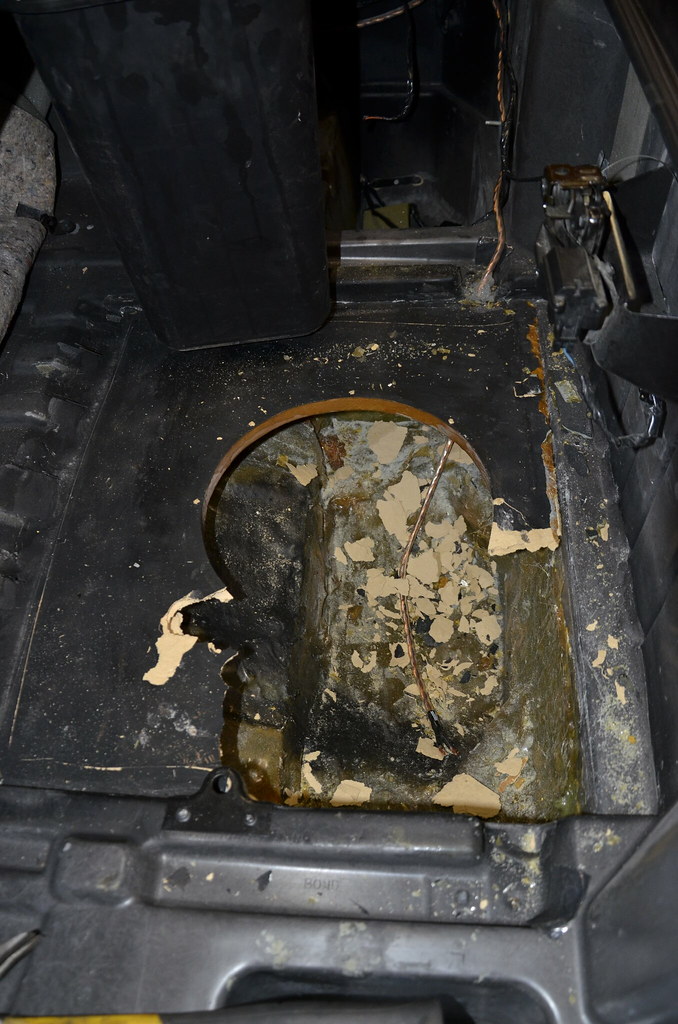 _DSC4894 by Norbert Ogiba, on Flickr
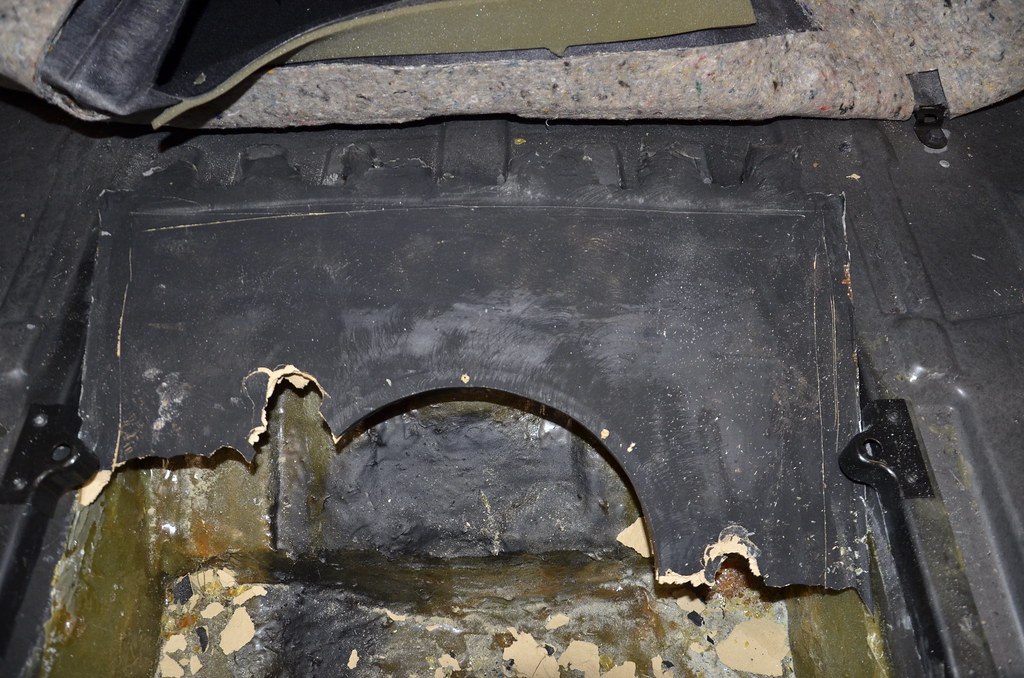 _DSC4895 by Norbert Ogiba, on Flickr
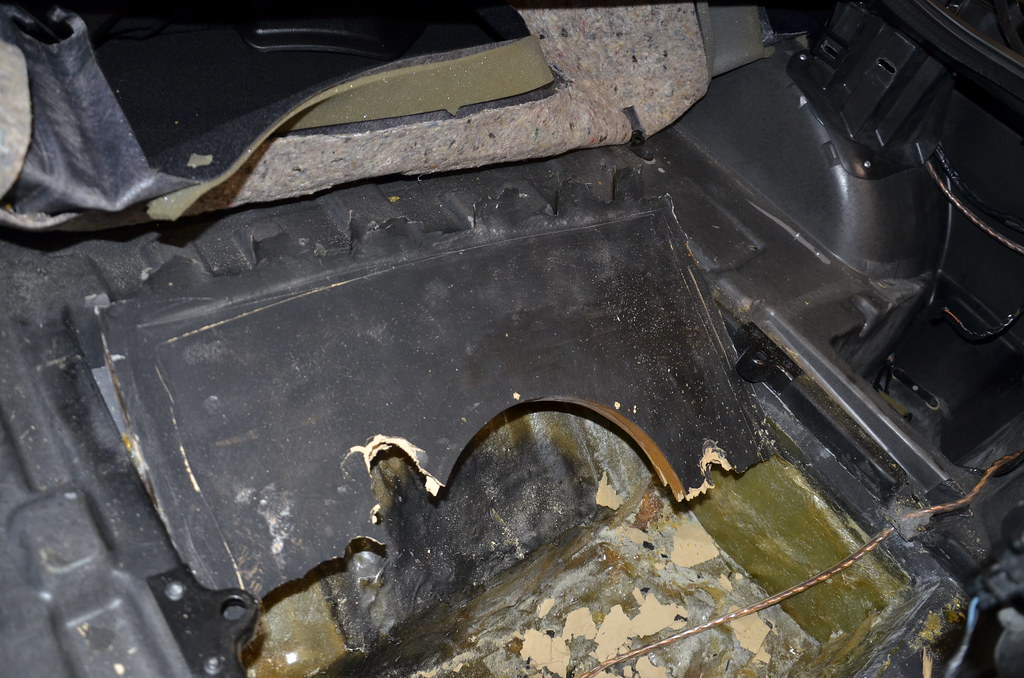 _DSC4896 by Norbert Ogiba, on Flickr
Keeping at it. Sides came away
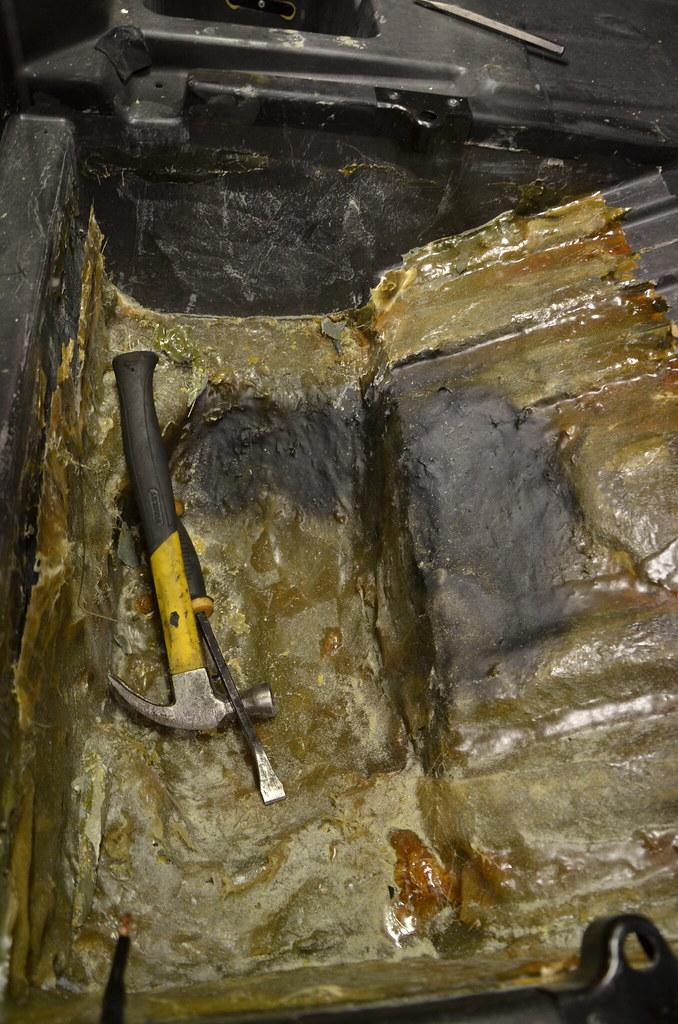 _DSC4897 by Norbert Ogiba, on Flickr
The pile grows
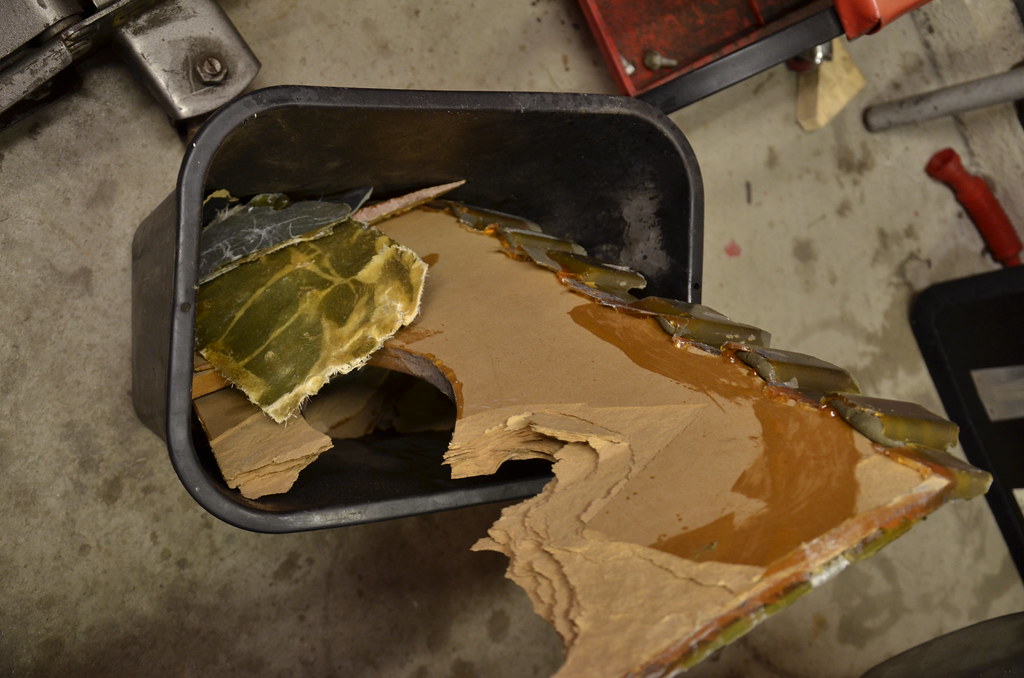 _DSC4898 by Norbert Ogiba, on Flickr
The final shell in the bottom of the tub proved to be very tricky.
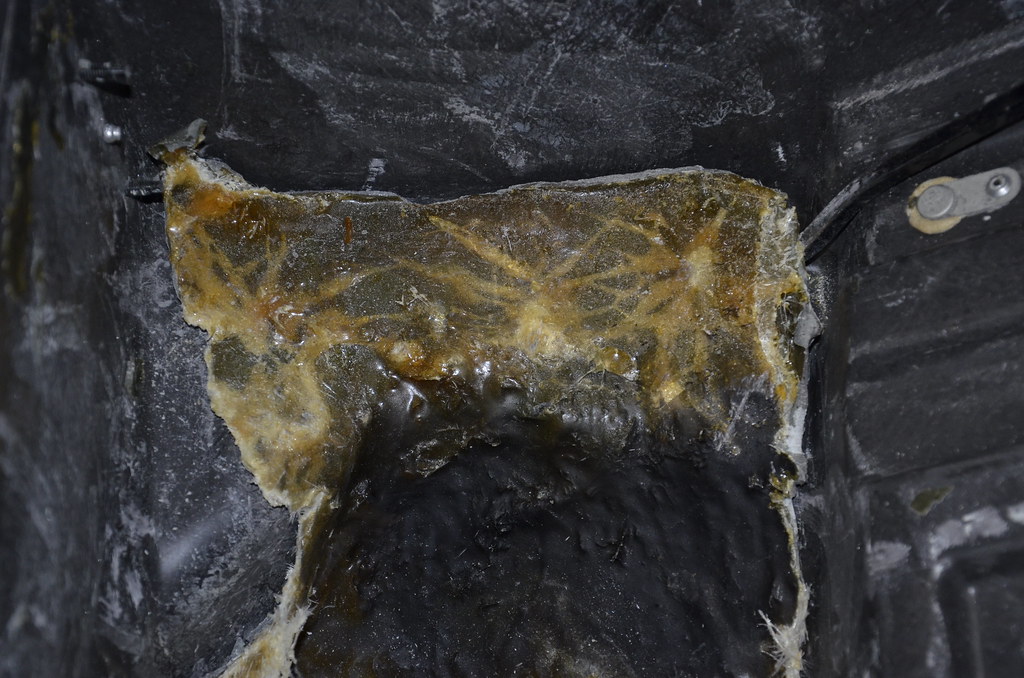 _DSC4899 by Norbert Ogiba, on Flickr
After some more cursing and yanking
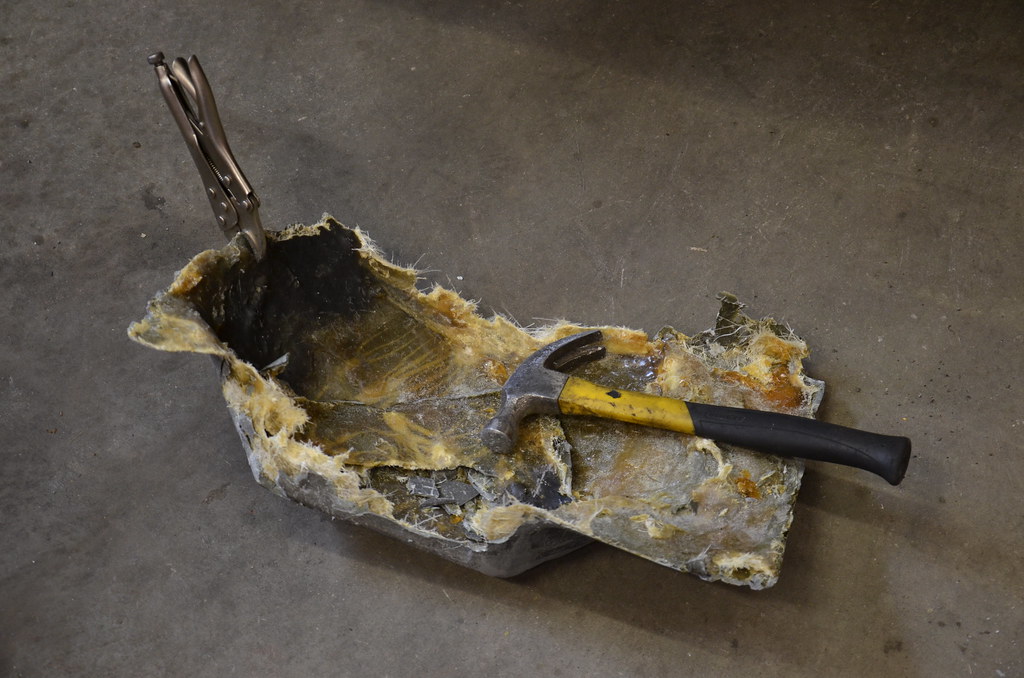 _DSC4900 by Norbert Ogiba, on Flickr
Finally! I vacuumed everything up
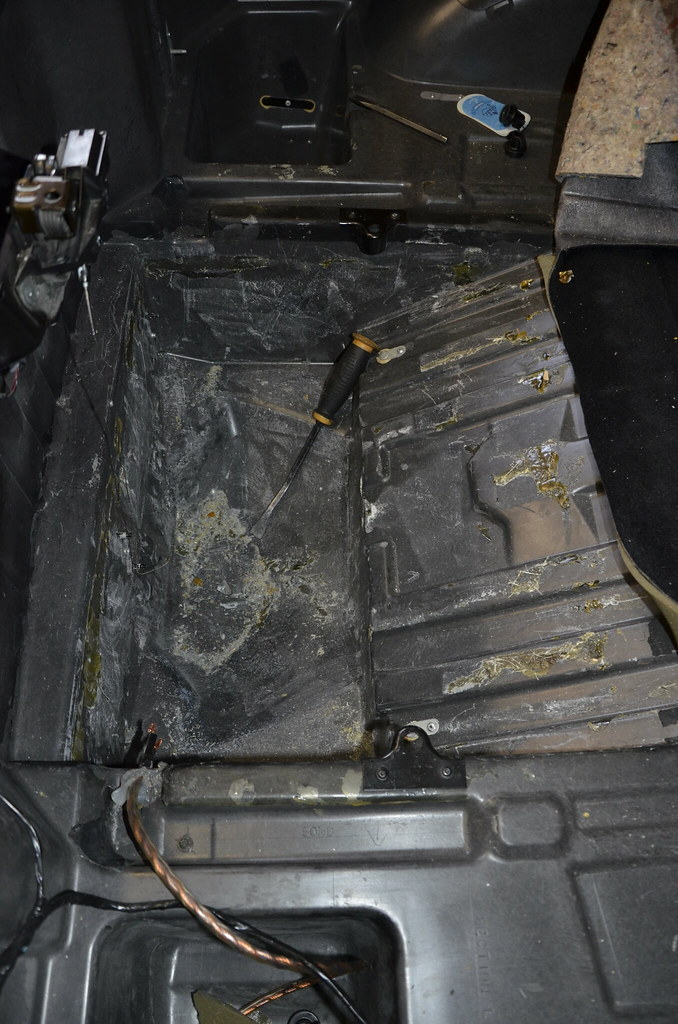 _DSC4901 by Norbert Ogiba, on Flickr
And lined the entire rear with Frost King insulation. No pics of the finished product, I was losing daylight and wanted to get it done.
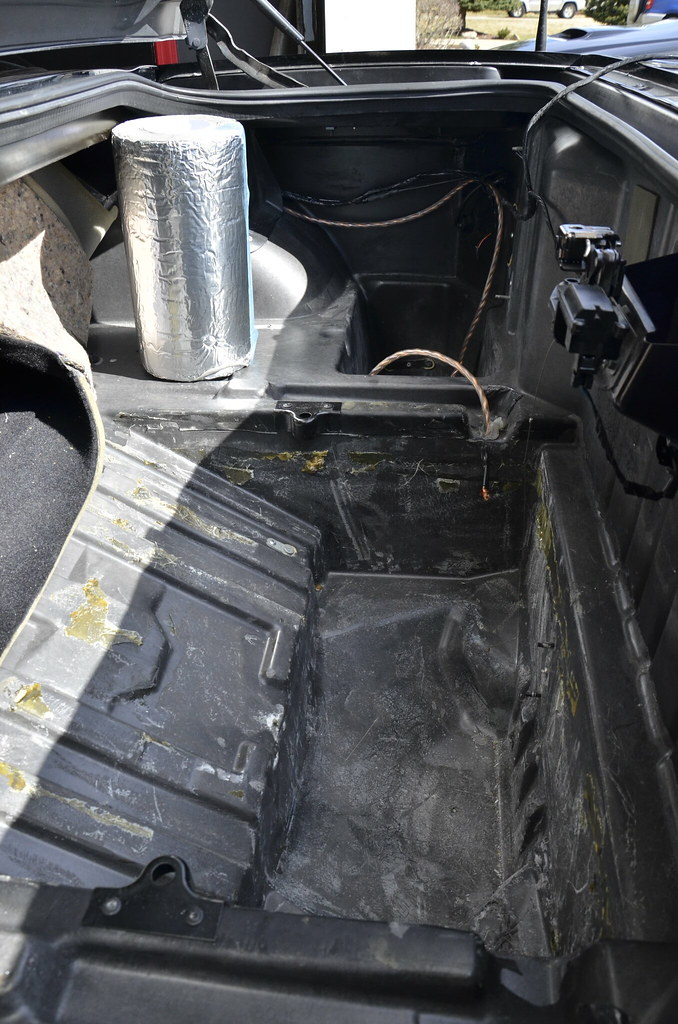 _DSC4902 by Norbert Ogiba, on Flickr
I finally remounted my 12 CD changer in the OEM spot since they had laid fiberglass in the well where it was supposed it go. New mounting nuts and lockwashers, and now it's like brand new. I am more than pleased with how it came out.
When I bought the car it had some wacky subwoofer fiberglass box in the OEM cargo well. Hated not having room for jumper cables, couple tools, the usual "necessities", so it had to go.
so here's what I started with
_DSC4888 by Norbert Ogiba, on Flickr_DSC4889 by Norbert Ogiba, on Flickr_DSC4890 by Norbert Ogiba, on FlickrPulled back the carpet, sure enough they glassed it right to the OEM tub. I'm sure it took somebody a long time to do this because it seemed to look pretty nice but I'm not into big audio and I want my storage space back
They glassed the wood into the shell and then bonded over that as well. Then laid the carpet over it and trimmed it with a knife.
_DSC4891 by Norbert Ogiba, on FlickrSo out came the hammer for some test hits
_DSC4892 by Norbert Ogiba, on FlickrPretty brittle stuff so it started ok along the stress points
_DSC4893 by Norbert Ogiba, on FlickrThe wood flaked apart easily
_DSC4893 by Norbert Ogiba, on Flickr_DSC4894 by Norbert Ogiba, on Flickr_DSC4895 by Norbert Ogiba, on Flickr_DSC4896 by Norbert Ogiba, on FlickrKeeping at it. Sides came away
_DSC4897 by Norbert Ogiba, on FlickrThe pile grows
_DSC4898 by Norbert Ogiba, on FlickrThe final shell in the bottom of the tub proved to be very tricky.
_DSC4899 by Norbert Ogiba, on FlickrAfter some more cursing and yanking
_DSC4900 by Norbert Ogiba, on FlickrFinally! I vacuumed everything up
_DSC4901 by Norbert Ogiba, on FlickrAnd lined the entire rear with Frost King insulation. No pics of the finished product, I was losing daylight and wanted to get it done.
_DSC4902 by Norbert Ogiba, on FlickrI finally remounted my 12 CD changer in the OEM spot since they had laid fiberglass in the well where it was supposed it go. New mounting nuts and lockwashers, and now it's like brand new. I am more than pleased with how it came out.
I got this one dirt cheap in really nice shape, the non clapped out Z06s have become fanboi status and everyone thinks they're worth about 1.5x what they probably should be (similar to E36 M3, E46 M3, etc)
I have put probably less than $100 in actual needed maintenance into it, the rest has been just play stuff or things that bothered me
I have put probably less than $100 in actual needed maintenance into it, the rest has been just play stuff or things that bothered me
I got this one dirt cheap in really nice shape, the non clapped out Z06s have become fanboi status and everyone thinks they're worth about 1.5x what they probably should be (similar to E36 M3, E46 M3, etc)
I have put probably less than $100 in actual needed maintenance into it, the rest has been just play stuff or things that bothered me
I have put probably less than $100 in actual needed maintenance into it, the rest has been just play stuff or things that bothered me
That is awesome, looking forward to all updates.
Let's start with some guest appearances...
The new owner of my old car is enjoying it - he is finishing up the little things that I never got around to - electric cutouts, tint, etc. Weird seeing it with different plates on it
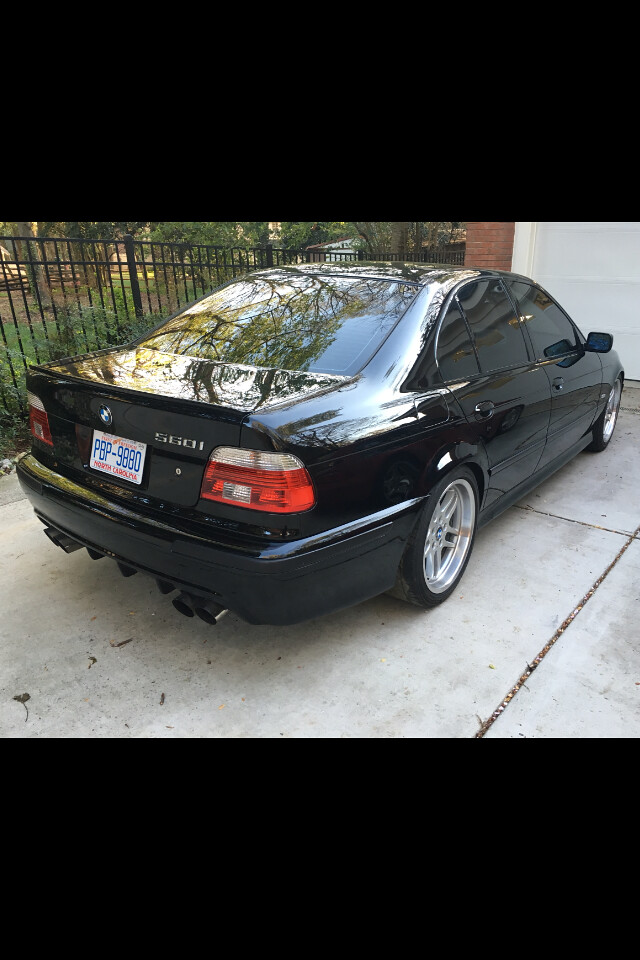 IMG_1388 by Norbert Ogiba, on Flickr
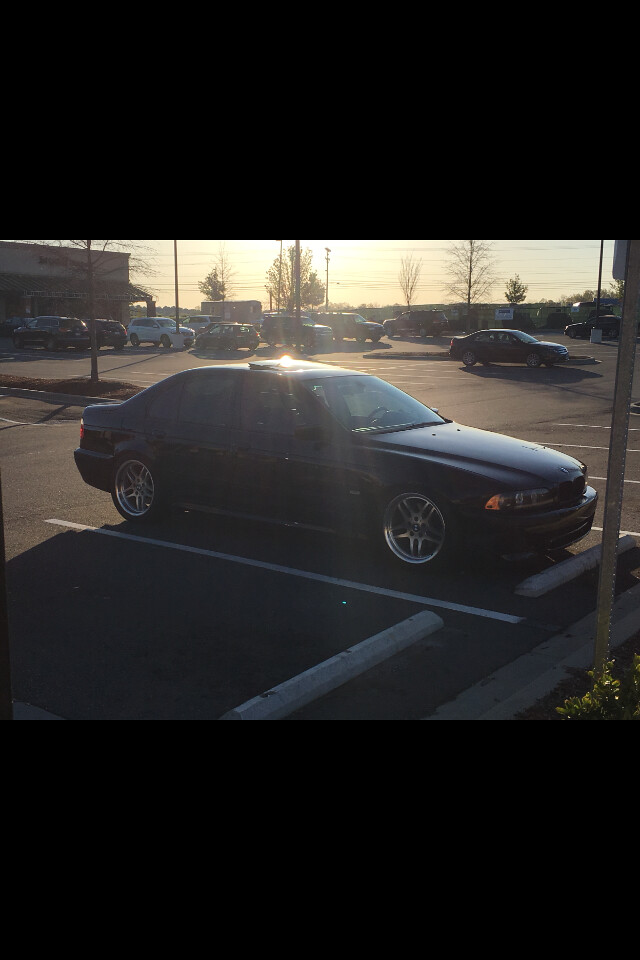 IMG_1387 by Norbert Ogiba, on Flickr
A friend stopped over last weekend for some work on his goat
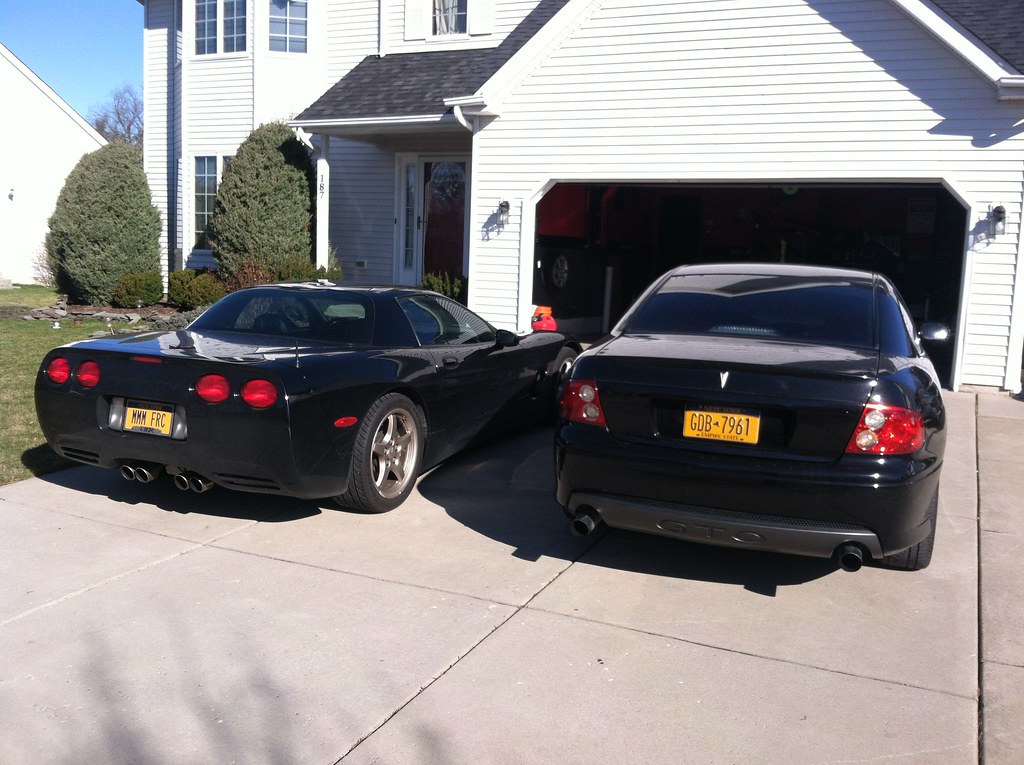 IMG_1378 by Norbert Ogiba, on Flickr
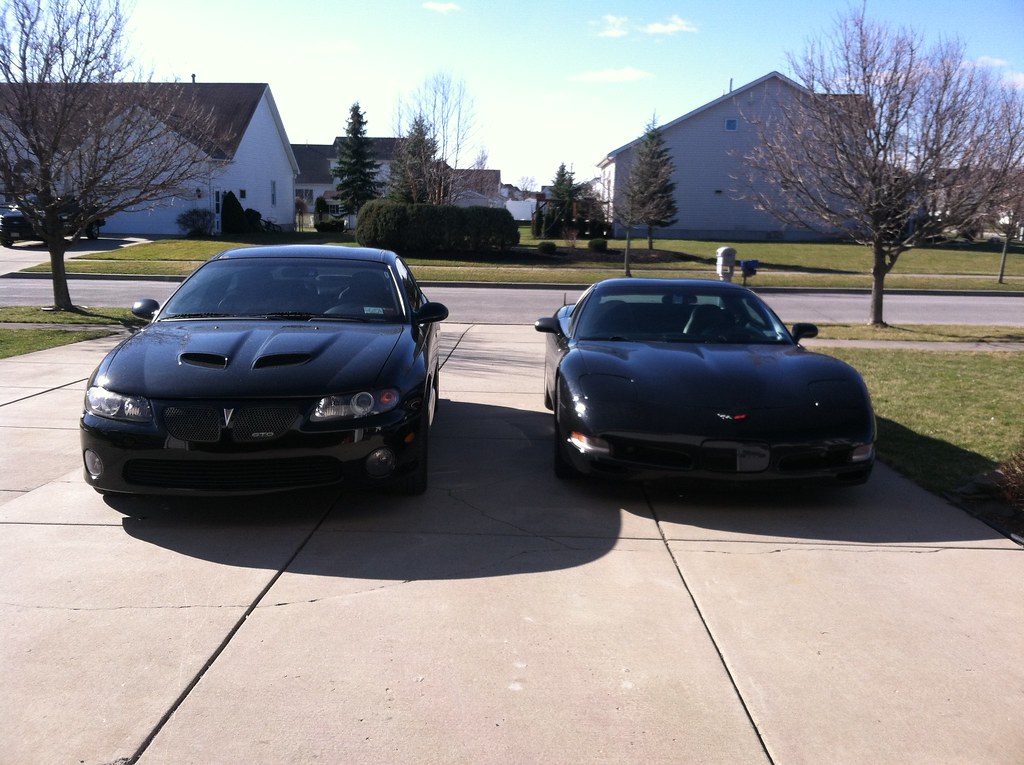 IMG_1377 by Norbert Ogiba, on Flickr
Back to your regularly scheduled crap...just been driving this thing to work on every nice day we get
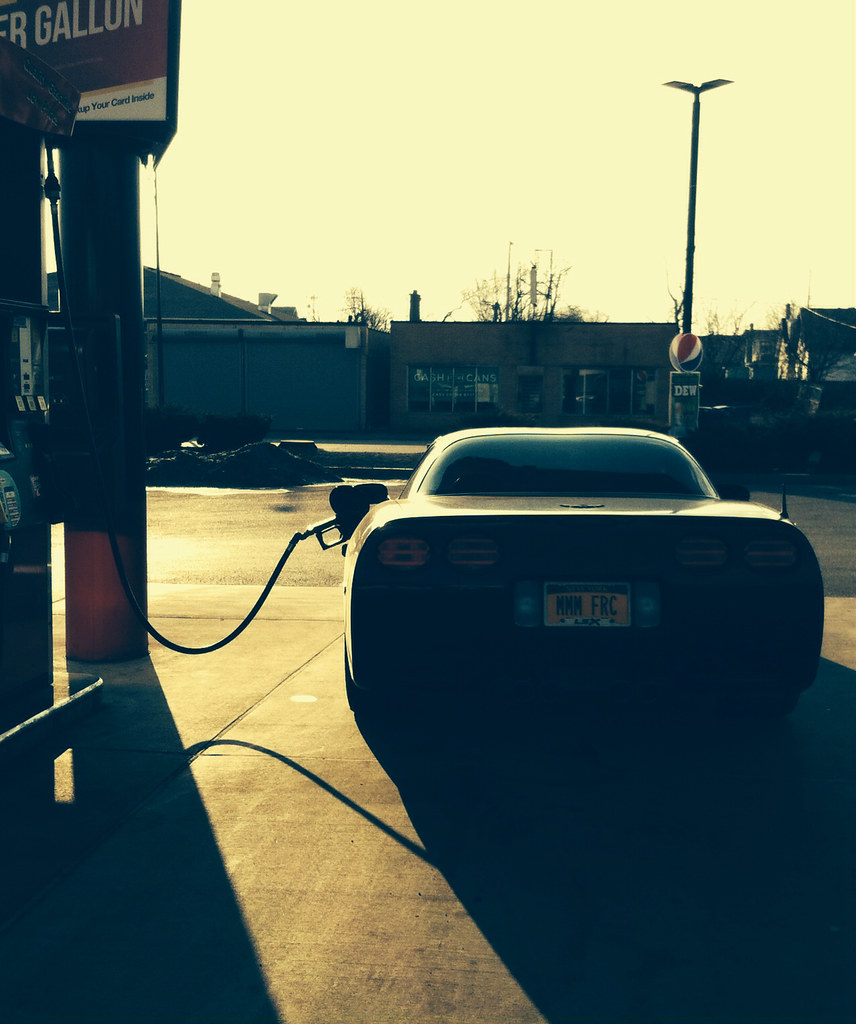 image by Norbert Ogiba, on Flickr
Couple small updates
Needed to get the car inspected and it was throwing a bunch of codes after the longtube install, so shut off those codes via HPTuners and also raised the rev limit to 6500 (from 6200) in anticipation of the last couple of bolt-ons I'm going to do. Picked up new LS6 OEM valve springs, 16 new seals, and an LS6 intake manifold. When it's all apart I will finish deleting the AIR system, should clean up the engine bay a bit.
I am not a fan of mimicking trim packages that the car didn't come with (aka putting red fuel rail covers from a Z06 on this car) but I wanted something different in the engine bay, so the LS6 intake will be getting paint. Starting off with deep clean, masking off the usual parts, and then primer. Final color will be a wrinkle red. Might do the air bridge too if I like how it turns out.
Ready for paint:
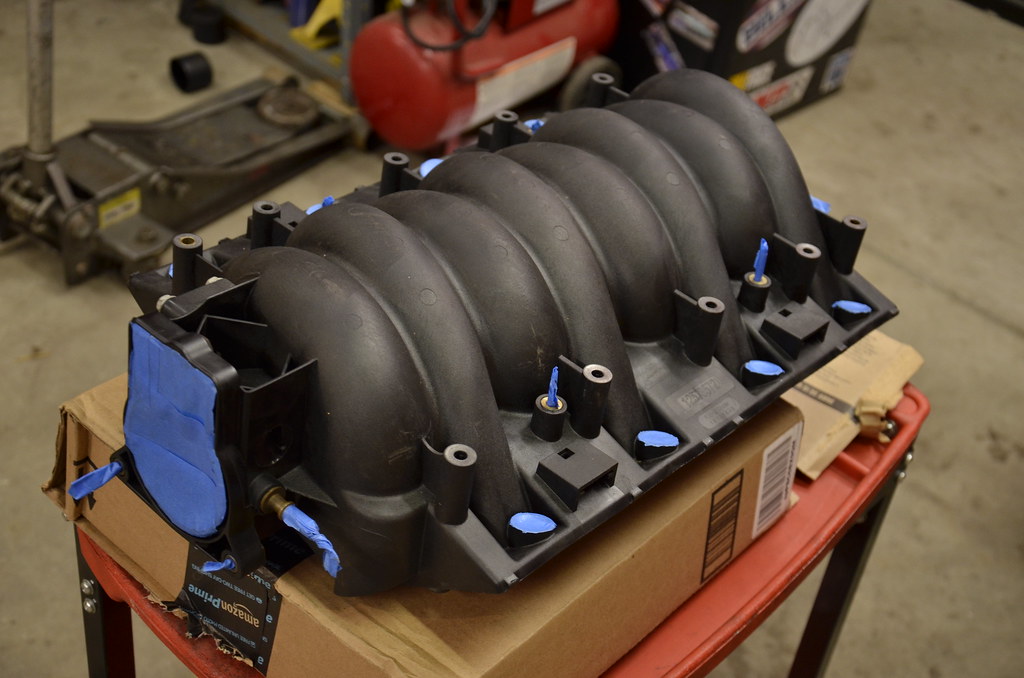 _DSC4907 by Norbert Ogiba, on Flickr
Primer:
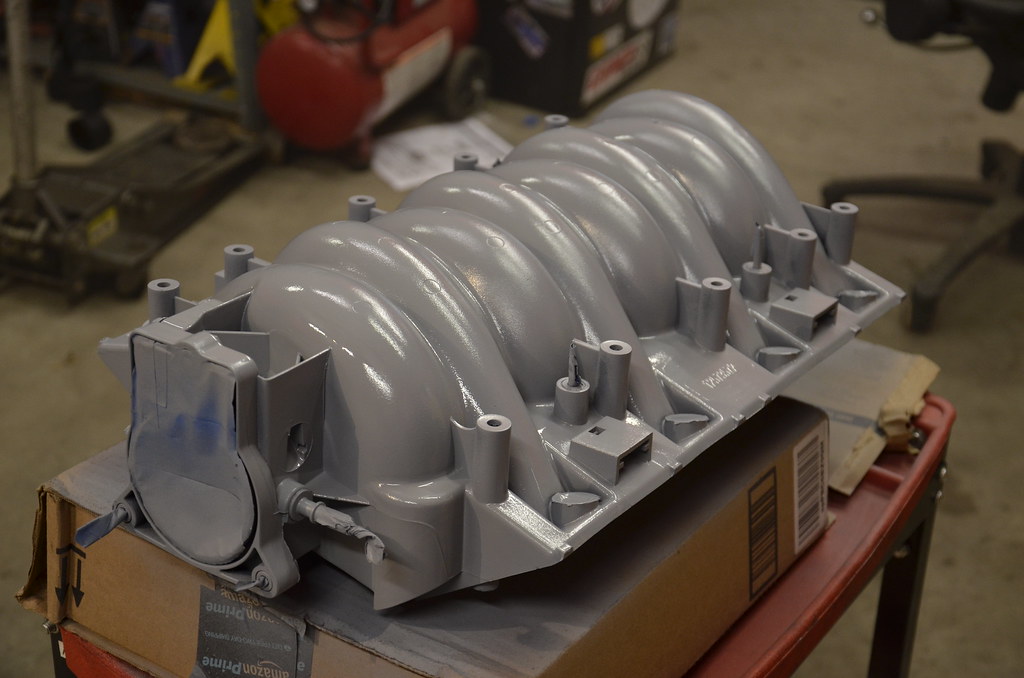 _DSC4908 by Norbert Ogiba, on Flickr
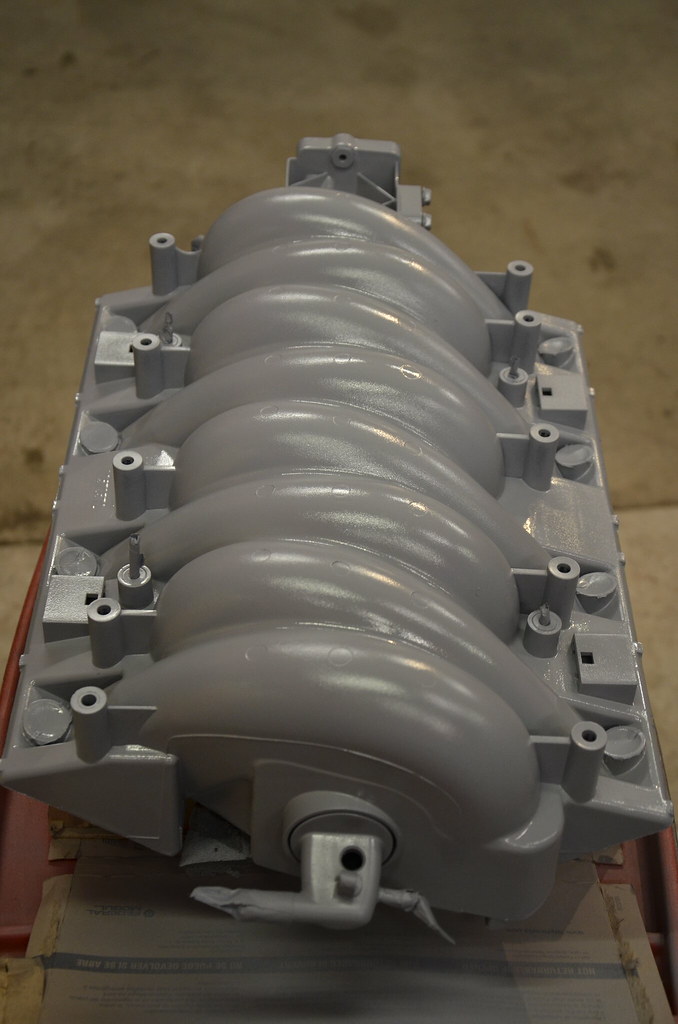 _DSC4909 by Norbert Ogiba, on Flickr
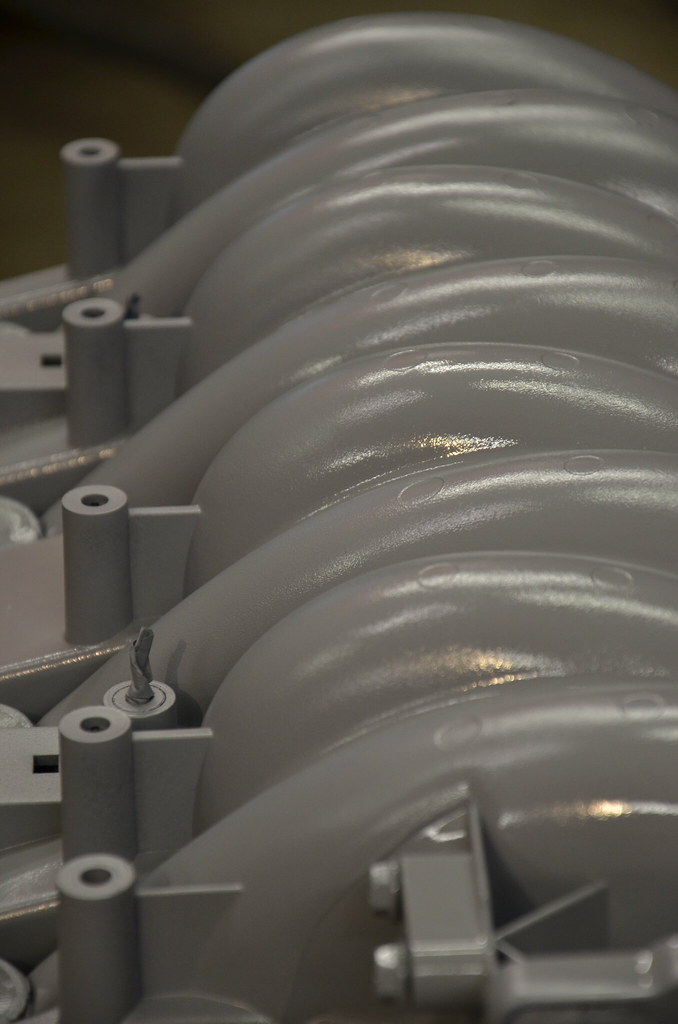 _DSC4910 by Norbert Ogiba, on Flickr
Buddy of mine asked me if I was interested in a paint correction - he wanted to show my car in his booth at http://www.buffalomotorama.com/ . I am not a big "show" person but this is a pretty cool opportunity. I will snap some pics this weekend when I go to the show. He worked wonders on the BMW so I'm sure the Vette will turn out great as well.
Check out his site.
https://www.facebook.com/sheerluxe.detailing/
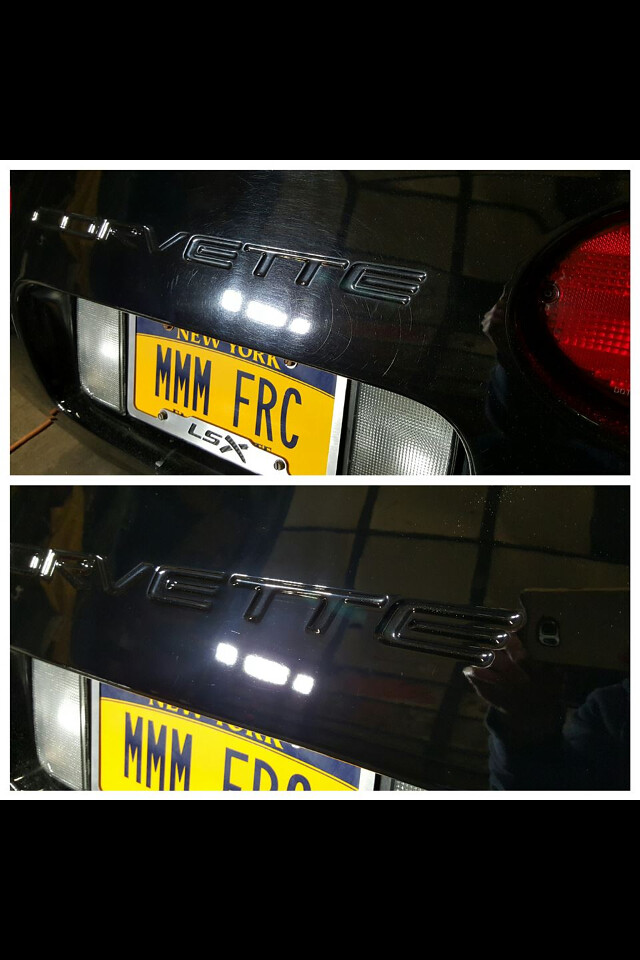 IMG_1394 by Norbert Ogiba, on Flickr
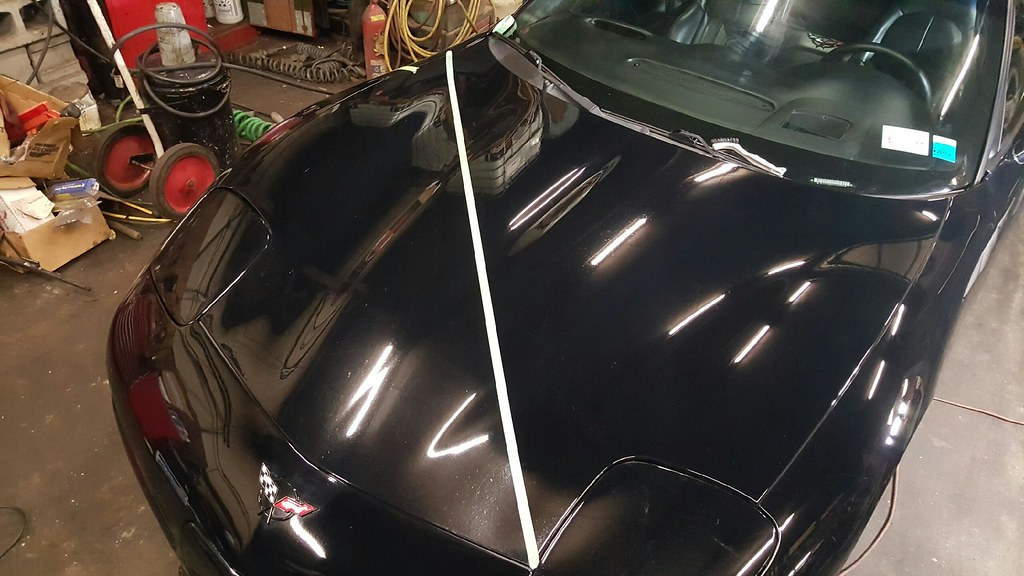 IMG_1384 by Norbert Ogiba, on Flickr
Also started working on some cutouts. Picked up a drill press, don't know how I went without one all these years. Poor hole saw got its brains beat out by the stainless but the end result is nice.
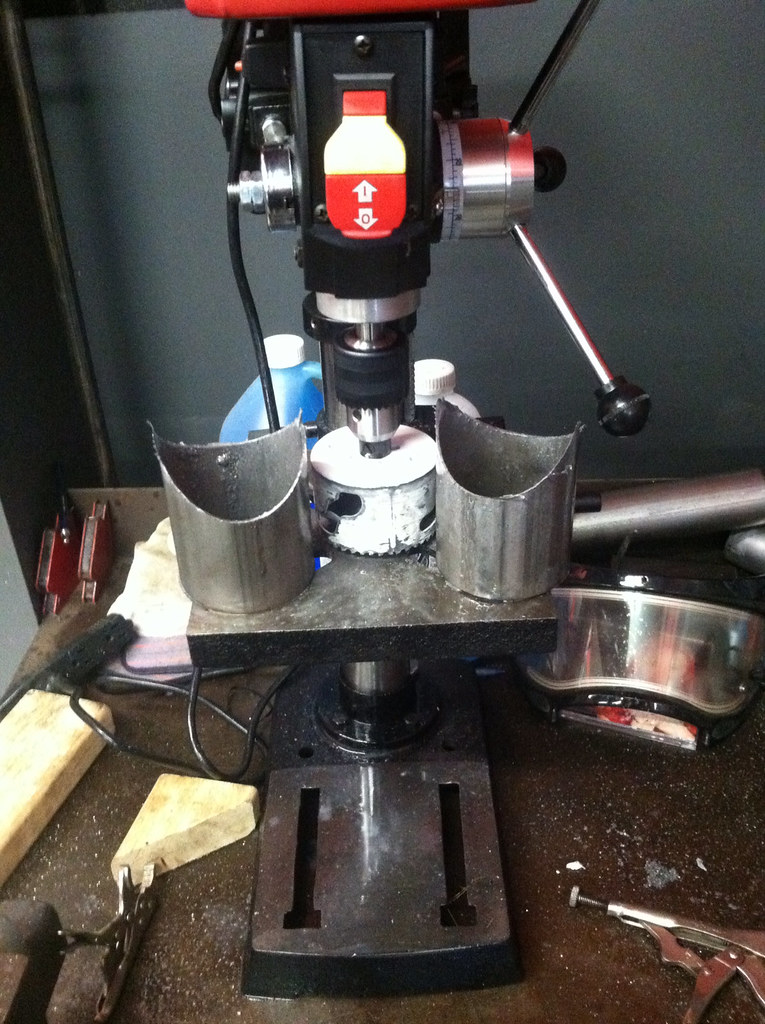 image by Norbert Ogiba, on Flickr
I am going to try something different on the cutouts. I ran an electric QTP some years ago and wasn't happy with the operation, reliability, etc. The motor crapped out on me and the vendor told me I had to buy a new one as they didn't sell parts. So I picked up some vacuum actuated ching chong 3" units off the chinese ebay wannabe site to try to put together my own "NPP" option. I haven't yet figured out how I want to control them, but am thinking about using some old EGR vacuum solenoids to control the valves on demand. We'll see.
The new owner of my old car is enjoying it - he is finishing up the little things that I never got around to - electric cutouts, tint, etc. Weird seeing it with different plates on it
IMG_1388 by Norbert Ogiba, on FlickrIMG_1387 by Norbert Ogiba, on FlickrA friend stopped over last weekend for some work on his goat
IMG_1378 by Norbert Ogiba, on FlickrIMG_1377 by Norbert Ogiba, on FlickrBack to your regularly scheduled crap...just been driving this thing to work on every nice day we get
image by Norbert Ogiba, on FlickrCouple small updates
Needed to get the car inspected and it was throwing a bunch of codes after the longtube install, so shut off those codes via HPTuners and also raised the rev limit to 6500 (from 6200) in anticipation of the last couple of bolt-ons I'm going to do. Picked up new LS6 OEM valve springs, 16 new seals, and an LS6 intake manifold. When it's all apart I will finish deleting the AIR system, should clean up the engine bay a bit.
I am not a fan of mimicking trim packages that the car didn't come with (aka putting red fuel rail covers from a Z06 on this car) but I wanted something different in the engine bay, so the LS6 intake will be getting paint. Starting off with deep clean, masking off the usual parts, and then primer. Final color will be a wrinkle red. Might do the air bridge too if I like how it turns out.
Ready for paint:
_DSC4907 by Norbert Ogiba, on FlickrPrimer:
_DSC4908 by Norbert Ogiba, on Flickr_DSC4909 by Norbert Ogiba, on Flickr_DSC4910 by Norbert Ogiba, on FlickrBuddy of mine asked me if I was interested in a paint correction - he wanted to show my car in his booth at http://www.buffalomotorama.com/ . I am not a big "show" person but this is a pretty cool opportunity. I will snap some pics this weekend when I go to the show. He worked wonders on the BMW so I'm sure the Vette will turn out great as well.
Check out his site.
https://www.facebook.com/sheerluxe.detailing/
IMG_1394 by Norbert Ogiba, on FlickrIMG_1384 by Norbert Ogiba, on FlickrAlso started working on some cutouts. Picked up a drill press, don't know how I went without one all these years. Poor hole saw got its brains beat out by the stainless but the end result is nice.
image by Norbert Ogiba, on FlickrI am going to try something different on the cutouts. I ran an electric QTP some years ago and wasn't happy with the operation, reliability, etc. The motor crapped out on me and the vendor told me I had to buy a new one as they didn't sell parts. So I picked up some vacuum actuated ching chong 3" units off the chinese ebay wannabe site to try to put together my own "NPP" option. I haven't yet figured out how I want to control them, but am thinking about using some old EGR vacuum solenoids to control the valves on demand. We'll see.
I bought some V-bands as well so I can remove them for service, gonna tack it all together and have someone else TIG it together. Anyone feel like gluing it together for me?dum
My QTP just didn't stand up to the year round elements, the motor crapped out after about 6 months. Vendor told me I couldn't replace any parts, so it's been sitting in the basement ever since.dum
For the new cutouts, I do plan on using a check valve for sure. I purchased valves that are normally closed. The NPP cutouts on all the newfangled GM stuff are normally open, and as soon as a vacuum is applied, they slam shut. This means they're open on cold start, and when vacuum builds a few seconds later, they shut. I did not want this situation since I leave for work early in the morning and wanted to maintain some sanity for my neighbors. I could have gotten around this by using a check valve and a vacuum canister but that's added complexity, and I have no idea if the vacuum canister would hold a charge for sitting a week at a time (which is a reality if we have a couple days of nasty weather). The last item that turned me off from the normally open was that in the event of any vacuum fitting/line failure the valves would fail open, and I'd have to drive around with the car stupidly loud until I got it fixed. I would much rather they fail in the normally closed position.
Check valve:dum
Vacuum can (if needed)dum
The only thing that I would have liked to have using the normally open system would be the feature of the engine vacuum on idle and light driving conditions to keep the valve shut, and then valves opening up when you hammer on it, removing vacuum. It makes for a nice "automatic" mode but again I wanted the failsafe to be in the closed position.
The red paint showed up so it was time to let the inner ricer out. had a couple local Flying Bison craft brews to pre-dull the brain for the paint fumes and went to town. I miss doing these small quick jobs, they are great fun.dum
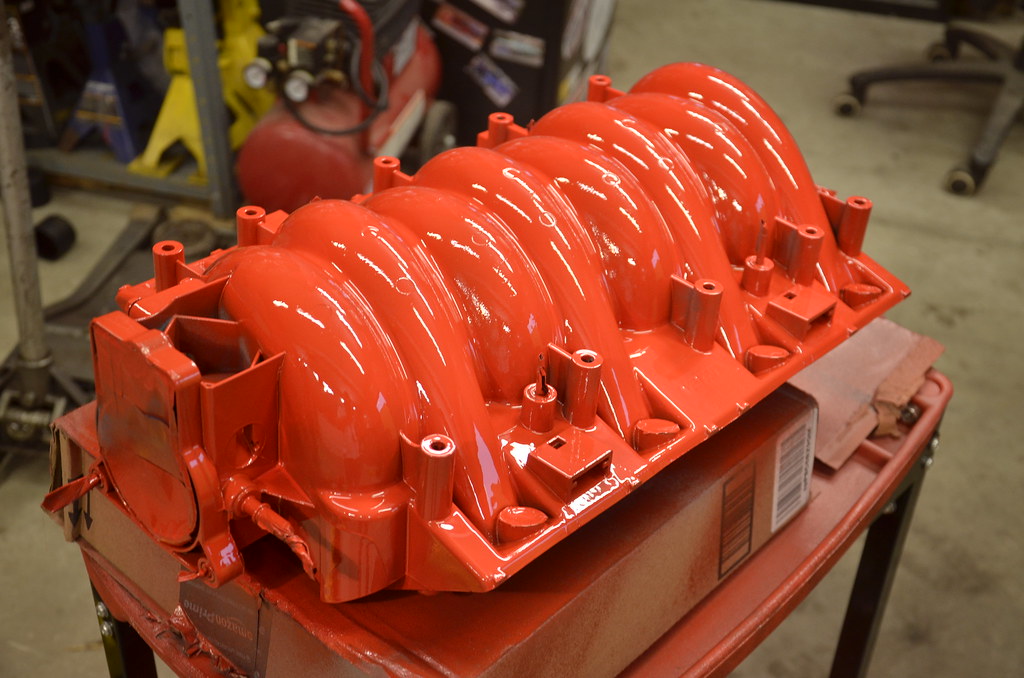
This stuff is awesome. Used about 2/3 of 1 can to do the whole manifold. I was on the fence about the finish based on the Amazon reviews but bought 2 cans just in case it turned out nice. About 3 solid heavy coats on it and it turned out great. Unlike the primer this stuff ran you wouldn't believe, but as long as you kept a good distance with the can it went on great. I used this stuff in a black color on a power steering pulley when I built the original 6.0 for my BMW in 2012 but the finish was way too coarse. This one turned out much finer
so throwing on some coats, wet
 _DSC4911 by Norbert Ogiba, on Flickr
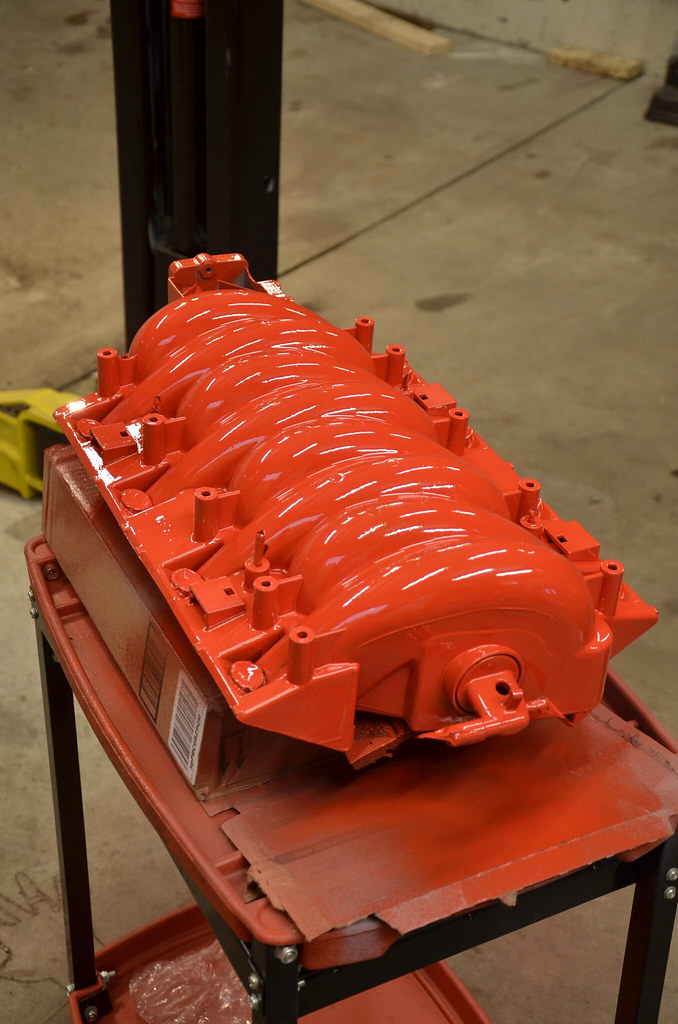 _DSC4912 by Norbert Ogiba, on Flickr
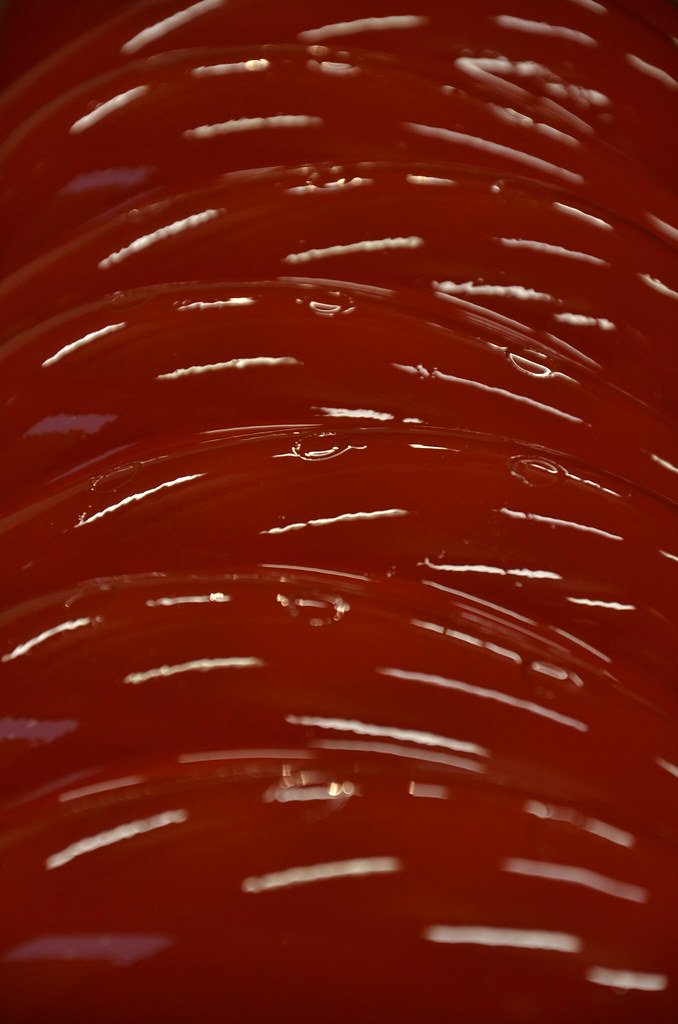 _DSC4913 by Norbert Ogiba, on Flickr
Dried for 20 mins, let her sit under the unit heater for a while getting toasty, another couple coats, then let it cure fully and crinkle. It has the fine "Ferrari-red-crinkle" finish that I was going for. Thought it might come out light based on how it looked when it was wet but it dried darker and is the exact shade I was going fordum
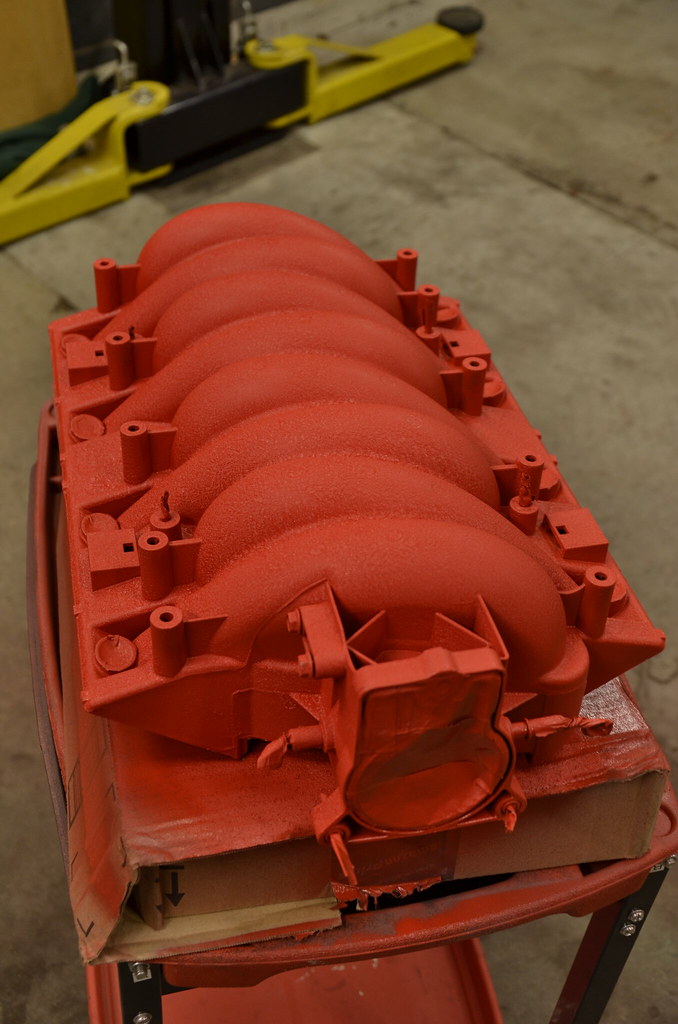 _DSC4914 by Norbert Ogiba, on Flickr
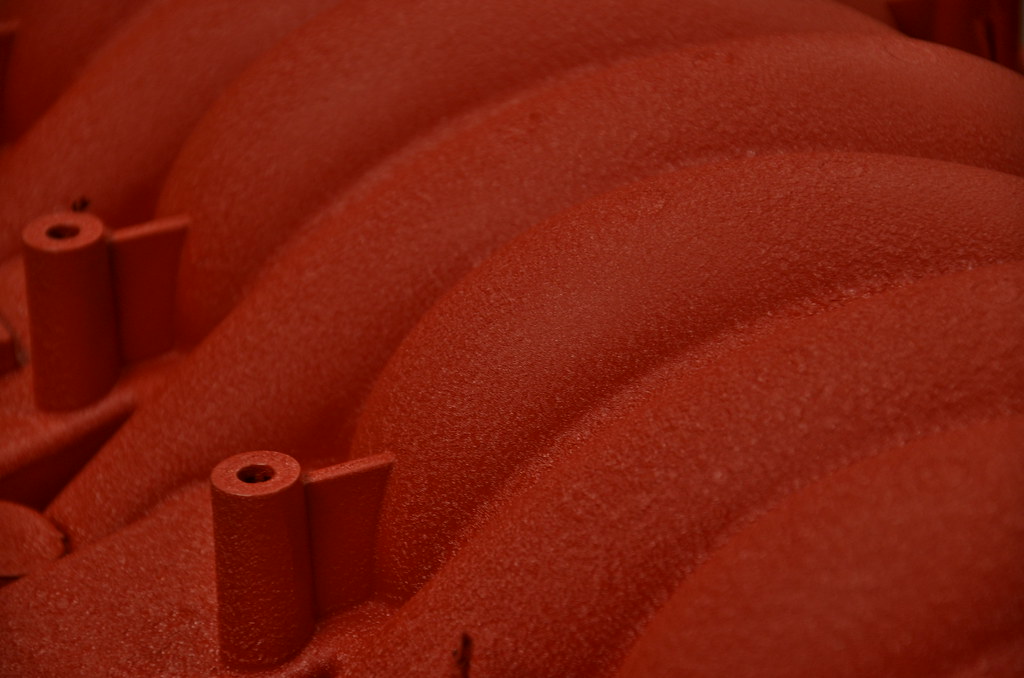 _DSC4915 by Norbert Ogiba, on Flickr
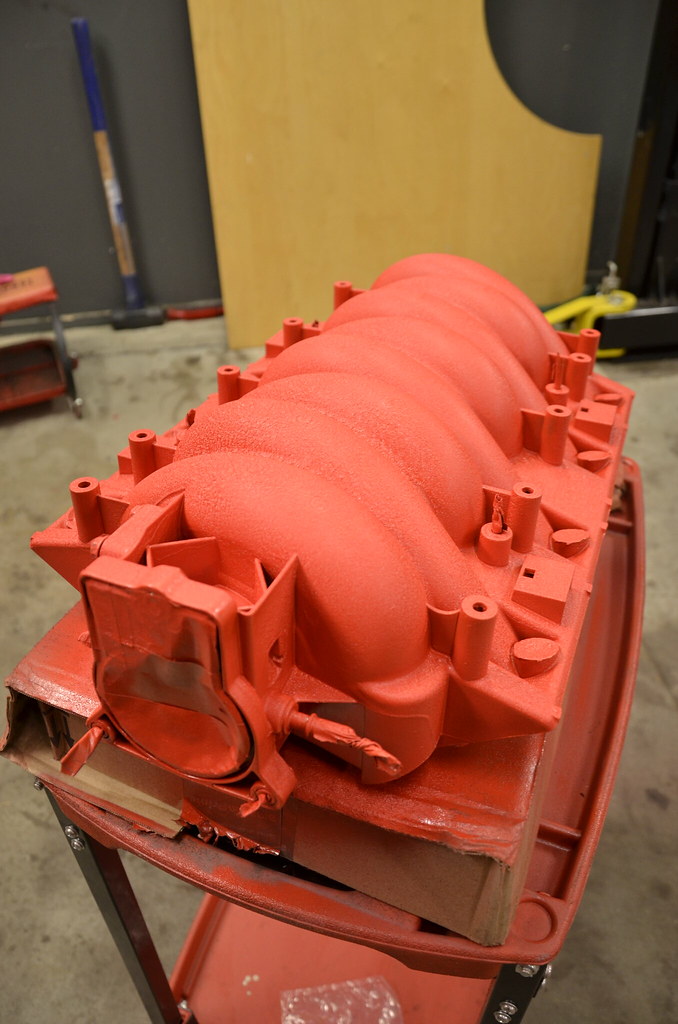 _DSC4916 by Norbert Ogiba, on Flickr
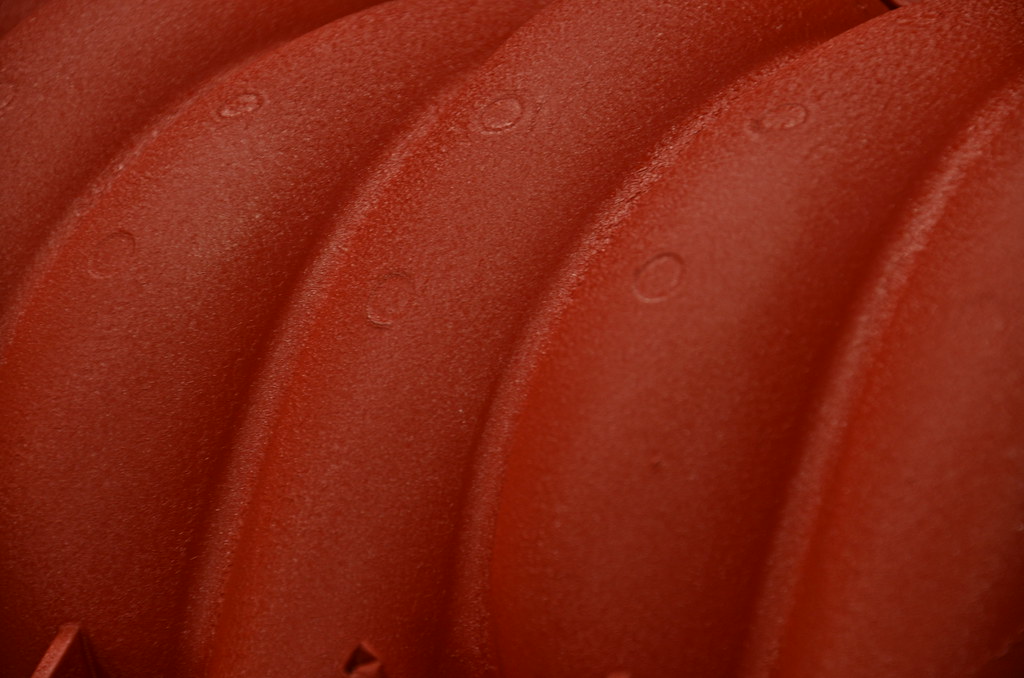 _DSC4917 by Norbert Ogiba, on Flickr
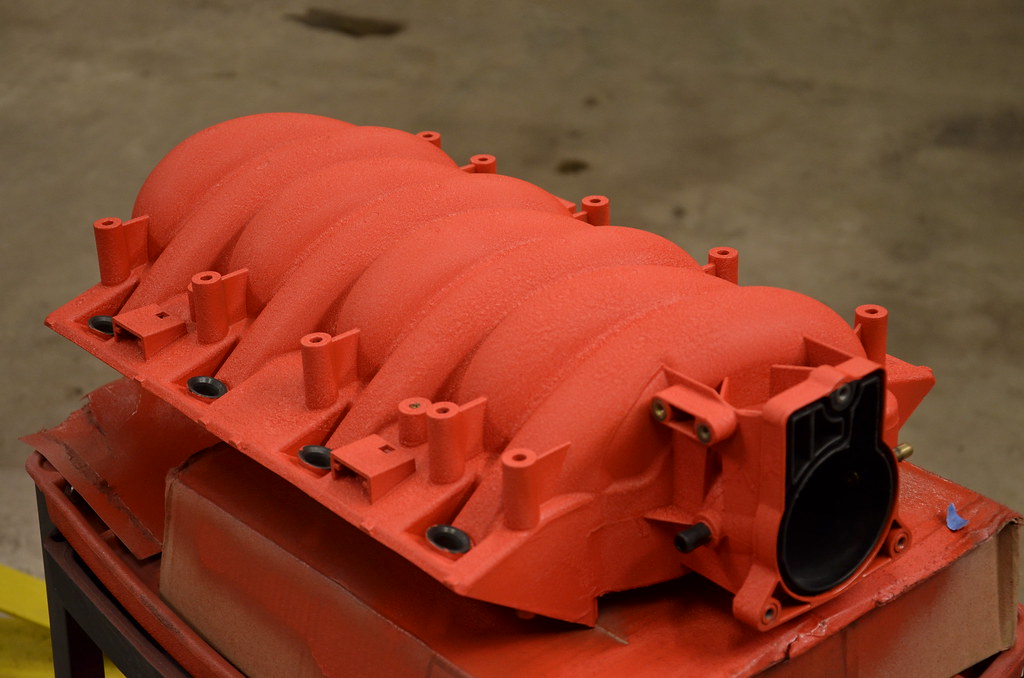 _DSC4920 by Norbert Ogiba, on Flickr
Based on how she turned out I will do the air bridge as well to match.dum
My QTP just didn't stand up to the year round elements, the motor crapped out after about 6 months. Vendor told me I couldn't replace any parts, so it's been sitting in the basement ever since.dum
For the new cutouts, I do plan on using a check valve for sure. I purchased valves that are normally closed. The NPP cutouts on all the newfangled GM stuff are normally open, and as soon as a vacuum is applied, they slam shut. This means they're open on cold start, and when vacuum builds a few seconds later, they shut. I did not want this situation since I leave for work early in the morning and wanted to maintain some sanity for my neighbors. I could have gotten around this by using a check valve and a vacuum canister but that's added complexity, and I have no idea if the vacuum canister would hold a charge for sitting a week at a time (which is a reality if we have a couple days of nasty weather). The last item that turned me off from the normally open was that in the event of any vacuum fitting/line failure the valves would fail open, and I'd have to drive around with the car stupidly loud until I got it fixed. I would much rather they fail in the normally closed position.
Check valve:dum
Vacuum can (if needed)dum
The only thing that I would have liked to have using the normally open system would be the feature of the engine vacuum on idle and light driving conditions to keep the valve shut, and then valves opening up when you hammer on it, removing vacuum. It makes for a nice "automatic" mode but again I wanted the failsafe to be in the closed position.
The red paint showed up so it was time to let the inner ricer out. had a couple local Flying Bison craft brews to pre-dull the brain for the paint fumes and went to town. I miss doing these small quick jobs, they are great fun.dum
This stuff is awesome. Used about 2/3 of 1 can to do the whole manifold. I was on the fence about the finish based on the Amazon reviews but bought 2 cans just in case it turned out nice. About 3 solid heavy coats on it and it turned out great. Unlike the primer this stuff ran you wouldn't believe, but as long as you kept a good distance with the can it went on great. I used this stuff in a black color on a power steering pulley when I built the original 6.0 for my BMW in 2012 but the finish was way too coarse. This one turned out much finer
so throwing on some coats, wet
_DSC4911 by Norbert Ogiba, on Flickr_DSC4912 by Norbert Ogiba, on Flickr_DSC4913 by Norbert Ogiba, on FlickrDried for 20 mins, let her sit under the unit heater for a while getting toasty, another couple coats, then let it cure fully and crinkle. It has the fine "Ferrari-red-crinkle" finish that I was going for. Thought it might come out light based on how it looked when it was wet but it dried darker and is the exact shade I was going fordum
_DSC4914 by Norbert Ogiba, on Flickr_DSC4915 by Norbert Ogiba, on Flickr_DSC4916 by Norbert Ogiba, on Flickr_DSC4917 by Norbert Ogiba, on Flickr_DSC4920 by Norbert Ogiba, on FlickrBased on how she turned out I will do the air bridge as well to match.dum
LS1 Tech Stories
The Best V8 Stories One Small Block at Time
6 Gifts Neither Your Dad Nor Grad Will Shove Into the 'Trinket Drawer'
Brett Foote
Topdon ONE vs. Artidiag 800 BT2: Which is the Diagnostic Tablet For You?
Pouria Savadkouei
Gas Monkey Built a 6-Wheel Ferrari Testarossa With a Corvette LT4 Engine
Verdad Gallardo
7 Most Reliable High-Performance Engines GM Has Ever Built
Verdad Gallardo
Amazing '71 Camaro Restomod Is Modern Muscle Car Under the Skin
Verdad Gallardo
6 Common C5 Corvette Failures and What's Involved In Repairing Them
Pouria Savadkouei
Retro Modern Bandit Pontiac Trans AM Comes With Burt Reynolds' Autograph
Verdad Gallardo
Top 10 Greatest Cadillac V Series Performance Models Ever, Ranked
Pouria Savadkouei
Top 10 Most Powerful Chevy Trucks Ever Made!

Thanks, I'm stoked to see it installed.
Removed the rear trunklid emblem, it really cleaned up the look. Car got half detailed, I will finish the paint correction on my own.
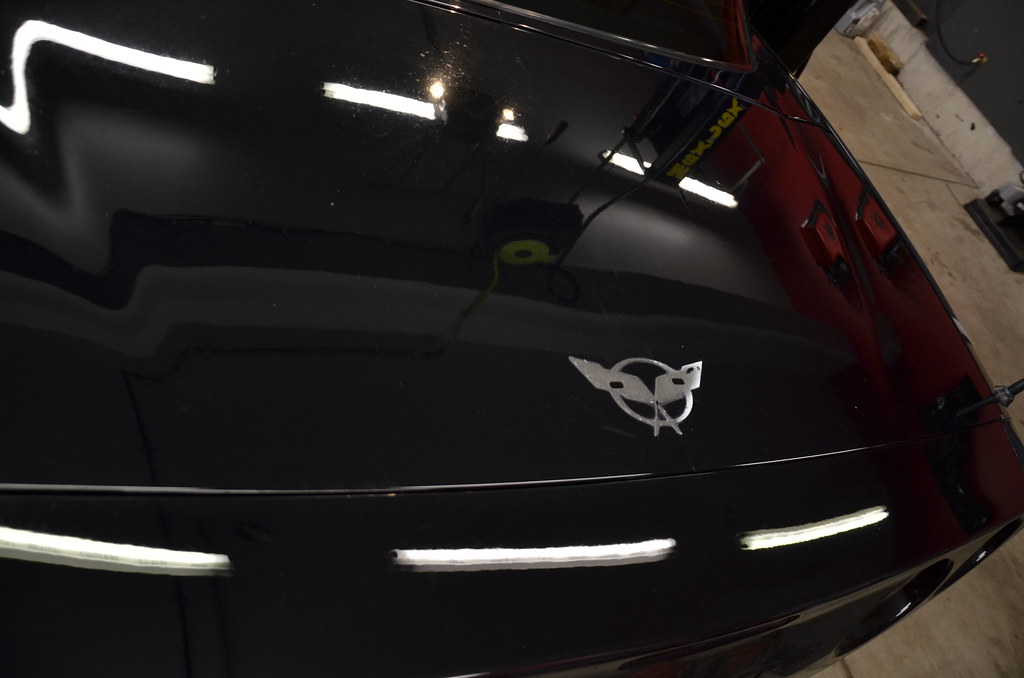 _DSC4940 by Norbert Ogiba, on Flickr
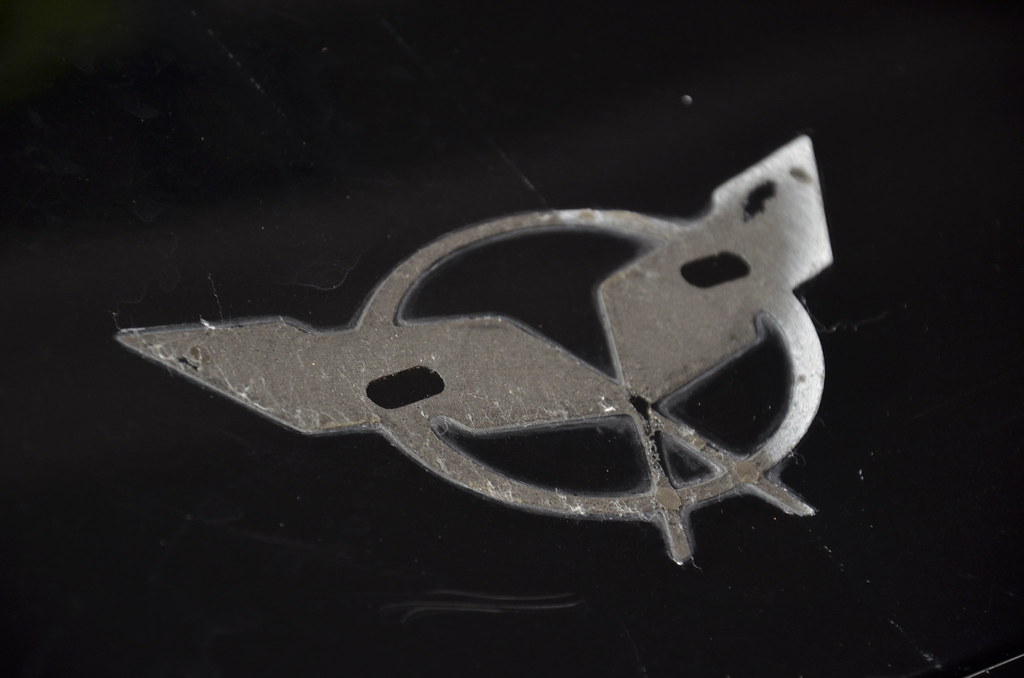 _DSC4941 by Norbert Ogiba, on Flickr
More Goo Gone,
 _DSC4943 by Norbert Ogiba, on Flickr
Magic 3M eraser wheel works wonders yet again, but this will have to be polished out
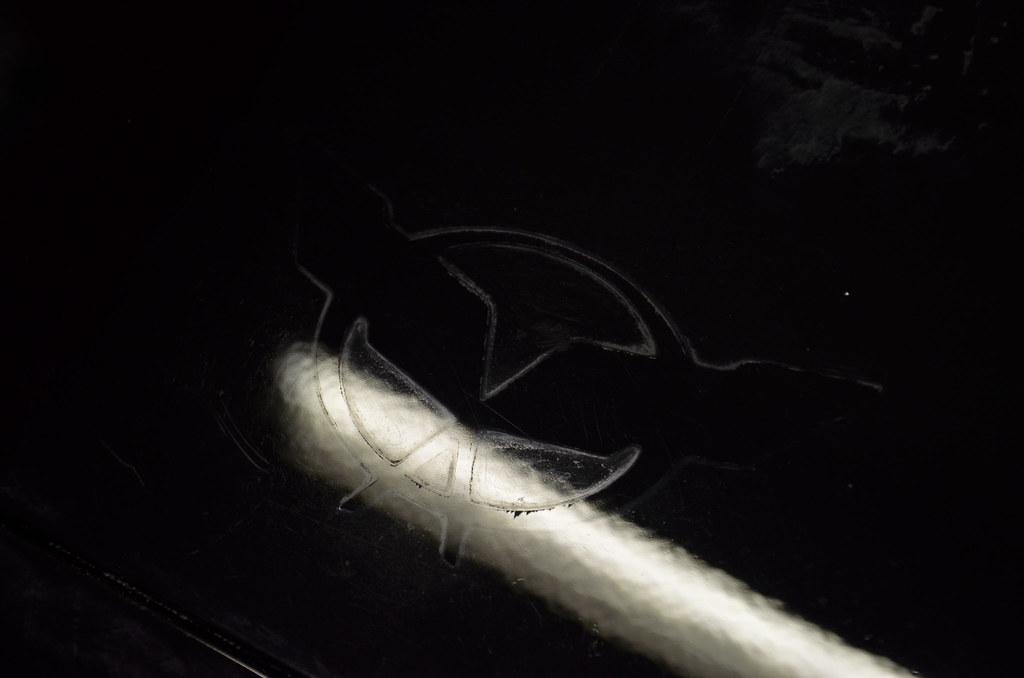 _DSC4944 by Norbert Ogiba, on Flickr
Compound
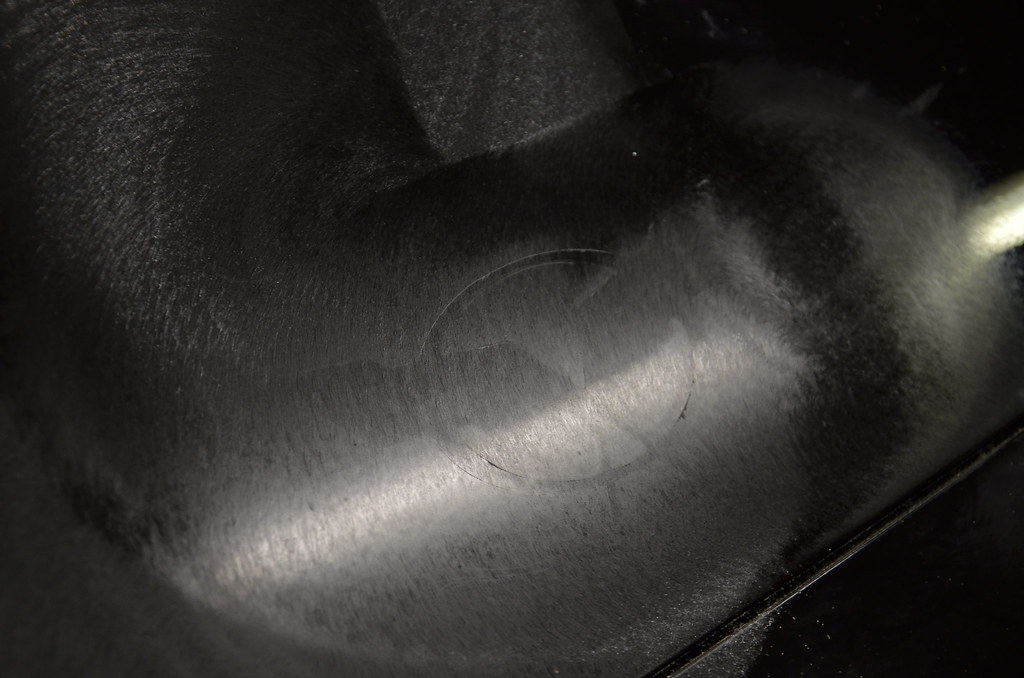 _DSC4945 by Norbert Ogiba, on Flickr
After compound, there was still a raised ridge in the paint, can't catch it with a fingernail, but visible if you look hard for it in the right light.
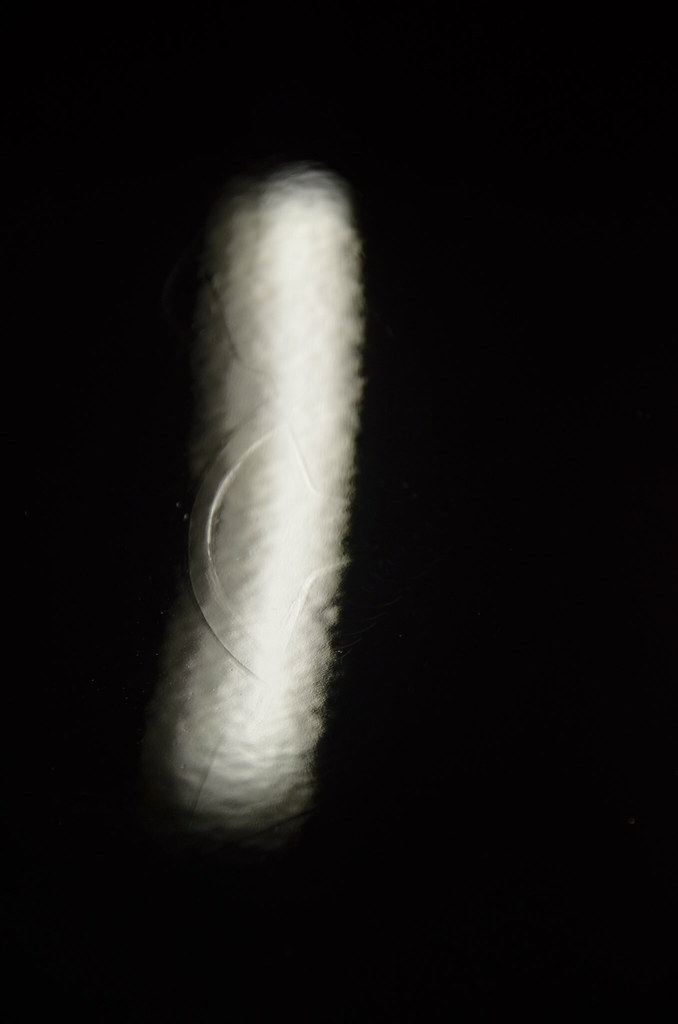 _DSC4946 by Norbert Ogiba, on Flickr
After polish it is invisible from more than 3 inches away
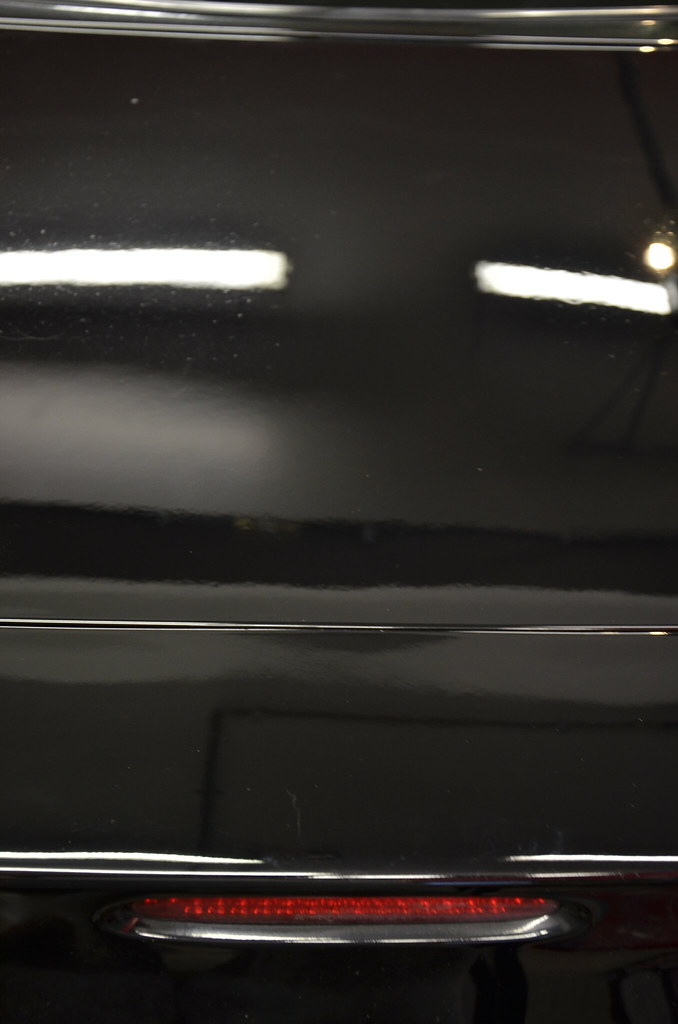 _DSC4947 by Norbert Ogiba, on Flickr
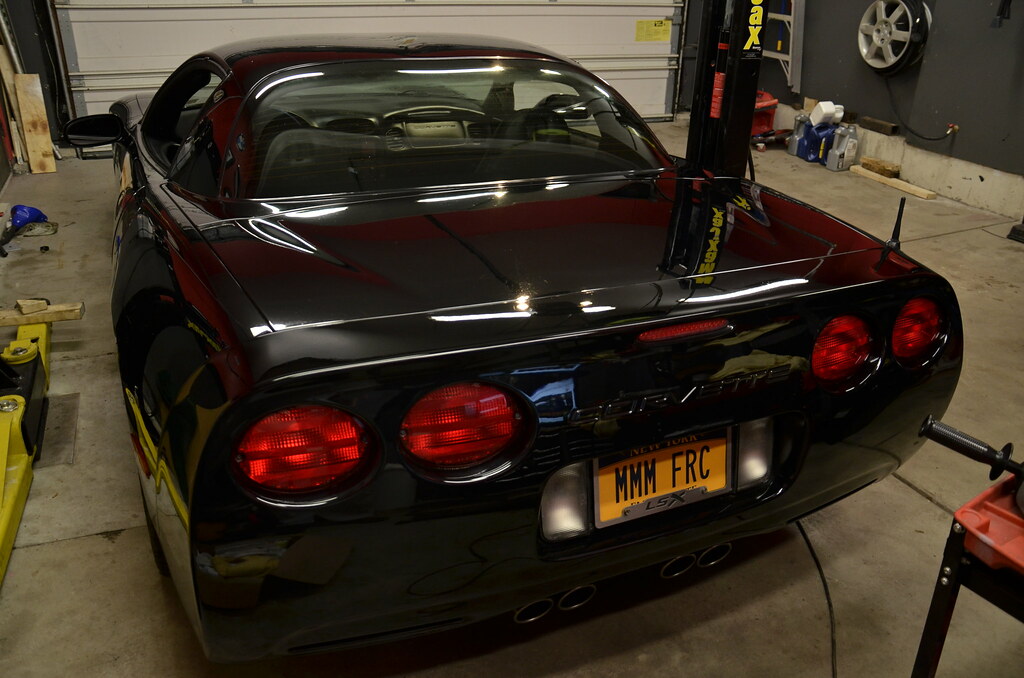 _DSC4948 by Norbert Ogiba, on Flickr
Dug out my old valve spring tool so I can get ready for the LS6 install later this week, it got bent during the install of the old big duals on the BMW 6.0. I'm going to weld up some gussets on it to stiffen it, should hold up better.
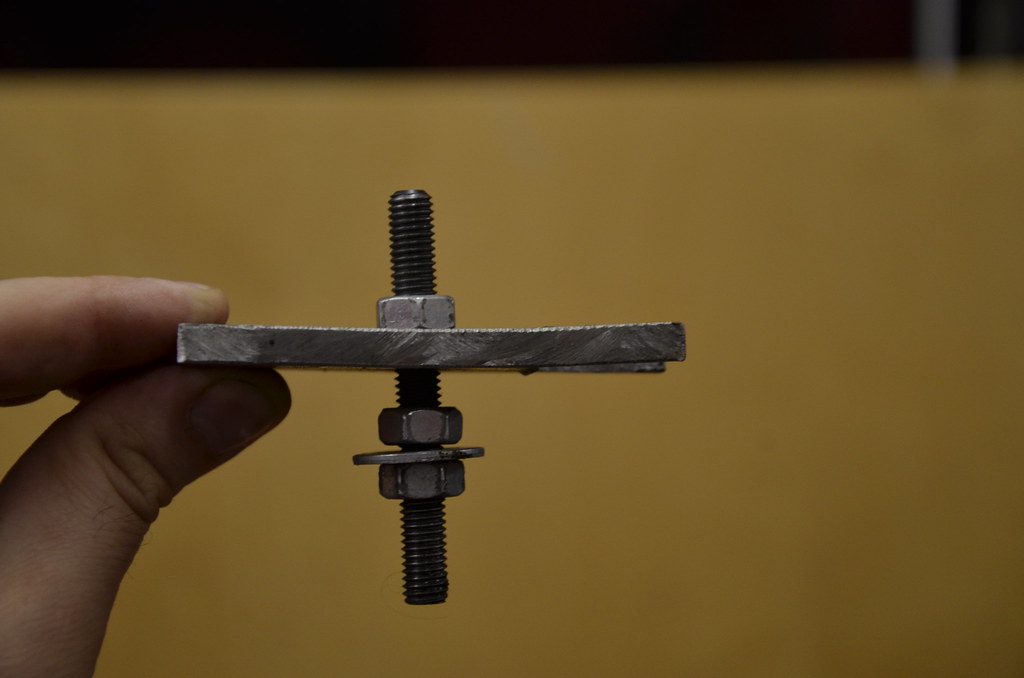 _DSC4951 by Norbert Ogiba, on Flickr
Piecing together my cutout stuff, I will tack them all in place and have a shop finish TIG them together for me. V-Band for serviceability
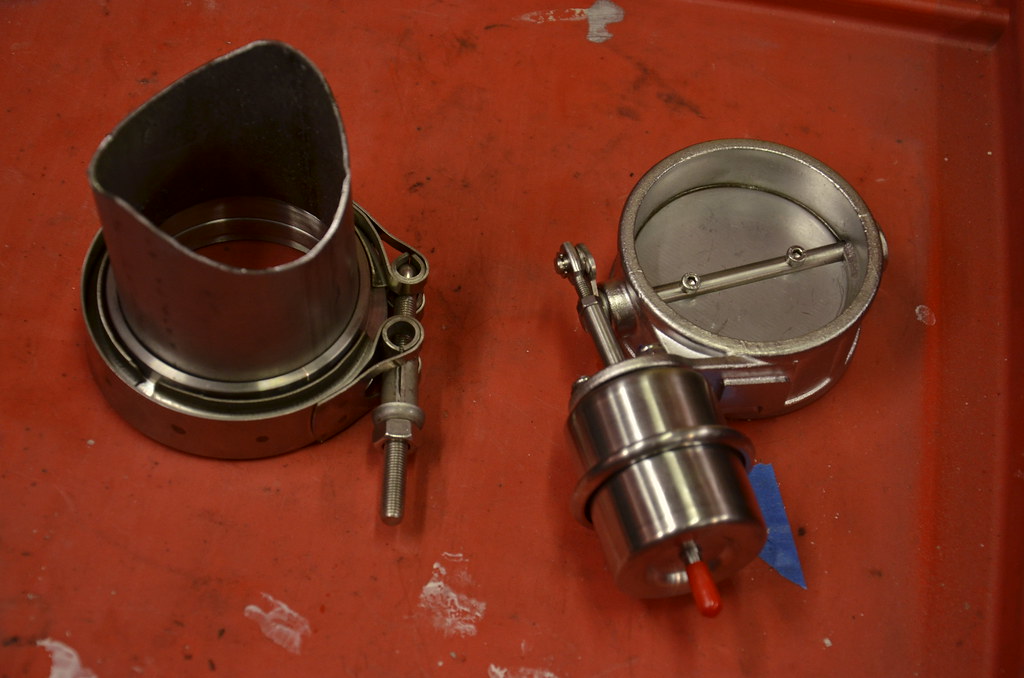 _DSC4952 by Norbert Ogiba, on Flickr
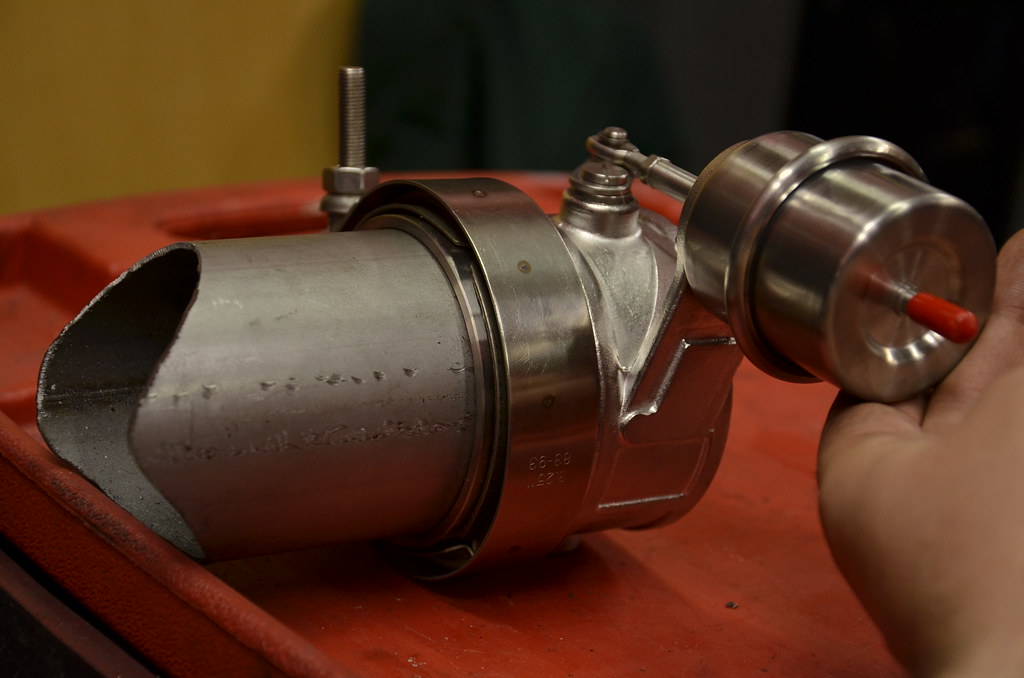 _DSC4953 by Norbert Ogiba, on Flickr
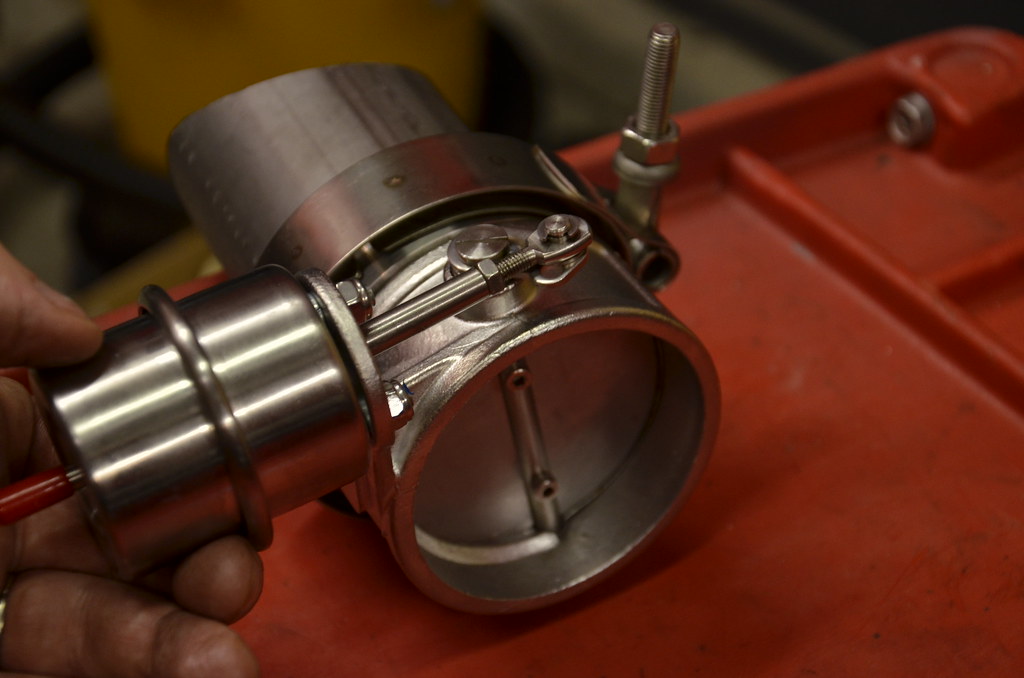 _DSC4954 by Norbert Ogiba, on Flickr
I will need to put some kind of turn down together for the outlet of the valve, possibly wrap the leaf spring in heat resistant insulation to prevent melting it.
More to come later this week, gonna mock up the cutouts, install valvesprings, LS6 intake, paint the airbridge wrinkle red, delete AIR system, etc
Removed the rear trunklid emblem, it really cleaned up the look. Car got half detailed, I will finish the paint correction on my own.
_DSC4940 by Norbert Ogiba, on Flickr_DSC4941 by Norbert Ogiba, on FlickrMore Goo Gone,
_DSC4943 by Norbert Ogiba, on FlickrMagic 3M eraser wheel works wonders yet again, but this will have to be polished out
_DSC4944 by Norbert Ogiba, on FlickrCompound
_DSC4945 by Norbert Ogiba, on FlickrAfter compound, there was still a raised ridge in the paint, can't catch it with a fingernail, but visible if you look hard for it in the right light.
_DSC4946 by Norbert Ogiba, on FlickrAfter polish it is invisible from more than 3 inches away
_DSC4947 by Norbert Ogiba, on Flickr_DSC4948 by Norbert Ogiba, on FlickrDug out my old valve spring tool so I can get ready for the LS6 install later this week, it got bent during the install of the old big duals on the BMW 6.0. I'm going to weld up some gussets on it to stiffen it, should hold up better.
_DSC4951 by Norbert Ogiba, on FlickrPiecing together my cutout stuff, I will tack them all in place and have a shop finish TIG them together for me. V-Band for serviceability
_DSC4952 by Norbert Ogiba, on Flickr_DSC4953 by Norbert Ogiba, on Flickr_DSC4954 by Norbert Ogiba, on FlickrI will need to put some kind of turn down together for the outlet of the valve, possibly wrap the leaf spring in heat resistant insulation to prevent melting it.
More to come later this week, gonna mock up the cutouts, install valvesprings, LS6 intake, paint the airbridge wrinkle red, delete AIR system, etc
looking real good man. fun to follow as was the E39 thread. that intake paint looks real nice, gives it a raw cast alu painted red look. how are you going to keep it clean? I would foresee all the cracks and dips filling with black grit, I guess pressure wash.
^ good point, the wrinkle is definitely harder to keep clean than any smooth finish. I think a microfiber with some APC will work fine to keep it clean, especially if I keep up on it
so some ups and downs
got the fishmouths mocked up on the midpipes, traced out the insides, removed the pipes from the car. drove around the block with no pipes, wow it's loud, should be fun. also tacked together fishmouths to v-bands, v-bands to valves. I forgot to order turndowns so I don't melt anything, got a 180* mandrel bend on the way from summit, will be here in a couple days.
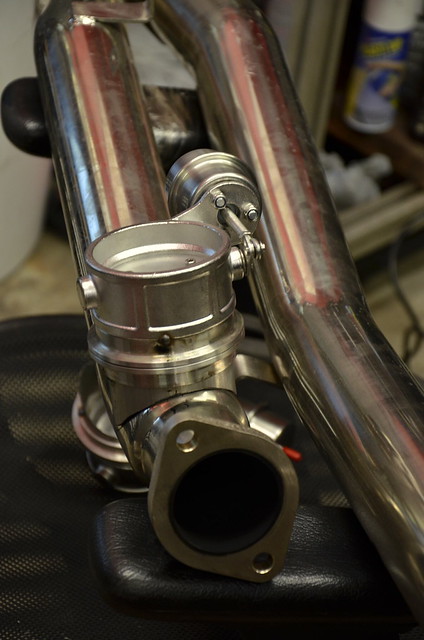 _DSC4955 by Norbert Ogiba, on Flickr
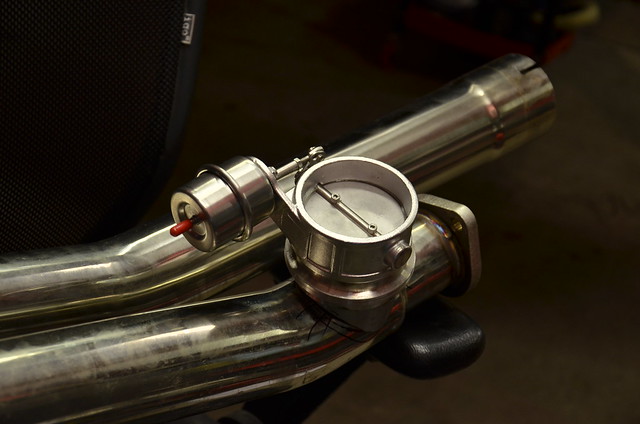 _DSC4957 by Norbert Ogiba, on Flickr
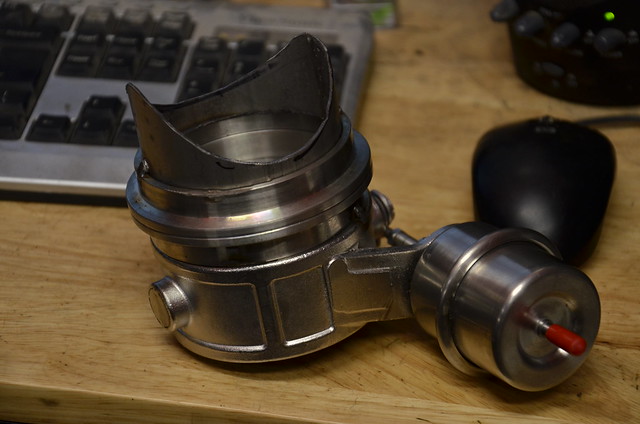 _DSC4958 by Norbert Ogiba, on Flickr
clamps that come with the longtubes suck, leaked badly. will pick up some longer bad clamps, have had good luck with those in the past
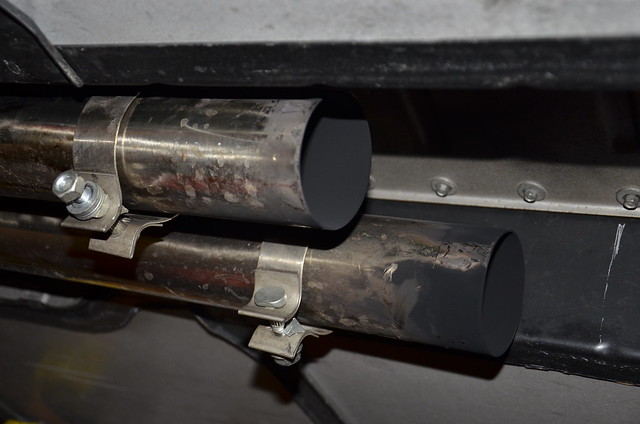 _DSC4962 by Norbert Ogiba, on Flickr
and the not so good. tires will need to be replaced this year. time to accelerate my wheel/tire plans
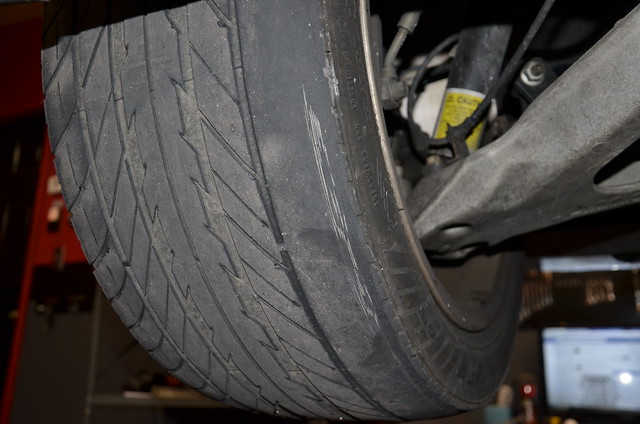 _DSC4963 by Norbert Ogiba, on Flickr
most urgent is the front fiberglass leaf spring, this thing had a very fine hairline crack lengthwise when i first bought the car and got it on the lift, but this big crack is a new development. will either pick up another Z51 spring or throw in a Z06 unit
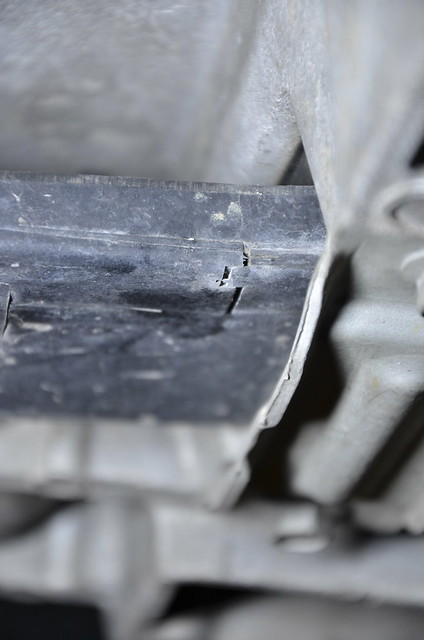 _DSC4966 by Norbert Ogiba, on Flickr
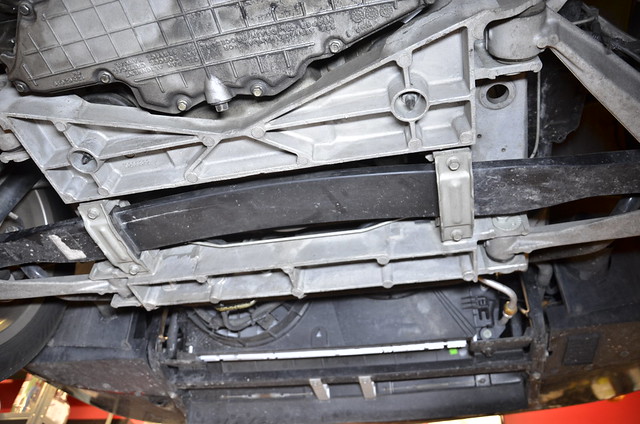 _DSC4967 by Norbert Ogiba, on Flickr
got the fishmouths mocked up on the midpipes, traced out the insides, removed the pipes from the car. drove around the block with no pipes, wow it's loud, should be fun. also tacked together fishmouths to v-bands, v-bands to valves. I forgot to order turndowns so I don't melt anything, got a 180* mandrel bend on the way from summit, will be here in a couple days.
_DSC4955 by Norbert Ogiba, on Flickr_DSC4957 by Norbert Ogiba, on Flickr_DSC4958 by Norbert Ogiba, on Flickrclamps that come with the longtubes suck, leaked badly. will pick up some longer bad clamps, have had good luck with those in the past
_DSC4962 by Norbert Ogiba, on Flickrand the not so good. tires will need to be replaced this year. time to accelerate my wheel/tire plans
_DSC4963 by Norbert Ogiba, on Flickrmost urgent is the front fiberglass leaf spring, this thing had a very fine hairline crack lengthwise when i first bought the car and got it on the lift, but this big crack is a new development. will either pick up another Z51 spring or throw in a Z06 unit
_DSC4966 by Norbert Ogiba, on Flickr_DSC4967 by Norbert Ogiba, on Flickr my buddy is TIG'ing everything up for me and sent me some pics
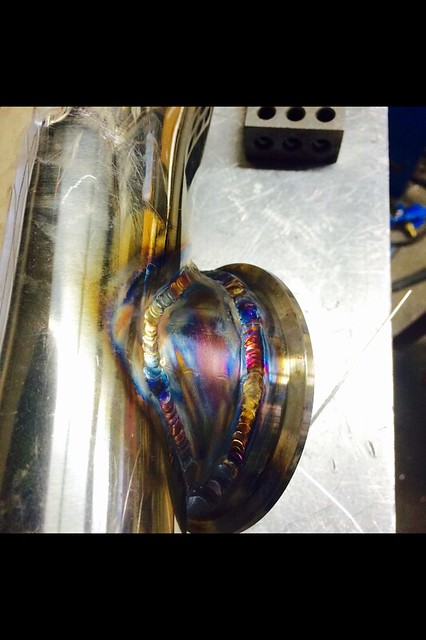 image by Norbert Ogiba, on Flickr
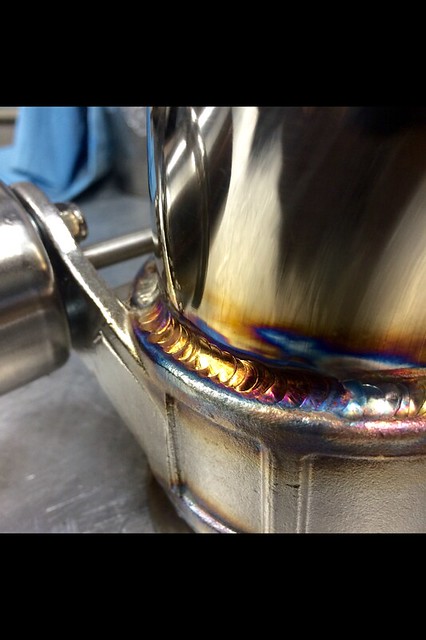 image by Norbert Ogiba, on Flickr
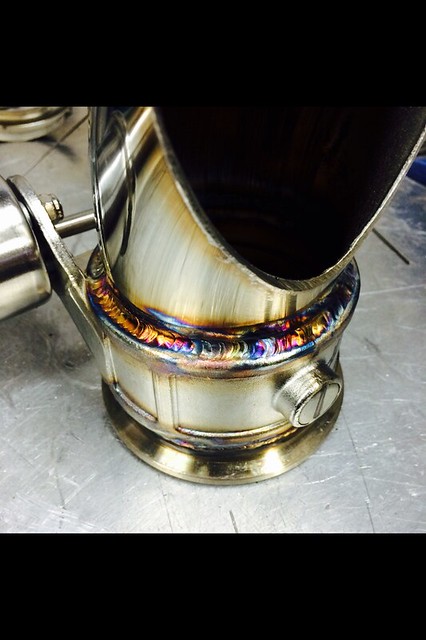 image by Norbert Ogiba, on Flickr
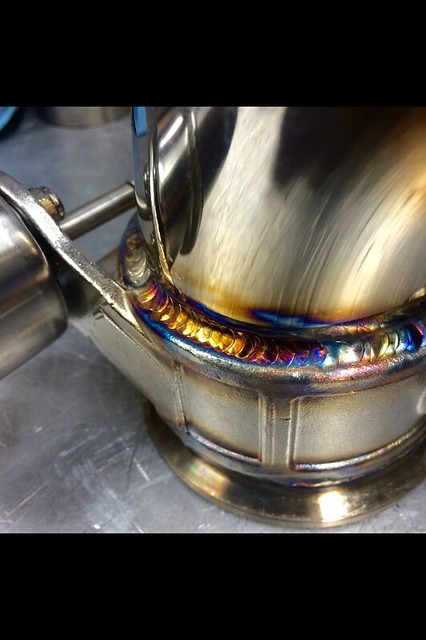 image by Norbert Ogiba, on Flickr
Coworker bought an '01 Coupe with a 6 speed, great condition, 60K
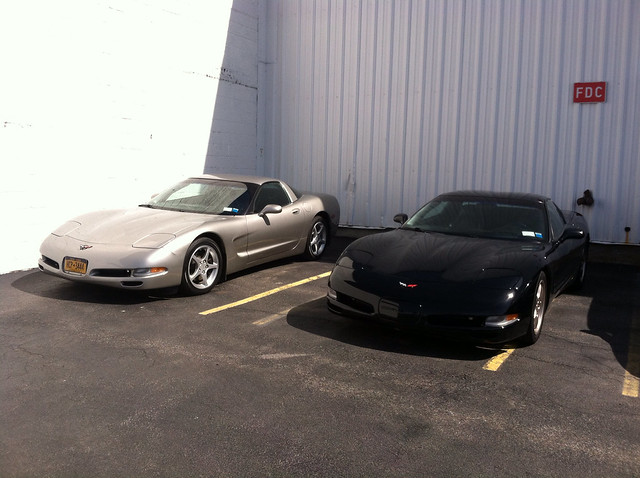 image by Norbert Ogiba, on Flickr
then, this
 image by Norbert Ogiba, on Flickr
which works out fine because i'm gonna tear it down this week for the valve springs and intake, install exhaust, etc.
image by Norbert Ogiba, on Flickrimage by Norbert Ogiba, on Flickrimage by Norbert Ogiba, on Flickrimage by Norbert Ogiba, on FlickrCoworker bought an '01 Coupe with a 6 speed, great condition, 60K
image by Norbert Ogiba, on Flickrthen, this
image by Norbert Ogiba, on Flickrwhich works out fine because i'm gonna tear it down this week for the valve springs and intake, install exhaust, etc.
started working on stuff
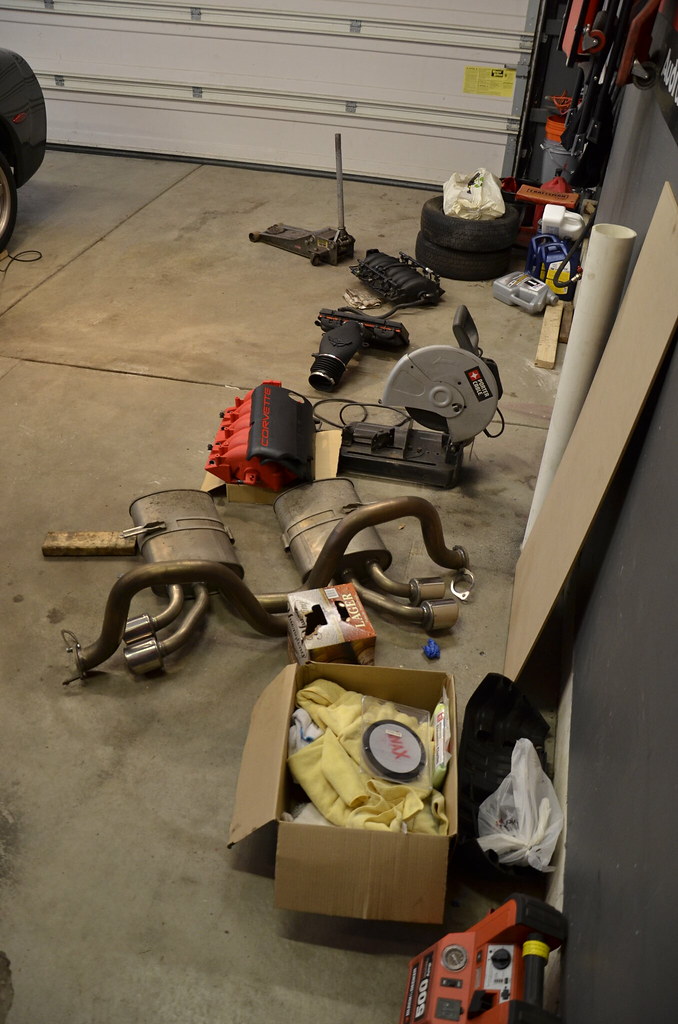 _DSC4970 by Norbert Ogiba, on Flickr
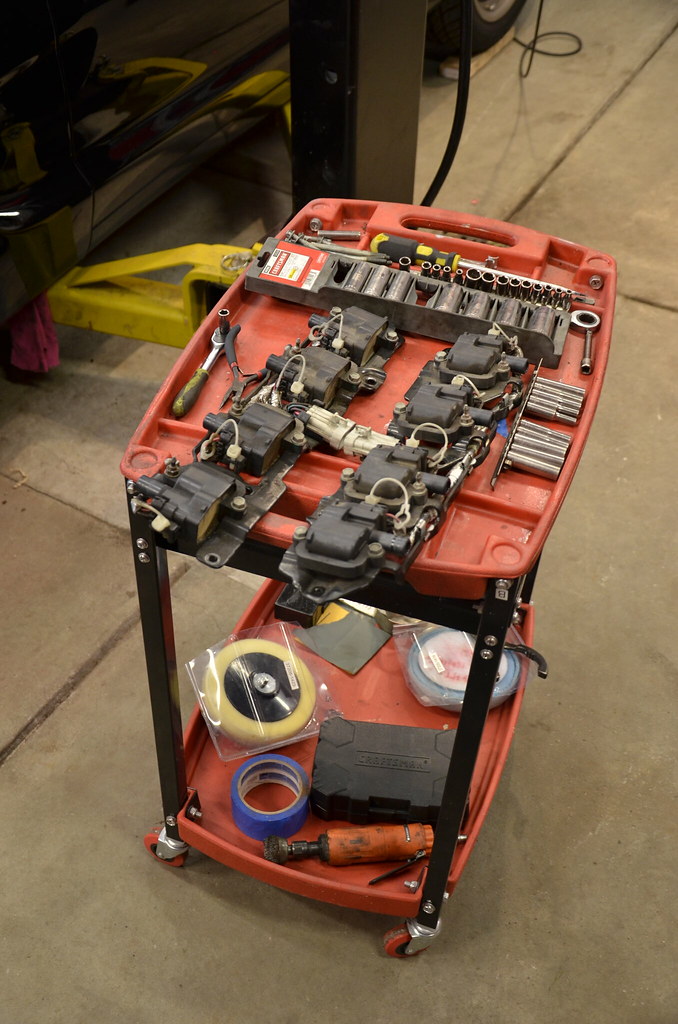 _DSC4971 by Norbert Ogiba, on Flickr
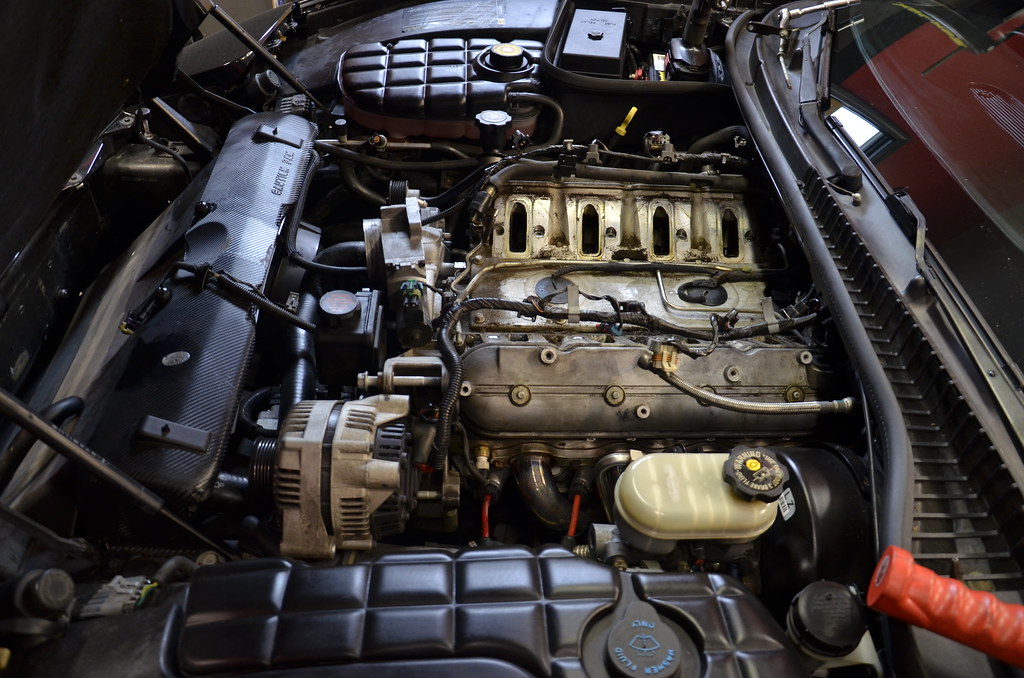 _DSC4972 by Norbert Ogiba, on Flickr
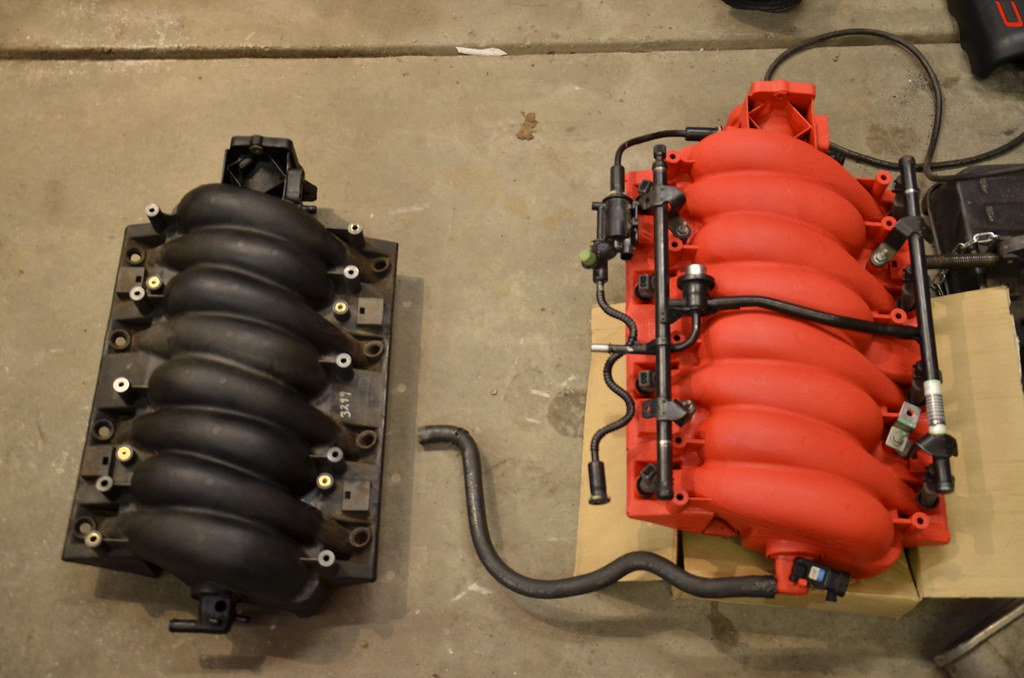 _DSC4973 by Norbert Ogiba, on Flickr
Got all the crap transferred to the new manifold, not bad for a couple hours of work. Need to mess with the steam lines next
_DSC4970 by Norbert Ogiba, on Flickr_DSC4971 by Norbert Ogiba, on Flickr_DSC4972 by Norbert Ogiba, on Flickr_DSC4973 by Norbert Ogiba, on FlickrGot all the crap transferred to the new manifold, not bad for a couple hours of work. Need to mess with the steam lines next
I haven't really thought about it yet. I removed them a couple days ago. Can you reuse the existing 4 port steam lines? I have some old truck stuff in the basement (front steam crossover and rear blockoffs) but would prefer to use the factory stuff if I can. I guess I need to toss the intake on there and see how it fits. Maybe the LS6 is already shaved underneath to fit the steam lines (I bought it used)
wife working late tonight and going to have a few drinks with friends afterwards. which means i'm grabbing a 6 pack of PBR pounders and putting in some quality time tonight in the man cave. hoping to get the rear sway bar out of the way, exhaust all buttoned up, and LS6 intake clearanced for the LS1 quad steam lines



I haven't really thought about it yet. I removed them a couple days ago. Can you reuse the existing 4 port steam lines? I have some old truck stuff in the basement (front steam crossover and rear blockoffs) but would prefer to use the factory stuff if I can. I guess I need to toss the intake on there and see how it fits. Maybe the LS6 is already shaved underneath to fit the steam lines (I bought it used)