
Detailing: 1996 Impala SS

This one is a doozy and sent Scott and I to the mental farm until we figured it all out...
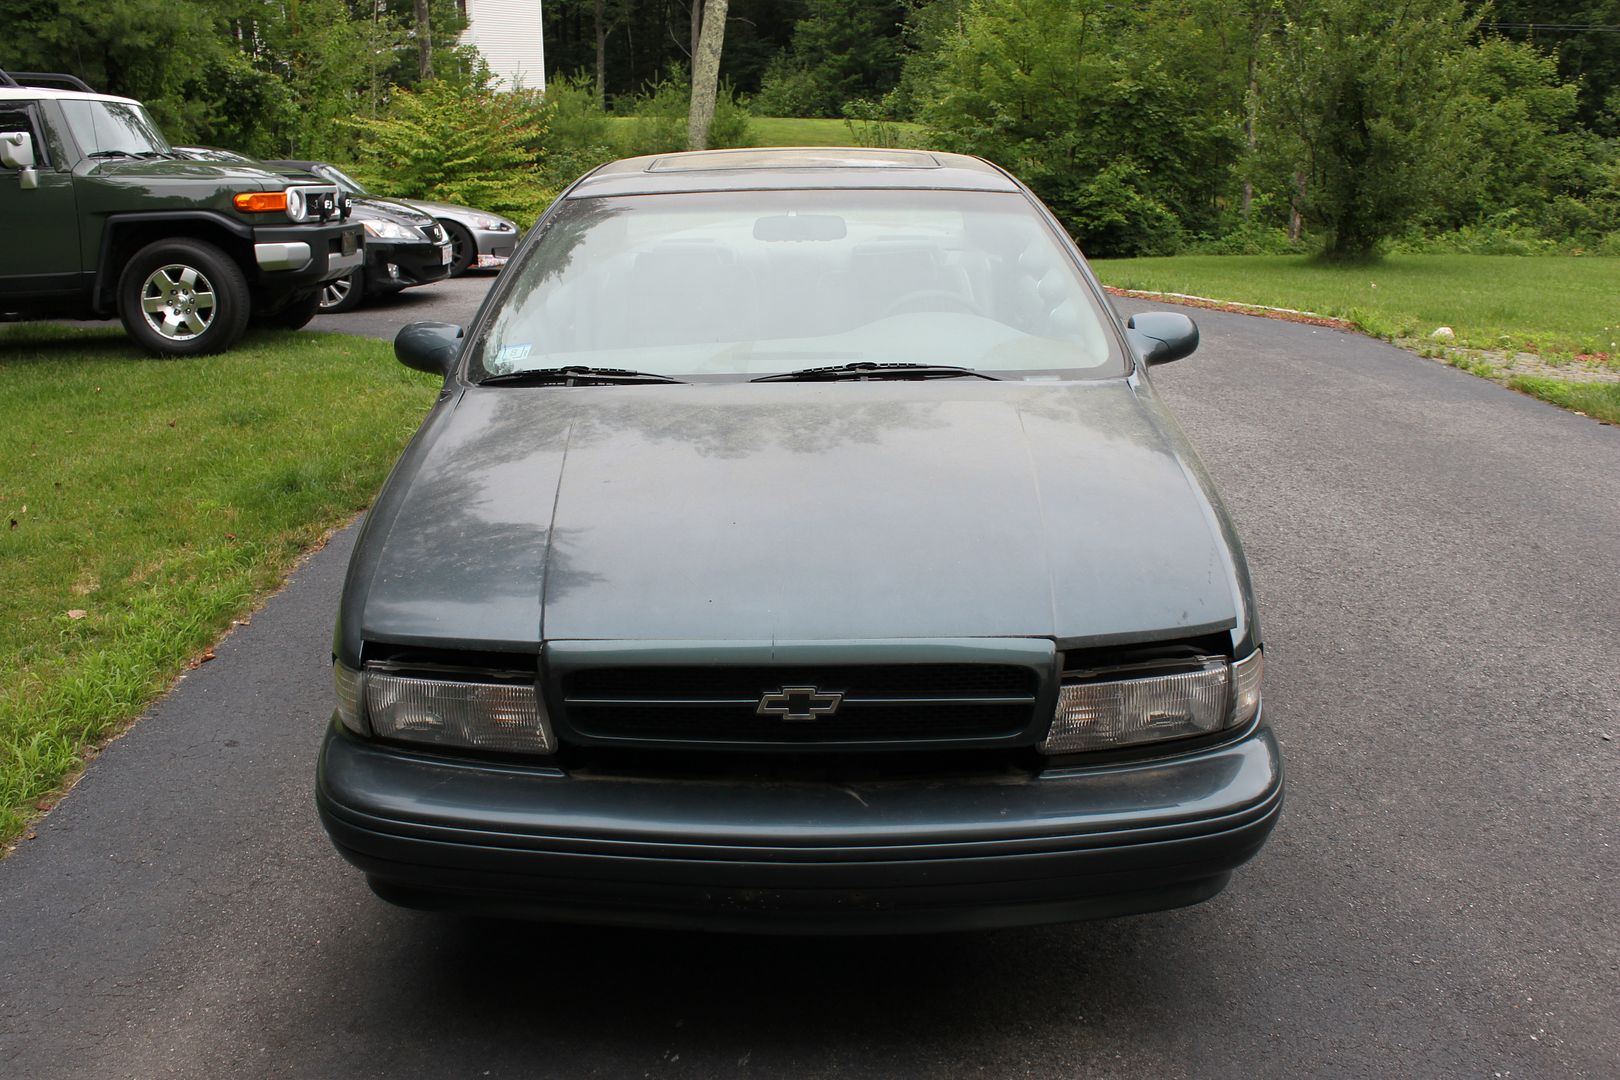
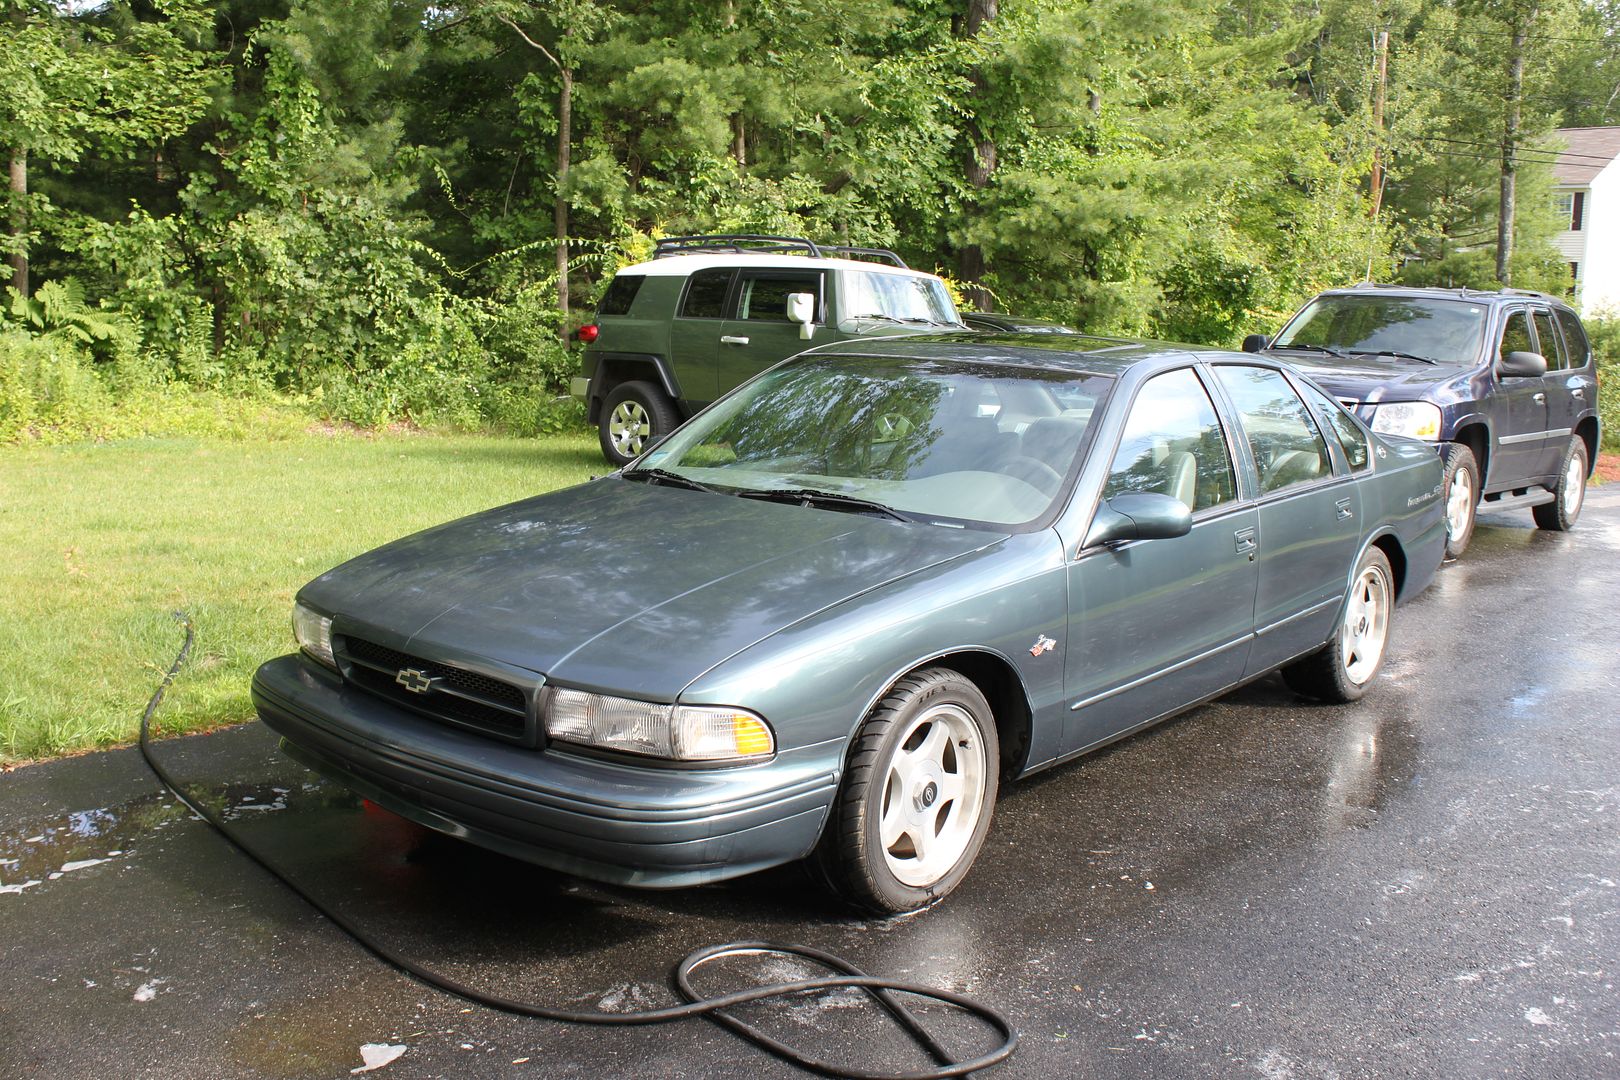
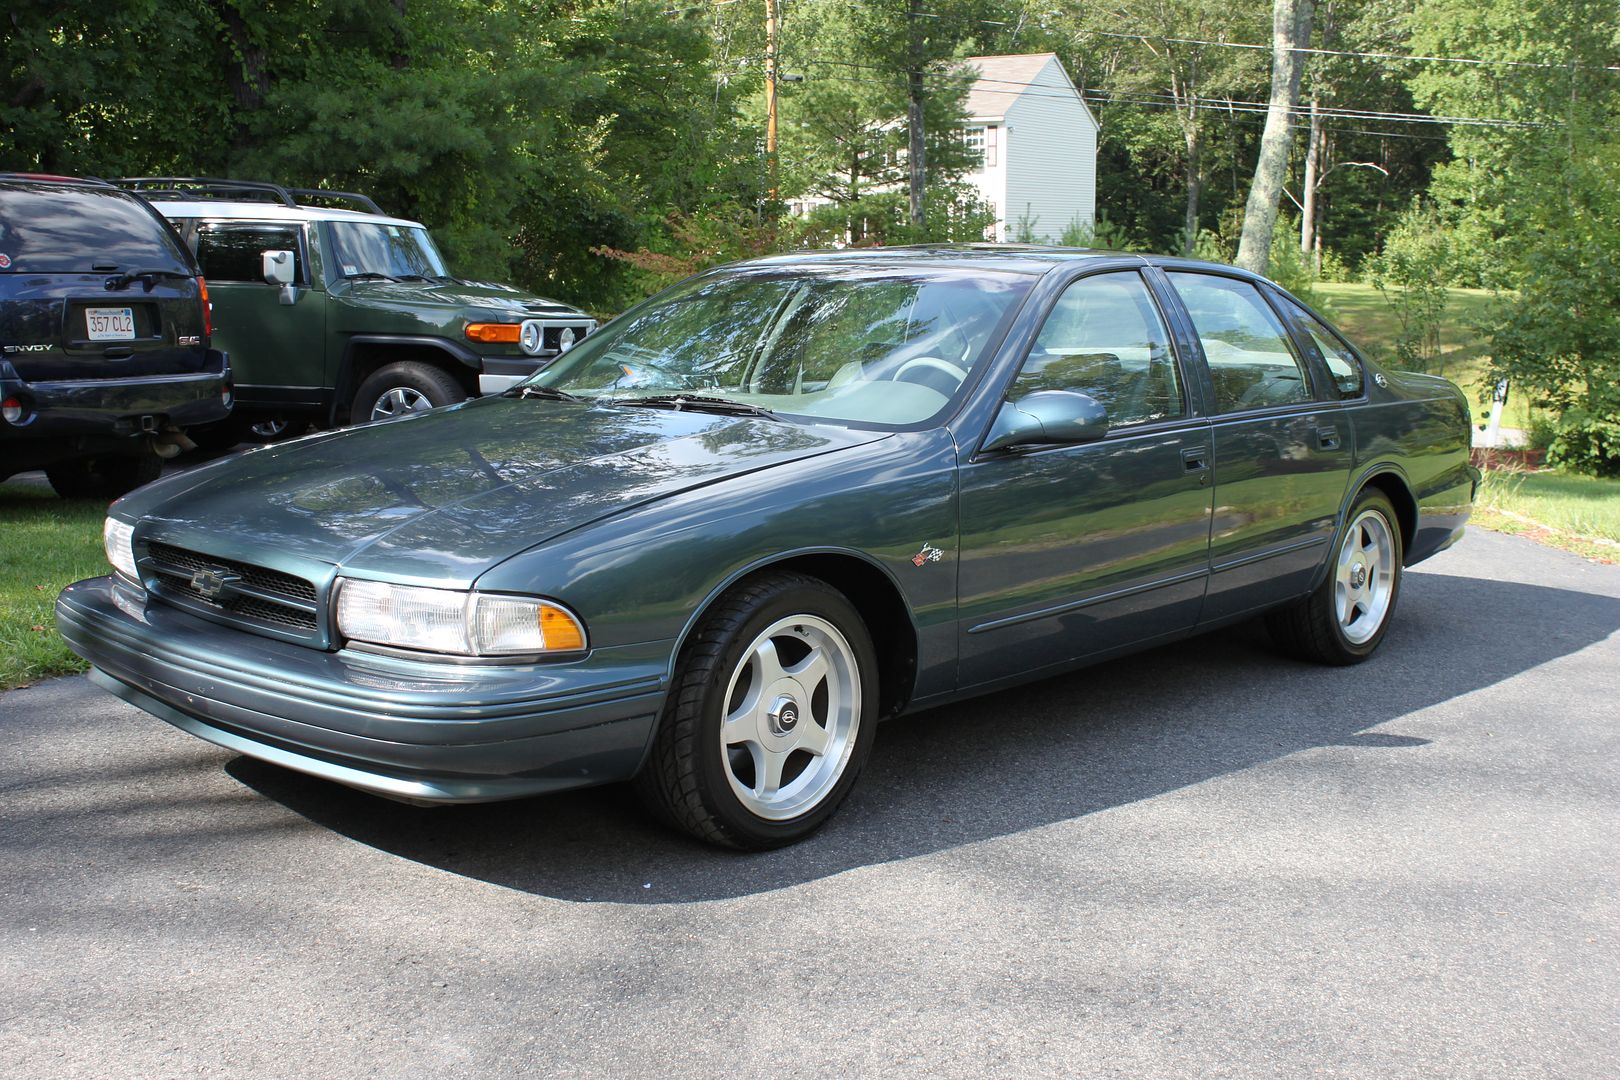
This 1996 Impala that has been in our circle of friends for umpteen years, but sat in storage for the last 10. A good friend of ours bought it from the owner as he was ready to move on. He returned it to running and driving condition then asked if we can do anything to bring the paint and interior back. We happily said we would certainly try...and that we did...
After 30+ man hours we have to report we did all we could for it....
Over the course of the detail we learned quite a bit about the car's previous history and it isn't all good... It is easiest to tell the story with the pics so I will do that...
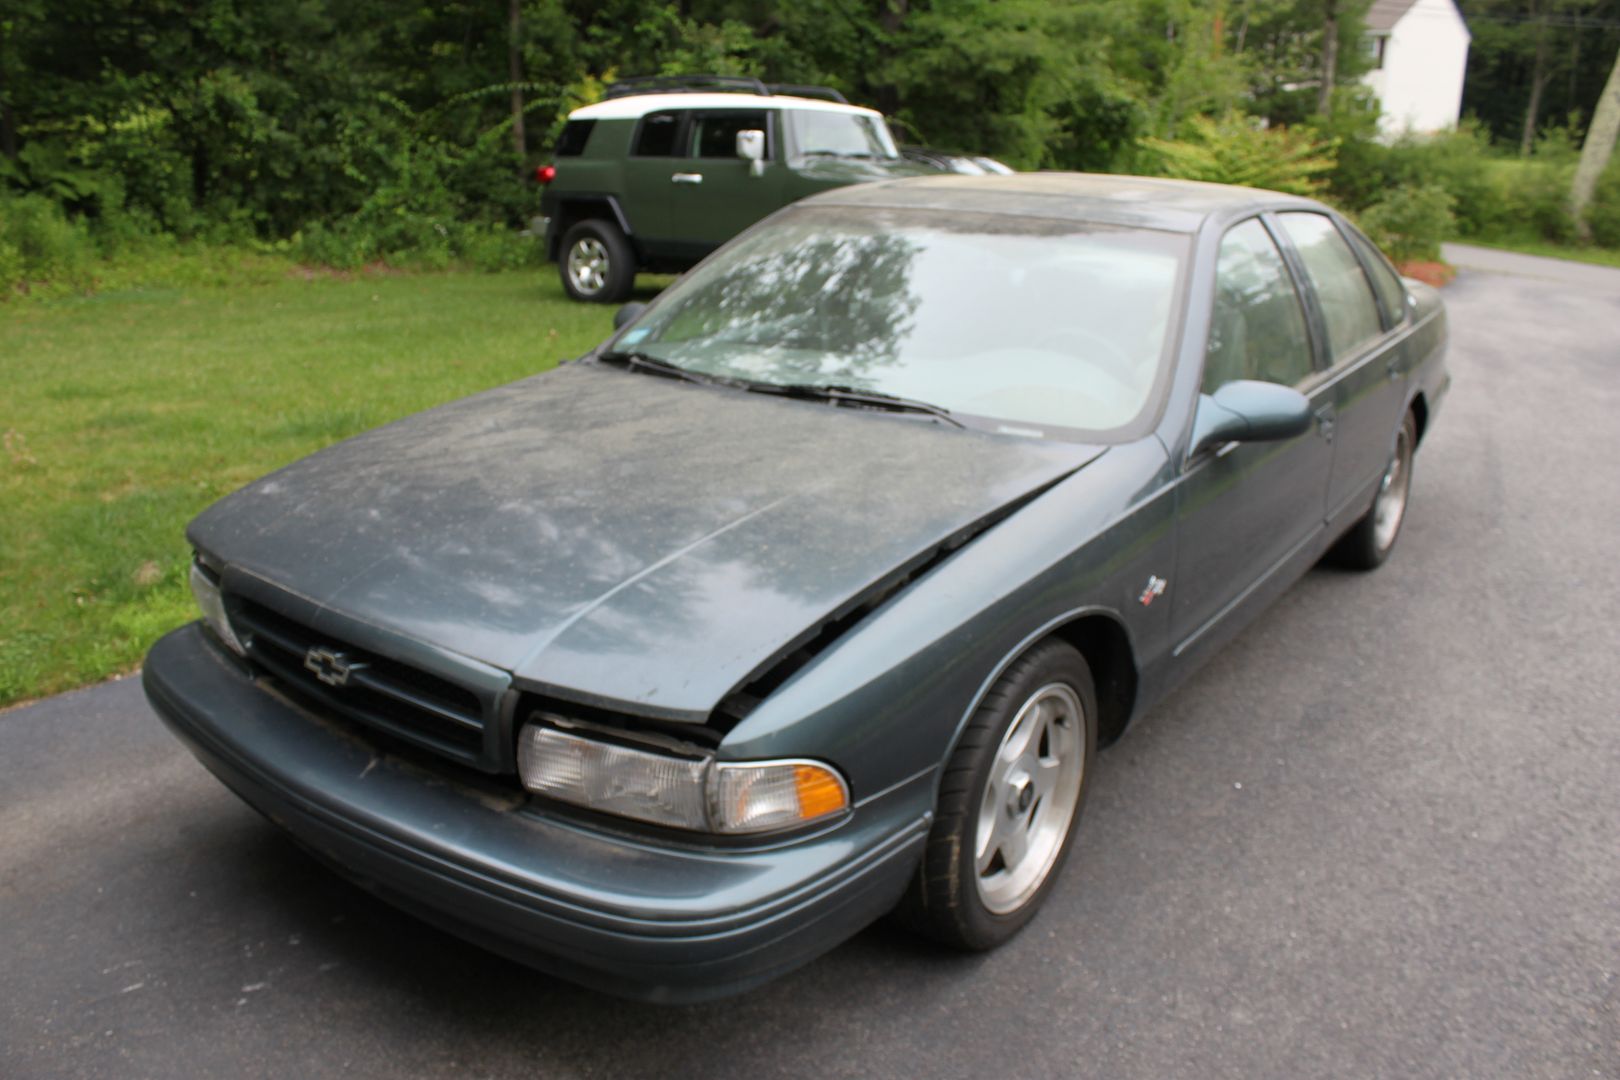
But for those with ADD... Car is 80-85% after significant attempts at correcting... Boils down to 75% of the panels had been clear coated OVER the defects in the original layer of clear (I know makes no sense, I would have thought clearing over would have filled in the previous damage) and we are not able to remove them, though we tried until we figured it out!
So the story starts...
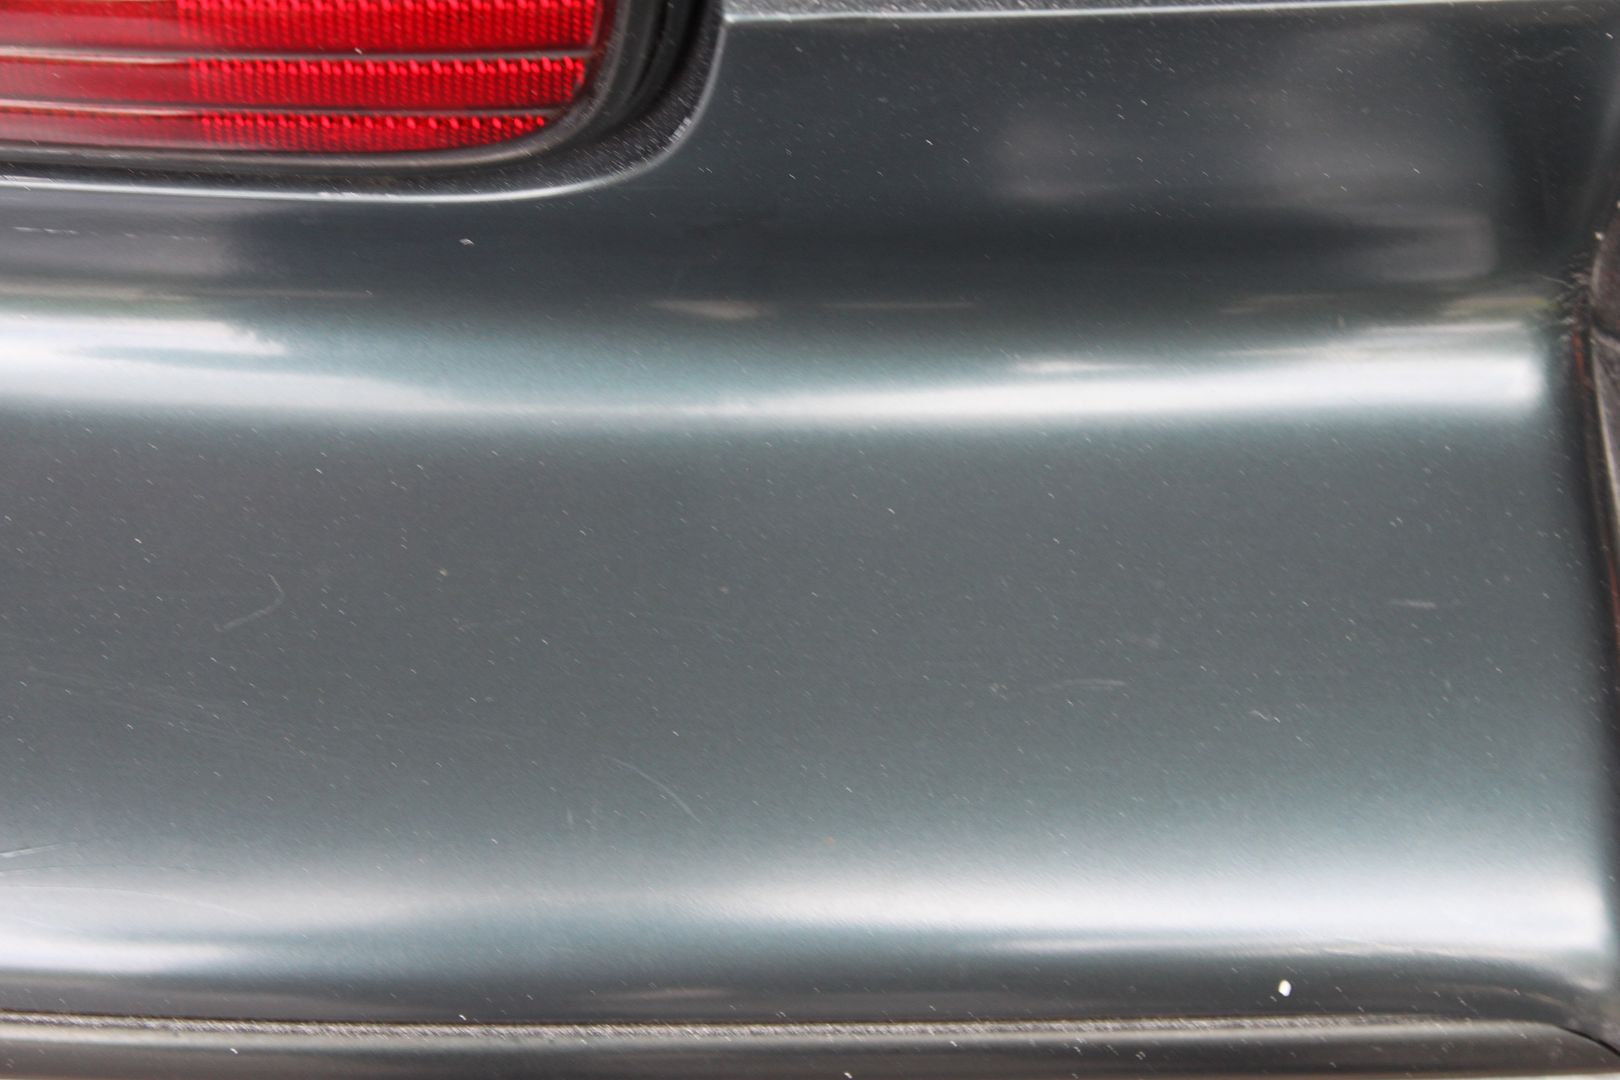
Car as picked up, CAKED with grime, took three washes to get it to the point we could pull it in to begin correction...


And then we dried it...:yikes::yikes::yikes:
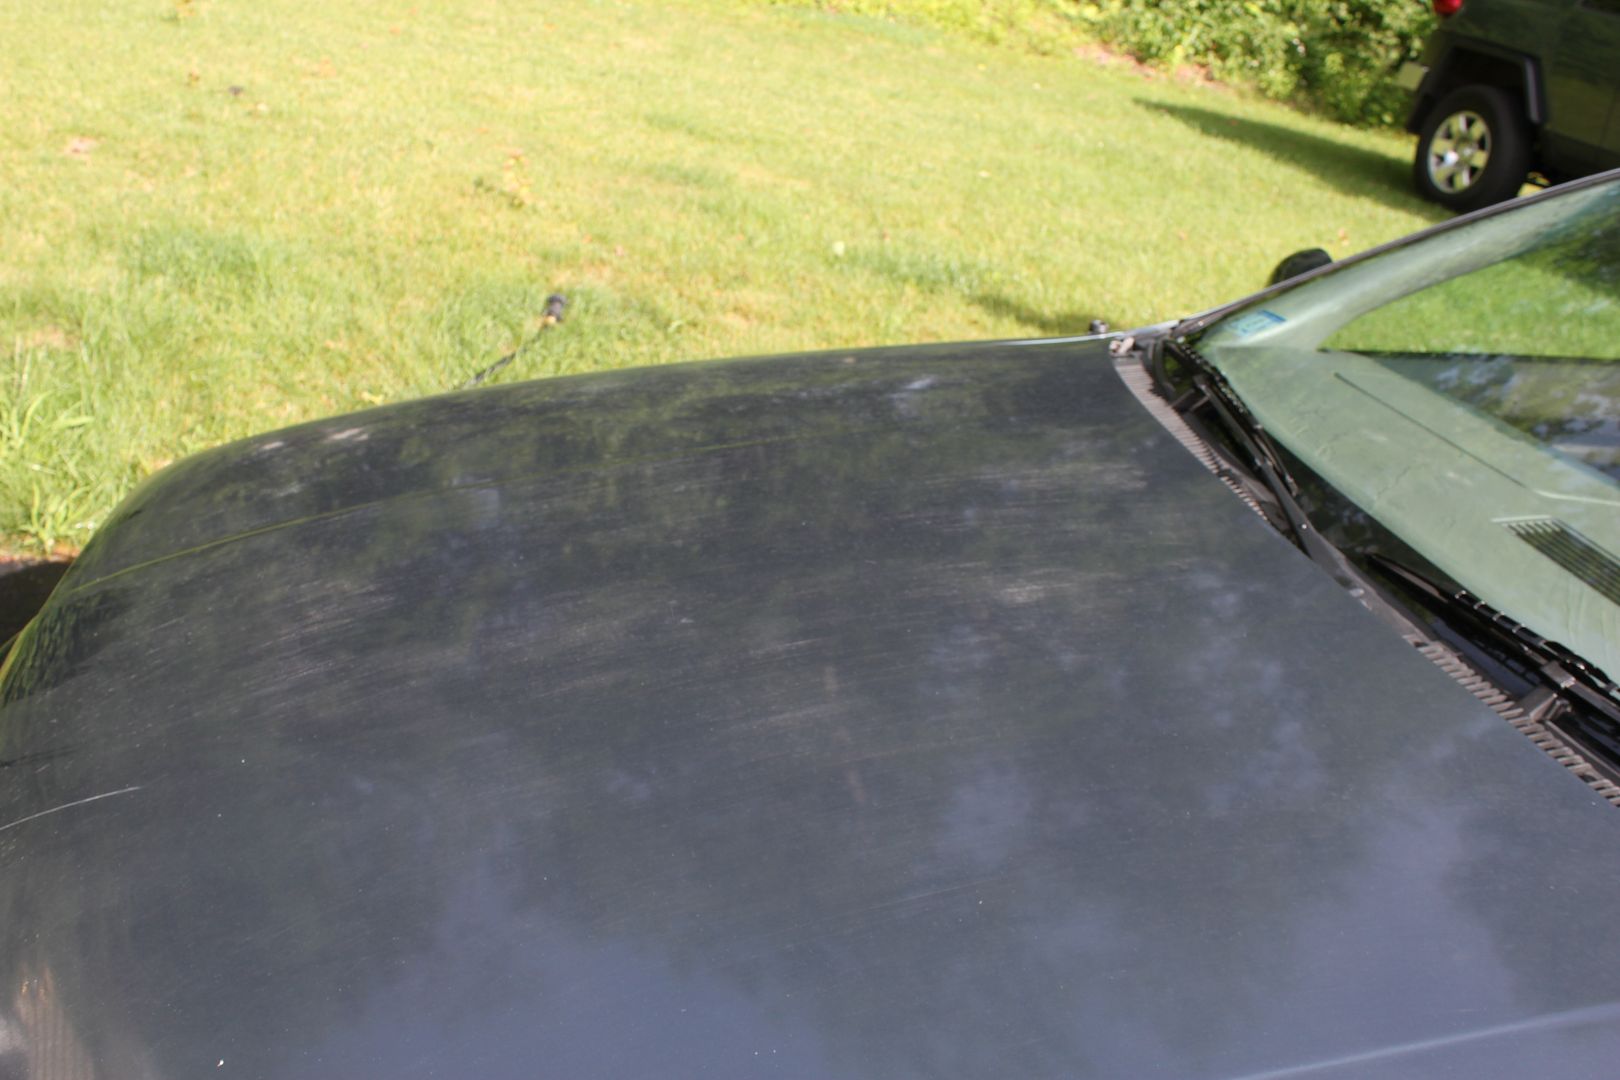
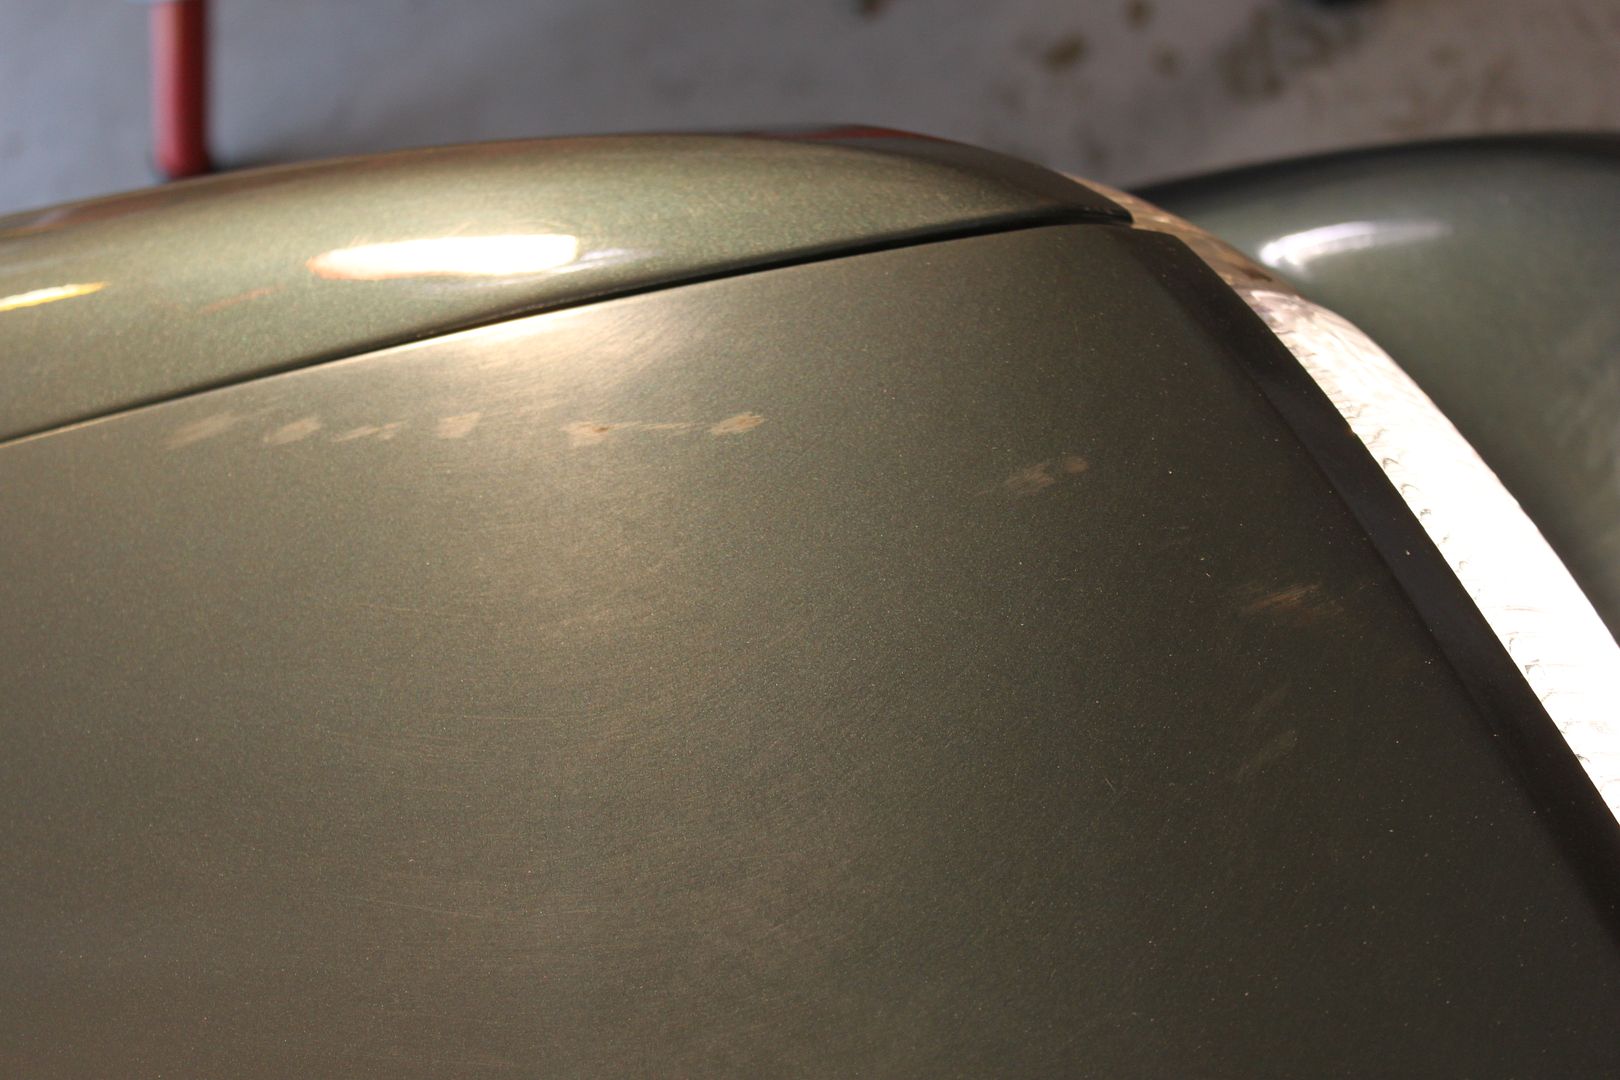
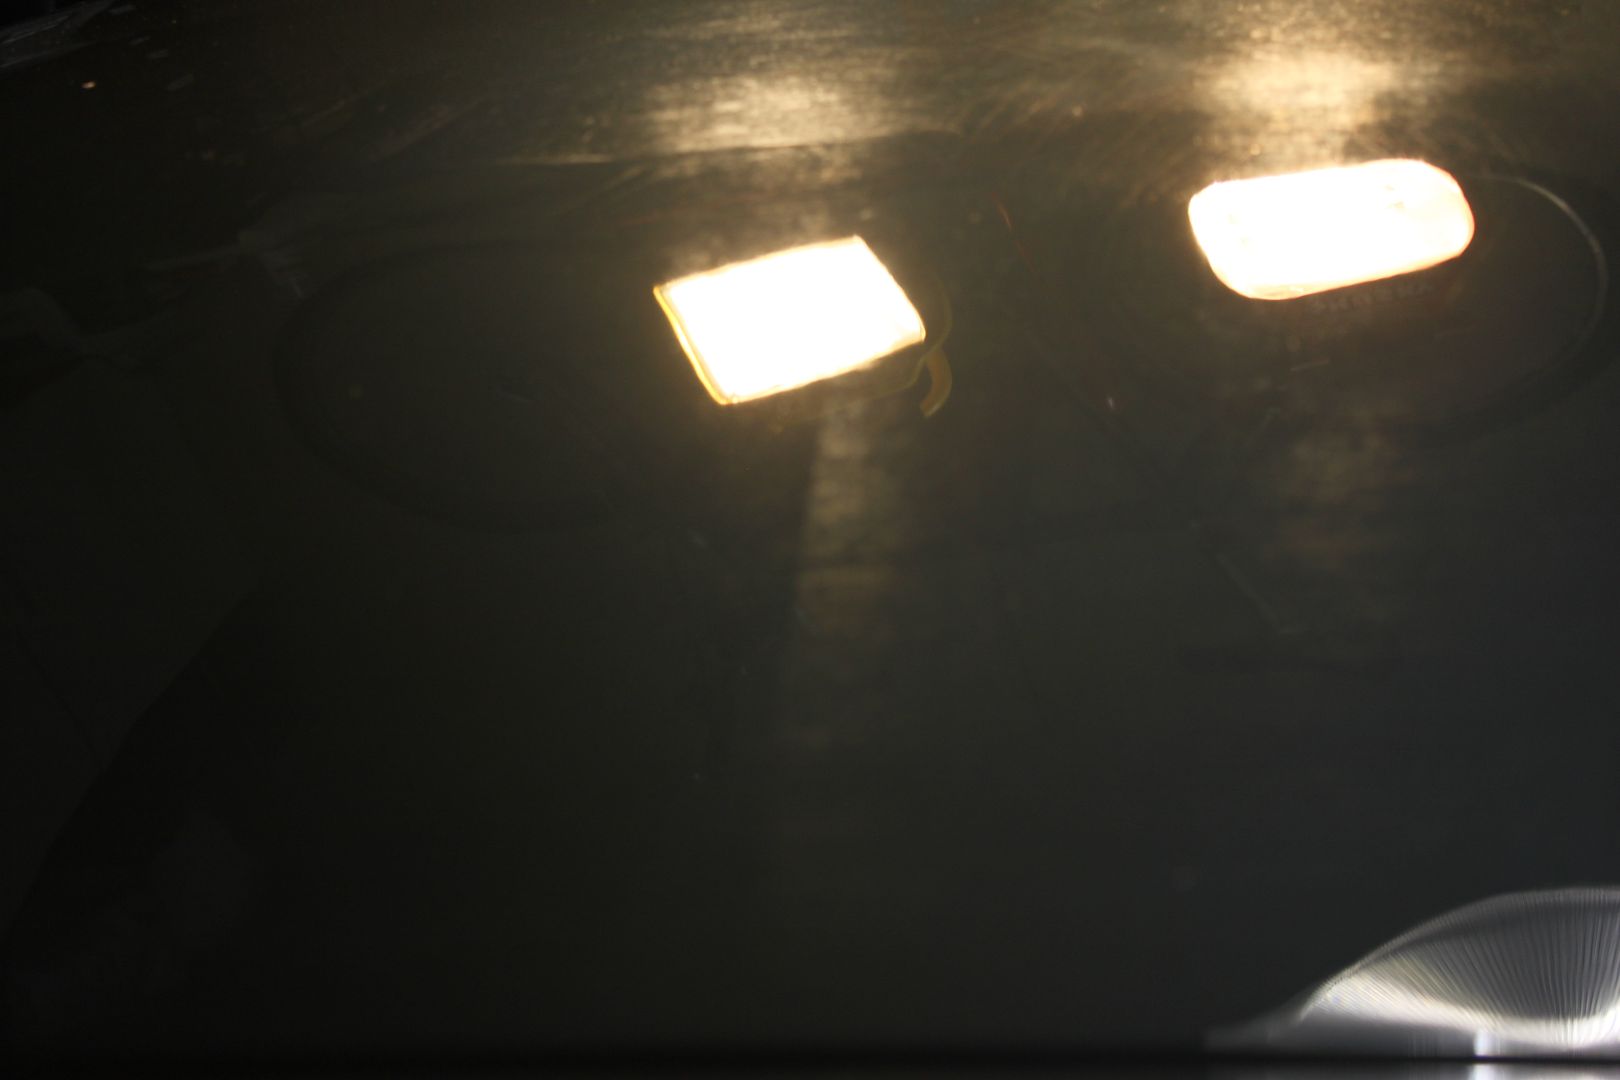
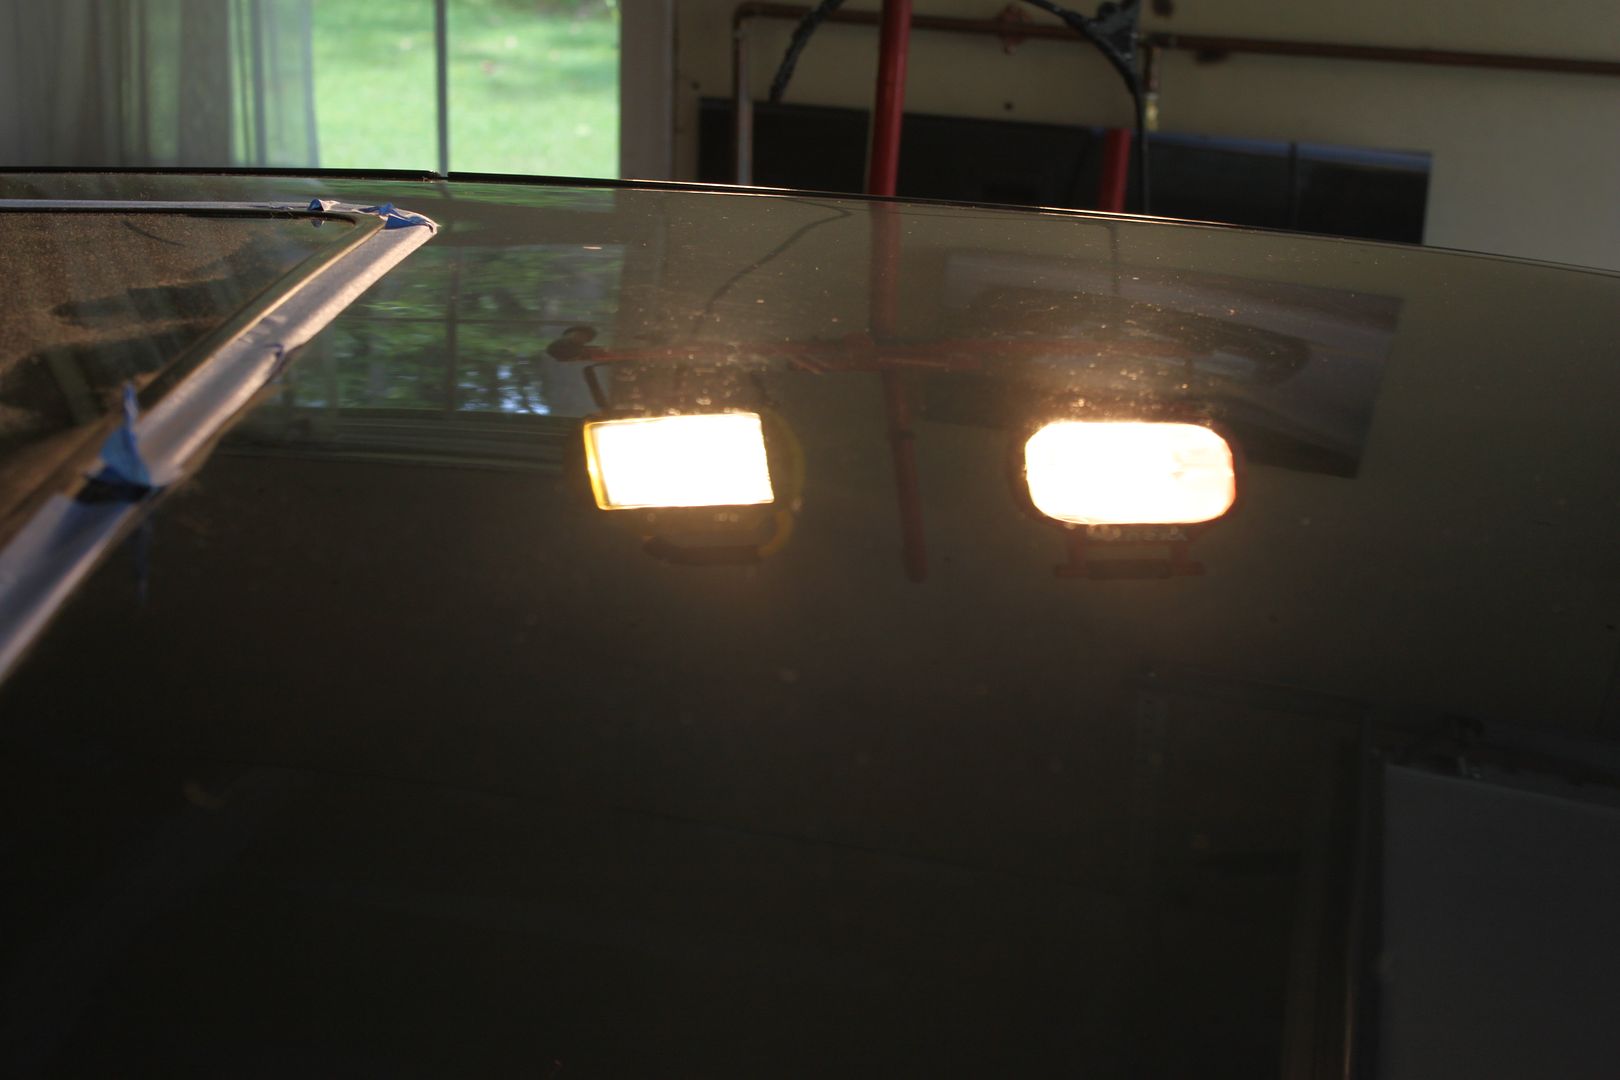
HOLY CR@P BATMAN! We pulled it into see it under the lights but the sun already told us how bad it really is...
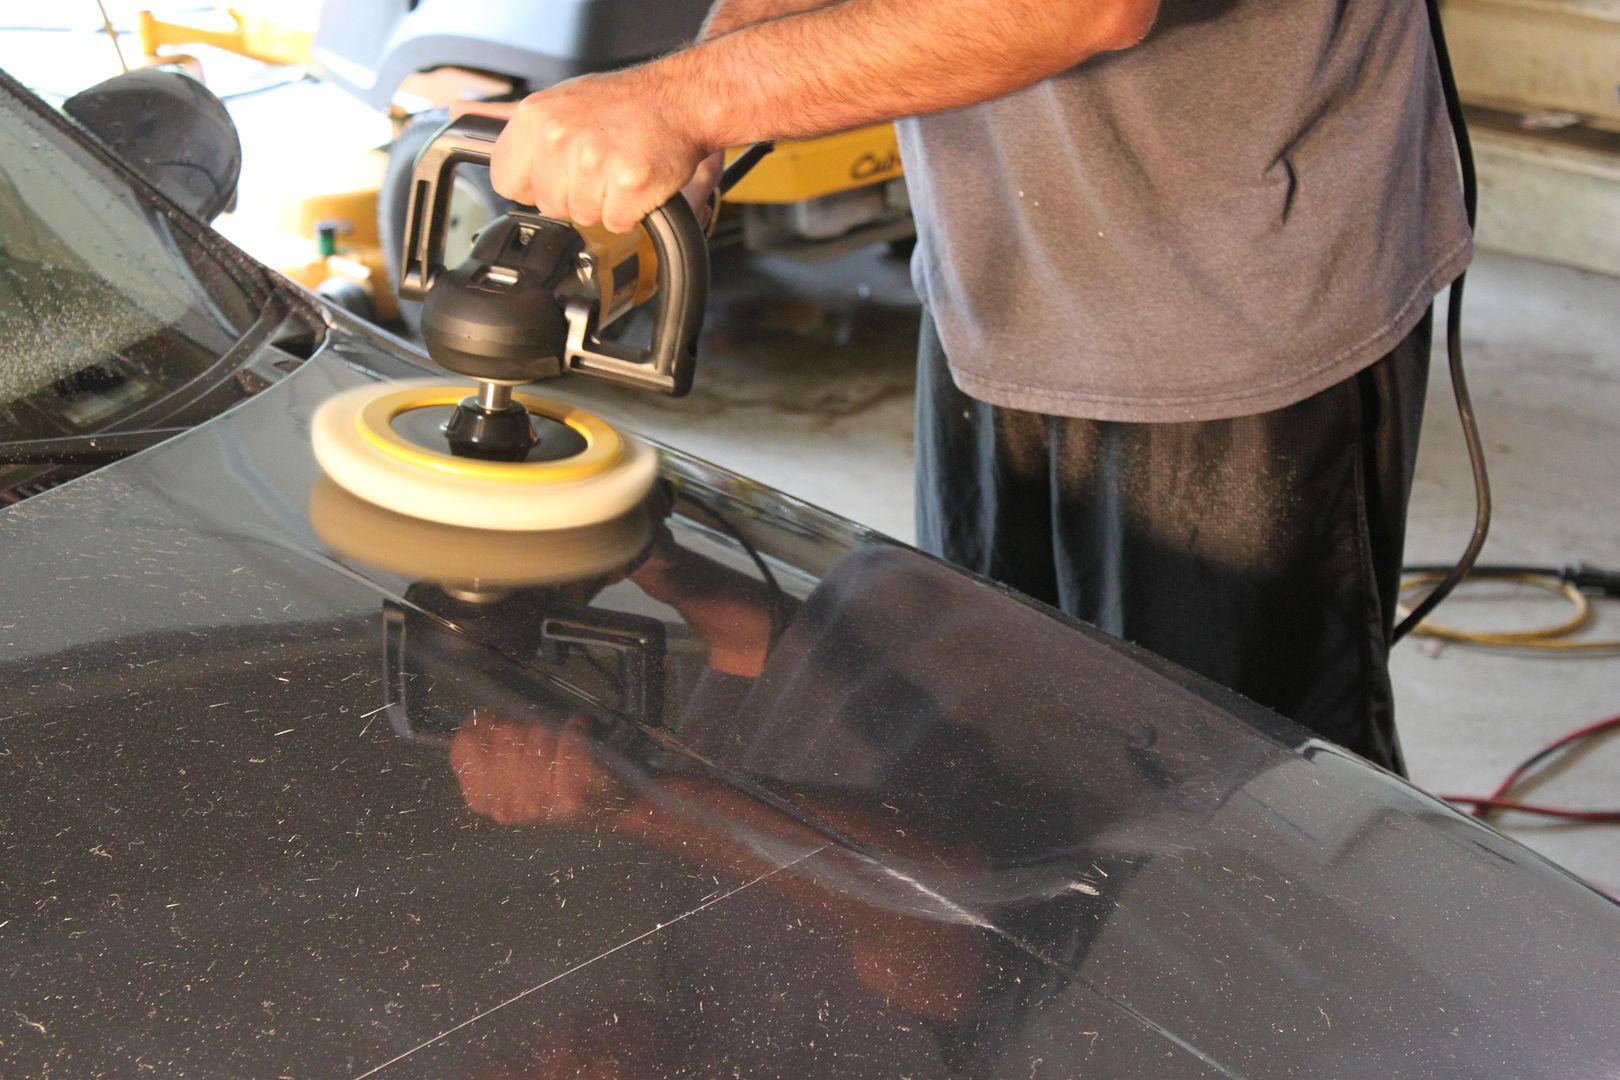
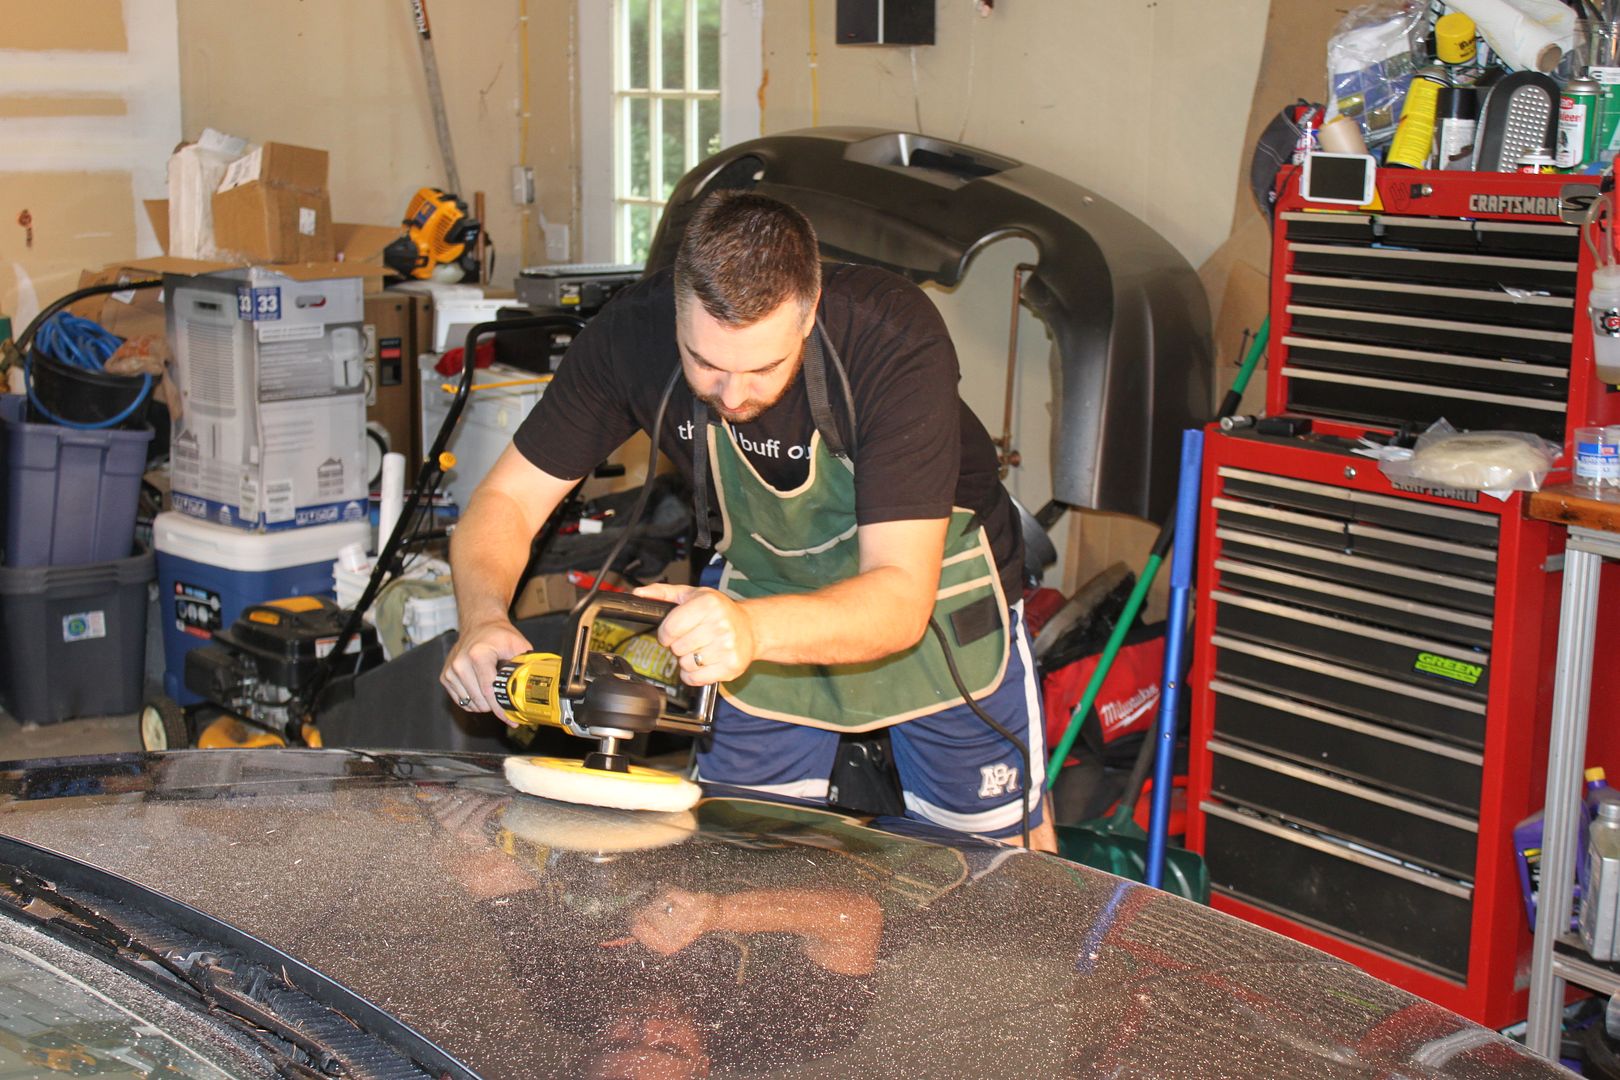
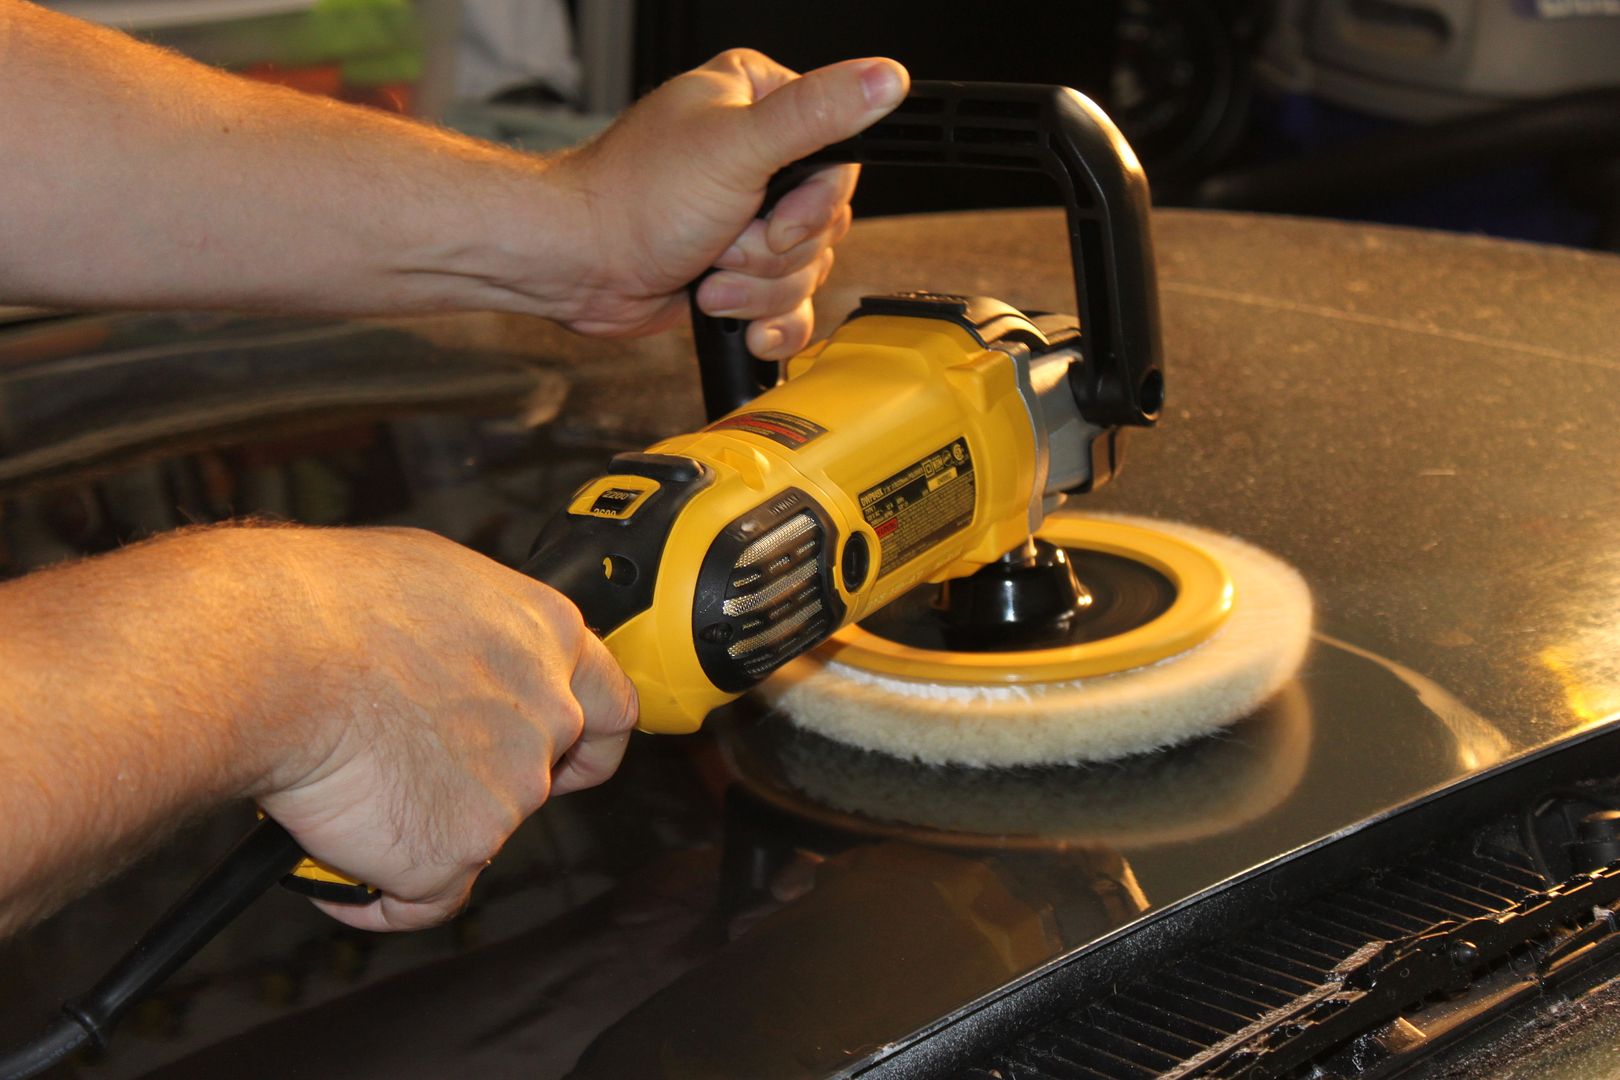
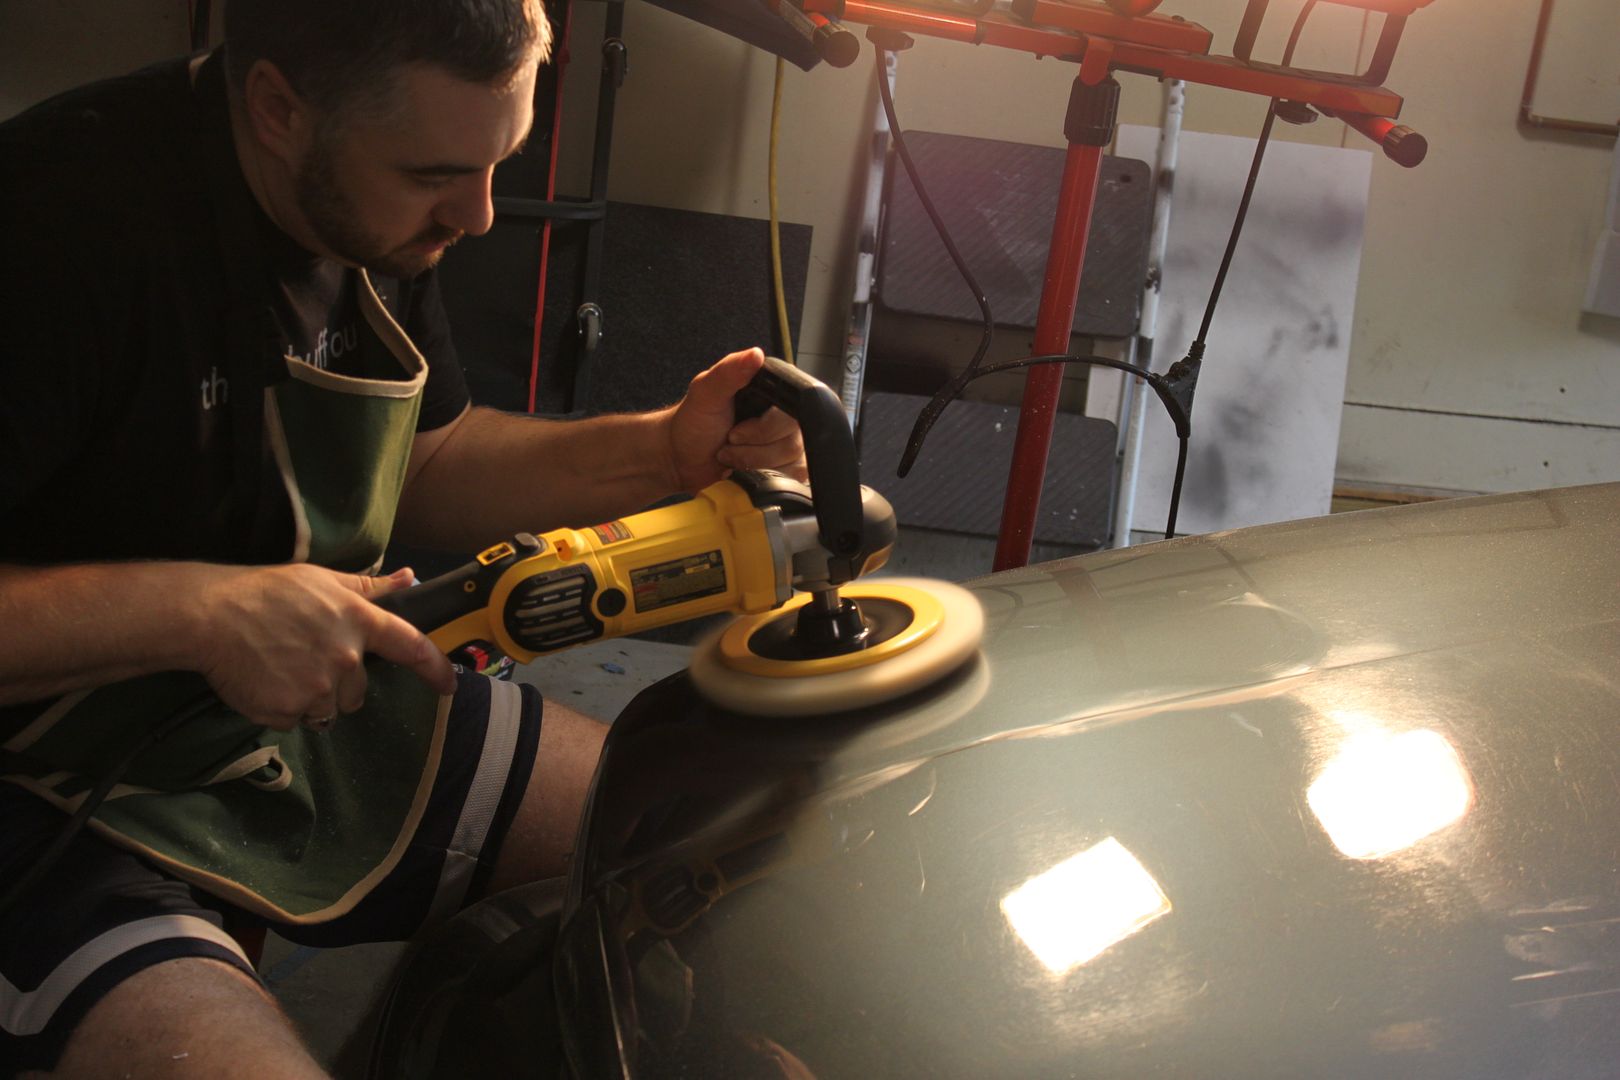
Now we tried and tried different pad and compound combinations to no avail, we didn't appear to be making a dent in the defects present in the paint... We used a life line and called a friend who does paint work... He came up with a rotary in hand and gave it a shot in one spot... Considerable improvement but still not quite there, but Scott and I knew we now needed a rotary and at the time felt we could get the finish where we wanted it... So we ordered...
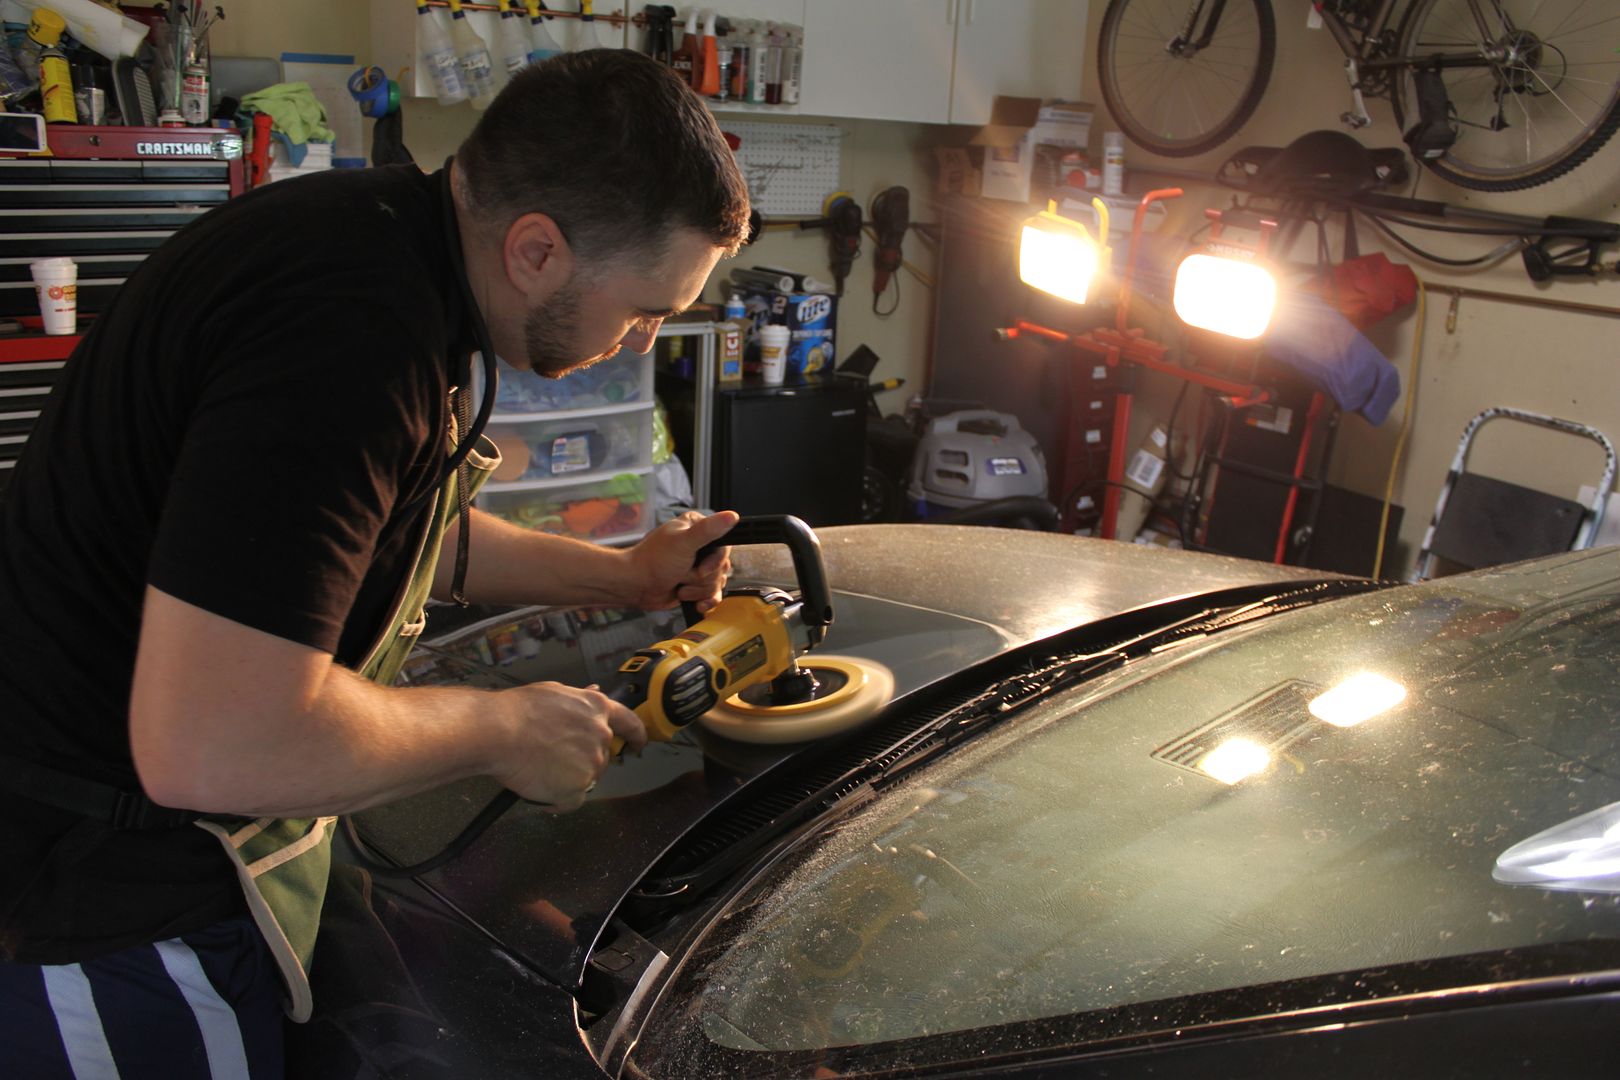
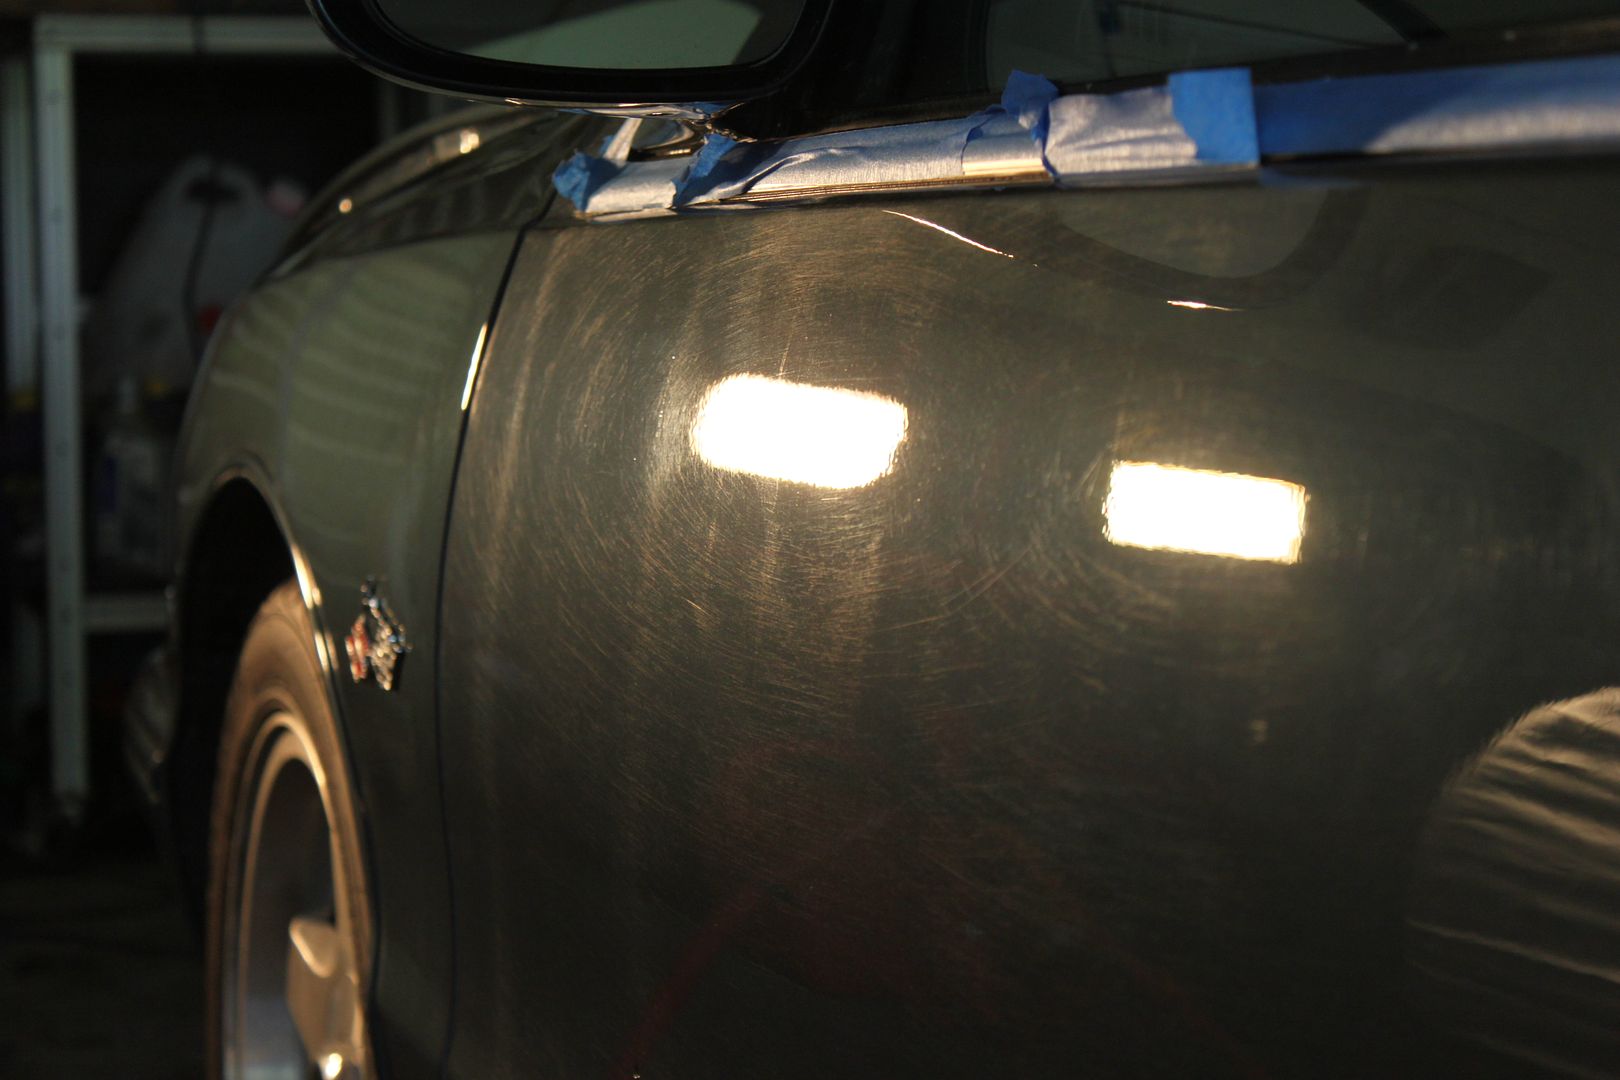
And the beginning of us heading to the mental farm for several hours... We worked the hood and by worked I mean worked 6-8 passes of AGGRESSIVE rotary... WTF!:shead:
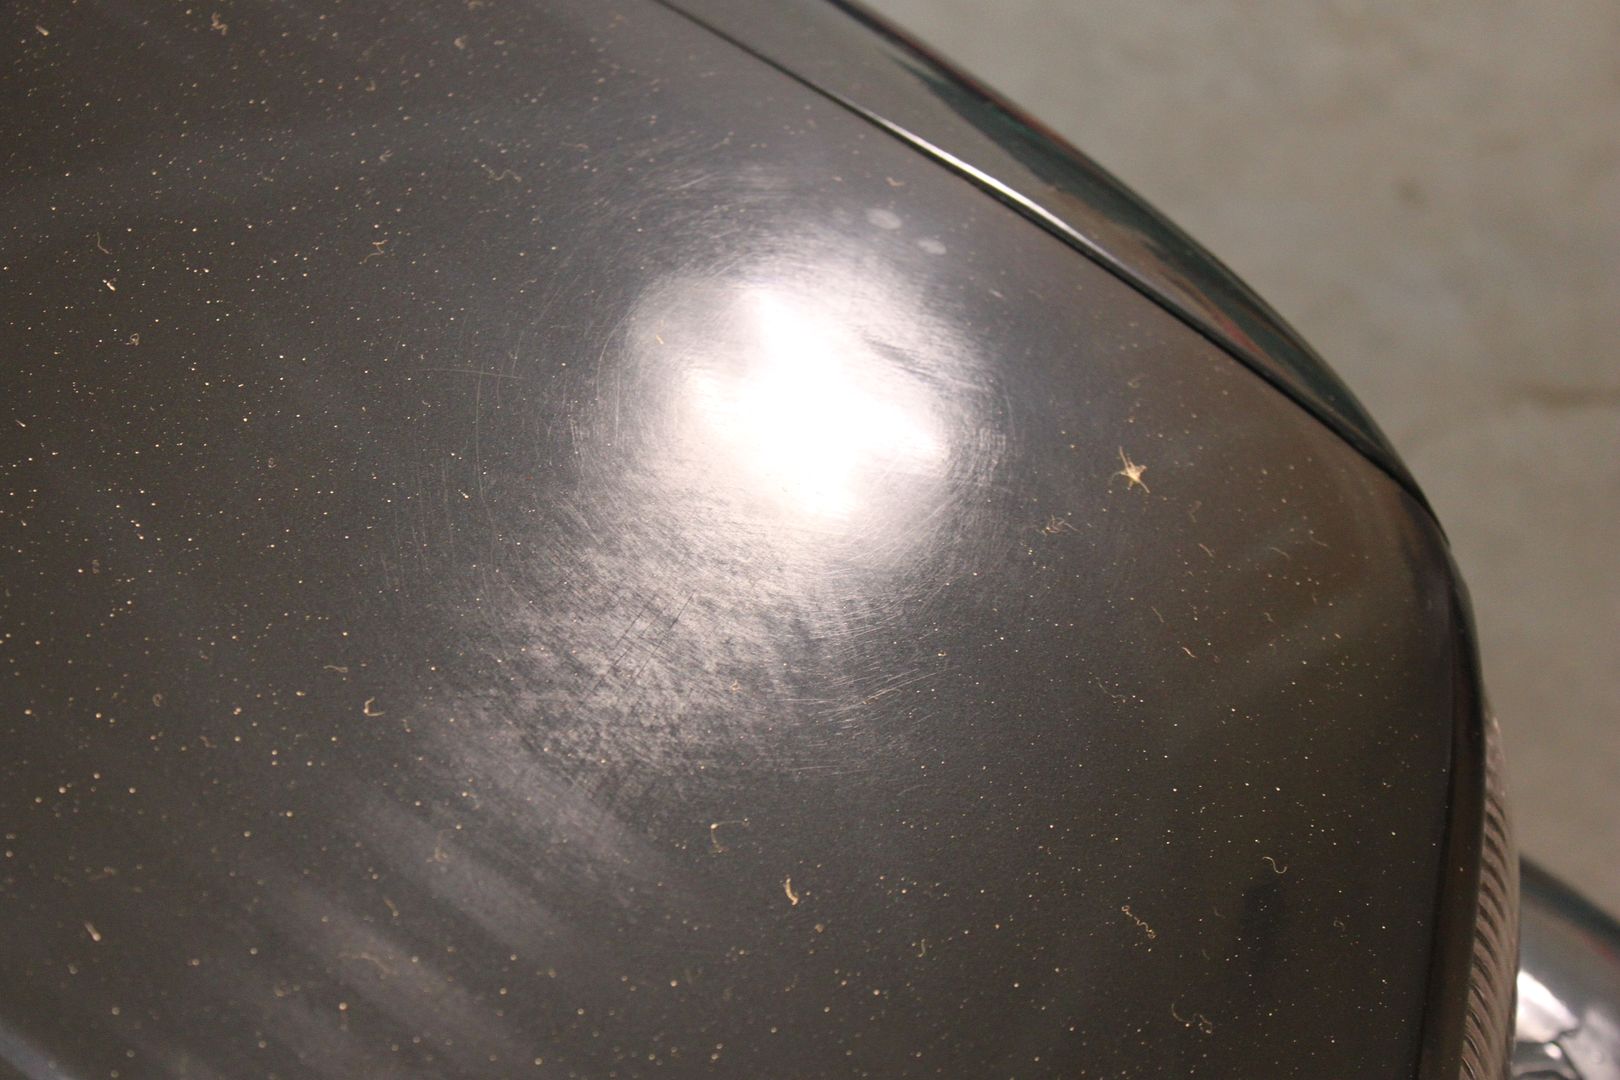
What is this stuff? It won't correct but looking way better... Paint has this 3d scratch effect going on...
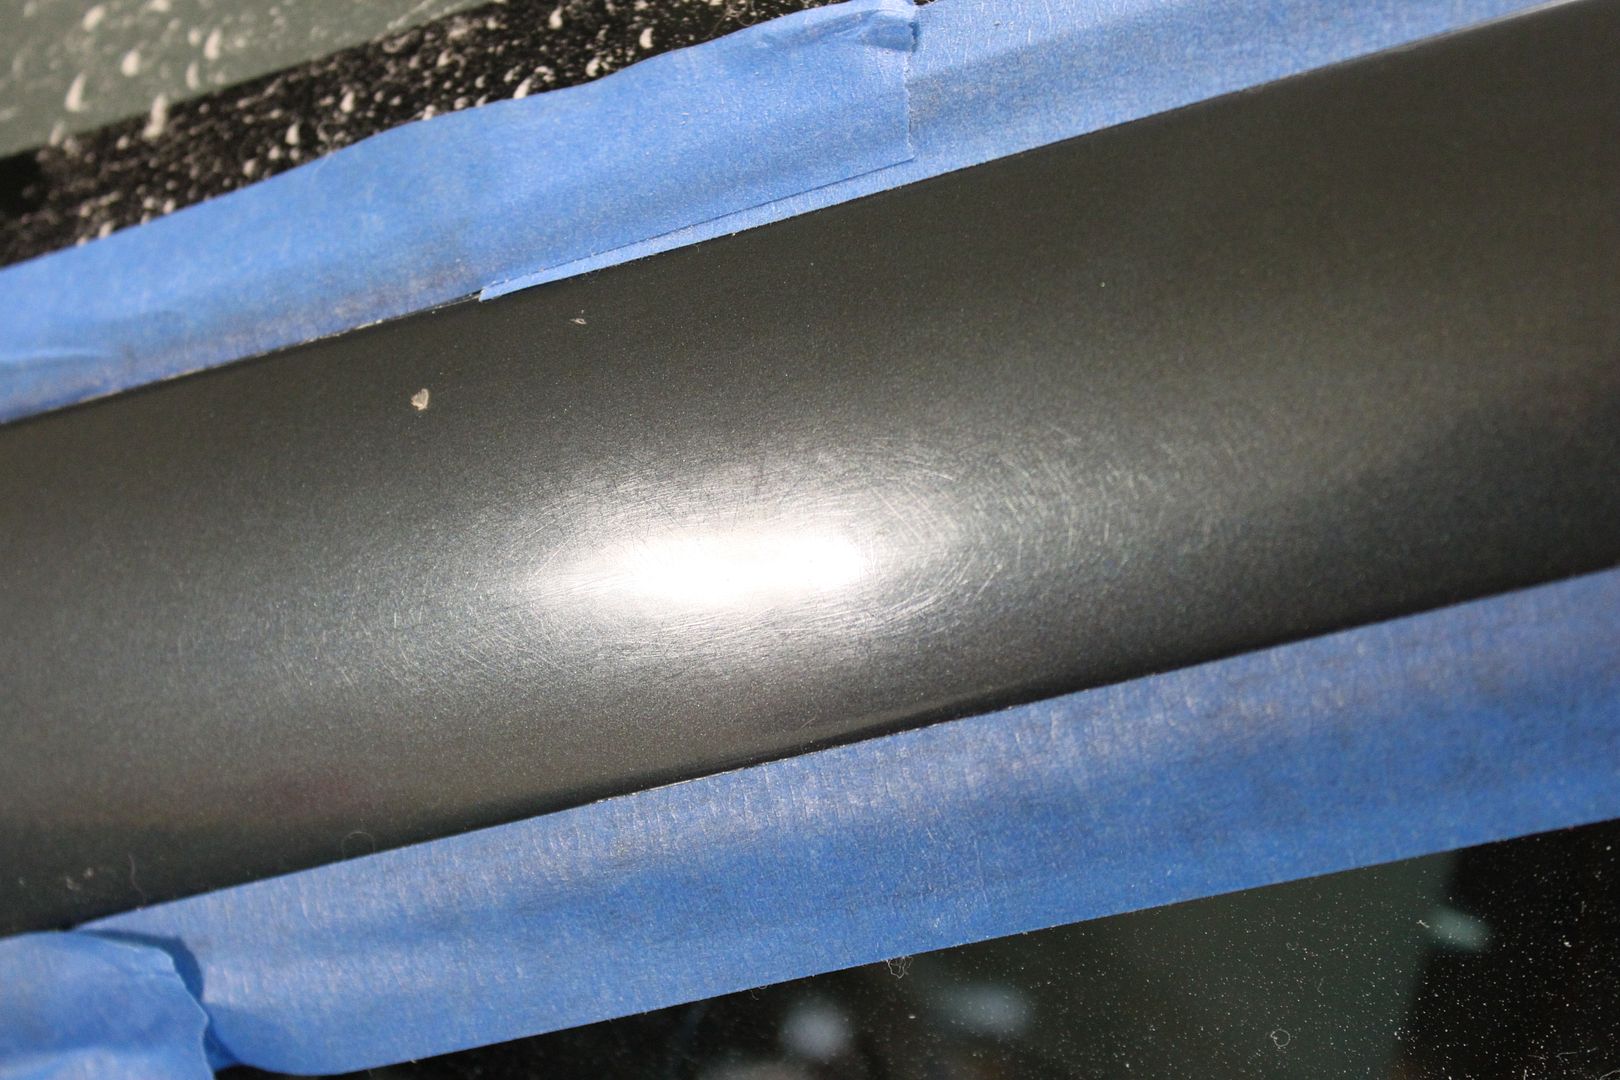
This shows a bit about what we are fighting... Image is in thirds, far is uncorrected, close left 8 passes rotary, close right 2 passes rotary... You can see we don't seem to gain much by additional passes...
More we say...
This 1996 Impala that has been in our circle of friends for umpteen years, but sat in storage for the last 10. A good friend of ours bought it from the owner as he was ready to move on. He returned it to running and driving condition then asked if we can do anything to bring the paint and interior back. We happily said we would certainly try...and that we did...
After 30+ man hours we have to report we did all we could for it....
Over the course of the detail we learned quite a bit about the car's previous history and it isn't all good... It is easiest to tell the story with the pics so I will do that...
But for those with ADD... Car is 80-85% after significant attempts at correcting... Boils down to 75% of the panels had been clear coated OVER the defects in the original layer of clear (I know makes no sense, I would have thought clearing over would have filled in the previous damage) and we are not able to remove them, though we tried until we figured it out!
So the story starts...
Car as picked up, CAKED with grime, took three washes to get it to the point we could pull it in to begin correction...


And then we dried it...:yikes::yikes::yikes:


HOLY CR@P BATMAN! We pulled it into see it under the lights but the sun already told us how bad it really is...


Now we tried and tried different pad and compound combinations to no avail, we didn't appear to be making a dent in the defects present in the paint... We used a life line and called a friend who does paint work... He came up with a rotary in hand and gave it a shot in one spot... Considerable improvement but still not quite there, but Scott and I knew we now needed a rotary and at the time felt we could get the finish where we wanted it... So we ordered...

And the beginning of us heading to the mental farm for several hours... We worked the hood and by worked I mean worked 6-8 passes of AGGRESSIVE rotary... WTF!:shead:


What is this stuff? It won't correct but looking way better... Paint has this 3d scratch effect going on...


This shows a bit about what we are fighting... Image is in thirds, far is uncorrected, close left 8 passes rotary, close right 2 passes rotary... You can see we don't seem to gain much by additional passes...

More we say...


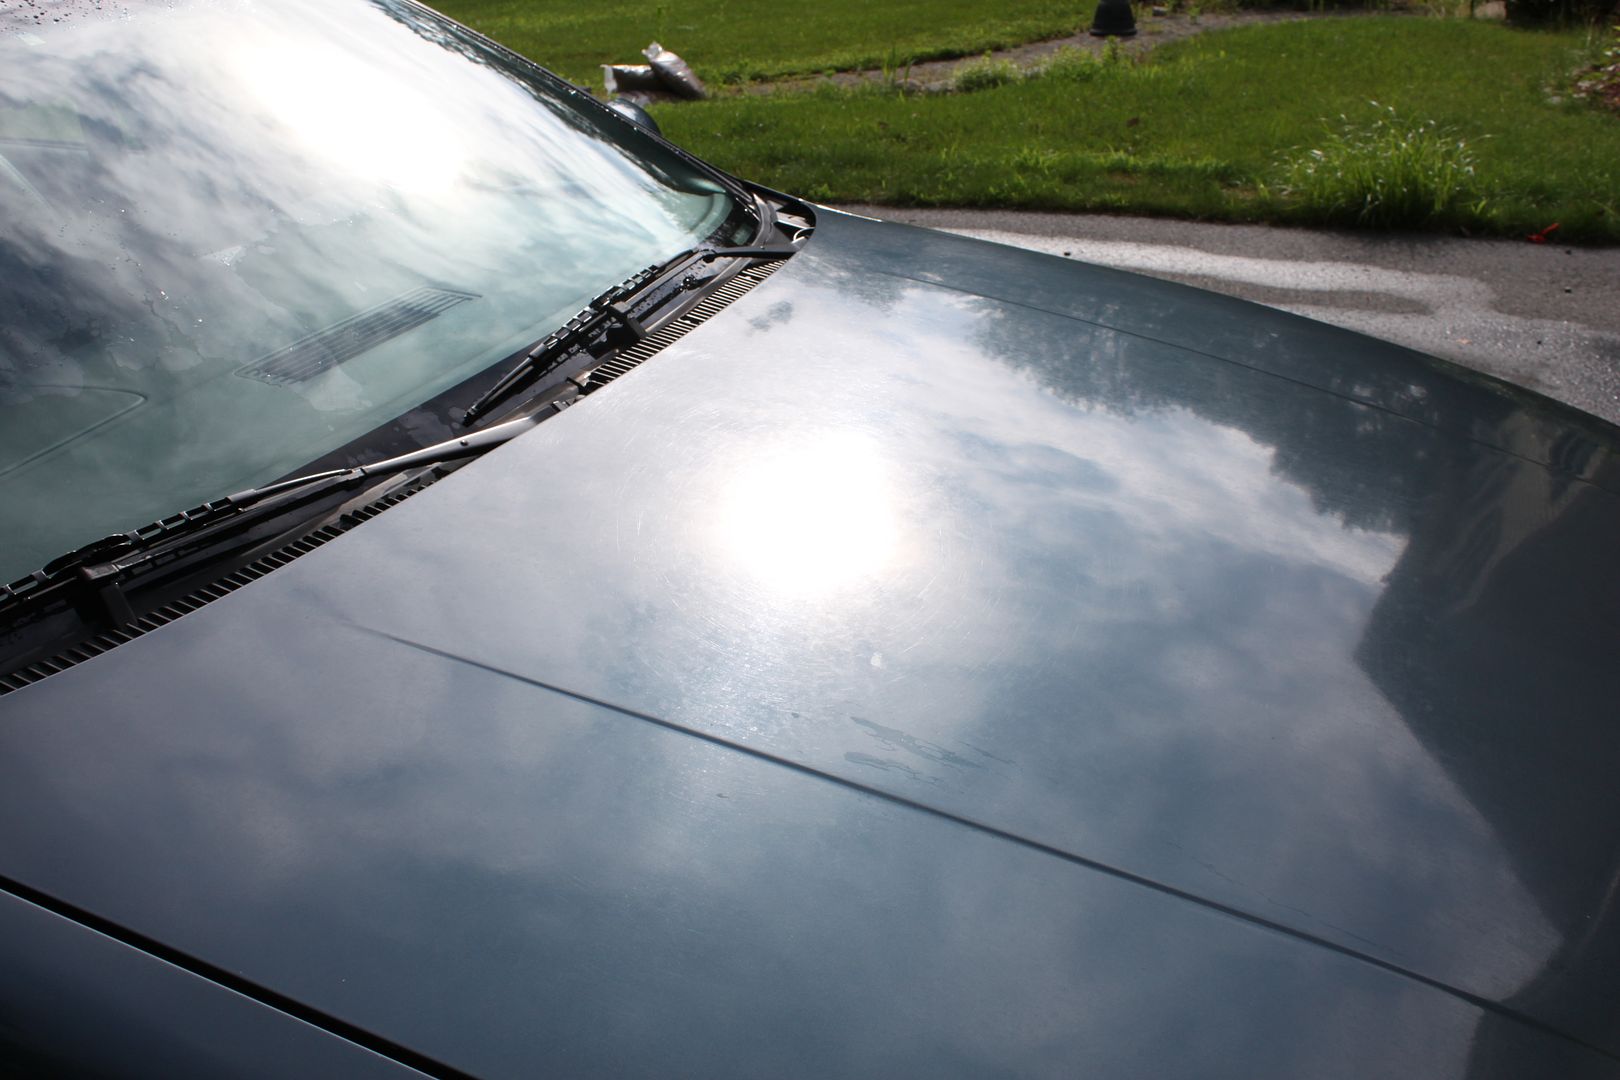
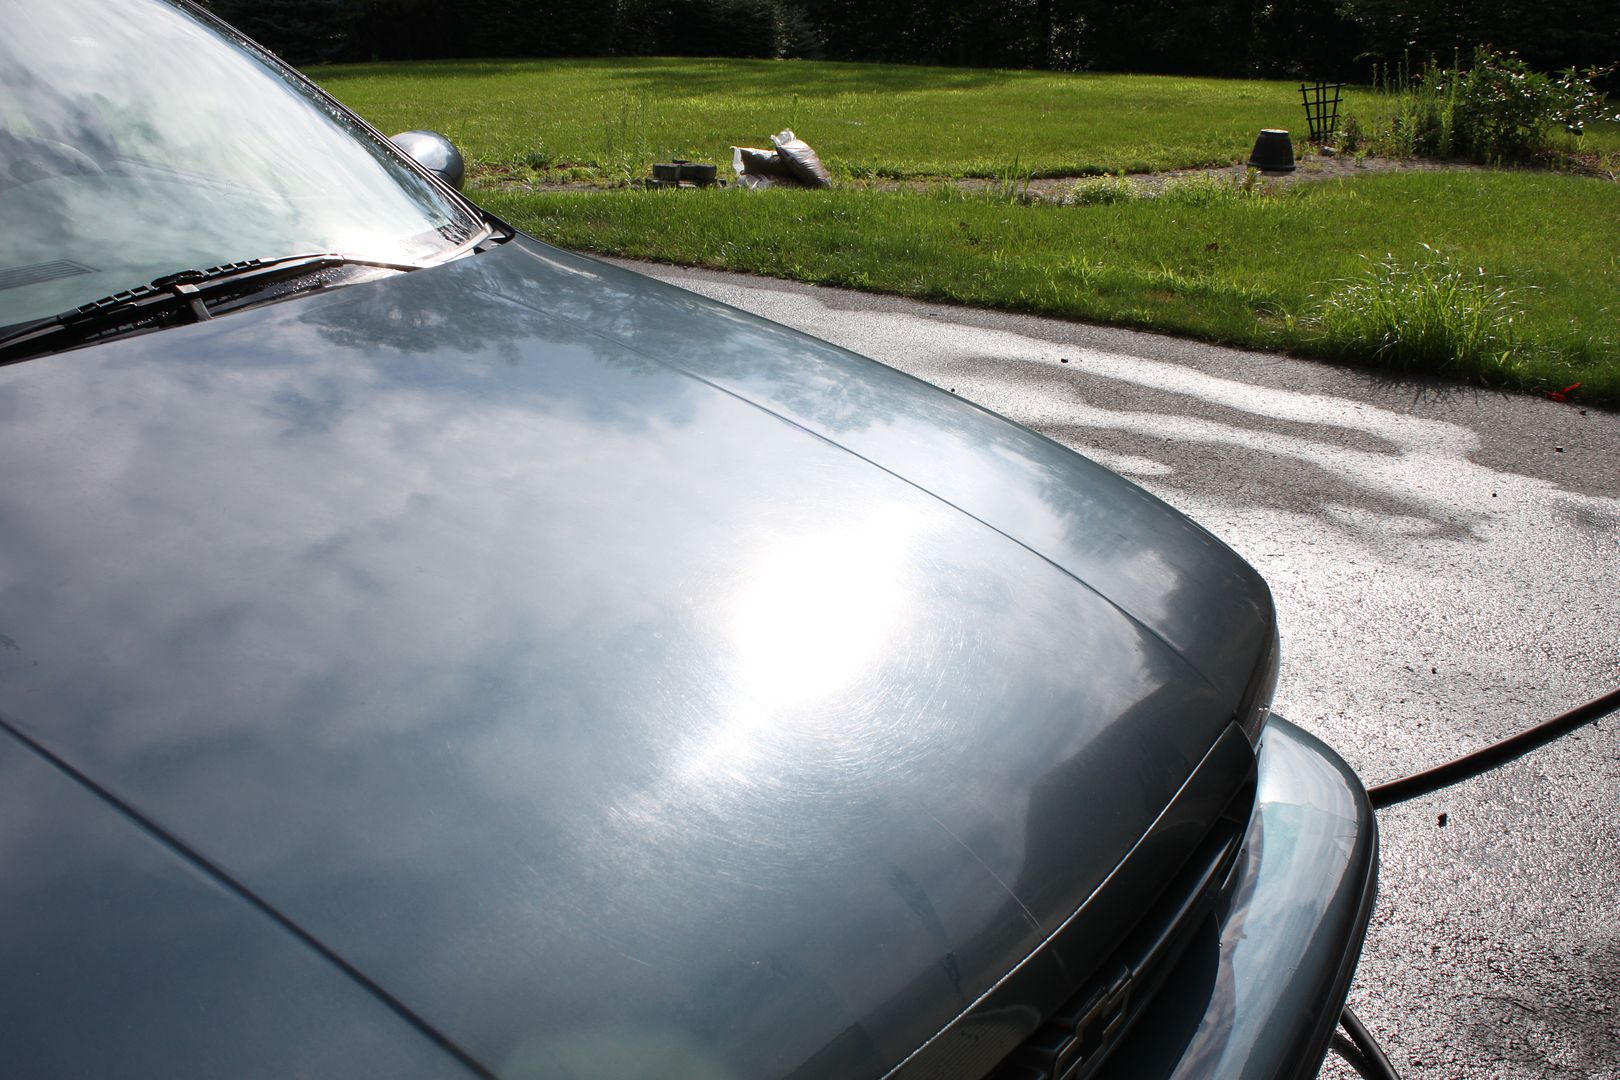
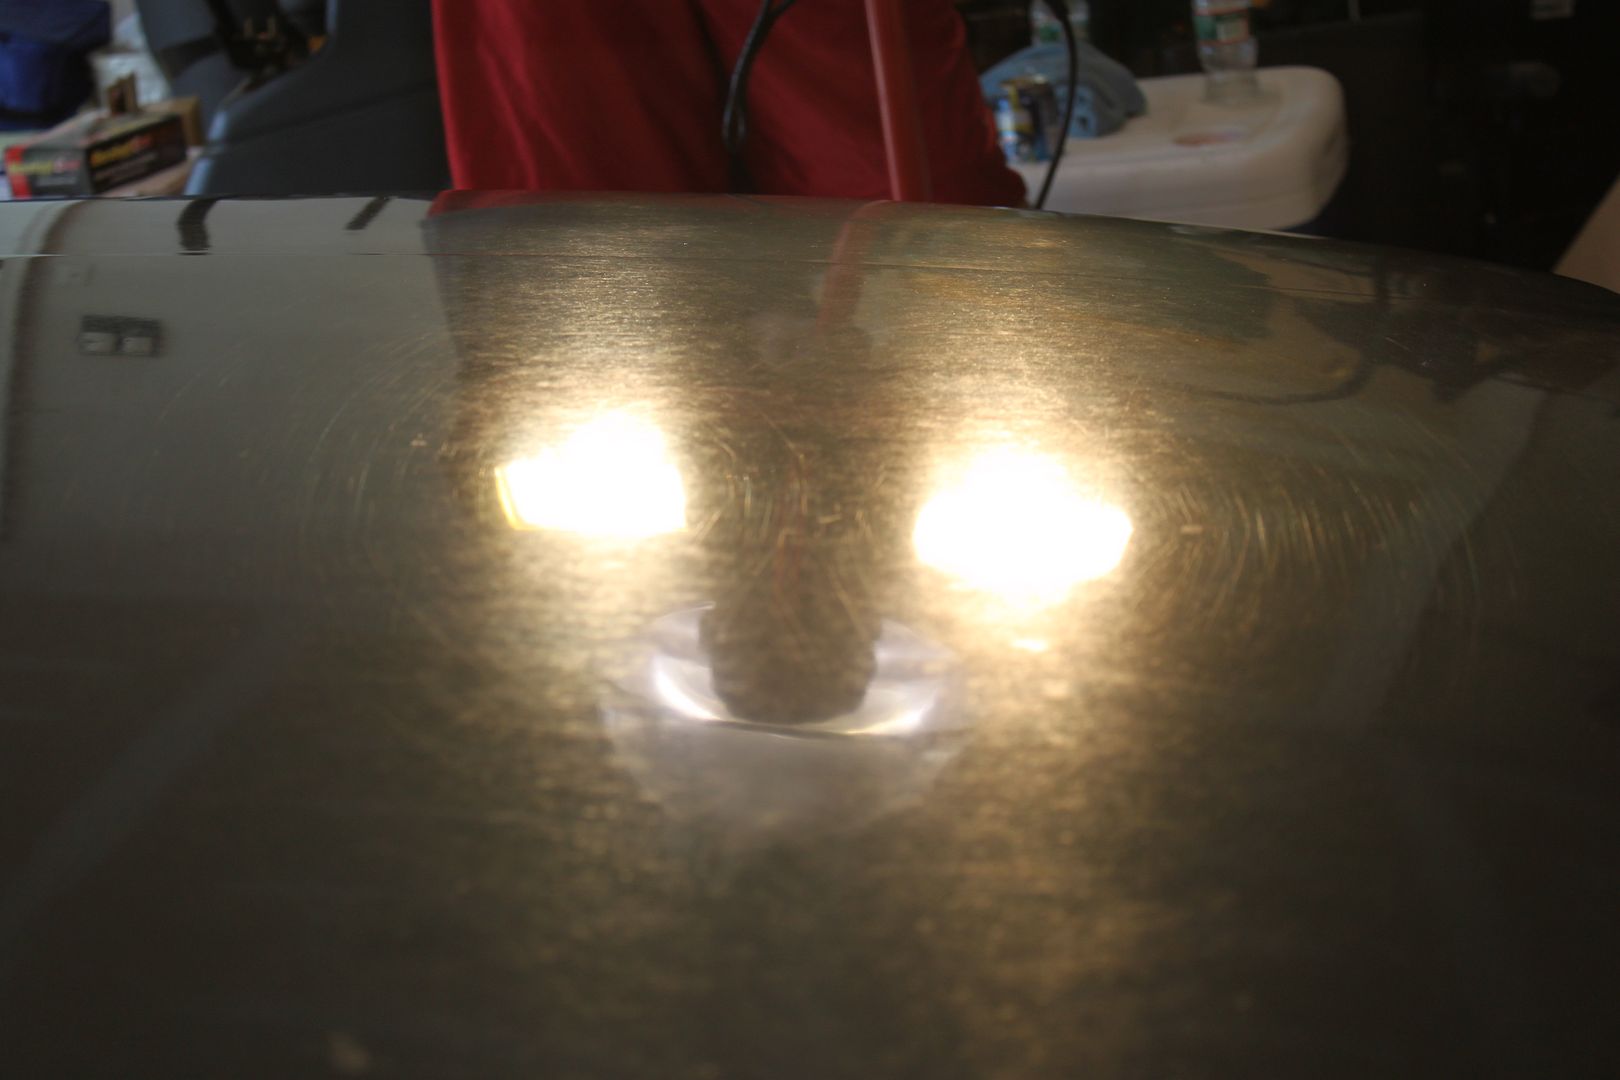
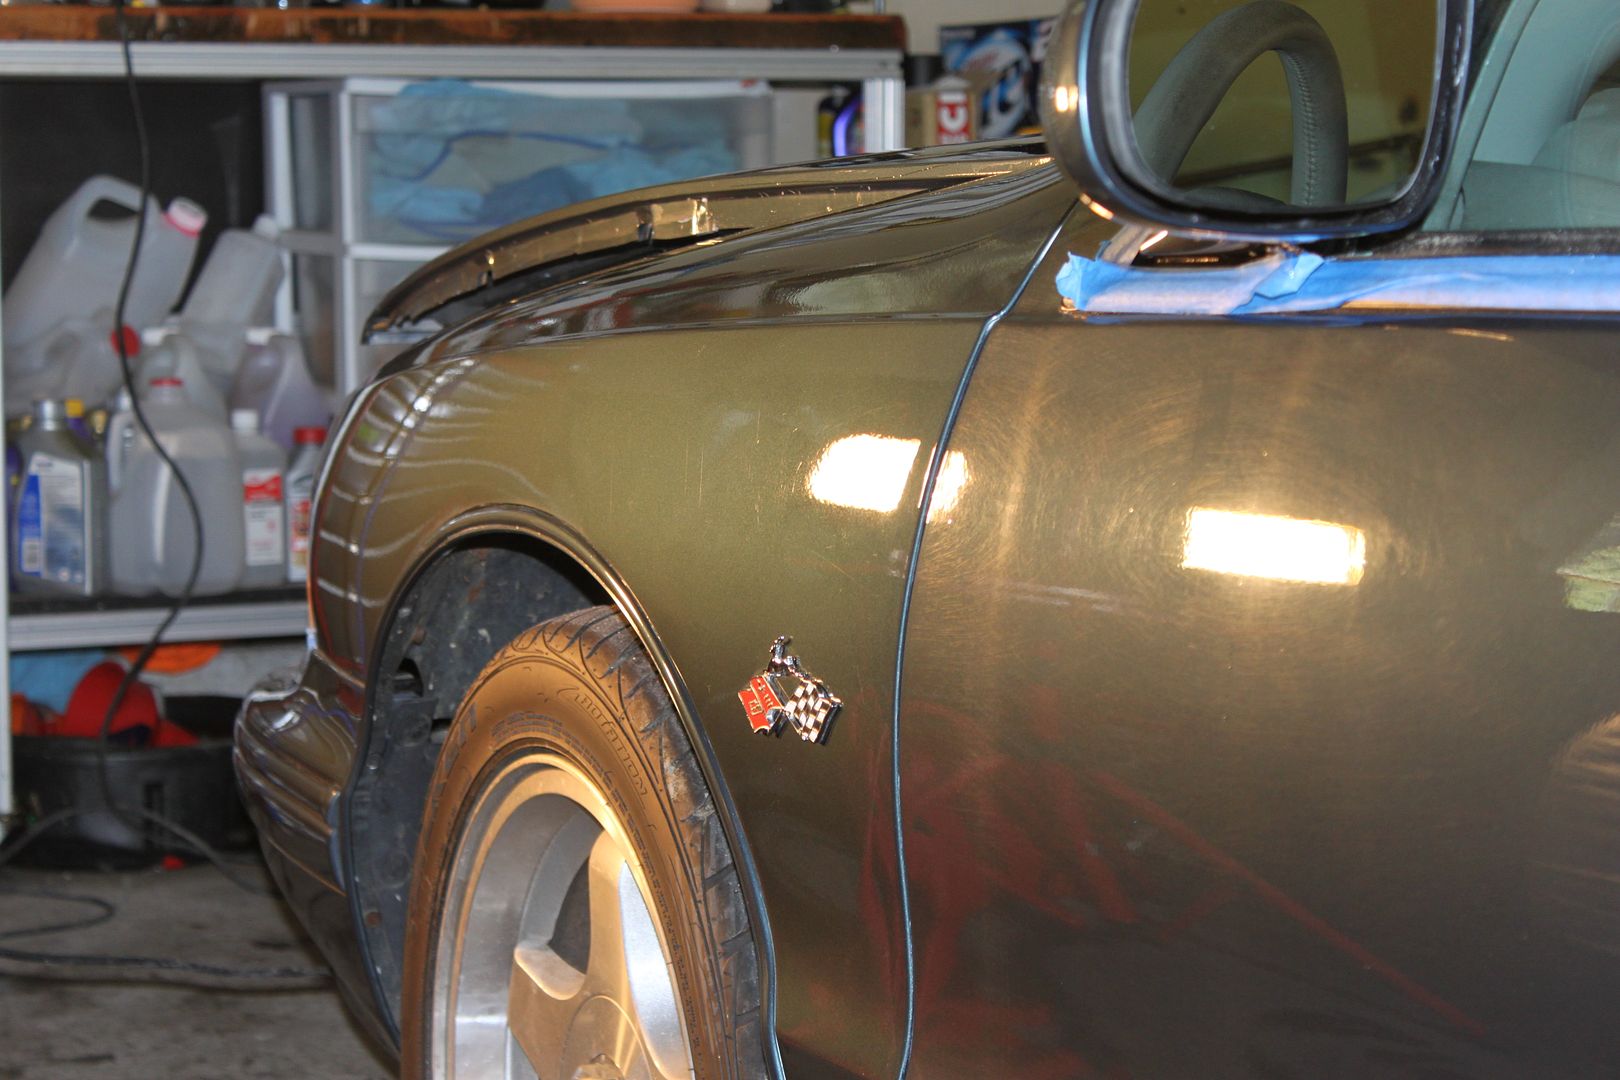
Half the hood done and we are not overly pleased with the outcome but after so many aggressive passes we felt we had to move on...

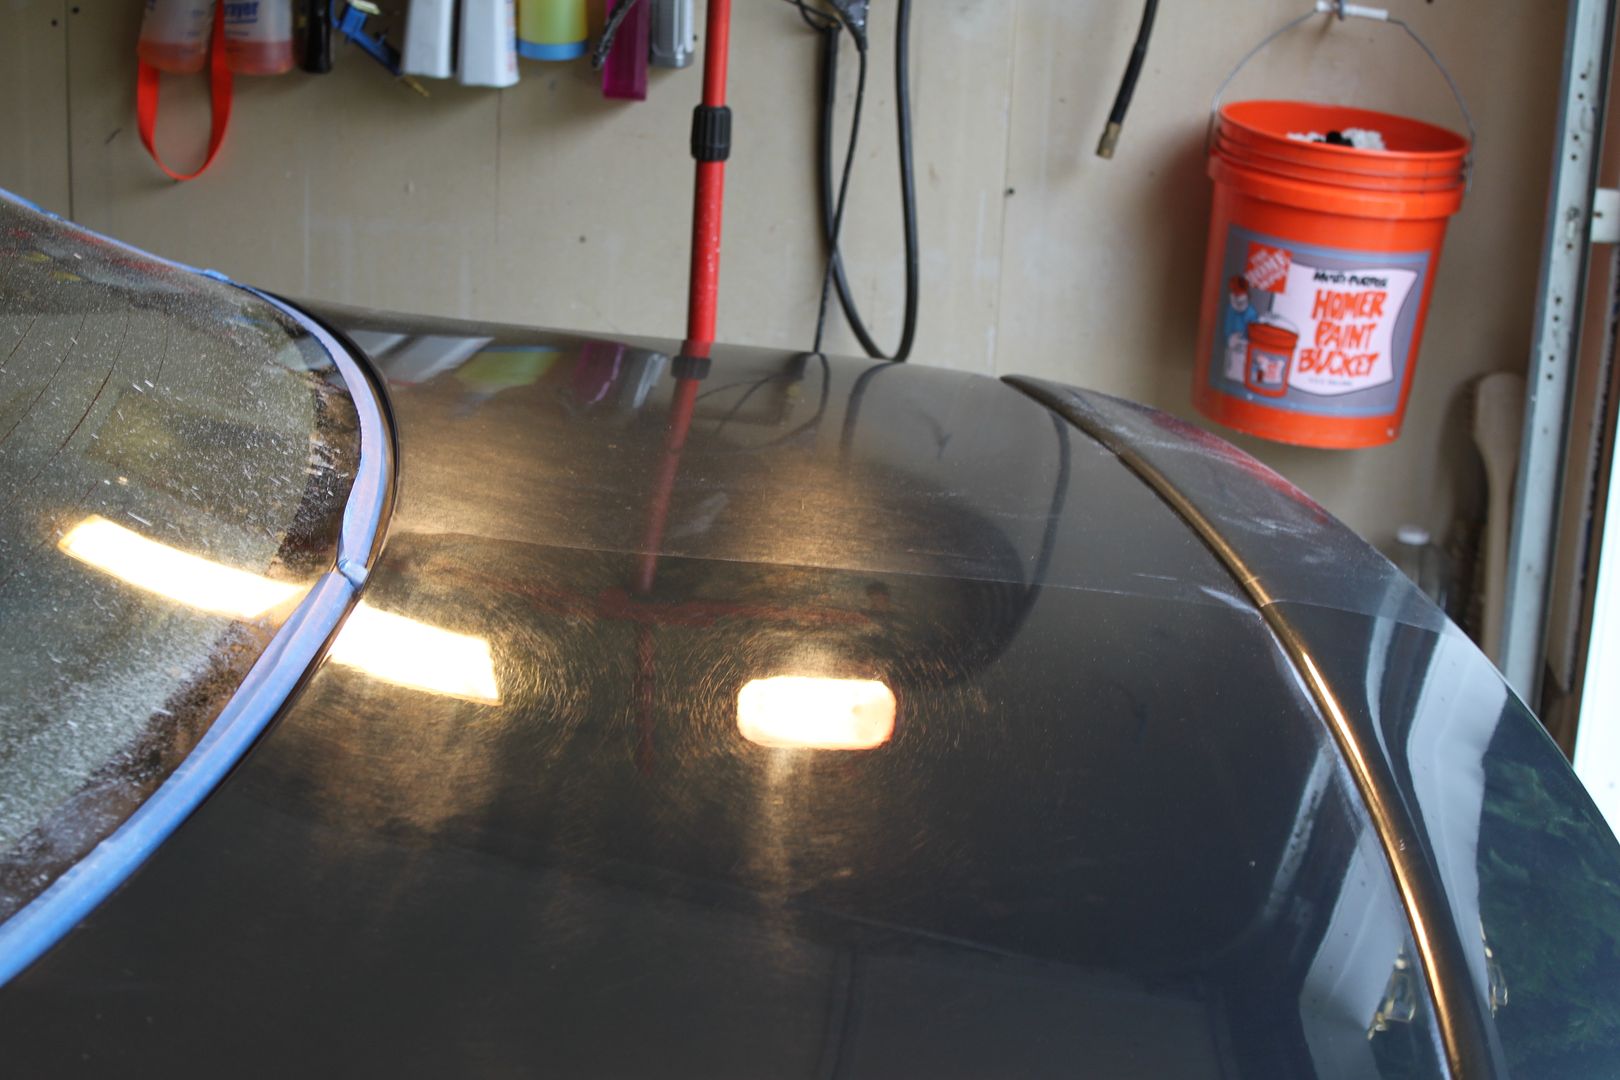
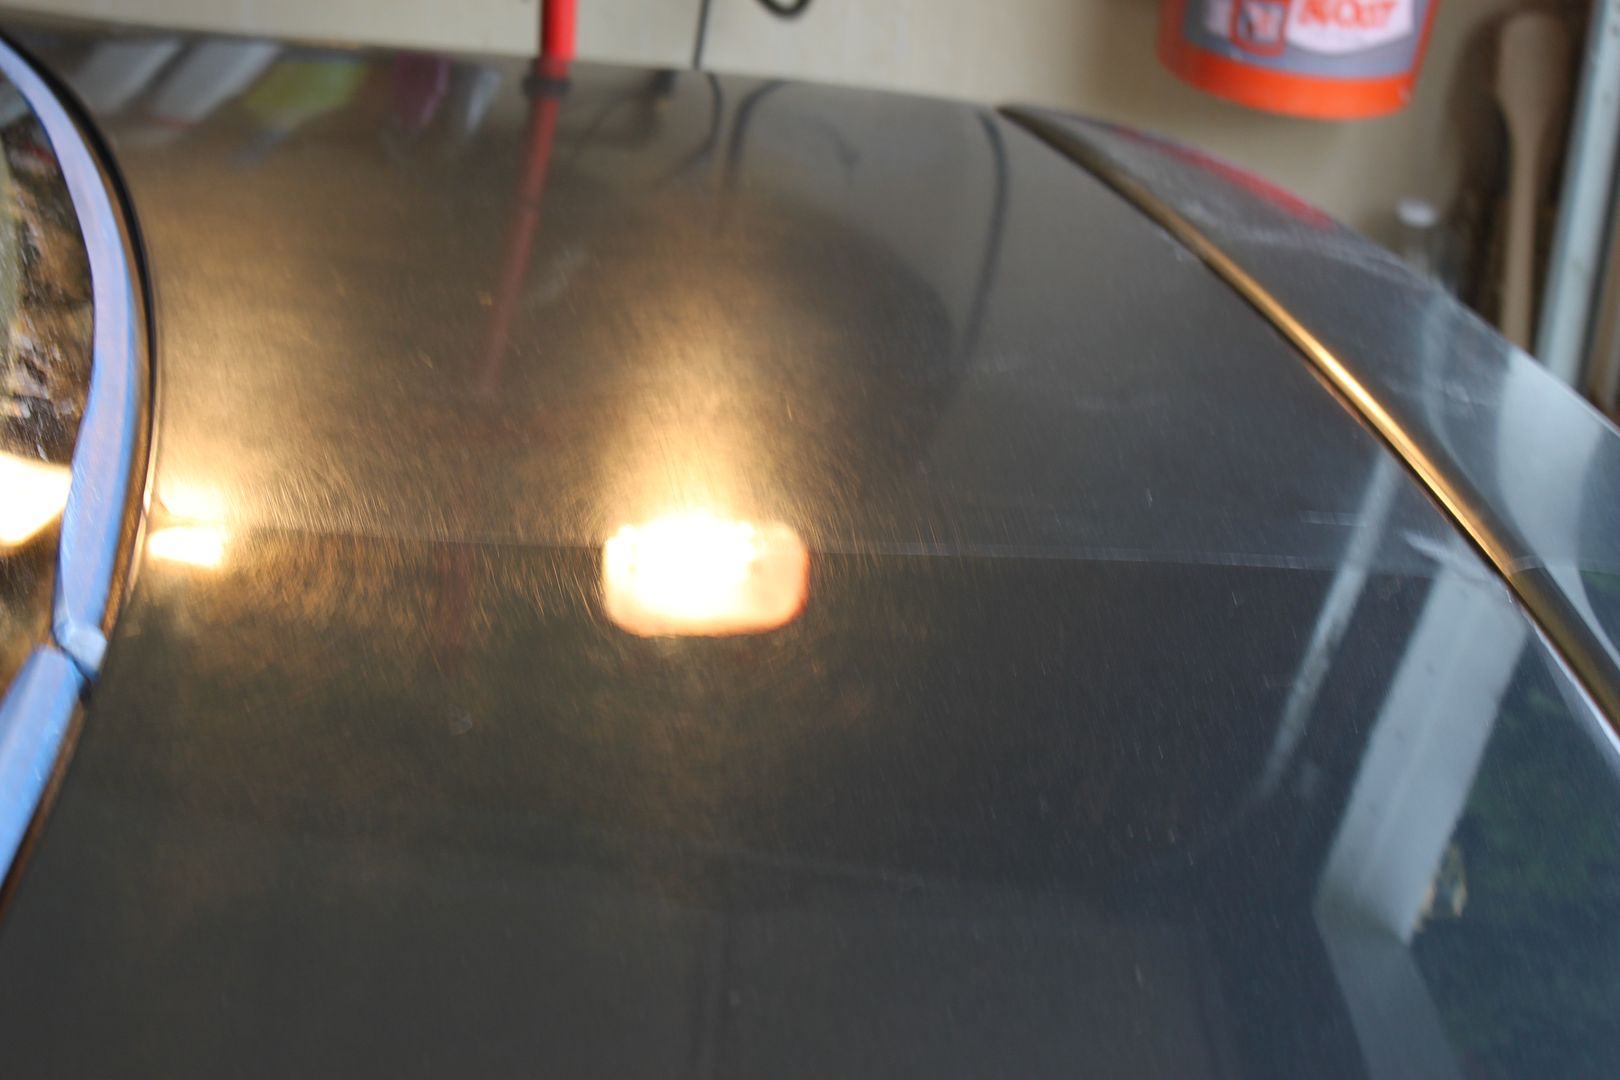
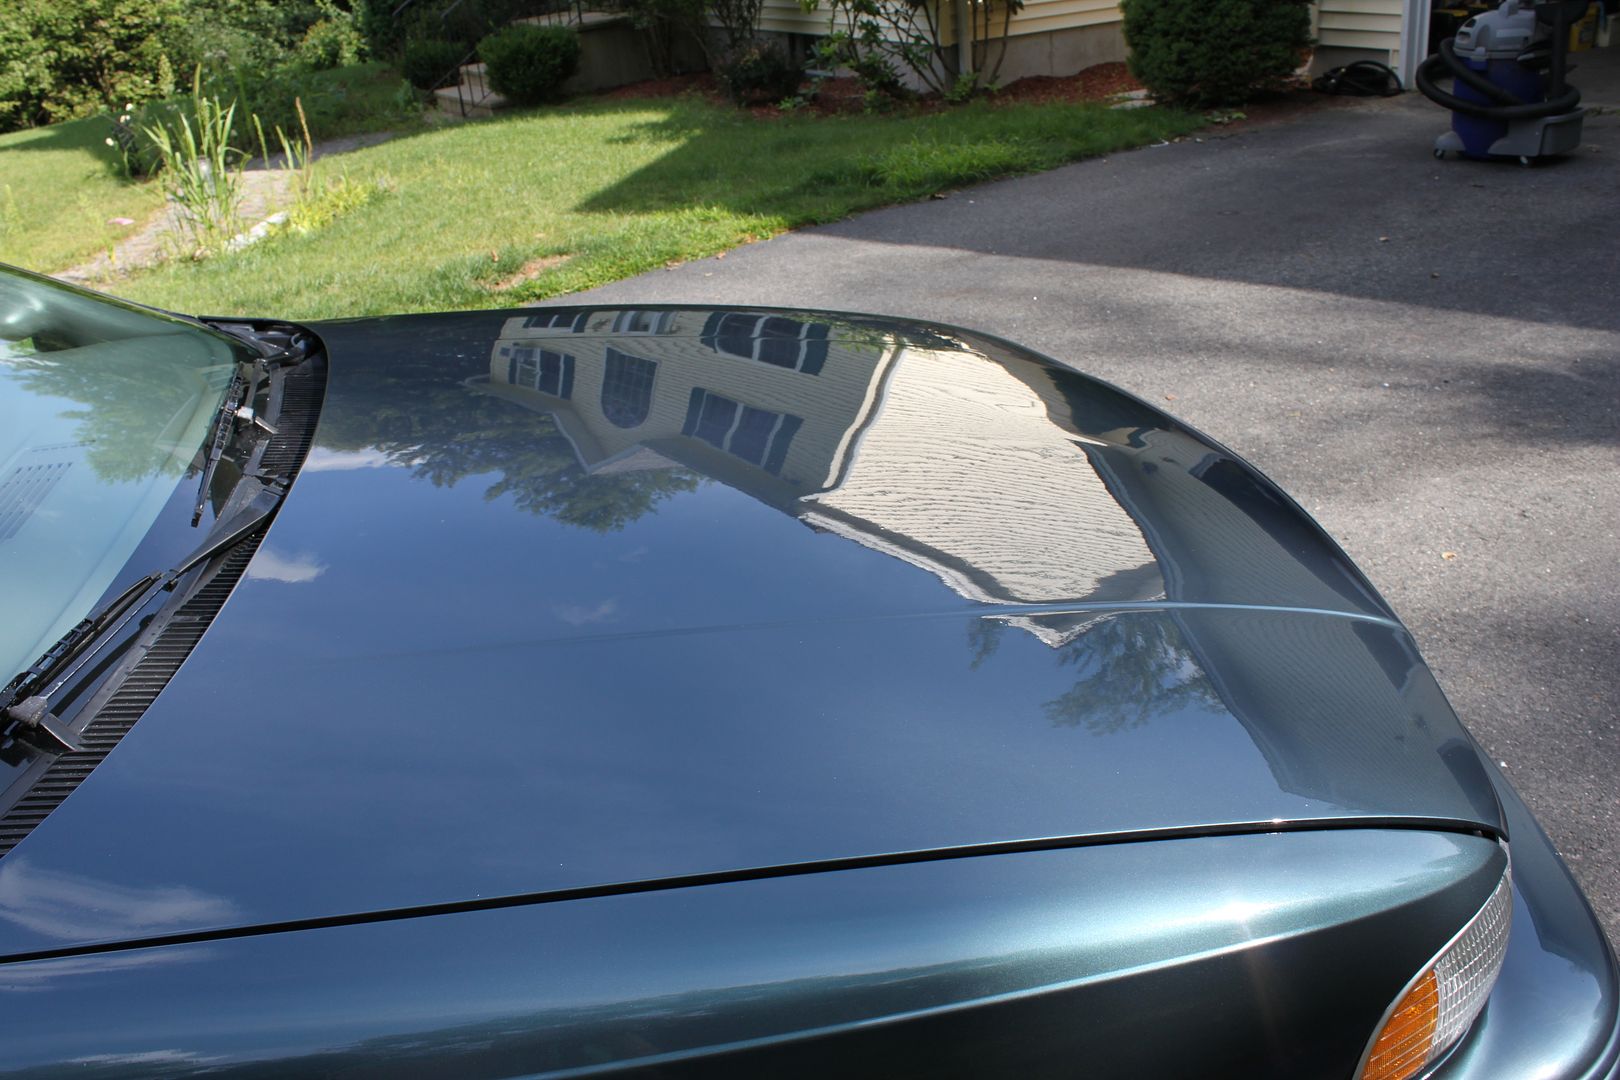
Finishing of the hood... Looks great with indirect light...
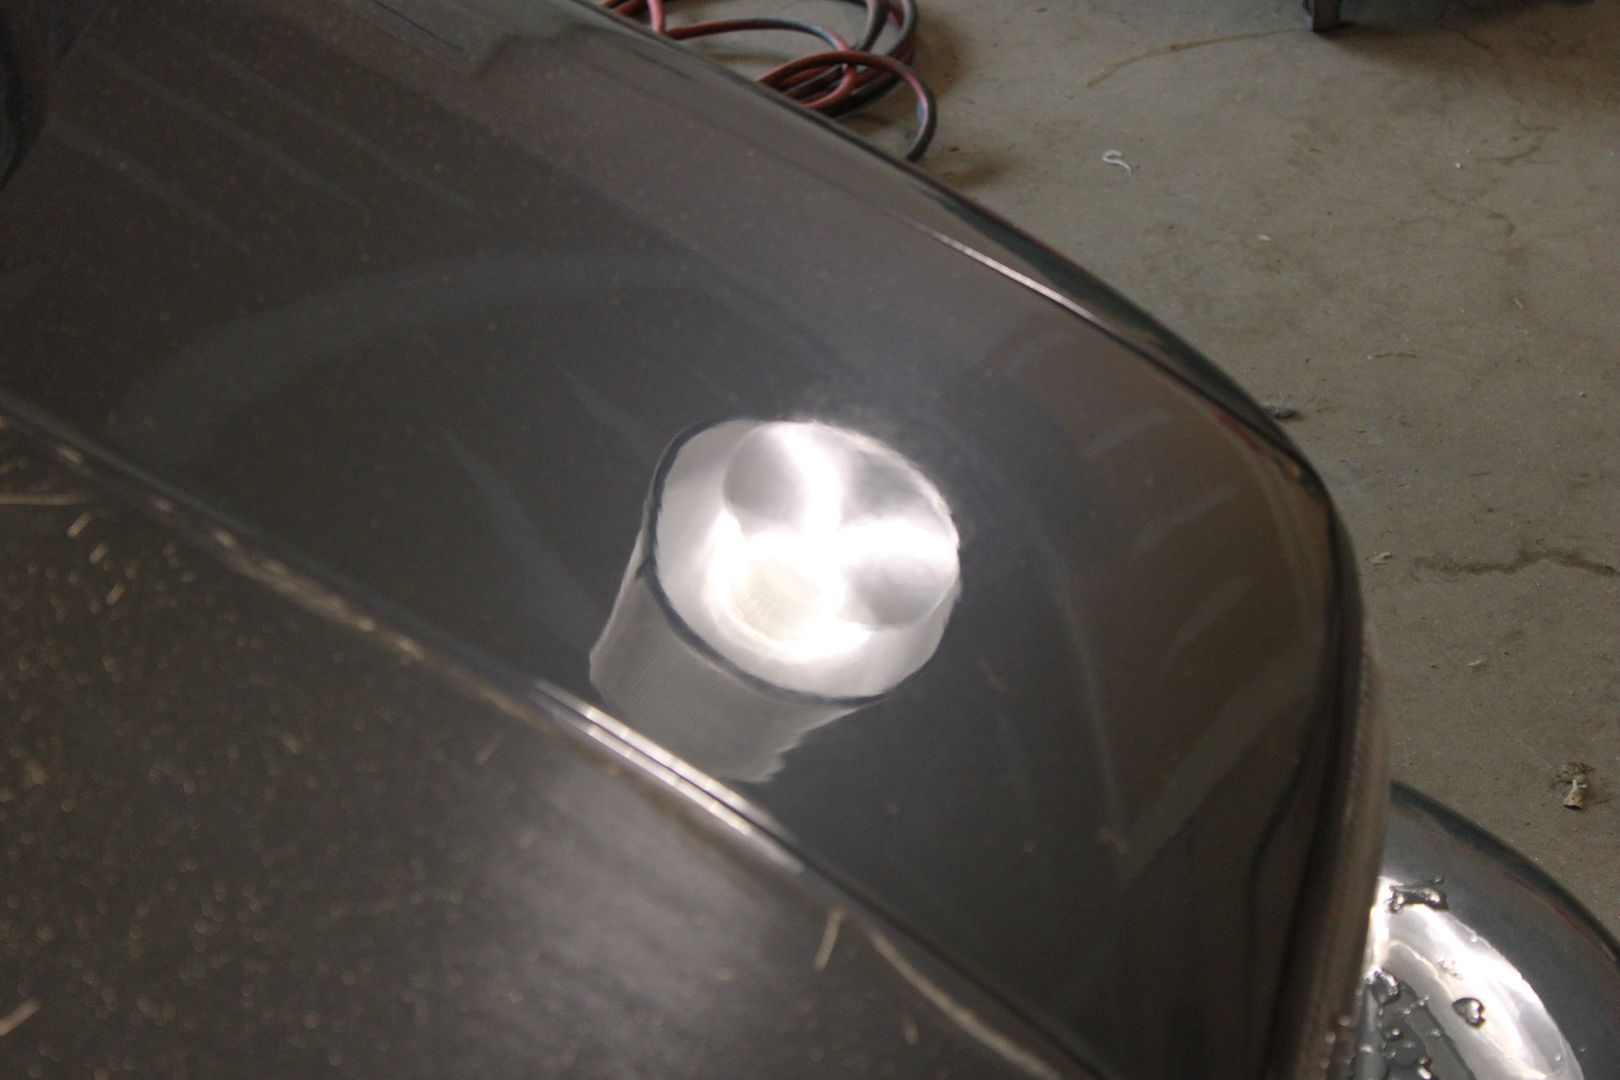
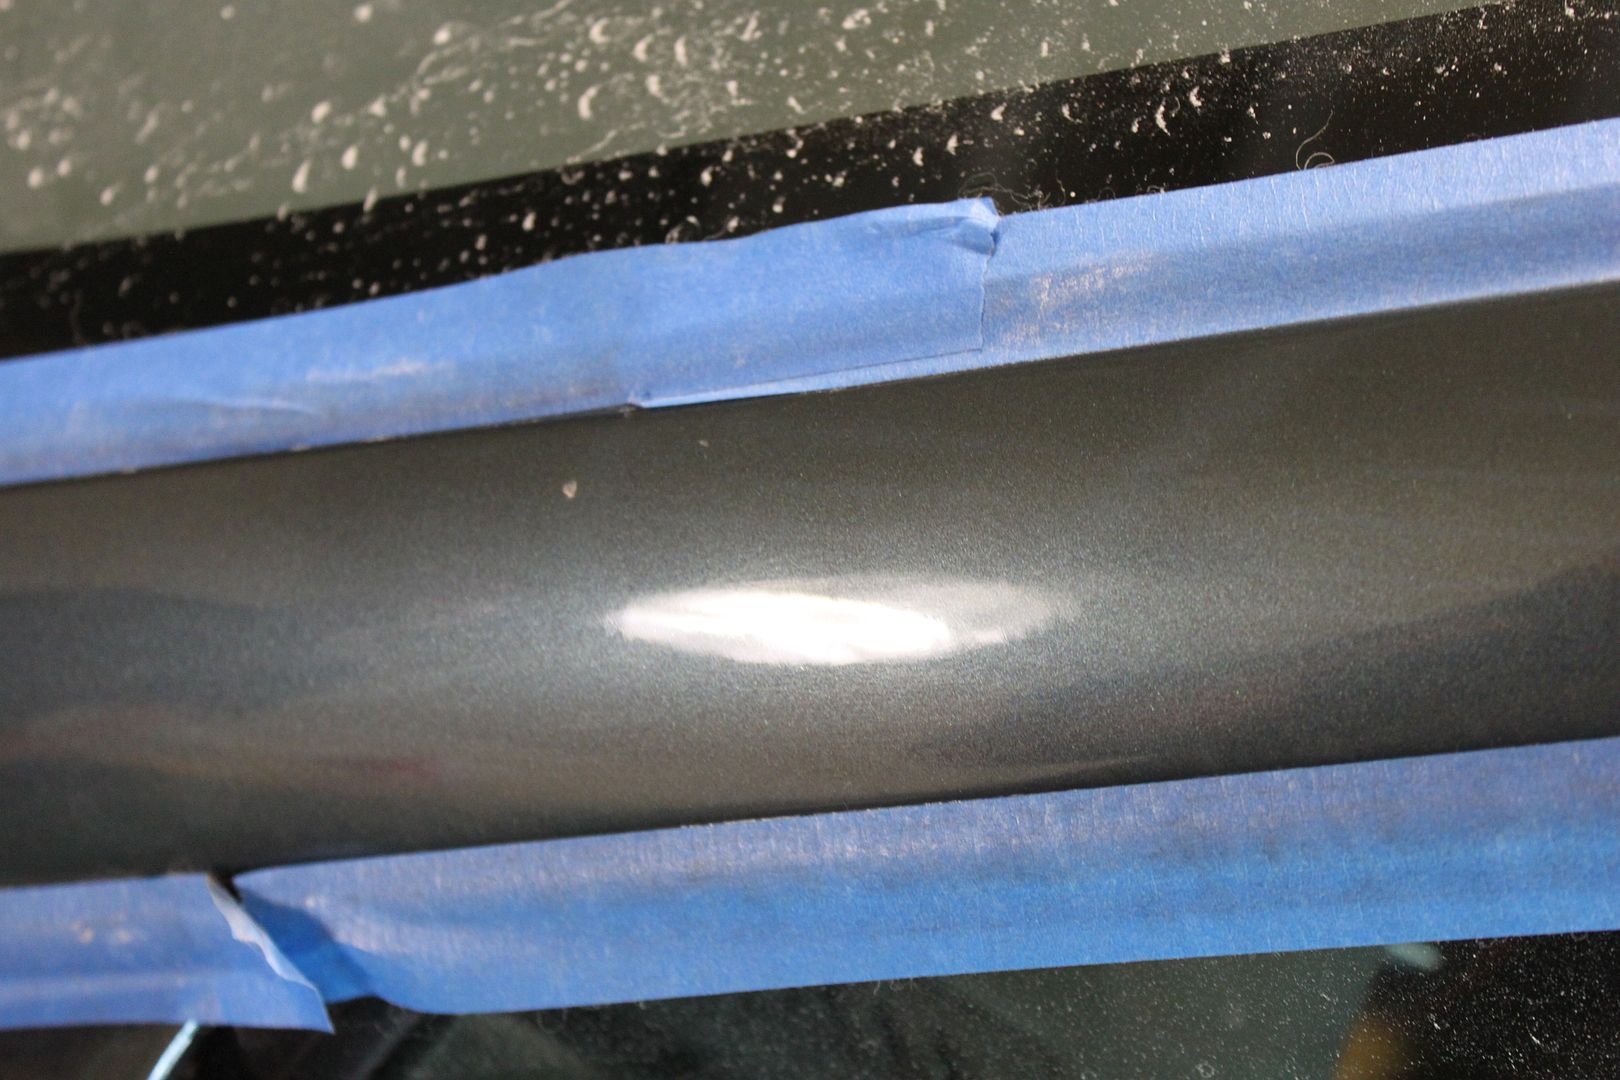
And this is what sent us over the edge for several hours, then we put it all together... 10 passes with a rotary! AND NOTHIN'
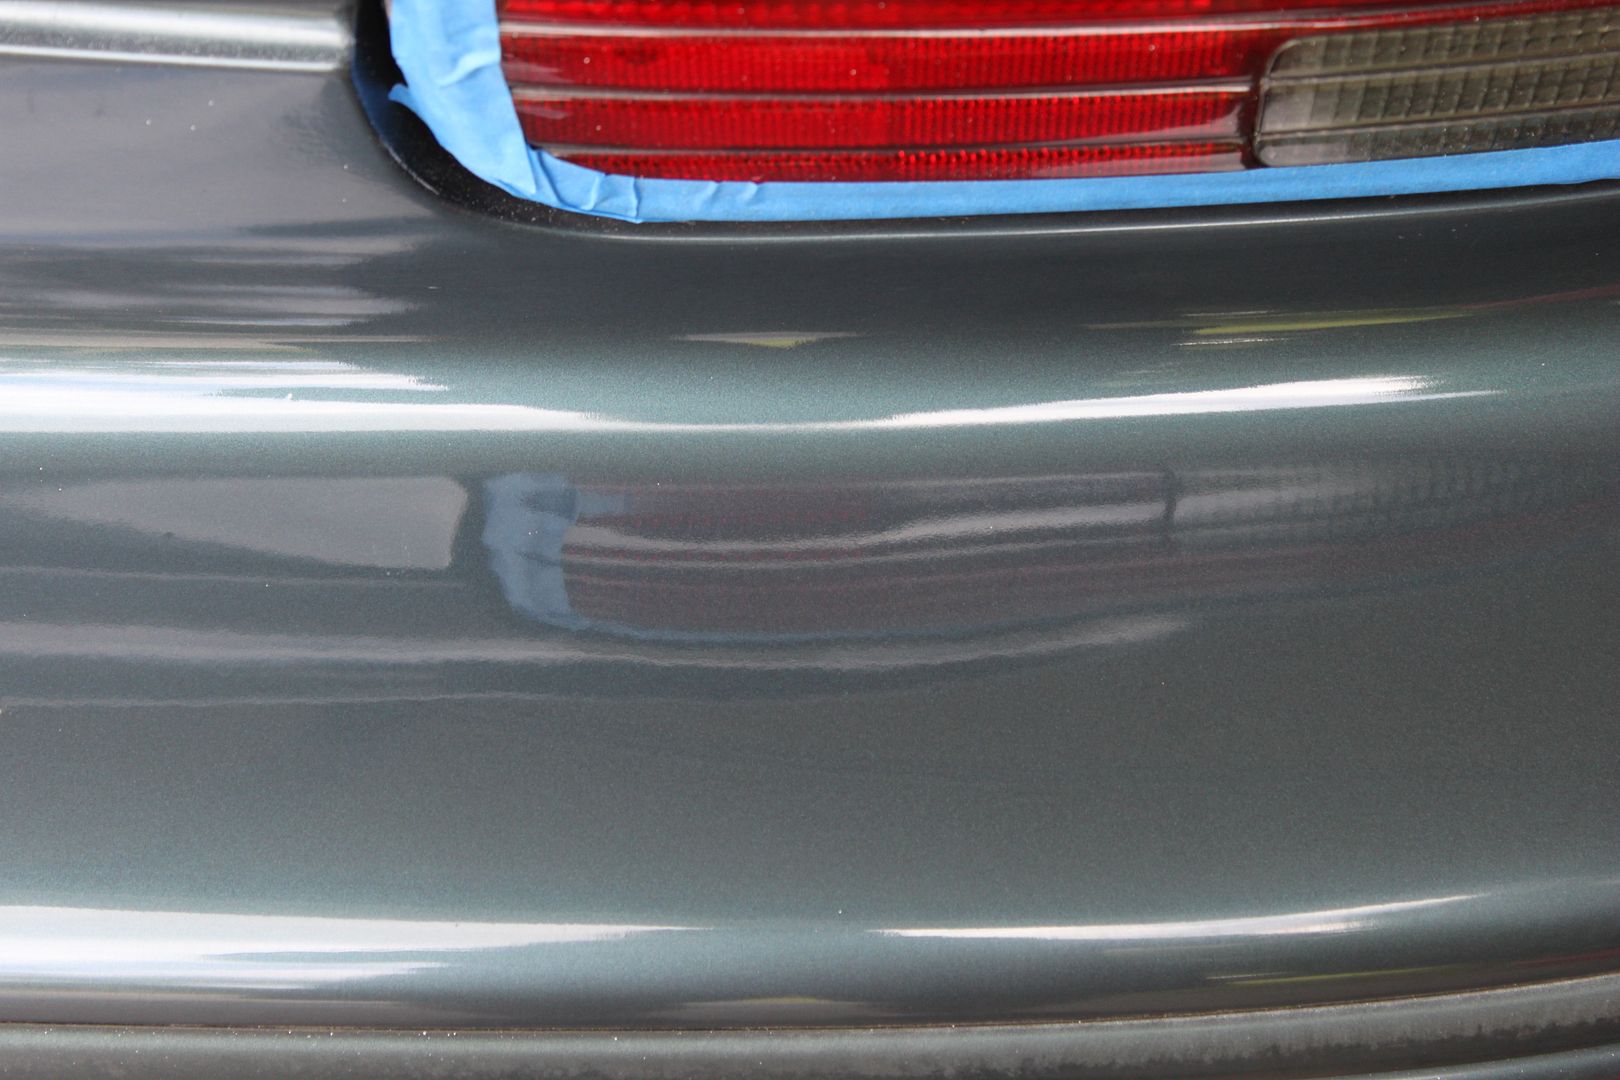
Then we had a thought... We had noticed some poor painting on the front passenger fender and more on the rear quarter.... What if the car was recleared? There was a spot over the driver side taillight that we thought when the sticker was pulled off it took the clear... If that was true if we compound on it we should see color transfer! So we did and you know what? No color transfer... The cleared over the sticker and pulling it off took the respray off and left the factory clear!!! SUM B*TCH!!!
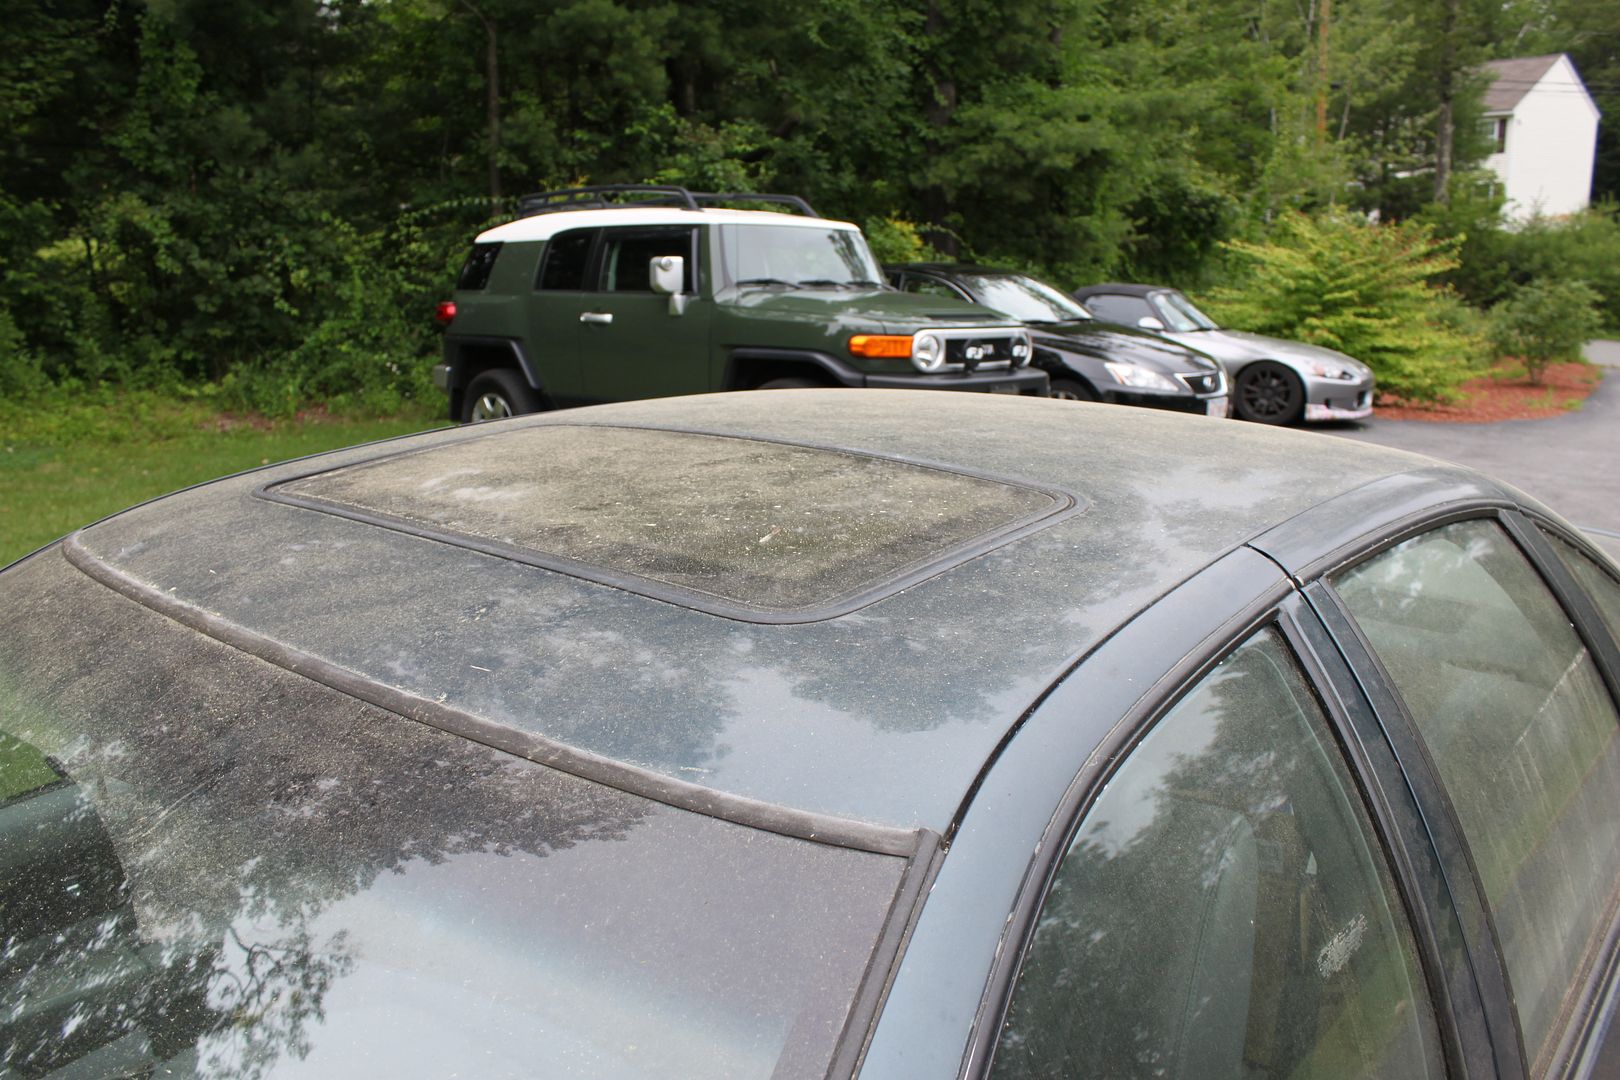
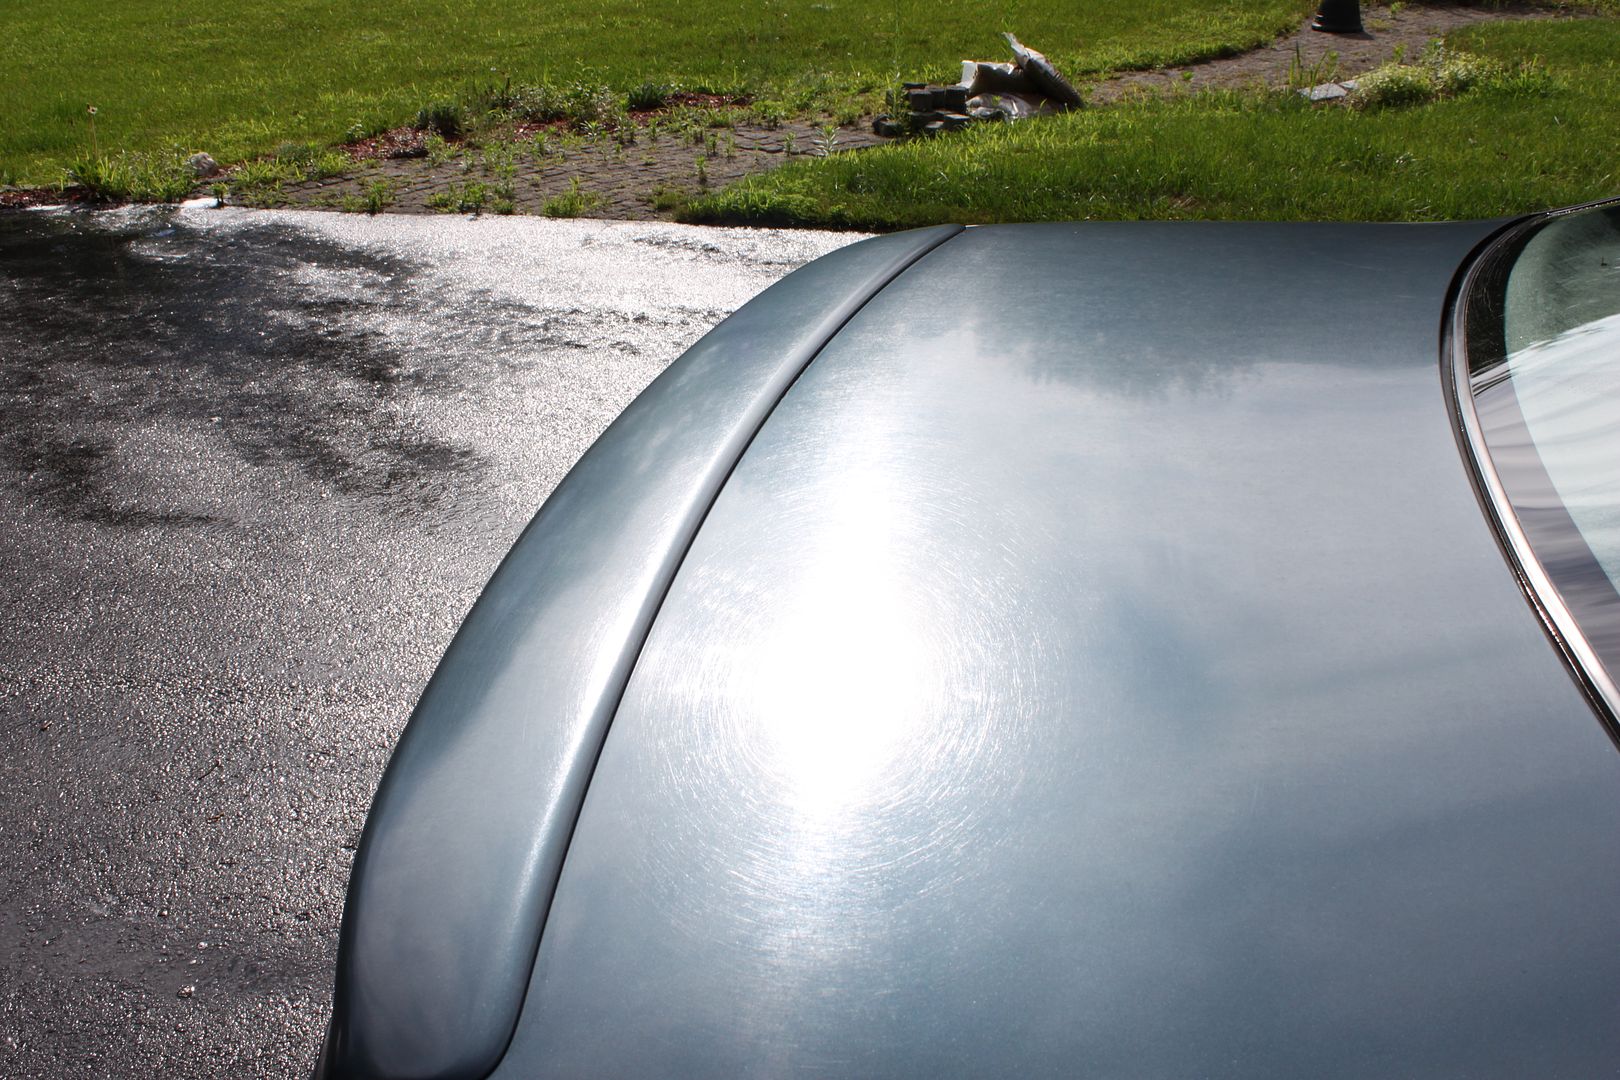
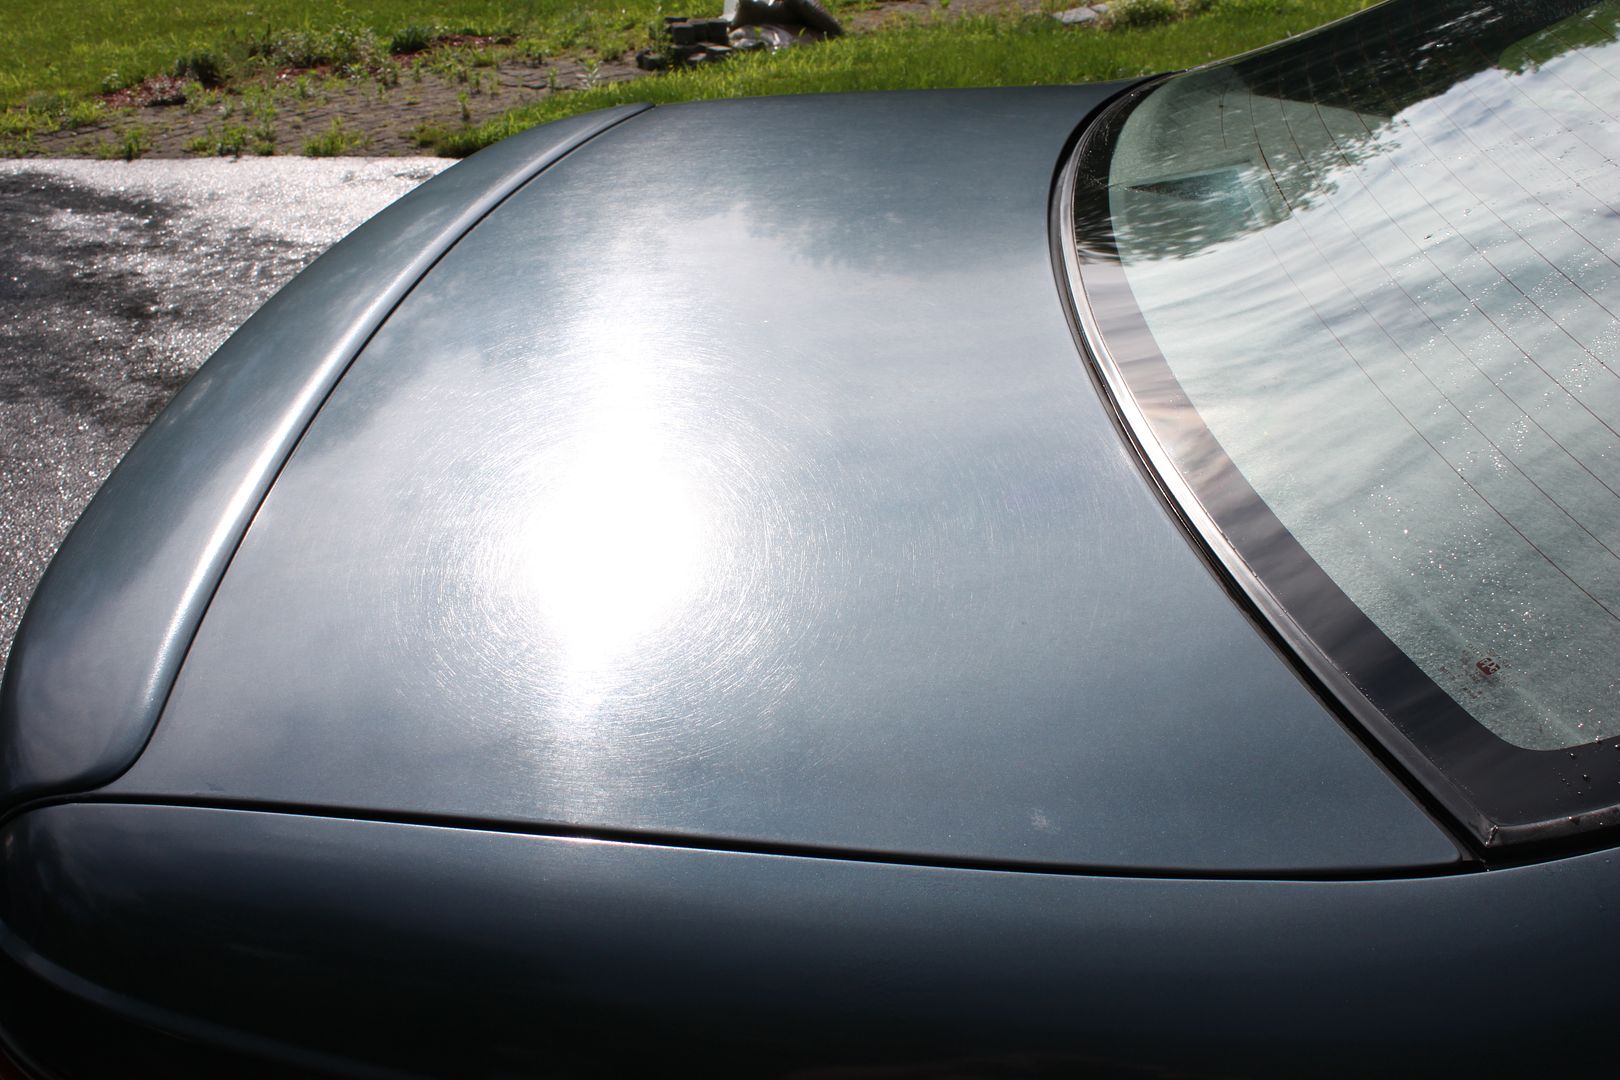
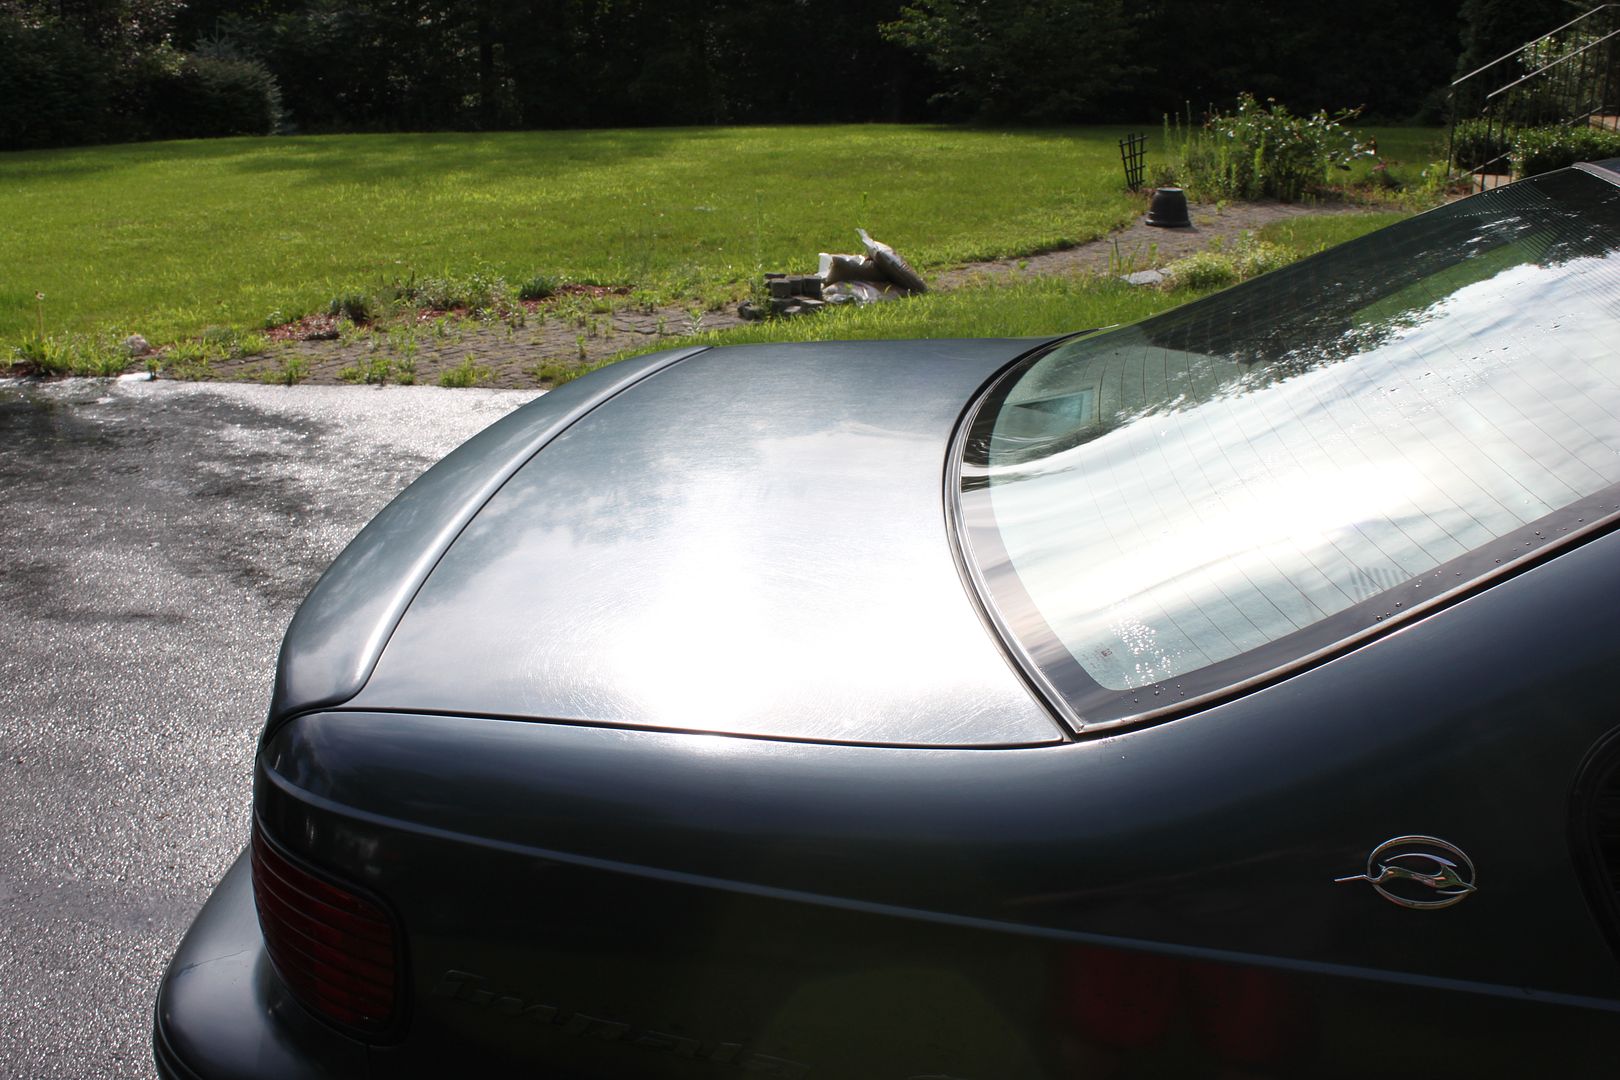
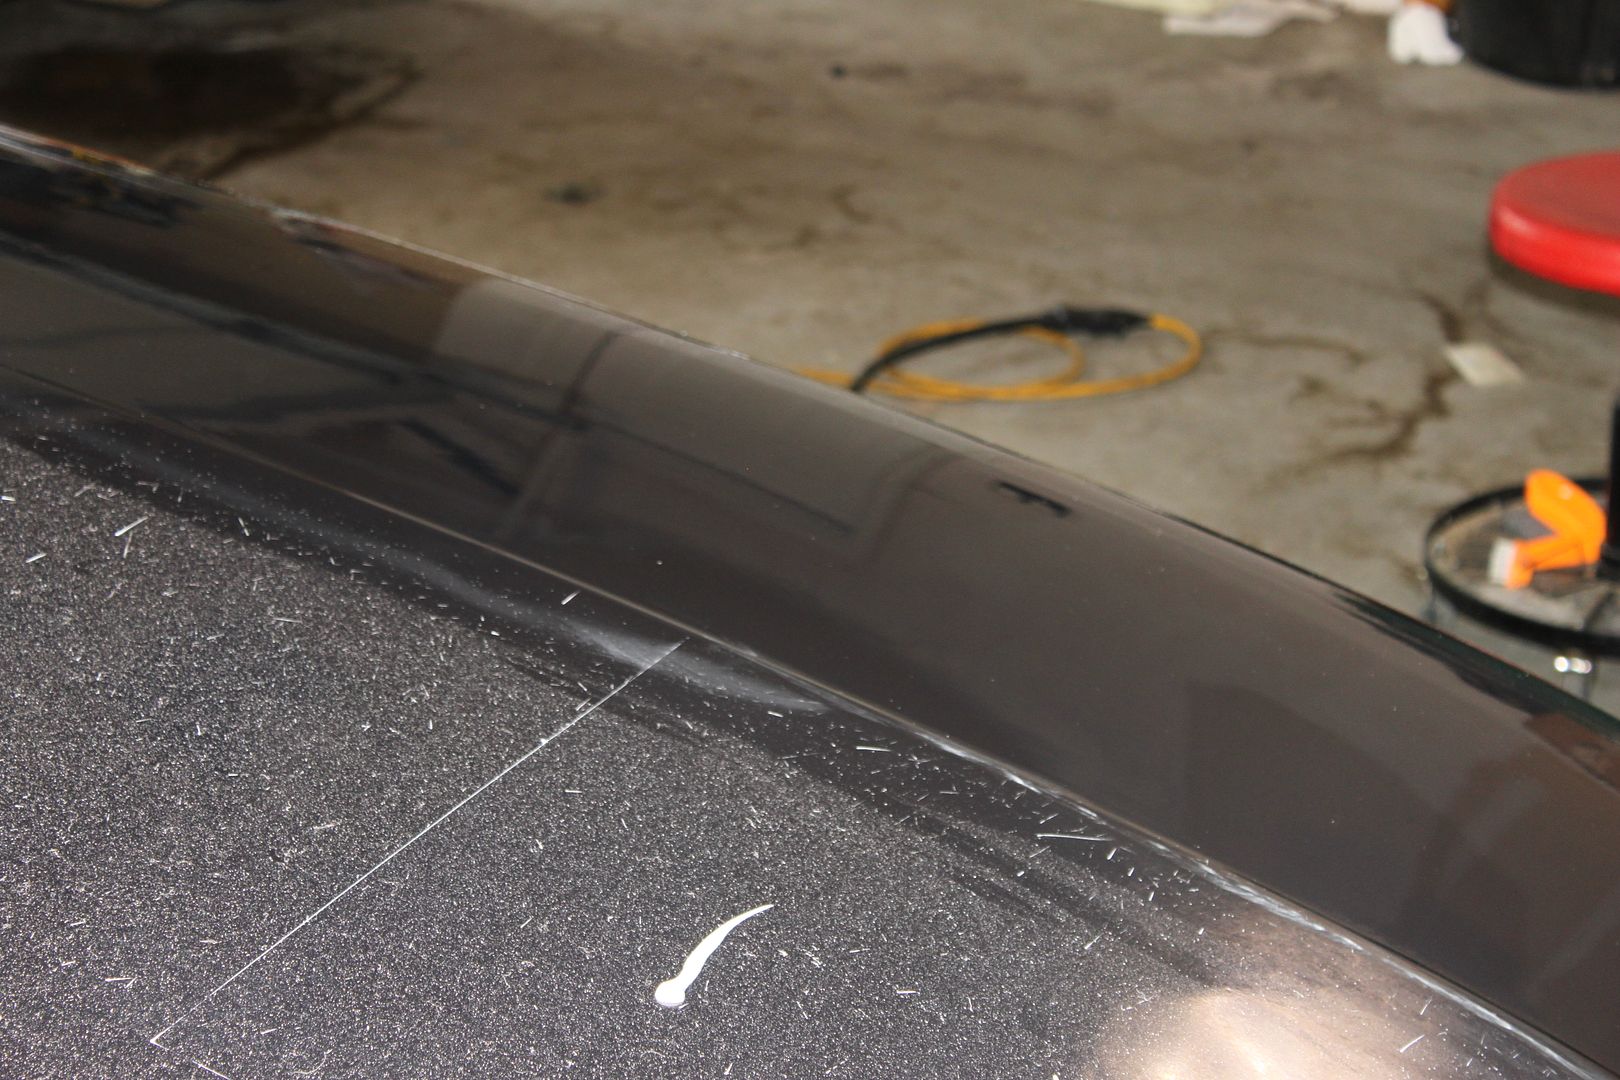
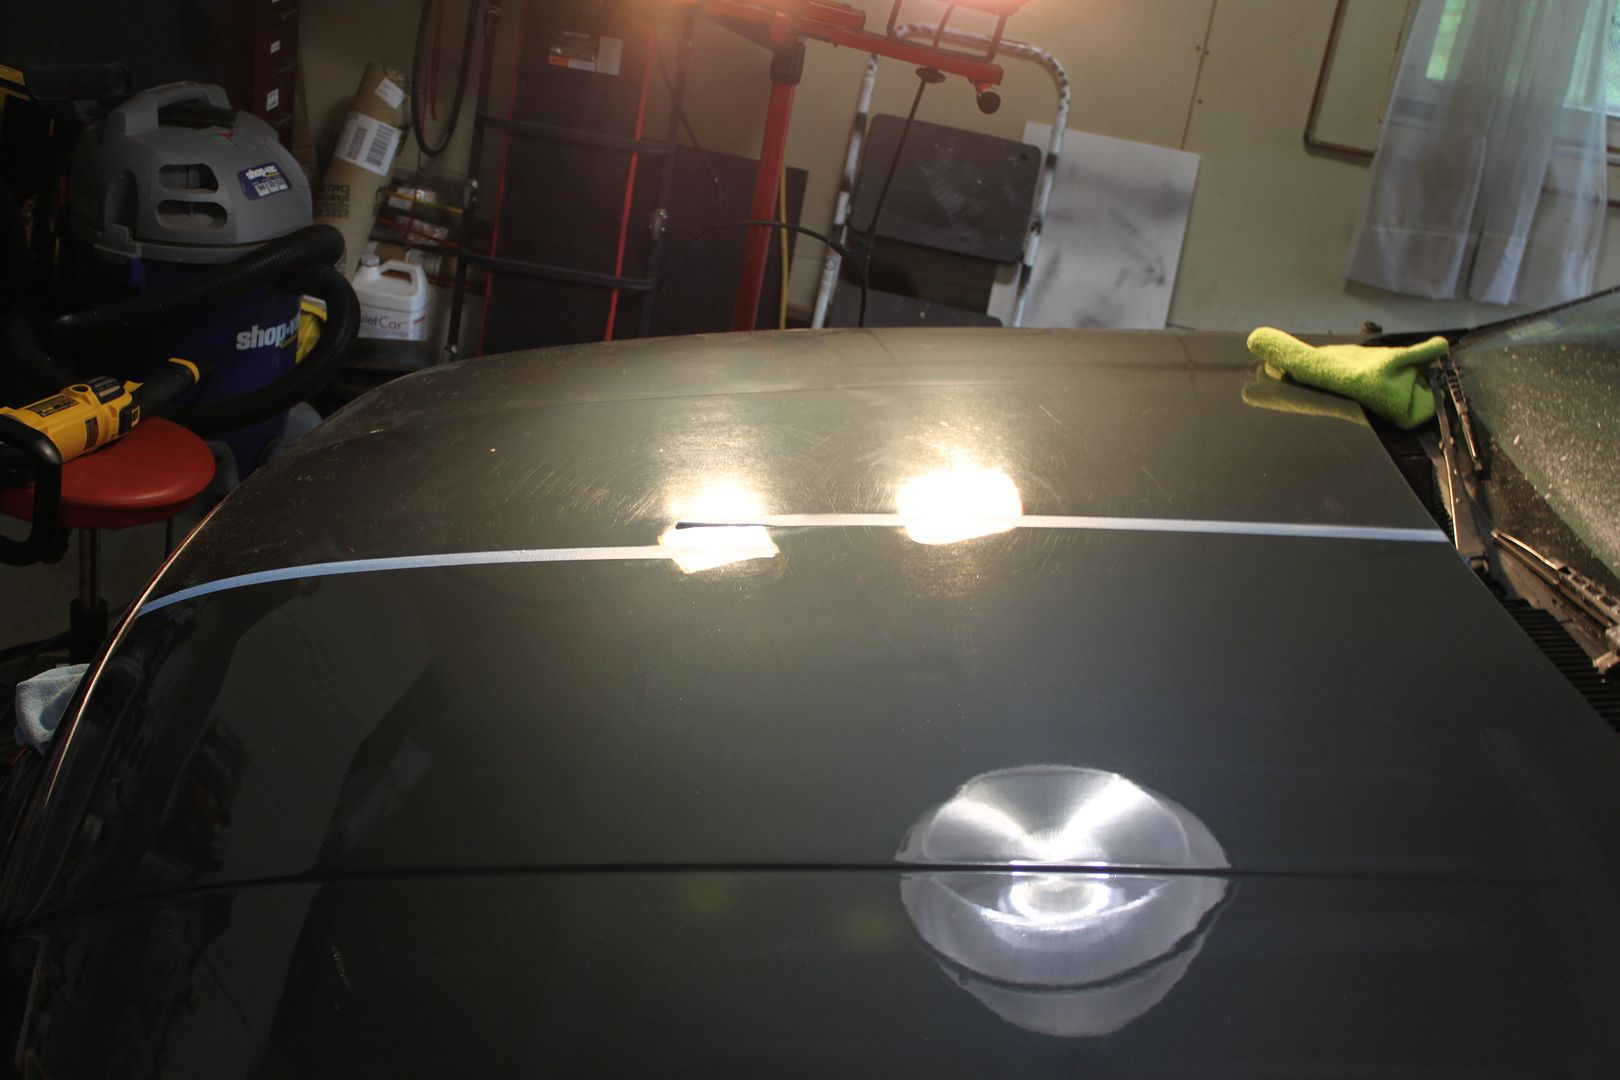
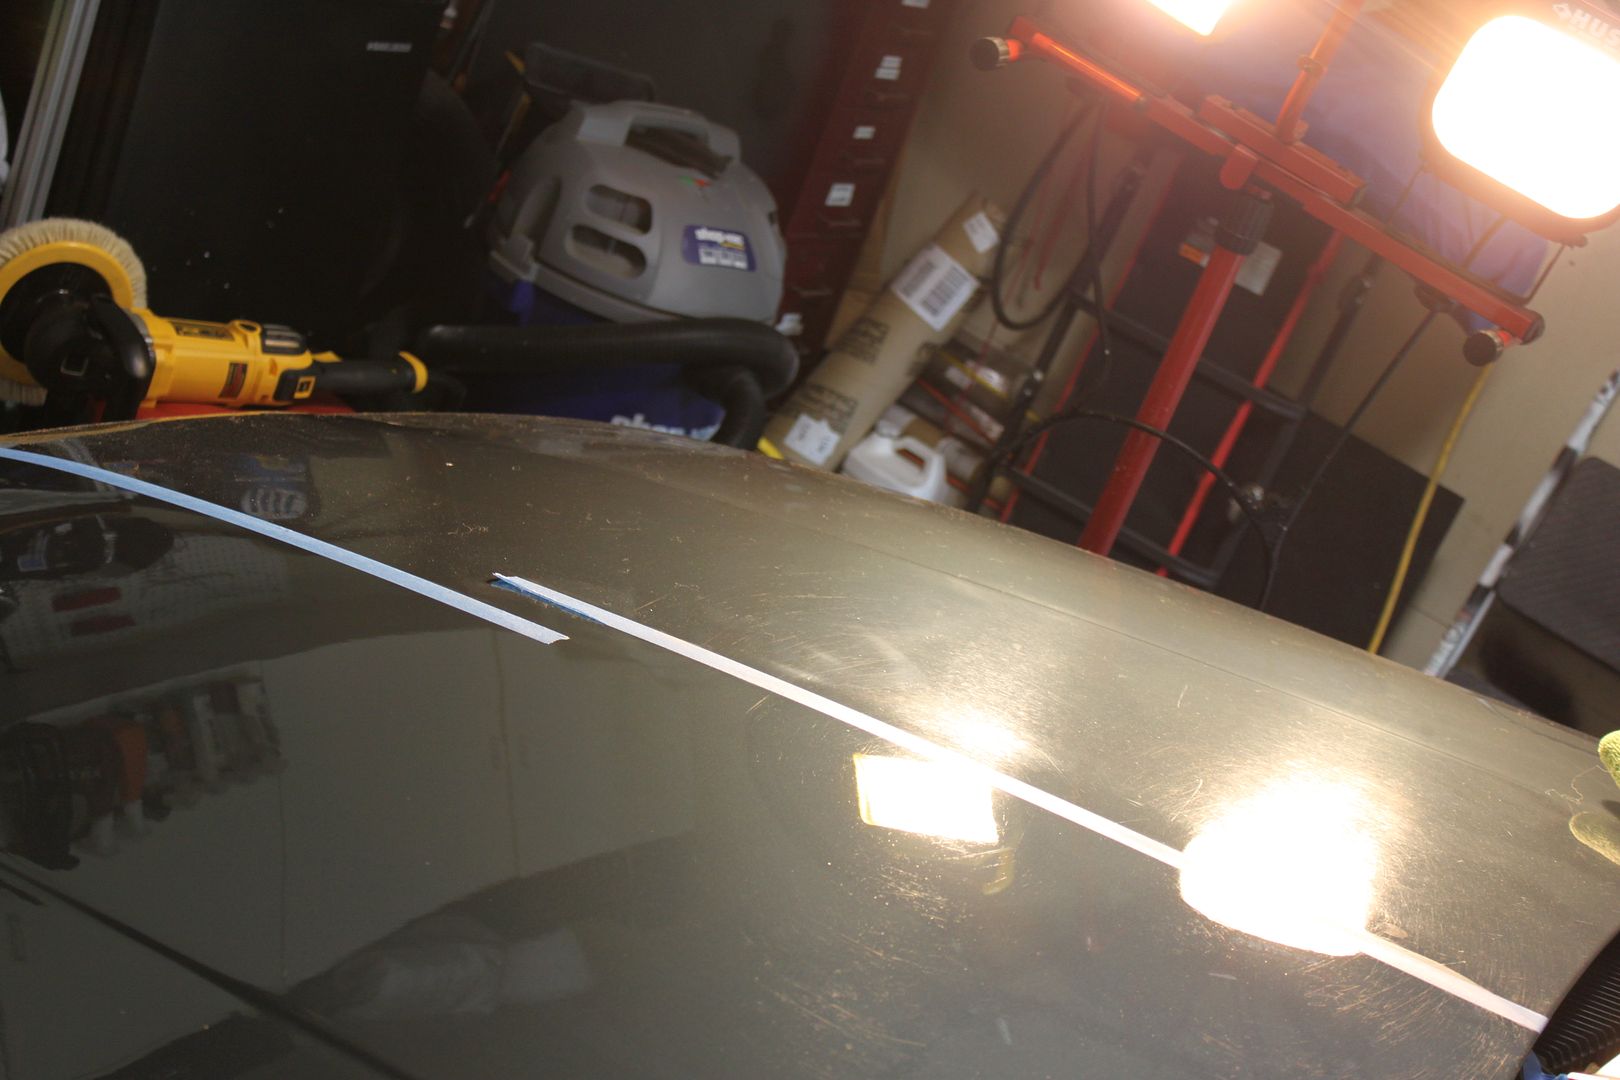
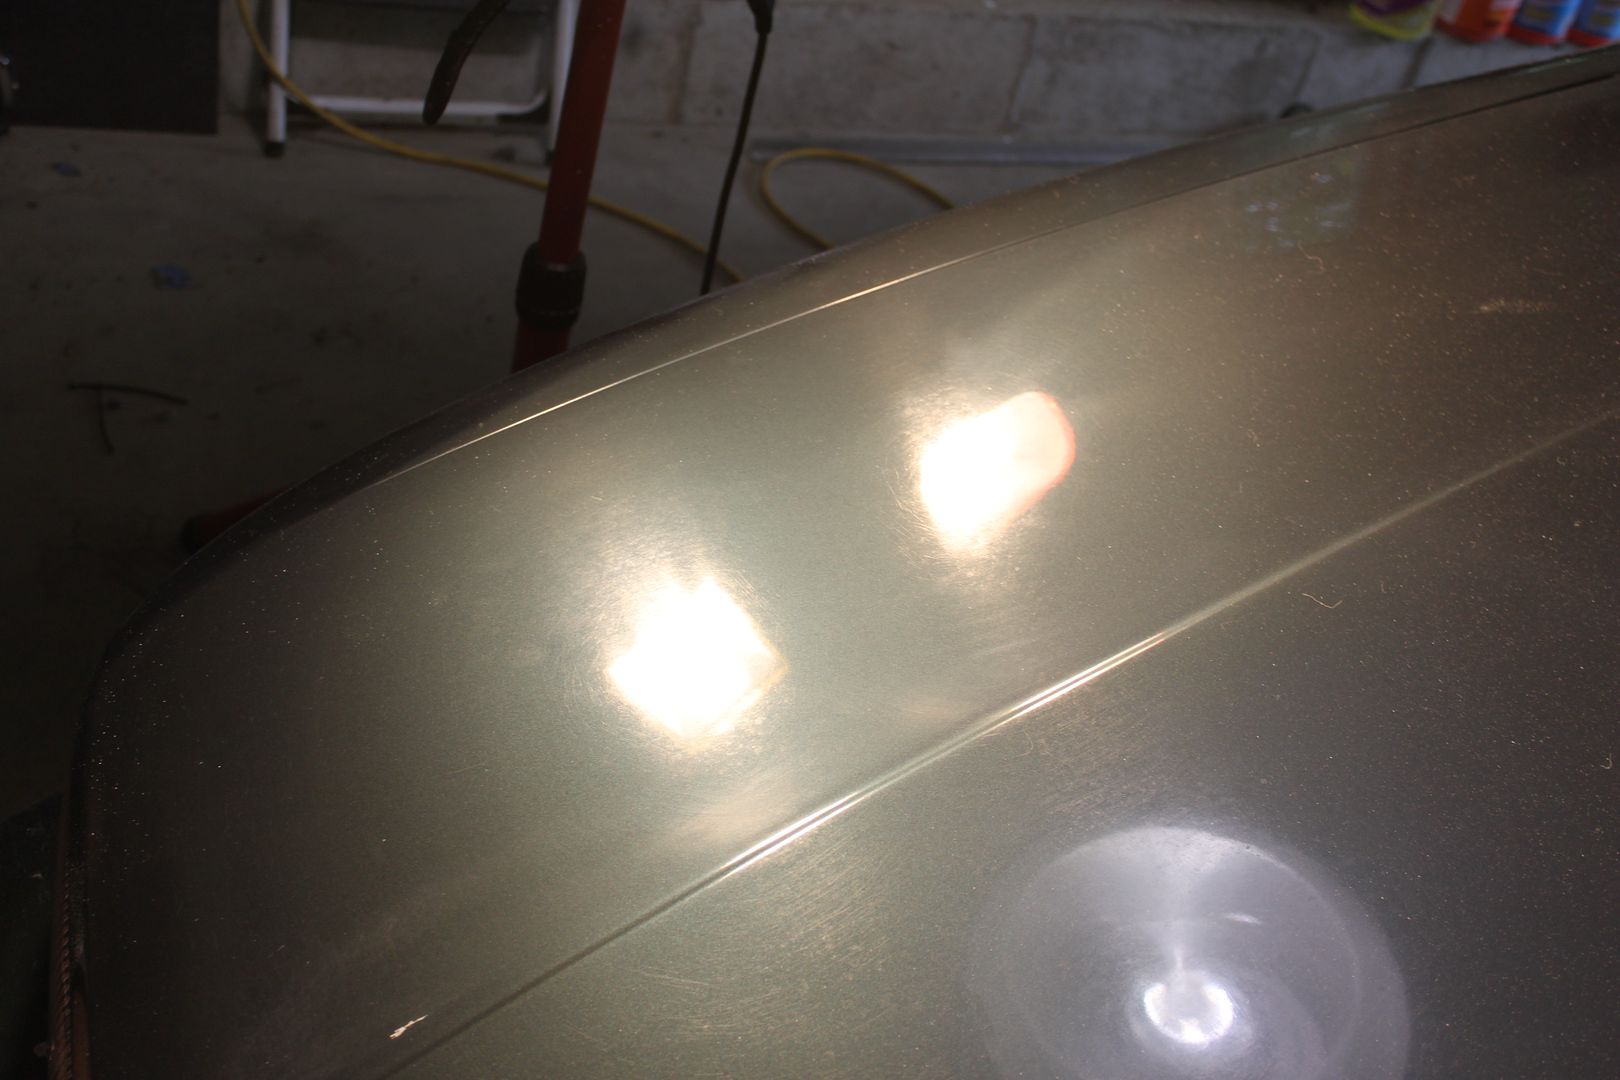
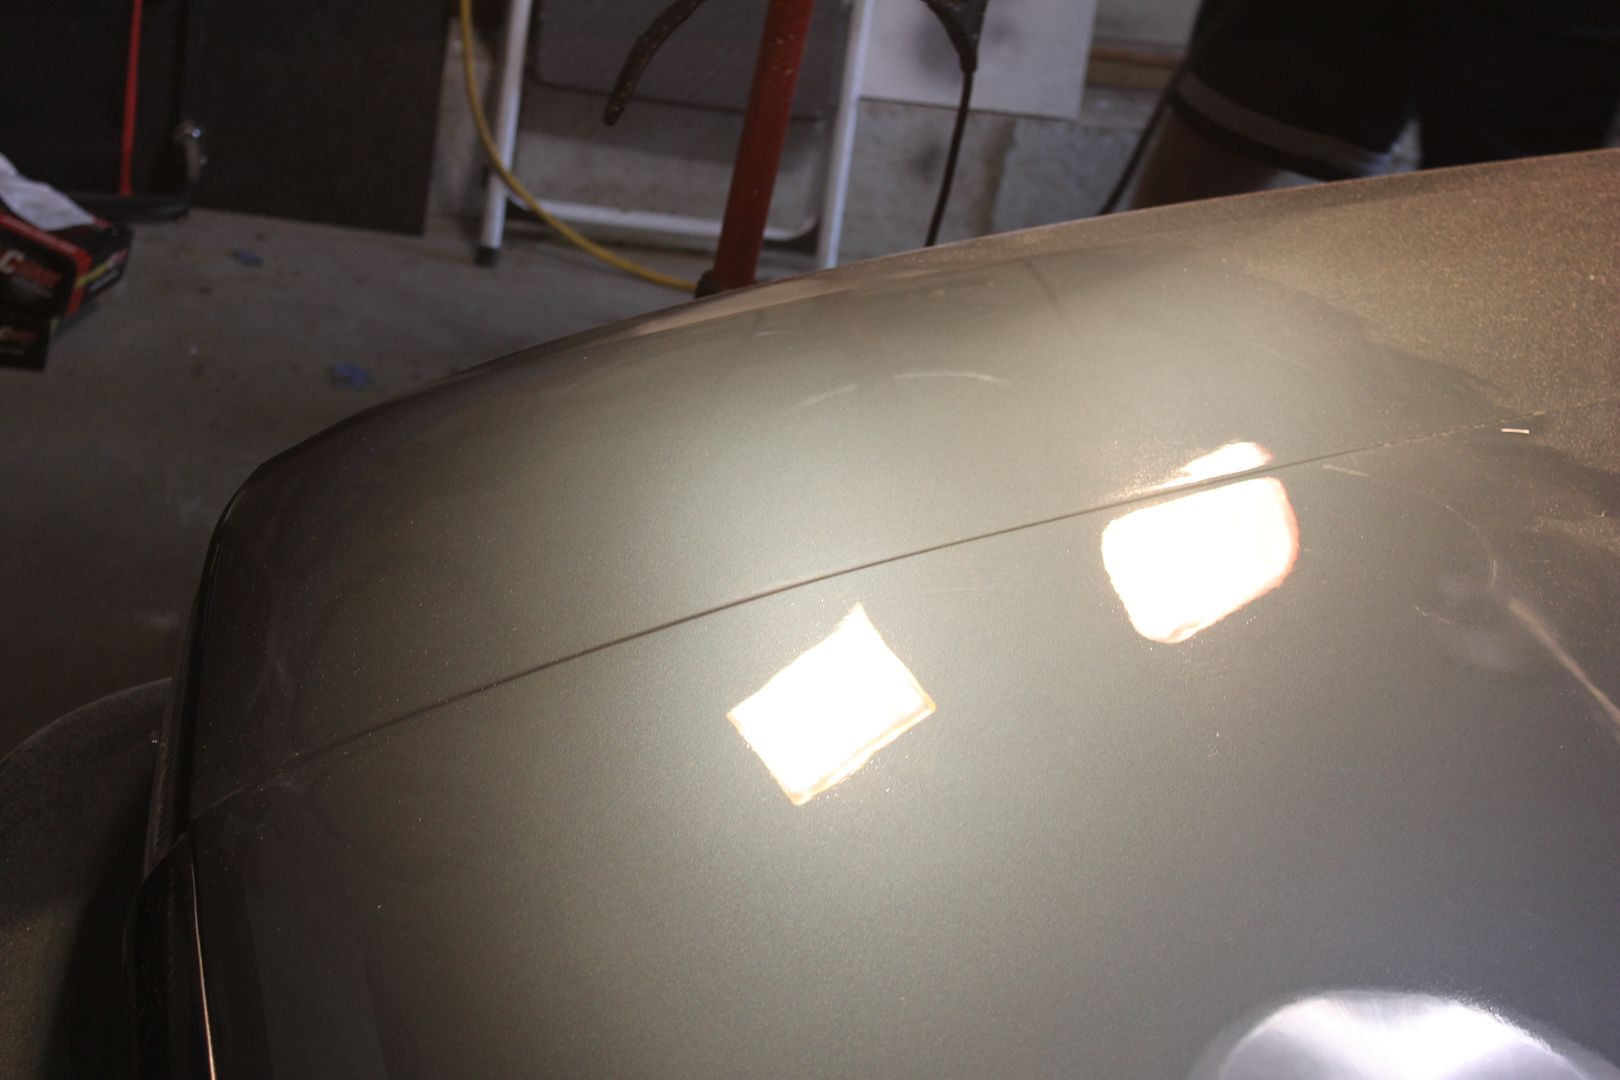
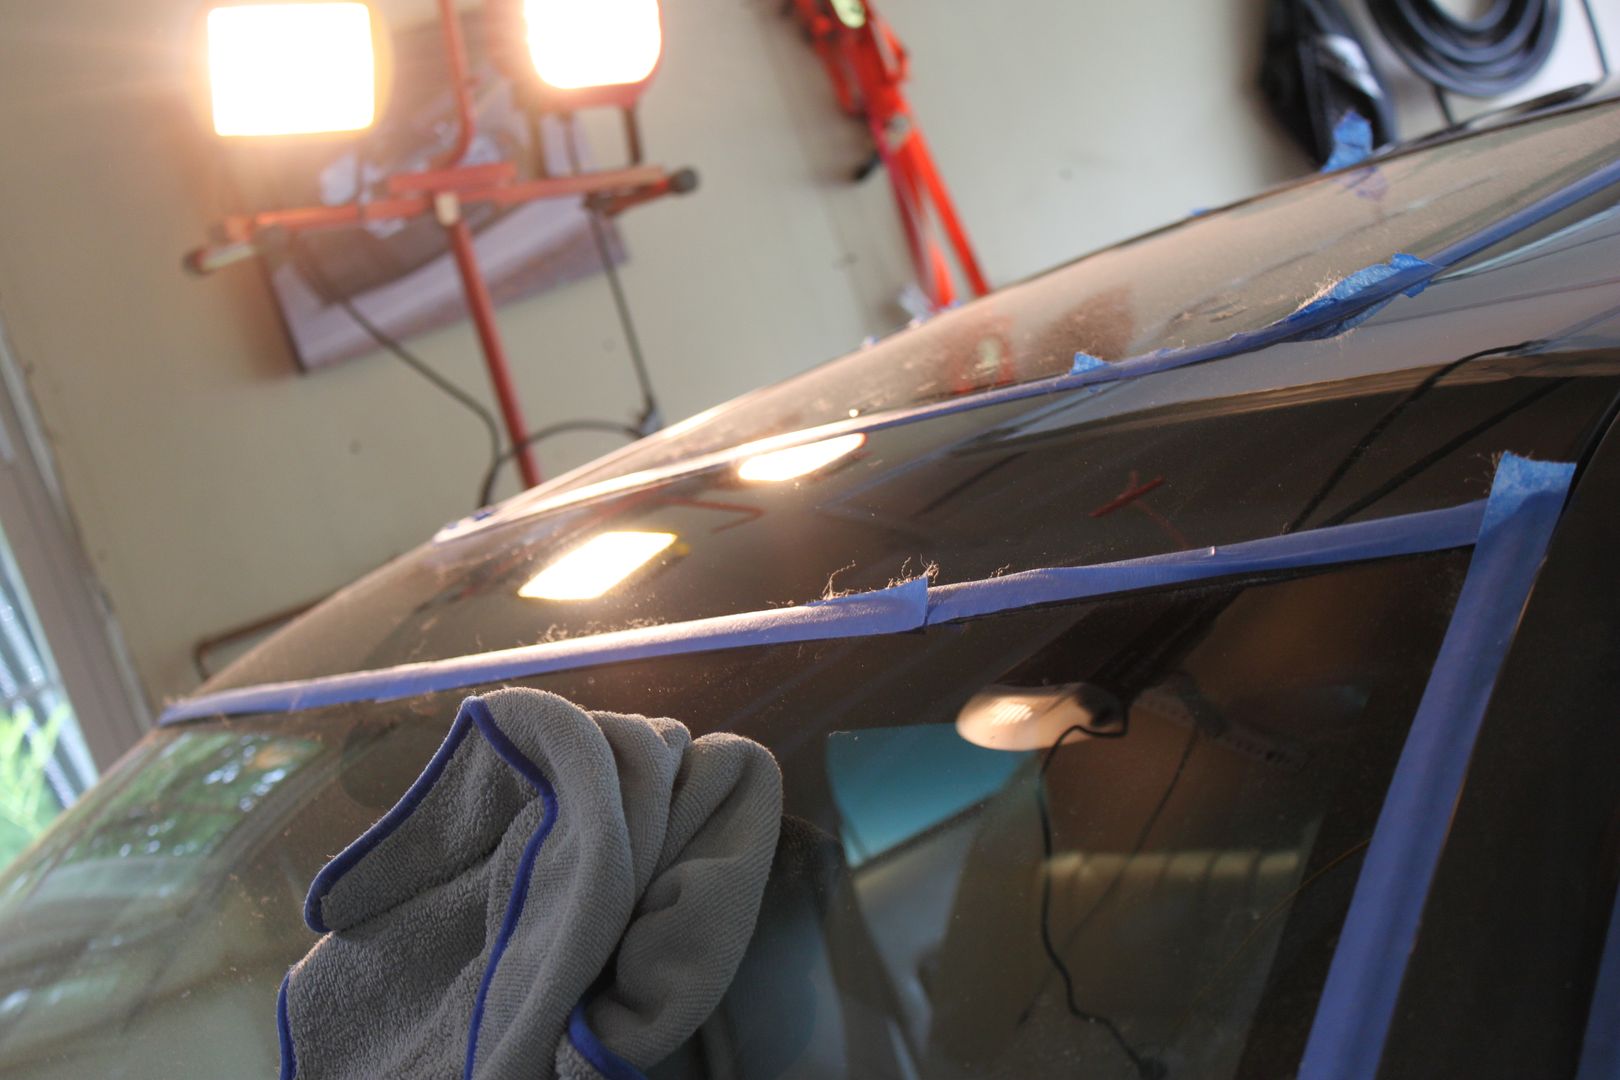
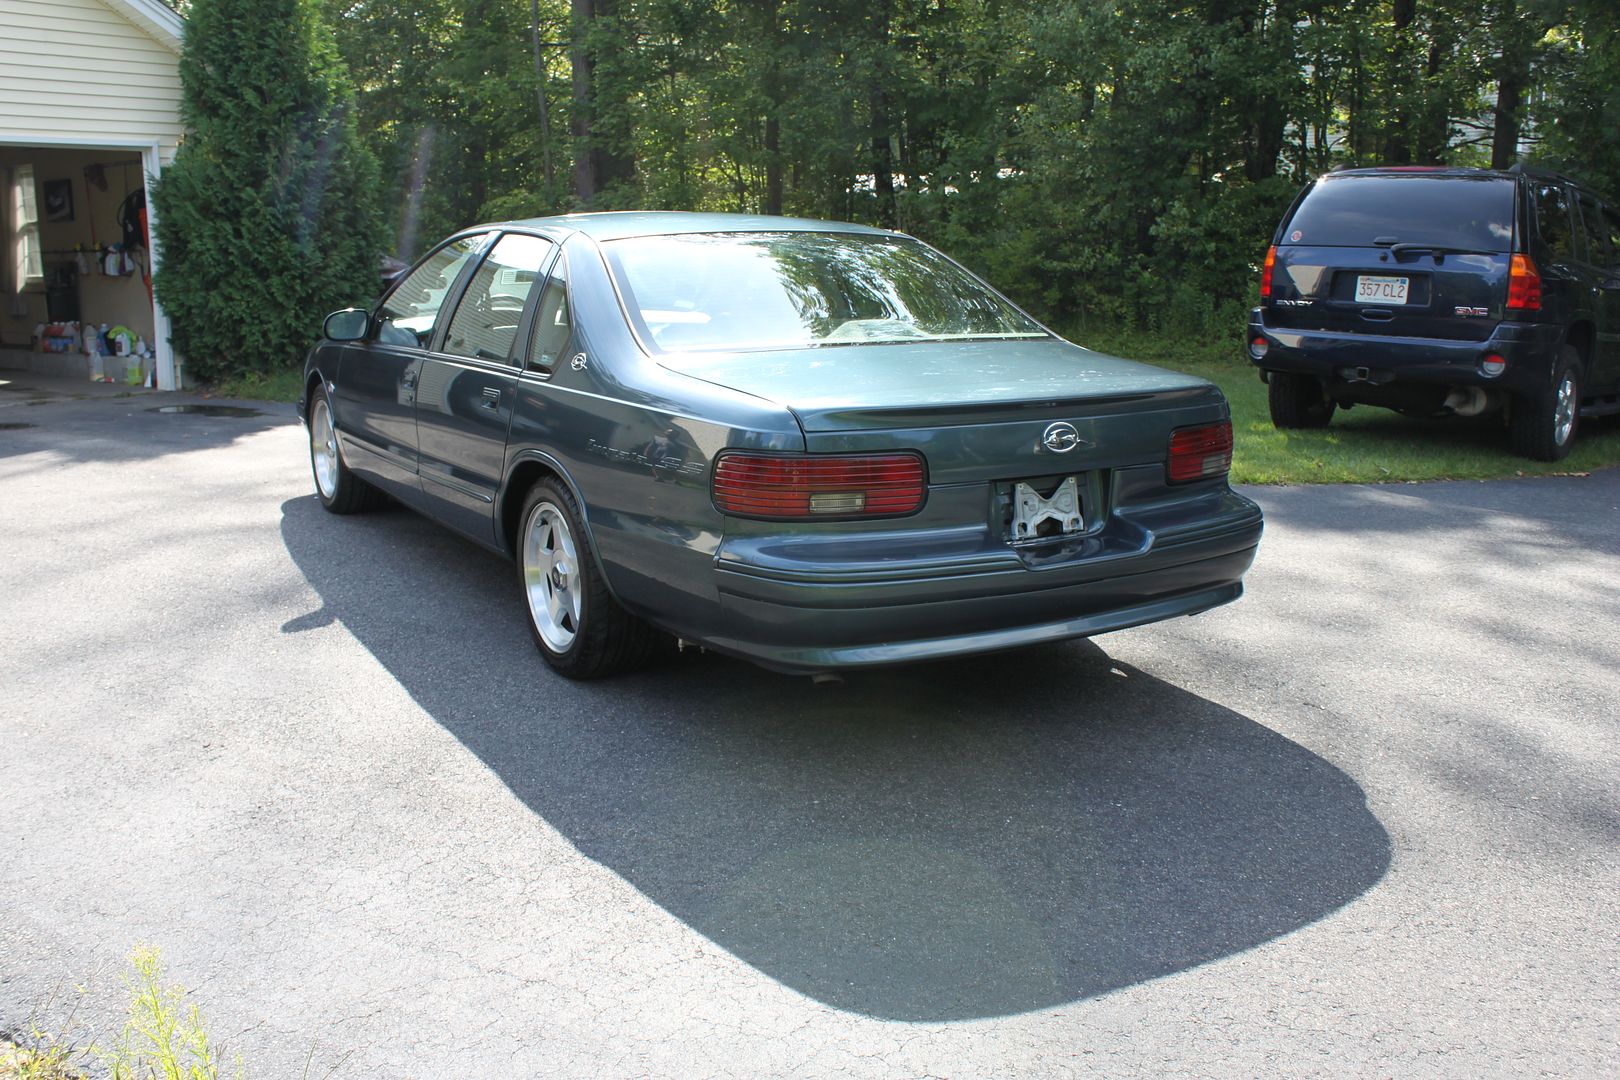
So any one notice back in the begining of this story there really isn't any pictures of the roof? Well because it wasn't nearly as bad as the hood and trunk lid... Well now we know why... It hadn't been recleared... One pass with the rotary and it was almost perfect!!!
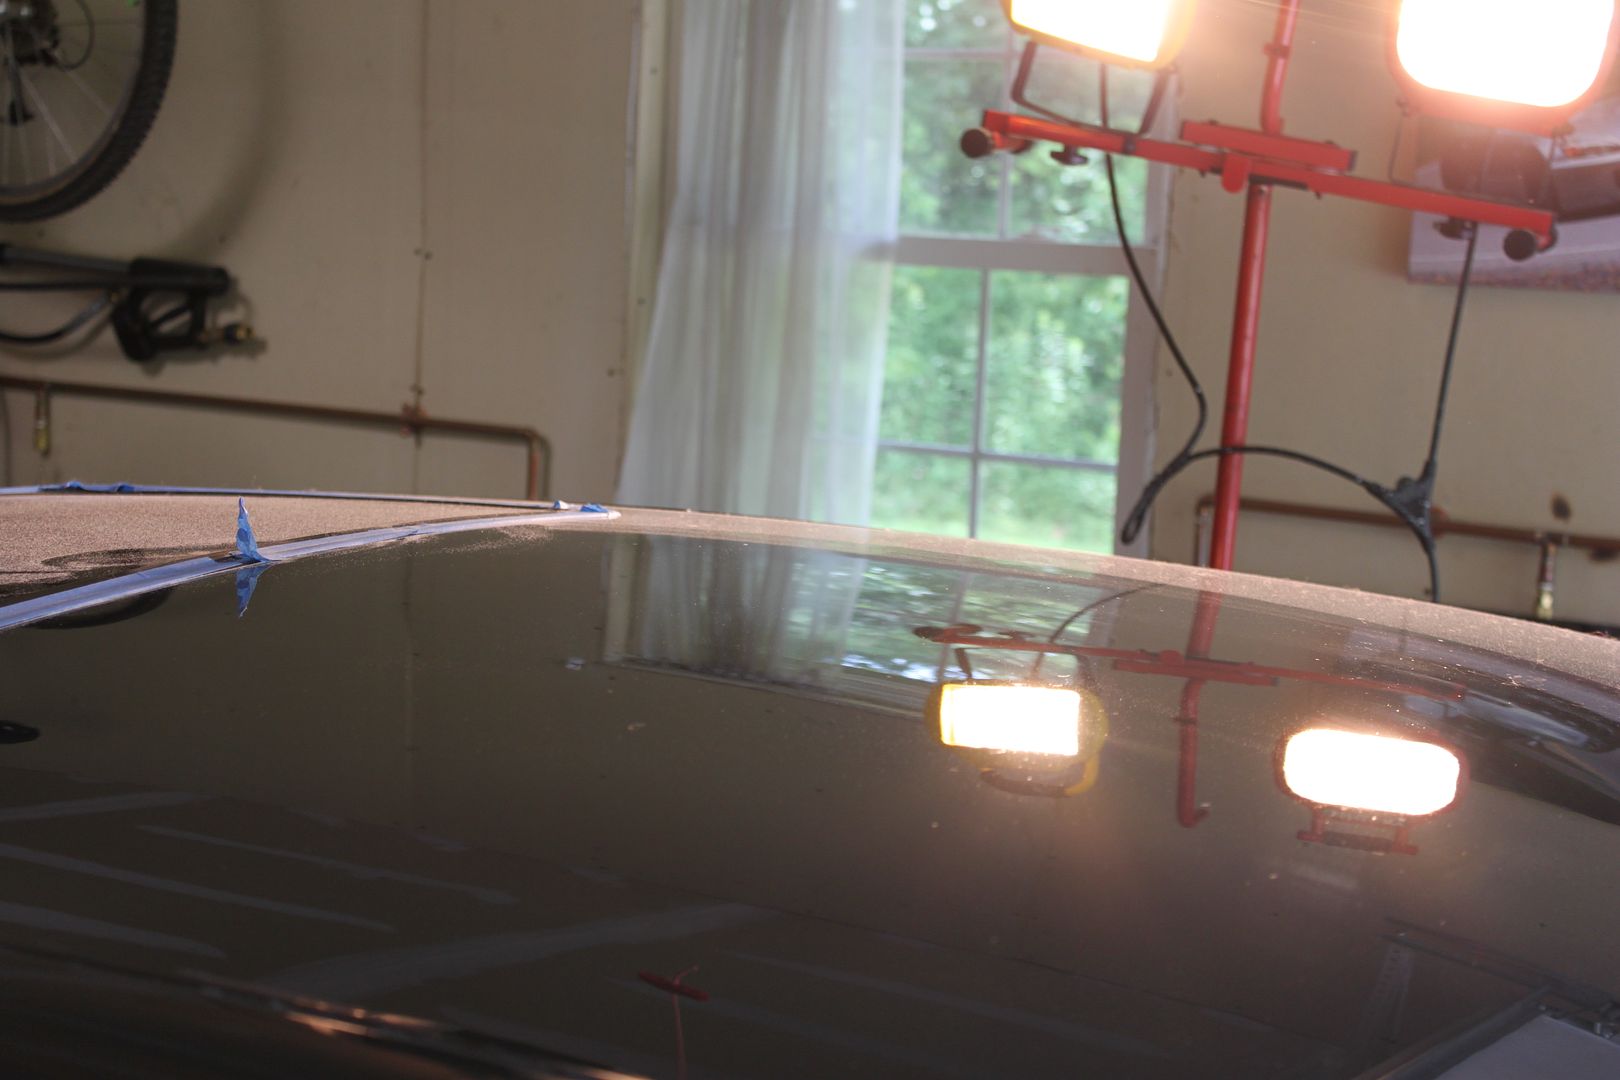
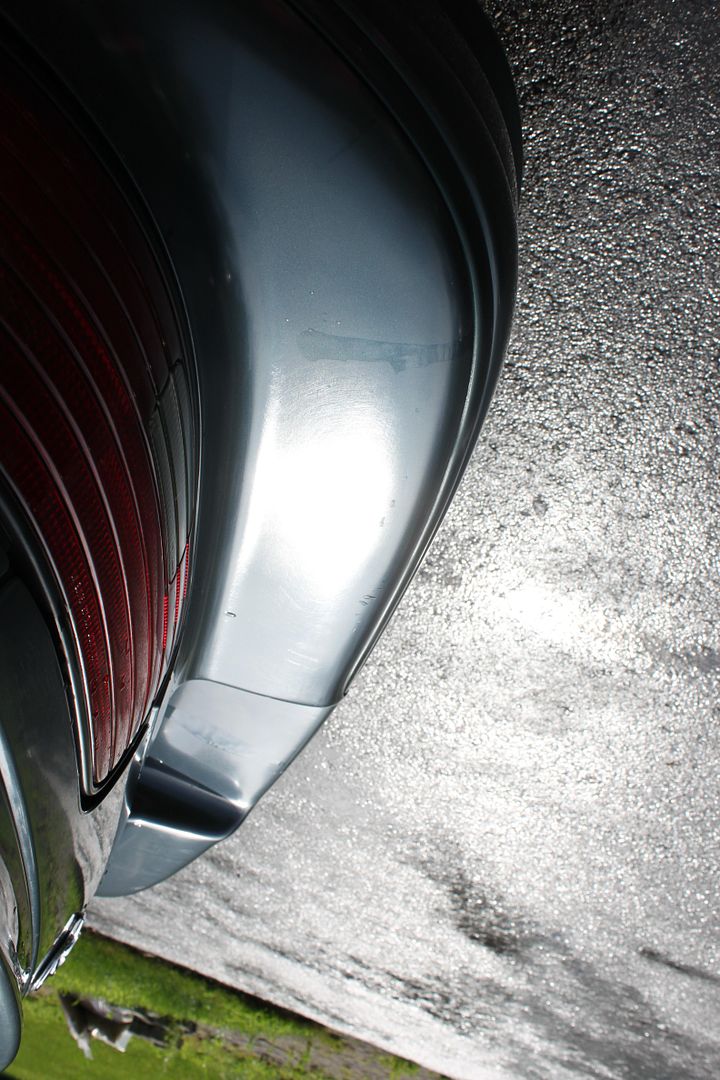
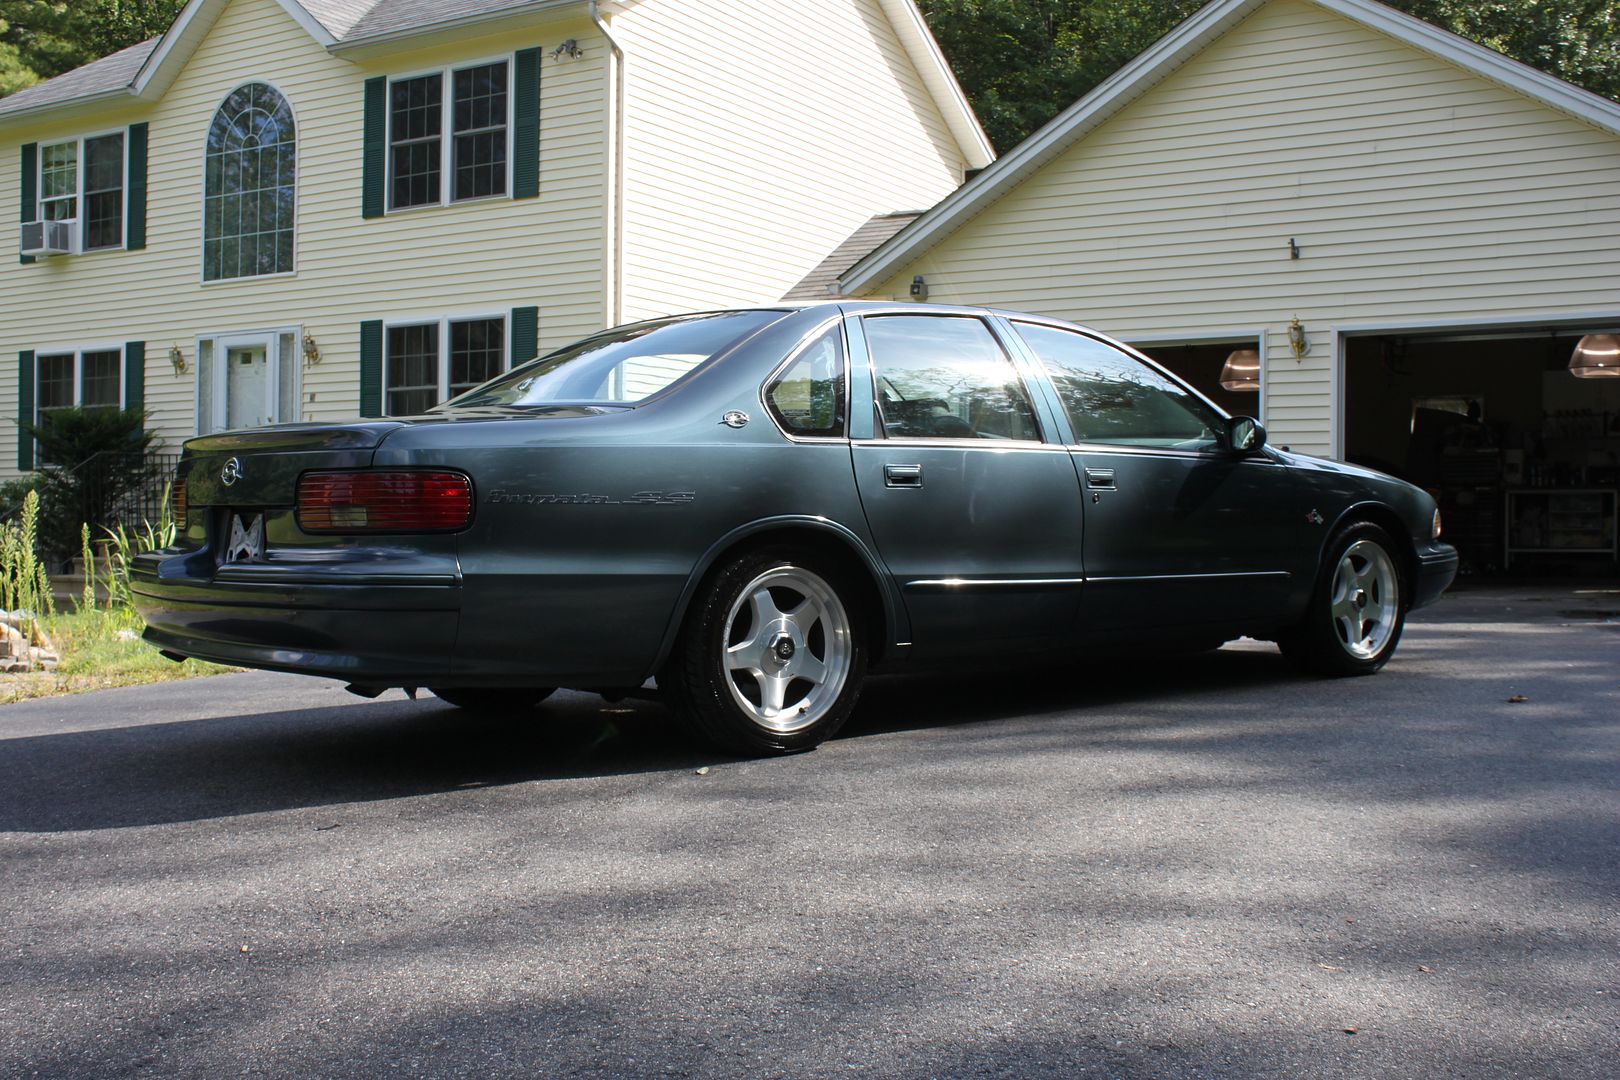
But there is more... We know what wasn't recleared too.... The roof, drivers side A pillar, and driver side front fender... We think the bumpers were replaced as they cleaned up very well with only a few passes...
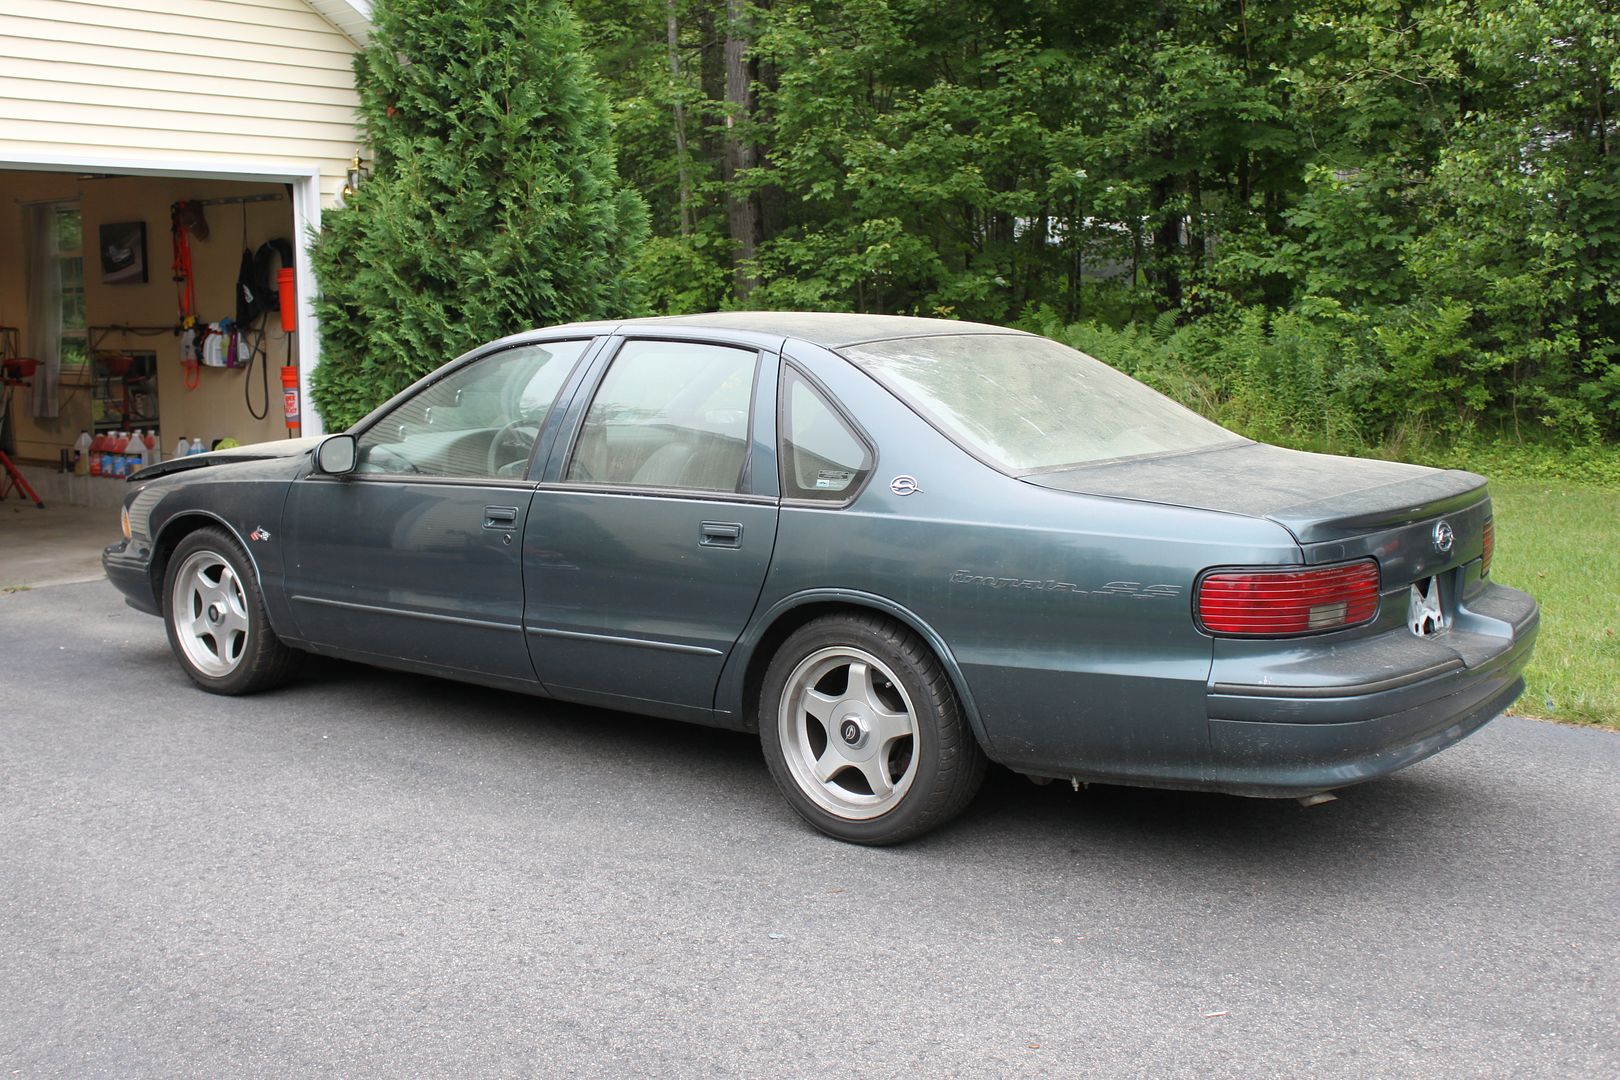
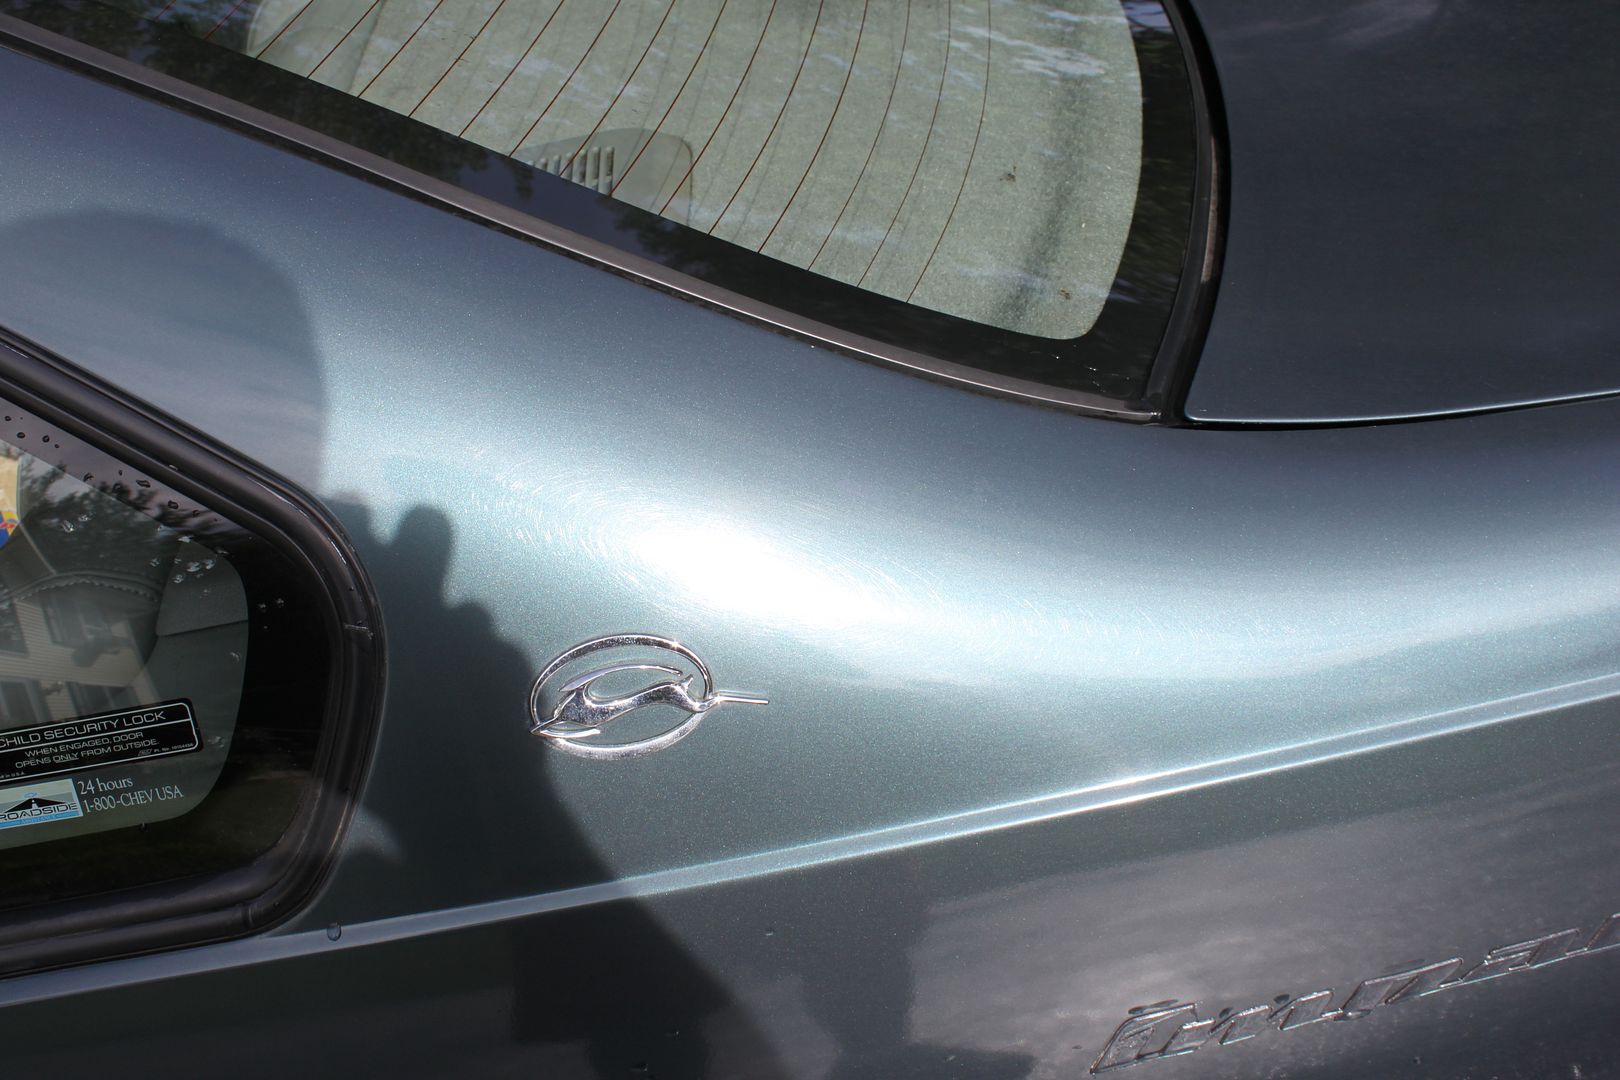
At this point we have performed all the correction and readying for sealing... This is a perfect example of what we were dealing with, why we went nuts for a bit, and all we can do for the car... Front Fender damn near perfect... Rest of the car looks like we did nothing to correct the paint, but alas we had!
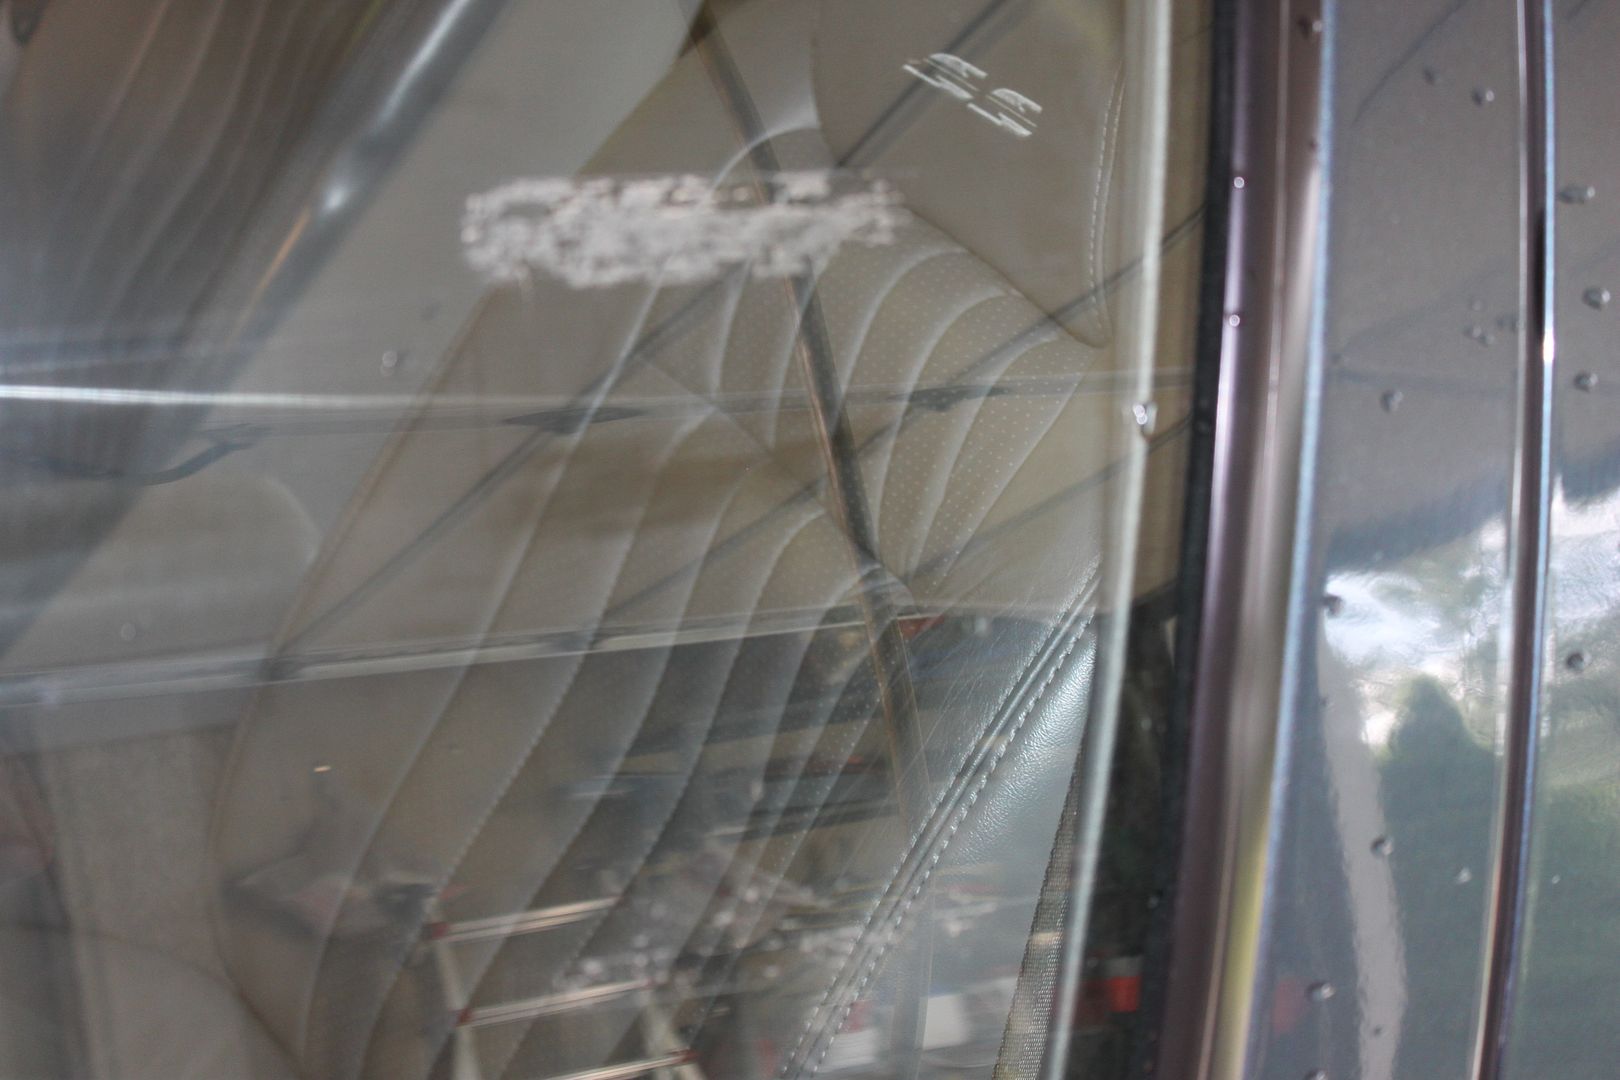
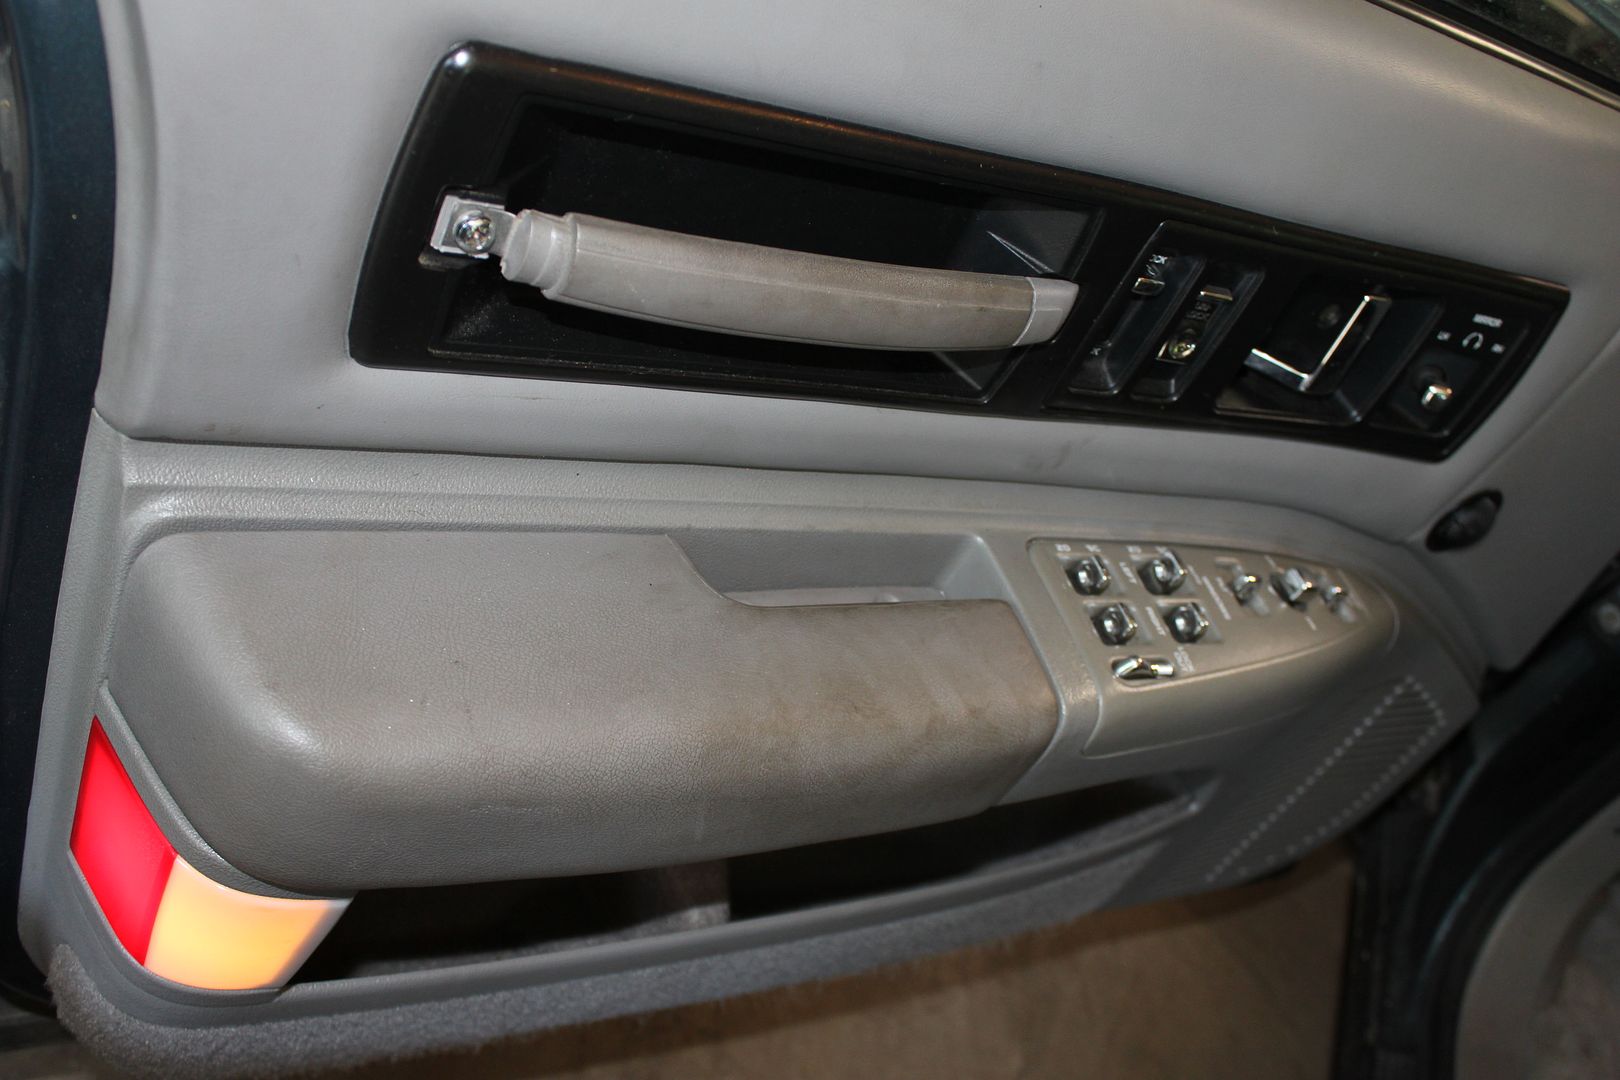
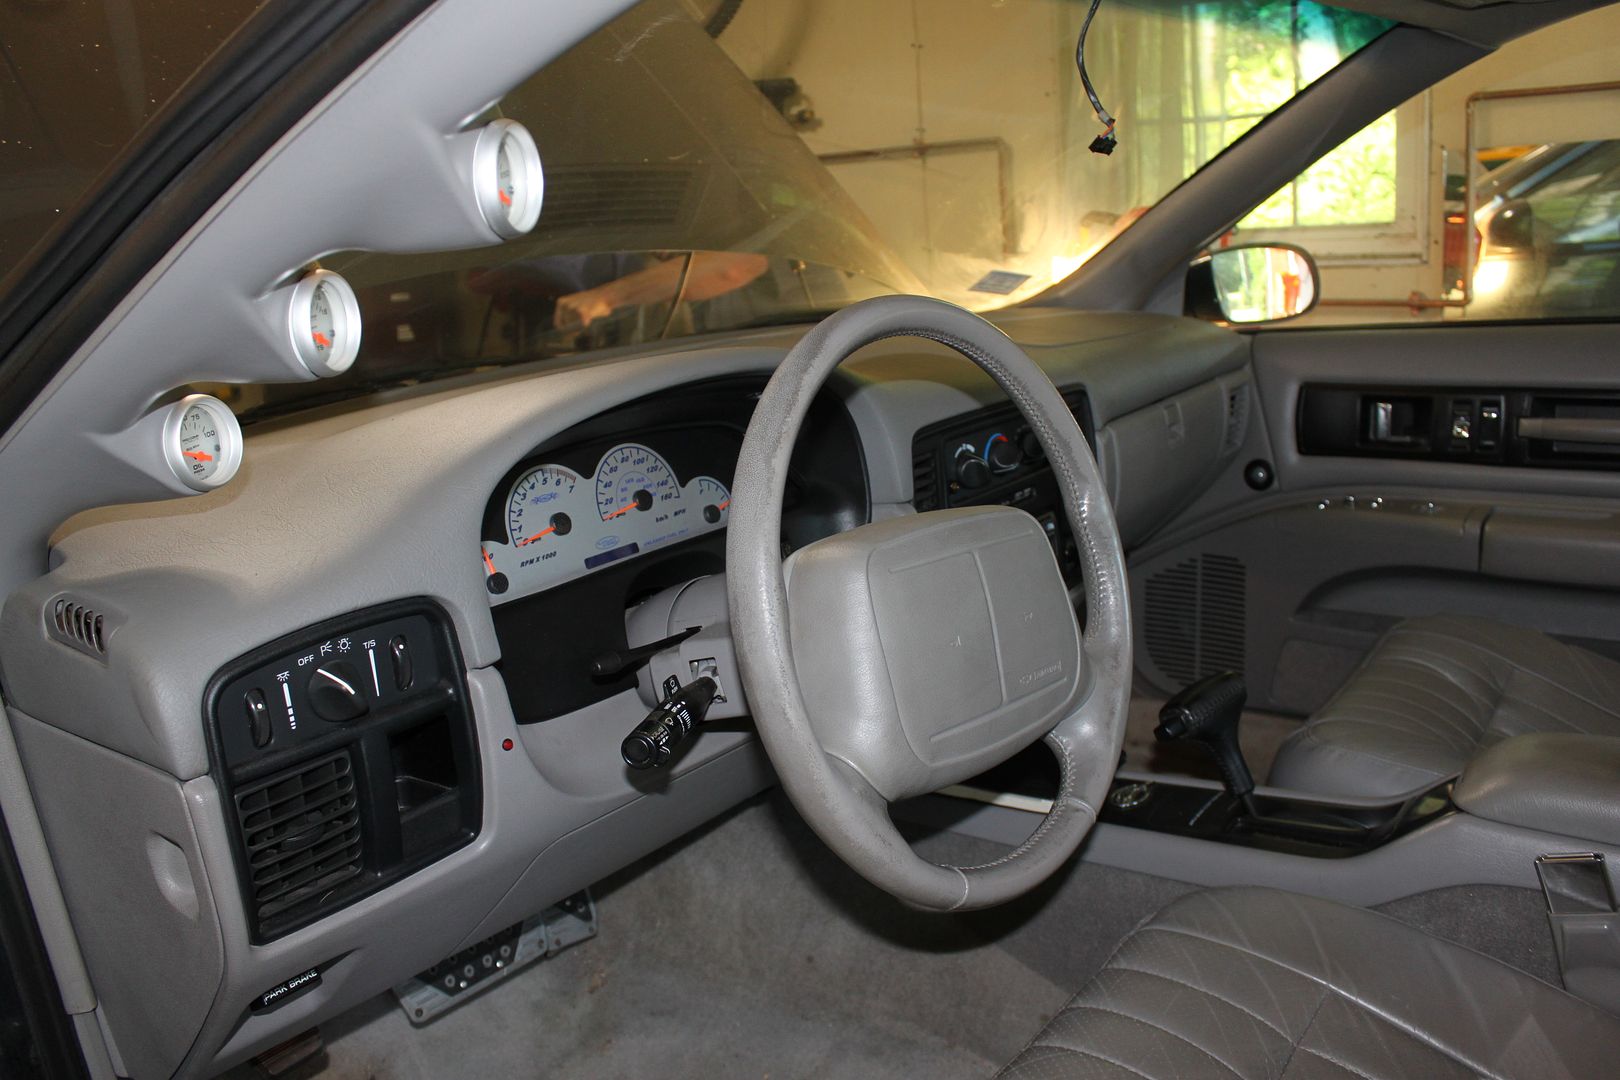
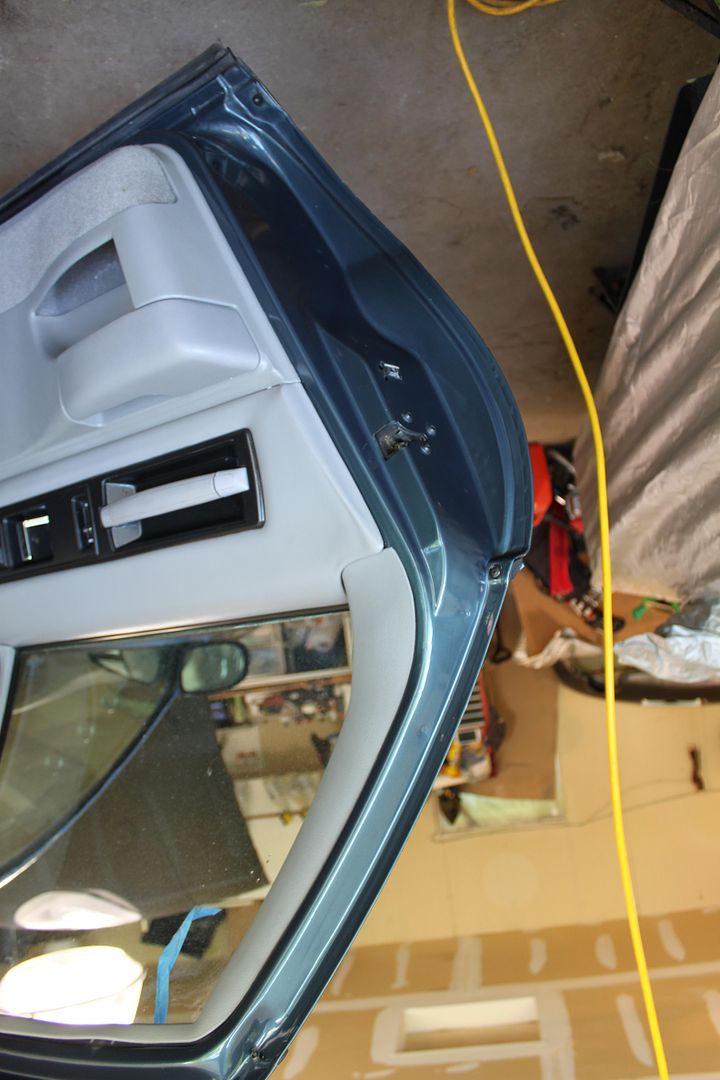
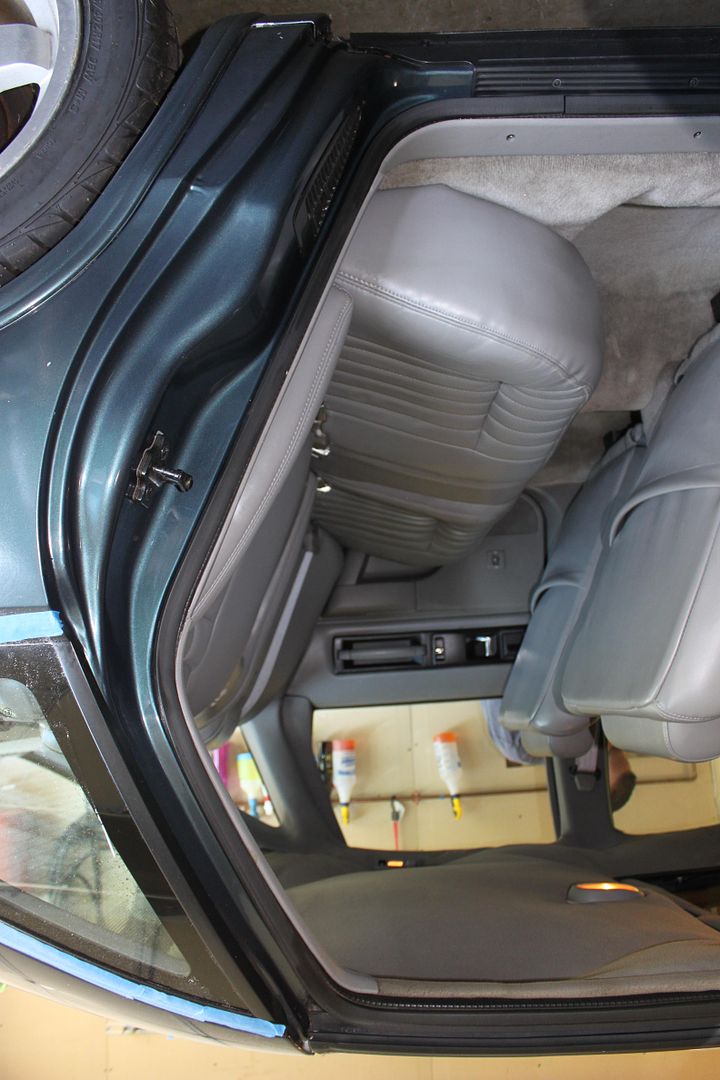
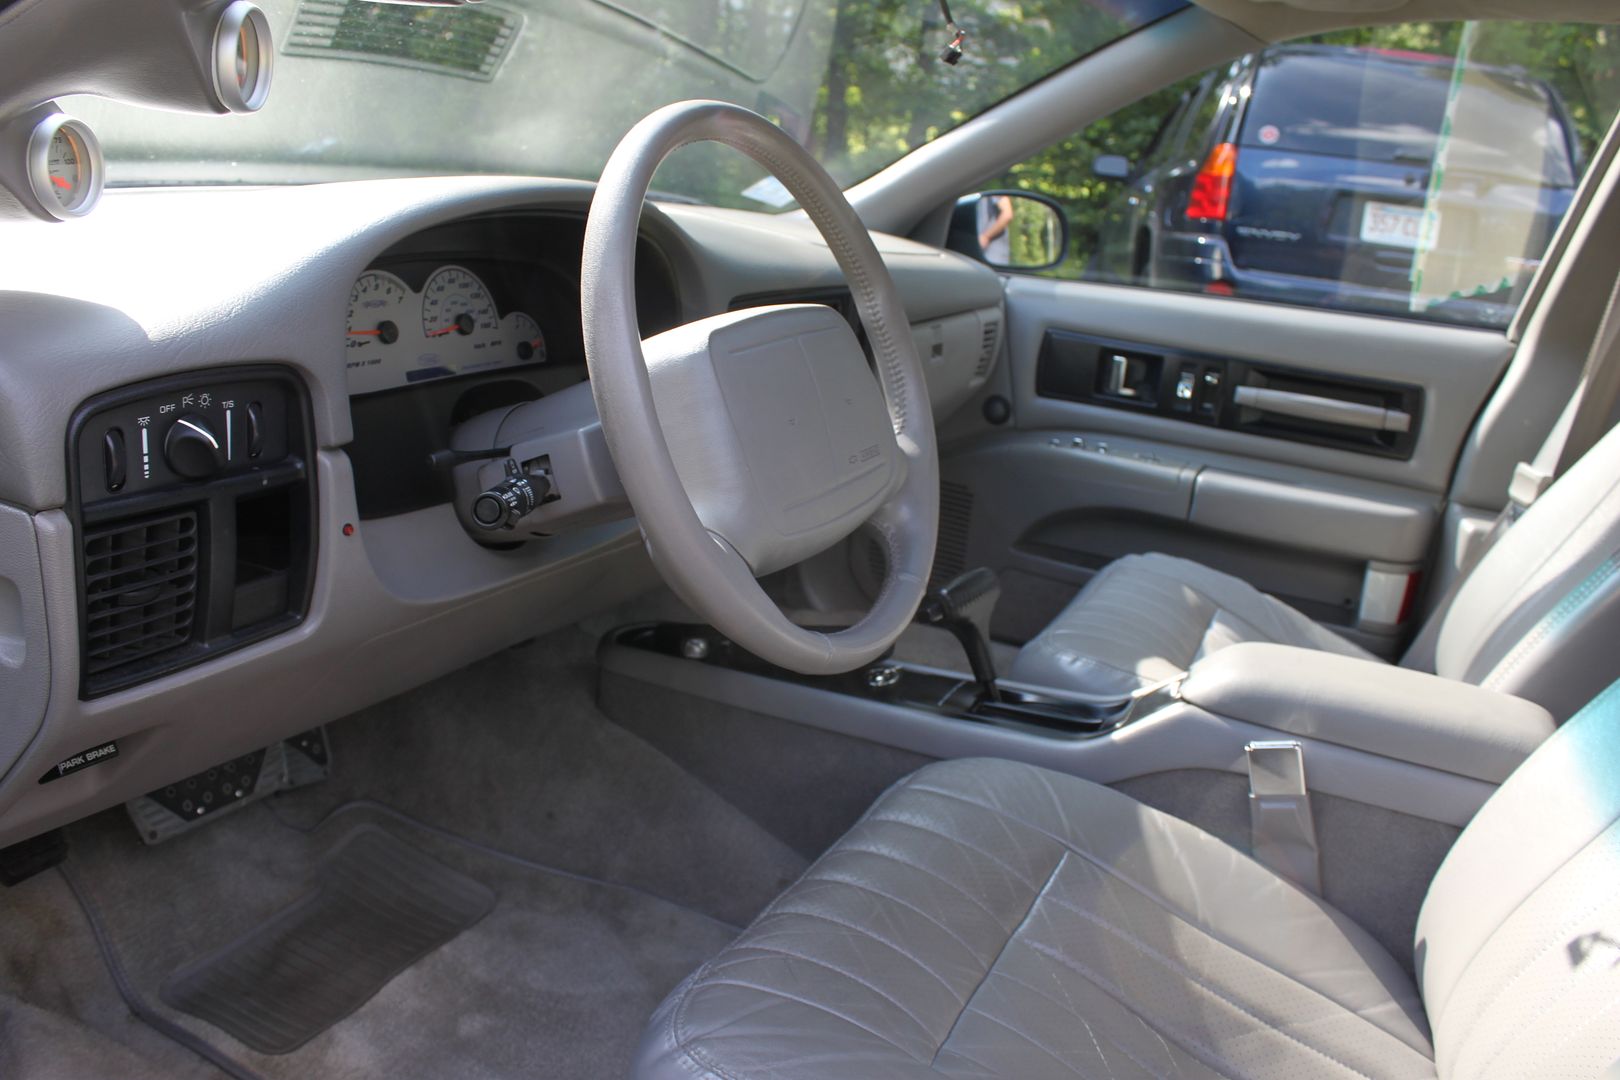
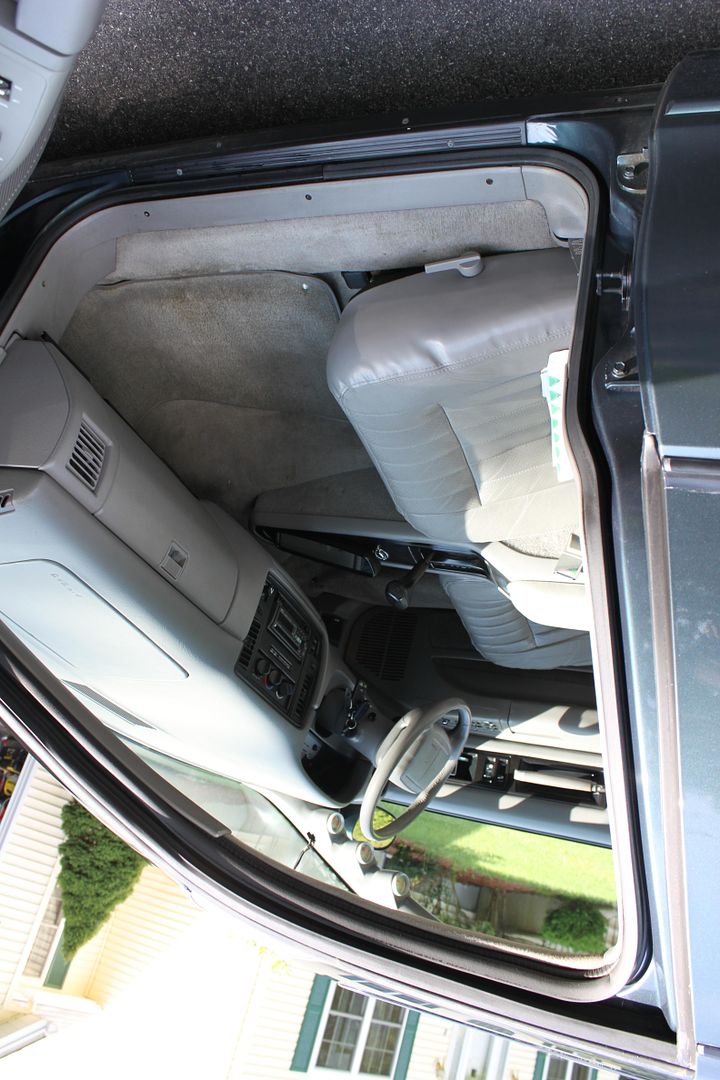
Well tackled the interior next, careful I think you might catch something...
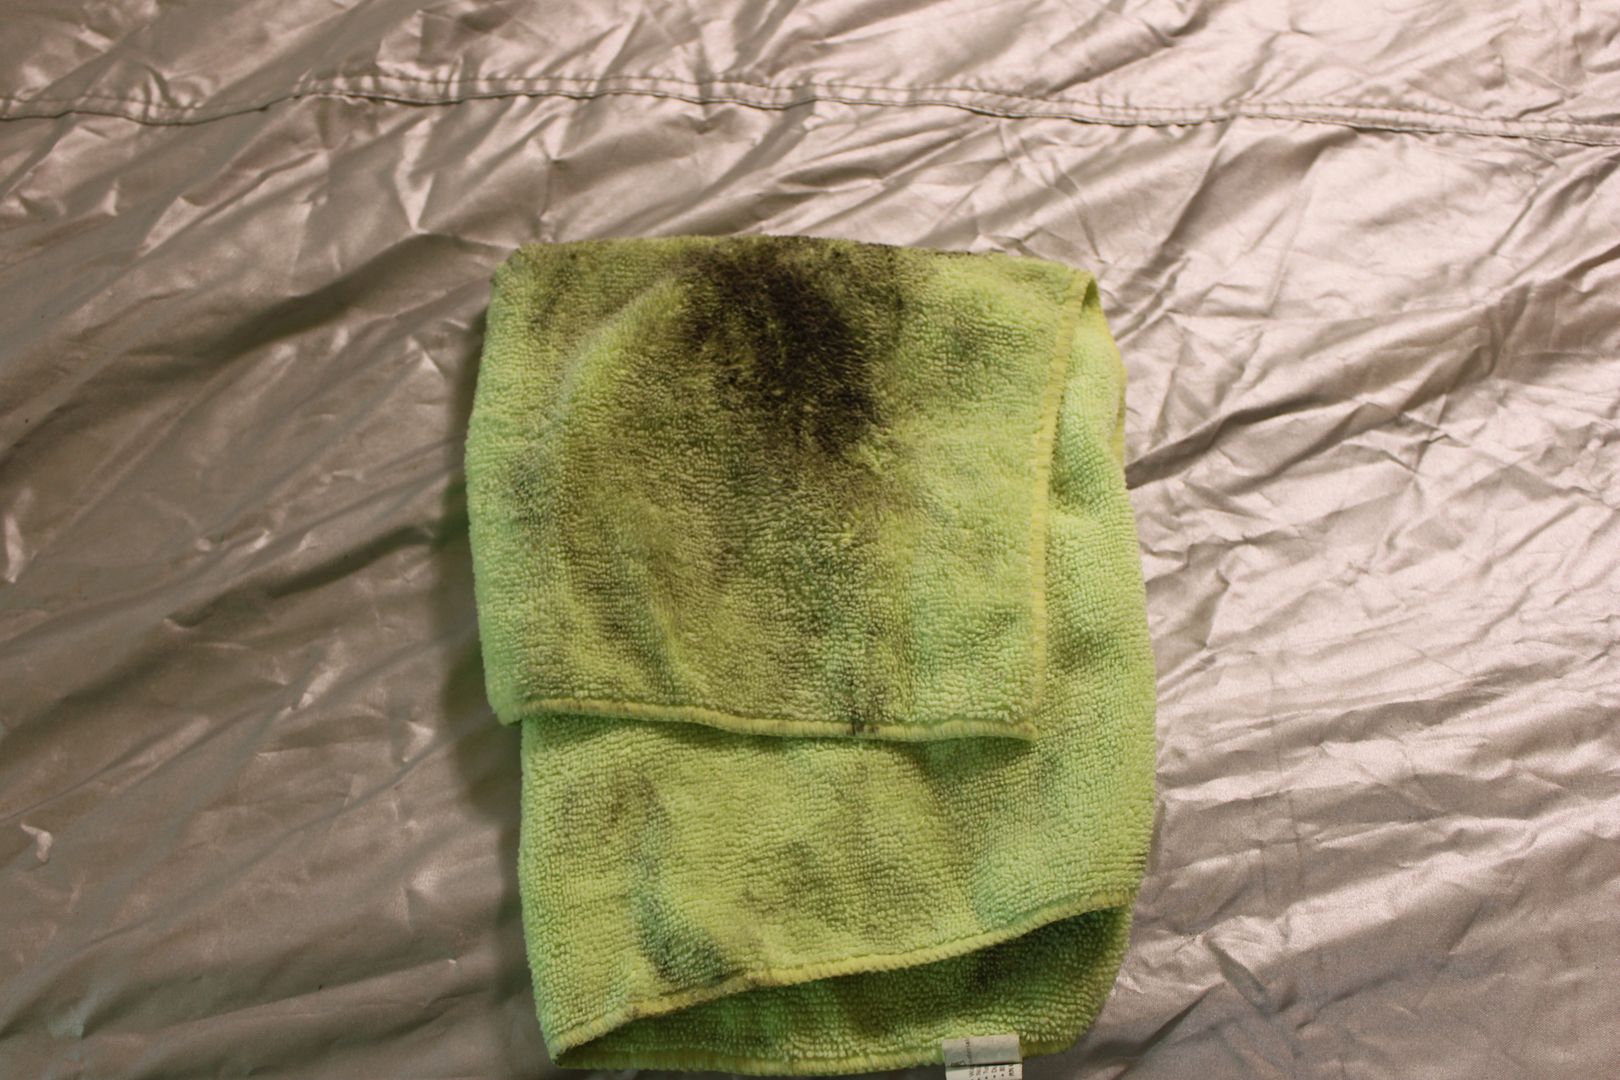
YUCK! This is just from the rear 3 windows!
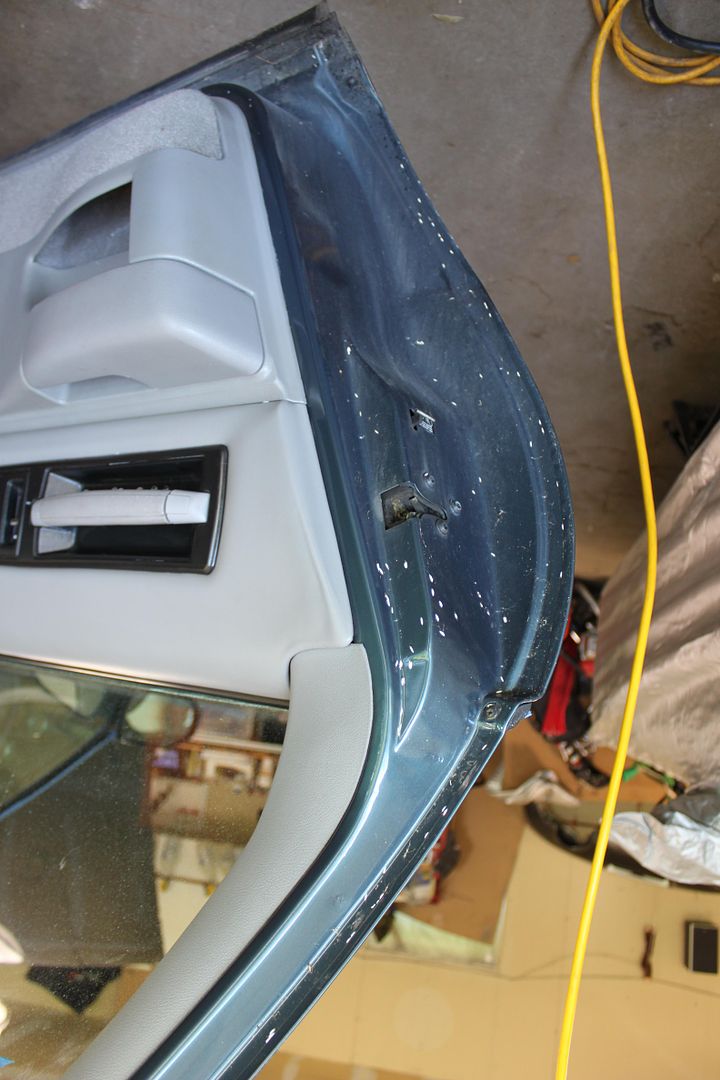
Buggy eggs, these were in every nook and cranie...
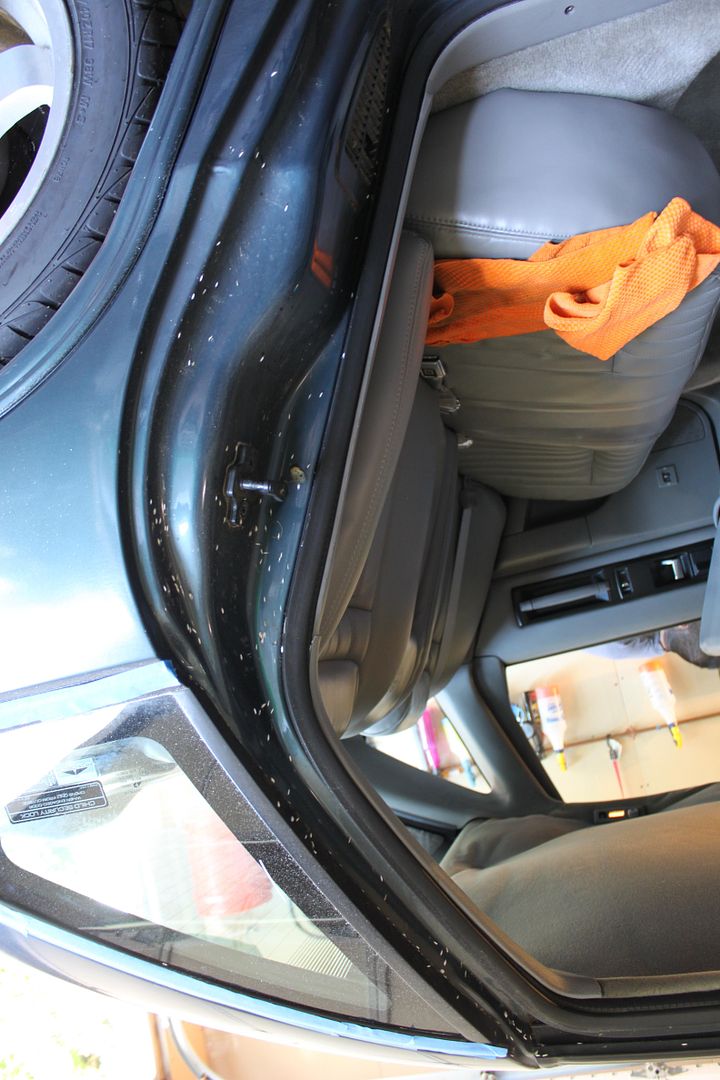
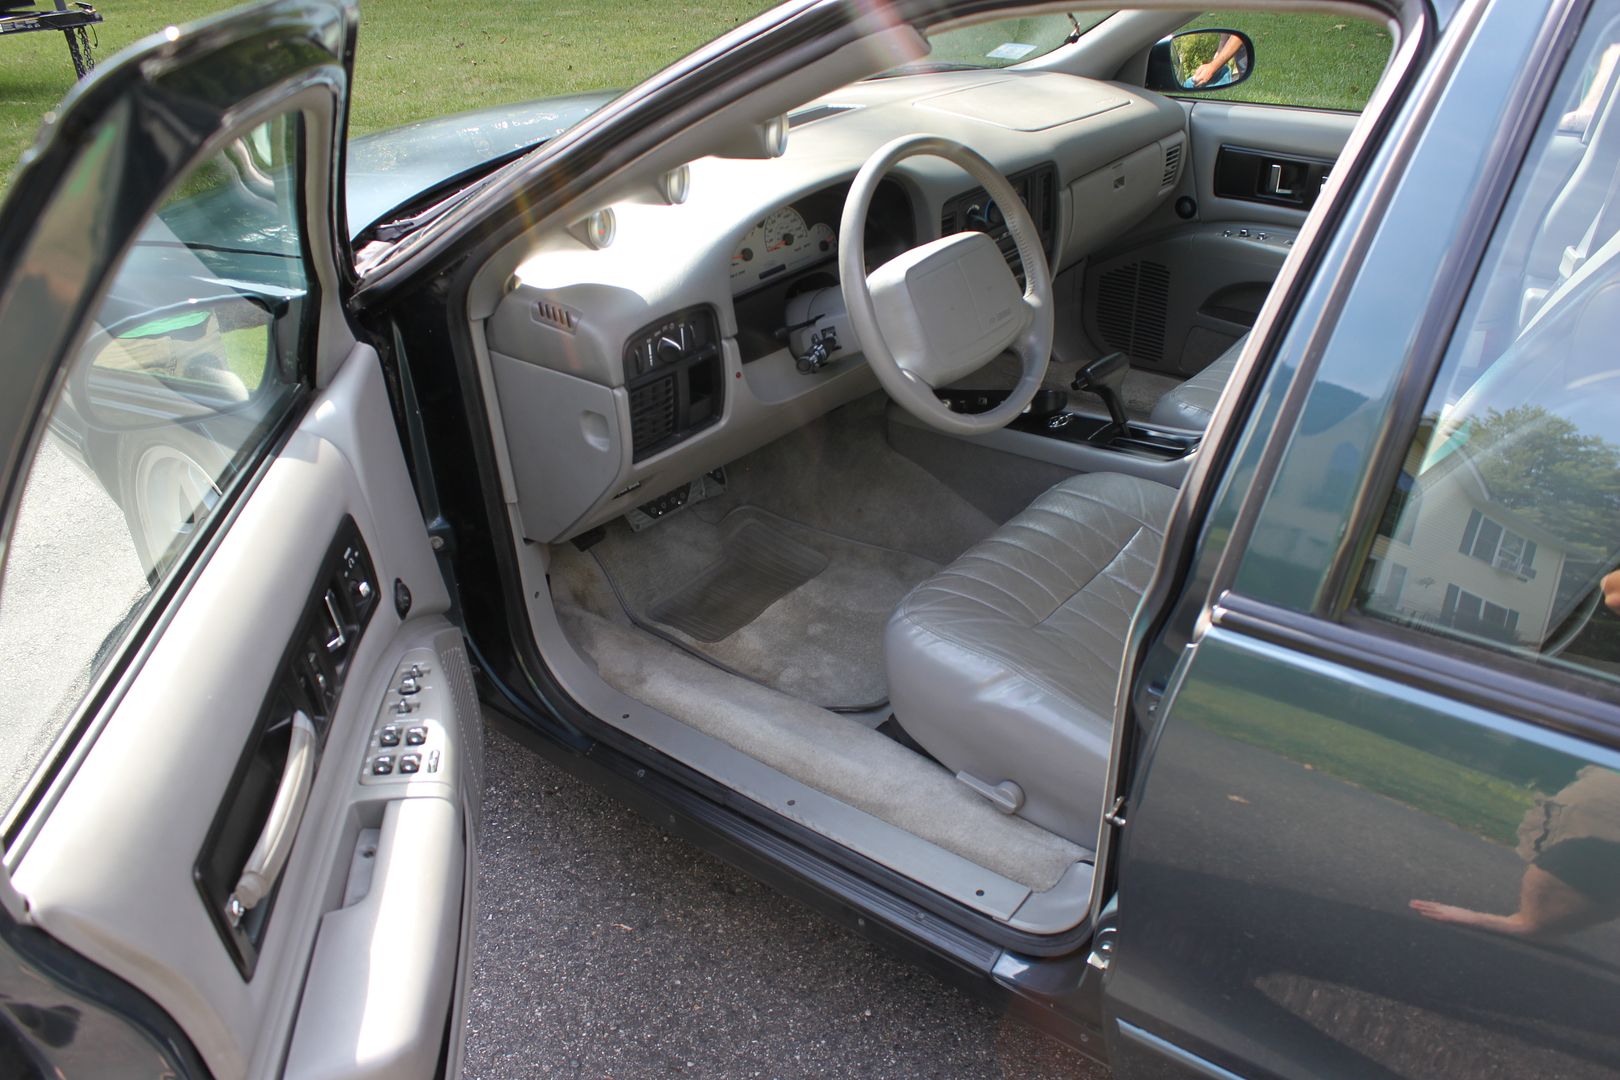
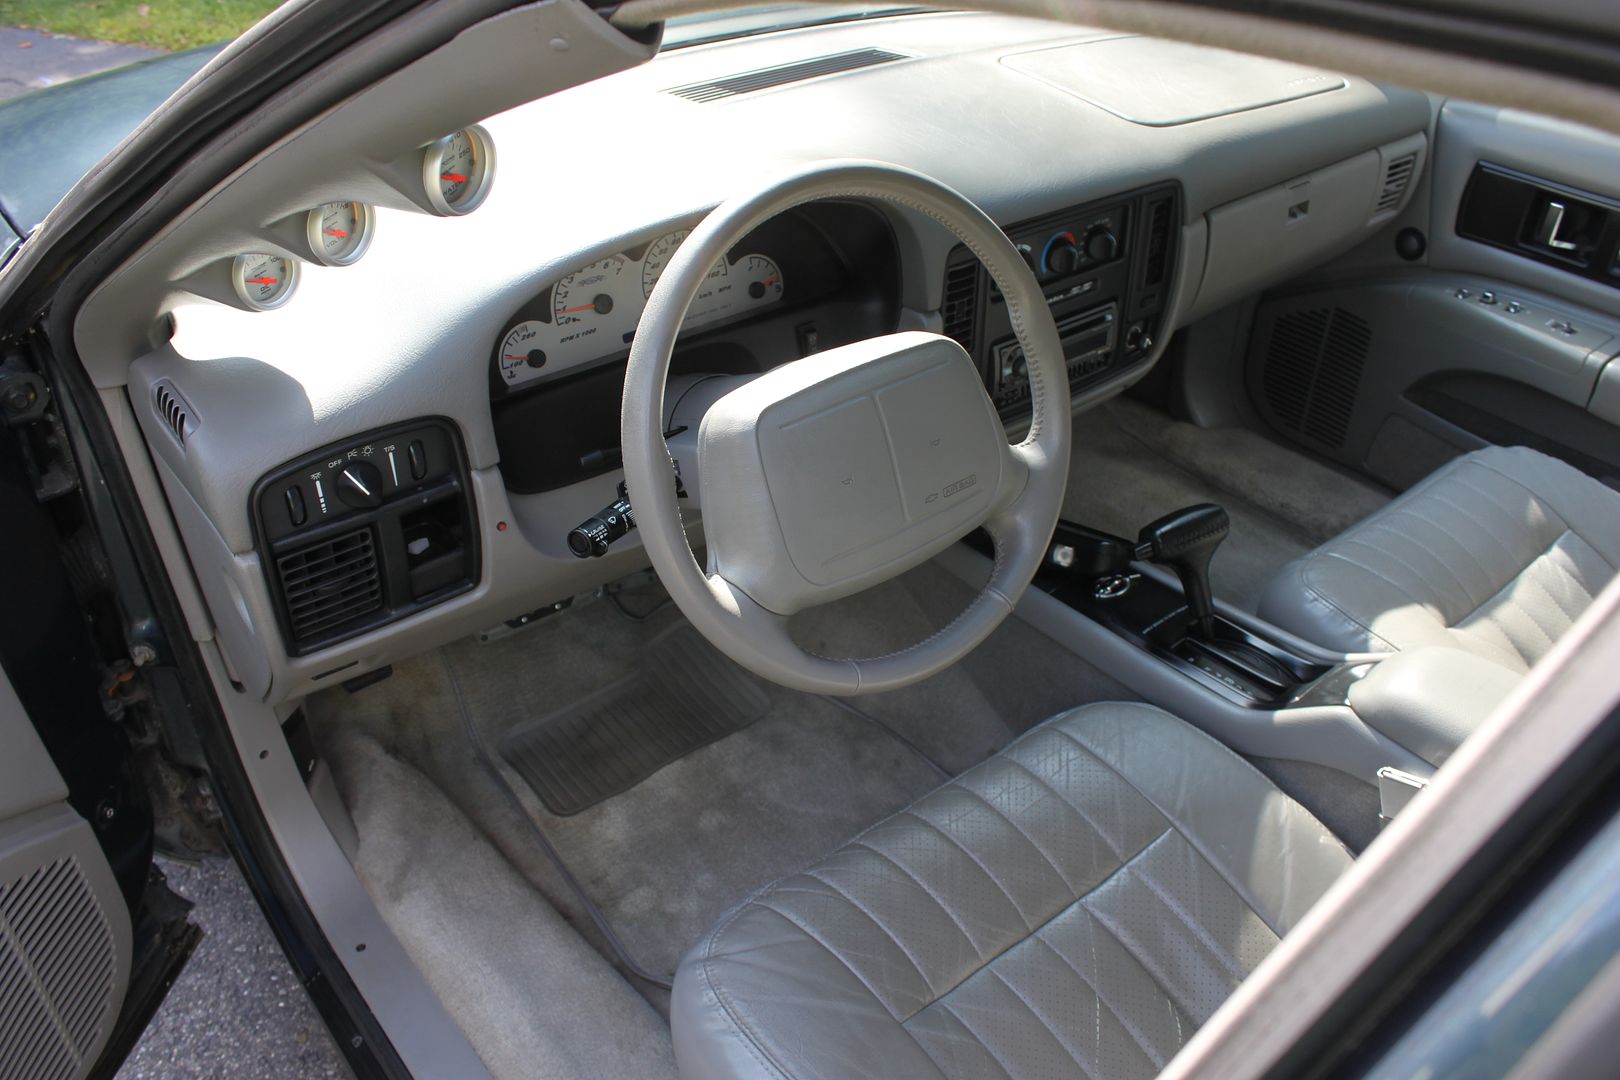
Cleaned up...
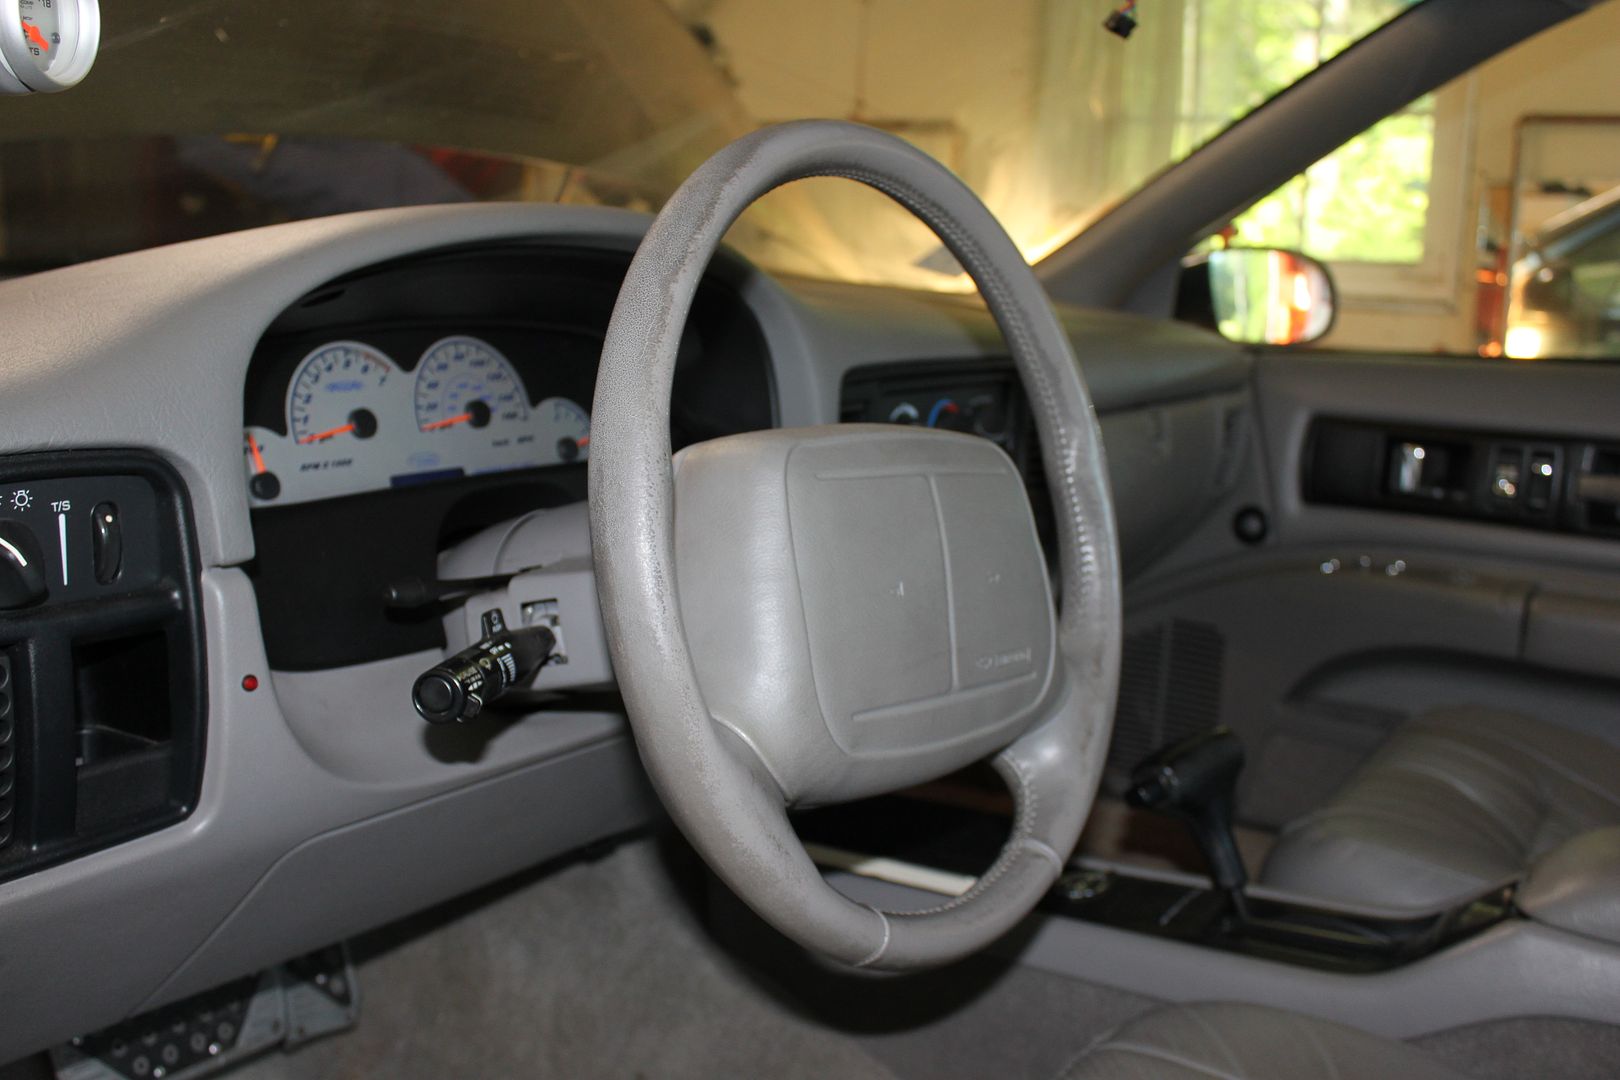
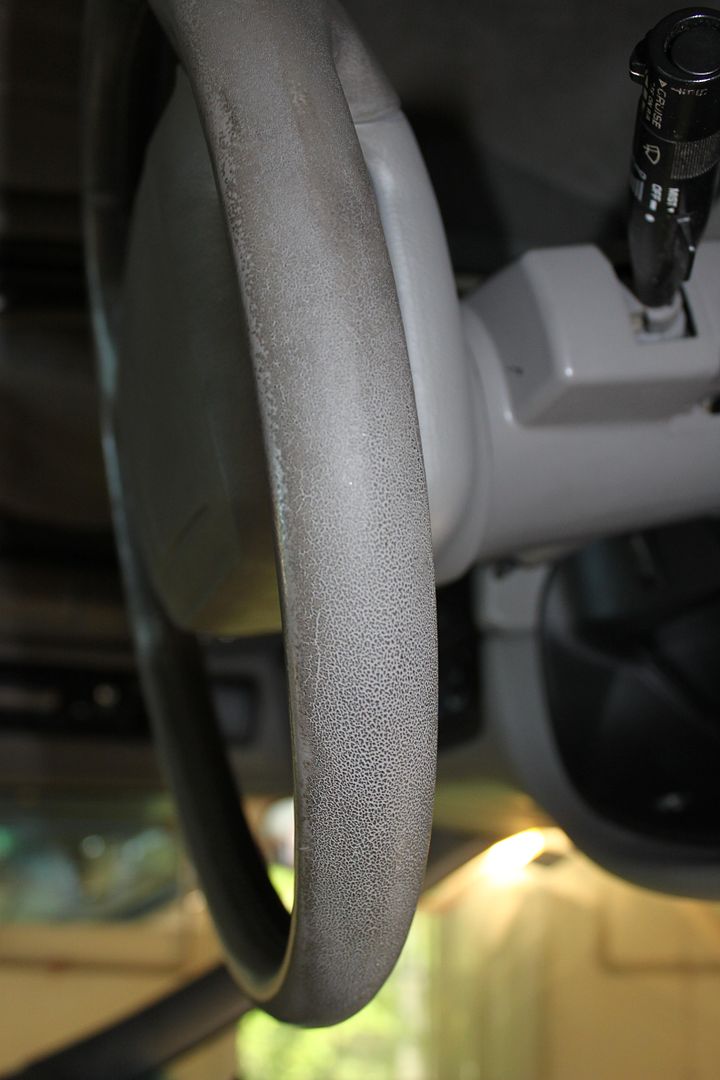
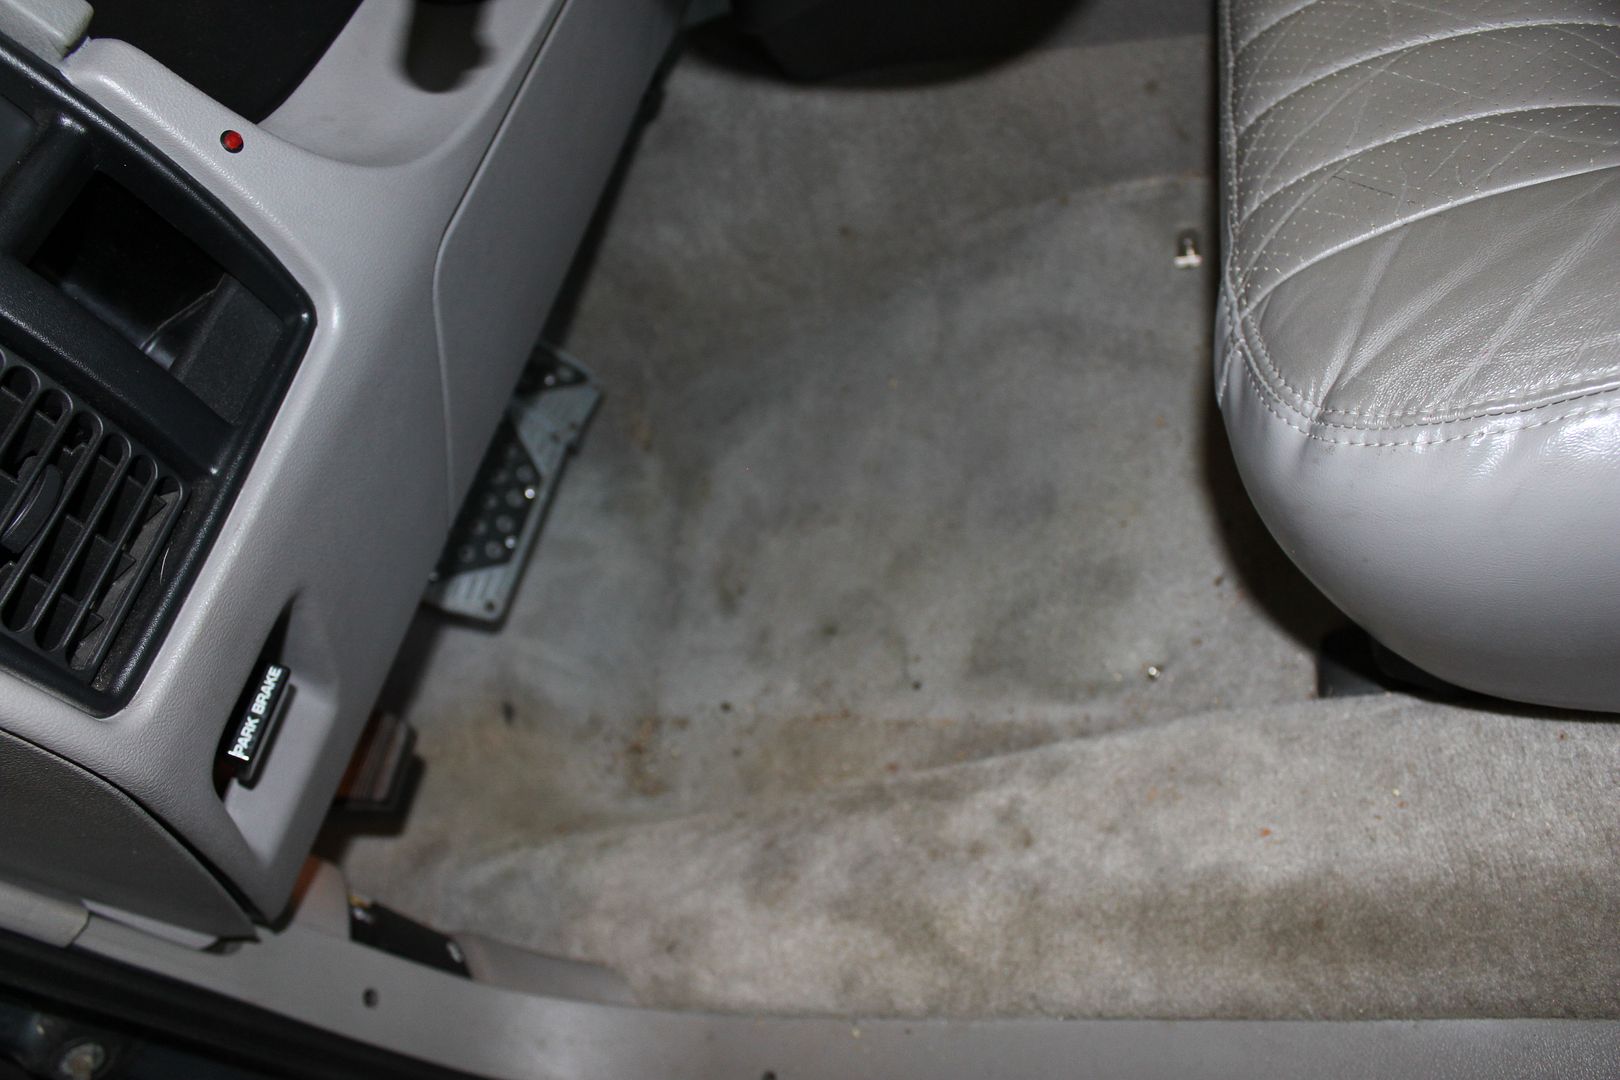
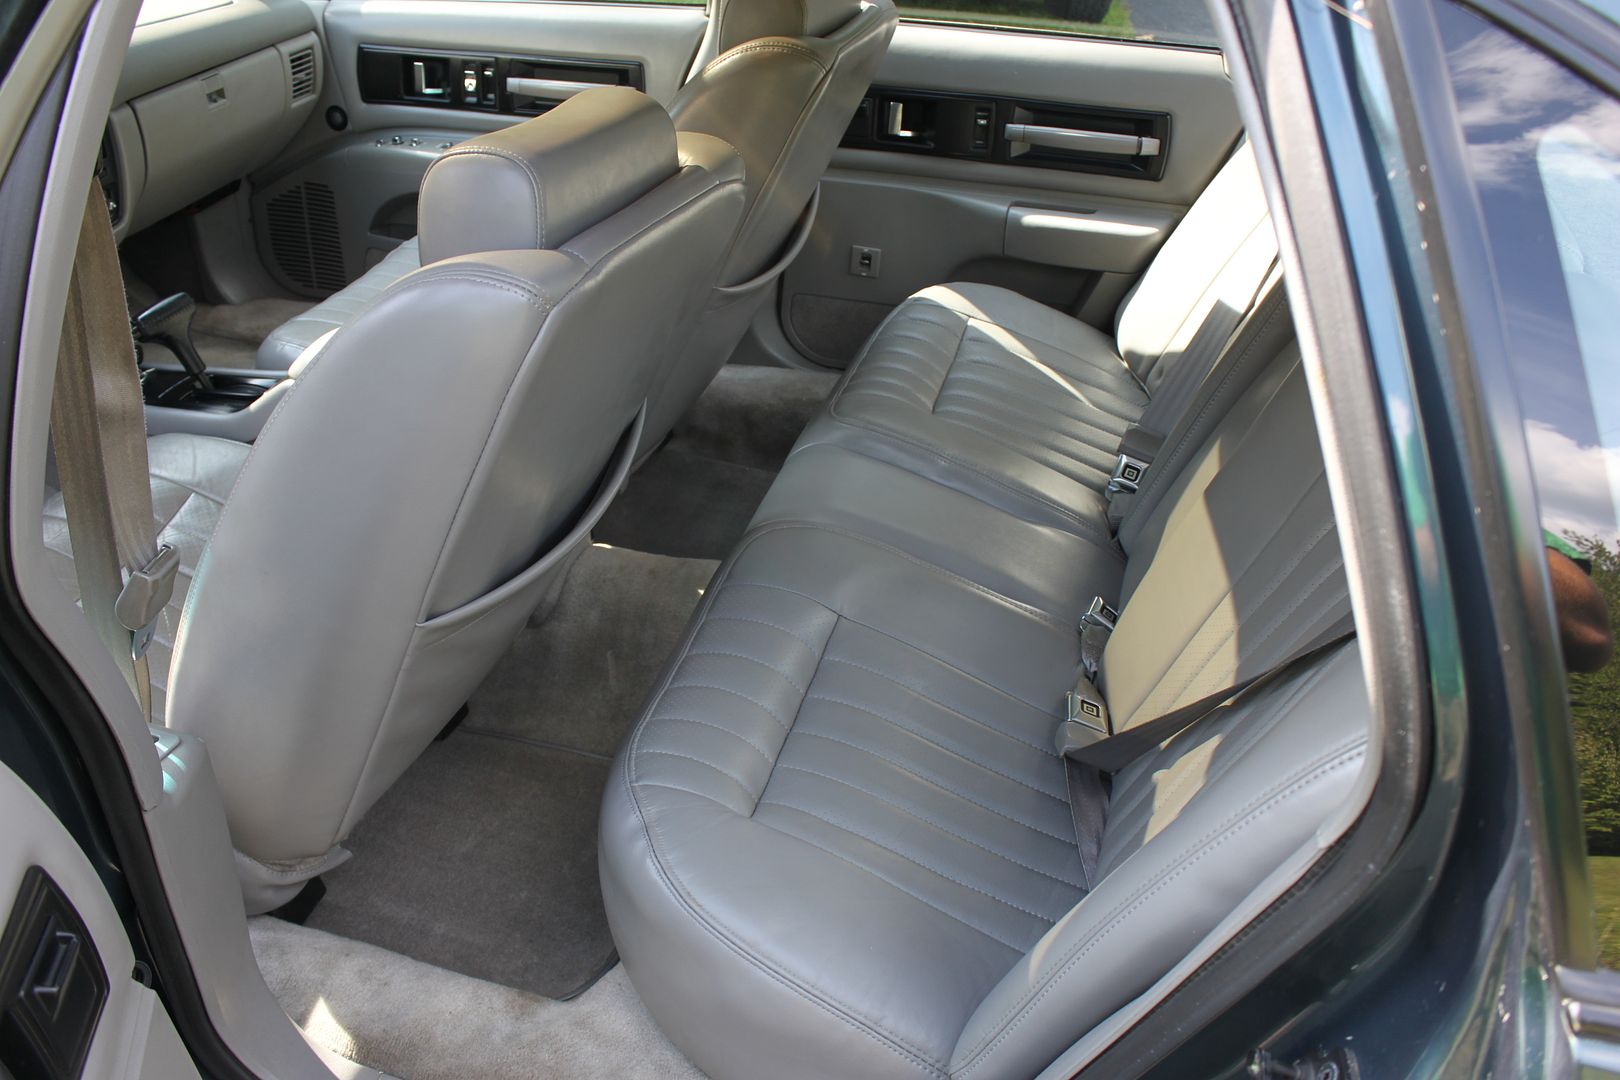
And the interior is all cleaned up and looking respectable now...


Finishing of the hood... Looks great with indirect light...


And this is what sent us over the edge for several hours, then we put it all together... 10 passes with a rotary! AND NOTHIN'


Then we had a thought... We had noticed some poor painting on the front passenger fender and more on the rear quarter.... What if the car was recleared? There was a spot over the driver side taillight that we thought when the sticker was pulled off it took the clear... If that was true if we compound on it we should see color transfer! So we did and you know what? No color transfer... The cleared over the sticker and pulling it off took the respray off and left the factory clear!!! SUM B*TCH!!!
So any one notice back in the begining of this story there really isn't any pictures of the roof? Well because it wasn't nearly as bad as the hood and trunk lid... Well now we know why... It hadn't been recleared... One pass with the rotary and it was almost perfect!!!


But there is more... We know what wasn't recleared too.... The roof, drivers side A pillar, and driver side front fender... We think the bumpers were replaced as they cleaned up very well with only a few passes...


At this point we have performed all the correction and readying for sealing... This is a perfect example of what we were dealing with, why we went nuts for a bit, and all we can do for the car... Front Fender damn near perfect... Rest of the car looks like we did nothing to correct the paint, but alas we had!


Well tackled the interior next, careful I think you might catch something...


YUCK! This is just from the rear 3 windows!

Buggy eggs, these were in every nook and cranie...


Cleaned up...


And the interior is all cleaned up and looking respectable now...


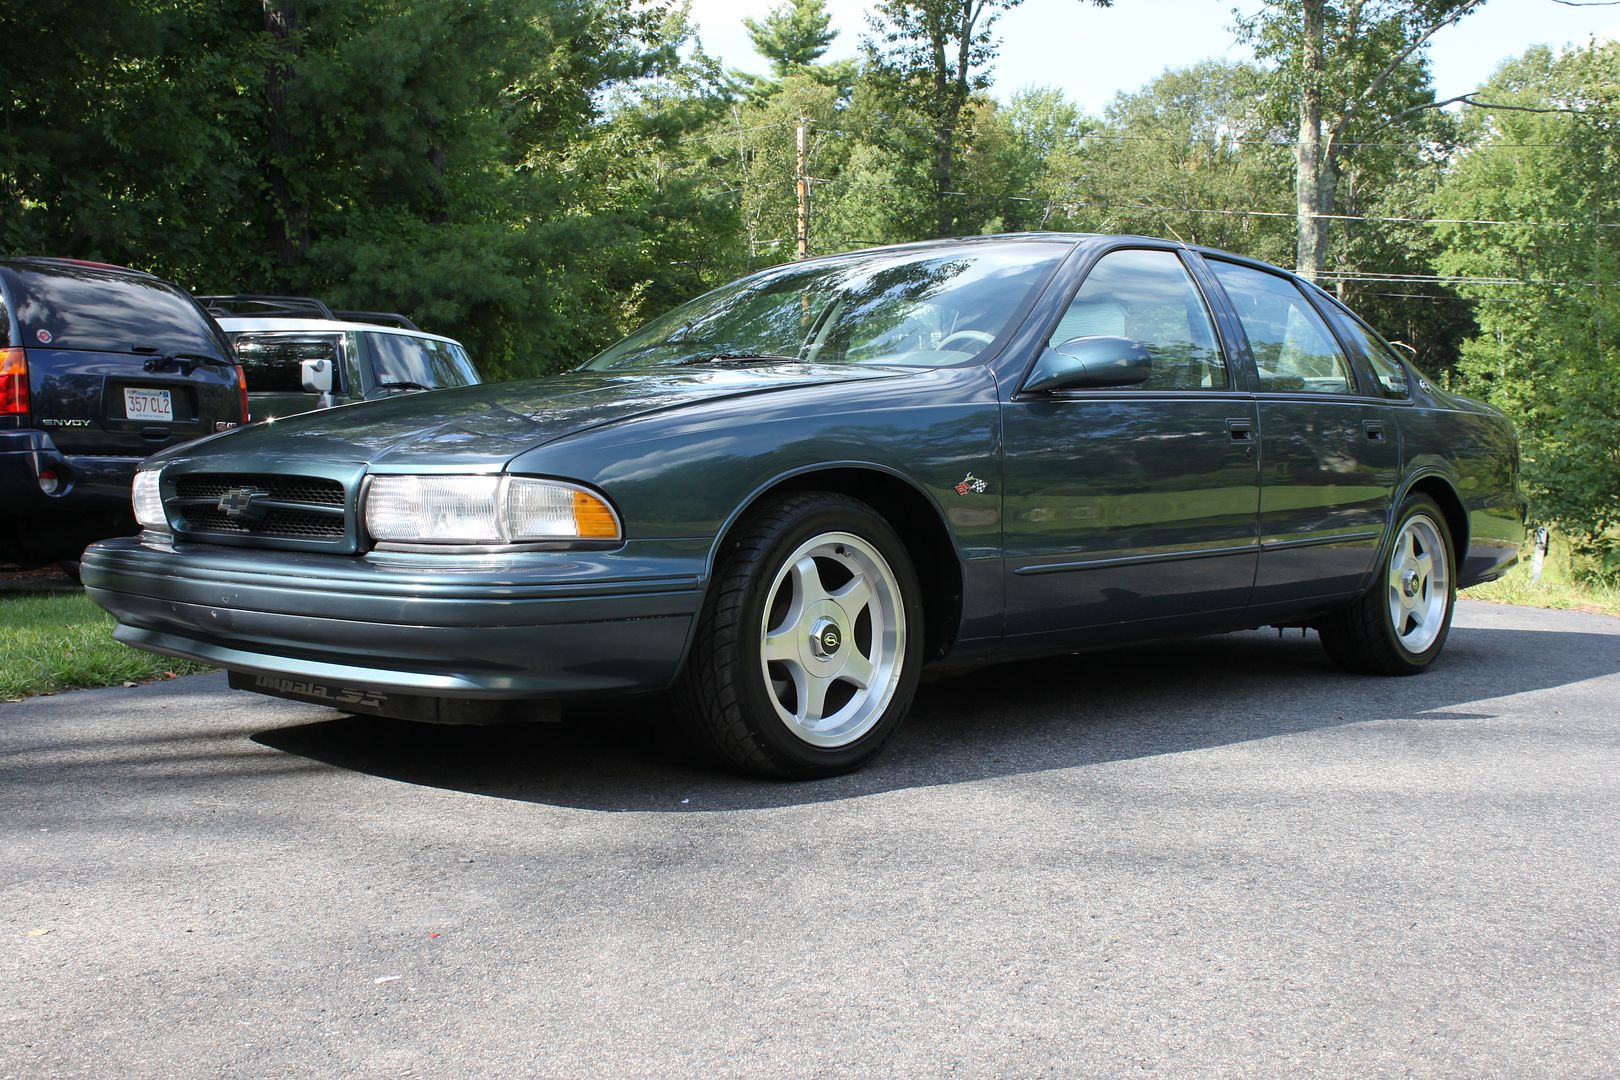
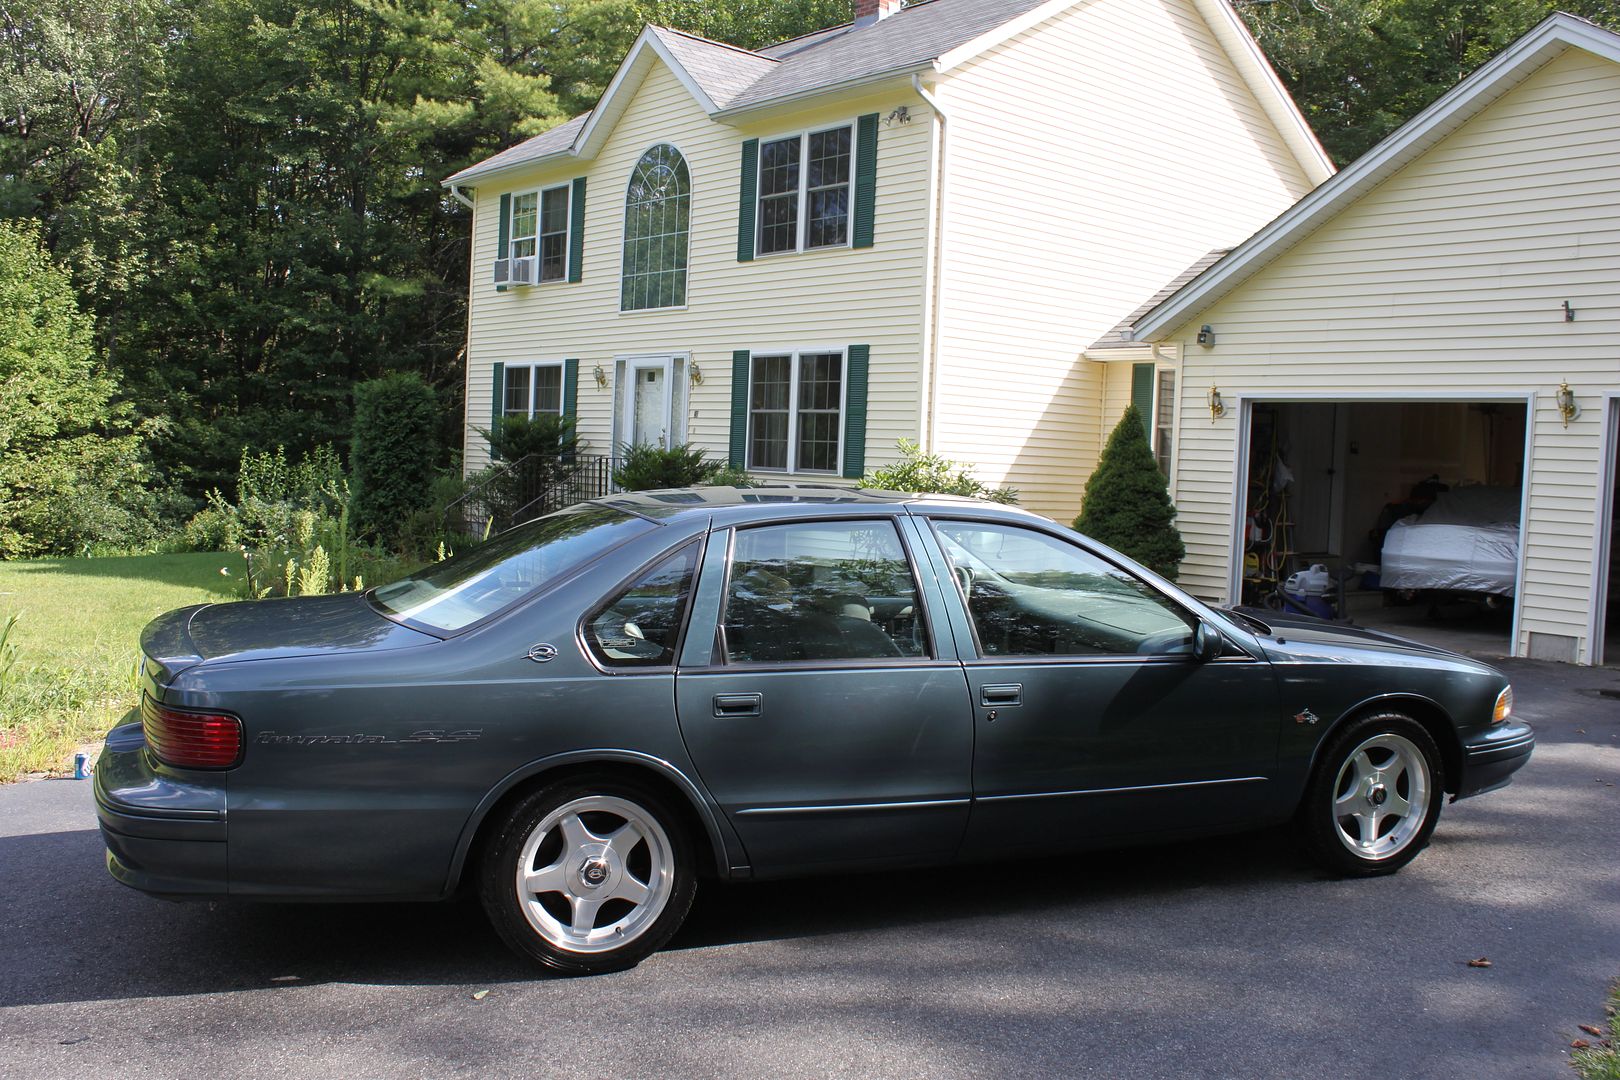
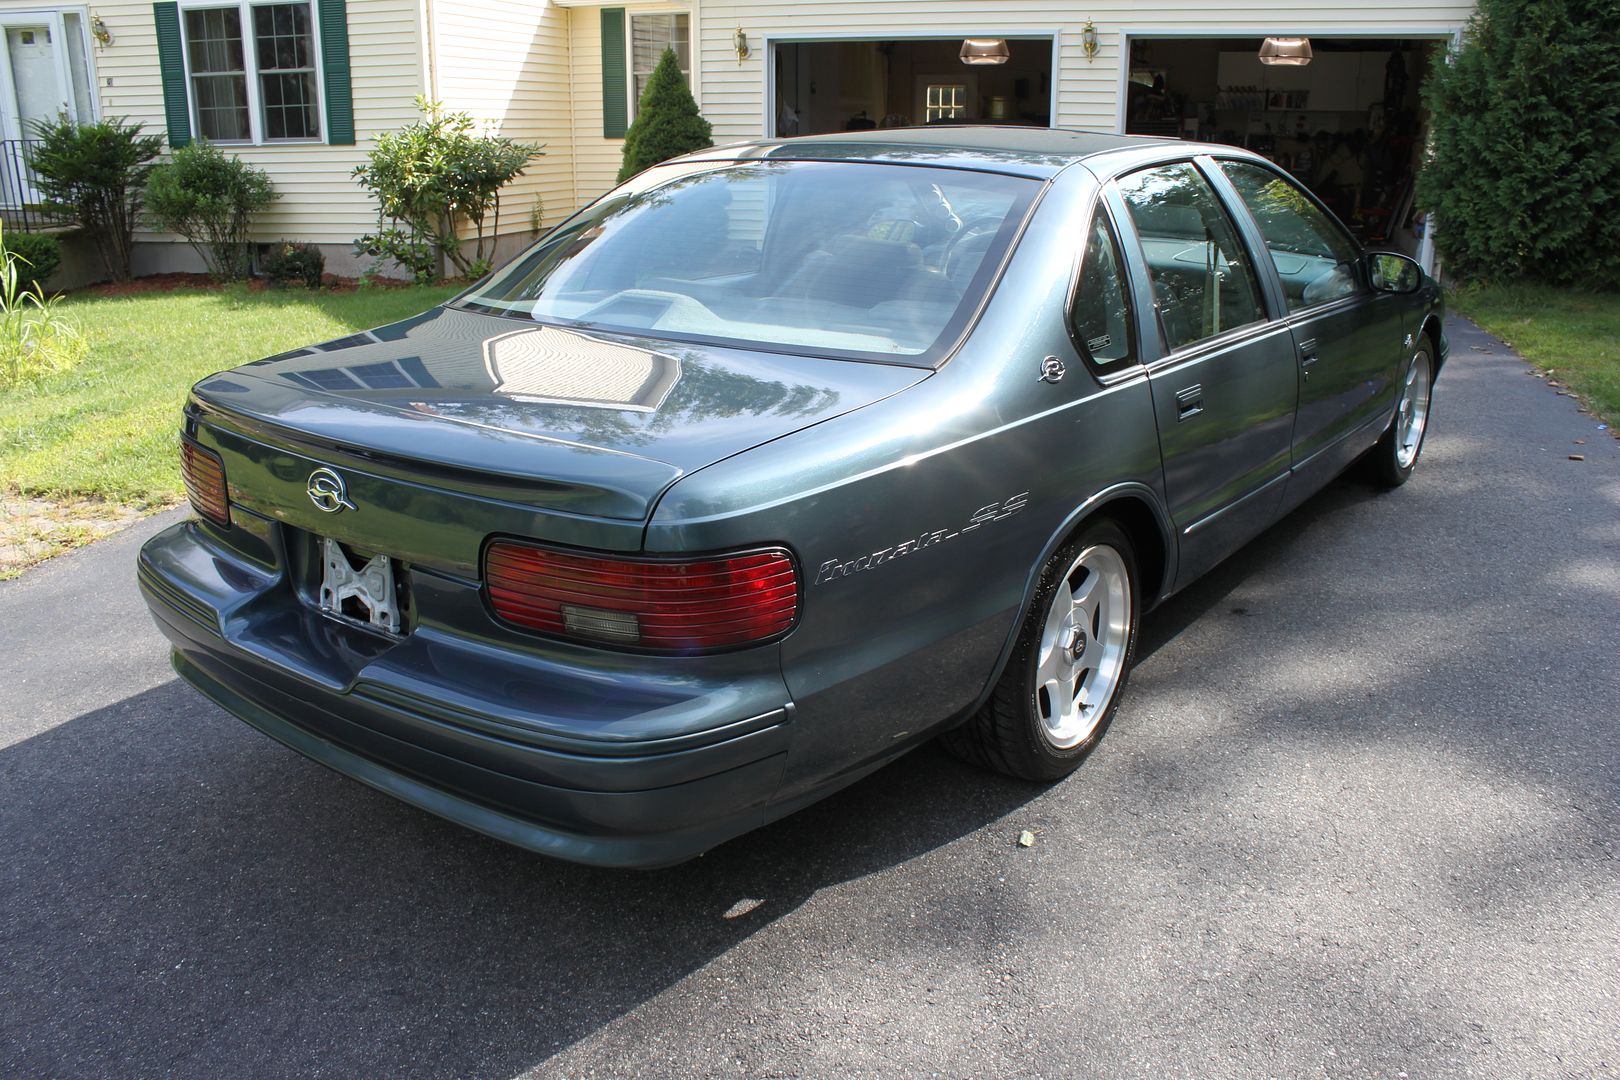
And in conclusion... The car looks good in low and indirect light. It certainly is light years from perfect, but also from where it started. We had hoped for more but previous decisions years and years in the past ruined that for us... I do think you will find it was quite a turn around and the car looks respectable.

Thanks for reading the story!


Thanks for reading the story!

Came out great, especially considering what you were dealing with.
May have been a scratch resistant clear like this
http://www.autobody101.com/forums/vi...p=78508#p78508
May have been a scratch resistant clear like this
http://www.autobody101.com/forums/vi...p=78508#p78508

Thanks for the feedback guys.
We gave this car a good honest attempt. In fact between time, effort, materials, we could have done 2 cars. We didn't want to give up , but as soon as we realized what we were up against there is only so much you can do. There are spots the newer clear is failing and you could tell the underlayer was cleared as well (even a preserved finger print!, my forensic side wants to investigate ). I have no idea about the prep or paint that went into it, it was all a surprise to us.
Now this car was purchased by the 2nd owner in 99, he never knew about the car being repainted then, so its been this way the better part of its life, not sure what kind of paint was used, but the top layer did correct. Very odd thing is I would have though the 2nd layer would fill in the defects, but then again who spays a car without prepping and sanding underneath (preferably to base coat), ehh well it is what it is.
I know a lot of people will post jobs of cars that only come out pristine, well in the real world not every car can be a 95%+ car, this car has a respectible turnaround to show, and it is what it is, I think its worth posting it for what its worth and lessons learned
I really wish we had a meter, but that is not a cost I can justify just yet.
Anyways glad you enjoyed the story, thanks.
We gave this car a good honest attempt. In fact between time, effort, materials, we could have done 2 cars. We didn't want to give up , but as soon as we realized what we were up against there is only so much you can do. There are spots the newer clear is failing and you could tell the underlayer was cleared as well (even a preserved finger print!, my forensic side wants to investigate
). I have no idea about the prep or paint that went into it, it was all a surprise to us. Now this car was purchased by the 2nd owner in 99, he never knew about the car being repainted then, so its been this way the better part of its life, not sure what kind of paint was used, but the top layer did correct. Very odd thing is I would have though the 2nd layer would fill in the defects, but then again who spays a car without prepping and sanding underneath (preferably to base coat), ehh well it is what it is.
I know a lot of people will post jobs of cars that only come out pristine, well in the real world not every car can be a 95%+ car, this car has a respectible turnaround to show, and it is what it is, I think its worth posting it for what its worth and lessons learned
I really wish we had a meter, but that is not a cost I can justify just yet.
Anyways glad you enjoyed the story, thanks.


