Forced Induction Superchargers | Turbochargers | Intercoolers

2001 SOM Camaro SS M6 Huron Speed V3 AC Retaining Turbo Build (long read & pics)

Thread Tools
 
Search this Thread
 
Old 04-18-2018, 08:49 AM
  #21  
TECH Addict
Thread Starter
iTrader: (11)
 
Billiumss's Avatar
 
Join Date: Nov 2001
Location: Erie, PA
Posts: 2,975
Received 14 Likes on 10 Posts

Default

Lubed the cam up with Joe Gibb Driven lube and installed my timing set. I used a brand new GM chain.

Since my last motor had less than 5,000 miles on it, I reused my Melling 10295 oil pump, used .002 & .003 shims to properly center it on the crank. I also reused my LS7 lifters as well since they are almost new as well.

For price, availability and high success rate for boost builds, it was a no brainer to go with GM LS9 head gaskets. 7 layers to seal, hell yeah!

To keep the heads on, I used ARP head studs. After I cleaned them up, they are easy to install, just take your time and follow the instructions that are provided in the box.
Attached Thumbnails 2001 SOM Camaro SS M6 Huron Speed V3 AC Retaining Turbo Build (long read & pics)-11_cam-2.jpg   2001 SOM Camaro SS M6 Huron Speed V3 AC Retaining Turbo Build (long read & pics)-12_timing-set.jpg   2001 SOM Camaro SS M6 Huron Speed V3 AC Retaining Turbo Build (long read & pics)-13_shimmed-melling-oil-pump.jpg   2001 SOM Camaro SS M6 Huron Speed V3 AC Retaining Turbo Build (long read & pics)-14_short-block-ready-heads.jpg   2001 SOM Camaro SS M6 Huron Speed V3 AC Retaining Turbo Build (long read & pics)-15_ls9-head-gasket.jpg  

2001 SOM Camaro SS M6 Huron Speed V3 AC Retaining Turbo Build (long read & pics)-16_installing-arp-head-stud.jpg   2001 SOM Camaro SS M6 Huron Speed V3 AC Retaining Turbo Build (long read & pics)-17_drivers-side-head-1.jpg   2001 SOM Camaro SS M6 Huron Speed V3 AC Retaining Turbo Build (long read & pics)-18_pass-side-no-head.jpg   2001 SOM Camaro SS M6 Huron Speed V3 AC Retaining Turbo Build (long read & pics)-19_both-heads-1.jpg   2001 SOM Camaro SS M6 Huron Speed V3 AC Retaining Turbo Build (long read & pics)-20_both-heads-2.jpg  

Old 04-20-2018, 07:16 AM
  #22  
TECH Addict
Thread Starter
iTrader: (11)
 
Billiumss's Avatar
 
Join Date: Nov 2001
Location: Erie, PA
Posts: 2,975
Received 14 Likes on 10 Posts

Default Turbo Hot Side before ceramic coating

Here is the Huron Speed V3 AC Retaining Hot Side before ceramic coating. The welds are amazing. I live in a manufacturing town and know a lot of welders. I showed some of my friends that are welders and they were very impressed with the consistency of the welds.

Nice job Huron Speed!
Attached Thumbnails 2001 SOM Camaro SS M6 Huron Speed V3 AC Retaining Turbo Build (long read & pics)-1_hot-side-before-coating.jpg   2001 SOM Camaro SS M6 Huron Speed V3 AC Retaining Turbo Build (long read & pics)-2_hot-side-before-coating.jpg   2001 SOM Camaro SS M6 Huron Speed V3 AC Retaining Turbo Build (long read & pics)-3_hot-side-before-coating.jpg   2001 SOM Camaro SS M6 Huron Speed V3 AC Retaining Turbo Build (long read & pics)-4_hot-side-before-coating.jpg   2001 SOM Camaro SS M6 Huron Speed V3 AC Retaining Turbo Build (long read & pics)-5_hot-side-before-coating.jpg  

2001 SOM Camaro SS M6 Huron Speed V3 AC Retaining Turbo Build (long read & pics)-6_hot-side-before-coating.jpg   2001 SOM Camaro SS M6 Huron Speed V3 AC Retaining Turbo Build (long read & pics)-7_hot-side-before-coating.jpg   2001 SOM Camaro SS M6 Huron Speed V3 AC Retaining Turbo Build (long read & pics)-8_hot-side-before-coating.jpg   2001 SOM Camaro SS M6 Huron Speed V3 AC Retaining Turbo Build (long read & pics)-9_hot-side-before-coating.jpg   2001 SOM Camaro SS M6 Huron Speed V3 AC Retaining Turbo Build (long read & pics)-10_hot-side-before-coating.jpg  

Old 04-20-2018, 07:32 AM
  #23  
TECH Addict
Thread Starter
iTrader: (11)
 
Billiumss's Avatar
 
Join Date: Nov 2001
Location: Erie, PA
Posts: 2,975
Received 14 Likes on 10 Posts

Default Turbo Hot Side Cerakote Ceramic Coated Titanium

Shortly after I purchased my turbo kit, I found out that not only does my friend do powder coating, he also does ceramic coating as well. Andy Cifelli of CI Coatings did a great job coating the hot side of my turbo kit. I had a choice of what color I wanted to go with and went with Cerakote Titanium to coat everything. The pipes look awesome!

Unfortunately you won't see much of the coating since I am going to use DEI Titanium wrap on most of it.
Attached Thumbnails 2001 SOM Camaro SS M6 Huron Speed V3 AC Retaining Turbo Build (long read & pics)-1_hot-side-cerakote-titanium.jpg   2001 SOM Camaro SS M6 Huron Speed V3 AC Retaining Turbo Build (long read & pics)-2_hot-side-cerakote-titanium.jpg   2001 SOM Camaro SS M6 Huron Speed V3 AC Retaining Turbo Build (long read & pics)-3_hot-side-cerakote-titanium.jpg   2001 SOM Camaro SS M6 Huron Speed V3 AC Retaining Turbo Build (long read & pics)-4_hot-side-cerakote-titanium.jpg   2001 SOM Camaro SS M6 Huron Speed V3 AC Retaining Turbo Build (long read & pics)-5_hot-side-cerakote-titanium.jpg  

2001 SOM Camaro SS M6 Huron Speed V3 AC Retaining Turbo Build (long read & pics)-6_hot-side-cerakote-titanium.jpg   2001 SOM Camaro SS M6 Huron Speed V3 AC Retaining Turbo Build (long read & pics)-7_hot-side-cerakote-titanium.jpg   2001 SOM Camaro SS M6 Huron Speed V3 AC Retaining Turbo Build (long read & pics)-8_hot-side-cerakote-titanium.jpg   2001 SOM Camaro SS M6 Huron Speed V3 AC Retaining Turbo Build (long read & pics)-9_hot-side-cerakote-titanium.jpg   2001 SOM Camaro SS M6 Huron Speed V3 AC Retaining Turbo Build (long read & pics)-10_hot-side-cerakote-titanium.jpg  

Old 04-20-2018, 08:09 AM
  #24  
TECH Addict
Thread Starter
iTrader: (11)
 
Billiumss's Avatar
 
Join Date: Nov 2001
Location: Erie, PA
Posts: 2,975
Received 14 Likes on 10 Posts

Default Turbo Hot Side DEI Titanium Header Wrap

Since our cars were never designed to have a turbo and all the turbo piping goes forward, we have to keep the heat under control. After I ceramic coated everything, I decided to go one step further and use DEI Titanium header wrap to wrap most of the hot side.

This was my first time ever using header wrap so after watching a bunch of youtube videos and talking with the tech guys at DEI, I decided to give it a shot and hope for the best. lol

What a job, I probably have about 7 hours invested in wrapping all the pipes and installing the stainless zip ties. I used 100 feet of 2" and 50 feet of 1", very little was left over. I did the recommended 1/4" overlap as per DEI on most parts. The bigger "straighter" pipes were kinda easy but the ones with a lot of bends require a lot of planning and trial and error. You want to keep the wrap snug as your wrapping it. It's challenge since it's kinda slippery and can fall apart easily where you cut it.

The stainless zip ties don't work like the plastic ones. I used plastic zip ties to hold the wrap in certain spots while I was wrapping (to hold it in place) and then swapped them out to the stainless ties once all the wrapping was done. The stainless ties don't get real tight at all, I even tried to use the DEI locking tool to help but a pair of needle nose worked about as good. There is a little bb inside the tab that has a little play once its "fully" tighten.

From what I'm told, the wrap should firm up once it goes through a few heat cycles.

Overall they turned out good for my first time. This is one thing I don't think I would want to do again if I can help it, defiantly takes skill to do it right and make it look good.
Attached Thumbnails 2001 SOM Camaro SS M6 Huron Speed V3 AC Retaining Turbo Build (long read & pics)-1_hot-side-dei-titanium-wrap.jpg   2001 SOM Camaro SS M6 Huron Speed V3 AC Retaining Turbo Build (long read & pics)-2_hot-side-dei-titanium-wrap.jpg   2001 SOM Camaro SS M6 Huron Speed V3 AC Retaining Turbo Build (long read & pics)-3_hot-side-dei-titanium-wrap.jpg   2001 SOM Camaro SS M6 Huron Speed V3 AC Retaining Turbo Build (long read & pics)-4_hot-side-dei-titanium-wrap.jpg   2001 SOM Camaro SS M6 Huron Speed V3 AC Retaining Turbo Build (long read & pics)-5_hot-side-dei-titanium-wrap.jpg  

2001 SOM Camaro SS M6 Huron Speed V3 AC Retaining Turbo Build (long read & pics)-6_hot-side-dei-titanium-wrap.jpg   2001 SOM Camaro SS M6 Huron Speed V3 AC Retaining Turbo Build (long read & pics)-7_hot-side-dei-titanium-wrap.jpg   2001 SOM Camaro SS M6 Huron Speed V3 AC Retaining Turbo Build (long read & pics)-8_hot-side-dei-titanium-wrap.jpg   2001 SOM Camaro SS M6 Huron Speed V3 AC Retaining Turbo Build (long read & pics)-9_hot-side-dei-titanium-wrap.jpg   2001 SOM Camaro SS M6 Huron Speed V3 AC Retaining Turbo Build (long read & pics)-10_hot-side-dei-titanium-wrap.jpg  

Old 04-20-2018, 11:41 PM
  #25  
11 Second Club
iTrader: (74)
 
Photochop's Avatar
 
Join Date: Jun 2005
Location: In the garage
Posts: 2,748
Received 4 Likes on 4 Posts

Default

Fantastic job for your first time. Does the titanium wrap call for a wet application to soften/stretch it easier? I've used others and applied them wet but havent used ti wrap yet.
Old 04-23-2018, 07:11 AM
  #26  
TECH Addict
Thread Starter
iTrader: (11)
 
Billiumss's Avatar
 
Join Date: Nov 2001
Location: Erie, PA
Posts: 2,975
Received 14 Likes on 10 Posts

Default

Thank you!

It is very soft and pliable. DEI says to NOT wet it, "install it out of the box, dry"
Old 04-24-2018, 07:52 AM
  #27  
TECH Addict
Thread Starter
iTrader: (11)
 
Billiumss's Avatar
 
Join Date: Nov 2001
Location: Erie, PA
Posts: 2,975
Received 14 Likes on 10 Posts

Default

Since the turbo needs a drain back to the oil pan, I filled mine with 5 quarts of water to simulate a "full" oil pan. With the help of my dad, we marked it, drilled it and had it welded in with the fitting that Huron Speed provided. The fitting was anodized black and the heat from welding turned it a orange/red color.
Attached Thumbnails 2001 SOM Camaro SS M6 Huron Speed V3 AC Retaining Turbo Build (long read & pics)-1_water-level.jpg   2001 SOM Camaro SS M6 Huron Speed V3 AC Retaining Turbo Build (long read & pics)-2_water-level.jpg   2001 SOM Camaro SS M6 Huron Speed V3 AC Retaining Turbo Build (long read & pics)-3_water-level.jpg   2001 SOM Camaro SS M6 Huron Speed V3 AC Retaining Turbo Build (long read & pics)-4_water-level.jpg   2001 SOM Camaro SS M6 Huron Speed V3 AC Retaining Turbo Build (long read & pics)-5_water-level.jpg  

2001 SOM Camaro SS M6 Huron Speed V3 AC Retaining Turbo Build (long read & pics)-1_oil-pan-drain.jpg   2001 SOM Camaro SS M6 Huron Speed V3 AC Retaining Turbo Build (long read & pics)-2_oil-pan-drain.jpg   2001 SOM Camaro SS M6 Huron Speed V3 AC Retaining Turbo Build (long read & pics)-3_oil-pan-drain.jpg   2001 SOM Camaro SS M6 Huron Speed V3 AC Retaining Turbo Build (long read & pics)-4_oil-pan-drain.jpg  
Old 04-24-2018, 07:58 AM
  #28  
TECH Addict
Thread Starter
iTrader: (11)
 
Billiumss's Avatar
 
Join Date: Nov 2001
Location: Erie, PA
Posts: 2,975
Received 14 Likes on 10 Posts

Default

Next up was to install the windage tray.

Since I am using ARP Main Studs, the windage tray hit the nut, as you can see circled in red.

Drilled it out and all was good.
Attached Thumbnails 2001 SOM Camaro SS M6 Huron Speed V3 AC Retaining Turbo Build (long read & pics)-1_windage-tray.jpg   2001 SOM Camaro SS M6 Huron Speed V3 AC Retaining Turbo Build (long read & pics)-2_windage-tray.jpg   2001 SOM Camaro SS M6 Huron Speed V3 AC Retaining Turbo Build (long read & pics)-3_windage-tray.jpg   2001 SOM Camaro SS M6 Huron Speed V3 AC Retaining Turbo Build (long read & pics)-4_windage-tray.jpg   2001 SOM Camaro SS M6 Huron Speed V3 AC Retaining Turbo Build (long read & pics)-5_windage-tray.jpg  

2001 SOM Camaro SS M6 Huron Speed V3 AC Retaining Turbo Build (long read & pics)-6_windage-tray.jpg  
Old 04-24-2018, 08:18 AM
  #29  
TECH Addict
Thread Starter
iTrader: (11)
 
Billiumss's Avatar
 
Join Date: Nov 2001
Location: Erie, PA
Posts: 2,975
Received 14 Likes on 10 Posts

Default

After doing some research and getting advice from others, it was highly recommended to check and adjust my pickup tube to the bottom of the oil pan. With being a higher HP car and the G forces being applied at the drag strip, you don't want to take a chance of sucking air.

I've heard from multiple sources to have a distance of between .250" to .375". It also wouldn't hurt to add an extra 1/2 to 1 full quart of oil as well.

I actually did 2 checks, the first check as you see in the pics, put tape on the screen, get some your kids Playdoh and make 2 small ***** to put on top. Put oil pan on with gasket in place, push down firmly and if you want you can also put a few bolts in to make sure it's all the way down.

Give it a minute to allow the Playdoh to "relax", pull pan off, cut each piece in half with a sharp knife and measure with calipers.

The 2nd method I did, (didn't take any pics) put a straight edge on the pickup tube and measure with a caliper from the block to the bottom of the straight edge.

Which ever method you use, take 2 measurements, front and back of the pickup tube, as it is sloped some.

After I added everything up and did my front to back average, with a washer, I ended up with .357" clearance.

I can see why this is important and I would have over looked it if others didn't mention it to me to check.
Attached Thumbnails 2001 SOM Camaro SS M6 Huron Speed V3 AC Retaining Turbo Build (long read & pics)-1_pickup-tube.jpg   2001 SOM Camaro SS M6 Huron Speed V3 AC Retaining Turbo Build (long read & pics)-2_pickup-tube-measurement.jpg   2001 SOM Camaro SS M6 Huron Speed V3 AC Retaining Turbo Build (long read & pics)-3_pickup-tube-measurement.jpg   2001 SOM Camaro SS M6 Huron Speed V3 AC Retaining Turbo Build (long read & pics)-4_pickup-tube-measurement.jpg   2001 SOM Camaro SS M6 Huron Speed V3 AC Retaining Turbo Build (long read & pics)-5_pickup-tube-measurement.jpg  

2001 SOM Camaro SS M6 Huron Speed V3 AC Retaining Turbo Build (long read & pics)-6_oil-pan-.jpg  
Old 05-04-2018, 08:52 AM
  #30  
TECH Addict
Thread Starter
iTrader: (11)
 
Billiumss's Avatar
 
Join Date: Nov 2001
Location: Erie, PA
Posts: 2,975
Received 14 Likes on 10 Posts

Default


Engine ready for rocker arm install


Since I'm using LS7 lifters, I measured for the correct pushrod length and ended up with 7.400"


Drivers side done, all torqued to spec.


Passenger side done, all torqued to spec.


Sealing up the engine some more, valve covers are on and torqued to spec.


Since I'm going to have more current draw with the use of aftermarket fans and a Meth Kit, I went with the stock size balancer. Also for my power level, ATI recommends the stock size since it will have more dampen ability over a underdrive pulley.


I loosely fitted the front cover and I put dabs of RTV in the corners to prevent leaks in prep of the ATI balancer install


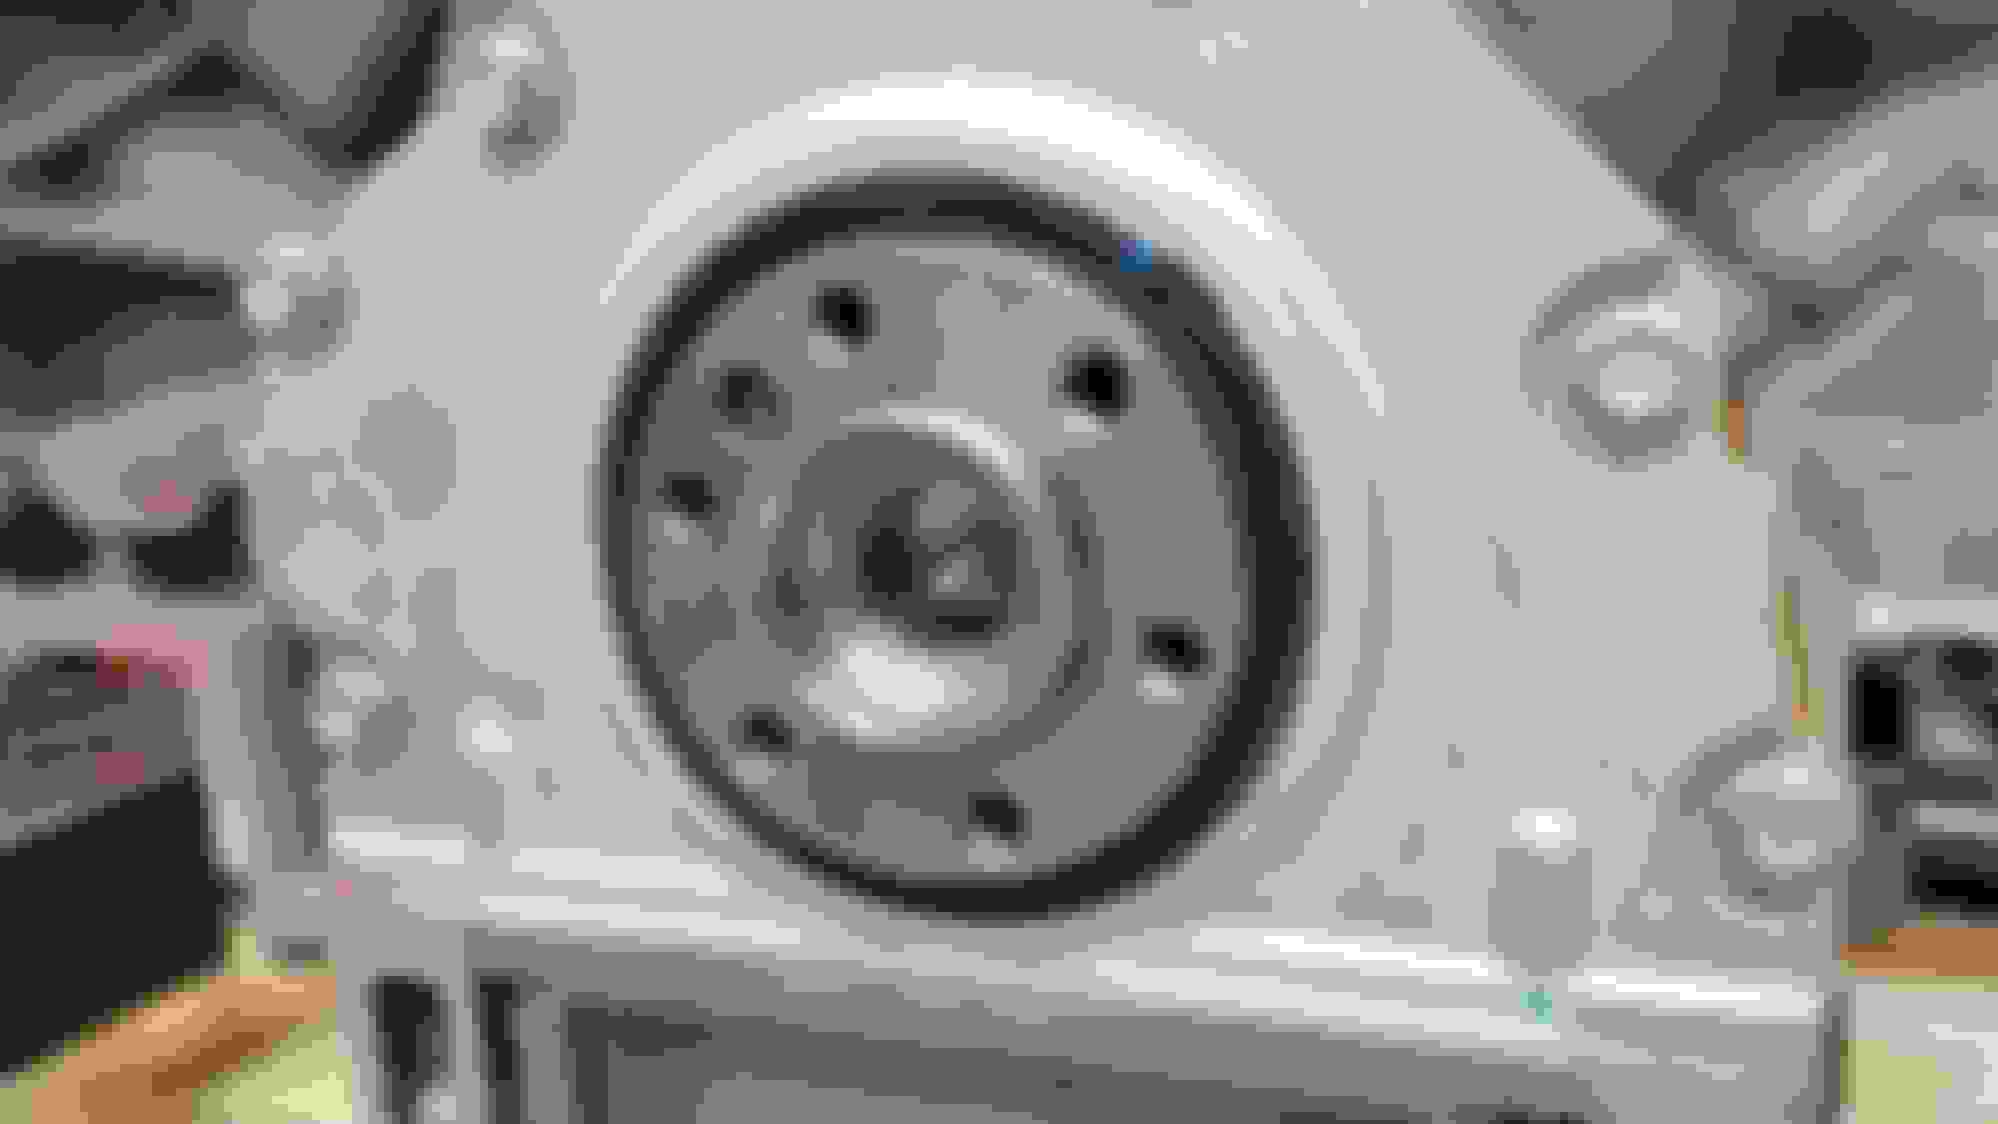
My son Zach lending a hand installing the hub onto the crank. Before installing the hub, I put a very thin layer of anti-seize on the crank to prevent galling of the metal since it is a press fit.


ATI hub is finally installed, don't forget to put the back pulley on first!
Old 05-04-2018, 09:01 AM
  #31  
TECH Addict
Thread Starter
iTrader: (11)
 
Billiumss's Avatar
 
Join Date: Nov 2001
Location: Erie, PA
Posts: 2,975
Received 14 Likes on 10 Posts

Default


Since I'm installing a LS2 block into a 2001 Camaro, I have to install the knock sensors on the side of the block. I used a 11/32" drill bit to drill out the stock threads for the LS2 sensors.


After drilling, I used a 10mm x 1.50 Tap to tap the hole.


After the holes were clear, I installed them to spec.


Engine is now ready to be dropped onto the turbo K-Member
Old 05-04-2018, 09:30 AM
  #32  
LS1Tech Sponsor
iTrader: (65)
 
Superman09's Avatar
 
Join Date: Mar 2005
Location: MI
Posts: 7,234
Received 59 Likes on 44 Posts

Default

Very nice and informative thread Bill, thanks for taking the time to put it together!
__________________

Featuring 6 different turbo kits for your F-body!
Check us out on Facebook at: www.facebook.com/HuronSpeed
Old 08-13-2018, 04:31 AM
  #33  
TECH Enthusiast
iTrader: (9)
 
blk99camaro's Avatar
 
Join Date: Apr 2006
Posts: 548
Received 3 Likes on 3 Posts

Default

Any updates on this build?
Old 08-13-2018, 09:50 AM
  #34  
"I MAID THEESE"
iTrader: (3)
 
Mavn's Avatar
 
Join Date: Jul 2011
Location: Houston
Posts: 2,744
Received 675 Likes on 425 Posts

Default

Awesome Thread!!
Old 08-16-2018, 02:20 PM
  #35  
TECH Addict
Thread Starter
iTrader: (11)
 
Billiumss's Avatar
 
Join Date: Nov 2001
Location: Erie, PA
Posts: 2,975
Received 14 Likes on 10 Posts

Default

Hey, it's been awhile since I've been on here. My project got put on hold for a few reasons this summer: school, work, family, helping others out with their cars and I also hurt my back early on. Since things have settled down some, I'll have to update the thread with more pics and info soon. Car is not on the road yet but hopefully soon. Stay tuned!!!
Old 10-12-2018, 05:42 PM
  #36  
TECH Addict
Thread Starter
iTrader: (11)
 
Billiumss's Avatar
 
Join Date: Nov 2001
Location: Erie, PA
Posts: 2,975
Received 14 Likes on 10 Posts

Default

Hey guys, its been awhile. A lot has been going on with this project but really haven't had the chance to get on here to update this thread. As with most of you, life happens. With family, changing jobs, house duties, etc, the car has sat a few weeks here and there. I have made great progress over the past few months with this project. There were a lot of little things to figure out along the way and a few major issues with some of the parts which I'll explain later on with pics.

Speaking of pictures, I have taken a lot of them, as in over 2,000 pictures! About 85% of them are great, a lot of them different angles and lighting, so a lot to go through. I'll be posting the best pics for each section that I have. Well, I have some catching up to do so I'll try to get this thread up to date over the next 2 weeks or so.

Now that the long block is built, it's time to install it onto the BMR Turbo K-Member.


Old 10-12-2018, 06:13 PM
  #37  
TECH Addict
Thread Starter
iTrader: (11)
 
Billiumss's Avatar
 
Join Date: Nov 2001
Location: Erie, PA
Posts: 2,975
Received 14 Likes on 10 Posts

Default

Now that the engine is on the BMR Turbo K-Member, it's time to install the Pilot bearing and Monster LT1-S Clutch


GM Pilot Bearing


Before Pilot bearing install


After Pilot Bearing install. Notice the beveled edge is out.


Time to reinstall my Monster LT1-S clutch. A little red loctite for each flywheel bolt


Notice the flywheel bolt heads. For the Monster LT1-S clutch to work in a LS1 application, the bolt heads are machined down some so the clutch disc engages the flywheel properly. Use of stock or ARP flywheel bolts will result in immediate destruction of the clutch disc!


Flywheel is all torqued to spec and torqued marked.


Installing the pressure plate with some red loctite


Torque to GM spec


The Monster LT1-S clutch is now ready for action!


The all to famous flywheel locking tool. I had to modify it so it clears the bell housing
Old 10-12-2018, 06:36 PM
  #38  
TECH Addict
Thread Starter
iTrader: (11)
 
Billiumss's Avatar
 
Join Date: Nov 2001
Location: Erie, PA
Posts: 2,975
Received 14 Likes on 10 Posts

Default

Now its time to install the bell housing and transmission


Once I got the transmission input shaft aligned so it goes into the clutch disc and the correct angle of transmission to engine, it went right on. You'd think it would be easier when it's like this, I'm not so sure... lol


Notice the Tick Speed Bleeder for the slave. A must unless you like to fight with tight spaces and brake fluid all over the place.


Old 10-12-2018, 07:36 PM
  #39  
TECH Addict
Thread Starter
iTrader: (11)
 
Billiumss's Avatar
 
Join Date: Nov 2001
Location: Erie, PA
Posts: 2,975
Received 14 Likes on 10 Posts

Default

Time to install some engine accessories...


I reinstalled my Meizere Chrome Electric Water Pump. I've had this on my car for many years, I'd say since around 2005. This thing just works great with a 160 stat.


Power Steering pump is installed with a Turn One Pulley that I had chromed years ago. When I installed the pulley, I painted the pump with black paint and it still looks good, hasn't peeled yet..


The AC Compressor is now installed... Will those AC lines work with the Huron Speed AC Turbo Kit? hmmm, we'll see...

Old 10-12-2018, 07:44 PM
  #40  
TECH Addict
Thread Starter
iTrader: (11)
 
Billiumss's Avatar
 
Join Date: Nov 2001
Location: Erie, PA
Posts: 2,975
Received 14 Likes on 10 Posts

Default

Now it's time to pre lube the engine with Driven BR 5w30 break in oil. Golen Engines included it with my new forged short block. Pre lubing the engine is ideal since this is a brand new engine. Once the engine starts, I'll have oil pressure right away and prevent a dry start.


Remove the plug so you can install the hose from the oil pre lube tank.


Oil Pre lube hose connected to the block. Snug is good enough here.


I used all 6 quarts of break in oil, just pour it in, screw the cap back on and fill the tank with about 30-40 PSI of air pressure.


Turn the valve on the tank to "on" and go take a break. It can take up to 15 minutes, all depends how cold and thick the oil is. I warmed my oil up by putting the quarts in my garage wash tub with hot water so it will flow a little better on the pre lube process. As is was filling up, I turned the engine over a few times to help move the oil to all the small nooks and crannies in the engine.


Once all done, remove the hose, wipe off any excess oil from the port area and reinstall to port plug. I used teflon paste for the thread sealant, it works like a charm!

Last edited by Billiumss; 10-12-2018 at 07:58 PM.


Quick Reply: 2001 SOM Camaro SS M6 Huron Speed V3 AC Retaining Turbo Build (long read & pics)


All times are GMT -5. The time now is 11:20 PM.