
Racetronix install with pics


As you can see in the pics, it wasn't the cleanest cuts but I am still in the process of cleaning those up. I am going to be putting a piece of sheet metal that is painted over it and making it clean. The racetronix's instructions for removing the pump are thorough and wow are they nice. My buddy and I did the install in about two hours with cutting the trap door. We used a 4.5" angle grider and just bairly cut through the metal for the back line. the rest was using a pair of tin snips and slowly removing the metal. I was suprised on how far back the pump sits on the 99 on up tanks. I was looking at the LT1 pump locations and those are dead smack in the middle.
If you have any questions, I will be happy to answer them. Tomorrow I am going to be putting in the hot wire kit. I think that if you need a single pump kit that you can't go wrong with the Racetronix kit

WOW! I felt bad cutting out the small door that I did. I used a dremel with a fiberglass reinforced wheel and about 5 minutes of time. I went a lot easier than I thought it would. I also installed the Racetronix kit and was very happy with the way it went.
[IMG]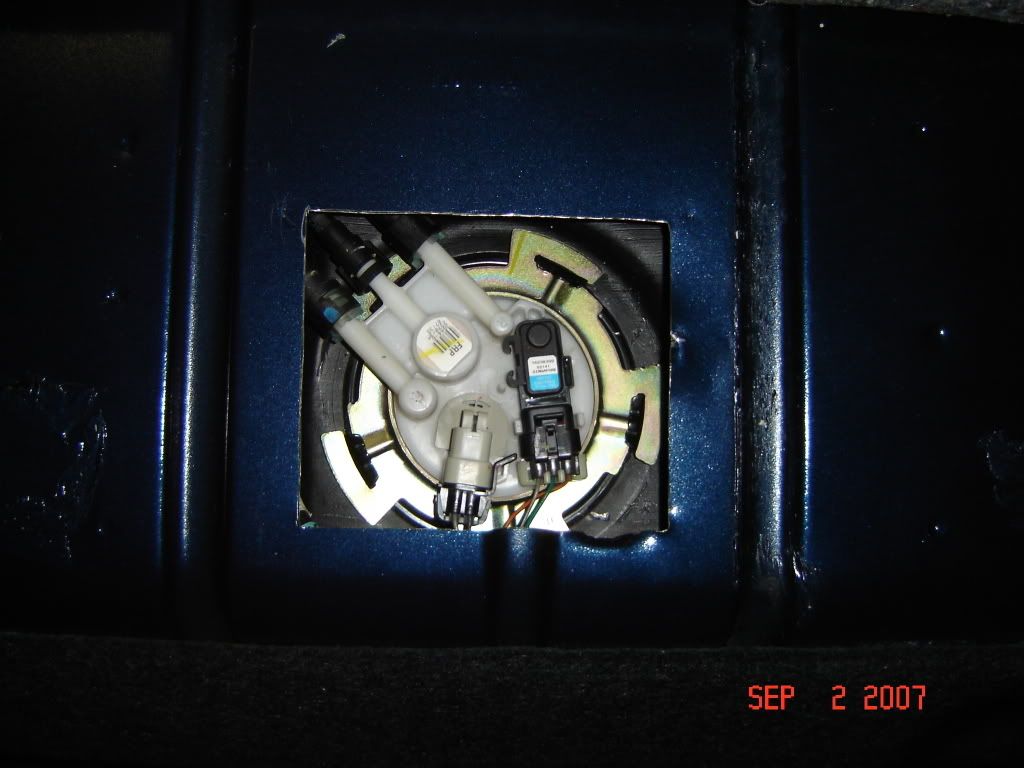 [/IMG]
[IMG]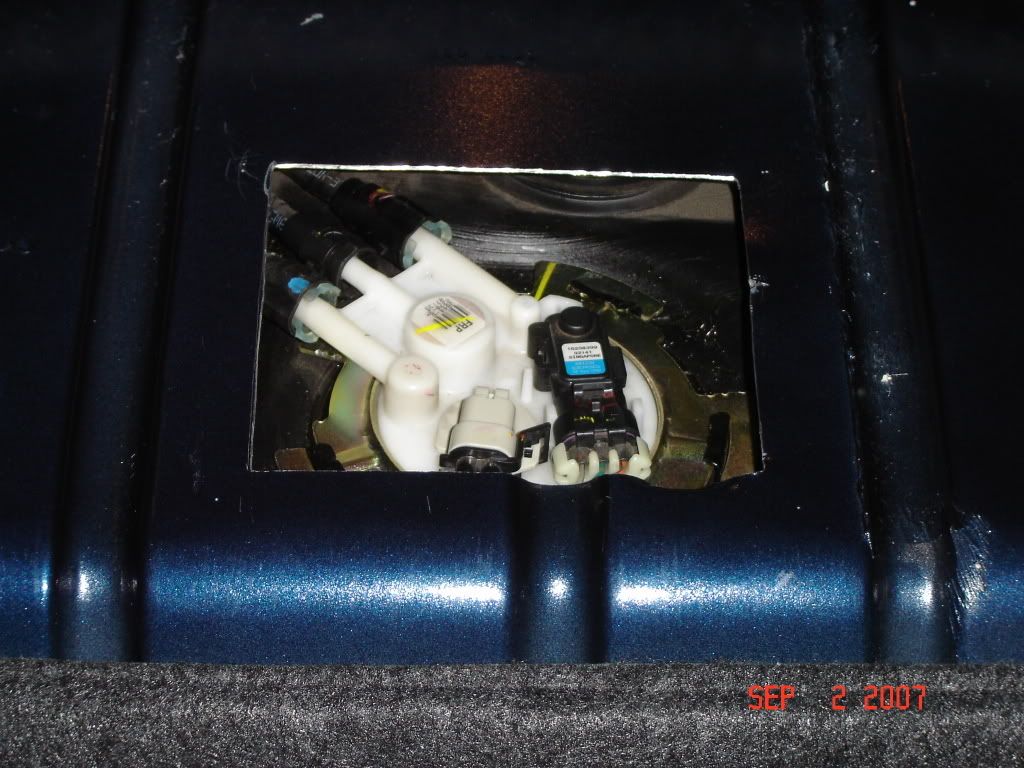 [/IMG]
[IMG]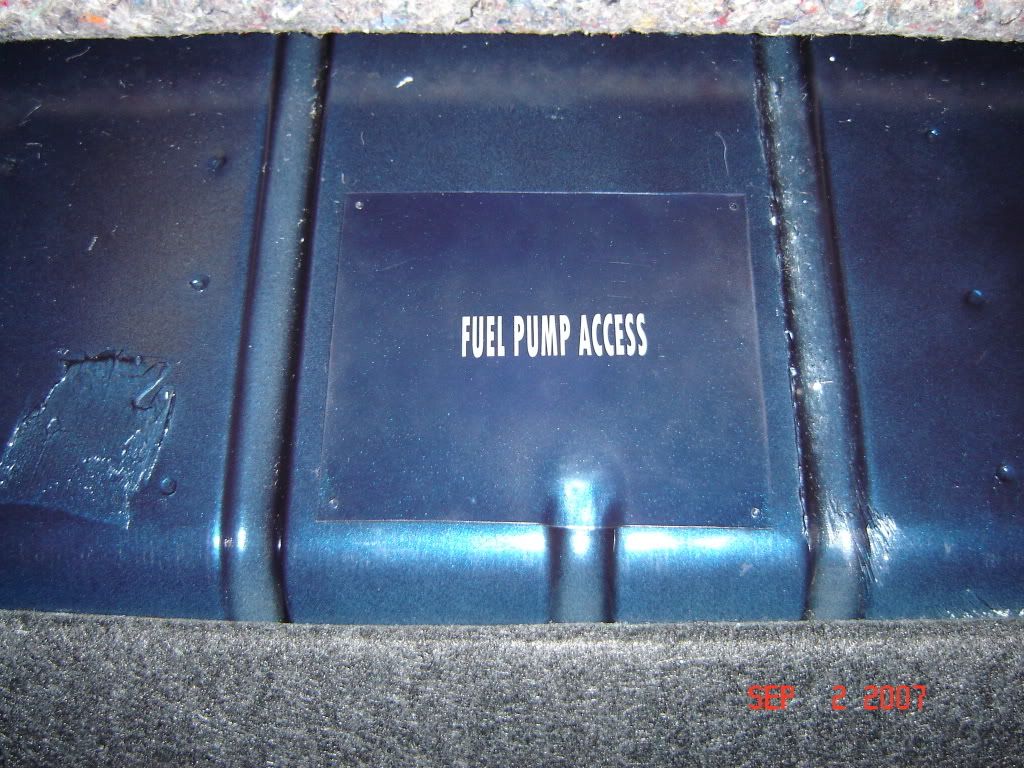 [/IMG]
[IMG]
[/IMG] [IMG]
[/IMG] [IMG]
[/IMG]
Originally Posted by lookin4aTA
With cutting and all, how long did the install take?

TECH Enthusiast
Joined: Dec 2005
Posts: 530
Likes: 0
From: Owasso,Ok/Honolulu, HI
Originally Posted by myfast70
From start to finish with cutting the opening but without the cover plate, about 40 minutes. It took longer to cut, fit and paint the cover than it did to swap the pump out. I was really surprised how easy the cutting went. Just be sure not to use the standard cut-off wheels and go with the fiberglass ones instead.
we did mine in 2 hours because we domumented everythign because I am going to have to do it the exact same thing to a T/A in a couple weeks. I did the wiring harness today and that was easy to put up. I ziptied it to the fuel lines all the way up to the alternator.
Originally Posted by purdueranger
we did mine in 2 hours because we domumented everythign because I am going to have to do it the exact same thing to a T/A in a couple weeks. I did the wiring harness today and that was easy to put up. I ziptied it to the fuel lines all the way up to the alternator.
I followed the same method with the fuel lines and even went behind the heat shielding up front there.


