
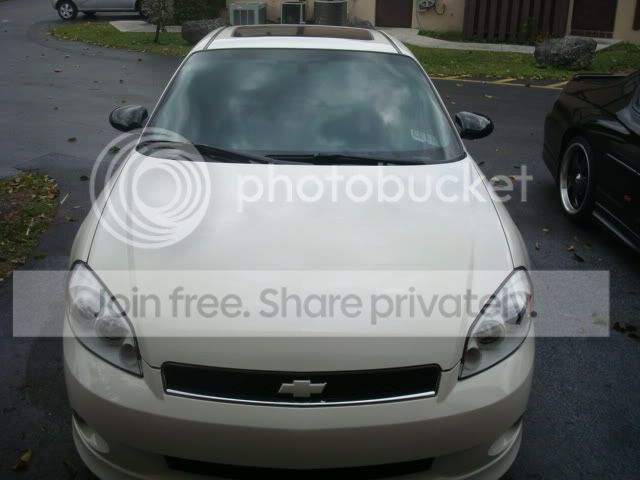
Colormatched headlights are almost done


lol heres the thread that helped me
idono if that member goes on anymore but i contacted him for the details..
http://www.naioa.com/v2/modules.php?...lights&start=0
the sealant is a PITA to remove completely... good luck lol thats the hard part, the rest is just a breeze..
idono if that member goes on anymore but i contacted him for the details..
http://www.naioa.com/v2/modules.php?...lights&start=0
Originally Posted by Wurme
1-remove all bulbs
2-preheat your oven to 170*F
3-throw the whole light assembly in the oven for about 10 minutes or so.
4-remove from the oven
5-for this step I suggest using some mechanics gloves. In the corner where the signal light is, is the easiest place I found to pull on the cover of the light to seperate it from the back housing.
6-There are 3 clips on the top and 3 clips on the bottom. start by un hooking the 2 clips (top and bottom) closest to the signal light as you pull. The sealant is very hard so this will take a lot of force.
7-continue working your way up the light un hooking the clips as you go. I would not suggest prying the cover off with a screwdriver or anything else.
8-if you cannot get the cover off, repeat step 2
9-once the cover has been removed you will have 3 pieces, the lens, the bezel, and the rear housing.
10-remove the reflector from the bezel by unclipping 2 clips on the backside of the bezel. and remove the sealant from the channel that the lens sits in.
11-sand down the bezel for painting. (this is a very important step)
12-prime and paint the bezel
13-allow the bezel to dry for at least 24 hours. (longer if possible) this is to give the paint a harder surface for handling so there are no fingerprints left in the paint
14-place the bezel back onto the back housing of the light
15-using a high quality RTV silicone (I used permatex ultra black) fill the channel where the lens sits. (I would suggest doing this step dry a couple of tmes before you attempt doing it wet.)
16-once you push the lens into the back housing, complete this project by siliconing arond where the lens and housing meet and smoothing it out. Assure that there are no gaps in the silicone.
17-let silicone dry for about 24 hours before installing.
Hopefully this helps. If you got anymore questions PM me.
the sealant is a PITA to remove completely... good luck lol thats the hard part, the rest is just a breeze..
Interesting! Thanks for the info.
Read the whole thread, some what informative. I'm pretty sure I can actually do this over the summer.
Read the whole thread, some what informative. I'm pretty sure I can actually do this over the summer.
Last edited by RickAKATed10; Feb 17, 2010 at 04:03 PM.
 )))
))) 

TECH Enthusiast
Joined: Jul 2008
Posts: 703
Likes: 0
From: Atlanta Georgia USA
Now thats bad ***!! I always wanted to see how the factories look in black and they look good!! But these white projectors for Mike are one of a kind!! I love em!! Can't wait to see some pics of it installed mike!
i think if i were to end up doing this (which if i can find a set of headlights cheap enough i am) that i would buy the led strips that go along the bottom and put them in there too... like an audi. if it didnt look good then just unplug them

TECH Enthusiast
Joined: Jul 2008
Posts: 703
Likes: 0
From: Atlanta Georgia USA
How much are you letting these go for sir!!??!
And you are talking about the sexy ones in your Sig-Pic correct?! LoL!!!!
Last edited by 07carlocrusader; Apr 16, 2010 at 03:54 AM.


Launching!
Joined: Jun 2009
Posts: 299
Likes: 1
From: The Woodlands,Texas/New Orleans
man u're crazy ur car lookz gr8 just the way it is i think if u painted the inside of ur lights red u would B killin the game even more!!!!!!! the 2006-07 Monte Carlo SS was designed 100% with no flawz everything from the redesigned front cap,the wheelz the whole dam car!!!!!!
Launching!
Joined: Jun 2009
Posts: 299
Likes: 1
From: The Woodlands,Texas/New Orleans
