When you click on links to various merchants on this site and make a purchase, this can result in this site earning a commission. Affiliate programs and affiliations include, but are not limited to, the eBay Partner Network.
If those are c5 pbr’s you will be ok on 17”. I have that on my ‘94. You will need the bob bishop bracket or whatever they are calling it now to bolt the calipers on. They are about 200. Have seen a few vendors carry them. I am running them on my car with c5 brakes and 17” wheels. You will have to cut the ears on the lt1 upright so the bracket and brakes clear.
I’m not sure what they are off of. I bought 98-02 spindles and just wanted to run stock calipers for now to be able to clear my 17’s. When I got these the brackets don’t line up with the spindle. I think I’m just gonna send these back and get the correct ones for now before I do the upgrade. Thanks for the info.
The guy that came up with this 10/15 years ago was Bob Bishop. You need these whether you have LT1 or LS1 spindles. On LT1 spindles, like mine, I had to cut the ears off.
The guy that came up with this 10/15 years ago was Bob Bishop. You need these whether you have LT1 or LS1 spindles. On LT1 spindles, like mine, I had to cut the ears off.
Should have got the calipers first, would have saved me from buying the spindles. As long as I have the correct caliper to do this. Calipers in pics still look different than what I have. I need to find out for certain what this caliper came off of. I come up short researching the PBR # online. Thanks for the info and the link. I’ll definitely go that route if I’m holding the correct caliper.
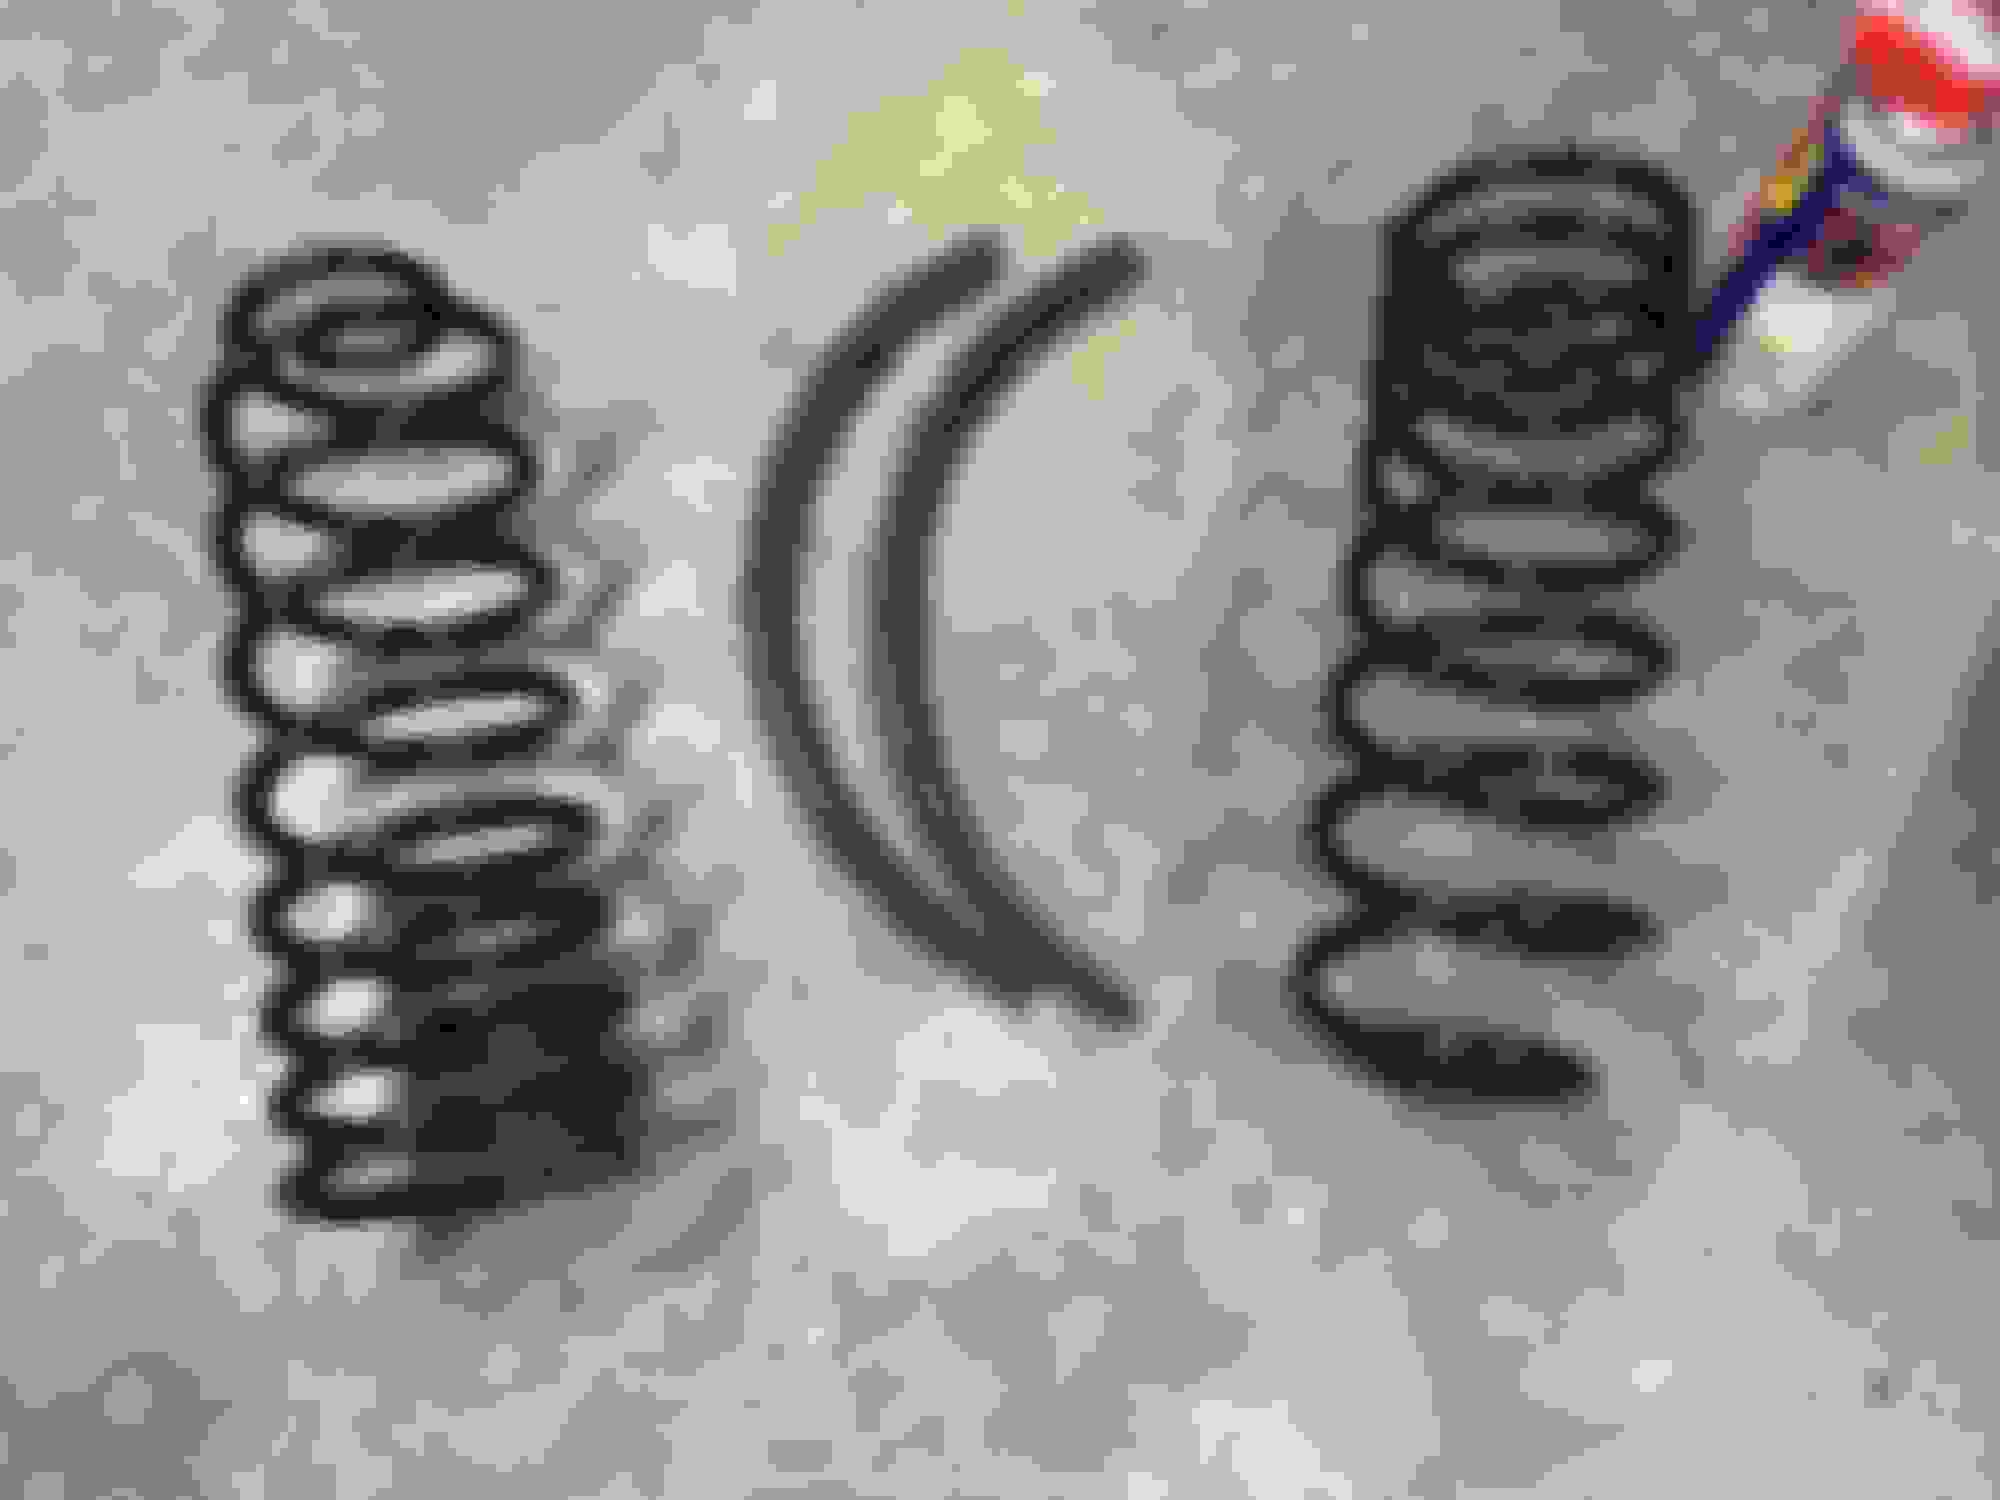
Shocks arrived today. There’s something about coming home from work and finding packages at the door. I think it releases endorphins in the brain that makes you feel like a kid on Christmas.
I should have my 22mm sway bar on Tuesday or Wednesday and then I’ll be able to take this new rear suspension for a test drive. Headed out of town 2mrw for a weekend getaway with the wife but it’s also a trip to get parts. She don’t know that part yet. I scoured Craigslist in the area where we are headed and I found a ram air hood. It’s still new in box. It’s a fiberglass piece and the guy wasn’t sure on the brand or if was a bolt on or requires hood pins. I wasn’t gonna tell him he’s a fool and needs to read the box. I’ll go there and check it out for myself. If it looks like it’ll bolt on and won’t require a bunch of work to get it to look right, I’m gonna snag it. She’s gonna be wondering why we are taking my truck and then get pissed when I tell her we need to go look at a part for the bird while we are on our getaway. She’s getting a spa treatment while I hang out at the bar on Friday so it’s not like she can bitch too long.
I wanted to point out something about these Moog springs. I know they will settle in but it just struck me as odd that they were this much bigger than the stockers. I mean, the originals are 28 years old but this just looked excessive.
Even with the isolators on top of the originals, the replacements were 1” taller. In hindsight I should have gotten a measurement of ride height to compare. I’ll still get one after it’s on the ground just so I can see how much they settled later.
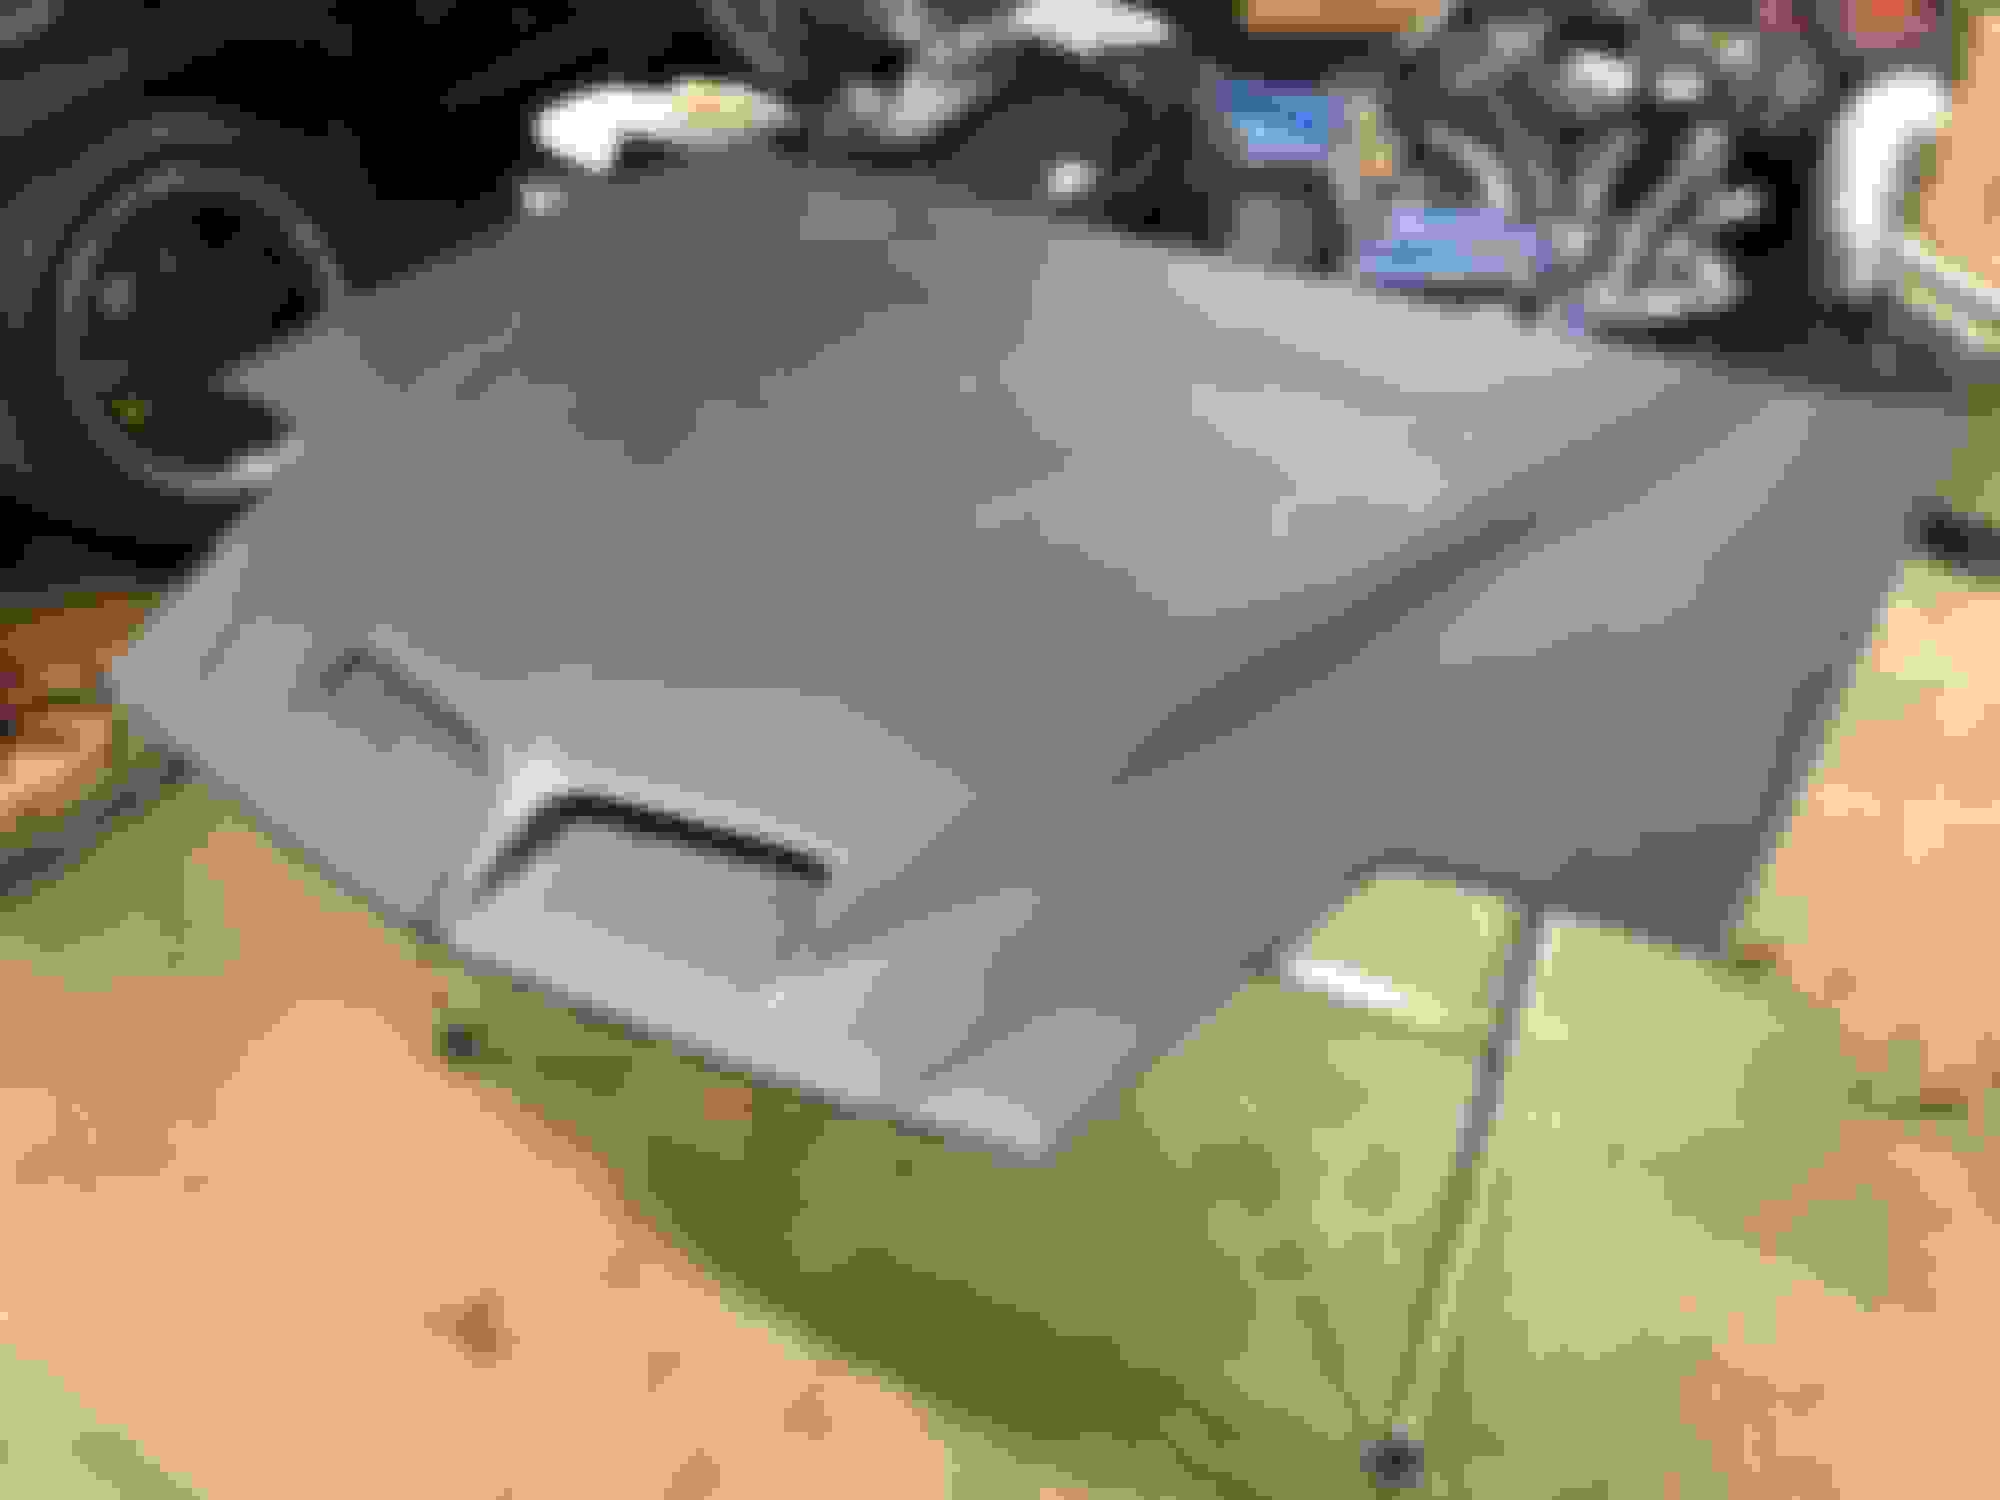
Made it home with my new hood. Gave the guy $275 for it. It’s new never been mounted but was in a row of about 200 other hoods so it’s scratched a little but not gouged anywhere. Time for some sanding and paint. I’ll get the paint coming today.
I’m not sure how old this hood is, judging by the gel coat, or lack there of, I’m gonna say it’s been sitting around for more than a few years. When you get a new fiberglass part, there is a process that needs to be done to assure a quality paint job. I don’t think I’m gonna go thru the process but I’ll know more after the first sanding is complete.
After getting a new fiberglass part my process goes like this:
1) clean the gel coat with warm soapy water. Dawn dish soap is my soap of choice. Wash it down hard!! Let that dry.
2) wipe down with paint prep like PPG acrylic-clean or prep sol. Let that dry.
3) another wipe down with 50/50 alcohol/water solution and wipe it down very thoroughly. Let that dry.
4) this is critical, let the part sit. Letting it sit in the sun to bake is best, it needs heat so inside cold garage is not good. Some manufacturers even say to heat it but I found just sitting out in the sun works. More time the better. I say 5-9 days if it’s in the sun. This is crucial because it allows the the resins in the mold to gas off. This prevents shrinking after paint or causing “picturing” where you can actually see the fiberglass strands thru the paint. Might look good for a while but it will come back to bite you eventually. And shrinkage causes paint cracks and most contribute that to just the cost of using glass but it’s actually not.
5) now that the part had time to off gas, you should be able to smell it during the process and now you should be at the point where that smell is faint. Time to wipe it down again with prep and alcohol/water mix. Be sure all the holes are clean and dry so during primer it doesn’t blow into the process.
6) this is where most say go right to 2k high build primer and you don’t need to seal it. Bullshit. It’s a must in my opinion to use a primer sealer. The sealer will prevent any residual resins from gassing off once it’s sealed. It also seals in any trace of the mold release or “butter”. Just seal it. I’ve also used a dental pick and poked all over the part to be sure there aren’t any pinholes that I didn’t see. Just be sure to check the part over meticulously before sealing it.
7) time for high build primer, I like that Slick Sand. Throw a guide coat on top of that and block sand until your flat.
8) spray on your choice of base/clear, cut, polish and buff. Stand back and take in all your hard work and patients.
Time for me to start sanding and see what I’m dealing with.
It’s not gassing at all. I have a few imperfections that need to be dealt with.
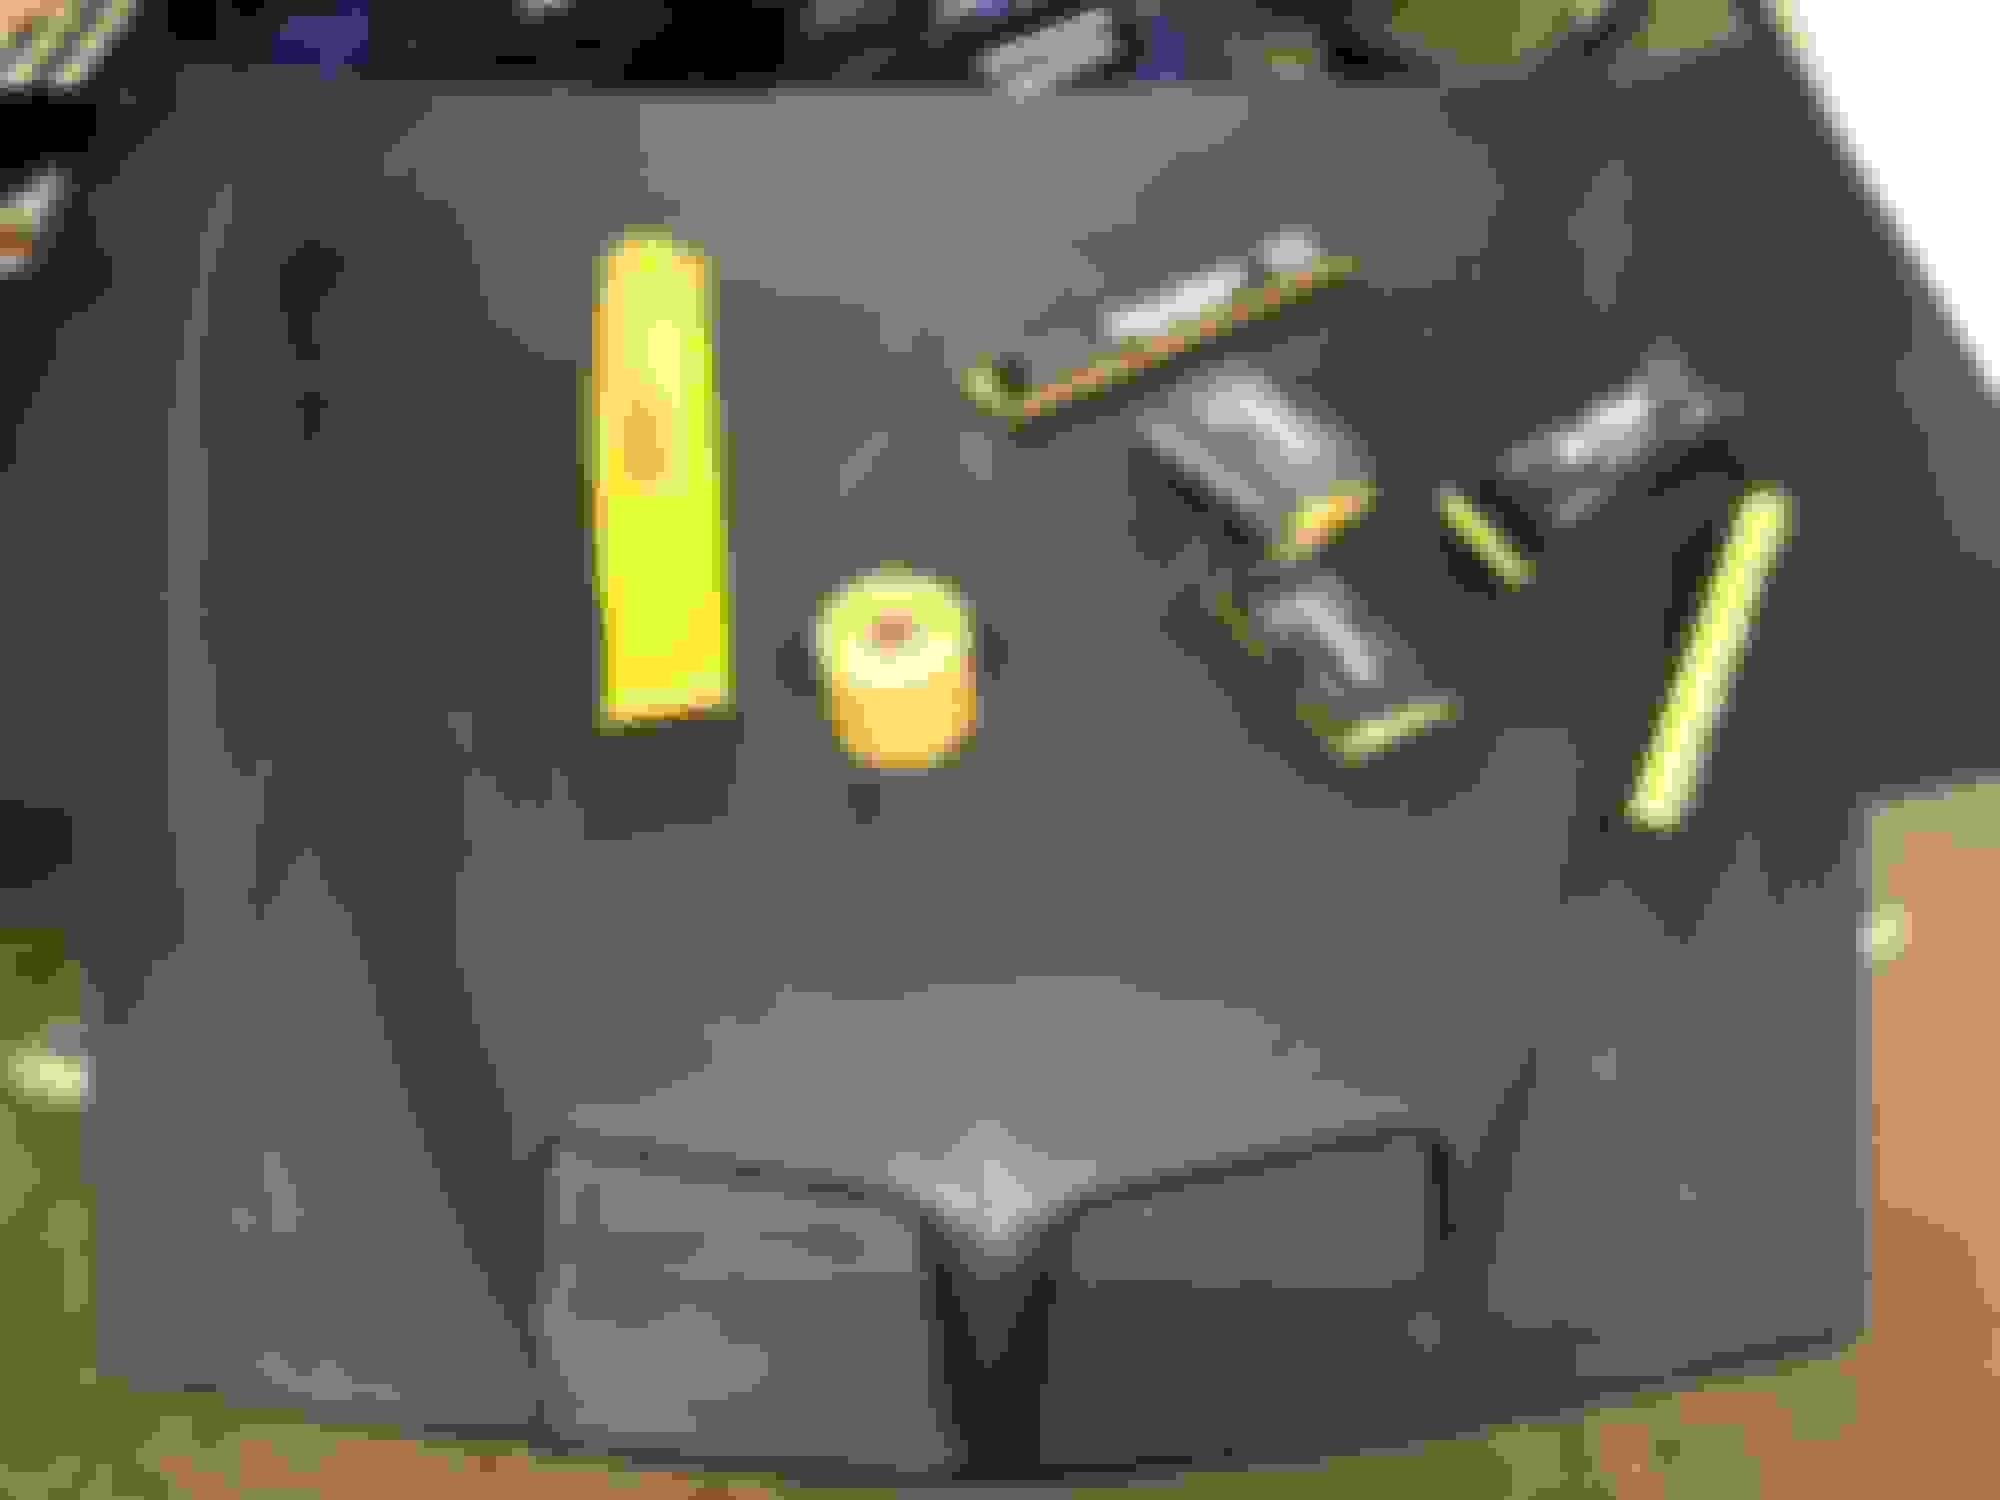
I’m out of primer/sealer so as soon as that comes I’ll get it shot.
I should be able to shoot primer sealer on Friday.
Until then I’m gonna get some metal cut and get moving. I could be driving this thing this week if I had that stuff done already. Waiting on sway bar but driveshaft is in. I should have replaced the tail shaft seal but I had to stop myself because that’ll get done when I pull trans for some upgrades.

 03-20-2018, 05:53 PM