When you click on links to various merchants on this site and make a purchase, this can result in this site earning a commission. Affiliate programs and affiliations include, but are not limited to, the eBay Partner Network.
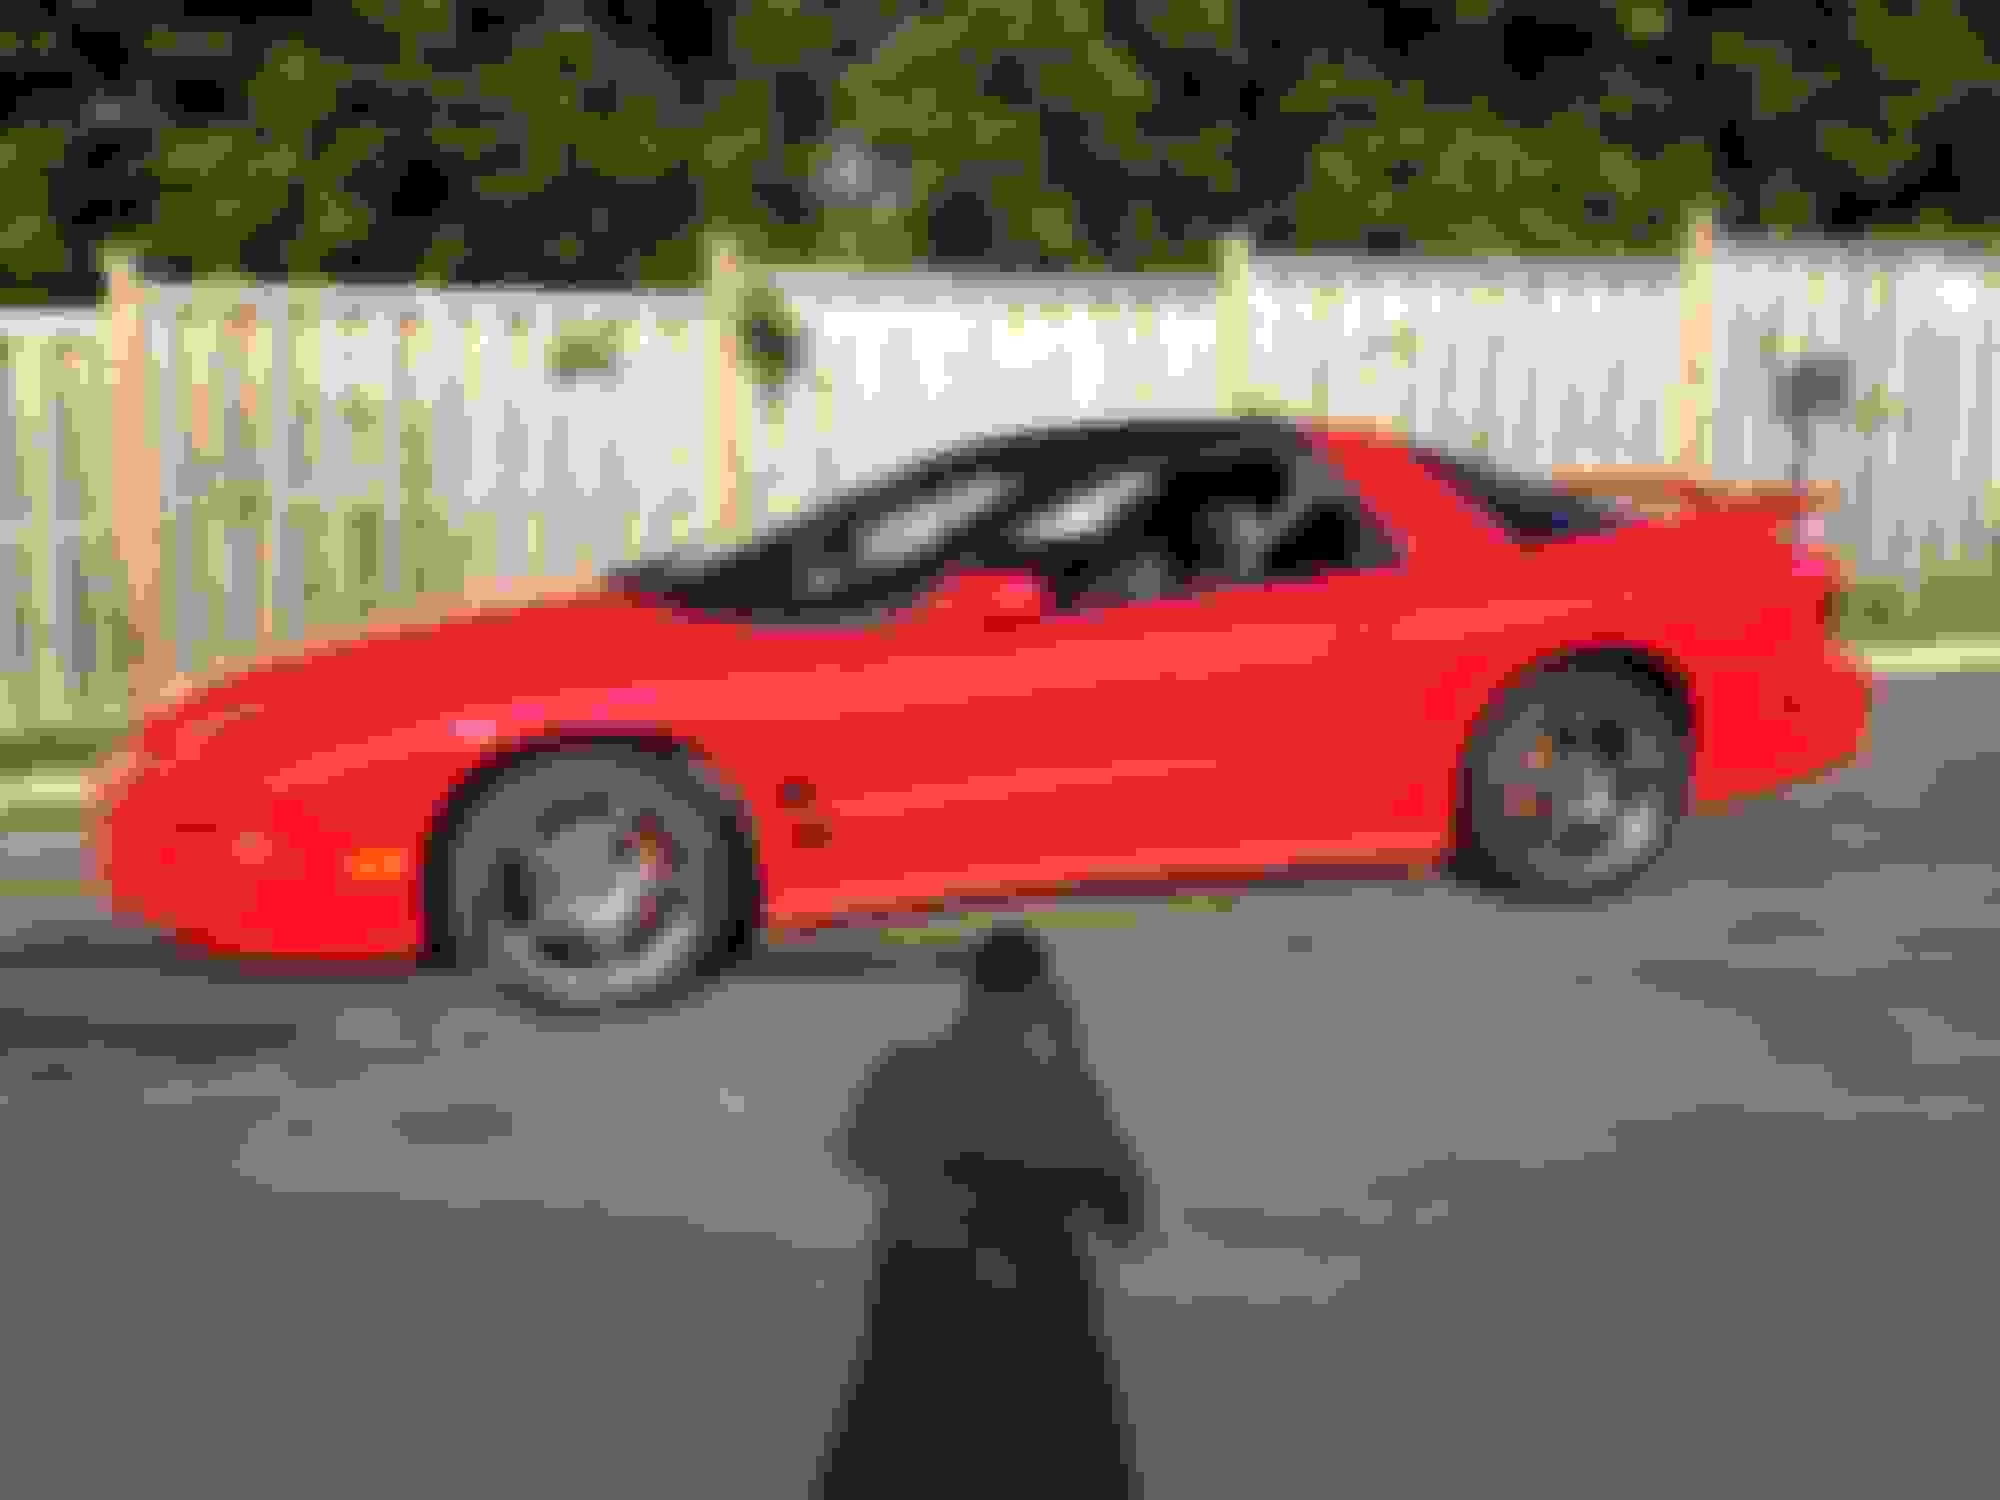
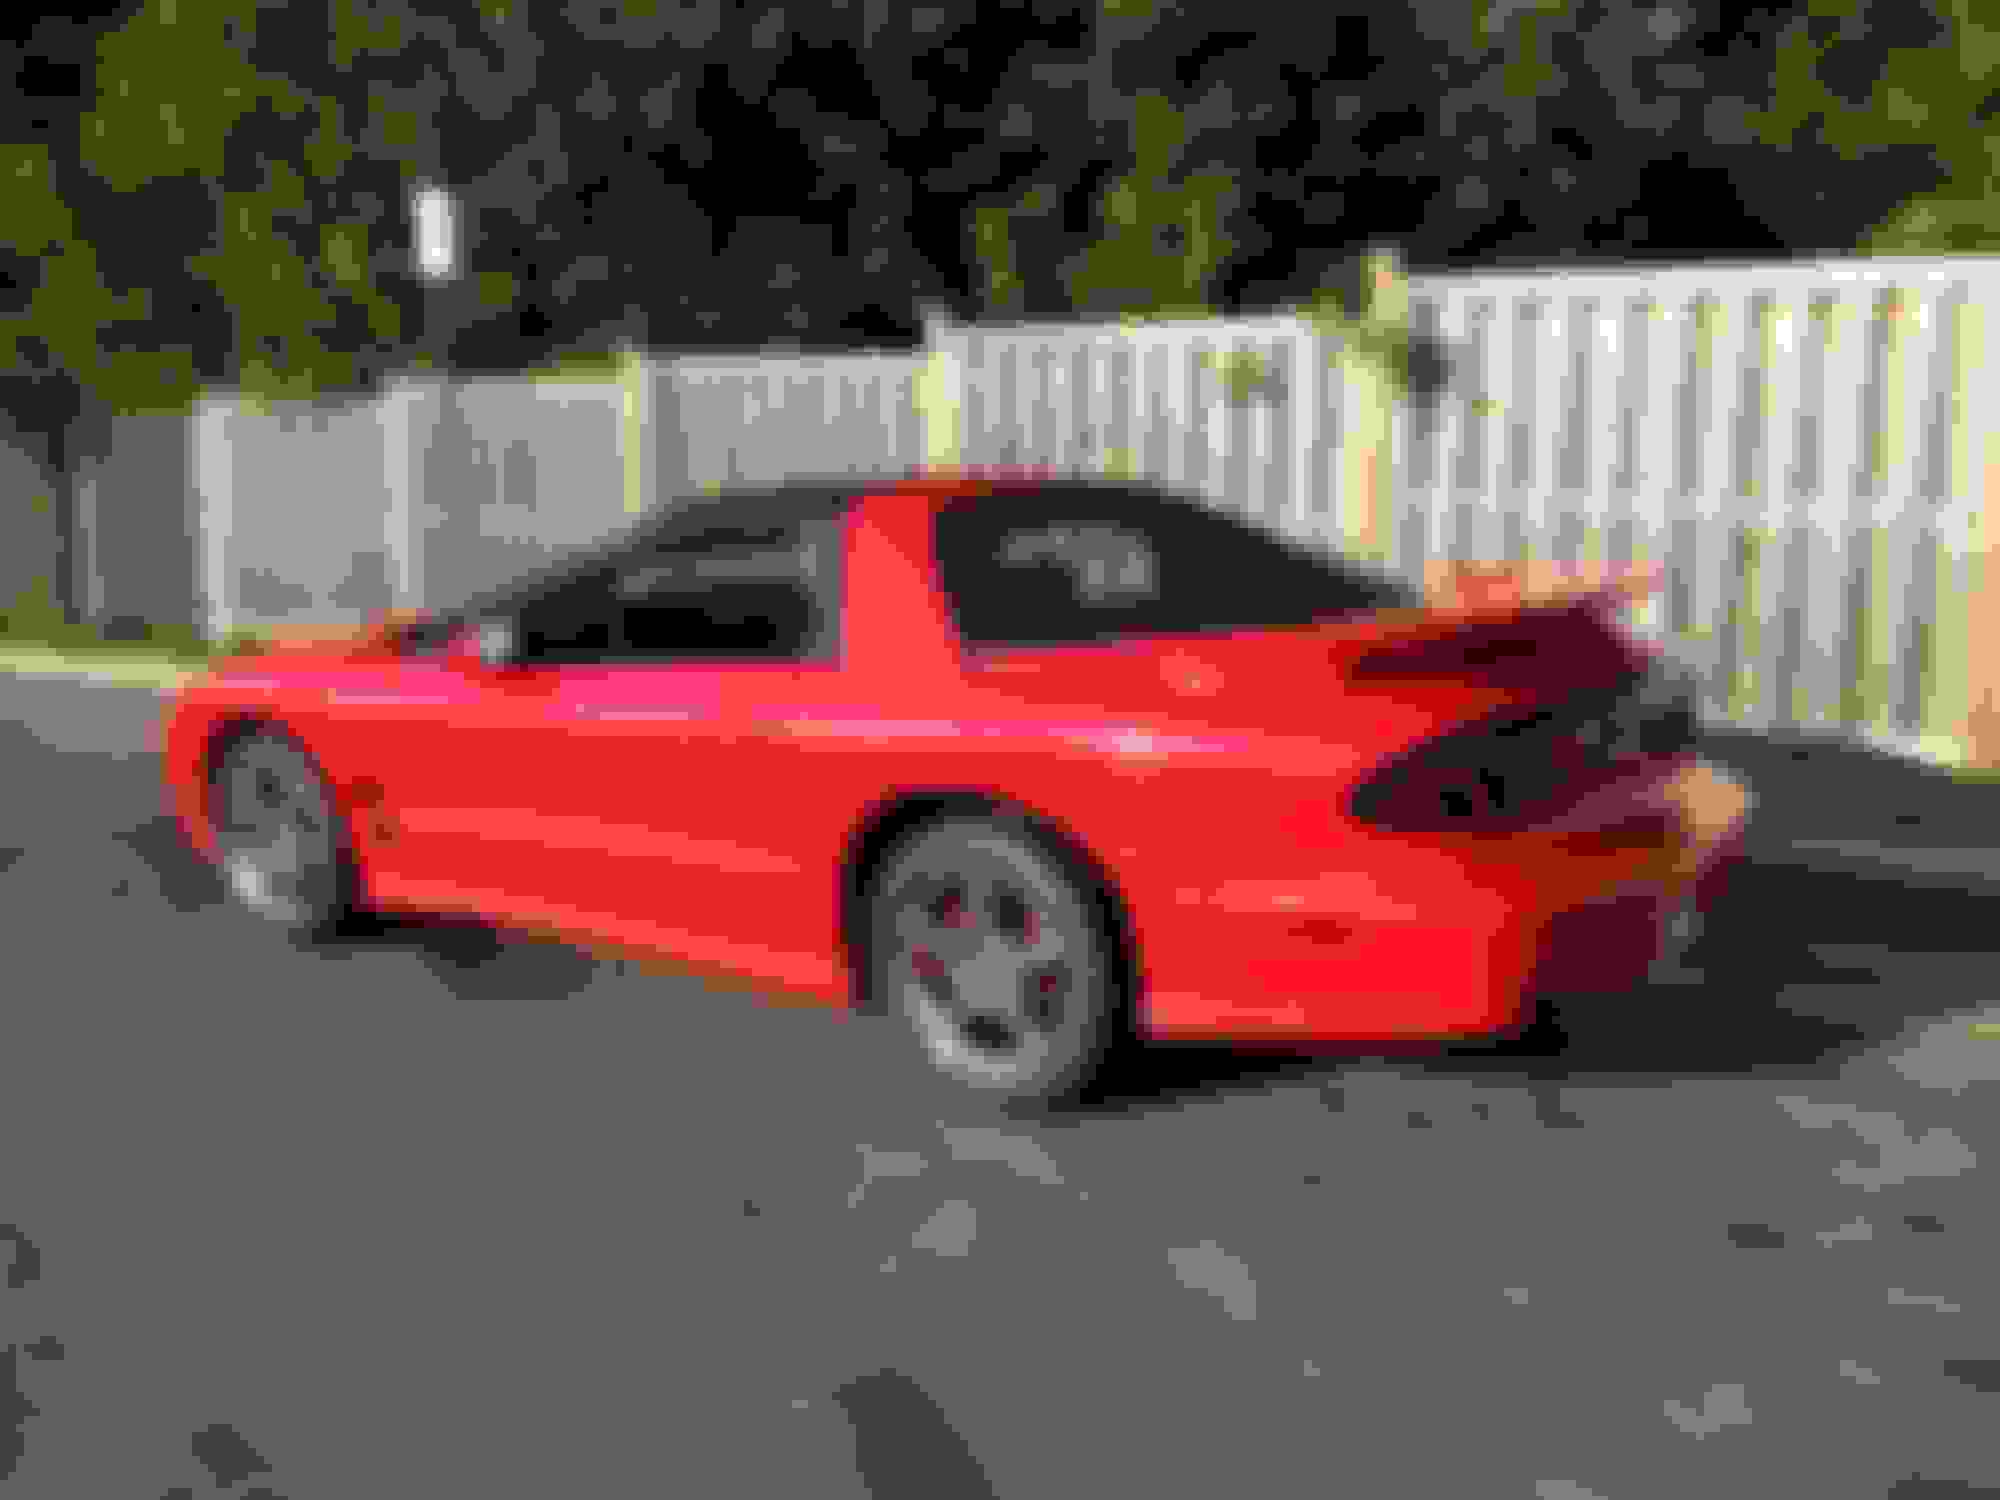
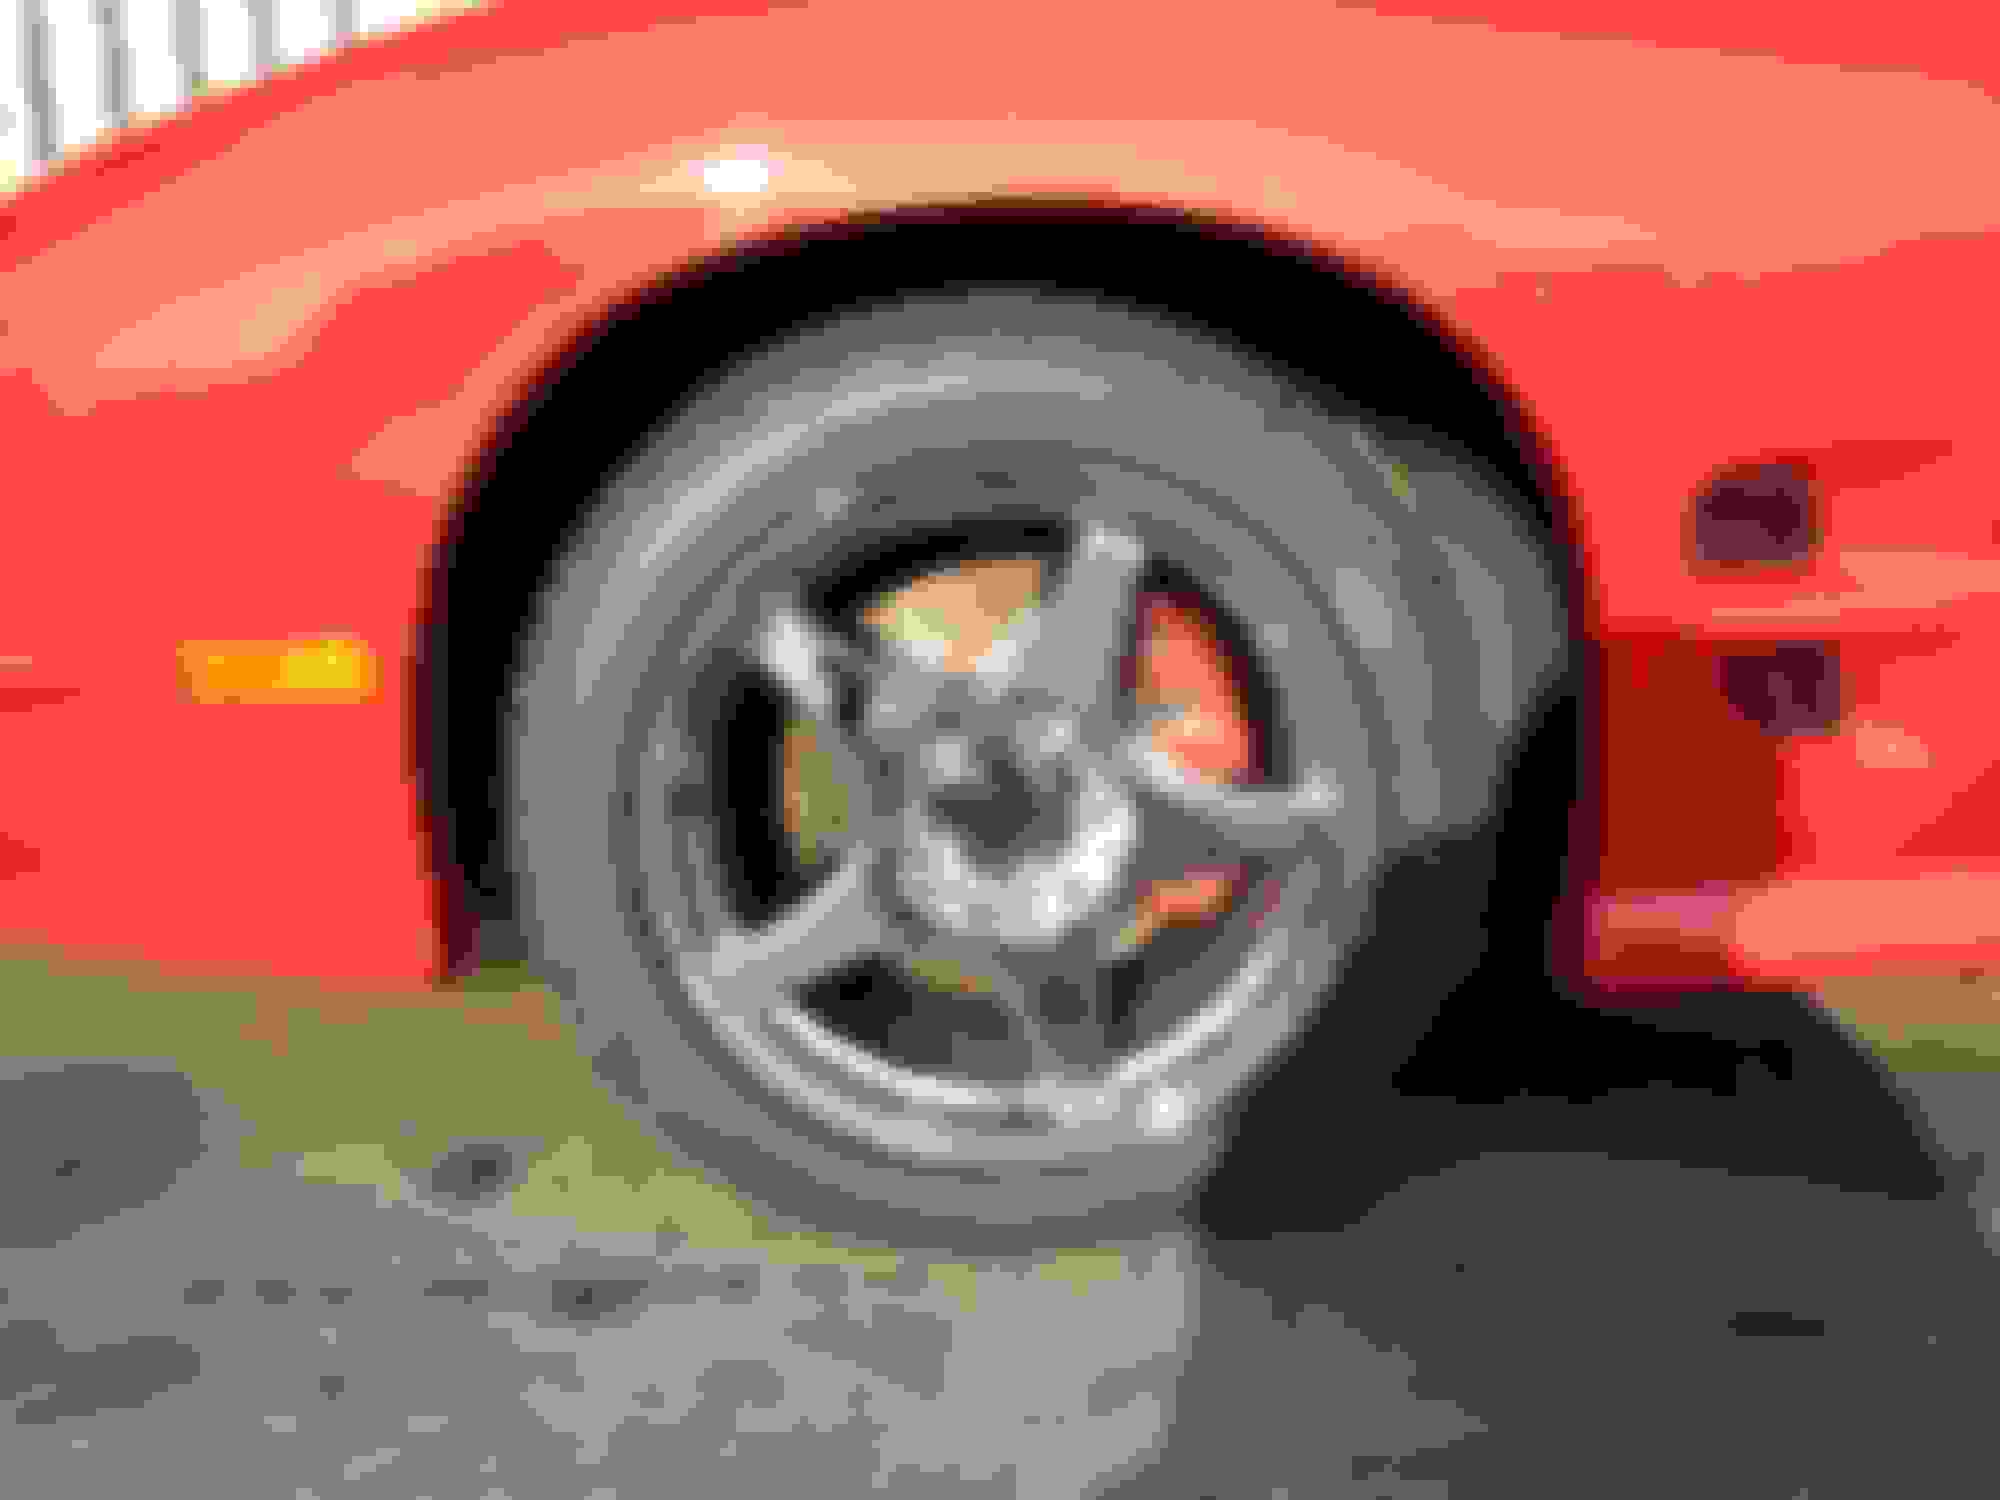
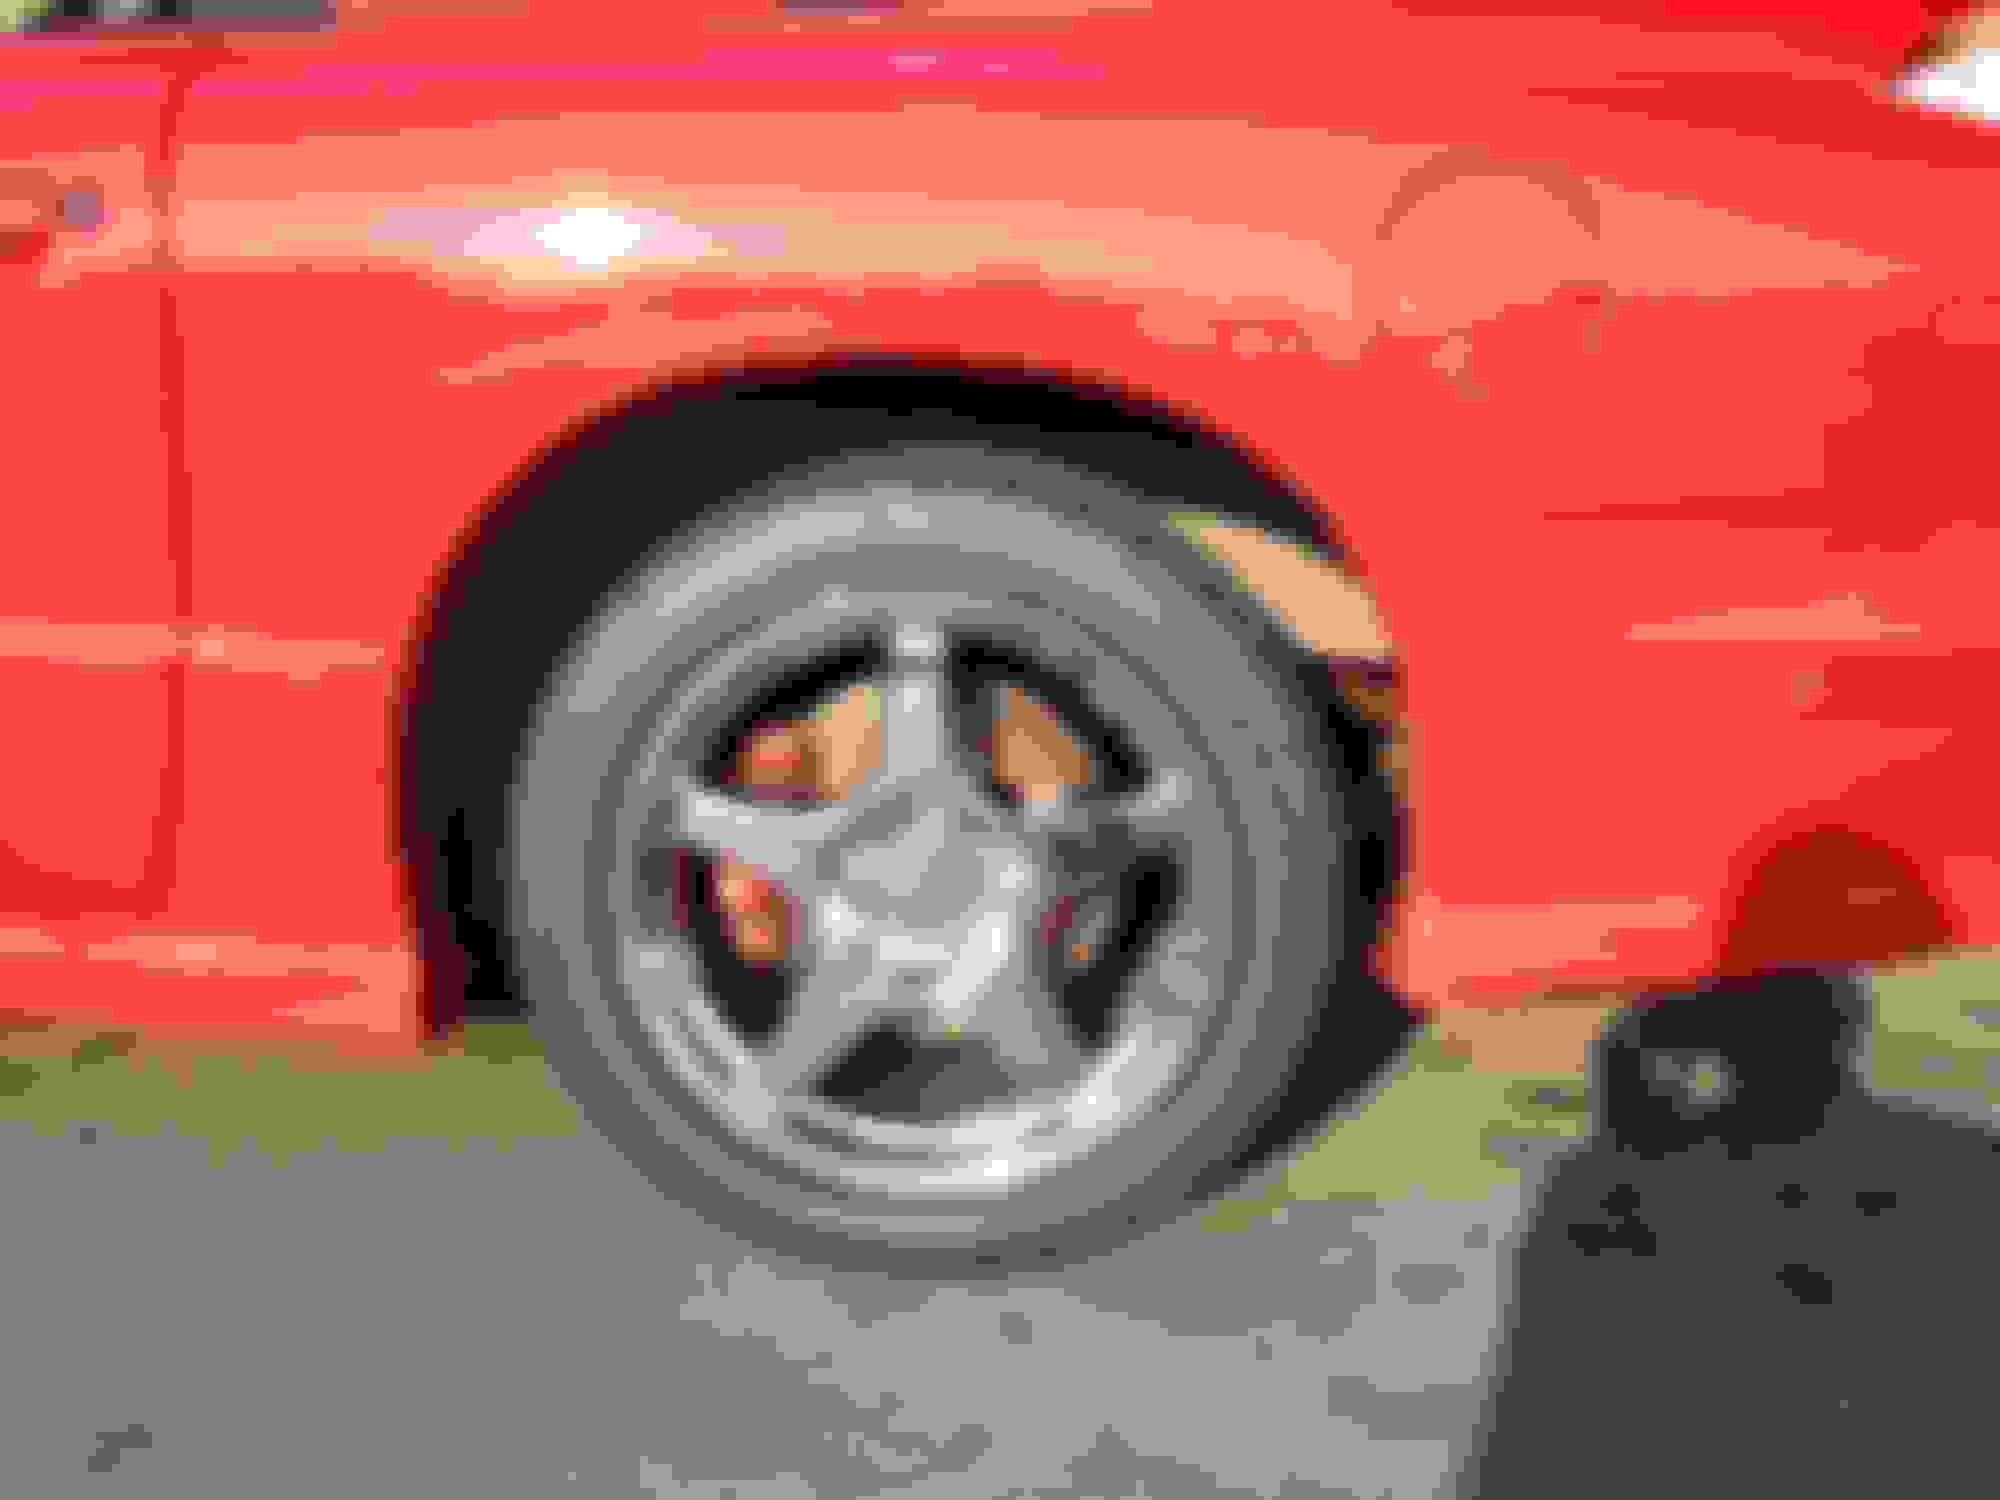
I put my new rims on about 2 weeks ago. The only fitment issue I had was with the rear bump stops, as they suck out a bit too far. Since the rubber was falling apart anyway, I removed them and cut and grinded down the tabs they bolted too. It didn't appear the car had ever bottomed out anyway, and I don't plan on lowering it. I'll probably try to find some bump stops that go inside the bottom of the springs just in case. The front wheels fit just fine, with no rubbing even turned lock to lock. The tires are BFGoodrich G-Force Comp-2 A/S 275/40ZR17s all around. They have an agressive look but ride smoothly with good traction and little noise.
go to a salvage yard and fird an old 3rd gen fbody. the bumpstops are the same only they are made out of a hard rubber and dont rot away like the 4th gens
go to a salvage yard and fird an old 3rd gen fbody. the bumpstops are the same only they are made out of a hard rubber and dont rot away like the 4th gens
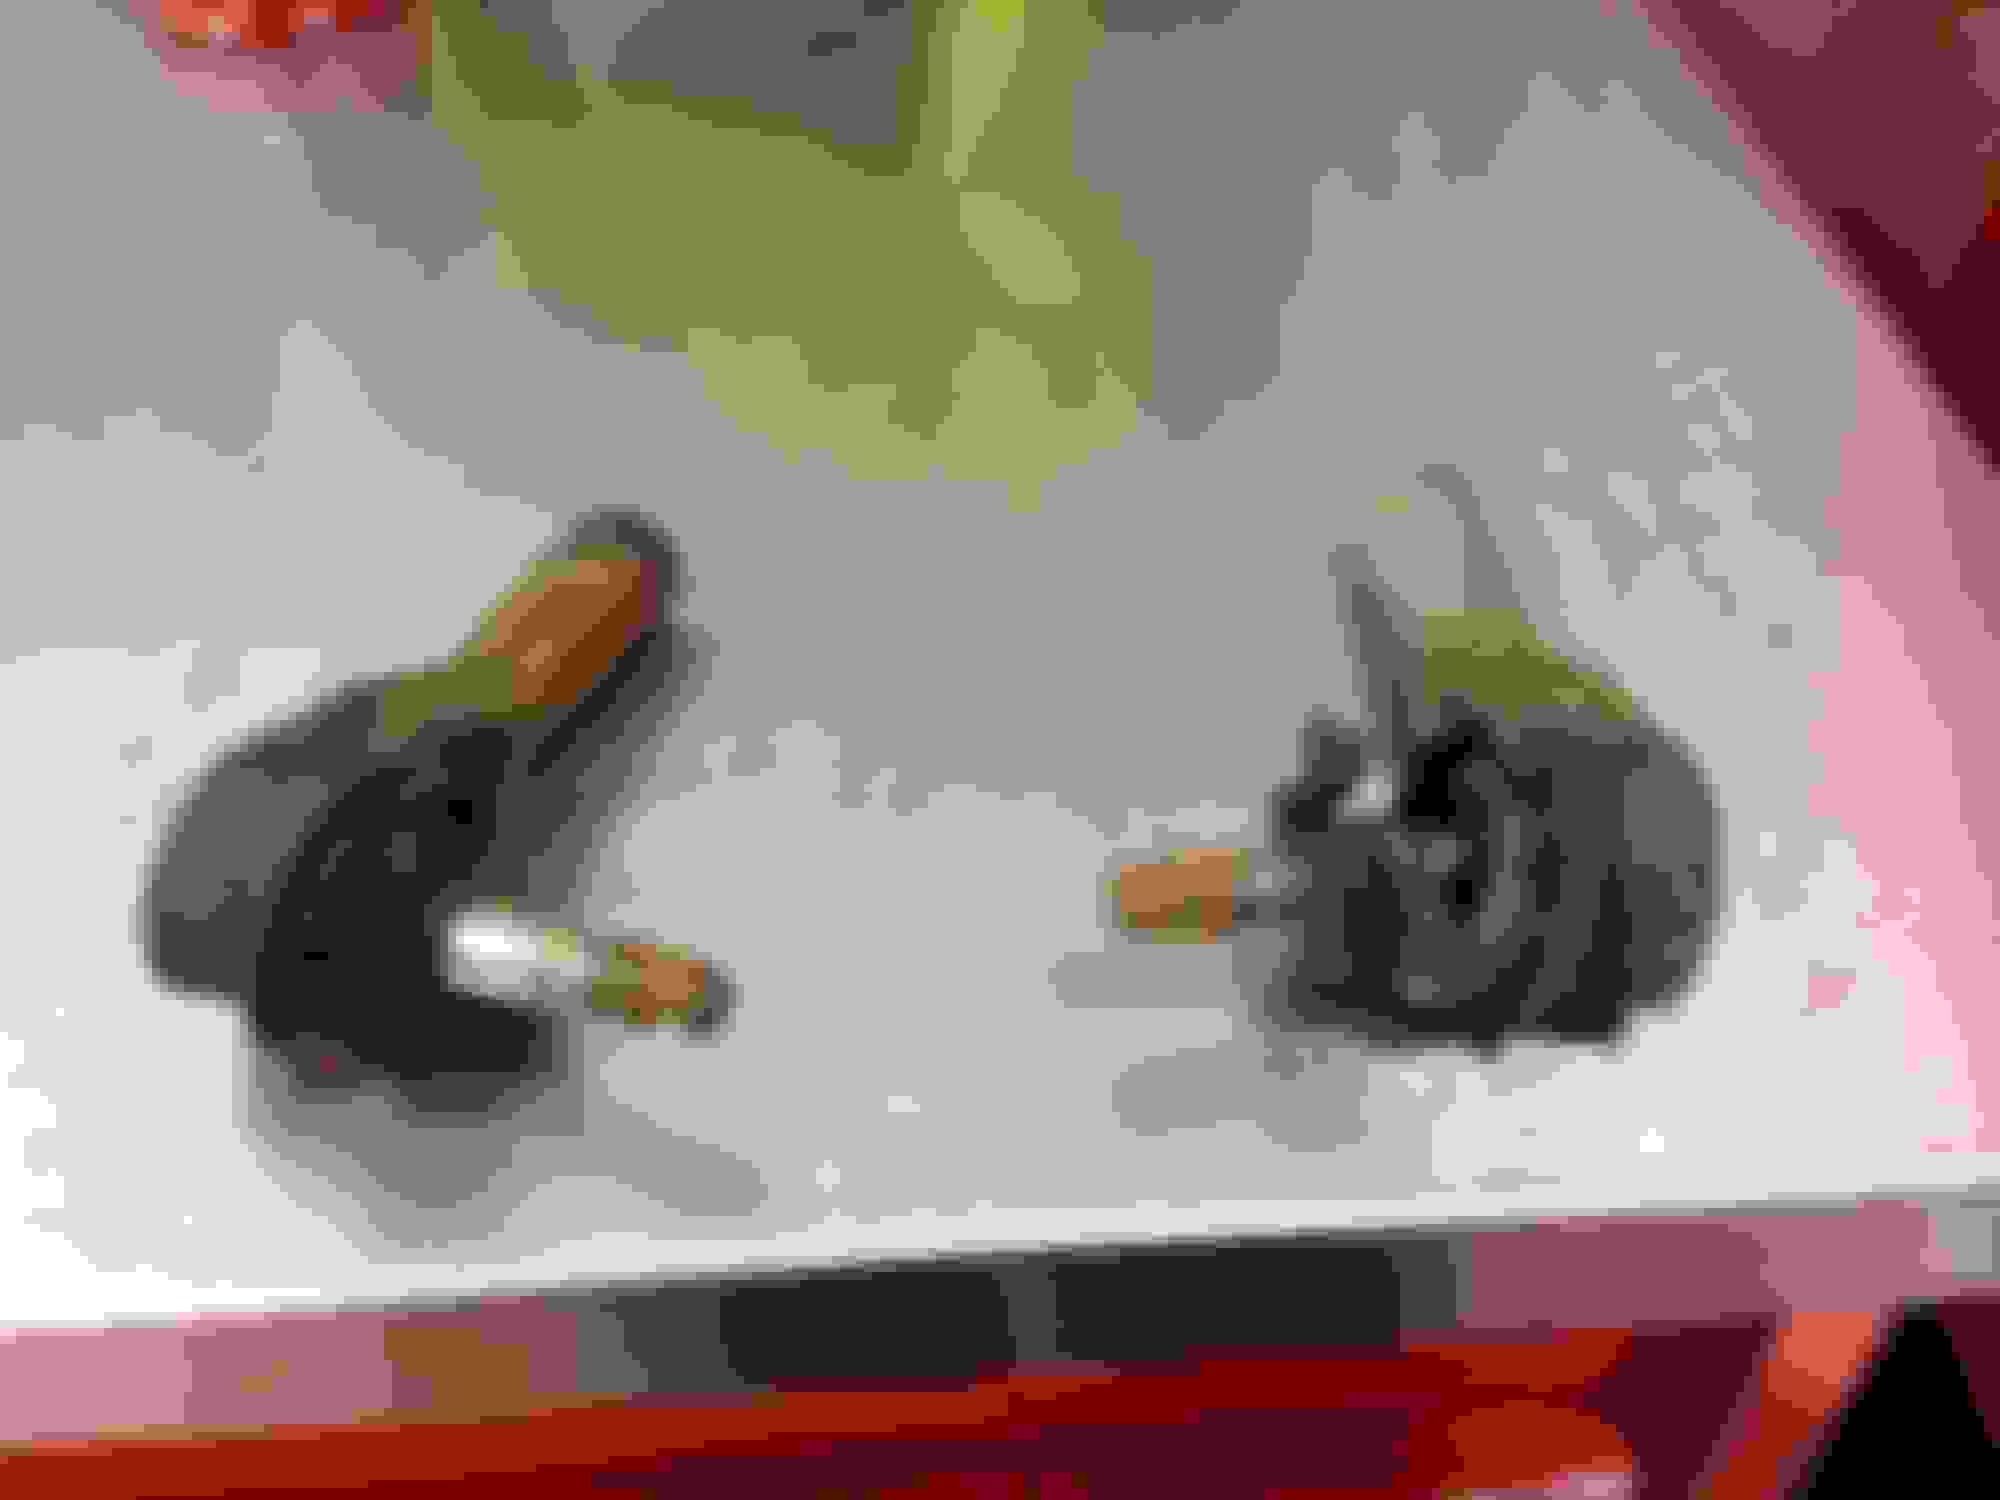
I can't use factory style bump stops now. I had to cut them off, mount and all to fit the rear wheels. Gonna have to make something from scratch.
I finally got around to replacing the outer tie rods and did an alignment at the shop. I put it off way too long because of all the 90+ degree days we've had this summer. The last thing I wanted to do was work on my own junk in the heat after working on customer cars and sweating my *** off all day. Now that things are cooling off I'll try to get more things done with the car.
No wonder the car wandered every time I hit a bump. LONG overdue.
Very nice progress. I too bought my first ( and ever beloved since I was a pre-teen ) WS6 just last May of this year. Took much longer than expected but I finally went for it. Love it. Enjoy your car and keep up the good work on maintenance, it will last a long time.
The starter gave up the ghost. $200 for a new one, not remanufactured. In my experience the remans don't last as long. I'd rather pay a little more for that added peace of mind.
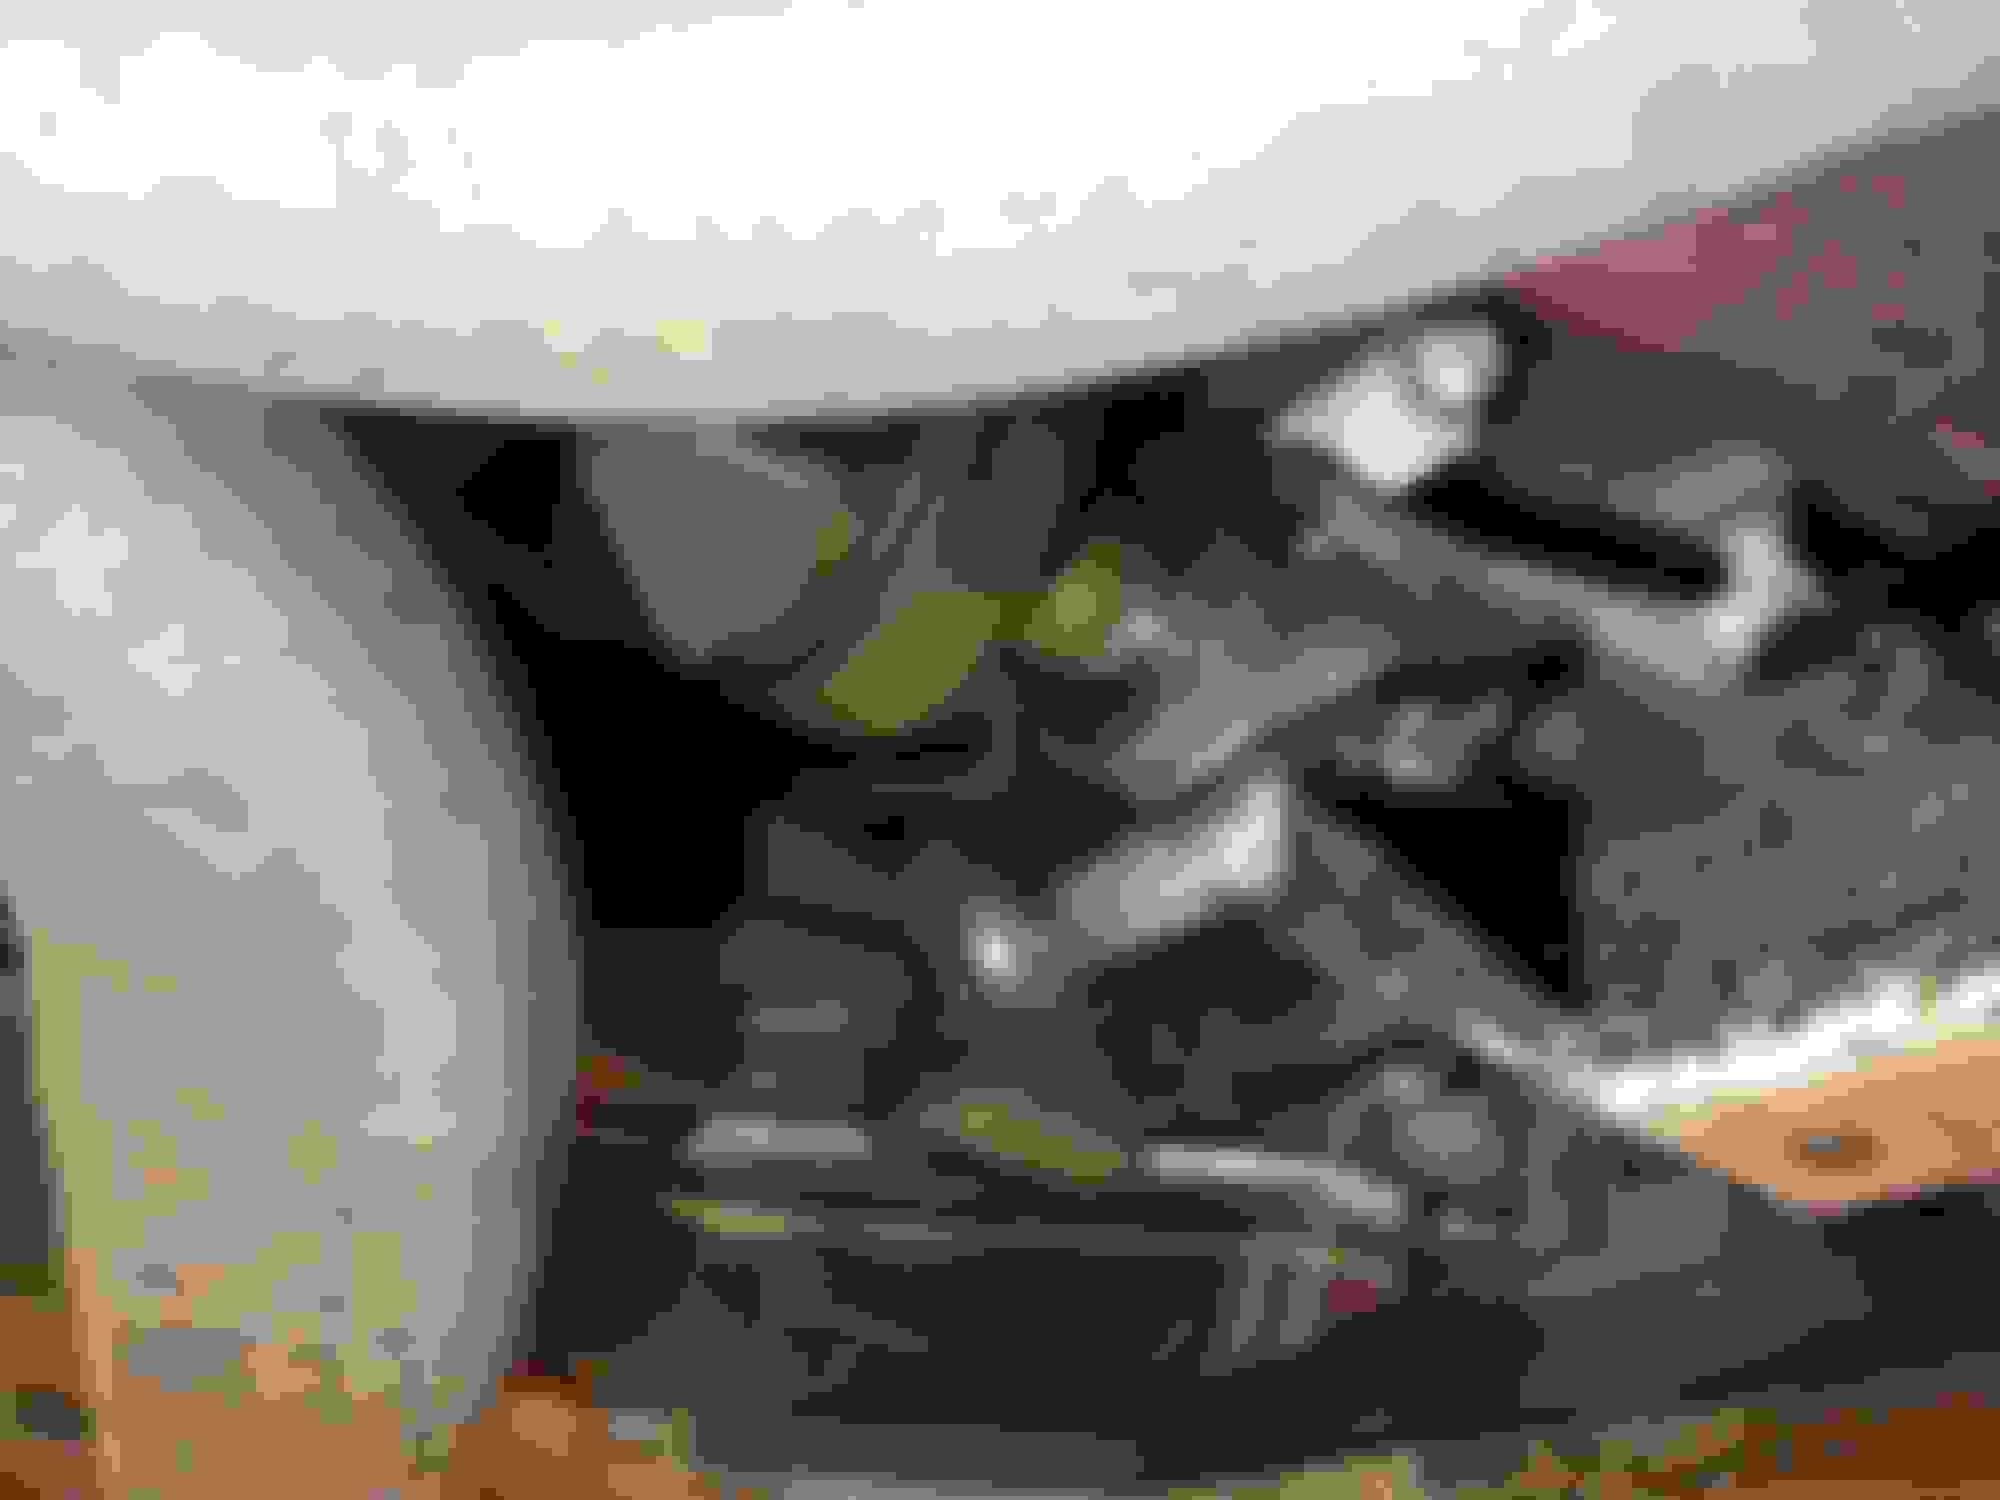
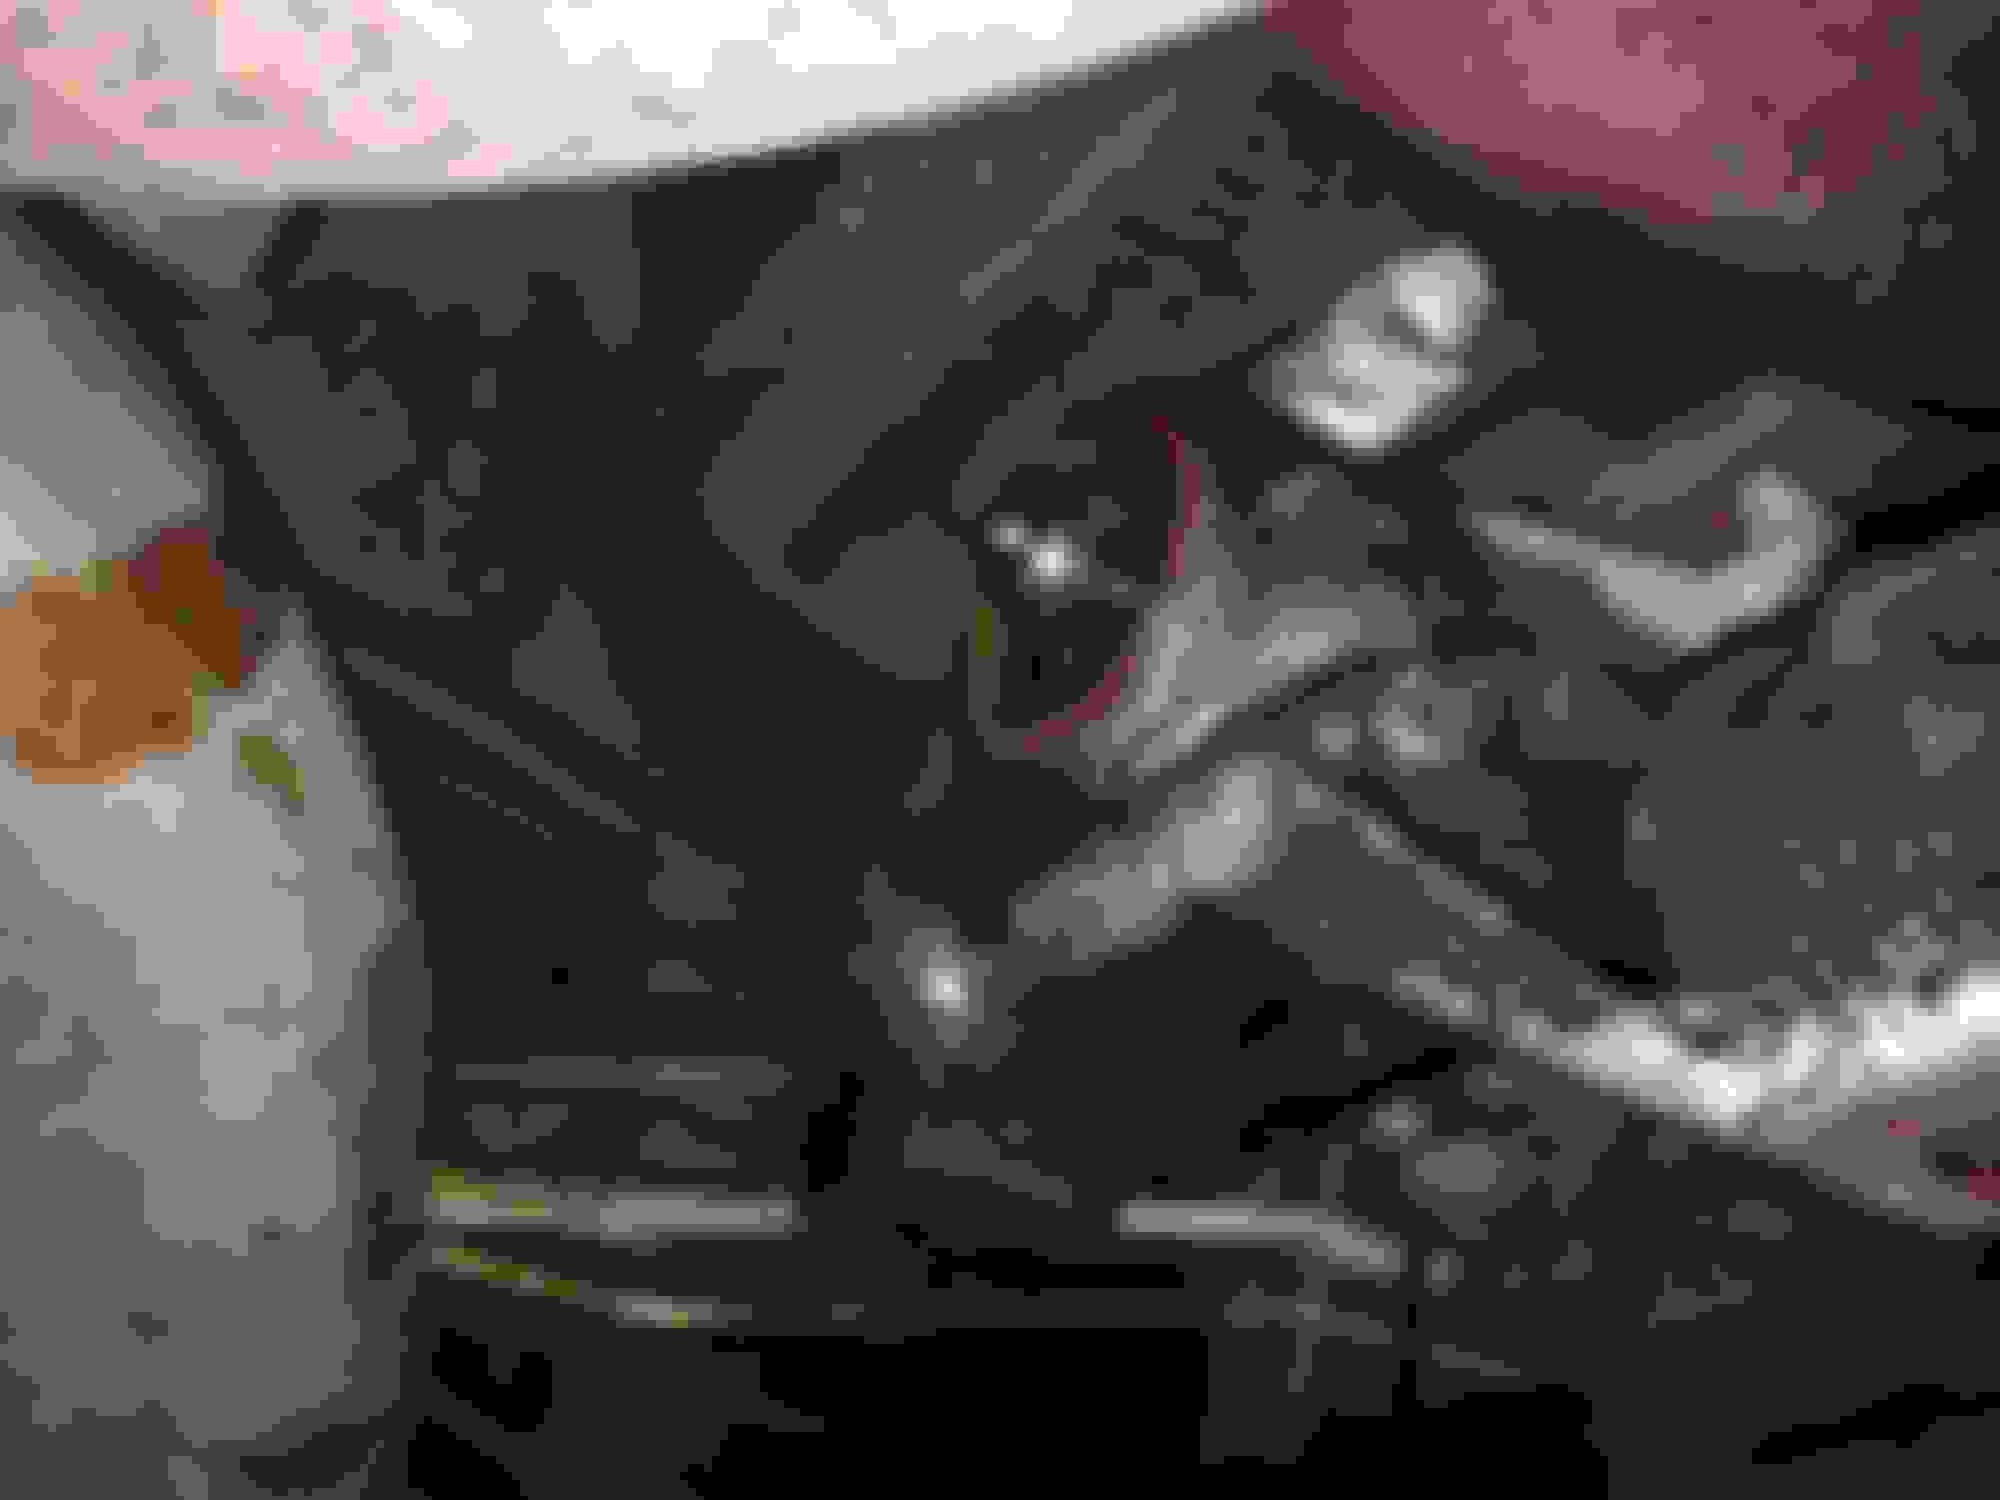
I replaced the tail shaft seal and trans pan gasket tonight. The leaks made quite a mess under the car. Not as big as the mess I made on the shop floor taking off the trans pan.
Before I started.
After removing the 4 rear bolts, the drive shaft only needed a couple taps with the hammer to slide out.
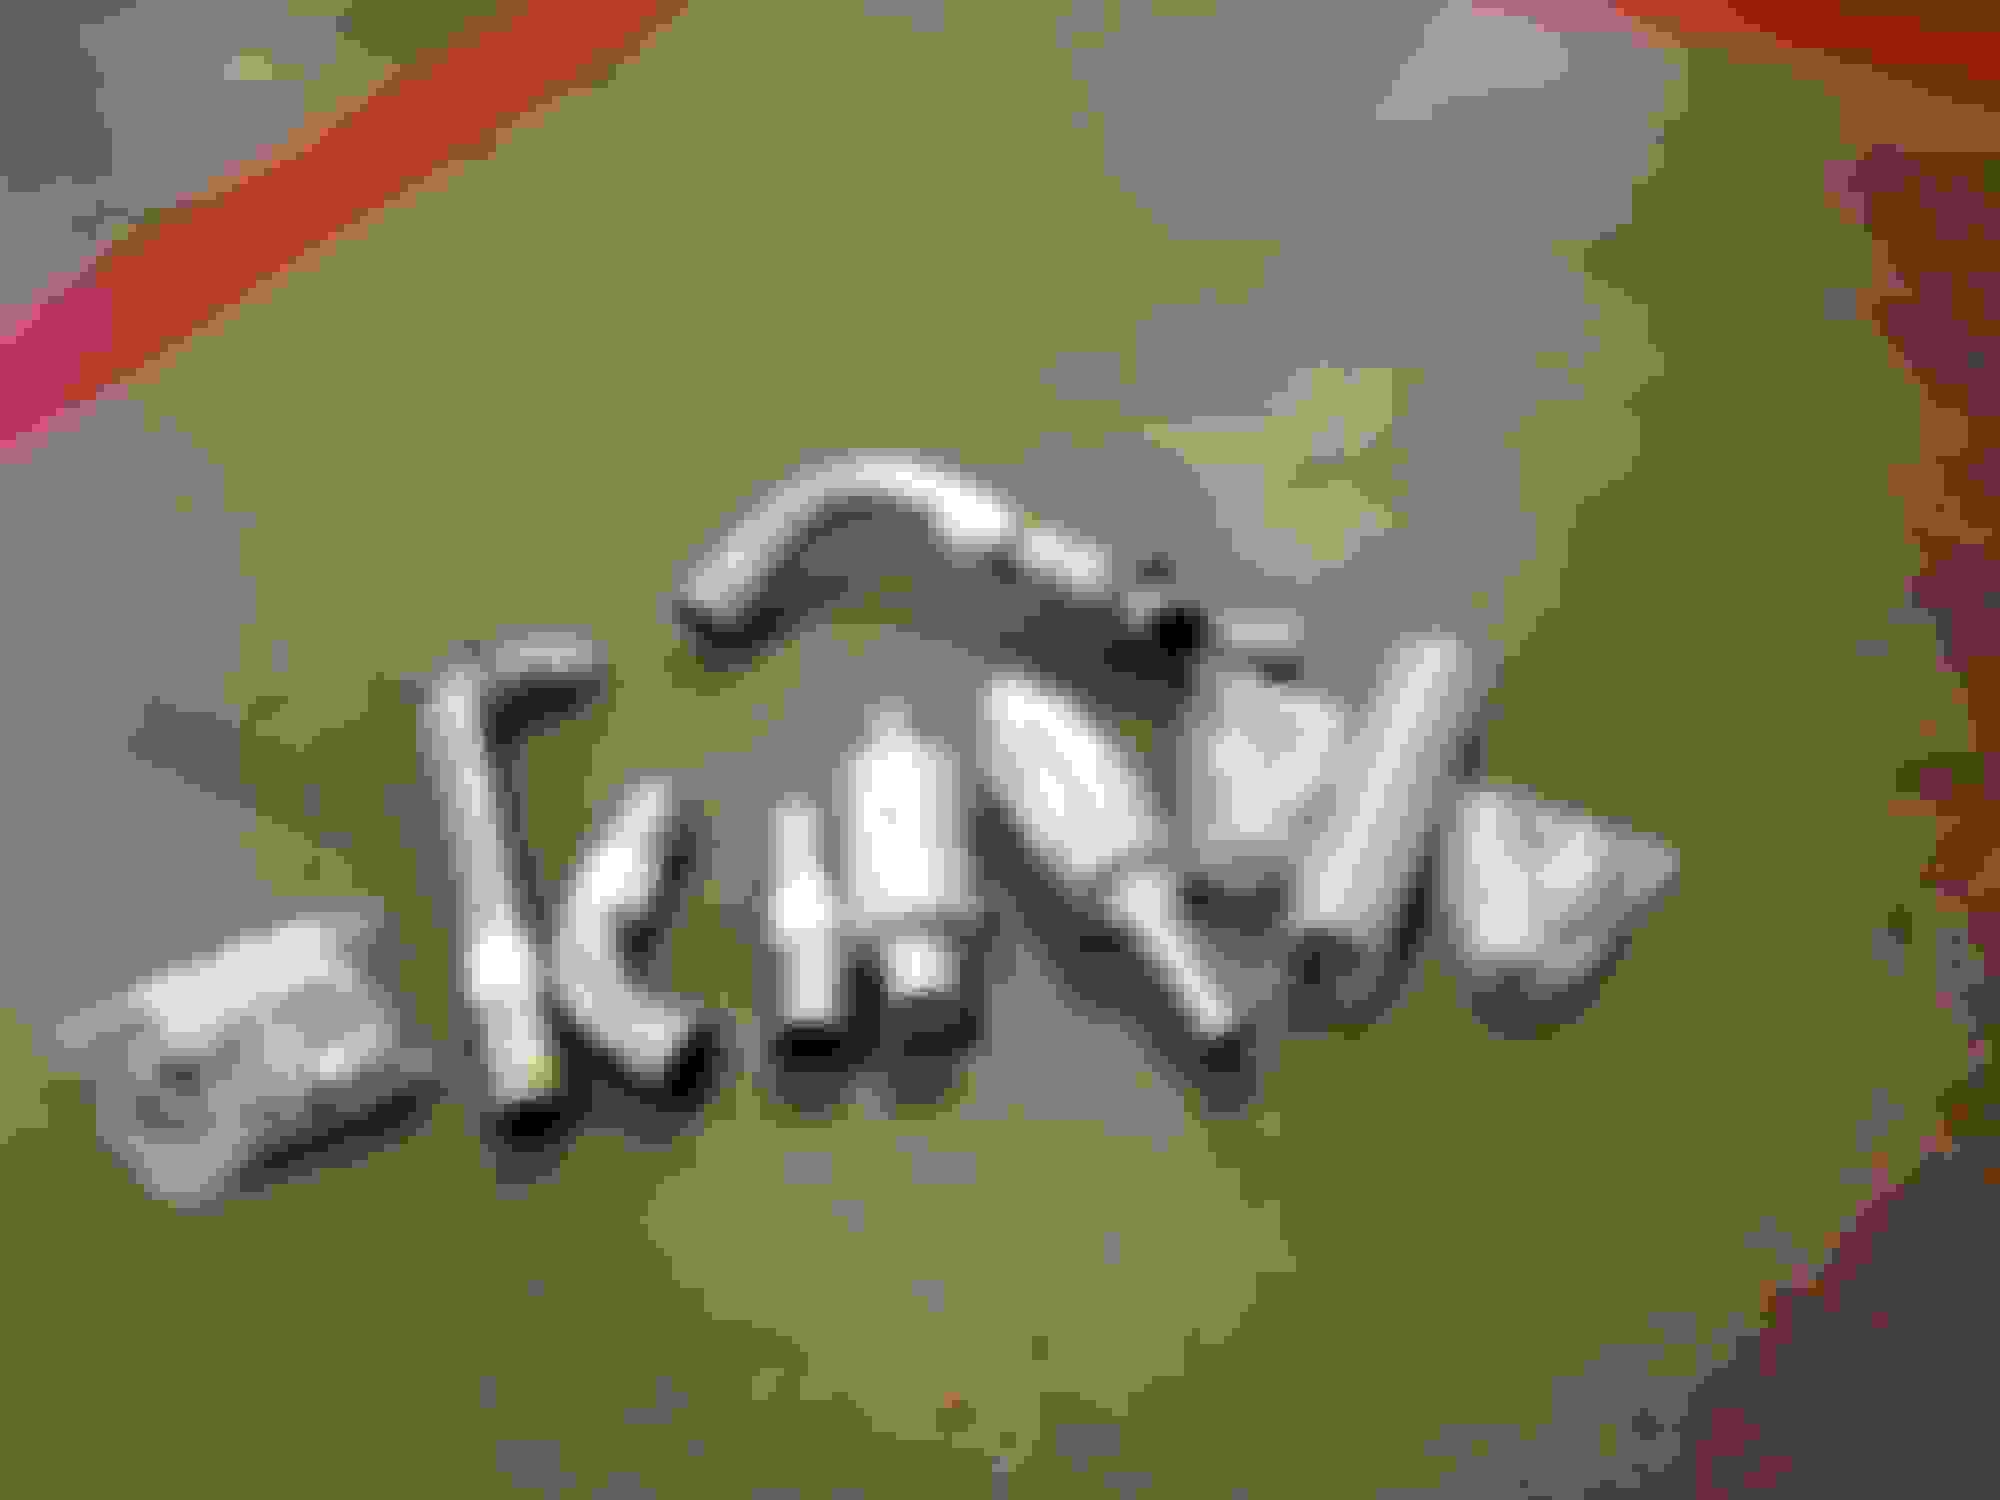
The new seal in place.
The other offender.What a mess.
I forgot to take a picture of everything back together and cleaned off.
Installed the first performance related parts last night. I went with Summit Racing's LS1 Induction Pro Pack. SLP lid, K&N air filter, and VaraRam throttle body velocity stack insert. The engine seems to be breathing easier and has a slightly deeper idle.
Other maintenance updates include draining out the old Dex Cool and replacing the original radiator hoses. It only took 3 trips to Pep Boys for them to finally give me the correct upper hose.
I was driving to work in the car this morning and the ABS and traction control lights came on. I scanned it with my Actron scanner this afternoon, but there were no codes stored in the system. The lights didn't come on this afternoon driving home, so I'm not sure what happened.
Nice project so far. Love the wheels. It's really coming along. First thing I would check as far as the ABS light coming on is your brake fluid level. The light comes on when it's low. Also I've read stories of the oil for the K&N filter may cause issues with the MAF sensor. Something to look into. Regardless I'm enjoying watching your car come along.
Nice project so far. Love the wheels. It's really coming along. First thing I would check as far as the ABS light coming on is your brake fluid level. The light comes on when it's low. Also I've read stories of the oil for the K&N filter may cause issues with the MAF sensor. Something to look into. Regardless I'm enjoying watching your car come along.
Thanks. As soon as I saw a picture of those wheels online I knew they were the right wheels for my car. I want to get some Firebird decals to put on the center caps, just haven't got around to it yet.
The brake fluid level is full. I checked that the other night when I changed the oil. Maybe it was just a fluke. If the light comes on again I may need to leave it running while I scan it.
I'm not too worried about the filter oil getting on the MAF sensor. I cleaned it before I installed the lid, and I can always clean it again. Besides, from what I've read most of the issues are from over oiling the filter. It should be a while before I need to worry about cleaning it, and will be careful when I do so.
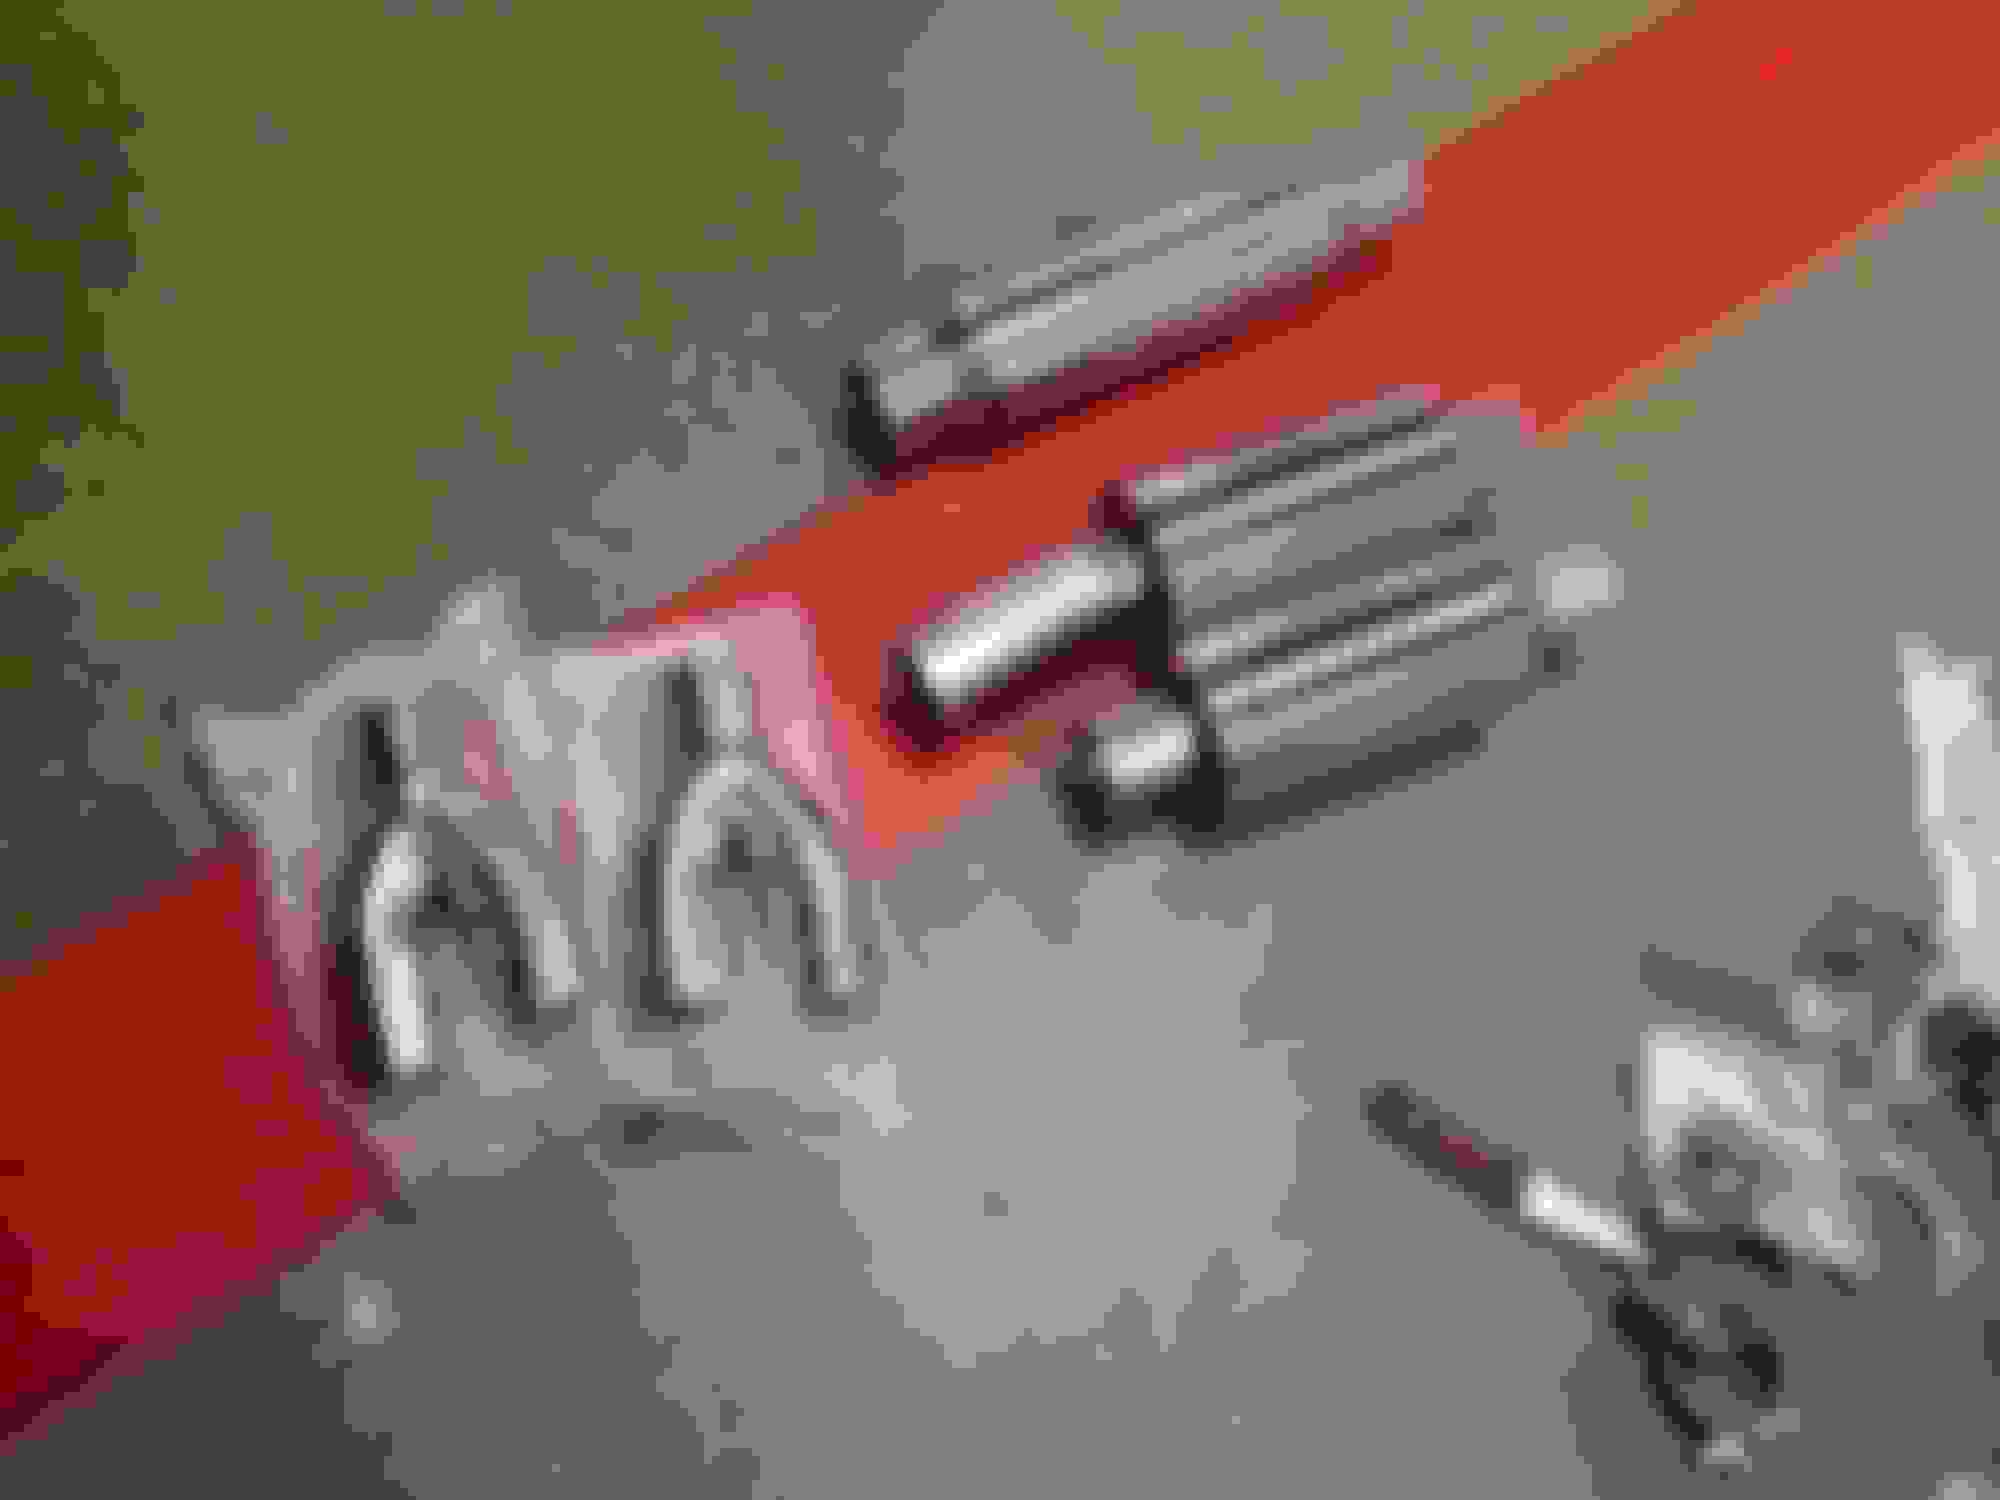
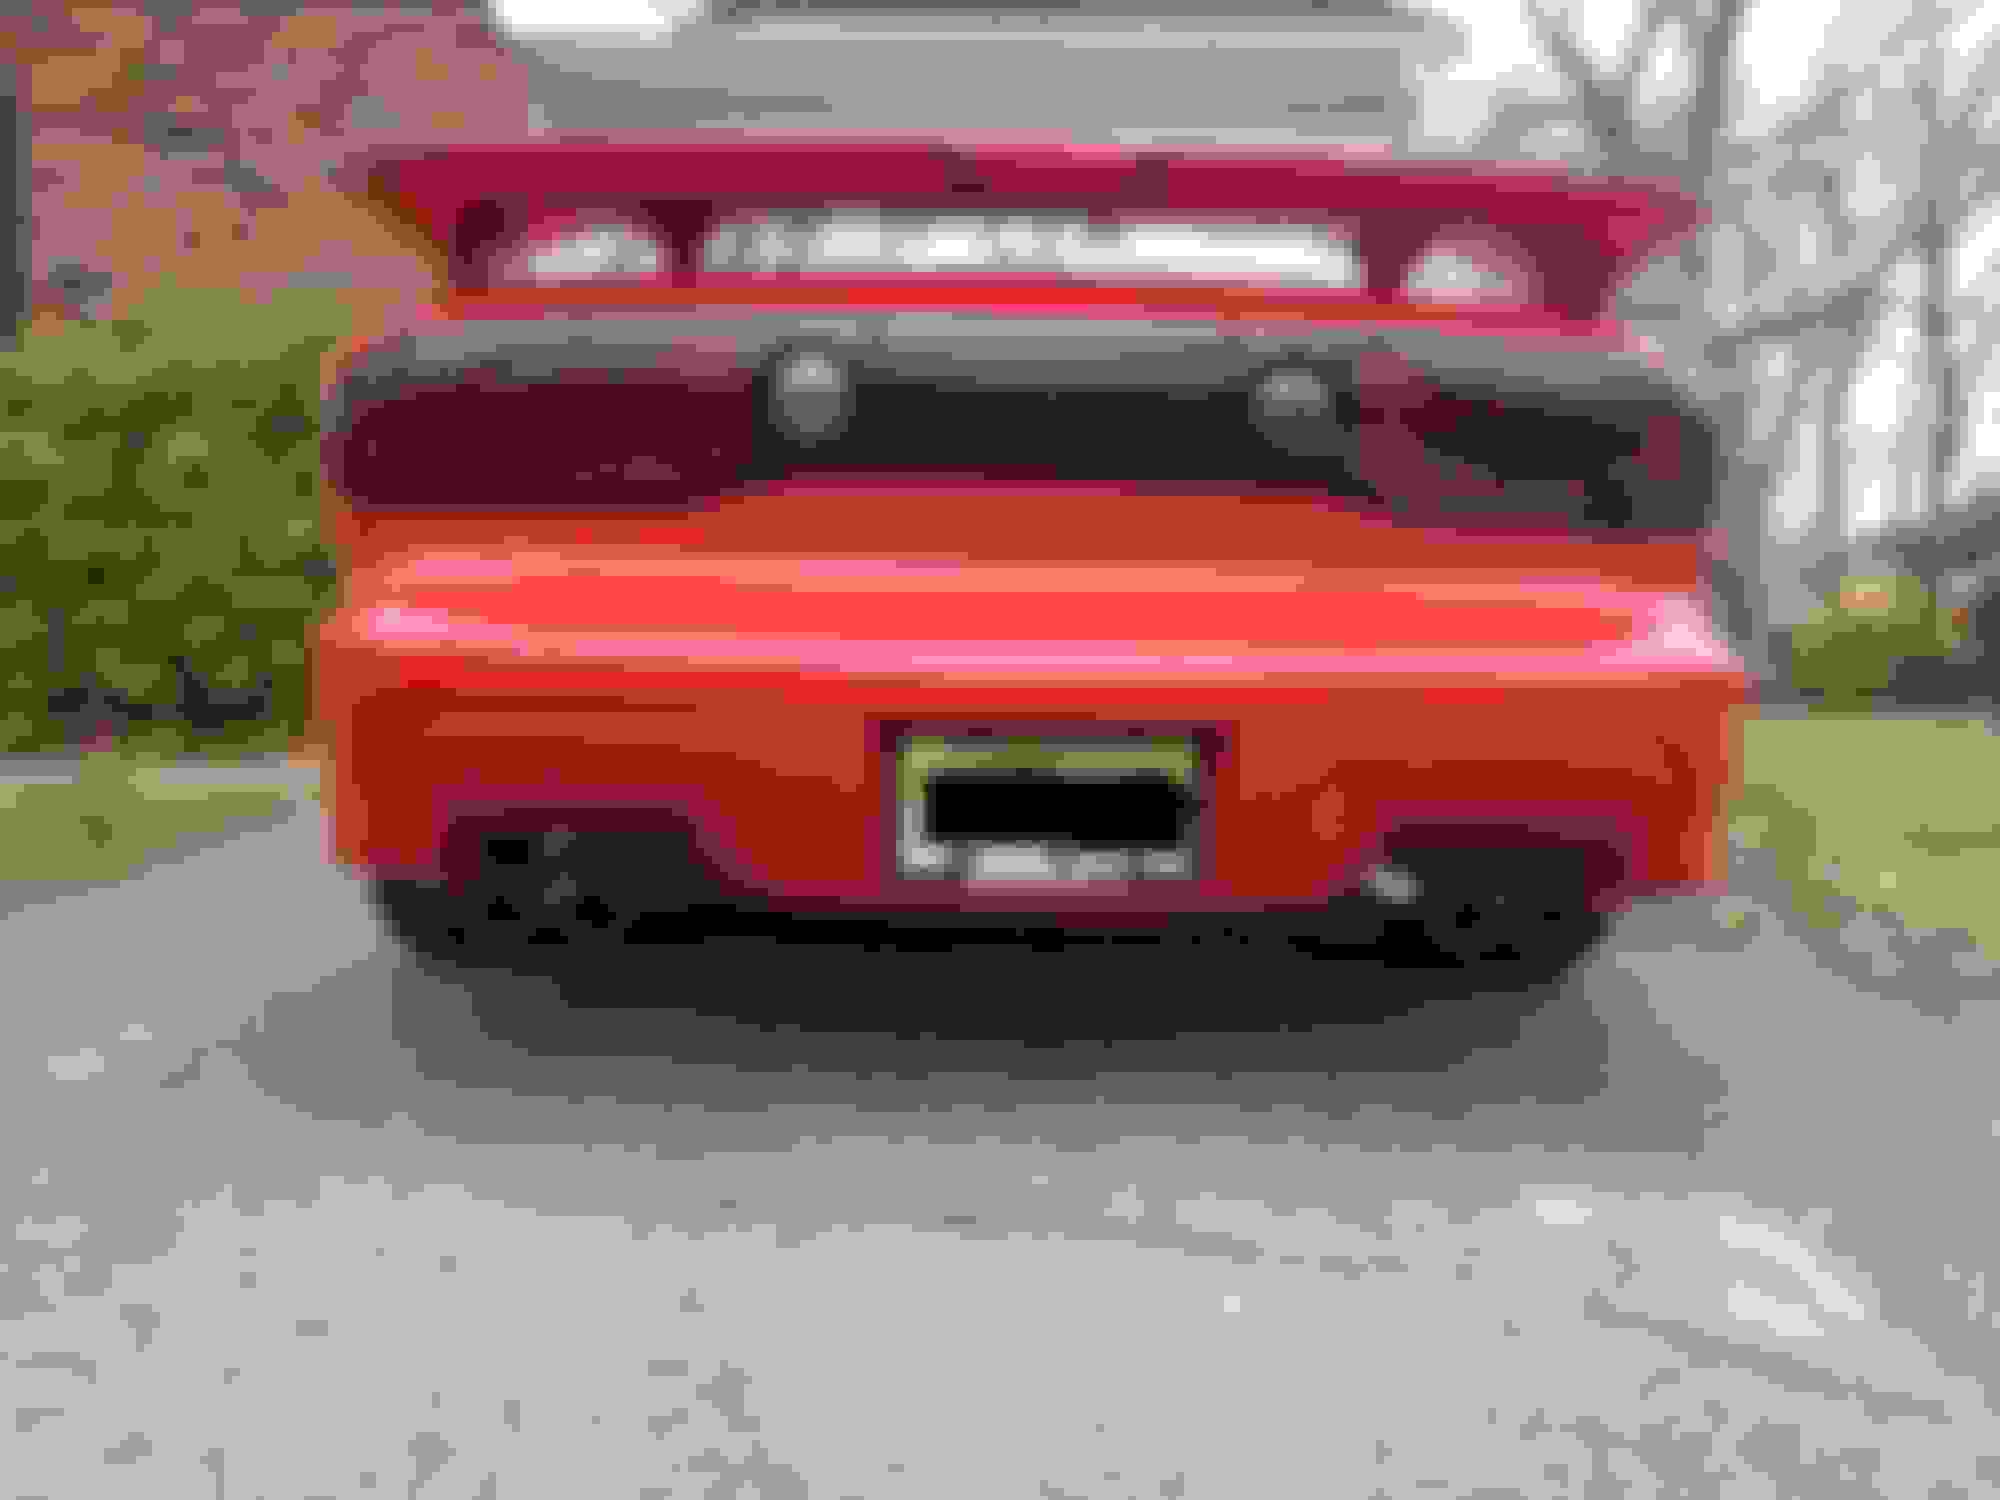
After months of debating and listening to clips on You Tube, I finally decided on an exhaust. SLP Powerflo. It sounds even better then the clips on You Tube and is exactly what I was looking for in an exhaust. It has a nice deep tone, exactly how a V8 should sound. While it might be quieter then the Loudmouth, it certainly isn't quiet.
SLP did a good job packaging together everything for shipment...
...Maybe too good. The Powerflo mufflers were wrapped in a quarter inch of bubble wrap and I had to use a knife to cut it all off.
A sawzall, cut off wheel and air chisel made short work of the stock exhaust. A coworker took the old tips for his '68 Olds Cutlass.
I had to use a cut off wheel on the I pipe clamp and an air chisel on the pipe itself. 18 years of rust were no match for pneumatic tools.
Intermediate pipe and Loudmouth II resonator.
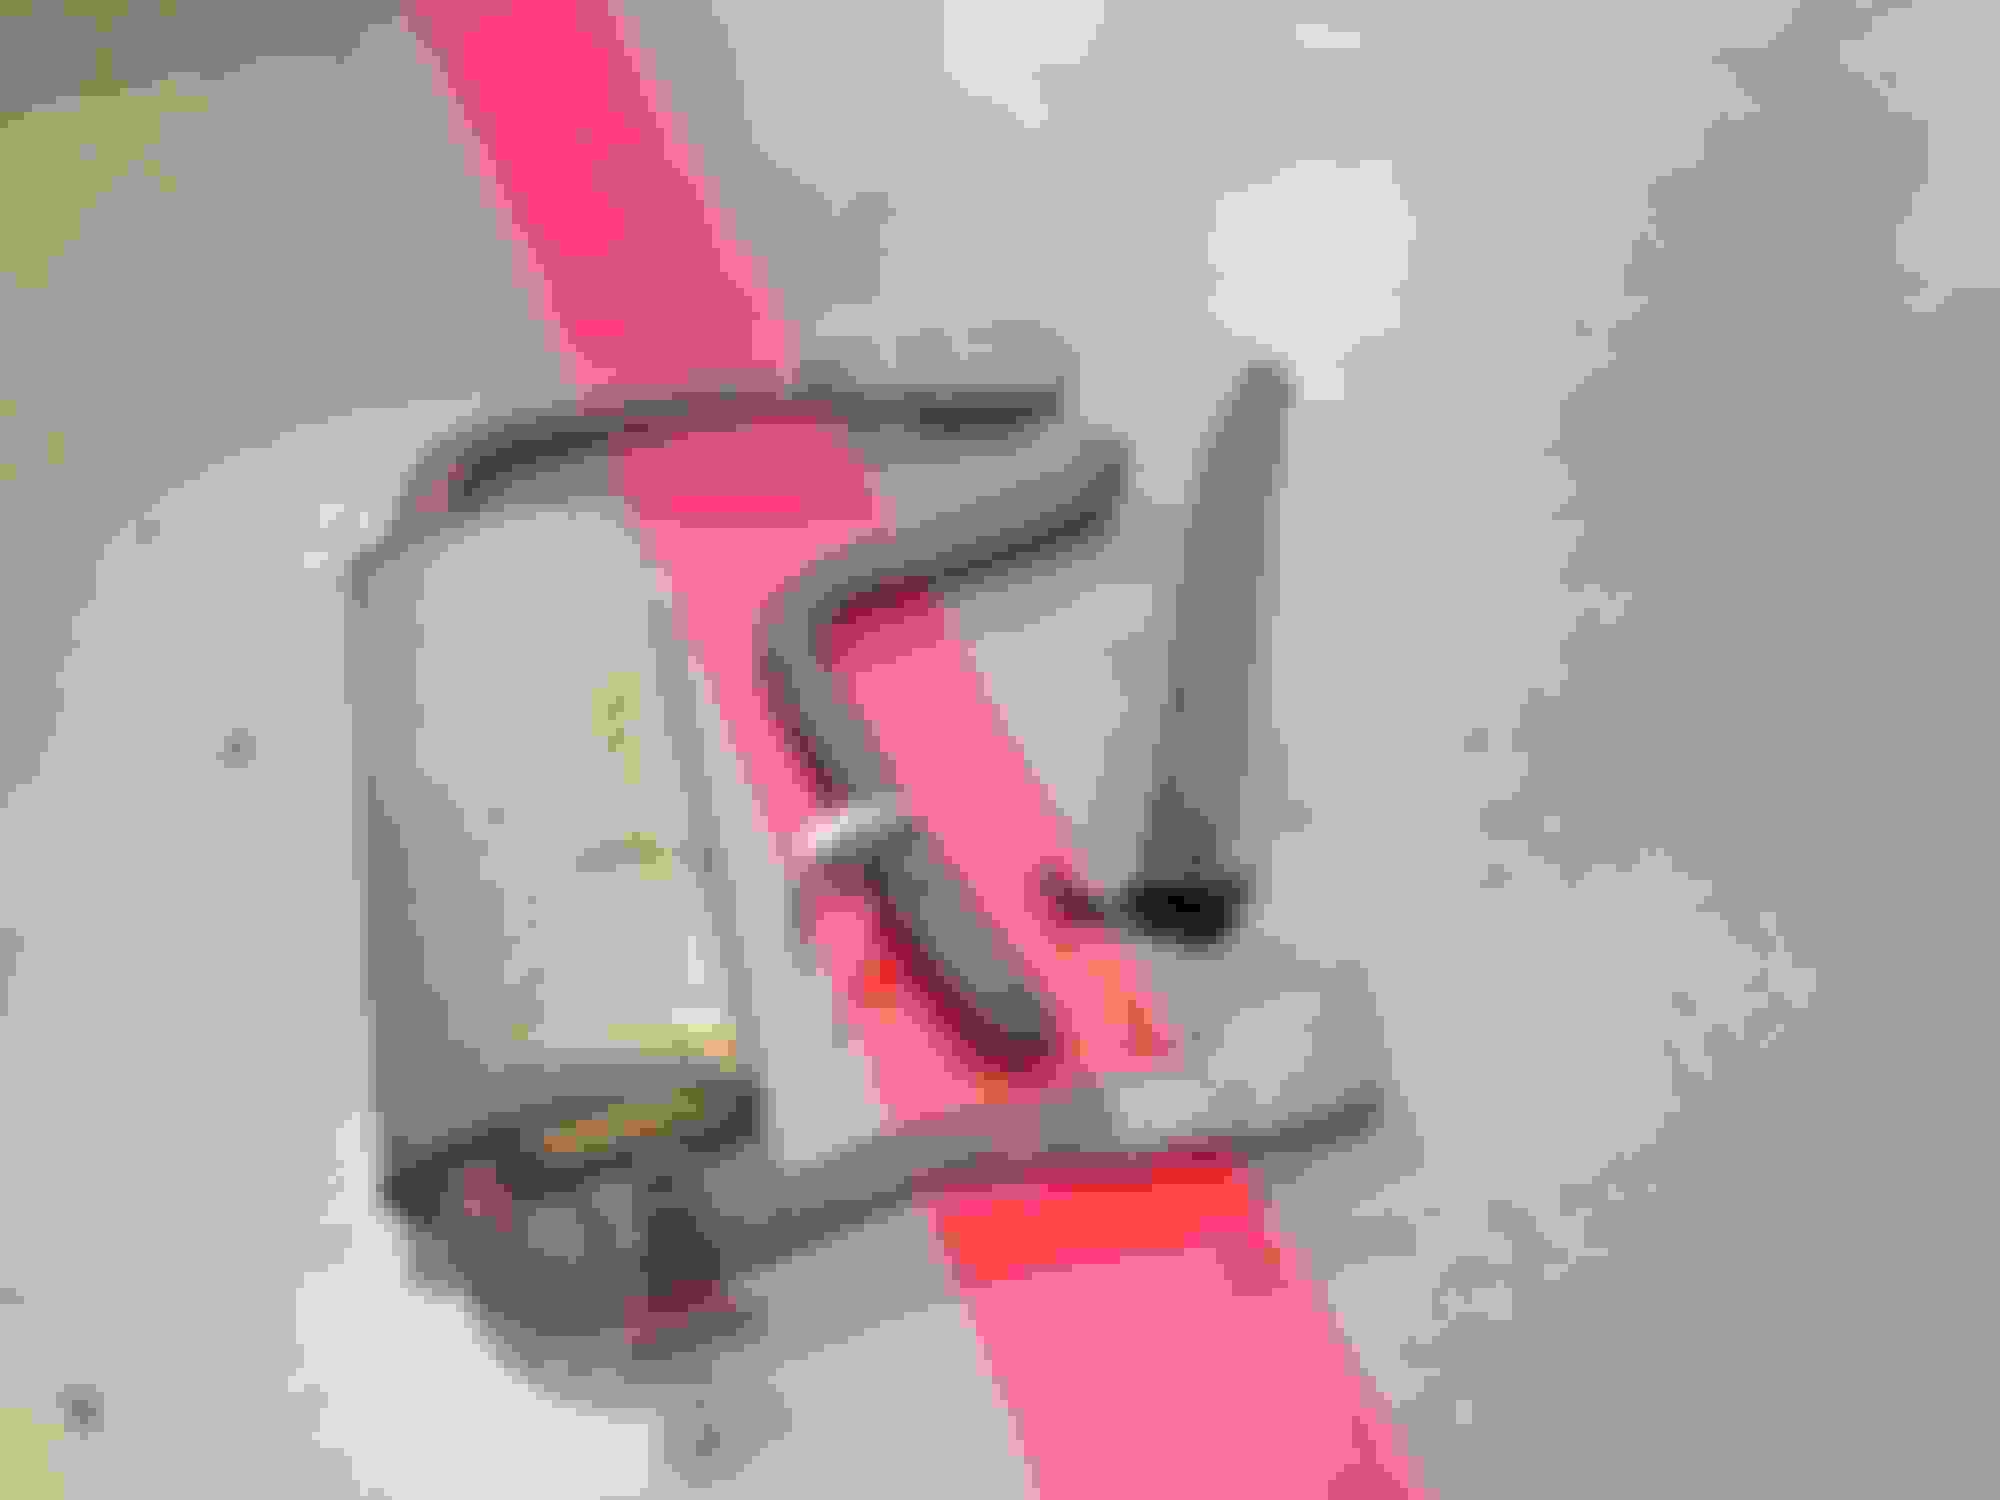
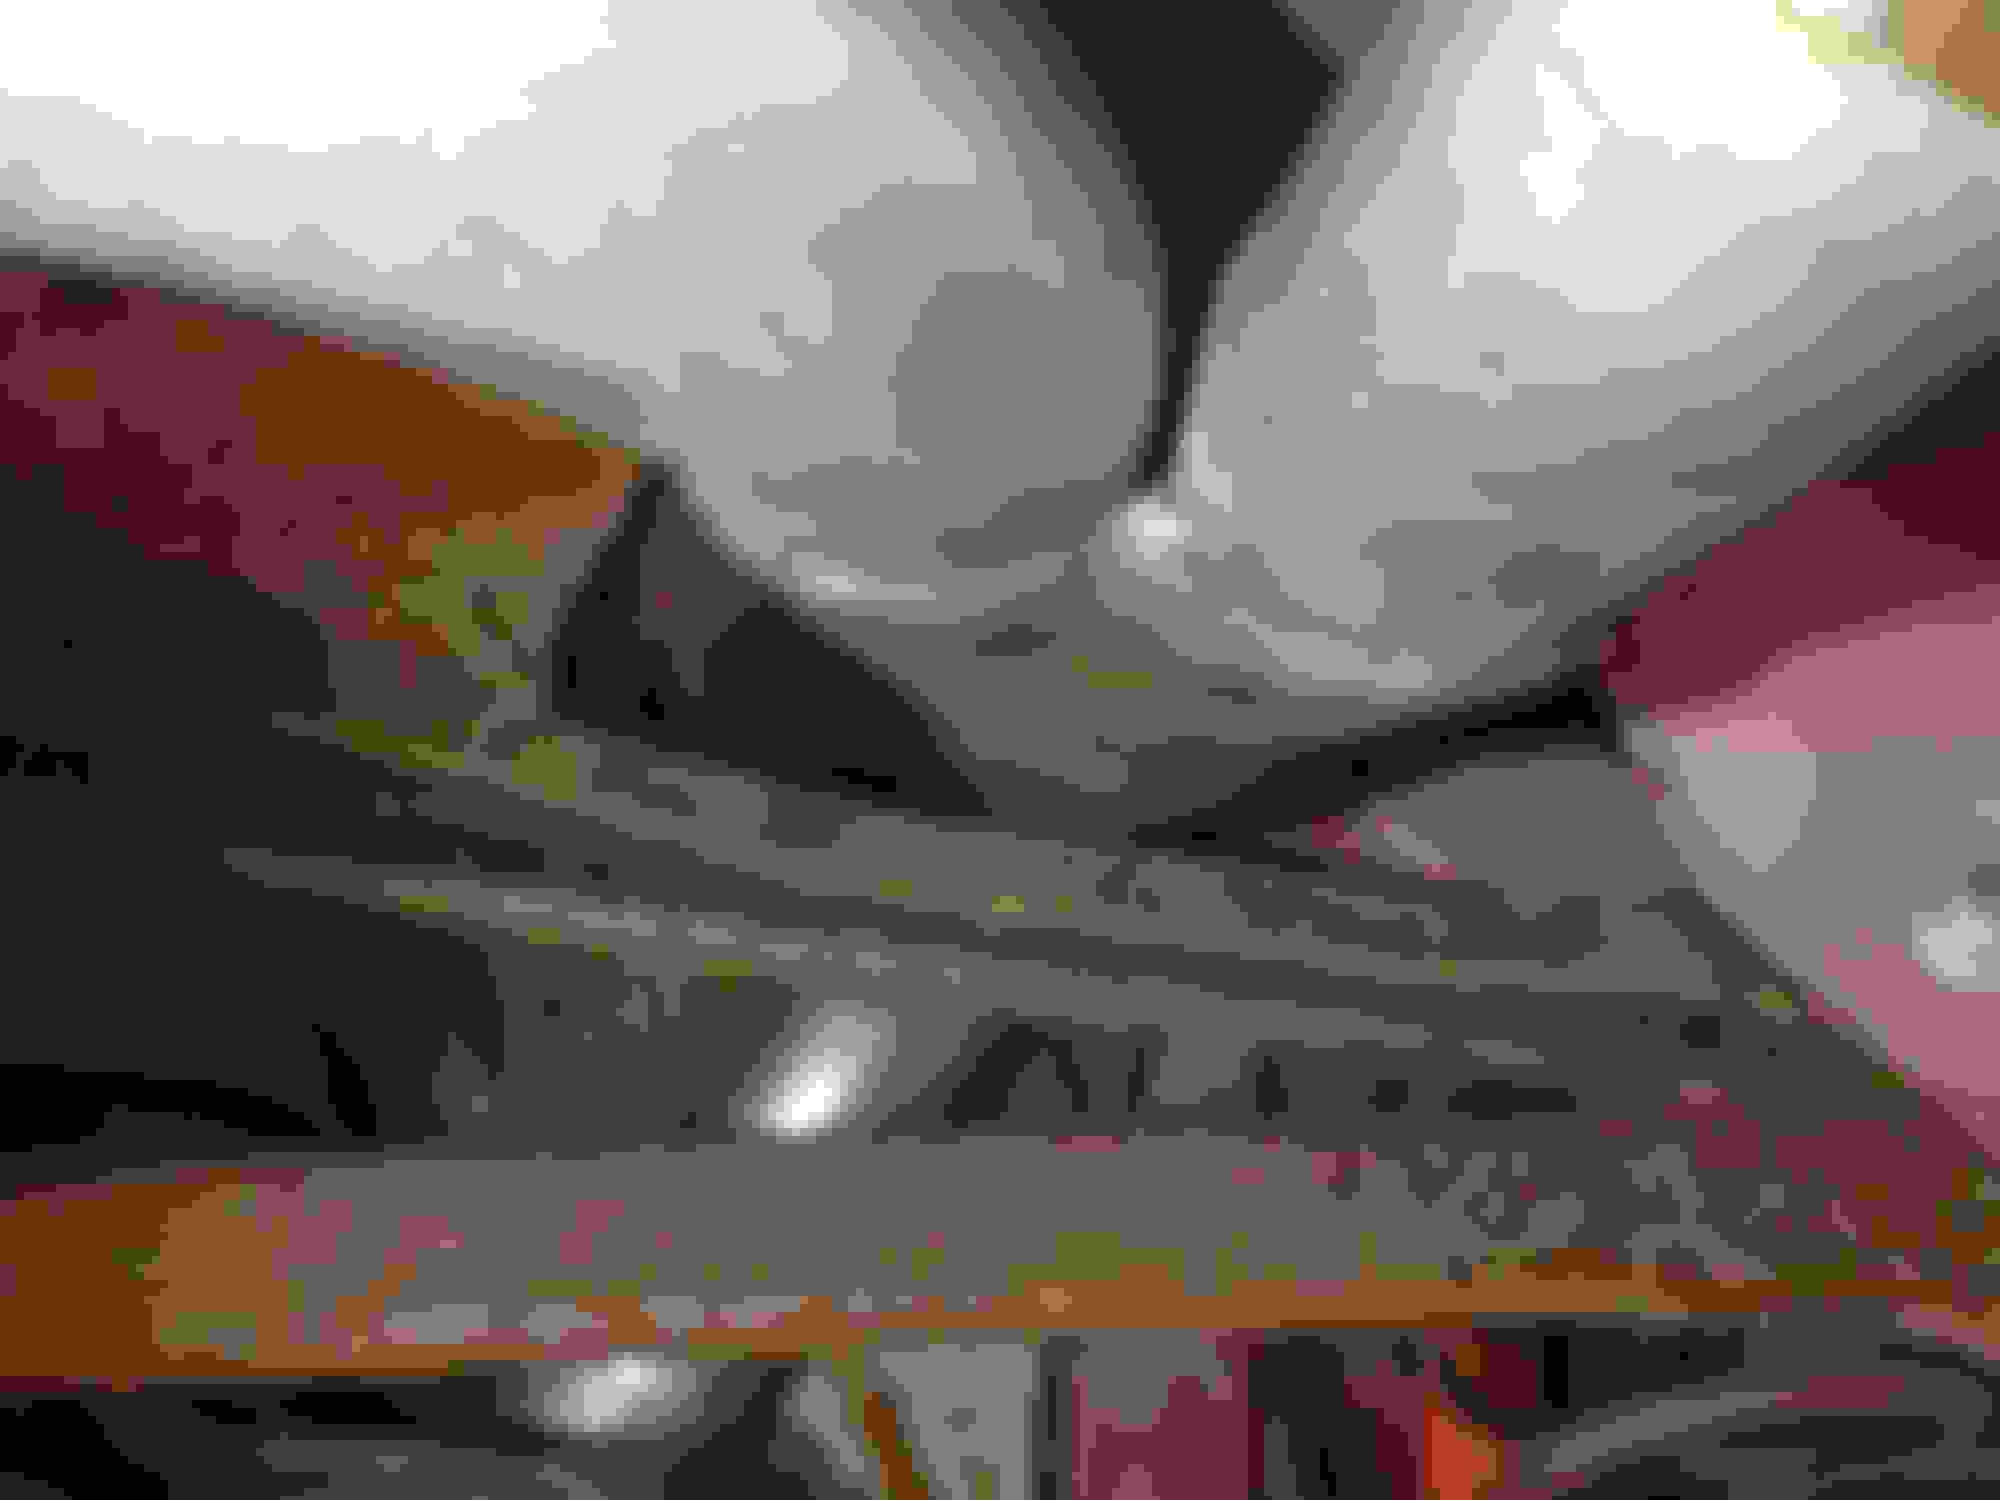
This clamp doesn't hold very well. I'm going to need to find a wider band clamp to replace it with.
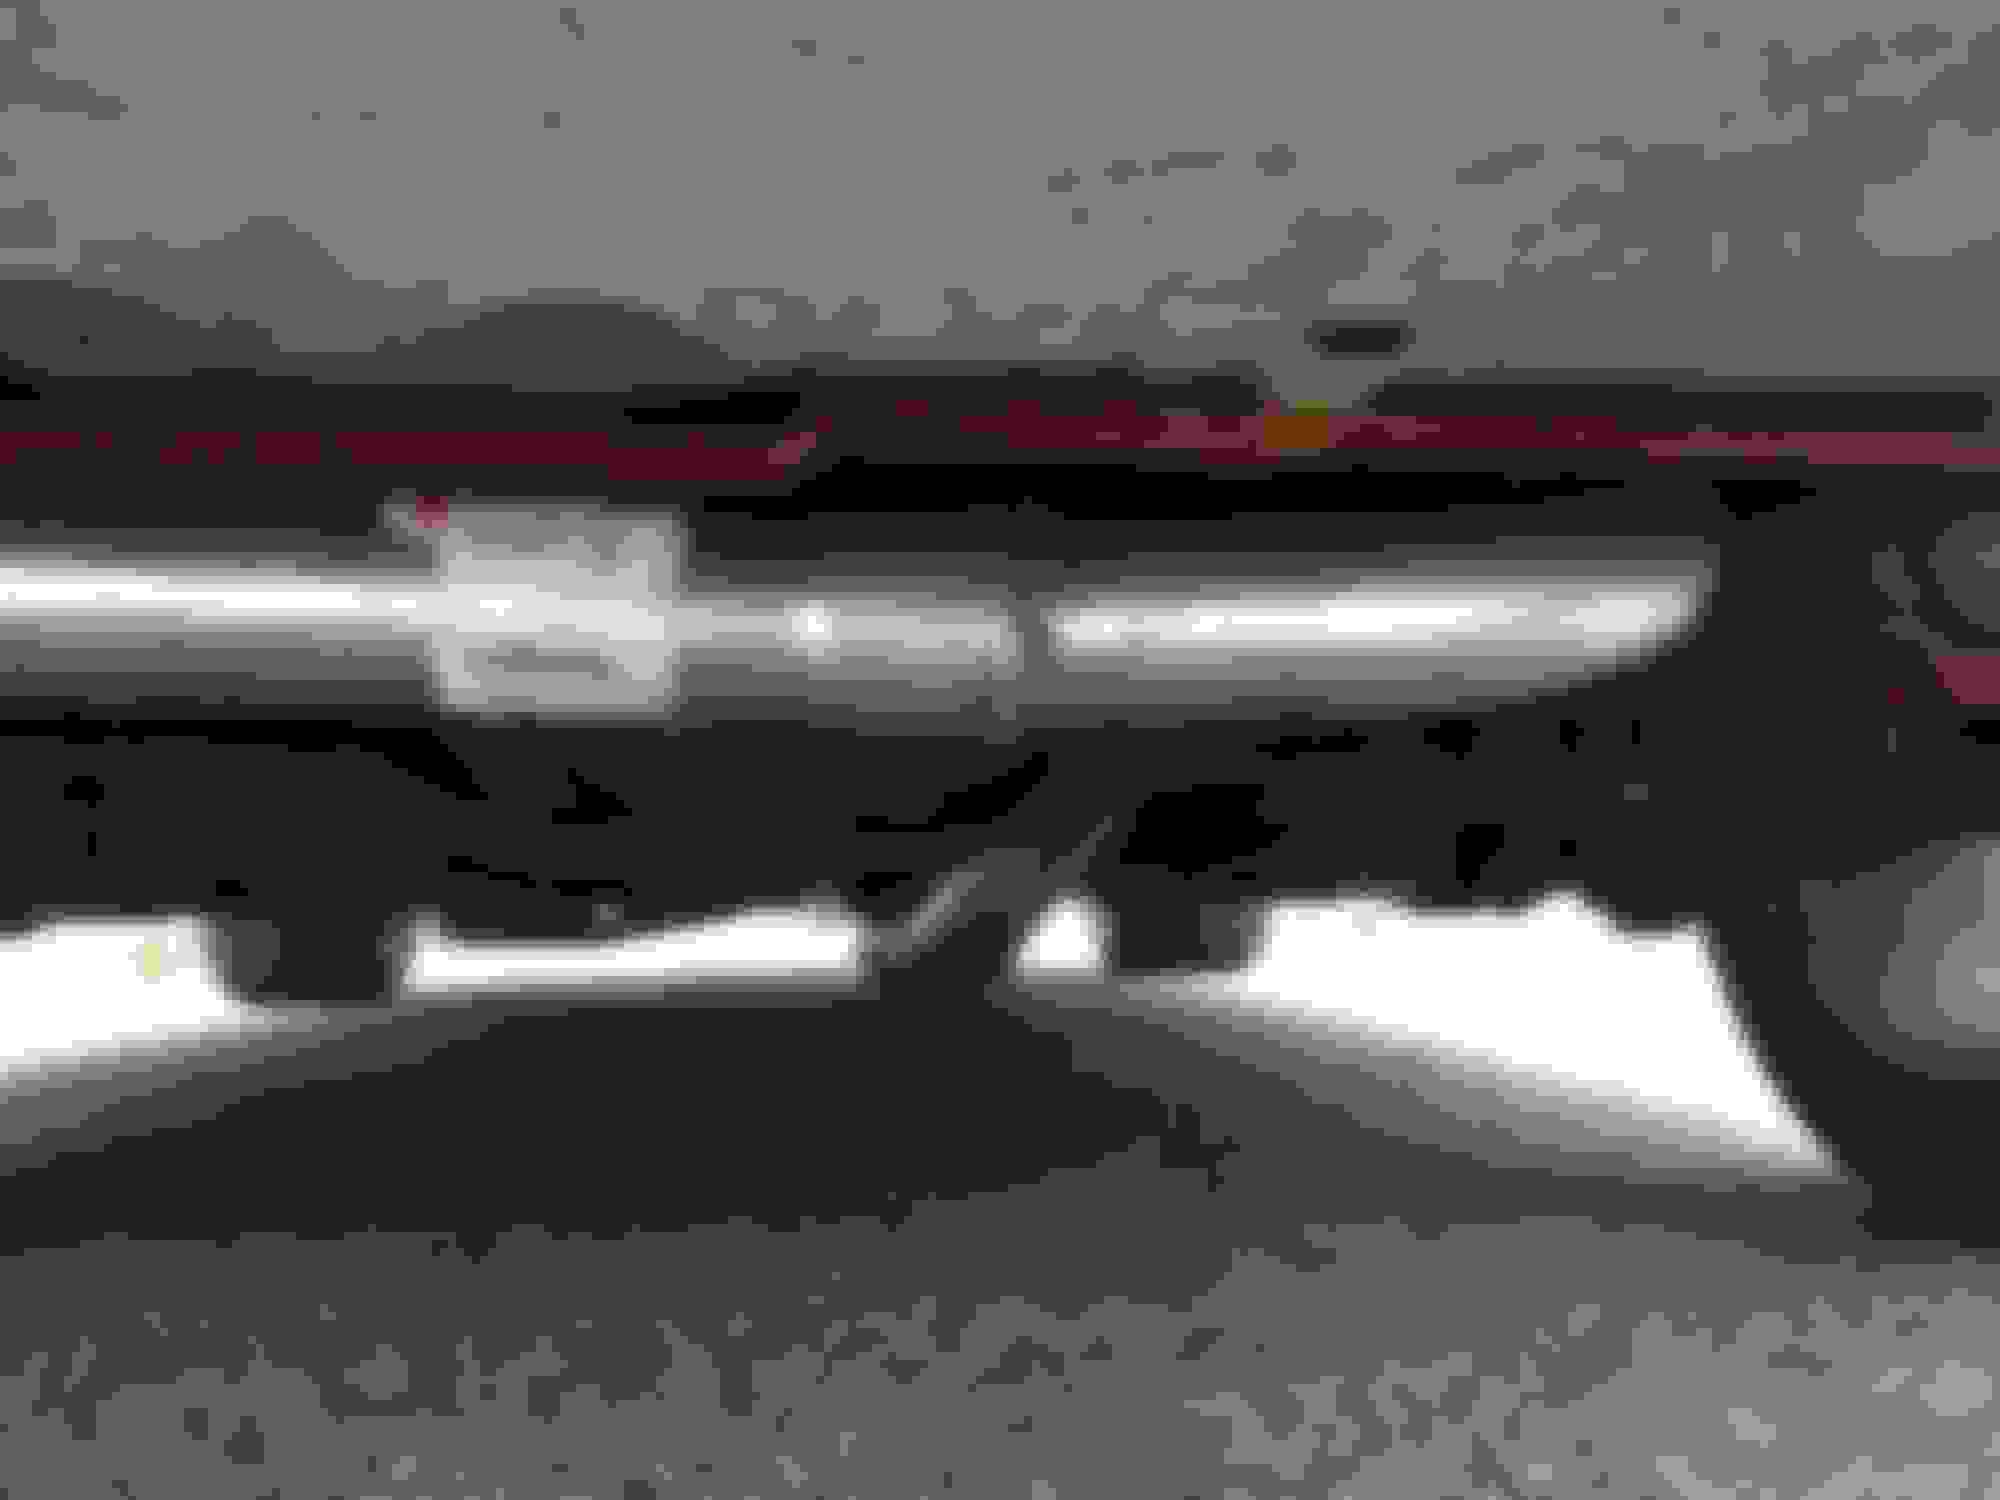
The original hangers had to be reused on both sides.
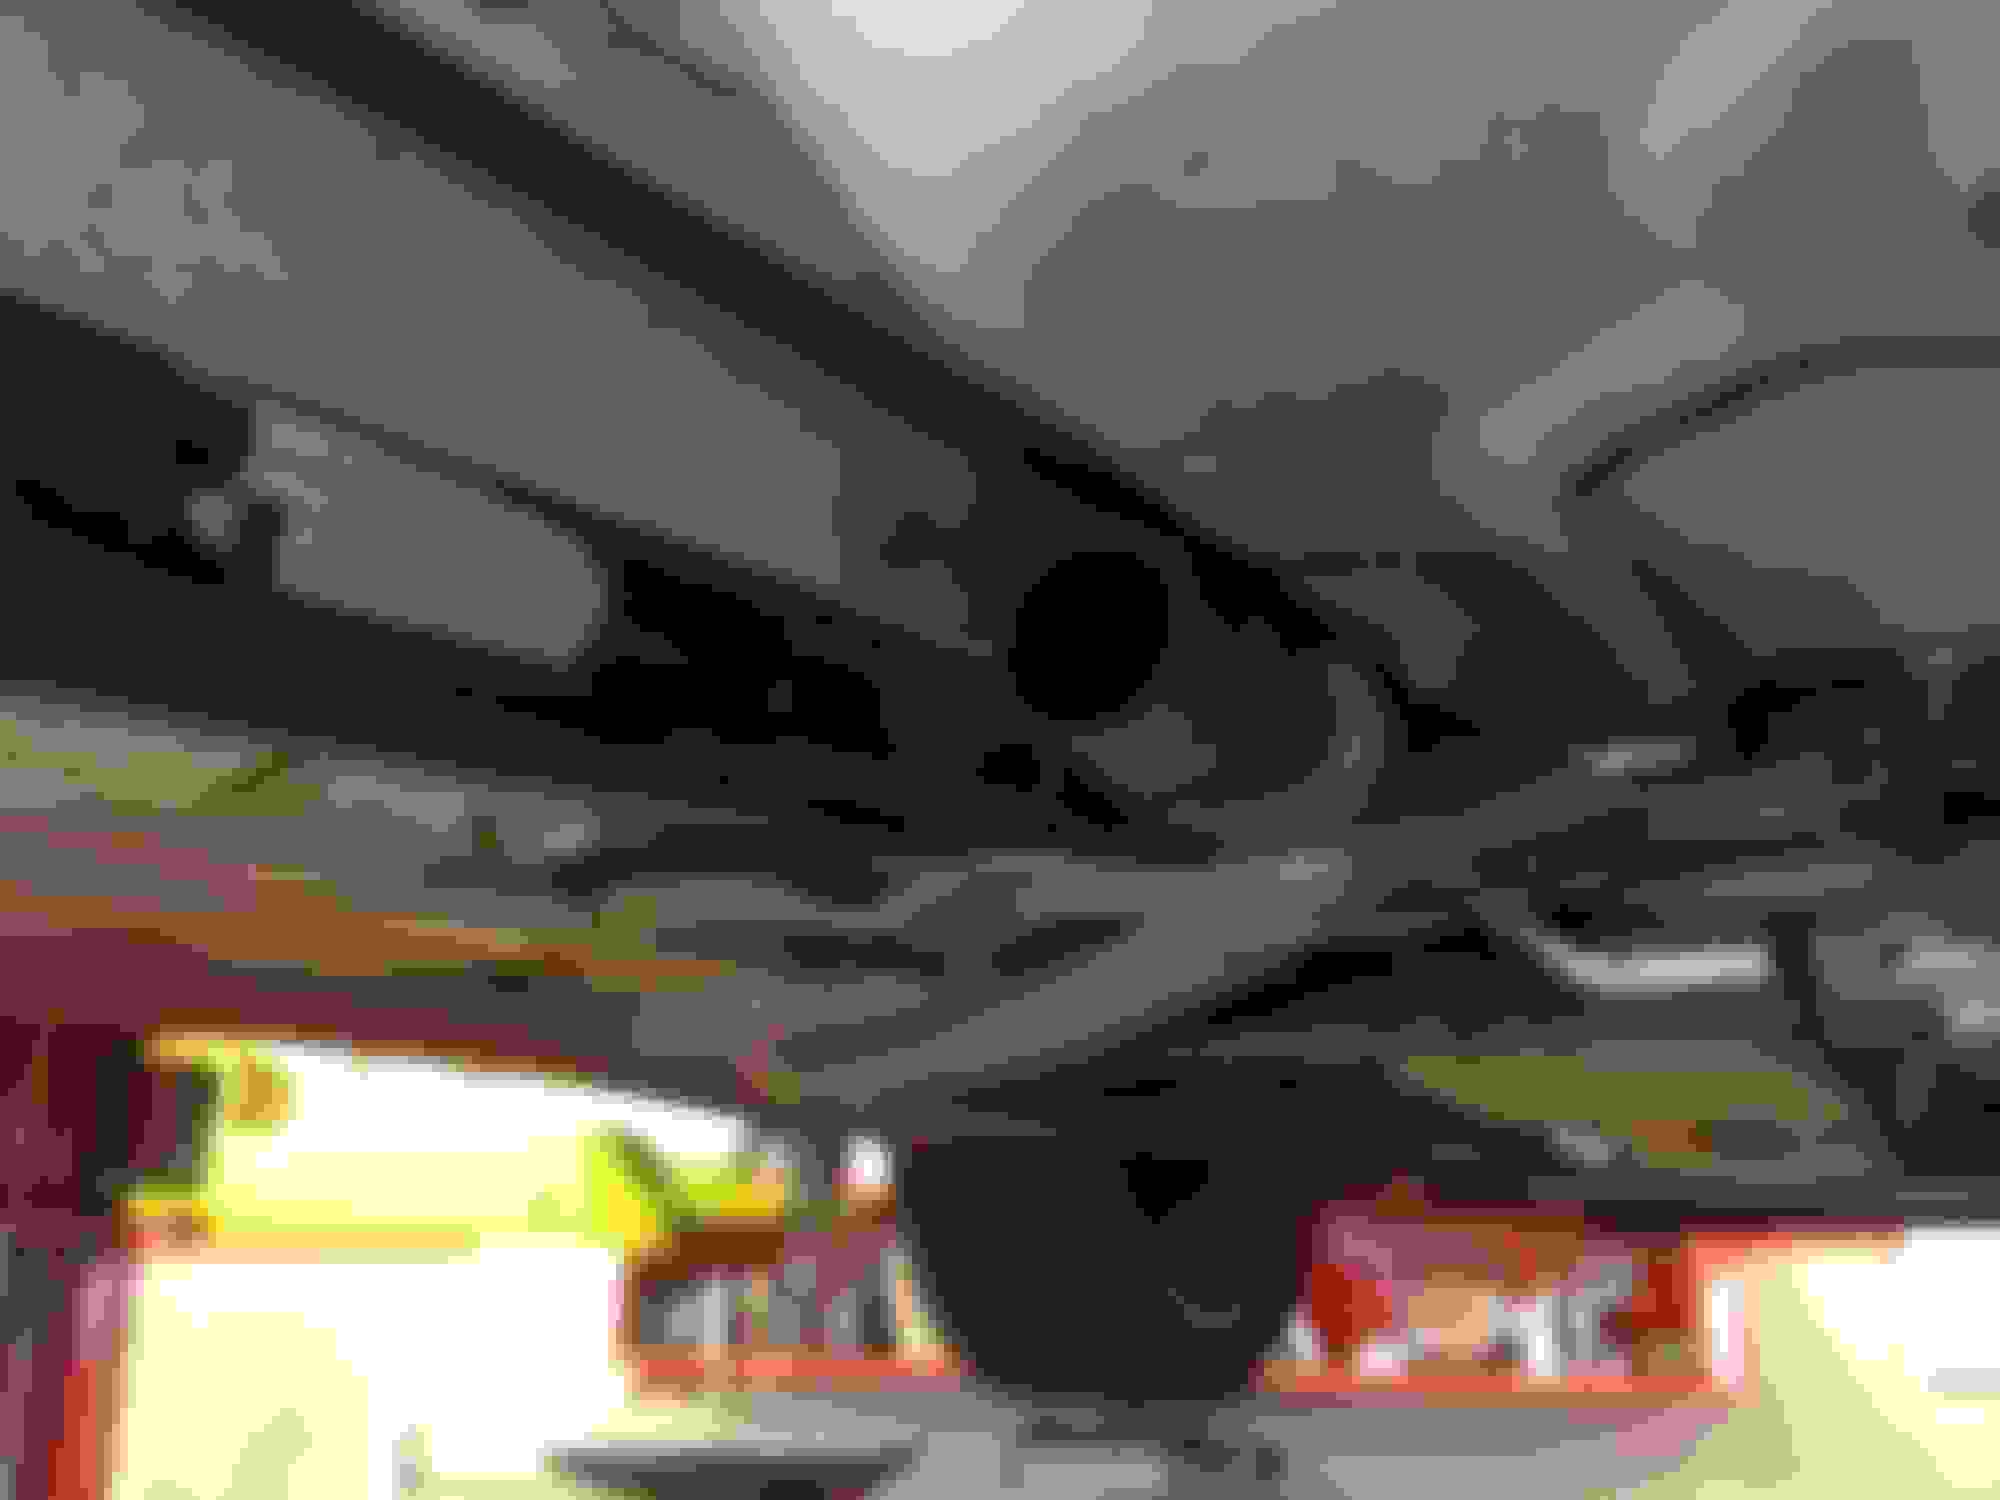
The drivers side sticks out further then the passenger side. I messed with it a bit more after taking this picture and got it as close to the other side as the clamps and hangers allow.
This bracket comes with the exhaust and has to be added to the drivers side behind the original. A threaded plate inside the frame rail secures the hanger on the outside.
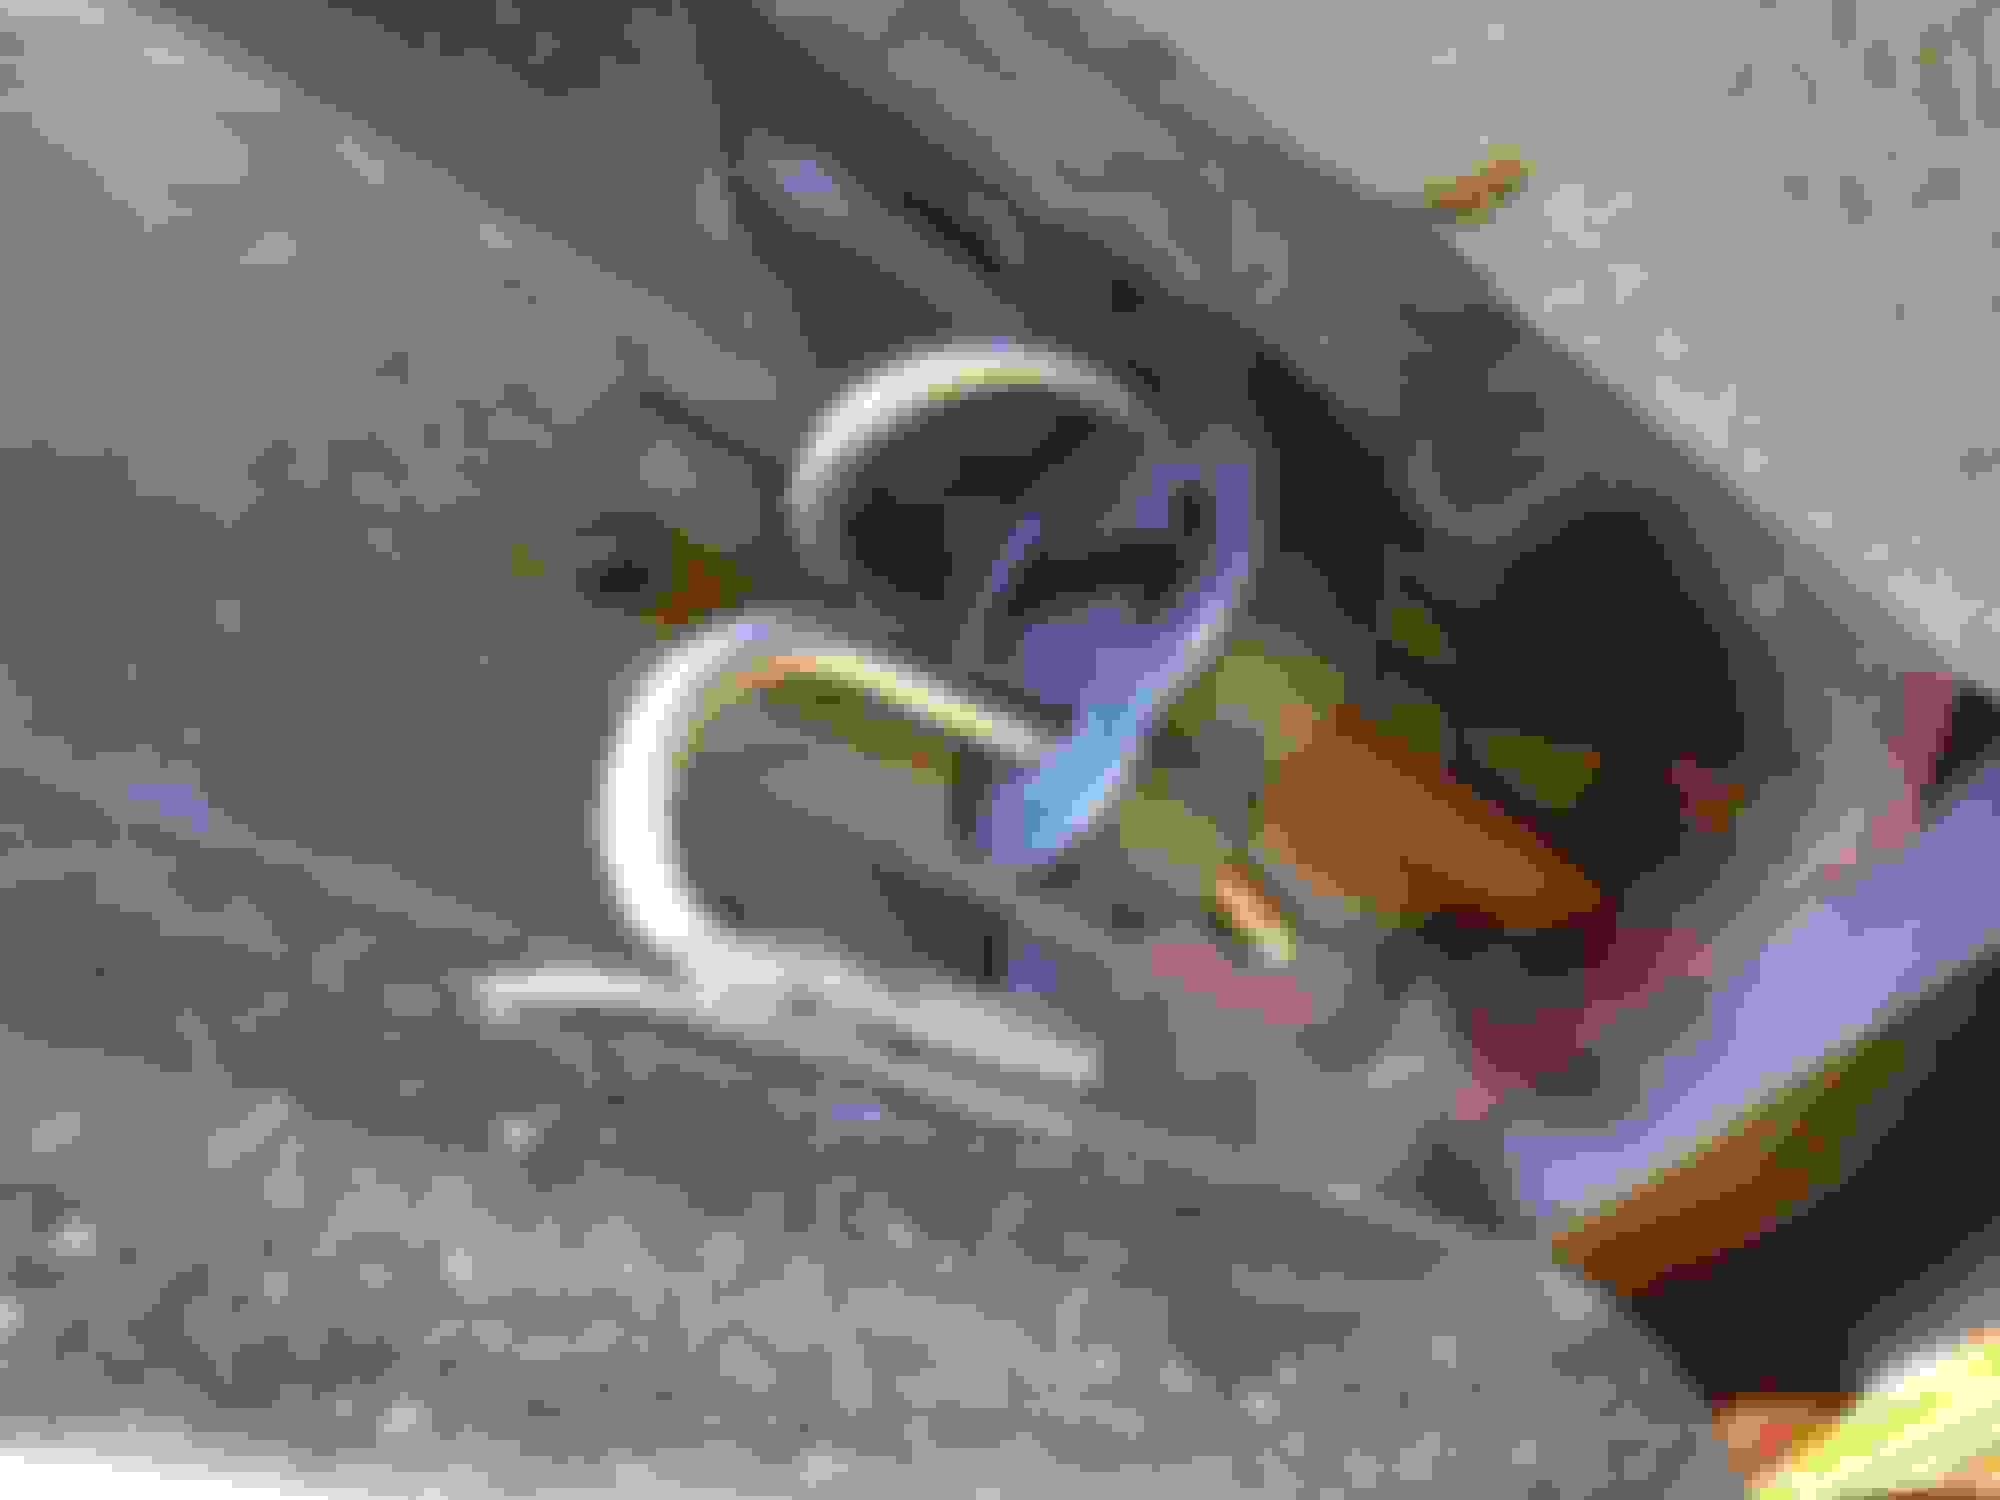
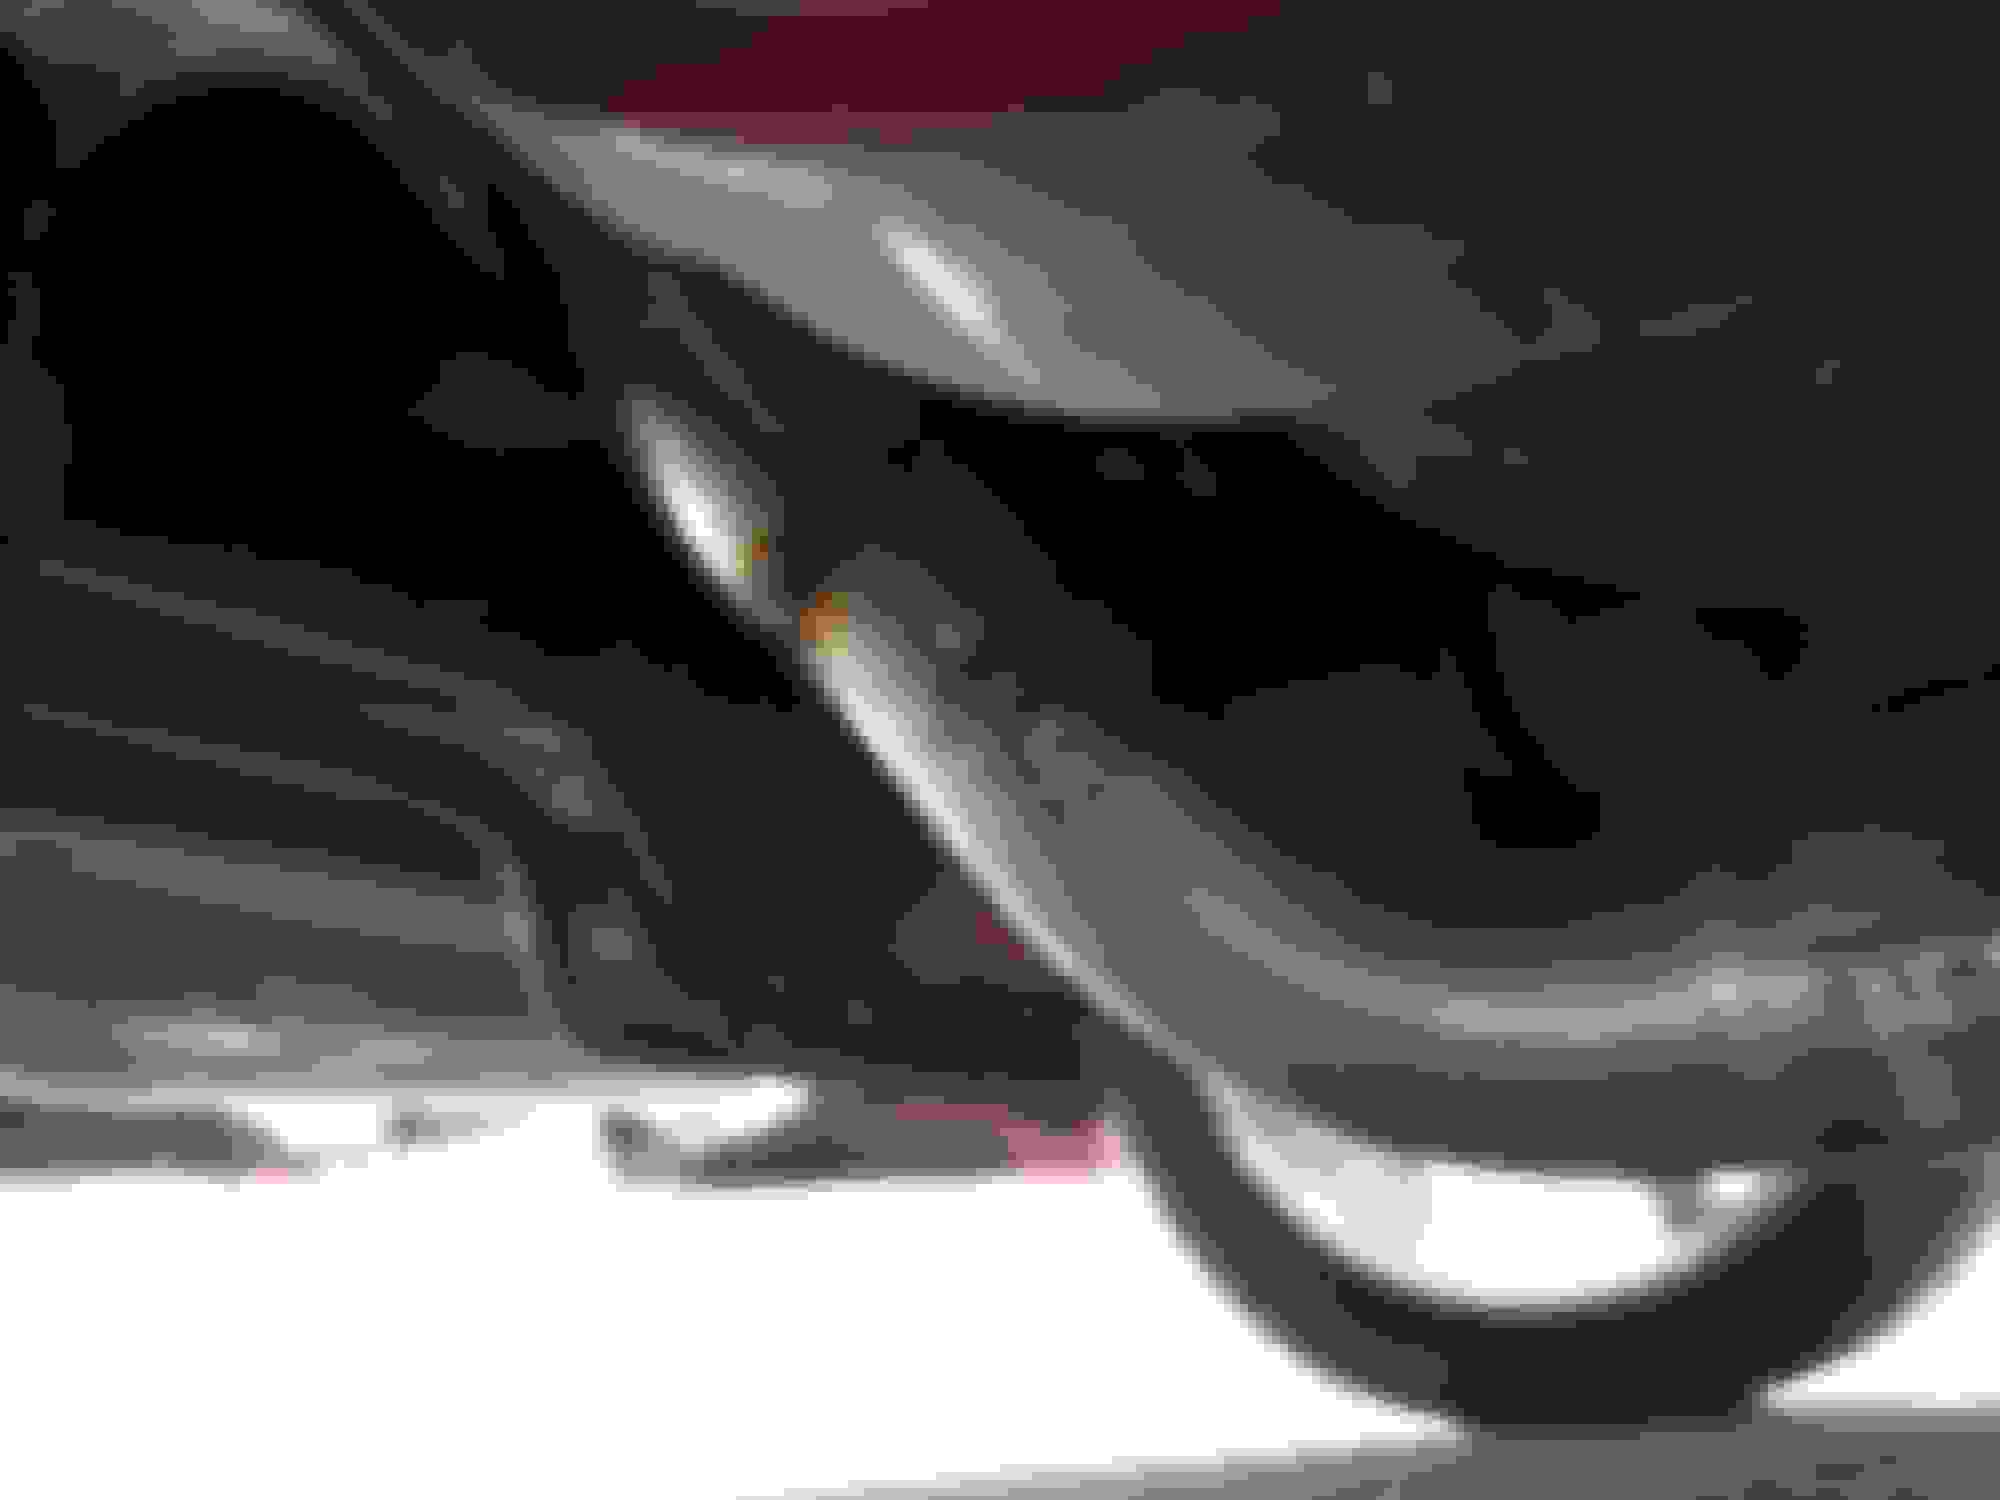
This piece is hitting the panhard bar, causing a vibration in the rear. The exhaust came with band clamps except for a u bolt and circle clamp for the pipes going over and behind the axle to the drivers side. I'm going to replace them with band clamps, which will hopefully secure the pipes better and give more clearance over the panhard bar.
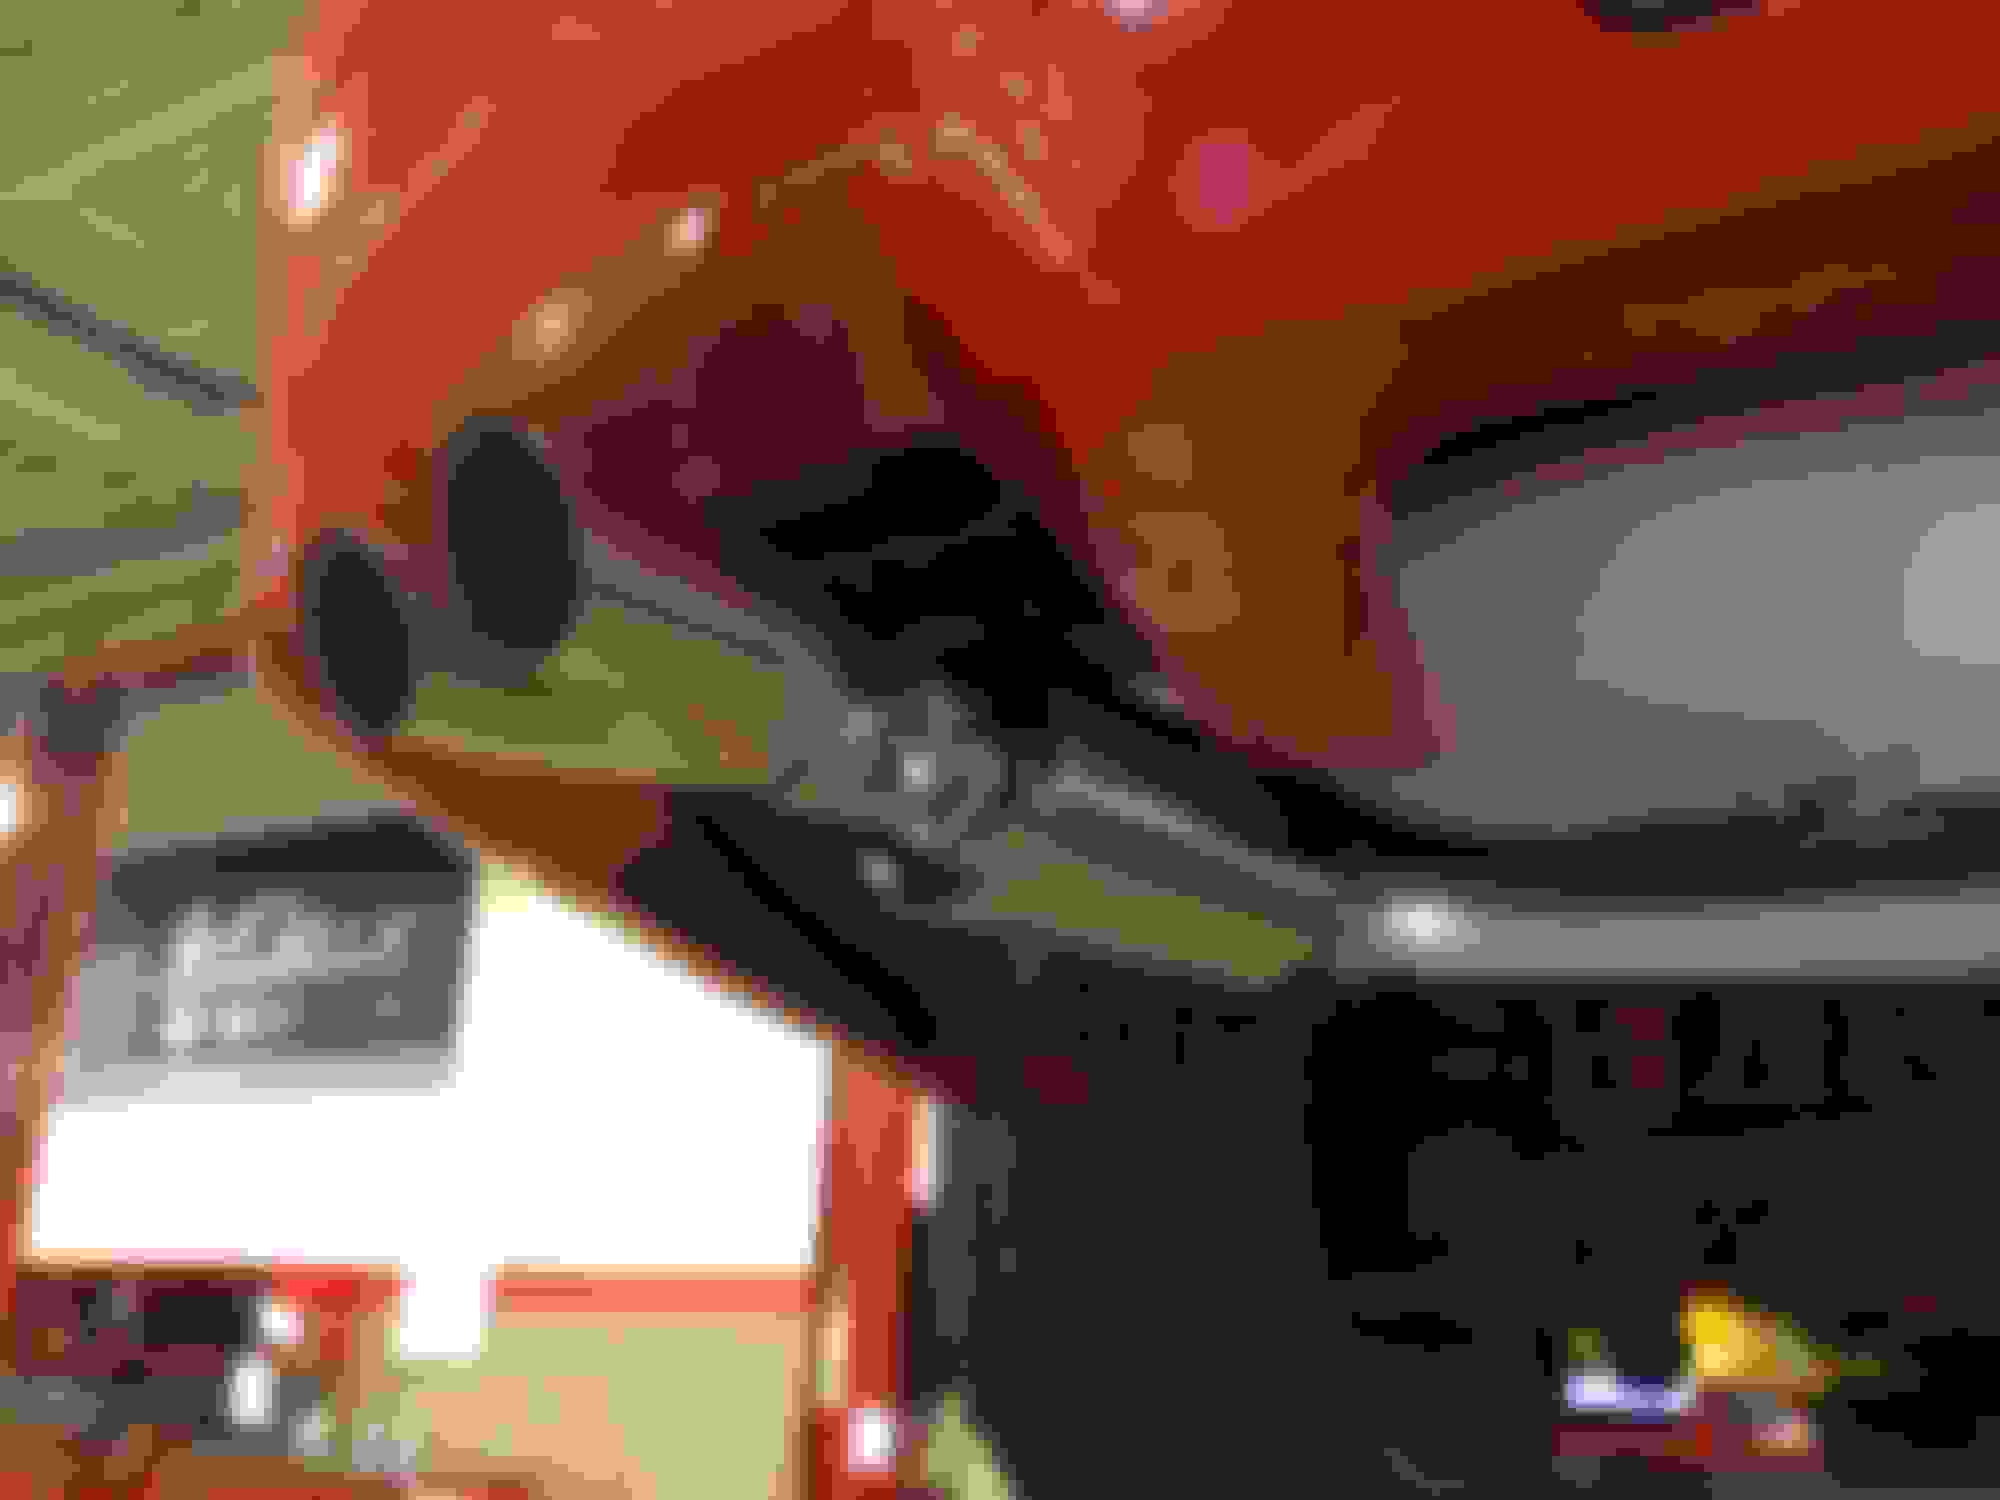
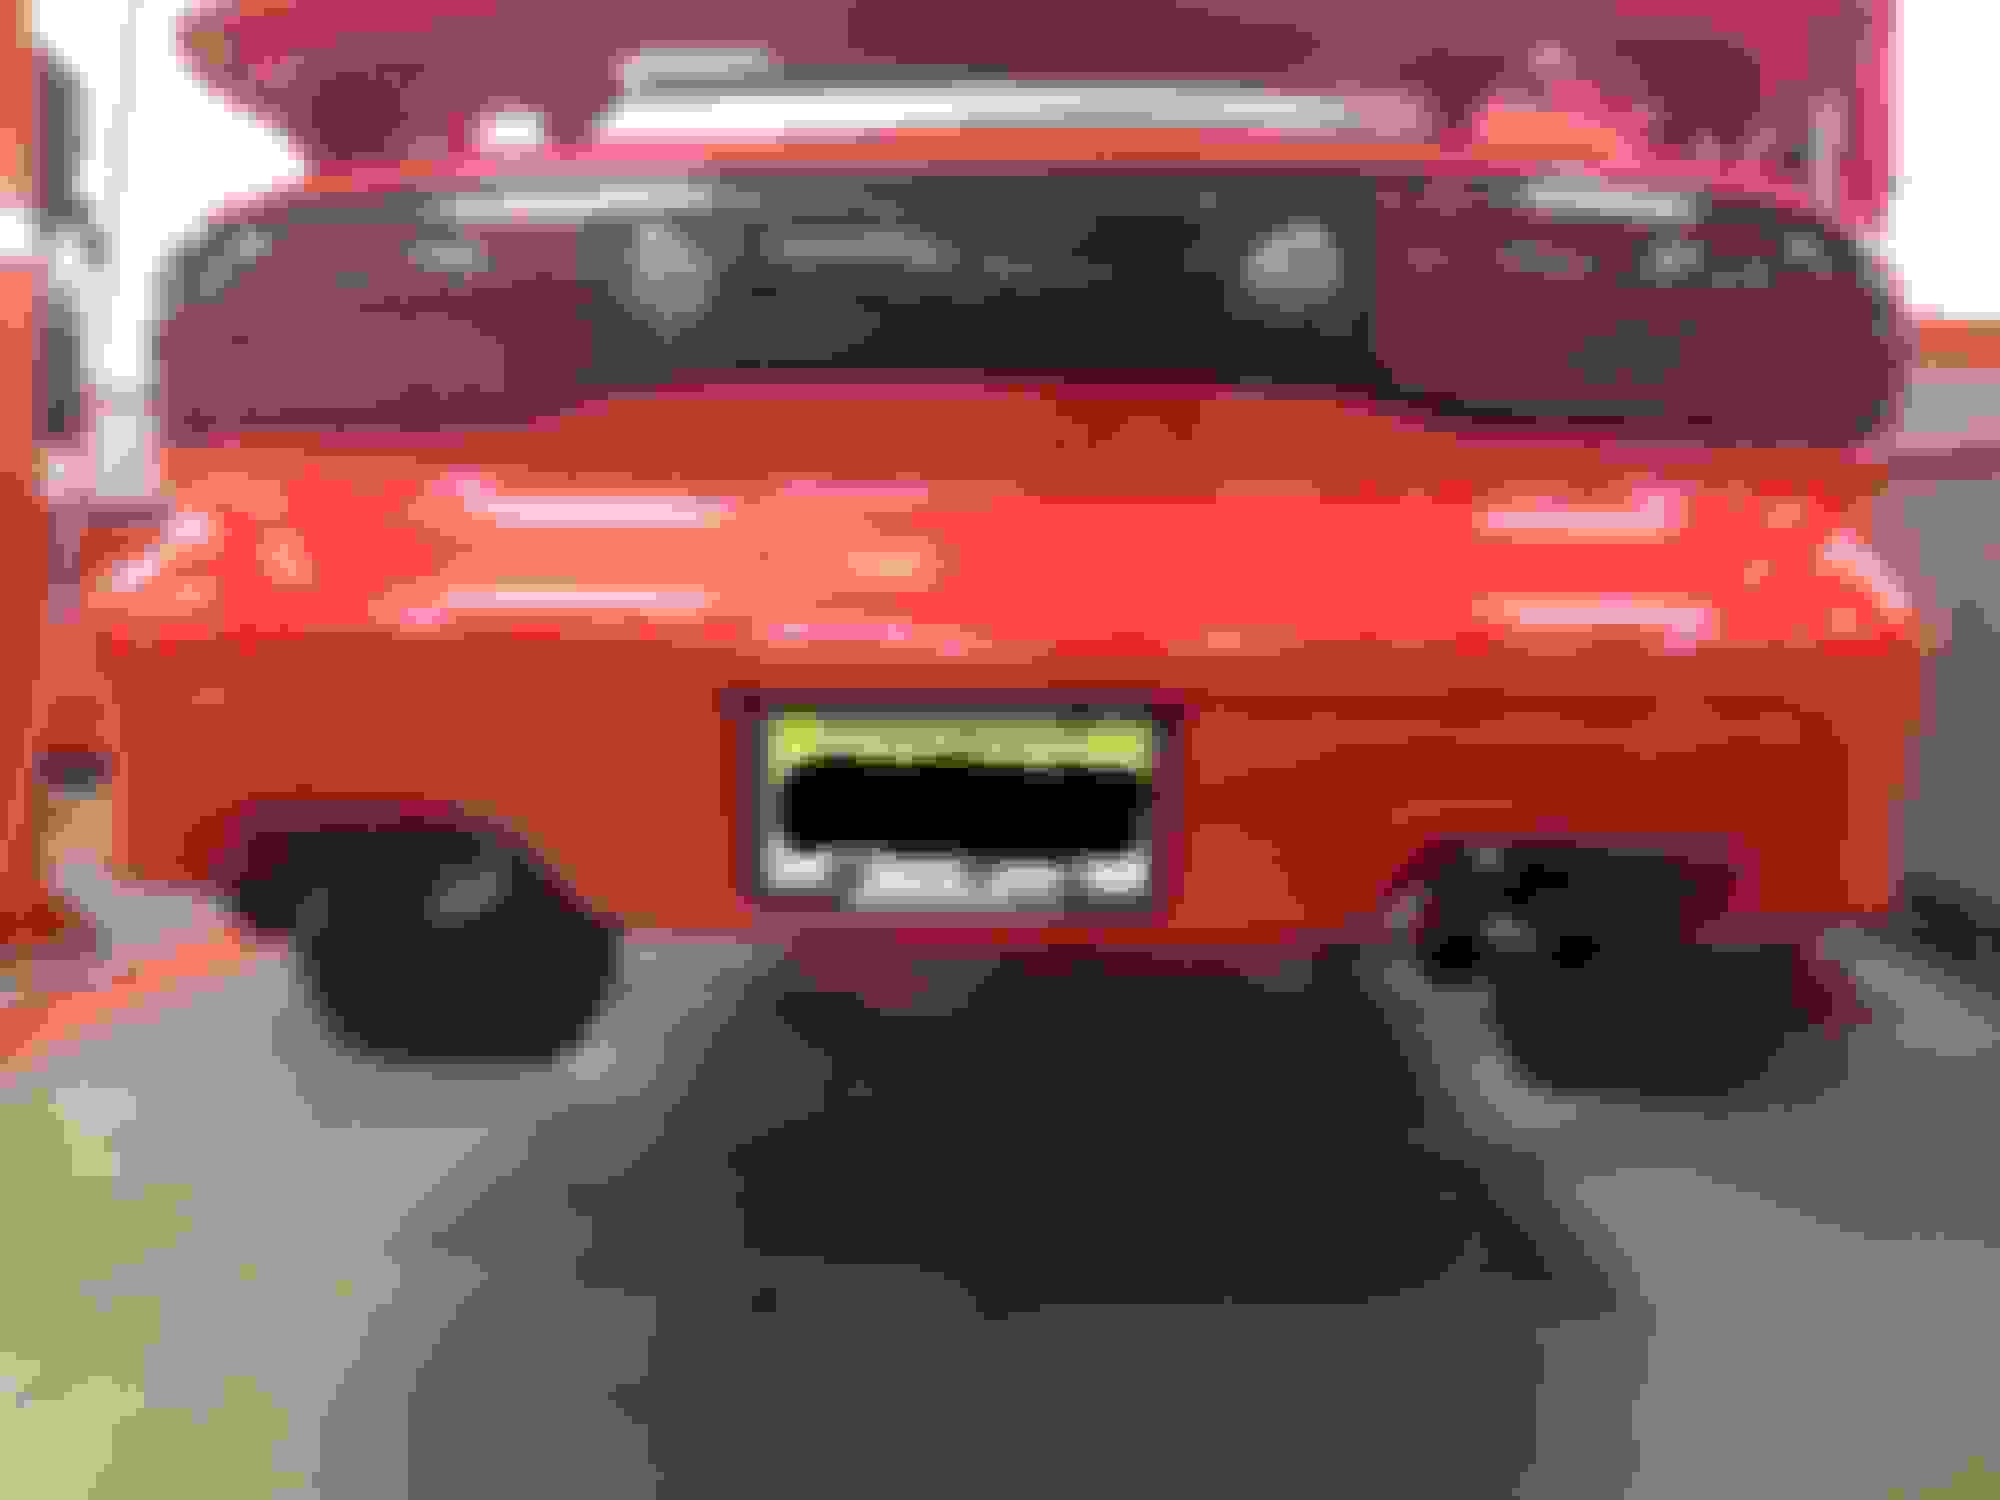
The tips aren't perfectly even, but are close enough for the time being. With the car on the ground it's barely noticeable as the bumper hides most of the tips. Sorry for the blurry picture as it was late and I was in a hurry. I'll take a better picture later.
I was having problems with the exhaust lining up because several of the clamp that came with the kit were not holding very well. Rather then buy different clamps and hope they worked better, I took the car to an exhaust shop and had the problem areas welded. Now everything is lined up straight and no longer hitting the panhard bar.
 07-11-2015, 08:24 PM