**** 4th gen Trans Am Ultimate Restoration ****
#64
TECH Addict
iTrader: (1)
Originally Posted by 96famaro
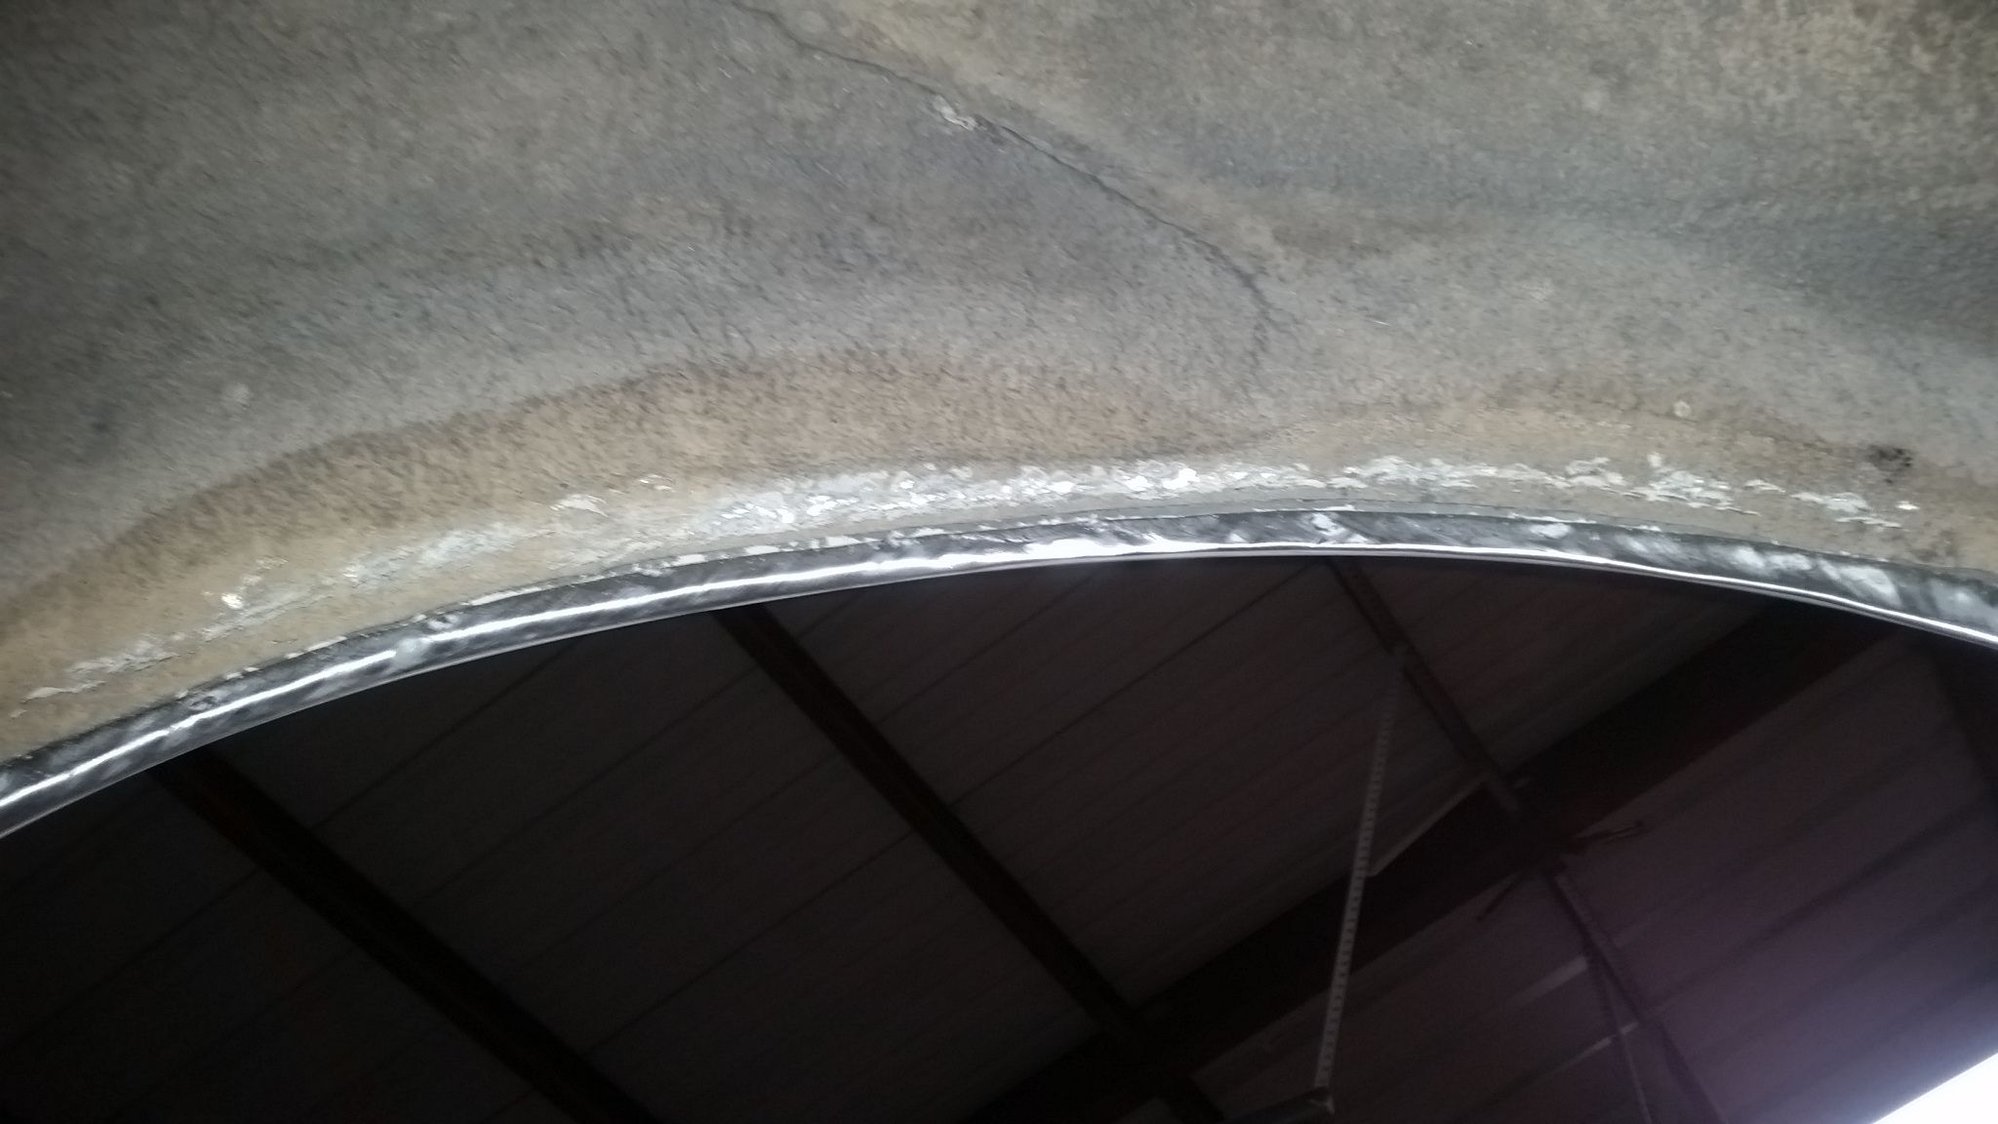
Used the air hammer to roll the inner quarters.
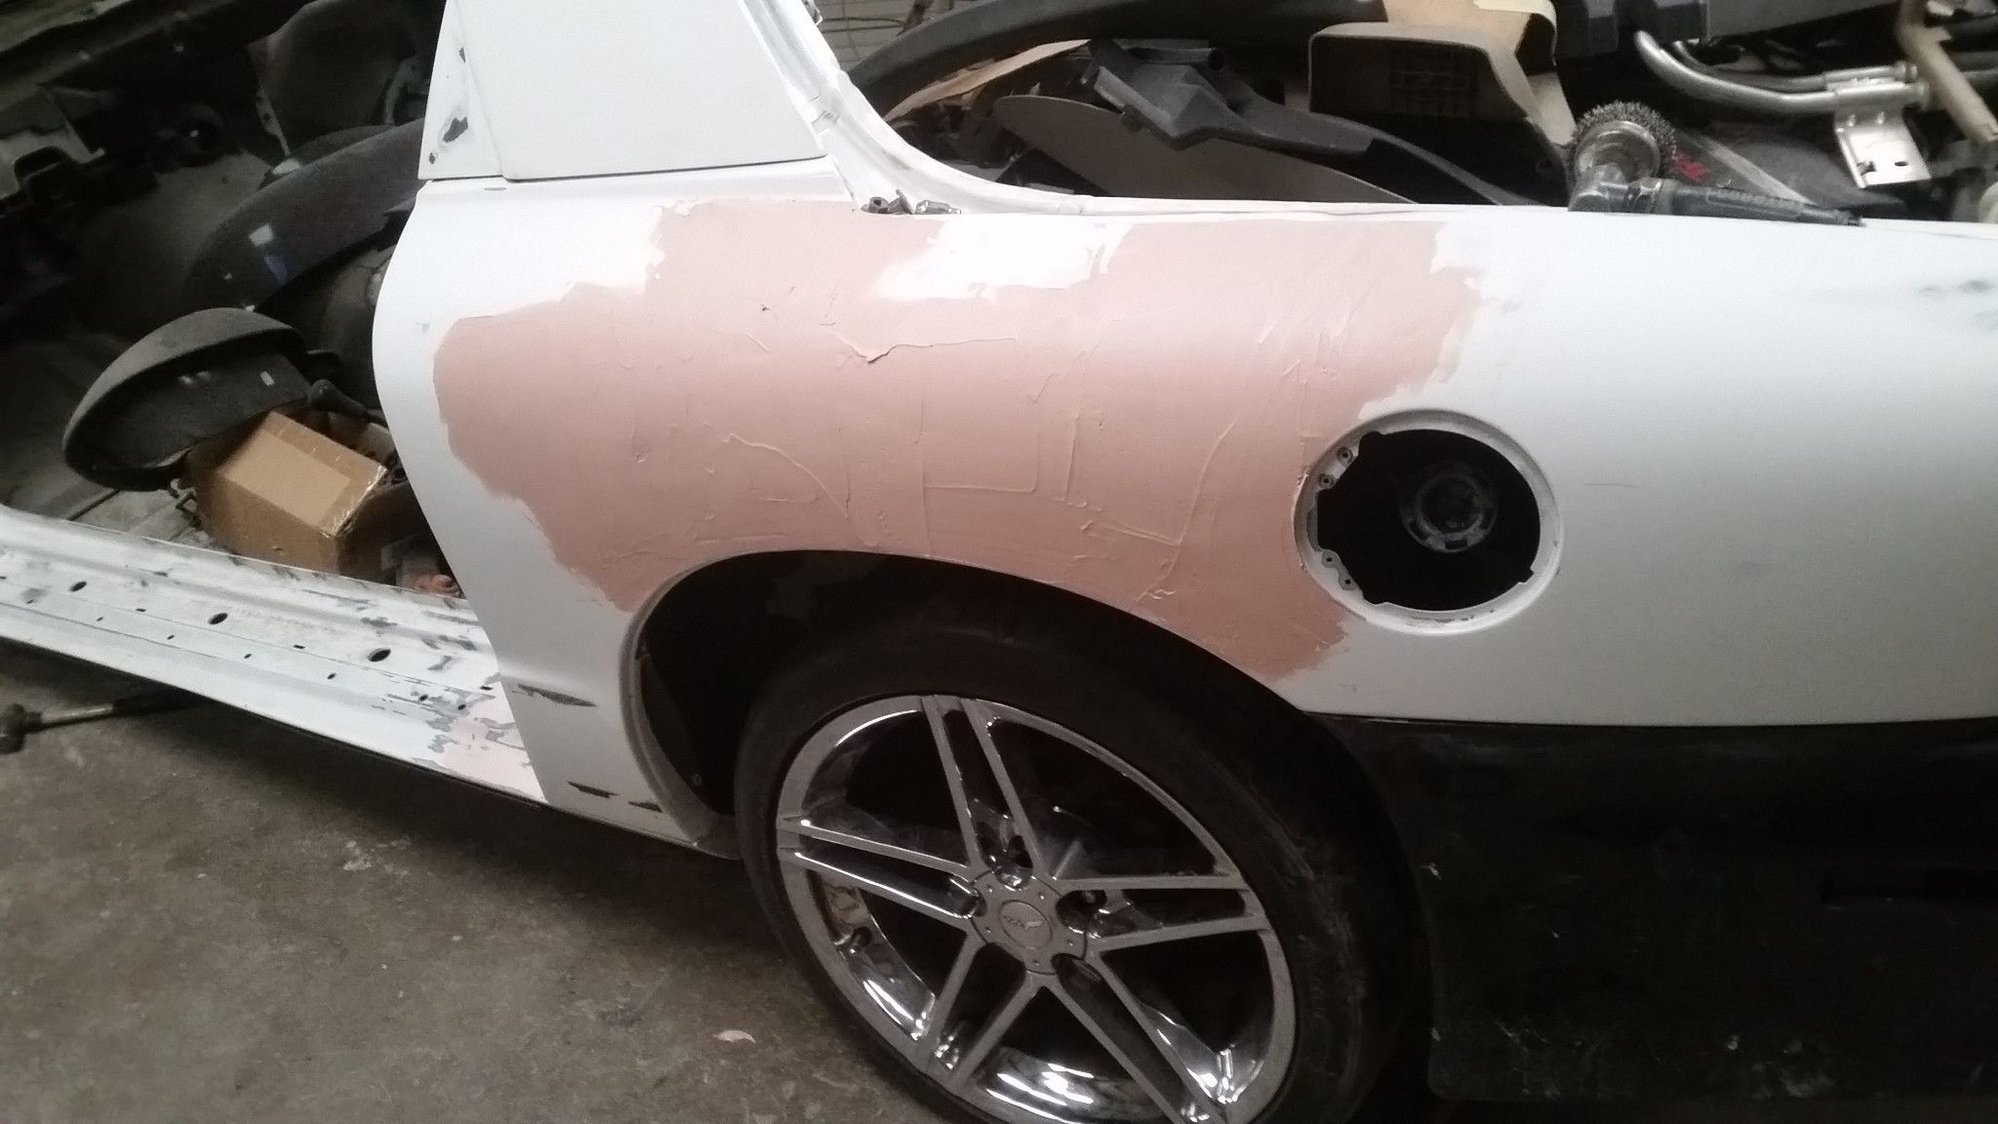
Got some mud on it finally.

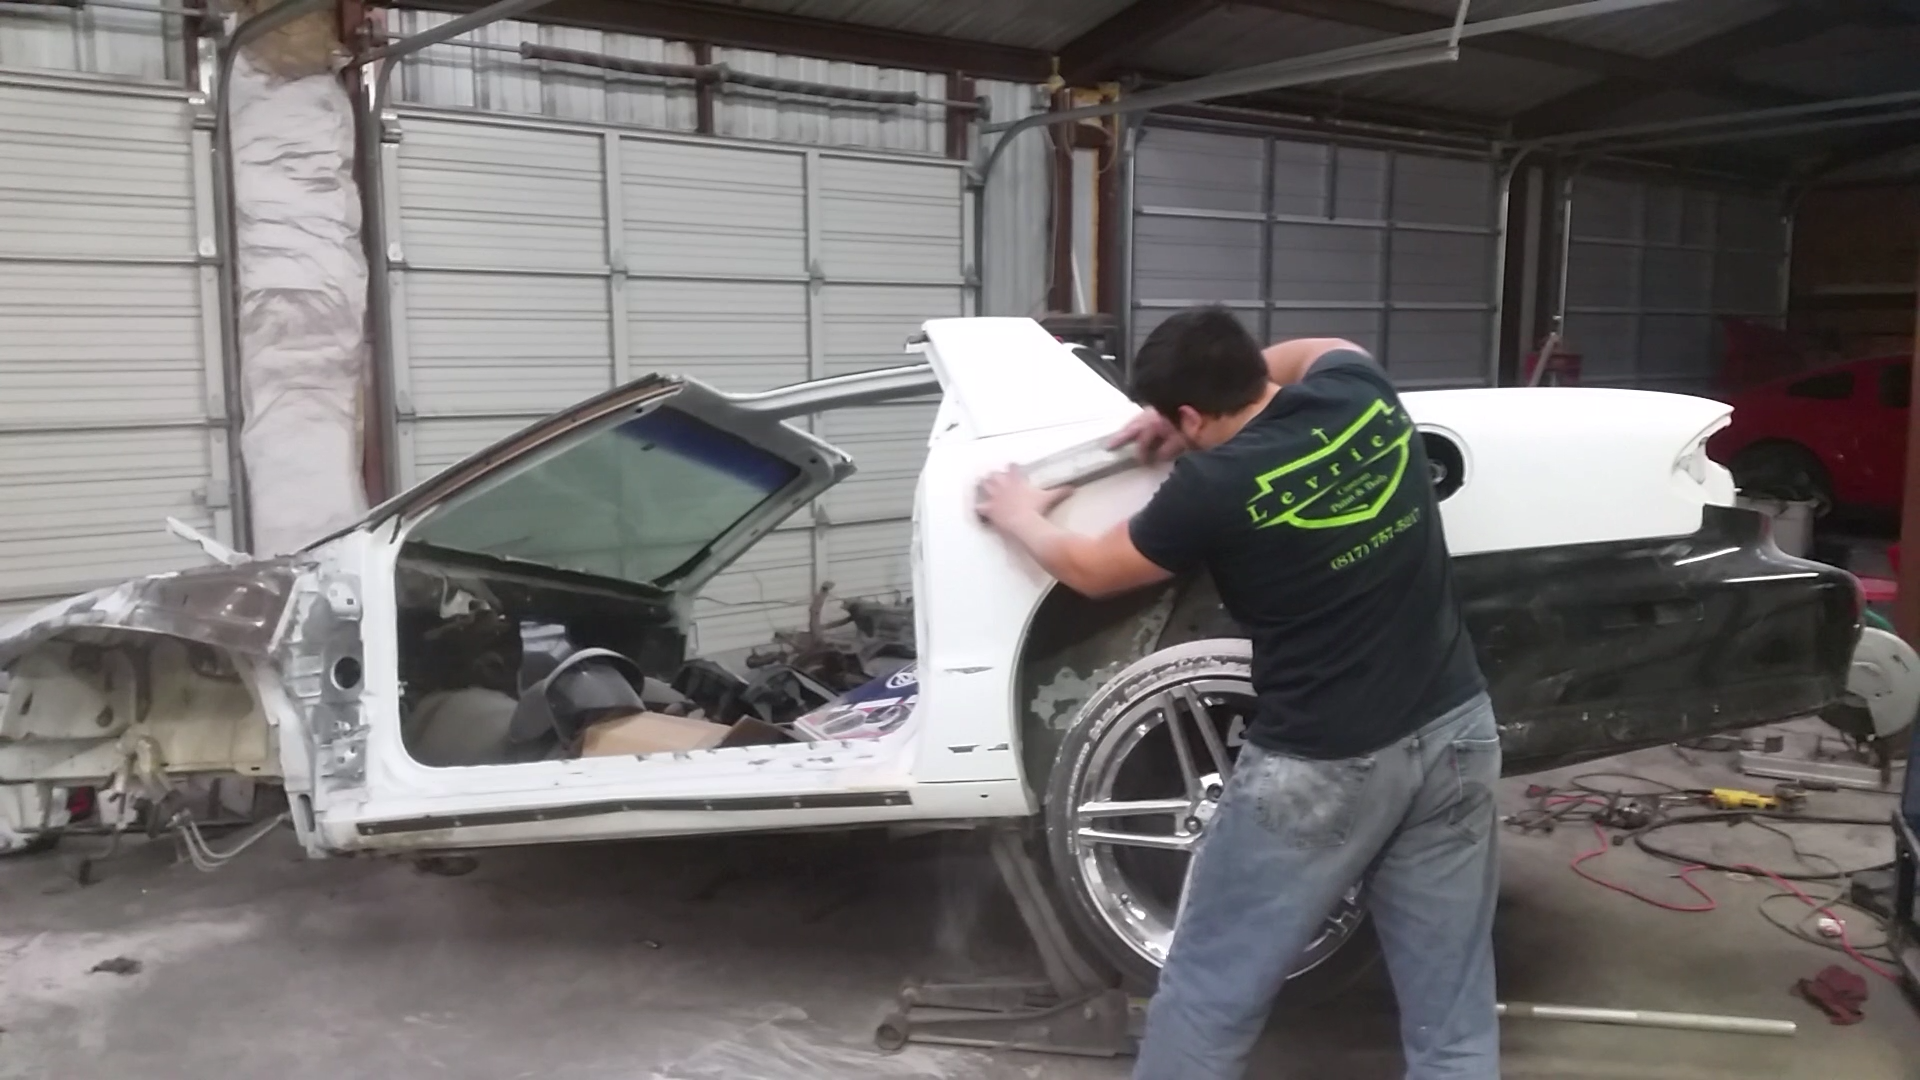
Just me doing some block sanding.
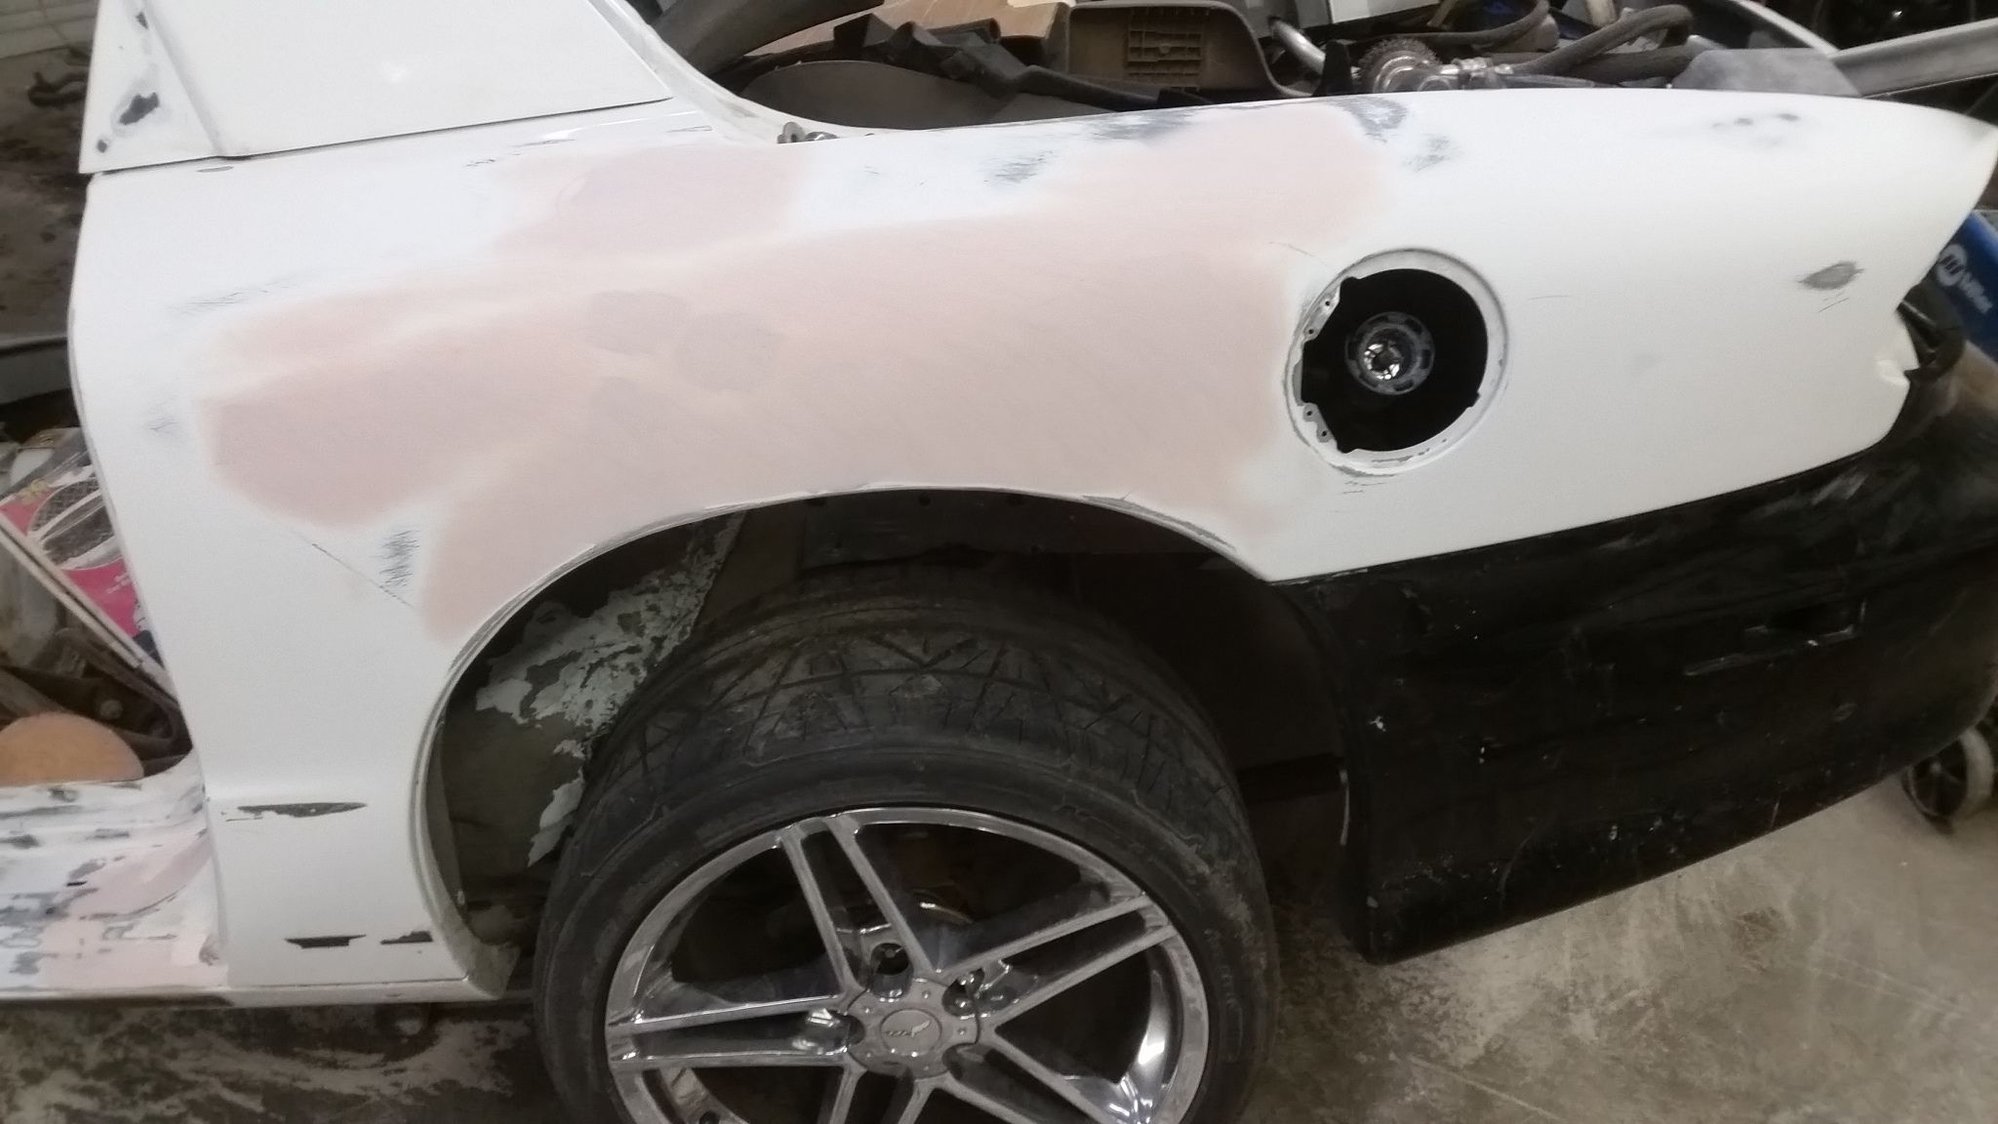
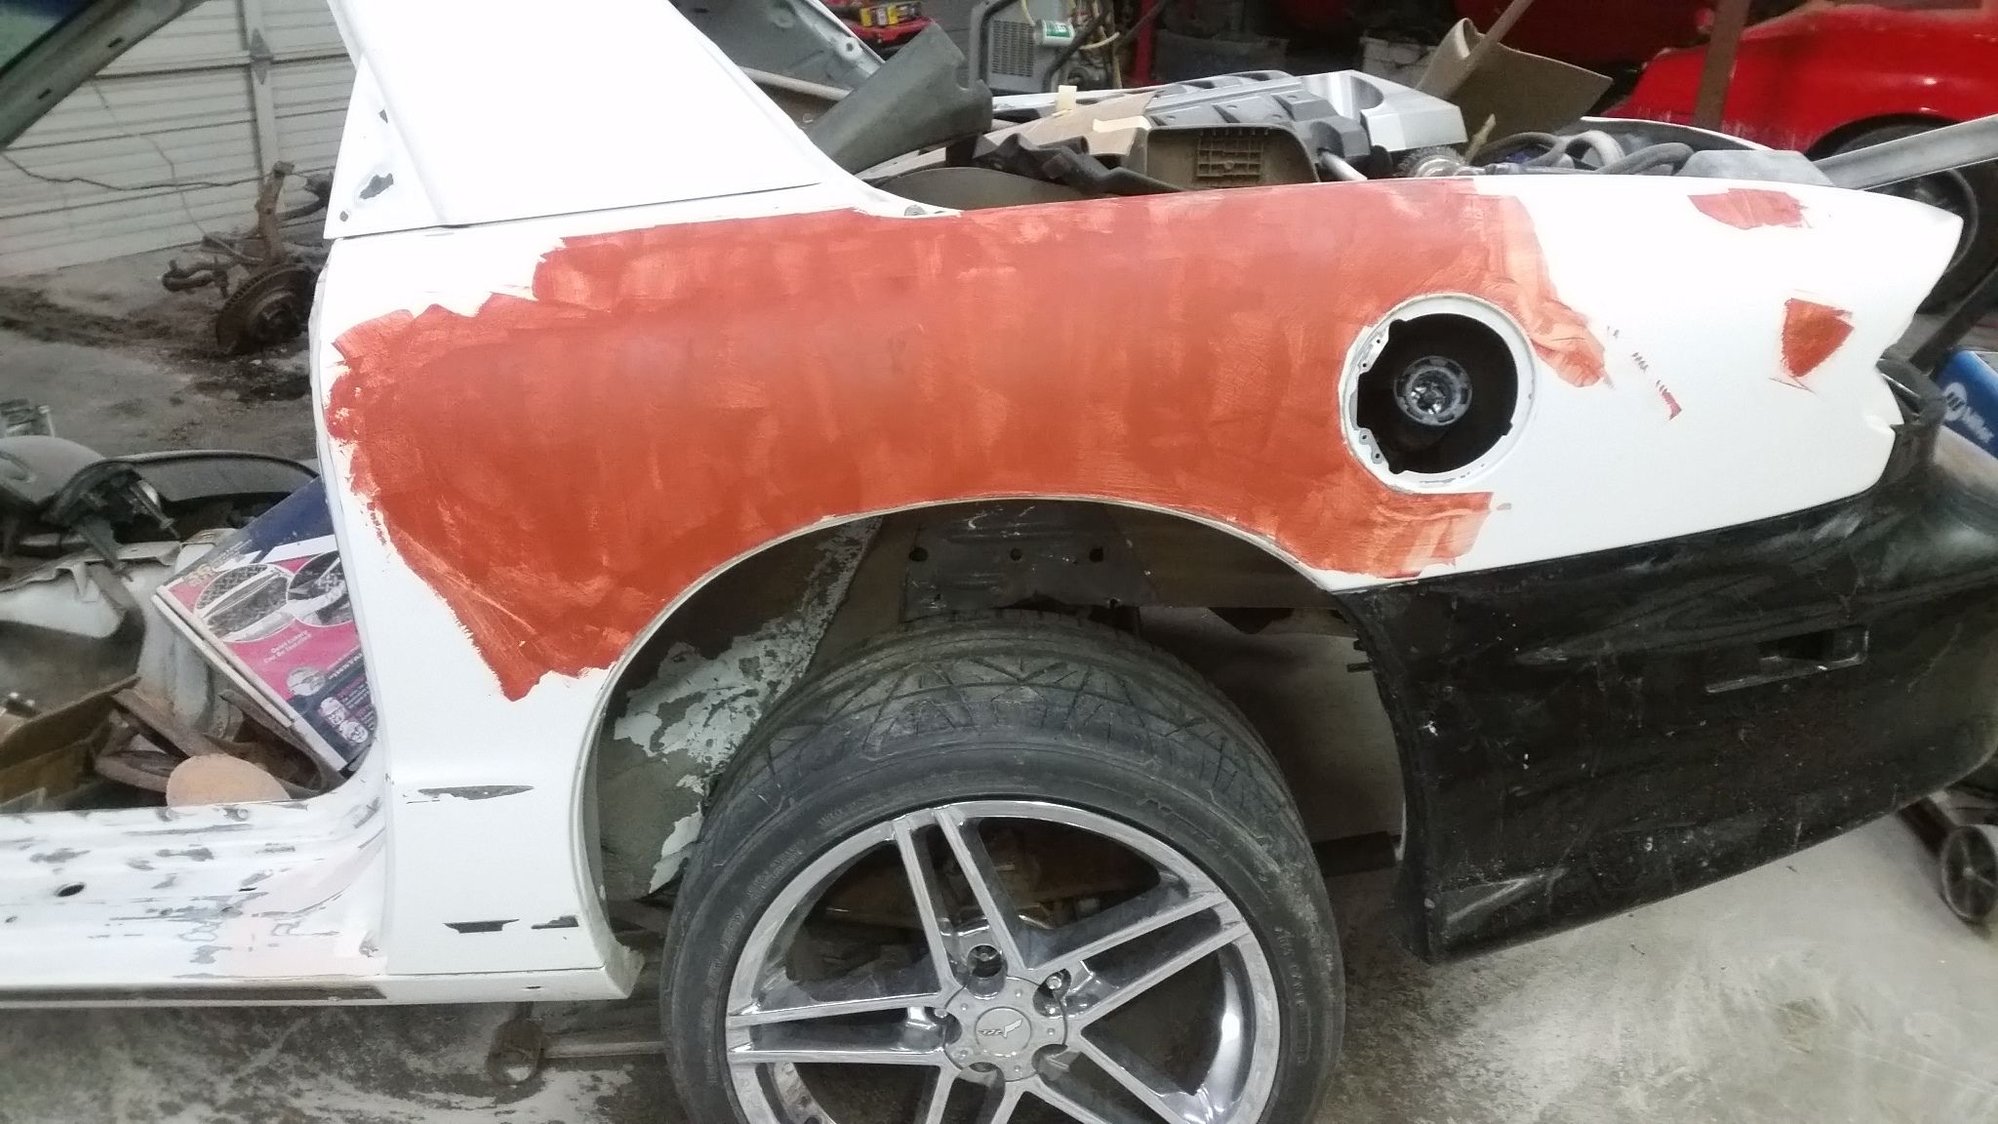
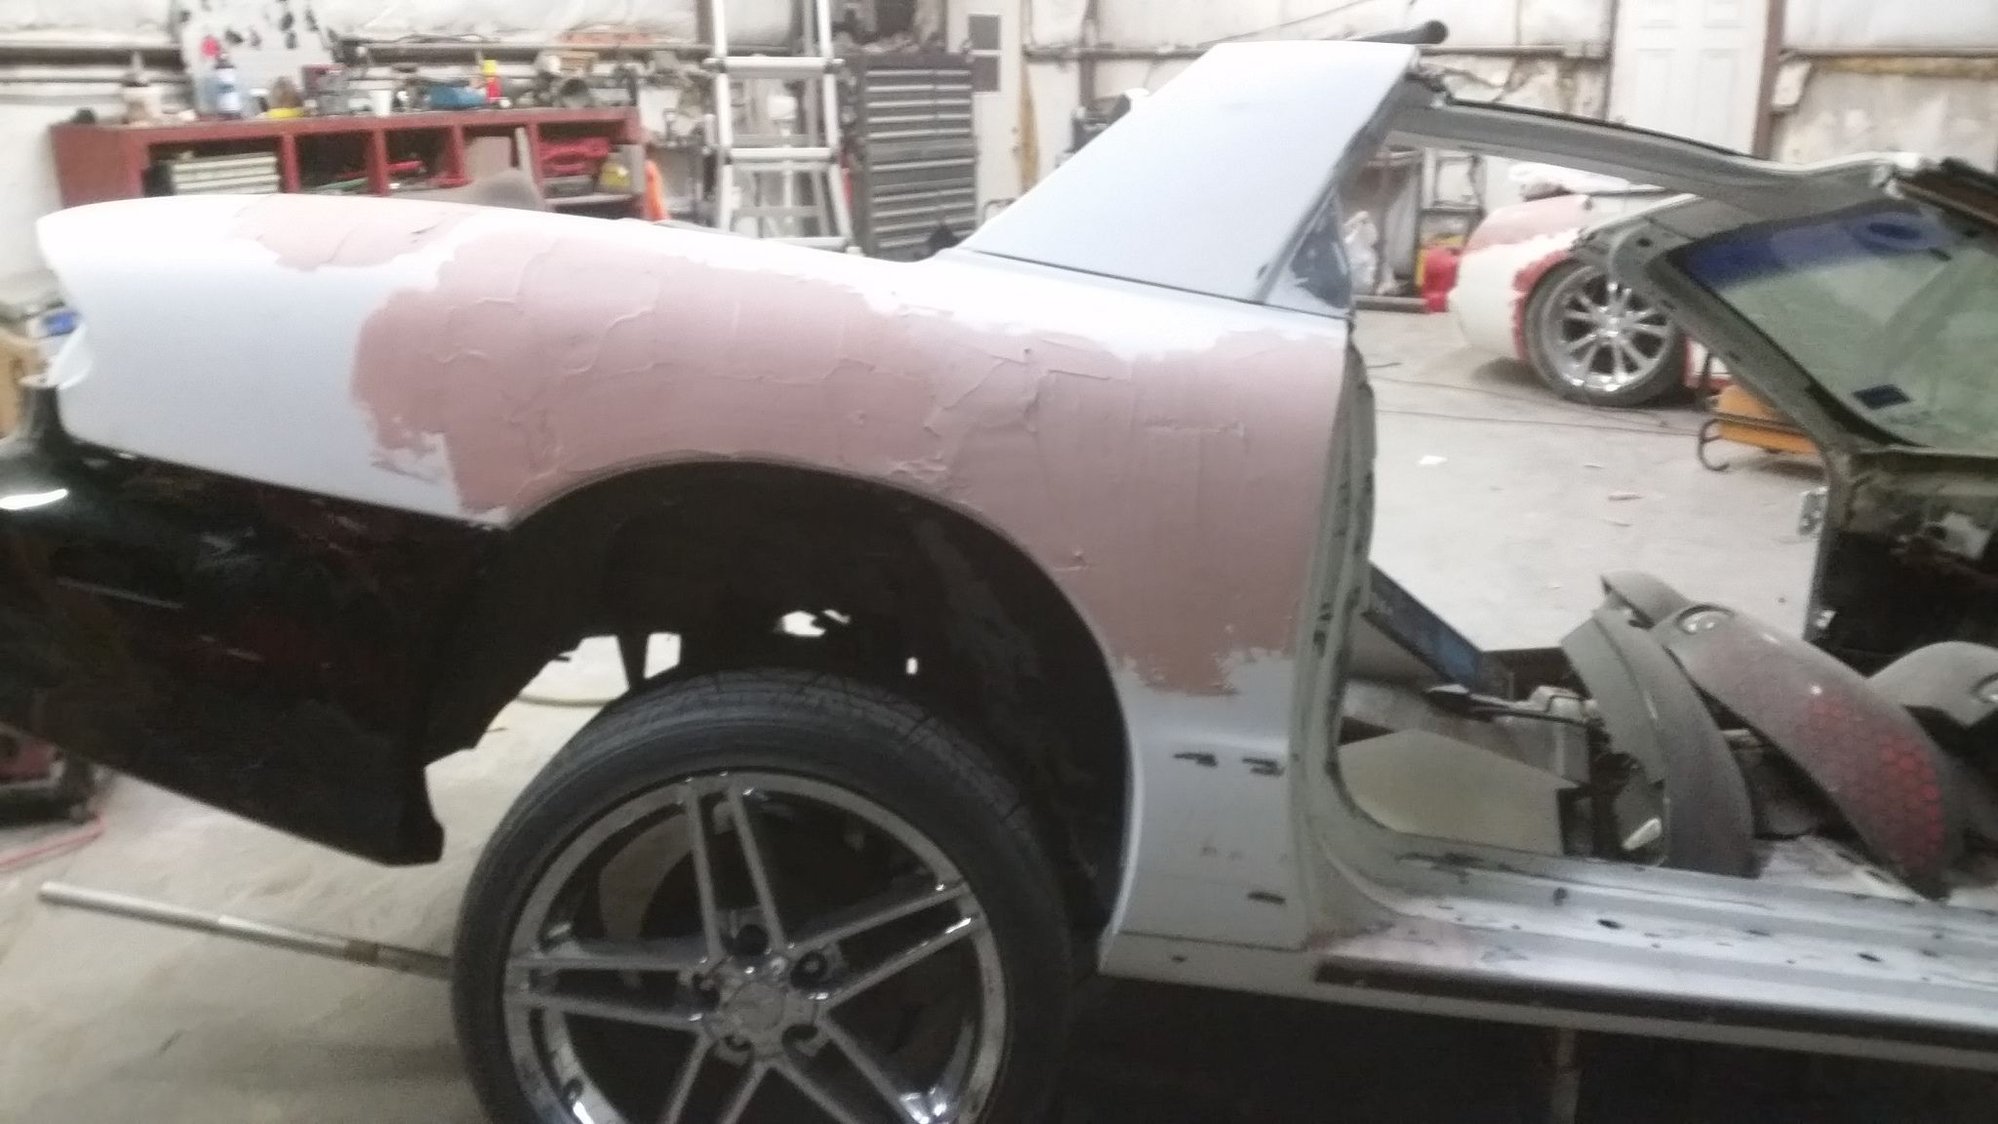
More mud and shaved antenna.
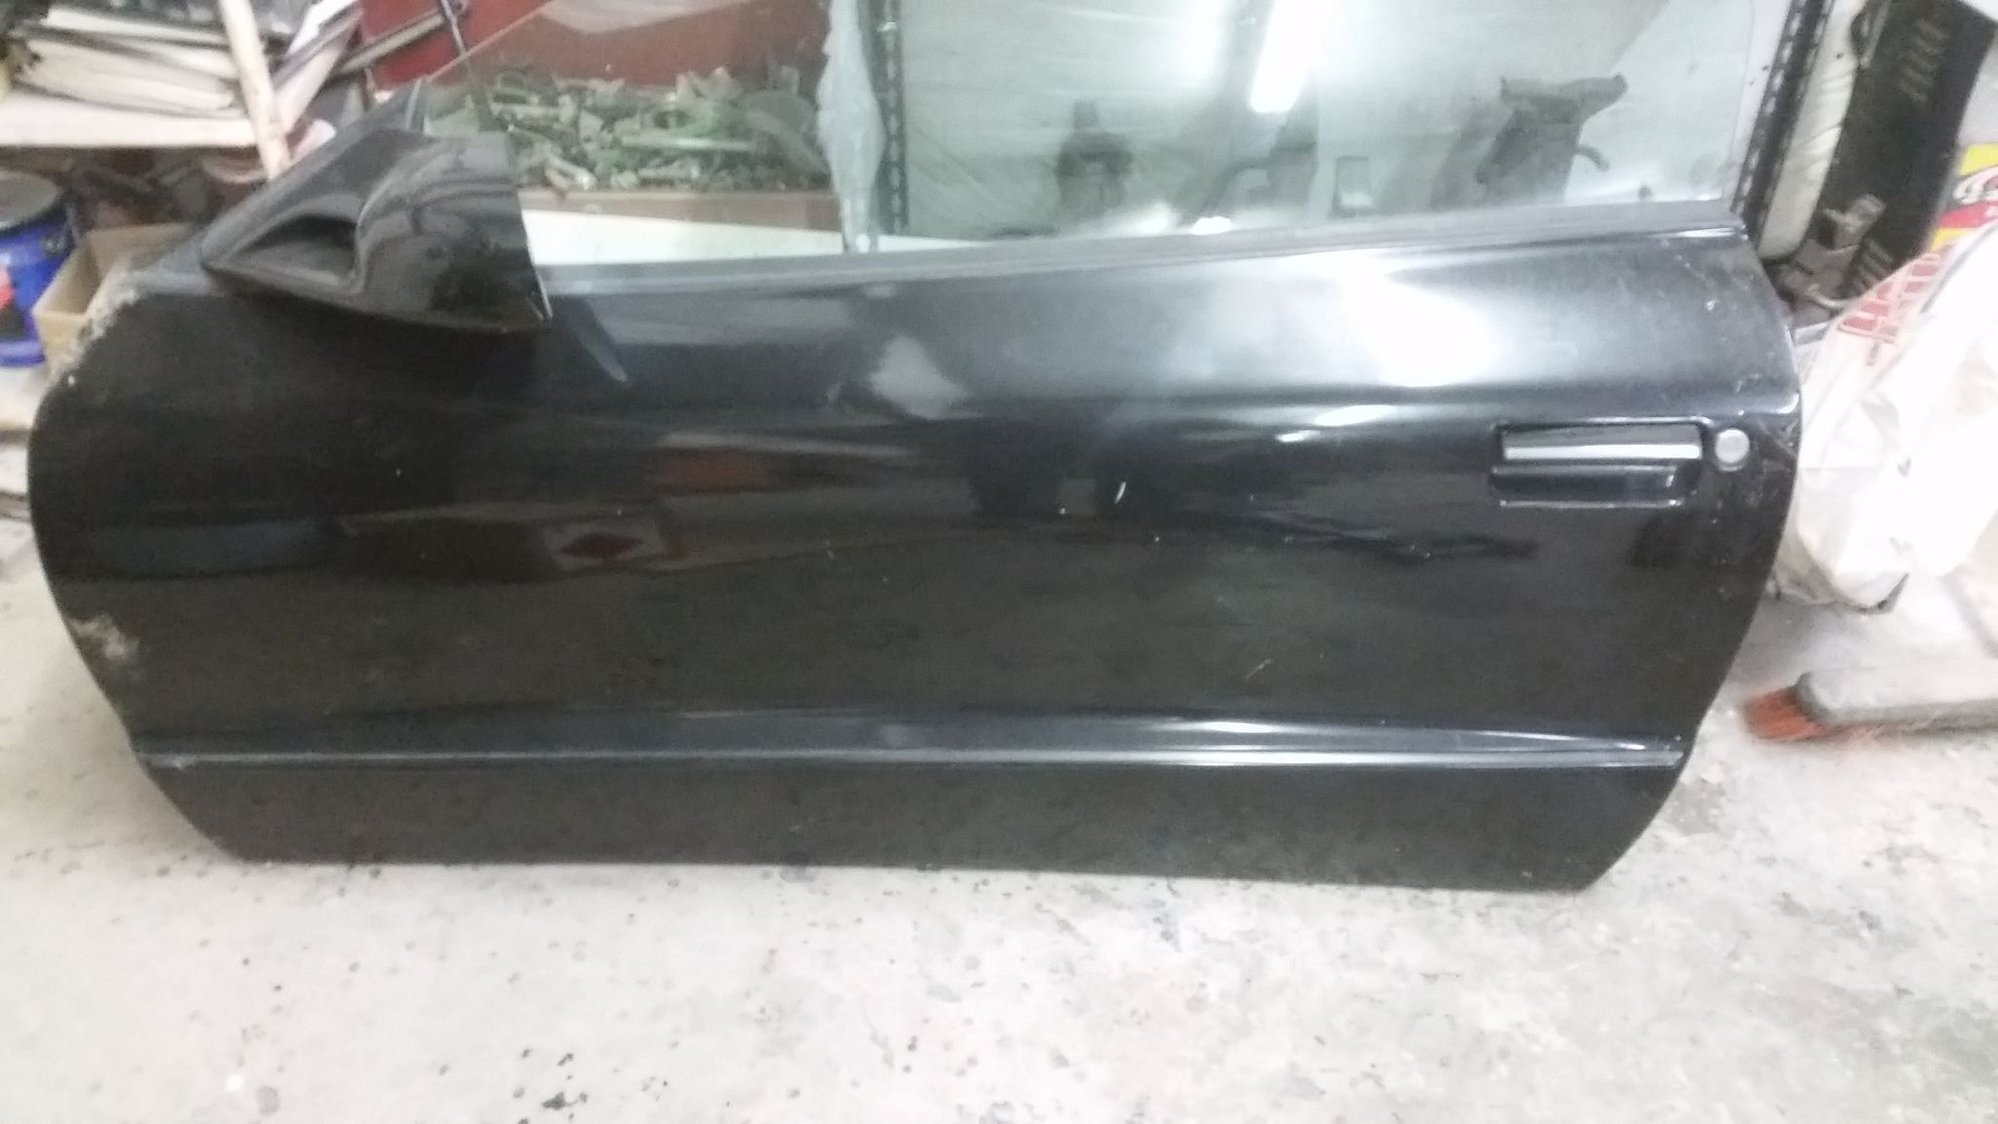
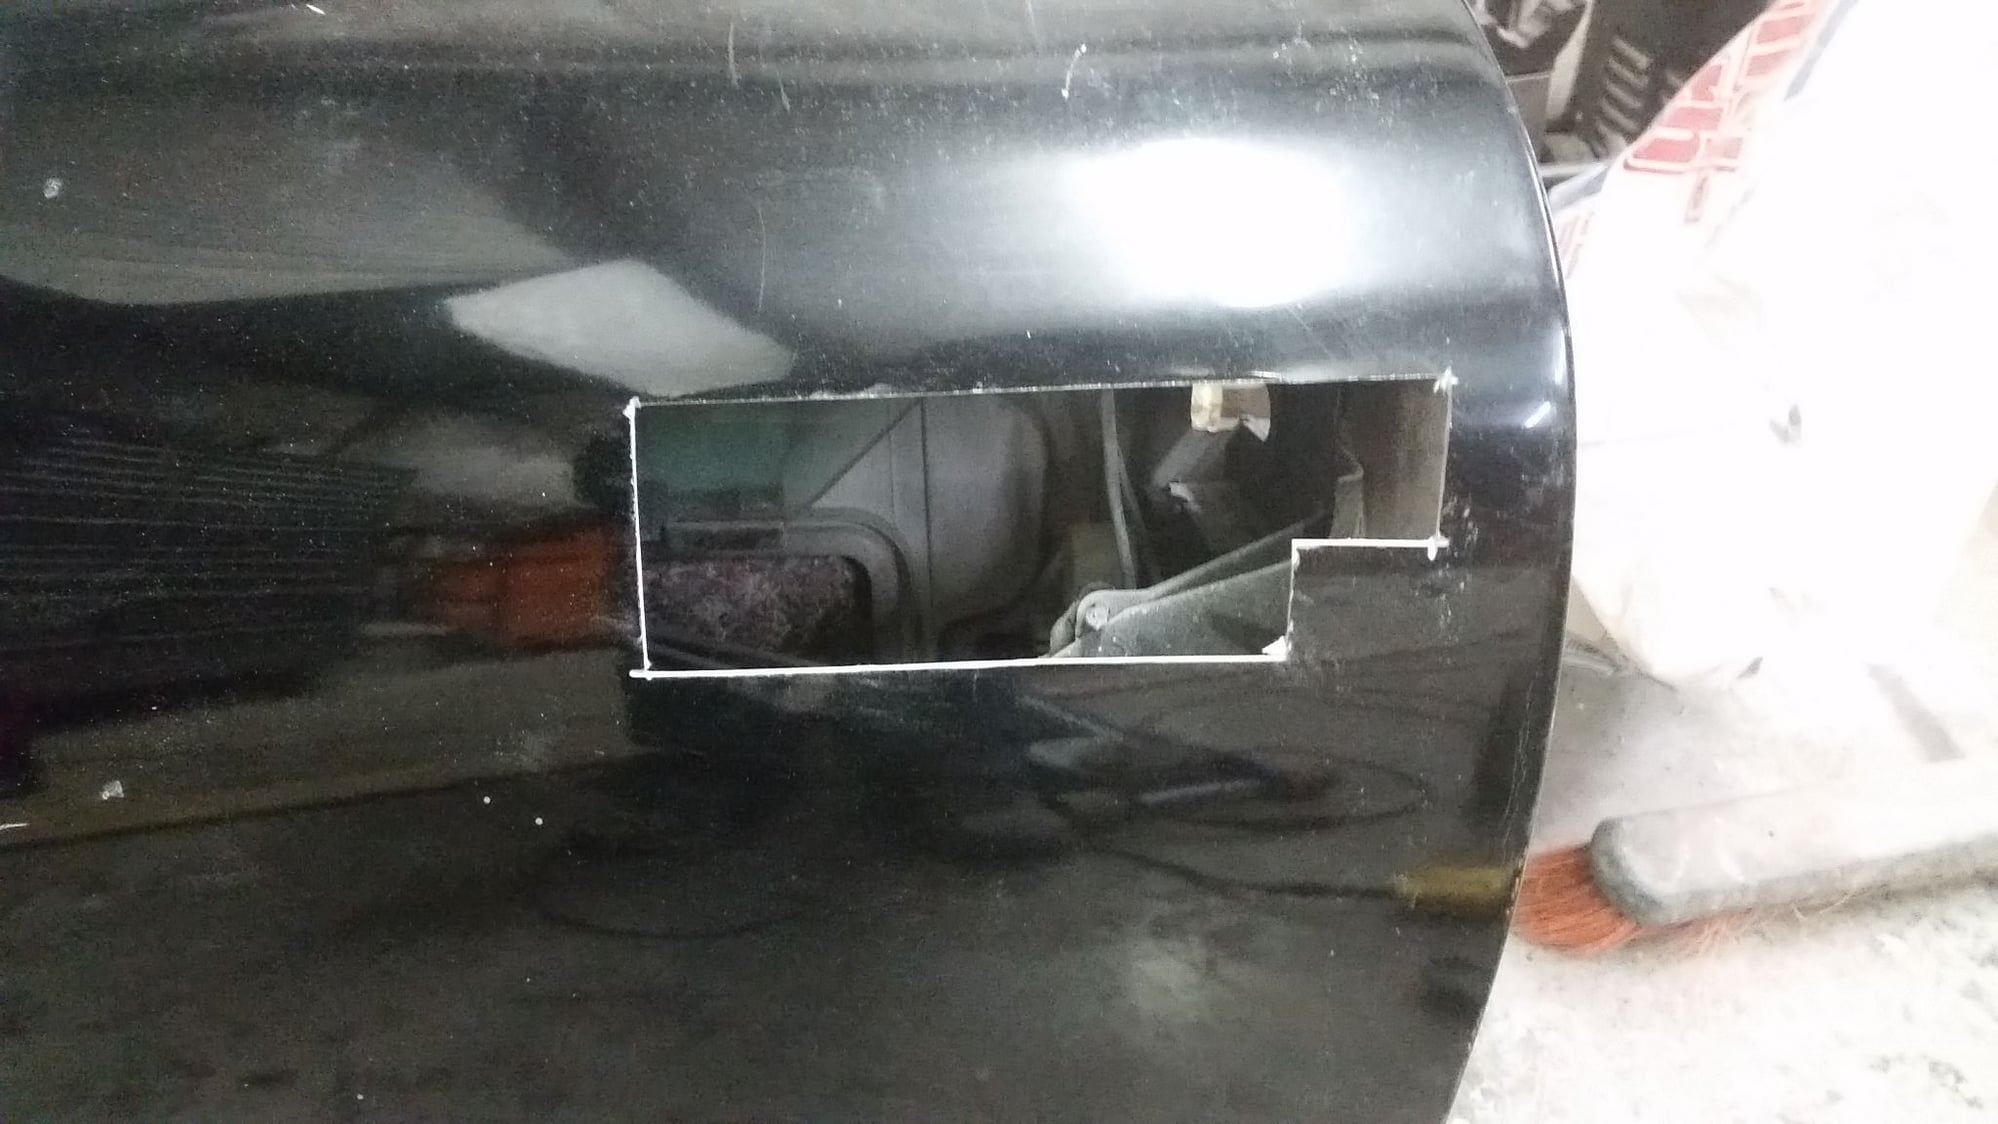
Door cutout.
Edit: just finished reading through the rest of the thread and it seems like you know what your doing which really has me puzzled on why you would use that garbage.
I'm a painter by trade as well most people wouldn't even notice.
Last edited by MY_2K_Z; 02-19-2016 at 11:15 PM.
#66
TECH Resident
iTrader: (4)
Just got through the thread with a throbbing erection so bad I think I'm going to pass out. Beautiful. Love love LOVE builds like this.
Did you have another green TA? I lived in the DFW area up until a little over a year ago, for the most part, would swear I had seen yours before if so, possibly at a meet.
Would totally drop my car off with you and have no hesitation or qualms about it. Got some plans brewing in the next couple of years, do me a favor and don't retire for awhile
#70
Launching!
Thread Starter
Join Date: Mar 2009
Location: Weatherford Tx 76085 corner of N. Hwy 51 and 150 Green branch Rd.
Posts: 274
Likes: 0
Received 0 Likes
on
0 Posts

Wow. Honestly I've forgotten about this thread lol. I have to dig up the pics I have taken and upload them here. Been getting really busy with work so that's why I've been taken longer than I thought I would have. On the plus side I decided to do some upgrades to my motor while I was waiting. I'm going to give myself a deadline to get this completed so , end of April I will have this thing dyno tuned and finished.
Just for anyone wondering how it's going so far with it. I already know for a fact that this will be The BEST 4TH gen. T/ A I have built to date period!! I will get updated pics uploaded soon.
Just for anyone wondering how it's going so far with it. I already know for a fact that this will be The BEST 4TH gen. T/ A I have built to date period!! I will get updated pics uploaded soon.
#72
#73
Launching!
Thread Starter
Join Date: Mar 2009
Location: Weatherford Tx 76085 corner of N. Hwy 51 and 150 Green branch Rd.
Posts: 274
Likes: 0
Received 0 Likes
on
0 Posts

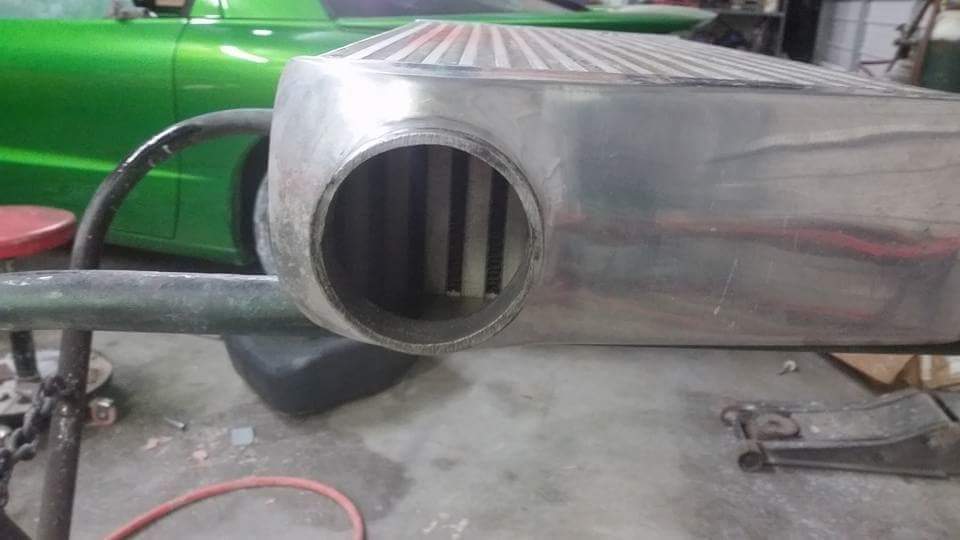
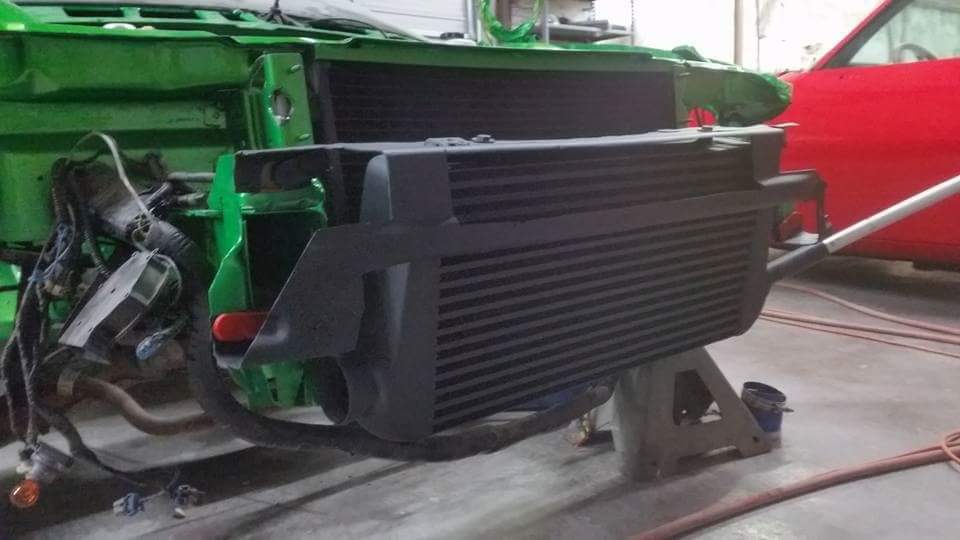
Bored out the intercooler. Can't hurt right. Not sure if there's to be any gains but it did open some more, just hard to tell in the pics.<br/>Before
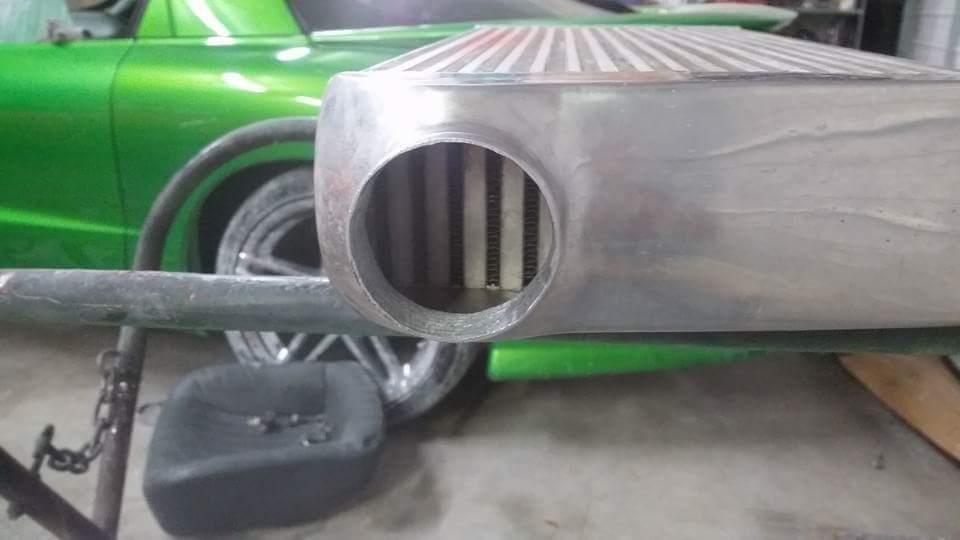
After bore.
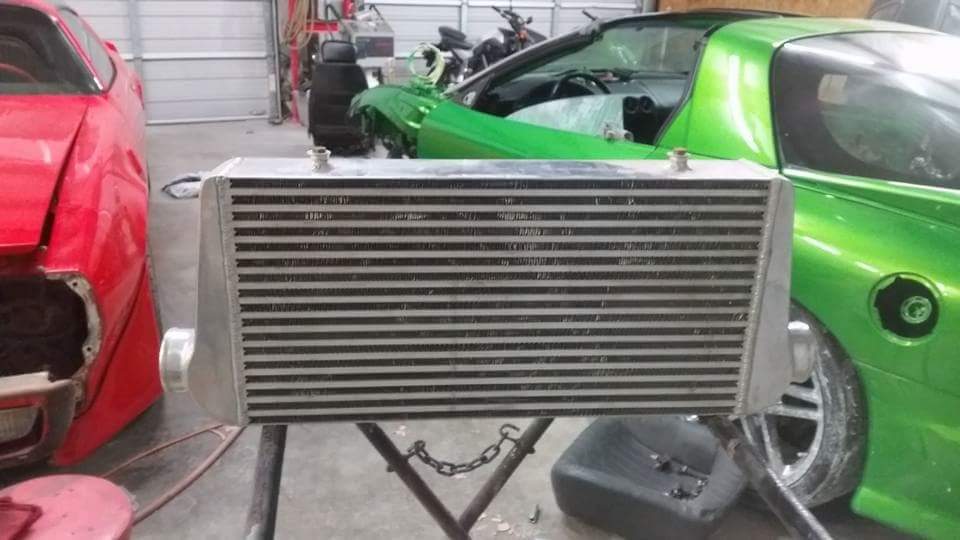
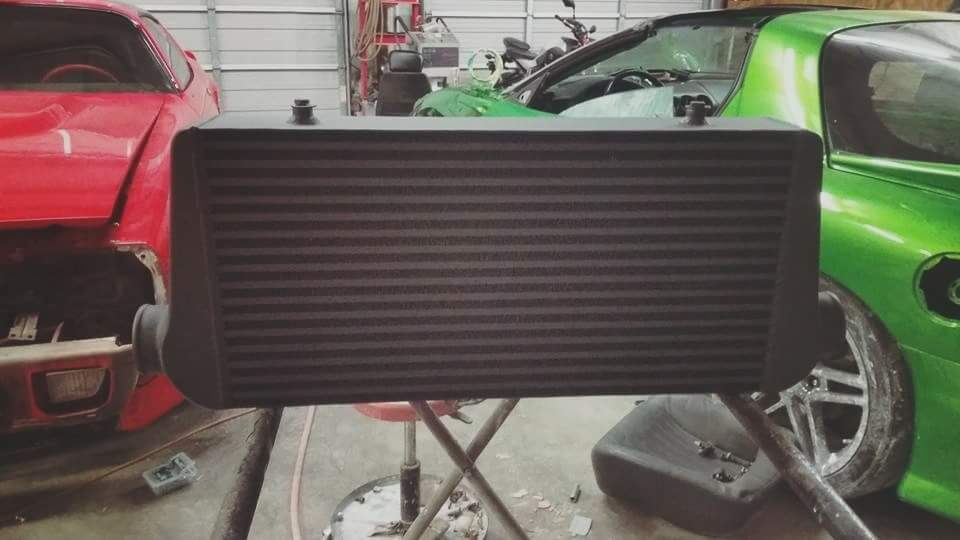
31x12x4 <br/>Painted it black and have a plan for it that should look cool once I finish the car.
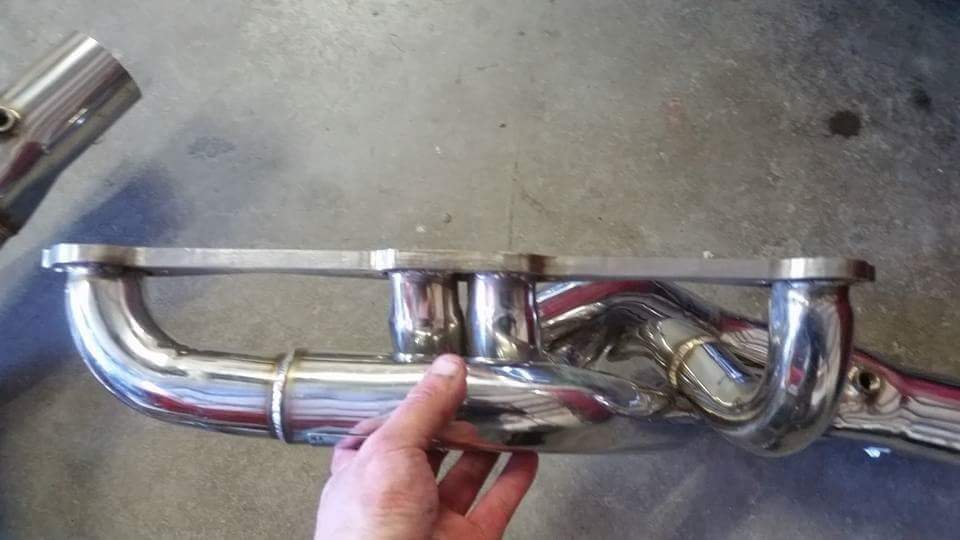
OBX 1-7/8 headers. They are stepped, but are nicer than Pacesetter and have a huge 3.5 inch collector. With my 3 inch dual exhaust, it's gonna sound tough.
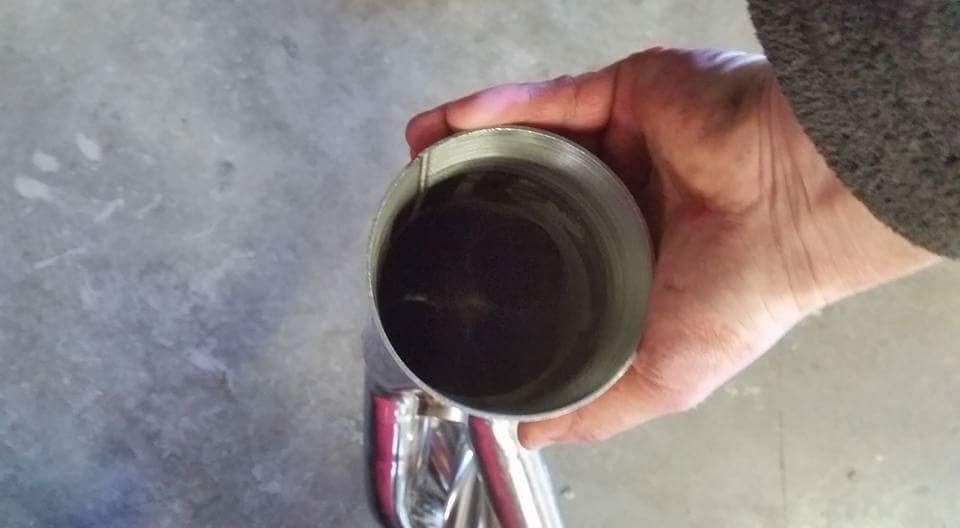
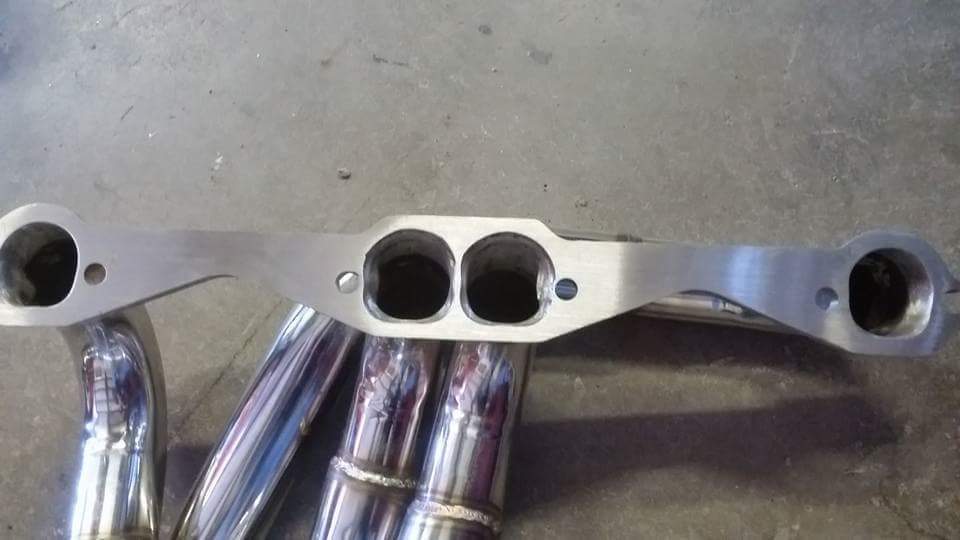
The ports are much better than Pacesetter.
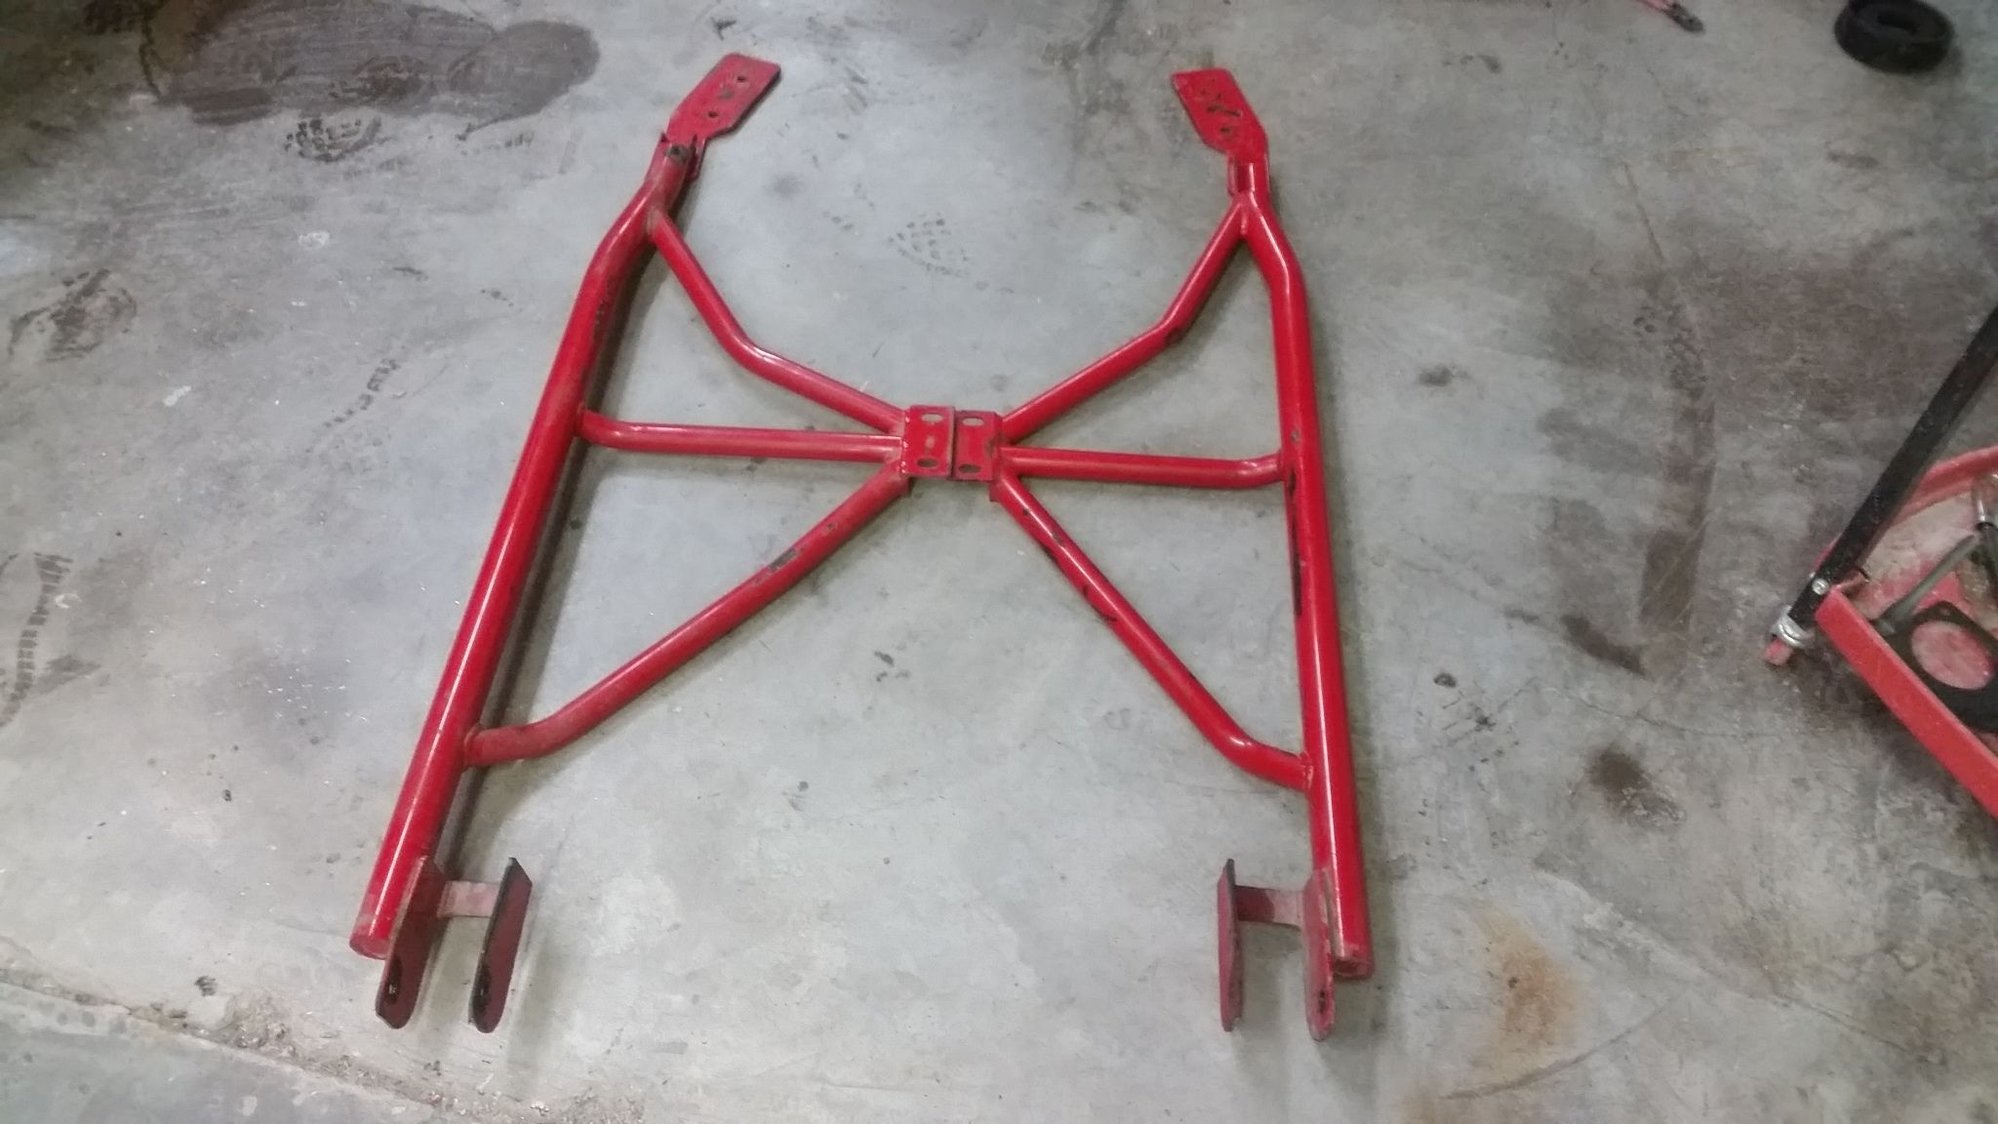
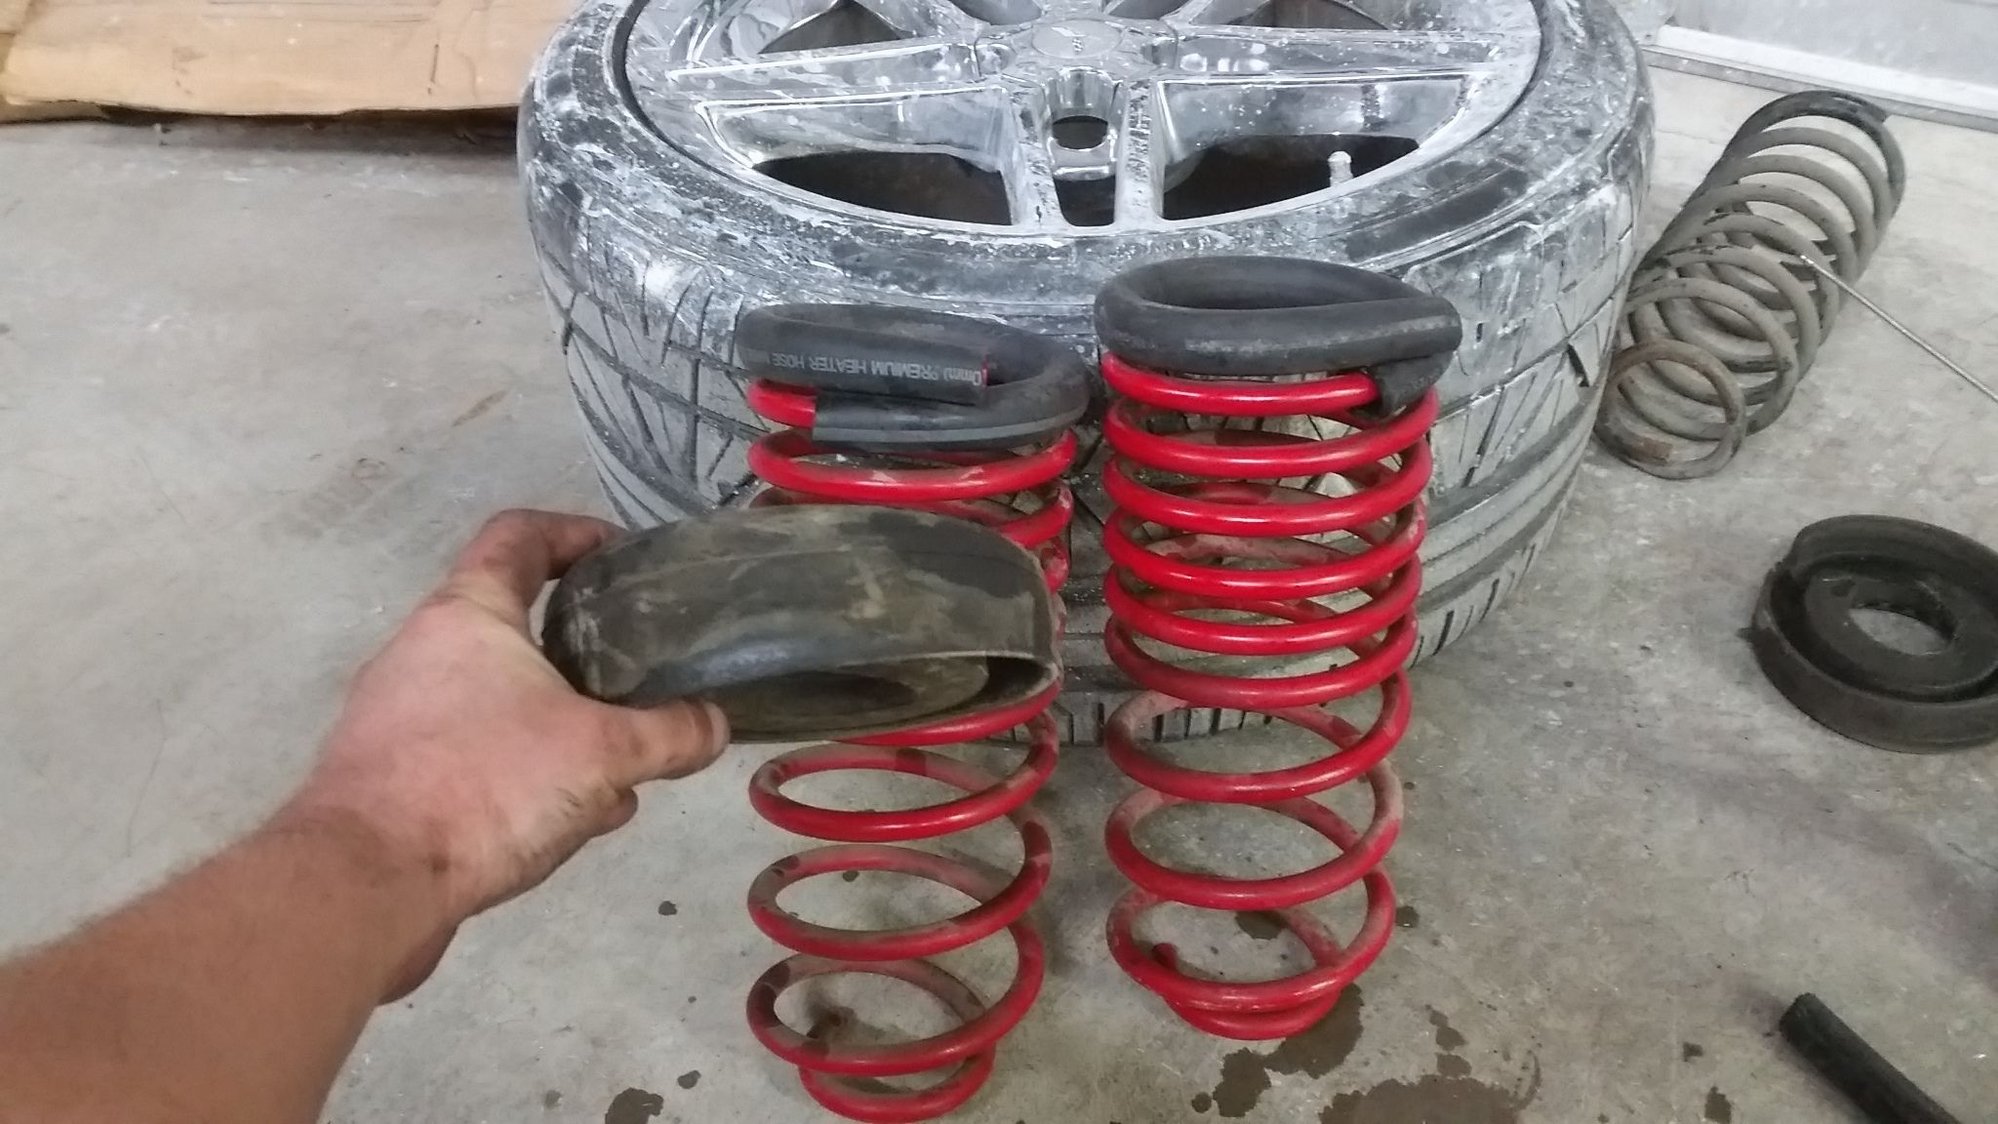
Never knew about the hose mod so this will be my first time to try it out. It may be a little in the low side but I'll find out I guess.
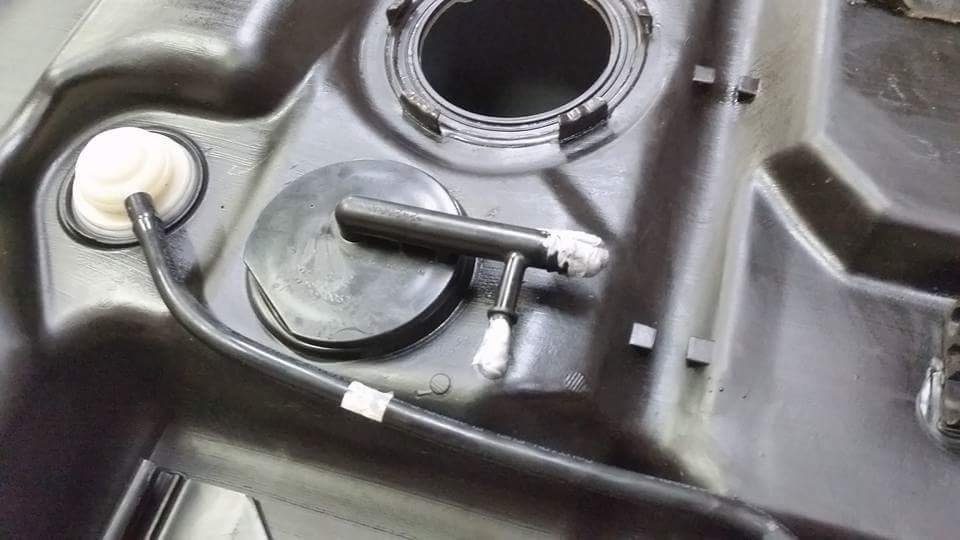
I'll be using the plastic tank so I had to modify thinges of course.
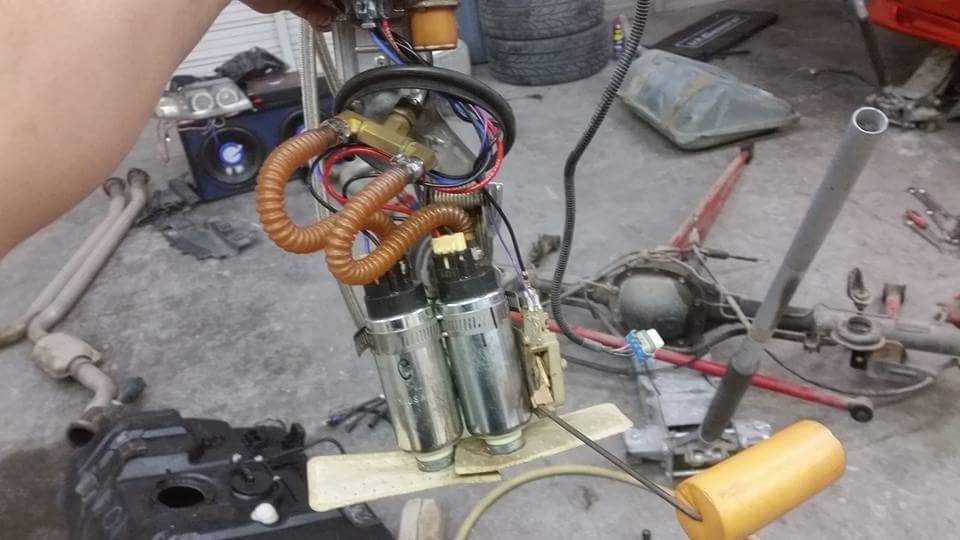
Dual Walbros. Was a pain to make changes on the float and pumps height but It worked out. I used the older lt1 fuel assembly so things were different. Pumps have upgraded wiring and are ready to go.
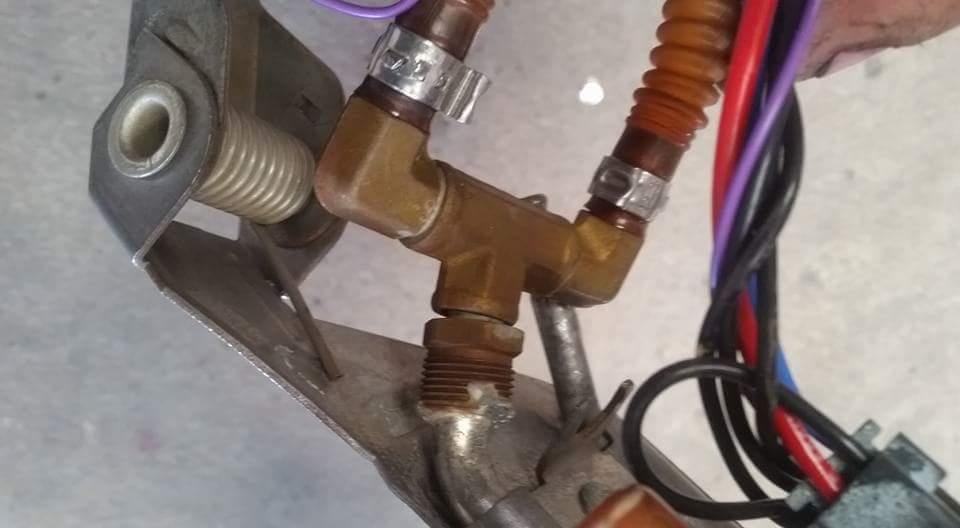
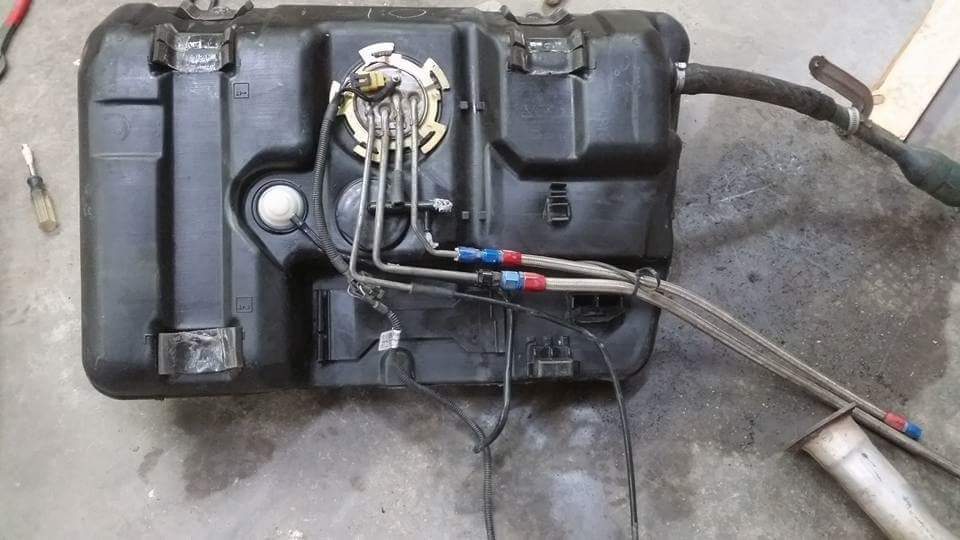
I had to bend the lines some. No big deal though. Ready to go on the car.
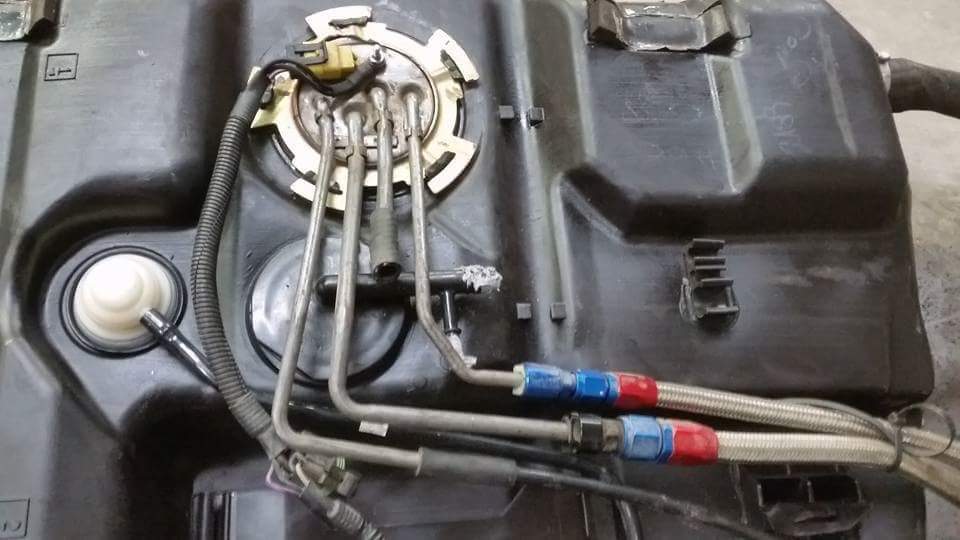
A little closer look at it.
#74
Launching!
Thread Starter
Join Date: Mar 2009
Location: Weatherford Tx 76085 corner of N. Hwy 51 and 150 Green branch Rd.
Posts: 274
Likes: 0
Received 0 Likes
on
0 Posts

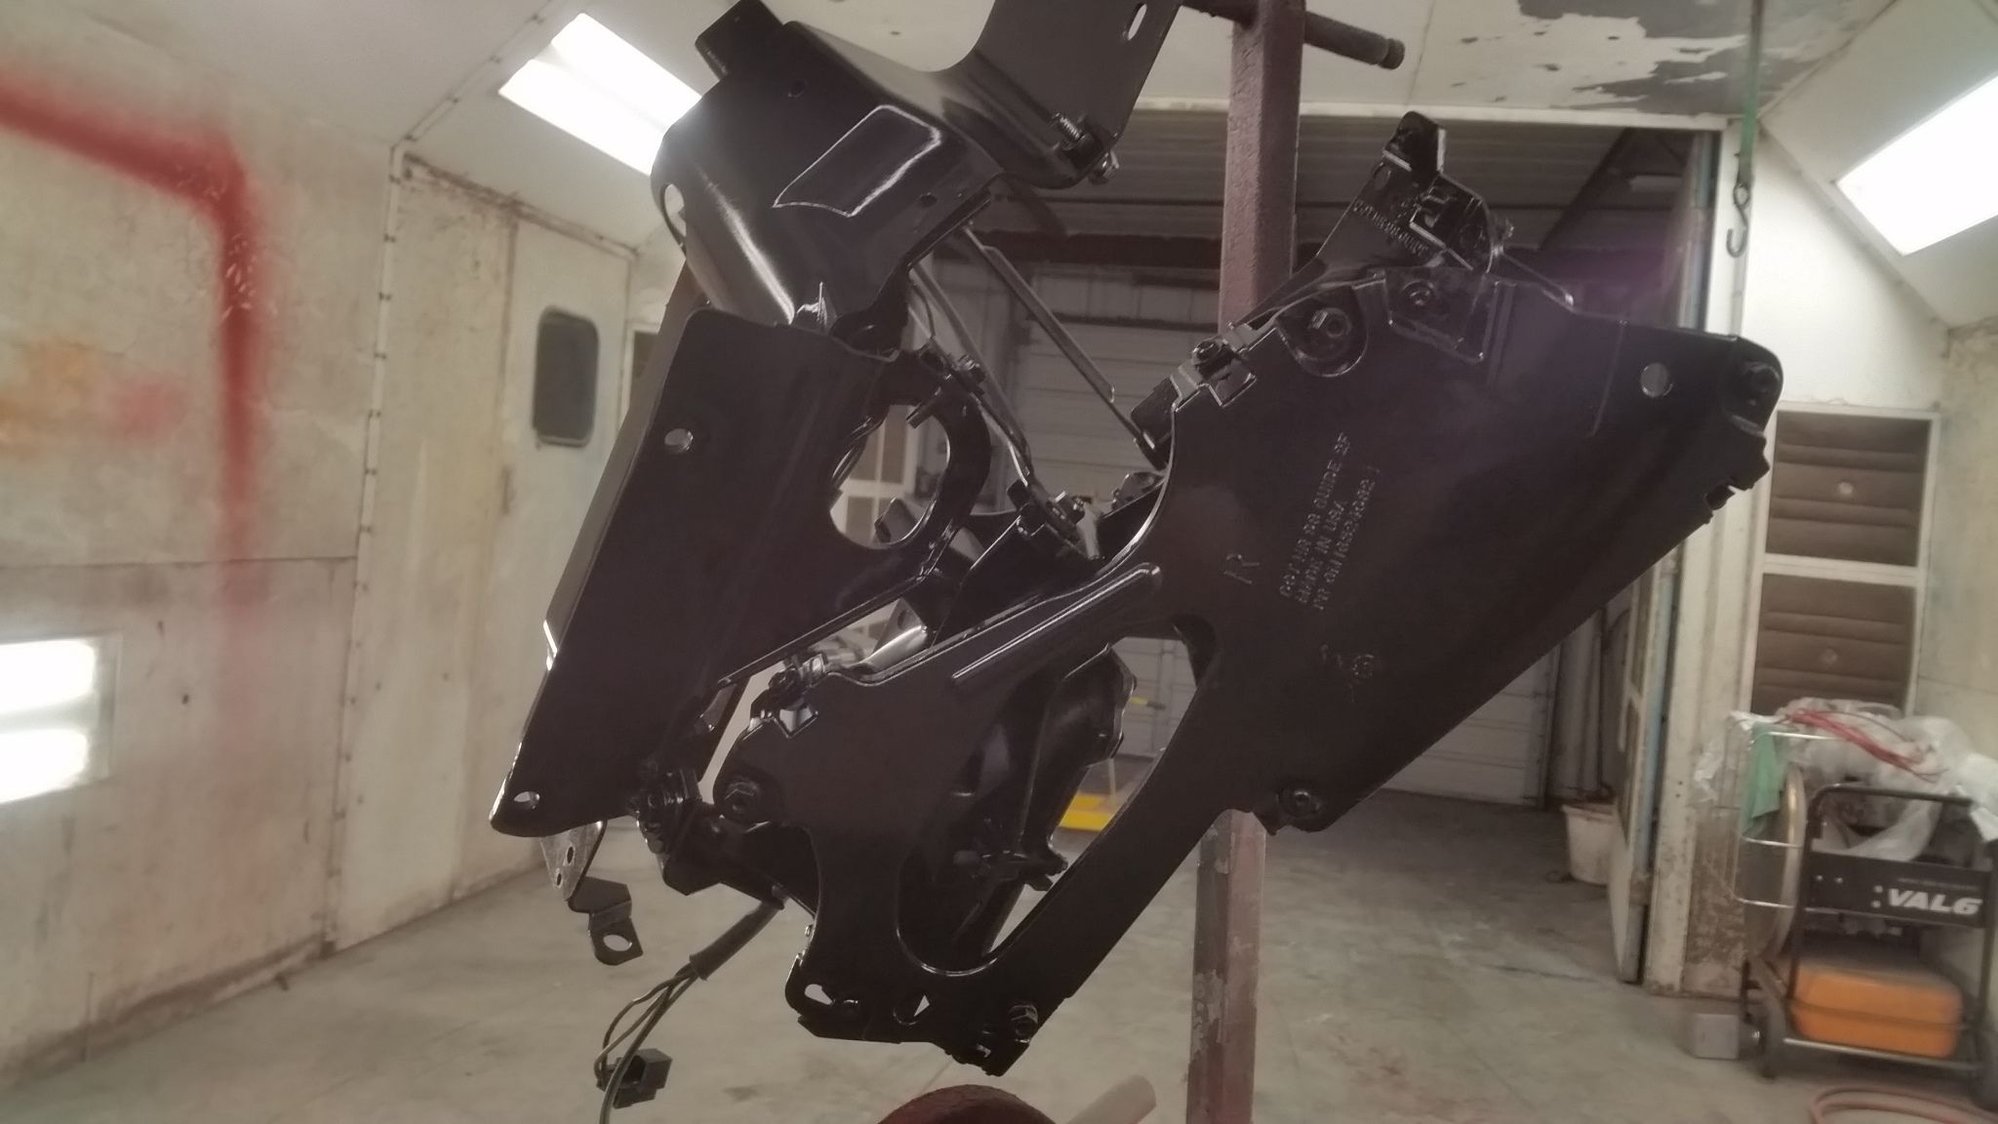
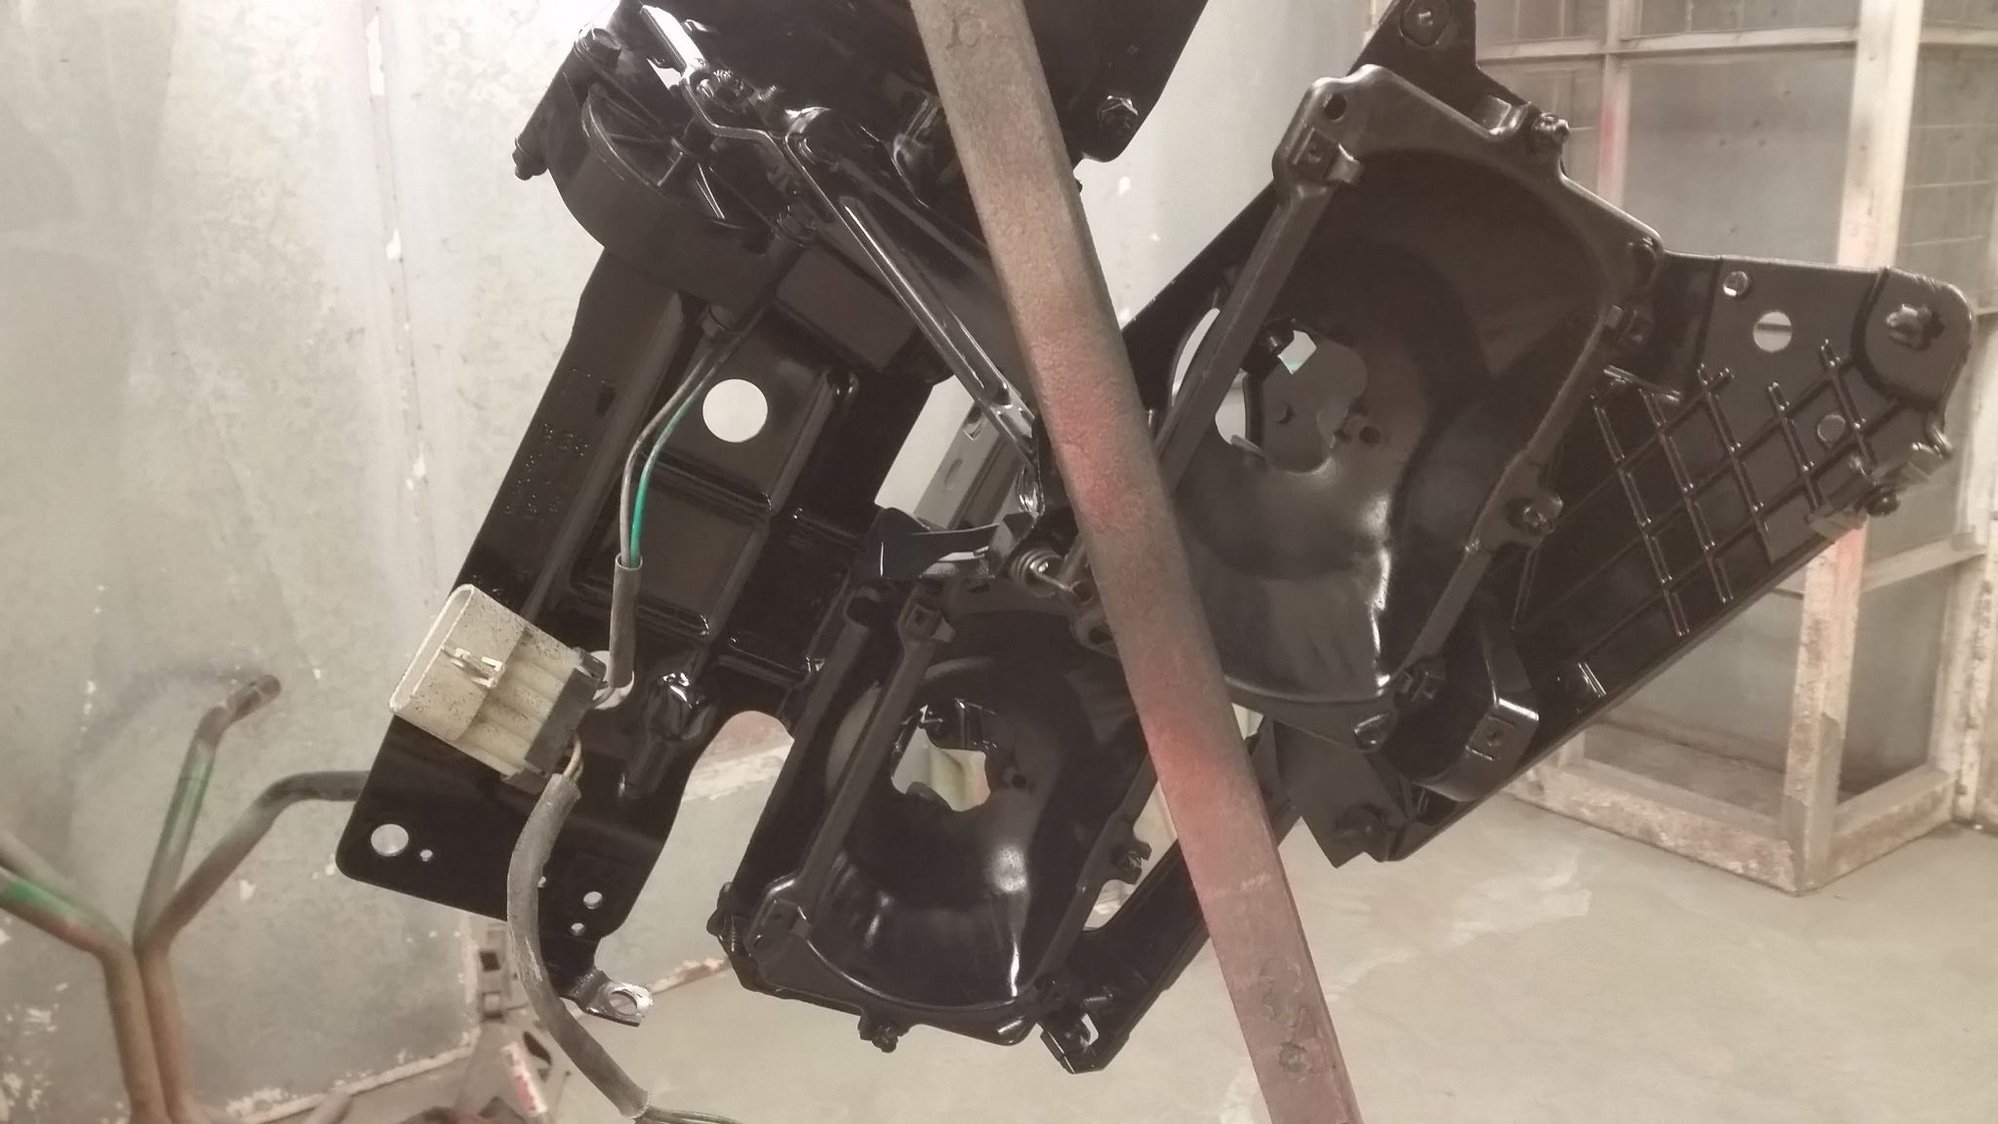
Painted the headlight assemblies. Can't see it to good in pics but made a good difference in giving them a new look.
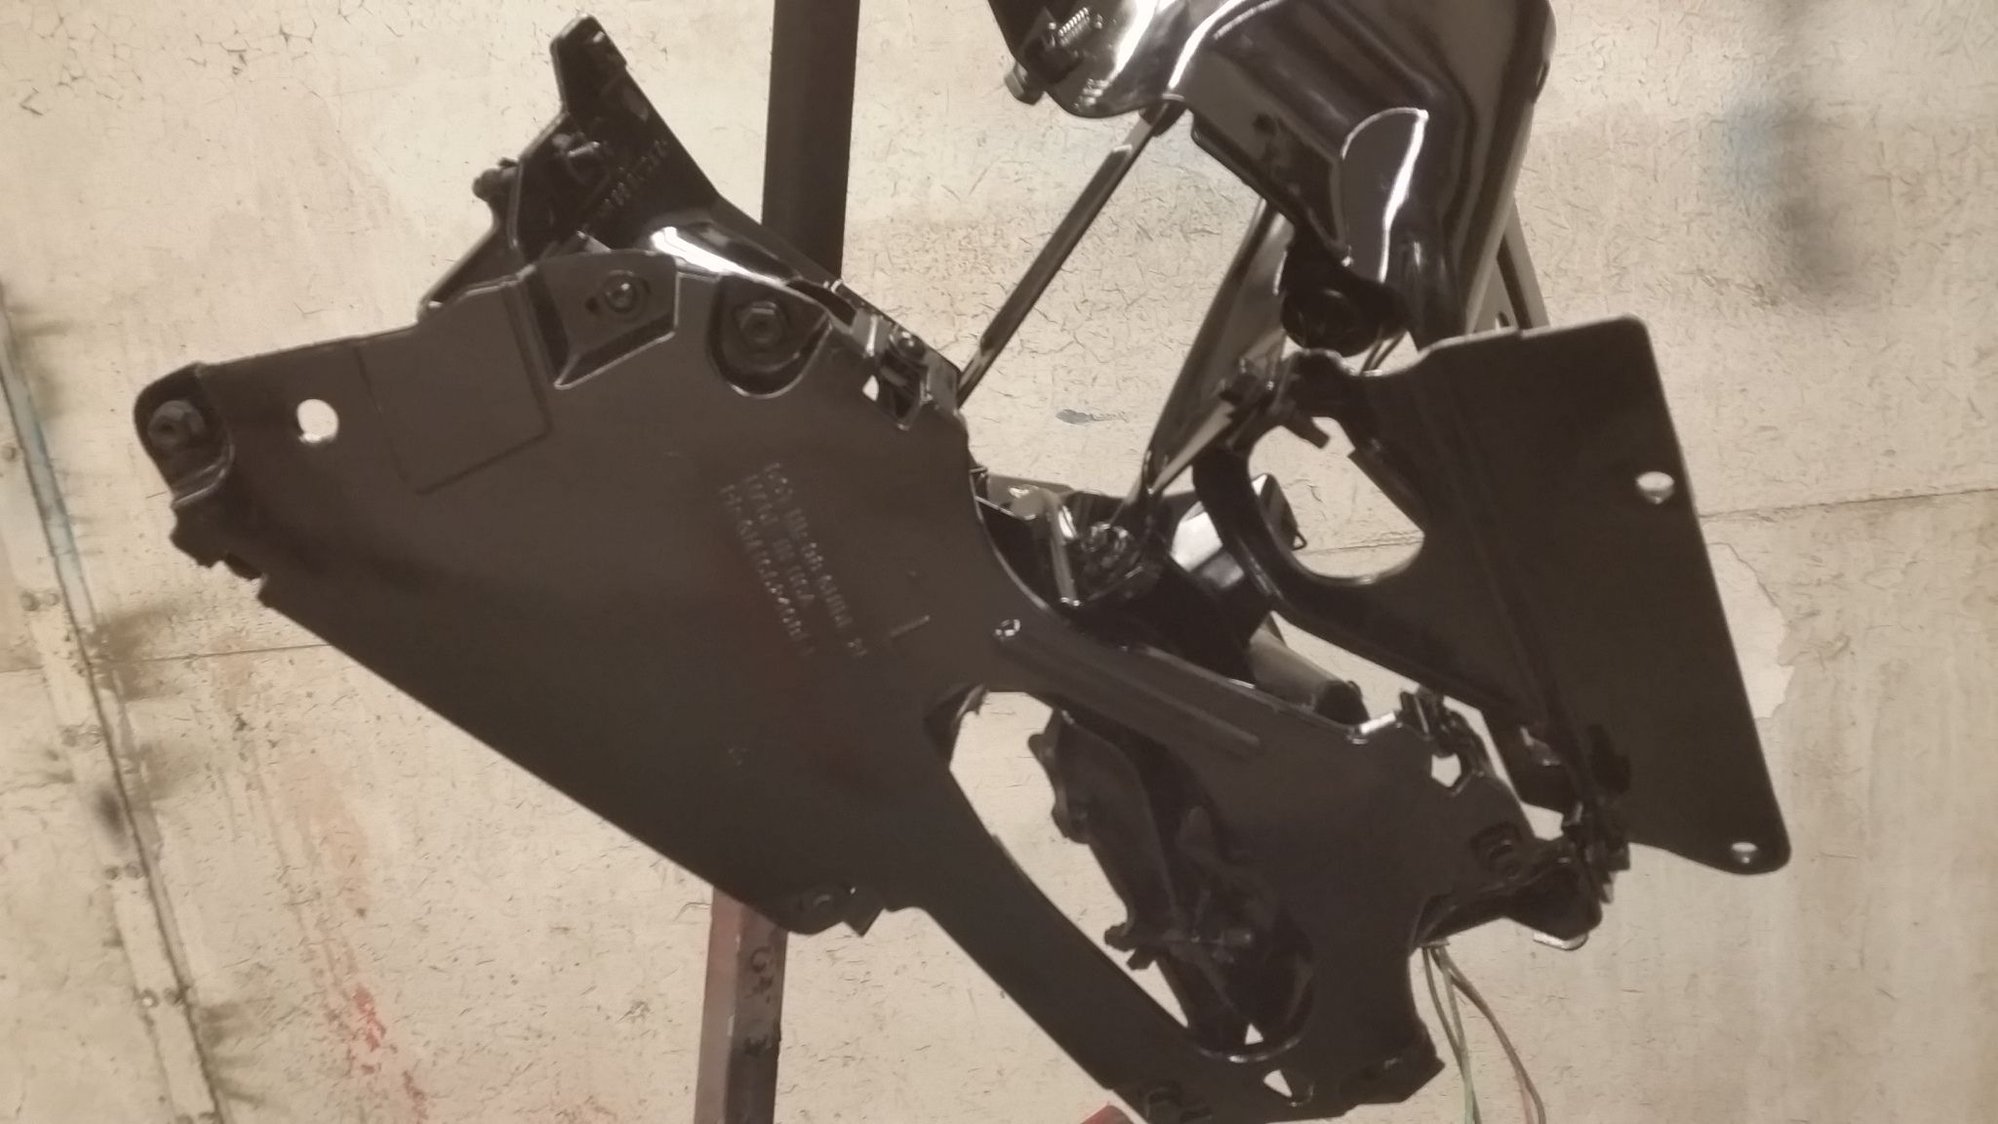
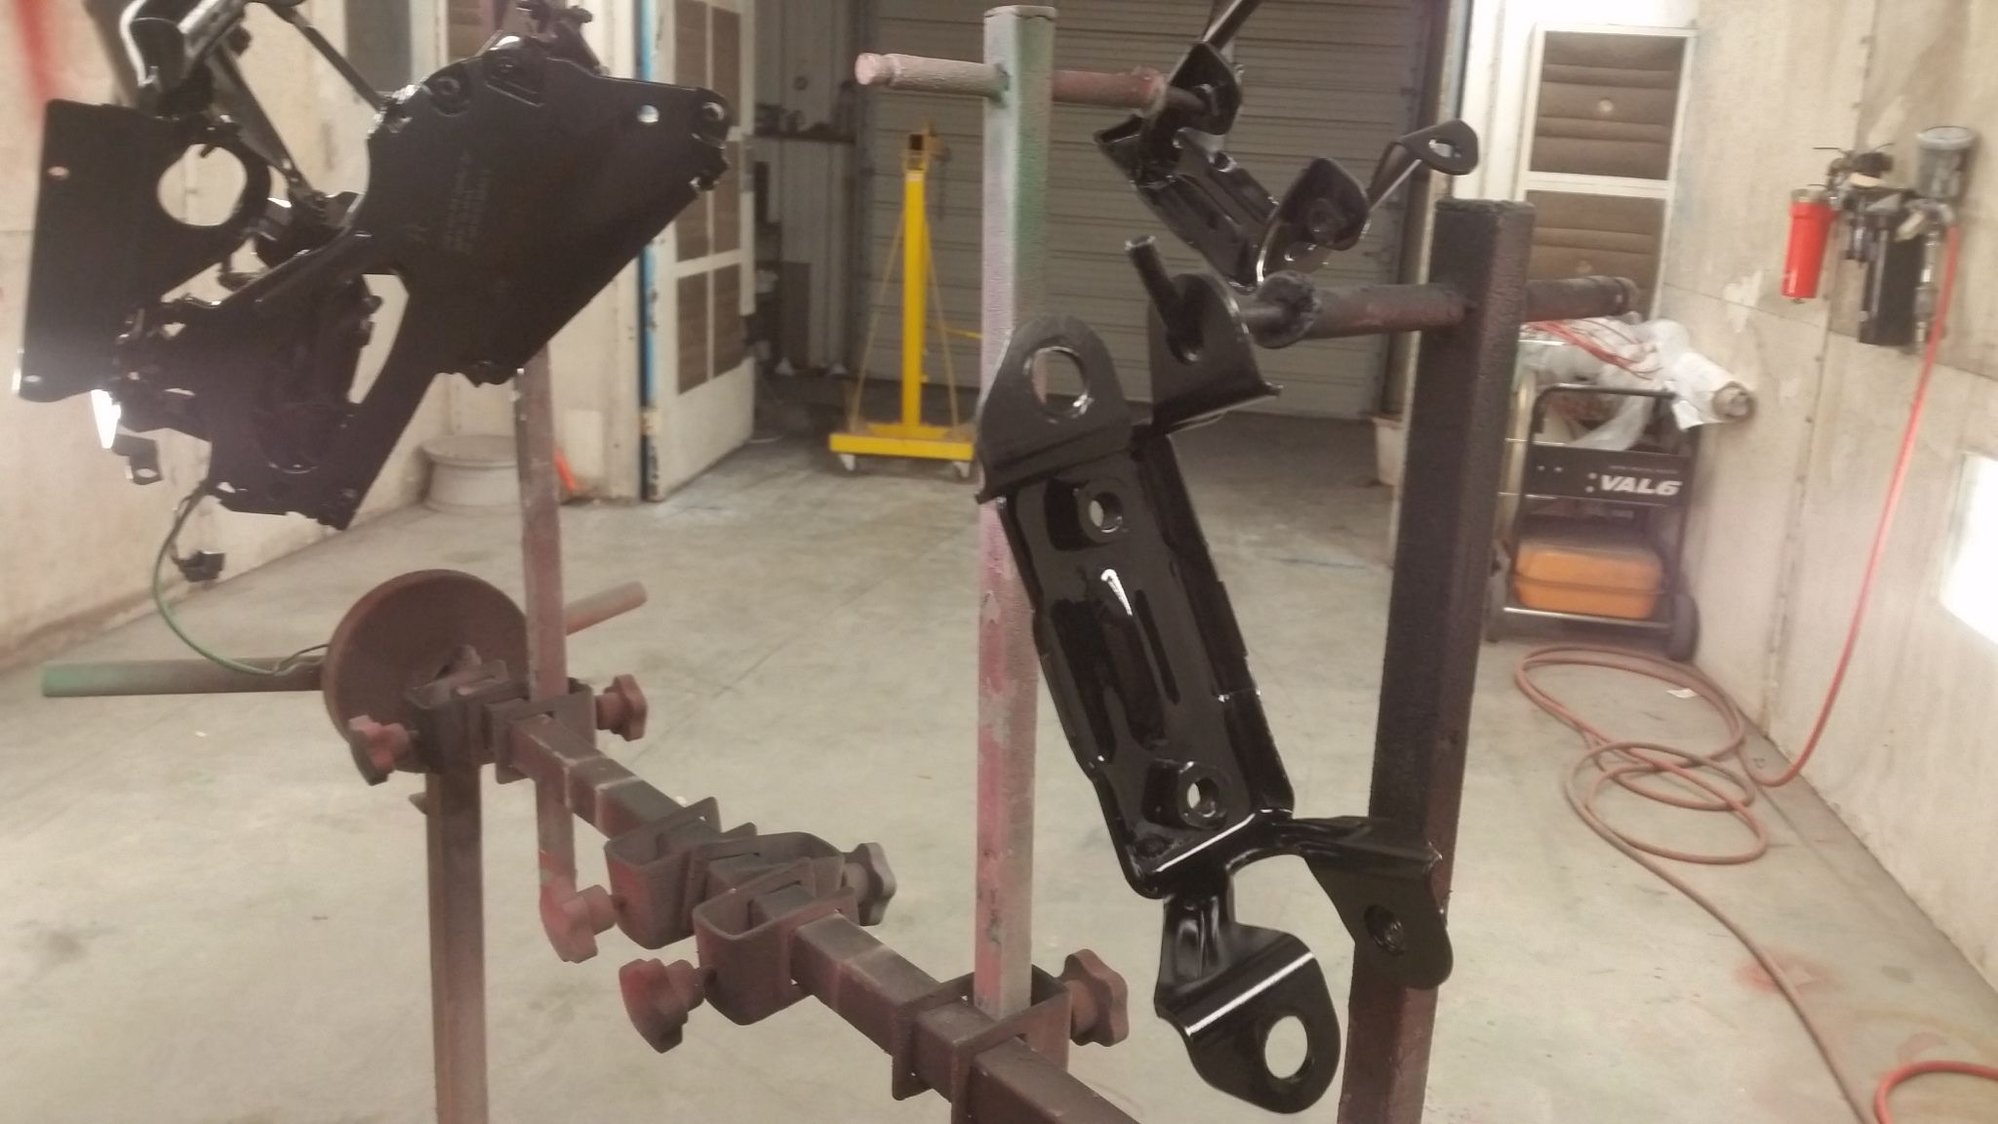
Sway bar brackets painted black. Nothing special.
#75
Launching!
Thread Starter
Join Date: Mar 2009
Location: Weatherford Tx 76085 corner of N. Hwy 51 and 150 Green branch Rd.
Posts: 274
Likes: 0
Received 0 Likes
on
0 Posts

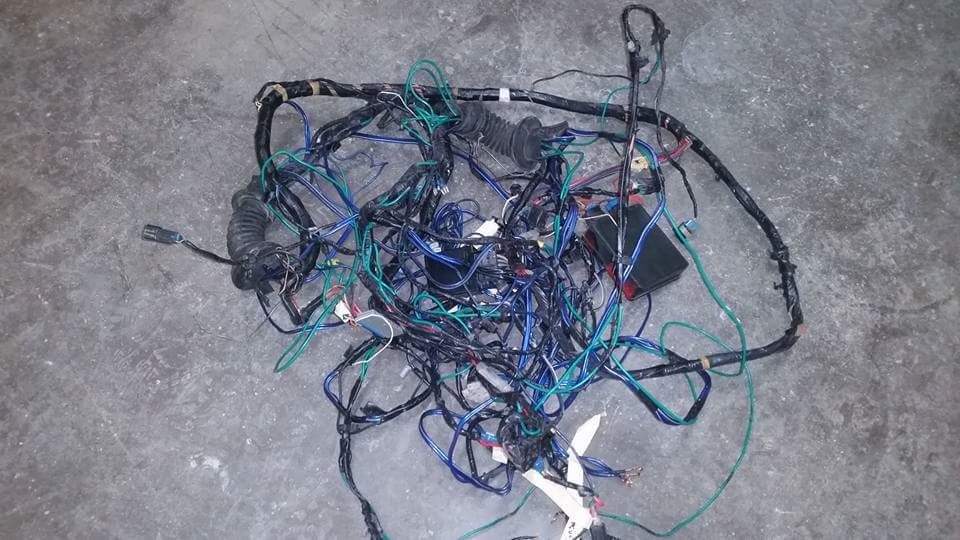
Door wiring
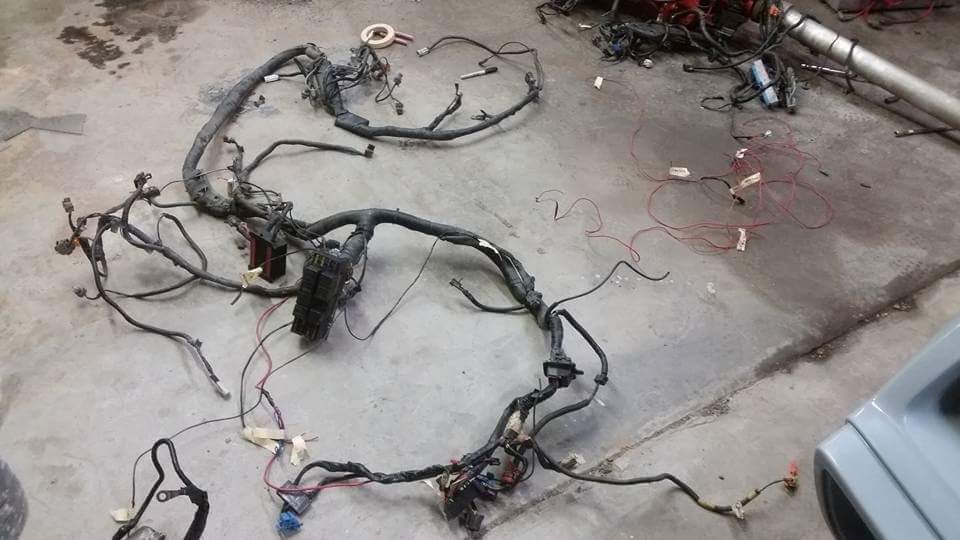
Engine bay wiring
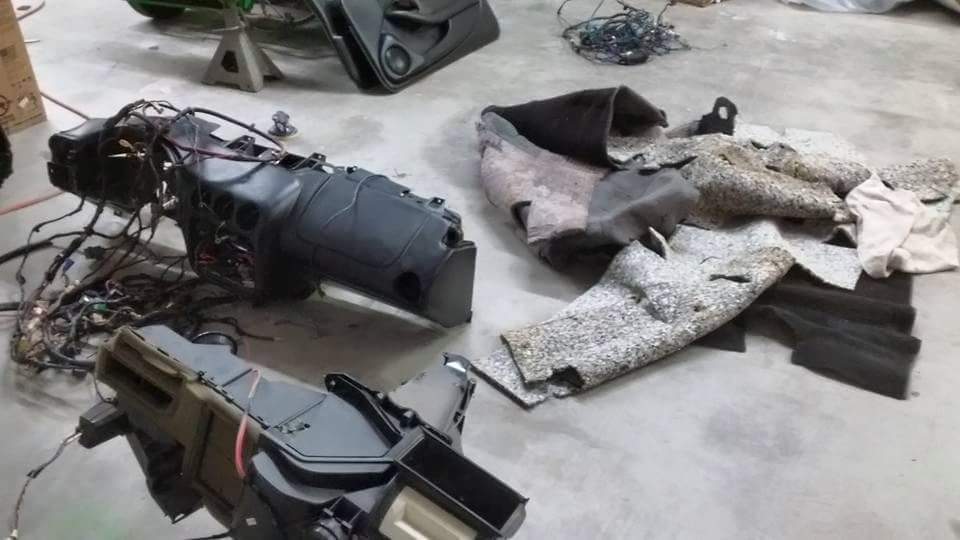
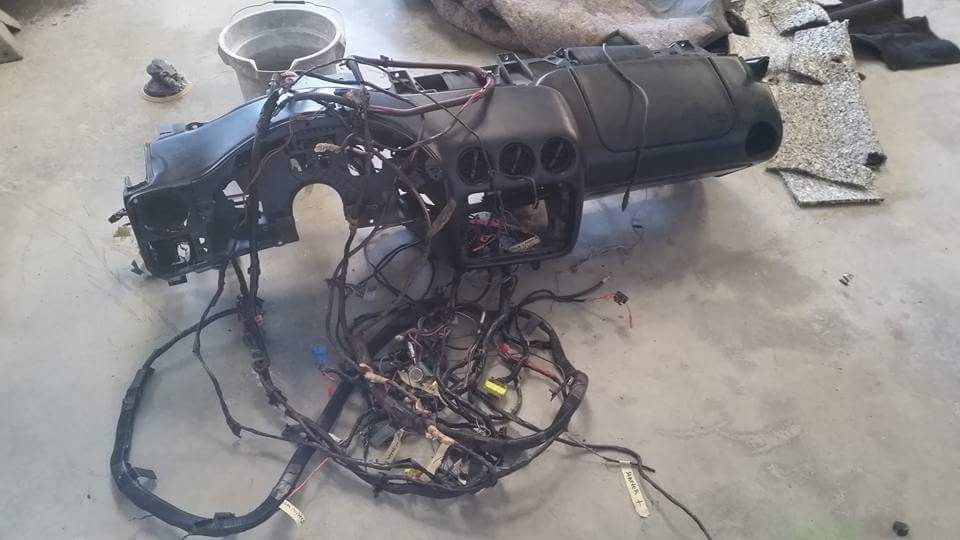
Hvac box, interior carpeting, dashboard,etc interior parts. Dash is painted black.
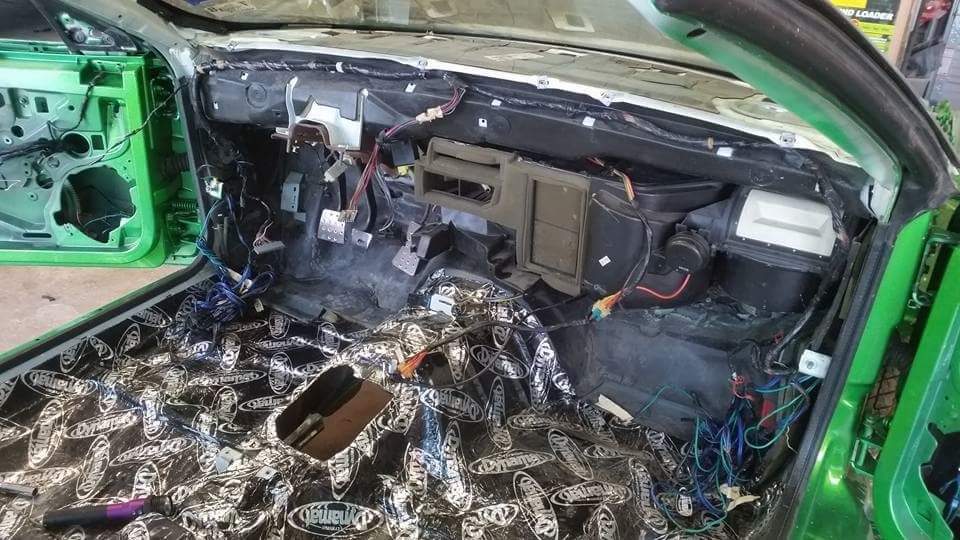
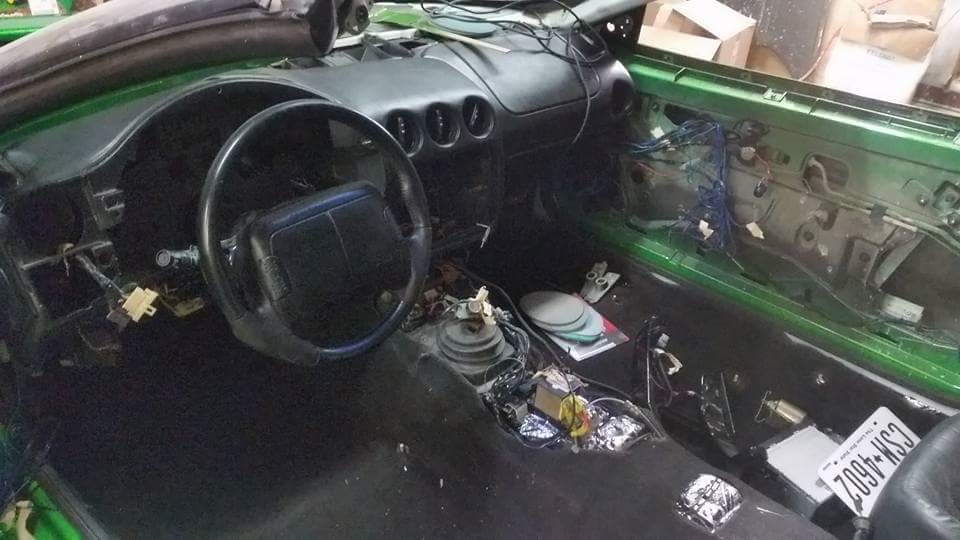
Looking better.
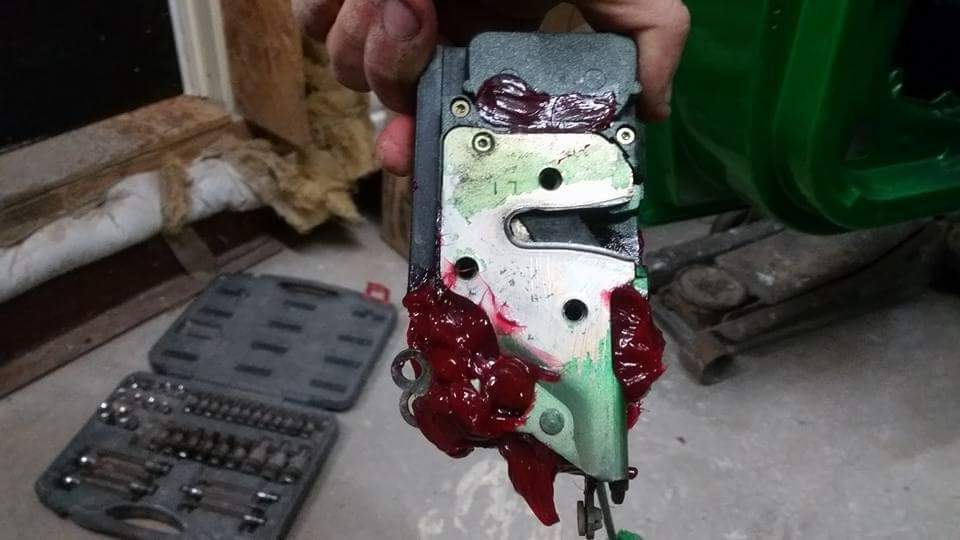
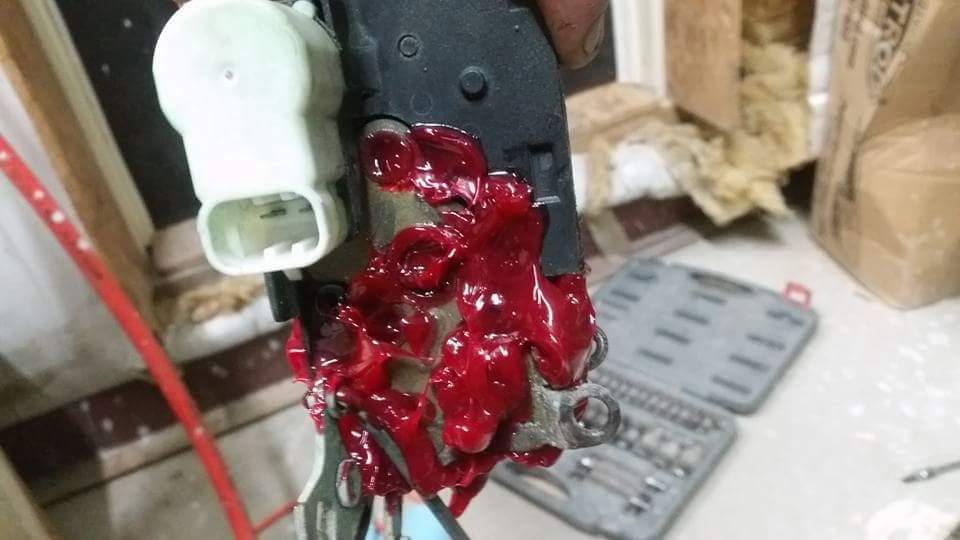
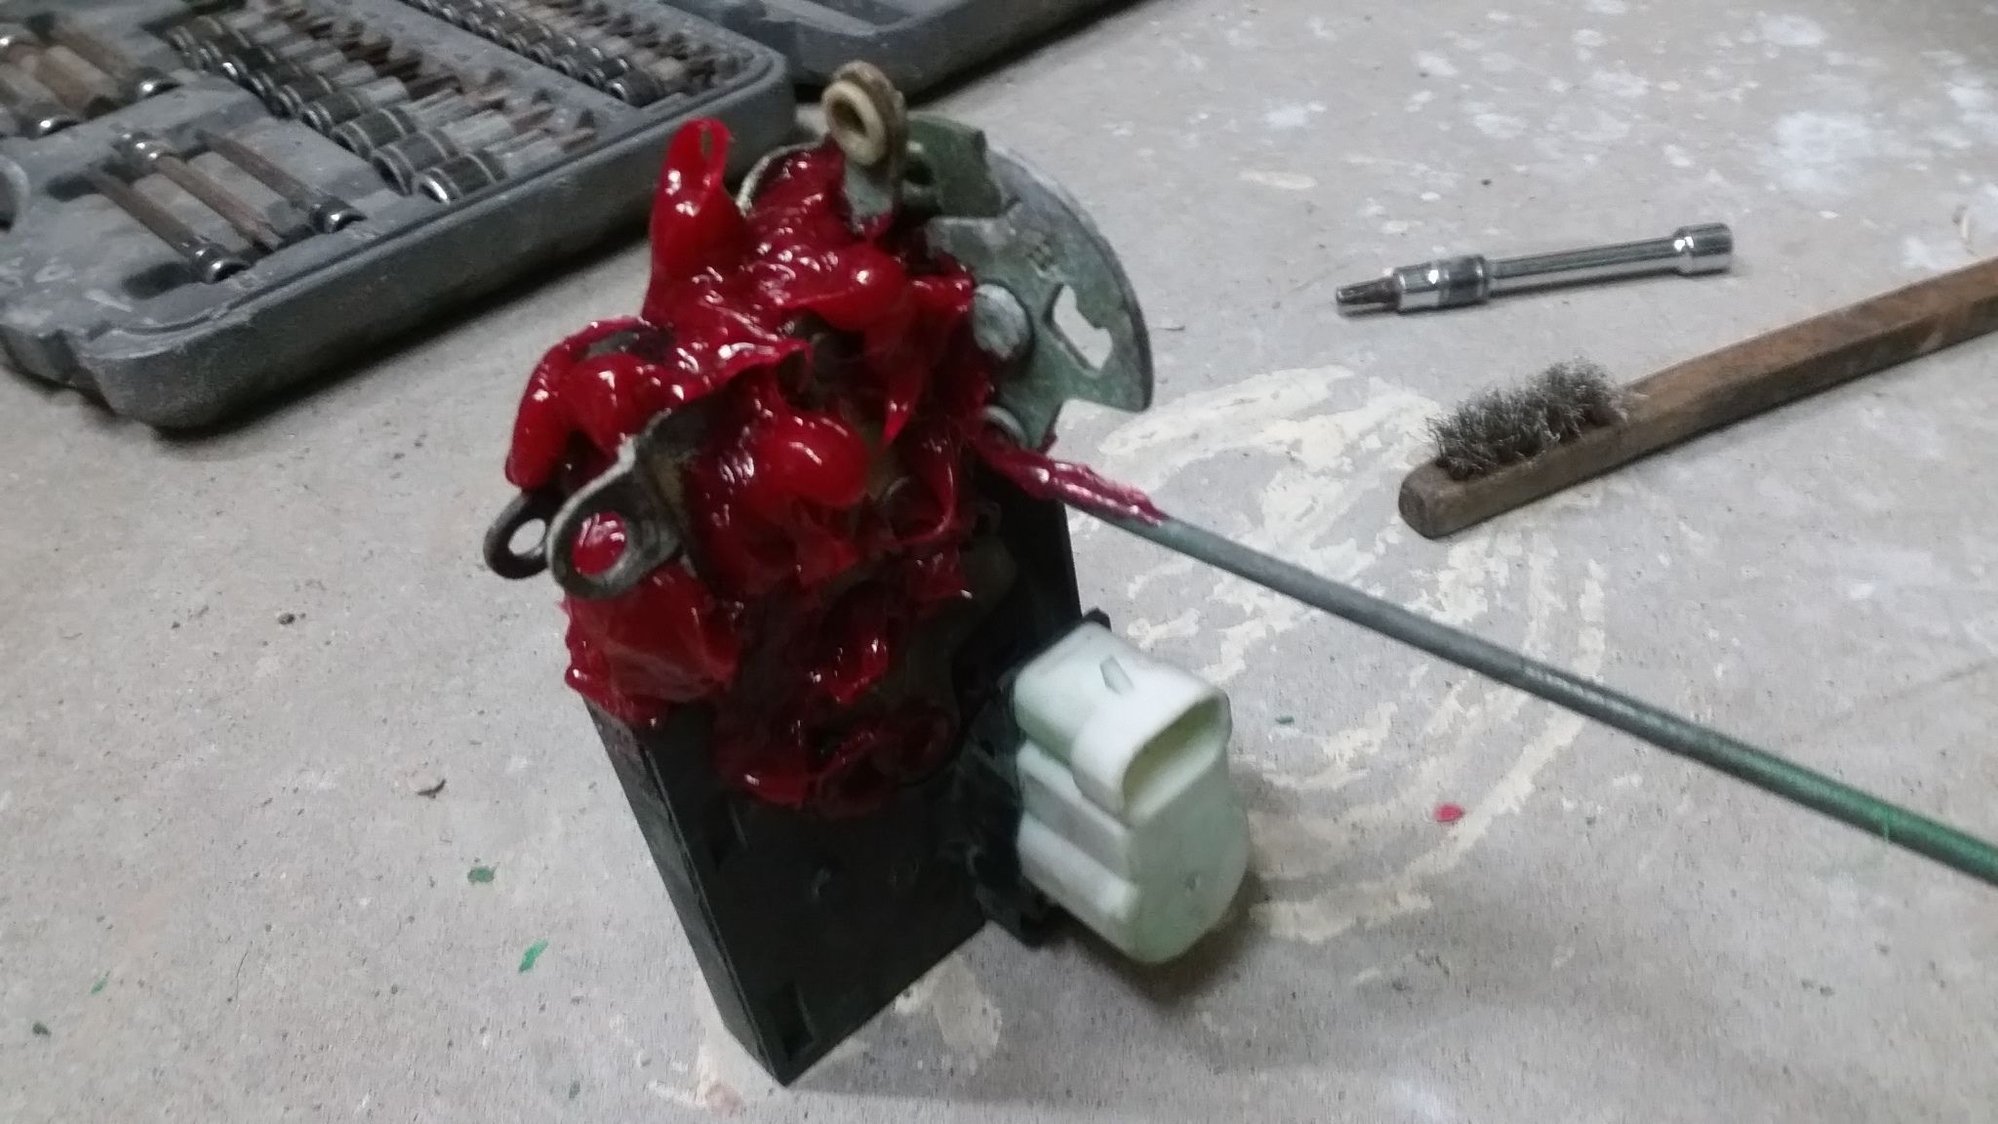
Here's a trick I do for my cars. I fill the latch with grease. And what that does is it absorbs the sound of when the door opens and closes, it looks messy but you will never see it and makes a huge difference. Obviously I don't go shy on it and notice I don't want to put it on where it latches on the striker so it won't make a mess on the striker area.
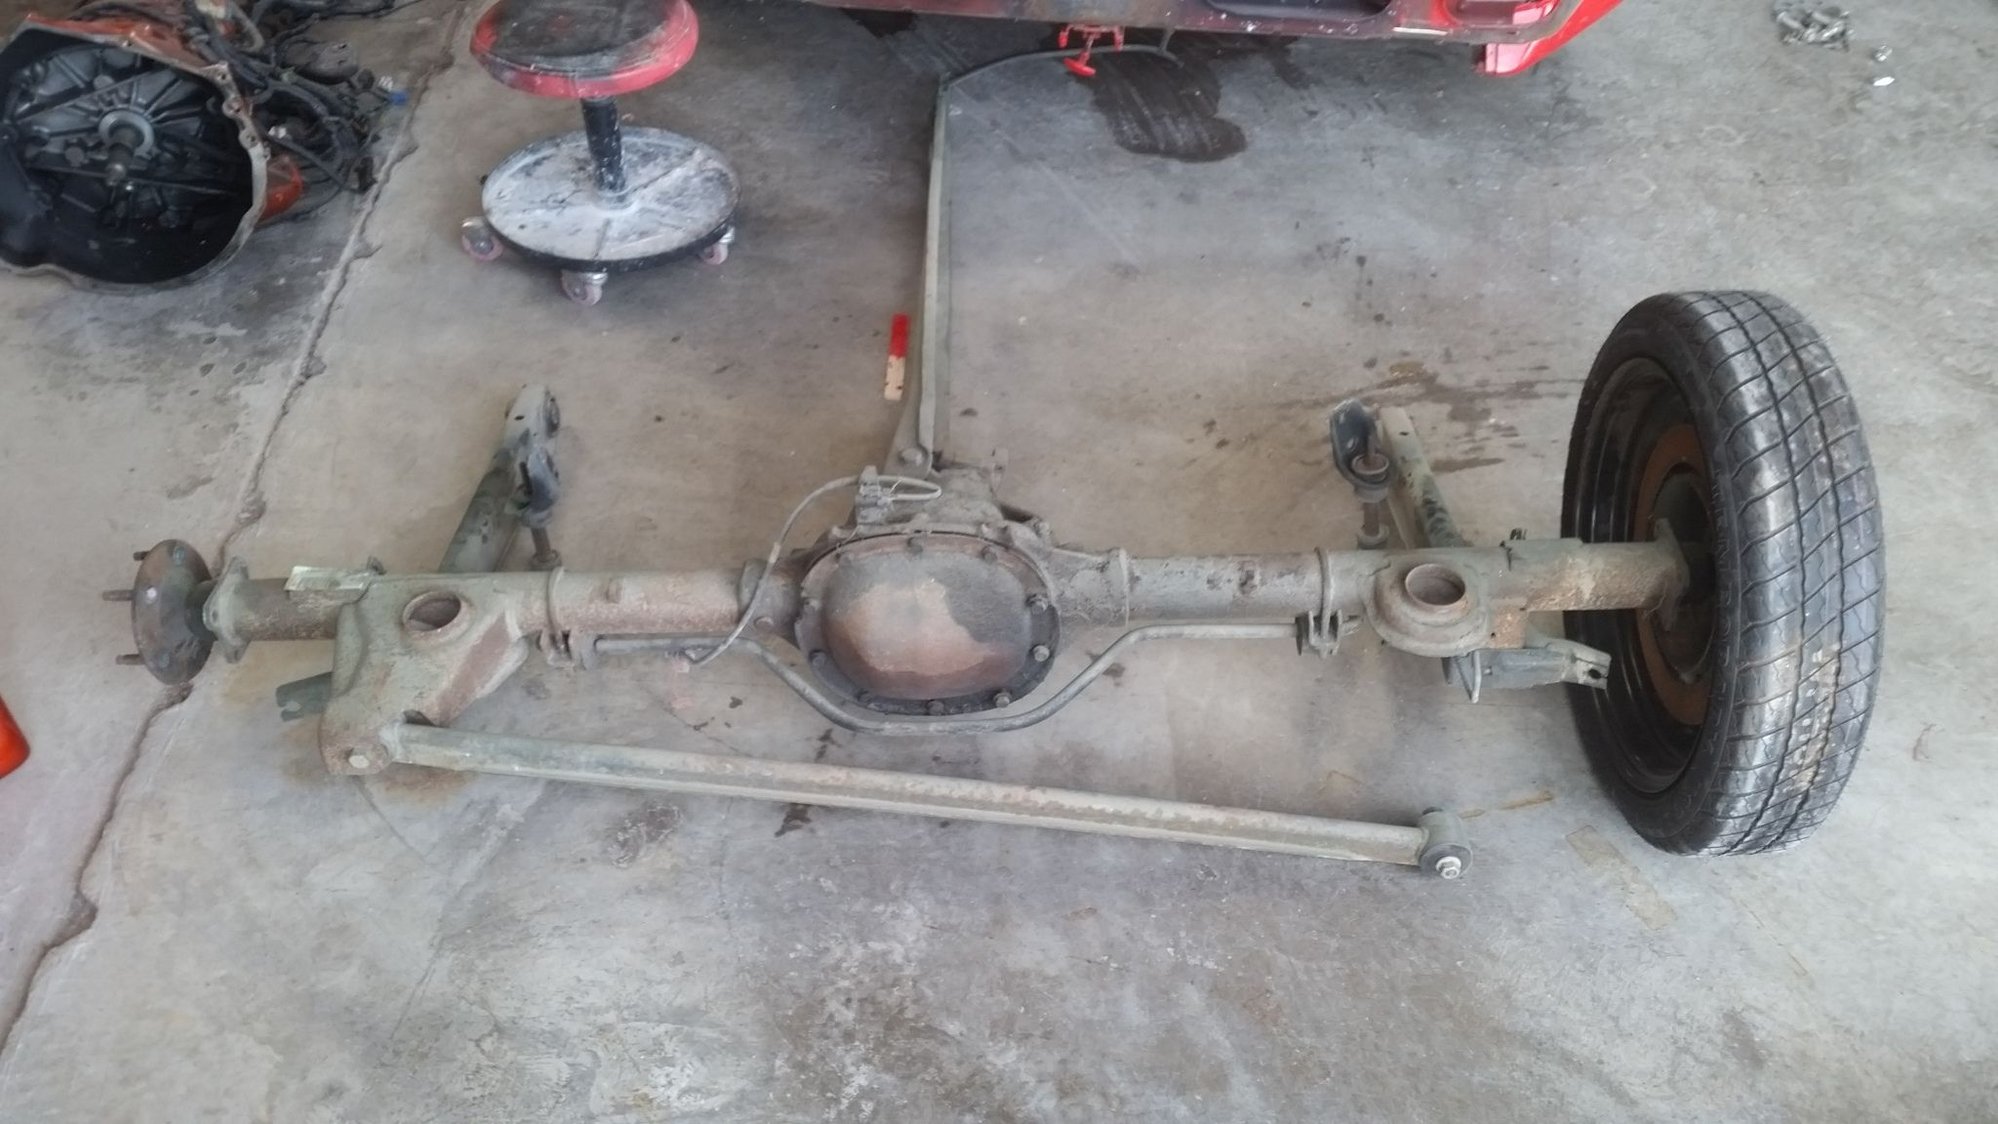
Old v6 rear diff.
#77
Launching!
Thread Starter
Join Date: Mar 2009
Location: Weatherford Tx 76085 corner of N. Hwy 51 and 150 Green branch Rd.
Posts: 274
Likes: 0
Received 0 Likes
on
0 Posts

#78
Launching!
Thread Starter
Join Date: Mar 2009
Location: Weatherford Tx 76085 corner of N. Hwy 51 and 150 Green branch Rd.
Posts: 274
Likes: 0
Received 0 Likes
on
0 Posts

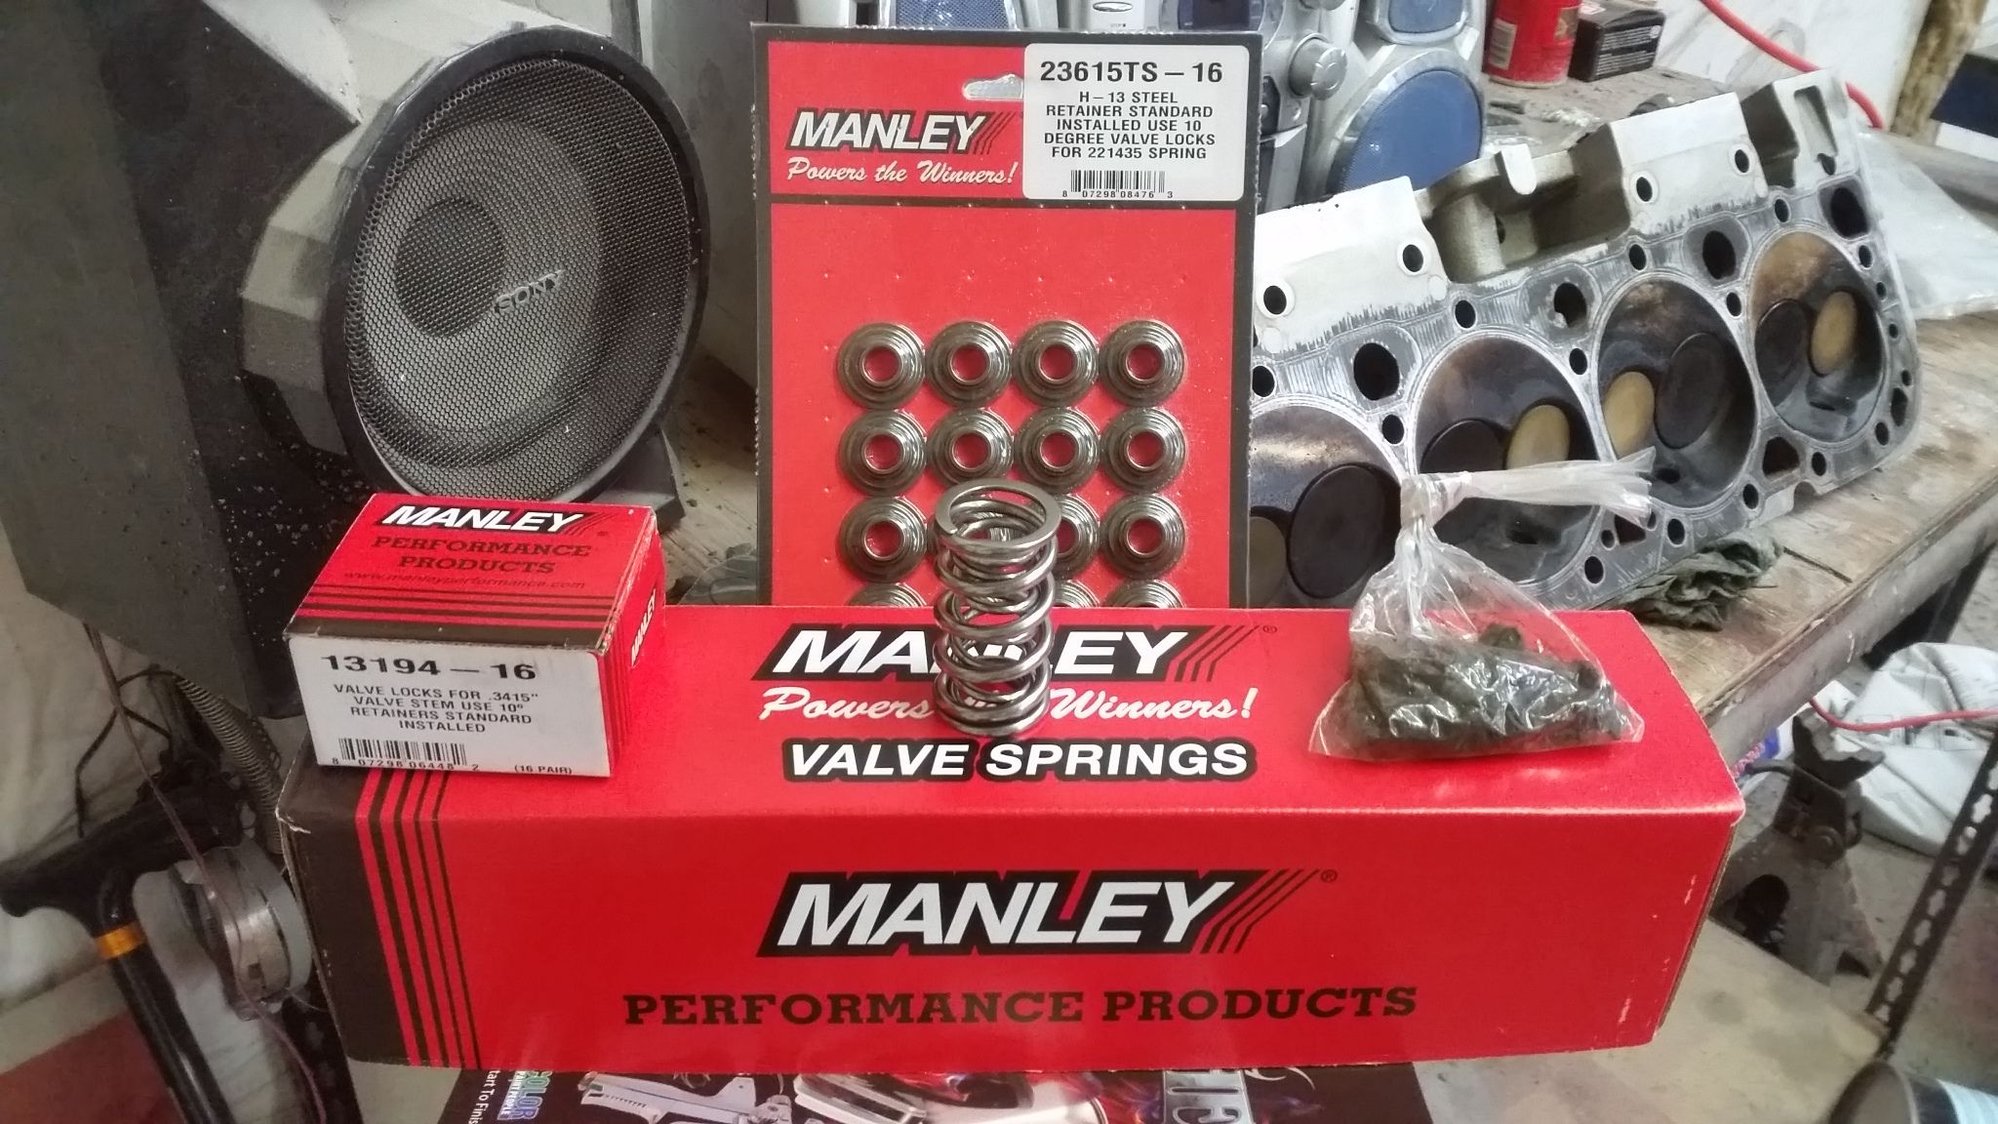
Nextek springs with retainers and locks. Pricey but I like quality parts.
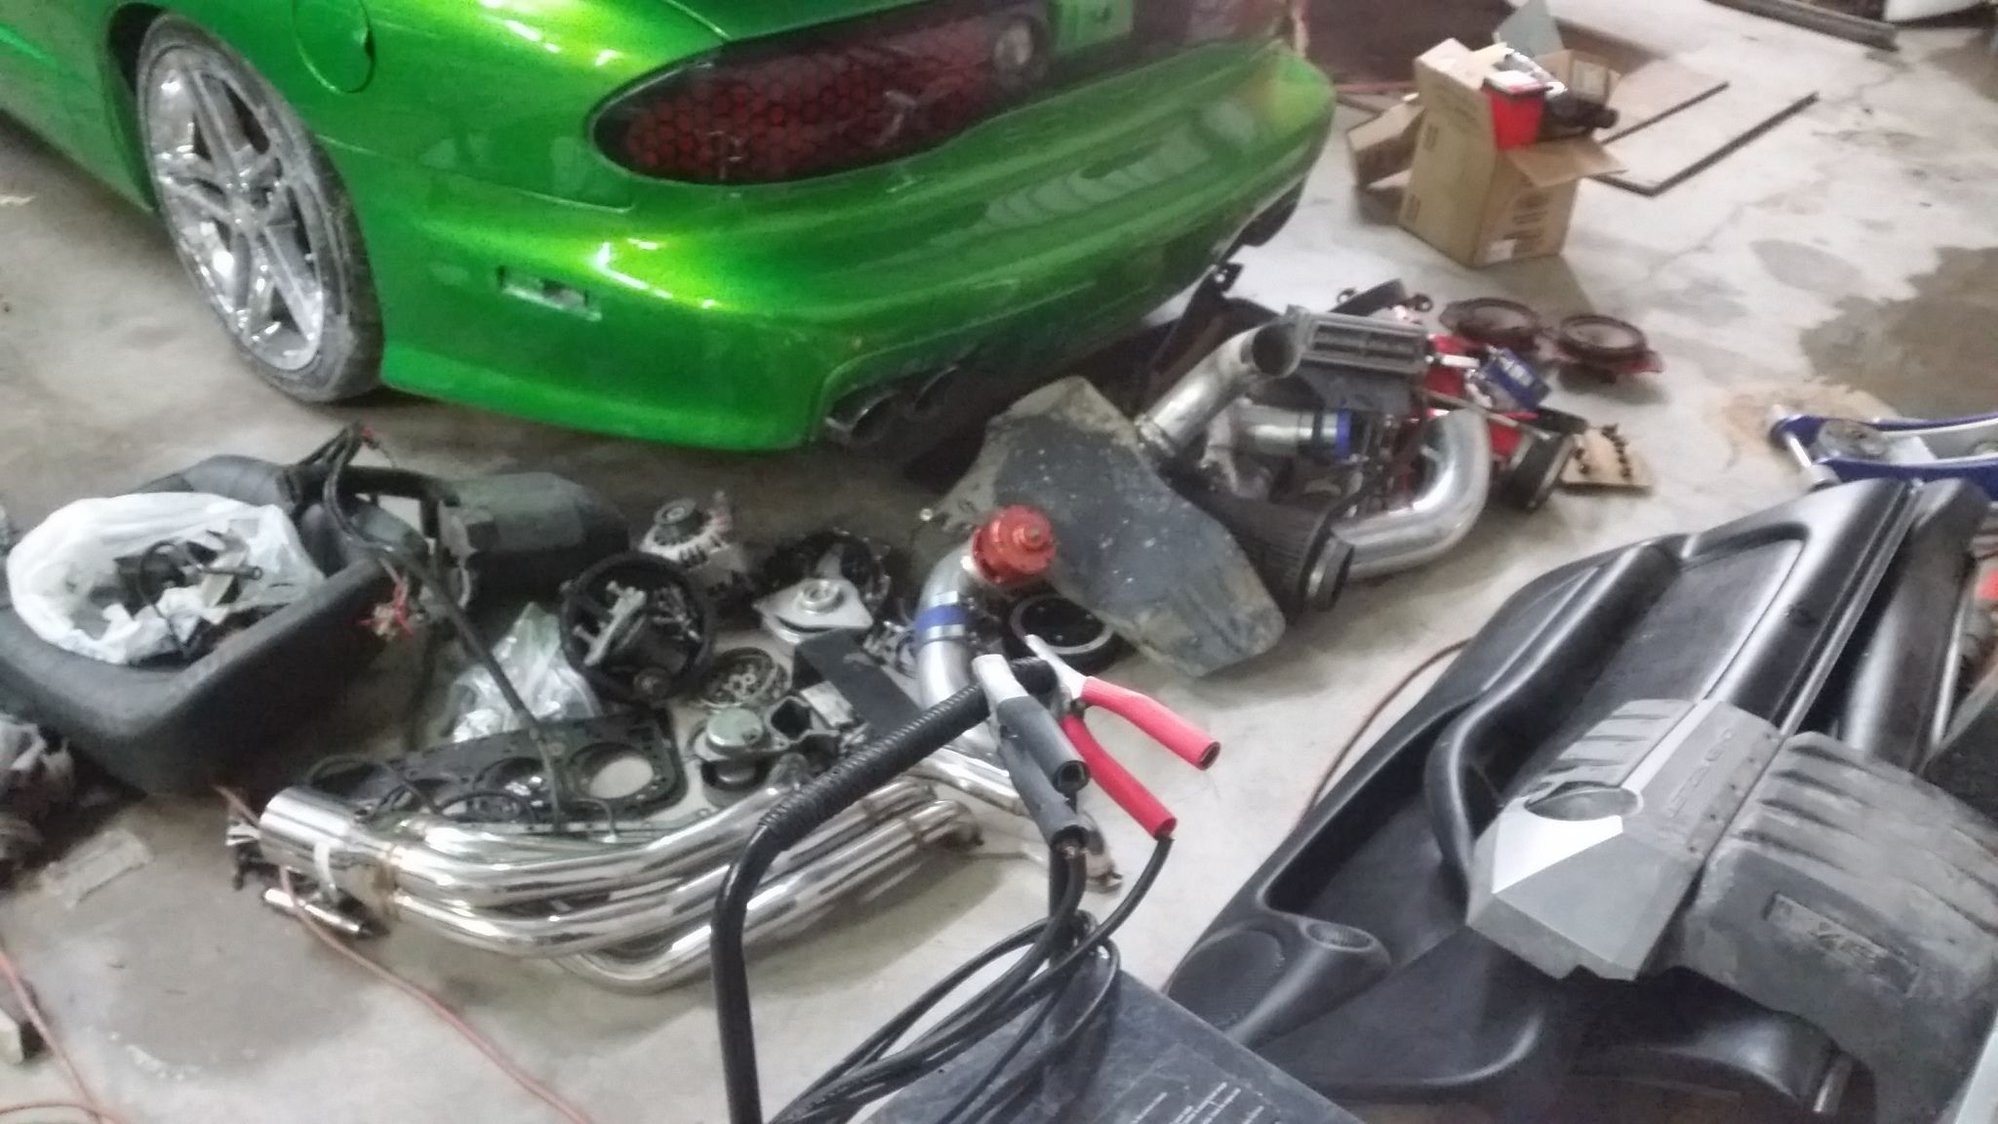
Pile of engine parts.
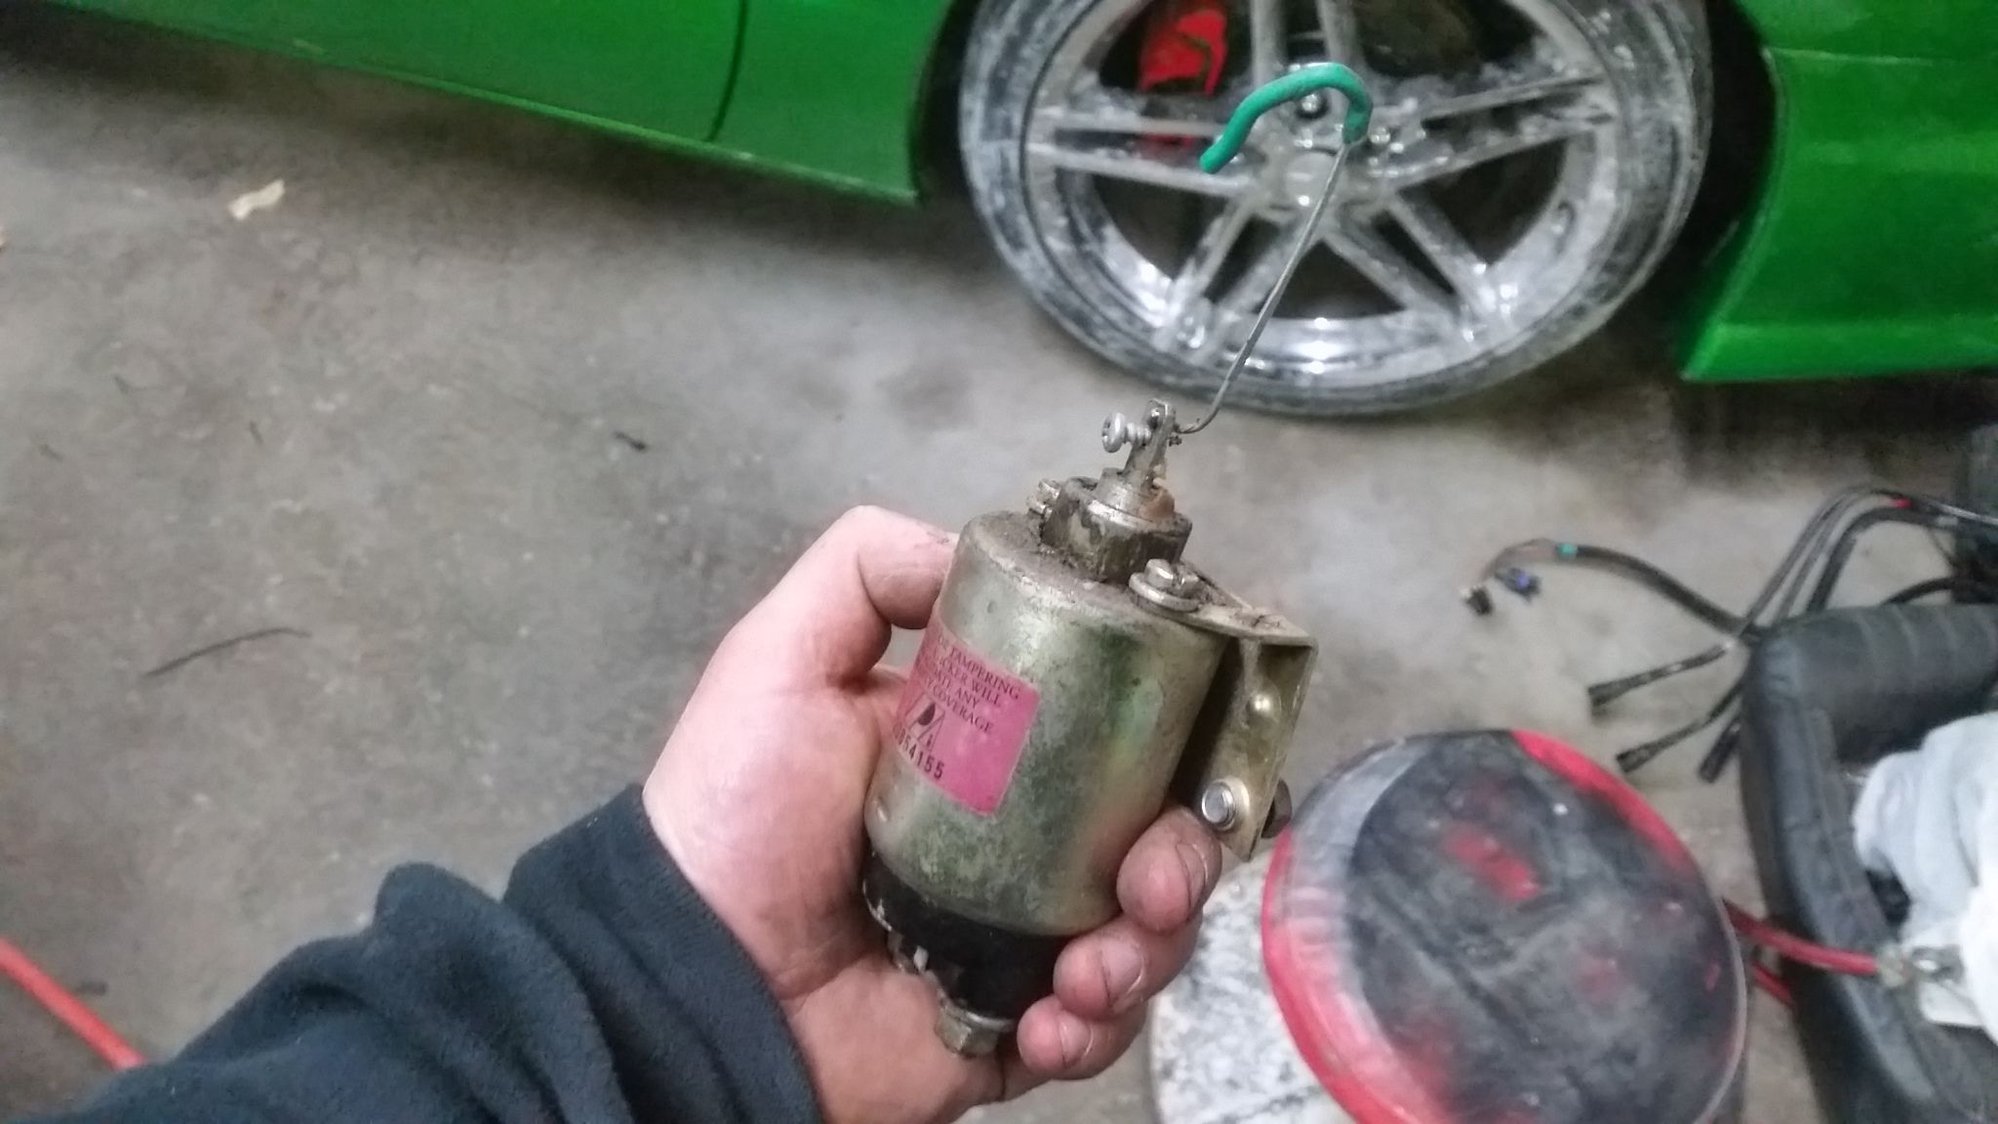
The door solenoid poppers.
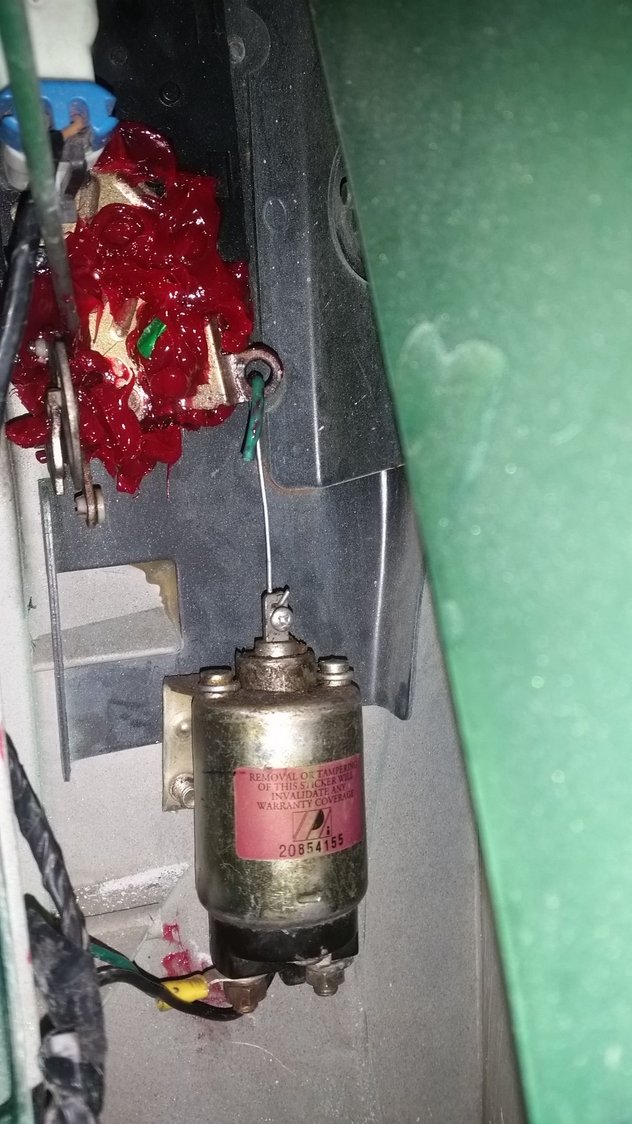
I don't like to use cables but rather have it direct to latch, giving it a smooth operation.
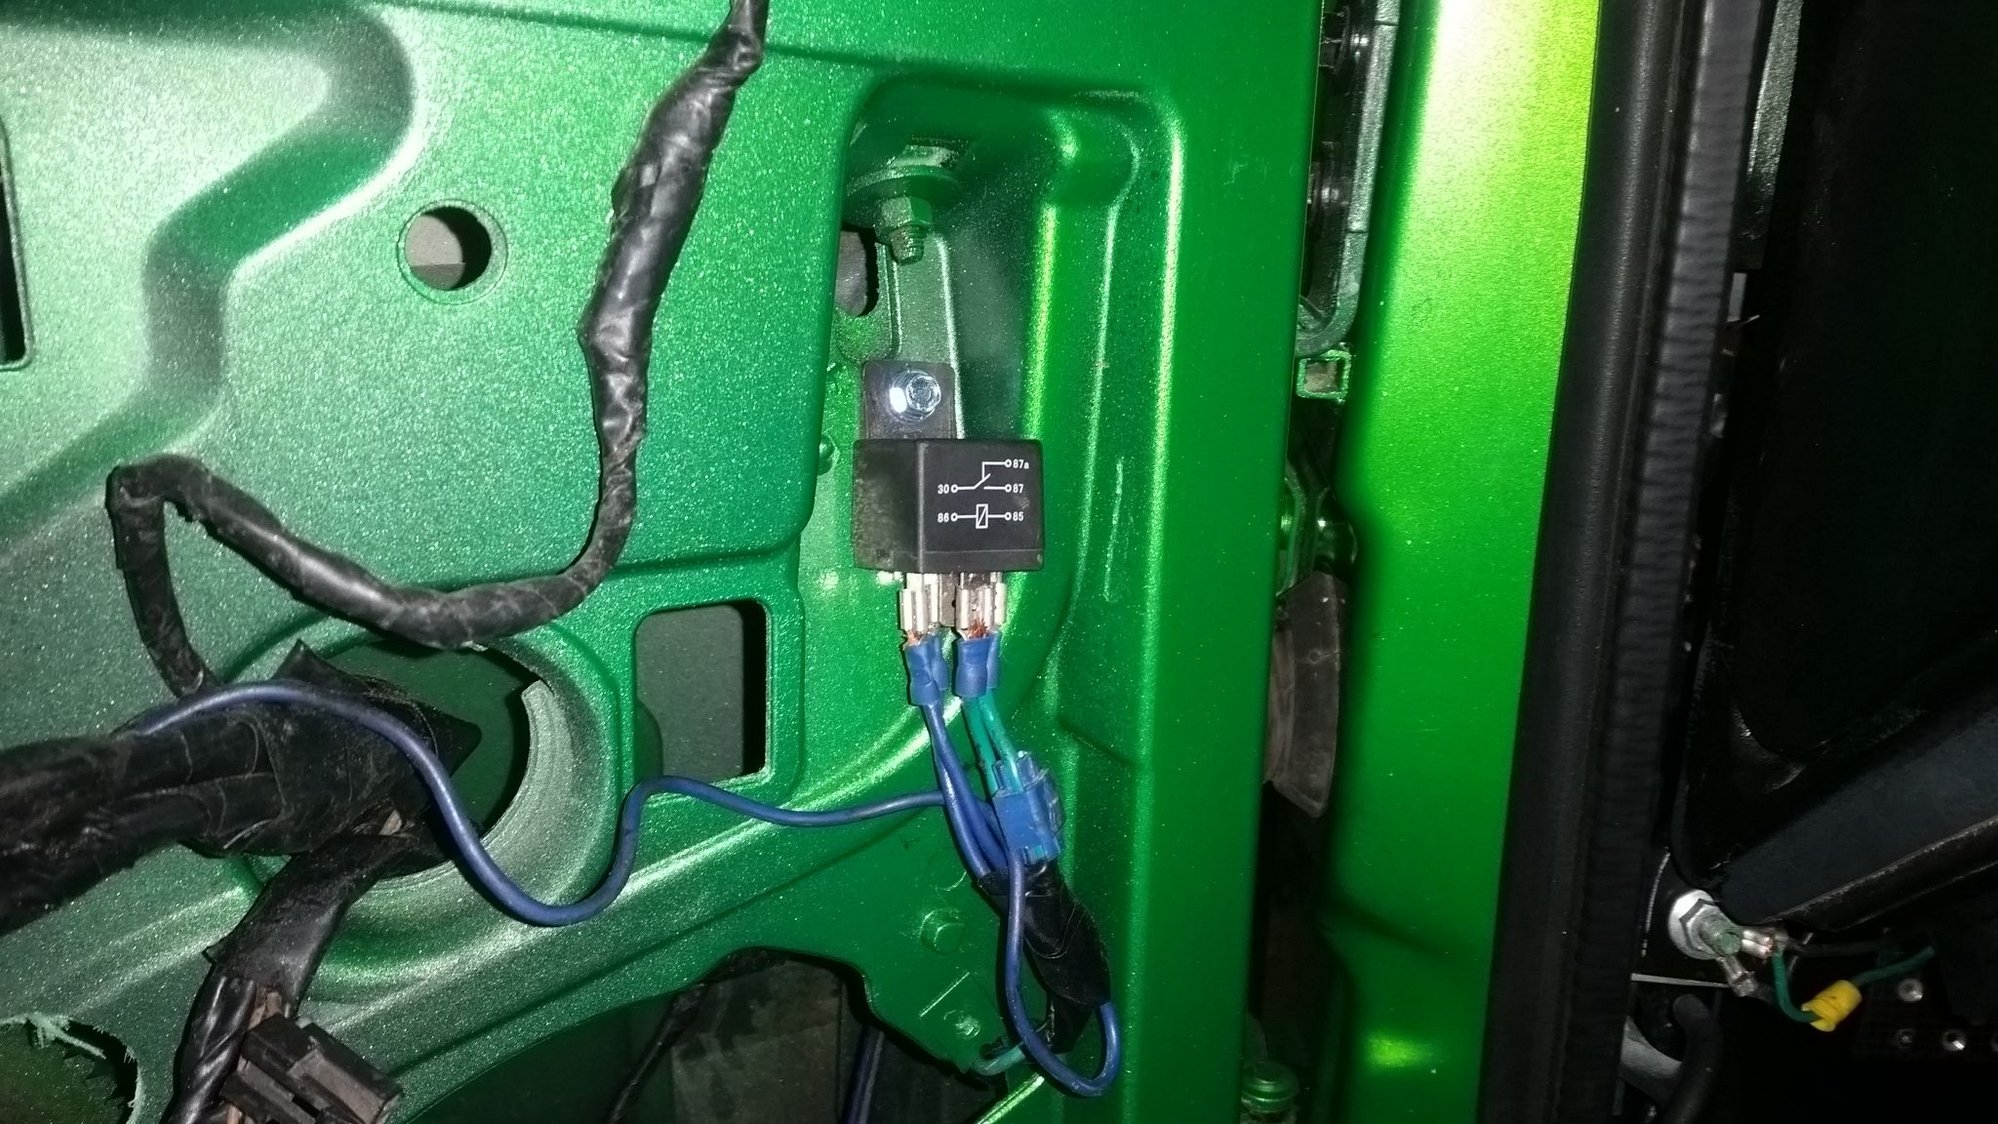
Relay for the shaved door kit.
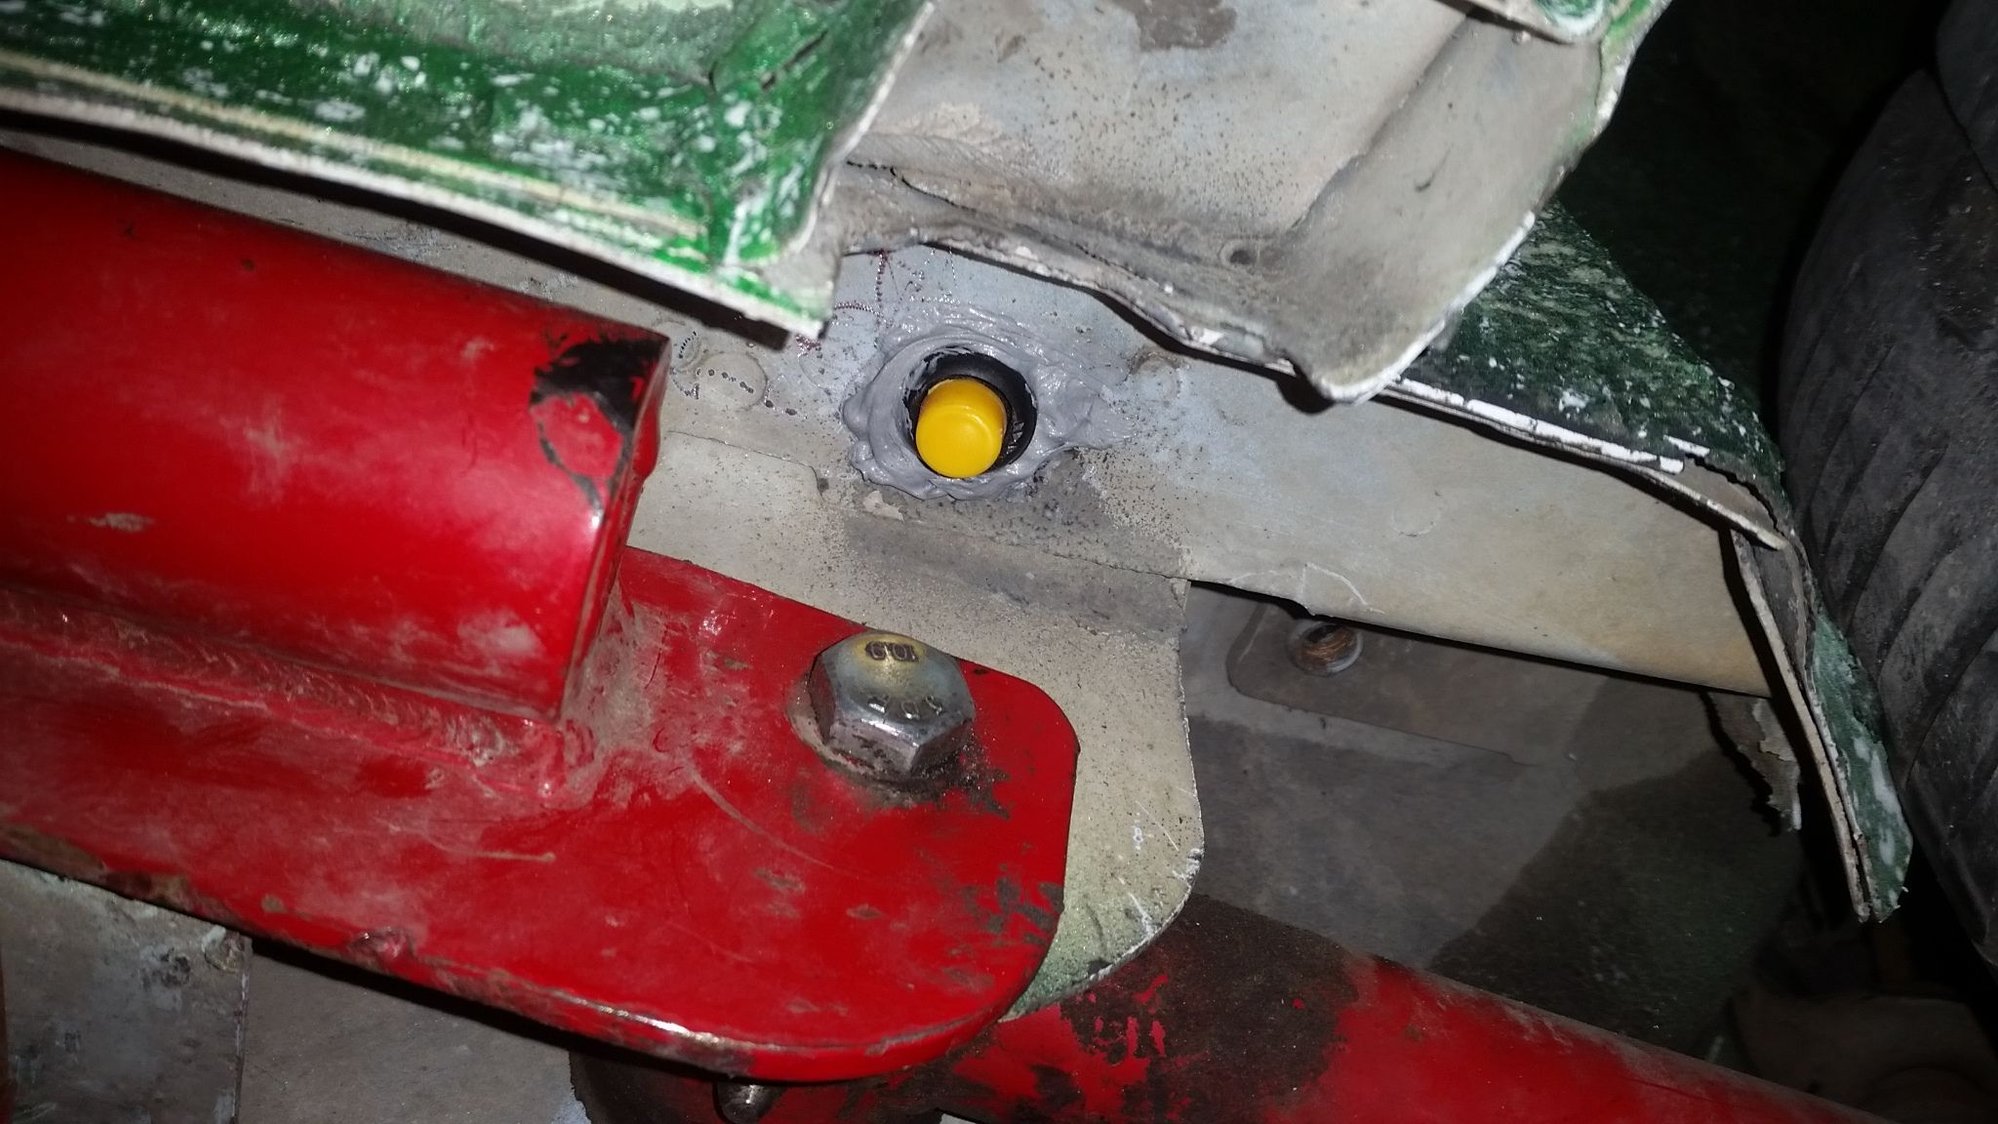
The hidden emergency door opener, one for each side.
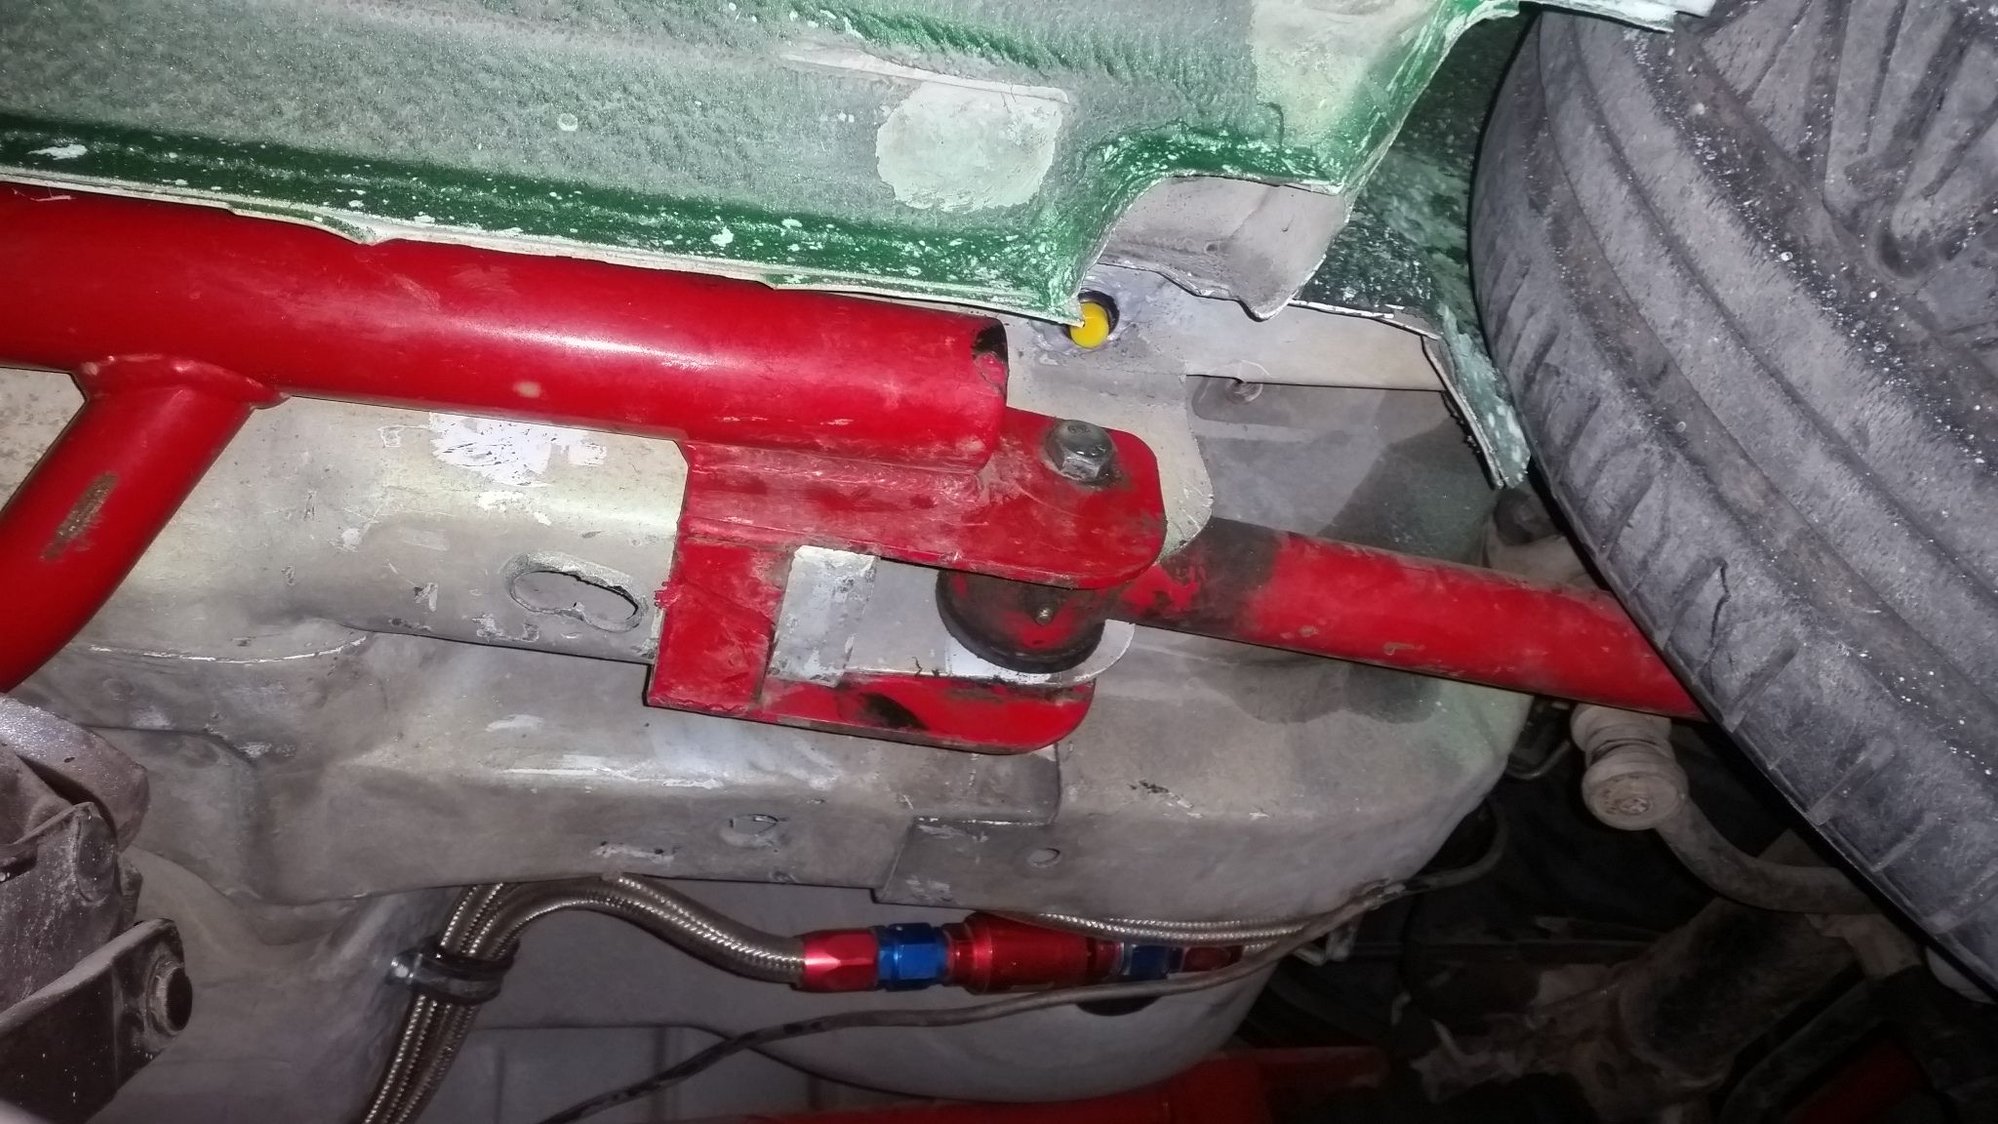
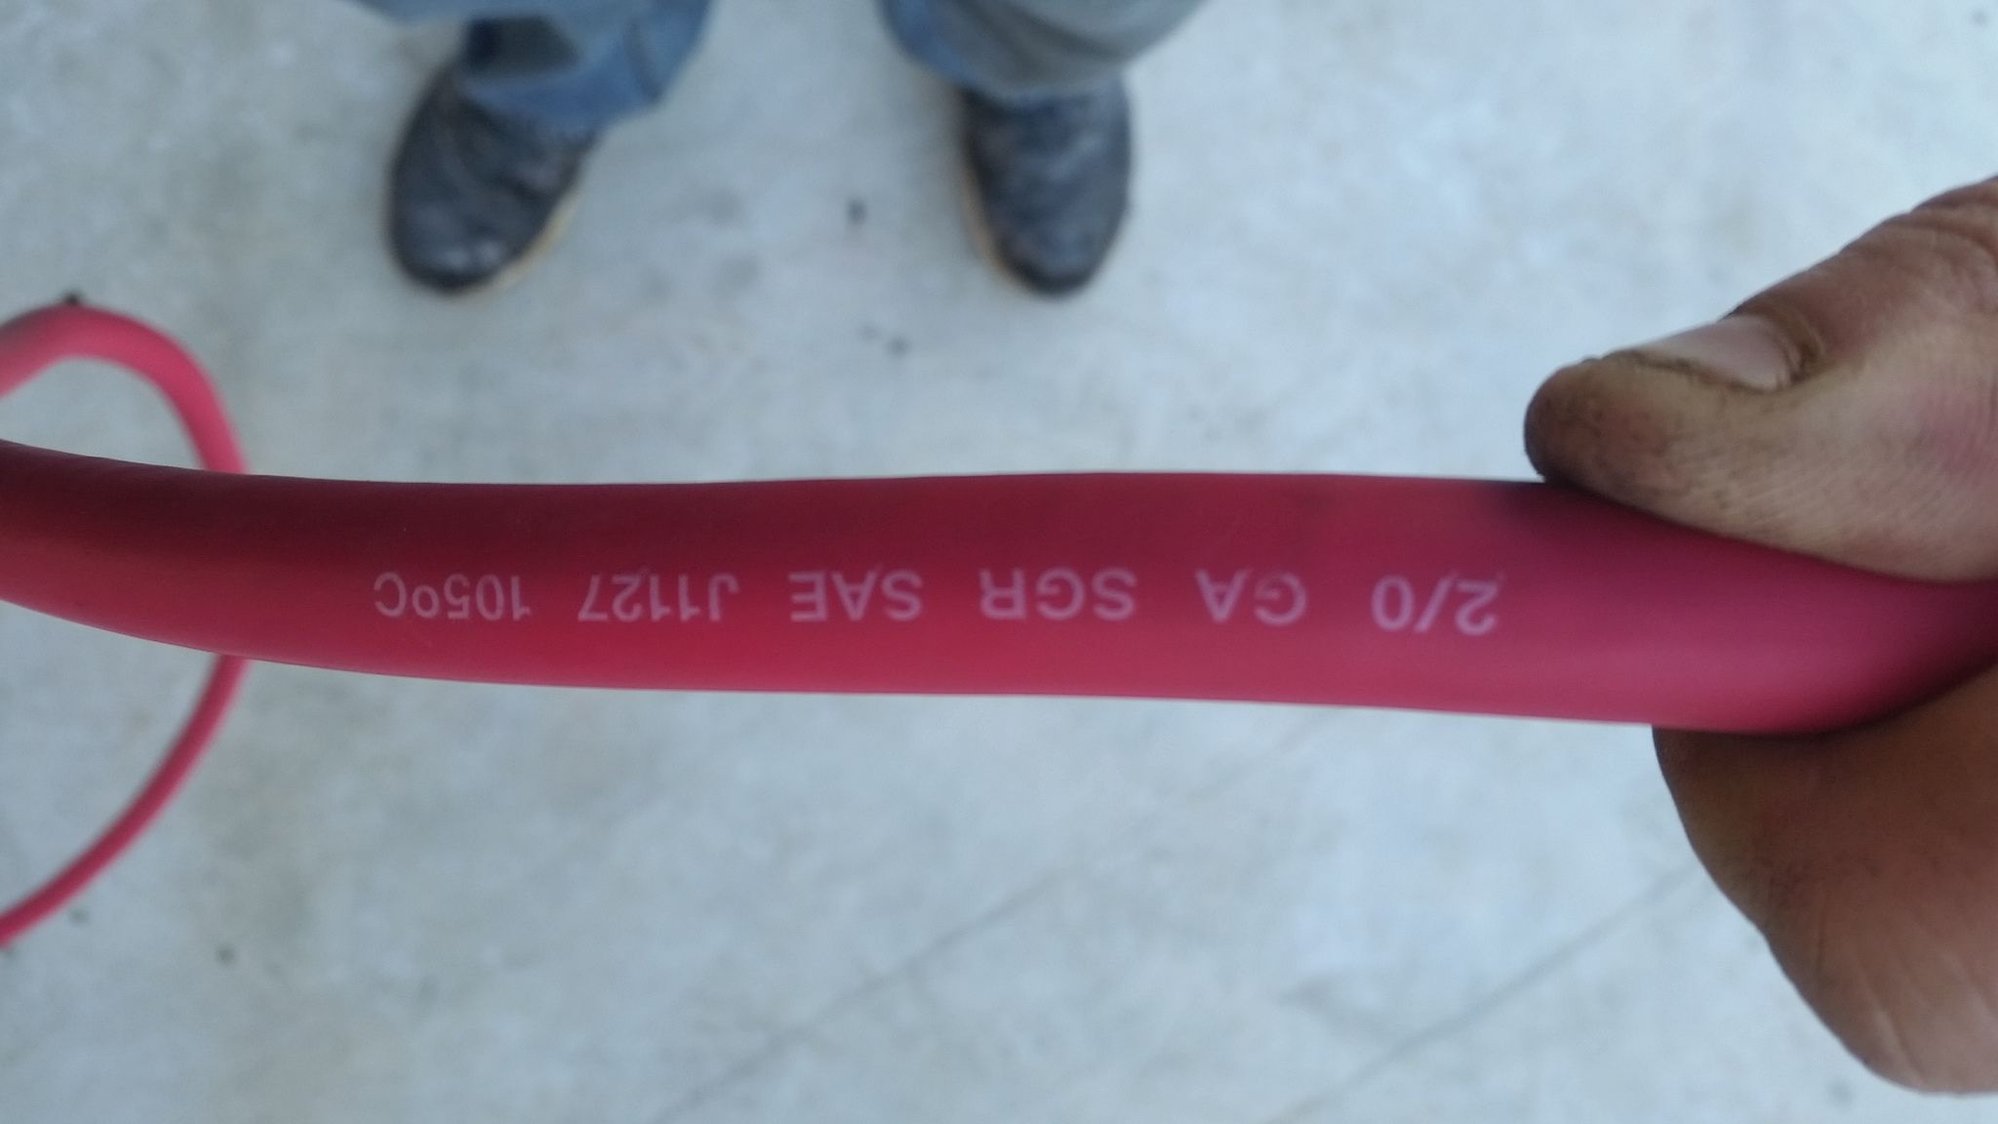
Using 2/0 gauge for power cable running from back to front of car.
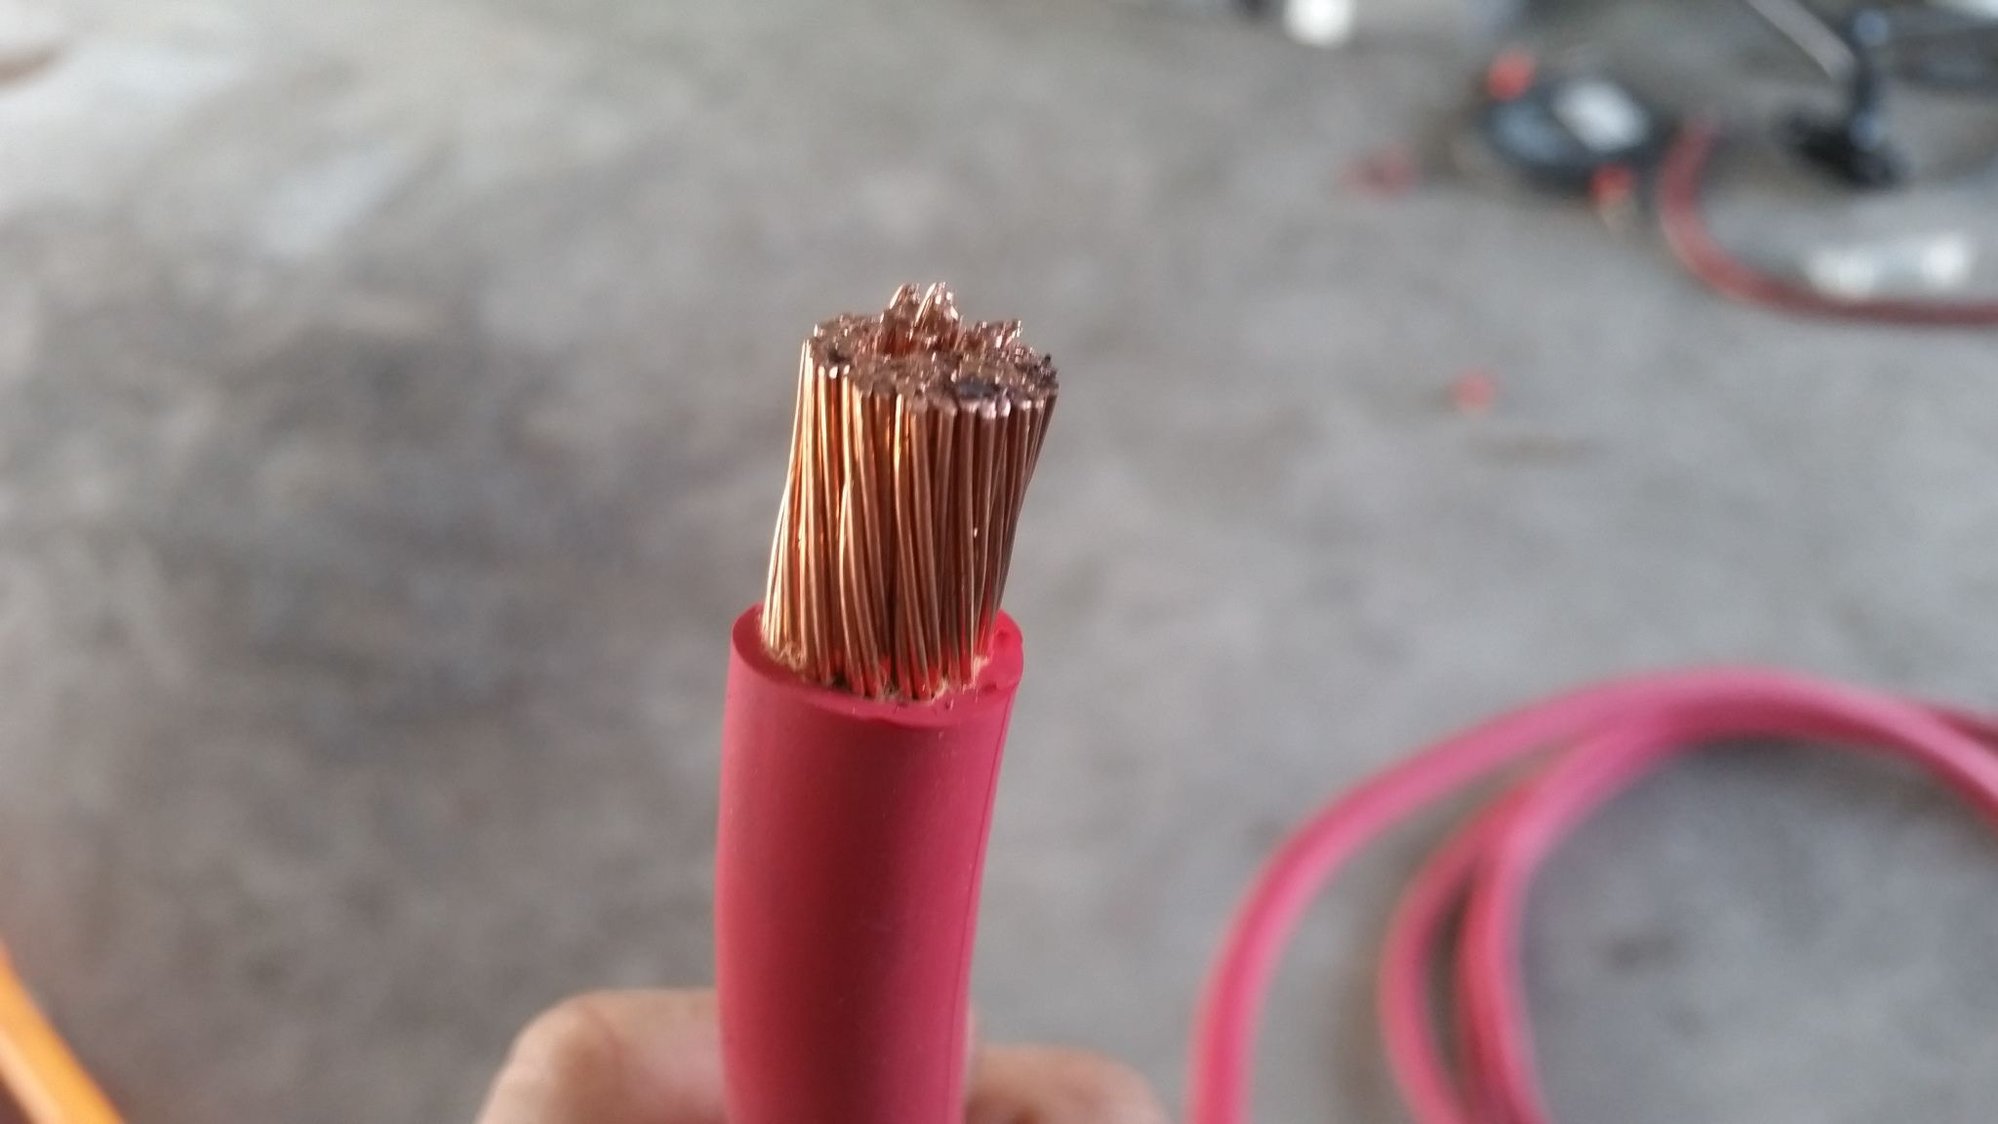
Won't have any trouble cranking the engine with this cable.
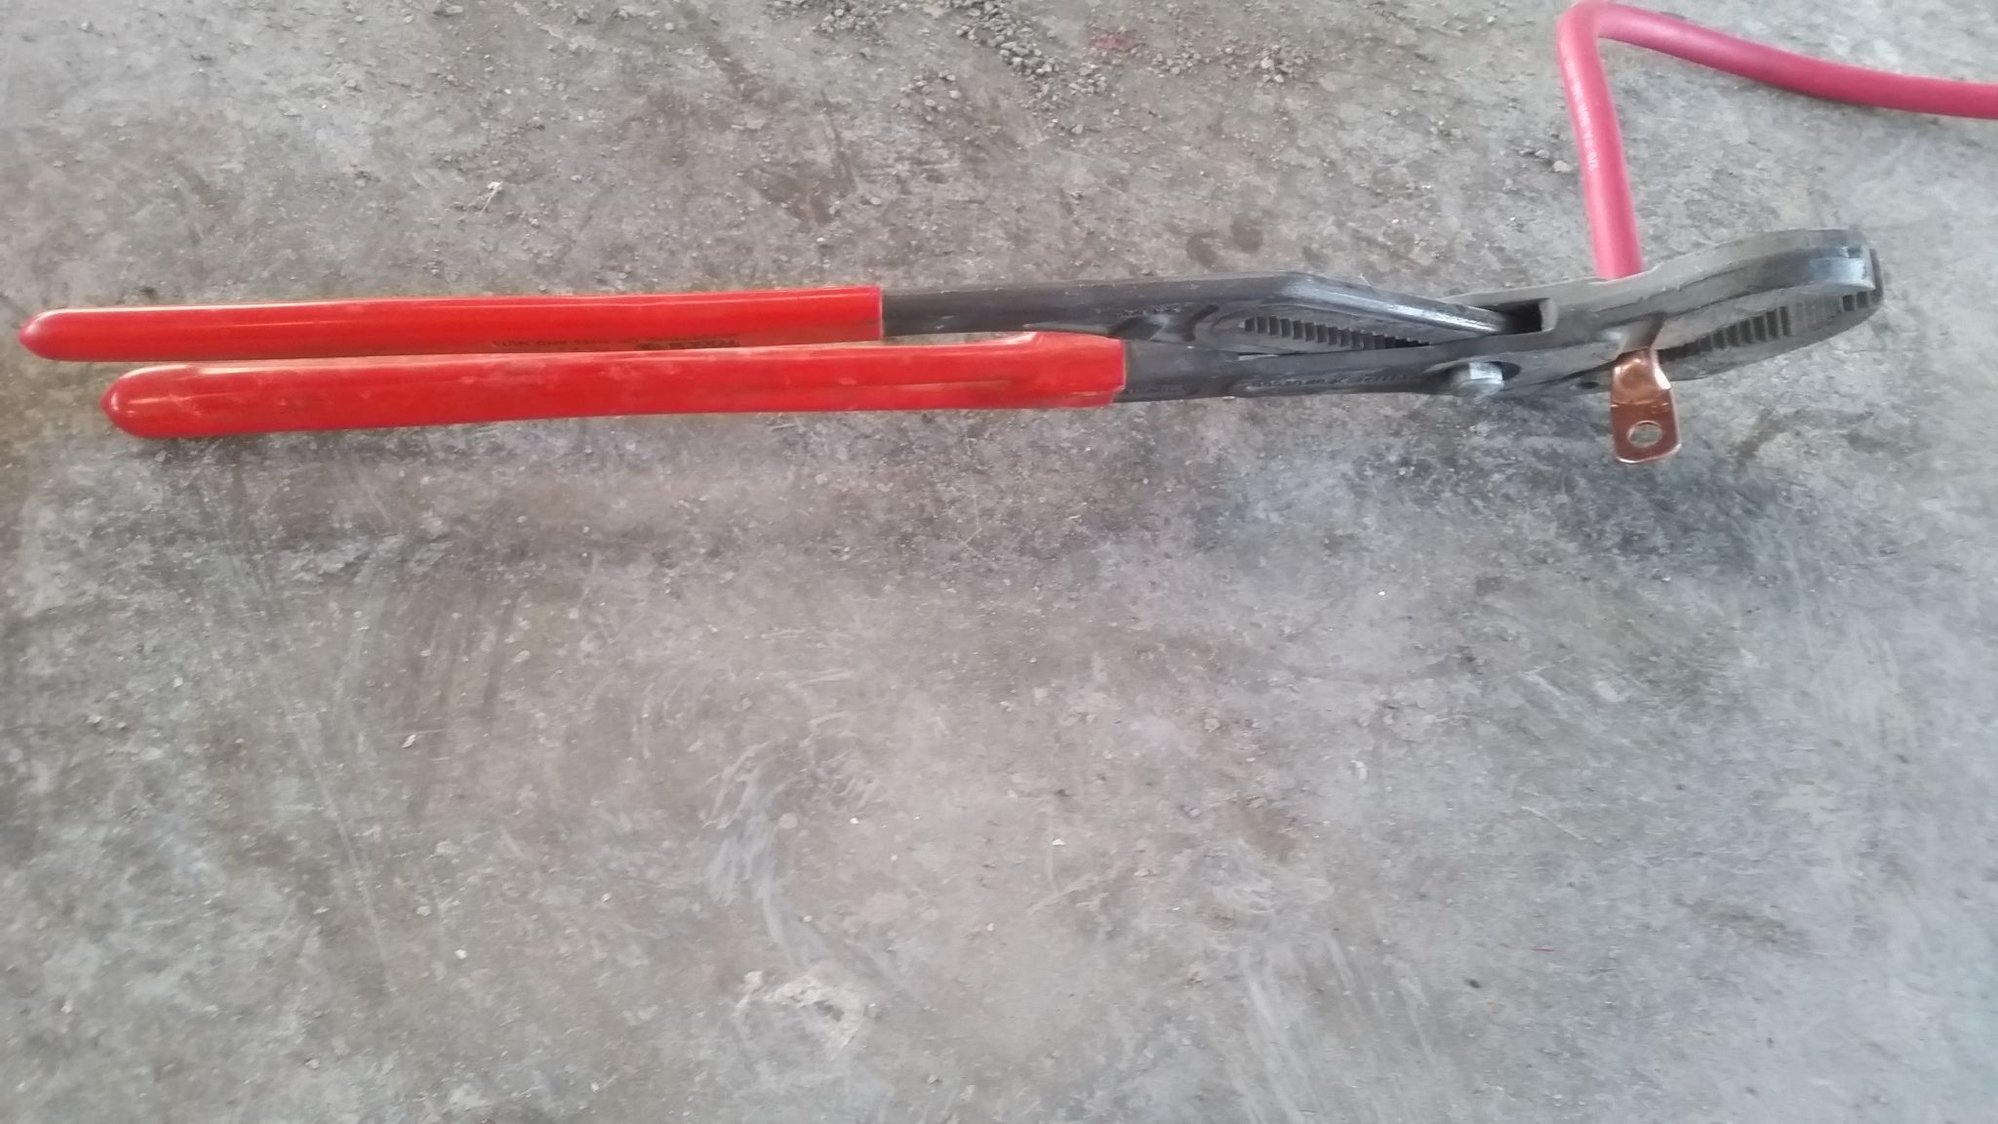
Brought out my the big guns, alligator bite pilers.
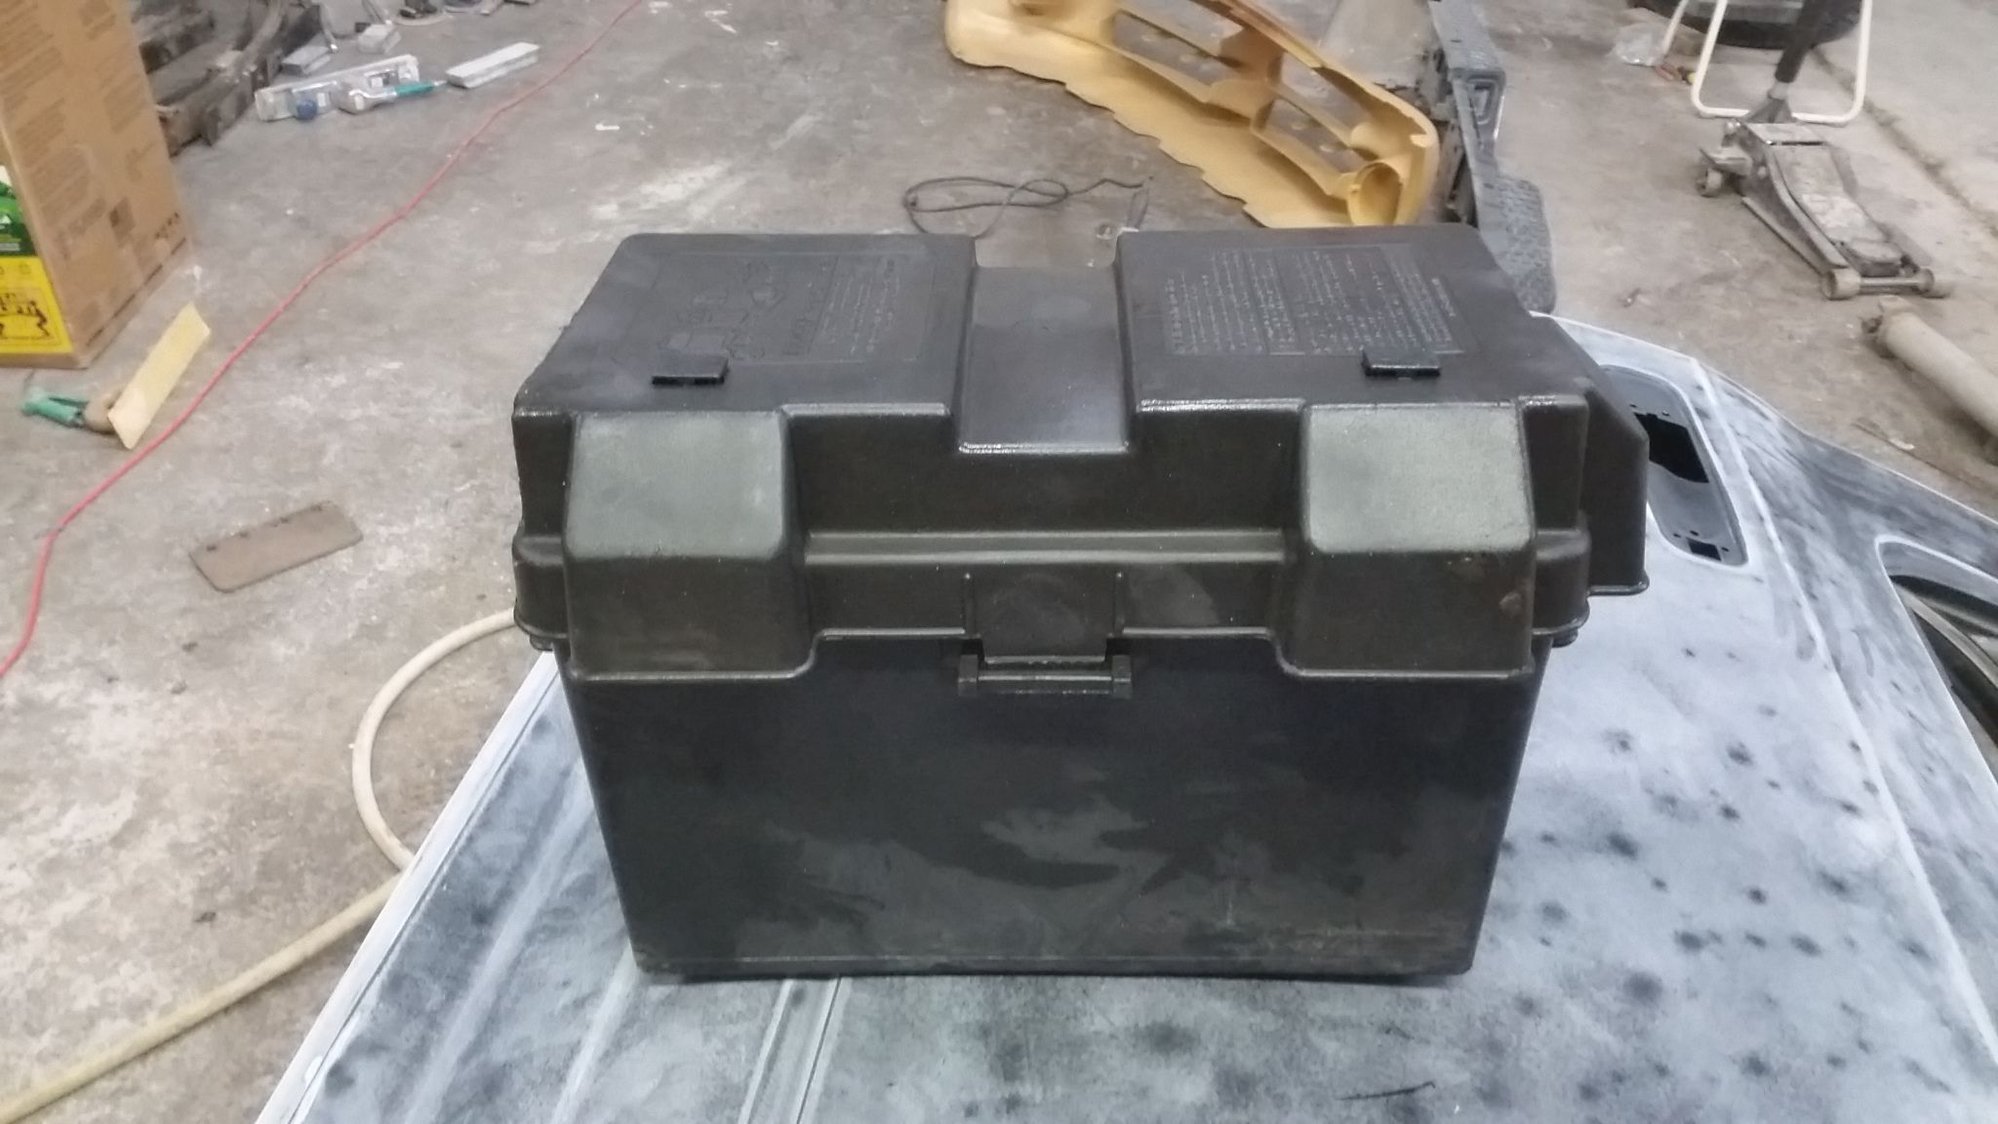
Battery box will be where spare tire was.
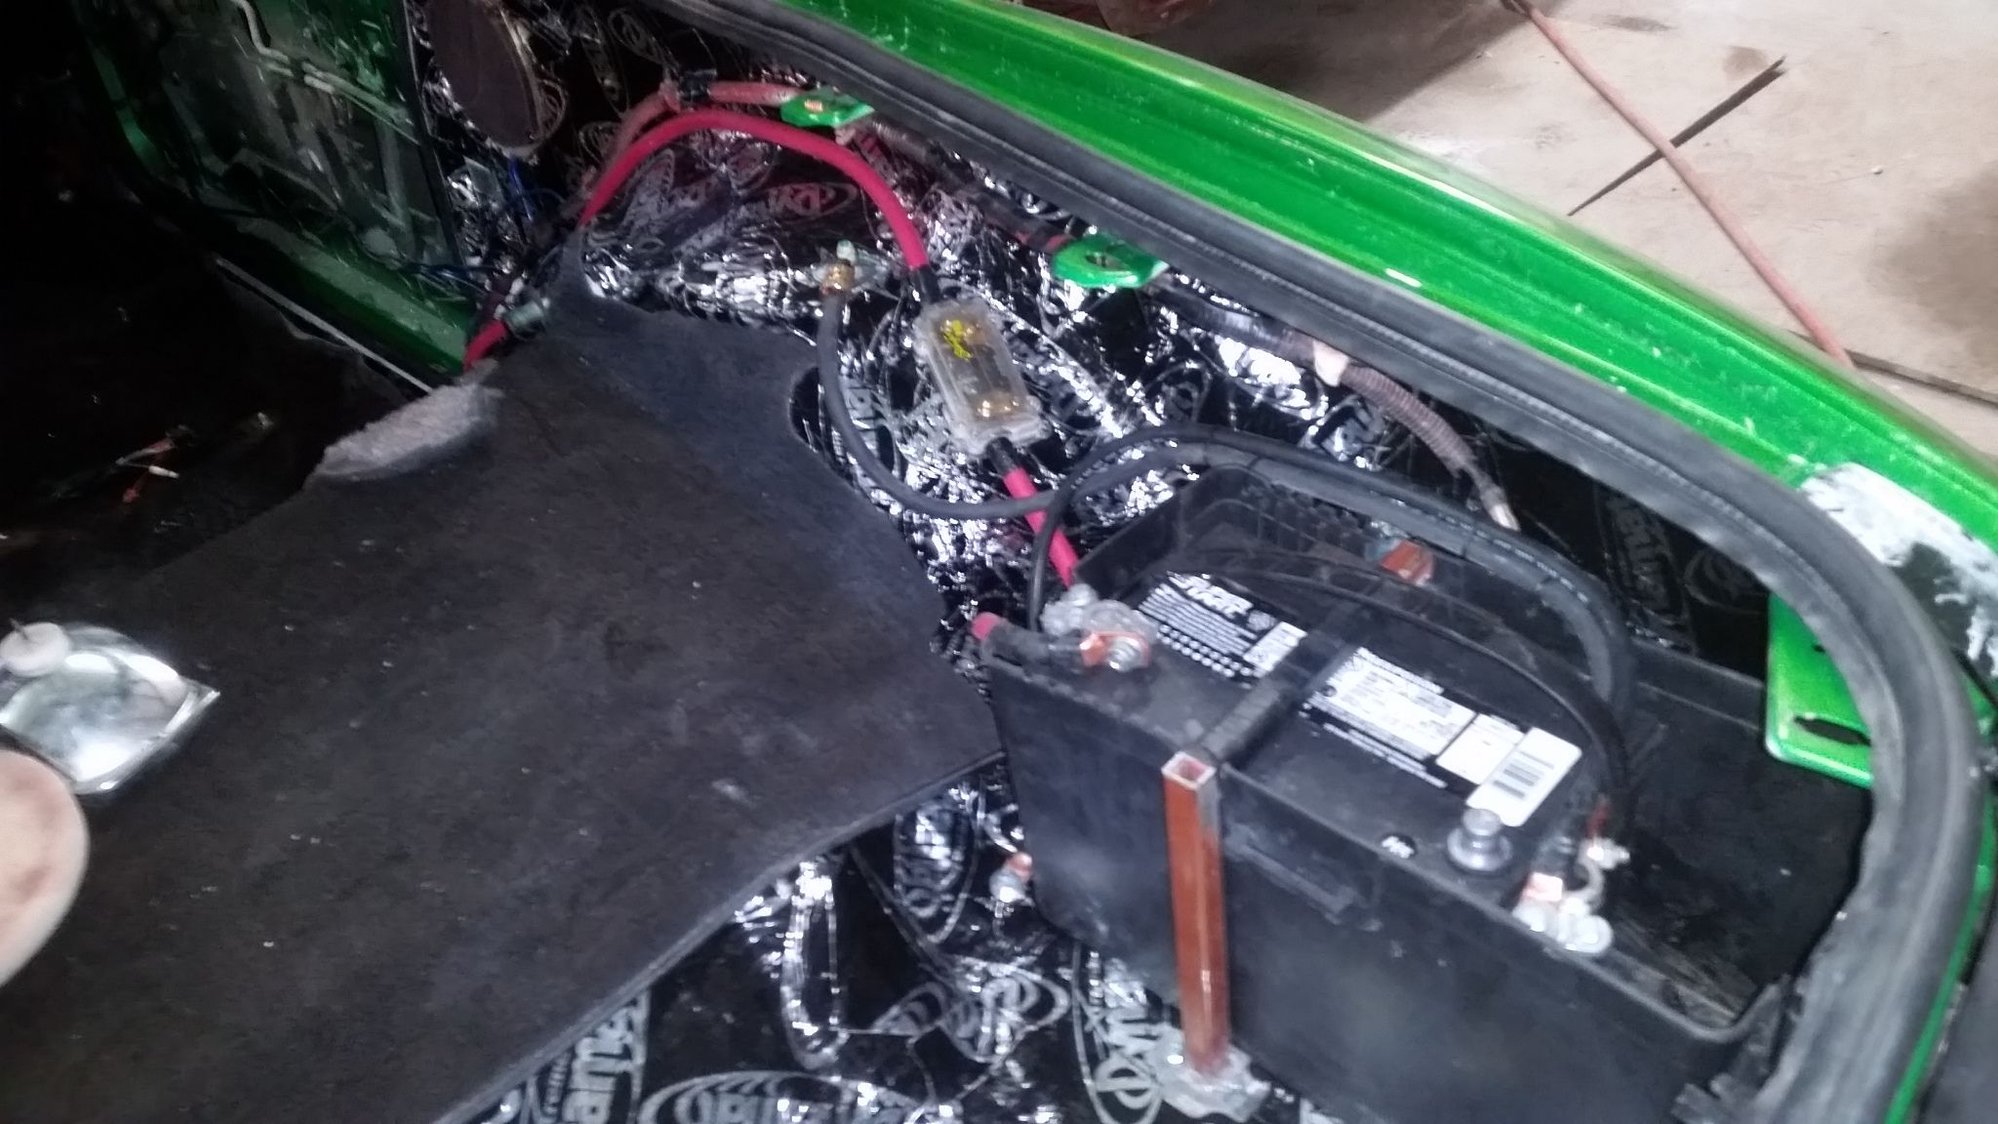
Two four gauge ground cables.
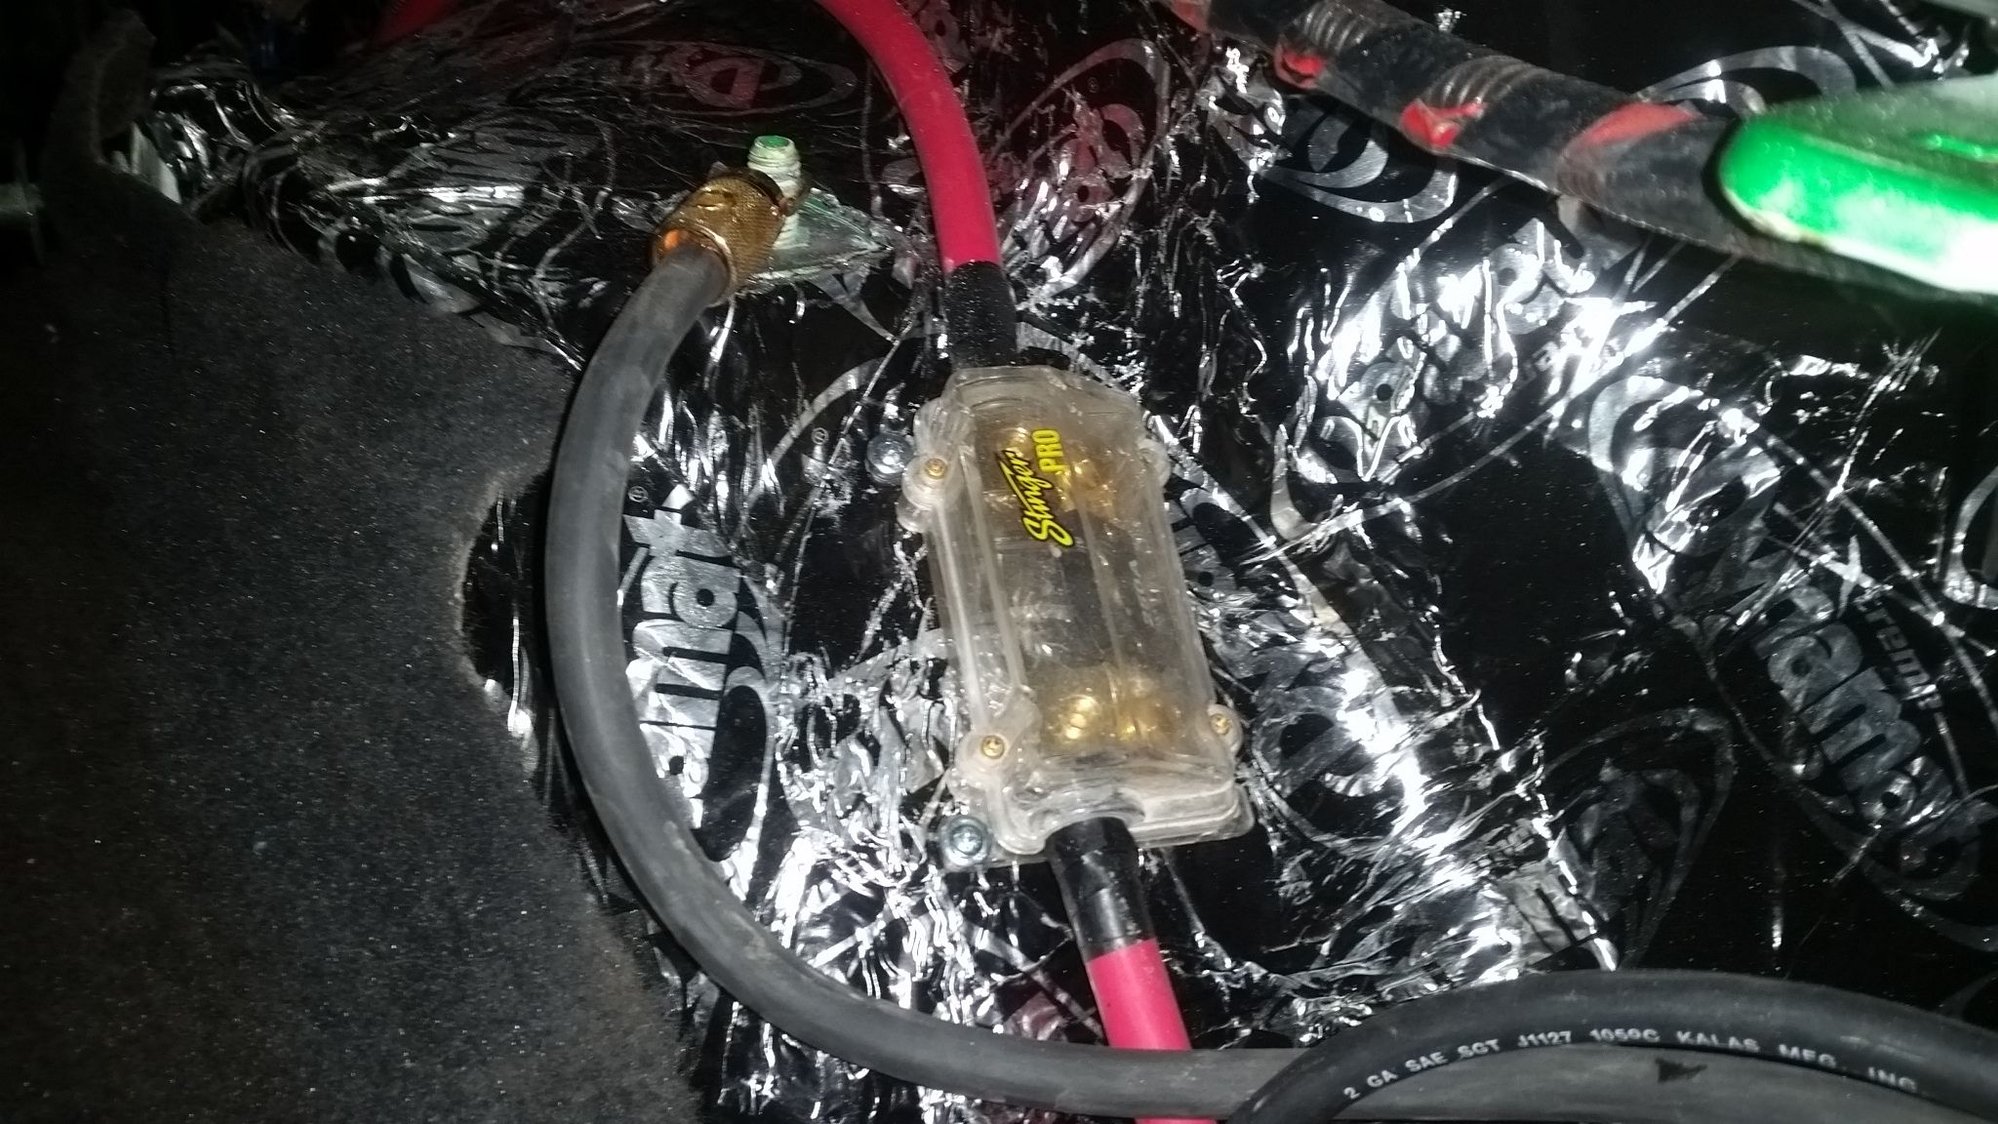
Positive side fuse.
#79
Launching!
Thread Starter
Join Date: Mar 2009
Location: Weatherford Tx 76085 corner of N. Hwy 51 and 150 Green branch Rd.
Posts: 274
Likes: 0
Received 0 Likes
on
0 Posts

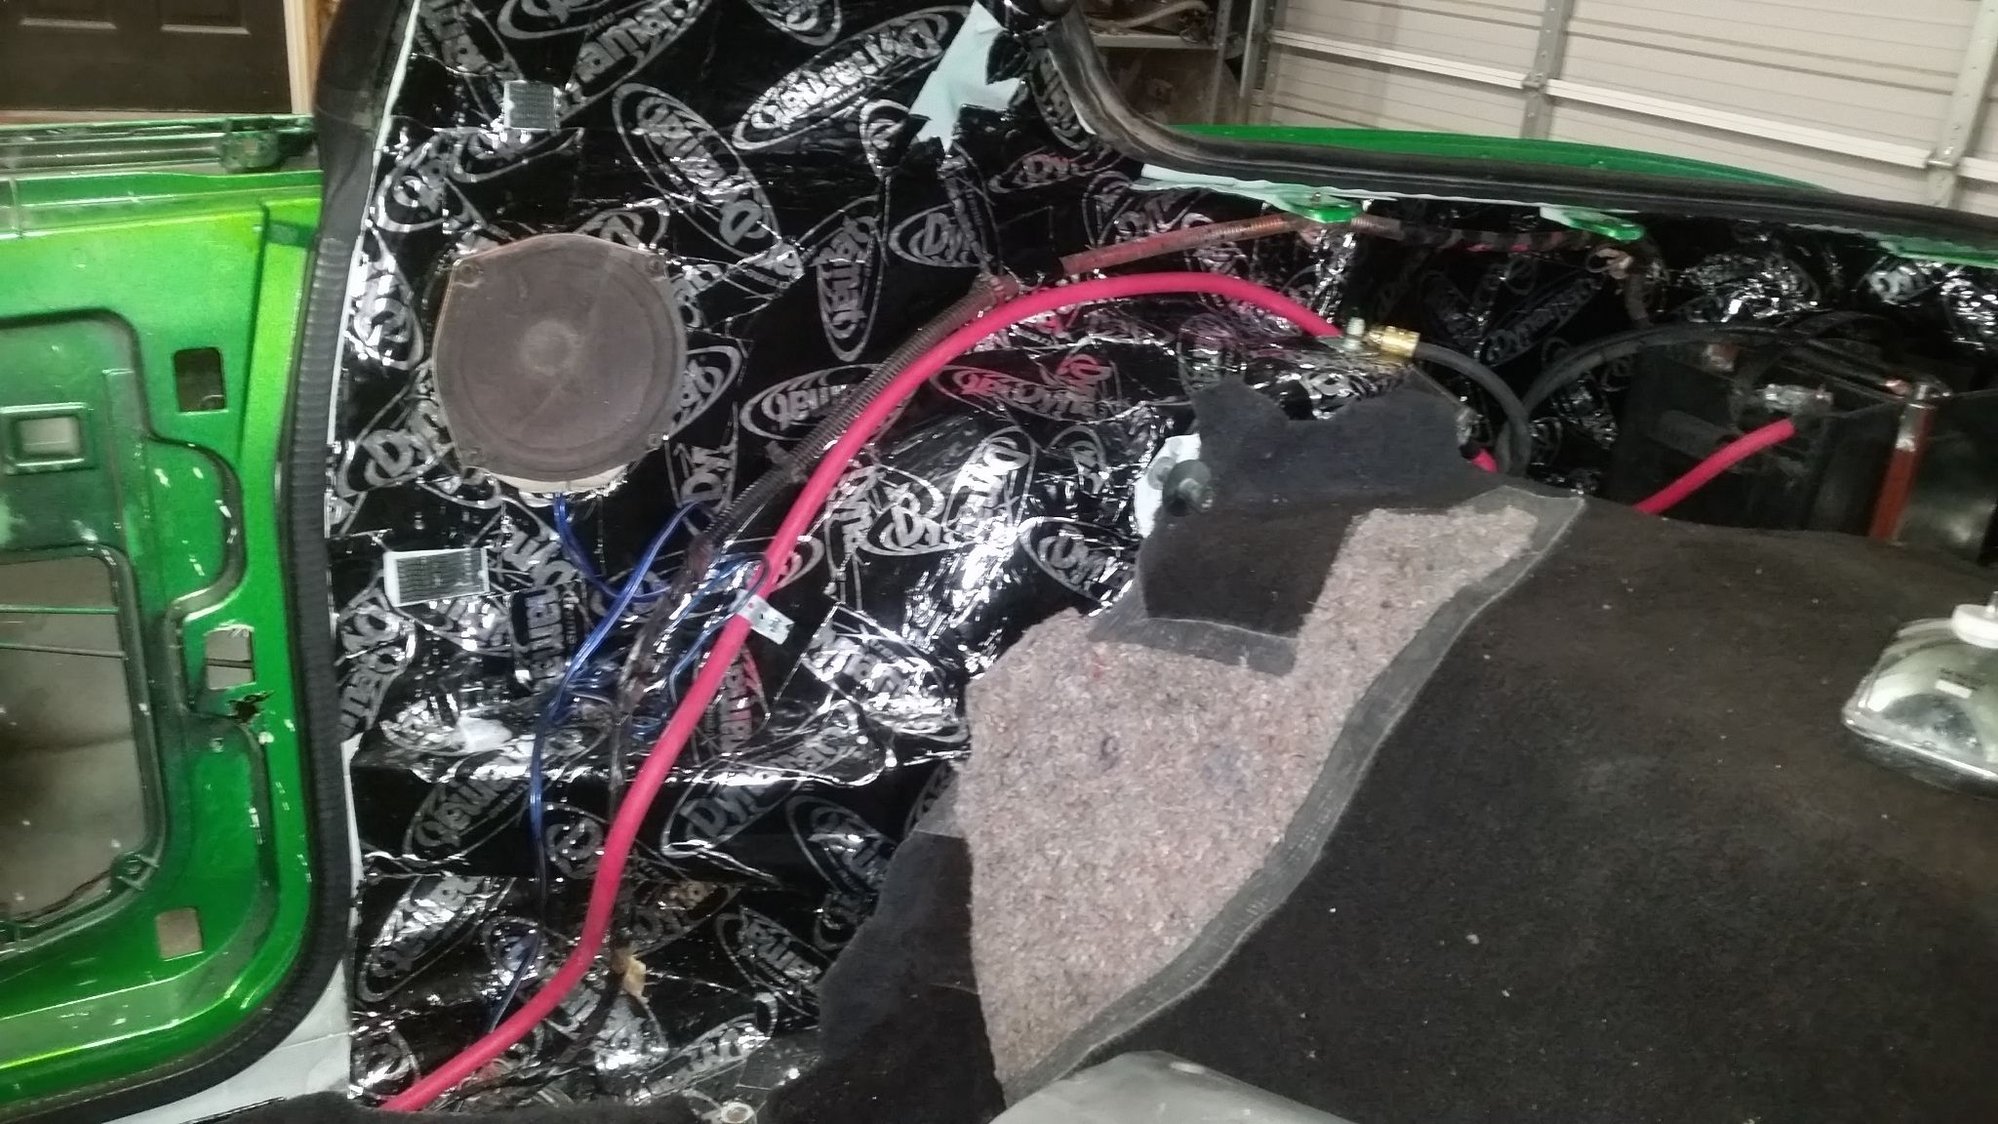
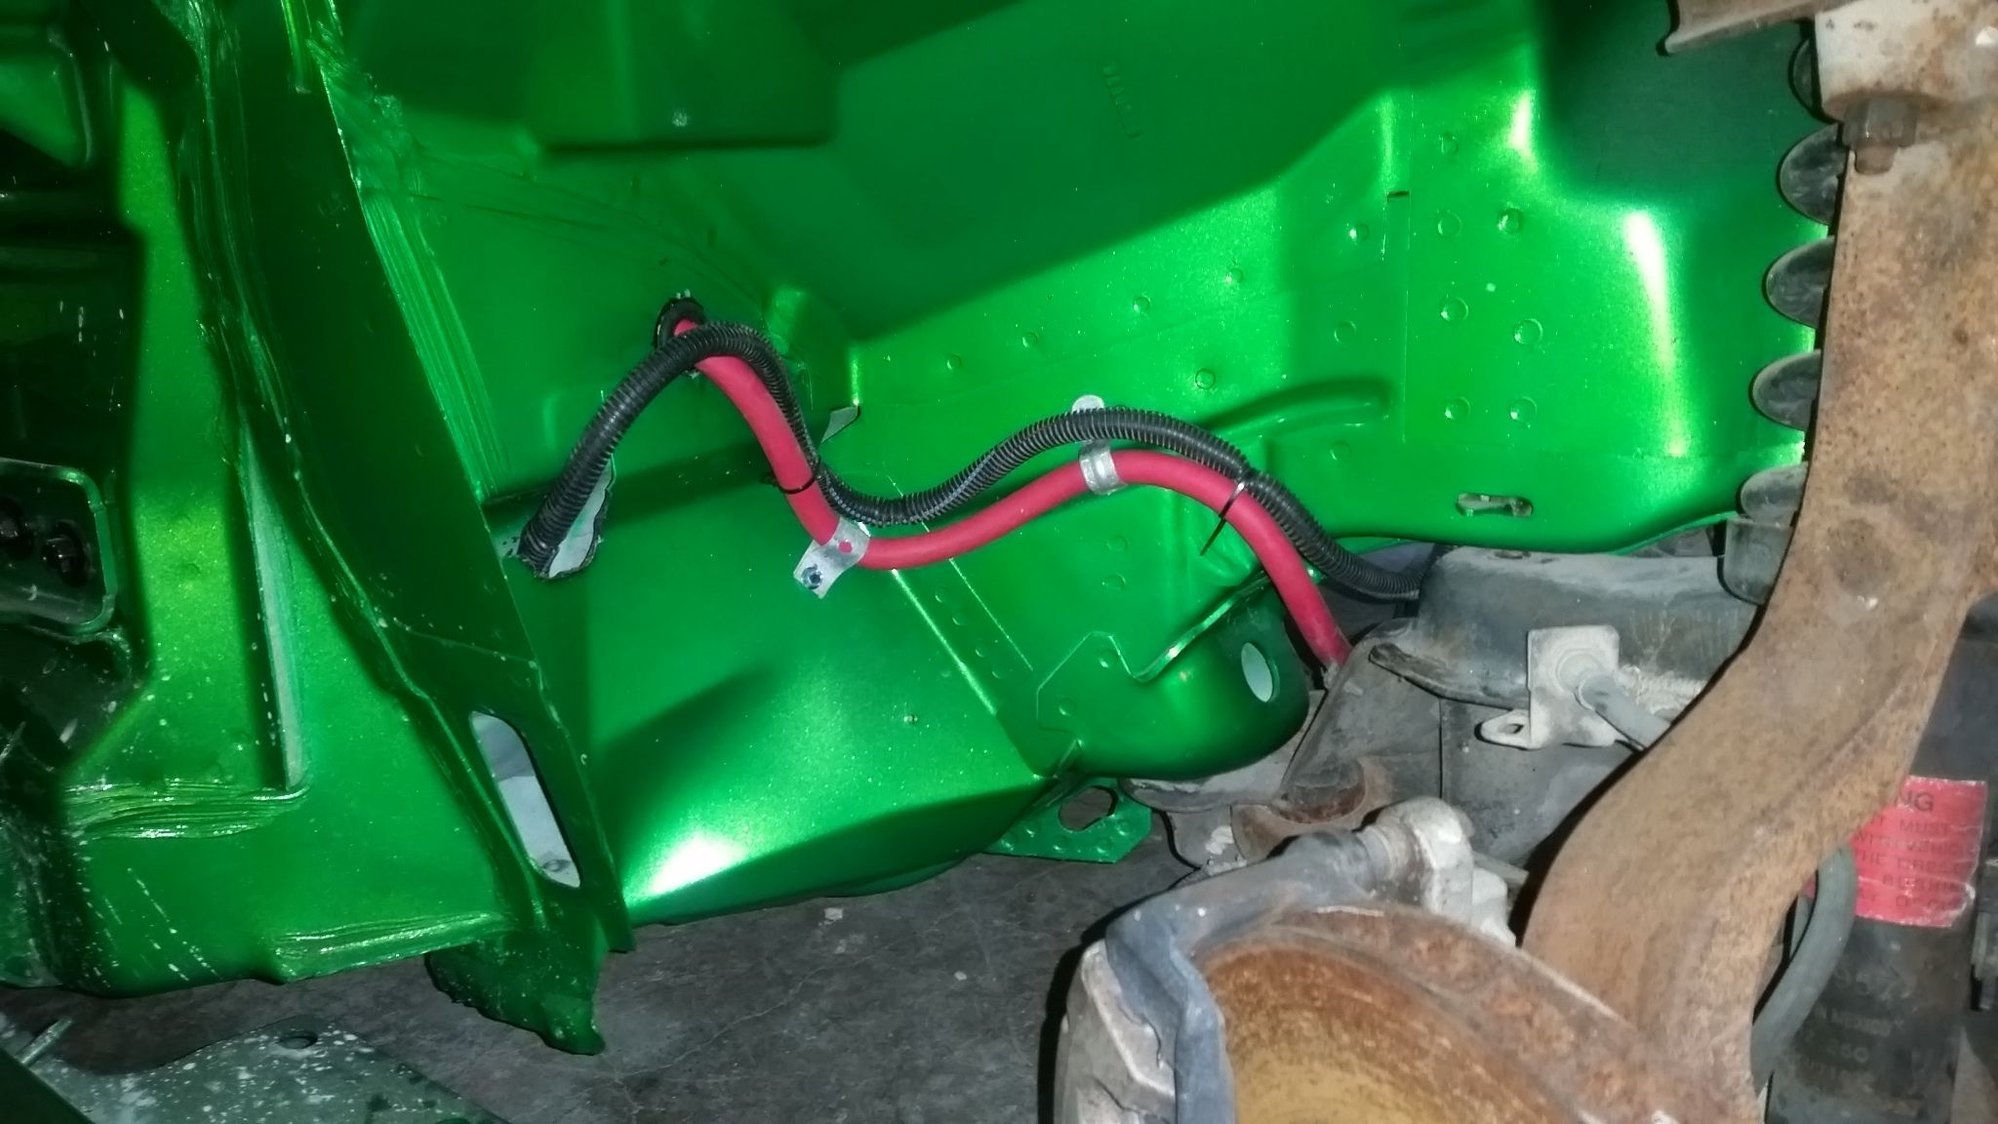
Routing of battery cable and racetronix fuel pump harness.
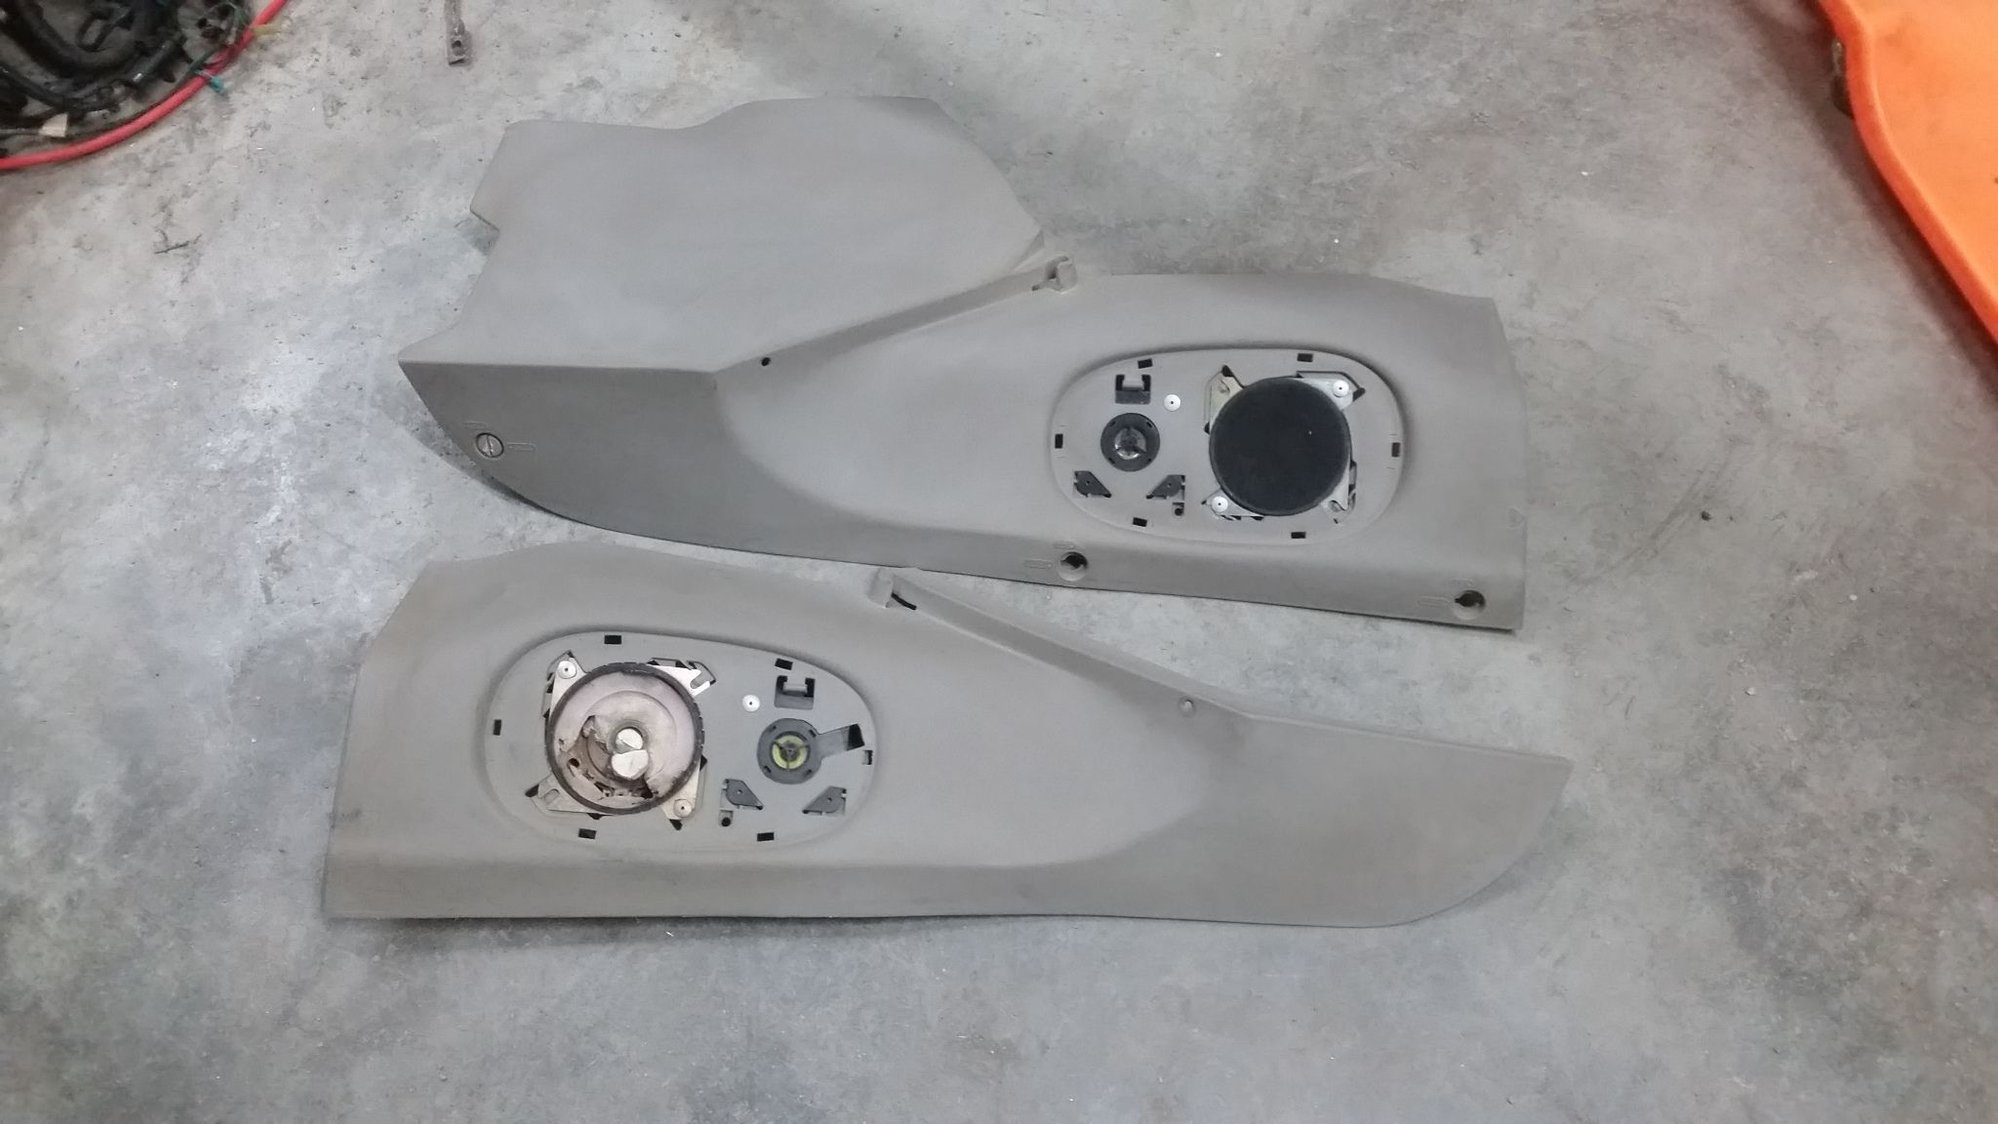
Painted interior pieces from brown to black.
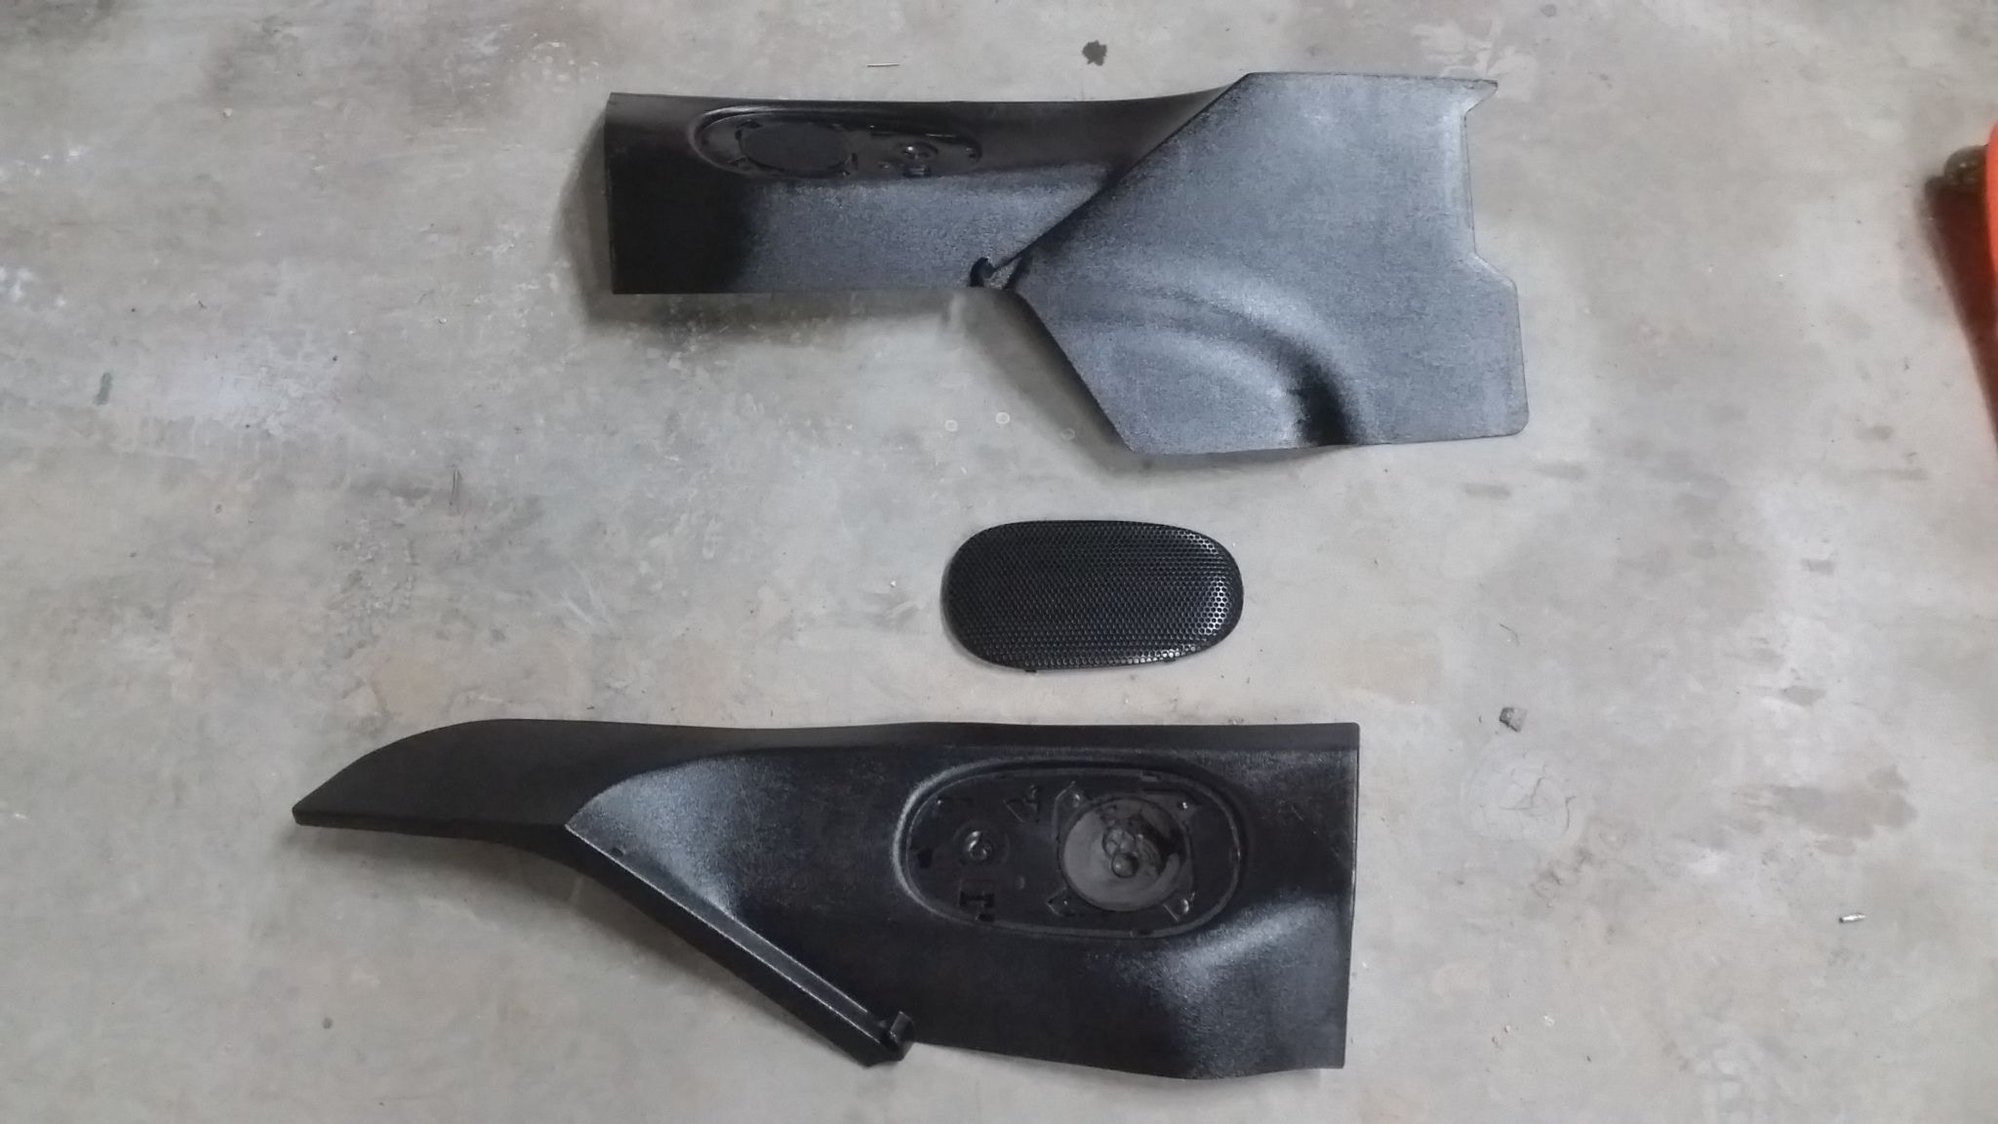
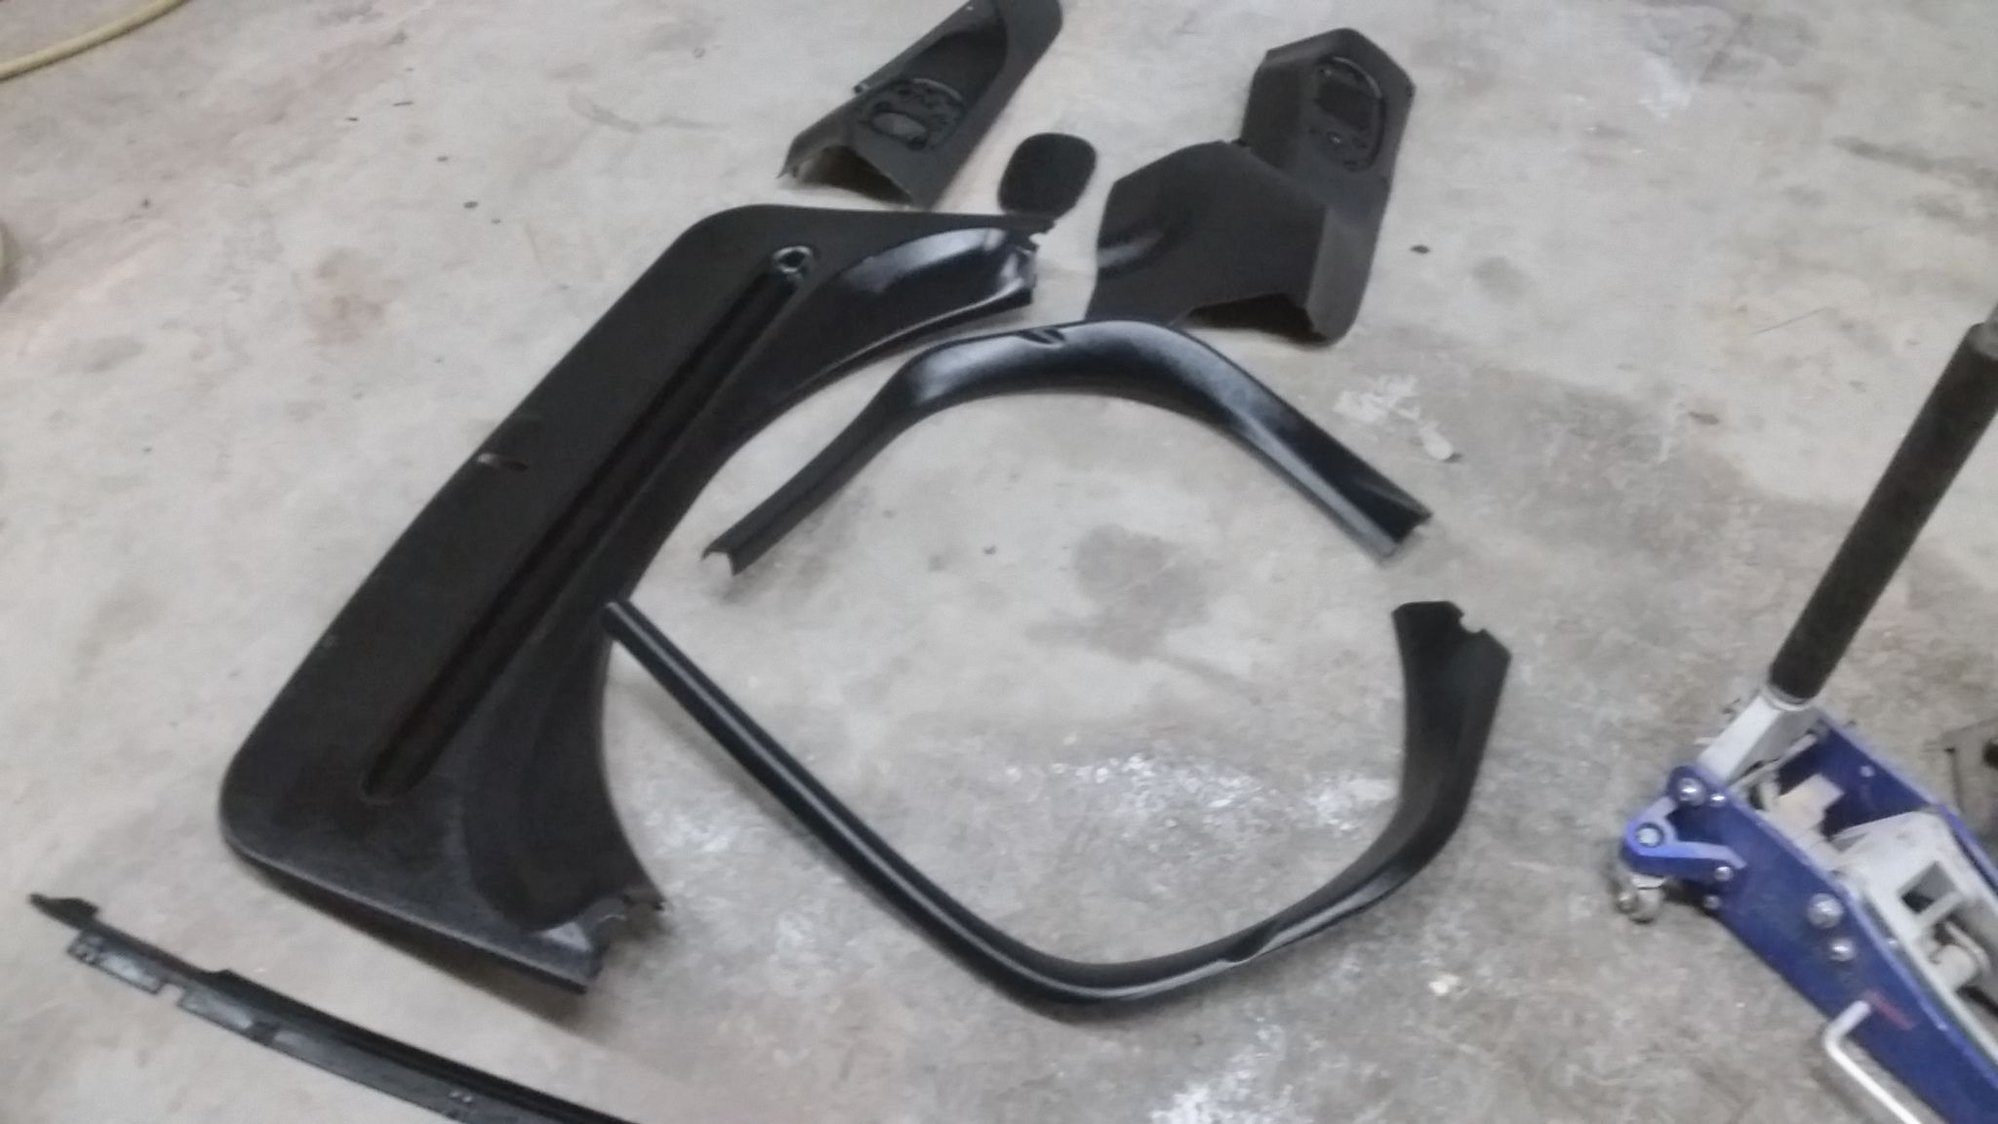
They look new.
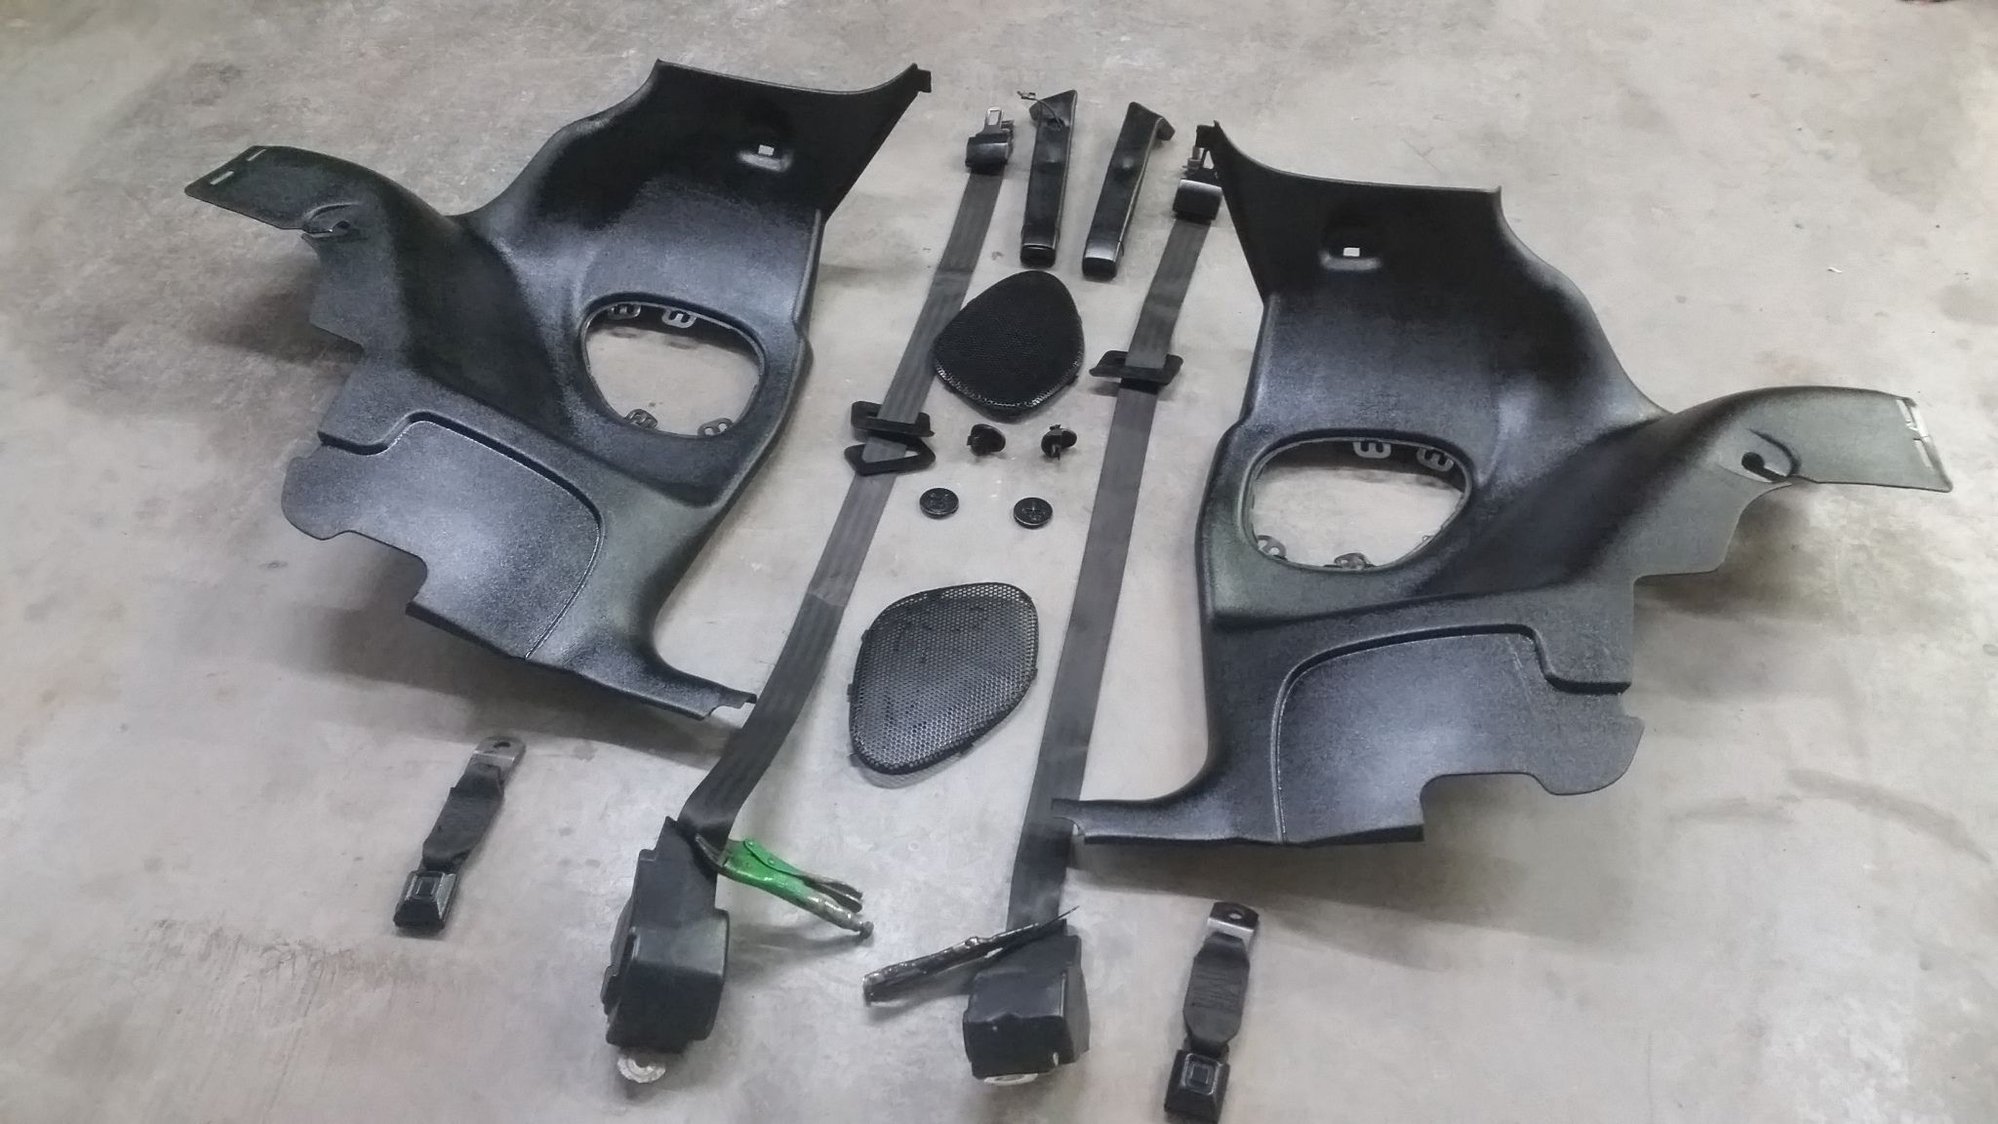
Just a few more interior pieces left to paint but you get the idea.
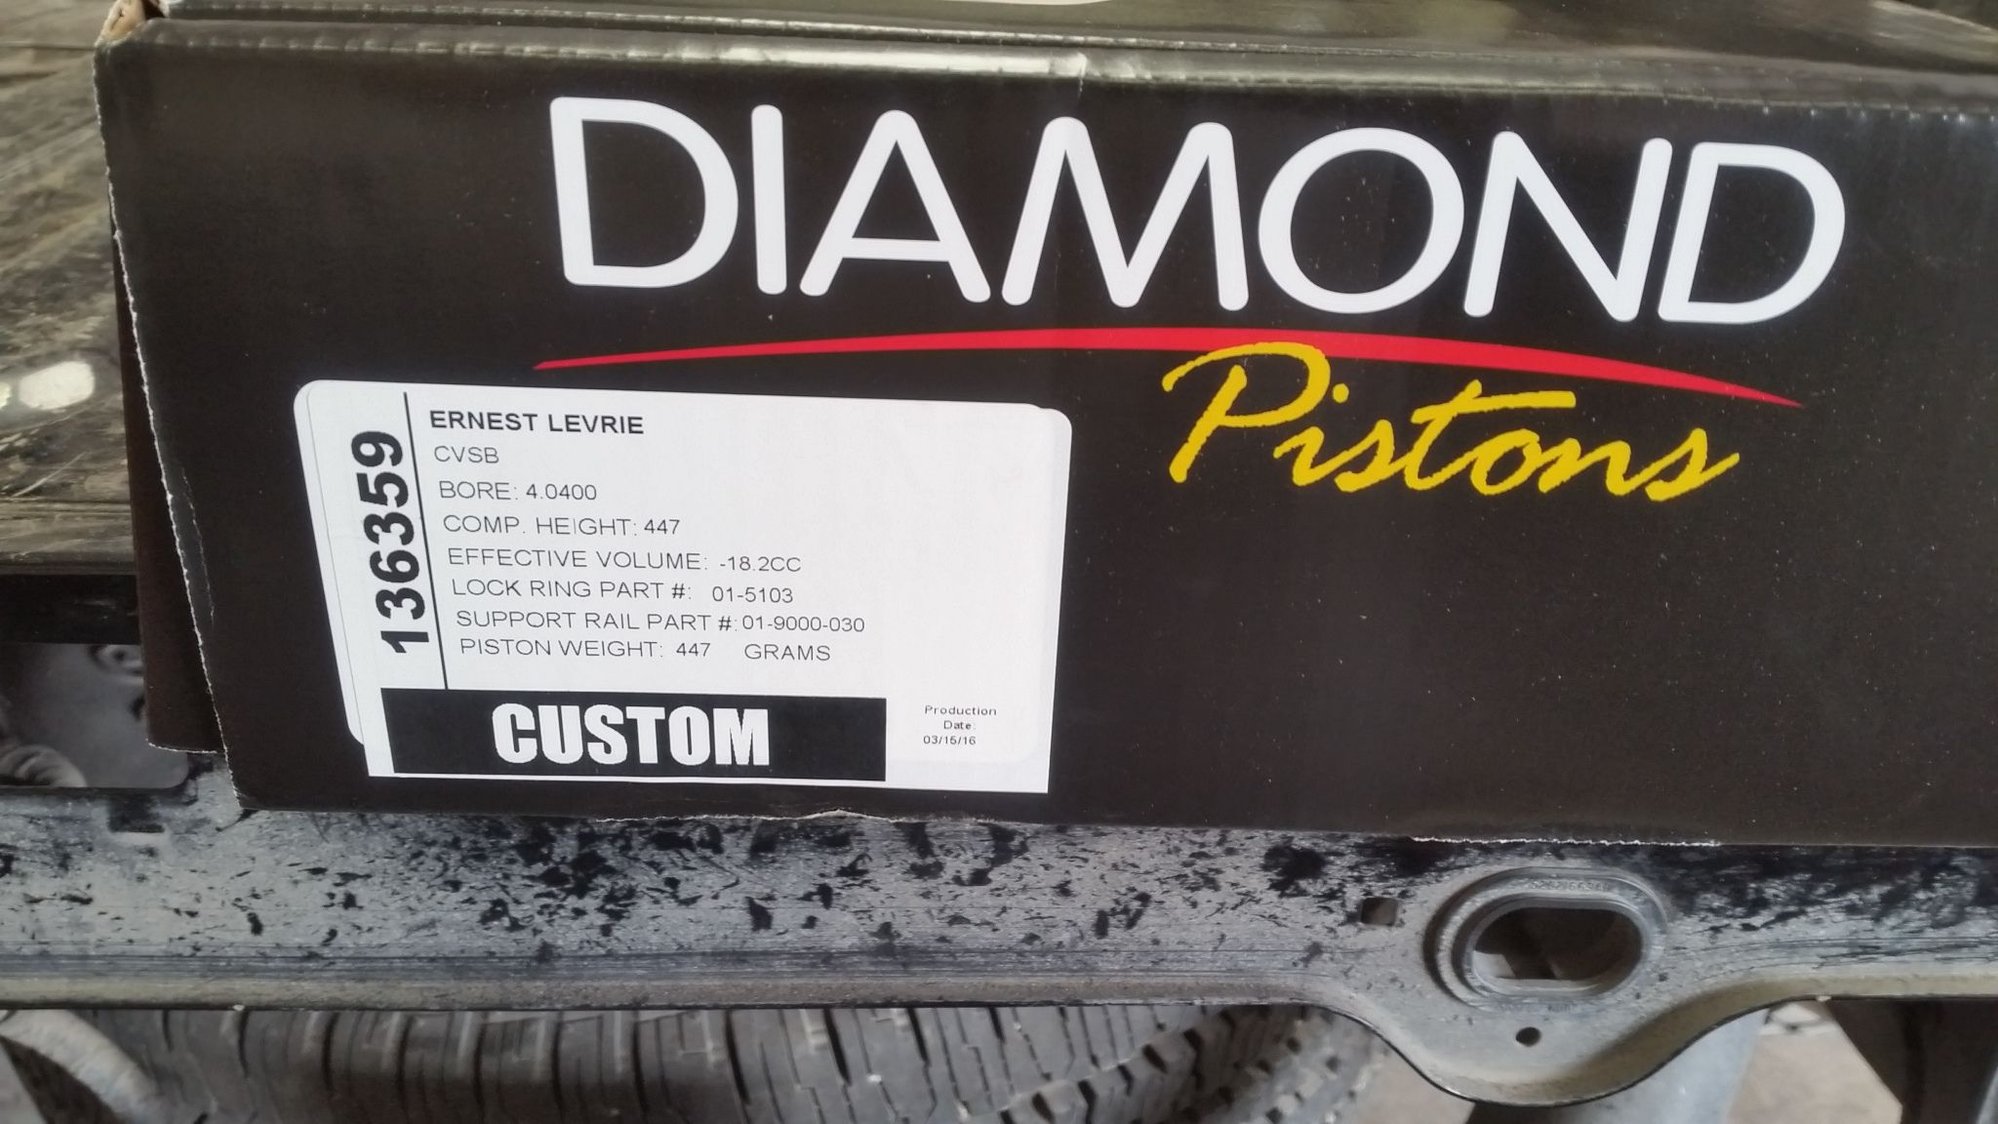
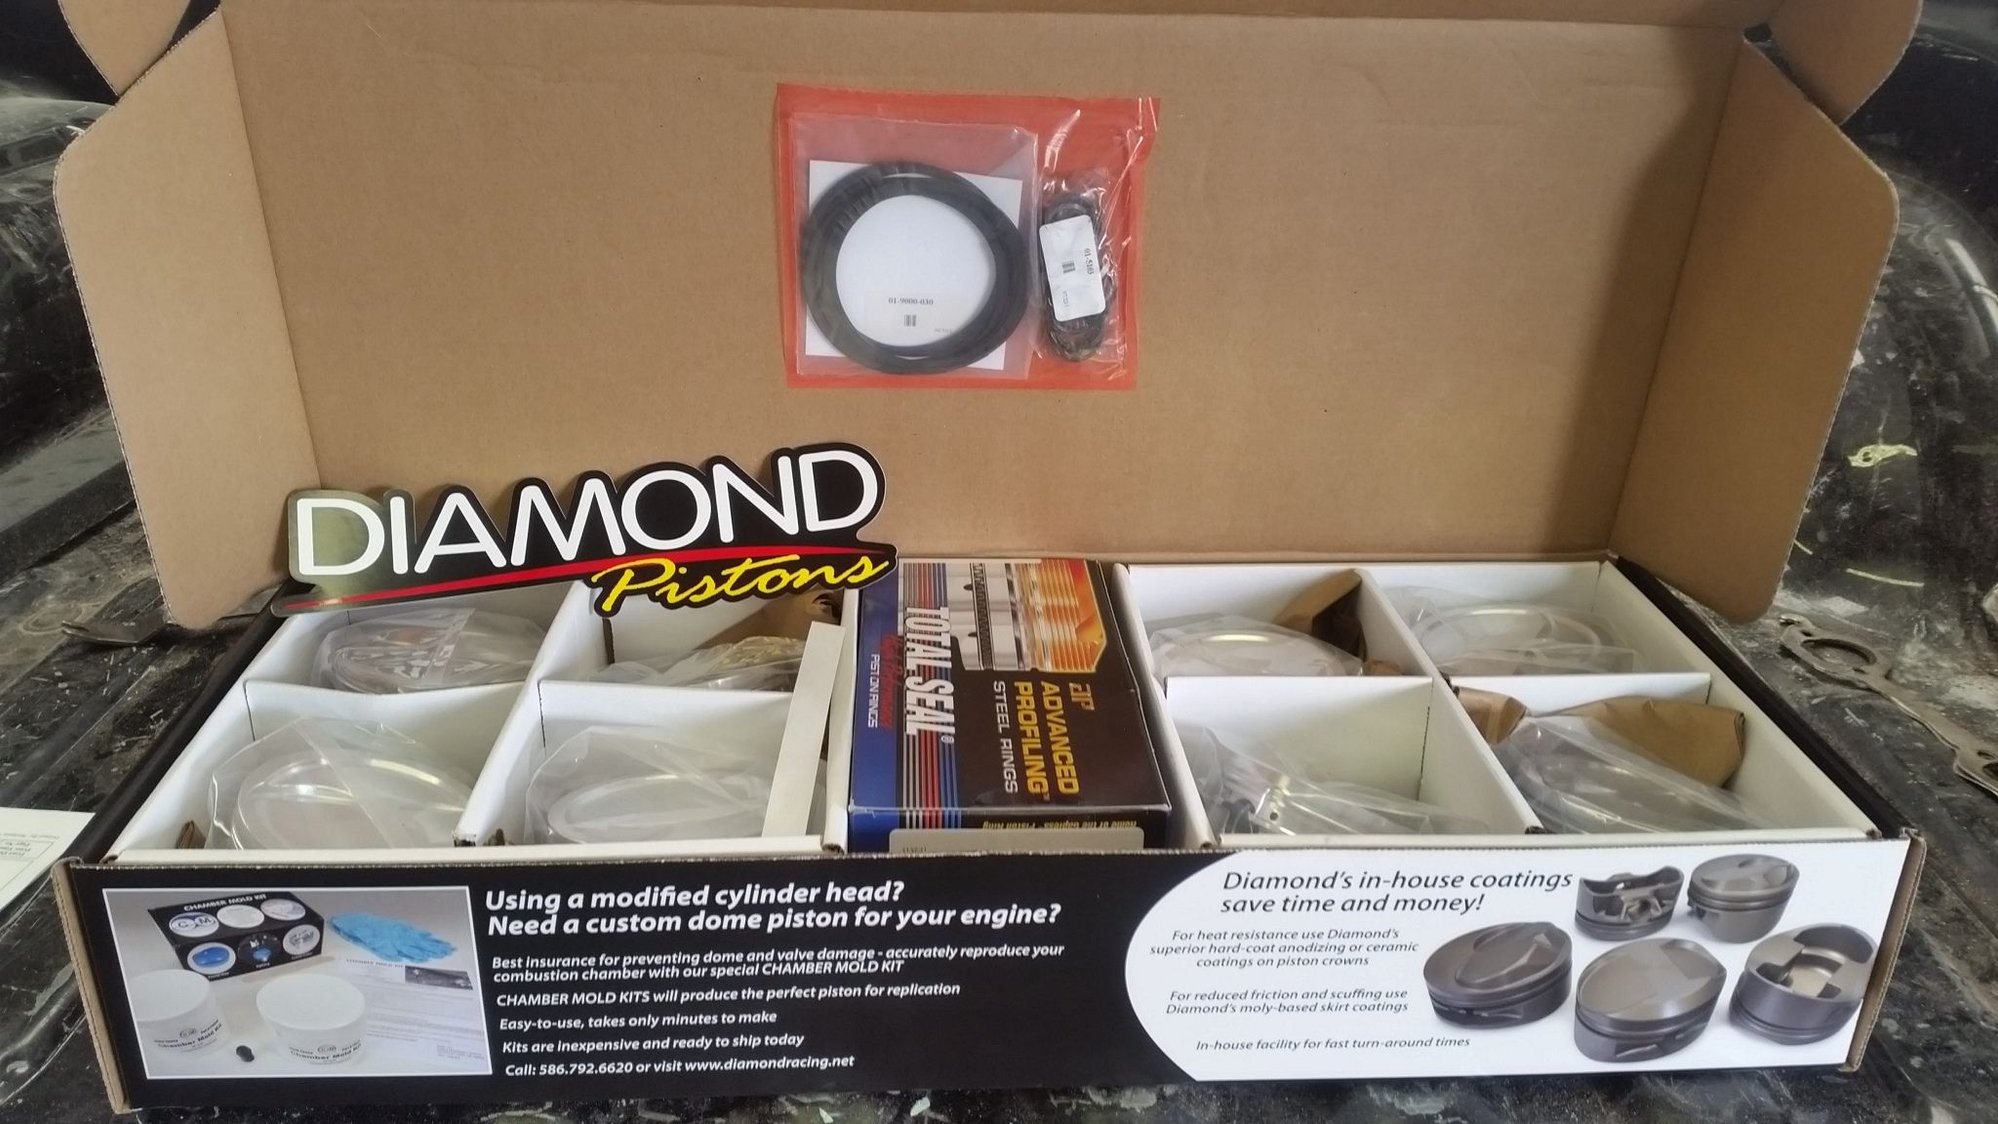
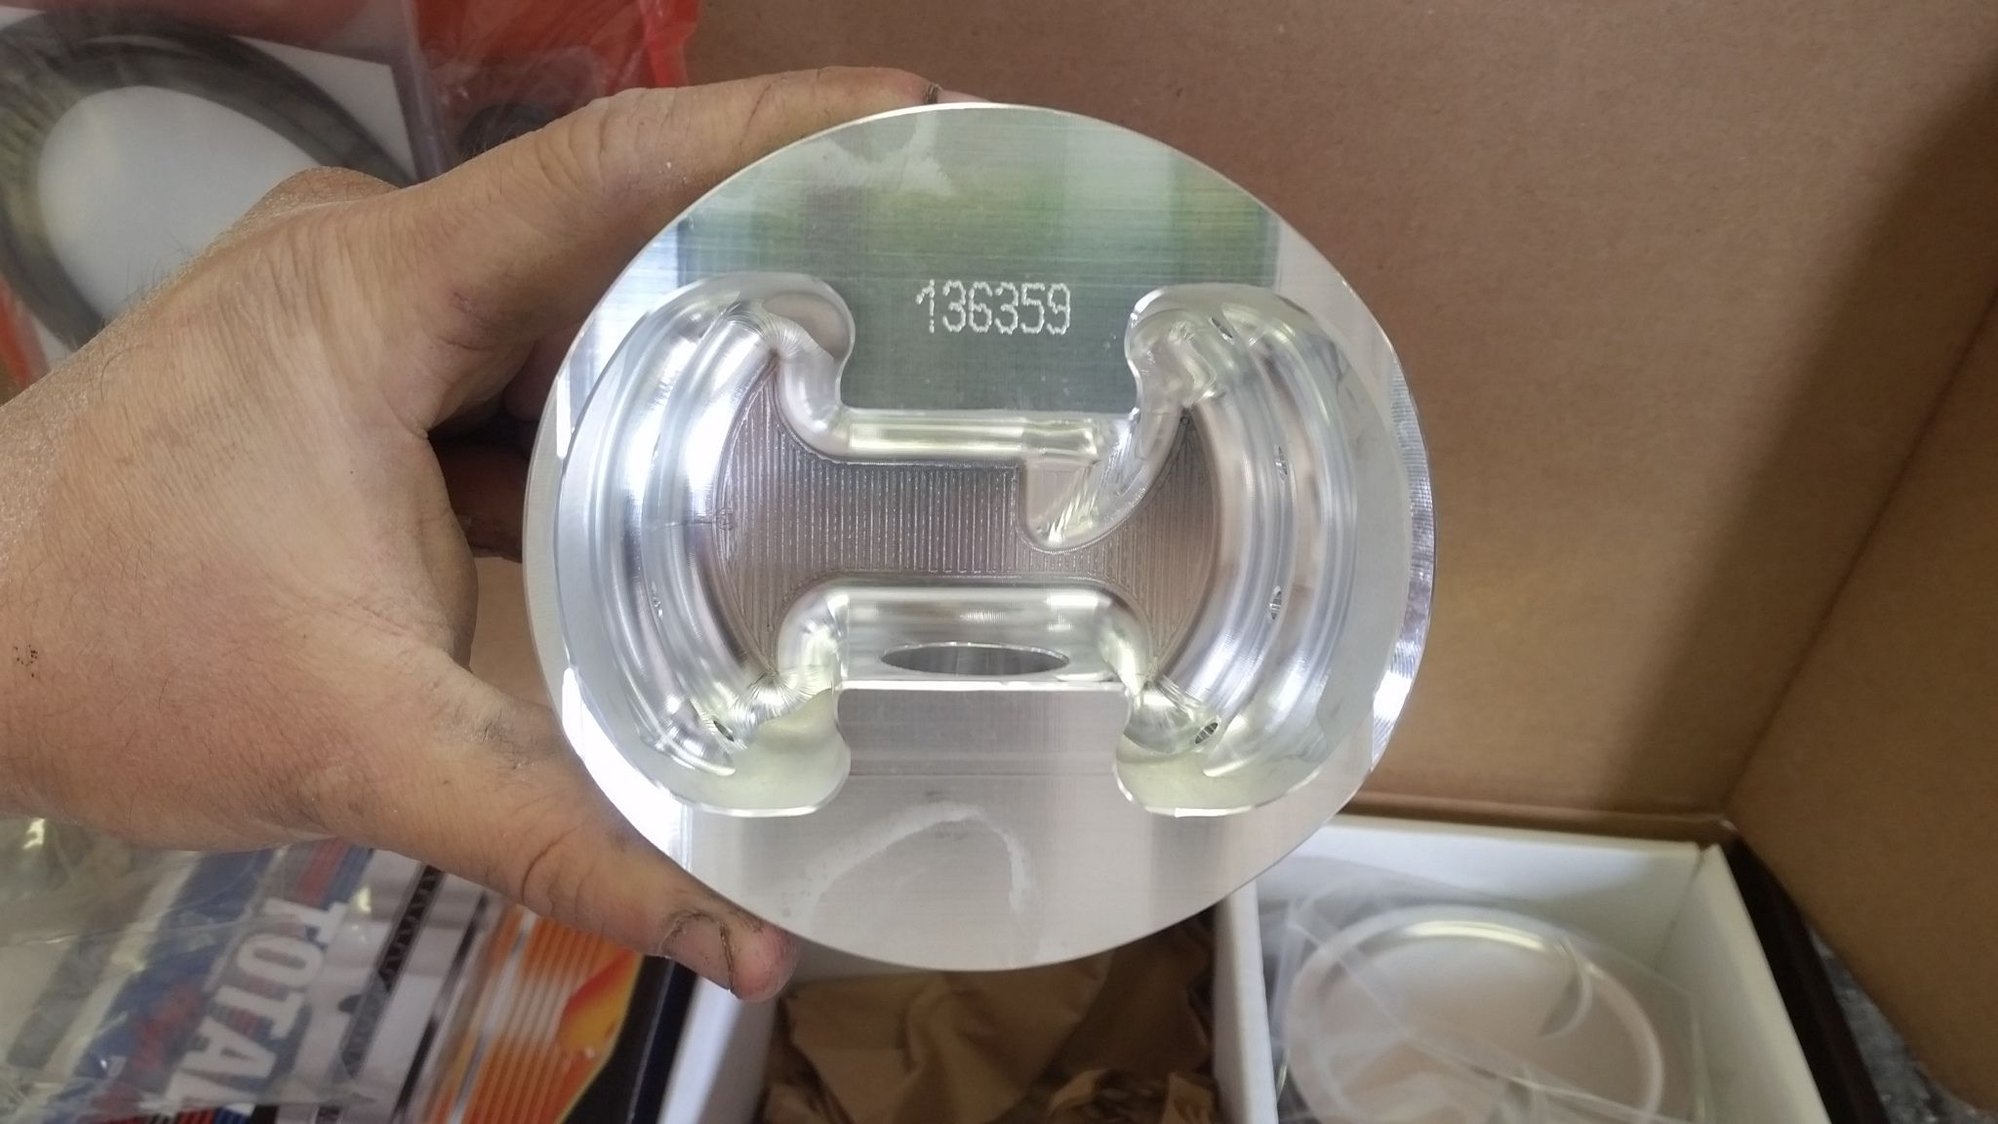
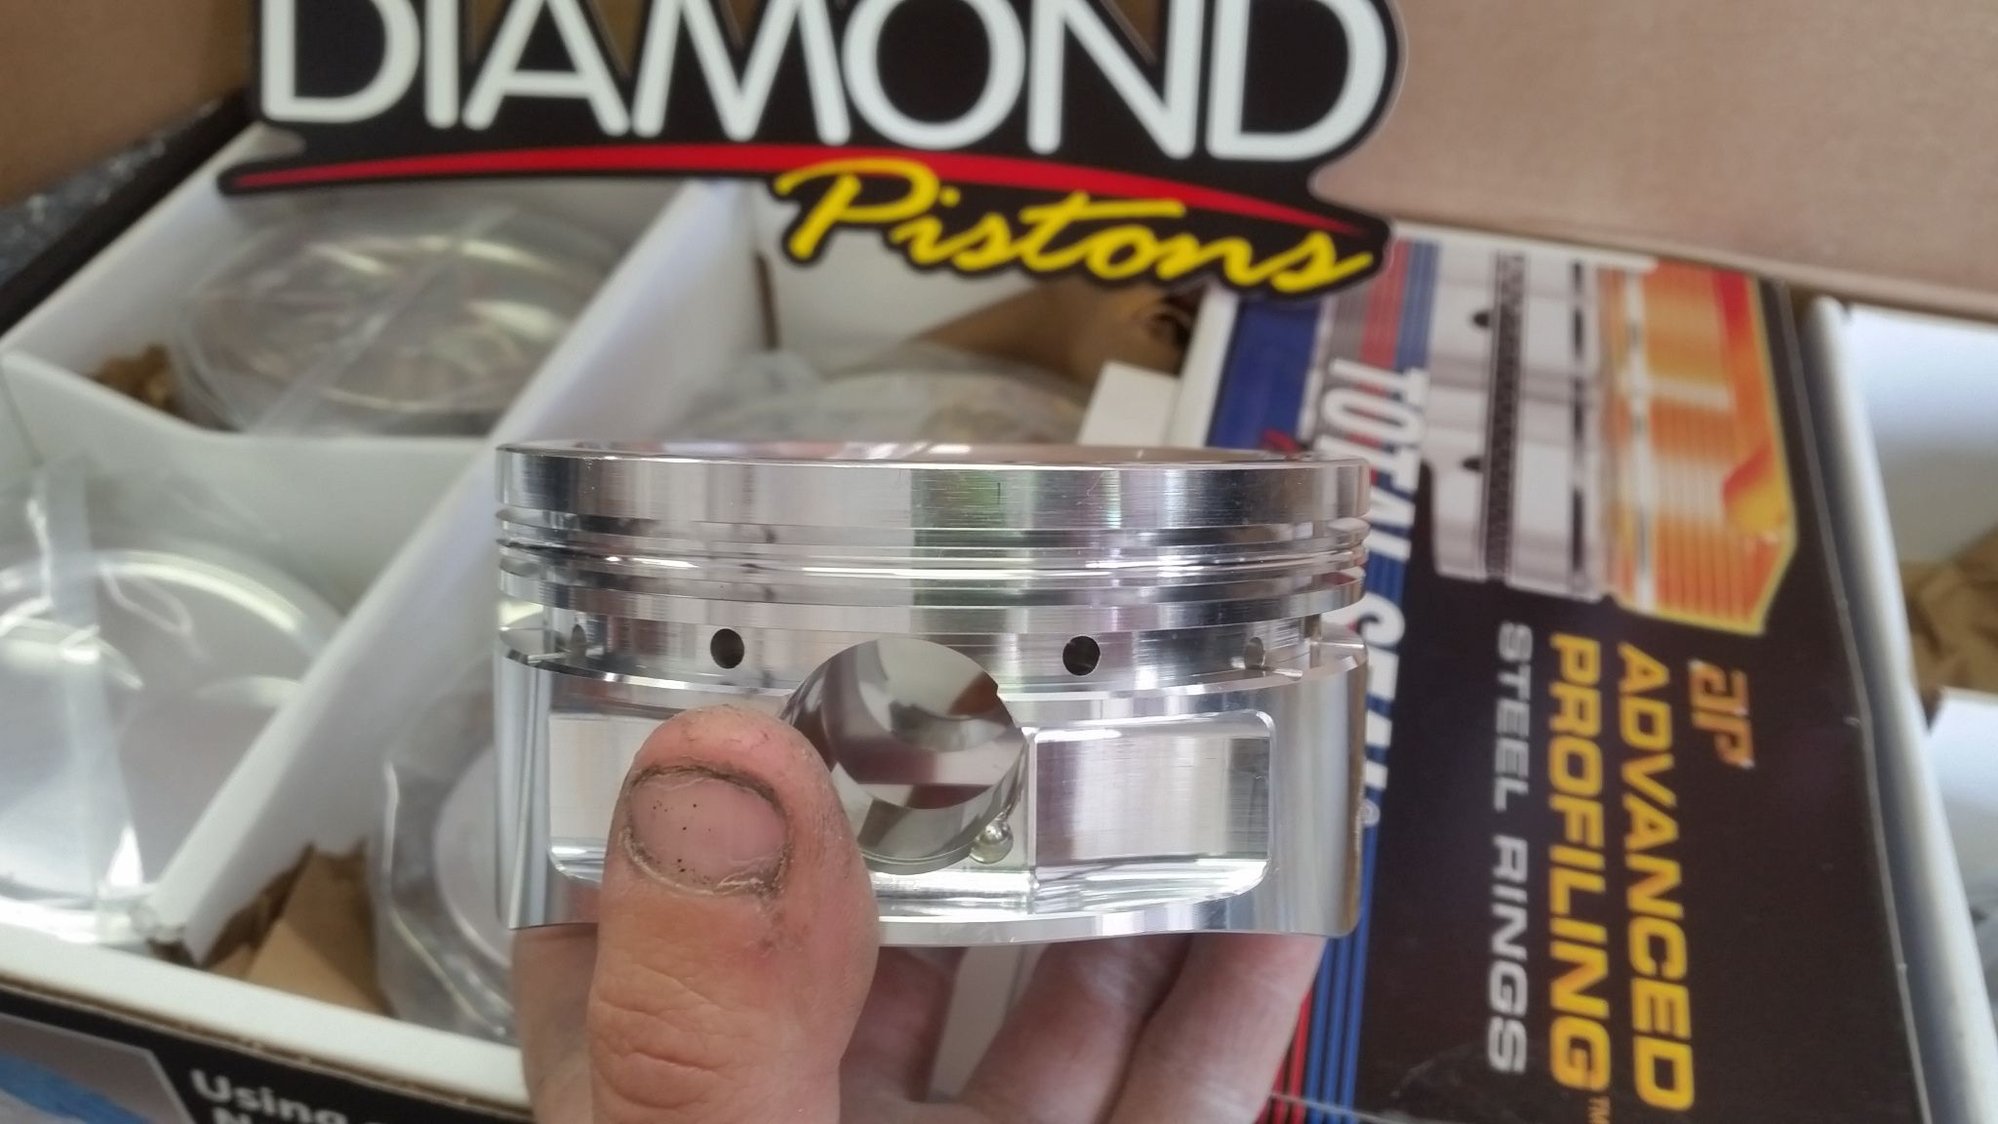
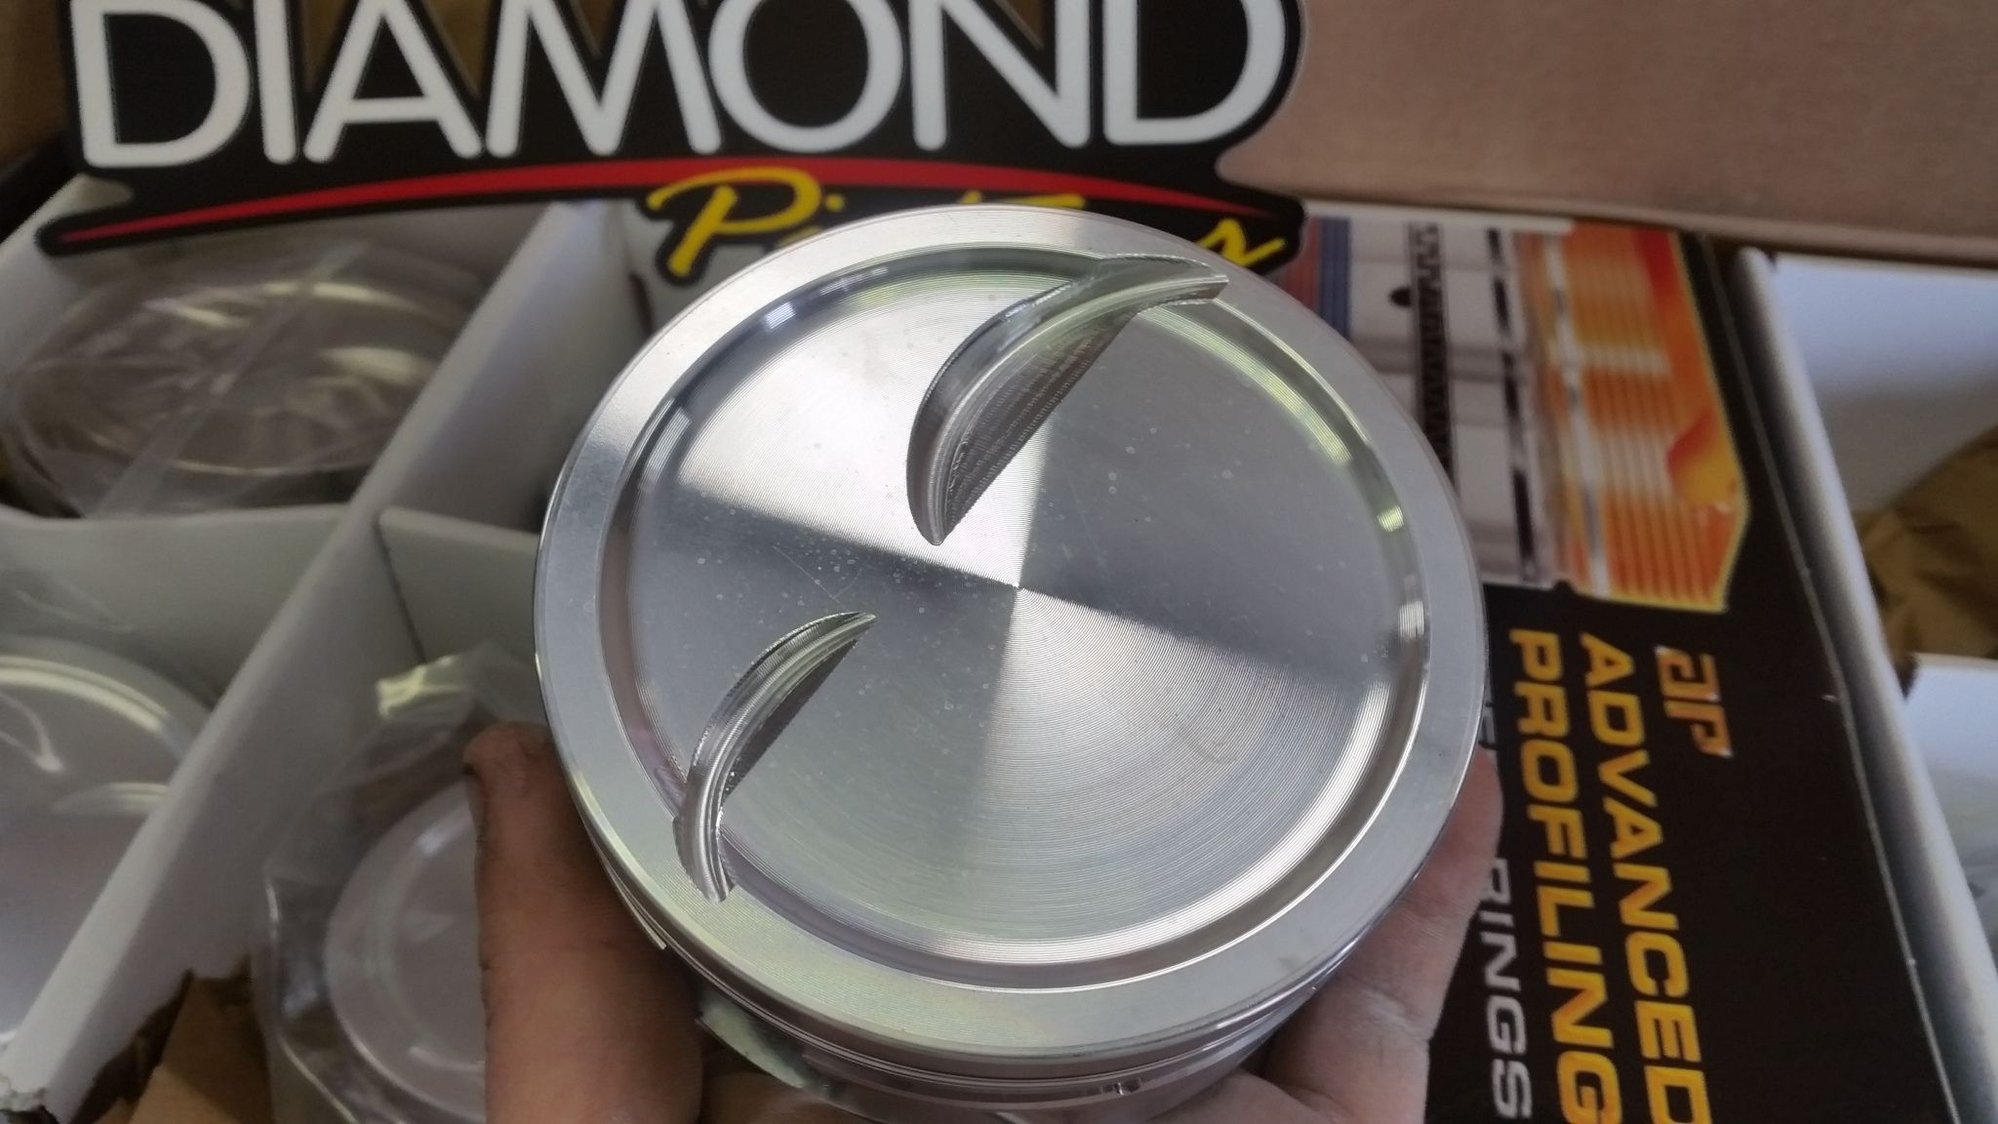
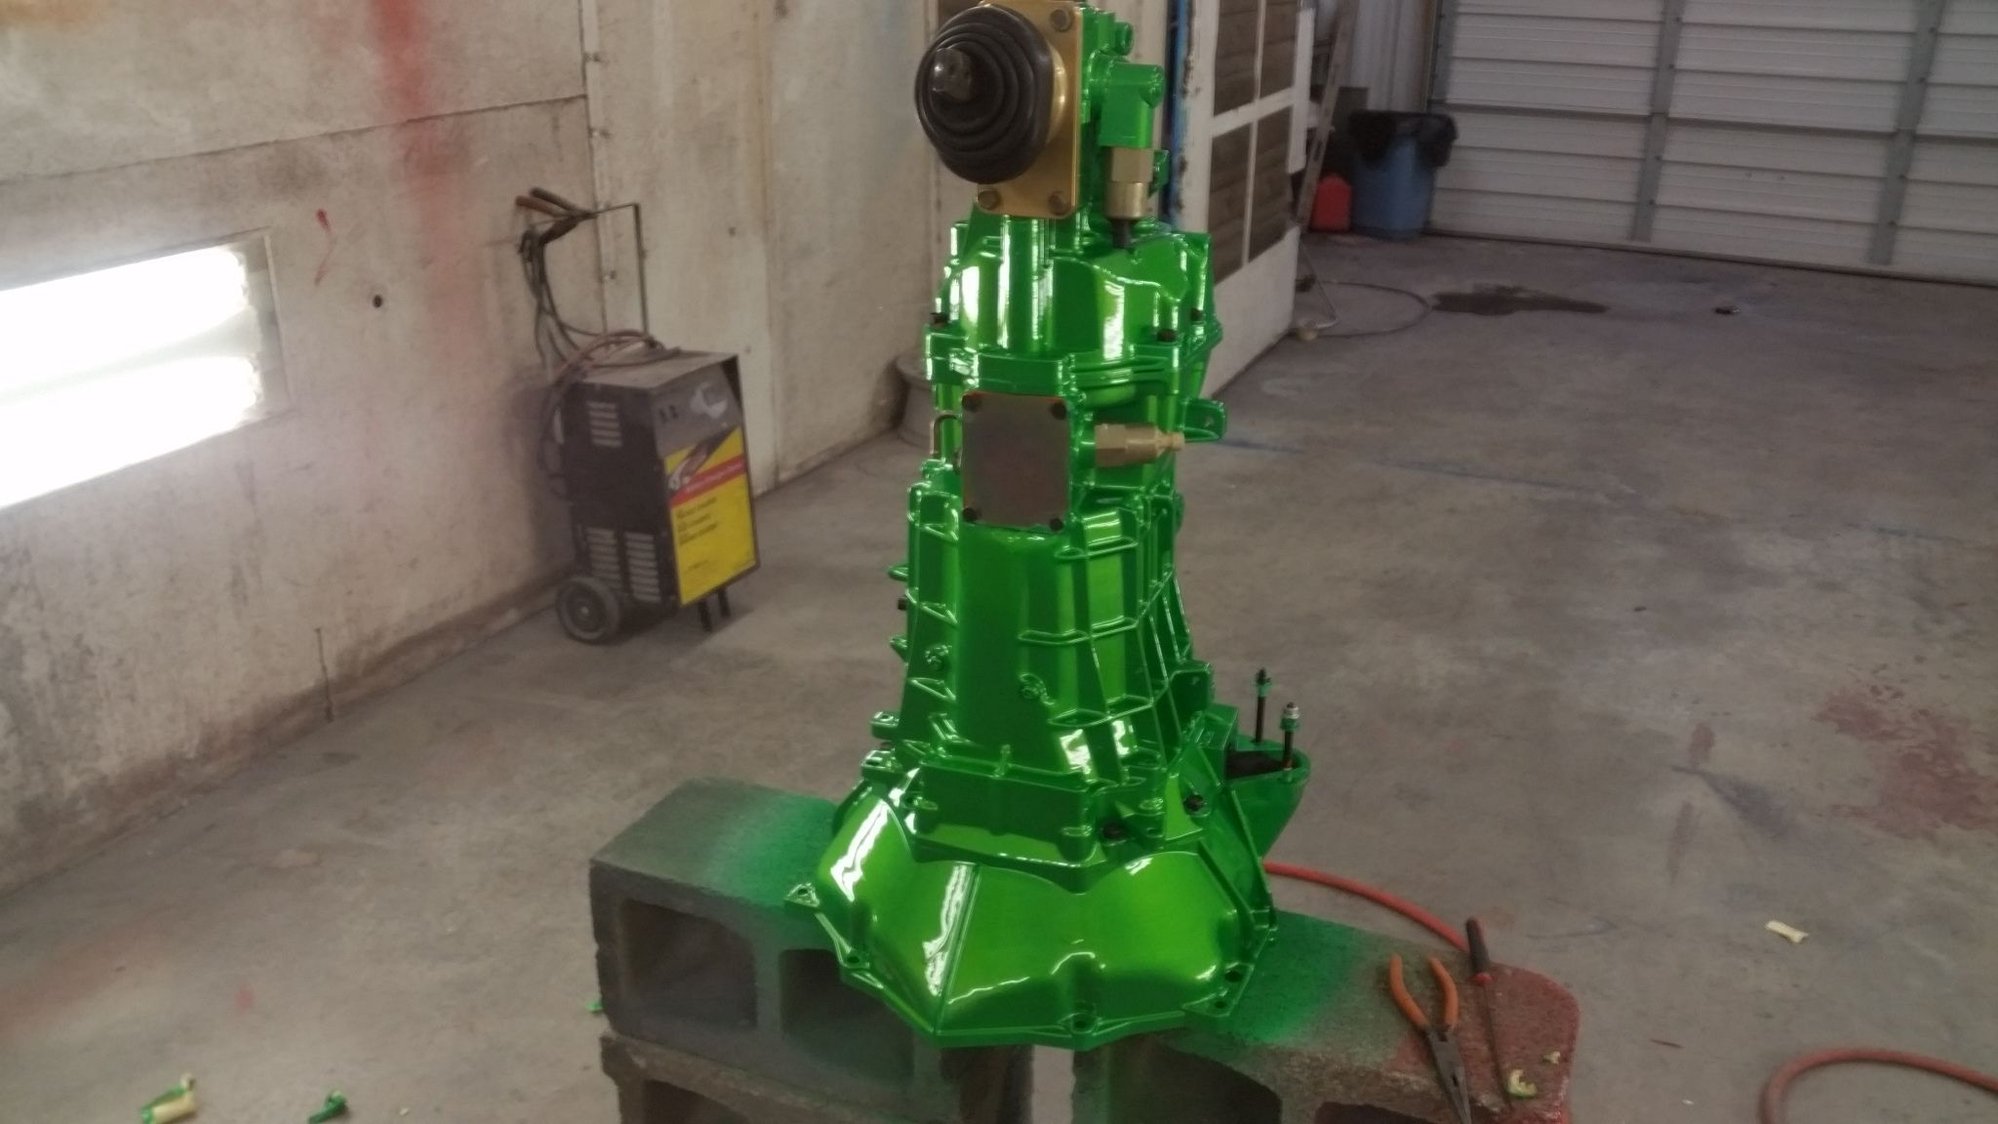
Pistons deserved a few pics. Really nice piece.expensive, but don't want to cheap out on this kind of stuff.
#80
Launching!
Thread Starter
Join Date: Mar 2009
Location: Weatherford Tx 76085 corner of N. Hwy 51 and 150 Green branch Rd.
Posts: 274
Likes: 0
Received 0 Likes
on
0 Posts

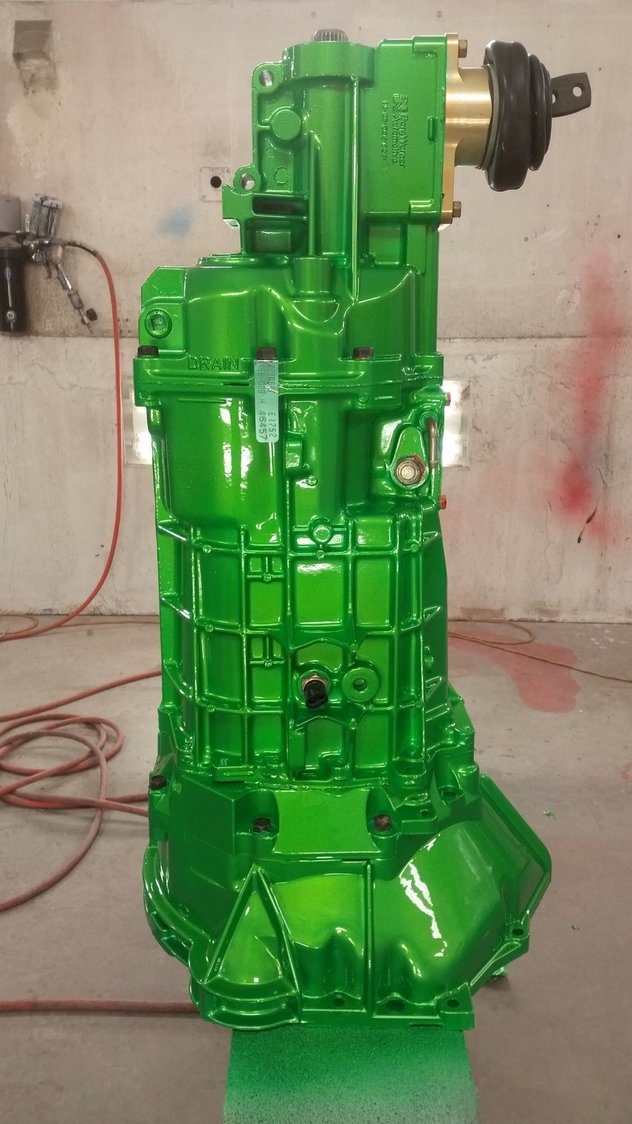
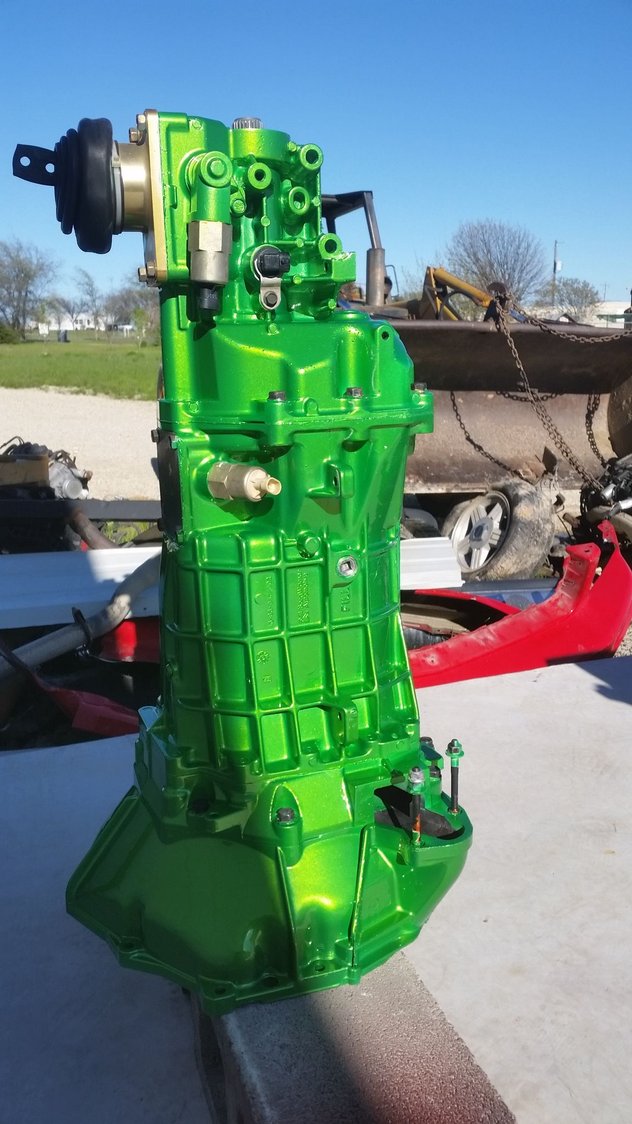
Fully built to handle some power. Cobra 5th and 6th gear swapped.
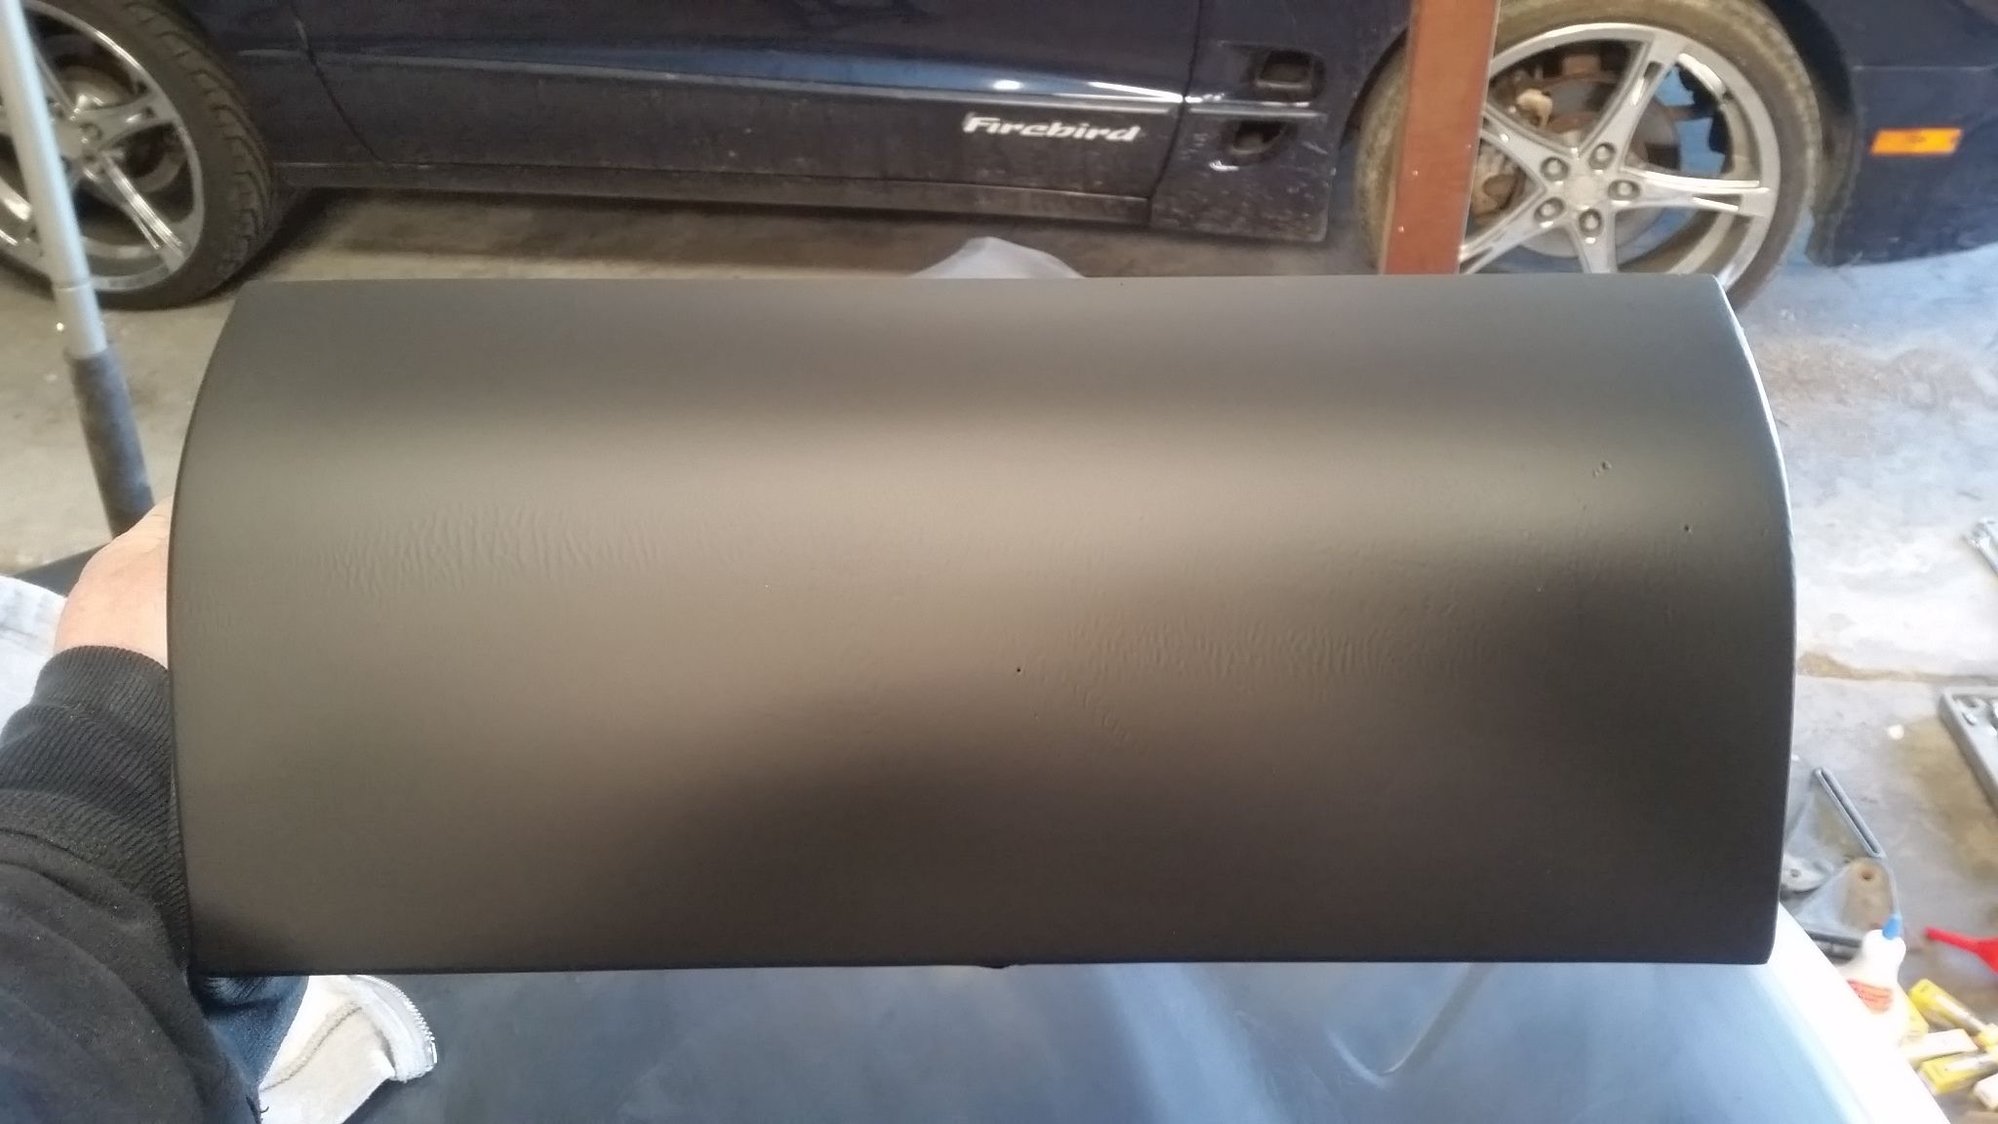
Rear taillight center section. Going to run a pull cable to open the rear hatch.
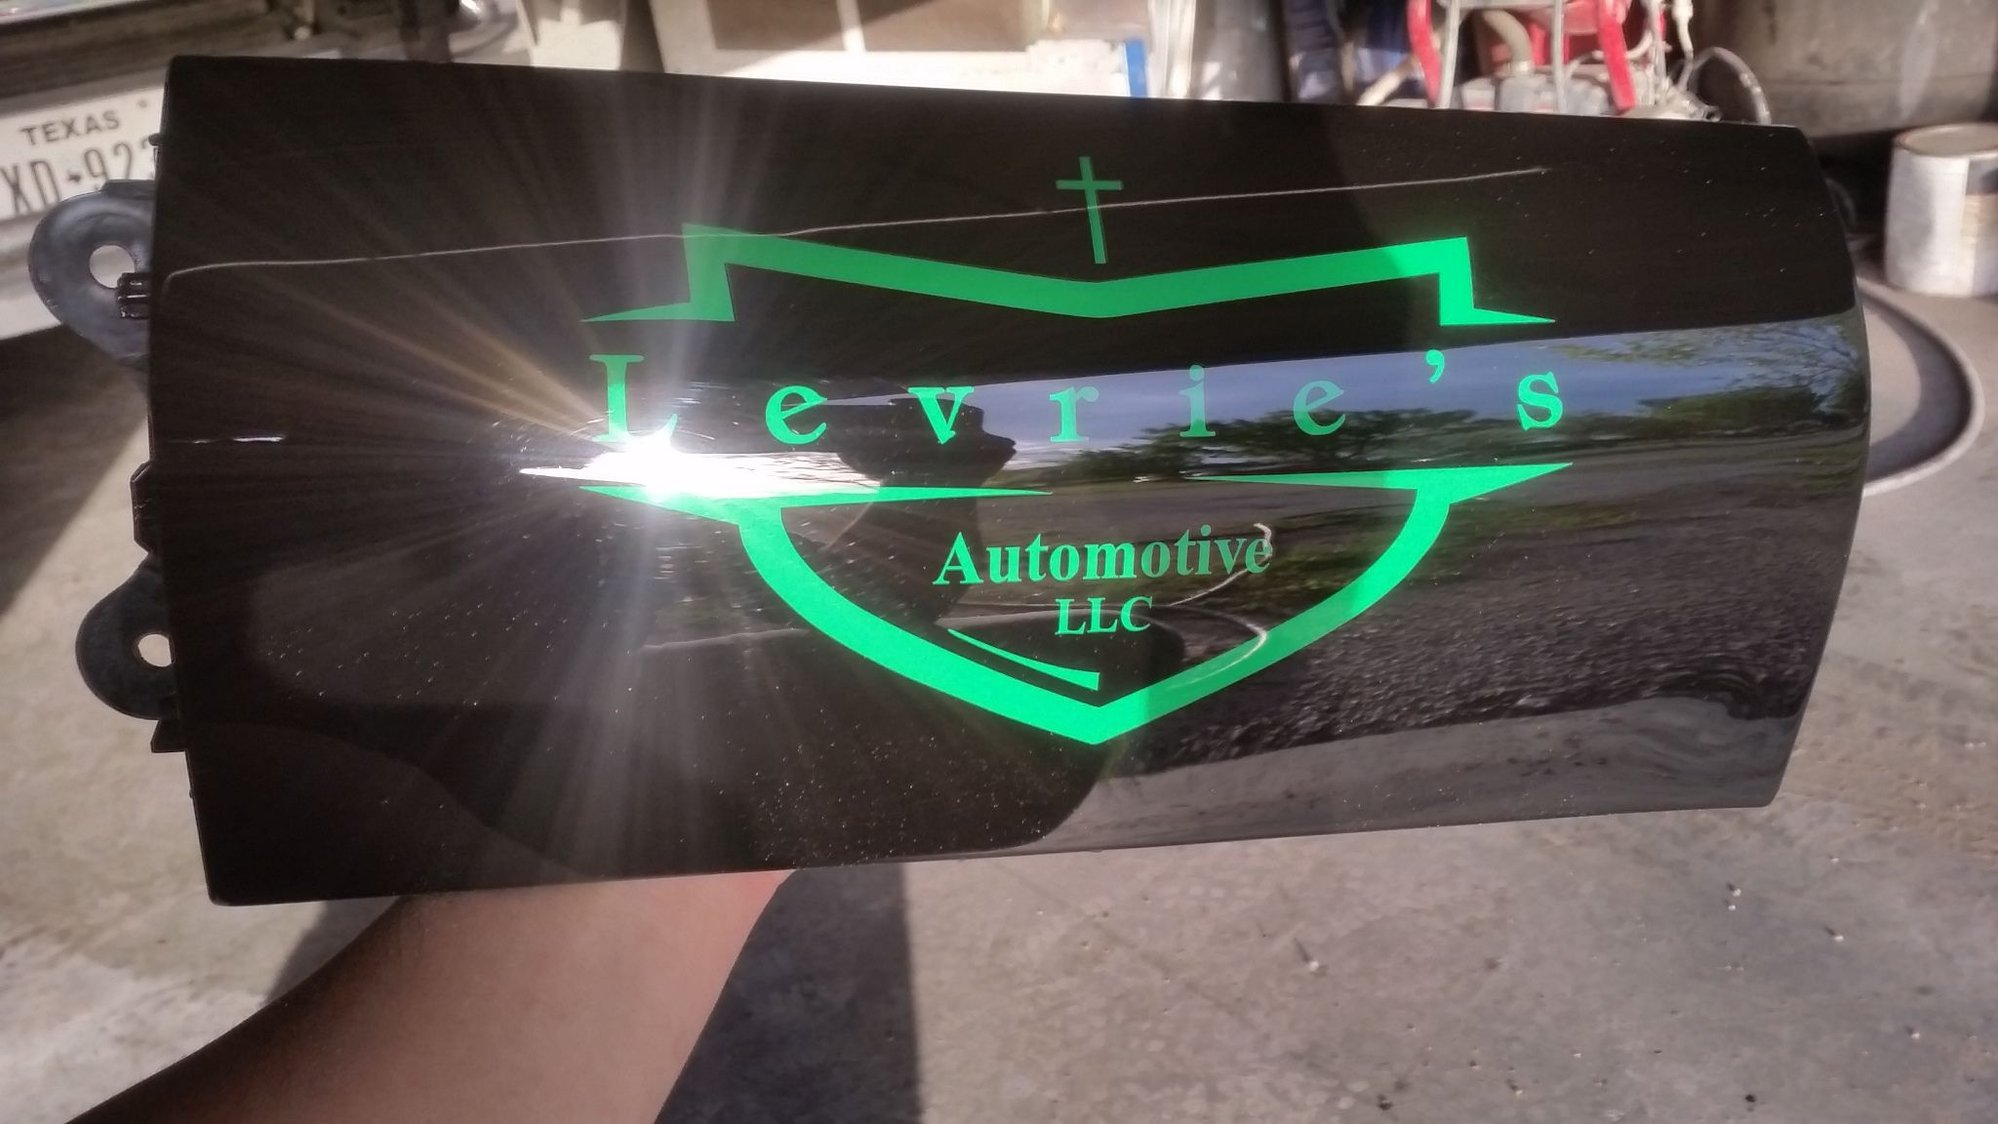
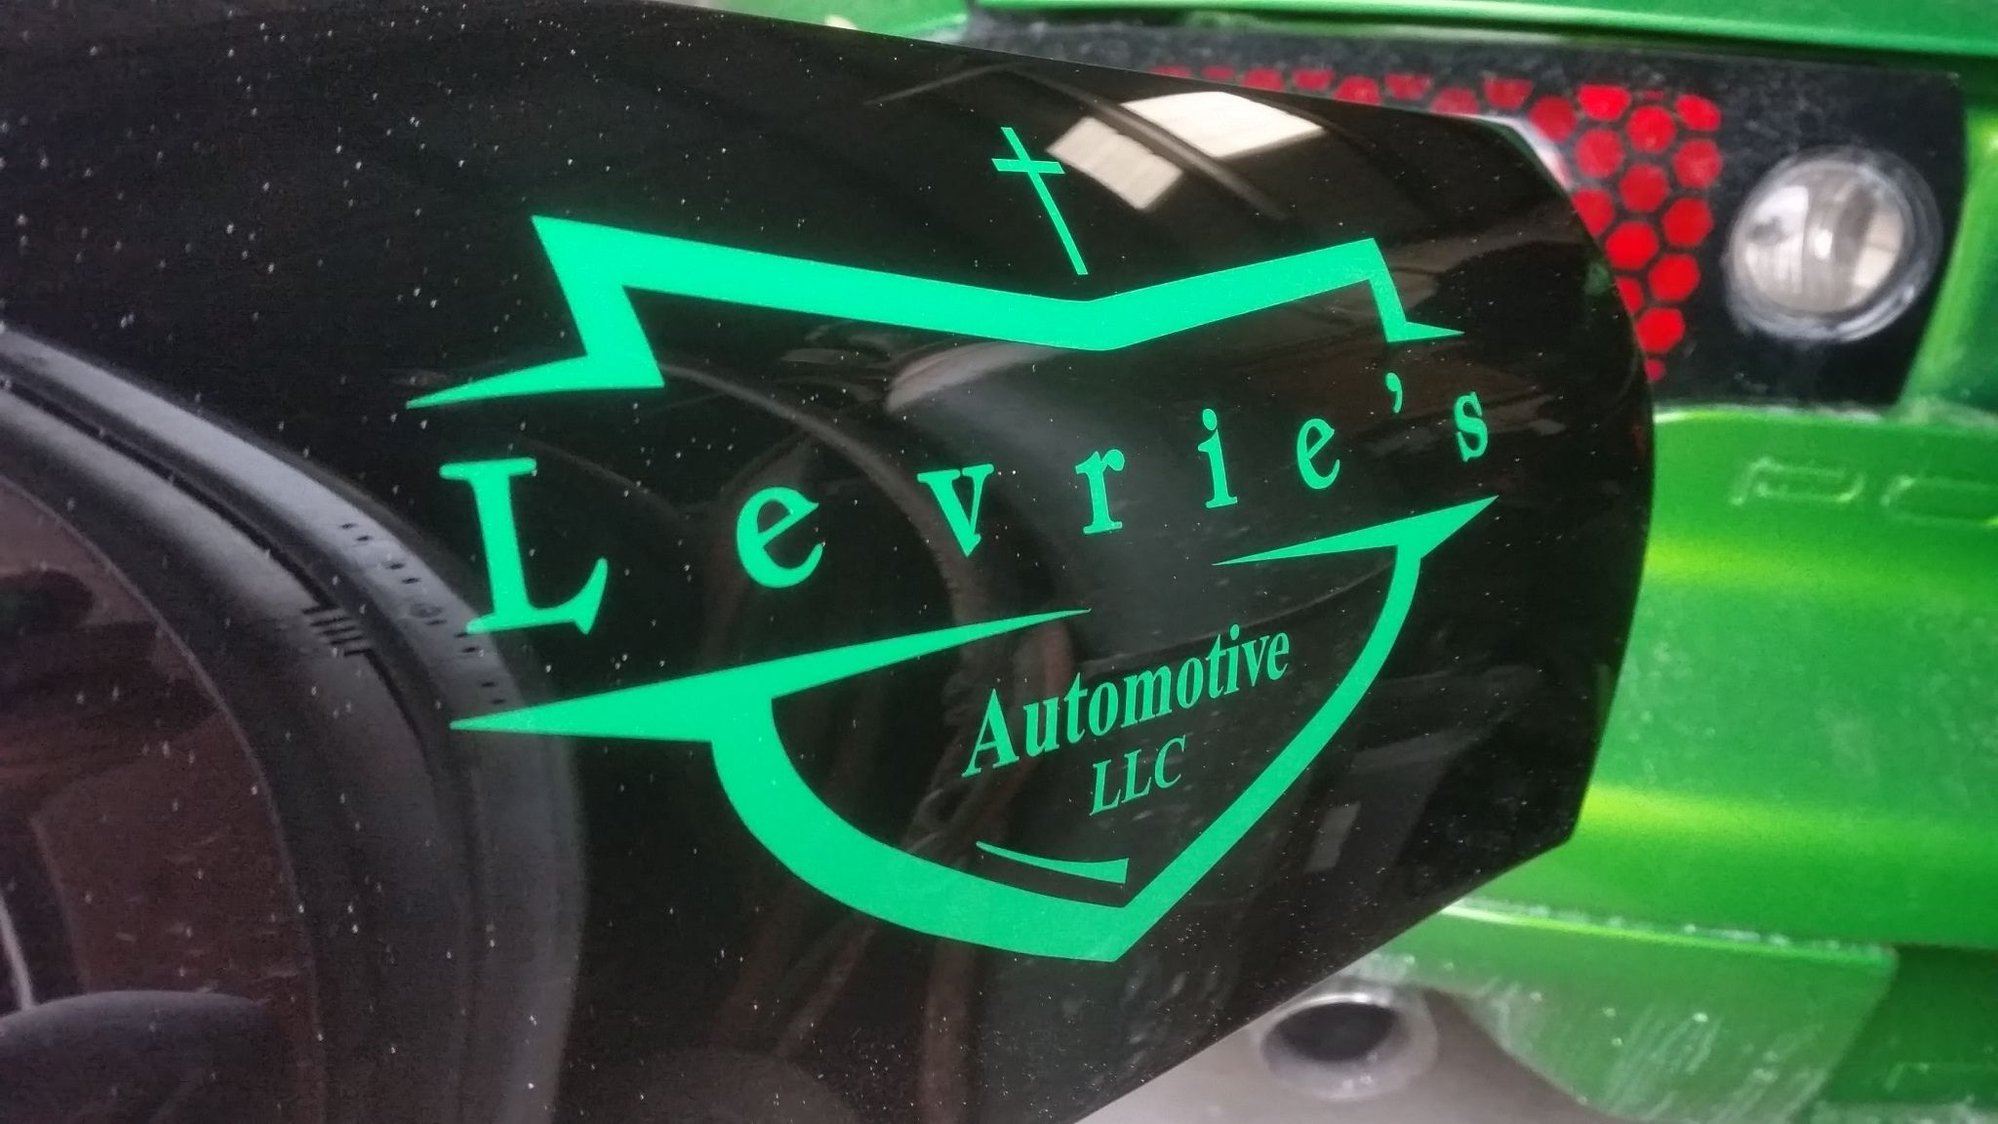
Look me up on Facebook and drop a like on my page if you like what you see.
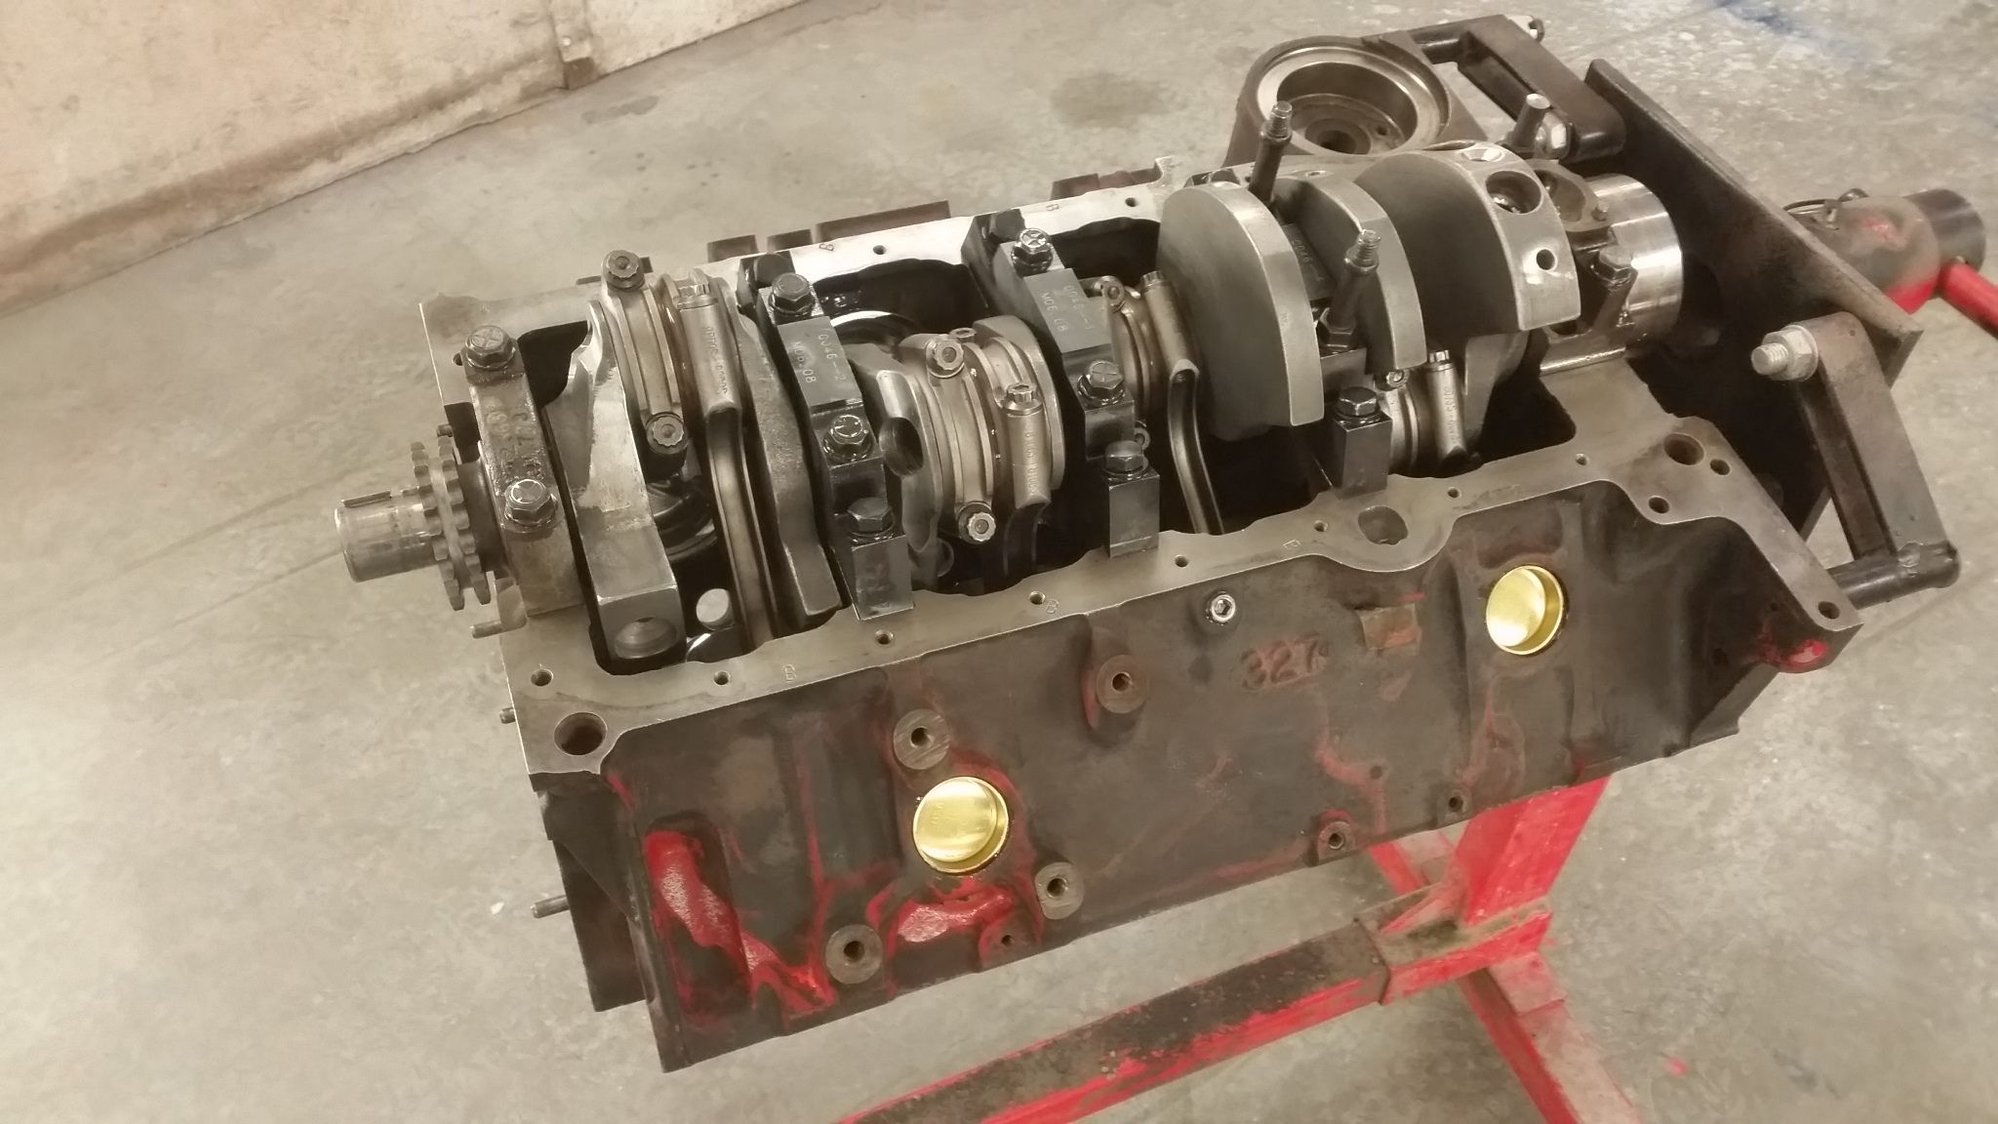
Getting the little engine that could prepped for some color.
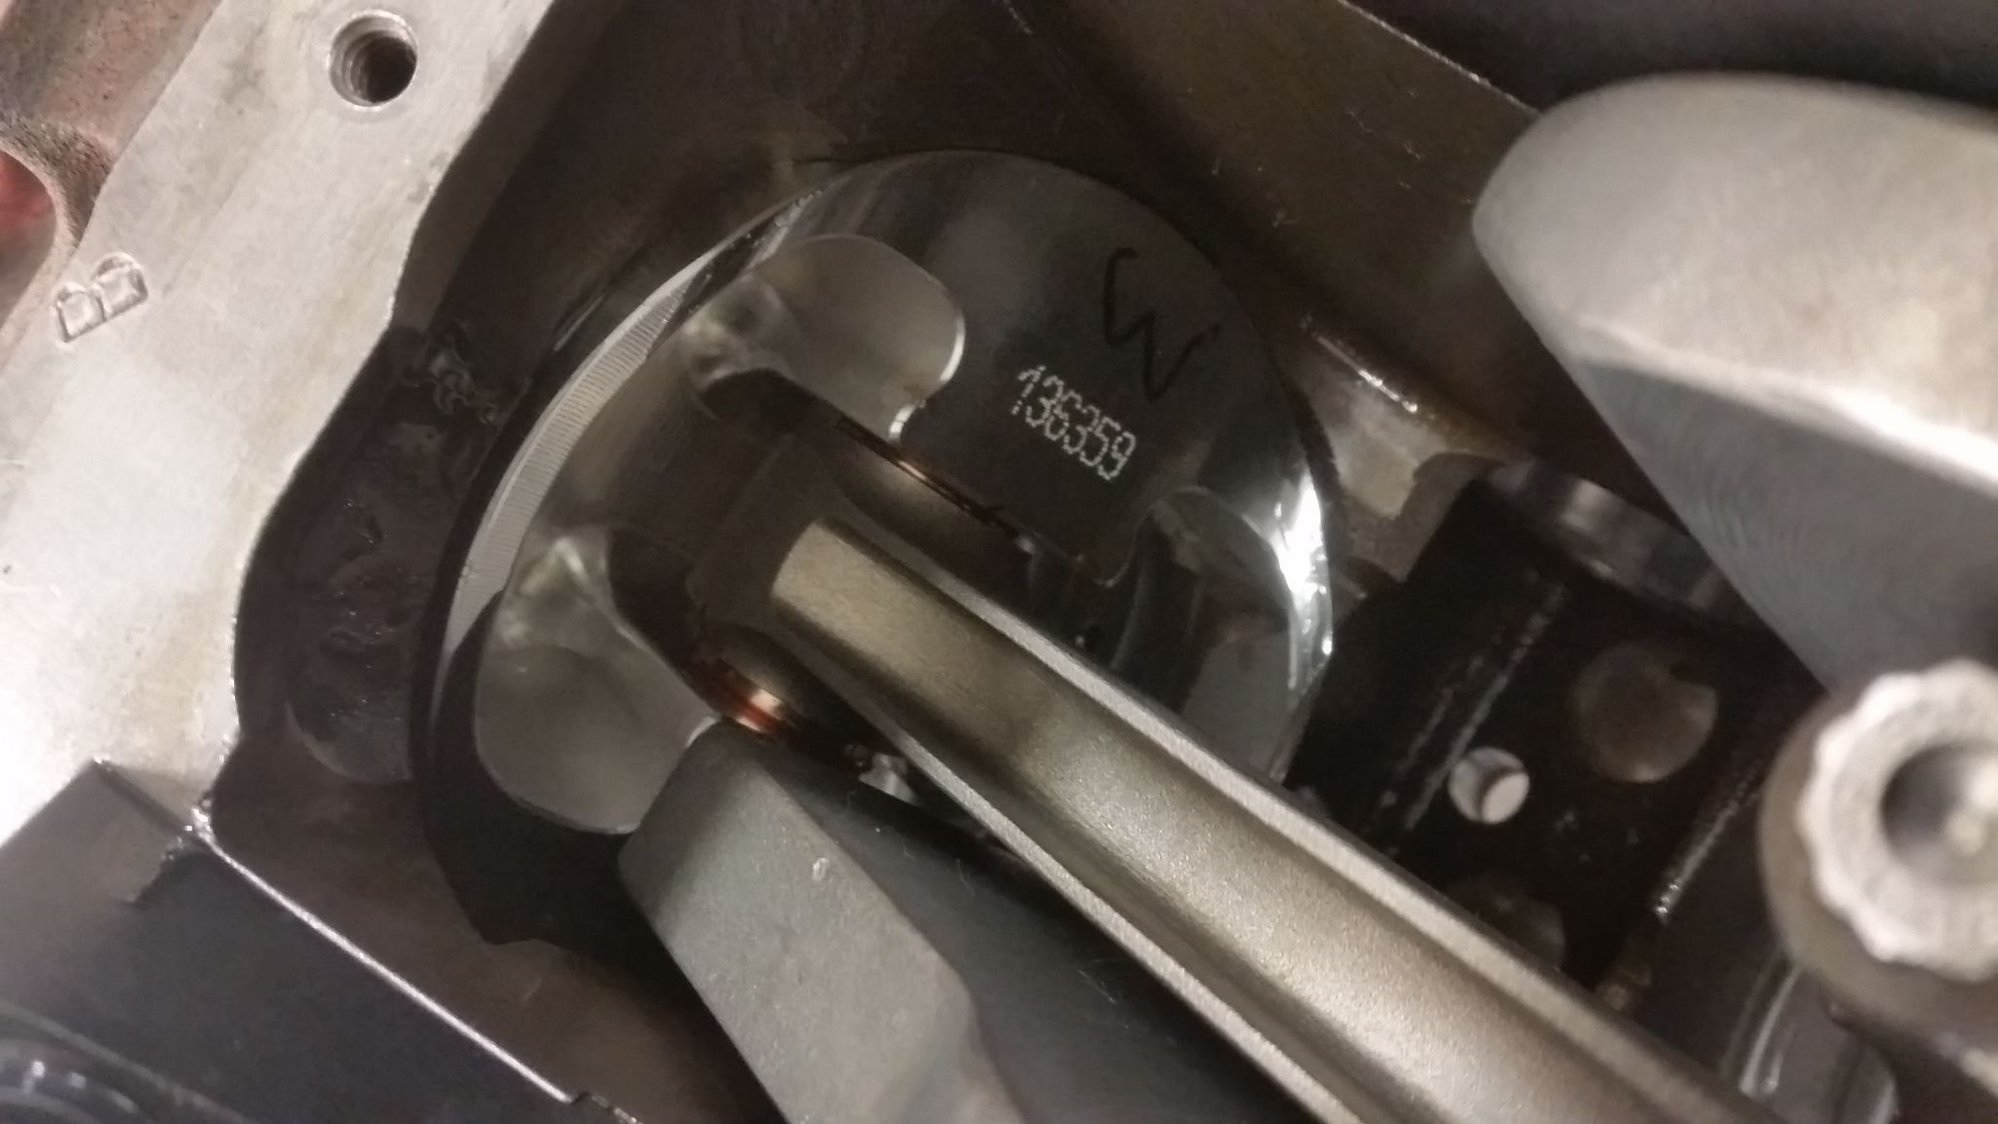
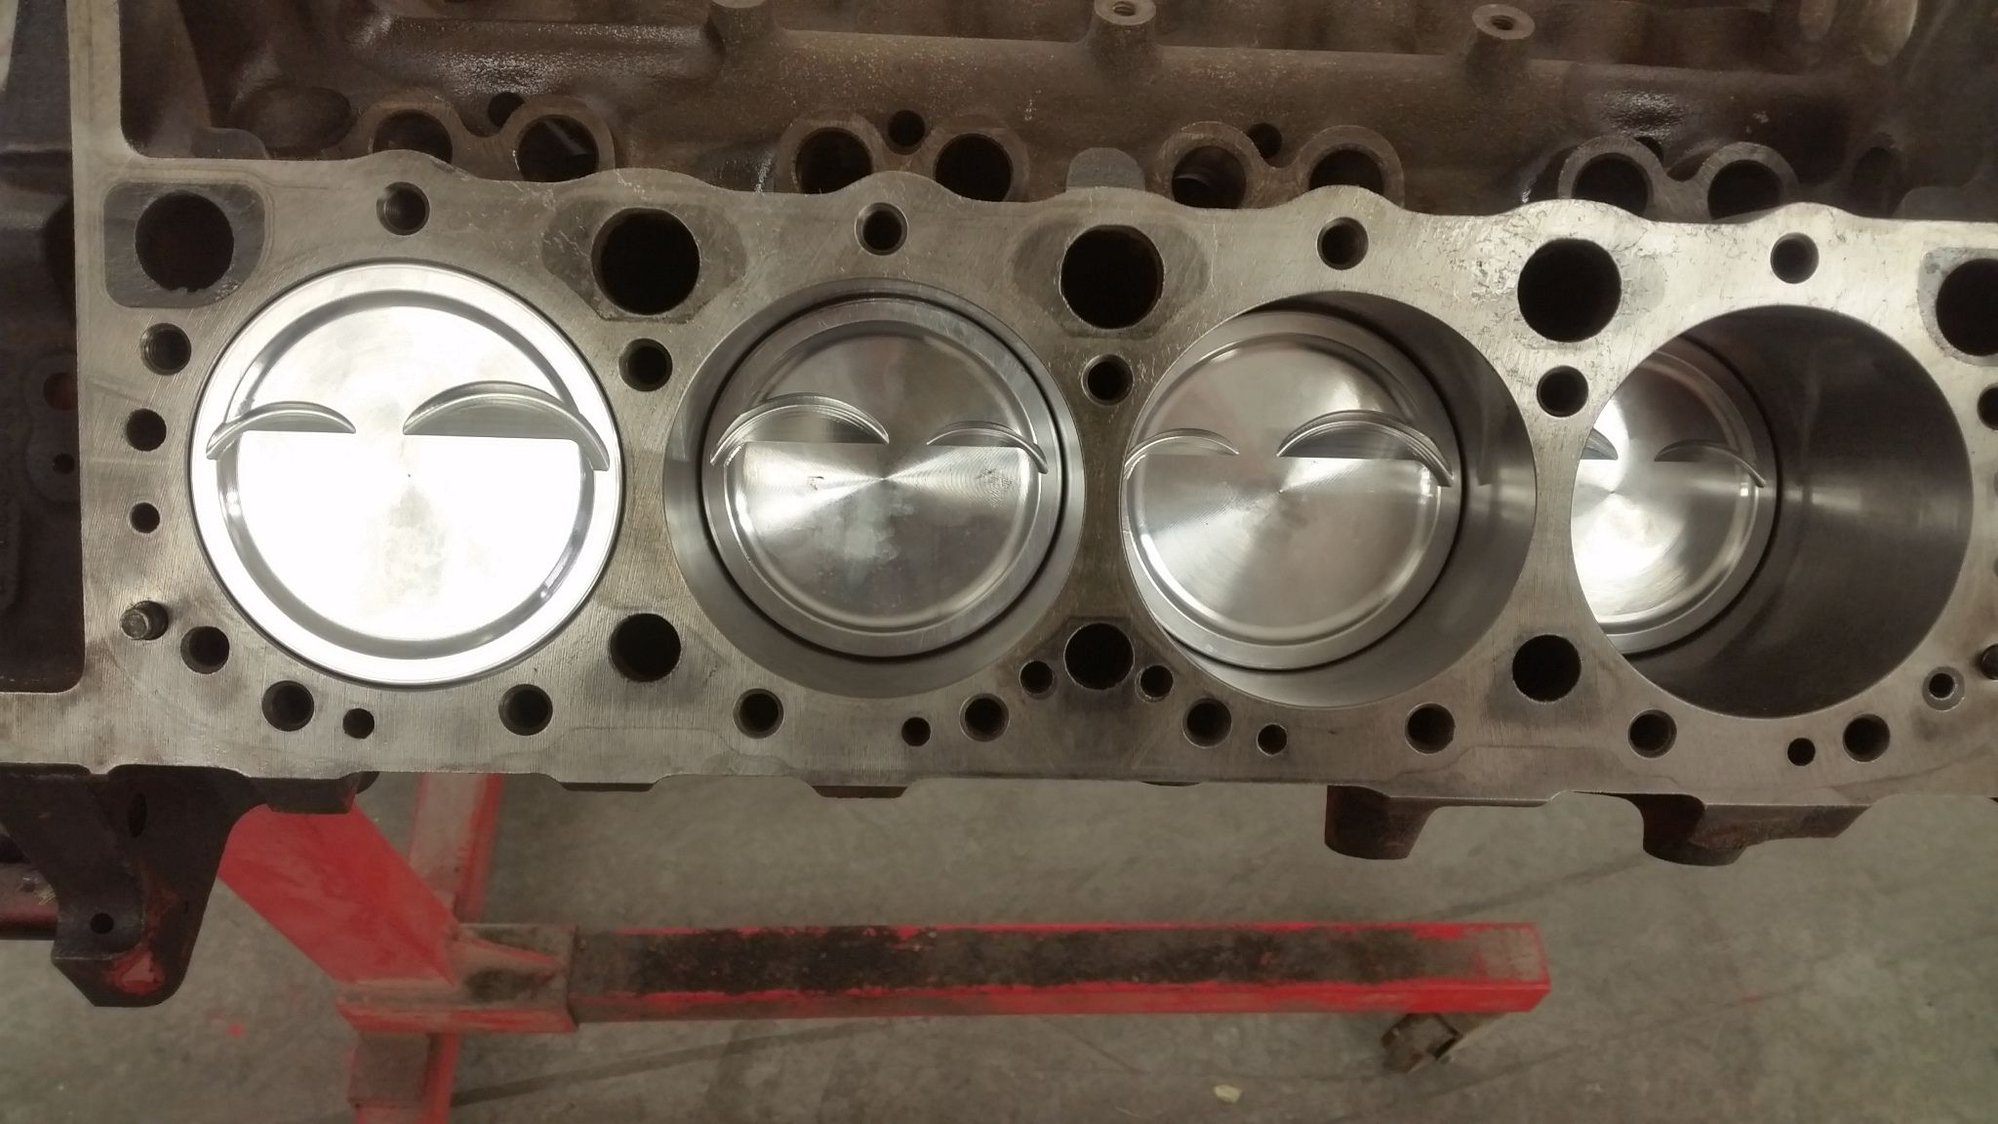
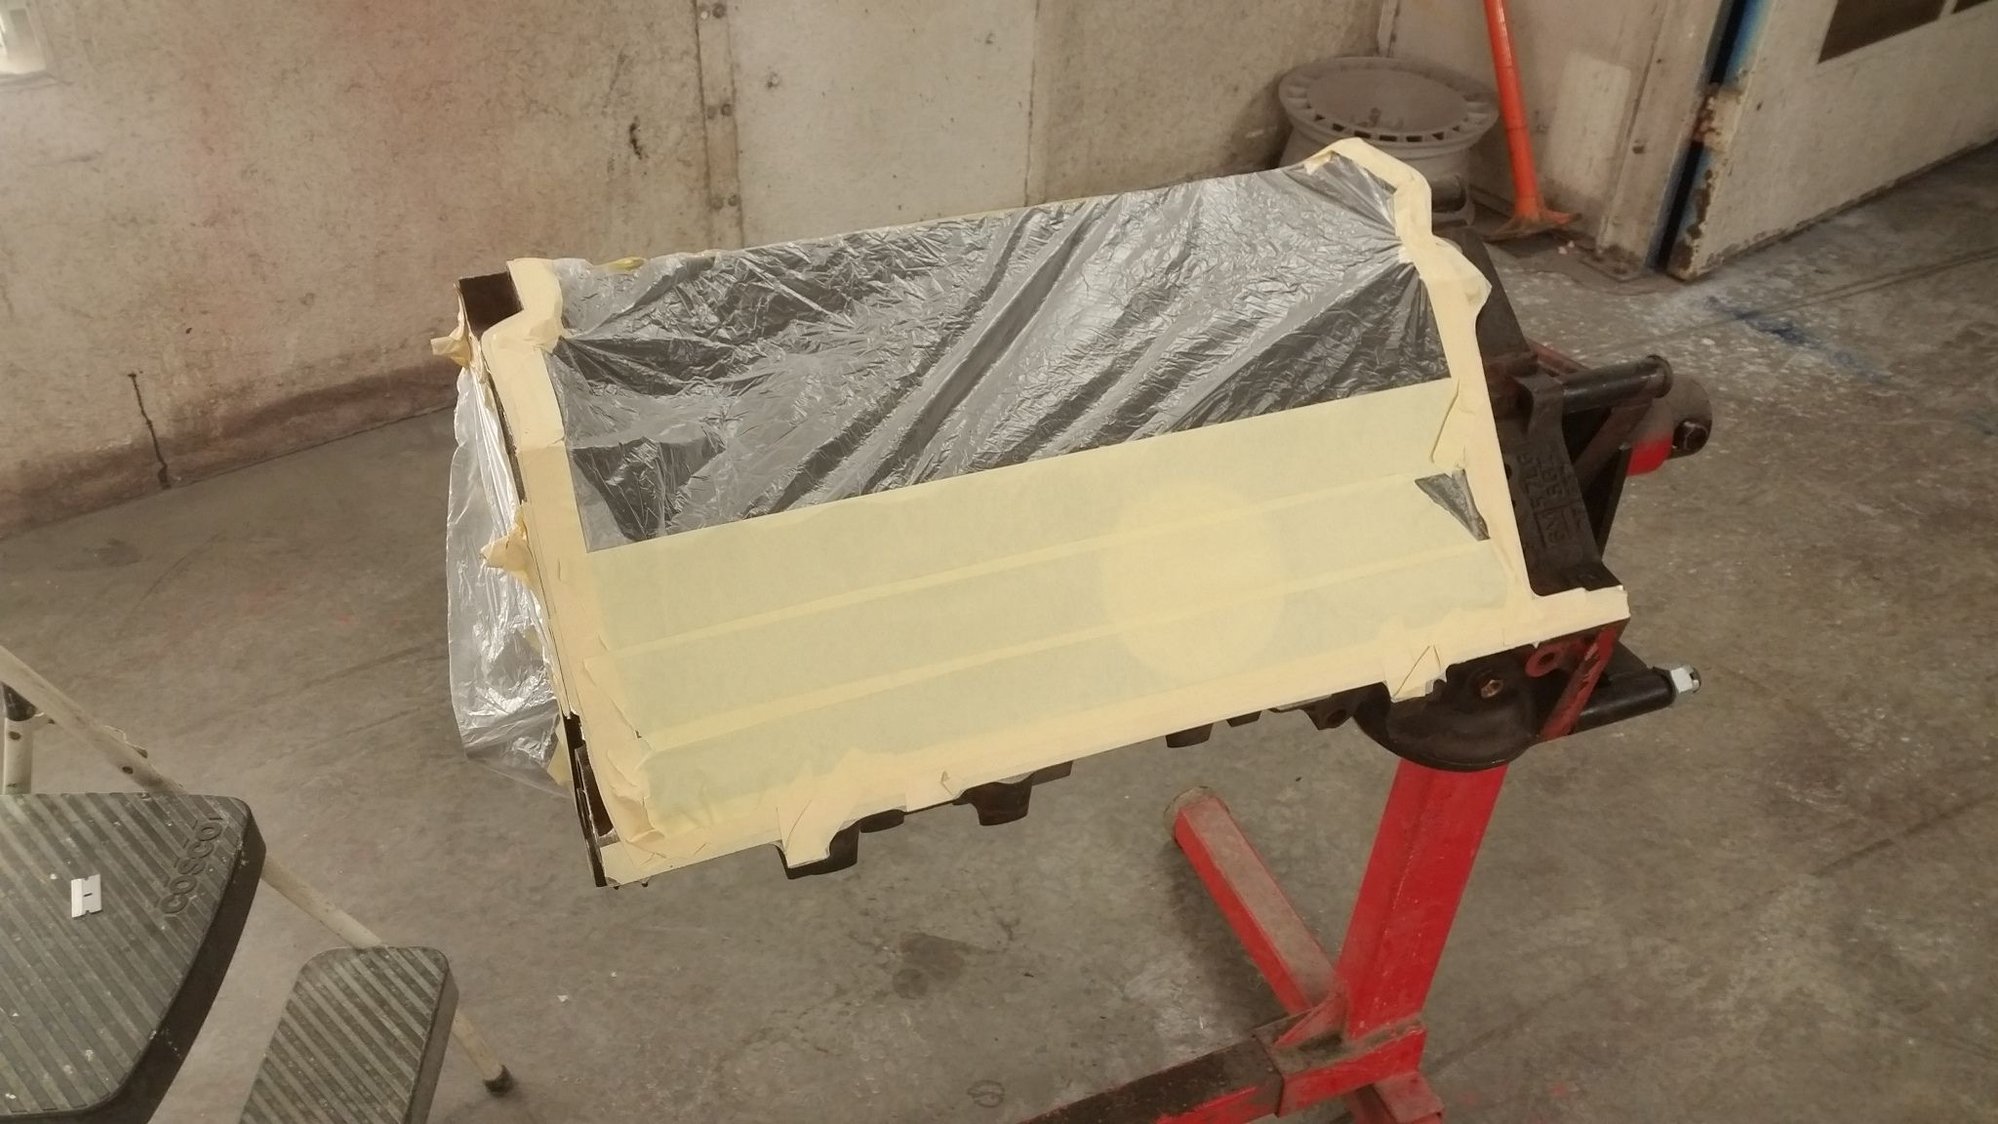
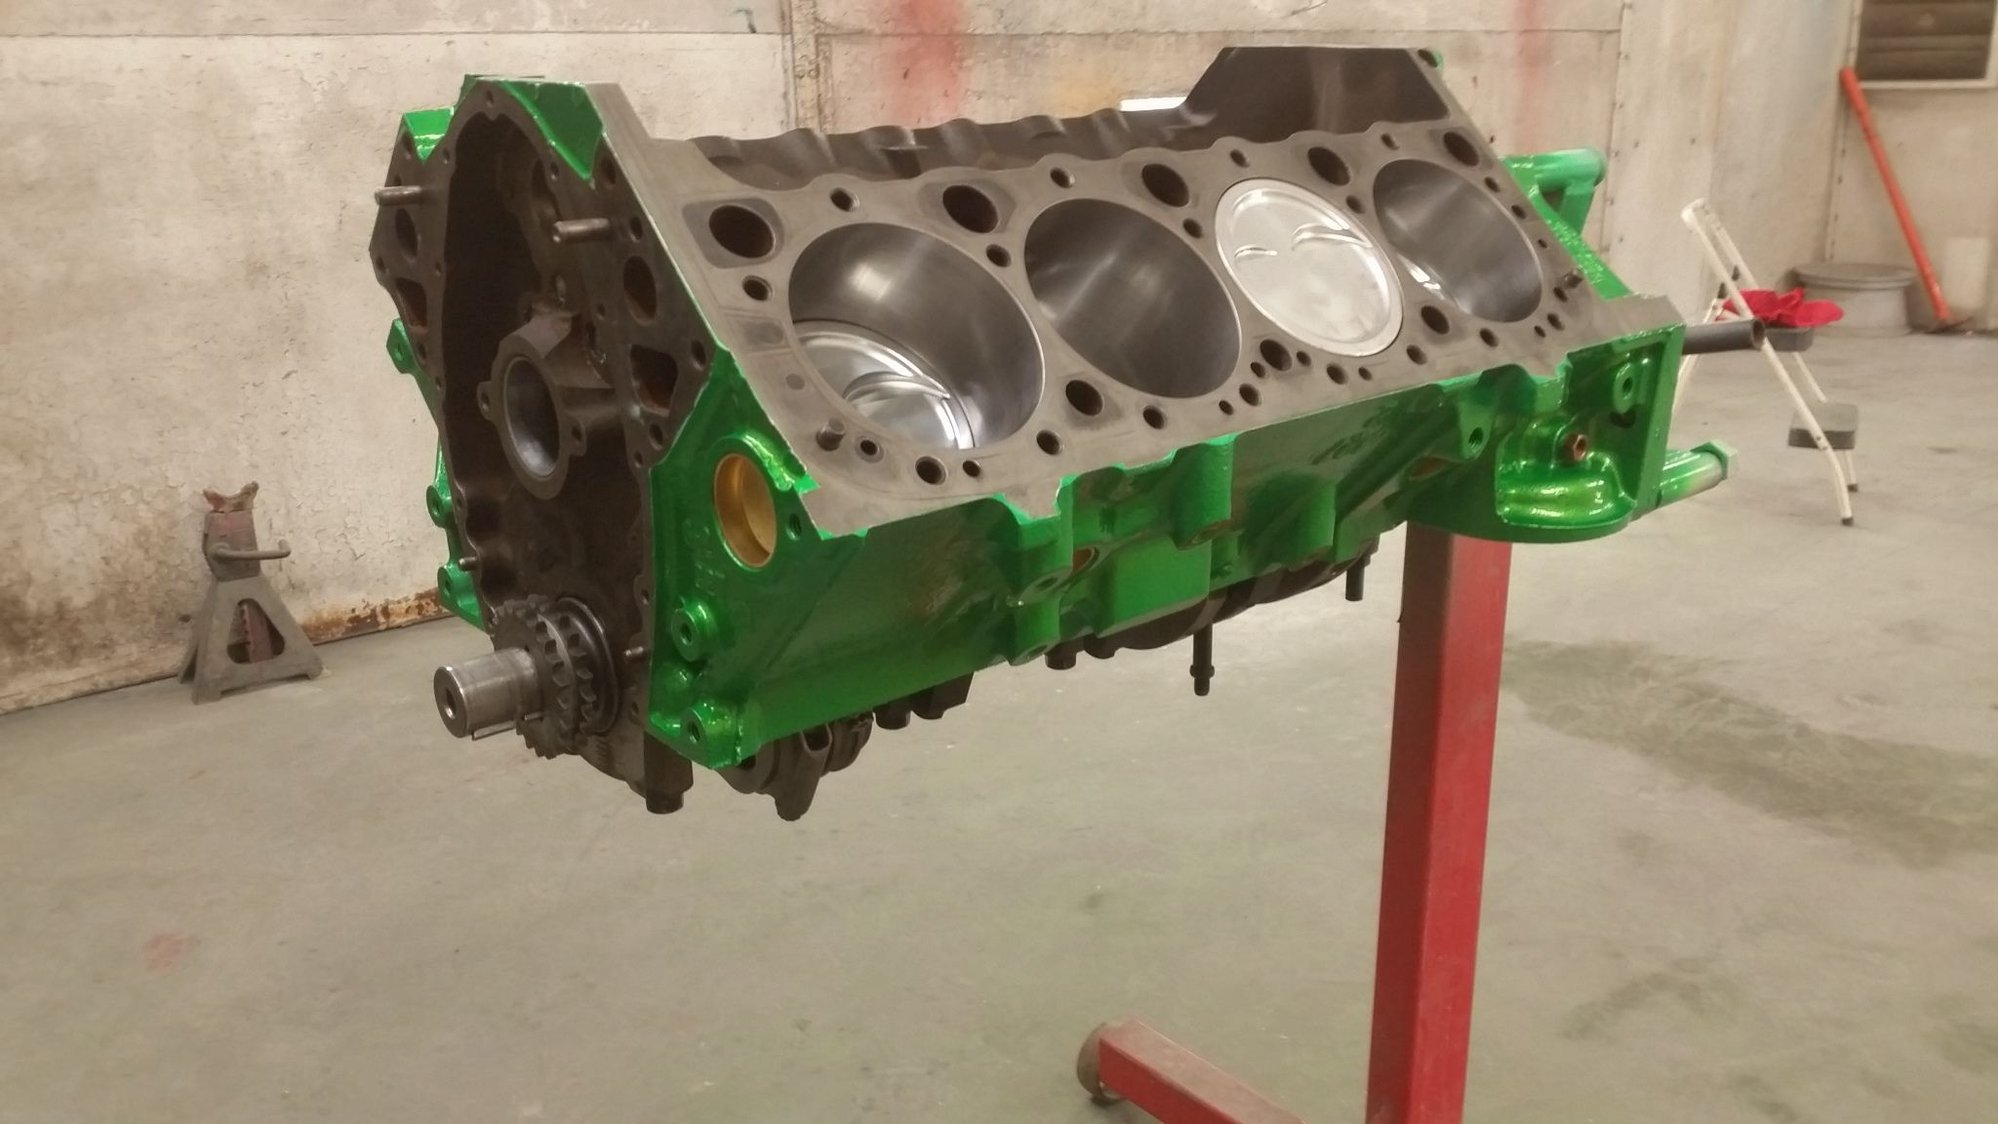
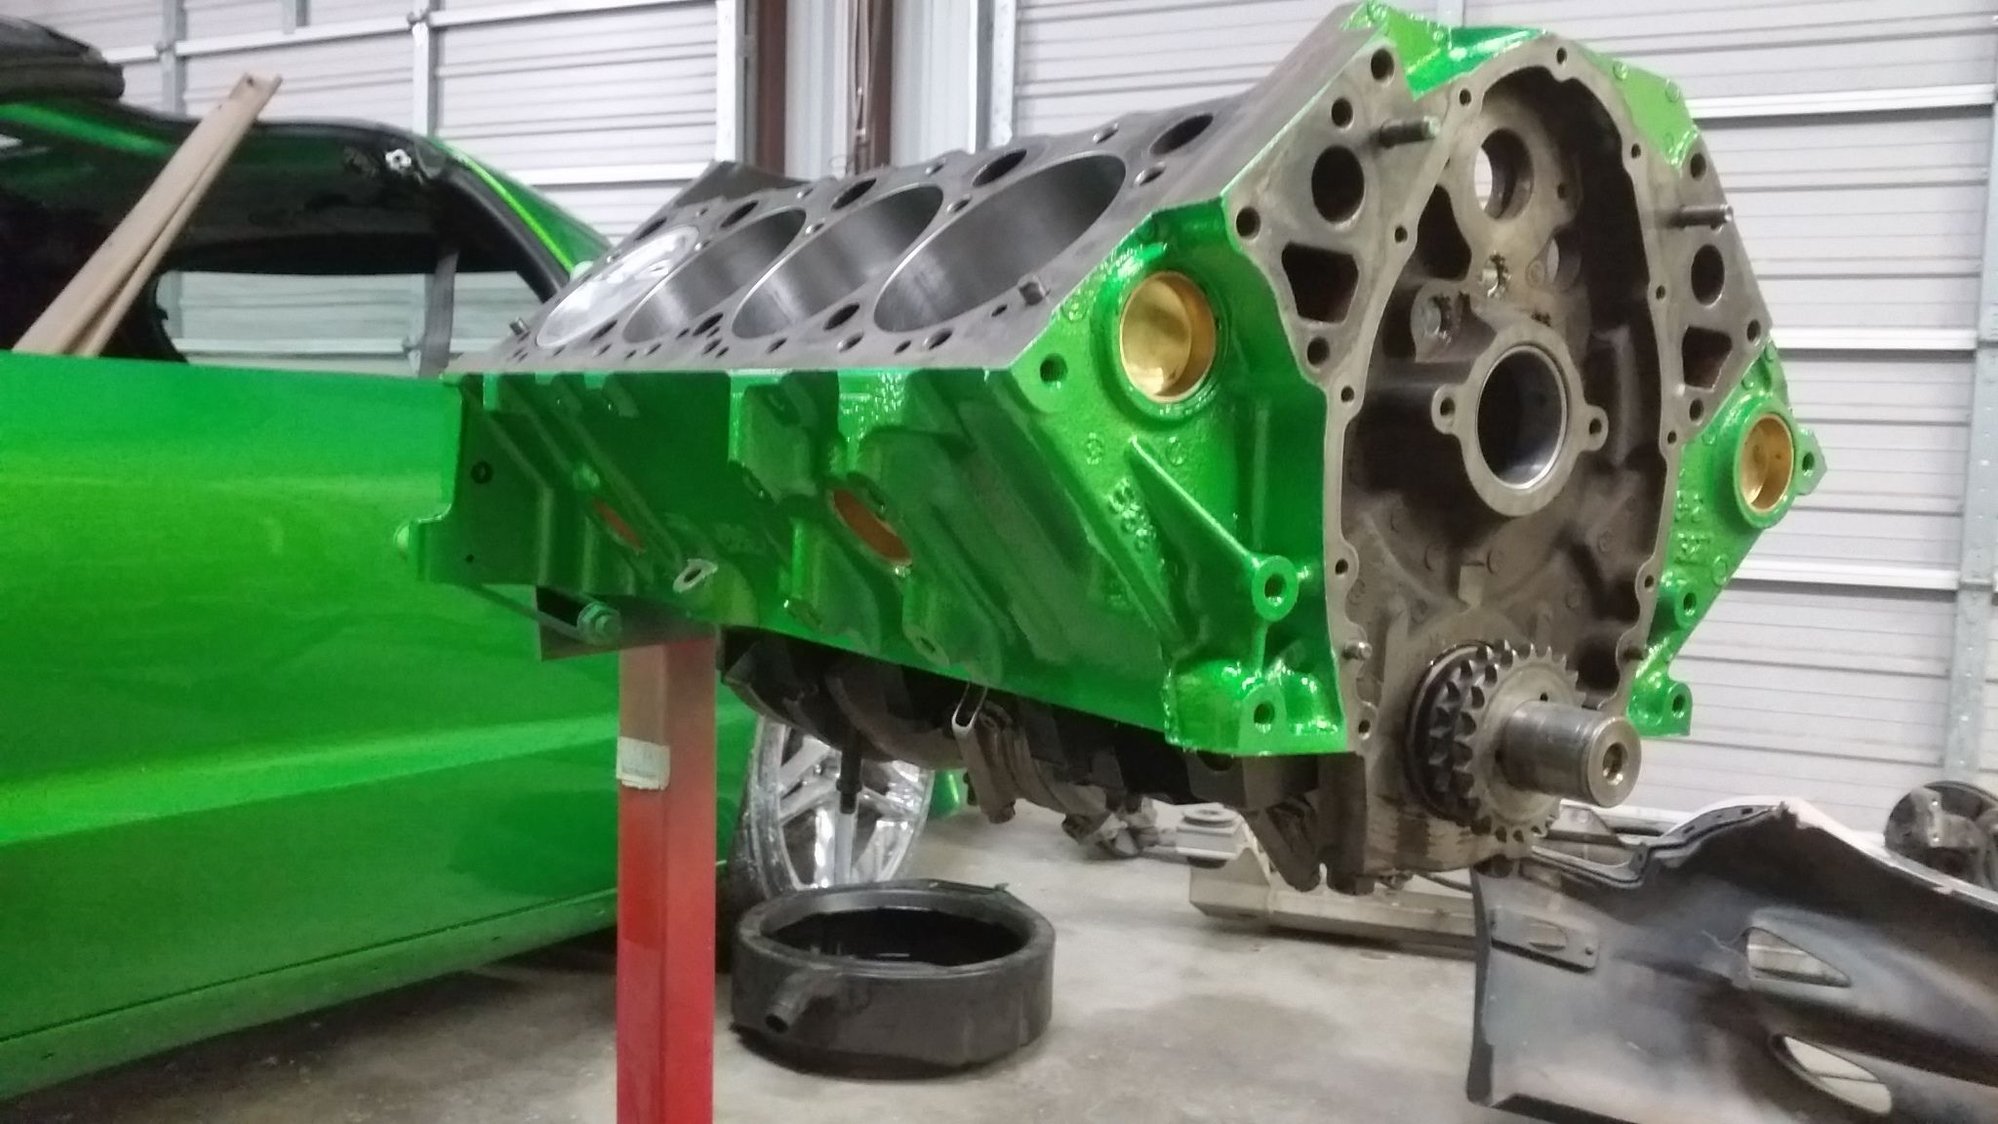
Little teaser pic. I won't post much on the engine after until I complete it. It sure looks tough the way it sit now. I'm just waiting on head gaskets and injectors and will be ready to go.


