67 Chevelle ls1 t66
#22
On The Tree
Thread Starter
iTrader: (1)
Join Date: Aug 2011
Location: Sacramento ca
Posts: 145
Likes: 0
Received 0 Likes
on
0 Posts
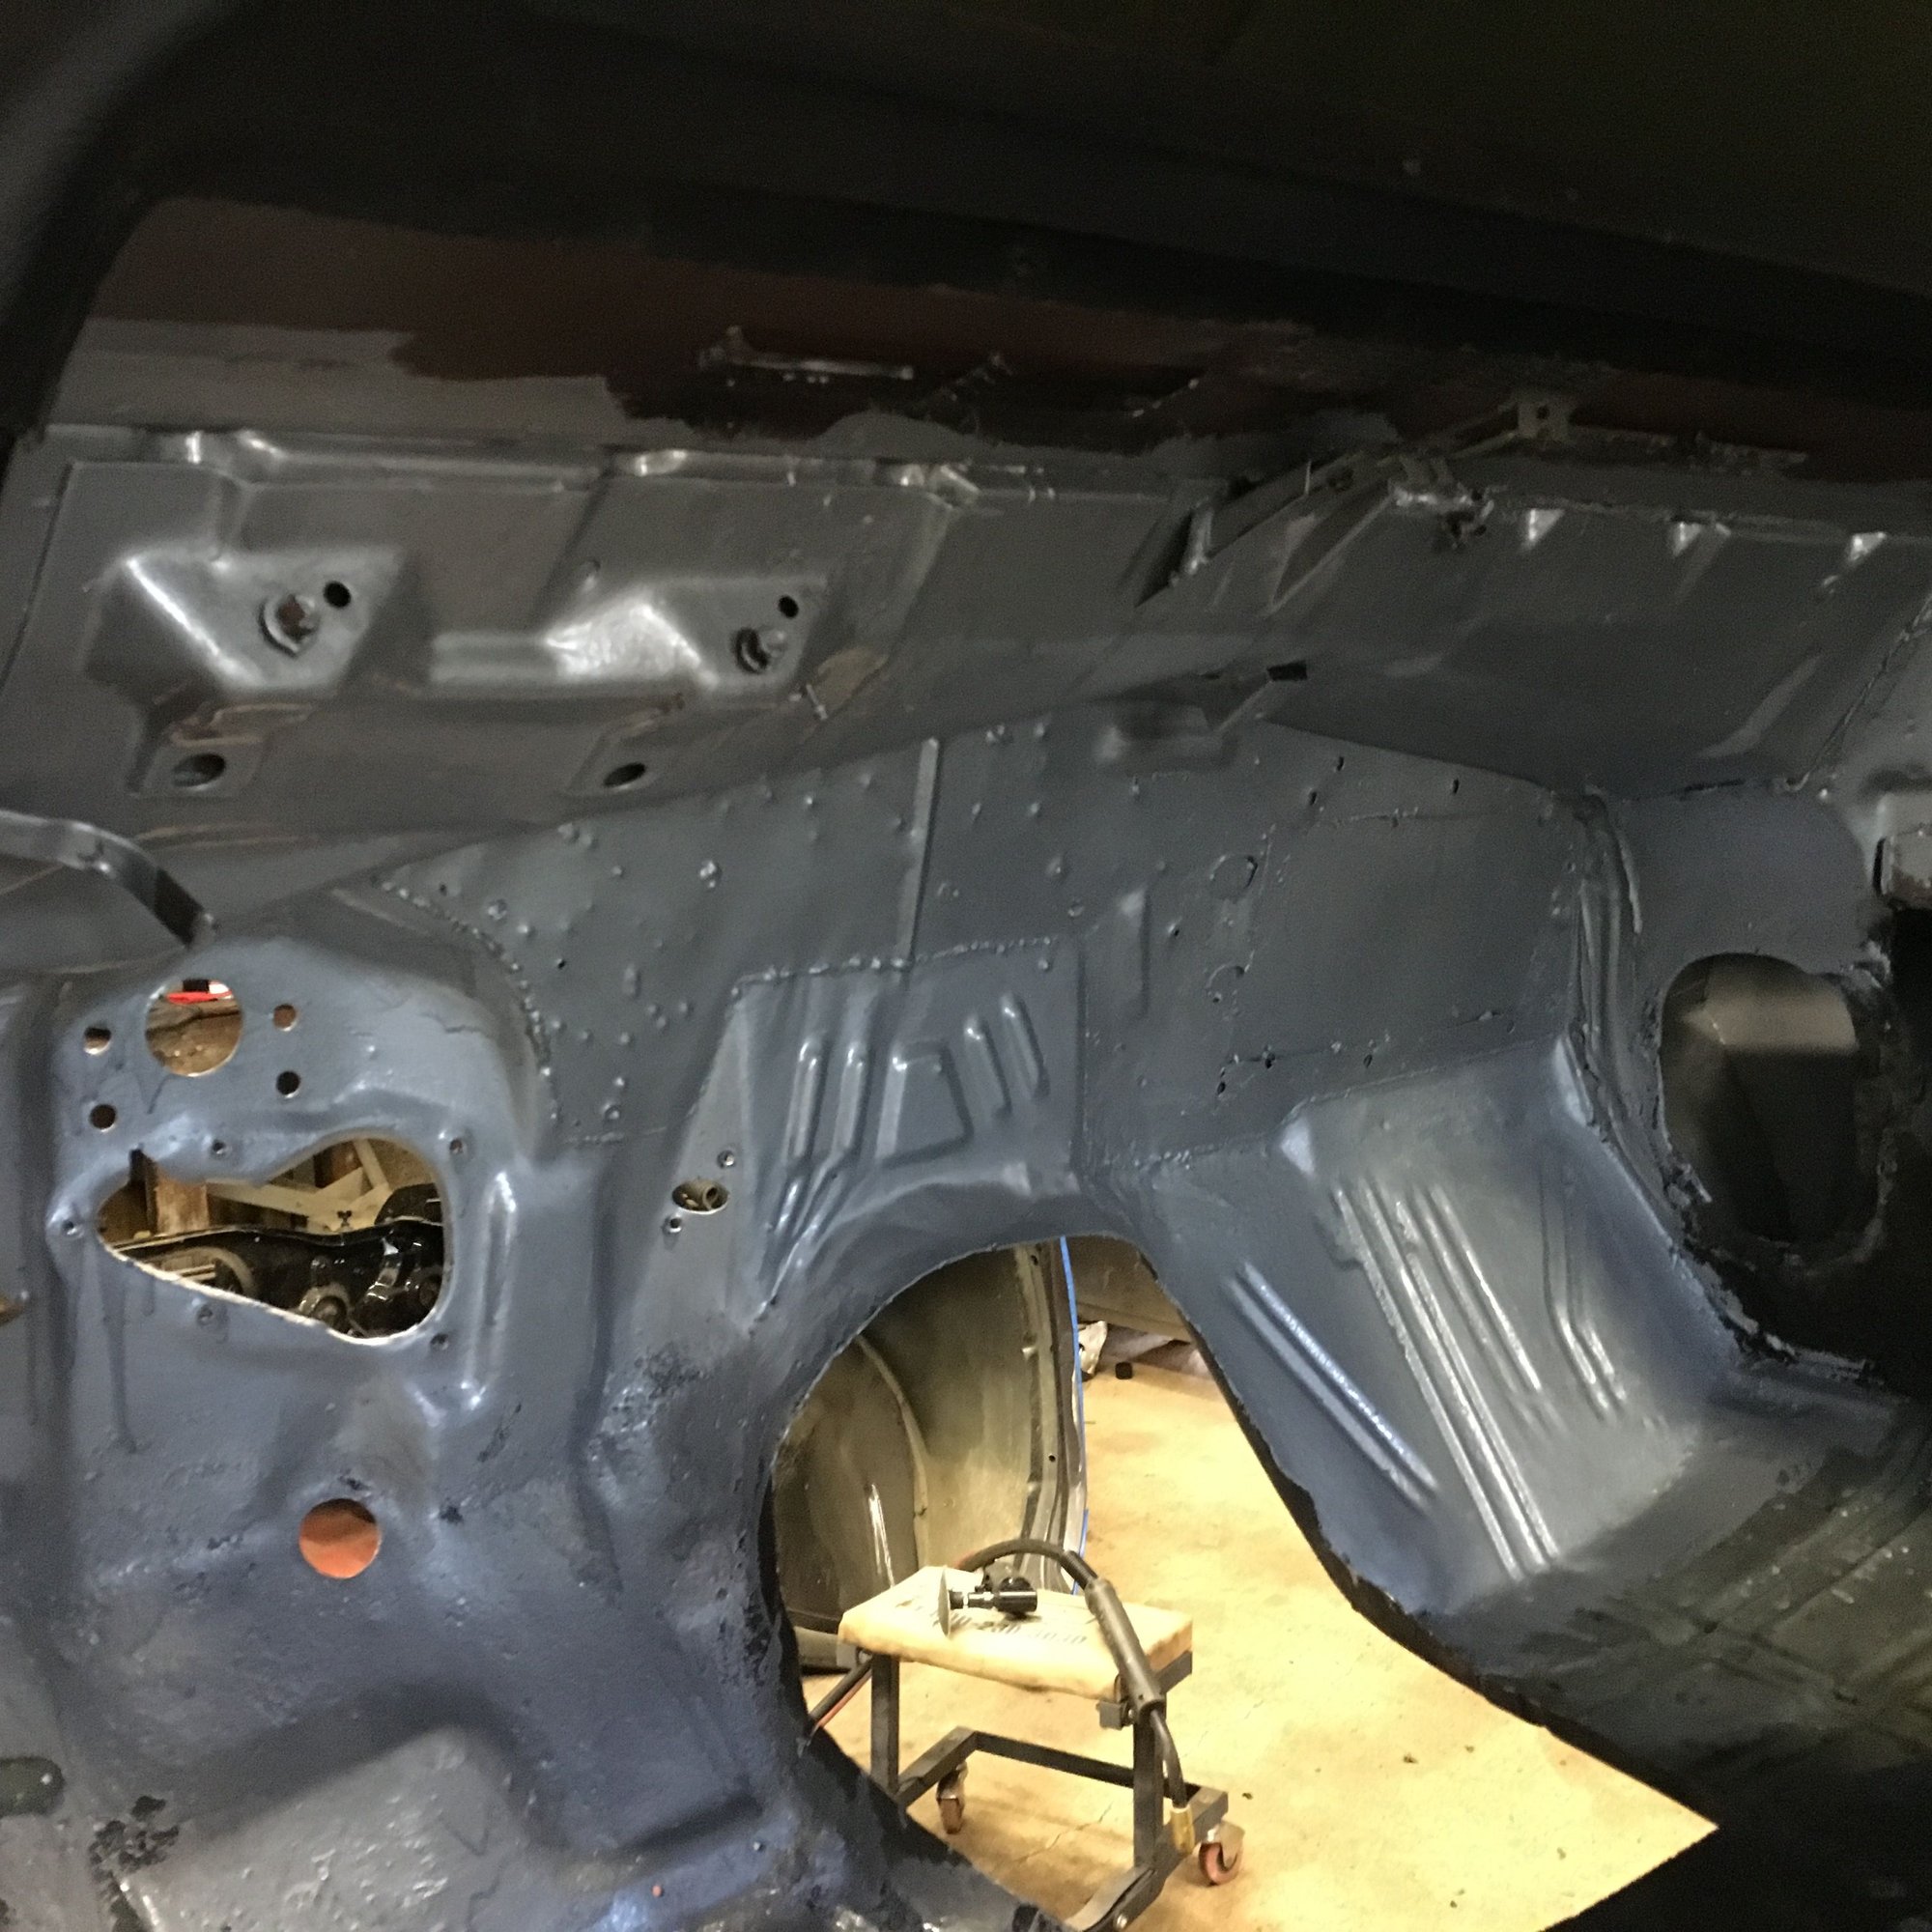

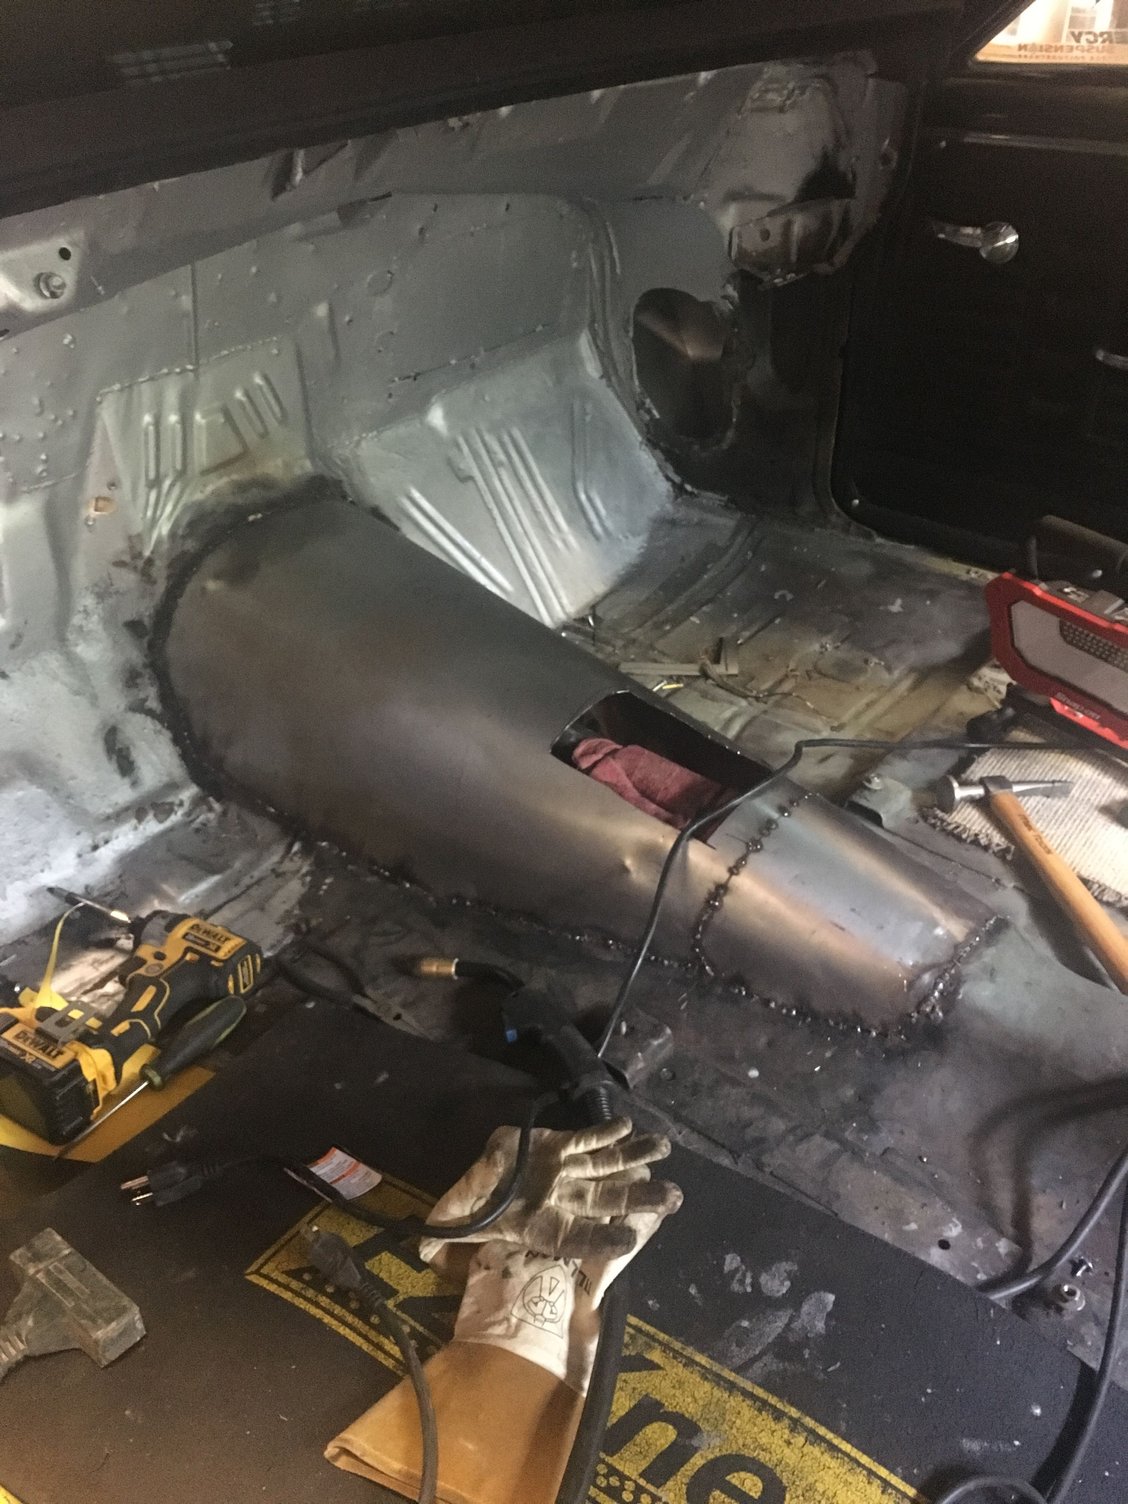
i will metal work all the dents, the tunnel is made out of 18 guage that I formed in a slip roll. I have butt welded the panel around and will finish weld it once I form the rear piece and pull the engine and trans.
#25
On The Tree
Thread Starter
iTrader: (1)
Join Date: Aug 2011
Location: Sacramento ca
Posts: 145
Likes: 0
Received 0 Likes
on
0 Posts
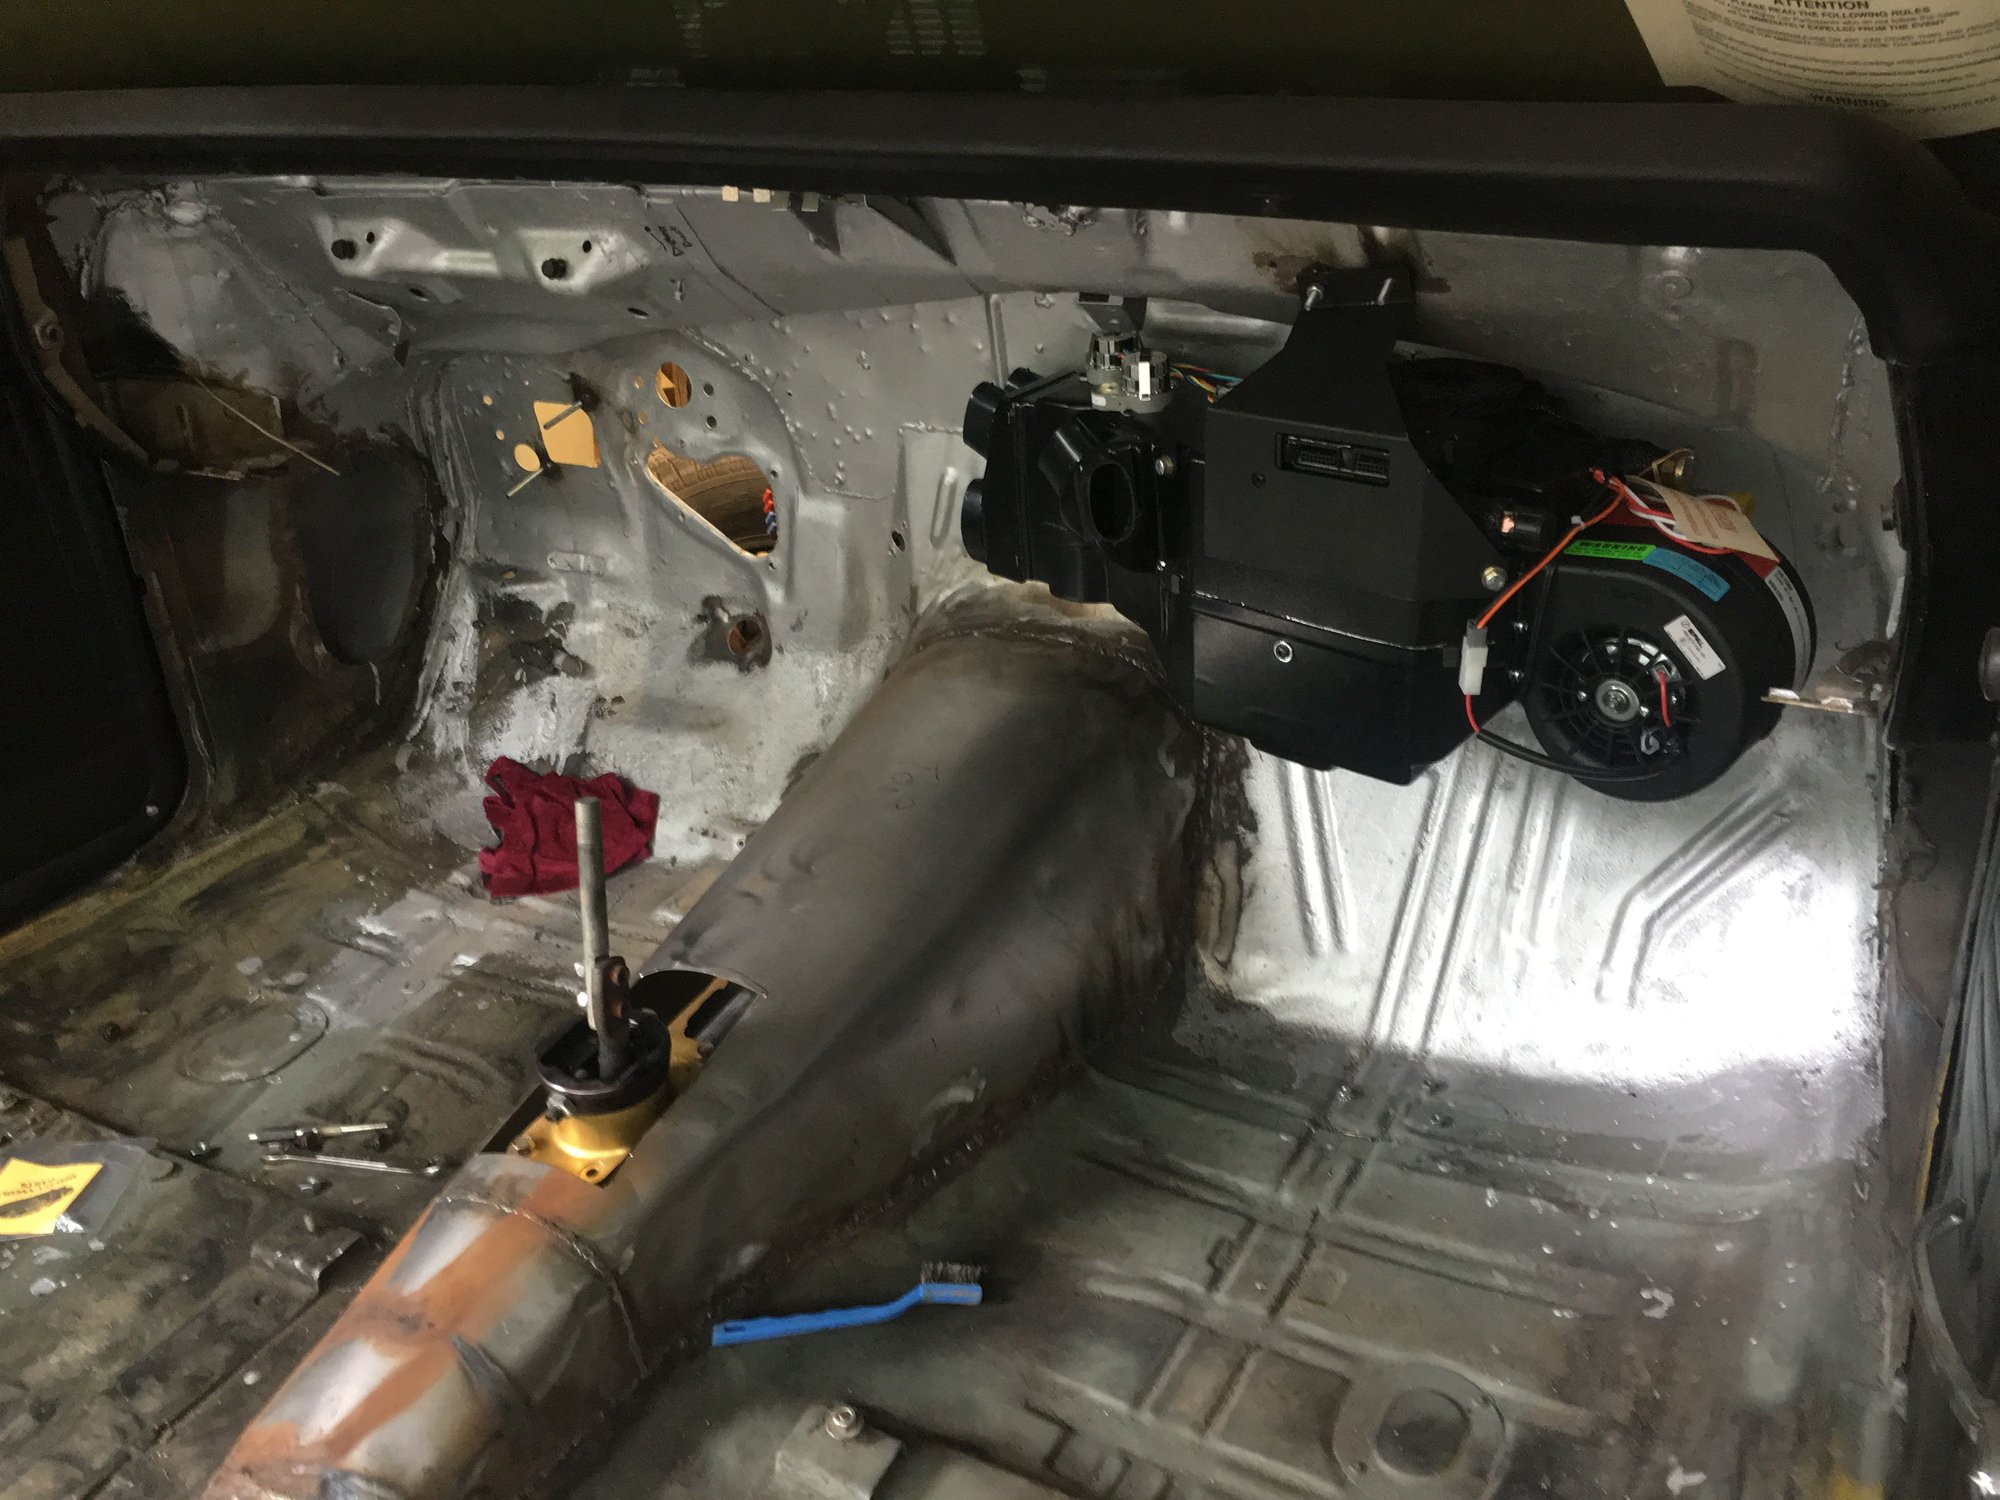
Vintage air evap hung with studs welded in. Also modified the firewall for the American autowire harness.
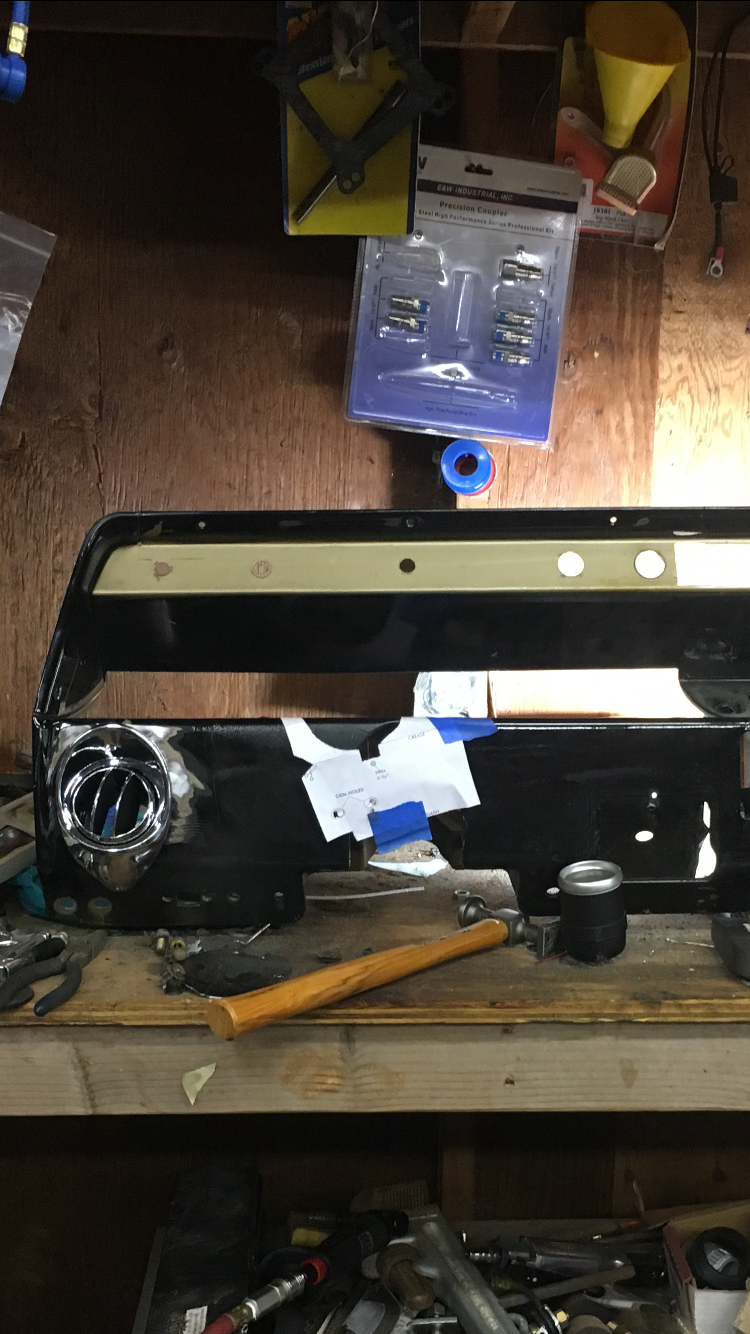
Started modifying the dash for the vents. I'm thinking of leaving the wood grain strip off and just welding up the holes and mounting the center vents directly into the dash. I am going to reprint the dash when it is done. I am trying to figure out where to mount the pcm and the Dakota digital stuff. It's going to be a tight fit so I figured I better get the a/c mocked up in place with the hoses ran then try and fit everything accordingly.
#26
TECH Enthusiast
Join Date: Dec 2006
Location: Grafton MA
Posts: 514
Likes: 0
Received 0 Likes
on
0 Posts

These are my soon to be steps as well...have to get my trunk and mini tubs done, then on to dash and tunnel work...or quarter panels...or both 
Having the 66 with the removable dash helps...With the 65 I get to try to fix all my rust issues behind the dash while it is still in there. yuck!
Might be stealing some ideas from you

Having the 66 with the removable dash helps...With the 65 I get to try to fix all my rust issues behind the dash while it is still in there. yuck!
Might be stealing some ideas from you

#27
Good move running the AC hoses and stuff prior to mounting the ECM. By the time I was done running the dash harness and the AC lines and hoses it was like 10 lbs of **** in a five lb bag.
#29
On The Tree
Thread Starter
iTrader: (1)
Join Date: Aug 2011
Location: Sacramento ca
Posts: 145
Likes: 0
Received 0 Likes
on
0 Posts
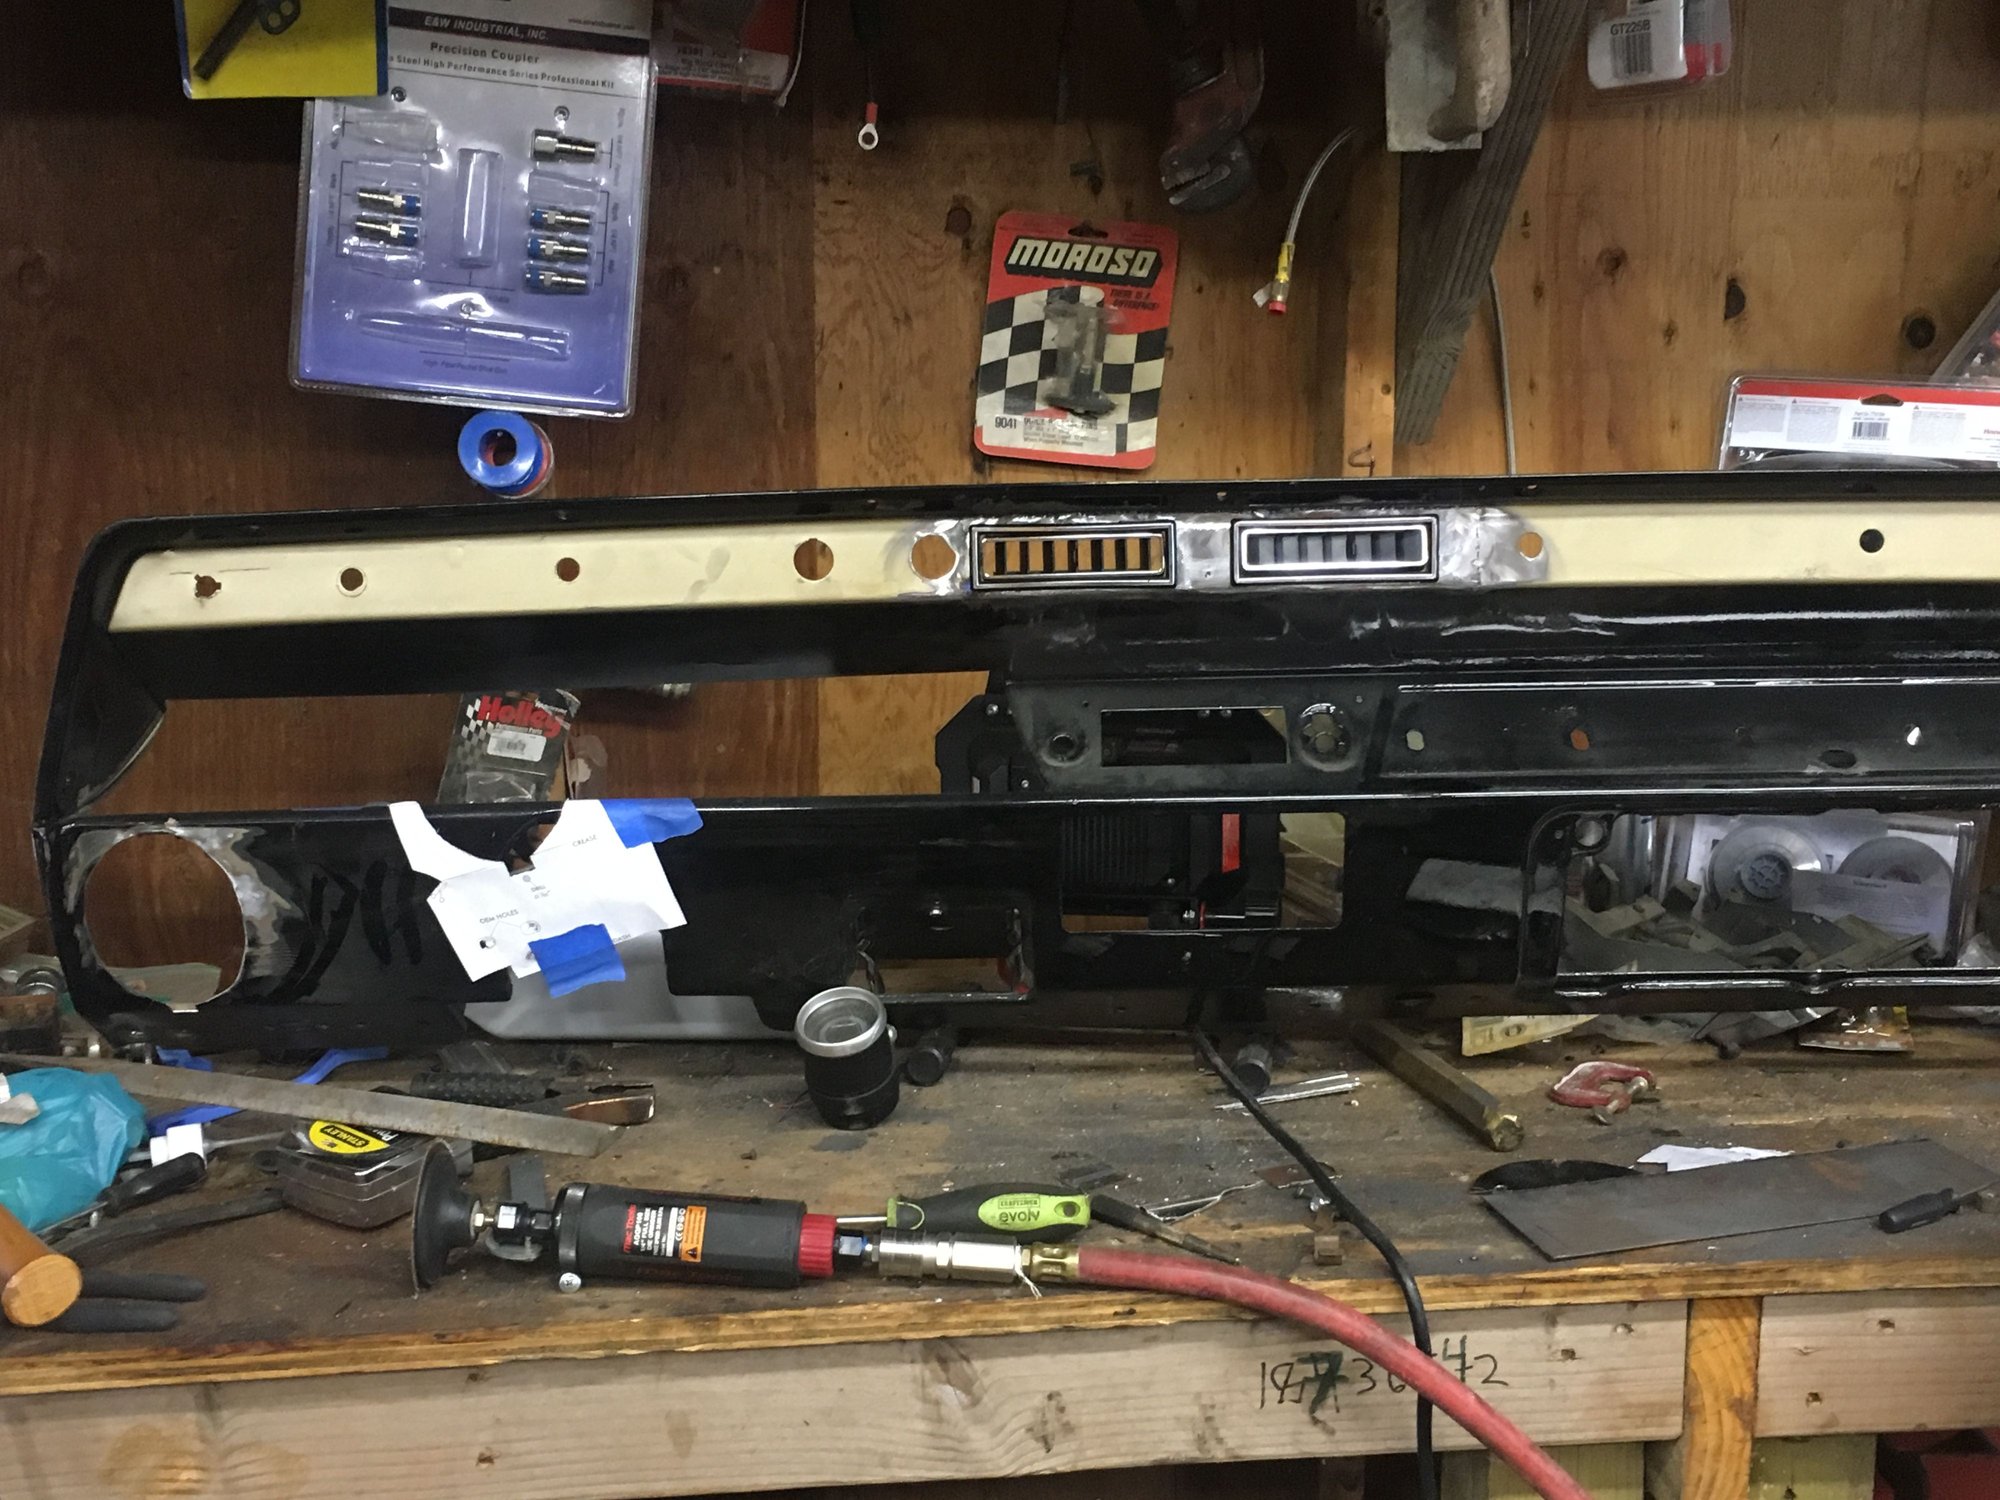
All the vents fitted in
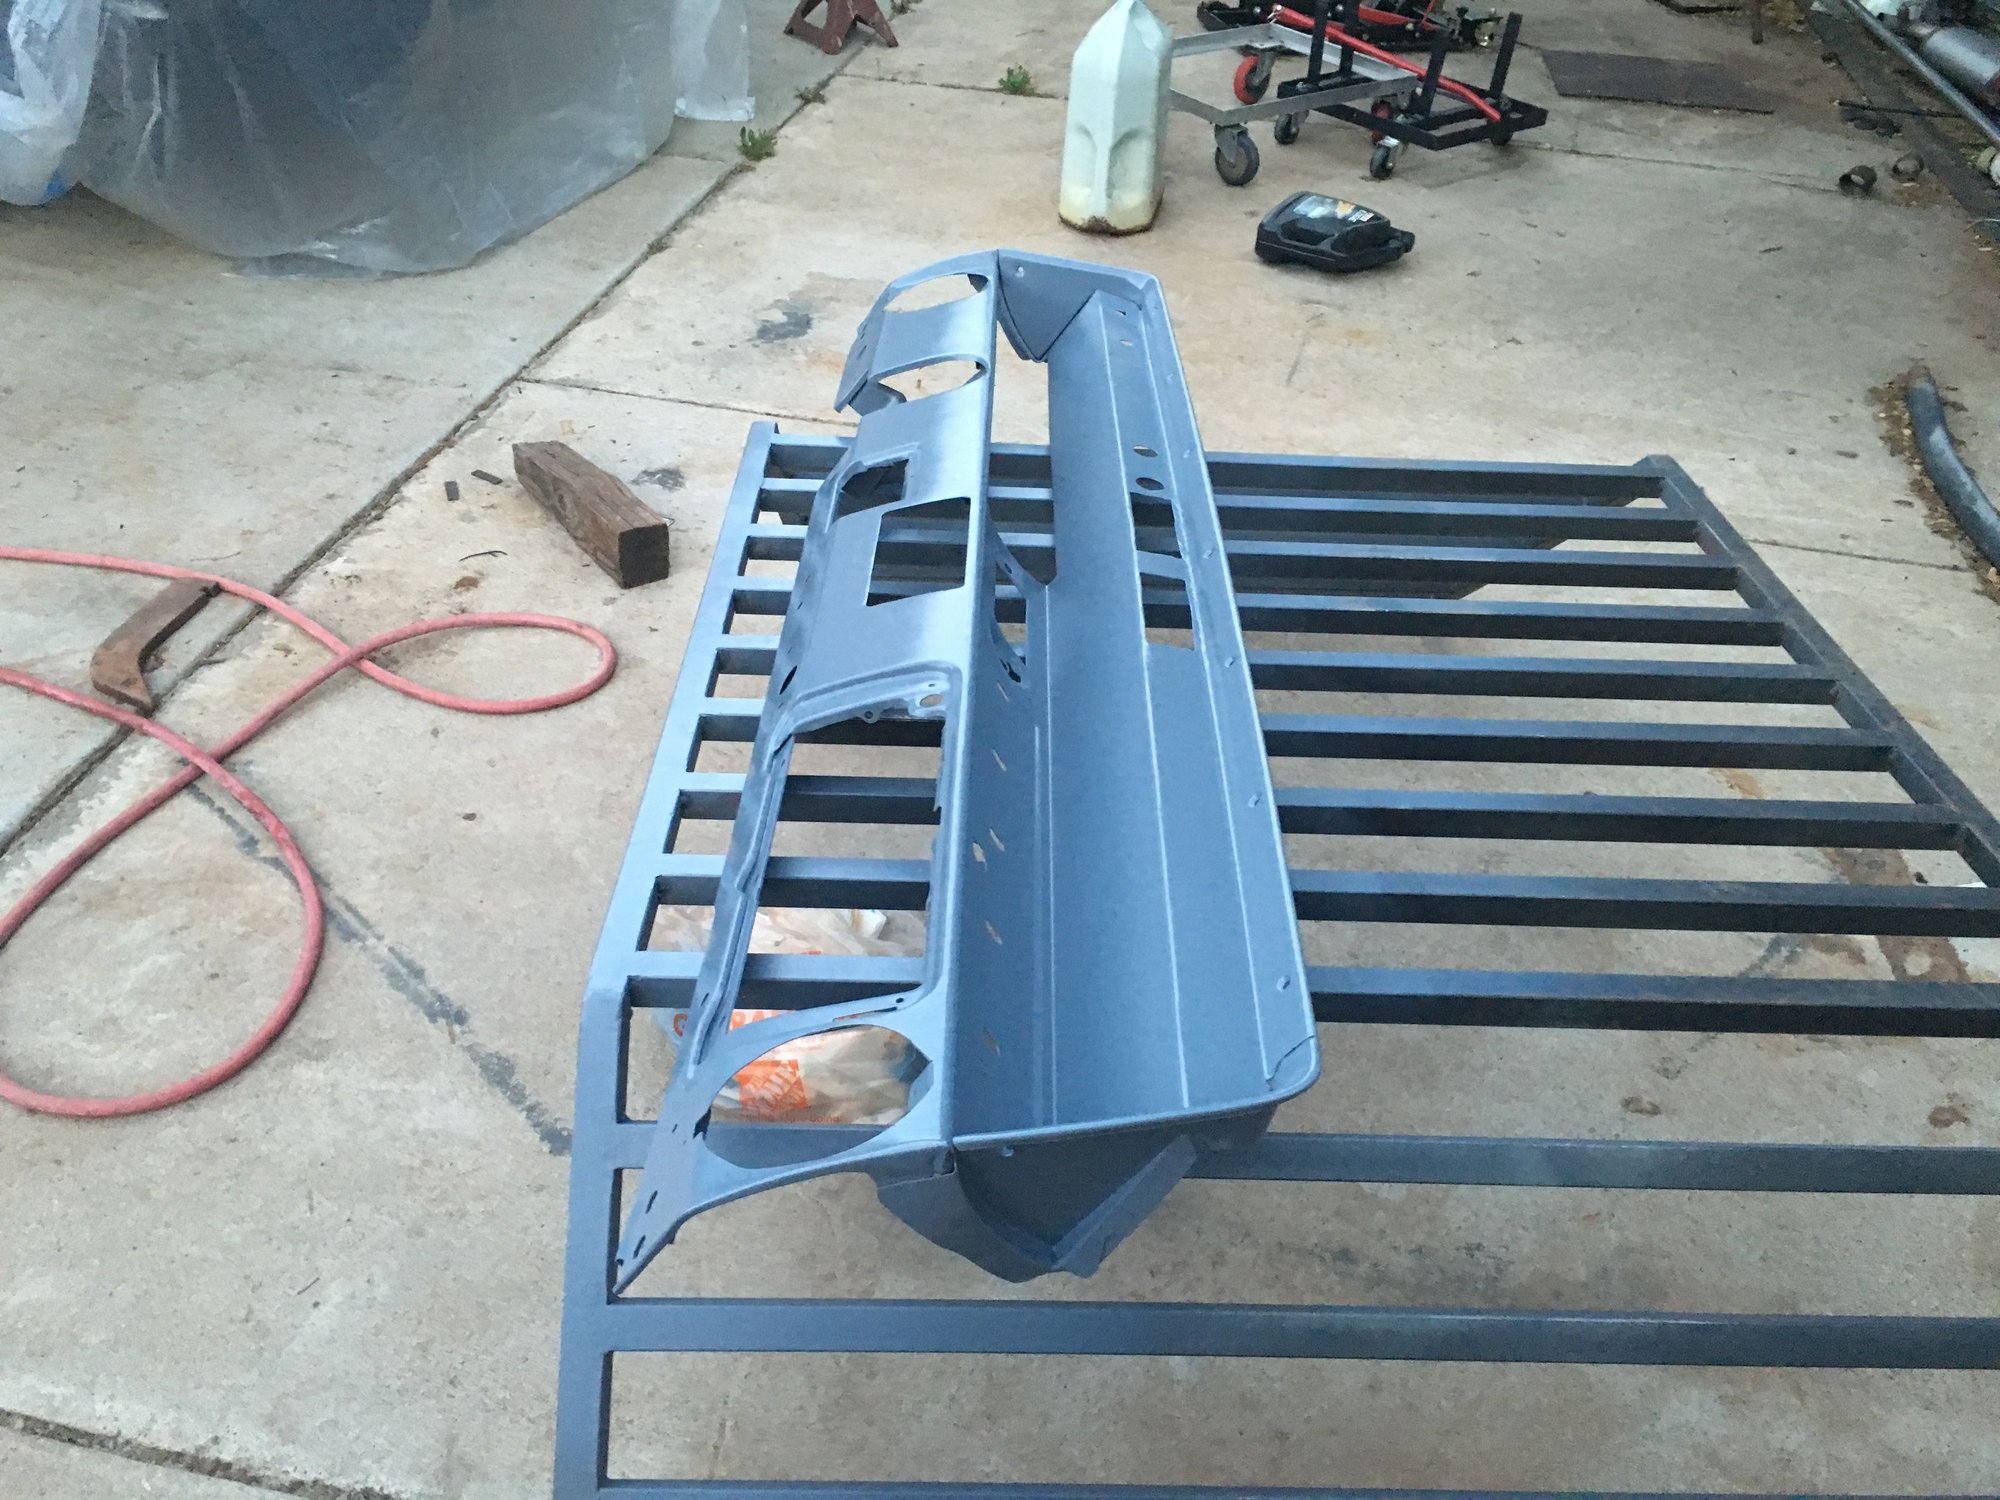
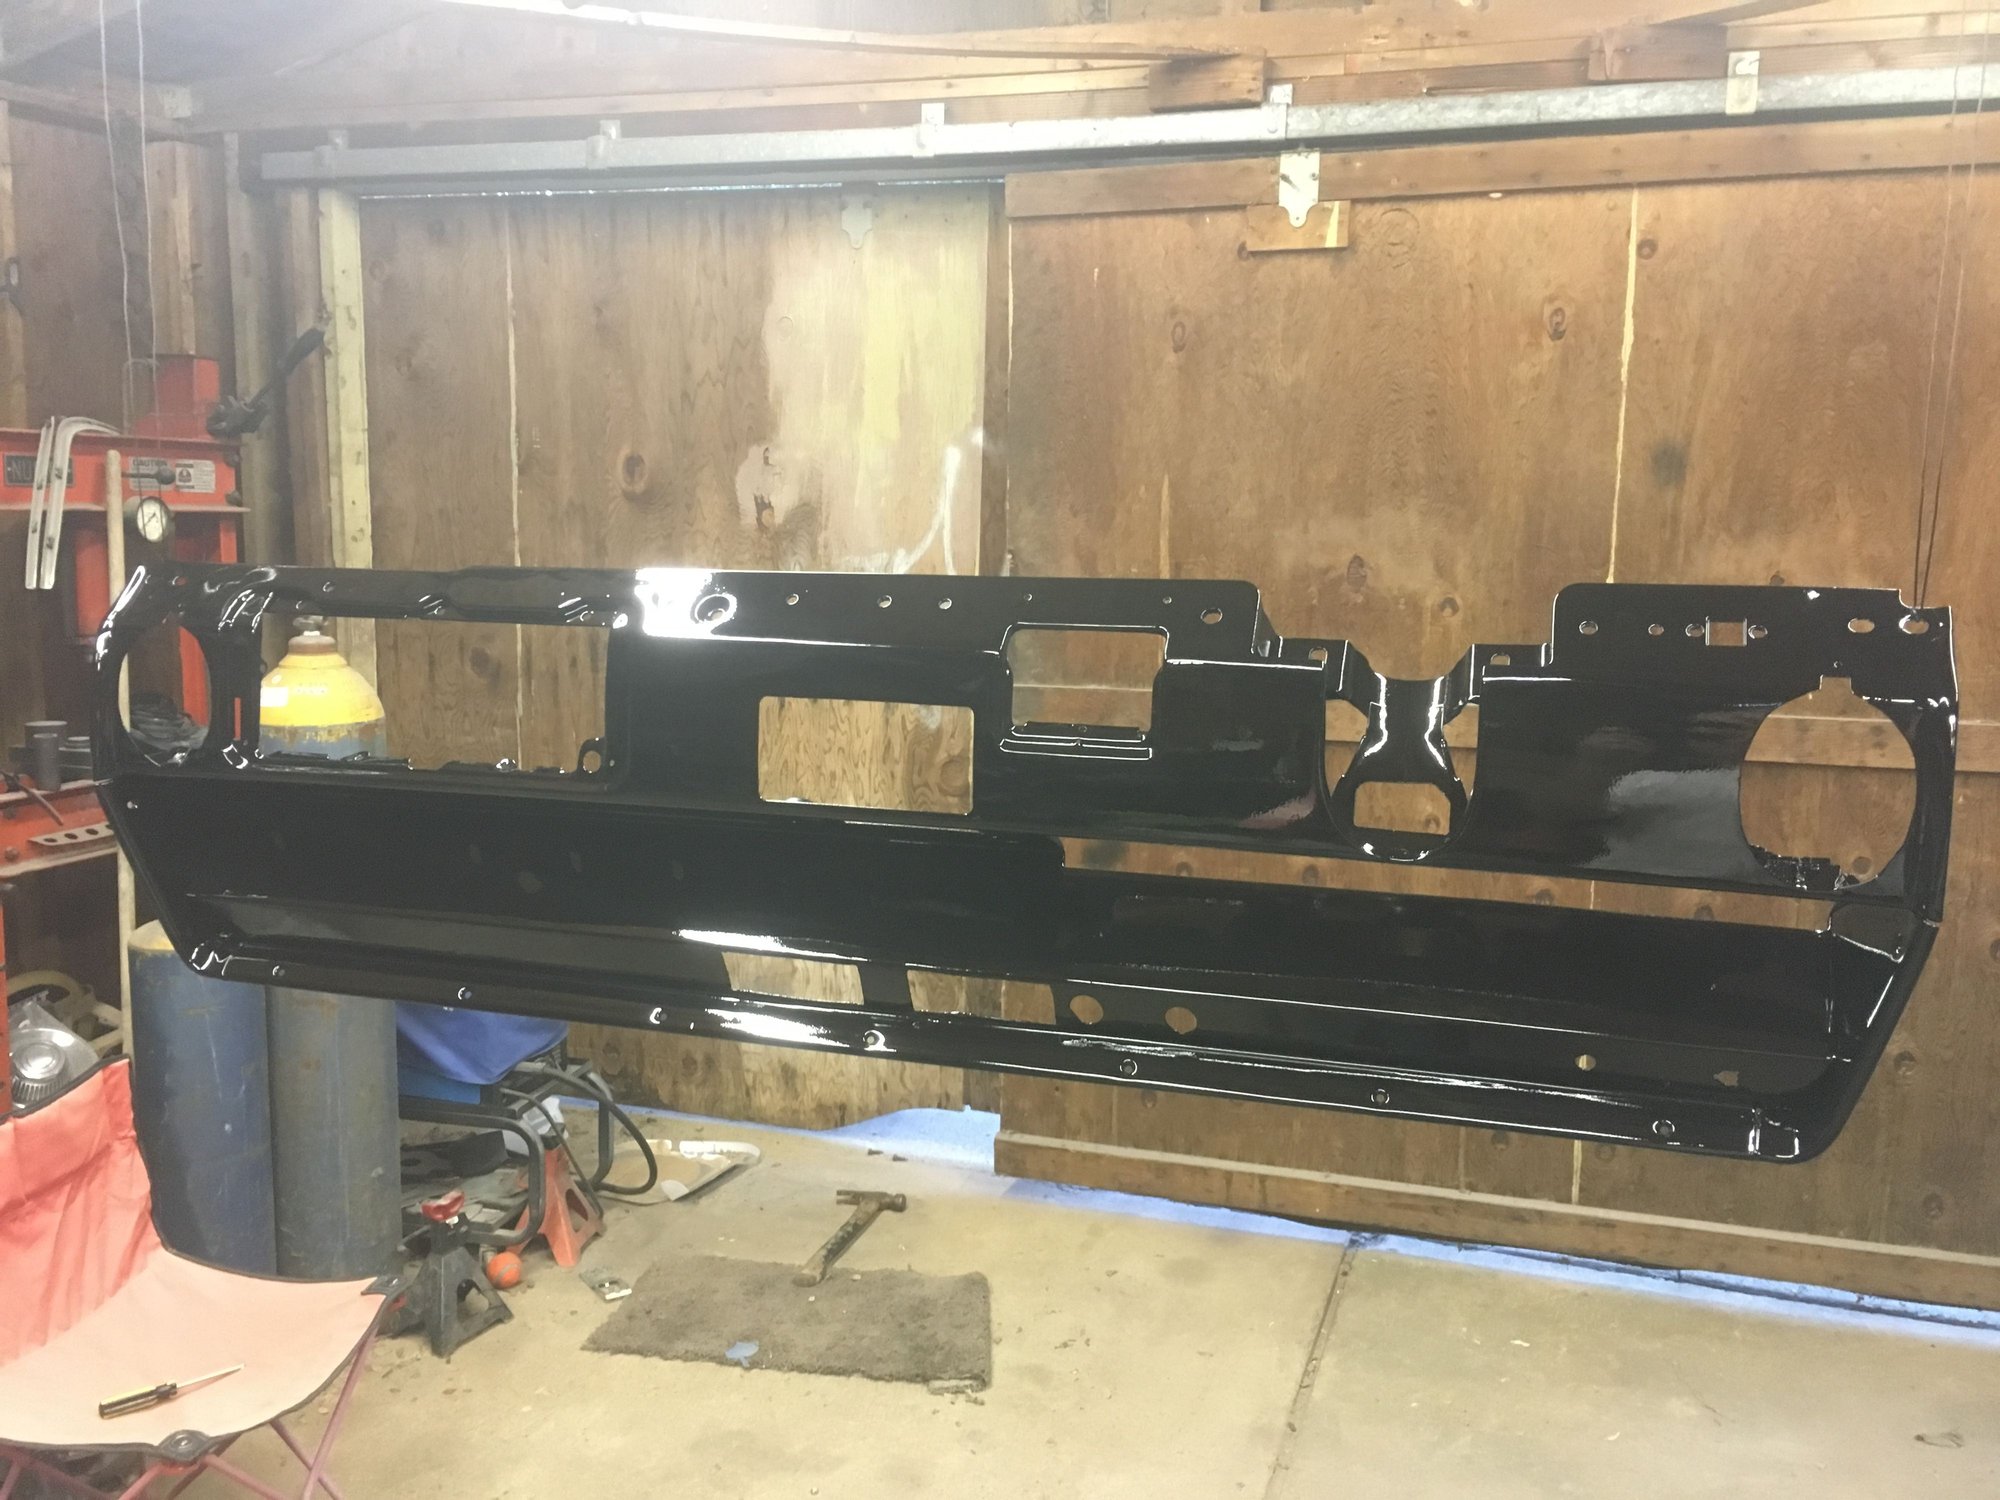
I blasted and epoxy primed the dash with ppg dp50lf. I welded up the holes for the wooden strip and am going to paint it gloss black like the rest of the interior and see how it looks.

All the vents fitted in

I blasted and epoxy pried the dash with ppg dp50 primer. I welded up the holes for the wooden strip and am going to paint it gloss black like the rest of the interior and see how it looks.
#31
On The Tree
Thread Starter
iTrader: (1)
Join Date: Aug 2011
Location: Sacramento ca
Posts: 145
Likes: 0
Received 0 Likes
on
0 Posts
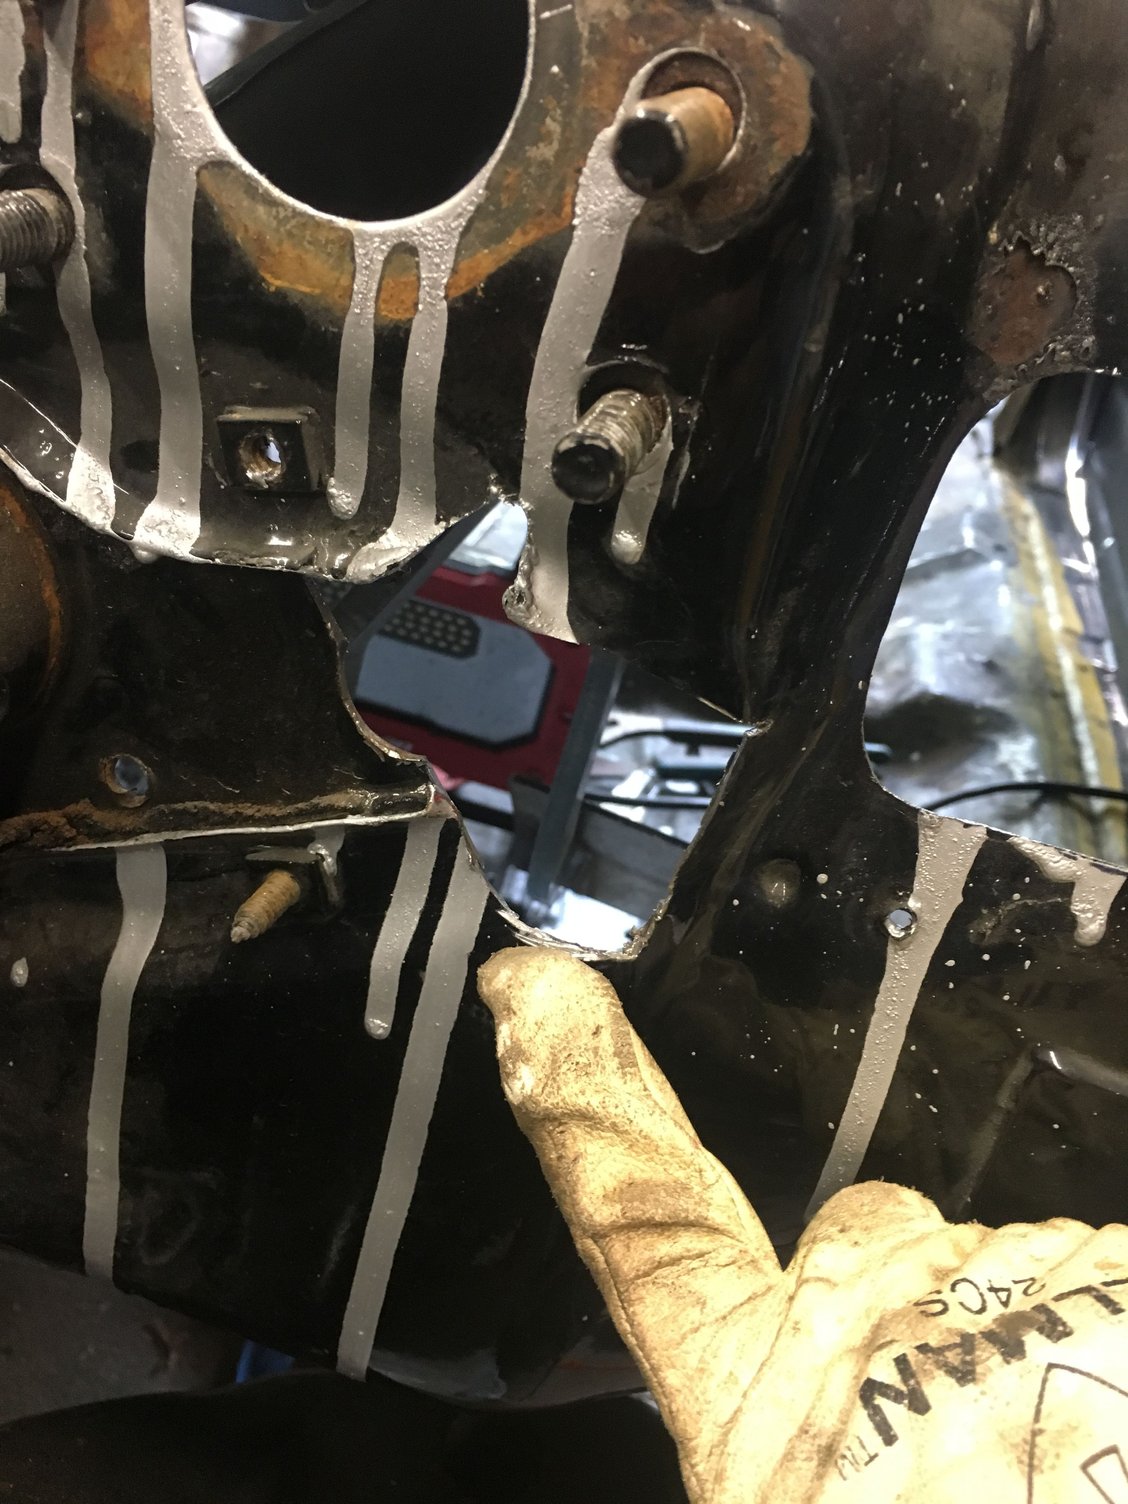
Patching the firewall where the slave cylinder went through.
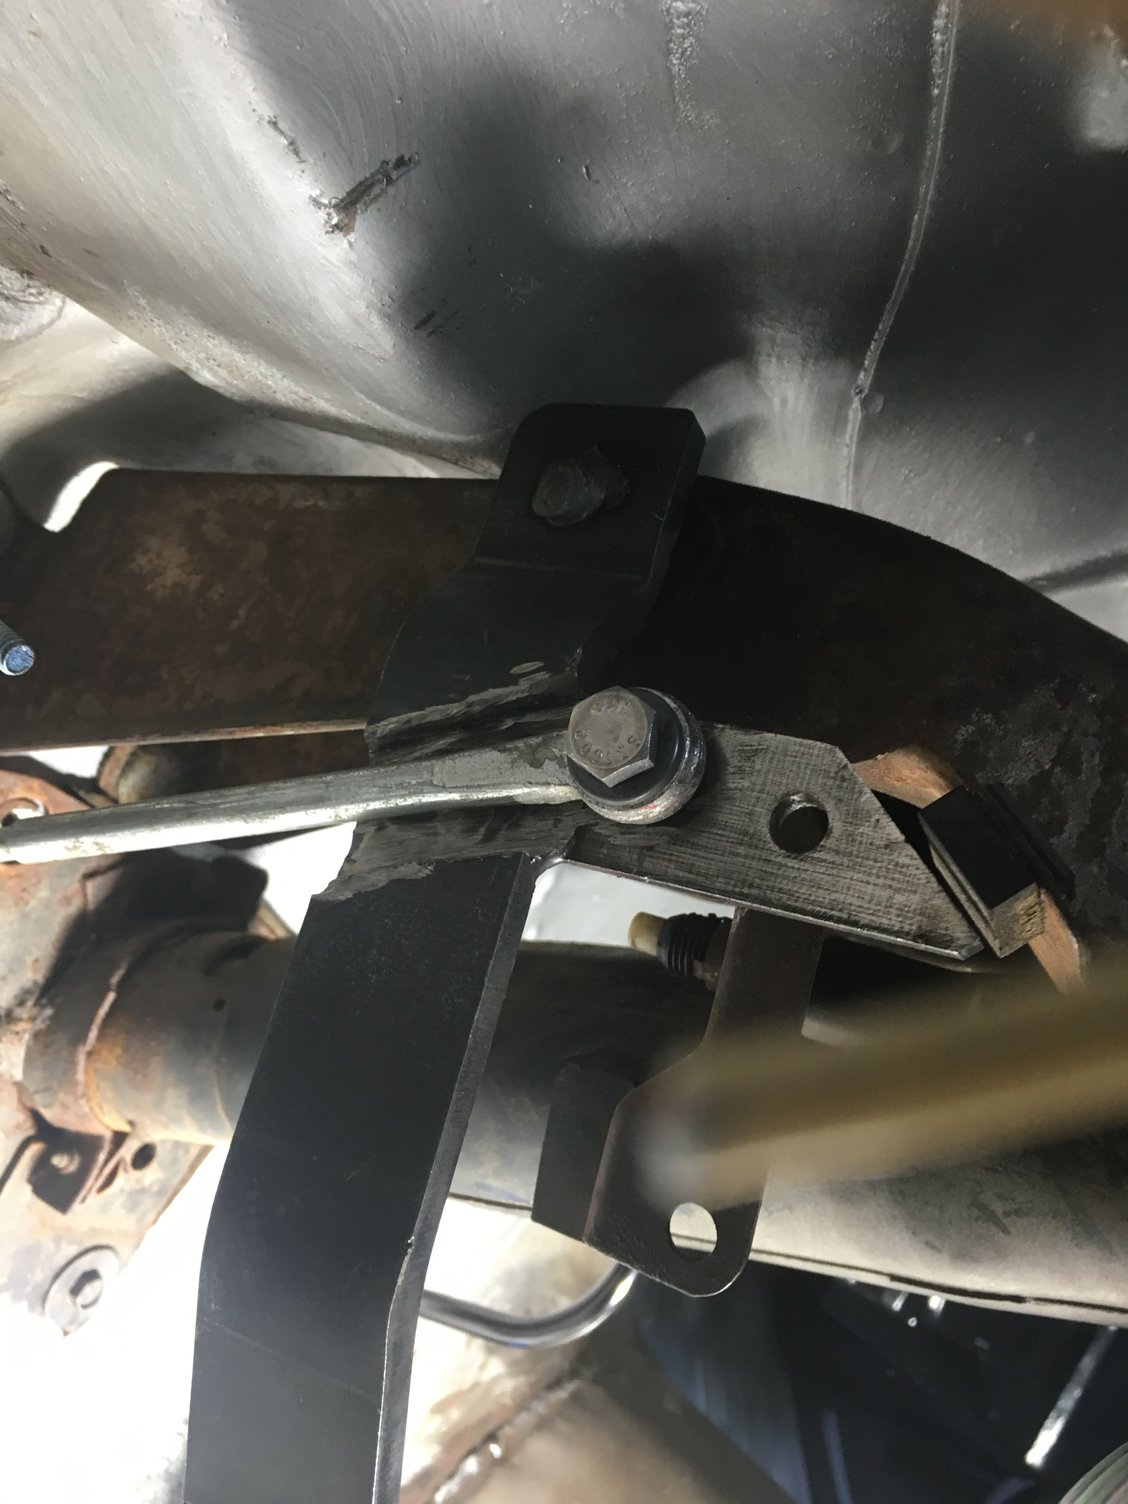
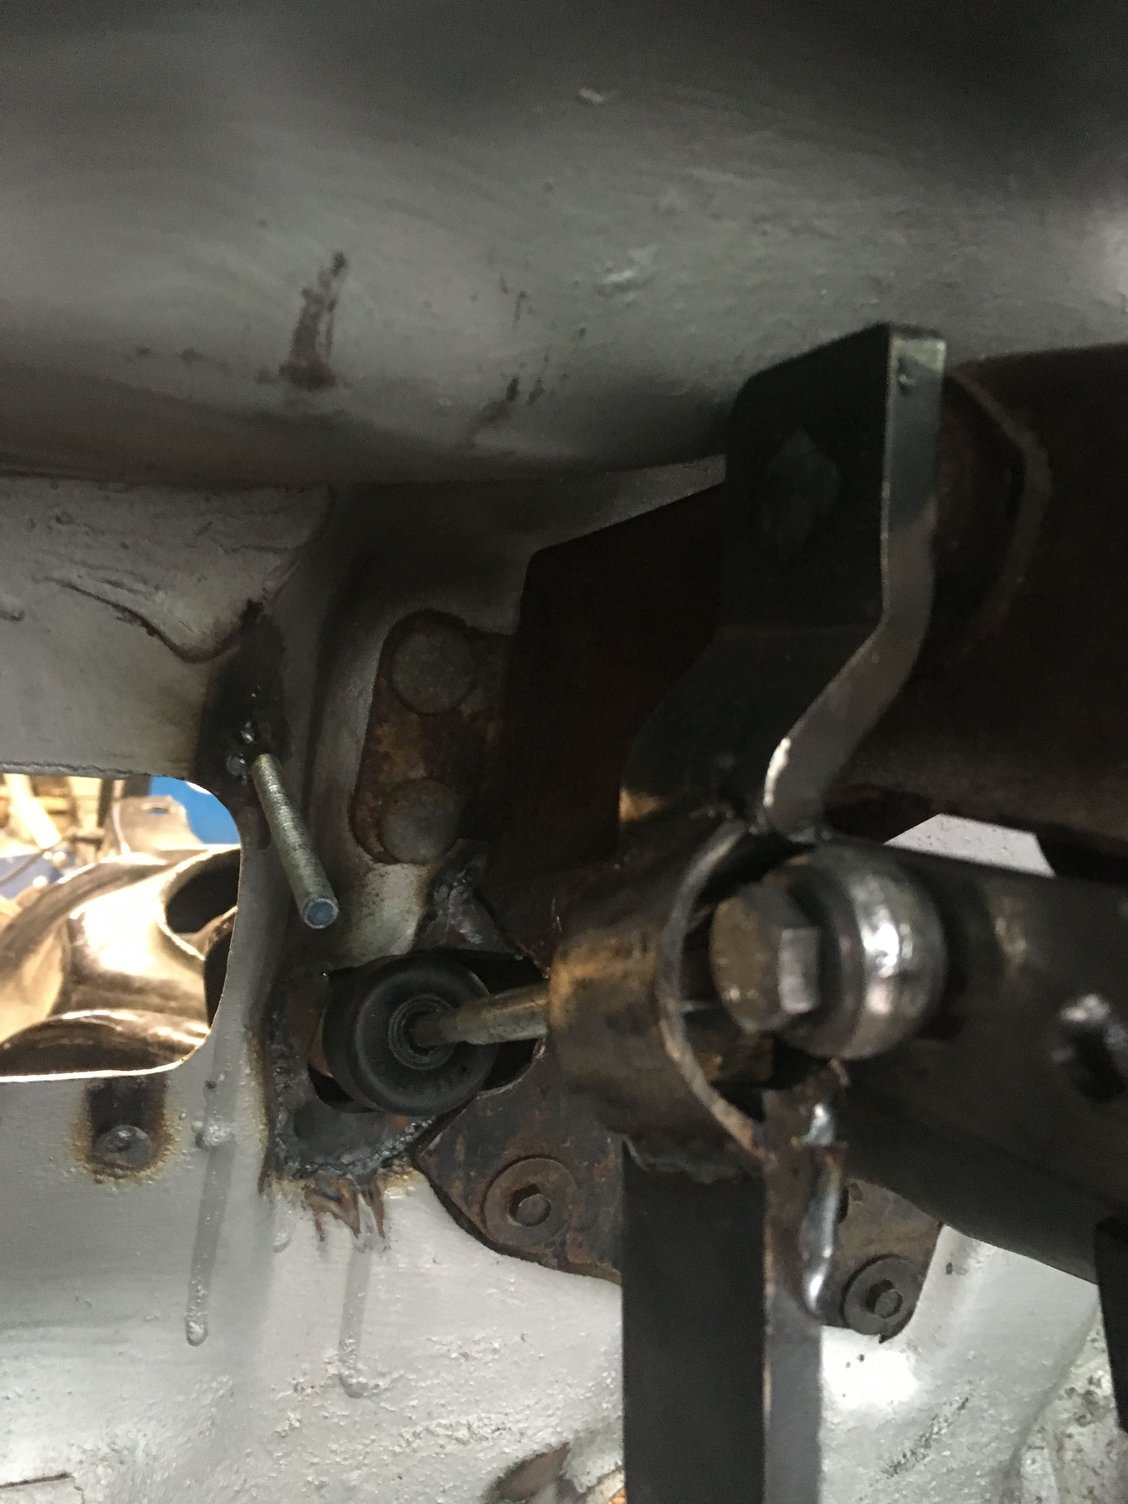
After measuring and trying to figure out the best angle for the clutch rod I ended up grinding most of the peddle away and drilled a hole in the existing pedal mount.
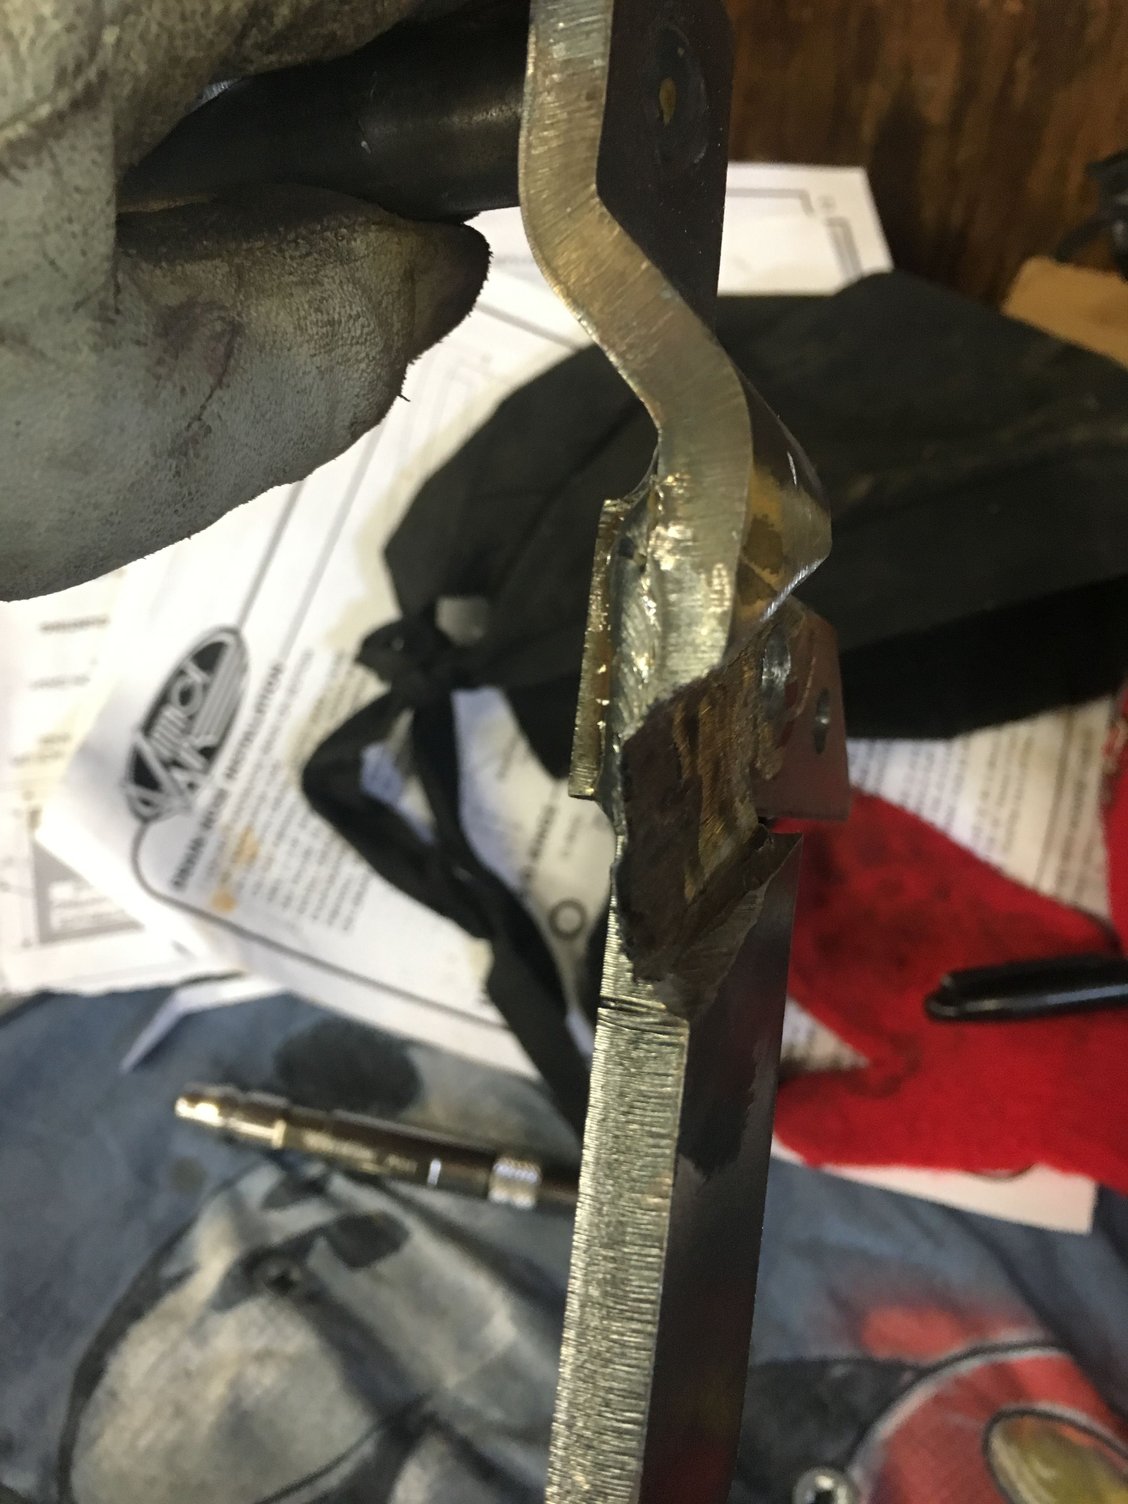
How much was grinded away

I split a piece of tube and welded it in as a gusset and pass through for the rod. I also added another gusset on the back side so it would have more steel then when I started.
#35
TECH Fanatic
iTrader: (1)
I'm amazed at the differences I've seen on the master cylinder mounting rod. On my 64 the master cylinder rod is actually spaced over from the right side of the pedal. We did my buddies 66 chevelle this weekend and his is flush with the right side of the pedal. There must be some differences in the brackets sold for mounting the masters.
#36
On The Tree
Thread Starter
iTrader: (1)
Join Date: Aug 2011
Location: Sacramento ca
Posts: 145
Likes: 0
Received 0 Likes
on
0 Posts
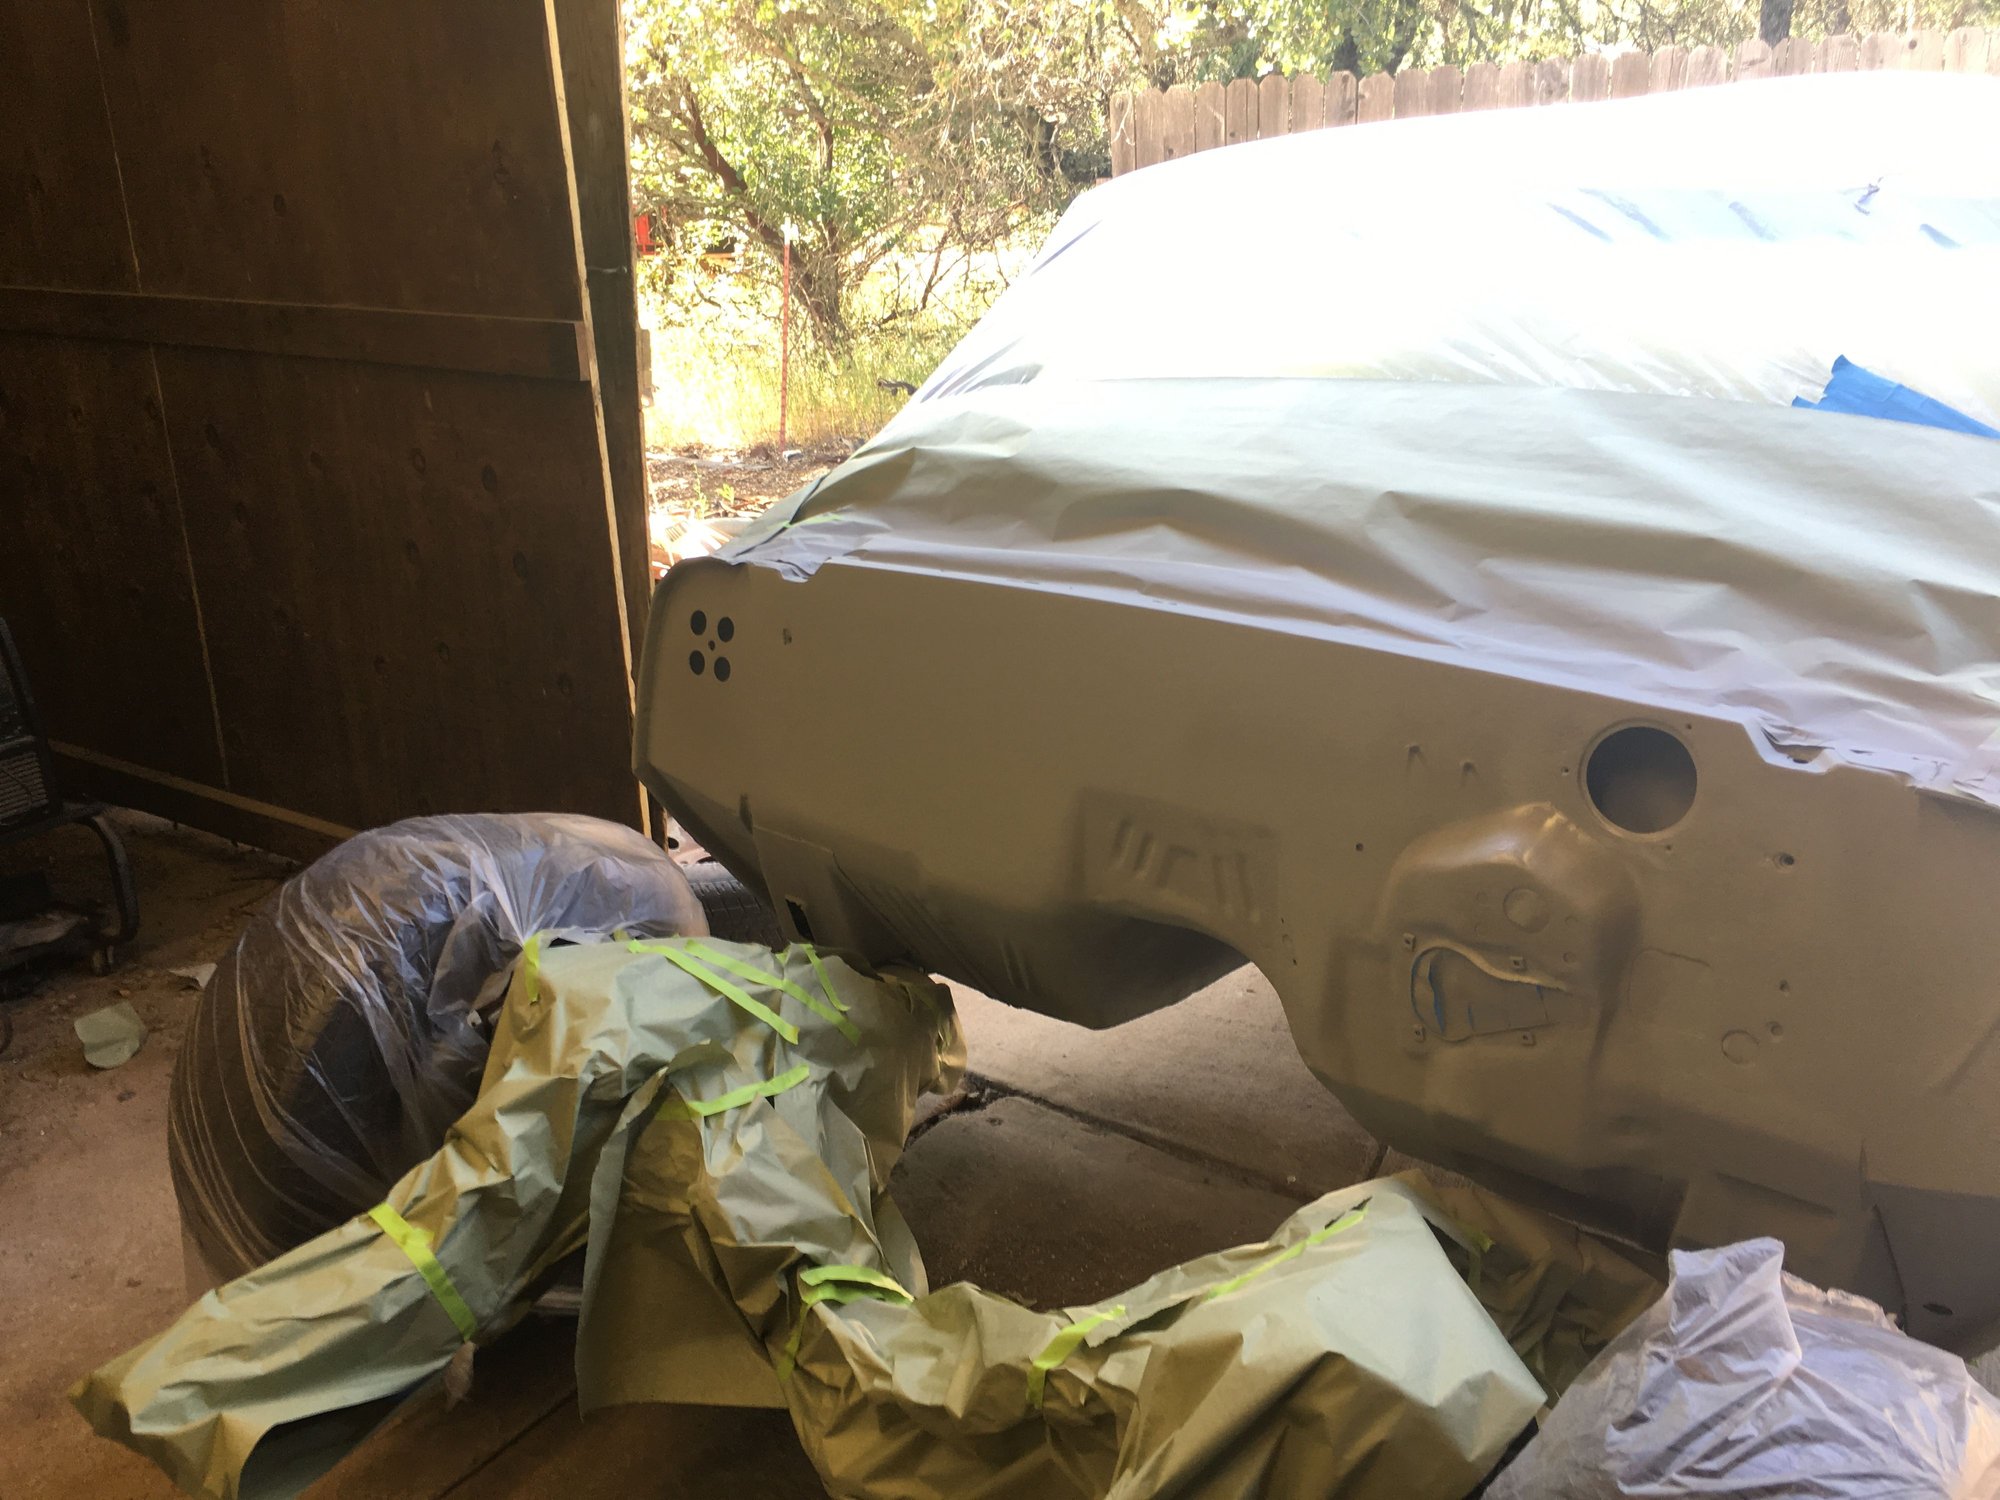
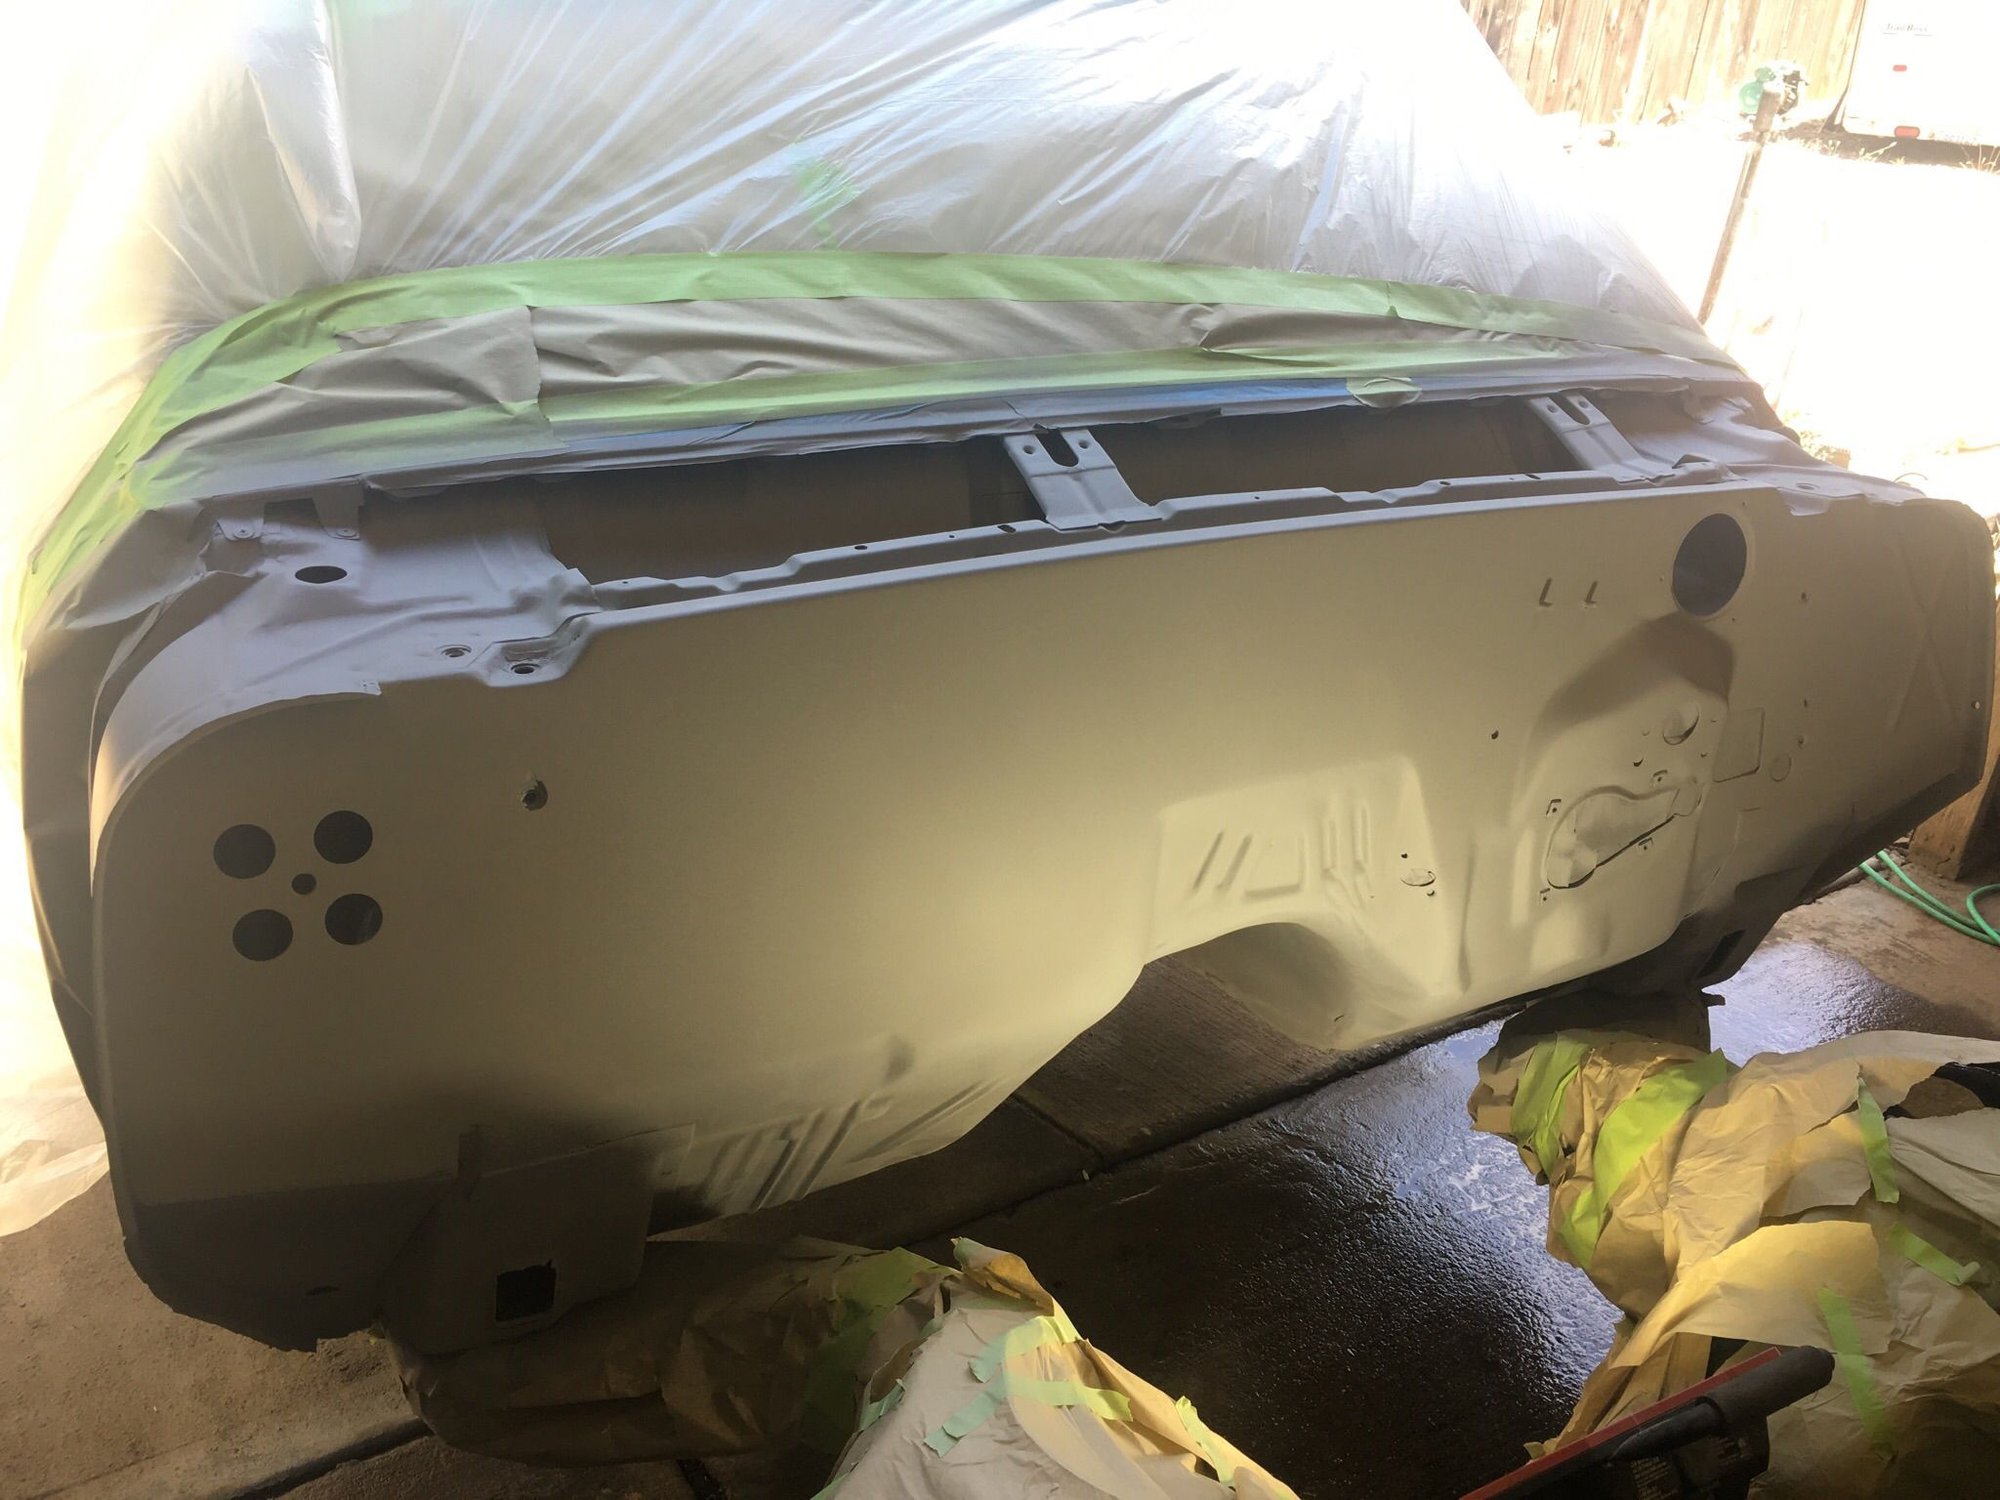
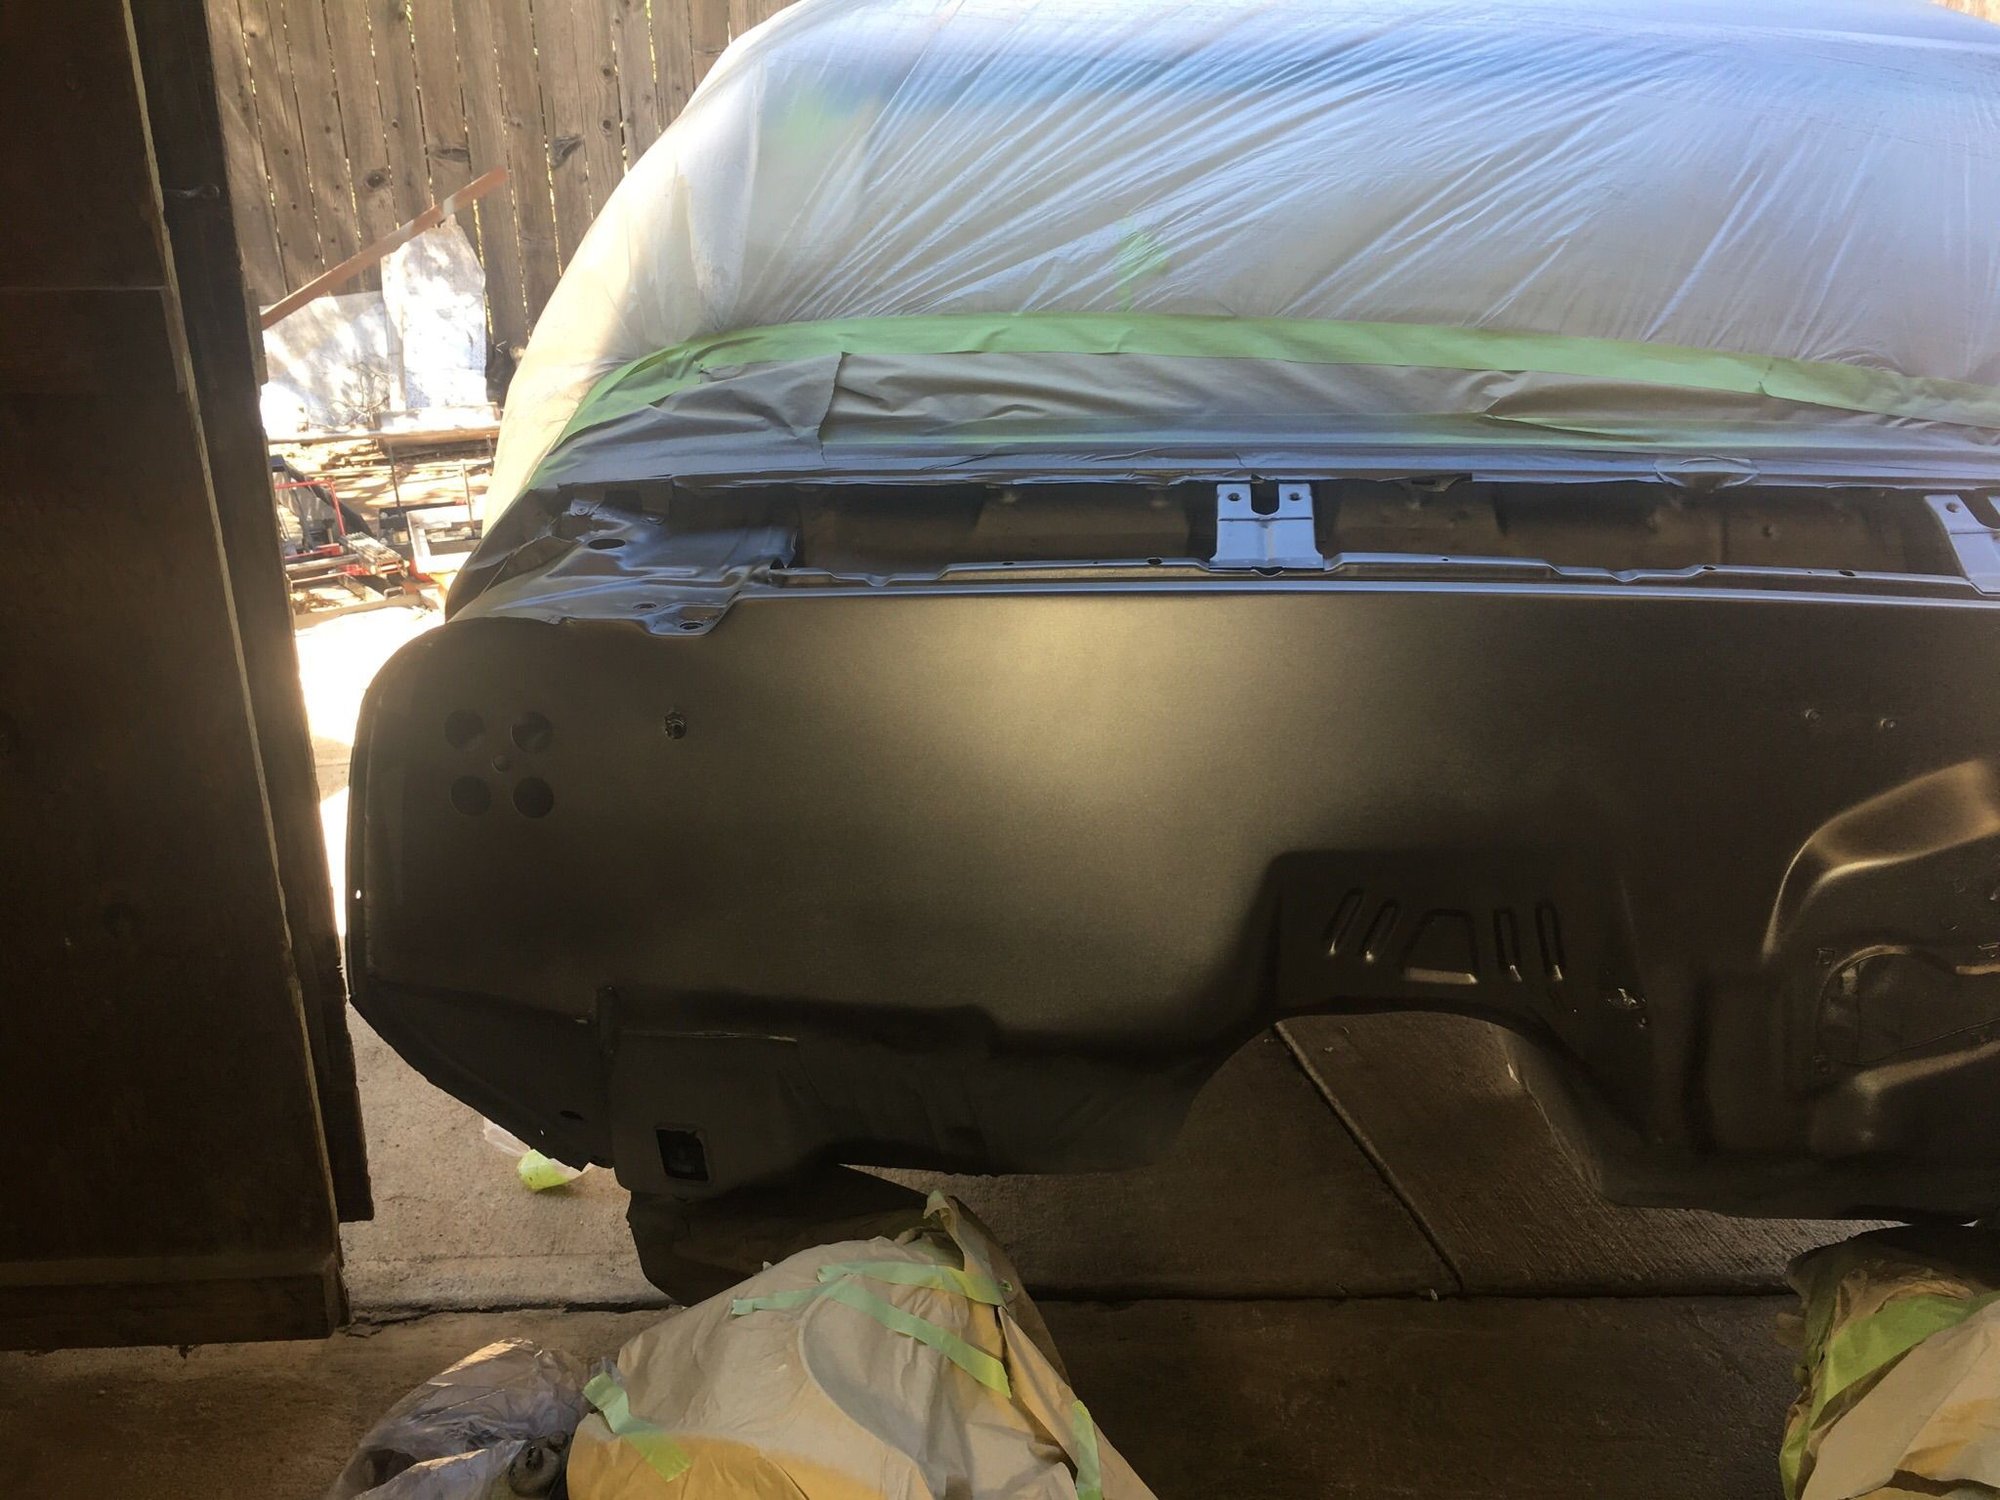
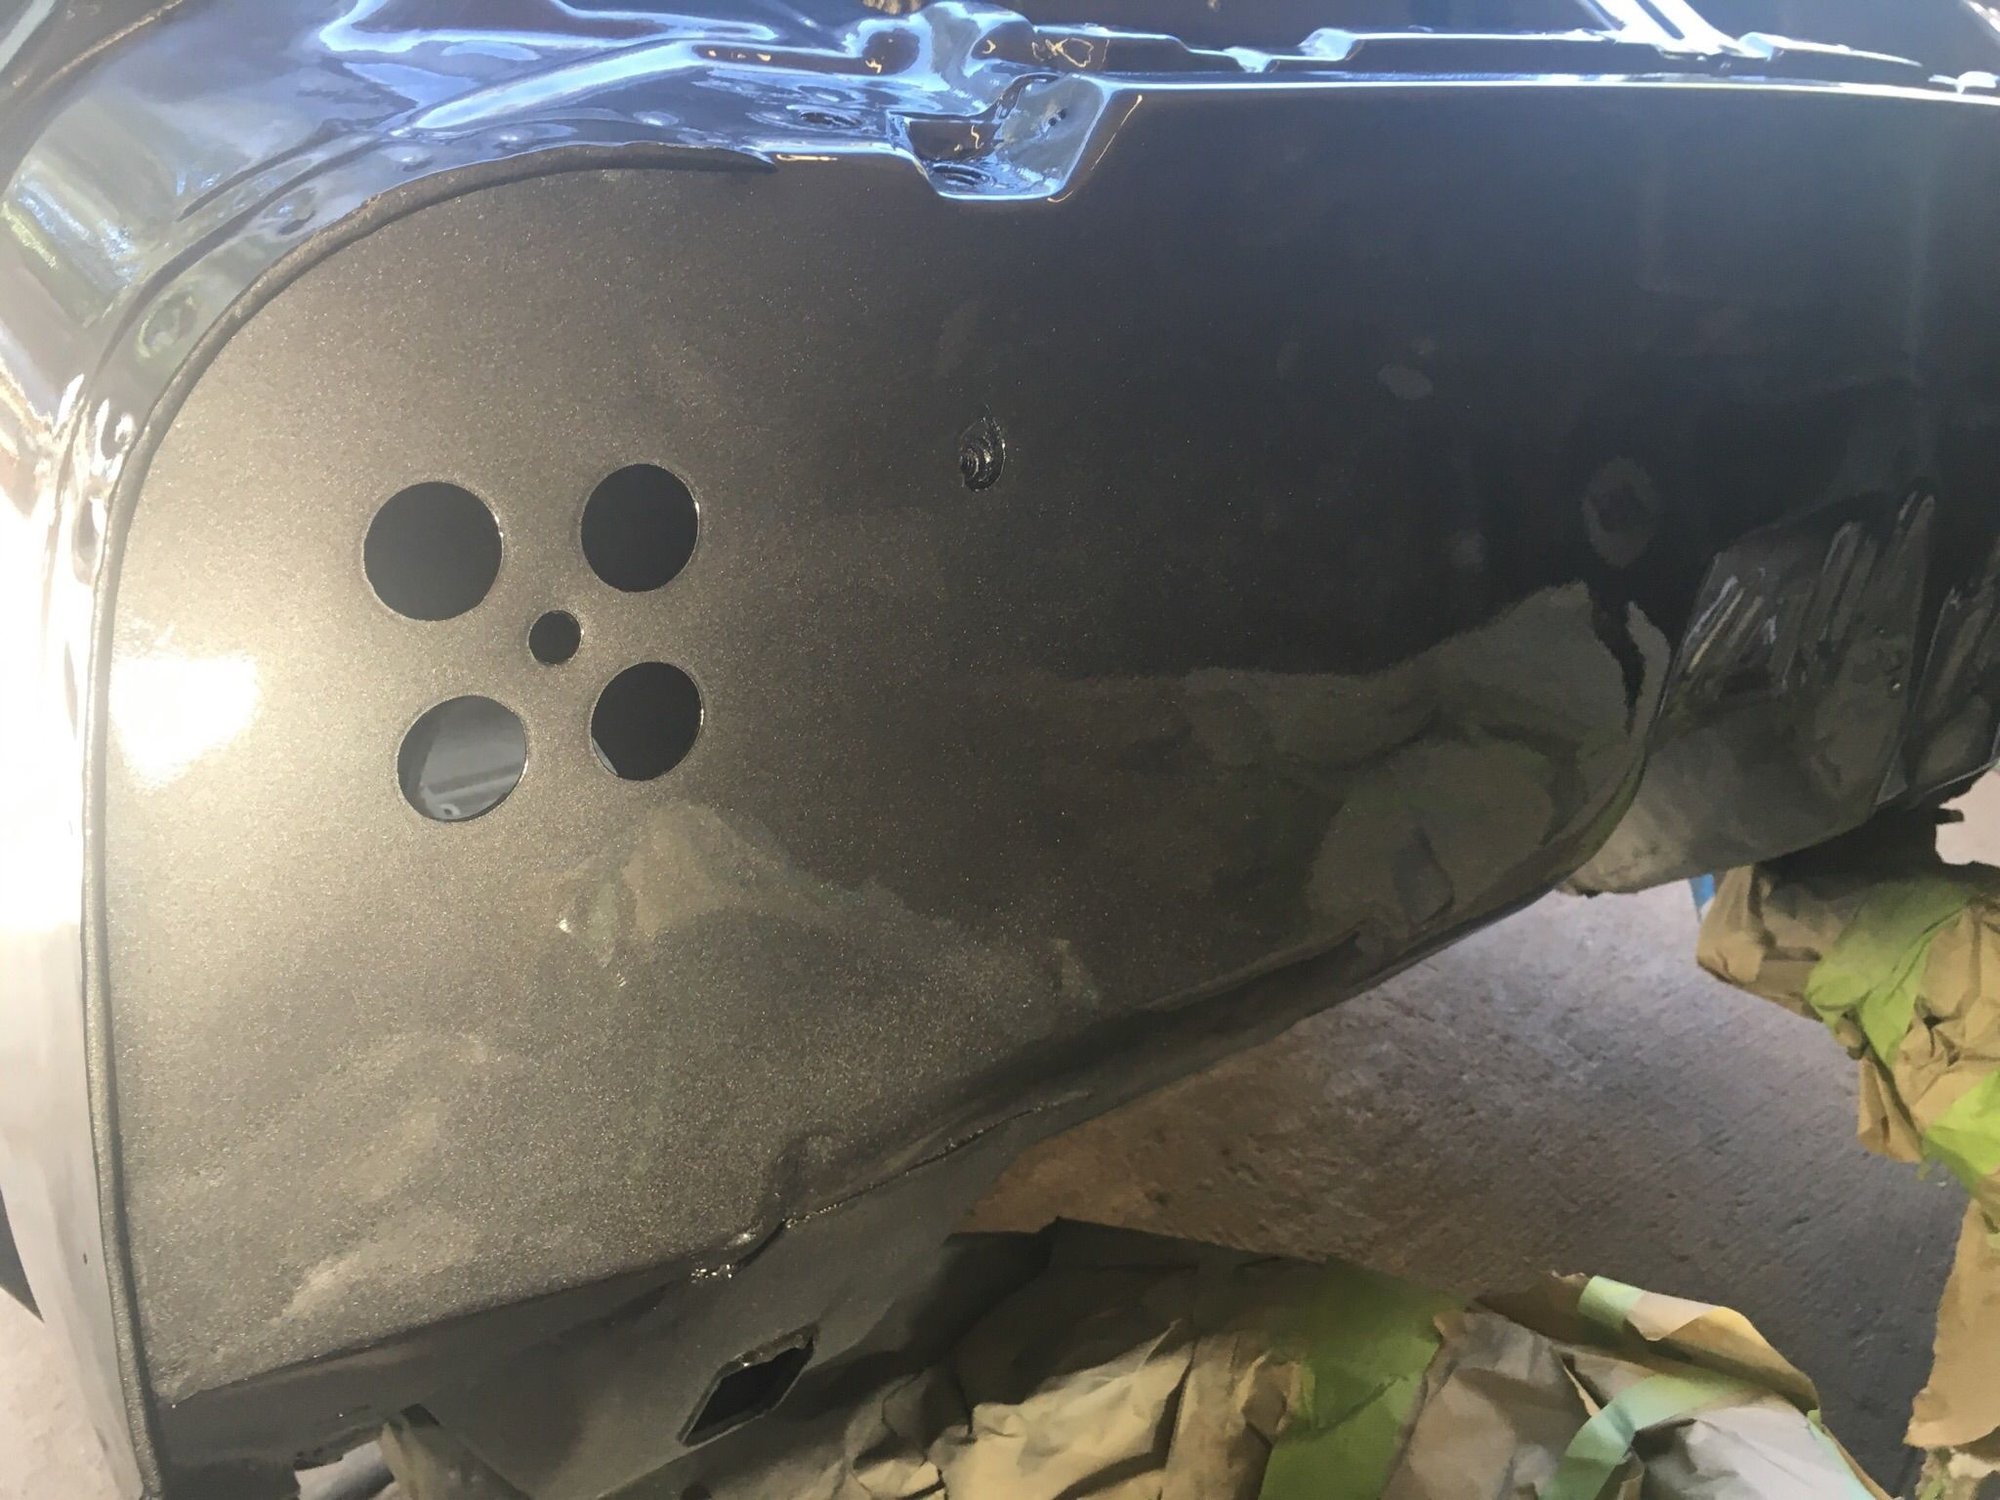
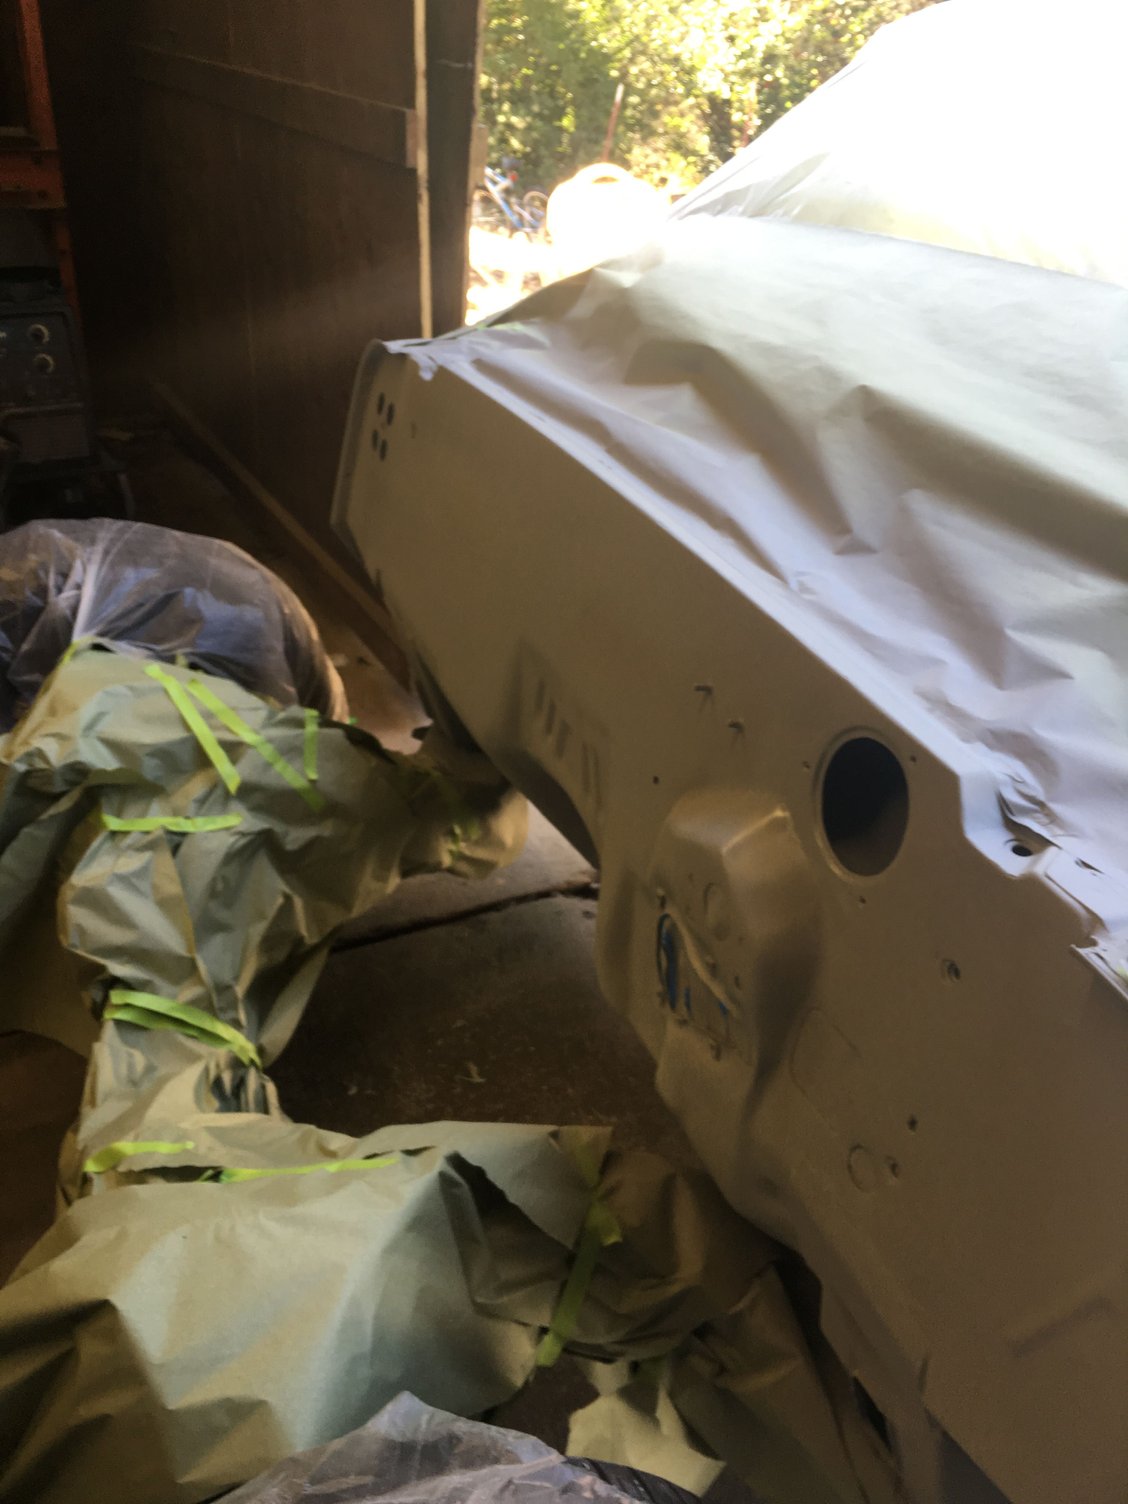
Firewall in high build primer. Just putting glazing putty on the last bit and hope to shoot color sometime next week. Then hopefully the progress will be faster. Car is supposed to be done for hot August nights so gotta start moving faster.
#40
On The Tree
Thread Starter
iTrader: (1)
Join Date: Aug 2011
Location: Sacramento ca
Posts: 145
Likes: 0
Received 0 Likes
on
0 Posts
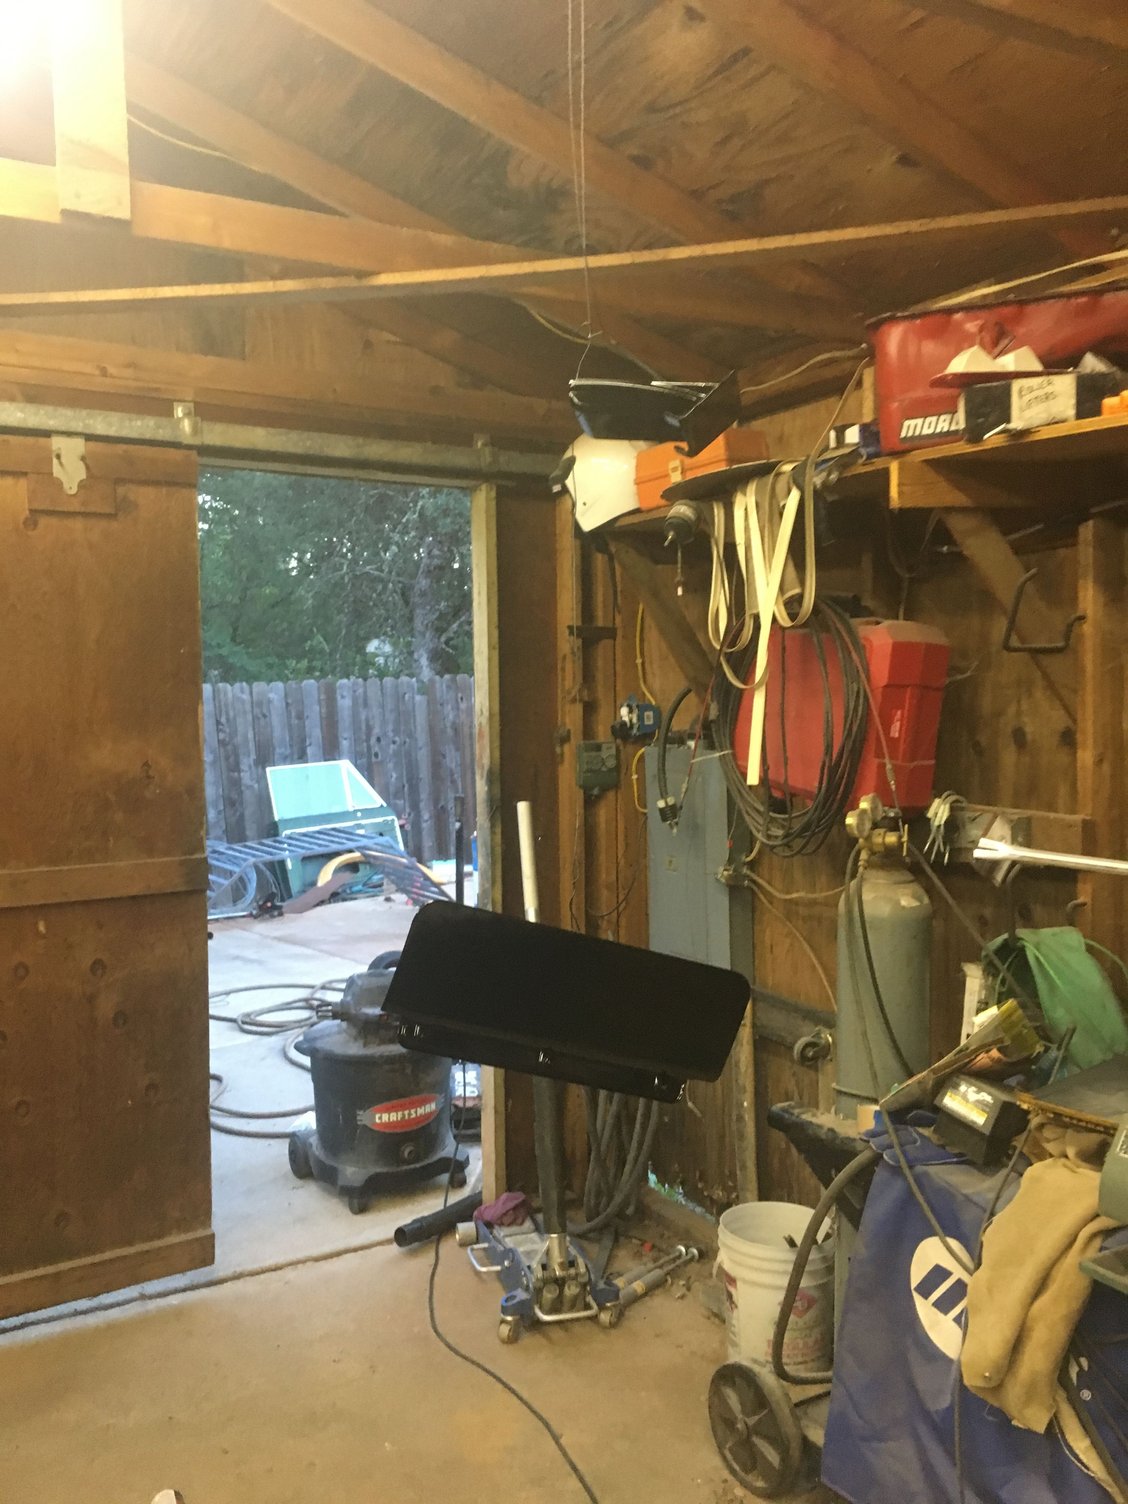
So far I have the sound deadner put in the inside and a/c hung back on the firewall. Now I need to start the process of putting everything back together. Hopefully next week can start on wiring


