When you click on links to various merchants on this site and make a purchase, this can result in this site earning a commission. Affiliate programs and affiliations include, but are not limited to, the eBay Partner Network.
OMG. I thought I had OCD. Lol. I totally get it. My wife laughs when I head to the garage saying, " one thing, 15 minutes max". ...and she walks out hours later saying " what are all those parts for!"
My diamond stage 2 took a long time to break in, the ceramic side would chatter like hell for the first 1500 miles, but now it's very tame and feels like a grabbier stock clutch. I believe I use a stock flywheel too
Very impressive car and work! If I did all the work you did, it would take me double or triple the time. Way to get your car back to showroom condition! Awesome thread
Did you have any trouble removing the fasteners holding the plastic access panels underneath the front? My screws are rusted to the metal clips and everything turns when trying to loosen, tearing up the plastic.
Would you mind expanding on how you pressed in/out the front control arm bushings and ball joints? Specifically, what tools did you end up using on each bushing/ball joint (spacers, adapter kits, etc.)
Also, how did you tighten the upper control arm bolts? I've read they need to be tightened while the suspension is at normal ride height (which makes sense), although there is no room to get up there with everything back together.
Amazing work and reminds me of a lot of the cleanup that my car needs. What did you use to clean everything up? My transmission and lower engine are terrible with oil (worse than yours actually) and I'd like to clean them up over the winter.
Did you have any trouble removing the fasteners holding the plastic access panels underneath the front? My screws are rusted to the metal clips and everything turns when trying to loosen, tearing up the plastic.
Would you mind expanding on how you pressed in/out the front control arm bushings and ball joints? Specifically, what tools did you end up using on each bushing/ball joint (spacers, adapter kits, etc.)
Also, how did you tighten the upper control arm bolts? I've read they need to be tightened while the suspension is at normal ride height (which makes sense), although there is no room to get up there with everything back together.
Thanks!
I didn't have any trouble. It's a Texas car so everything came apart pretty easy. You might buy some penetrating fluid and soak everything down. Let it sit for a day before going back at it. Tap them with a small hammer to break the rust loose before trying to spin them back off.
I rented the ball joint press from Oreilly Auto. If I recall correctly, I also rented the taurus and four wheel drive adapter kits. I was able to use a combination of them to press everything in and out. If I were to do it all over again I would spend the $120 on the shop press at Harbor Freight. I almost lost an eye when I was cranking the ball joints in and the cheater pipe let loose. It takes an amazing amount of force to get those things in. That was with the AC Delco ball joints too, not the over-sized Moog Problem Solvers.
As for the control arm bolts. I took detailed pictures of how everything sat when removed from the car. I then re-positioned it all to be the same after re-assembly and torqued it down. The car settled right back down to where it was before I R&R'd it.
Originally Posted by 1bdbrd
Amazing work and reminds me of a lot of the cleanup that my car needs. What did you use to clean everything up? My transmission and lower engine are terrible with oil (worse than yours actually) and I'd like to clean them up over the winter.
I started with Simple Green and a variety of Scotch-Brite pads. I then used Gunk Engine Degreaser to get the really stubborn stuff. That worked fantastic. I also drug a lot of the small parts into the house and soaked/scrubbed them in a sink full of Dawn. If your engine is that bad, I'd just skip right to the Gunk. Get the heavy duty stuff. They sell it in tall cans at Walmart for a few bucks.
I spent an afternoon re-aligning the headlight covers. I was pretty happy with them at this point. I adjusted them just a bit more after the below picture but didn't get a final pic. I swear every Firebird I see has misaligned and uneven covers. I'm glad I'm not part of that club any more.
I also put new tires on. The old ones were getting dry rotted and just didn't look all that impressive. I tried finding a tire that had a mix of both performance and appearance. I settled on the Conti ExtremeContact DW. They run wide for the size and just have an overall meaty look to them. They are also very quiet and grip well for a summer tire. I think they look fantastic on the stock wheels compared to the Kumhos.
I wanted to get those tires the last time I was buying some for the trans am, but the 295's I wanted for the rear were backordered everywhere. I did like that they ran big, IIRC they were around .5" wider than the next closest tire.
I was very much a part of that bad headlight alignment club.. it was an annoying issue that I could never figure out. Yours looks perfect there
I withheld a little info because I wasn't sure if I'd be able to pull it off. Last black Friday I ordered a full HID kit with projectors from TRS. While I had the front of the car apart I tucked a HID relay harness, relocated my horns, and mounted HID balasts to the sides of my frame rails. This was in anticipation of building my own projector headlights.
I originally ordered Mini D2S 3.0 projectors but they were longer than I anticipated. I ended up selling them on ebay and buying a pair of the Mini D2S 2.0 projectors. I also had to swap out the D2S bulbs and ignitors for D2H because there wasn't enough room behind the headlight assemblies.
I tried contacting BLS to buy a pair of lenses but I was ignored both times I inquired about them. Since I wasn't going to be able to buy the lenses I had to resort to forming my own.
I started by mounting the projectors in the original headlight buckets, forming a dome with clay, making a mold of the dome with plaster, and finally making a plaster cast from the mold. I then sanded the cast until I was happy with the shape of the lens.
I then made a pair of frames to hold my 1/8" acrylic sheet. I used a piece of fiber board to cut out the shape of the headlamp retaining ring to press the plastic down over the mold.
I did a dry run of the mold to test for clearance using a white sheet of HIPS. Once that was good, I heated up the acrylic and pressed it over the mold.
I cut the lenses down just enough to press fit into the metal headlamp retaining rings. I used 1"x3/4" foam weatherstrip, split in half, to make a gasket around the inside of the ring and screwed the ring down, sealing it to the headlight buckets. I also sealed the backs of the projectors with black silicone gasket maker to help keep out moisture.
I fitted the new hid lights into the car and checked for operation.
Everything went well so I backed the car out and aimed the lights.
Everything lined up and worked flawlessly, including the highbeam solenoids! I think it turned out great. I basically just copied the BLS kit with the exception of the acrylic plate that gets installed inside to act as a shroud and cover up some of the projectors. I didn't find this piece necessary because you can't really see inside the lights once mounted in the car, as you can tell in the pics. The beautiful thing is I save about $300 doing it myself.
I also started in on the interior. The factory radio has been going out so I bought a double din Pioneer unit with Metra bezel. I'm actually really happy with this unit because it is designed to primarily be a media receiver for your phone. I use my phone for everything so a high dollar touch screen head unit was out of the question.
While I was replacing that I swapped out my steering wheel controls for a black pair (which I swapped bulb caps on so they would still light up red) along with the dimmer switch. I also found out I could remove the covers on my factory hvac *****. So I pulled those and rubber coated them black. If you look closely you'll see I also pulled the volume **** from the radio and coated it black too. I think it all came together nicely.
I had an annoying rattle from my door lock that I took care of too. Turns out our locks are supposed to have felt on the sides of them. Over time this falls off and you get plastic on plastic rattling. I remedied it by cutting a few strips of the fuzzy side of some adhesive backed velcro and placing it on the locks.
What an inspiration. Exactly the type of thing I want to do to mine. But i don't have the time or know how to even begin a project like this. Killer job.
I can't wait to have some student loans and my motorcycle paid off so I can get back to the Camaro. Things been siting in my driveway since July when I bought a truck for DD because I can't afford the insurance on all of them right now.
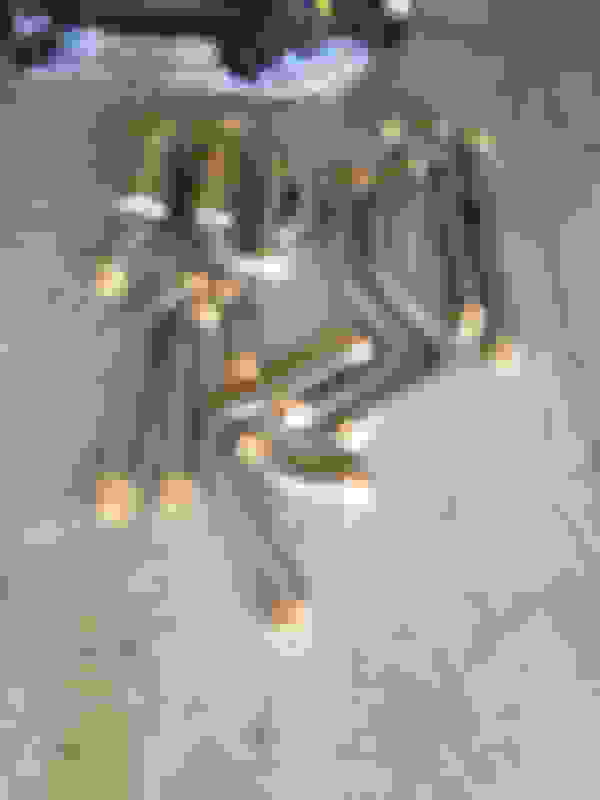
I noticed my brake lines were looking kinda gross and out of place with the newly freshened up suspension so I swapped them out for some stainless lines.
Celebrating the success of re-install of the powertrain, I took a break to finish figuring out my exhaust. I previously had a TSP off road y pipe and magnaflow catback. There was still some rasp in it and it stunk. I had put a catted ypipe on it once before but it neutered the exhaust volume and cam chop. Fortunately for me, Hooker just released their Blackheart duals for the fbodys. I decided to gamble on this and mod in my own Magnaflow spun metallic 200 cell cats. I was hoping with the free flowing cats and straight through mufflers it would still have good volume while eliminating the rasp and exhaust stench. I�m happy to say that it did!
When I was installing the exhaust tips, I realized the CETA mod the previous owner did on the back bumper was in pretty terrible condition. I decide to repaint that too! You would think I would have been tired of painting things at this point.
That was accomplished using Rustoleum 2x Satin. I wasn�t happy with the spray pattern of the Krylon fusion on my cowl. I�ve used this Rustoleum before and really liked it. Hopefully it holds up in the sun alright.
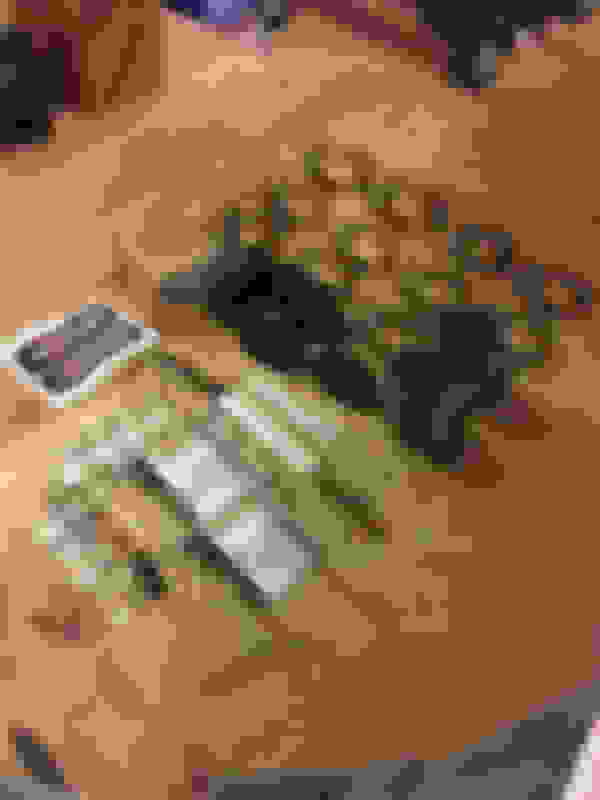
I headed back to the engine bay. I purchased a bunch of stainless hardware from Bolt Depot to replace all of the body fasteners in and under the engine bay. Don�t mind the rag. I was also filling up the radiator. The old hardware was rusty and greasy. I reinstalled the front bumper using the new hardware as well.
With that out of the way, it was time to reinstall the hood and wheels and then see if it runs. After a couple primes of the pump, it turned right over! Then it died. The fuel outside of the bucket had evaporated out of the tank from sitting for so long.
Once I was able to get some fuel in the tank I pulled it out of the garage. If you look close enough, you can see the Techflex F6 split loom I recovered the harness in while buttoning things up. I also tucked the harness under the fuel rail instead of floating over it.
To finish things off, I picked up a used Norris catch can on eBay to run alongside the LS6 valley cover and hopefully help mitigate oil entry into the intake.
Now that I considered the car to be complete, I booked my tuning appointment. Unfortunately, the first shop wasn�t the best choice. I had picked them because of the reputation of their gm tuner. They kept having issues getting the car to start up and idle right.
I did some research and found out their original gm tuner (the one that had been recommended) had left and opened his own shop a few months before hand. Woops. I tracked him down and explained the situation. I took my car to him and he was able to fix everything. On top of it, he was able to get more power out of it than the first shop.
You can see in the dyno graph the first run with the tune from the first shop compared to his final run after fixing the tune. I�m super happy with the numbers considering it was 113*F in the shop. The car is so silky smooth now when transitioning between gears and on/off acceleration. I never knew a tune could change the way a car feels so much. I might actually like driving this one more than my Go-Kart.
Now, to answer the burning question. Does it leak oil? NO! Mission accomplished!
Wow, you are amazing! I think you should keep that car for a long time. Thanks for a great rebuild and thread!
No leaks! I managed to seal everything up, even the pinion seal on the rear-end. The pinion seal did spit out a little bit of gear lube for the first couple hundred miles. I wiped it up and it hasn't returned. The transmission and engine are bone dry!
Originally Posted by Stew2000
what all did you use to clean the engine bay and scrub the parts?
Heavy oil/grease was cut with Gunk Engine Degreaser. I then followed up with simple green and a blue scratch-less scotch-brite pad. Parts small enough to fit in a sink were cleaned with hot water, dish detergent, and a blue scratch-less scotch-brite.
wow, im ashamed to admit this but im pretty sure if someone ever ended up with my car.......they would probably feel the same way you do about a modded car.
that said great write up and the commentary was excellent. claybaring the fenders in the house....my wife is supportive but not that supportive.
Did you use the same stuff to clean the underside of the body?
Yep! Started with the gunk spray and then moved to simple green. Laid on my back on a creeper and went to town. Kept a bucket of soapy water nearby to rinse out the blue scotch-brite.
Yep! Started with the gunk spray and then moved to simple green. Laid on my back on a creeper and went to town. Kept a bucket of soapy water nearby to rinse out the blue scotch-brite.
Awesome!! I'll pm you with more questions over time, I'm in the process of redoing a bunch of stufff on my car also and I might end up going the same route as you.

 08-29-2016 | 07:07 PM